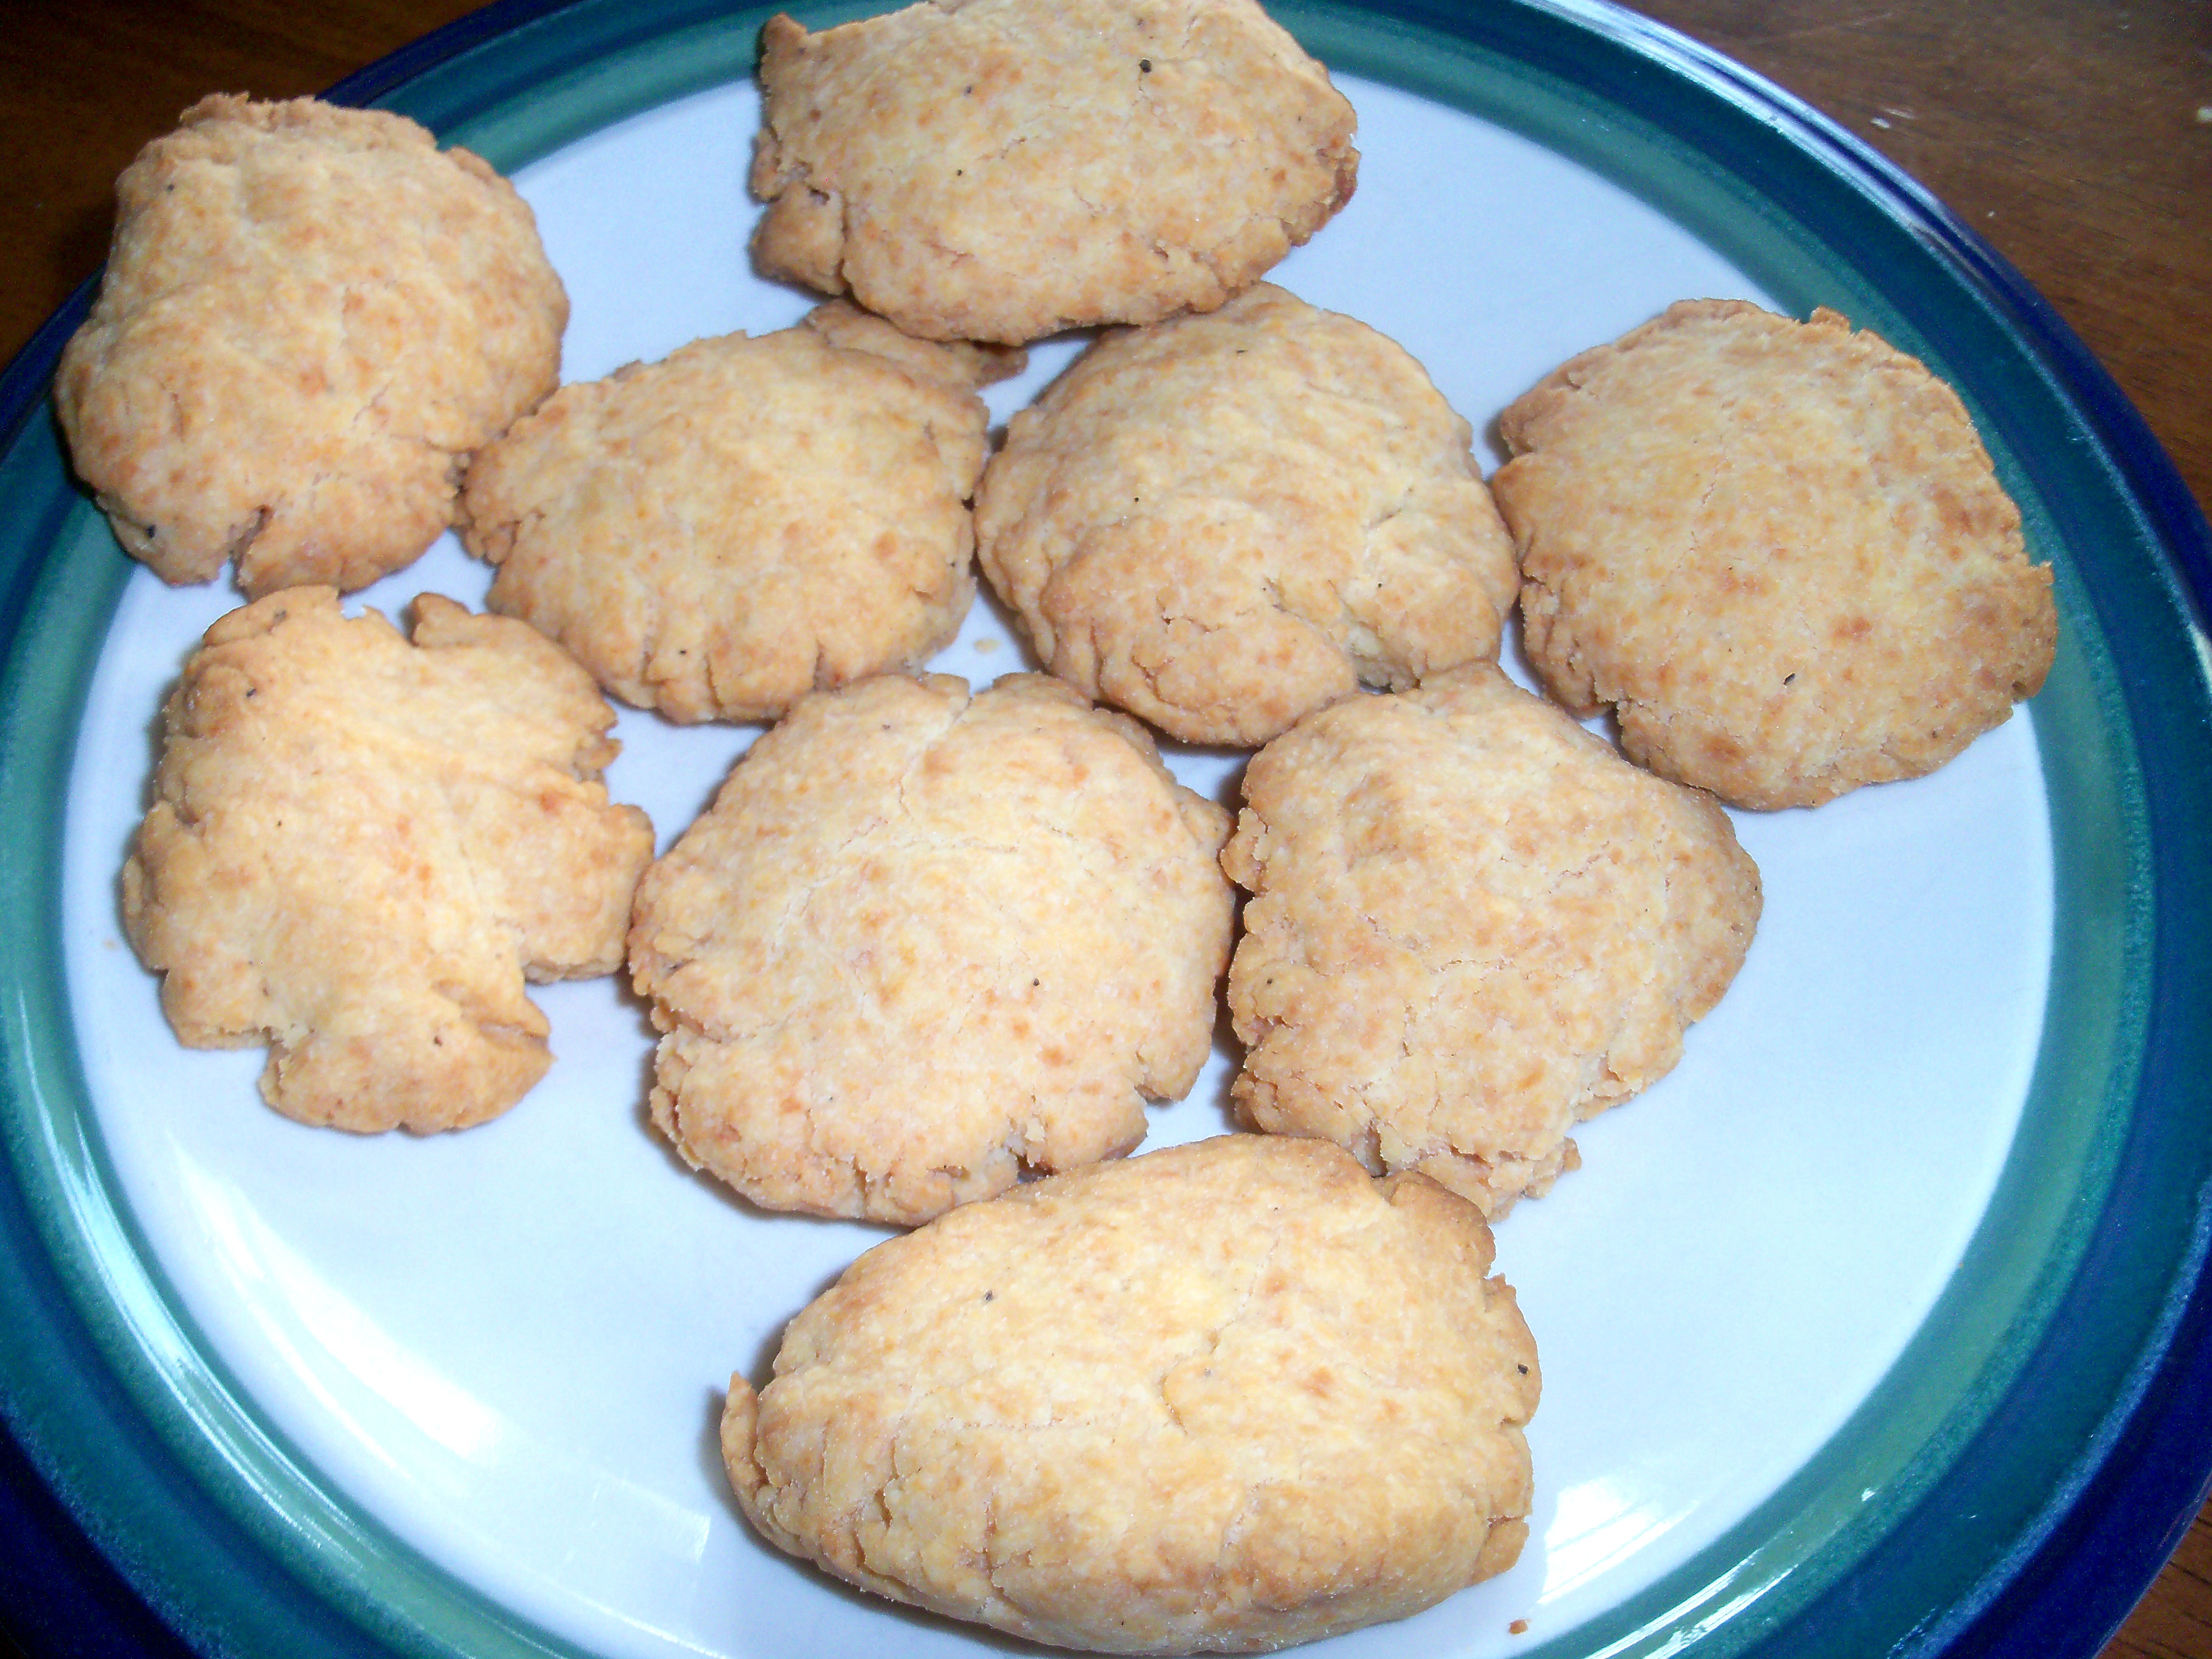
Well, as you can see, I didn’t exactly end up with cheese straws! Thanks to Megan at Megan’s Cookin for choosing this one. This was really easy to make – dump it all in a food processor and away you go. I couldn’t get the dough to come together though. I tried pressing it with my hands, but I could not get it to make logs which I could roll out. So I ended up making little crackers instead, which worked out fine. I really, really liked the way these tasted, but next time I would to make them thinner. These would be great at a party. I’m keeping this recipe!

Bookmark and Share

Well, as you can see, I didn’t exactly end up with cheese straws! Thanks to Megan at Megan’s Cookin for choosing this one. This was really easy to make – dump it all in a food processor and away you go. I couldn’t get the dough to come together though. I tried pressing it with … Read more

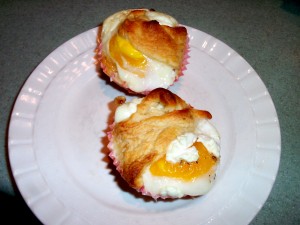
I like to make eggs for weekend breakfasts. I find if I eat protein for breakfast, I’m not hungry for hours, which is always a good thing. I have the worst time with egg pans and spatulas though. The egg gets crusted on. Well, no more! Try this fantastic no-pot idea for an egg breakfast or brunch that’s made in a muffin tin, with paper liners leaving no mess and no clean up.

Egg Crescent Pockets

1 package of 8 crescent roll dough

4 slices of ham

8 eggs

goat cheese (or cheese of your choice)

salt and pepper

thyme

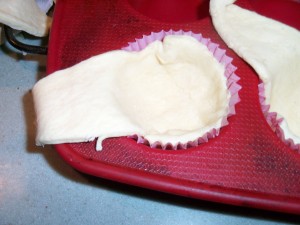
Place 8 muffin tin liners in your tin and spray the inside of them with cooking spray. Lay the short end of the crescent roll in the liner, so it is near the top of the liner and press it around so you get dough all around the edge. Leave the long end of the dough hanging out of the liner.

Take half a piece of ham and fold it so it fits inside the liner. Place a dab or two of goat cheese (you can use any cheese you like for this, but I made mine with goat cheese) on top of the ham, and a pinch of thyme. Crack an egg and place it in the liner. Sprinkle with salt and pepper to taste. Flip the rest of the dough over the top of the egg and gently tuck it into the side. Bake at 375 for 20 minutes. Allow it rest for a few minutes before lifting it out of the muffin pan.

The results are super cute and are easy to serve. This is a great idea if you have some leftover crescent roll dough from a holiday dinner, and if you have house guests!

Bookmark and Share

I like to make eggs for weekend breakfasts. I find if I eat protein for breakfast, I’m not hungry for hours, which is always a good thing. I have the worst time with egg pans and spatulas though. The egg gets crusted on. Well, no more! Try this fantastic no-pot idea for an egg breakfast … Read more

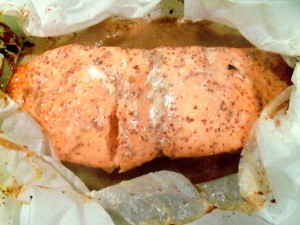
We eat a lot of salmon in this house. And since our trip to Alaska this past summer, we’re eating even more. Mr. NoPot and our son went on a salmon fishing trip and the fish they caught was flash frozen and shipped back home. I’ve got a freezer full of salmon, so we’re eating it about once a week. In the summer I usually grill it, but once the weather changes, I have to find other alternatives. Parchment paper packets is a fantastic way to cook fish. It keeps all the moisture in, cooks it evenly, and creates no mess! You’re going to love the simplicity of this and be amazed by the flavor.

Salmon with Mustard Sauce
4 individual salmon filets (5-6 oz) or one family size (1 lb to 1 1/4 lbs)
2 tbsp lemon juice
2 tbsp Dijon mustard
2 tbsp brown sugar
salt and pepper

Mix the lemon juice, mustard, and brown sugar in a small bowl. Place the salmon in the center of the parchment paper. Spoon sauce over salmon. Sprinkle with salt and pepper. Seal the packet(s). Bake at 400 degrees. If you’re making one family size filet, bake for 30 minutes. If you’re making 4 individual pieces, bake for 15 minutes.

Bookmark and Share

We eat a lot of salmon in this house. And since our trip to Alaska this past summer, we’re eating even more. Mr. NoPot and our son went on a salmon fishing trip and the fish they caught was flash frozen and shipped back home. I’ve got a freezer full of salmon, so we’re eating … Read more

Cheese bread, with and without raisins

Mr. MarthaAndMe’s grandmother was known to her great grandchildren as Gaga. Gaga was a character. Mr. MarthaAndMe has nice memories of her, but even when he was a kid, she was a lovable kook. Her name was Matilda, or Tillie for short, but when she died, her birth certificate and marriage license had a completely different name (Melinda, I think). Gaga was a bit of an anxious gal and relied on Valium to get her through. Once we arranged to visit her and showed up and she stumbled out of bed, hair sticking out, having forgotten we were coming. She had taken a Valium and had a little nap. You never knew what to expect from Gaga. She told stories of relatives in the “home land” (no one is sure what country) who were royalty and how her family gave it all up. She was born dead and miraculously came back to life. And her husband was a no good you know what.

She lived in a tiny mother-in-law apartment behind her daughter, with a tiny kitchen, living room, and bedroom. Gaga did not have many material possessions, but those she did have had meaning, or were at least iconic. She had a big picture frame on the wall where she stuck in photos. At Christmas, she had a wreath made of hard candy that had scissors hanging from it so you could snip a piece off. She had a stuffed Alf (I don’t know why). She had an ashtray that was a weird guy in a monocle with his mouth open. She had a beautiful drop front desk/secretary that now sits in our living room (and, strangely, is an exact duplicate to one my parents have). I love that desk, but associate it with the photo of her mother in a casket that she kept inside it (apparently people used to take treasured photos of corpses “laid out”). And then there was her tiny, stained, Formica kitchen table. Whenever we visited her, she would get us into the kitchen at that table and make tea (with an old, used teabag) and water heated in a saucepan and scoop sugar out of a bin. And she would always have a batch of cheese bread for us.
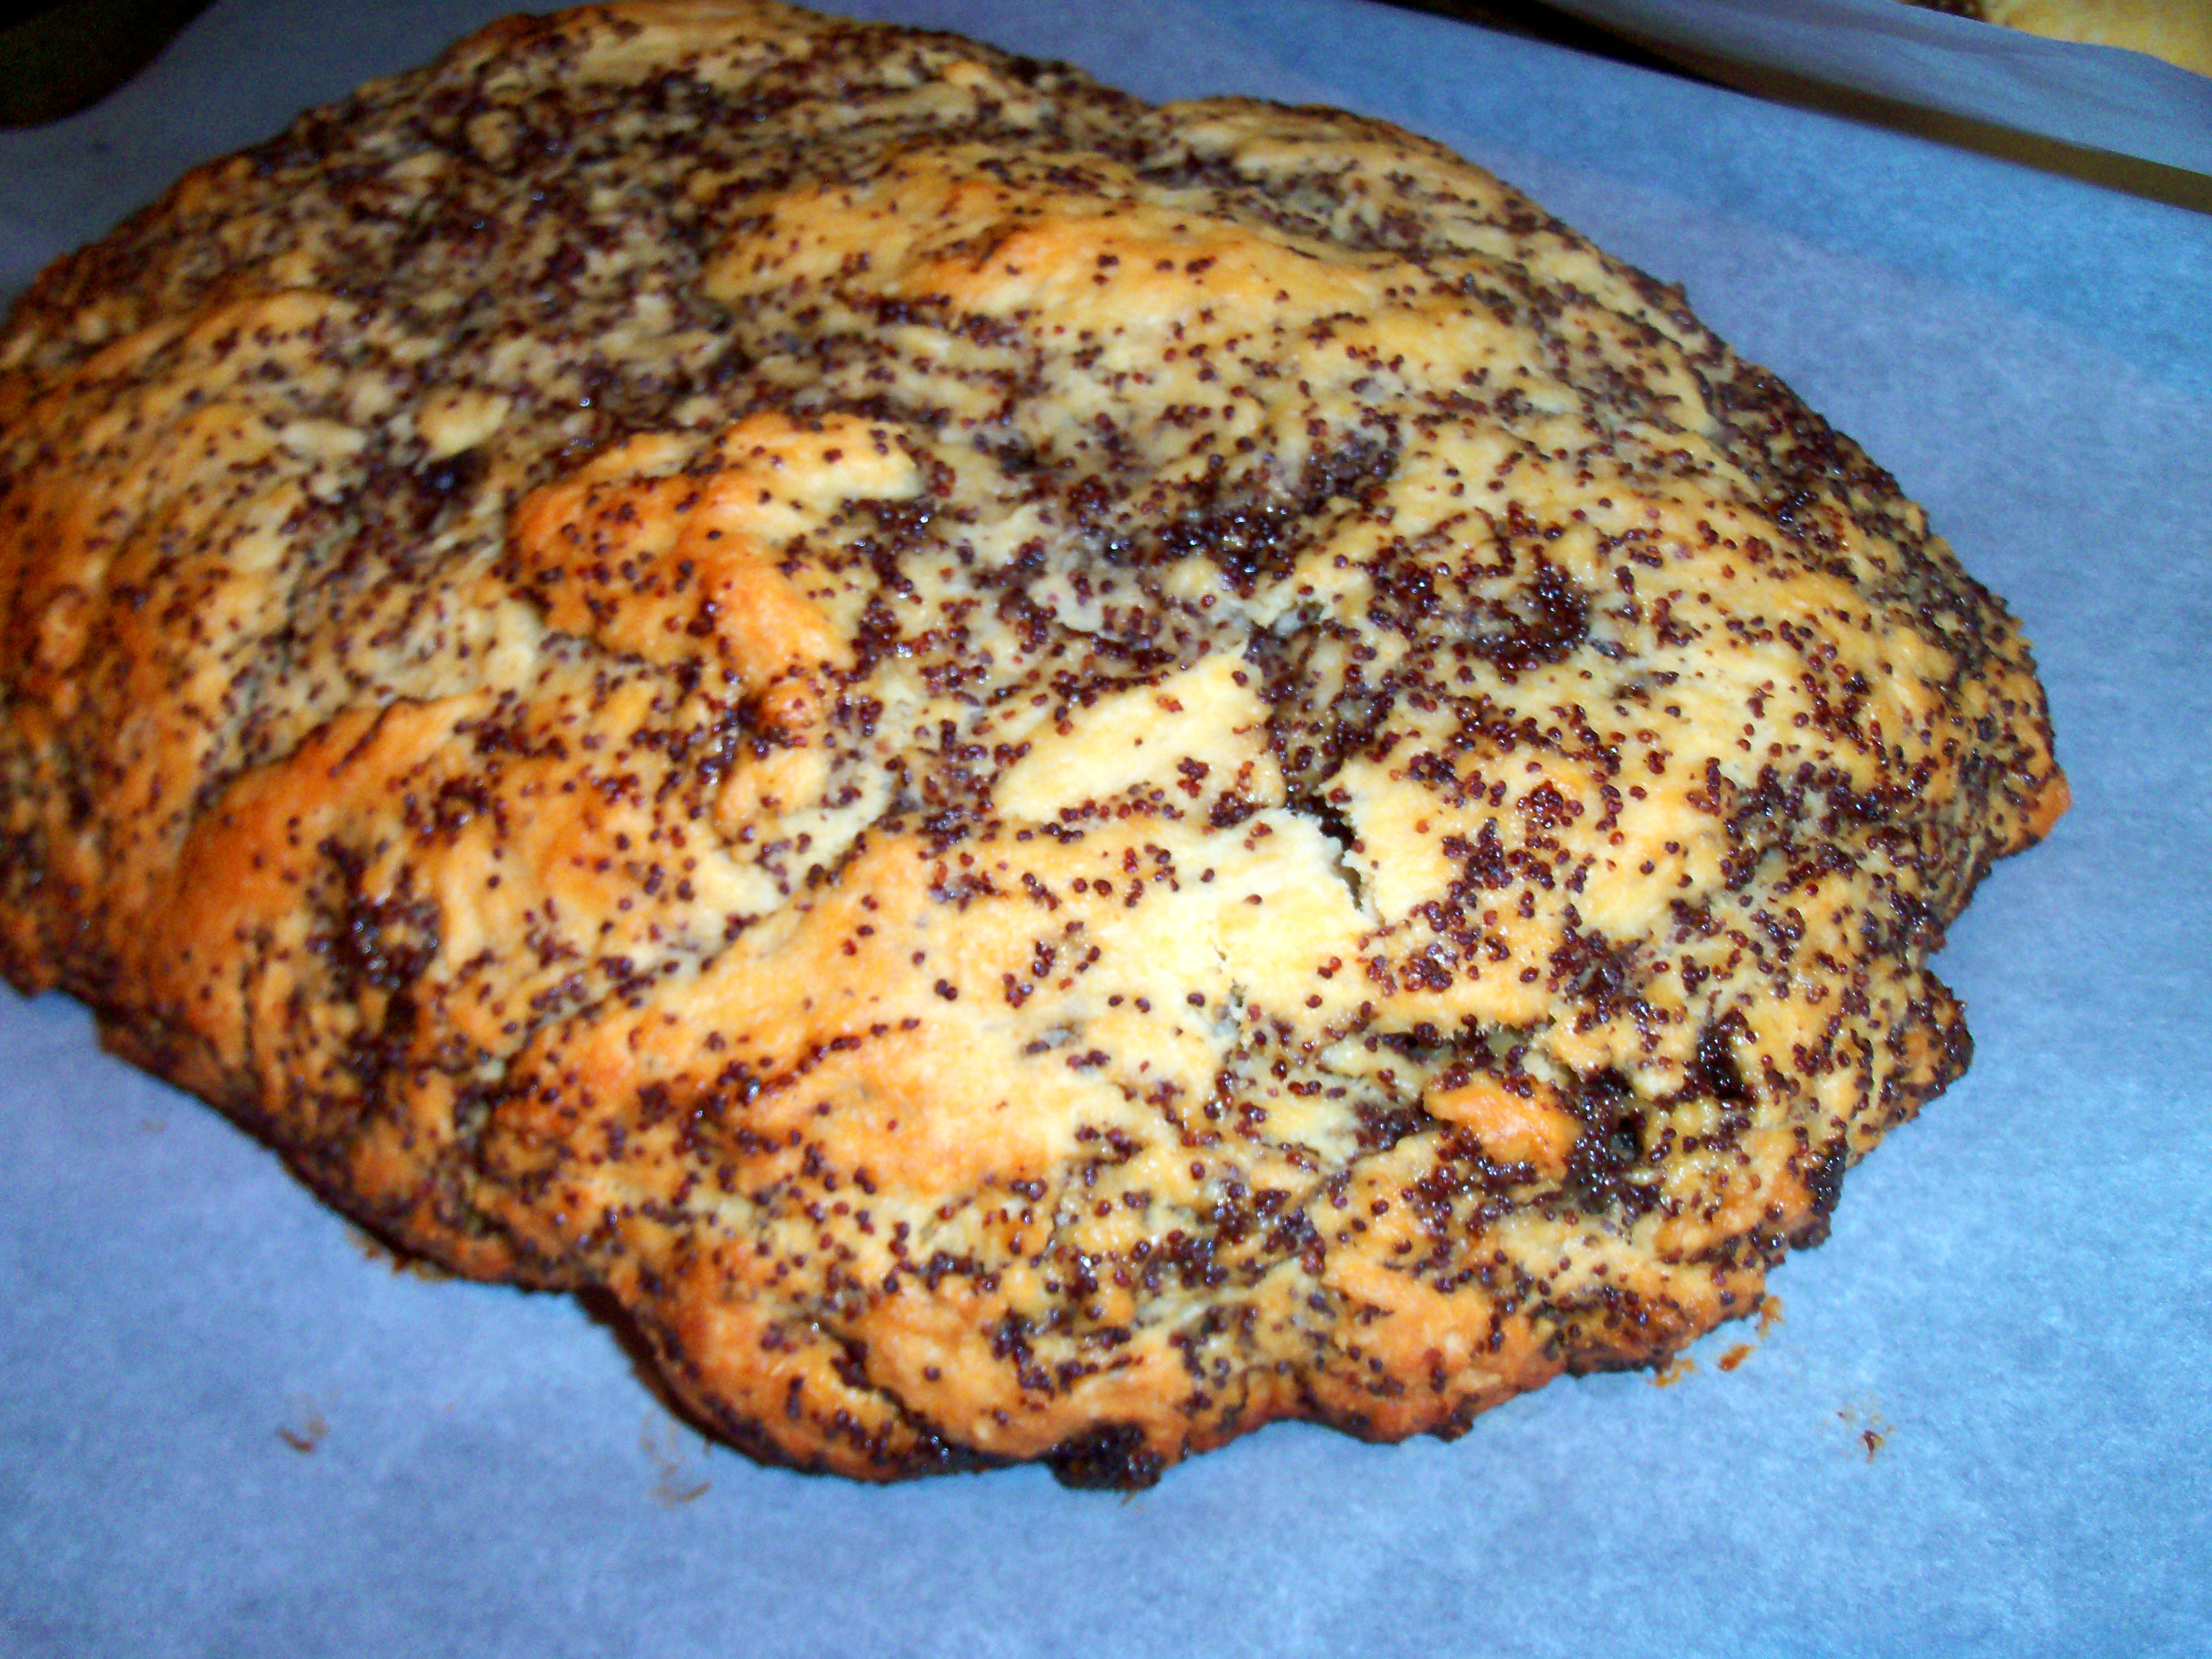
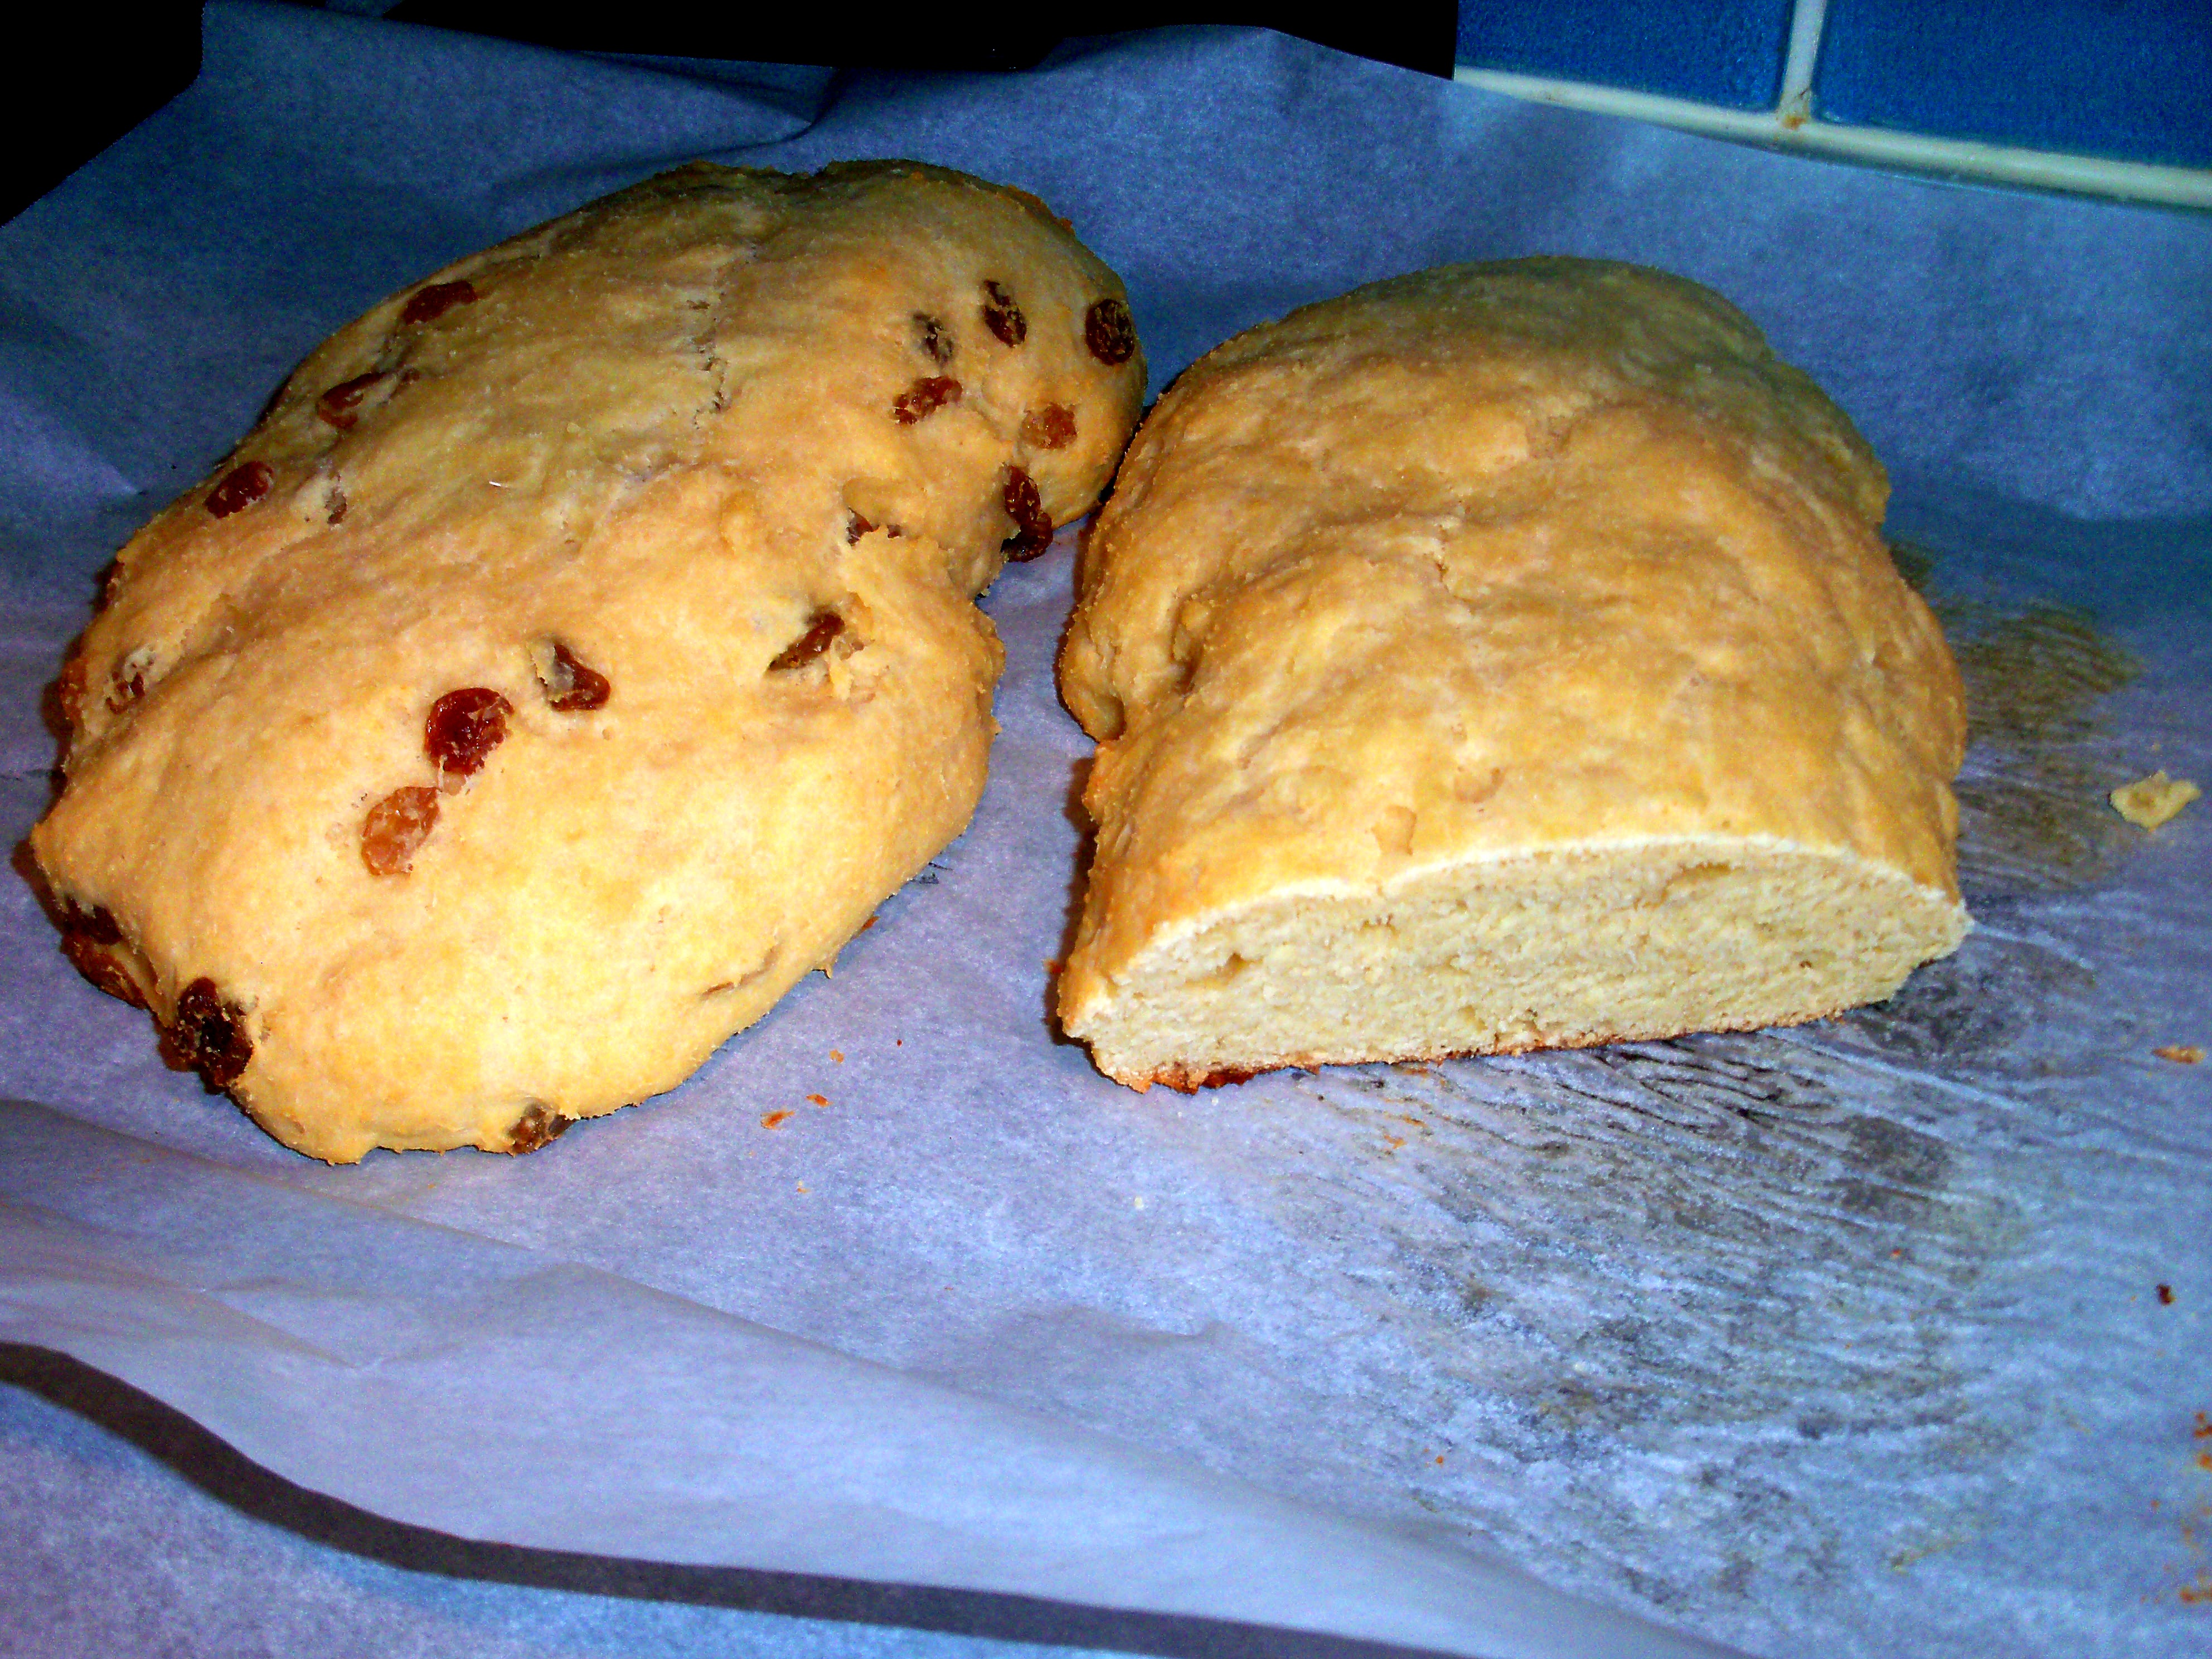
No one knows where the recipe came from, but she had been making it as long as anyone can remember. I have a photocopy of the recipe card in her handwriting with its vague directions (and to add to the kookiness, it’s called “cheese rolls” although she always made it as bread). It seemed that whenever she made it, she altered it, so it was never quite the same.

The cheese bread has two variations. First is an actual cheese bread, made with golden raisins and farmer’s cheese. I think she always used some cheddar too, although the recipe does not suggest that. Then there is the poppy seed version, which has no cheese at all. Once she made me a batch of cheese bread with no raisins because she remembered I didn’t like them. Often her batches had burned edges or black bottoms, which we cut off when we got it home. Even so, it was always delicious.

Gaga has been gone for quite a few years, but I still remember her fondly. And I make her bread a few times a year and think about her when I make it. Somehow, like hers, each batch seems to have its own personality, but that quirkiness just reminds me of her.

Gaga’s Cheese Bread

6 cups flour (I use 2 cups whole wheat and 4 regular)

3 tbsp sugar

1/2 tsp salt

1/2 lb butter (2 sticks)

3 eggs

1 cup sour cream

1 packet yeast

1/2 cup warm water

Mix the dry ingredients, then mix in the butter, eggs and sour cream. I usually end up using my hands to combine this. Sprinkle the yeast over the water and let it sit for 5 minutes, then mix that into the bread.

Now you need to decide what kind of bread you want to make.

For cheese bread:

Add in 1 lb of farmer’s cheese (you can substitute cheddar for half of it) and 2 egg yolks, and a cup of golden raisins.

For poppy seed bread:

Mix in one can of poppy seed filling.

Form into a long loaf on a greased baking sheet and allow to rise one hour. Bake at 350 for 30 to 40 minutes.

The bread is a very moist and slightly sweet bread. It’s great with dinner, but it also yummy toasted for breakfast. The poppy seed version is sweeter. Sometimes I divide the recipe in half and do half cheese and half poppy seed.

Bookmark and Share

Mr. MarthaAndMe’s grandmother was known to her great grandchildren as Gaga. Gaga was a character. Mr. MarthaAndMe has nice memories of her, but even when he was a kid, she was a lovable kook. Her name was Matilda, or Tillie for short, but when she died, her birth certificate and marriage license had a completely … Read more

John Barriceli, I heart you. John is occasionally on Martha’s show and is one of the hosts of Everyday Food. I’ve got his new cookbook, Sono Baking book and so far I’ve had 3 good recipes and one terrible one.

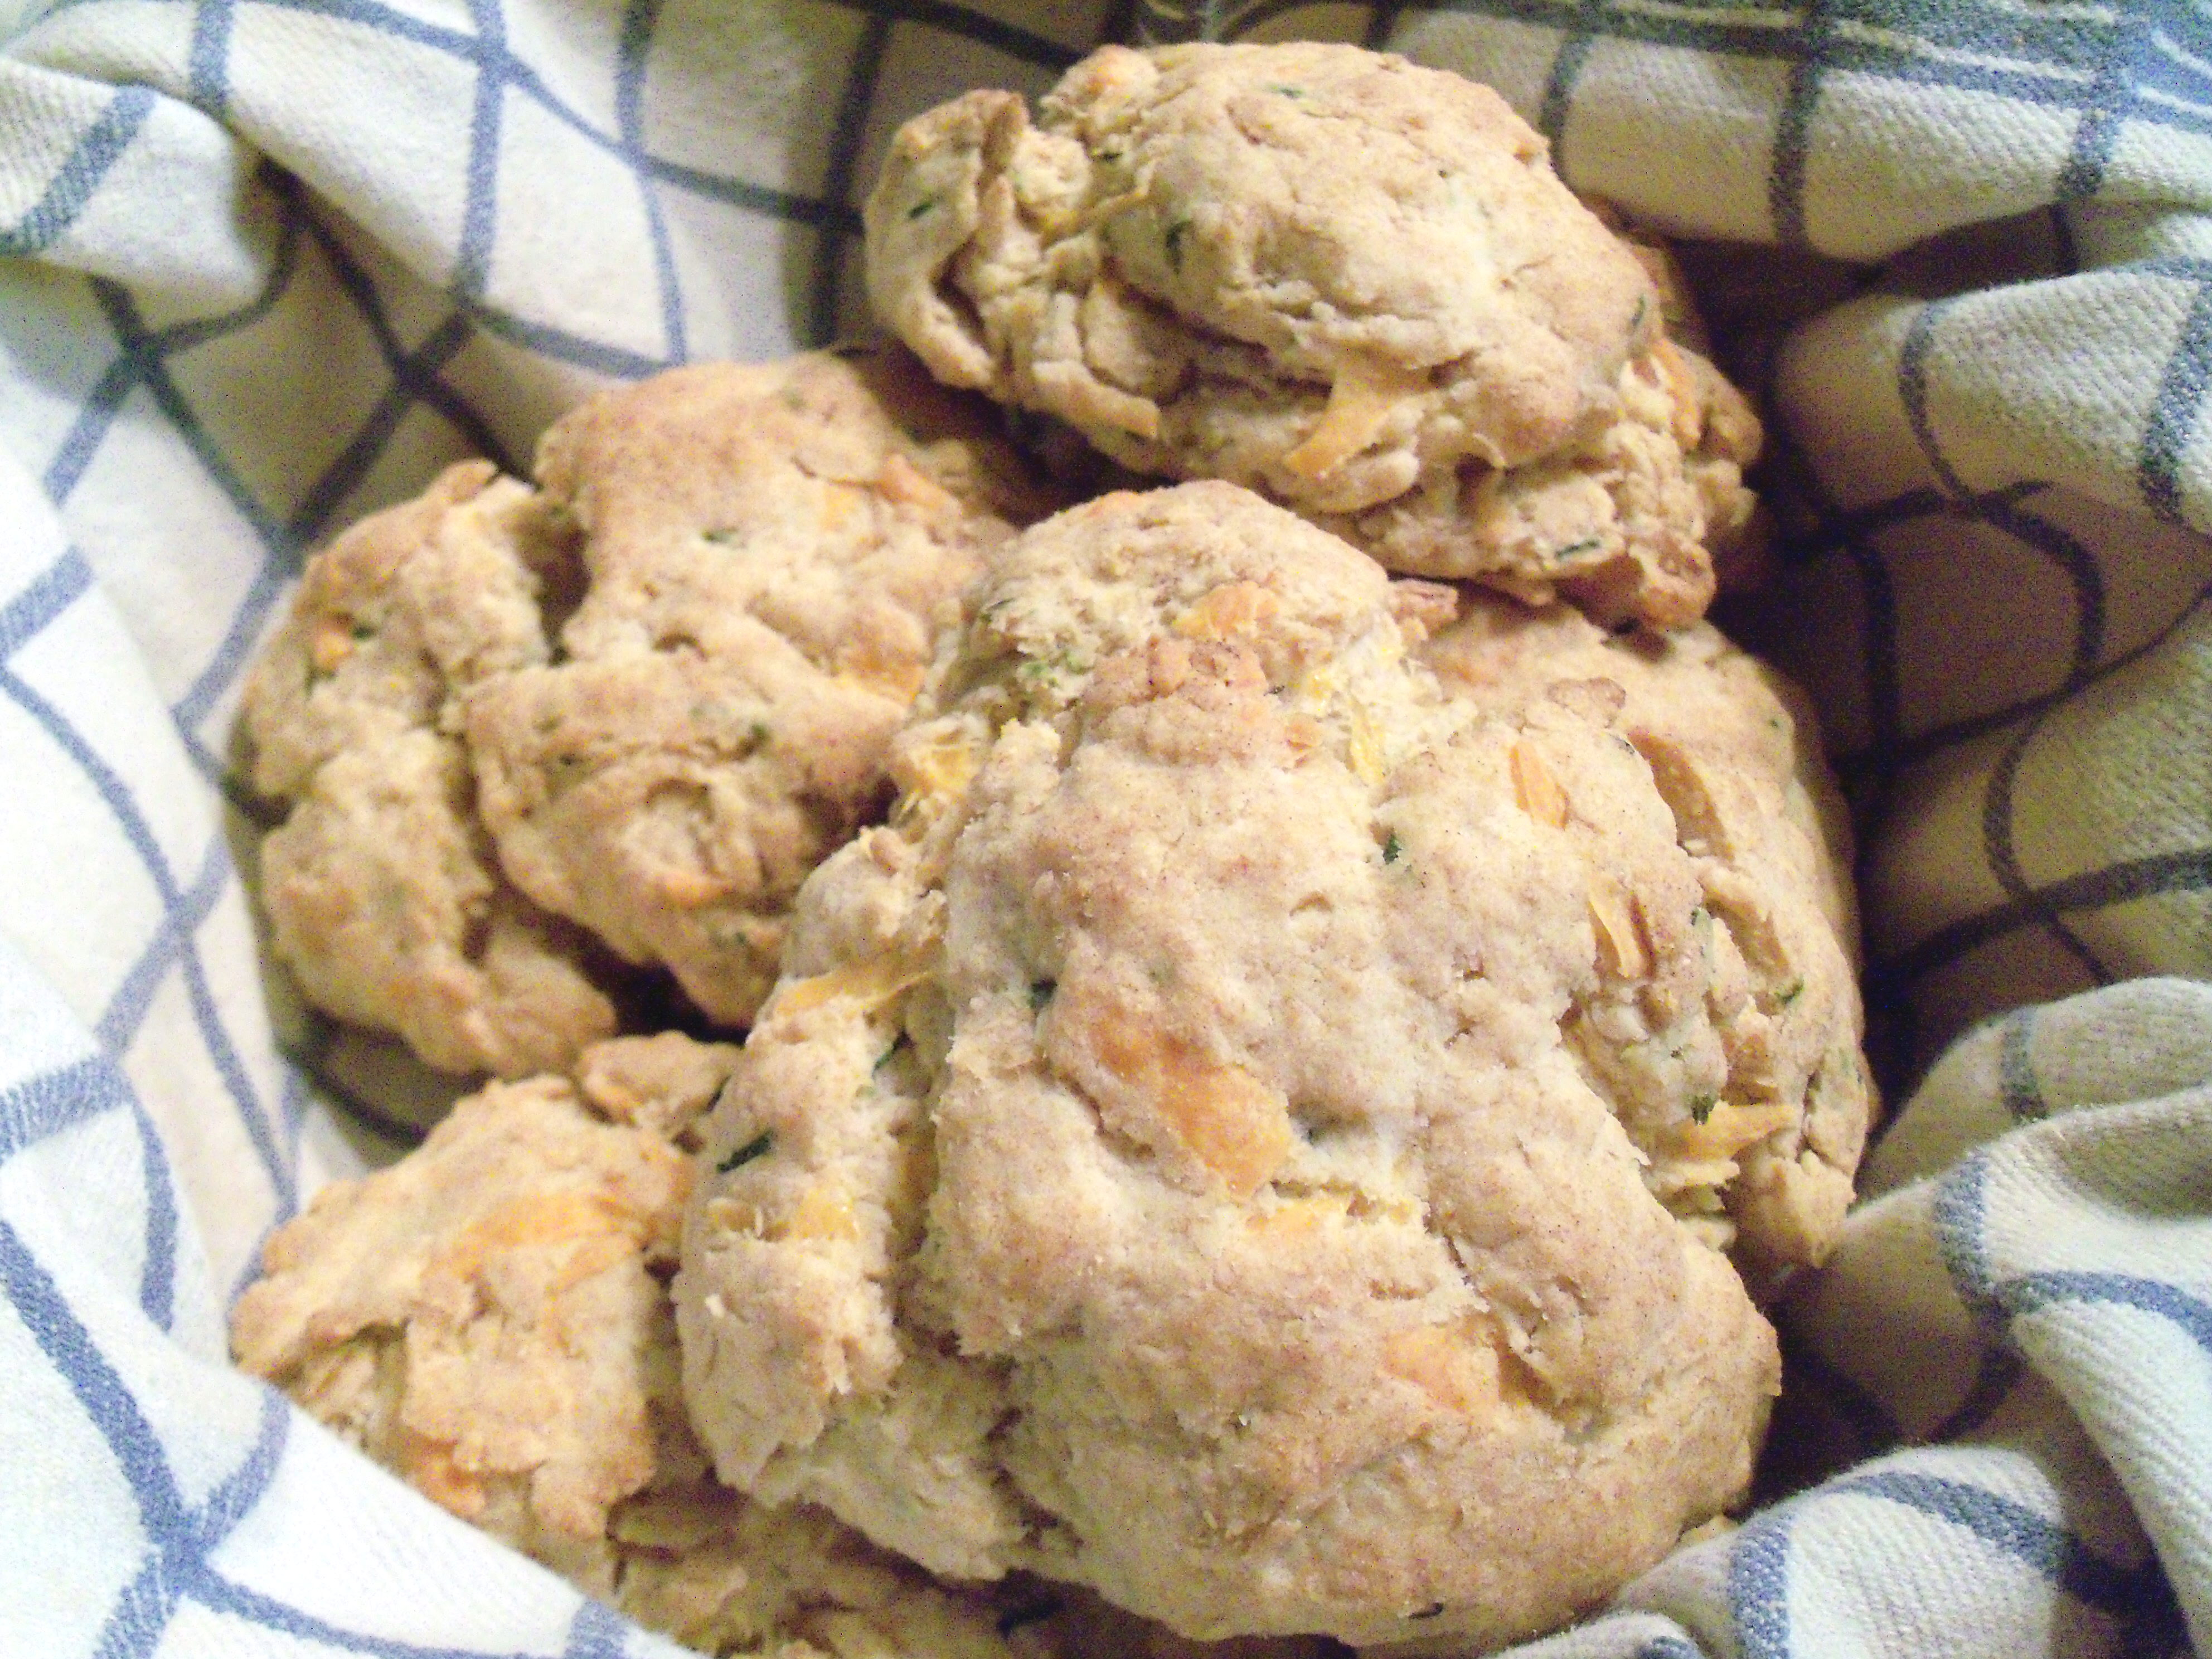
My latest is cheddar chive scones. Oh yes, a savory scone. Super, super simple to make. I didn’t roll and cut mine out and instead just made hand-formed rounds. They worked perfectly. I did not taste the chives as much as I expected to, but other than that, this was great. I doubled the recipe and froze some for another night.


2 cups flour

1 tbsp baking powder

1 tsp salt

1/4 chopped chives

1 cup grated cheddar

1 1/4 cups heavy cream


Mix flour, baking powder, salt and chives. Stir in cheese with a fork. Add 1 cup of cream and fold with a rubber scraper or your hands until just absorbed. Continue adding cream, 1 tbsp at a time until it just comes together and there are no dry patches.

Press the dough with your hands into a 3 x 10 rectangle and cut into 8 triangles. Refrigerate on the baking sheet for 1 hour. Then brush with 1/4 cup additional cream and sprinkle each with a pinch of cheese. Bake at 400 for 16-20, rotating halfway through.

Bookmark and Share

John Barriceli, I heart you. John is occasionally on Martha’s show and is one of the hosts of Everyday Food. I’ve got his new cookbook, Sono Baking book and so far I’ve had 3 good recipes and one terrible one. My latest is cheddar chive scones. Oh yes, a savory scone. Super, super simple to … Read more

I use parchment paper cooking not only for main dishes, but for my veggies and sides too. The paper seals in the steam, and vegetables cook while retaining all of their flavors and nutrients. A fabulous, fabulous dish I cannot get enough of is this one:
Honey Dill Carrots
10 oz shredded or matchstick carrots
1 1/2 tbsp honey
1/2 tsp dried dill
1 tbsp butter
salt and pepper

You can shred carrots yourself (in a food processor) or buy a bag of matchsticks/shredded carrots. Place the carrots in the center of your parchment paper. Drizzle with the honey. Sprinkle the dill over them. Dot with the butter. Salt and pepper to taste. Fold up your packet and bake at 400 for 40 minutes. You could also make this as individual packets of 4 and it would cook in 20 minutes.

The carrots have an amazing sweetness and retain enough crunch to make them interesting. Kids in particular LOVE this dish because it doesn’t look like carrots, it looks like confetti!

Bookmark and Share

I use parchment paper cooking not only for main dishes, but for my veggies and sides too. The paper seals in the steam, and vegetables cook while retaining all of their flavors and nutrients. A fabulous, fabulous dish I cannot get enough of is this one: Honey Dill Carrots 10 oz shredded or matchstick carrots … Read more

Martha Mondays

Posted by Brette in Food

Reminder that the next few picks are up here: http://marthaandme.wordpress.com/2010/11/11/updated-martha-mondays-picks-and-some-news/

Reminder that the next few picks are up here: http://marthaandme.wordpress.com/2010/11/11/updated-martha-mondays-picks-and-some-news/

I have some fun, fun, fun news! First of all, I am proud to announce my new blog: NoPotCooking. This is my latest endeavor and is all about parchment paper packet cooking.  This new, revolutionary way of cooking allows you to seal in flavors; produce moist, low-fat,delicious food; and do so without using any pots or pans. That means little or no clean up. I don’t know about you, but the bane of my existence is those pots and pans that pile up in my kitchen waiting to be washed. Ugh. This cooking method avoids that completely. I am LOVING it. Please stop by and visit me there! There’s lots of info on the “about” and “technique” pages as well as the blog posts.

Now for the giveaway. MSLO has been kind enough to send me some Martha Stewart Crafts product samples to try and will be giving away TEN of each item to my readers.  These are all holiday themed items that you totally are going to love. I’m going to be spacing the giveaways out, so check back regularly.

Today, to get things started, I have TEN Martha Stewart Crafts Punch Around the Edge Sets in Snow Flurry, so I can select TEN winners. How cool is that? These are incredible. With the two pieces, you can completely punch around a piece of paper. They’re easy to use and I love the snow flake pattern. It’s perfect for making holiday gift tags, cards, or scrapbooking. Here’s how to win. Leave a comment on this post, then visit NoPotCooking and subscribe to the blog via email (on the right hand side, click on the email link under “follow this blog” before Saturday, November 20, 2010. I’ll randomly and blindly select ten winners by random number drawing (numbers assigned in order of subscription time). Sorry, offer limited to U.S. addresses only and entrants age 18 and up only. One entry per person. Winners notified by email given when entering, not responsible for email transmission problems. You are responsible for notifying me of your correct  address if you are selected as a winner. Contest closes at midnight Eastern time on 11/19/10. Prize is nontransferable and may not be redeemed for cash. MarthaAndMe reserves the right to announce the name of the winner on the blog. Prizes will be sent by MSLO to winner.

Bookmark and Share

I have some fun, fun, fun news! First of all, I am proud to announce my new blog: NoPotCooking. This is my latest endeavor and is all about parchment paper packet cooking.  This new, revolutionary way of cooking allows you to seal in flavors; produce moist, low-fat,delicious food; and do so without using any pots … Read more

Yes, really, Thanksgiving with no mess! I love Thanksgiving, but if you’re cooking for one or two or three, well, who wants to have a giant roaster to scrub? For those of you looking for all the flavors of traditional turkey, stuffing, and gravy, but who don’t want to spend the day in the kitchen, I’m happy to share this recipe with you. Mr. NoPot suggested we skip making a whole turkey and just do this, he loved it so much.

2 celery stalks
1 small onion
2 tbsp butter
4 slices whole wheat bread
4 tsp chicken broth
sage, rosemary, and salt and pepper
4 turkey cutlets
8 tbsp of turkey gravy, plus more for serving

You’re going to be bowled over by this method. Start with a 2 cup Pyrex measuring cup. If you don’t have that, then just get a microwave safe bowl. I love the Pyrex because it has a handle, which makes it easy to get in and out of the microwave. Chop your celery and onions (you can use a mini food processor if you like, or do it by hand). Place them in the Pyrex. Add the butter. Microwave on high for 4 minutes, stopping every minute or so to stir. By the end, you will have vegetables that are soft and starting to brown.

Create 4 individual packets. In each one place a slice of whole wheat bread. Sandwich bread works perfectly, or you could use a loaf of whatever you have hanging around. Spread 1/4 of the vegetable mix on each slice of bread. Spoon 1 tsp of chicken broth on top of each. Place a pinch of sage and a pinch of rosemary on each and lightly salt and pepper them. Lay a turkey cutlet on top of each. Spoon 2 tbsp of gravy over each one (you can use gravy from a jar or a can, or if you’re like my mom, you have homemade gravy in the freezer, ready for any gravy emergency!). Place a pinch of sage, a pinch of rosemary and light amounts of salt and pepper on top.

Fold the packets up and bake at 400 degrees for 20 minutes (or until a thermometer poked through the parchment into the meat reads 165 degrees). Take them out of the oven and allow them to rest for 5 minutes, then serve with extra gravy on the side (warmed in the microwave – use that Pyrex again, no need to wash it first) and some cranberry sauce. Then be thankful you don’t have much to wash to clean up!

P.S. I know the turkey looks absolutely pink in this photo. It wasn’t until I tried to adjust it, then I couldn’t get rid of it. Anyway, please know it did not appear this color when we ate it and it was completely done!

Yes, really, Thanksgiving with no mess! I love Thanksgiving, but if you’re cooking for one or two or three, well, who wants to have a giant roaster to scrub? For those of you looking for all the flavors of traditional turkey, stuffing, and gravy, but who don’t want to spend the day in the kitchen, … Read more

Thanks to Karen at Karen and Charlie’s Kitchen for choosing this week’s pick-your-own project  – Thanksgiving tablescapes. I liked the one where you make a small pumpkin into a candleholder, so I did a trial run with that, which looks sort of lame since it’s crooked. I guess you need a straighter pumpkin to get it to work! I just hacked away at it with a knife to make the hole, then pushed the candle in. I like this idea a lot, even if mine wasn’t the greatest in execution!

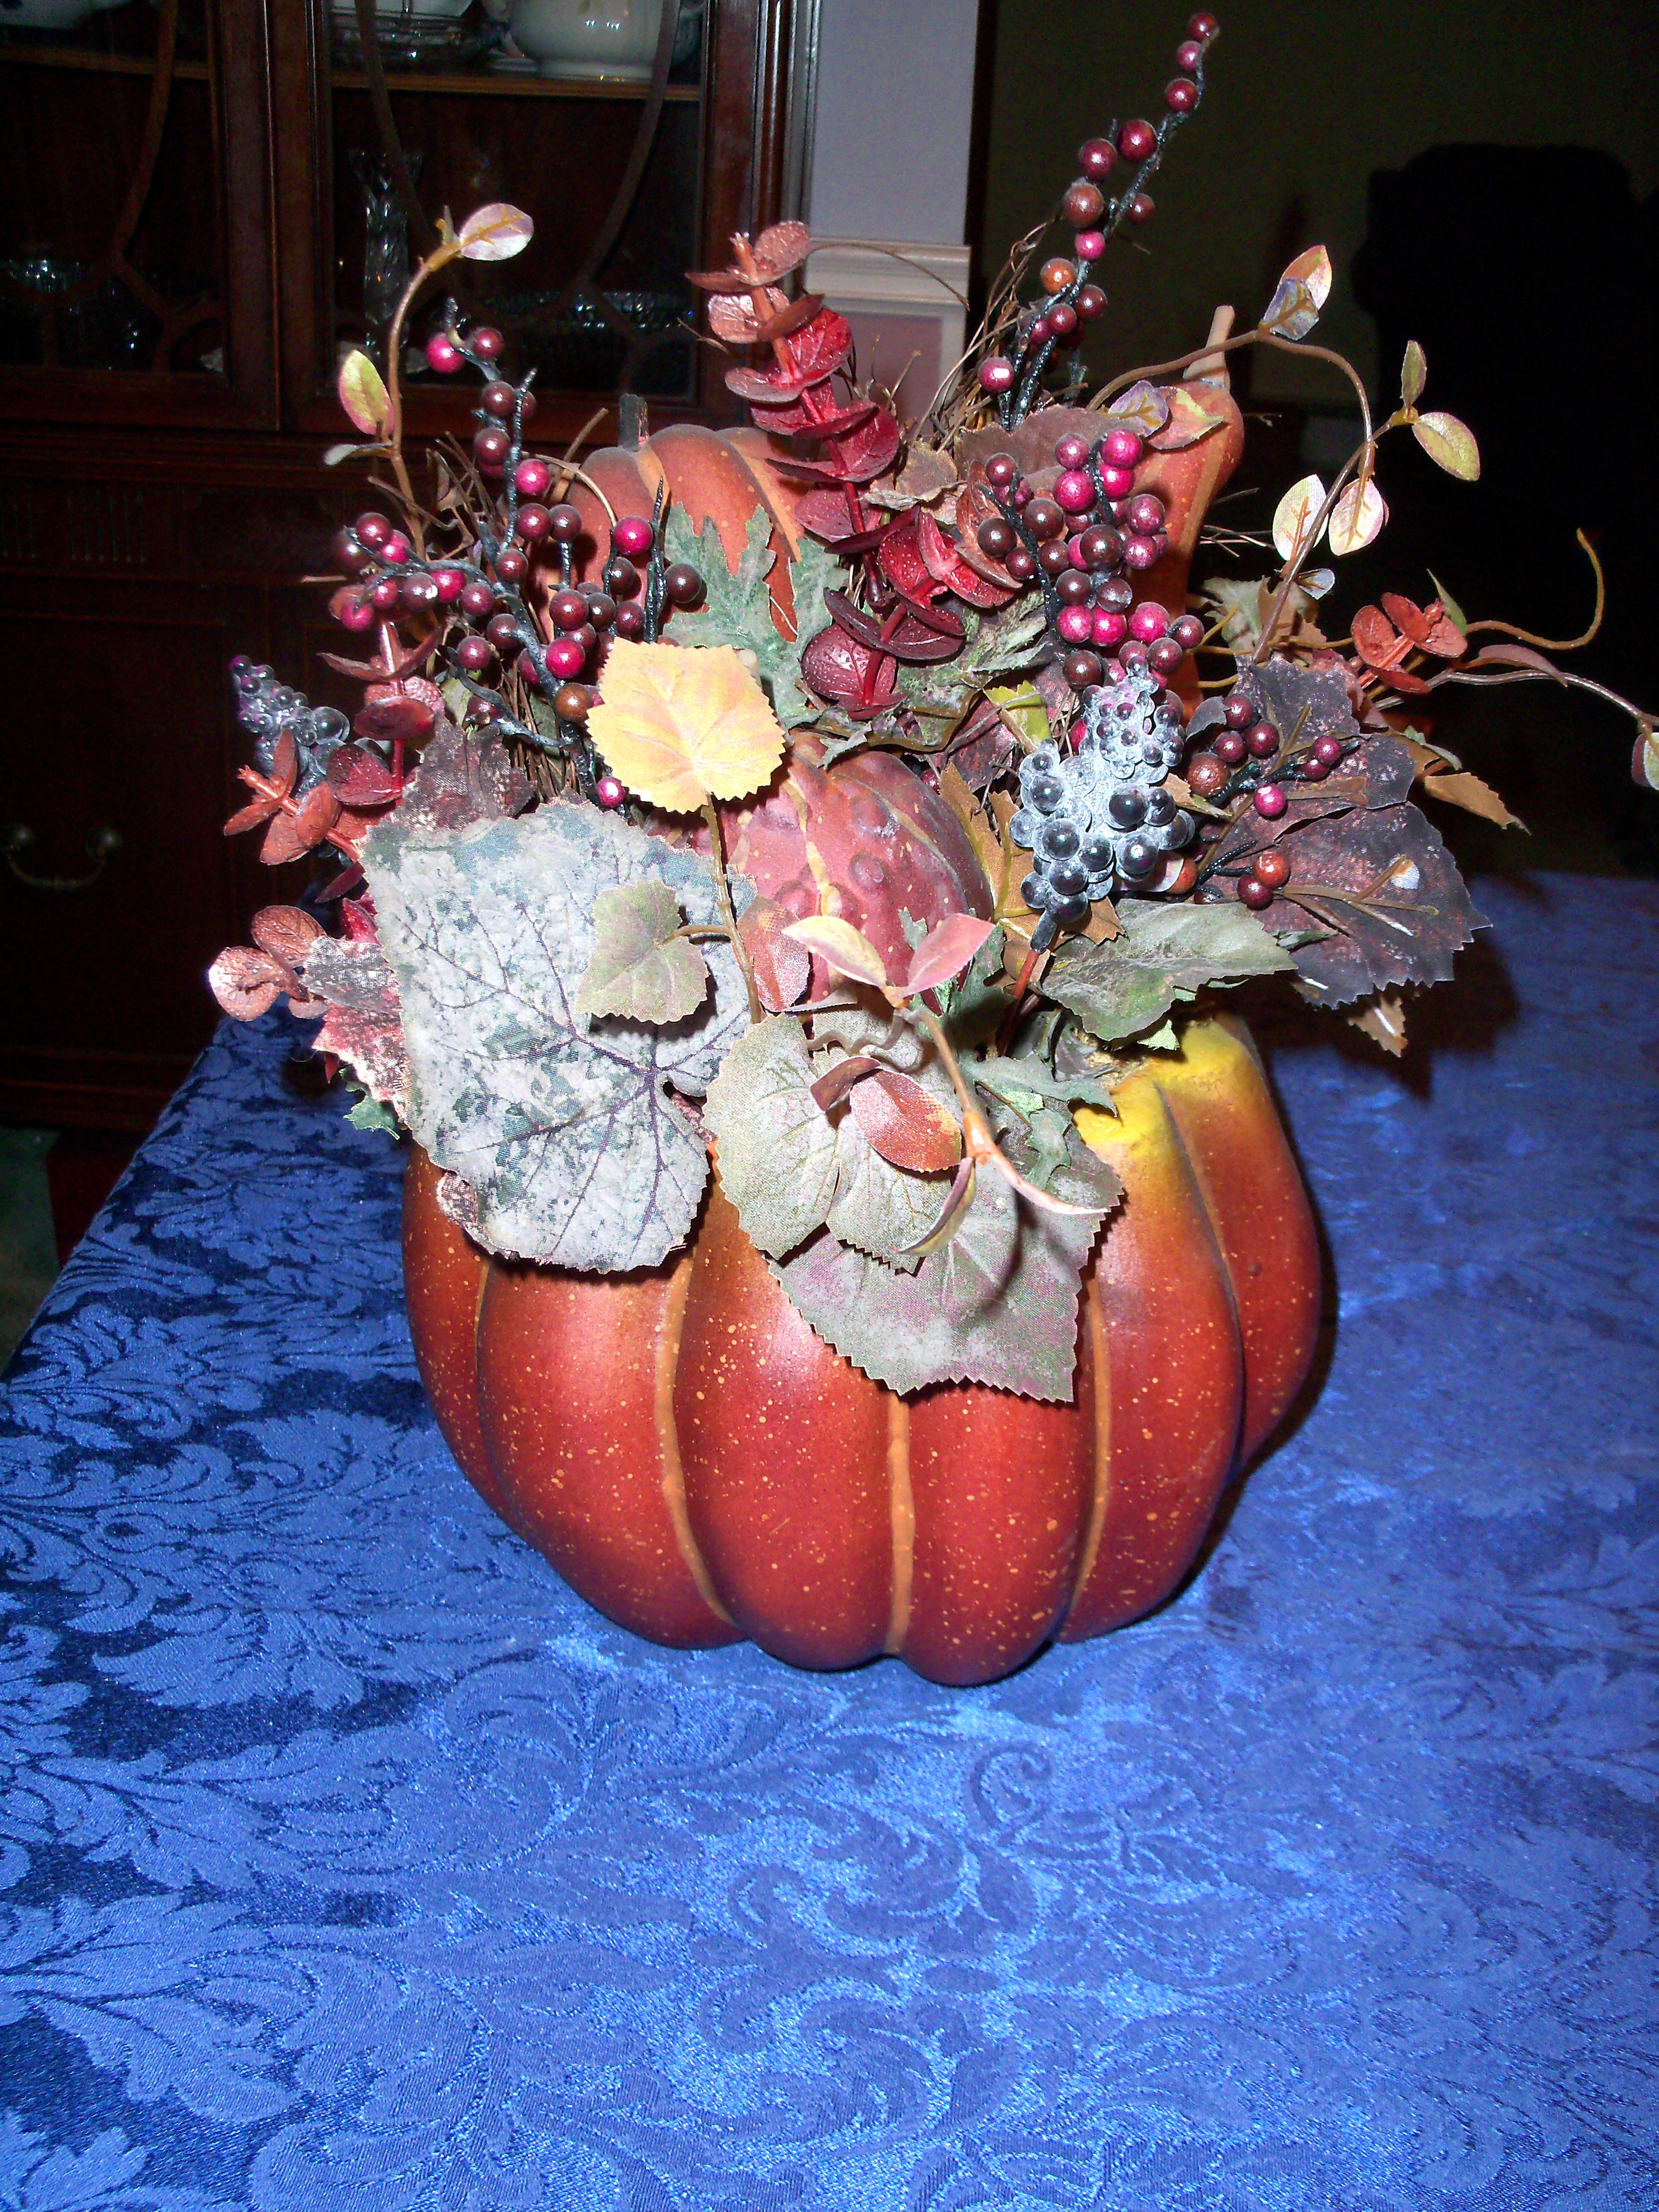
Here’s a photo of a centerpiece I bought a few years ago (I think I got it at the grocery store to be honest!) and which I really still love a lot.

Thanks to Karen at Karen and Charlie’s Kitchen for choosing this week’s pick-your-own project  – Thanksgiving tablescapes. I liked the one where you make a small pumpkin into a candleholder, so I did a trial run with that, which looks sort of lame since it’s crooked. I guess you need a straighter pumpkin to get … Read more

no