I must confess that since we usually stay home for Thanksgiving, I don’t go nuts (ha! You’ll get the joke later in the blog) with table decorations. I use the good china, but generally stick with everyday silverware. Cloth napkins, maybe. This year, in my ongoing Martha makeover, I knew I had to kick it up a notch or two.
Candy Caper
First, I printed out the turkey candy bar wrapper template from Martha’s site that is shown on page 110 of the November issue of Living. I thought this was going to be slam dunk easy. Silly me. On 3 different trips to the store, I bought three different candy bars. None were the right size for this. The directions say to buy a 3 by 6 inch candy bar. Apparently all my efforts to estimate this size did not work! I have no idea why this was so complicated. The only way to make this one work is to take the wrapper to the store and find a candy bar that fits it. I gave up finally. No candy bars on my table. Sorry, Martha.
Going Nuts
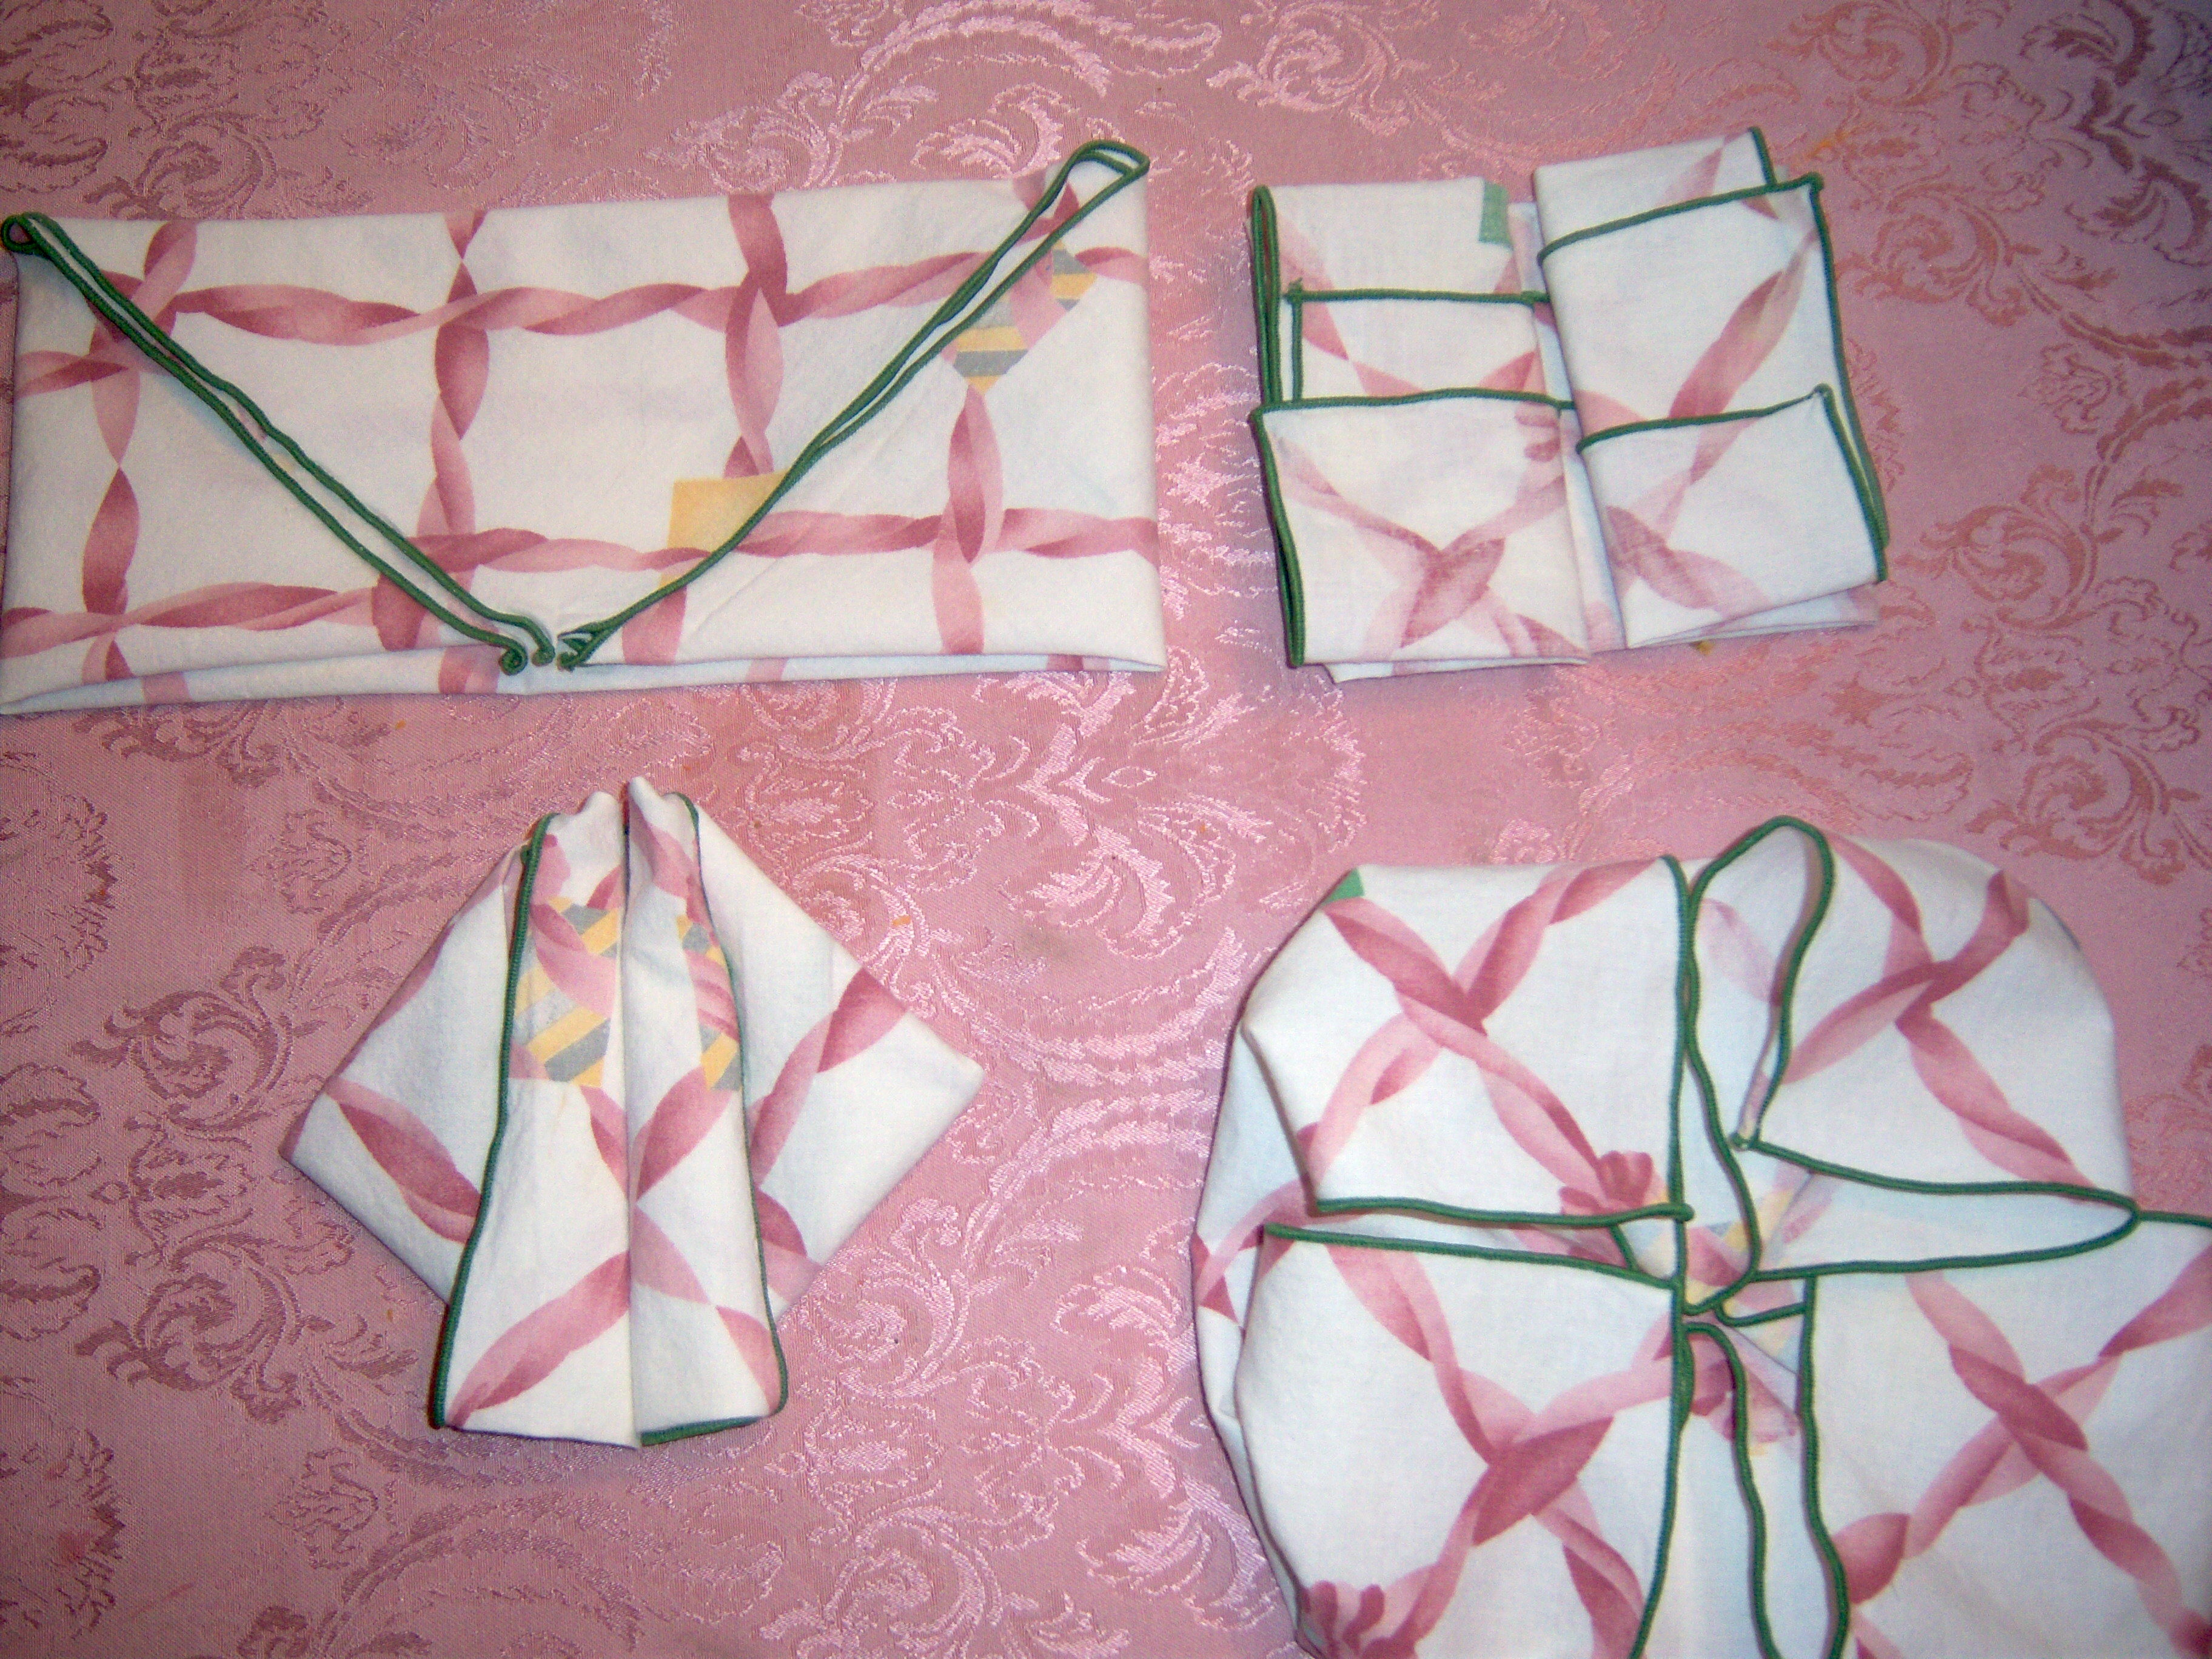
Next I decided I wanted to make the cute acorn napkin decoration from page 54 of November Living. I couldn’t find any faux acorns, and we don’t have any real ones around here. Instead, I decided to use chestnuts! My mom always used to take me to pick them up when I was kid and she would tell me to put one in my pocket for luck. Once I had kids, she would take them to pick up chestnuts too. I have a basket of chestnuts in the family room that comes out with the fall decorations, so I just stole a few from it to do this.
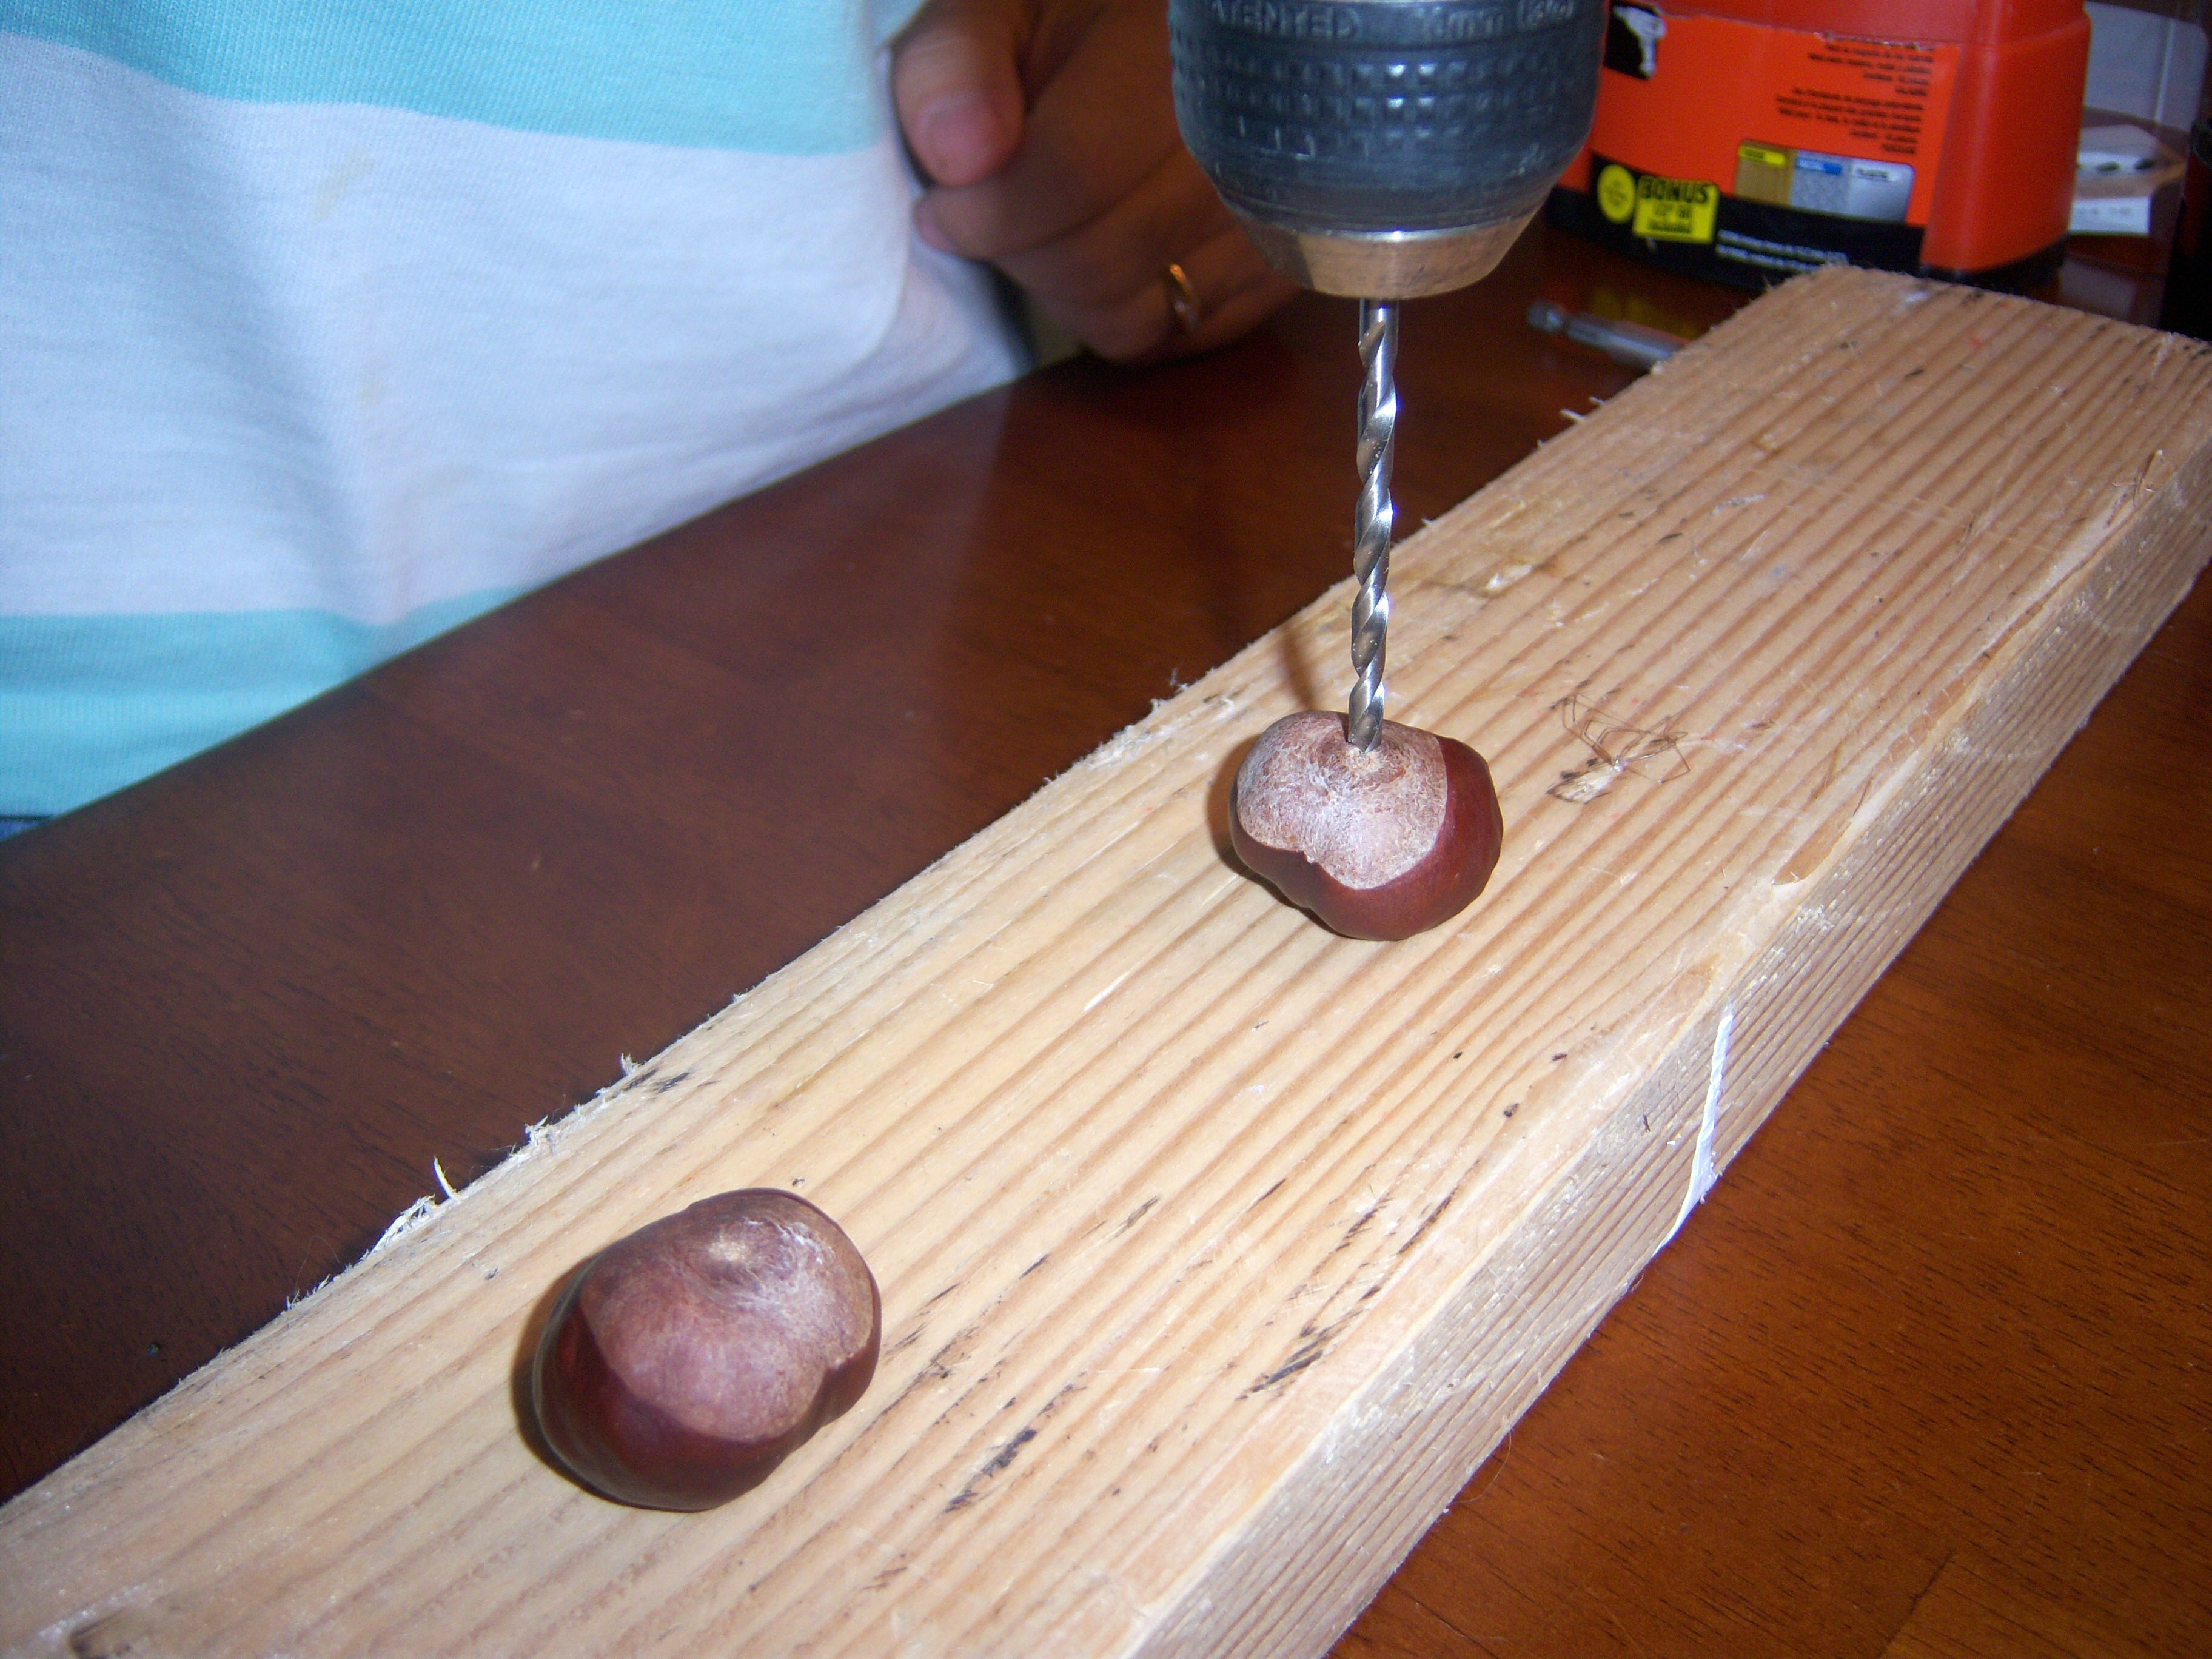
Drill in action
Mr. MarthaAndMe got
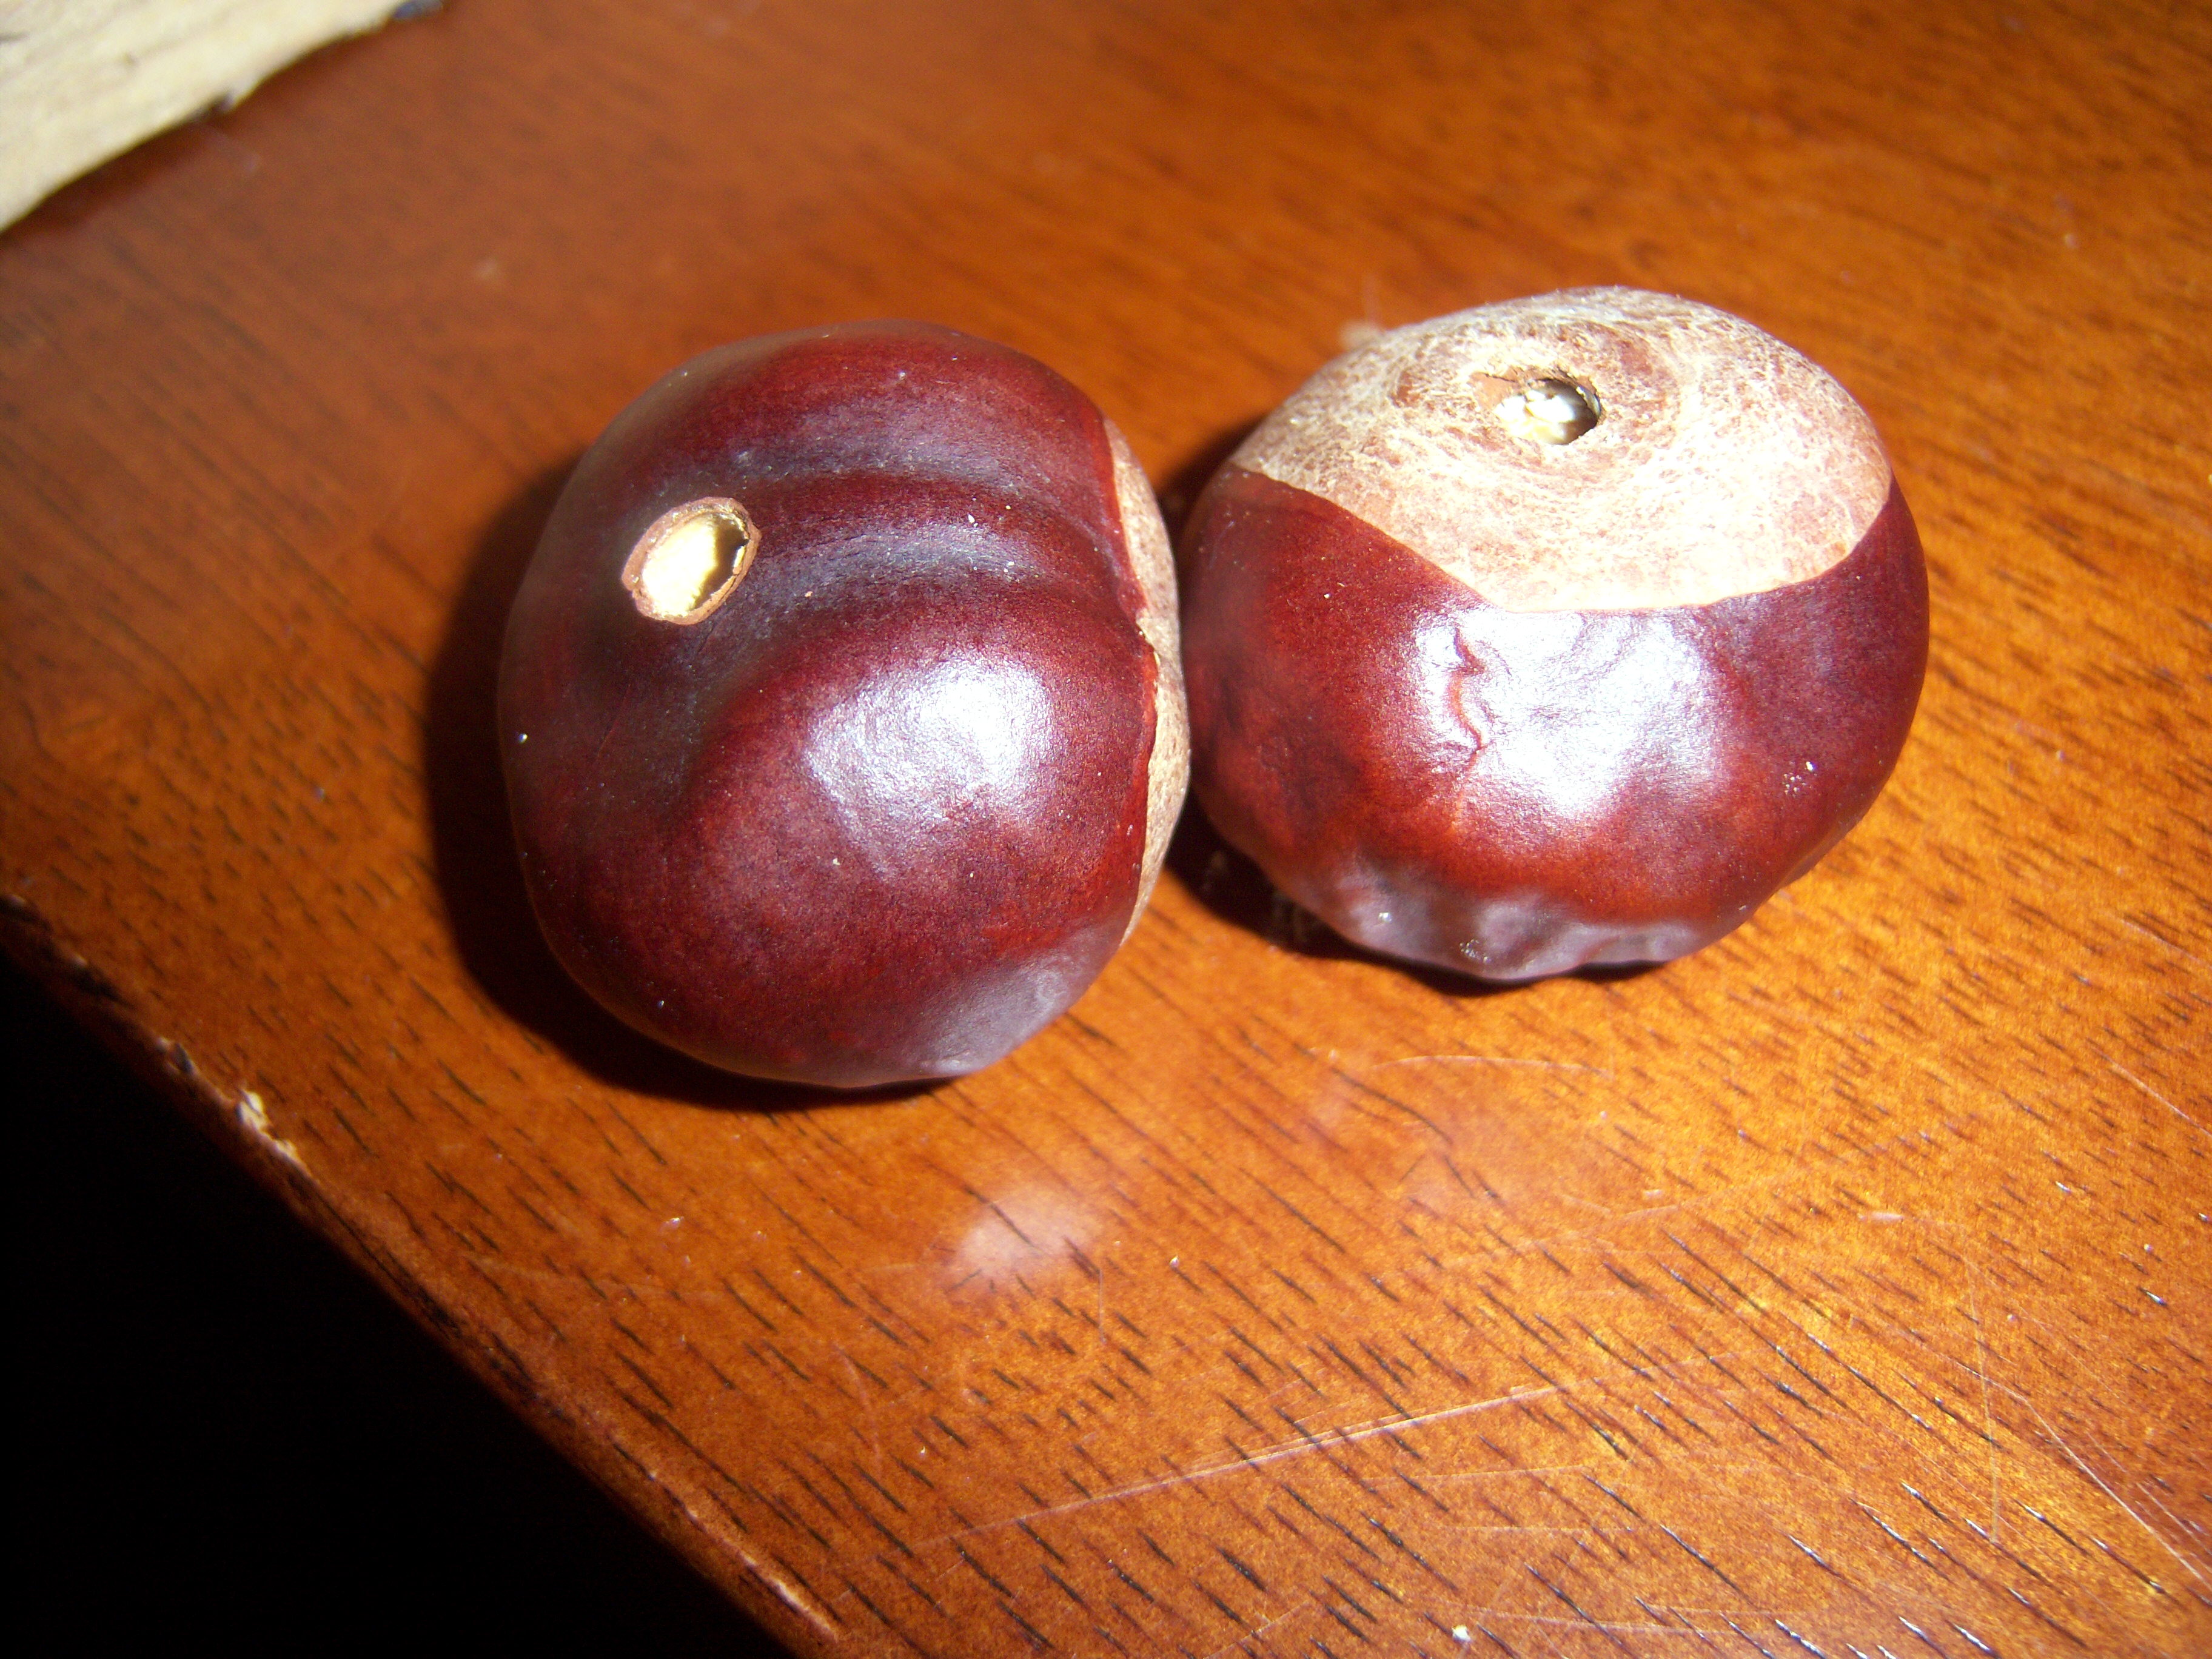
Ready to use
out the drill and we drilled a hole in each chestnut. It wasn’t too hard to do at all! Then I pushed ribbon through (I used the end of a paper clip to shove it through) and tied a knot under each chestnut. Next, I just wrapped the ribbon around the napkin and tied it into a knot.
I think these are adorable and the added bonus is that they would work for a woodsy kind of Christmas setting too. This was so easy! I am proud of myself for attempting and succeeding at another craft (ok, so it was a minor one!).
Getting Centered
Martha had a “Good Things to Save Money” tip on her show recommending you just fill a bowl with apples for your Thanksgiving centerpiece. There’s also a section in the Nov. Living about making centerpieces from cabbages (trust me here, the cabbages in my grocery store do not look like the pretty ones Martha used).
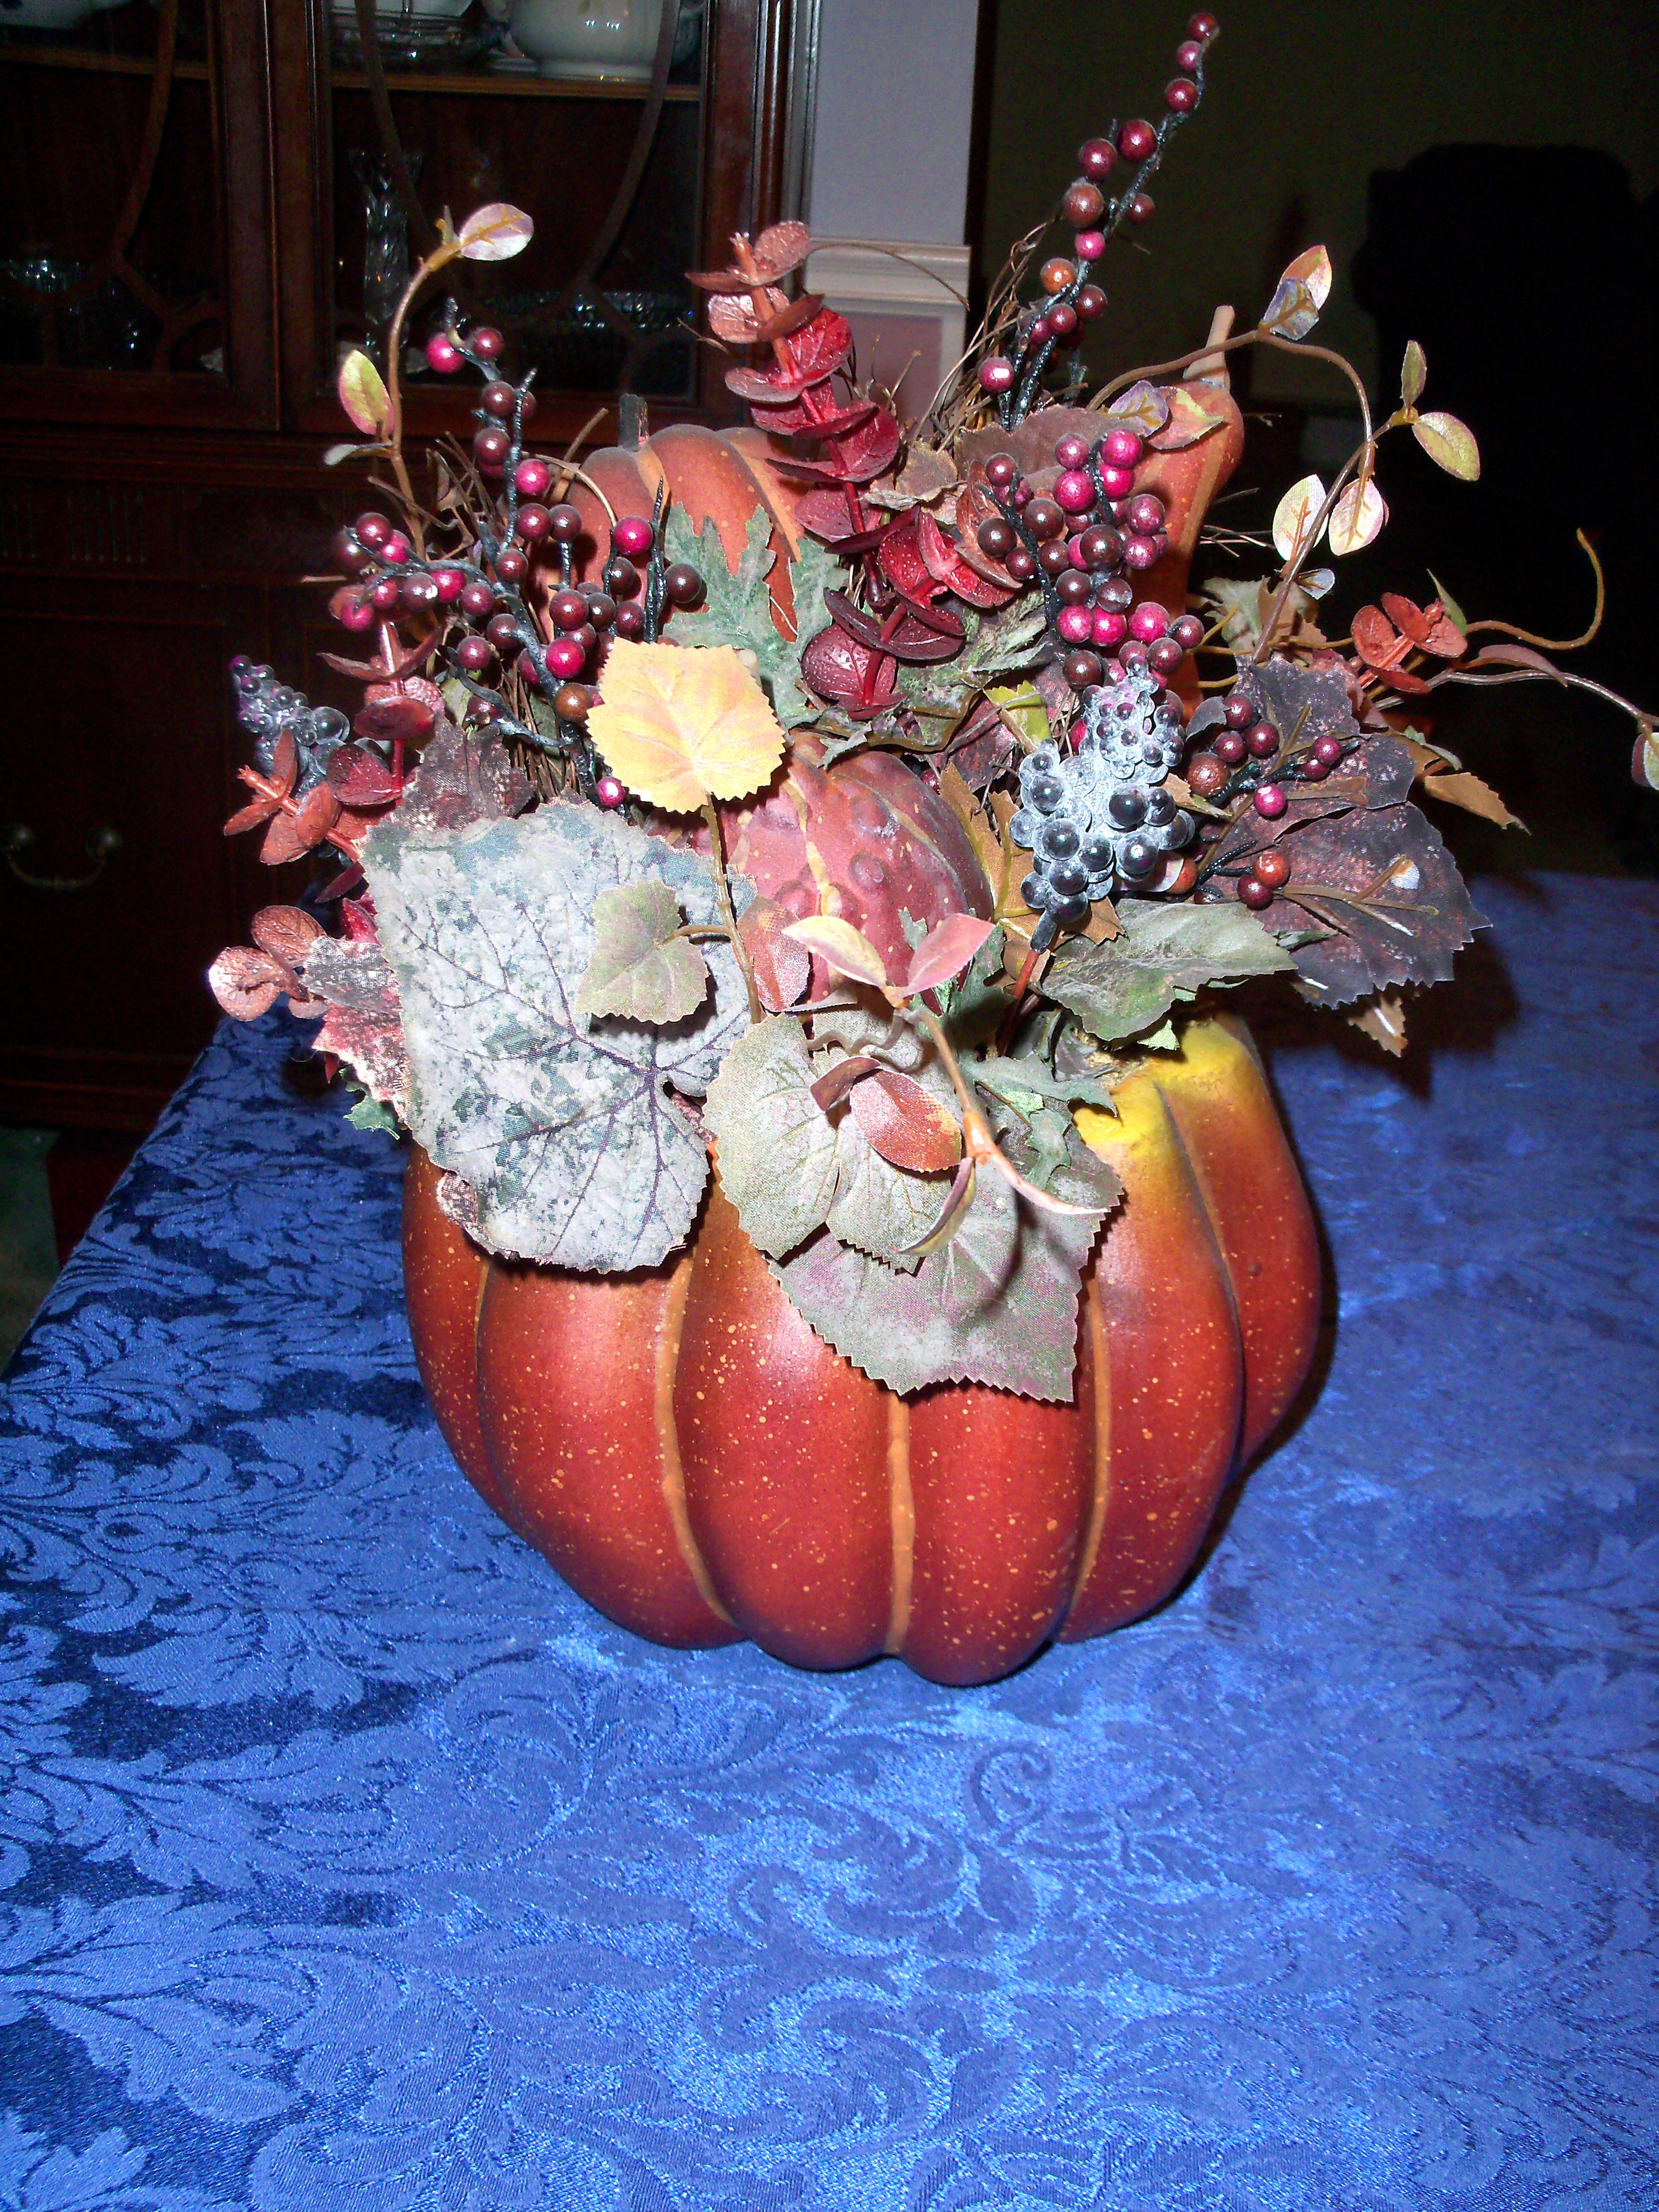
I have a really cute faux pumpkin with flowers in it that I actually bought at the grocery store, which is my fall centerpiece. But to please Martha, I attempted to make my own from apples and pears. It looks kind of lame I think.
Placecards
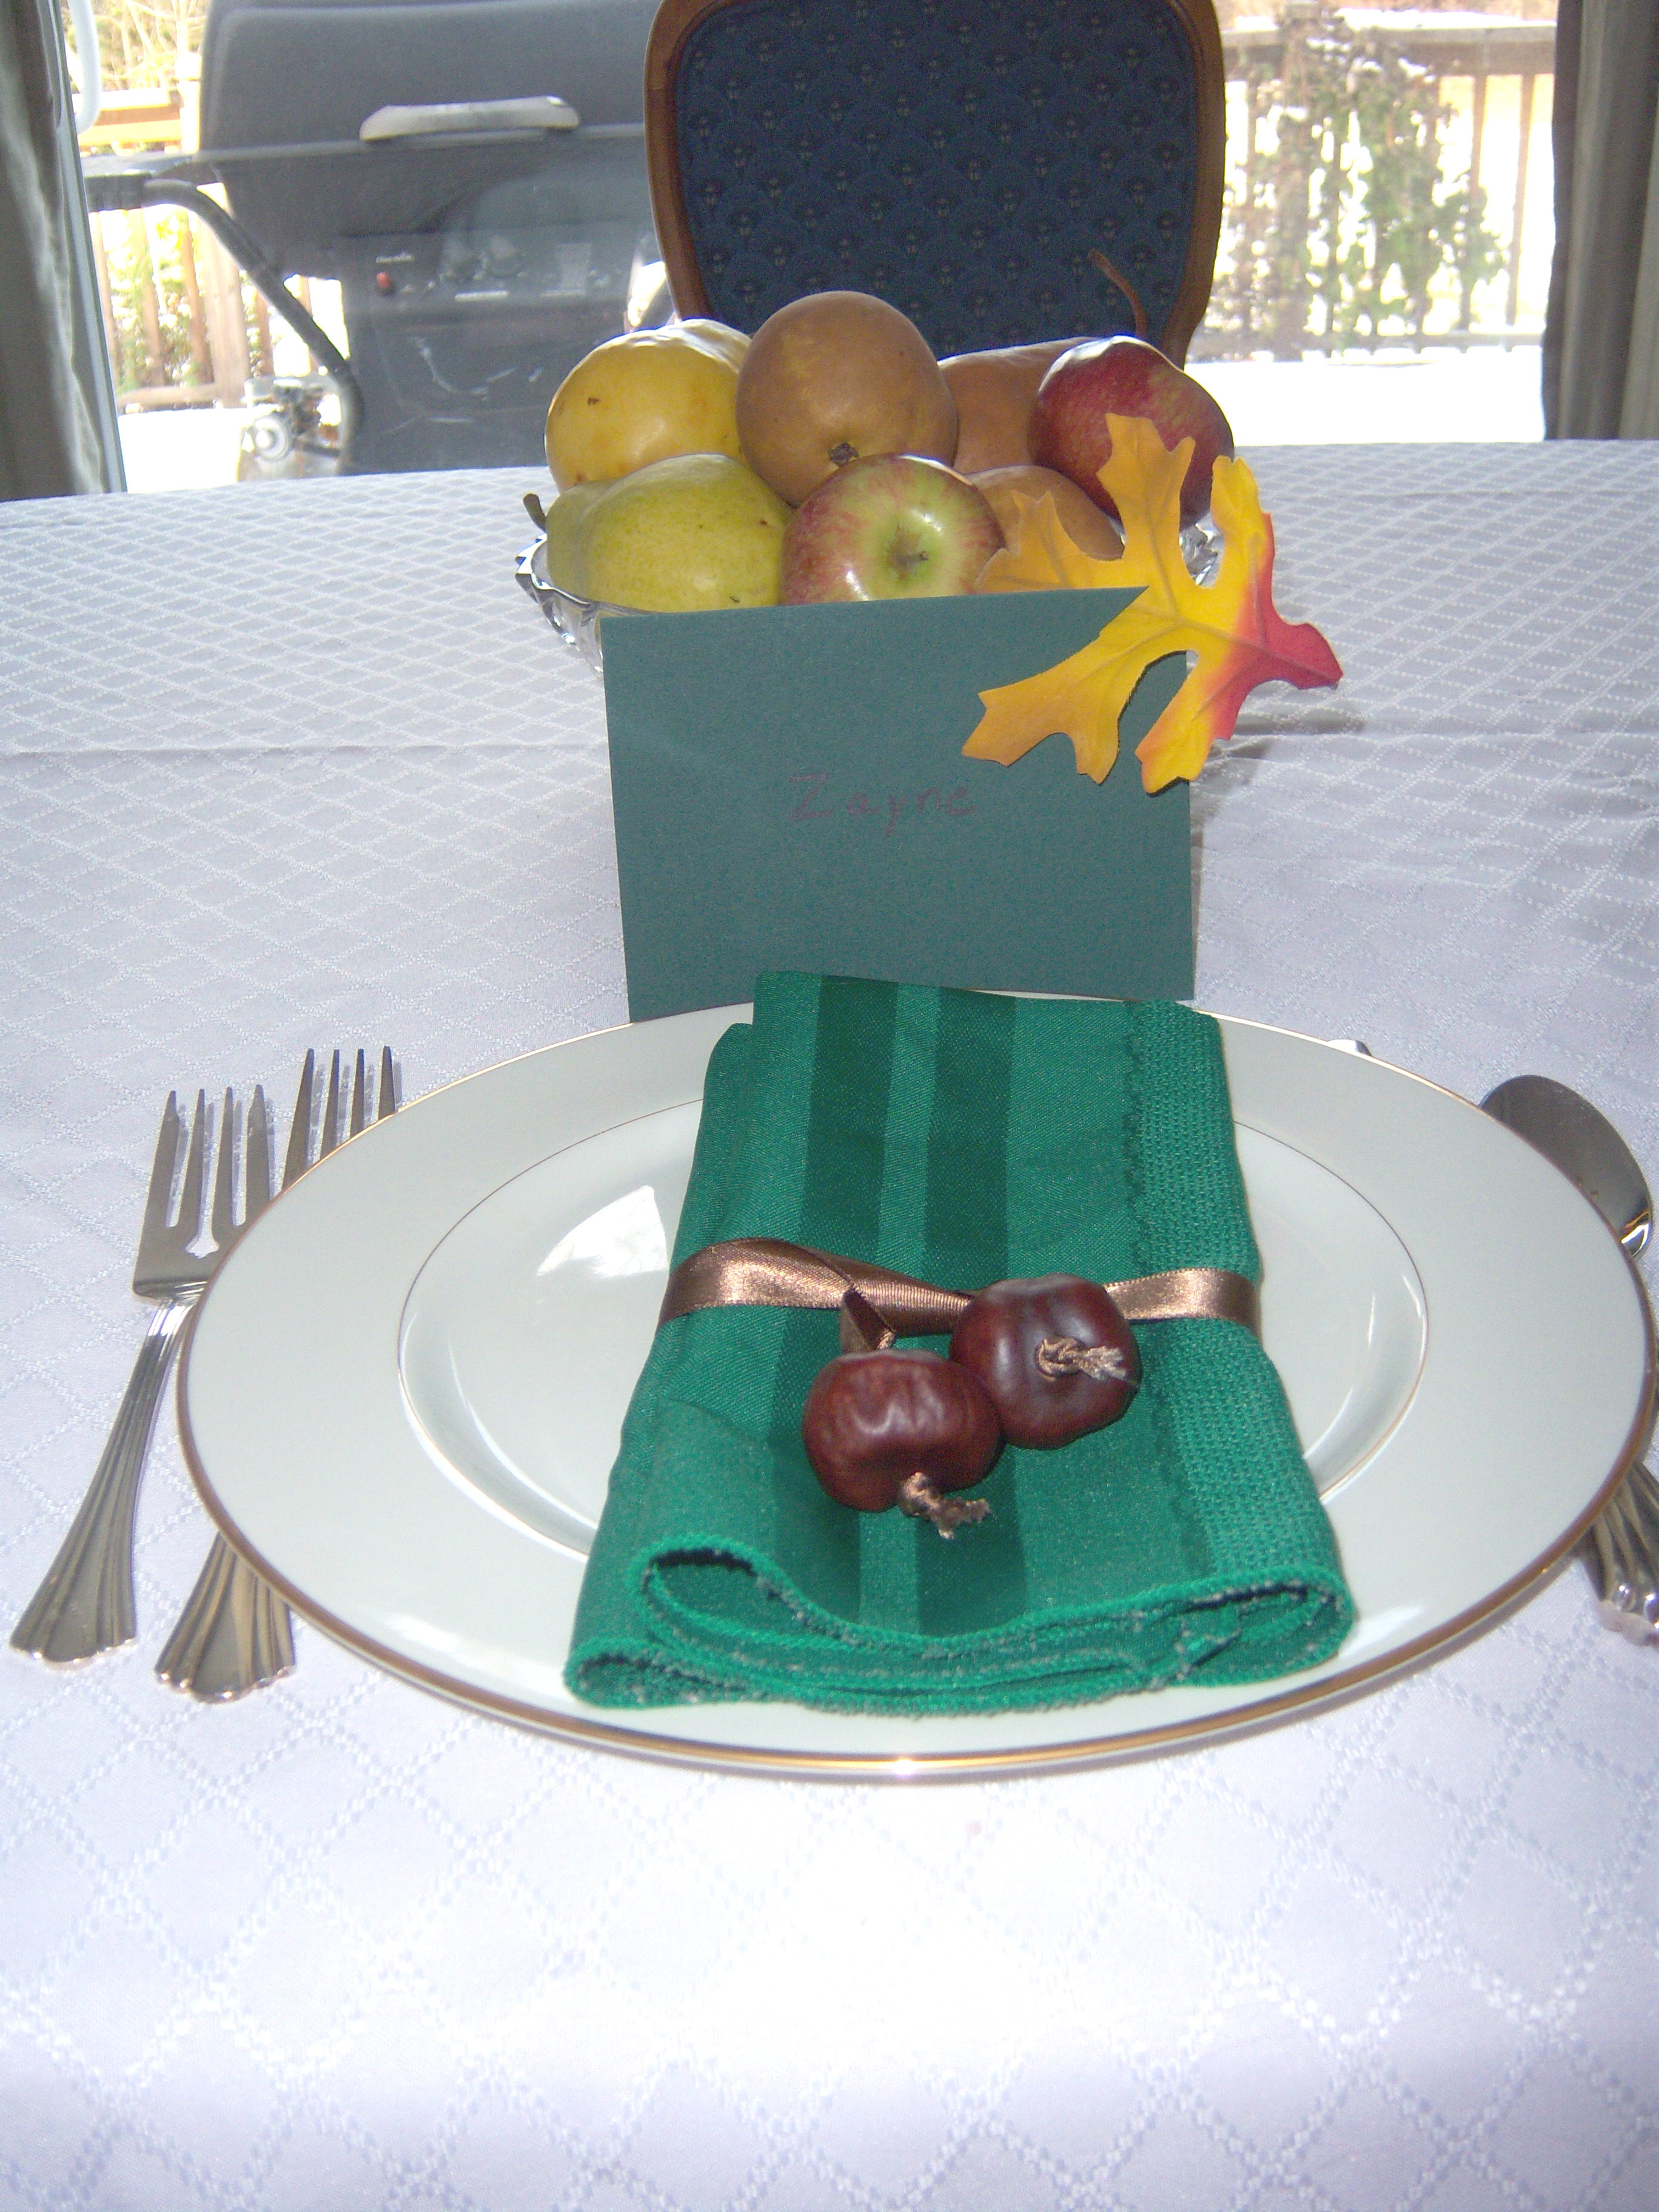
Table setting a la Martha
On Page 54 of November Living, Martha also has leaf placecards. You take a plain card (she used black but I chose green) and cut a diagonal slit in one corner and insert a leaf there. Great, except all of our leaves have turned brown, crumpled into nothing, and been covered with snow by now. So I used a faux leaf instead. I think it’s actually kind of cute.
I must confess that since we usually stay home for Thanksgiving, I don’t go nuts (ha! You’ll get the joke later in the blog) with table decorations. I use the good china, but generally stick with everyday silverware. Cloth napkins, maybe. This year, in my ongoing Martha makeover, I knew I had to kick it … Read more →
 Thanks to Karen at Karen and Charlie’s Kitchen for choosing this week’s pick-your-own project – Thanksgiving tablescapes. I liked the one where you make a small pumpkin into a candleholder, so I did a trial run with that, which looks sort of lame since it’s crooked. I guess you need a straighter
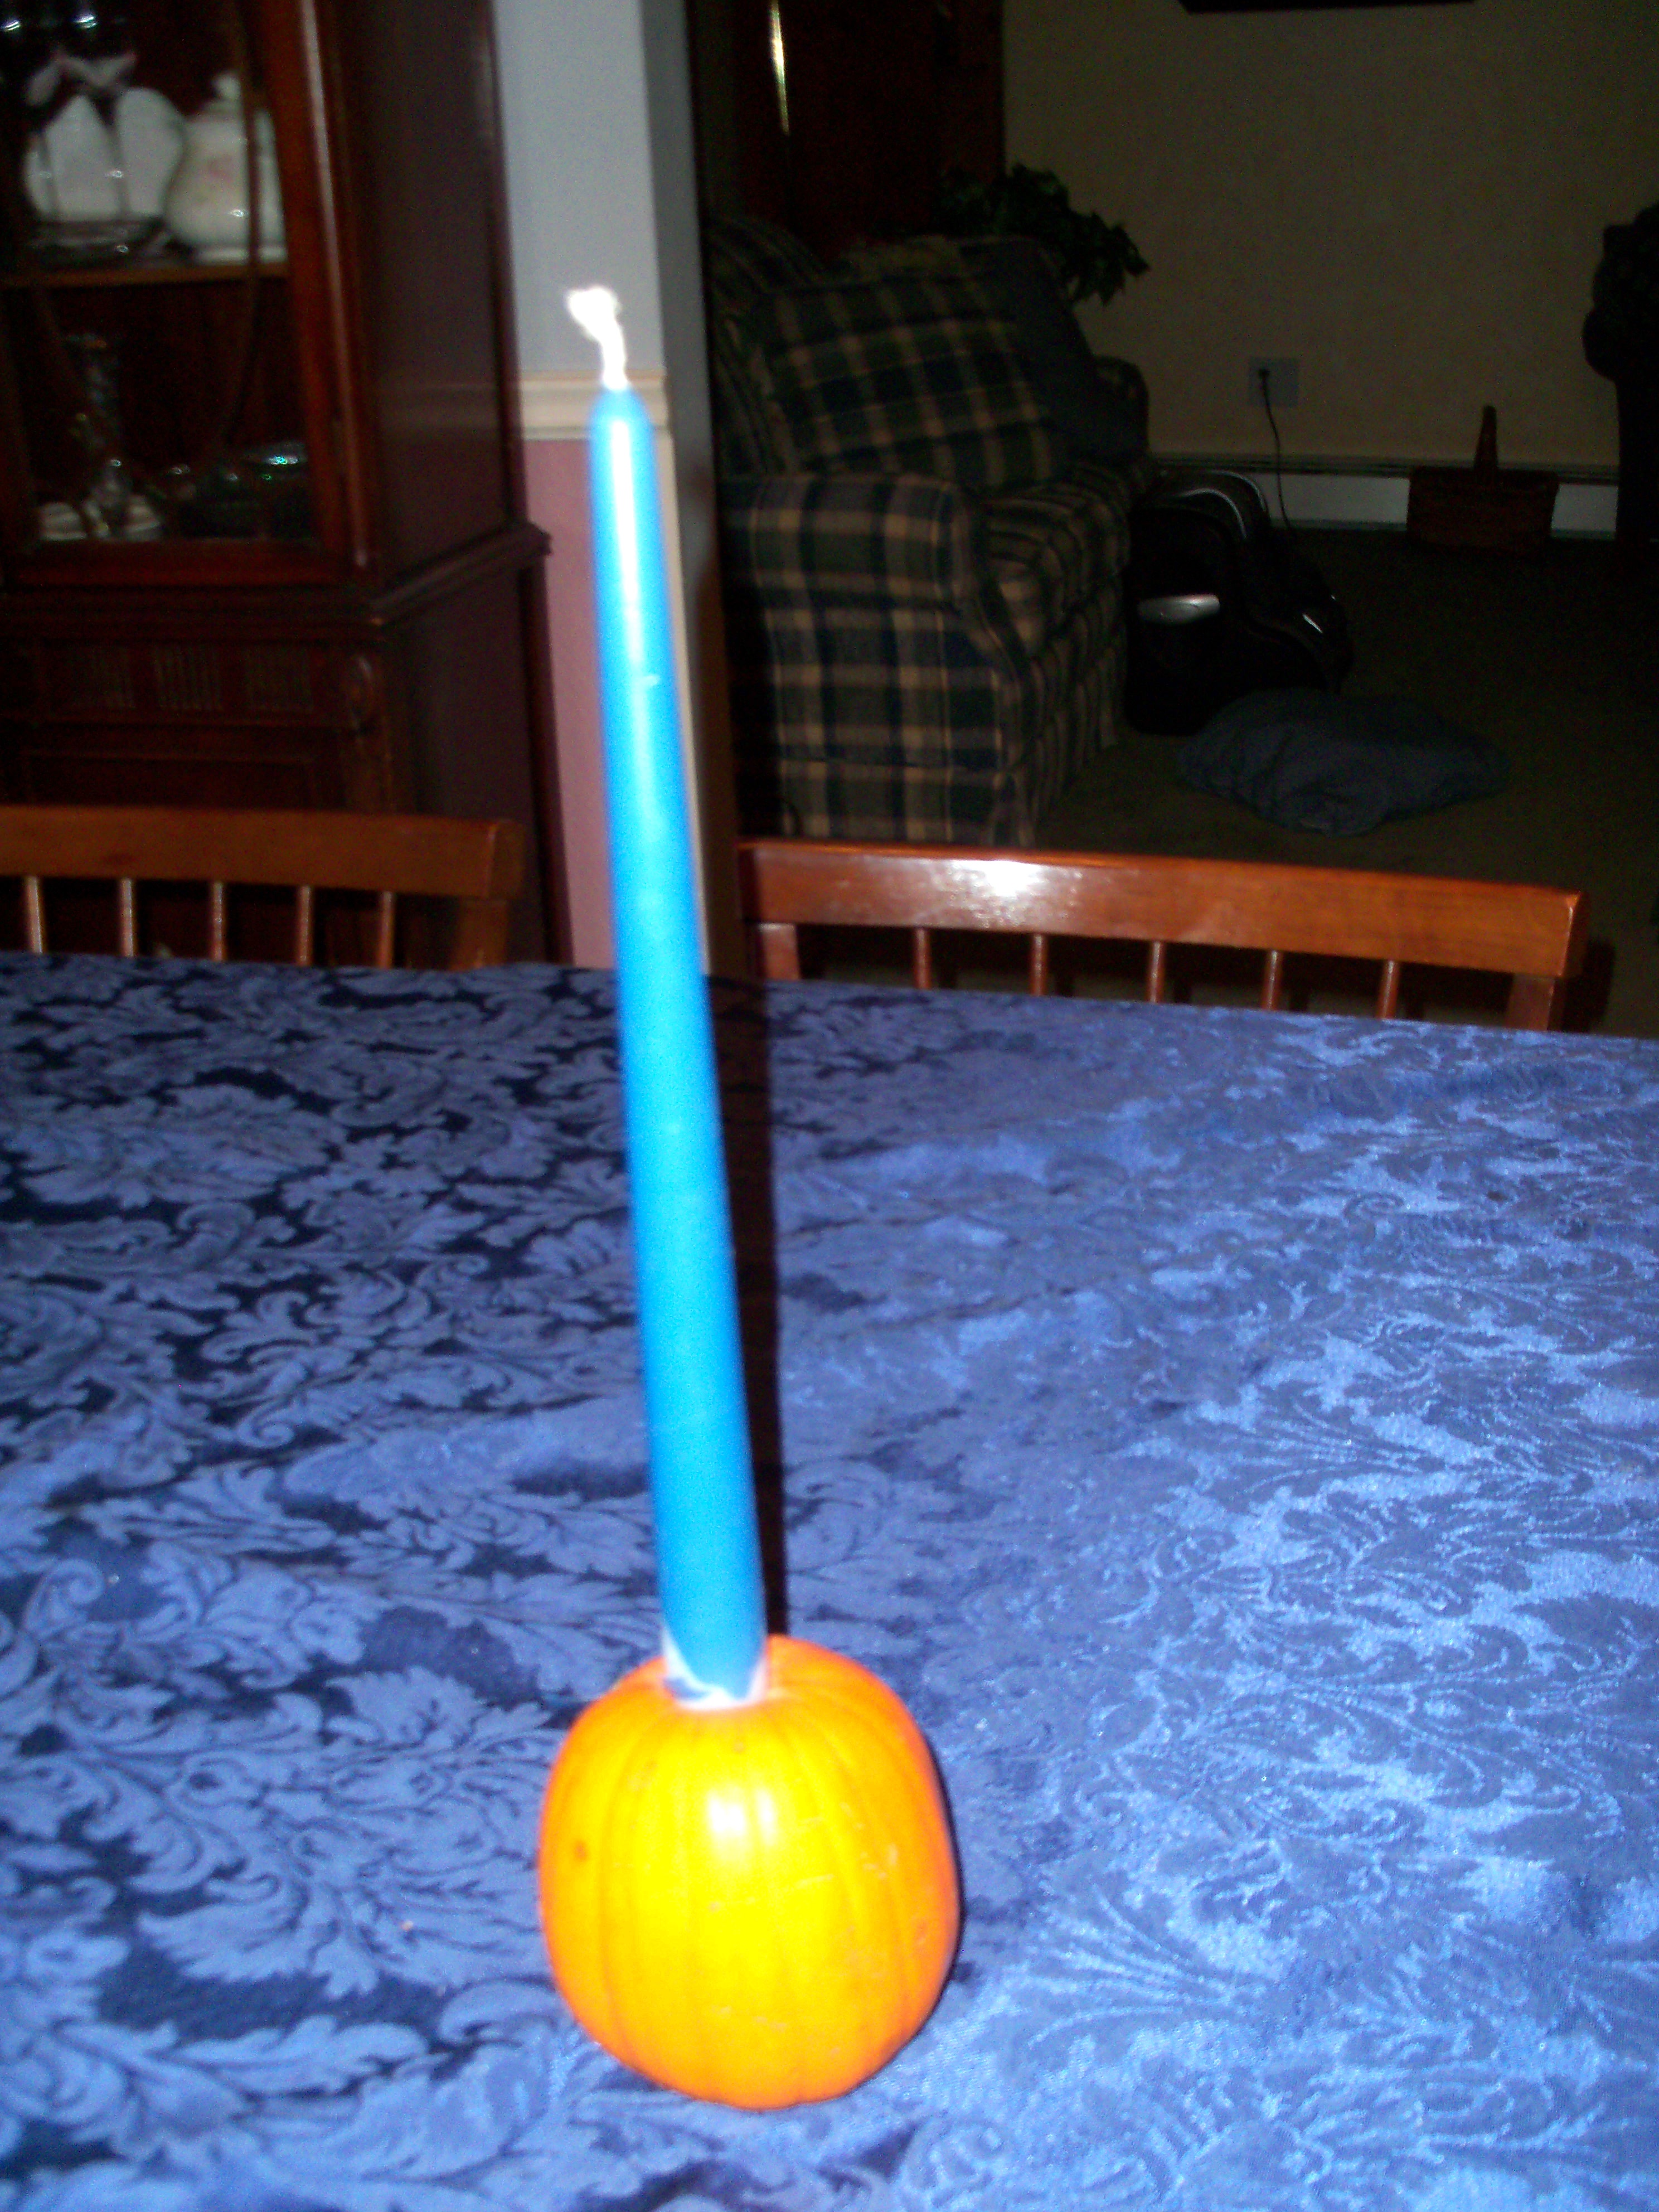 pumpkin to get it to work! I just hacked away at it with a knife to make the hole, then pushed the candle in. I like this idea a lot, even if mine wasn’t the greatest in execution!
