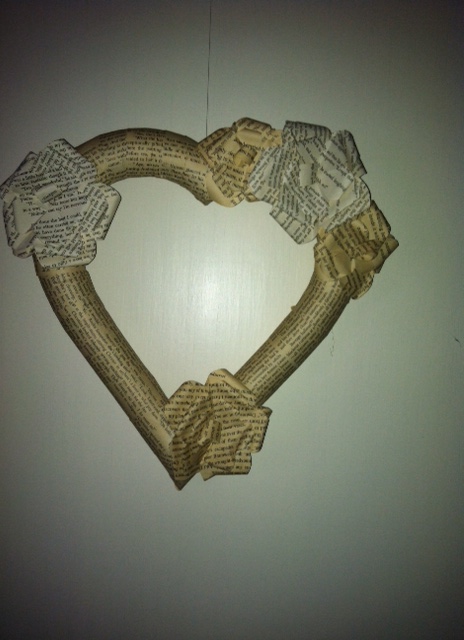
Candy Conversation Heart Wreath
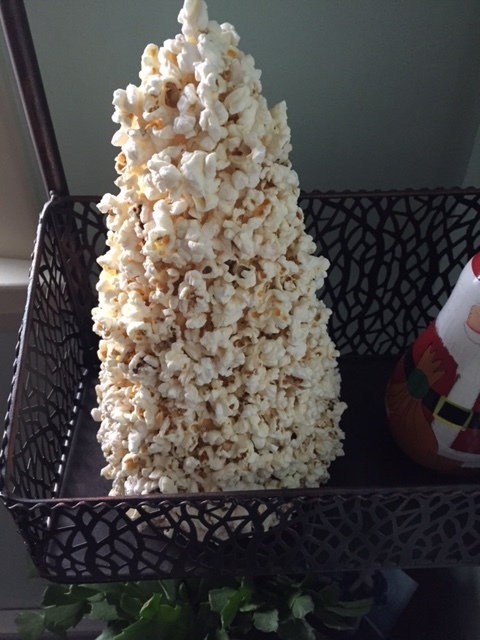
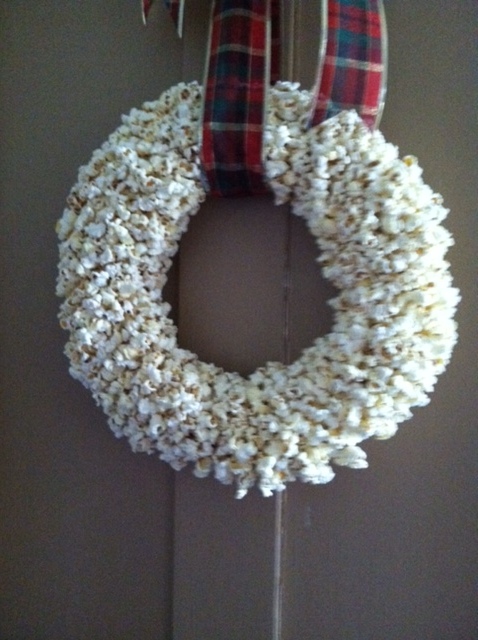
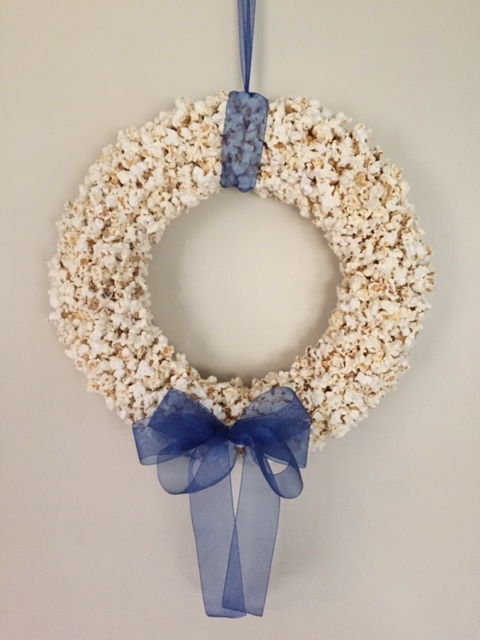
Posted by in Crafts Since I’ve been successful making a nut wreath and a popcorn wreath, I decided to apply my skills for Valentine’s Day. I bought a flat wooden wreath frame at Michael’s for $4. I bought big and small candy conversation hearts in bulk at the grocery story (I think you could use styrofoam hearts instead if you wanted) and used Aleene’s clear gel tacky glue, which I already had. As always, I got excited to start and forgot to paint the wreath frame. Don’t forget!!
I wired the frame so I could hang it. I also put soft felt dots on the back so it wouldn’t scrape the door it was going to hang on.
I started gluing on the big hearts. A dab of glue was enough to place each heart, but I could only do one layer because it needed to dry. The glue makes the printed messages on the hearts run. I did all of mine upside down so it didn’t matter. If you do yours writing side up, you might want to do all face down except for the final layer so that they aren’t visibly smudged.
As you go, make each layer wider than the one beneath it, so that the wreath doesn’t look too narrow. This means you’ll be gluing some hearts on so that half of each heart sticks out into space. I did about 4 layers of big hearts and then I added some of the small hearts on top of it. This wreath was not very time intensive at all. All told it probably took an hour.
My next issue was if I needed to seal it. I was concerned that the colors in the candy would fade in the sun and I was also worried about it would hold up in storage year round, so I sprayed it with Mod Podge acrylic sealant. We tied a ribbon on the back and it was ready to go! My daughter thought I needed to cover it in glitter, but I liked it without. There is glitter spray available if you want to glitter yours.
Since I’ve been successful making a nut wreath and a popcorn wreath, I decided to apply my skills for Valentine’s Day. I bought a flat wooden wreath frame at Michael’s for $4. I bought big and small candy conversation hearts in bulk at the grocery story (I think you could use styrofoam hearts instead if … Read more