Scratch Mississippi Roast in a Dutch Oven
Posted by in Food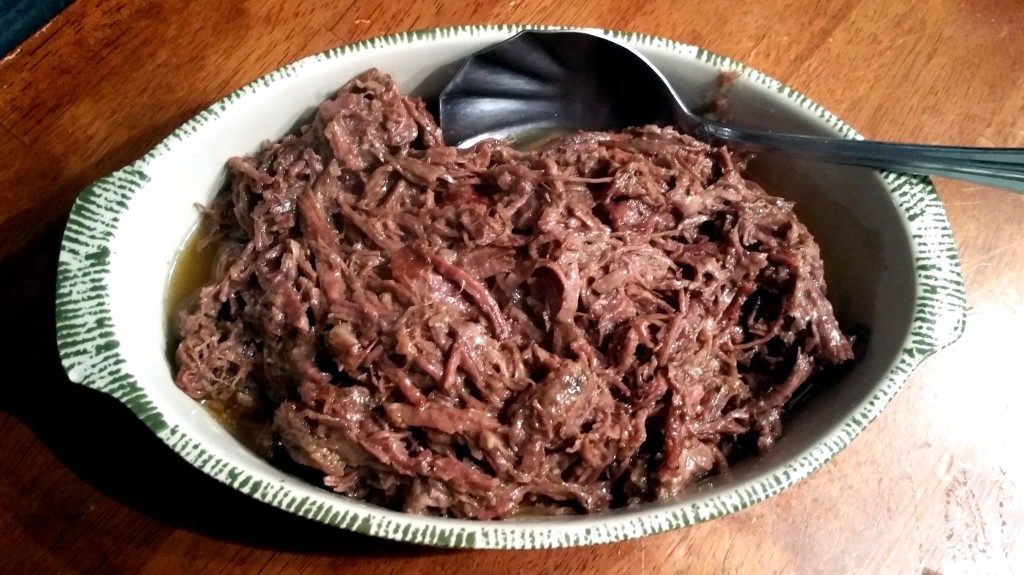 Mississippi Roast is the latest internet sensation recipe making the rounds. The recipe cooks a chuck roast in a slow cooker with a packet of ranch dressing mix, a packet of gravy mix, butter and pepperoncinis. It’s touted as being easy and fabulous. I was dying to try it but I don’t have a slow cooker and am not a fan of dried mixes. The New York Times then published a recipe making it from scratch, but still in the slow cooker. I decided to give it a try by cooking it in my Dutch oven at a low temp. This method was quite successful, but I wasn’t pleased with how it turned out. First off, I don’t like pepperoncini, so I left that out. The meat turned out incredibly tender but it was also just too greasy for me. So with a few tweaks, I present my Scratch Mississippi Roast in a Dutch Oven which is a modification of the NYT version of the recipe and is, I think, not too greasy and more flavorful than the original. This recipe comes out incredibly tender and it melts in your mouth. The herbs and spices give it real body and it totally awakens the chuck roast which can be kind of dull in many incarnations.
- 1 chuck roast (1.5-2 lbs)
- ¼ cup flour
- salt and pepper to taste
- olive oil
- 2 tbsp mayo
- 2 tsp apple cider vinegar
- 1 tsp dried dill
- ½ tsp paprika
- 2 tsp dried chives
- 1 tsp buttermilk
- 1 tsp sour cream
- 2 tbsp butter
- 1 tsp onion powder
- 1 tsp garlic powder
- ⅛ tsp cayenne pepper
- ¼ cup beef broth
- Heat the Dutch oven on the stove and preheat oven to 300 degrees.
- Add a tablespoon or enough olive oil to coat the pan.
- Dredge the roast in flour and then brown both sides of it.
- Remove from the pan.
- Add all the other ingredients to the pan and stir until everything is mixed and combined then add the roast.
- Cover and bake for 5 hours.
- Remove from the oven and use a fork to shred the meat.
Mississippi Roast is the latest internet sensation recipe making the rounds. The recipe cooks a chuck roast in a slow cooker with a packet of ranch dressing mix, a packet of gravy mix, butter and pepperoncinis. It’s touted as being easy and fabulous. I was dying to try it but I don’t have a slow … Read more