This week’s project was chosen by yours truly: Chocolate Beet Cake (from November Living, not online yet). Wow! The gold standard for chocolate cake in my house is my grandmother’s Miracle Whip cake and this was just as good. It was incredibly moist and you would never know there were beets in it. It just tasted like a delicious, very moist chocolate cake – it looked just like a chocolate cake too.

I don’t know how often I would make this though, because beets are just a pain to work with! You have to peel them, then cut into pieces then boil then puree. I have an off-white Corian sink and was totally paranoid about it getting stained. I was able to find a pair of medical gloves to wear so I didn’t stain my hands. I peeled the beets on top of newspaper. I drained them out in the yard to avoid the sink issue entirely.
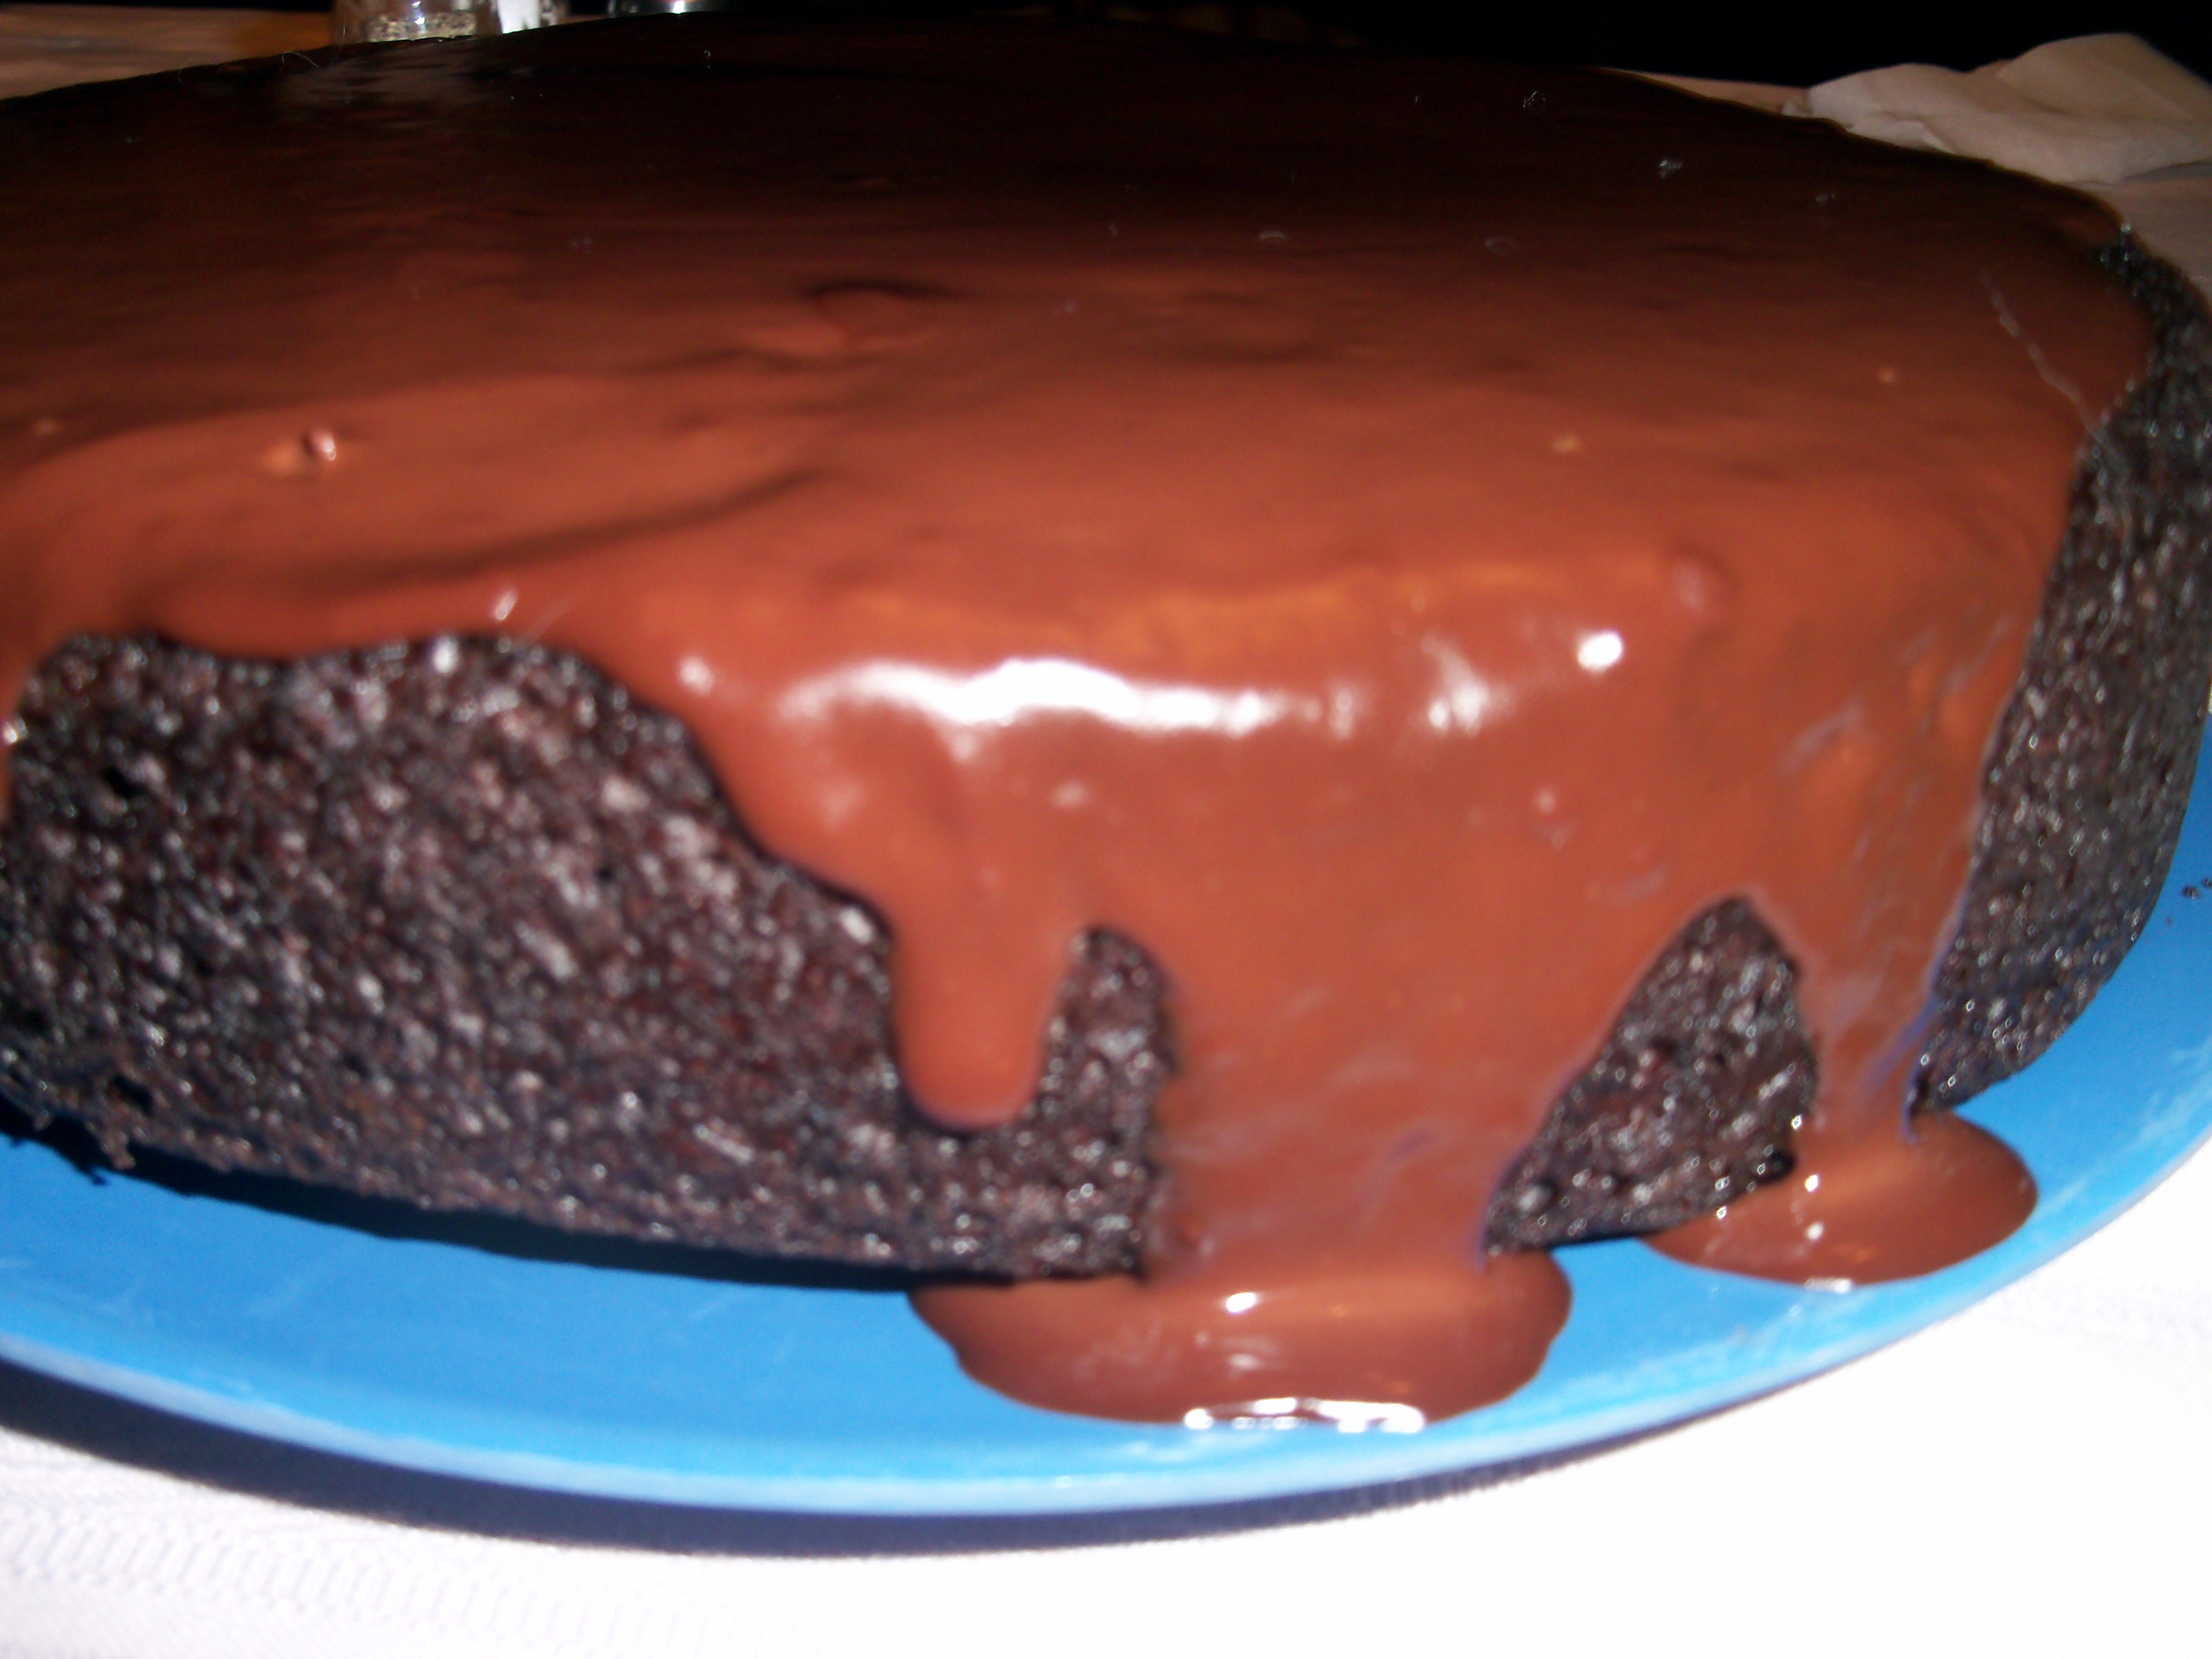
Other than the beets, the cake was easy to make and had an easy chocolate glaze, only one layer which I appreciated. It was so good I sent it away with Mr. MarthaAndMe this morning – can’t have that in the house AND the Halloween candy!
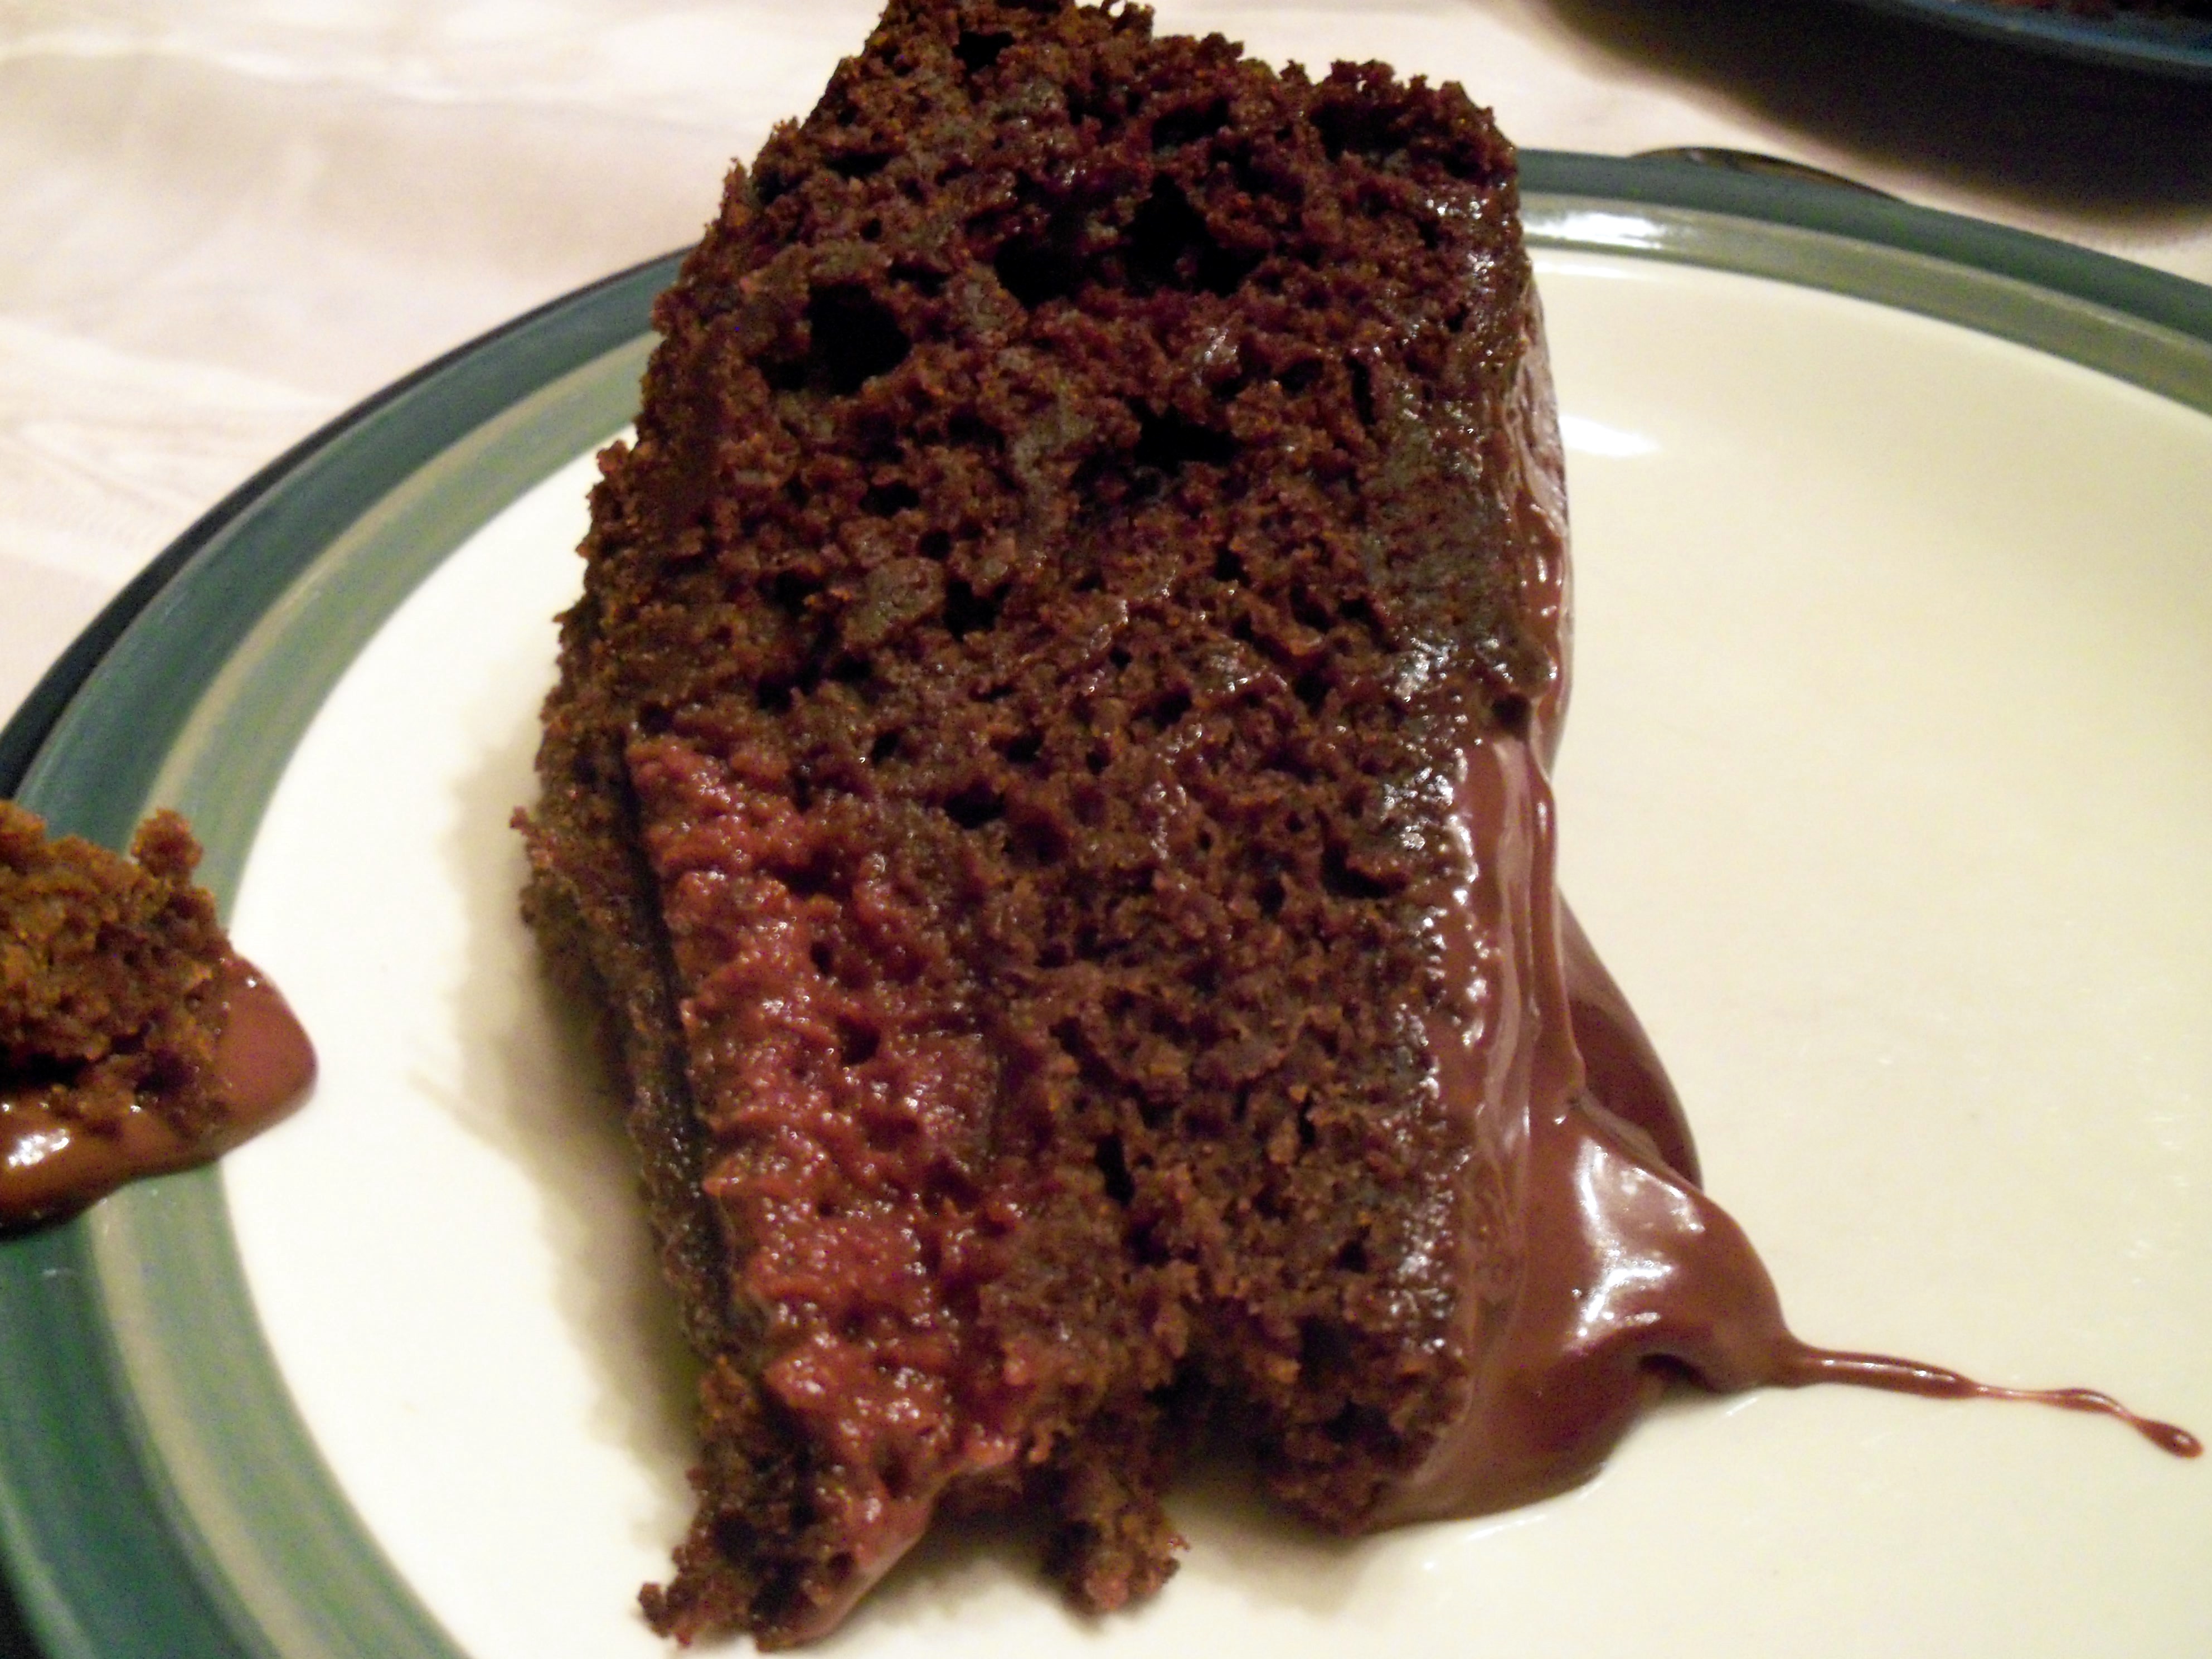
As you can see, I took it out of the oven a smidge too early – the very center didn’t quite cook all the way. I took it out with5 minutes remaining because it seemed done. I should have tested it with a cake tester.

I’m wondering if this would work with roasted beets (where you roast them whole, then just rub the skin off with a paper towel), or even canned beets so you wouldn’t have to cook them yourself at all.

This week’s project was chosen by yours truly: Chocolate Beet Cake (from November Living, not online yet). Wow! The gold standard for chocolate cake in my house is my grandmother’s Miracle Whip cake and this was just as good. It was incredibly moist and you would never know there were beets in it. It just … Read more

Apple Dumplings

Posted by Brette in Food

It’s been a while since I tried a recipe from Martha’s show. Recently she made apple dumplings with the author of The Apple Lovers’ Cookbook. I had to make this one.

For several years, we rented a cottage each summer in New York state’s Finger Lakes region, on Cayuga Lake. One of our favorite things to do was visit Sauder’s Store in Seneca Falls (the town that Bedford Falls in the movie “It’s a Wonderful Life” was modeled after). Sauder’s was smaller then than it is now (now they sell woodcrafted items and plants outside), but it had a huge bulk section and lots of Mennonite and Amish made baked goods. There were always Mennonites shopping in the store when we were there, which my kids were fascinated by.  There is a bookstore section that sells Mennonite and Amish cookbooks and other books. We always purchased birch beer (similar to root beer) here, a treat we always enjoyed at the fair each summer, but which you could not find in stores at that time. There was a meat case and I always bought Lebanon bologna, a cold cut that looks exactly like salami, but tastes like sweet bologna.

The baked goods were the highlight (whoopie pies, breads, pies, cookies) and apple dumplings were one of our favorites. I’ve never tried to make this and really forgot about it until I saw it again on Martha’s show!

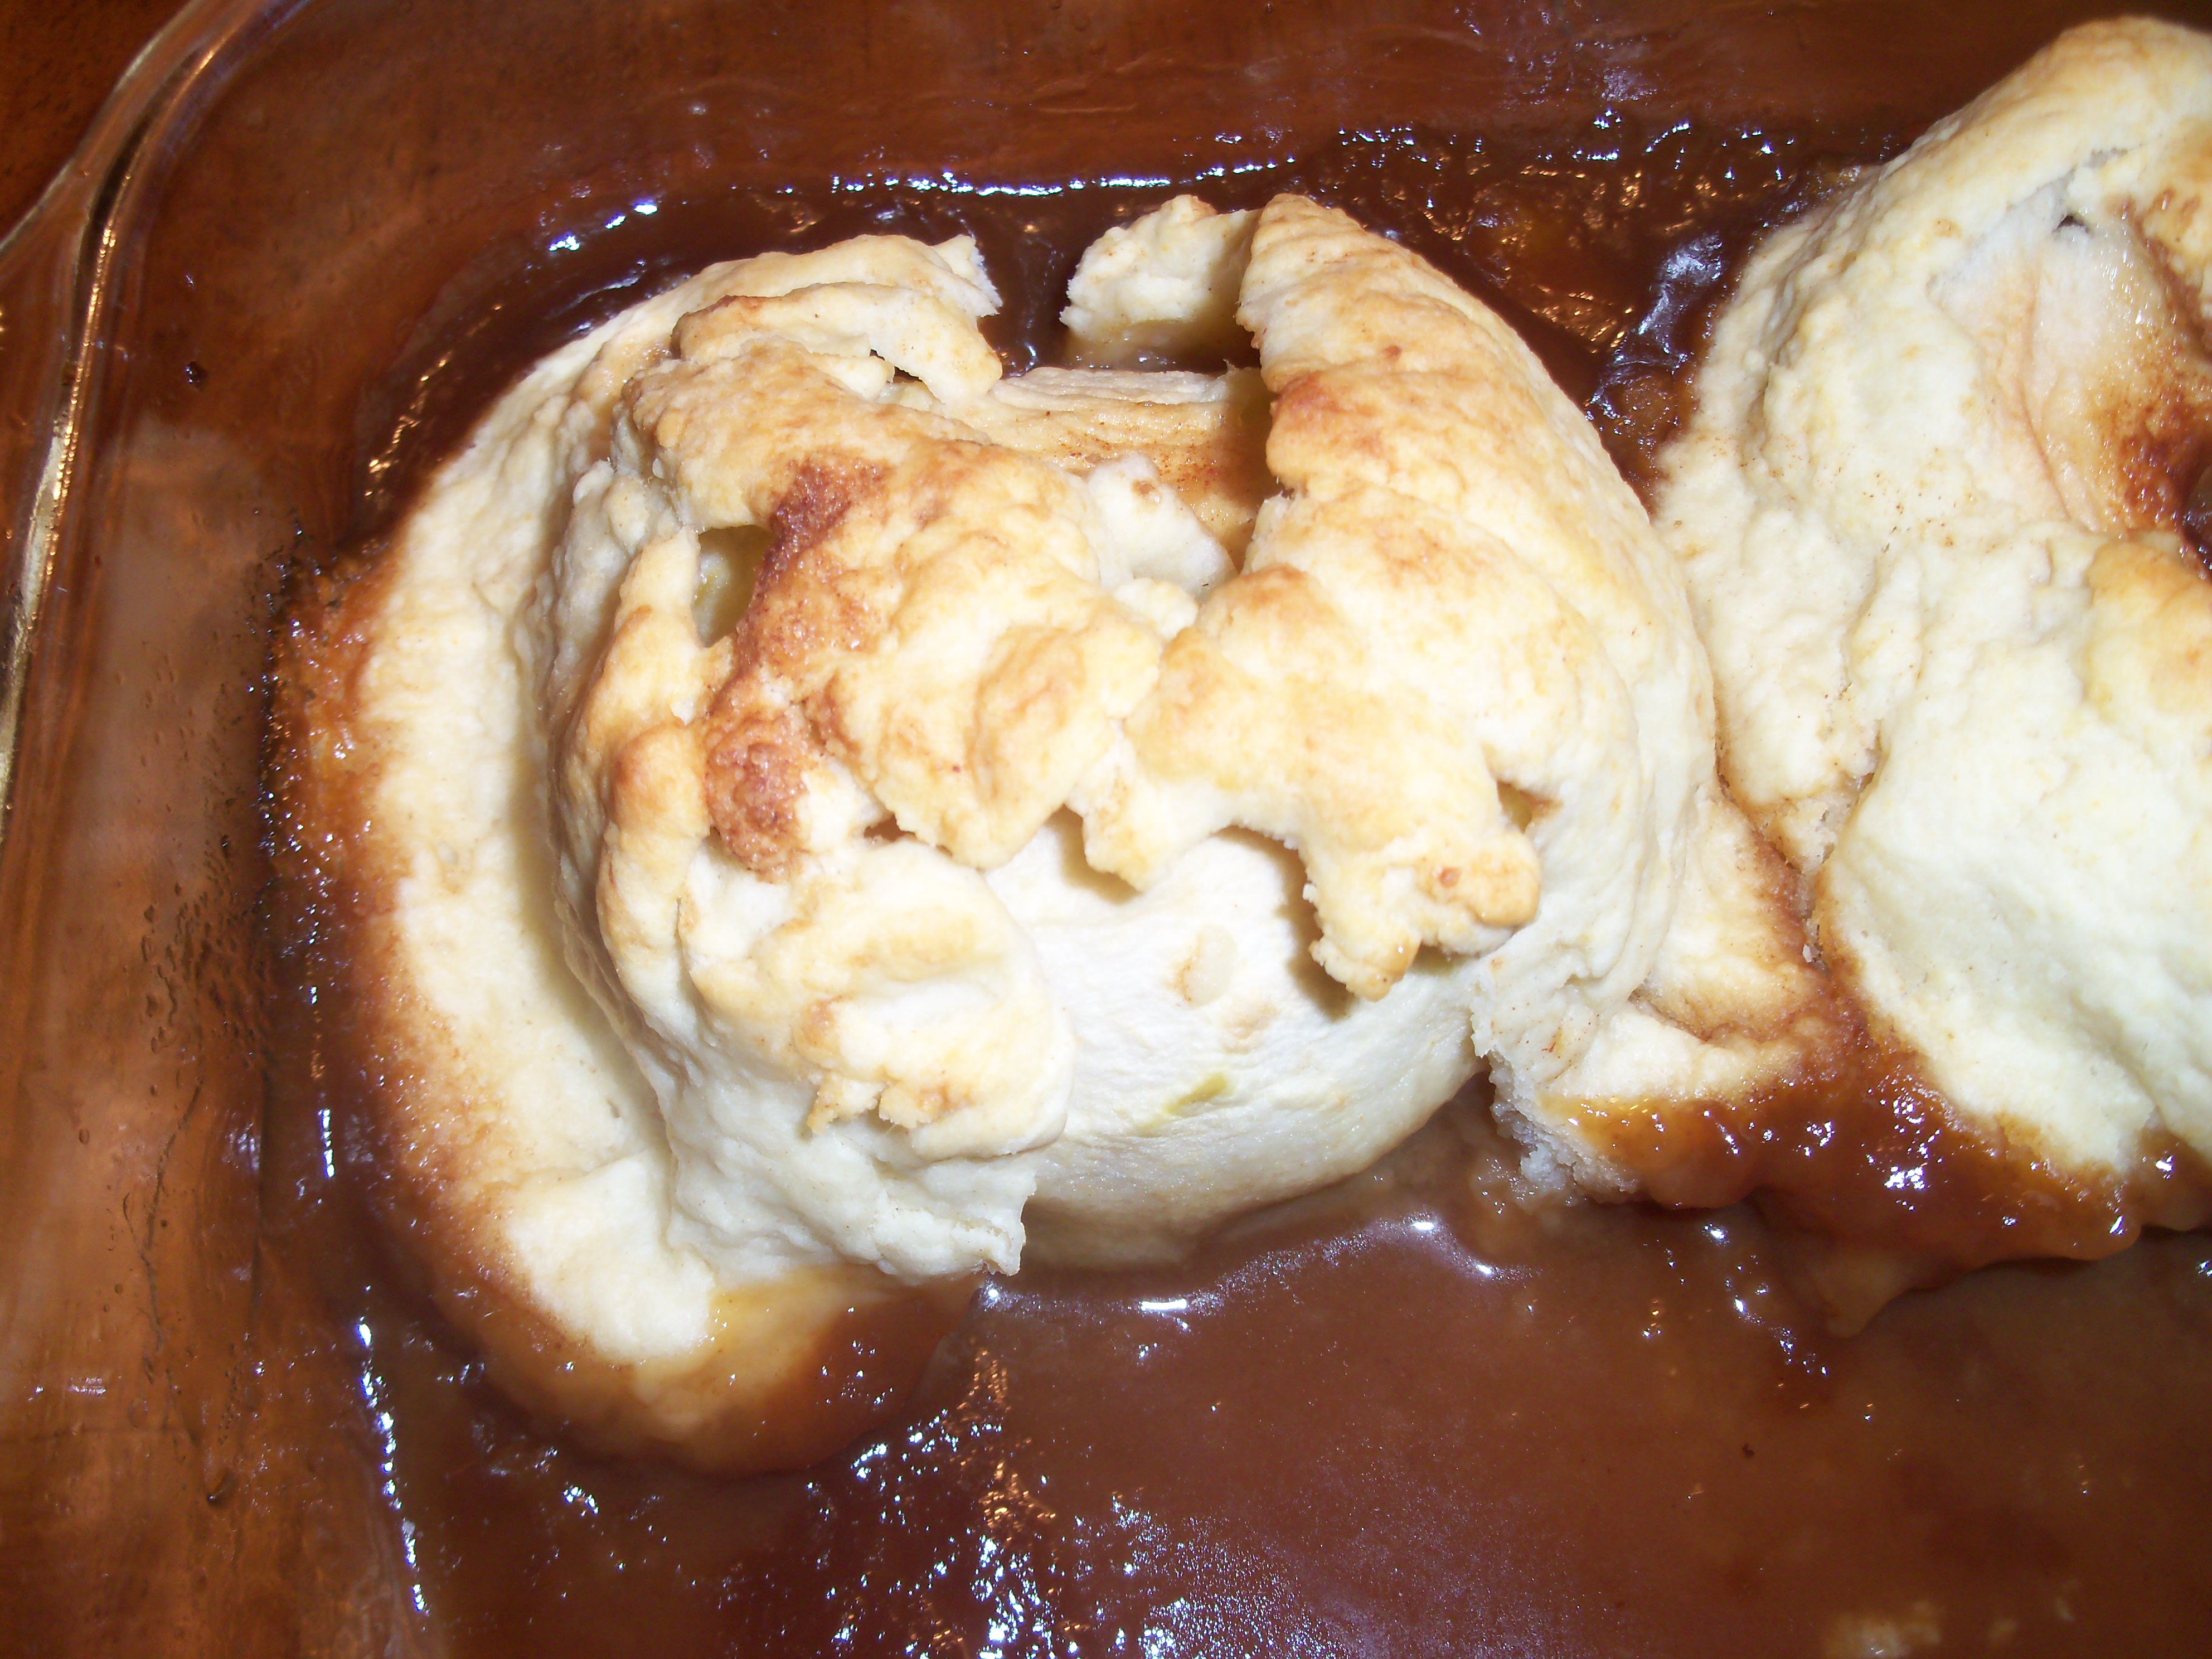
I followed the instructions on this recipe to a “T”, but I think the problem was that my apples were too big. It’s really hard to find small apples here in NY state, where our apple crop is a big deal and sellers pride themselves on selling big, ripe, beautiful apples. I ended up cutting an inch or so off the tops of my apples, but they were still too big to fit in the dough squares. I ended up rolling the pieces of dough out to be larger and I still had to smush them to get them to cover most of the apples.

Other than, that it went well. The cider sauce is simple and it was all much easier than I imagined. This was really delicious. I think I might make regular pie crust next time instead of this dough recipe. I will definitely make this again. The entire family loved this.

It’s been a while since I tried a recipe from Martha’s show. Recently she made apple dumplings with the author of The Apple Lovers’ Cookbook. I had to make this one. For several years, we rented a cottage each summer in New York state’s Finger Lakes region, on Cayuga Lake. One of our favorite things … Read more

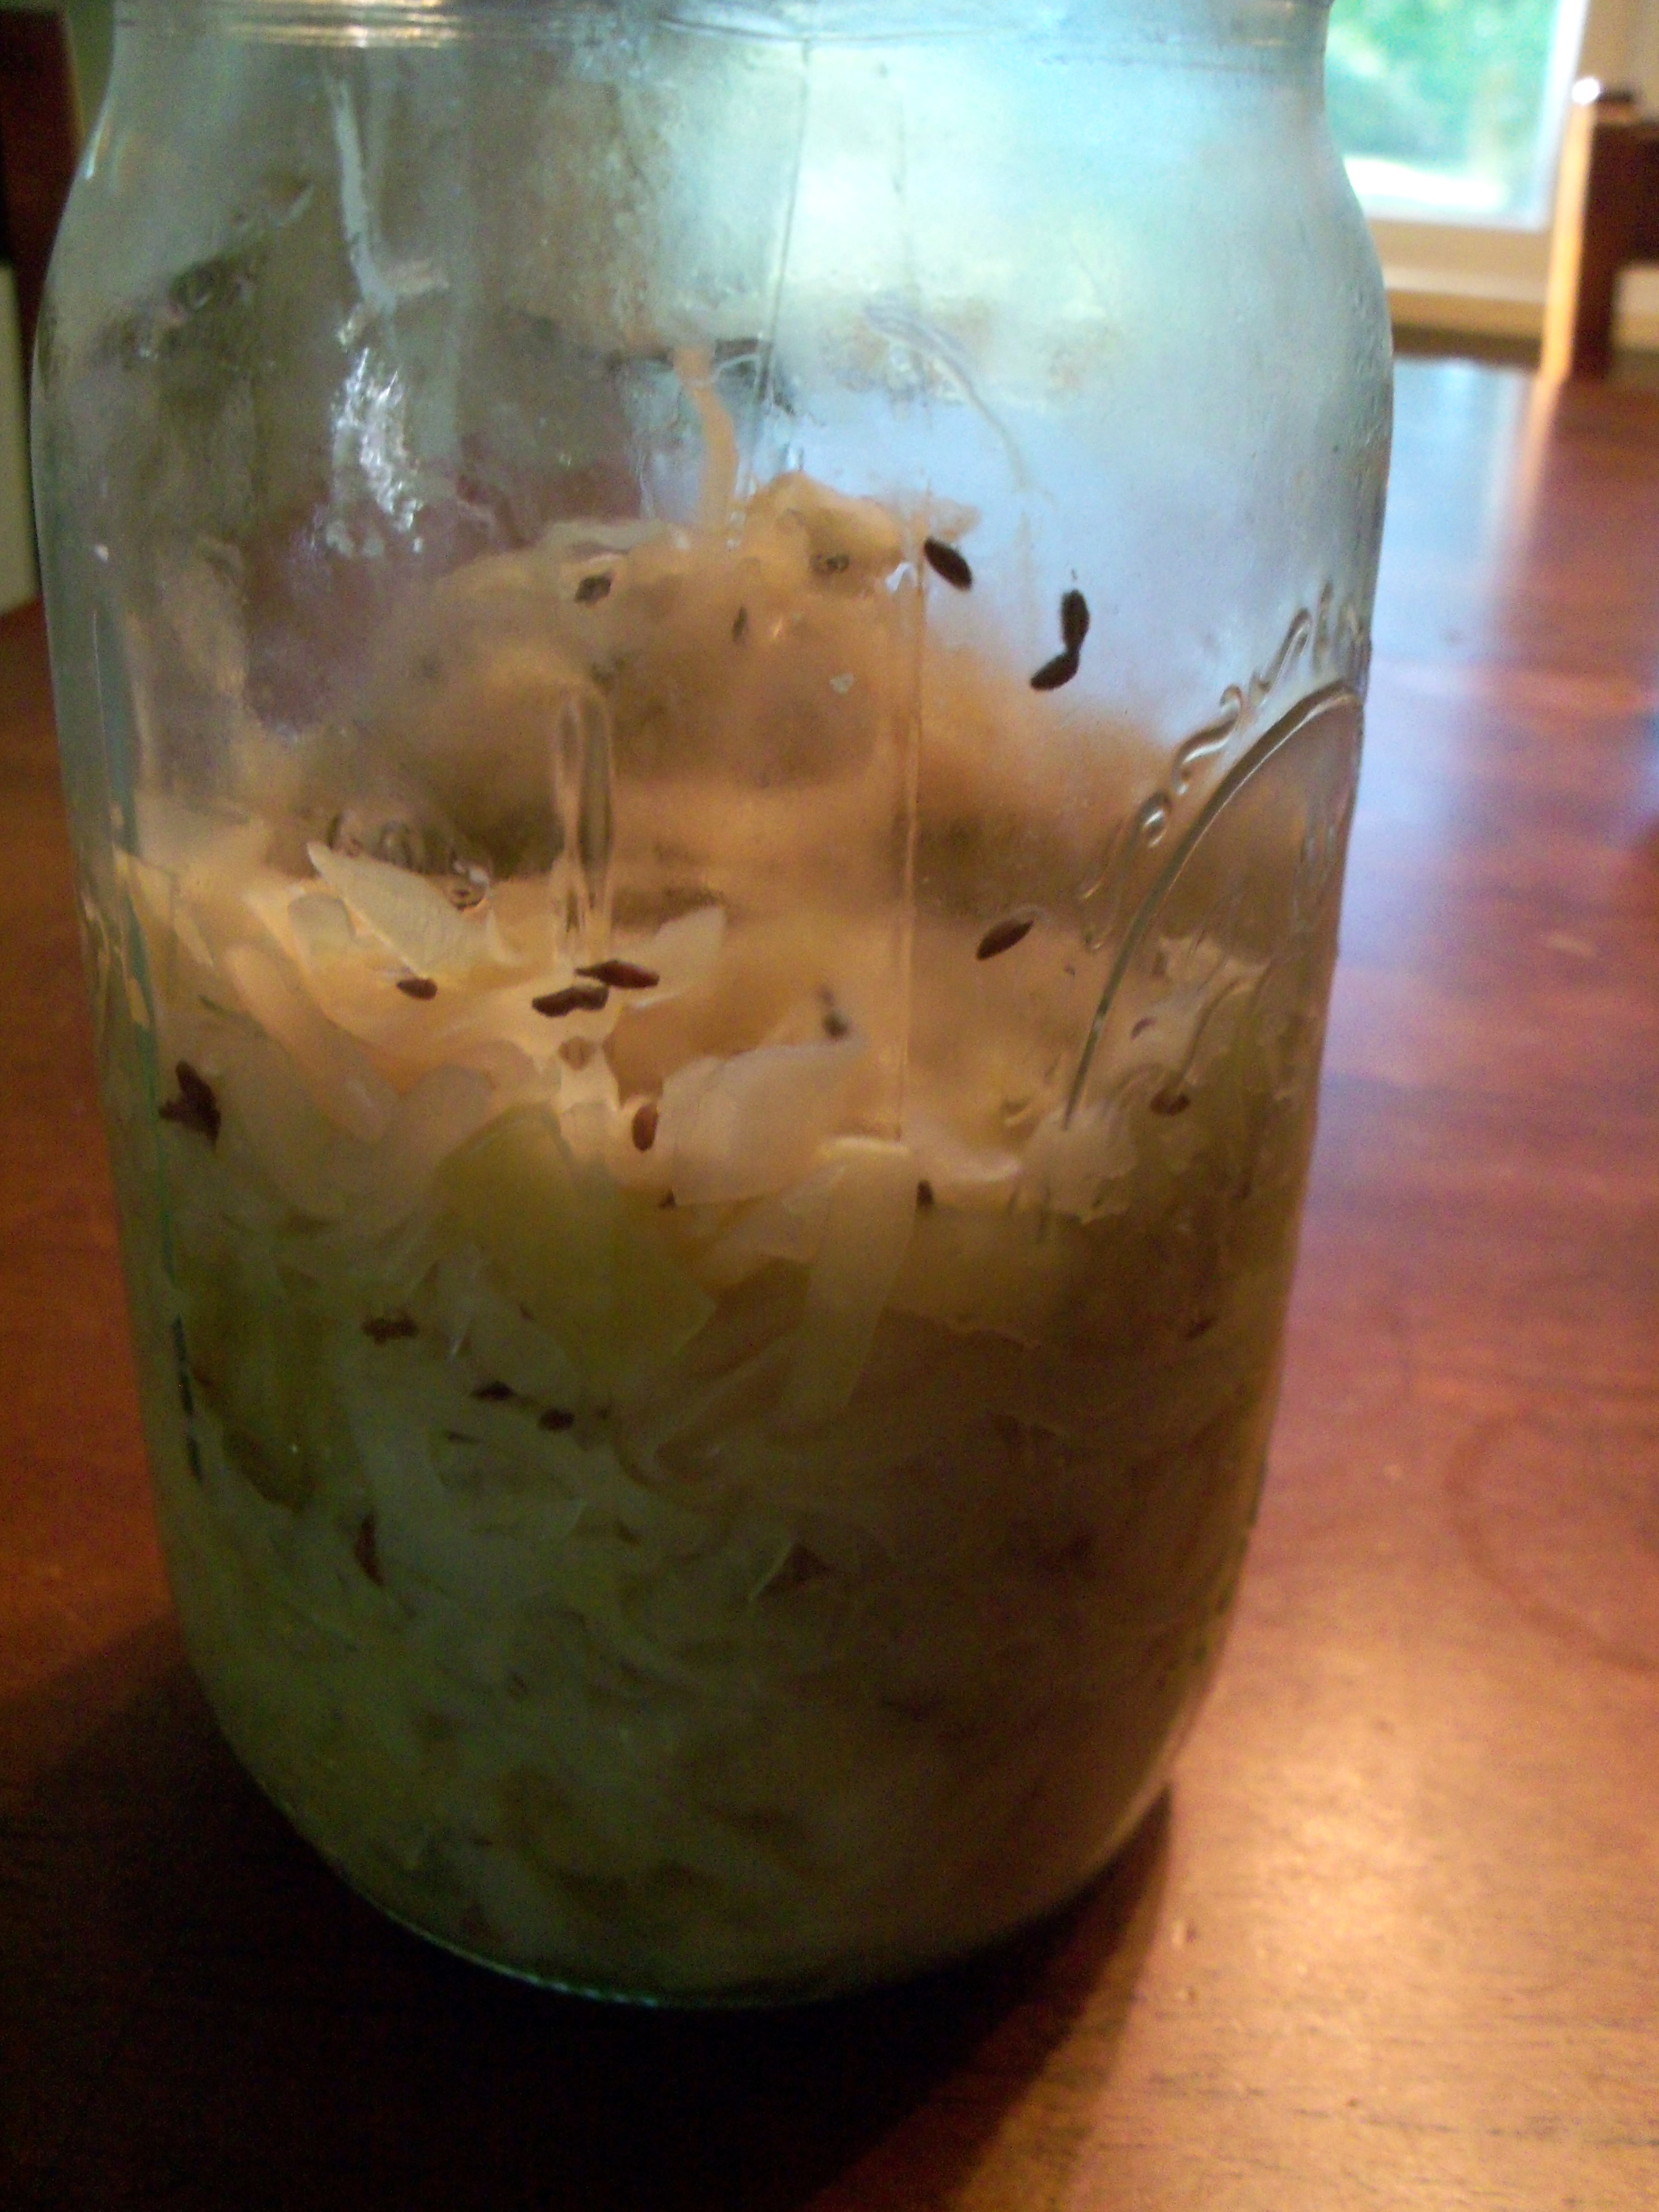
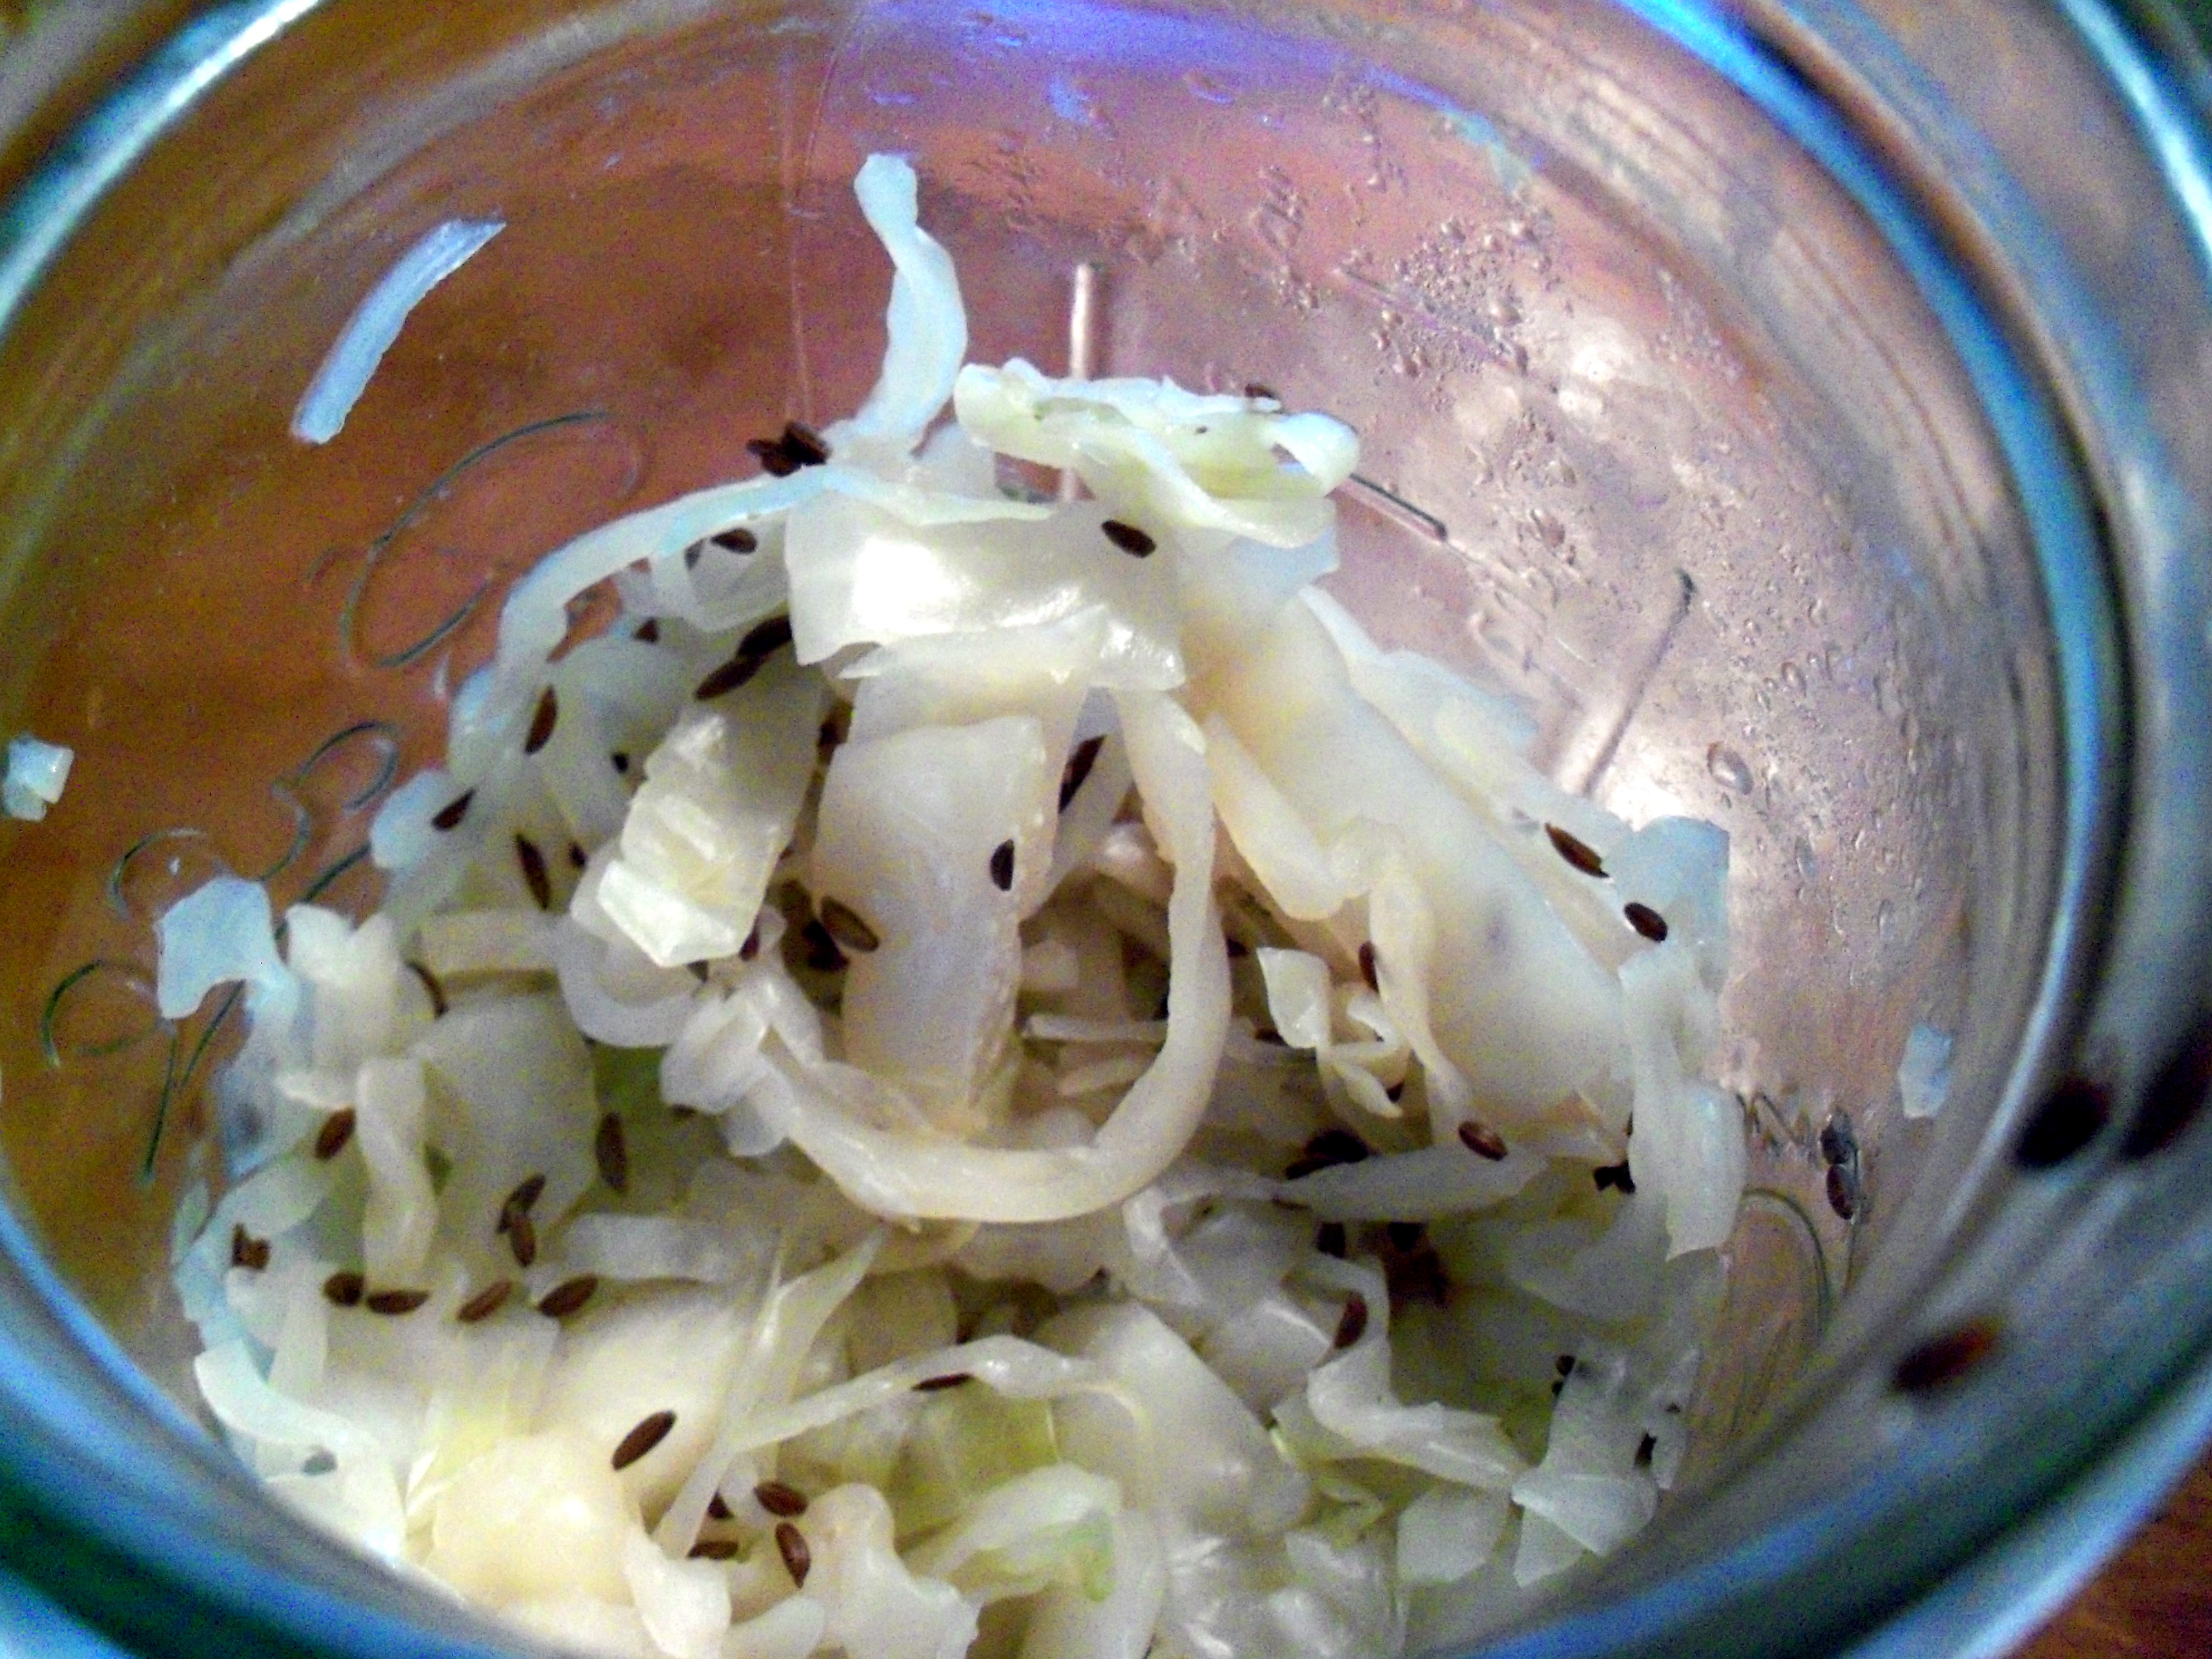
I was dying to try making my own sauerkraut after seeing Martha’s article on it in October Living. It sounded so easy! My mom remembers her German grandmother making homemade sauerkraut, which she kept in a crock on the kitchen counter. My mom says she just remembers it smelling awful. I wasn’t afraid (and mine actually did not smell at all).

To start you thinly slice up a head of cabbage and mix it with 1 tablespoon salt and 1 tablespoon caraway seeds. You let it sit for about 5 minutes then you are supposed to squeeze the cabbage to release the juices. This was not easy! I kept squeezing and squeezing, and didn’t get much. Next you’re supposed to put it in a jar and cover it with a cabbage leaf and put a lid on it, opening it each day to let the air out. I decided to follow the method in a book I have, DIY Delicious, and instead covered the jar with a cloth attached with a rubber band. You were supposed to make sure the cabbage was covered in the liquid. It was, but barely. You leave it out on the counter for several days until it reaches the sourness you like. I left mine out for 5 days and it did not get very sour, but that was ok with me. (Next time I will let it sit a little longer, just to experiment with the level of sourness).

The problem I did have was that the liquids evaporated a bit and it grew kind of a white crust on top (which I scooped out) after a few days. I checked with some friends who said that was ok – and also that I probably should have added some water if the liquid went down (I’ll do that next time).

I put my jar in the fridge for a few days, then decided it was time to use it in a dish, so I came up with this hearty supper:

4 bone-in pork chops

1 small shallot, chopped

1 garlic clove, chopped

4 slices bread

3 corn muffins

salt and pepper

1/2 teaspoon sage

1/2 teaspoon thyme

2 teaspoons olive oil

2 cups sauerkraut

4 apples, cored

1/8 teaspoon cinnamon

salt and pepper to taste

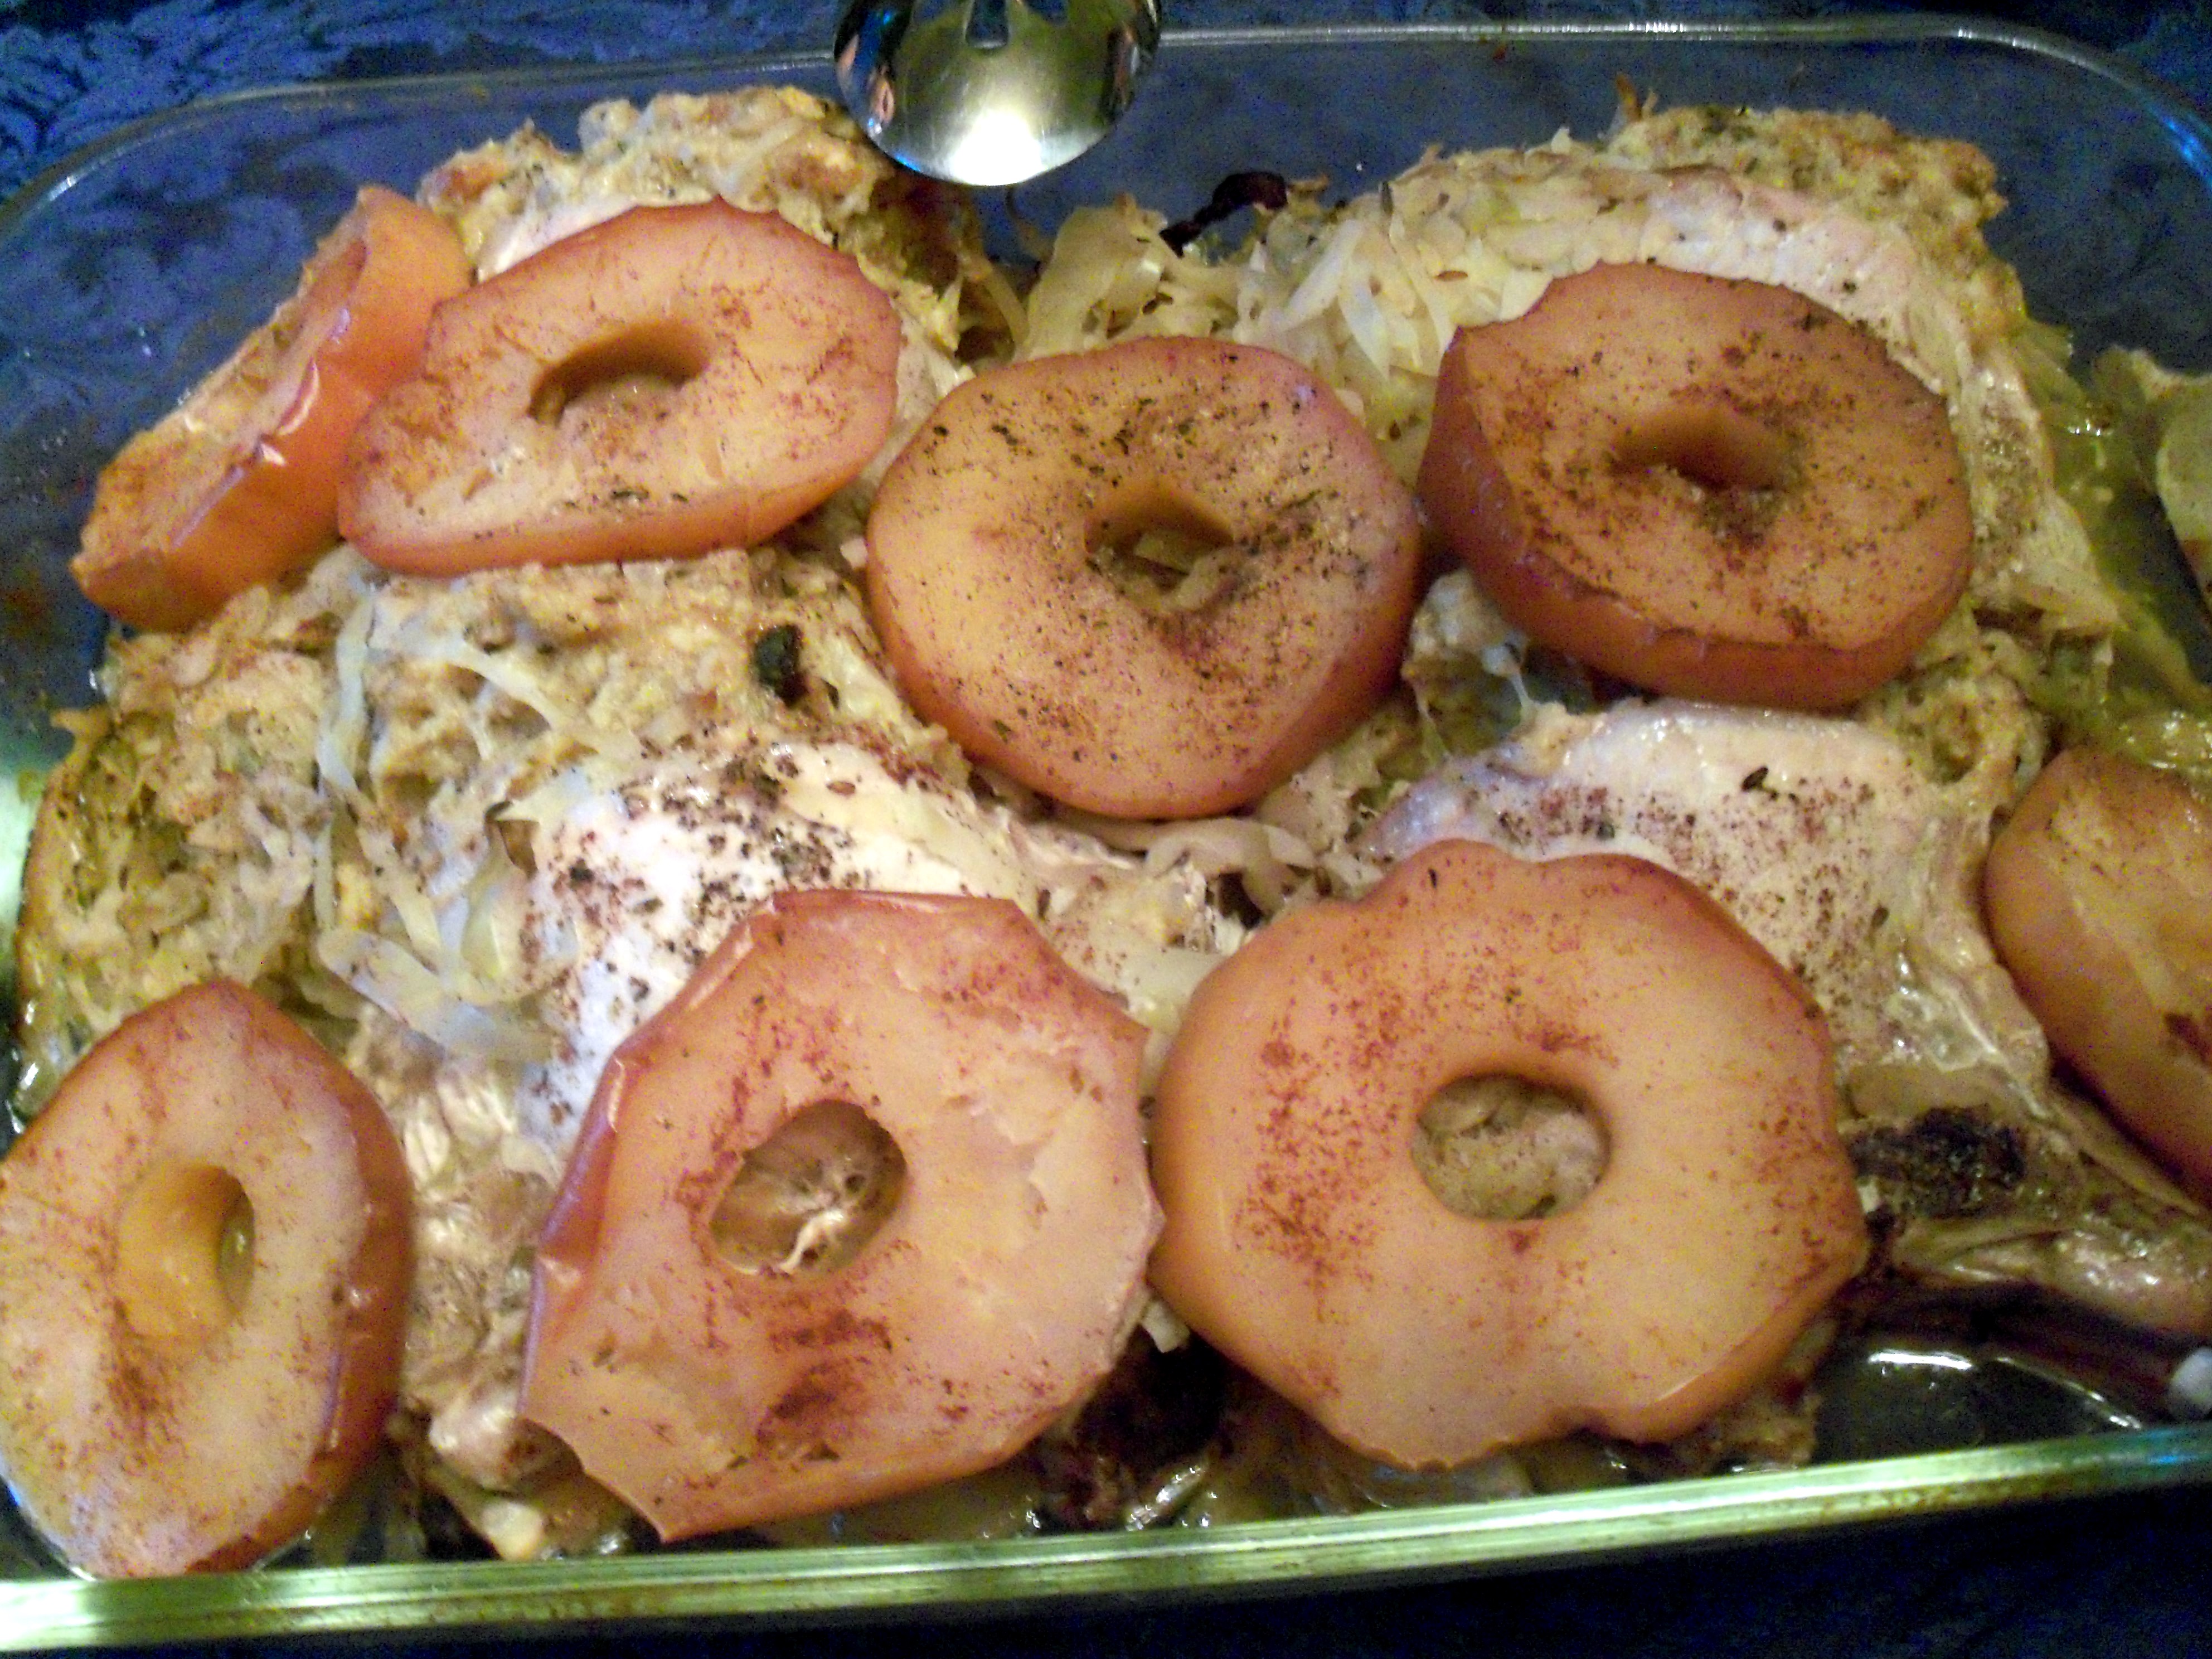
Spray an 8×12 pan with cooking spray. Cut a deep, wide pocket in each chop. Rip up the bread and muffins and mix with shallot, garlic, sage, thyme, olive oil and salt and pepper to taste. Add water until the stuffing is moist enough that it holds together. Stuff the chops and place them in the pan. Season them with salt and pepper.

Distribute the sauerkraut around and on the chops. Cut each apple into 4 slices and place on top of the chops. Sprinkle with cinnamon. Cover with foil and bake at 350 for 1 1/2 hours, or until the chops are completely cooked. Be sure to spoon some of the liquid from the pan onto your chop and stuffing when you serve it.

This was fantastic. First of all, the kraut. It wasn’t very sour at all, but it had a little bite. It tasted so much fresher and sweeter than kraut I’ve purchased in the past. I will definitely be making this again, particularly since you can keep it in the fridge for months. And this time I’ll add a little water.

The chops baked up very moist, which pork chops often do not do when they are baked. The kraut and apples added moisture and lots of flavor. The stuffing had interest because of the corn muffins. The apples were tender and pretty and tasted delicious with the chops and kraut.

This was the perfect fall meal! I want to make it again soon because I just could not get enough of it!

I was dying to try making my own sauerkraut after seeing Martha’s article on it in October Living. It sounded so easy! My mom remembers her German grandmother making homemade sauerkraut, which she kept in a crock on the kitchen counter. My mom says she just remembers it smelling awful. I wasn’t afraid (and mine … Read more

To celebrate the publication of my new book, The Parchment Paper Cookbook, I’m giving away a copy. To enter, leave a comment on this post.

You must enter by midnight ET on Wednesday October 26. I’ll randomly and blindly select the winner by random number drawing (numbers assigned in order of comments here). Sorry, offer limited to U.S. addresses only and entrants age 18 and up only. One entry per person. Winners notified by email given when entering, not responsible for email transmission problems. You are responsible for notifying me of your correct mailing address if you are selected as a winner. Contest closes at midnight Eastern time on 10/26/11. Prize is nontransferable and may not be redeemed for cash. NoPotCooking reserves the right to announce the name of the winner on the blog.

And if you’re feeling lucky, you should also enter to win a subscription to Everyday Food Magazine on my MarthaAndMe blog.

To celebrate the publication of my new book, The Parchment Paper Cookbook, I’m giving away a copy. To enter, leave a comment on this post. You must enter by midnight ET on Wednesday October 26. I’ll randomly and blindly select the winner by random number drawing (numbers assigned in order of comments here). Sorry, offer … Read more

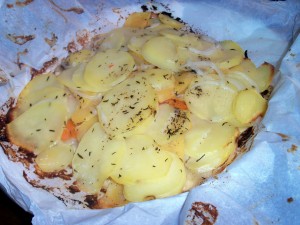
It was a cold night and I was down in the dumps. The cure? Cozy, warm, fall comfort food. I put together this tian (which is kind of like a gratin, minus all the tons of butter and cream) and let it slowly cook in the oven. It came out perfectly – pretty and tasty. It serves 4 with leftovers.

1 parsnip, peeled, thinly sliced

1/8 large sweet onion thinly sliced

15 baby carrots, thinly sliced

1/2 rutabaga, peeled and thinly sliced

2 medium Yukon Gold potatoes, peeled and thinly sliced

Salt and pepper

Thyme

Olive oil

1/4 cup heavy cream

Cut a 24 inch piece of parchment. Make about a 9 inch circle with the parsnips, layering them over each other around the circle and in the middle. Sprinkle with salt, pepper, and thyme. Drizzle with olive oil. Sprinkle half the onions on top. Layer carrots on top of this and repeat salt, pepper, thyme, oil, onion. Then layer rutabaga, repeating seasonings and toppings. Layer potato slices on top, repeating toppings again. Pour cream over the entire thing. Fold the parchment (see Technique page on this blog) – for this one I used the folded ends instead of the twisted ends. Bake at 350 for an hour.

You could add chopped garlic to this, grated cheese (Parmesan would be my pick, included in the layers), or 1/4 cup milk to boost the creaminess. You could also drizzle with melted butter instead of olive oil for a deeper flavor. I liked it being pretty basic and was able to enjoy all the flavors of the vegetables.

It was a cold night and I was down in the dumps. The cure? Cozy, warm, fall comfort food. I put together this tian (which is kind of like a gratin, minus all the tons of butter and cream) and let it slowly cook in the oven. It came out perfectly – pretty and tasty. … Read more

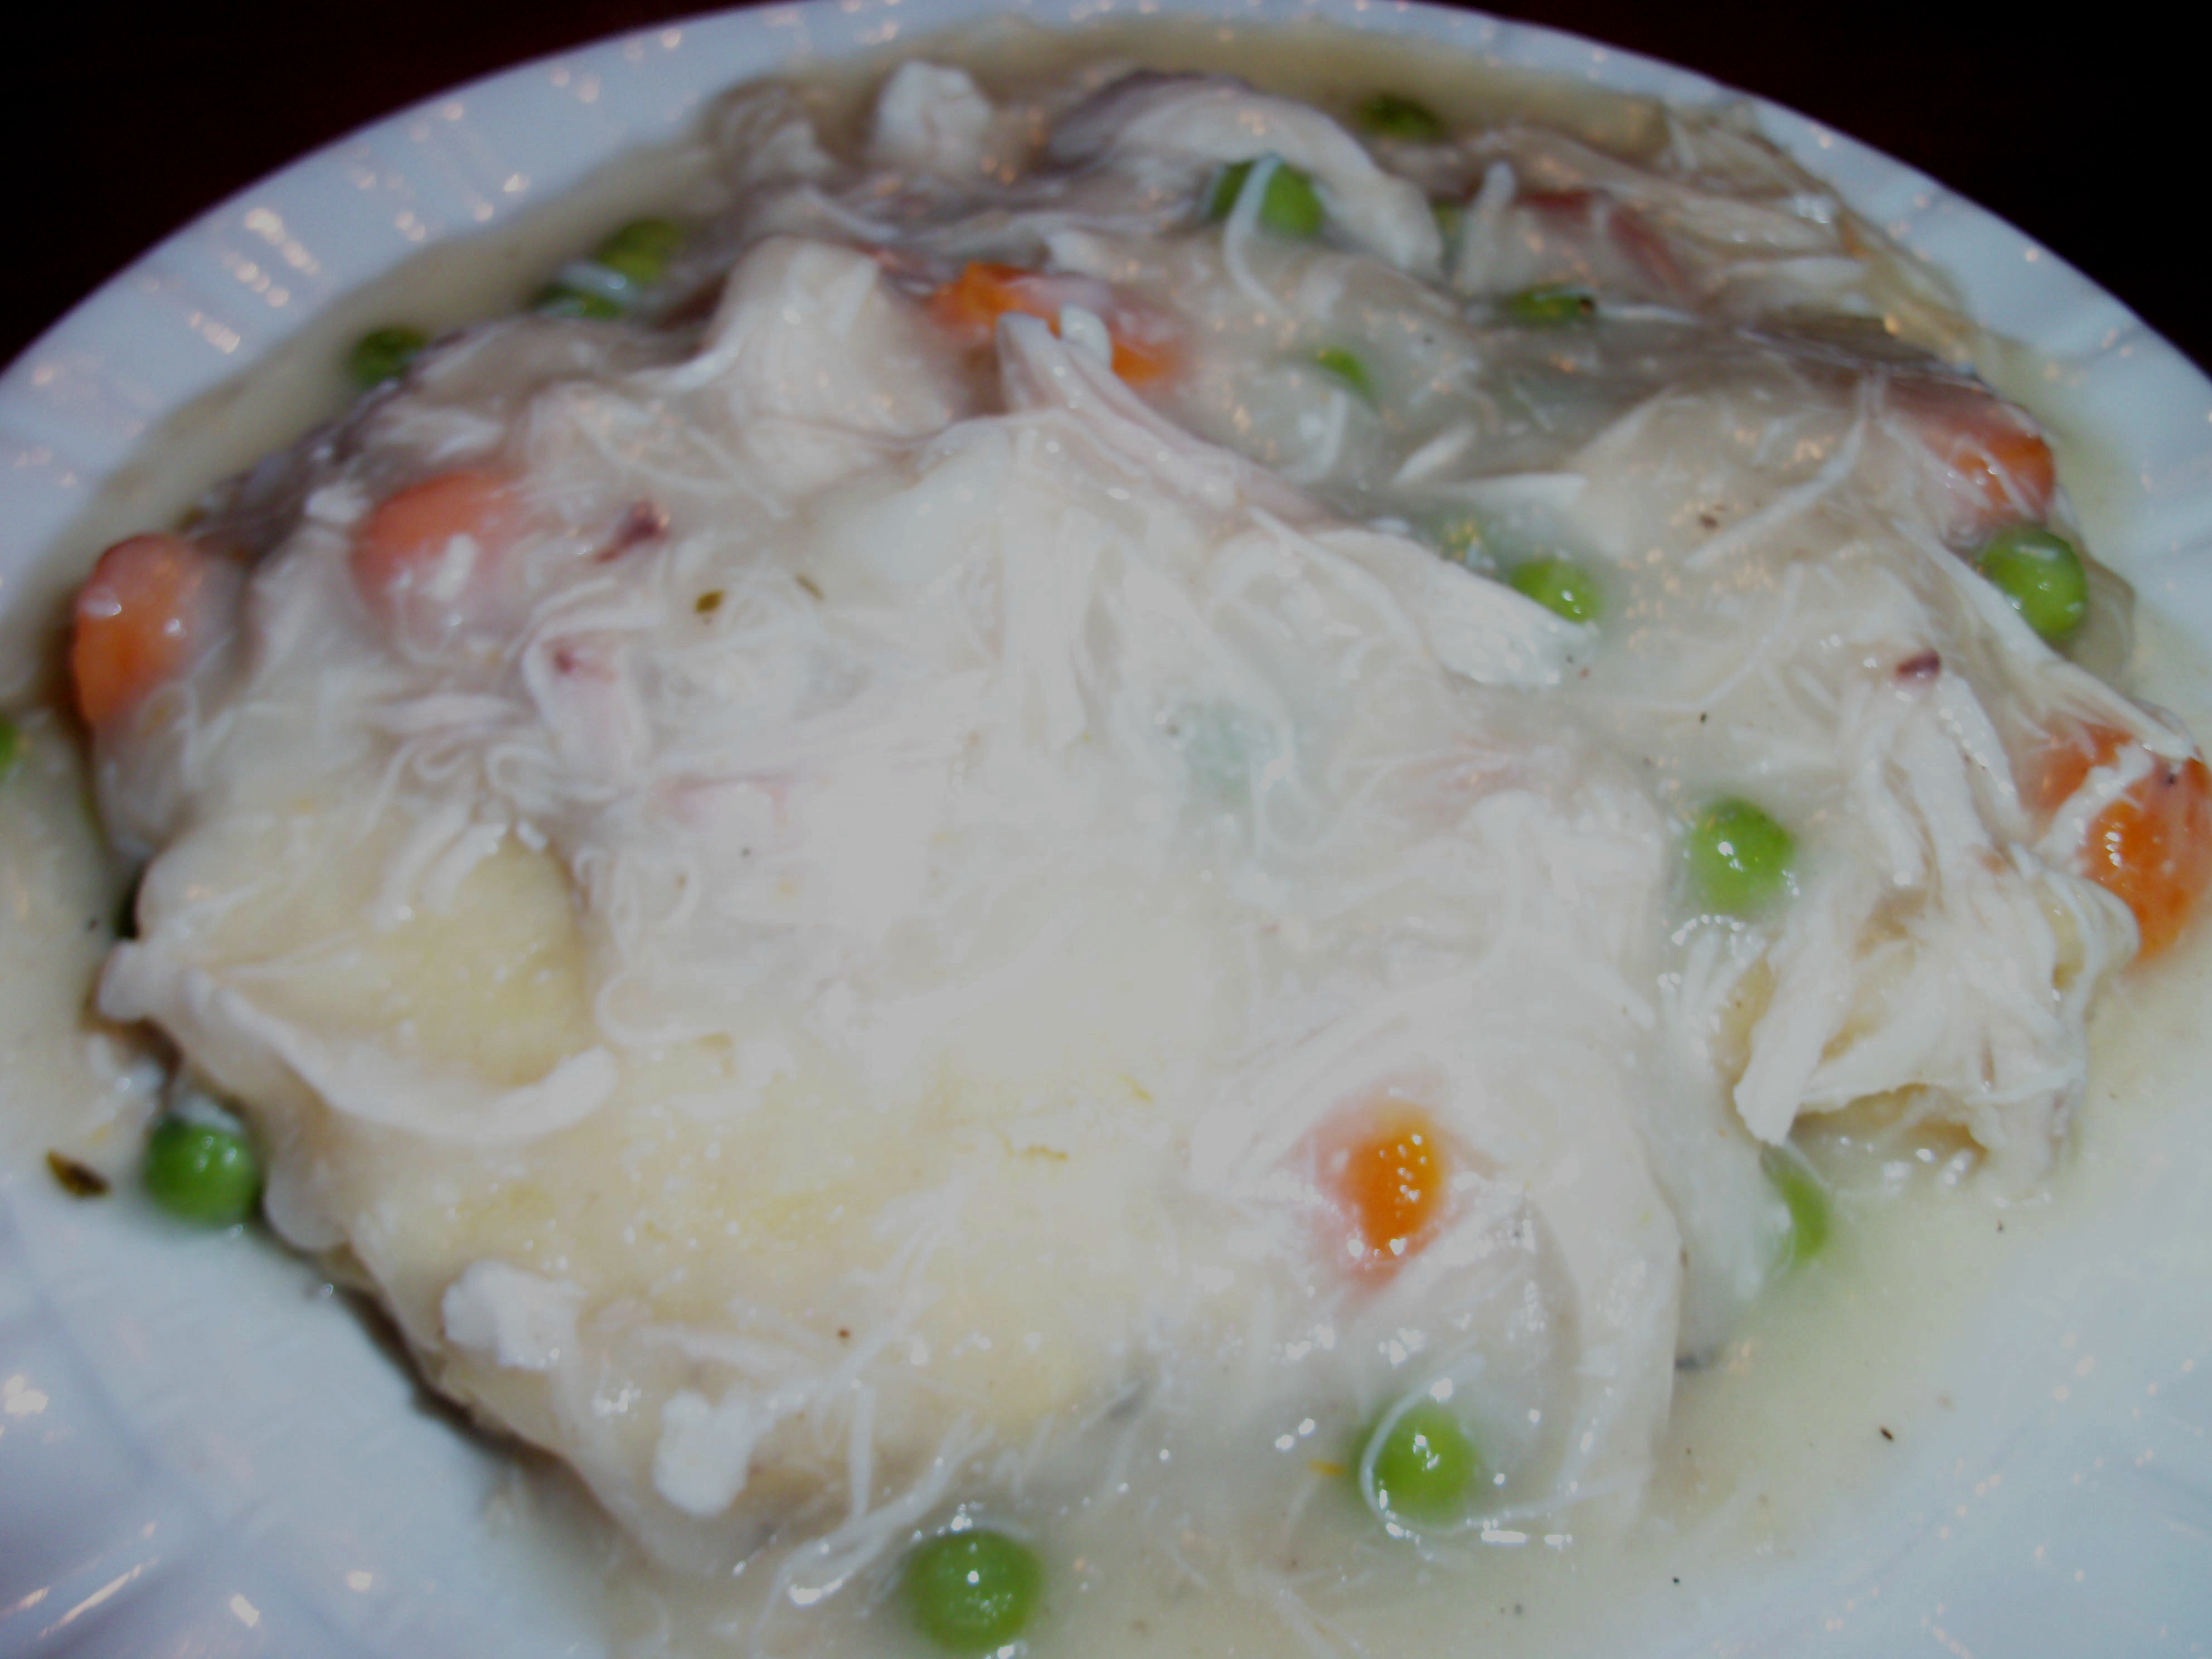
I learned to make chicken and biscuits from my mom. It’s one of her favorite dinners. She learned from my grandmother. Over the years, I’ve tweaked it and come up with my own slightly enhanced version. Everyone in my family loves this and it’s a big deal when I make it (and there’s fighting over the biscuits). This is perfect for a Sunday night supper, with some green beans and a pie for dessert.

There are two methods for making this. Usually I start with the leftover carcass from a roast chicken, and thus feel extremely frugal. You can also start with a whole chicken. Either way, the result is fabulous.

1 chicken carcass from a roast chicken plus 2 boneless skinless chicken breasts OR 1 whole chicken

1 stalk of celery

4 baby carrots

salt and pepper

big pinch dried rosemary

big pinch dried thyme

pinch sage

12 baby carrots sliced

1/2 cup frozen peas

Wondra flour

salt and pepper

Place your chicken carcass in a big pot and cover it with water. If you’re using a cooked carcass plus breasts, don’t add the breasts yet. Put in the celery and 4 whole carrots, and add the herbs. Bring to a boil, and reduce heat to medium, so it continues to boil. Allow to cook about an hour and a half, until the joints come apart and the broth is looking rich. If you have chicken breasts to add, this is the time to add them and cook another half hour (if you’re using a whole chicken, you want to cook for a total of 2 hours).

Strain the mixture, reserving liquid and pouring it back into the pot. Allow the chicken to cool in a bowl. Once it has cooled, break it up into small chunks and big shreds and add back into the pot. Add the sliced carrots and bring to a boil, cooking until the carrots are tender. Add the peas (it’s ok if they’re frozen). Keep the mix boiling. Start whisking in Wondra flour, starting with about 1/2 cup and adding more until you get to the consistency you like. I like mine to be very thick, like a very thick gravy. Season with salt and pepper to your taste.

Make the biscuits:

2 cups flour

2 teaspoon baking powder

1/2 teaspoon salt

1 teaspoon baking soda

baking soda

1/3 cup cold or frozen butter

2/3 cup buttermilk

Preheat oven to 425. Cut butter into dry ingredients with a pastry cutter, or if using frozen butter, grate it with a cheese cutter and then rub the mixture with your hands to incorporate. Gently stir in the buttermilk and use your hands to full incorporate. Pat it down to about 1 1/2 inches and cut with a biscuit cutter into 6 biscuits. Bake for 11 minutes.

Plan on 1-2 biscuits per person. Serve by cutting biscuits in half so you have two rounds, and spooning the chicken mixture on top.

Sometimes I add 1/2 cup of grated cheddar cheese to the biscuits to mix things up.

The chicken part of the recipe usually makes enough so that I can freeze the leftovers for another night, or feed a crowd and double the biscuit recipe.

I learned to make chicken and biscuits from my mom. It’s one of her favorite dinners. She learned from my grandmother. Over the years, I’ve tweaked it and come up with my own slightly enhanced version. Everyone in my family loves this and it’s a big deal when I make it (and there’s fighting over … Read more

Pru at Perfecting Pru chose Lighter Chicken Potpie for today’s recipe. Pru has never had chicken potpie before! Well, Pru, what did you think?

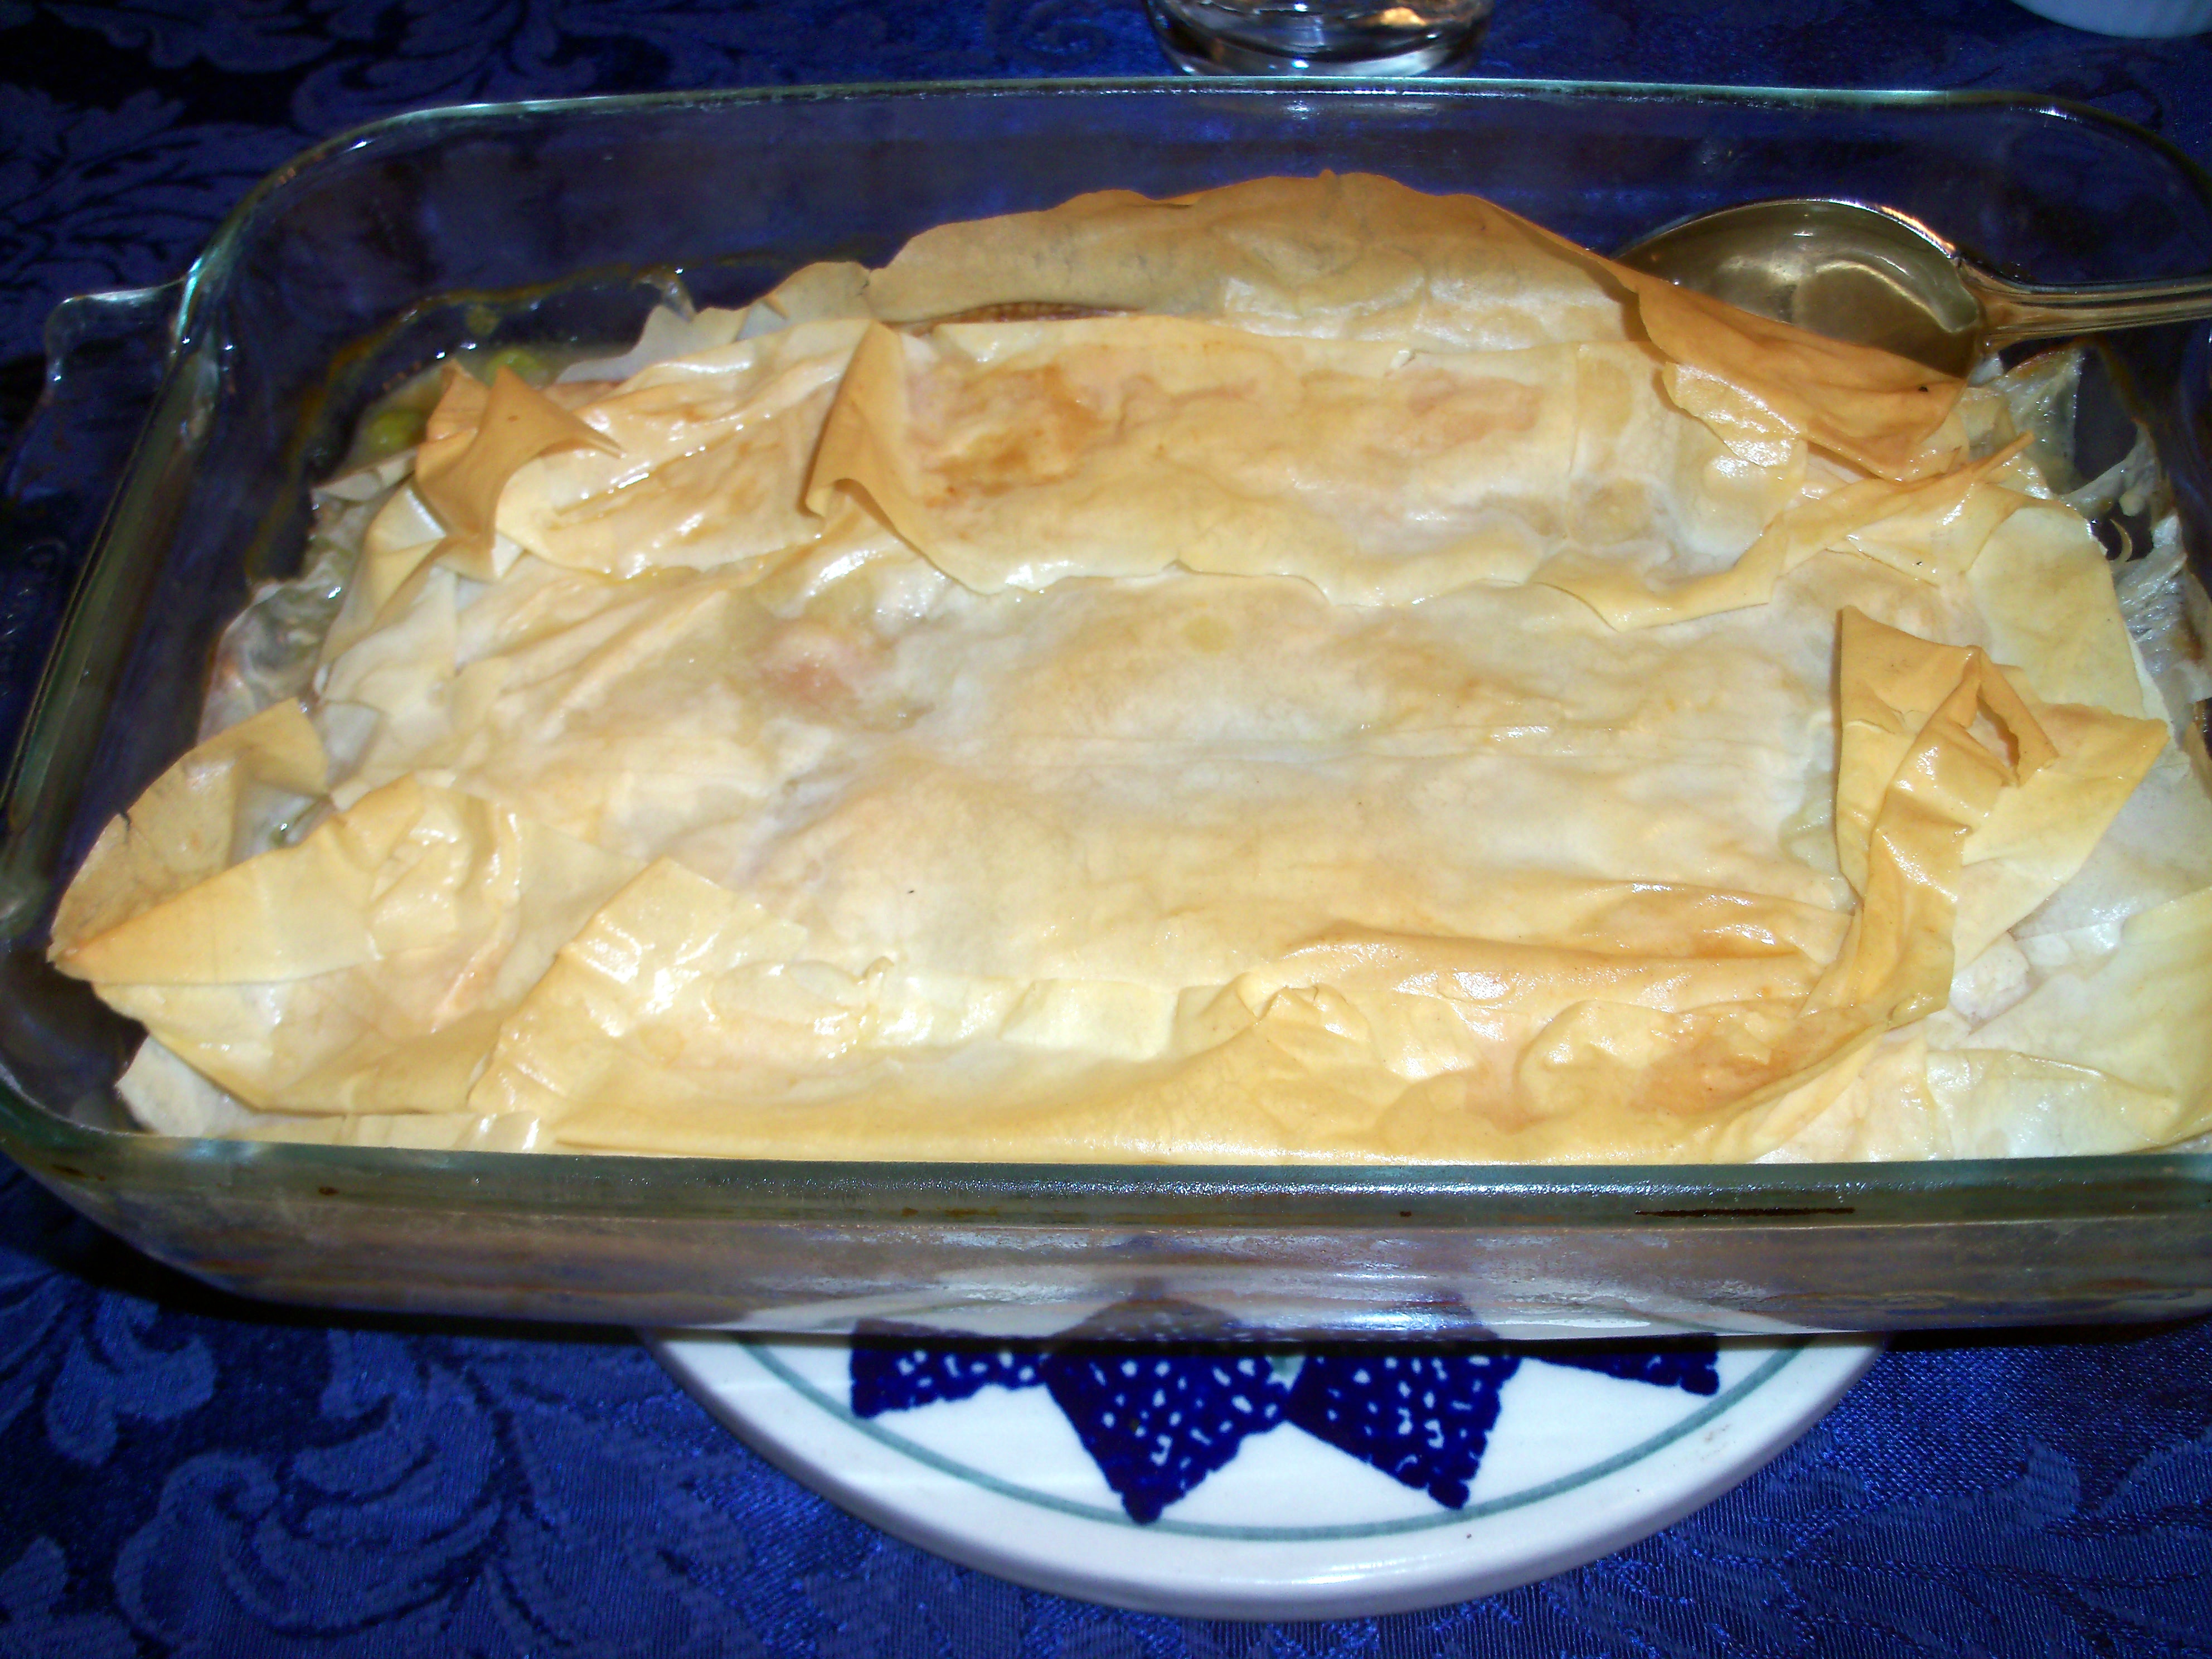
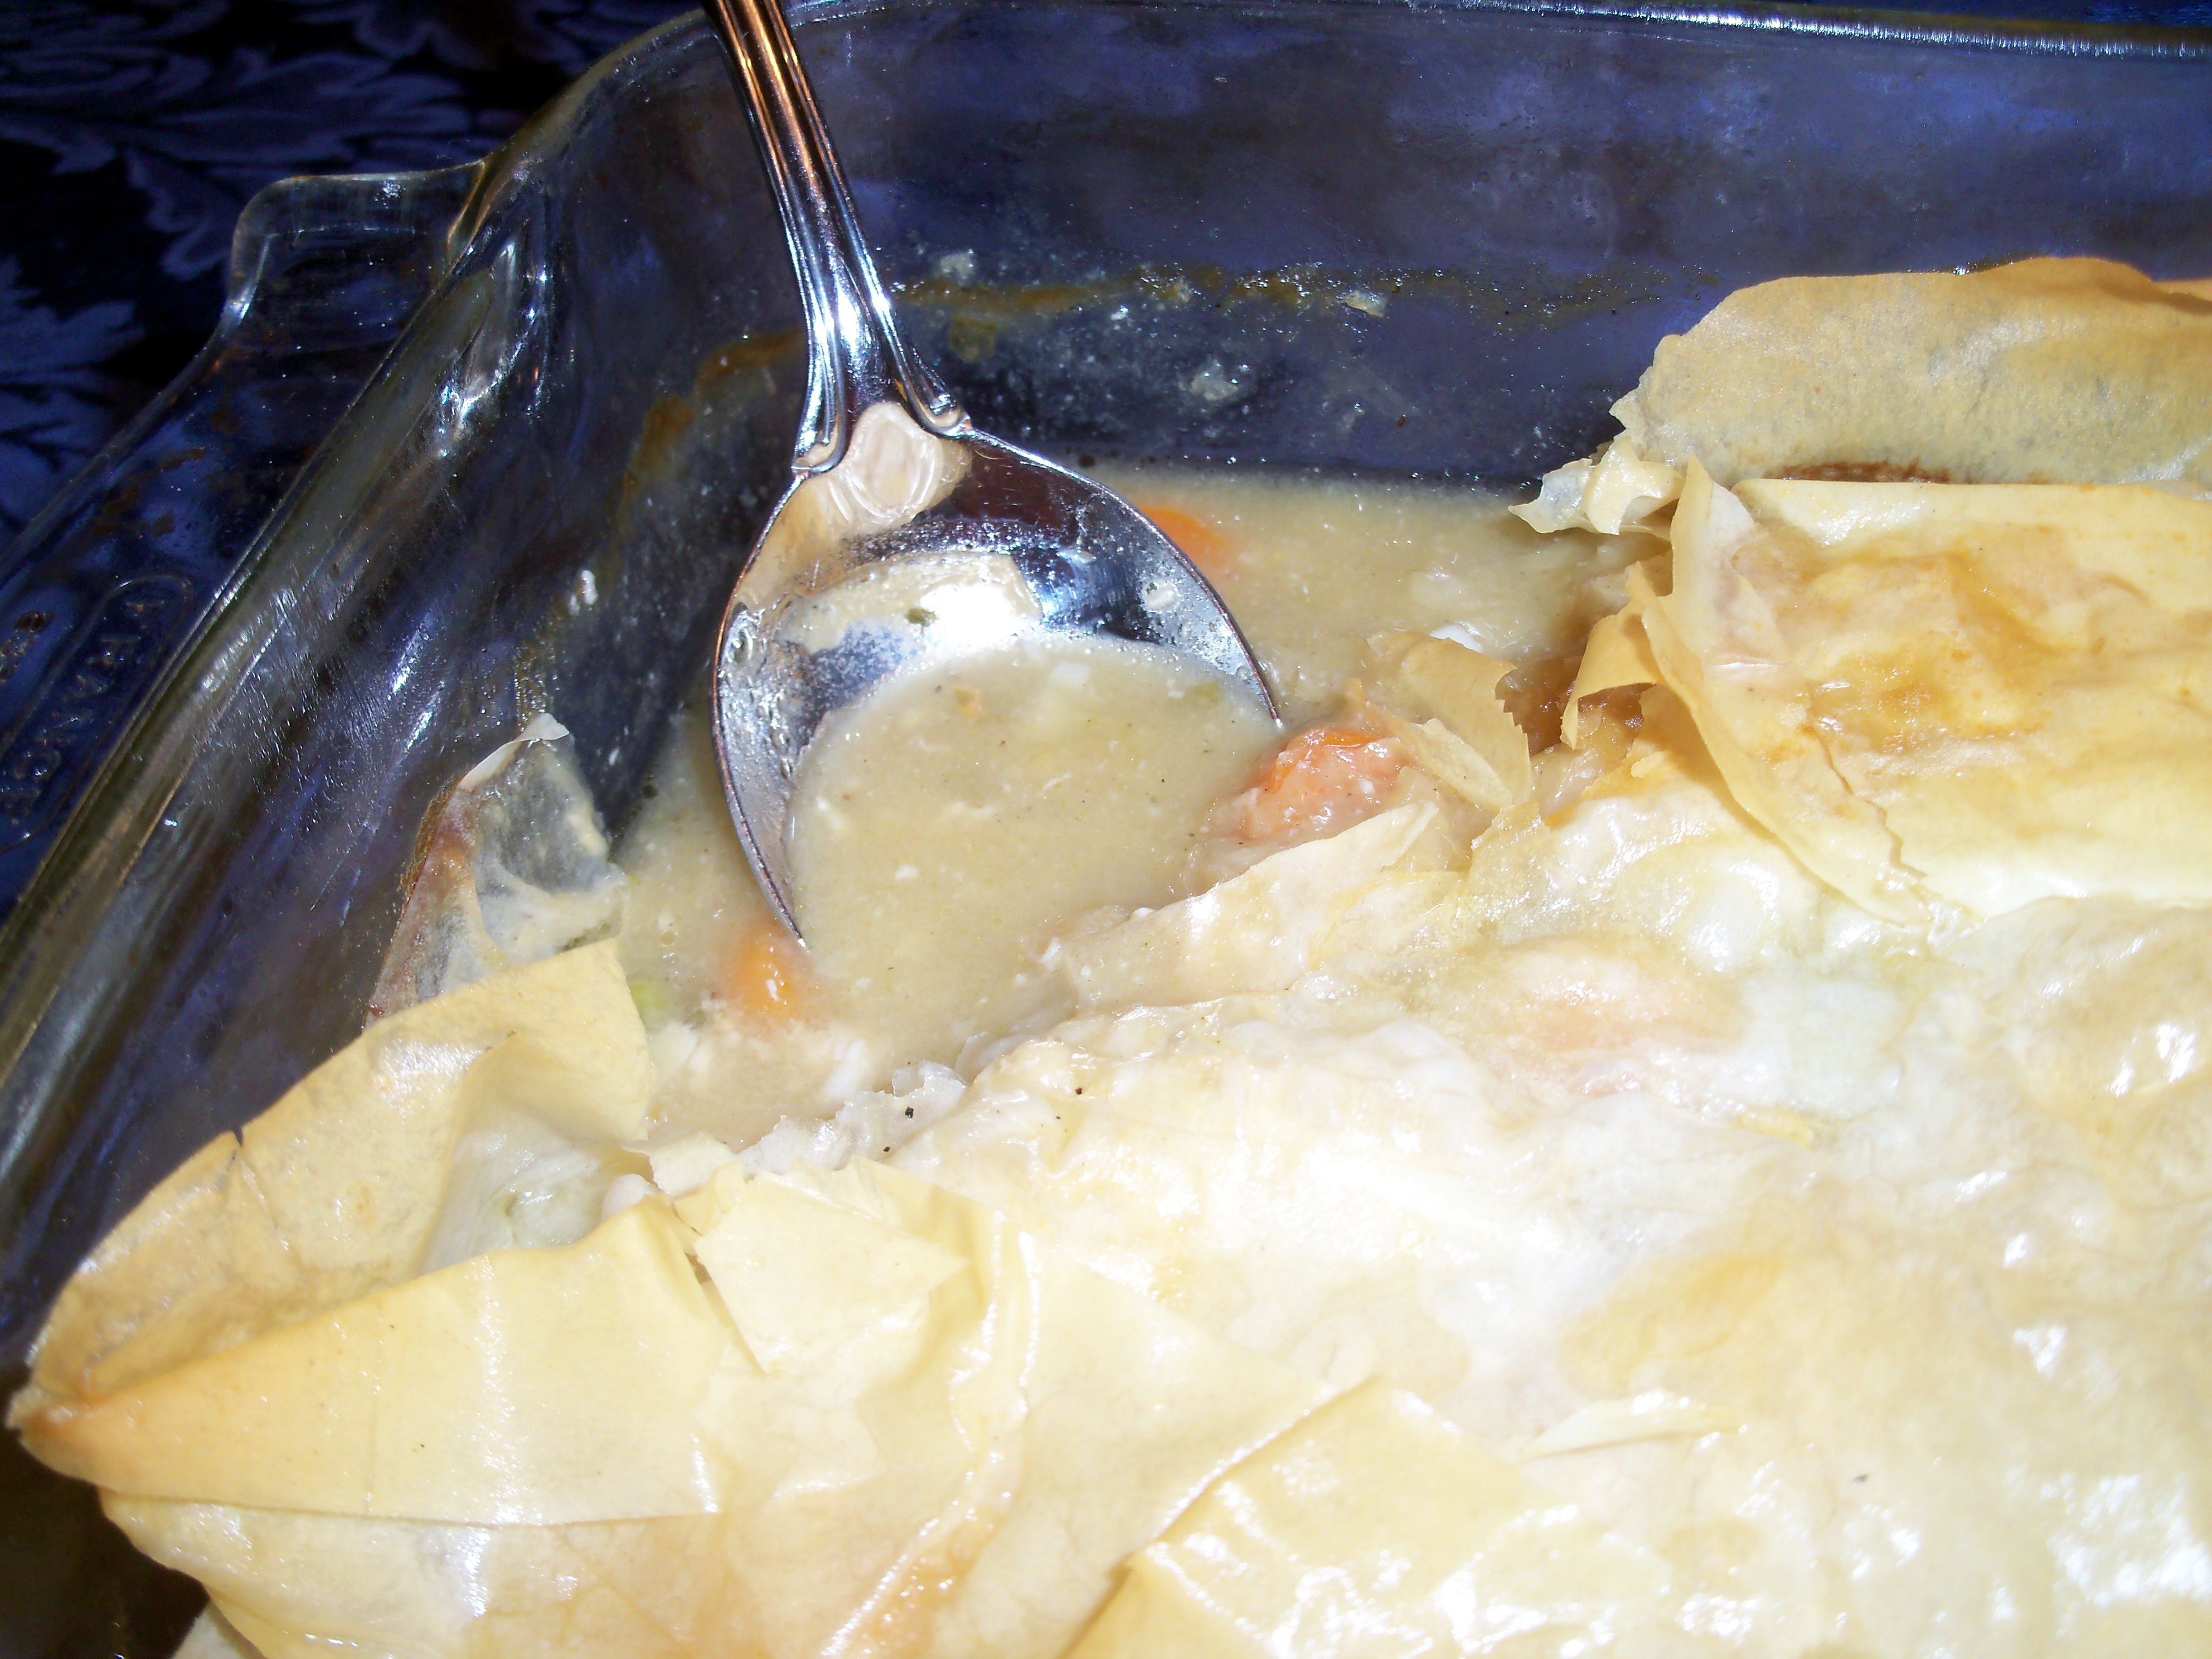
I had a little trouble with the recipe. First off, I quickly poached some chicken breasts but did not use the poaching water as directed – I used chicken broth, but that was just my cheat for the recipe. Secondly, as I was making it, it seemed like there was not enough liquid, so I increased the broth (and increased the flour). It was nice and thick when it went in the oven, but it came out looking like soup, so it was pretty disappointing. My family did not like the tarragon in this, something I don’t normally use. The phyllo dough was nice and I thought the flavors were fine otherwise. I don’t make chicken potpie often because I find it to be messy. I always think I would like it better with a bottom crust, but even when I make it that way, it all still runs all over the place. I’m posting a recipe for chicken and biscuits later this week and that is my version of chicken potpie that I like the best.

Pru at Perfecting Pru chose Lighter Chicken Potpie for today’s recipe. Pru has never had chicken potpie before! Well, Pru, what did you think? I had a little trouble with the recipe. First off, I quickly poached some chicken breasts but did not use the poaching water as directed – I used chicken broth, but … Read more

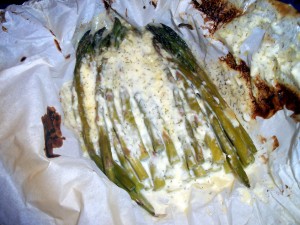
Asparagus is one my favorite vegetables to cook in parchment. It’s just the right size and it cooks perfectly. I made this for dinner the other night. It’s got the right balance of creaminess and lemon and the garlic gives it some punch.

1 bunch asparagus

1/3 cup light mayonnaise

3 garlic cloves, minced

salt and pepper to taste

1/4 teaspoon dill

1 teaspoon lemon juice

Place the asparagus on the parchment. Mix the other ingredients in a small bowl and spread over the asparagus. Fold the parchment (see the Technique page on this blog) and bake at 400 for 25-30 minutes, until the asparagus reaches your level of doneness. This is great with chicken or fish.

Asparagus is one my favorite vegetables to cook in parchment. It’s just the right size and it cooks perfectly. I made this for dinner the other night. It’s got the right balance of creaminess and lemon and the garlic gives it some punch. 1 bunch asparagus 1/3 cup light mayonnaise 3 garlic cloves, minced salt … Read more

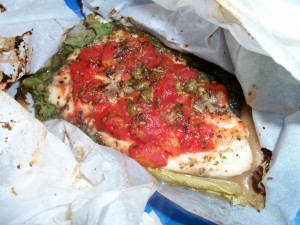
From start to finish I had dinner on the table in less than 20 minutes with this really flavorful dish.

For each packet:

1 tilapia filet (about 4-6 ounces)

2 arugula leaves, center rib removed

2 tablespoons diced tomato (canned or fresh) mixed with a pinch of sugar

1/4 teaspoon capers

1/4 teaspoon Italian seasoning

salt and pepper to taste

1/3 teaspoon olive oil

1/2 teaspoon lemon juice

Place the arugula on the parchment and set the fish on top of it. Cover the fish with the other ingredients. Fold the parchment (see Technique page) and bake at 400 for 12 minutes.  Serve with some warm Italian bread and some carrots cooked with dill and you have a complete meal.

From start to finish I had dinner on the table in less than 20 minutes with this really flavorful dish. For each packet: 1 tilapia filet (about 4-6 ounces) 2 arugula leaves, center rib removed 2 tablespoons diced tomato (canned or fresh) mixed with a pinch of sugar 1/4 teaspoon capers 1/4 teaspoon Italian seasoning … Read more

We eat a lot of asparagus here since my dad has an asparagus bed. Soon there will bags of it being sent over here. While I love it, I’m always looking for new ways to make it. This recipe is so easy and really tasty:

1 bunch asparagus, trimmed

1/4 cup light bleu cheese dressing

salt and pepper

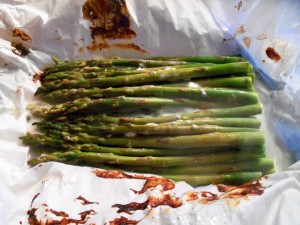
That’s it. Place the asparagus on the parchment, drizzle the dressing over it and season it with salt and pepper. Fold up the parchment and bake for 20 minutes at 400.

We eat a lot of asparagus here since my dad has an asparagus bed. Soon there will bags of it being sent over here. While I love it, I’m always looking for new ways to make it. This recipe is so easy and really tasty: 1 bunch asparagus, trimmed 1/4 cup light bleu cheese dressing … Read more

no