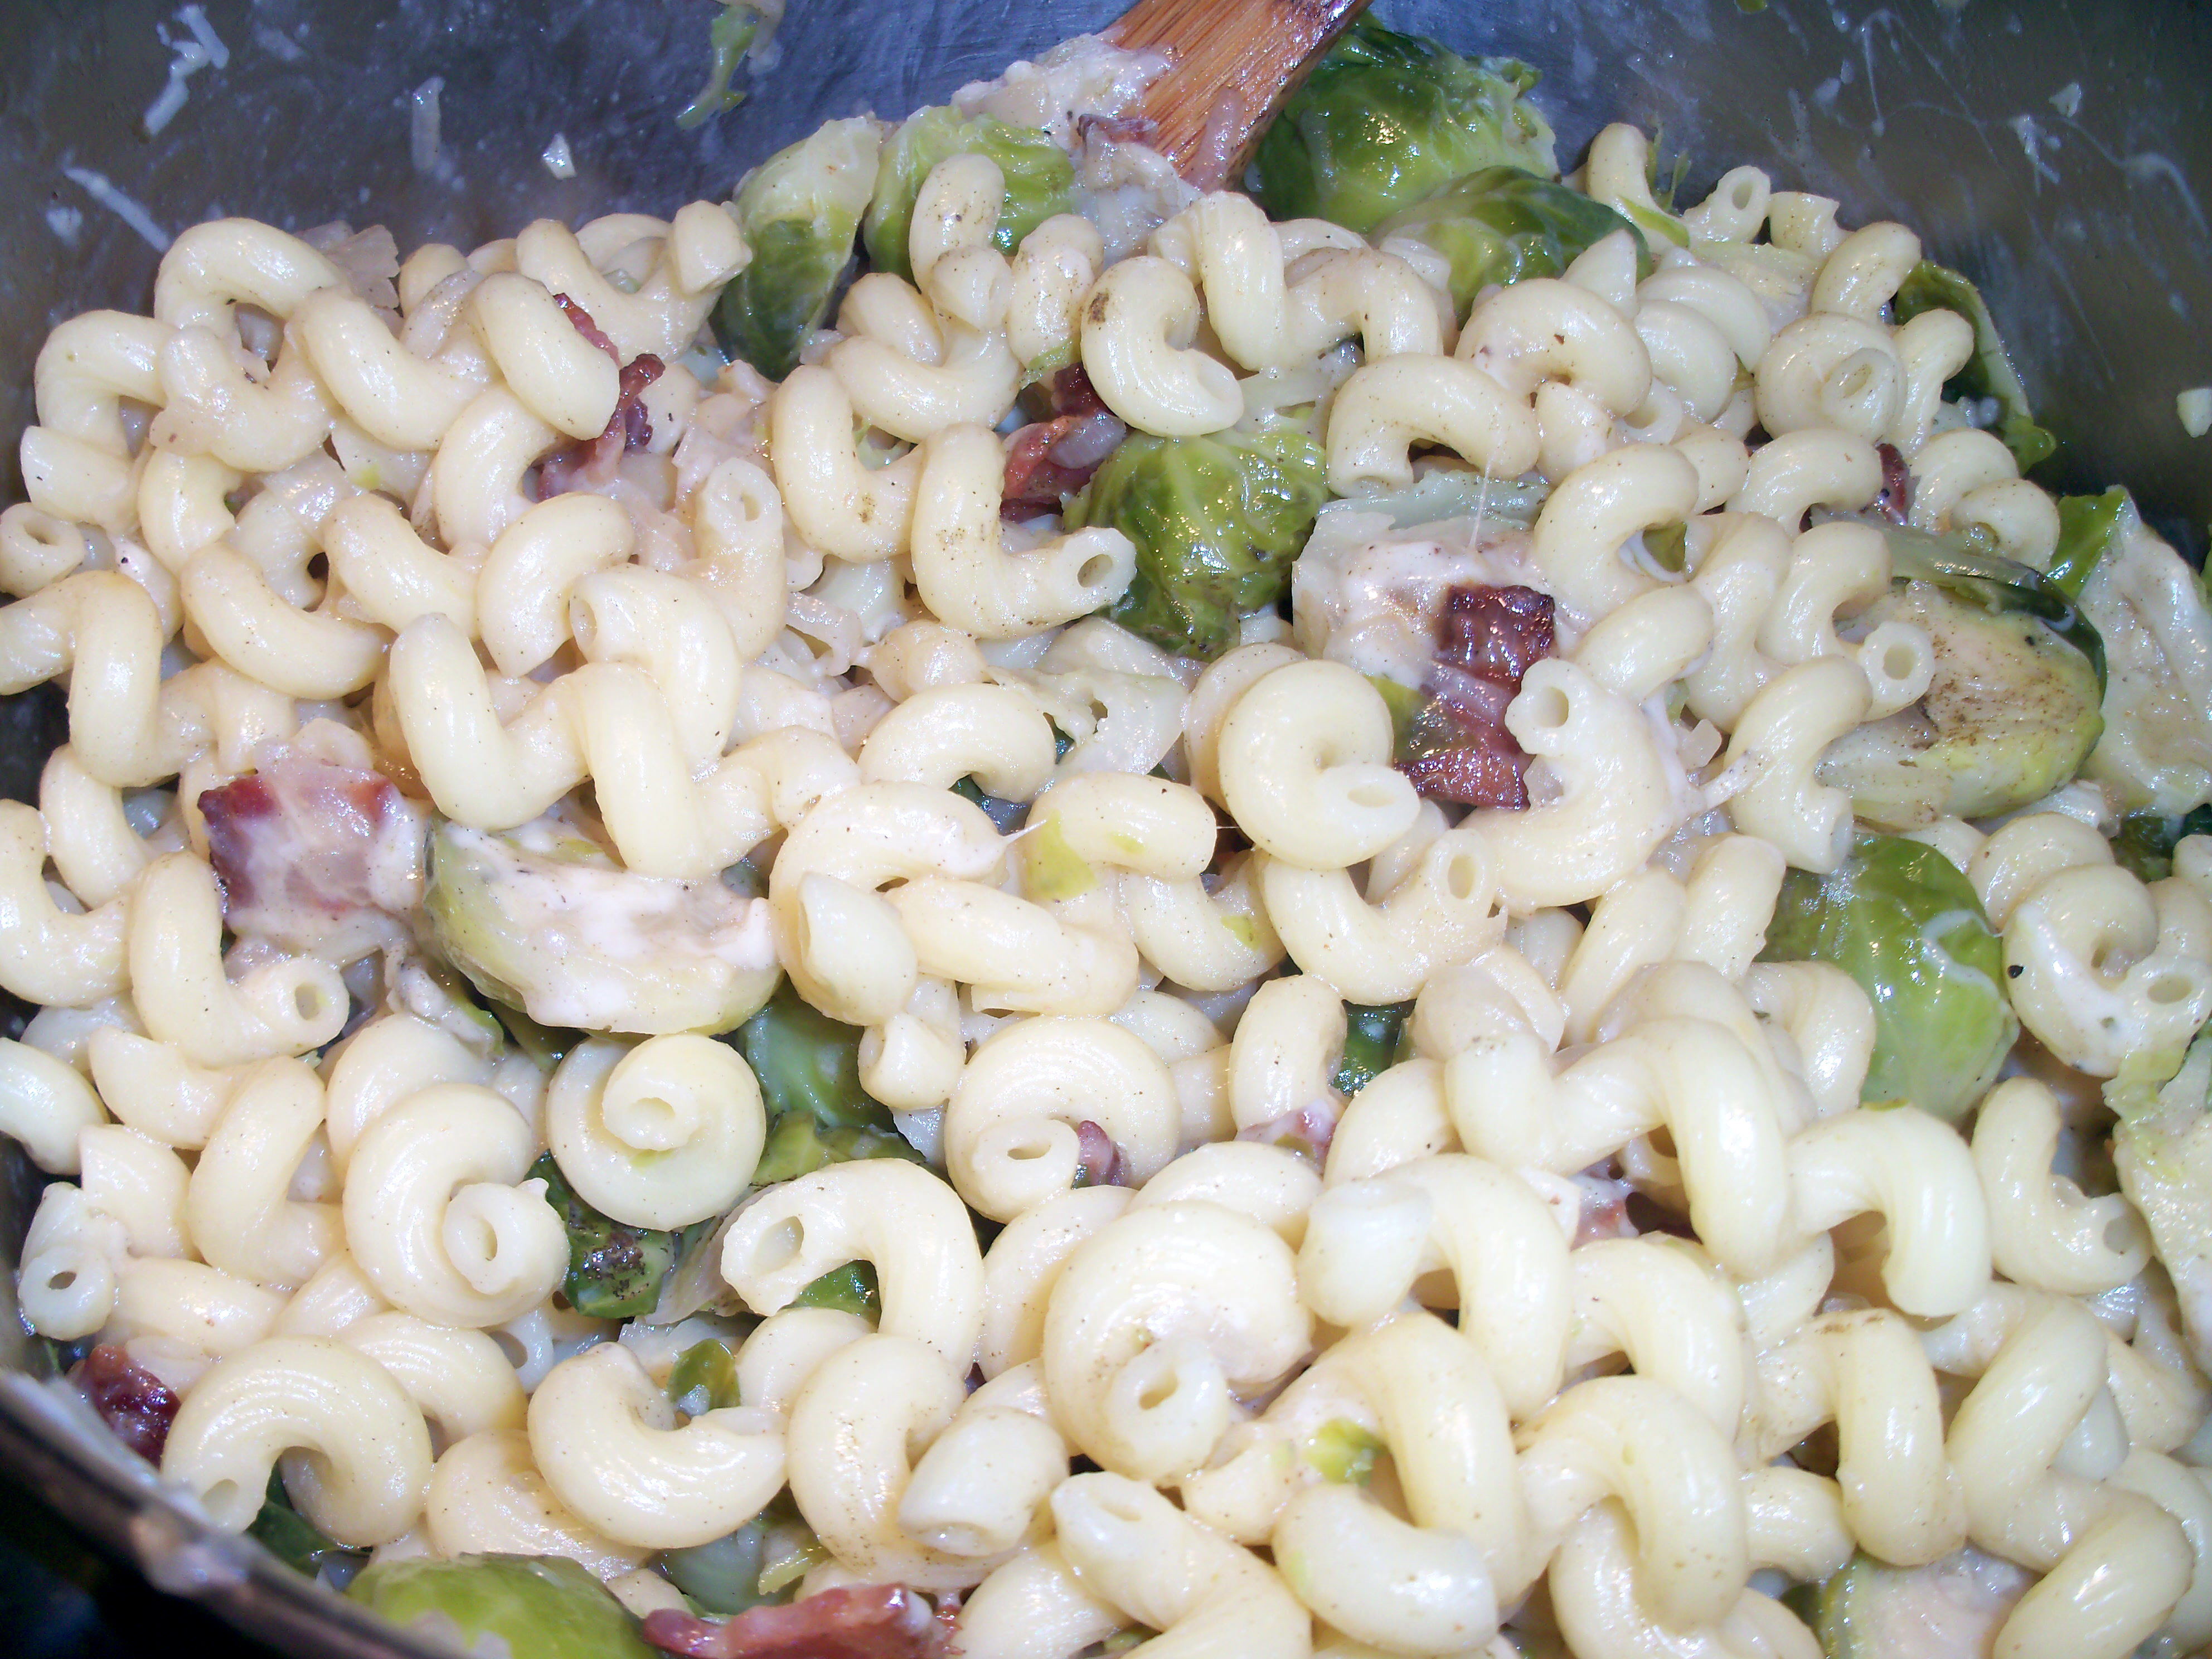
mondaysToday’s Martha Mondays Pasta with Brussels Sprouts and Bacon was chosen by Pru at My Life: Pru Singer. Thanks Pru.

Let me be honest. I didn’t think I would like this. At the least, I knew I would be the only one in my house who would eat it. Mr. MarthaAndMe really doesn’t like Brussels sprouts. The kids are not fans. I like them a lot, but the idea of them in pasta was kind of weird.brussel pasta

I cooked my bacon (anything with bacon can’t be horrible) and then added my shallots (I cheated and used one shallot and then some onion), garlic and sprouts. Once it cooked a bit I added chicken broth. By the end of the allotted time, the sprouts were not cooked, so I covered it and cooked it longer until they were soft.

I didn’t have rigatoni, so I used some curly pasta in the pantry. Mr. MarthaAndMe ate it under duress (not much else on the table to pick from), TeenMartha ate most of hers (picking out the sprouts for the most part). Dude Martha wanted no part of it. I liked it, but still think Brussels sprouts in pasta are weird. I needed something more. I admit I didn’t have fresh sage, so I used dried – maybe that was the problem. It just tasted like pasta with Brussels, bacon and some onion. I don’t know what else it could taste like since that’s all that is in it, but it really needed something else for me. I don’t think I would make this again, but I will probably be picking at the leftovers for lunch all this week. It was fun to try it though.

If you made this, please post the link to that post and let’s try to visit everyone else’s posts!

Bookmark and Share

Today’s Martha Mondays Pasta with Brussels Sprouts and Bacon was chosen by Pru at My Life: Pru Singer. Thanks Pru. Let me be honest. I didn’t think I would like this. At the least, I knew I would be the only one in my house who would eat it. Mr. MarthaAndMe really doesn’t like Brussels … Read more

mondaysThe Martha Mondays for next week, chosen by Pru of My Life: Pru Singer is Pasta with Brussels Sprouts  and Bacon. Thanks for the pick Pru – I’m looking forward to trying it. If you make it, remember to come and post a comment with a link to your blog so everyone can visit it!

Bookmark and Share

The Martha Mondays for next week, chosen by Pru of My Life: Pru Singer is Pasta with Brussels Sprouts  and Bacon. Thanks for the pick Pru – I’m looking forward to trying it. If you make it, remember to come and post a comment with a link to your blog so everyone can visit it!

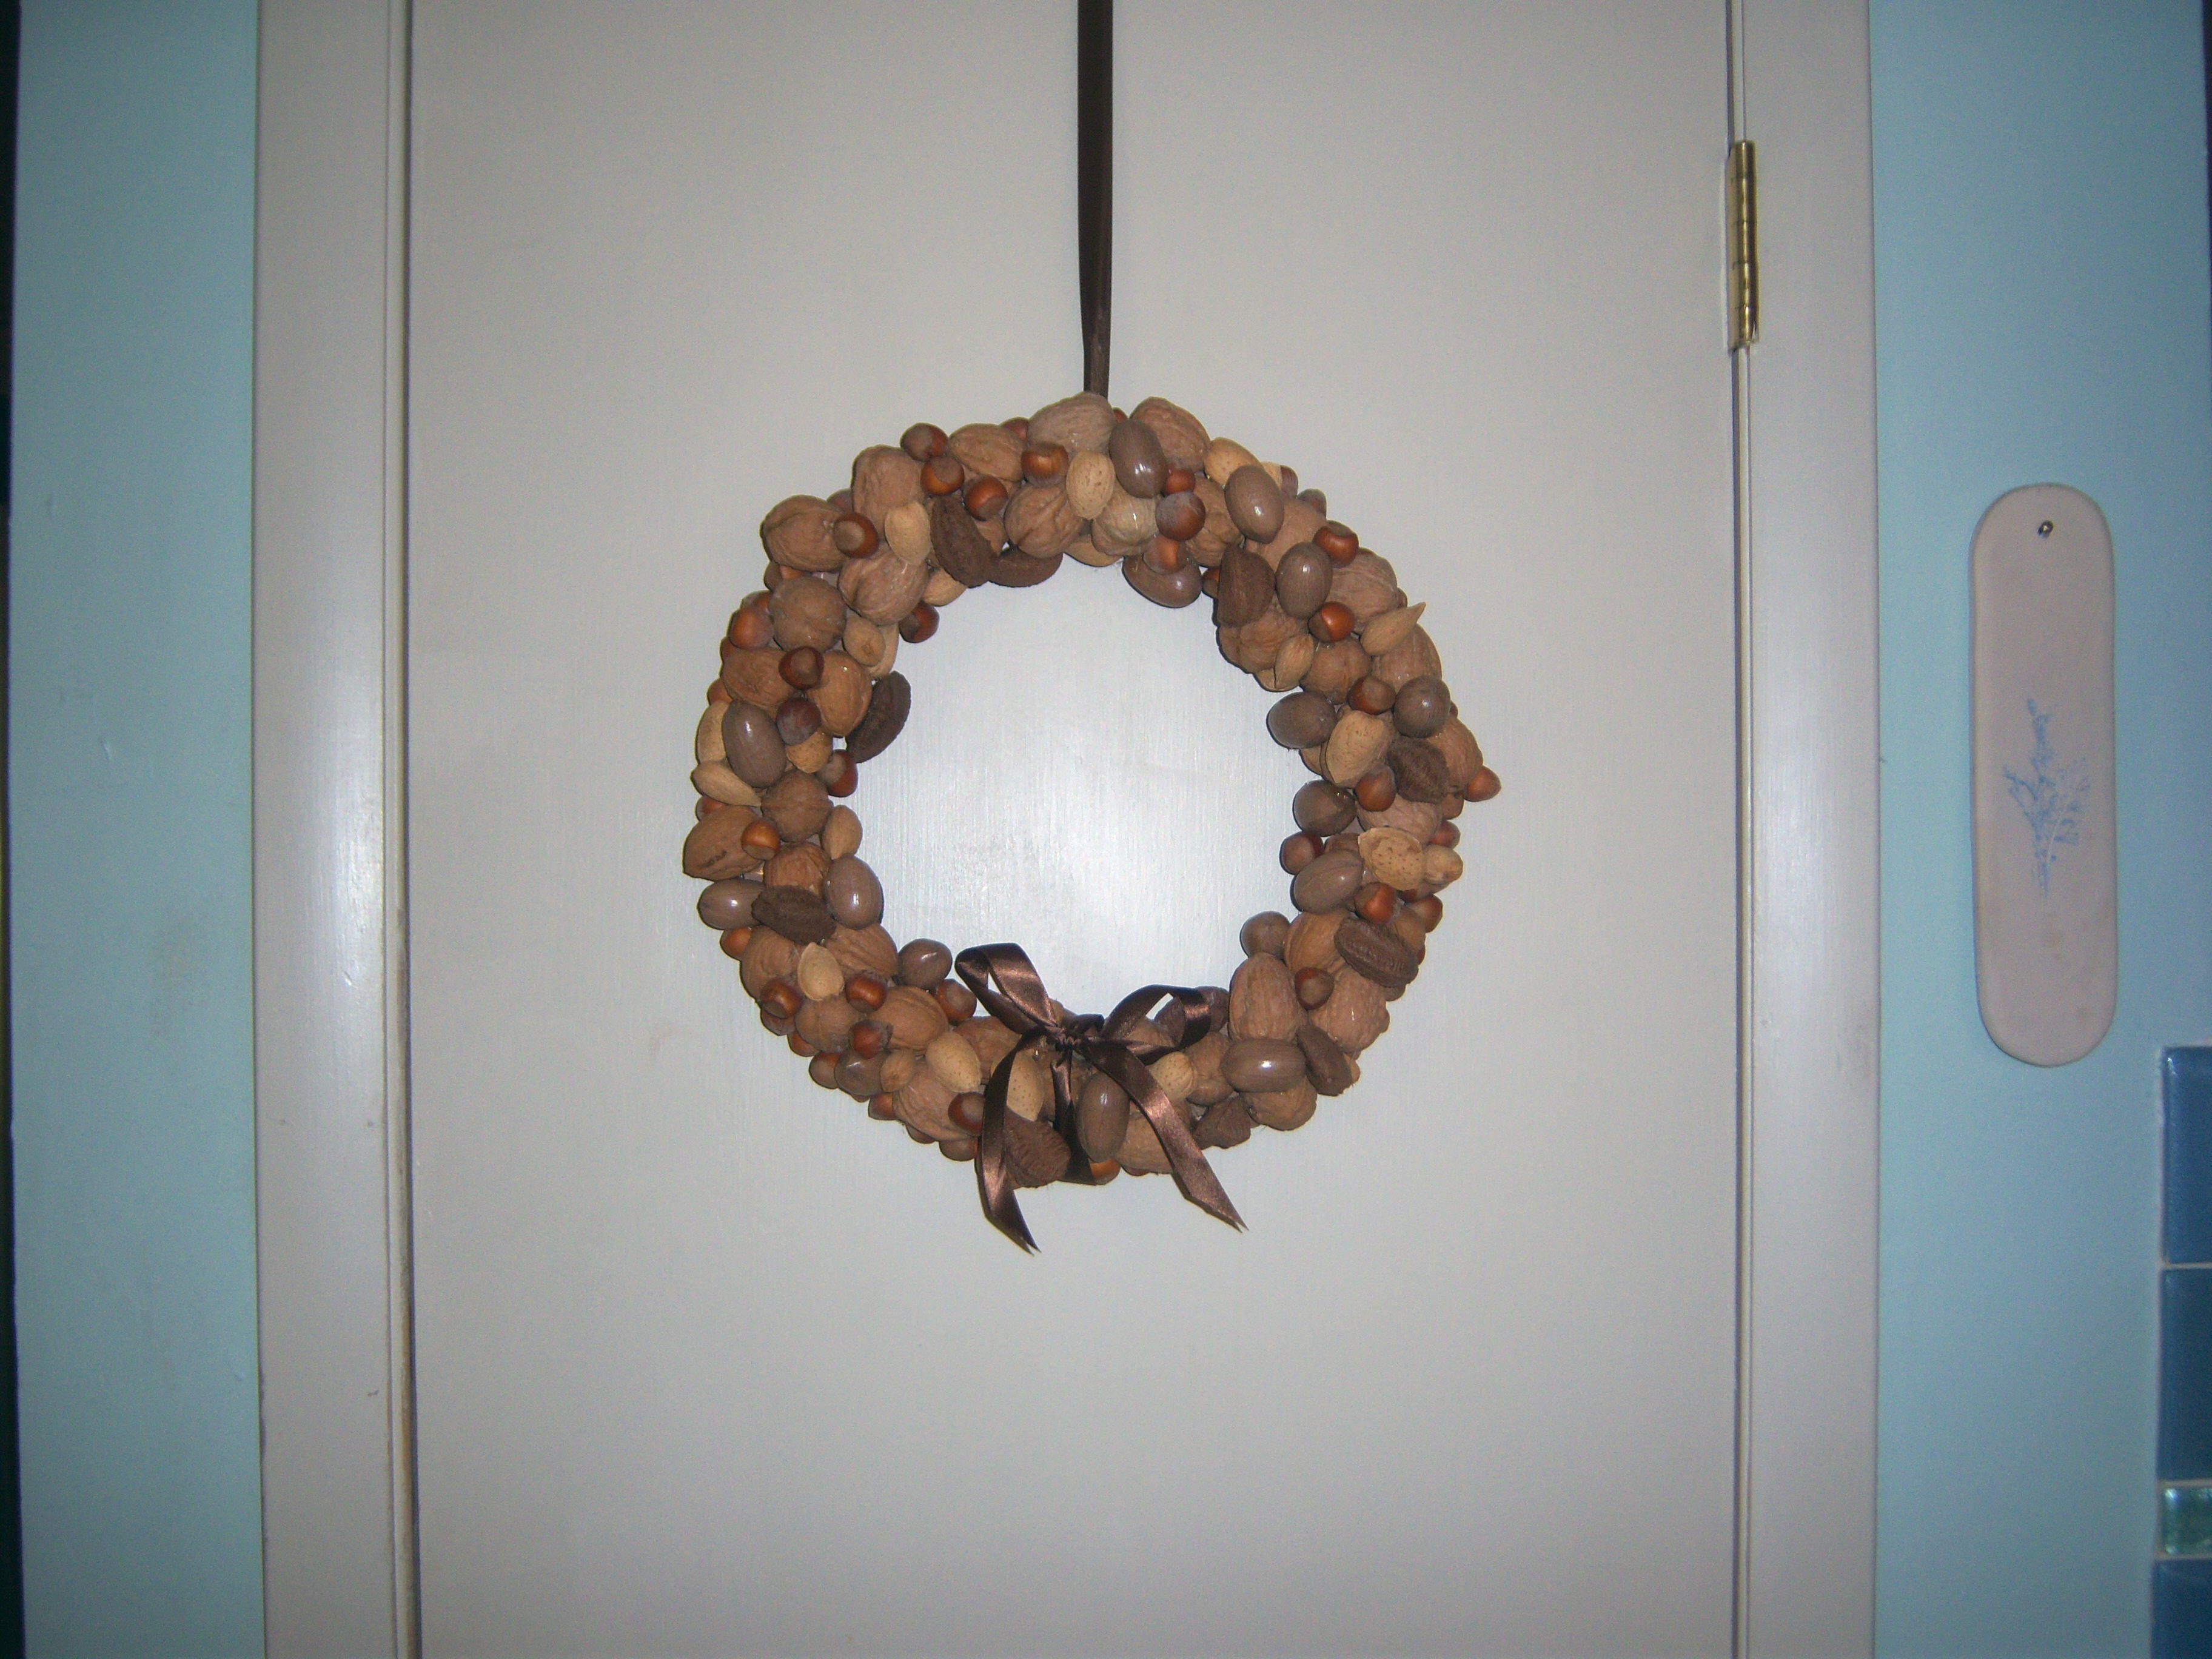
mondaysThis week’s Martha Mondays is the nut wreath from November Living, chosen by Sara at SassySuppers. I spent $16 on this for nuts and the wreath form. I cheated and bought a 12 inch form while Martha says to use a 24 inch form. I would have needed double the nuts if I had done that, and this would have cost even more! I already had the glue gun and ribbon.

This project sounded pretty easy – glue nuts on a wreath. It sounds easy, but it wasn’t that easy for me. Mr. MarthaAndMe was here to lend a hand and gave me some pointers. For example, he suggested I glue some nuts standing straight up – something I wouldn’t have thought of. He also suggested gluing hazelnuts all the way around the outside edge to cover up the wreath form. What would I do without Mr. MarthaAndMe? He has more craft sense in his little finger than I have all over.

I hate the spider web strands you get with glue guns!

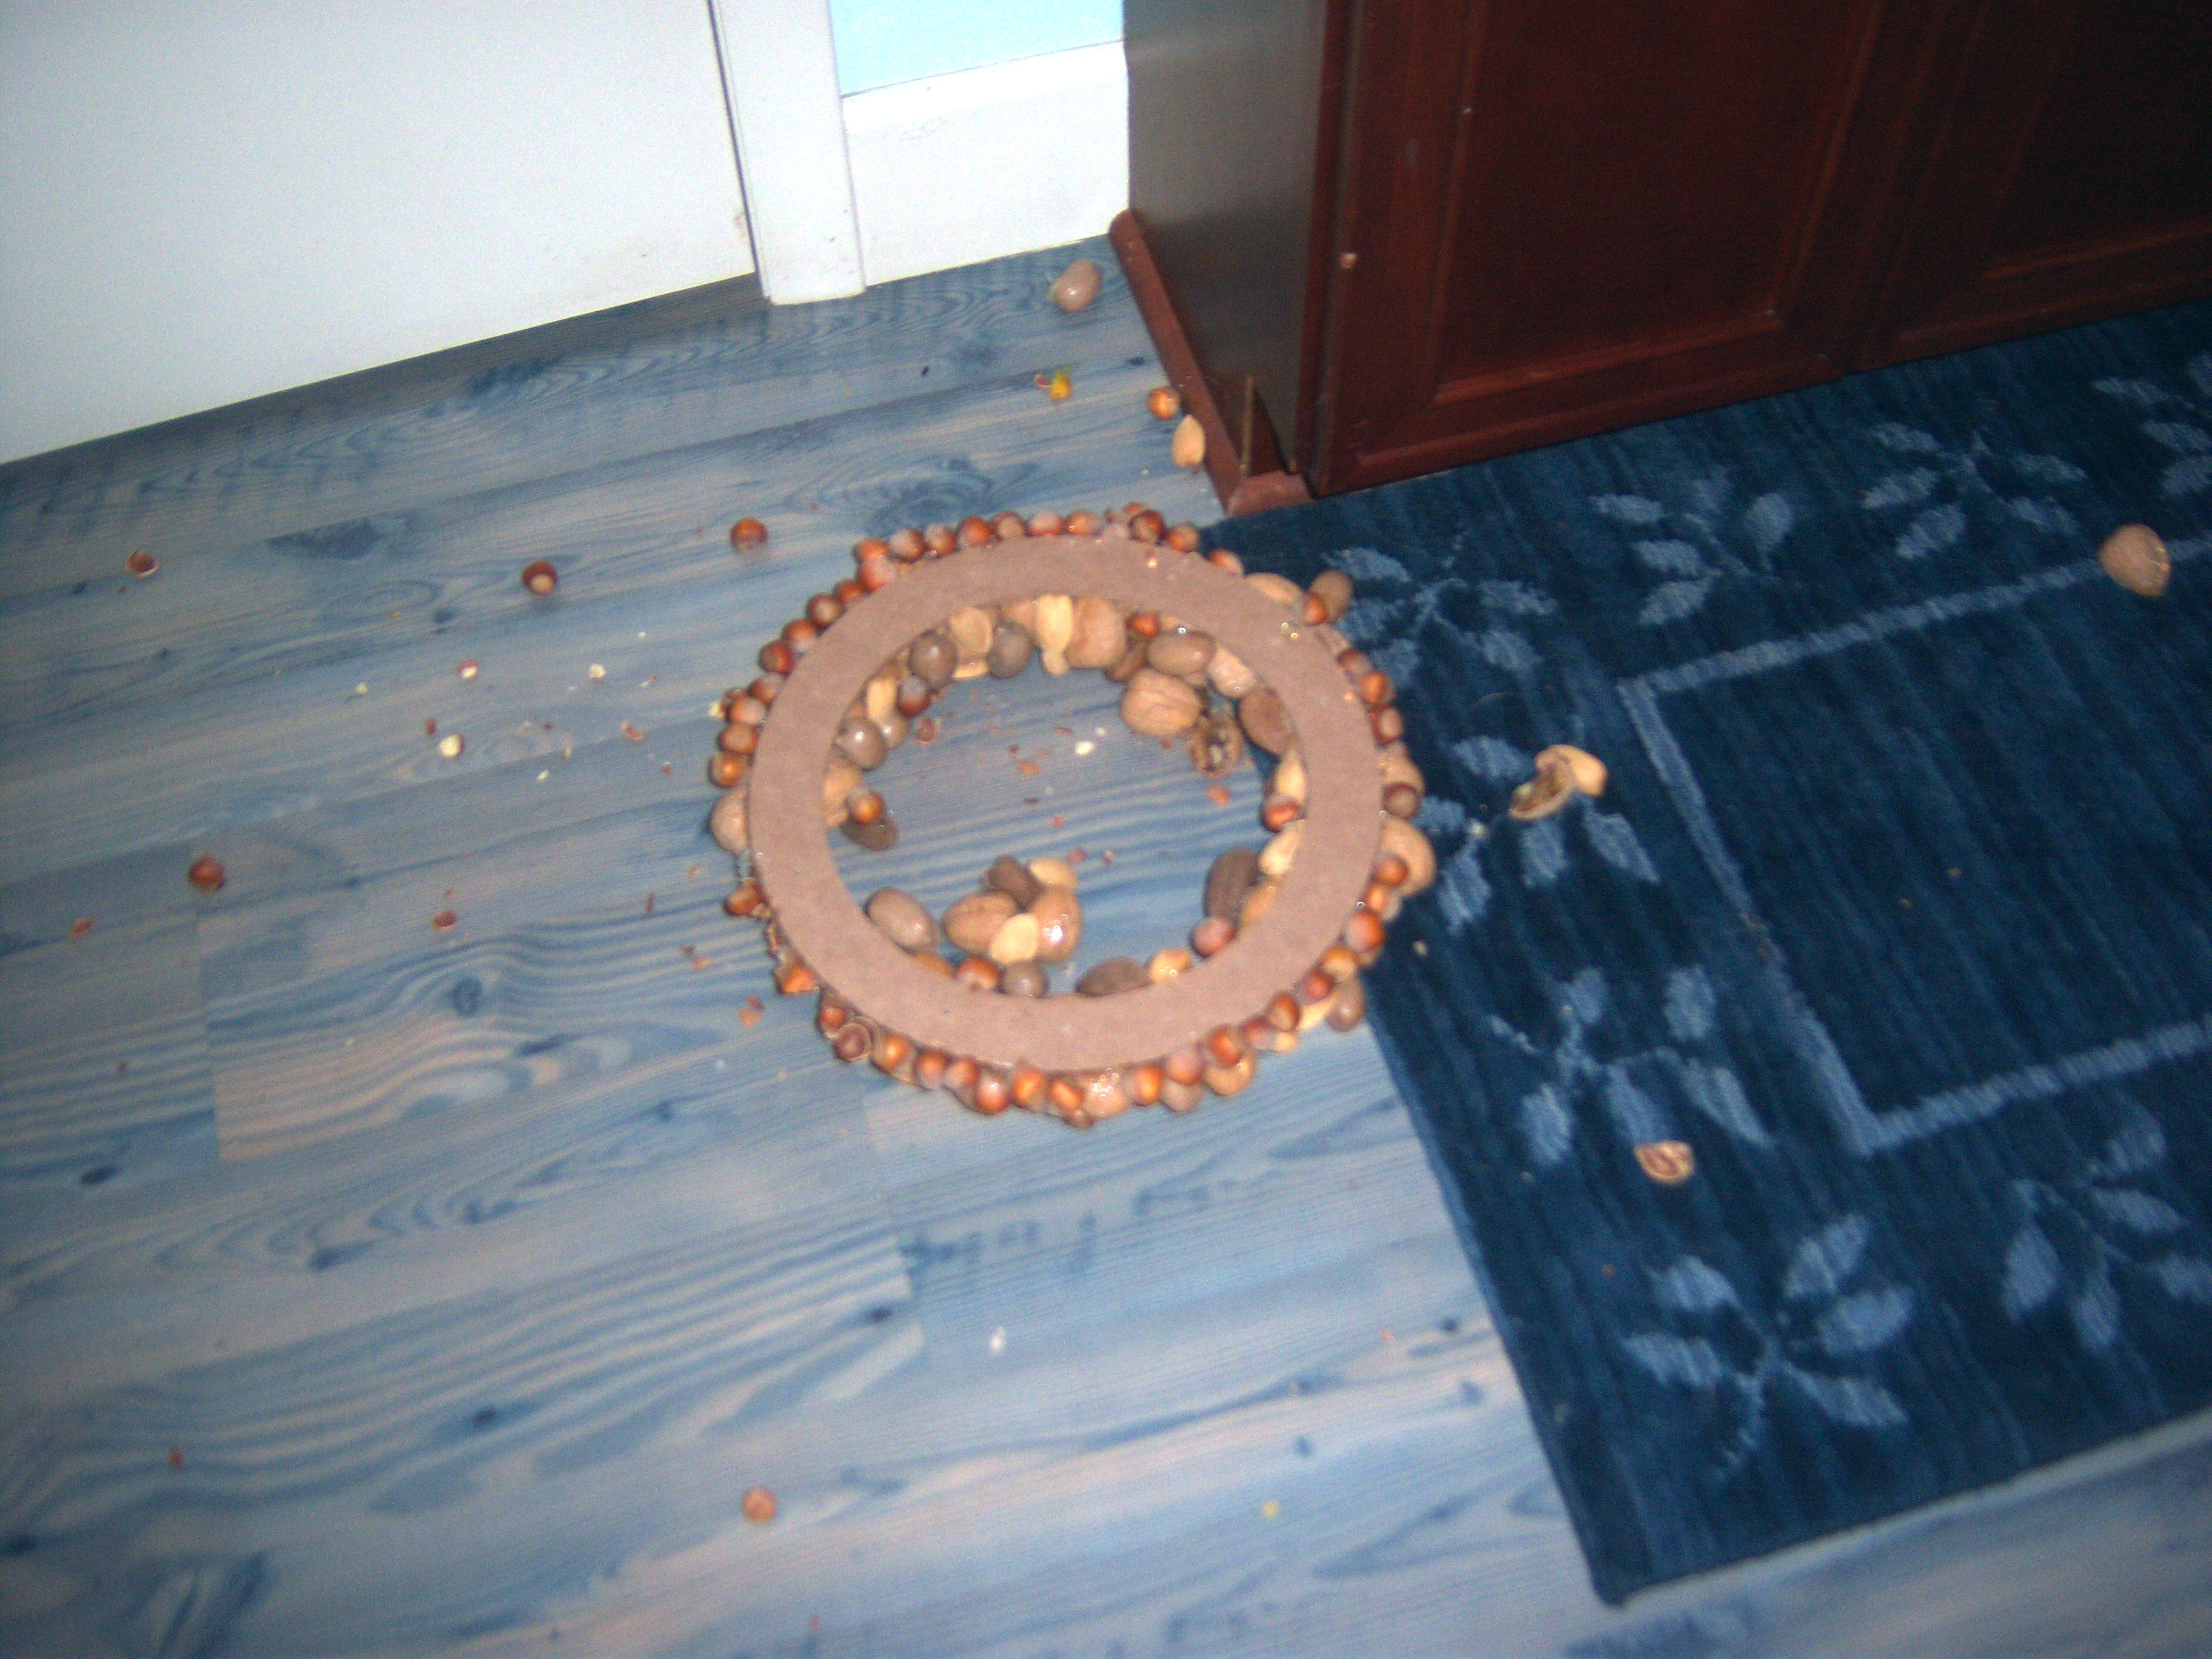
This took a lot more time than I thought it should have and we kept adding nuts to try to cover up holes. Finally, we thought we had something decent and Mr. MarthaAndMe hung it up using fishing line (8 lb test!). Big mistake. It came nut wreath2crashing to the floor and shattered. Yikes. Martha might have mentioned you need something really strong to hang this from!

Most of it was intact, so we replaced the nuts that broke or fell off and finally had something ready to hang. Mr. MarthaAndMe suggested we hang it outside and watch the squirrels try to take it apart. I am sure they would have figured out a way! Instead, we hung it on the kitchen pantry door (I don’t why the wall color looks so incredibly horrible in this photo – that is really bothering me!).

nut wreathI think it actually turned out pretty nicely.

Did you make this? Please post a link in the comment section to your results. Please visit everyone else’s results and leave them comments!

Bookmark and Share

This week’s Martha Mondays is the nut wreath from November Living, chosen by Sara at SassySuppers. I spent $16 on this for nuts and the wreath form. I cheated and bought a 12 inch form while Martha says to use a 24 inch form. I would have needed double the nuts if I had done … Read more

Feeling a little nutty? The Martha Mondays project for 11/2, chosen by Sara at SassySupppers is the nut wreath on page 57 of November Living. Get those hot glue guns fired up! My results will be up on 11/2 – please share yours whenever you make it! If you post when you’ve got it up on your blog, then everyone can visit each other’s to see the varied results.

Bookmark and Share

Feeling a little nutty? The Martha Mondays project for 11/2, chosen by Sara at SassySupppers is the nut wreath on page 57 of November Living. Get those hot glue guns fired up! My results will be up on 11/2 – please share yours whenever you make it! If you post when you’ve got it up … Read more

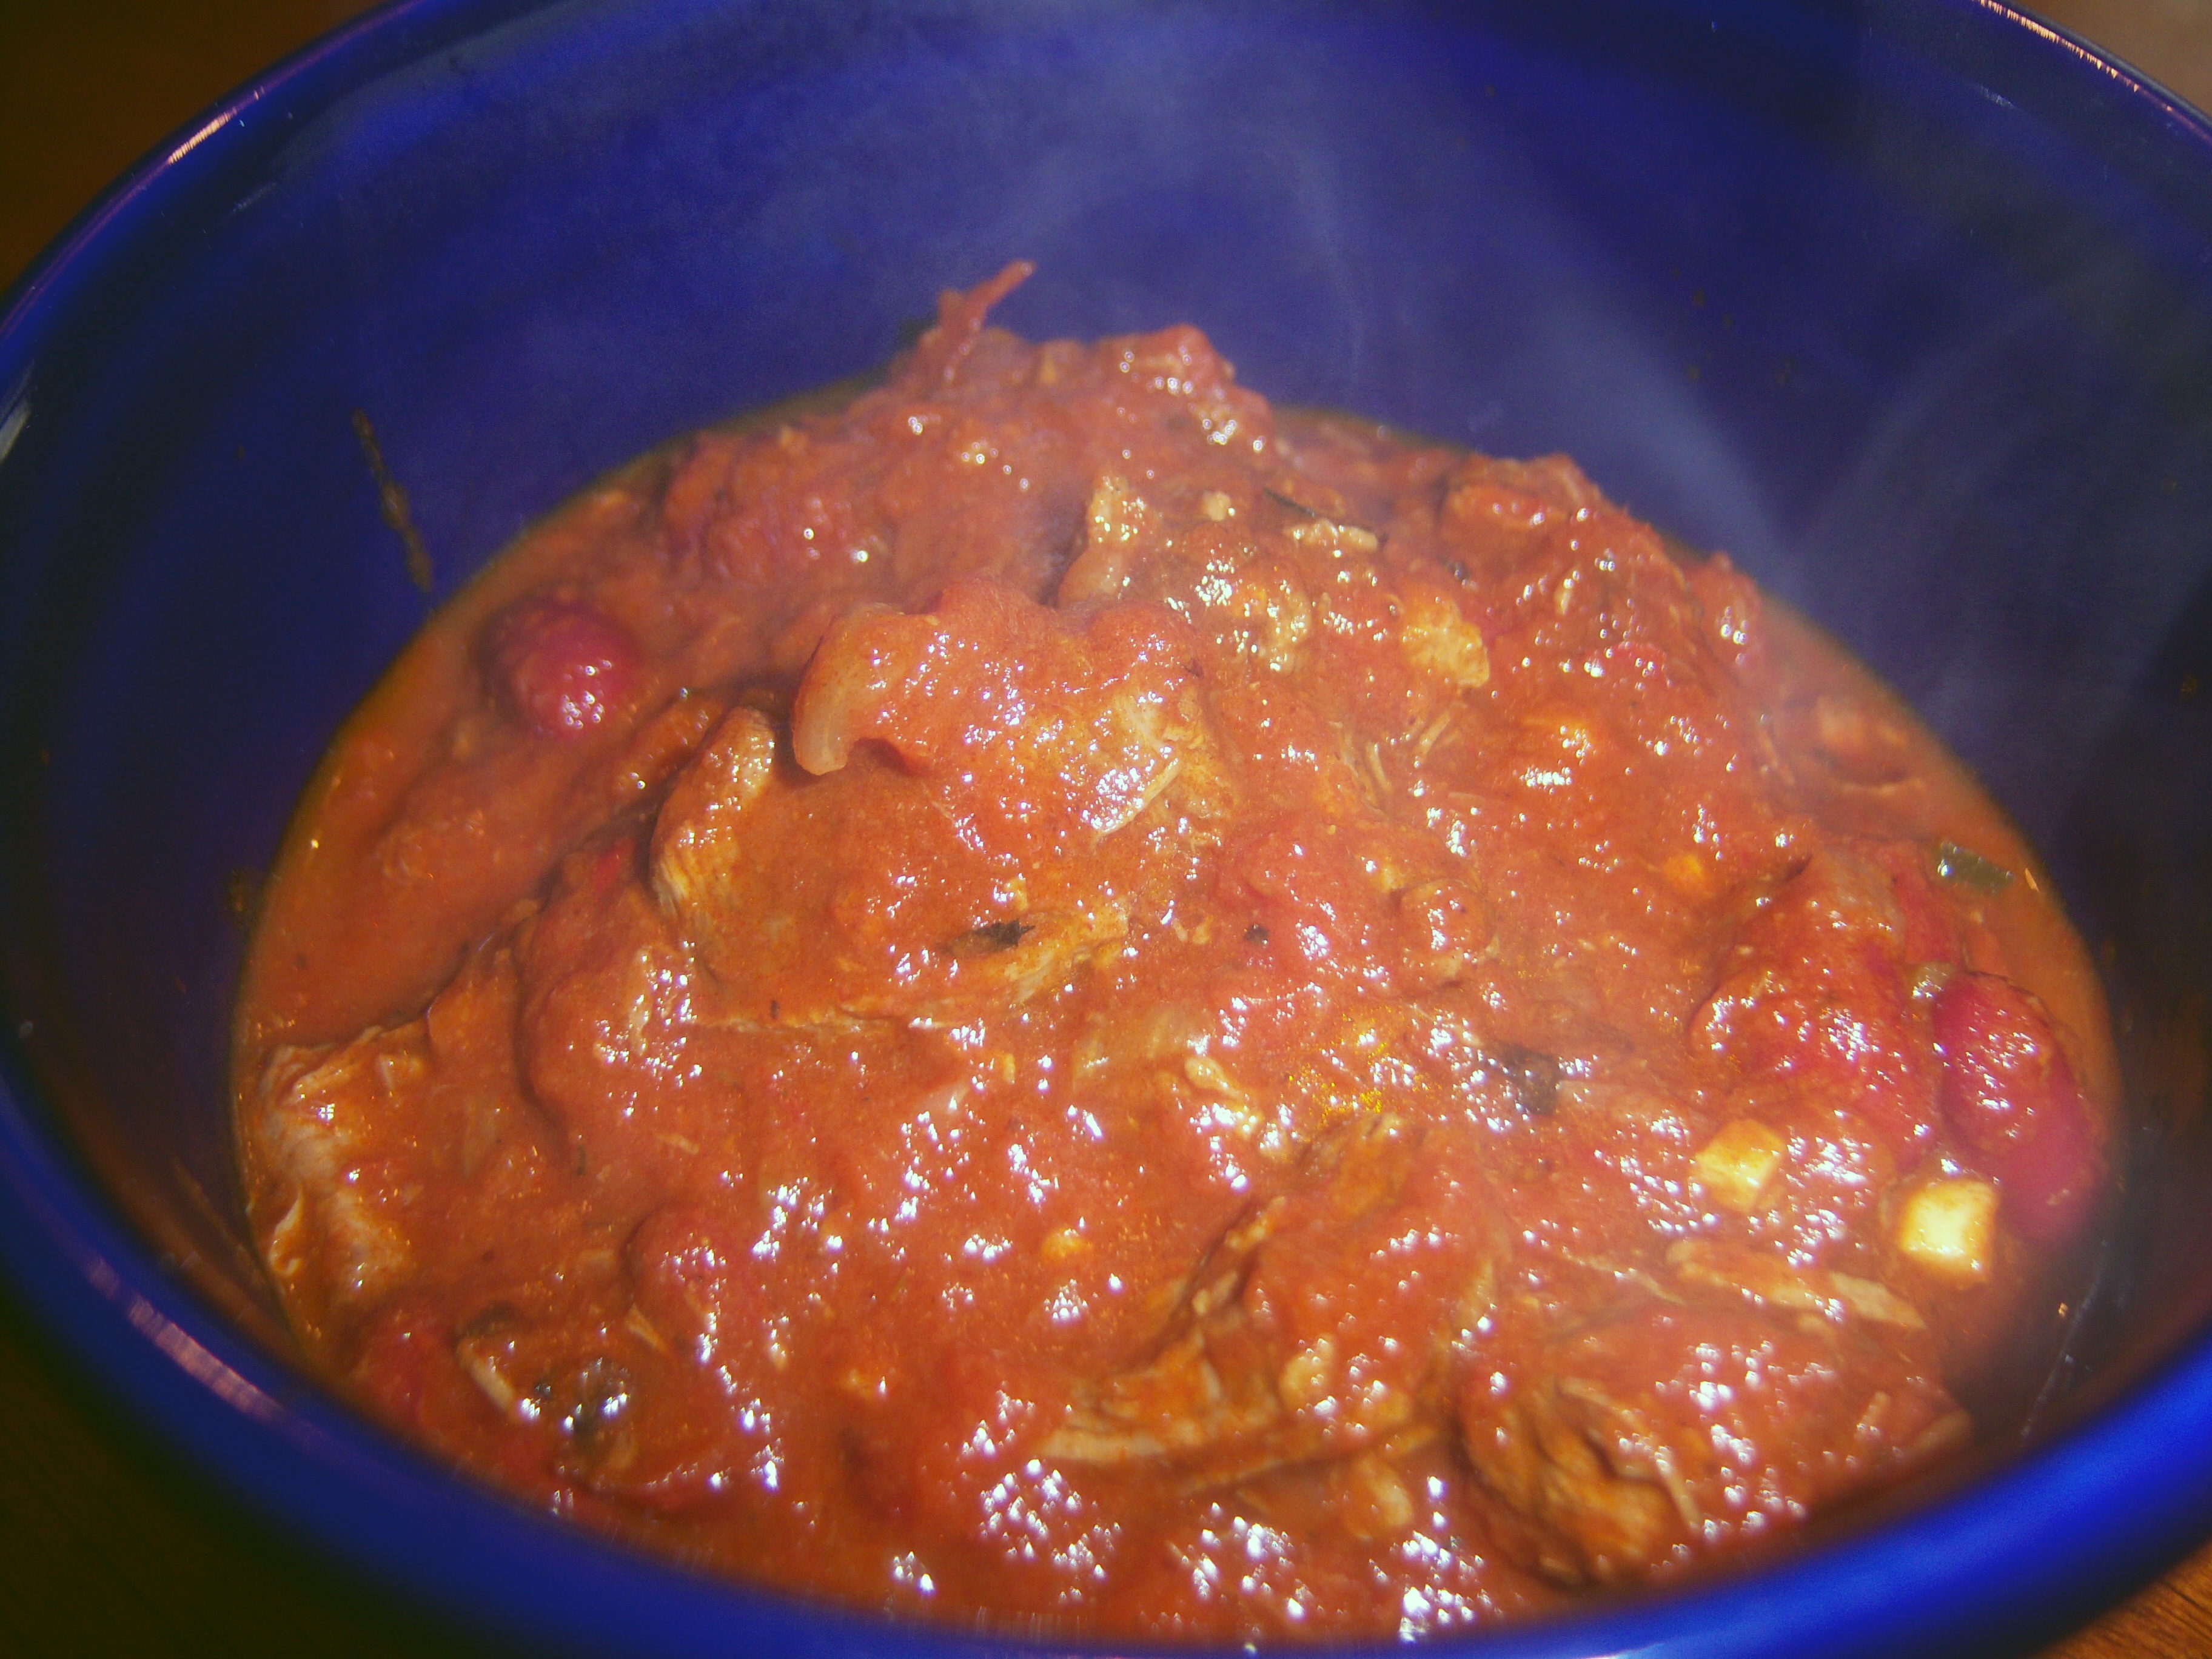
mondaysThis week’s Martha Mondays is Texas Red Chili, from the October issue of Martha Stewart Living (p. 62) chosen by Megan at MegansCookin.

Chili has always been one of those quick meals I’ve pulled together using ground meat and a package of seasoning. I’ve never made it from scratch, so texas chilithis was a new frontier for me. First stop, the grocery store. I’ve never bought dried chilis. I didn’t even know where to find them! I ended up buying what were called “New Mexico” chilis since that was the only type they had. I had no clue if they would work.

The first step in the recipe involves the chilis. You’re supposed to put them in a skillet on the stove and blister them. I did this. Then you remove the stems and seeds. No problem. Then you soak them for half an hour. Once that’s done, Martha says to put them in a blender with some of the soaking water and puree.  This didn’t work! The chilis just sat at the bottom and sides of the blender while the blades ineffectually whirred. I tried it on several settings and I tried adding more water. I got nowhere fast. So I dumped it all in the Cuisinart. This worked a little better, but it did not puree it by any means. I had big pieces (maybe 1/2 an inch to an inch) of chilis that simply did not get any smaller. After what felt like hours of scraping and trying over and over again, I gave up and just used it as it was.

The recipe uses chunks of beef, garlic, onions, cumin, oregano, jalapenos and pureed tomatoes in addition to the chili pepper pureee. It cooks for about 2 1/2 to 3 hours. This part went well. But when I tasted it, I realized it needed a lot of help. First of all, I just can’t imagine chili without beans, so I dumped in a can of kidney beans. It was very bland (which I could not believe – I was sure it was going to be firey hot!) so I added some chili powder. I also added some more tomato. Finally I got it to the point where I thought it tasted pretty good, but I had one big problem – the pieces of dried chili were tough and stuck to your tongue. So I stood at the stove and picked them out one by one as best I could. There were a lot of them. I’m glad I got them out though, because it was almost inedible with them in it.

I served this with some grated cheese. It was good, but I would never use the dried chilis again – they were such a disaster. I suppose it’s possible to make this with fresh chilis, but I don’t know if I would go that route either. I did like having pieces of beef in it as opposed to ground meat – it tasted more like real food. Mr. MarthaAndMe thought this was ok. Teen Martha wouldn’t try it and Dude Martha didn’t like.

Bookmark and Share

This week’s Martha Mondays is Texas Red Chili, from the October issue of Martha Stewart Living (p. 62) chosen by Megan at MegansCookin. Chili has always been one of those quick meals I’ve pulled together using ground meat and a package of seasoning. I’ve never made it from scratch, so this was a new frontier … Read more

mondaysThe Martha Mondays assignment for 10/26 is the chili from October Living (p. 62). Thanks to Megan at MegansCookin for the pick. As always, anyone who needs the recipe, just let me know.

If you’re interested in joining Martha Mondays, just leave a comment or send me an email and I’ll add you to the blogroll.

The Martha Mondays assignment for 10/26 is the chili from October Living (p. 62). Thanks to Megan at MegansCookin for the pick. As always, anyone who needs the recipe, just let me know. If you’re interested in joining Martha Mondays, just leave a comment or send me an email and I’ll add you to the … Read more

mondaysFor this week’s assignment, I chose pork and chive potstickers (Oct Everyday Food) and Luminarias (October Living) so folks could choose one they wanted to do.

Potstickers

potstickerslsqMy family loves potstickers. I’ve bought them frozen and I’ve also made my own once or twice before, but I used wonton wrappers and ended up with little beggar’s purses. I was ready to make real potstickers. Lucinda Scala Quinn recently made this recipe on Martha’s show. The recipe is pretty easy, as far as prep goes.  I used ground turkey instead of pork which I mixed with the chives, soy sauce, sherry, ginger, sesame oil and cornstarch. On tv, I noticed Lucinda added a little water, which is not in the recipe.

I sealed the mixture in the wrappers, which took a while, since I tripled this recipe. I tried to make pretty pleated edges, but mostly it bunched up. The recipe says to boil them for 4 minutes, then sear them in a pan. I was taught to make potstickers by heating a pan with oil, searing the potstickers then adding a little water and putting a lid on and steaming them and that’s how I always have made them in the past. I followed Lucinda’s instructions on this though. It required an extra pot and I had some trouble with the potstickers sticking together when I set them on a plate in between the two steps. It did allow me to sear them on both sides, when in the past I usually seared just the bottom.

The dipping sauce was nice – soy sauce, rice vinegar, sugar and sesame oil. I made about 1/3 of the potstickers (since I tripled the recipe) and froze the rest (which I admit will be very handy to have around, so thanks for suggesting it Lucinda). The family ate every single one and wanted more. I thought they were good, but next time I would add a little more flavor. Maybe it was because I used ground turkey, but I found them a little bland. I think they needed garlic. Other than that, they were quite good.

Luninarias

tracing the template

tracing the template

I was hesitant about this project. I’m always a little leery when something that looks so complicated is spelled out in three tiny little steps. The first problem was the materials. The instructions specifically say to buy a piece of 24×36 black paper.  No one sells this. I went to Michael’s, Joann’s and a local art supply store. The art supply store had paper that was 22 x 30 so I ended up buying that and then it turned out it was more than big enough and regular poster size would have worked (grrrr). They did have vellum but I had no idea what weight I wanted. I had to buy one big piece of vellum and cut it down (would have been nice if the instructions said to buy four 8×11 pieces which is what I ended up needing). Sometimes I think that the MSLO folks who create these projects forget that the rest of us don’t live in NYC where you can buy absolutely anything.

Once I got through the craziness of trying to find the materials, this wasn’t

cutting out the vellum (see the price tag!)

cutting out the vellum (see the price tag!)

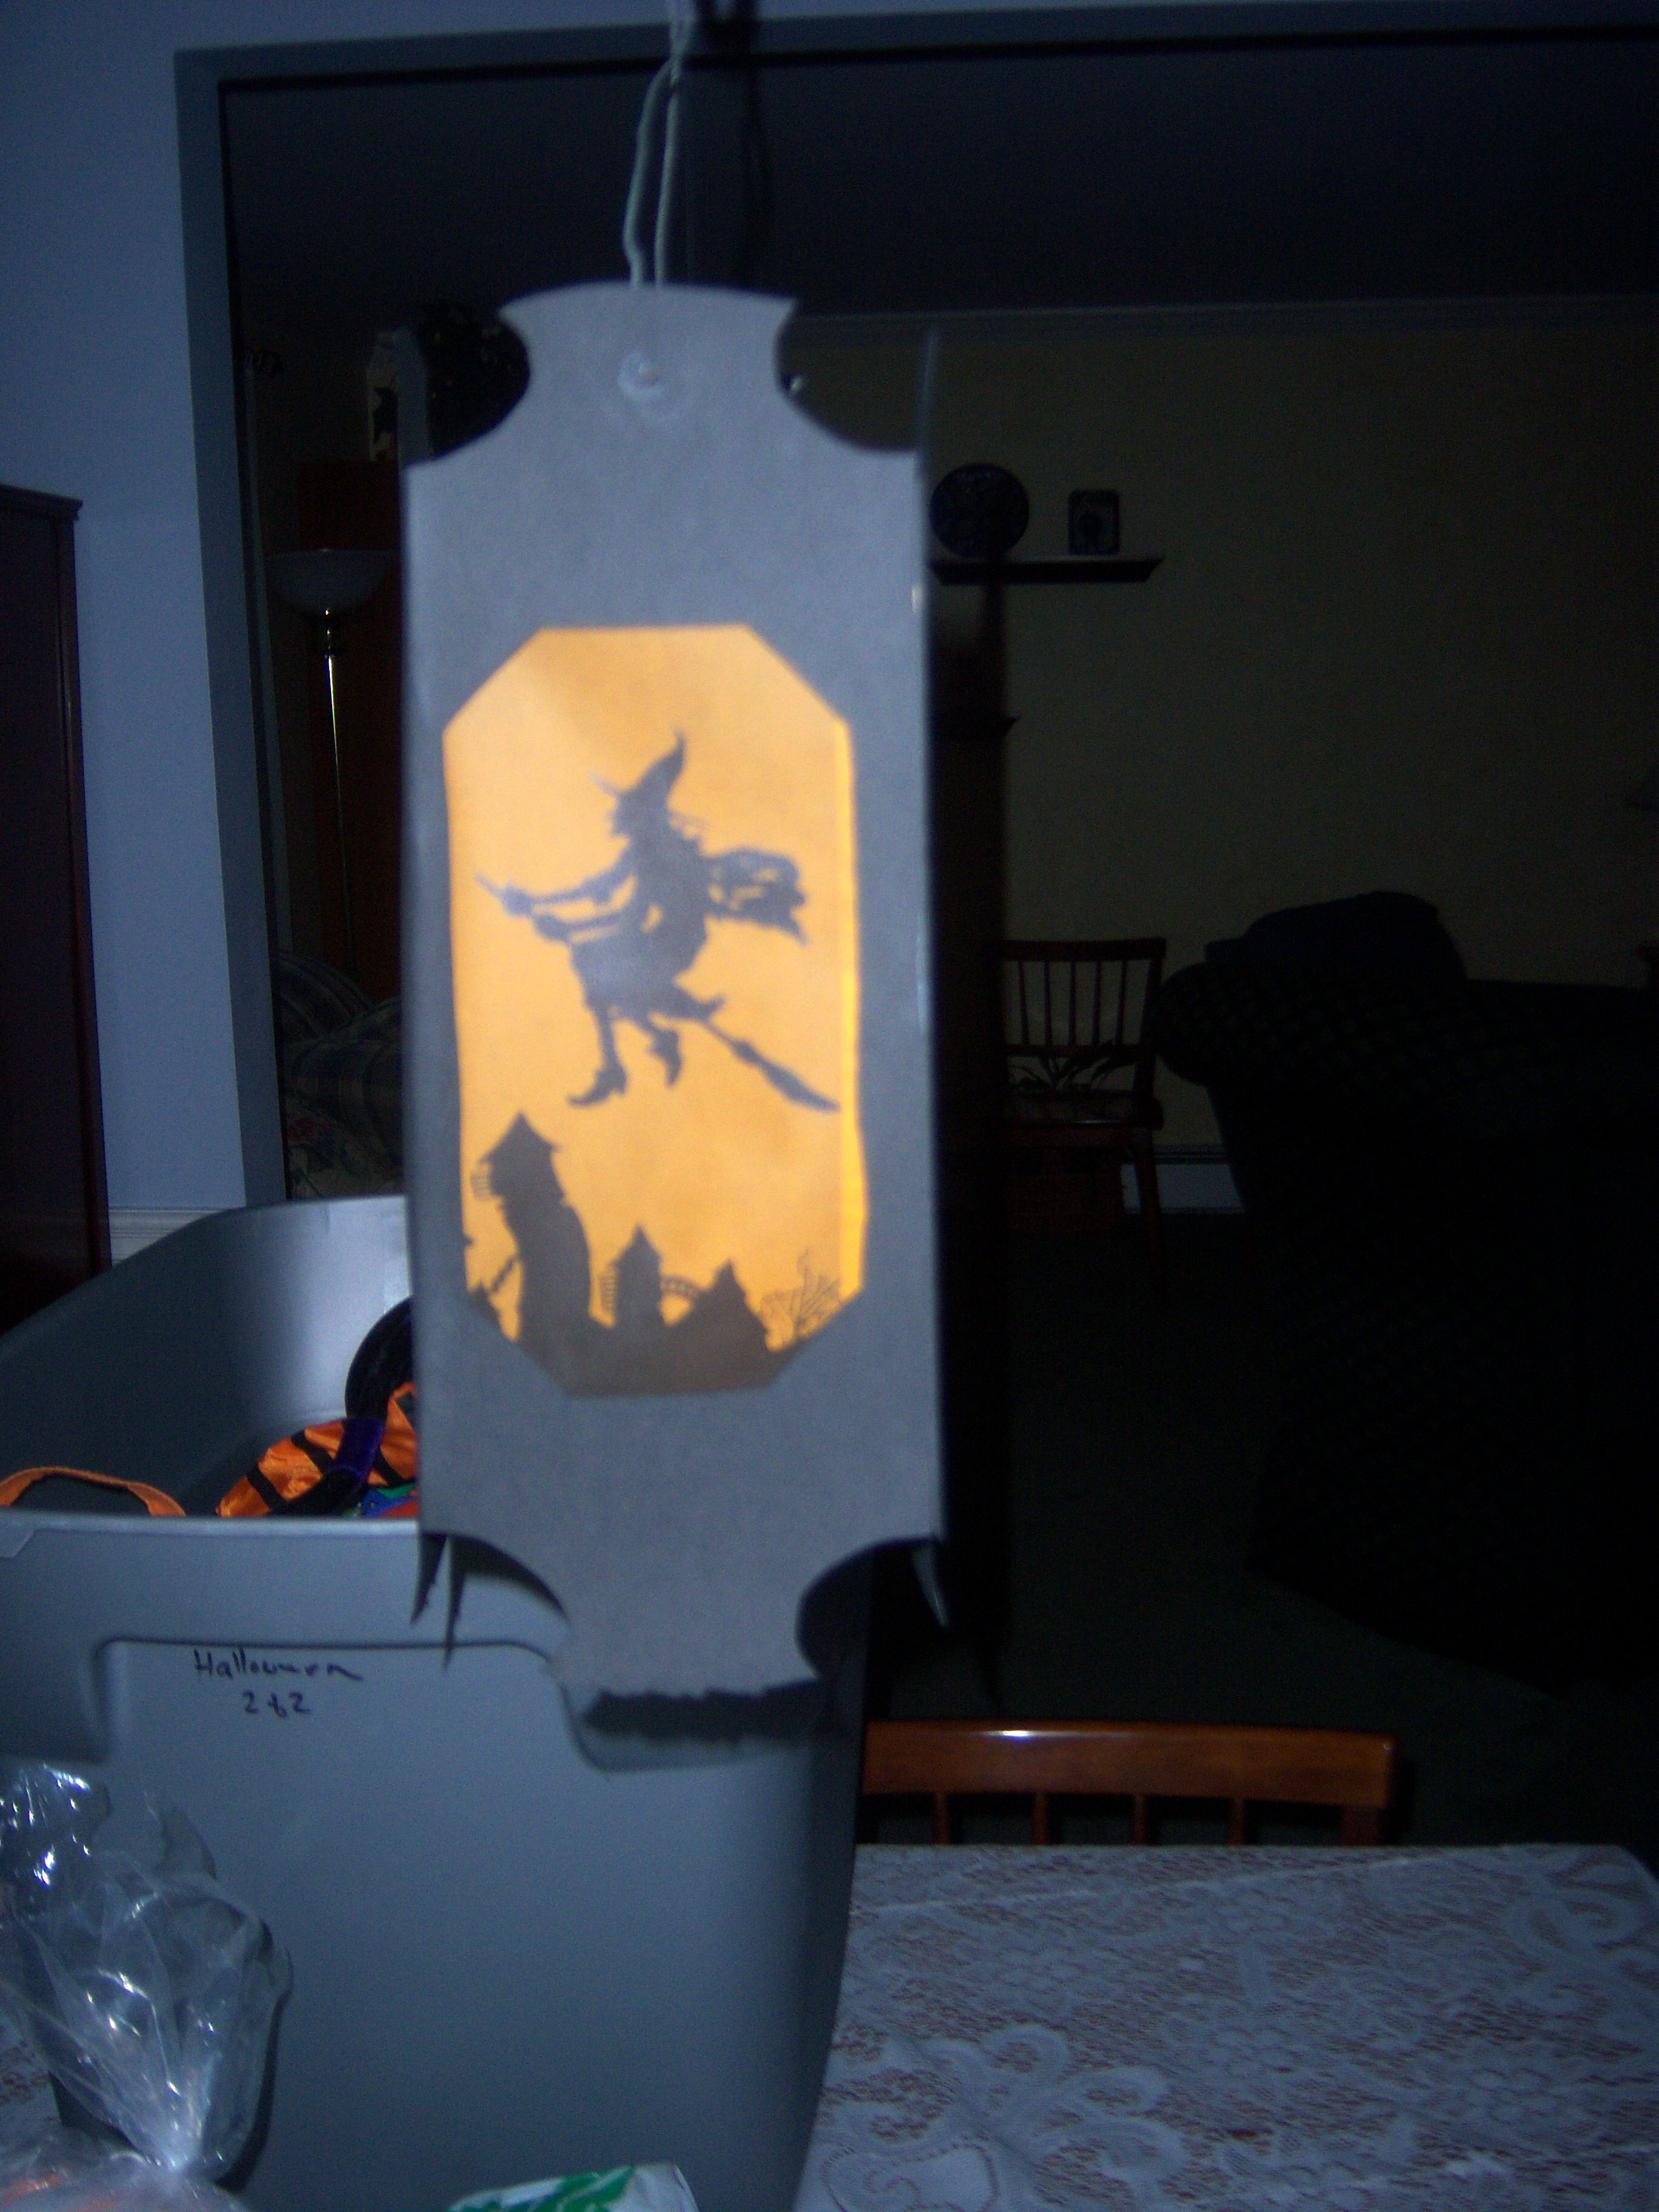
that hard to do. Mr. MarthaAndMe helped out because I’m not so good with a craft knife. We printed out the template for the lantern and traced it on the black paper, then cut it out with the craft knife.  Then we printed the witch template onto the pieces of vellum we had cut down to size. (Mr. MarthaAndMe was very upset about a price tag that would not come off and which had to go through the printer – we don’t understand who would sell a piece of paper meant for projects that has a price tag that won’t come off!).

luminThen we used tape to attach the vellum to the lantern windows. We folded the lantern up (I don’t have a bone folder and we were fine without it). The tricky part was attaching wire and the hanging battery powered little light inside. Mr. MarthaAndMe had to handle that part.

This project took about an hour, not counting the shopping time.  I was really quite pleased with the results. We hung it from our dining room chandelier, so that it will be over the table for the Halloween lumin3party.
Bookmark and Share

For this week’s assignment, I chose pork and chive potstickers (Oct Everyday Food) and Luminarias (October Living) so folks could choose one they wanted to do. Potstickers My family loves potstickers. I’ve bought them frozen and I’ve also made my own once or twice before, but I used wonton wrappers and ended up with little … Read more

mondaysThis week, it’s my turn to choose the next Martha Mondays assignment. This posting was delayed because I couldn’t decide! I know many of you prefer the recipe assignments, but I really wanted to do a craft.  So I decided to pick one of each, so those of you who are craft-resistant wouldn’t feel left out. So my main pick is the luminarias in October Living  – pages 78 and 80. I’m going to attempt to make one.  If you need the instructions, let me know.

If you don’t want to try this, let’s do the potstickers from October Everyday Food as the alternate selection. I’ll do both the craft and the recipe and you can pick which you want to do. I’m hoping someone will try the luminarias with me!

Bookmark and Share

This week, it’s my turn to choose the next Martha Mondays assignment. This posting was delayed because I couldn’t decide! I know many of you prefer the recipe assignments, but I really wanted to do a craft.  So I decided to pick one of each, so those of you who are craft-resistant wouldn’t feel left … Read more

mondaysThis week’s Martha Mondays recipe is Easy Sticky Toffee Pudding, chosen by SweetLorraineBakeshop. Sticky toffee pudding is a very English dessert, and one we enjoyed on our recent UK trip.  I’m not sure how hard it is make regular sticky toffee pudding, but this was very easy.

The cake batter was pretty basic, except you have to soak some chopped dates in hot water before adding them. Dates are not a very common ingredient in US desserts, except possibly for fruitcake.

the cake

the cake

I got the cake in the oven and I should have checked it sooner because it too brown on the bottom. I set the timer for 55 minutes (the recipe says 55-65 minutes) but I would have pulled it out sooner if I had checked it.

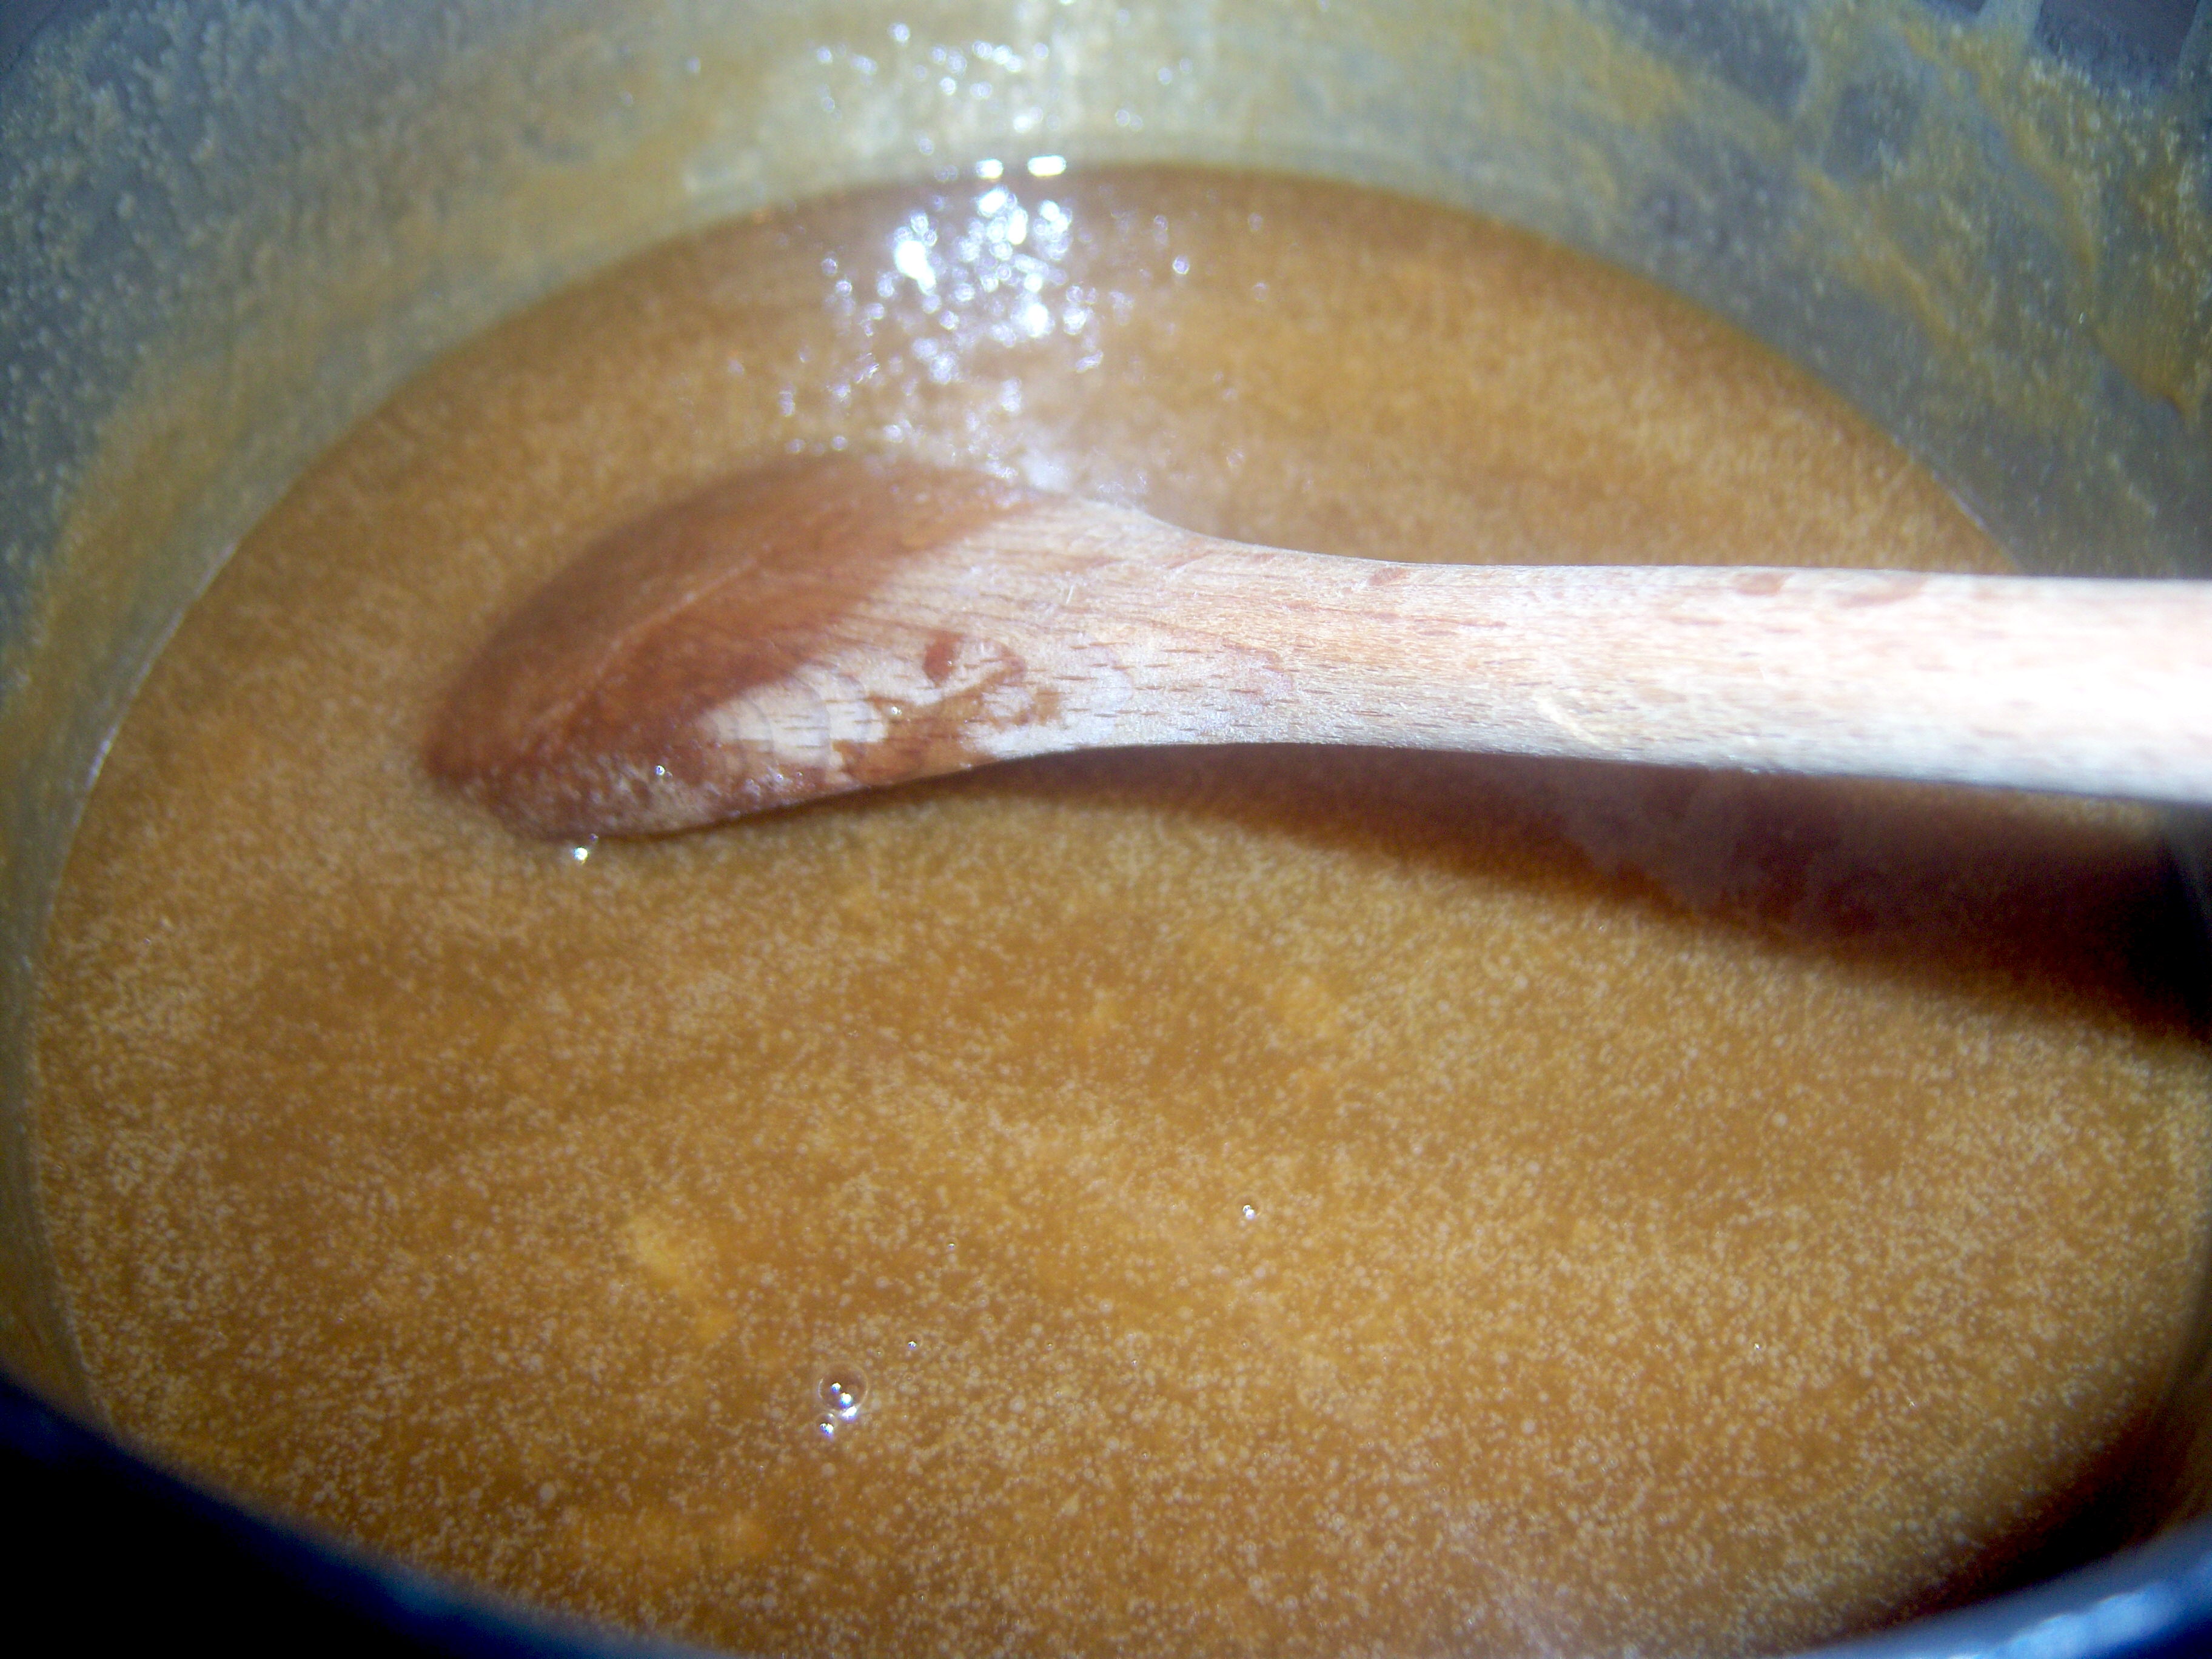
While that was in the oven, I started the toffee sauce. This stuff is evil. Brown, sweet and delicious. Oh dear.sticky toffee1 It reminded me of those hard toffee candies – Werner’s I think is the brand. Just evil.
When the cake comes out, Martha says to cool for 5 minutes, then flip it and put it back in the pan. I totally do not get that step at all.  I used a silicone baking pan so it wasn’t sticking. Maybe it would in a regular pan? I don’t know.

Then Martha says to poke holes in it with a toothpick. This felt very Paula Deen to me – kind of like her poke cakes. I made lots and lots of holes and then

sauce on the cake

sauce on the cake

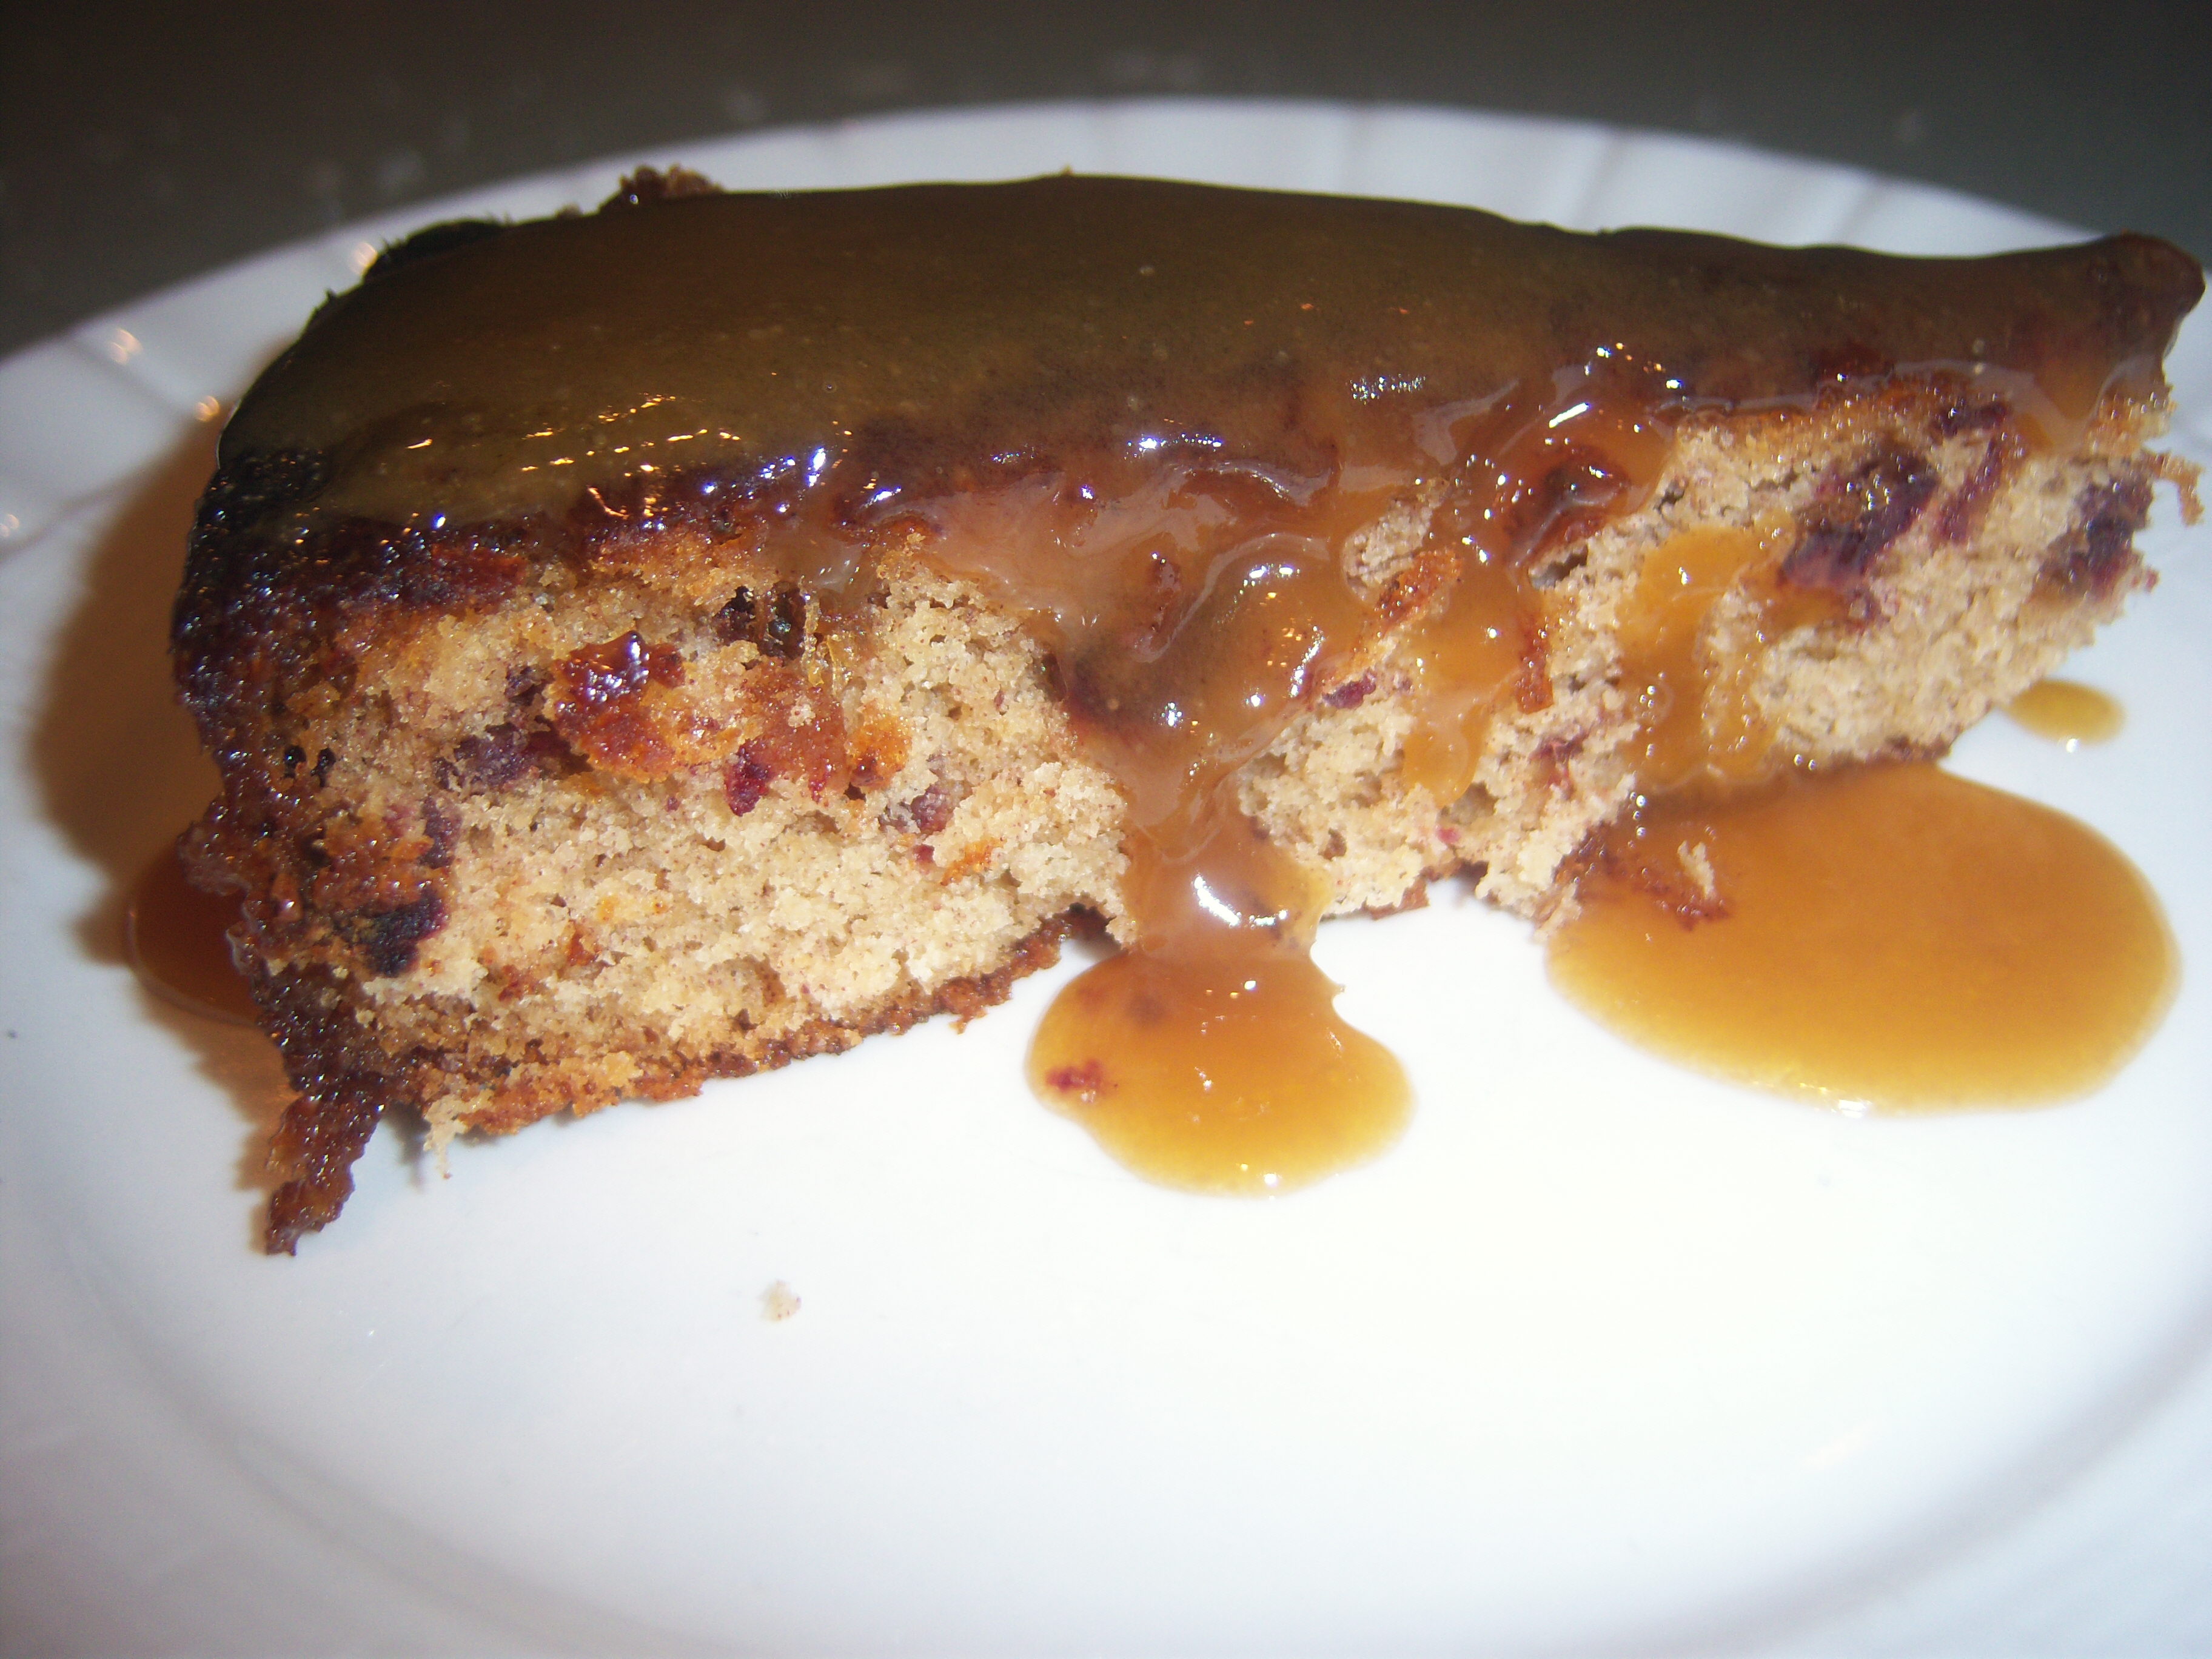
poured one cup of the sauce on top. It just sat there. It did not soak in. I let it sit a good hour before we ate it and nothing happened. Maybe some did absorb but I couldn’t see it.

Now for the taste test. We served the cake with additional sauce on it. I thought the cake itself had a nice taste but the sauce was the real winner on this. I could just eat the sauce plain or I could put it on ice cream…. I do have one complaint about the cake. The dates. I just didn’t like them in the cake. You’re eating a nice soft piece of cake and you get a chewy piece of date. I’m not a fan of raisins in baked goods either, so it’s the same objection, I guess. The flavor of the dates was fine, butsticky toffee just not the consistency. We didn’t eat the edges of the cake because it was simply overdone, but the insides were fine.

Bookmark and Share

This week’s Martha Mondays recipe is Easy Sticky Toffee Pudding, chosen by SweetLorraineBakeshop. Sticky toffee pudding is a very English dessert, and one we enjoyed on our recent UK trip.  I’m not sure how hard it is make regular sticky toffee pudding, but this was very easy. The cake batter was pretty basic, except you … Read more

mondaysLorraine at Sweet Lorraine Bakeshop has chosen Easy Sticky Toffee Pudding for Monday October 12. We tasted sticky toffee pudding on our UK trip, so I’m excited to try to make it myself.

Lorraine at Sweet Lorraine Bakeshop has chosen Easy Sticky Toffee Pudding for Monday October 12. We tasted sticky toffee pudding on our UK trip, so I’m excited to try to make it myself.

no