For Easter, I decided to make Martha’s Pineapple Mustard Glazed Ham (April Martha Stewart Living). I don’t generally make a ham for Easter. In fact, until last year, we usually were away over Easter and didn’t really celebrate at all. But this year we were home and I thought I would Martha-ify our Easter.
I often make a ham around Christmas and I usually baste it with Coke or pineapple juice and then make a glaze with brown sugar, mustard, and pineapple juice.
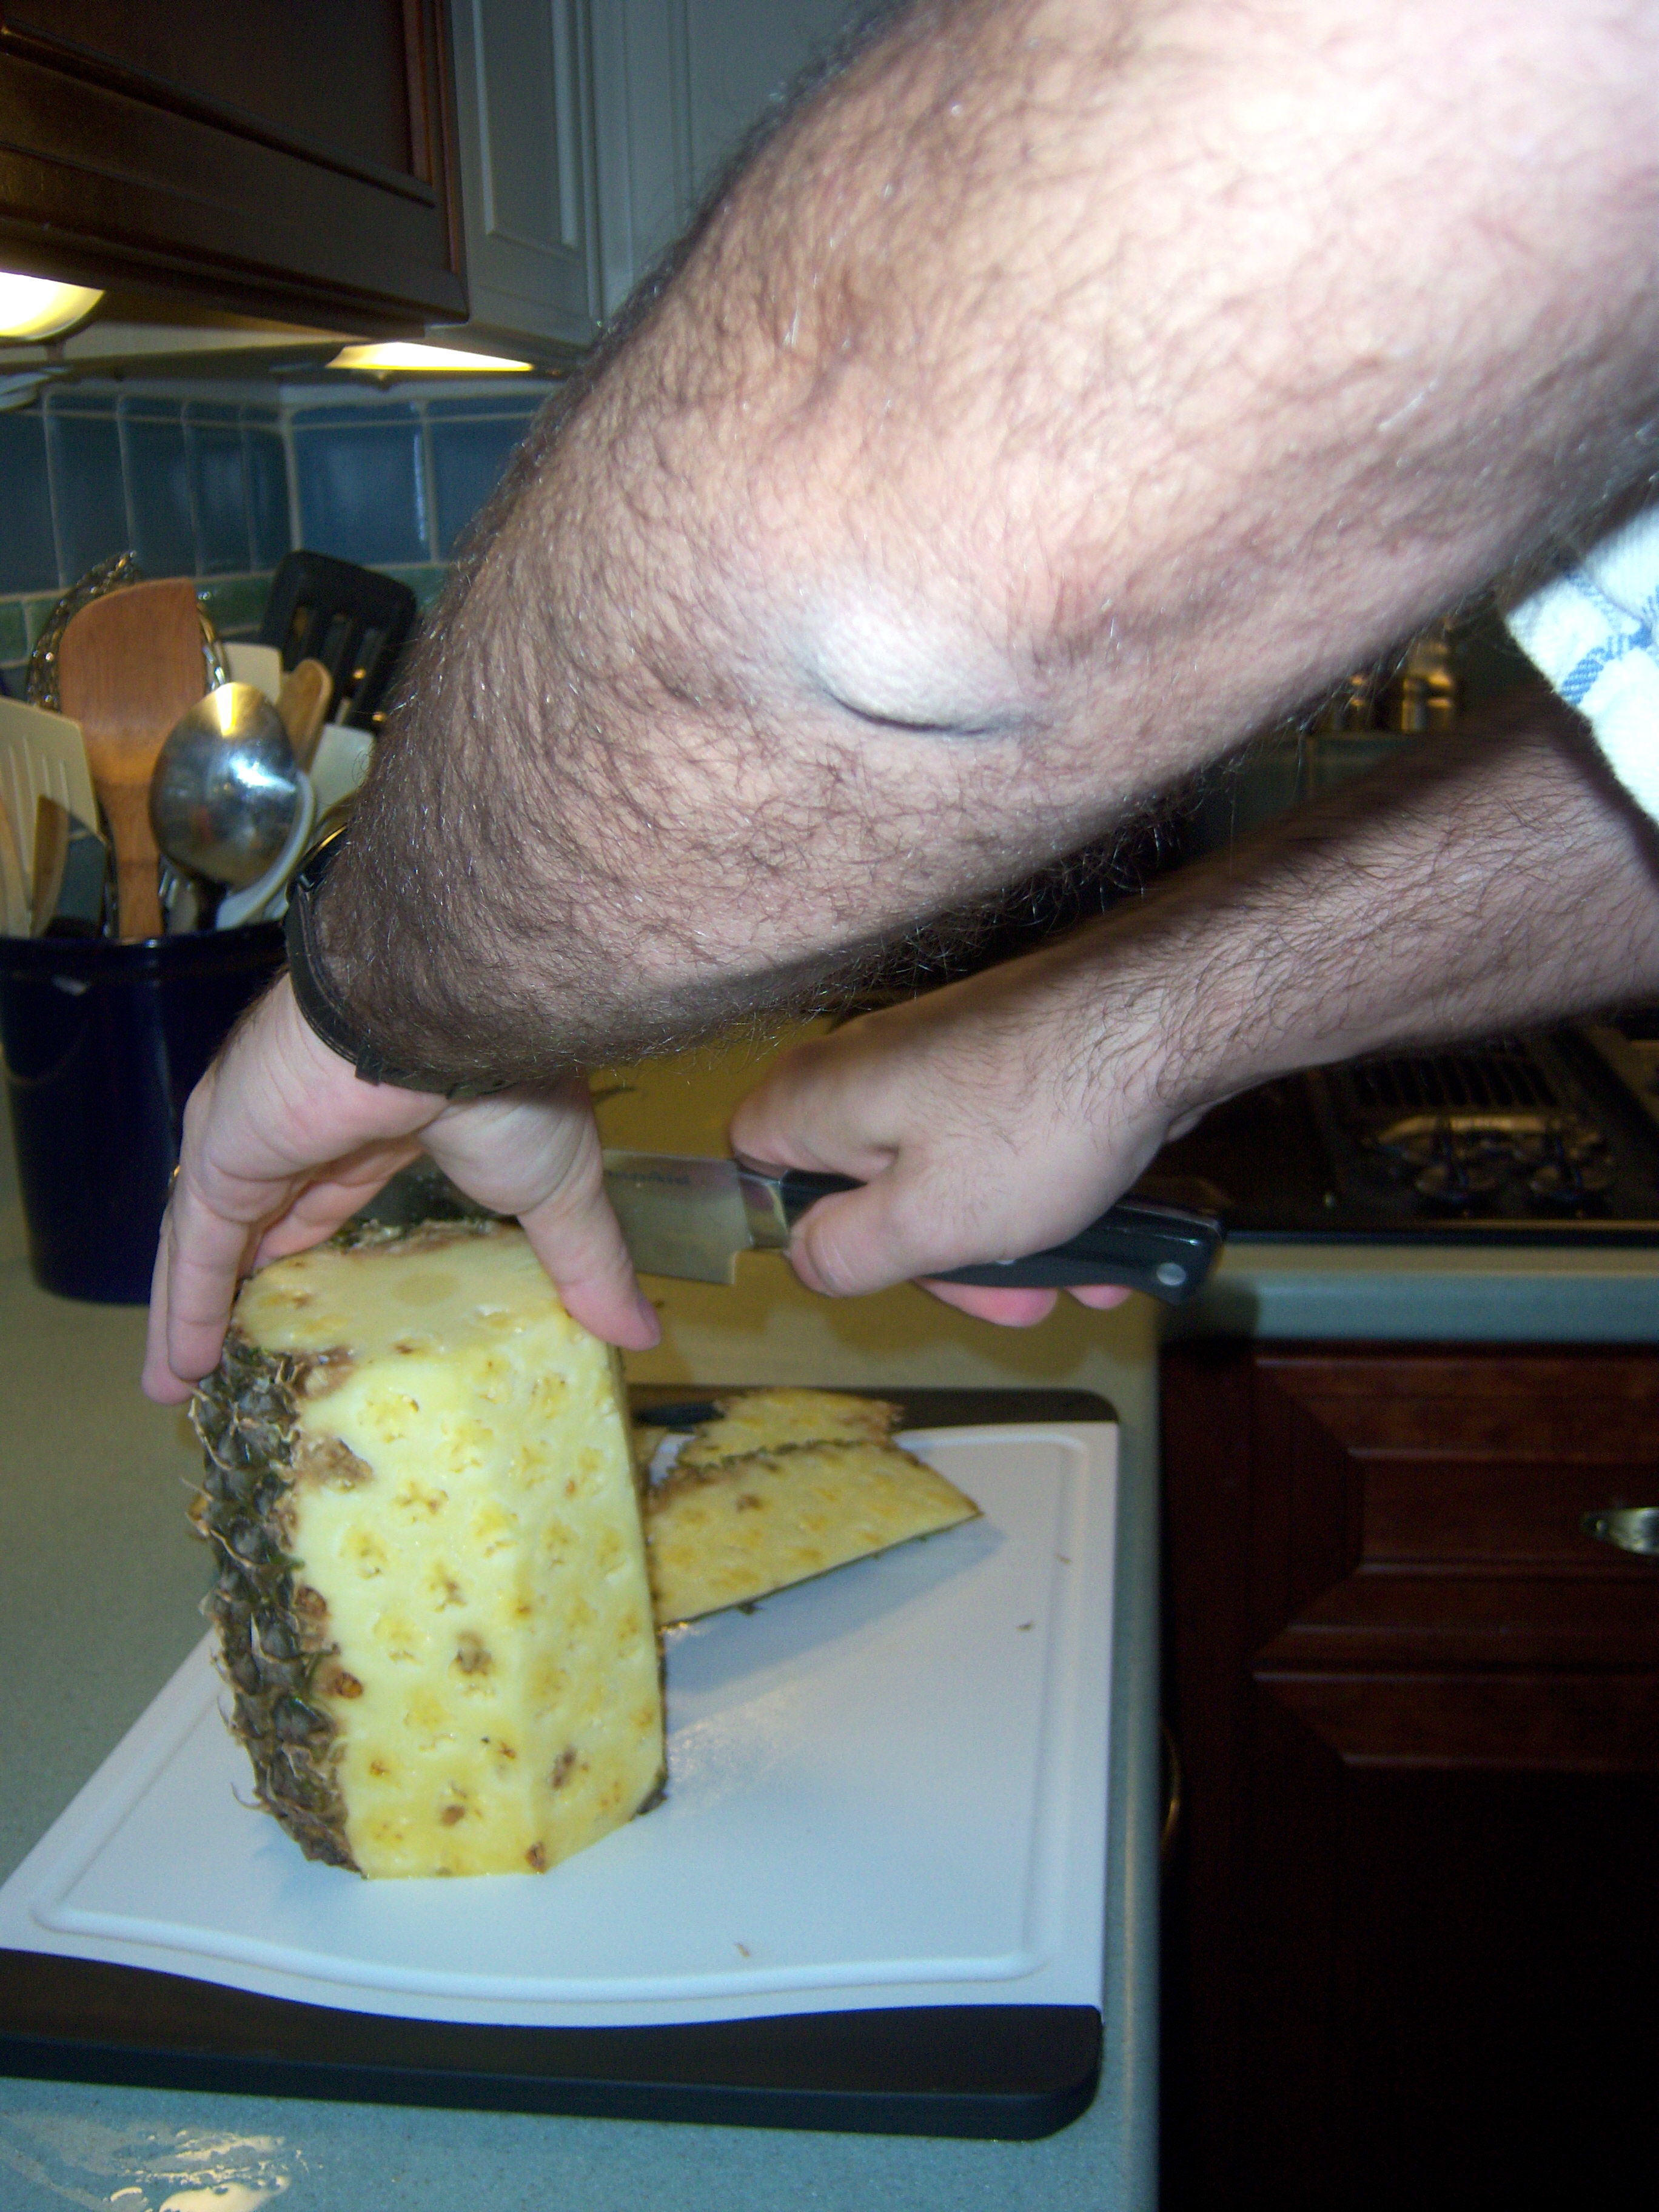 Martha’s recipe is more complicated (of course). She directs you to buy whole pineapples and peel, core and slice them (however, she does not give any instruction about how to do that). Fortunately, last summer in Hawaii we saw a demonstration of this at the Dole Plantation. Mr. MarthaandMe went to work with the pineapple. He used an apple corer to get the core out.
Once the pineapple is ready, Martha says to cook it with water and sugar for an hour to an hour and 20 minutes, until it is translucent. I did this and ended up with only half the juice the recipe says you will have. Sigh. So I dumped in some canned pineapple juice and cooked it down to the right consistency. Once that cooled, I mixed in mustard Note that at no point does this recipe say to remove the pineapple slices and reserve them, but I did take them out.
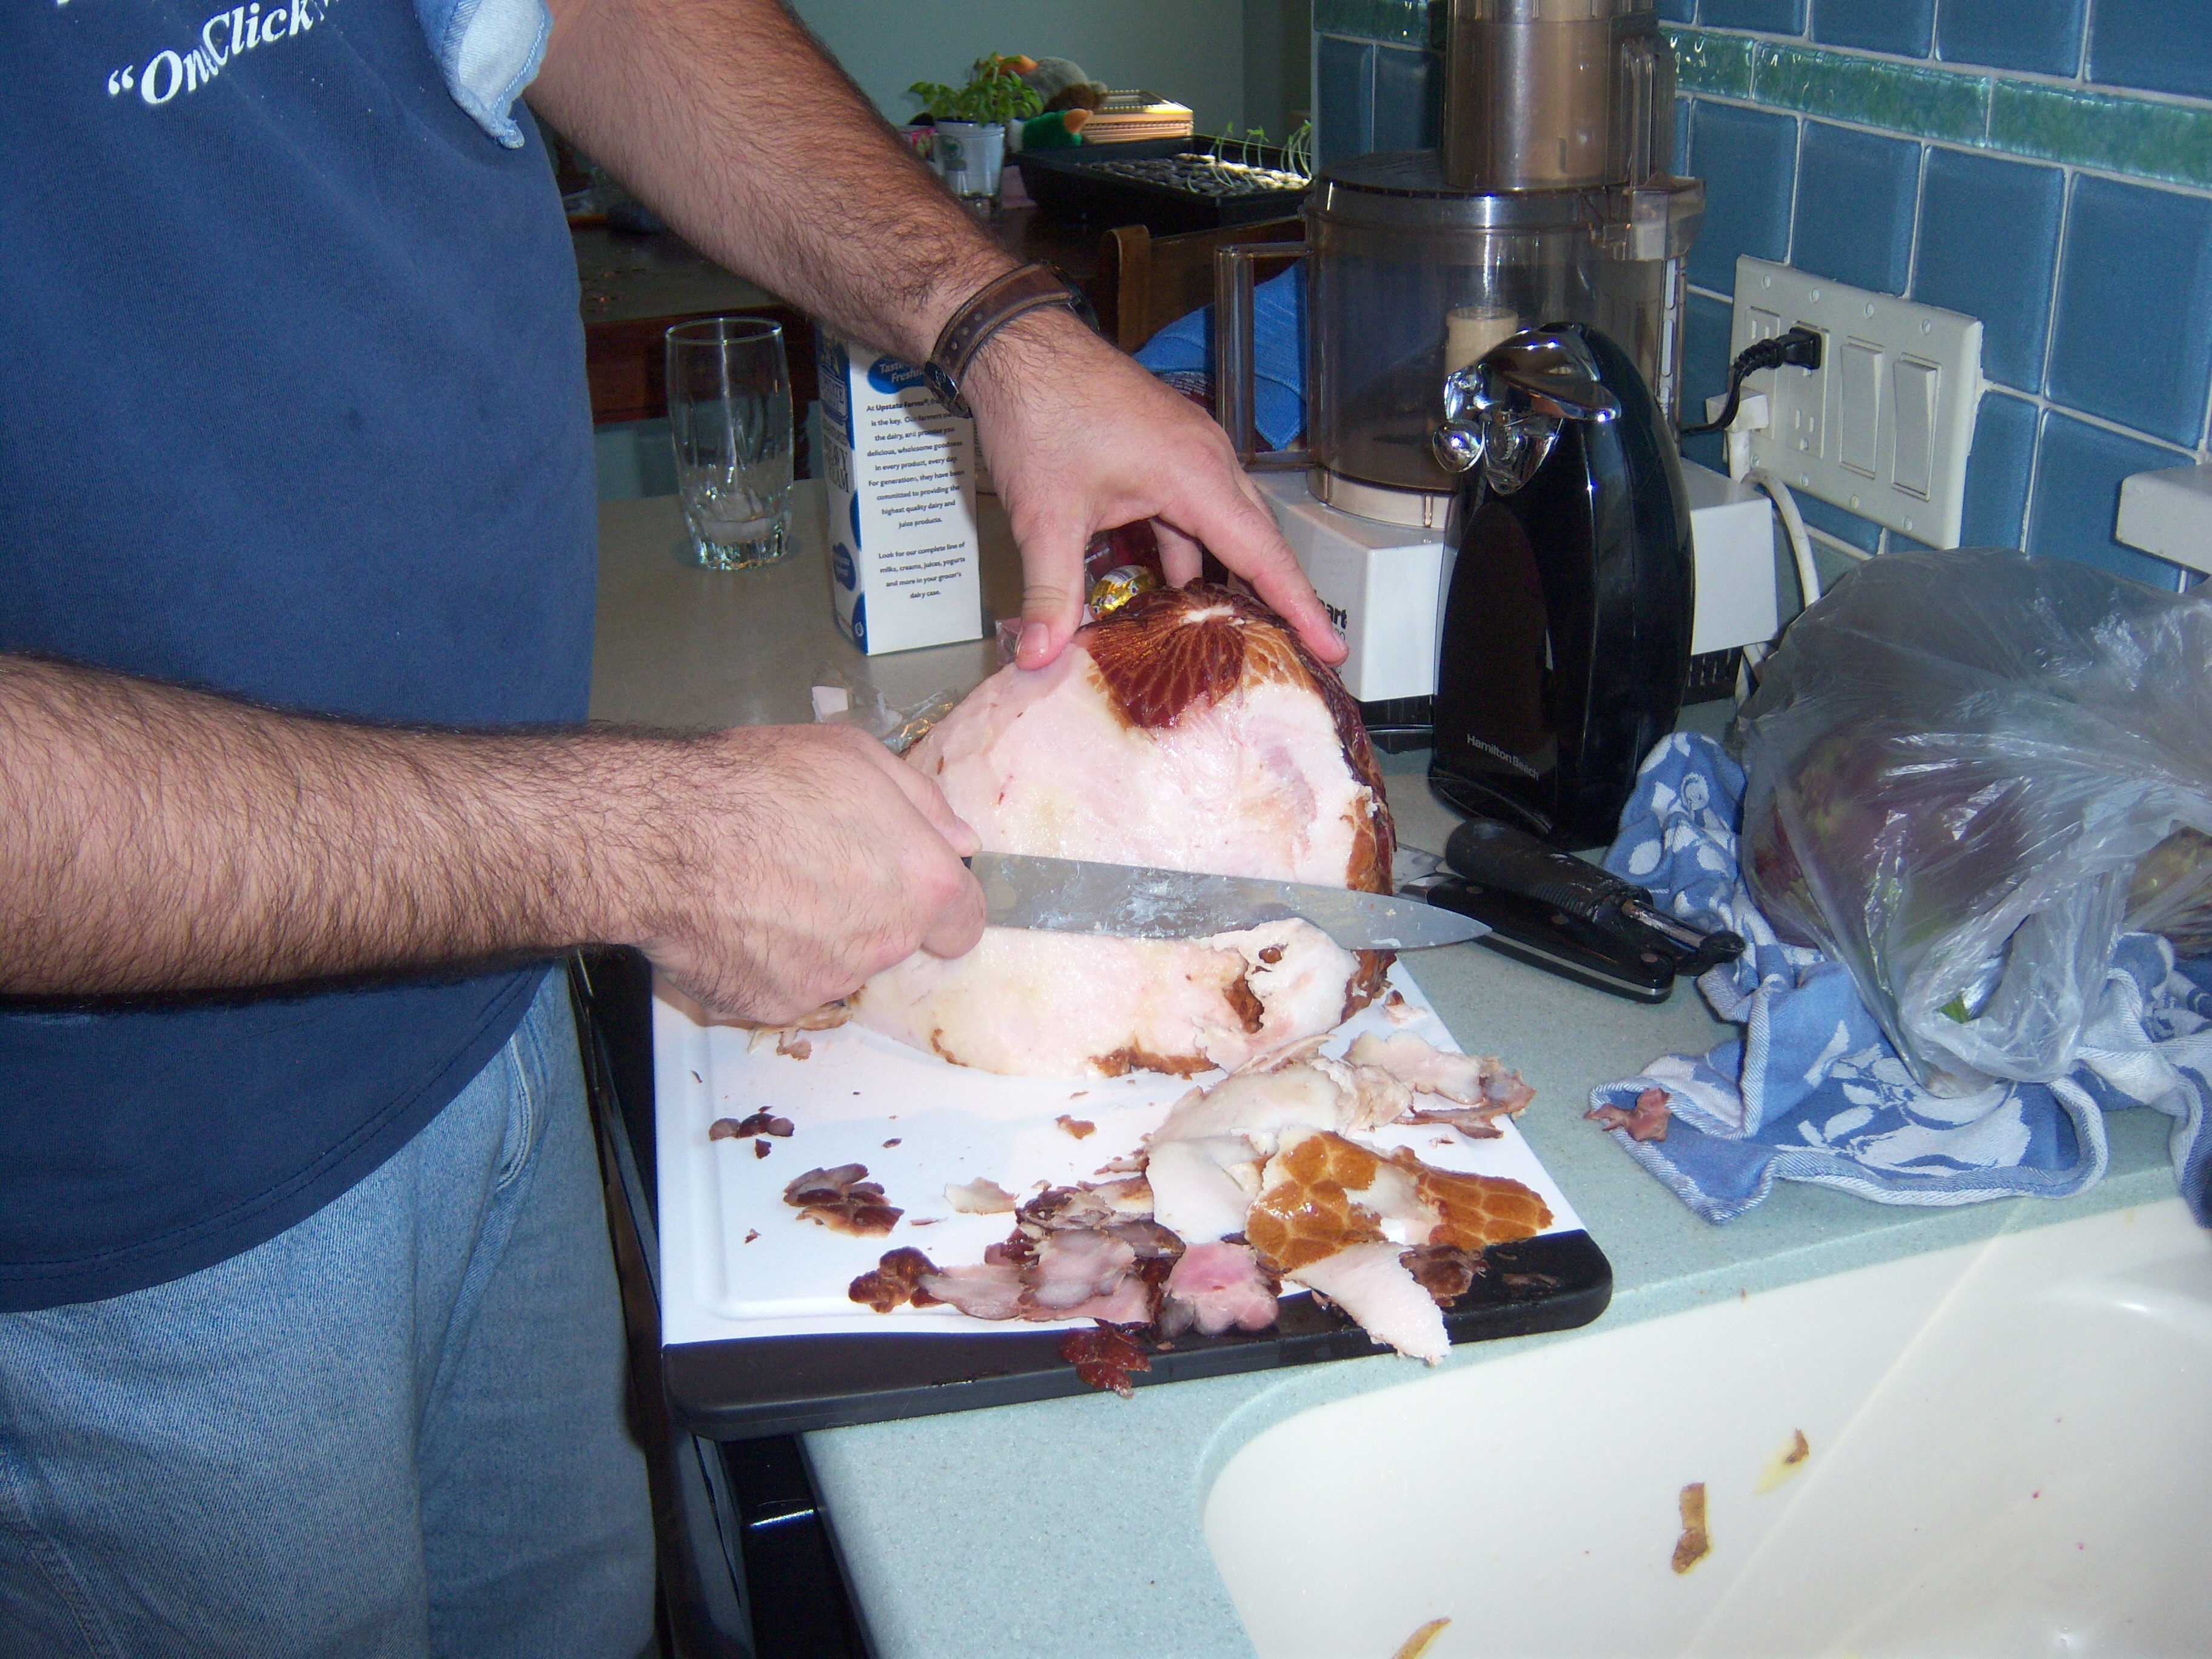
Next it was time to prepare the ham. Martha says to trim excess skin and fat and leave about 1/4 inch of fat. It has never occurred to me to remove the skin from the ham, but it struck me as a brilliant idea. I don’t like the skin or the fat and you make this wonderful glaze and it sits on the skin and doesn’t soak into the meat at all and you never taste it. So, Mr. MarthaandMe trimmed the ham. Next, I scored it and inserted cloves.
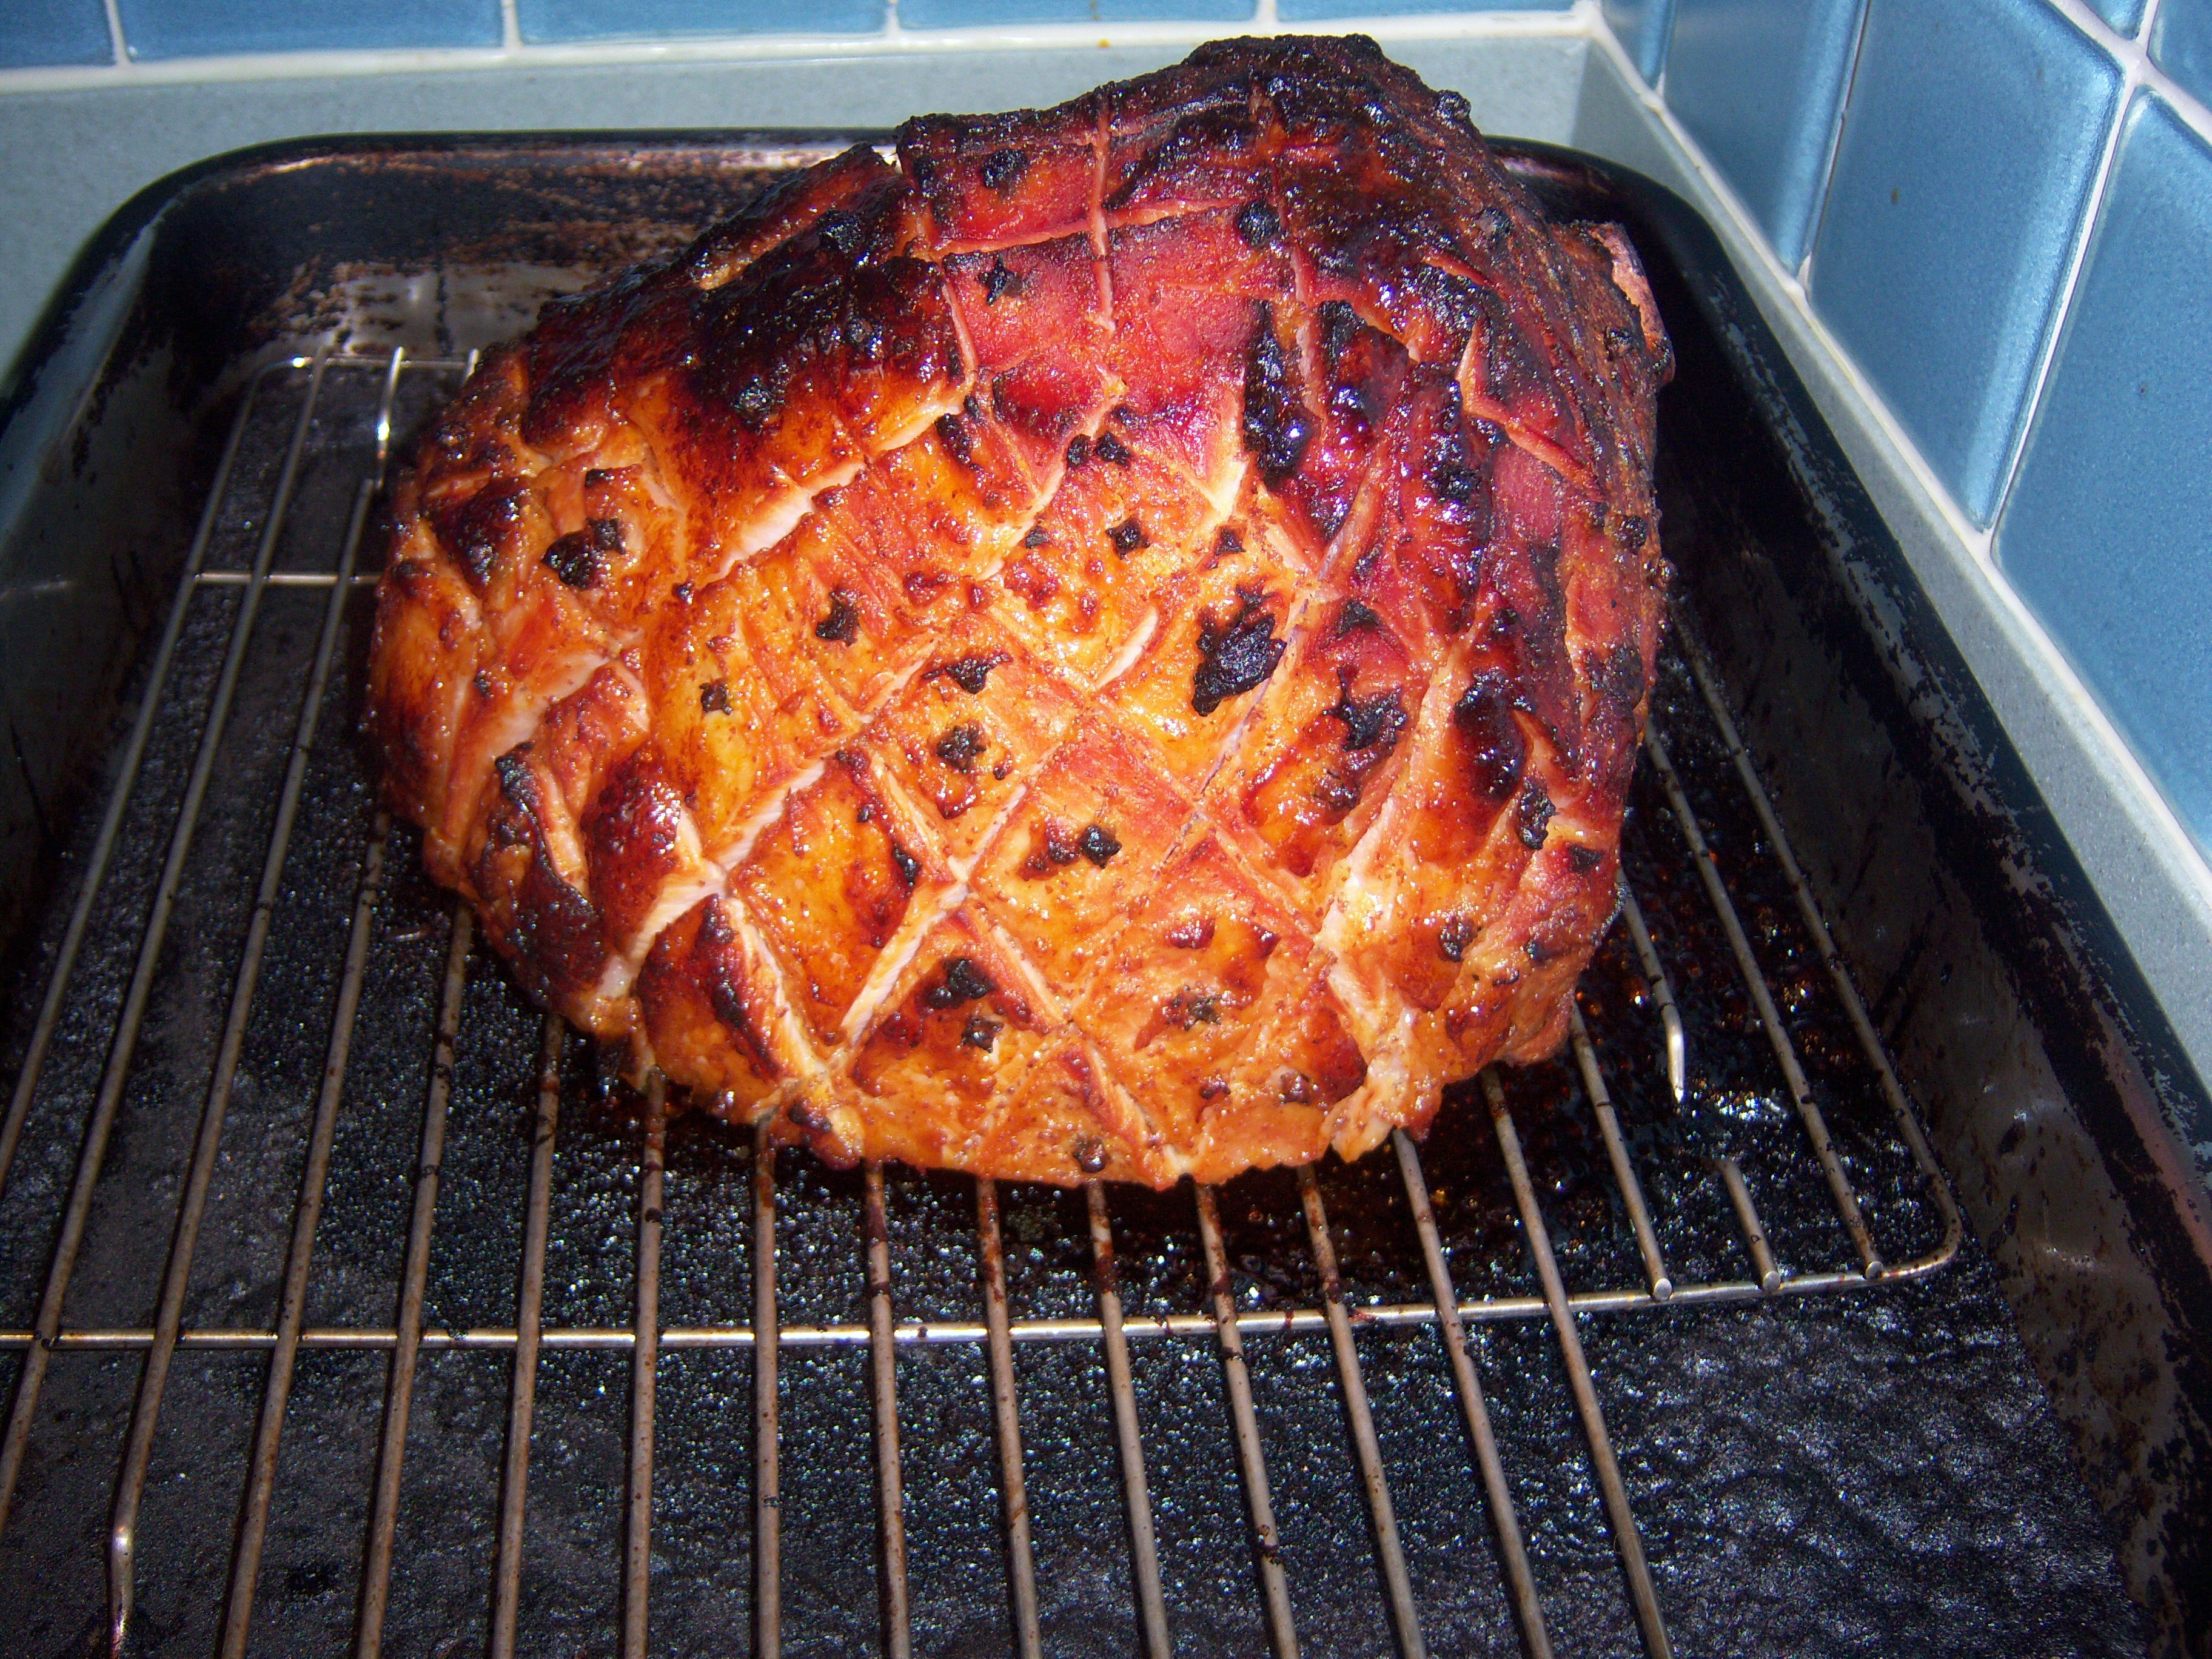
 I brushed on half the glaze, covered it with parchment and foil and baked as directed. I then removed the covering, poured on the rest of the glaze and finished baking. Martha makes reference to pan drippings, but everything in my pan burned to a crisp. In fact, I had to turn the oven temp down. Martha said to cook at 425 with the ham uncovered. My ham started to burn and smoke at that temp.
The recipe says to let the ham rest, and then to serve with the pineapple and 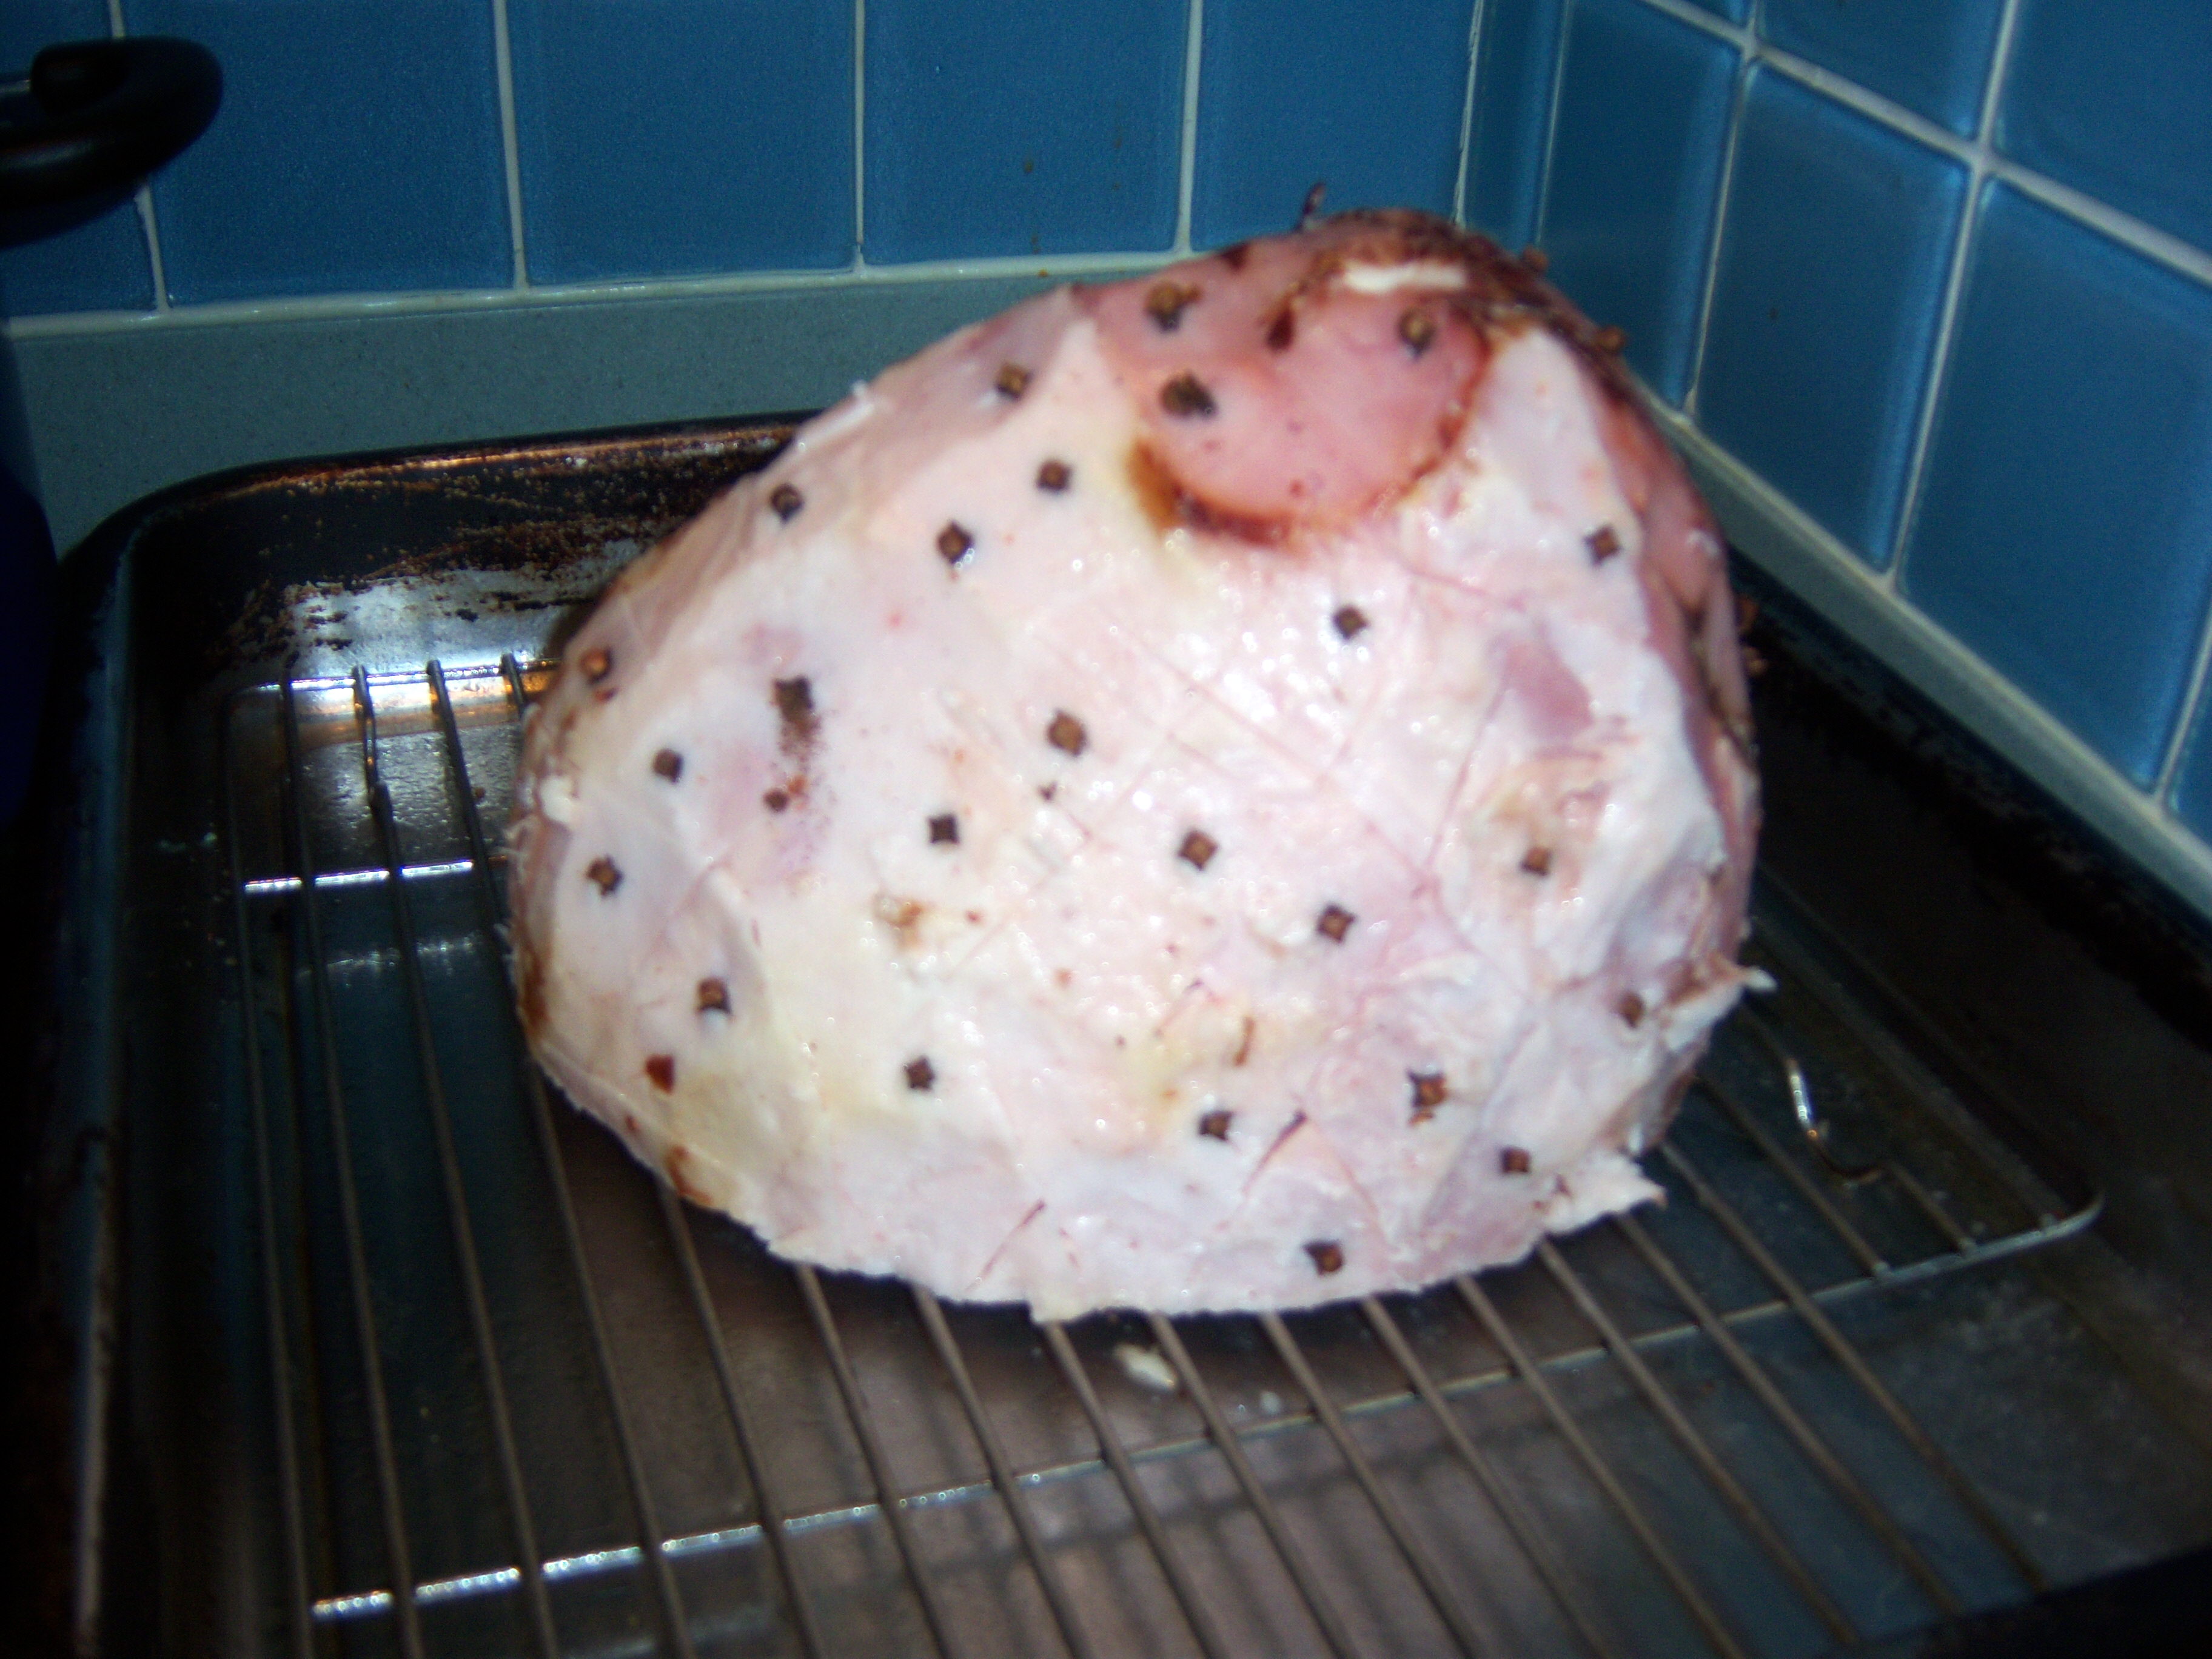 the pan drippings (of which I had none). Here’s where my biggest complaint comes in with this recipe. In the photo next to the recipe in the magazine, you see a big beautiful ham with pineapple rings attached to it. The recipe does not say to attach the pineapple to the ham at all. I have never attached pineapple rings to a ham and was looking forward to that beautiful presentation. In fact, I have no idea how you attach them. Toothpicks?
 The ham tasted good and it was particularly good when eaten with the pineapple slices which were practically candy. The family verdict was that my usual method is better. In the future, I will make my own glaze, but I am going to trim the skin and fat off, so that is my take away lesson from this.
I had planned to make an entire Martha meal and so I consulted the Cooking School book. I am sad to report I couldn’t find the kinds of recipes in there that I wanted. I wanted to make some cheesy potatoes and there wasn’t a single recipe that even 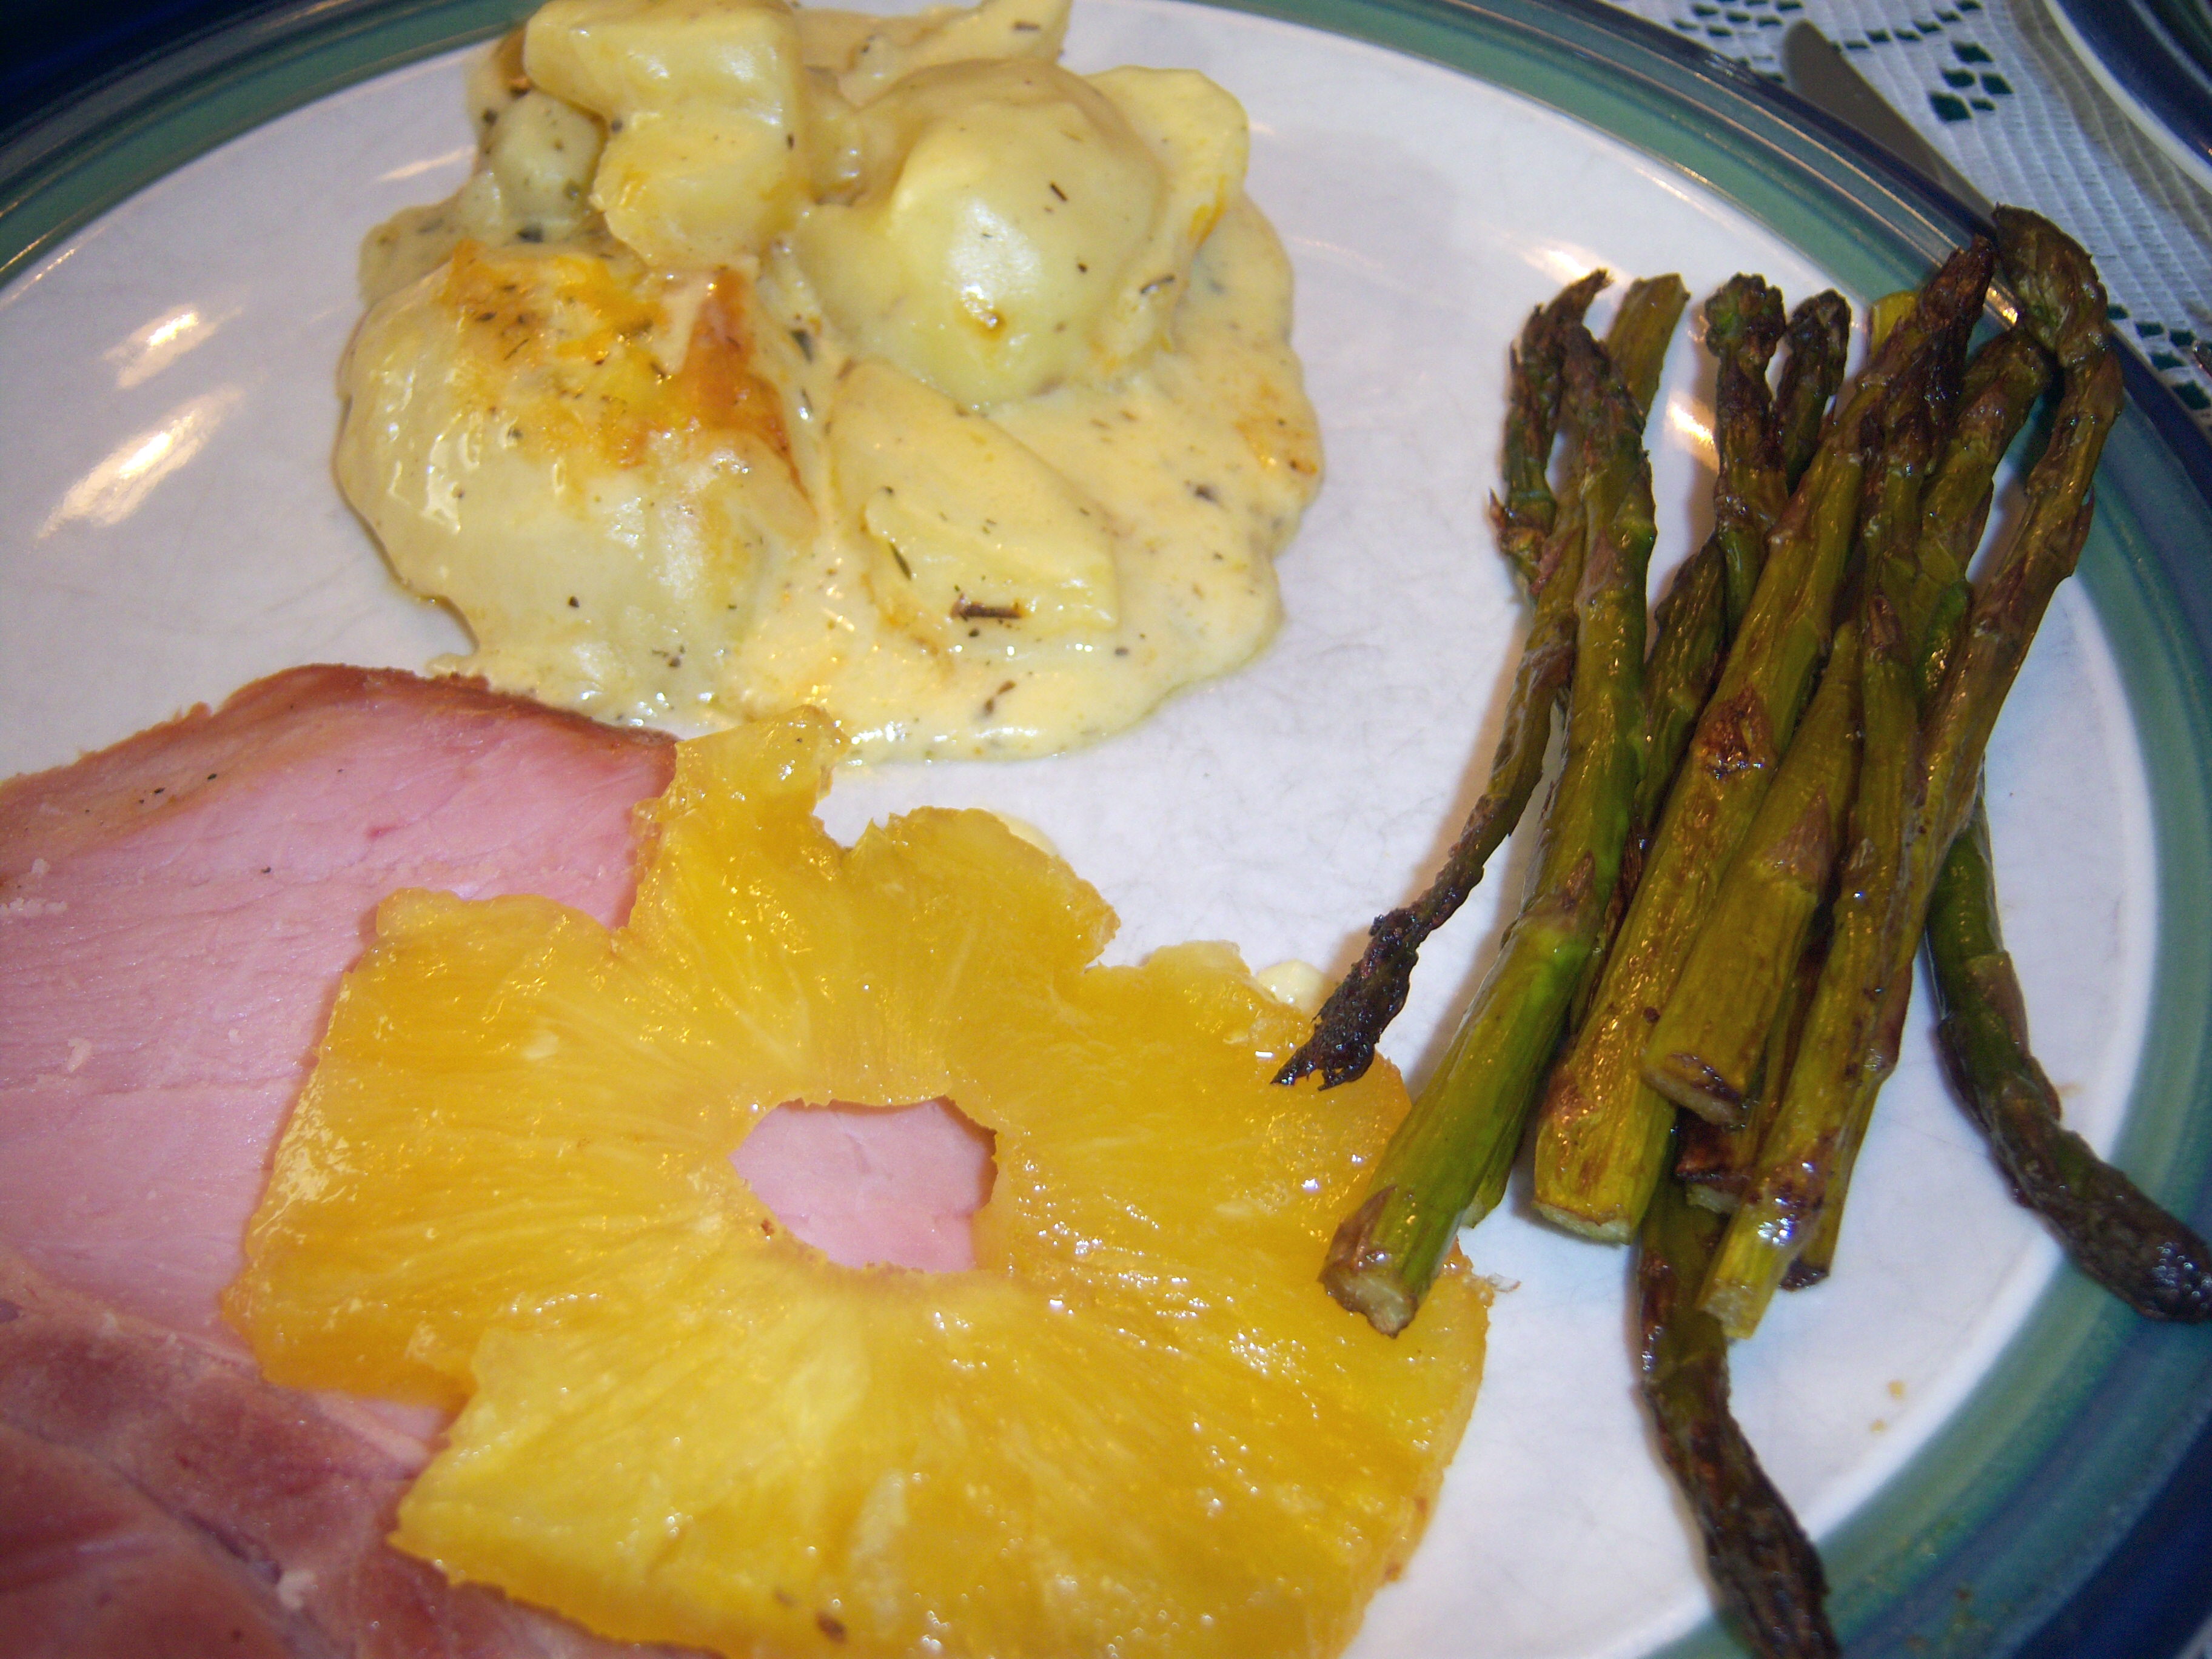 resembled that. In fact, there are very few potato recipes in that book at all. I had artichokes and checked the book for some interesting recipes for that and all Martha has is how to boil them. So I abandoned that and went with some roasted asparagus, my grandmother’s cheesy potato recipe and some artichokes with butter for dipping.

For Easter, I decided to make Martha’s Pineapple Mustard Glazed Ham (April Martha Stewart Living). I don’t generally make a ham for Easter. In fact, until last year, we usually were away over Easter and didn’t really celebrate at all. But this year we were home and I thought I would Martha-ify our Easter. I … Read more →
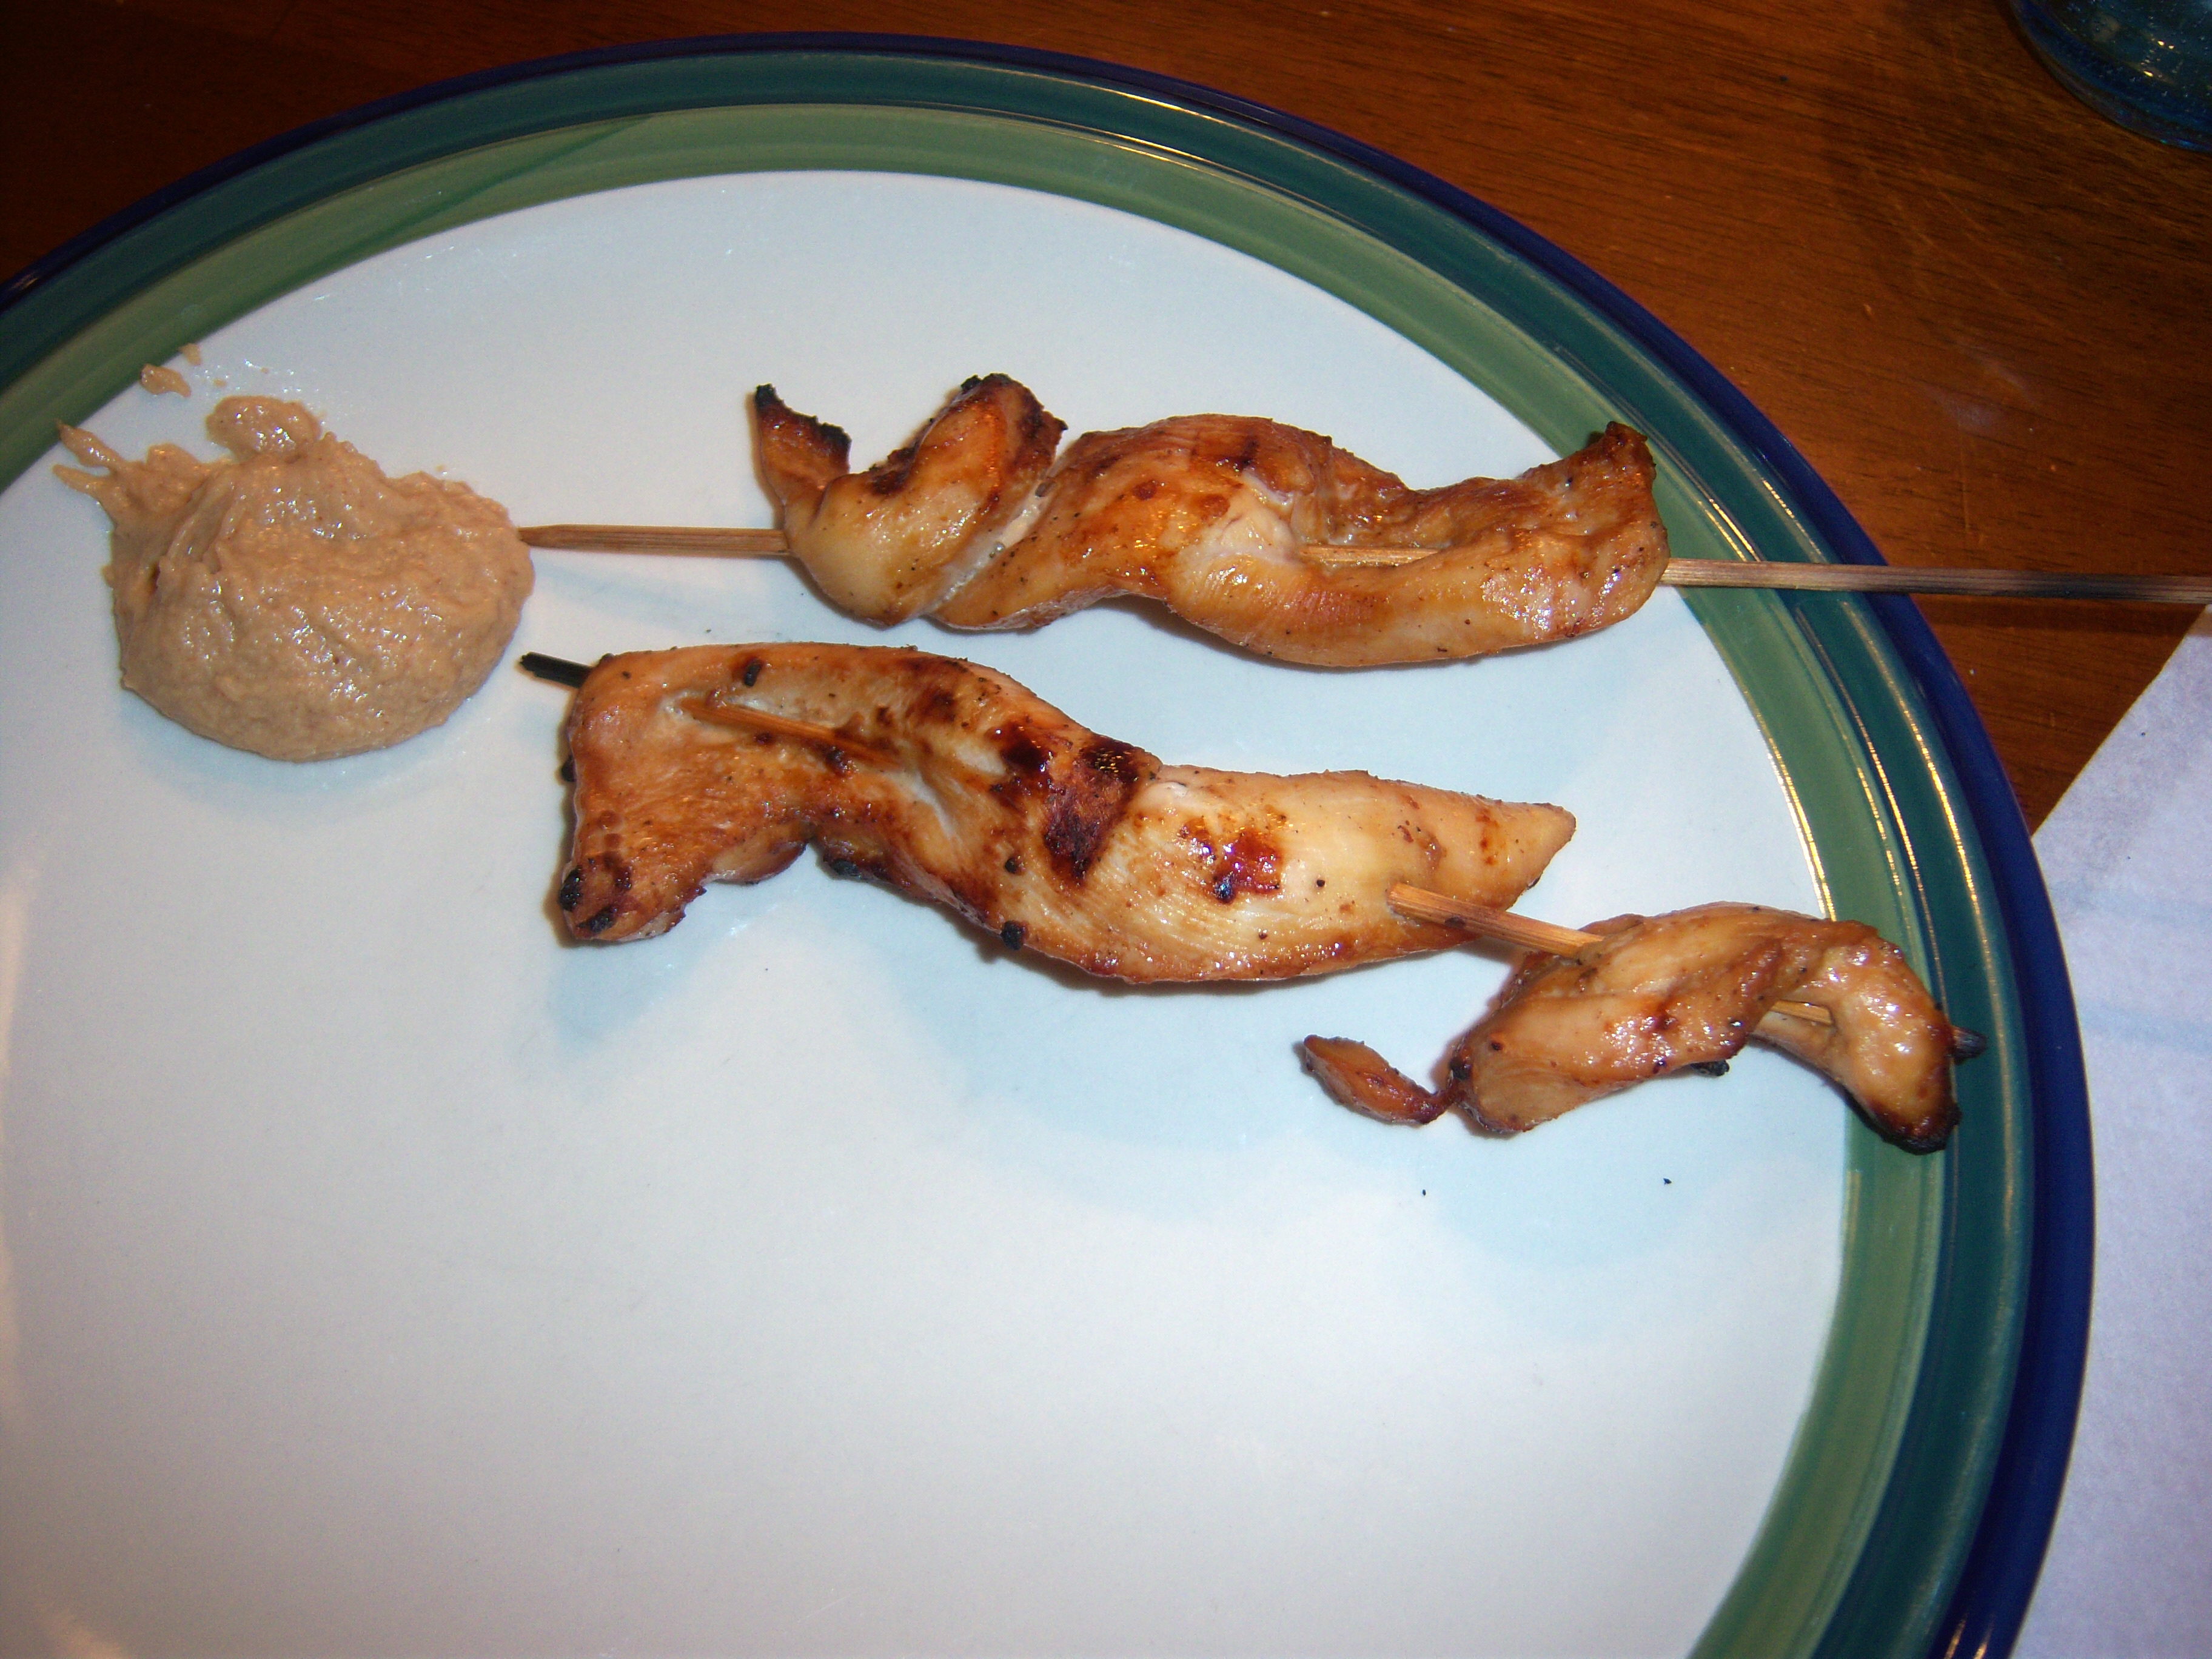 The chicken was good, but I would have liked it to have a more Asian flavor – maybe some ginger or more soy sauce. The dipping sauce (paste!) was good, but if I made that again I would put some chopped green onion in it and some soy sauce too.


 Martha’s recipe is more complicated (of course). She directs you to buy whole pineapples and peel, core and slice them (however, she does not give any instruction about how to do that). Fortunately, last summer in Hawaii we saw a demonstration of this at the Dole Plantation. Mr. MarthaandMe went to work with the pineapple. He used an apple corer to get the core out.
 I brushed on half the glaze, covered it with parchment and foil and baked as directed. I then removed the covering, poured on the rest of the glaze and finished baking. Martha makes reference to pan drippings, but everything in my pan burned to a crisp. In fact, I had to turn the oven temp down. Martha said to cook at 425 with the ham uncovered. My ham started to burn and smoke at that temp.
 the pan drippings (of which I had none). Here’s where my biggest complaint comes in with this recipe. In the photo next to the recipe in the magazine, you see a big beautiful ham with pineapple rings attached to it. The recipe does not say to attach the pineapple to the ham at all. I have never attached pineapple rings to a ham and was looking forward to that beautiful presentation. In fact, I have no idea how you attach them. Toothpicks?
 The ham tasted good and it was particularly good when eaten with the pineapple slices which were practically candy. The family verdict was that my usual method is better. In the future, I will make my own glaze, but I am going to trim the skin and fat off, so that is my take away lesson from this.
 resembled that. In fact, there are very few potato recipes in that book at all. I had artichokes and checked the book for some interesting recipes for that and all Martha has is how to boil them. So I abandoned that and went with some roasted asparagus, my grandmother’s cheesy potato recipe and some artichokes with butter for dipping.
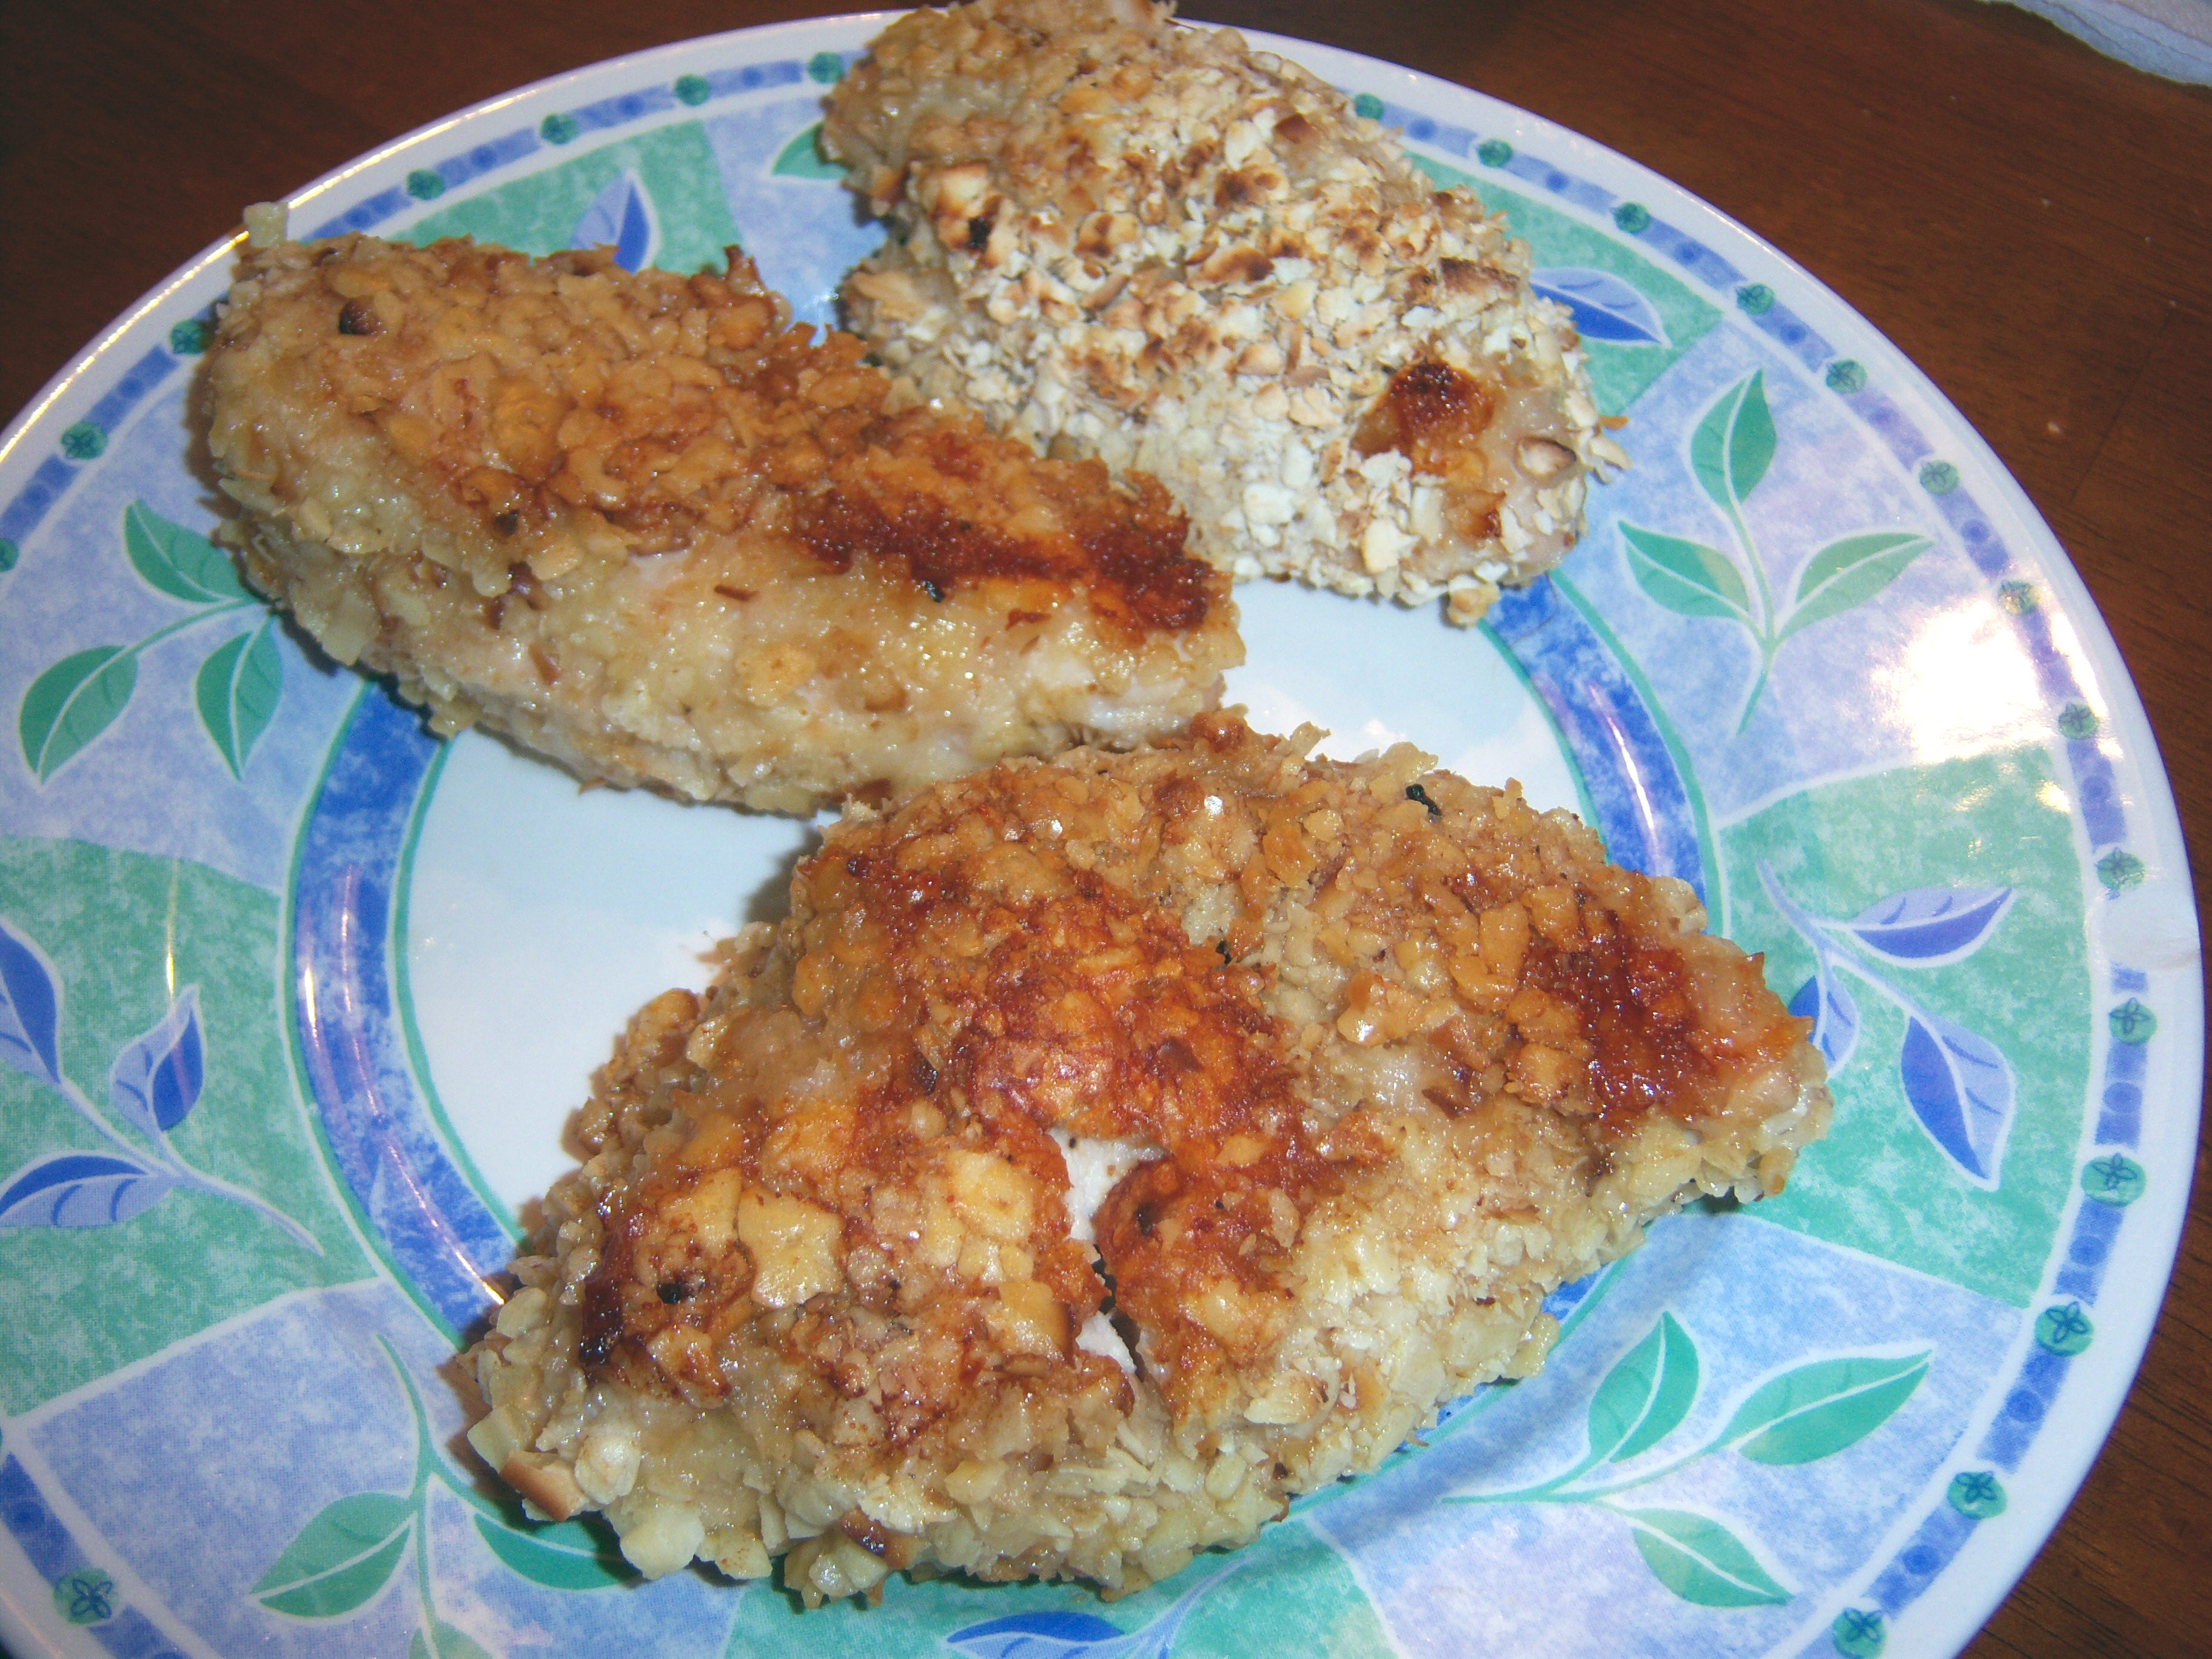 The Matzo Chicken was very easy. You just crush up matzo and use it as breading. Quick and simple. And it really tasted great. You could definitely do this with crackers also. Rachel Ray has a
 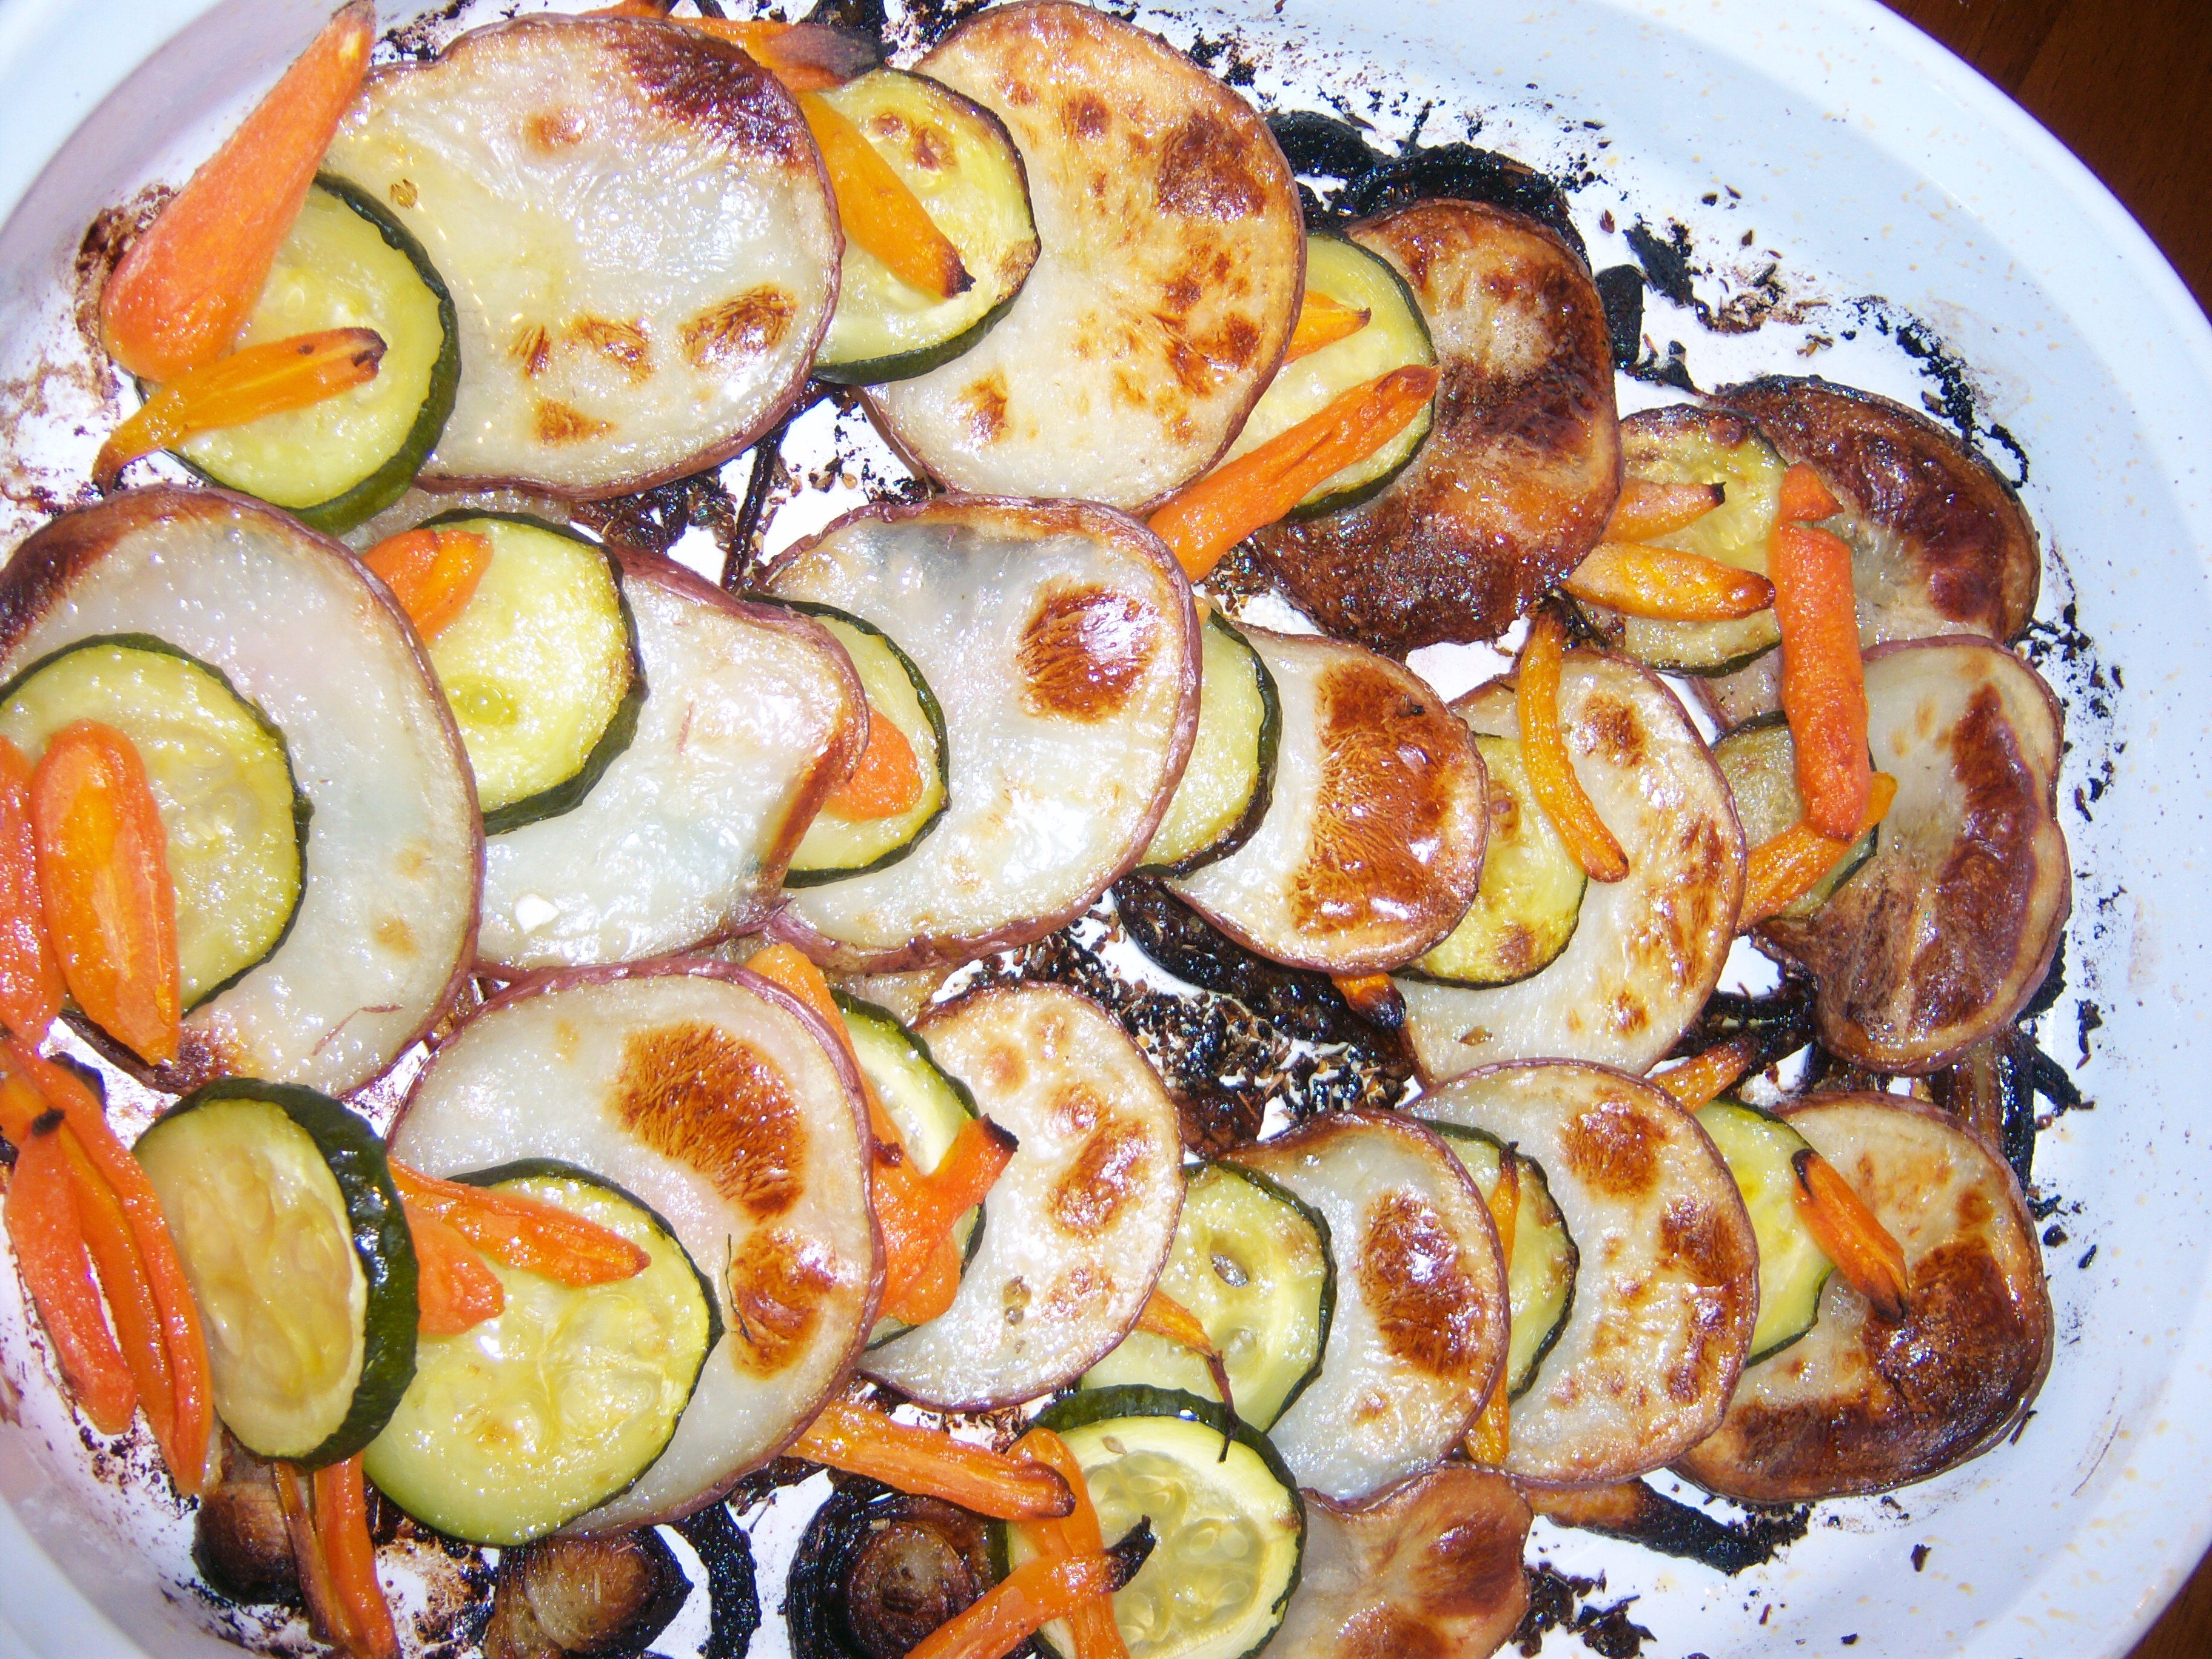 light and simple dish, but with a lot of flavor. The onions tasted great – almost caramelized. I would definitely make this again. It’s similar to a dish my mom (Big MarthaAndMe) made for us over the summer that I loved. You take a baking dish and layer in sliced tomato, zucchini, onion and mozzarella cheese as well as some basil. Then you pour beef broth into the dish and cover it. Bake it for about 45 minutes at 375. Take the cover off and let the cheese on top brown. Take it out of the oven and let it sit for a minute, then pour the liquid out of the dish and serve. It is SO good.
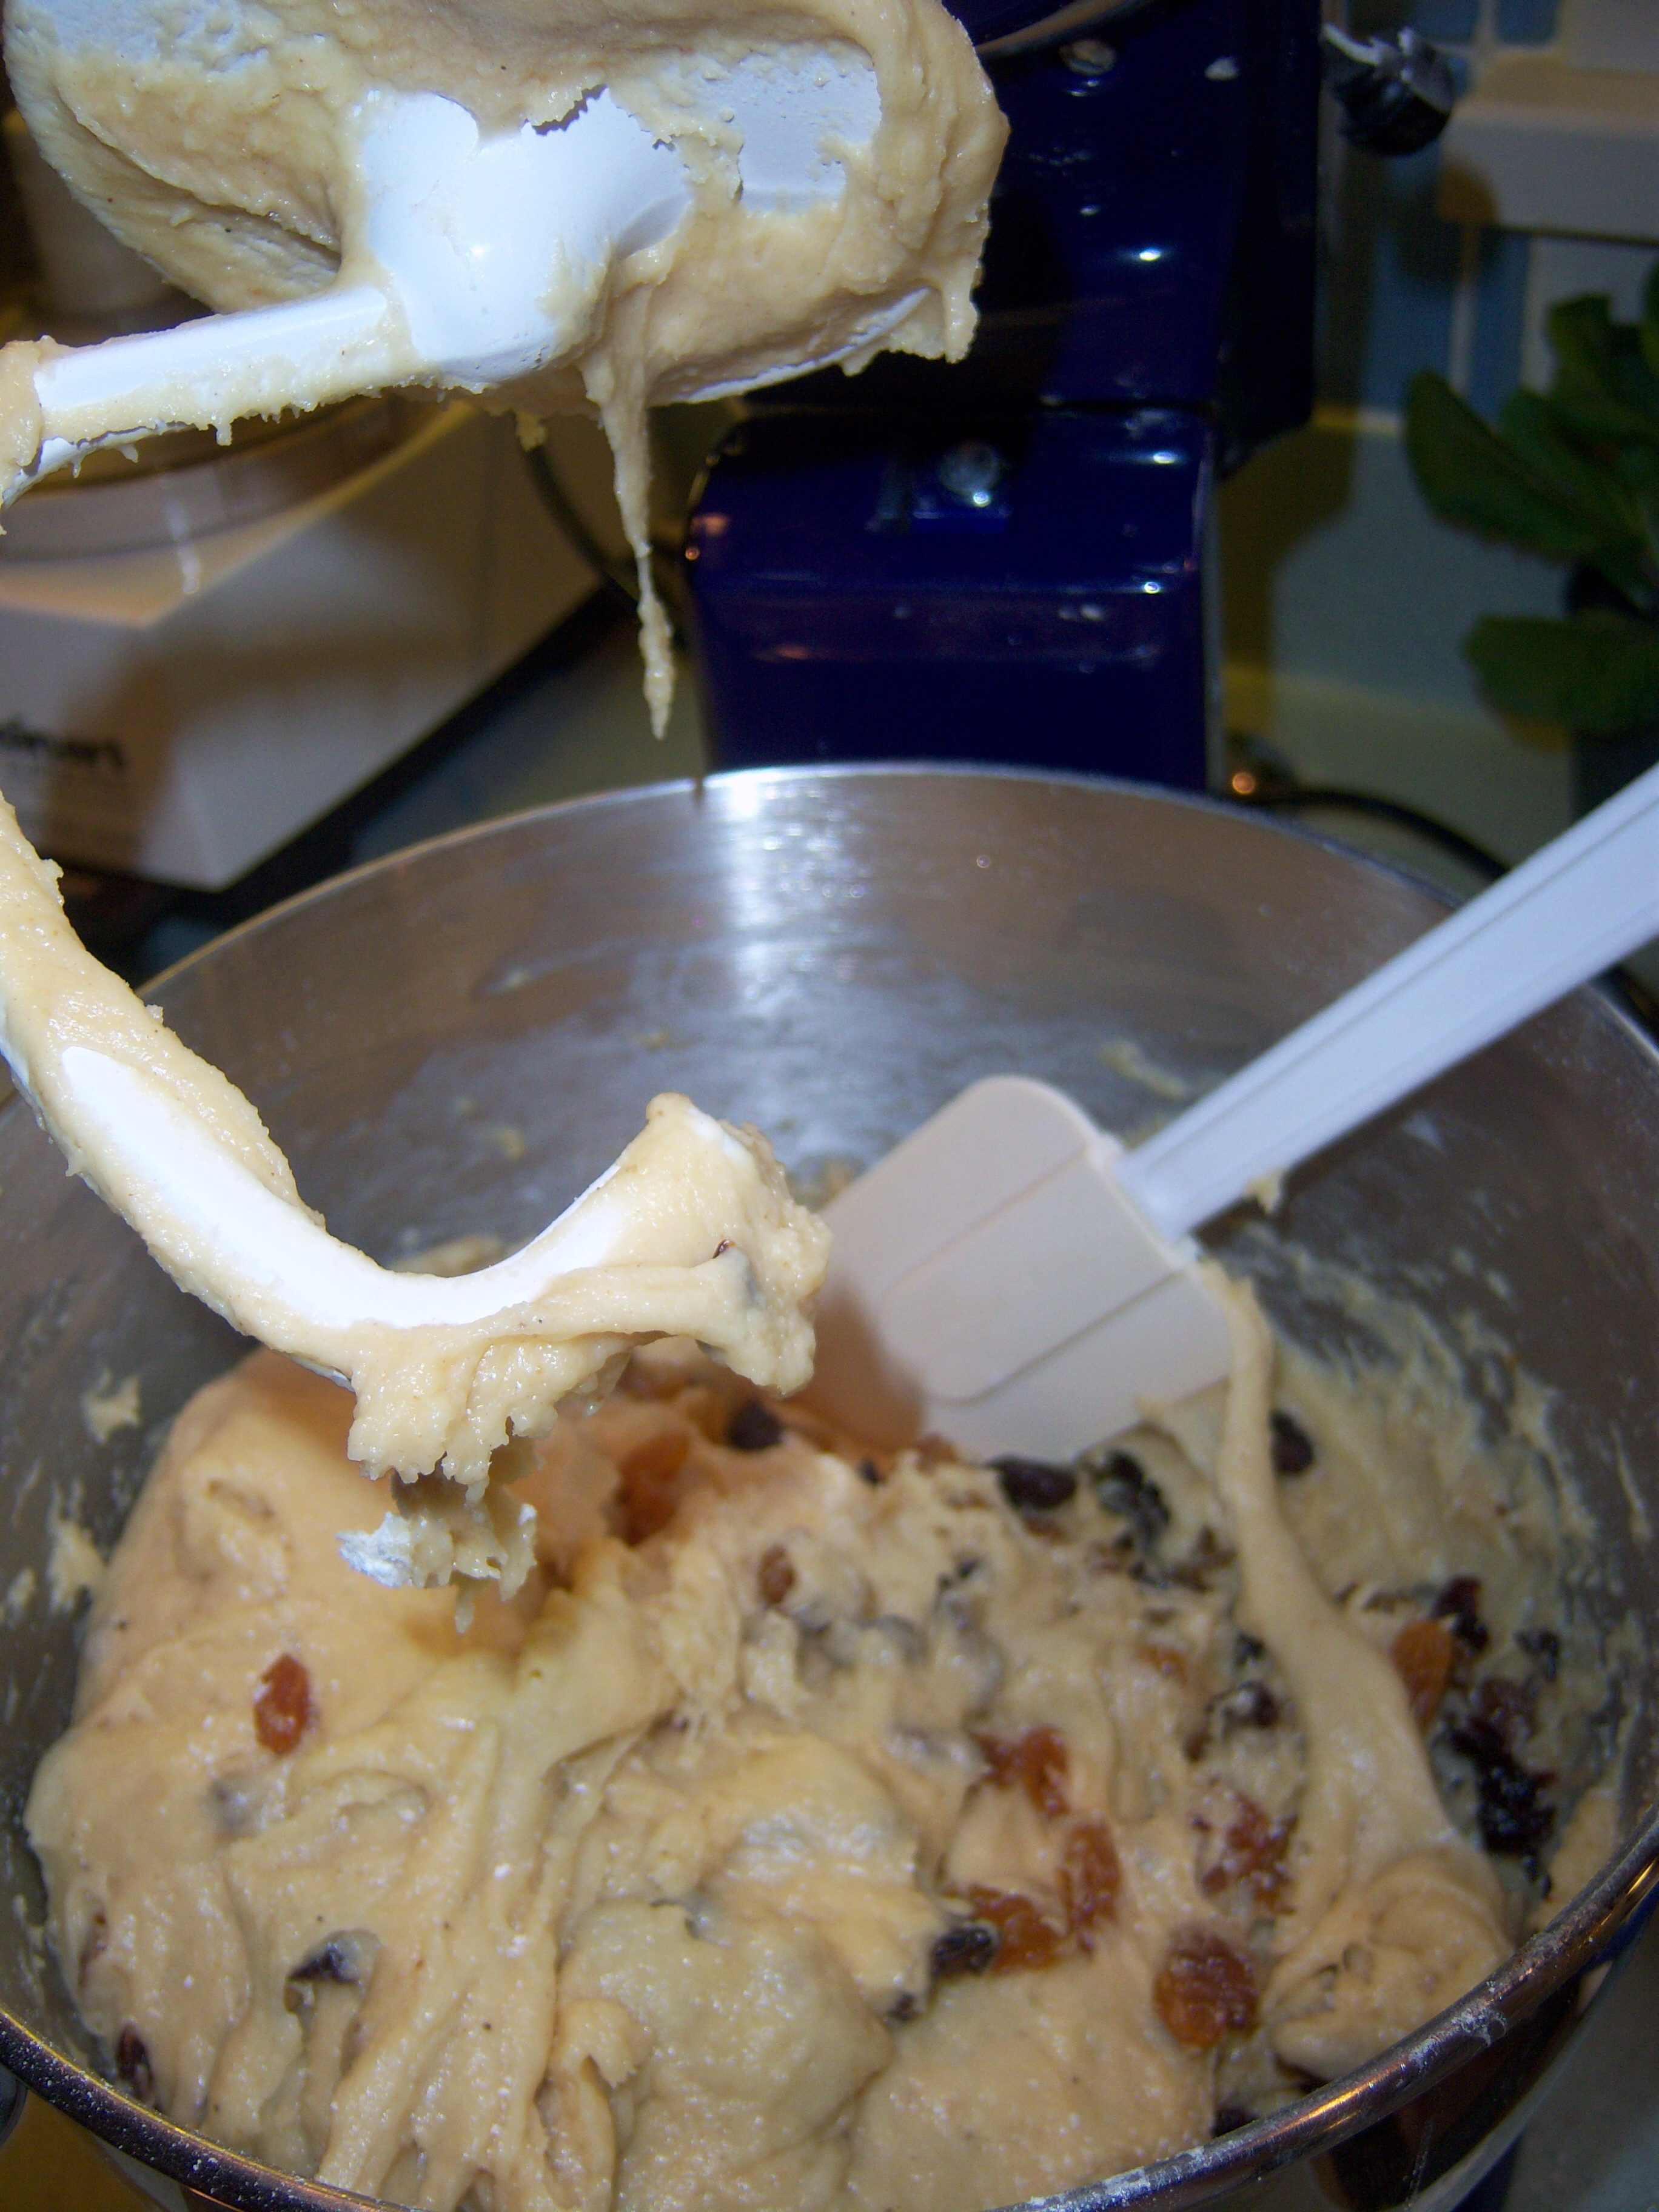 The recipe starts with heated milk and yeast, sugar, butter, nutmeg, cinnamon and eggs getting mixed with a dough hook. I have several important things to tell you. First of all, I dusted off the KitchenAid mixer (and I do mean dusted off) and used the dough hook, which I think I may never have used (it worked quite well). Secondly, I kind of goofed. In the instructions it says to use 1 cup of milk, but up in the ingredient list, it says 1 cup plus 2 tbsp and 2 tsp of milk. The additional milk is supposed to be for the icing. I just was reading along through the ingredients and so dumped in all the milk. I have to say it really annoyed me that this recipe listed it this way! If you are making two separate things, I think the ingredient list should be broken down into two sections so you don’t make a mistake like this!
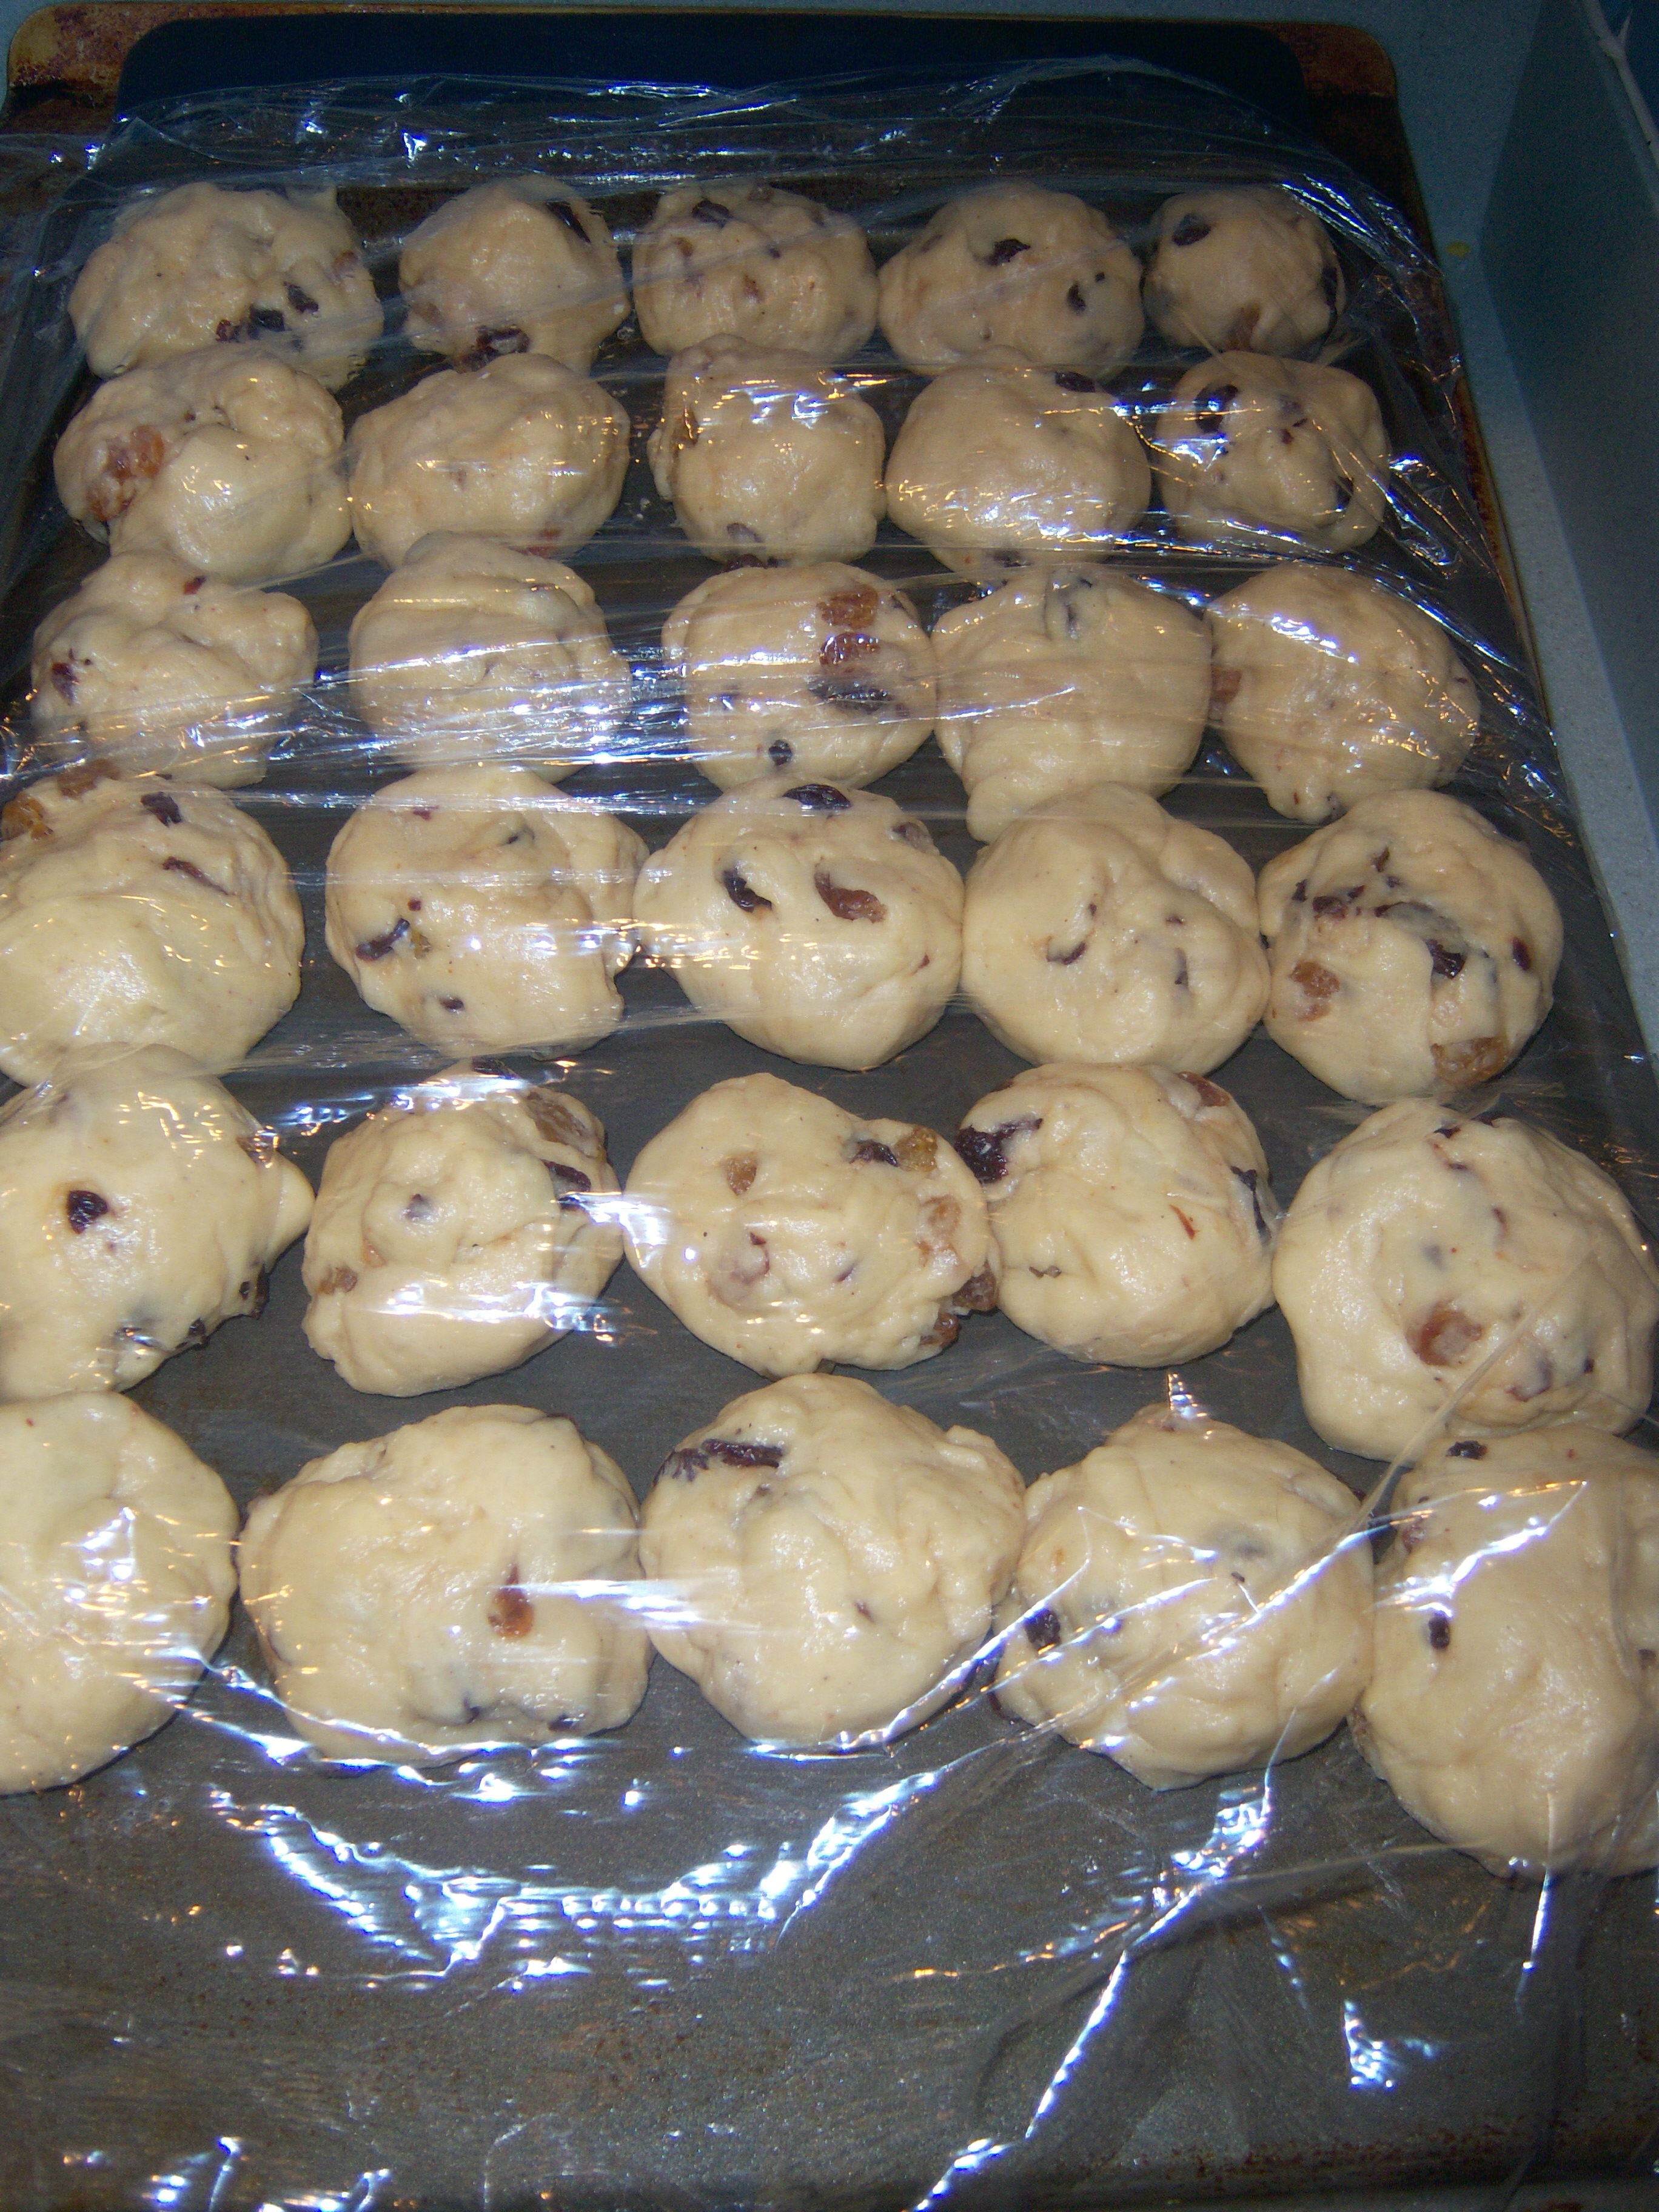
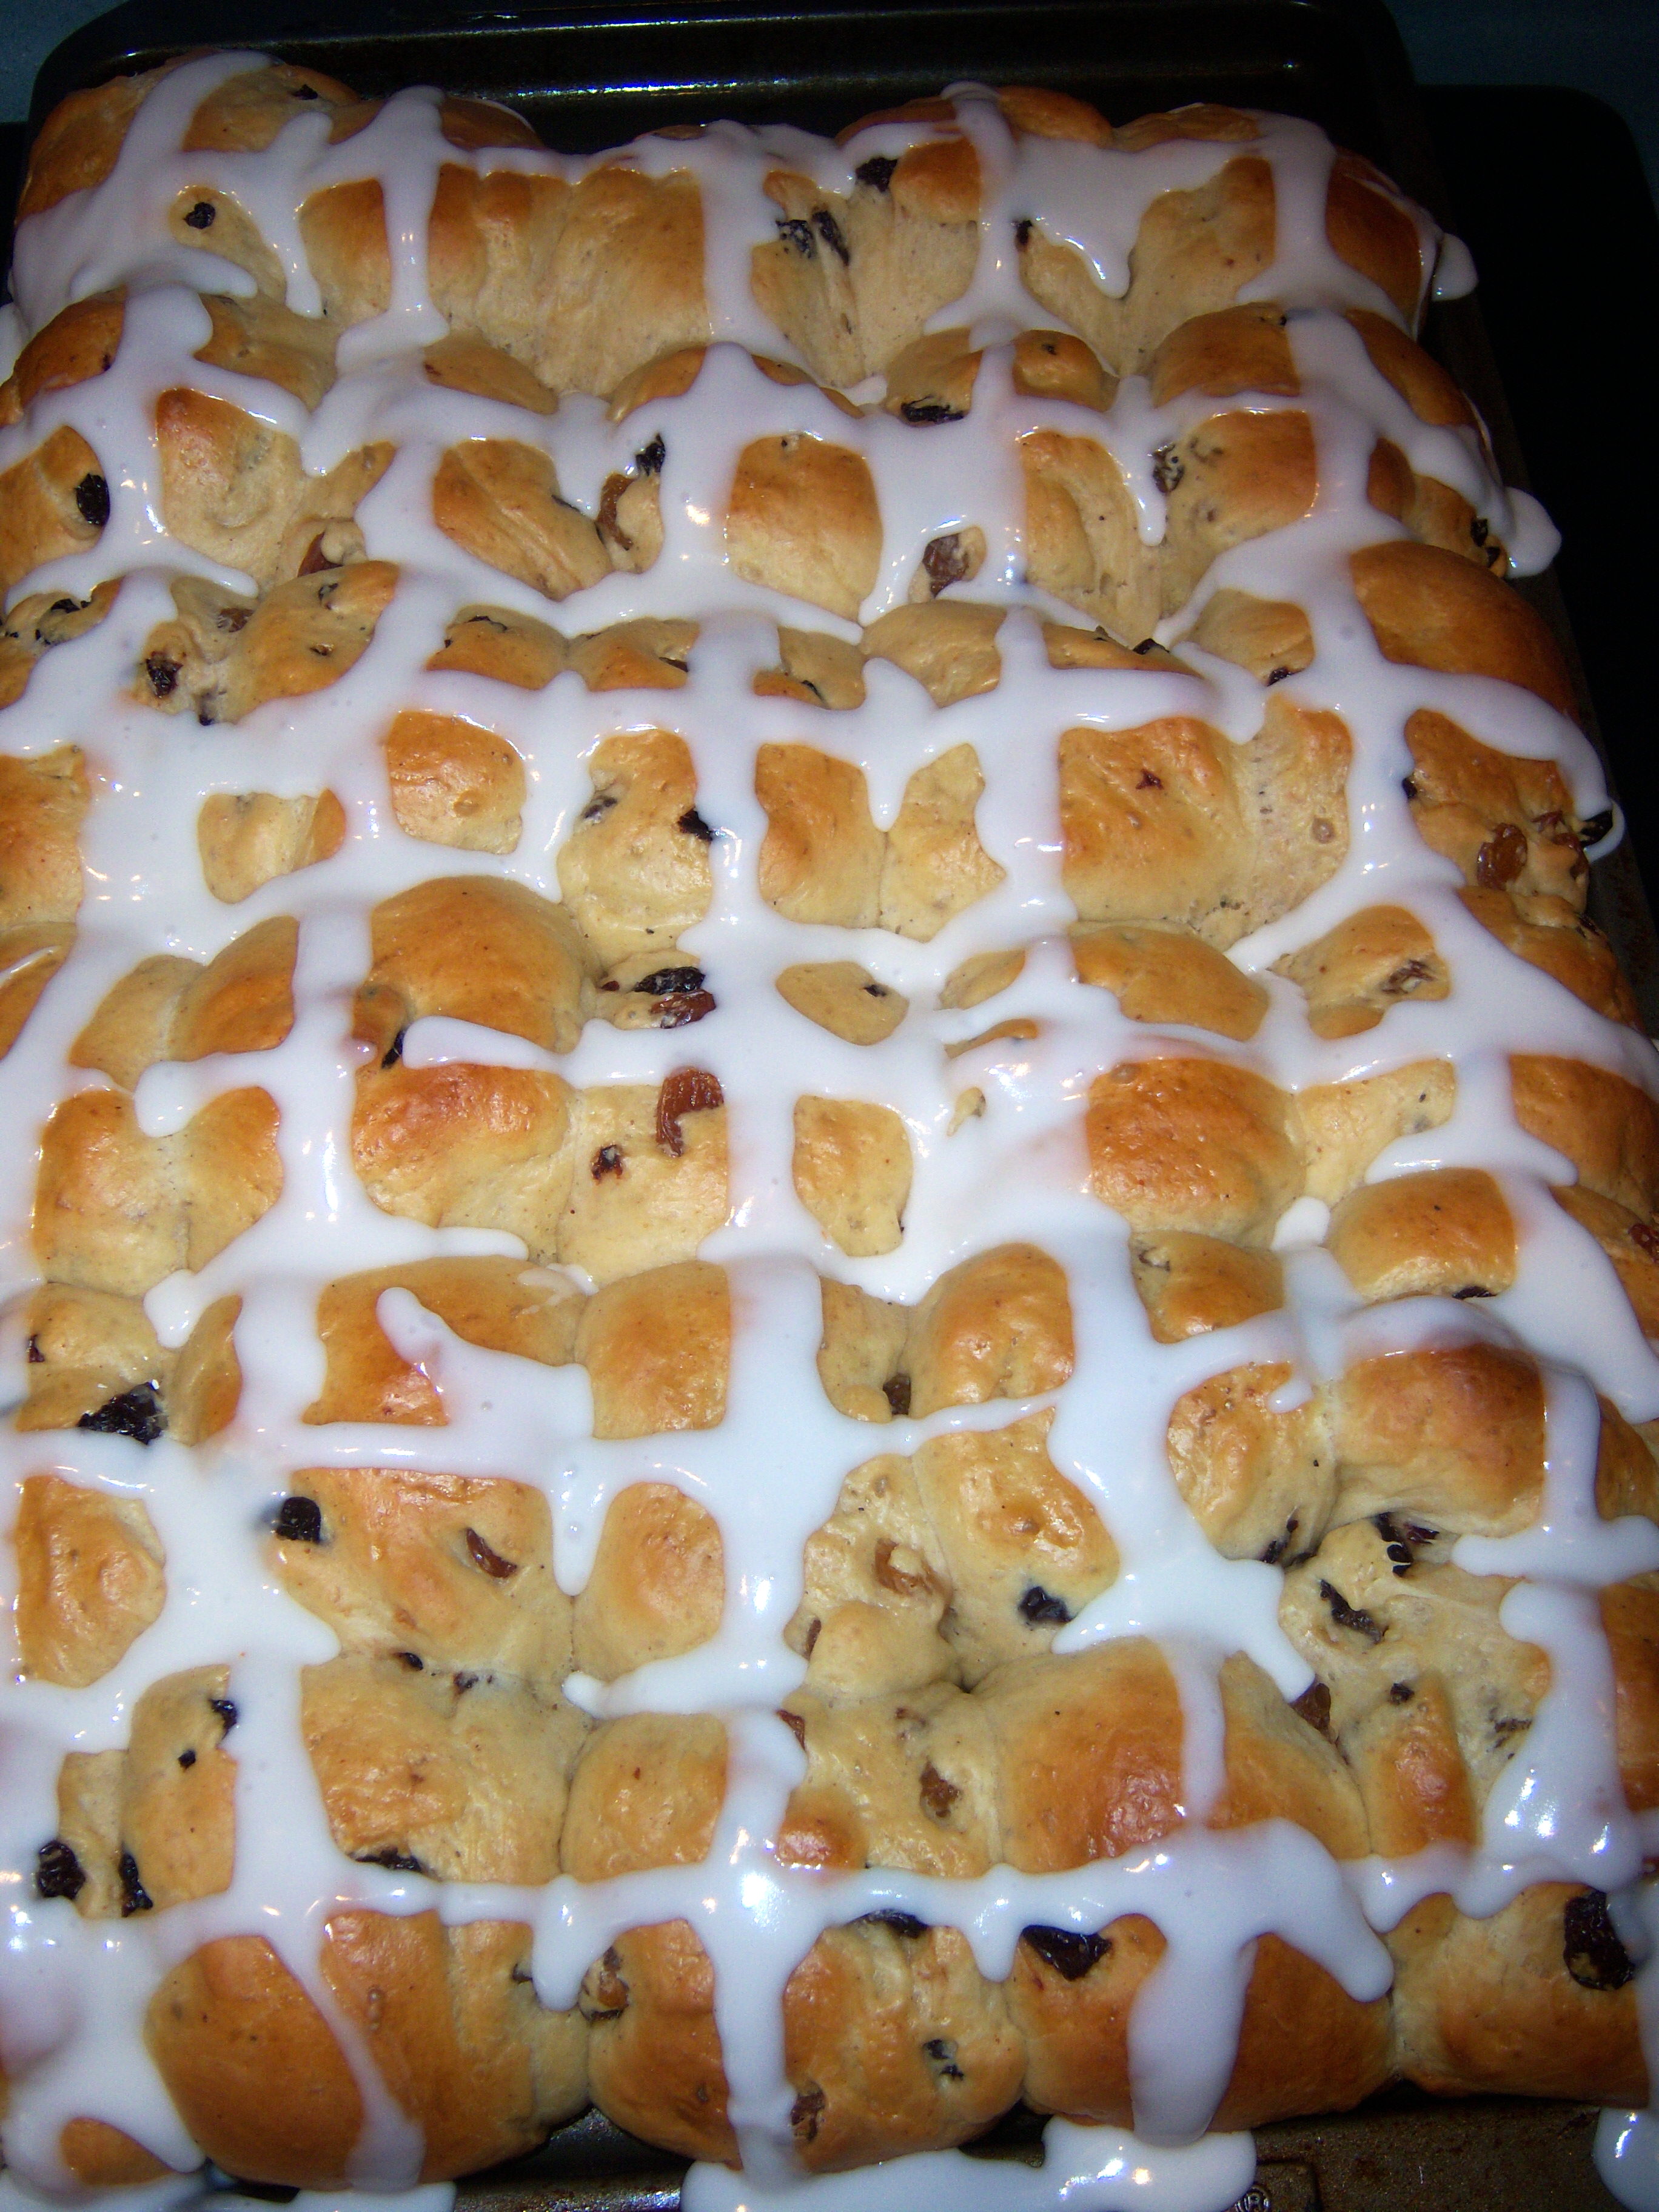 As for taste? I wasn’t all that impressed, but Mr. MarthaAndMe, who has a long, checkered past full of hot cross buns, told me you need to split them open and butter them. I did that and then I thought they were better.
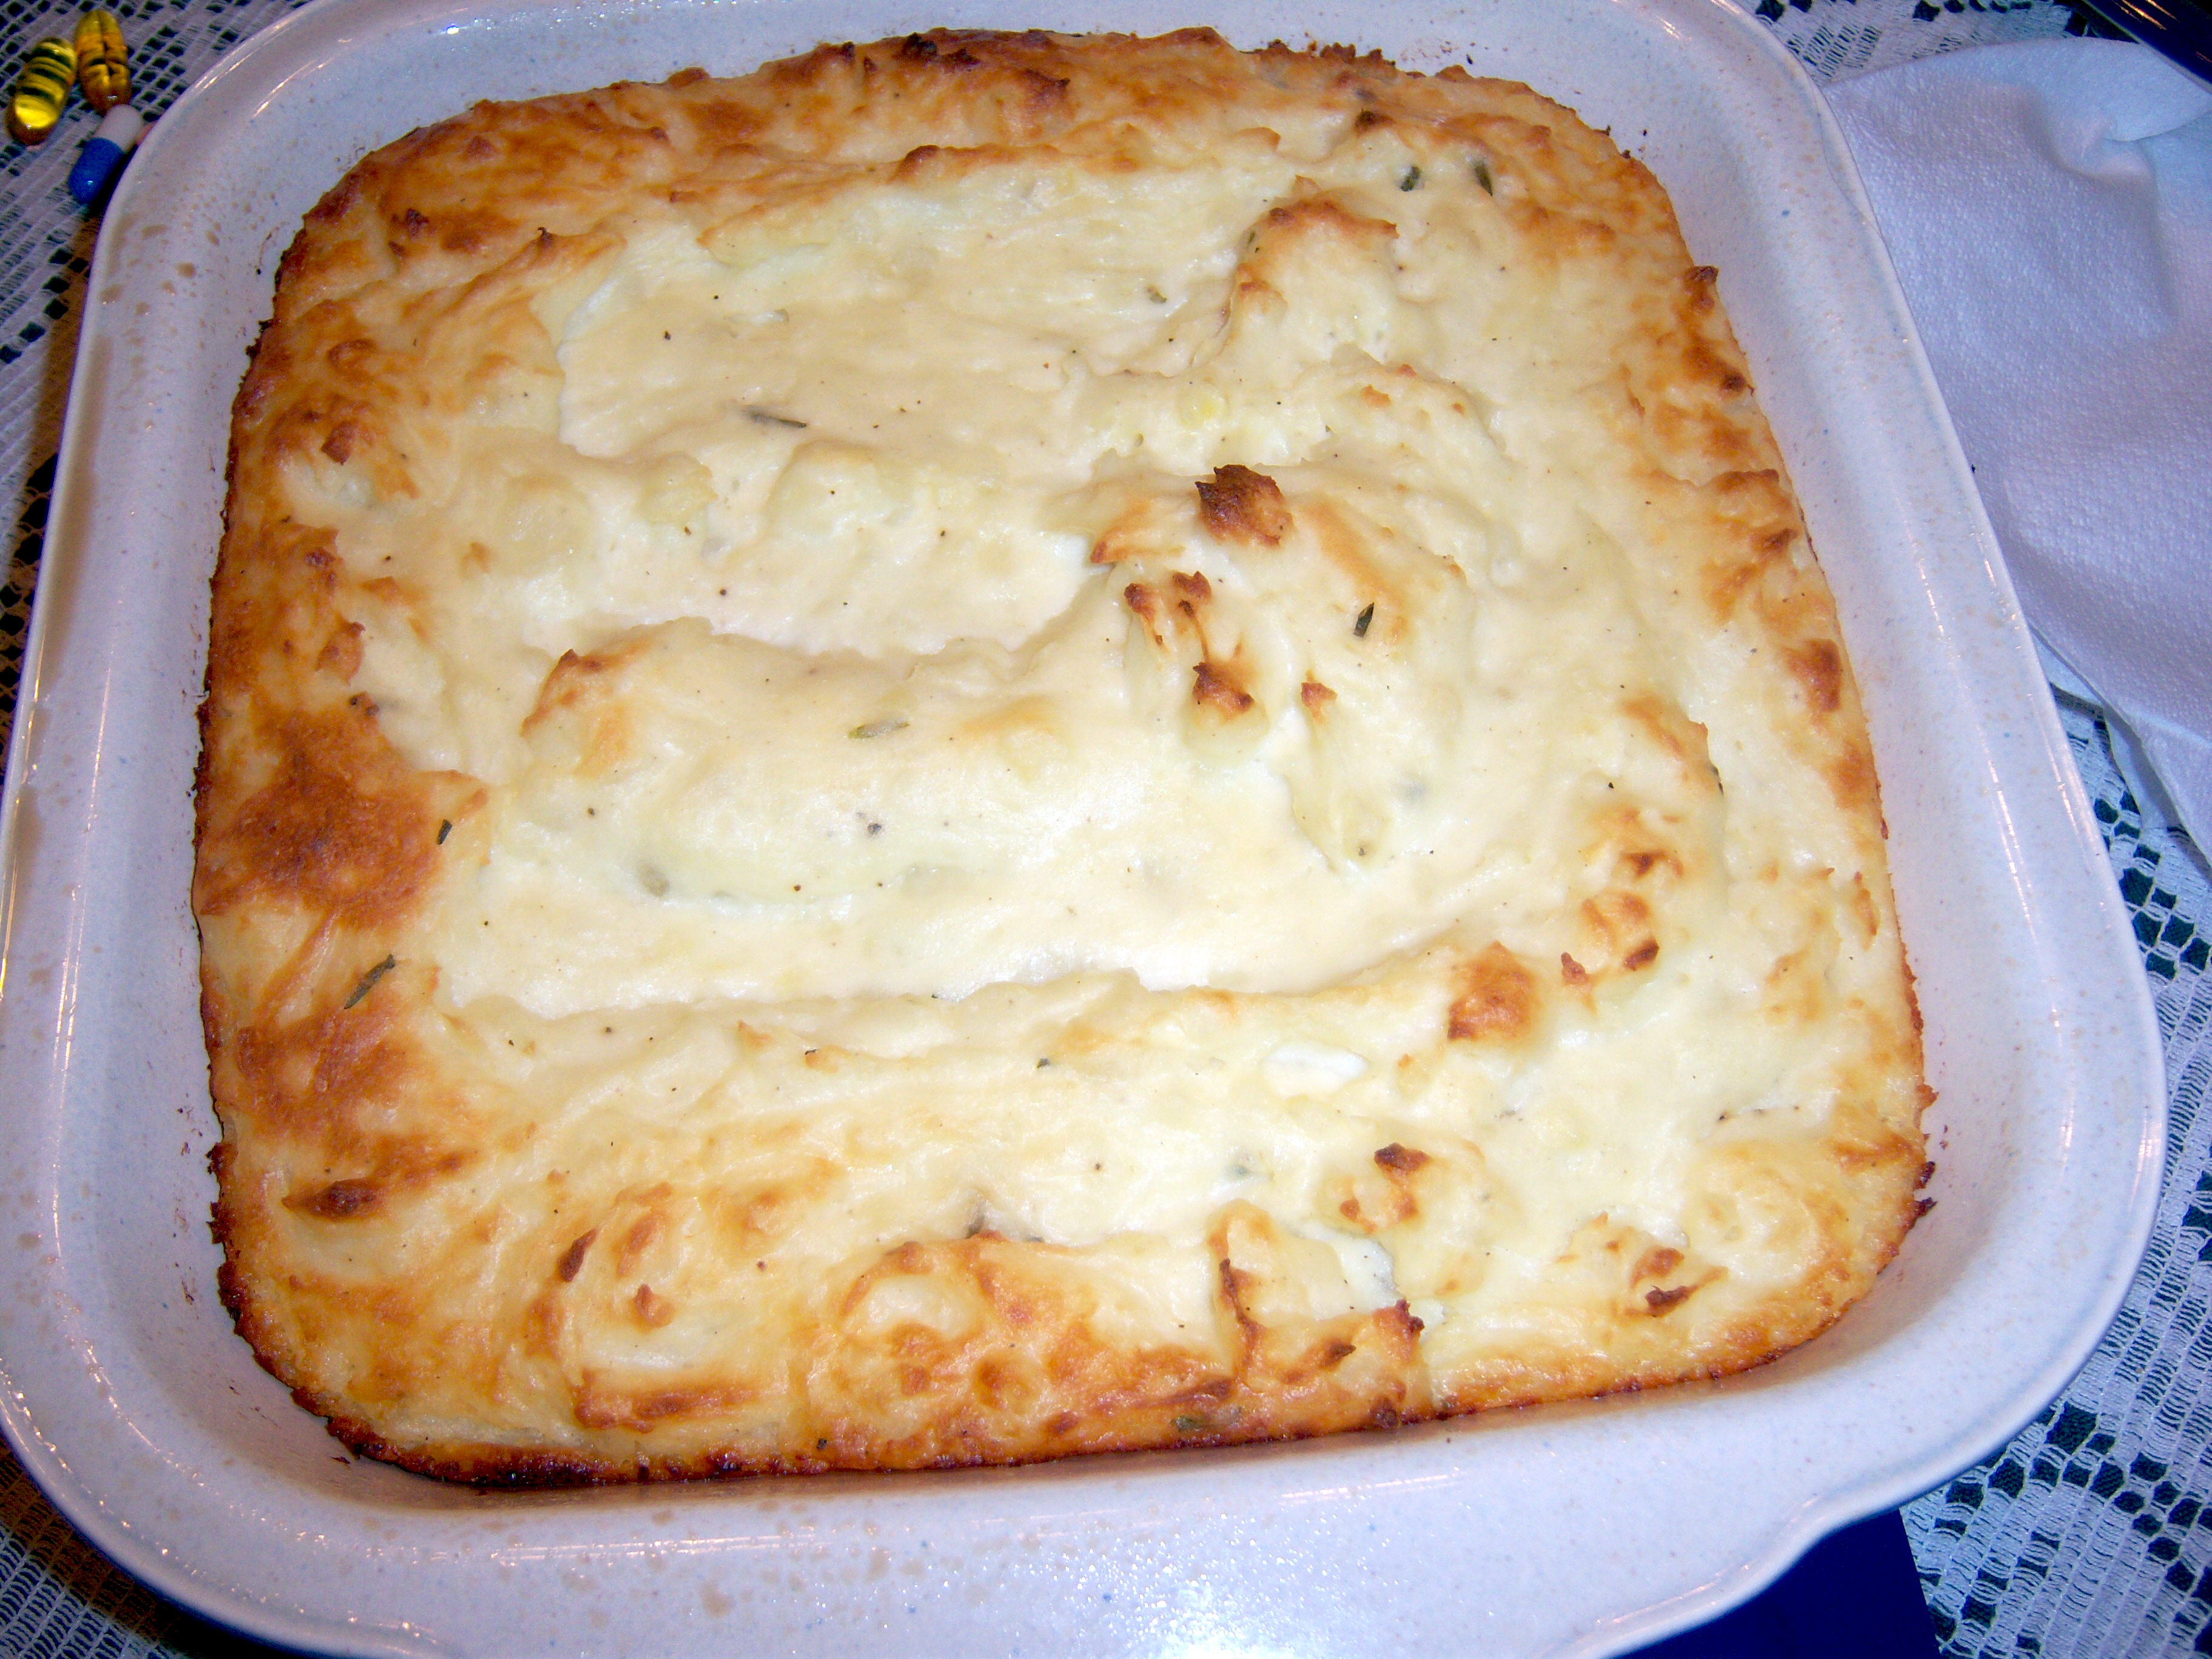 But how did it taste, you ask? Ah, there’s the rub. It was not fabulous. It was grainy and kind of dry tasting. Thank goodness I added the cheese because it really would not have been great without that. I know the Greek yogurt is healthier than sour cream, but I would much rather use light sour cream than Greek yogurt in this dish. Or maybe even a mixture of the two would give it the moisture it lacked. So, I’m afraid I can’t recommend this dish. Not a good thing.
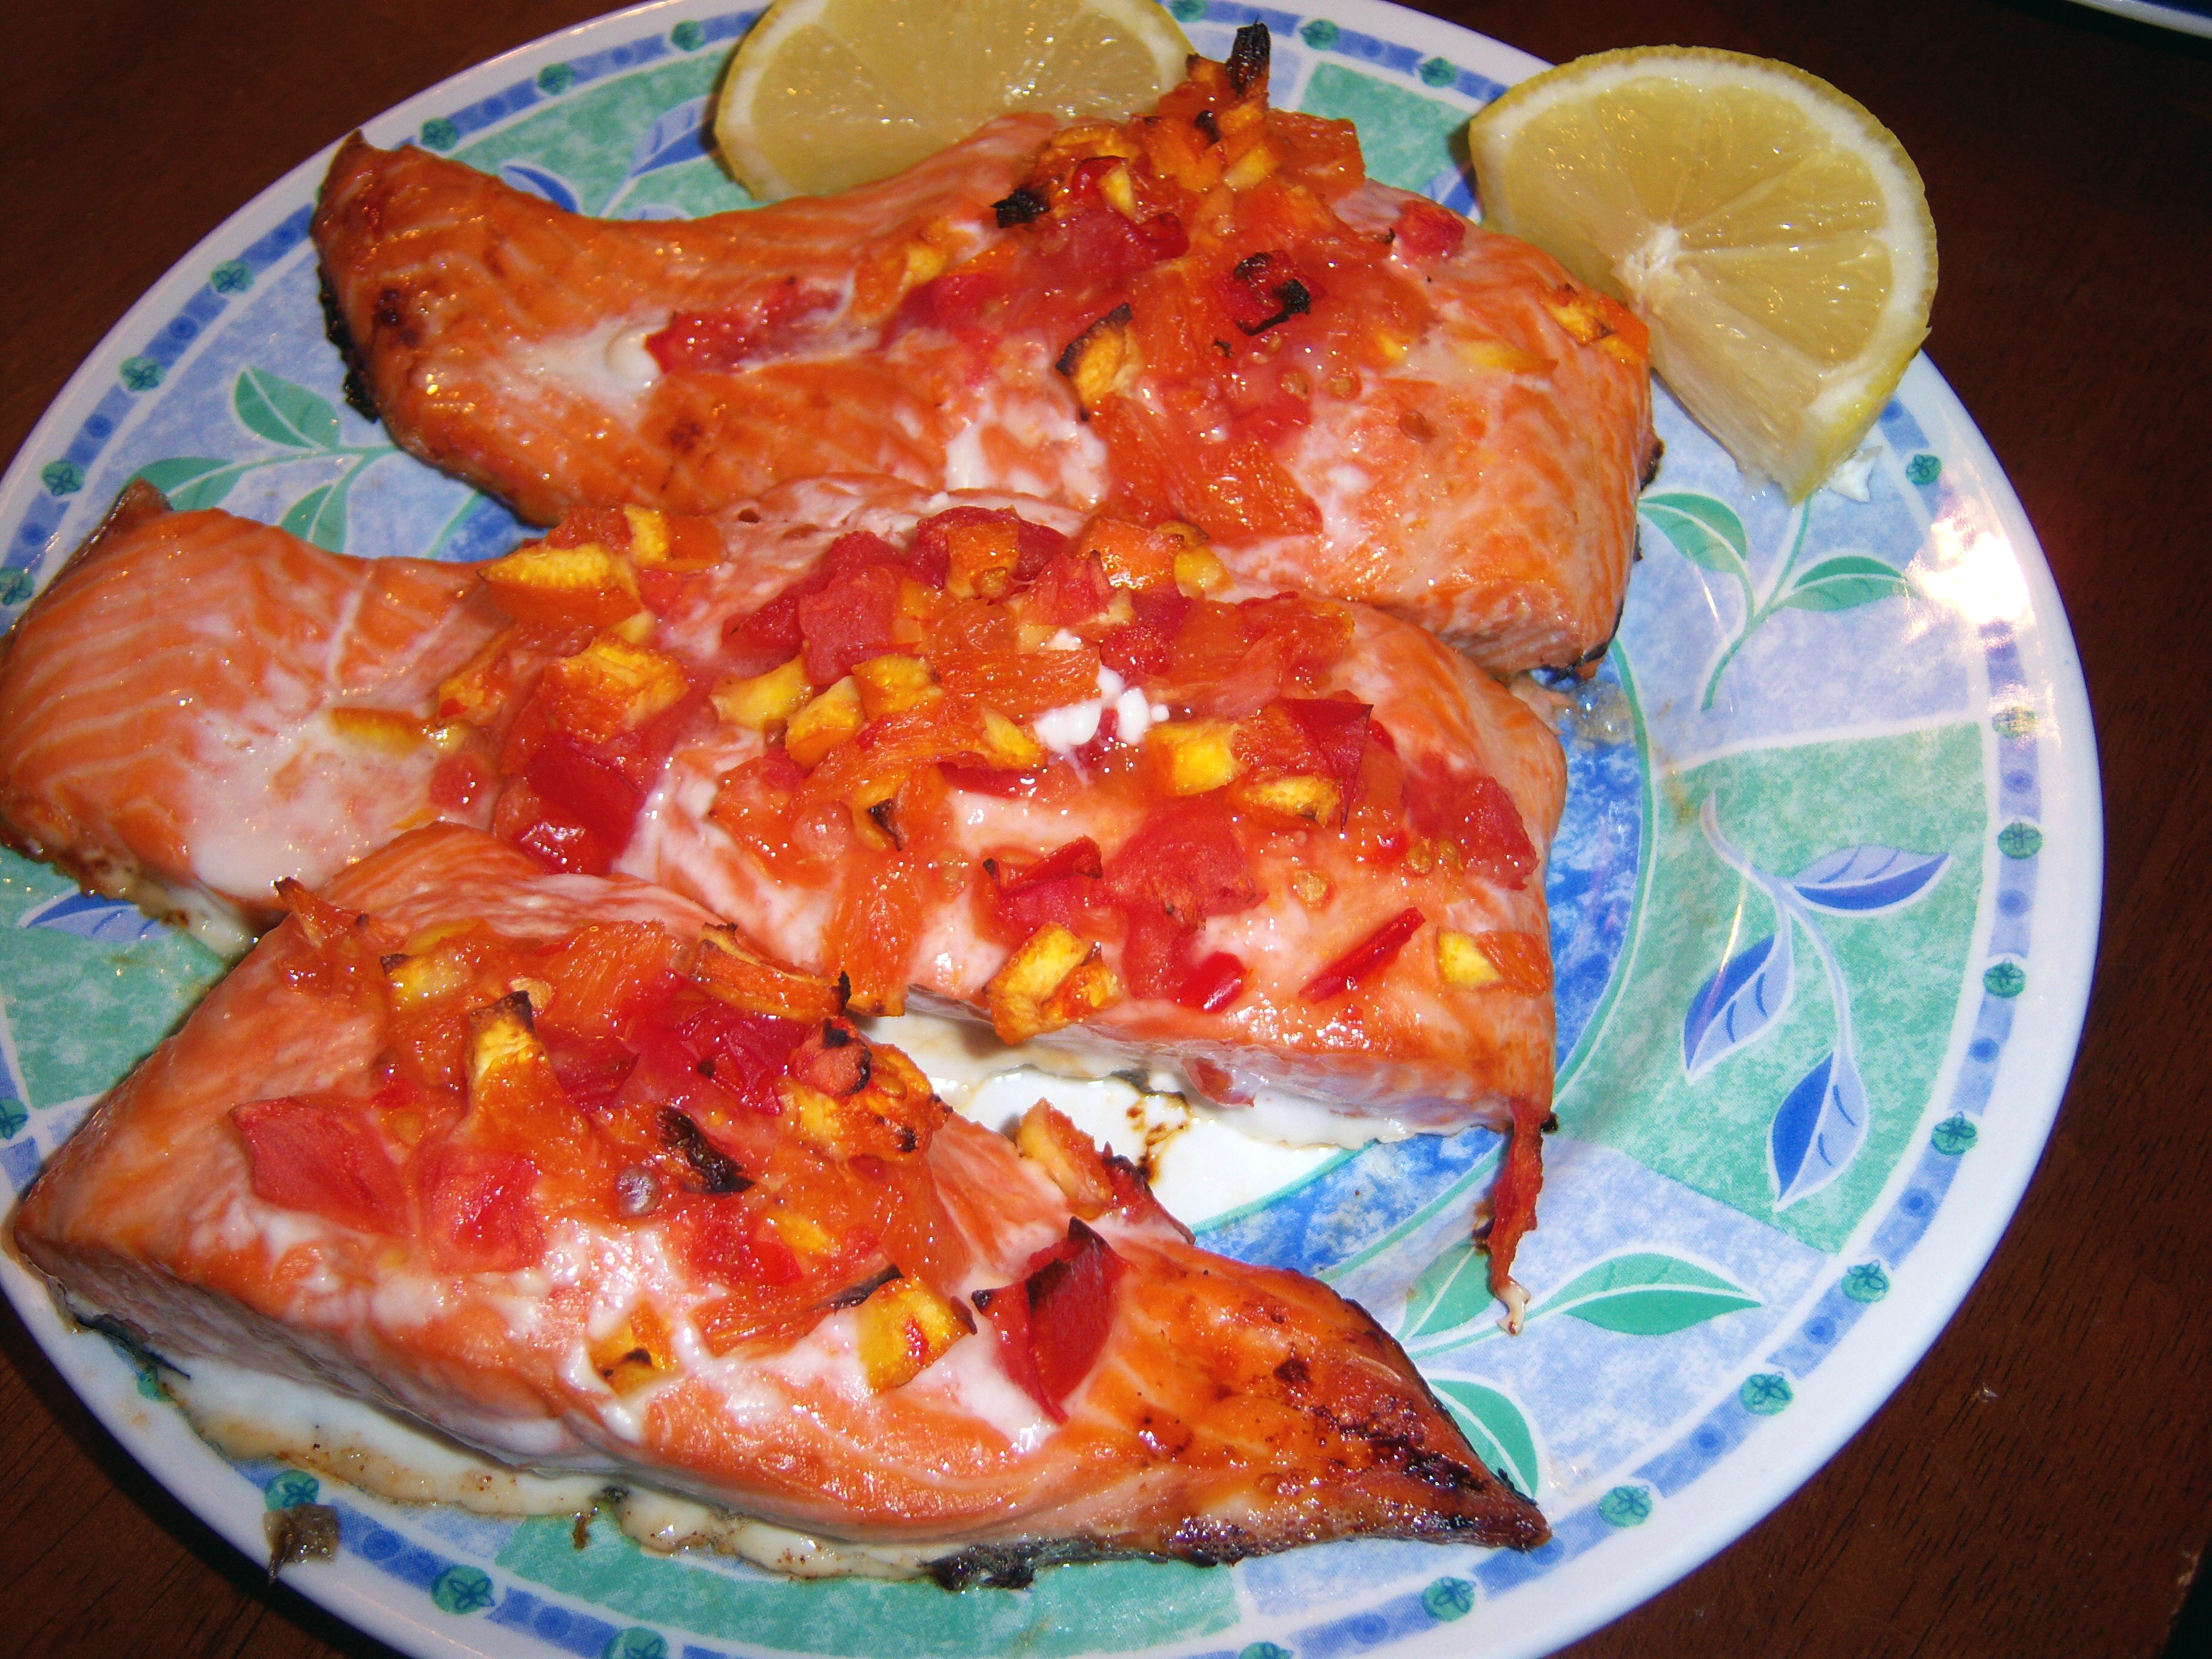 This tasted terrific. I loved the citrus flavor and the chili paste gave it a little zing, but not too much for me. It was simply beautiful looking. I’ll definitely make this again. Points for Lucinda.


