The Tale of the Cream Puff
Posted by in FoodWe were heading out to my parents’ lake house for Memorial Day weekend and I needed a dessert to bring. I like to get my cooking done ahead so I can spend the time there enjoying the water. Martha’s Cream Puffs with Lemon Mousse and Blueberry Sauce (June Martha Stewart Living) sounded very summery and light, so I decided to make that.
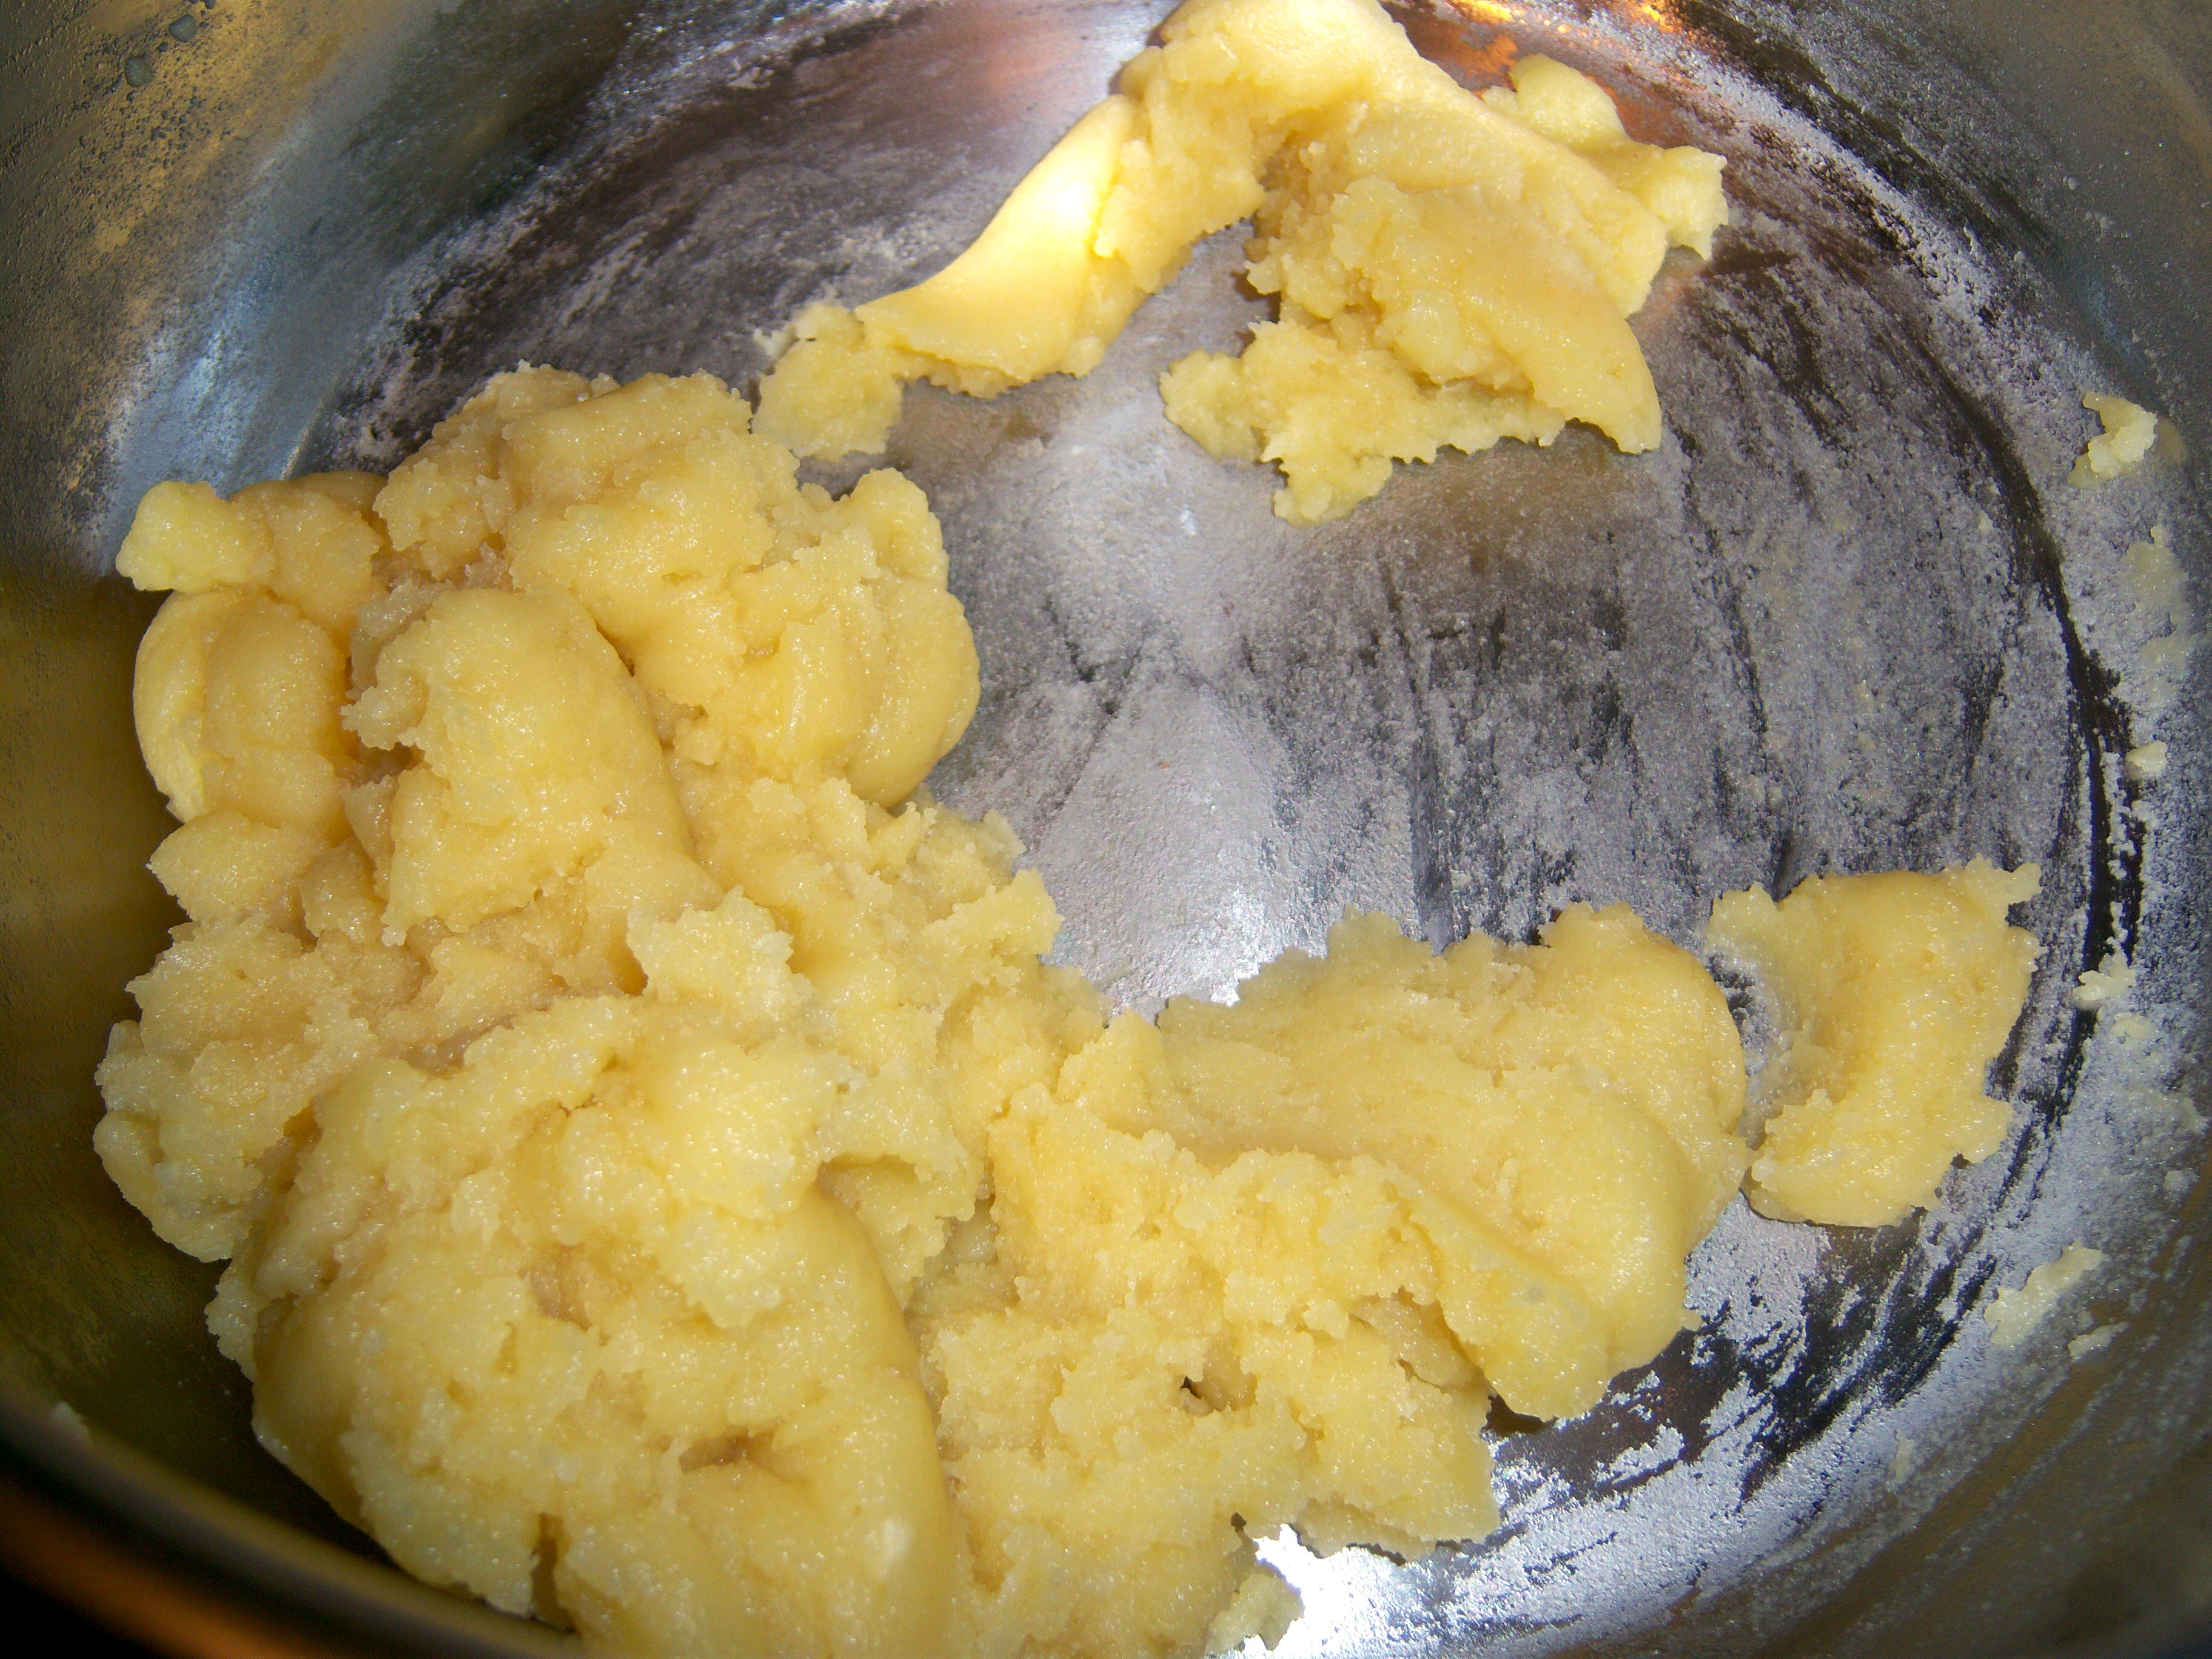 So there I was on a Friday night, making cream puffs. I’ve never made cream puffs before. They were a little more complicated than I expected. First you cook sugar, water, butter and salt and then you add flour and cook it again. Once that’s done you beat in eggs. You know it’s ready when you can touch it and take your finger away and a string follows your finger. I was worried it wasn’t going to work, but it did. It was quite similar to Gougere, an hors d’oevres I’ve made often.
Next you bake your cream puffs. Martha says to use a pastry bag to get them 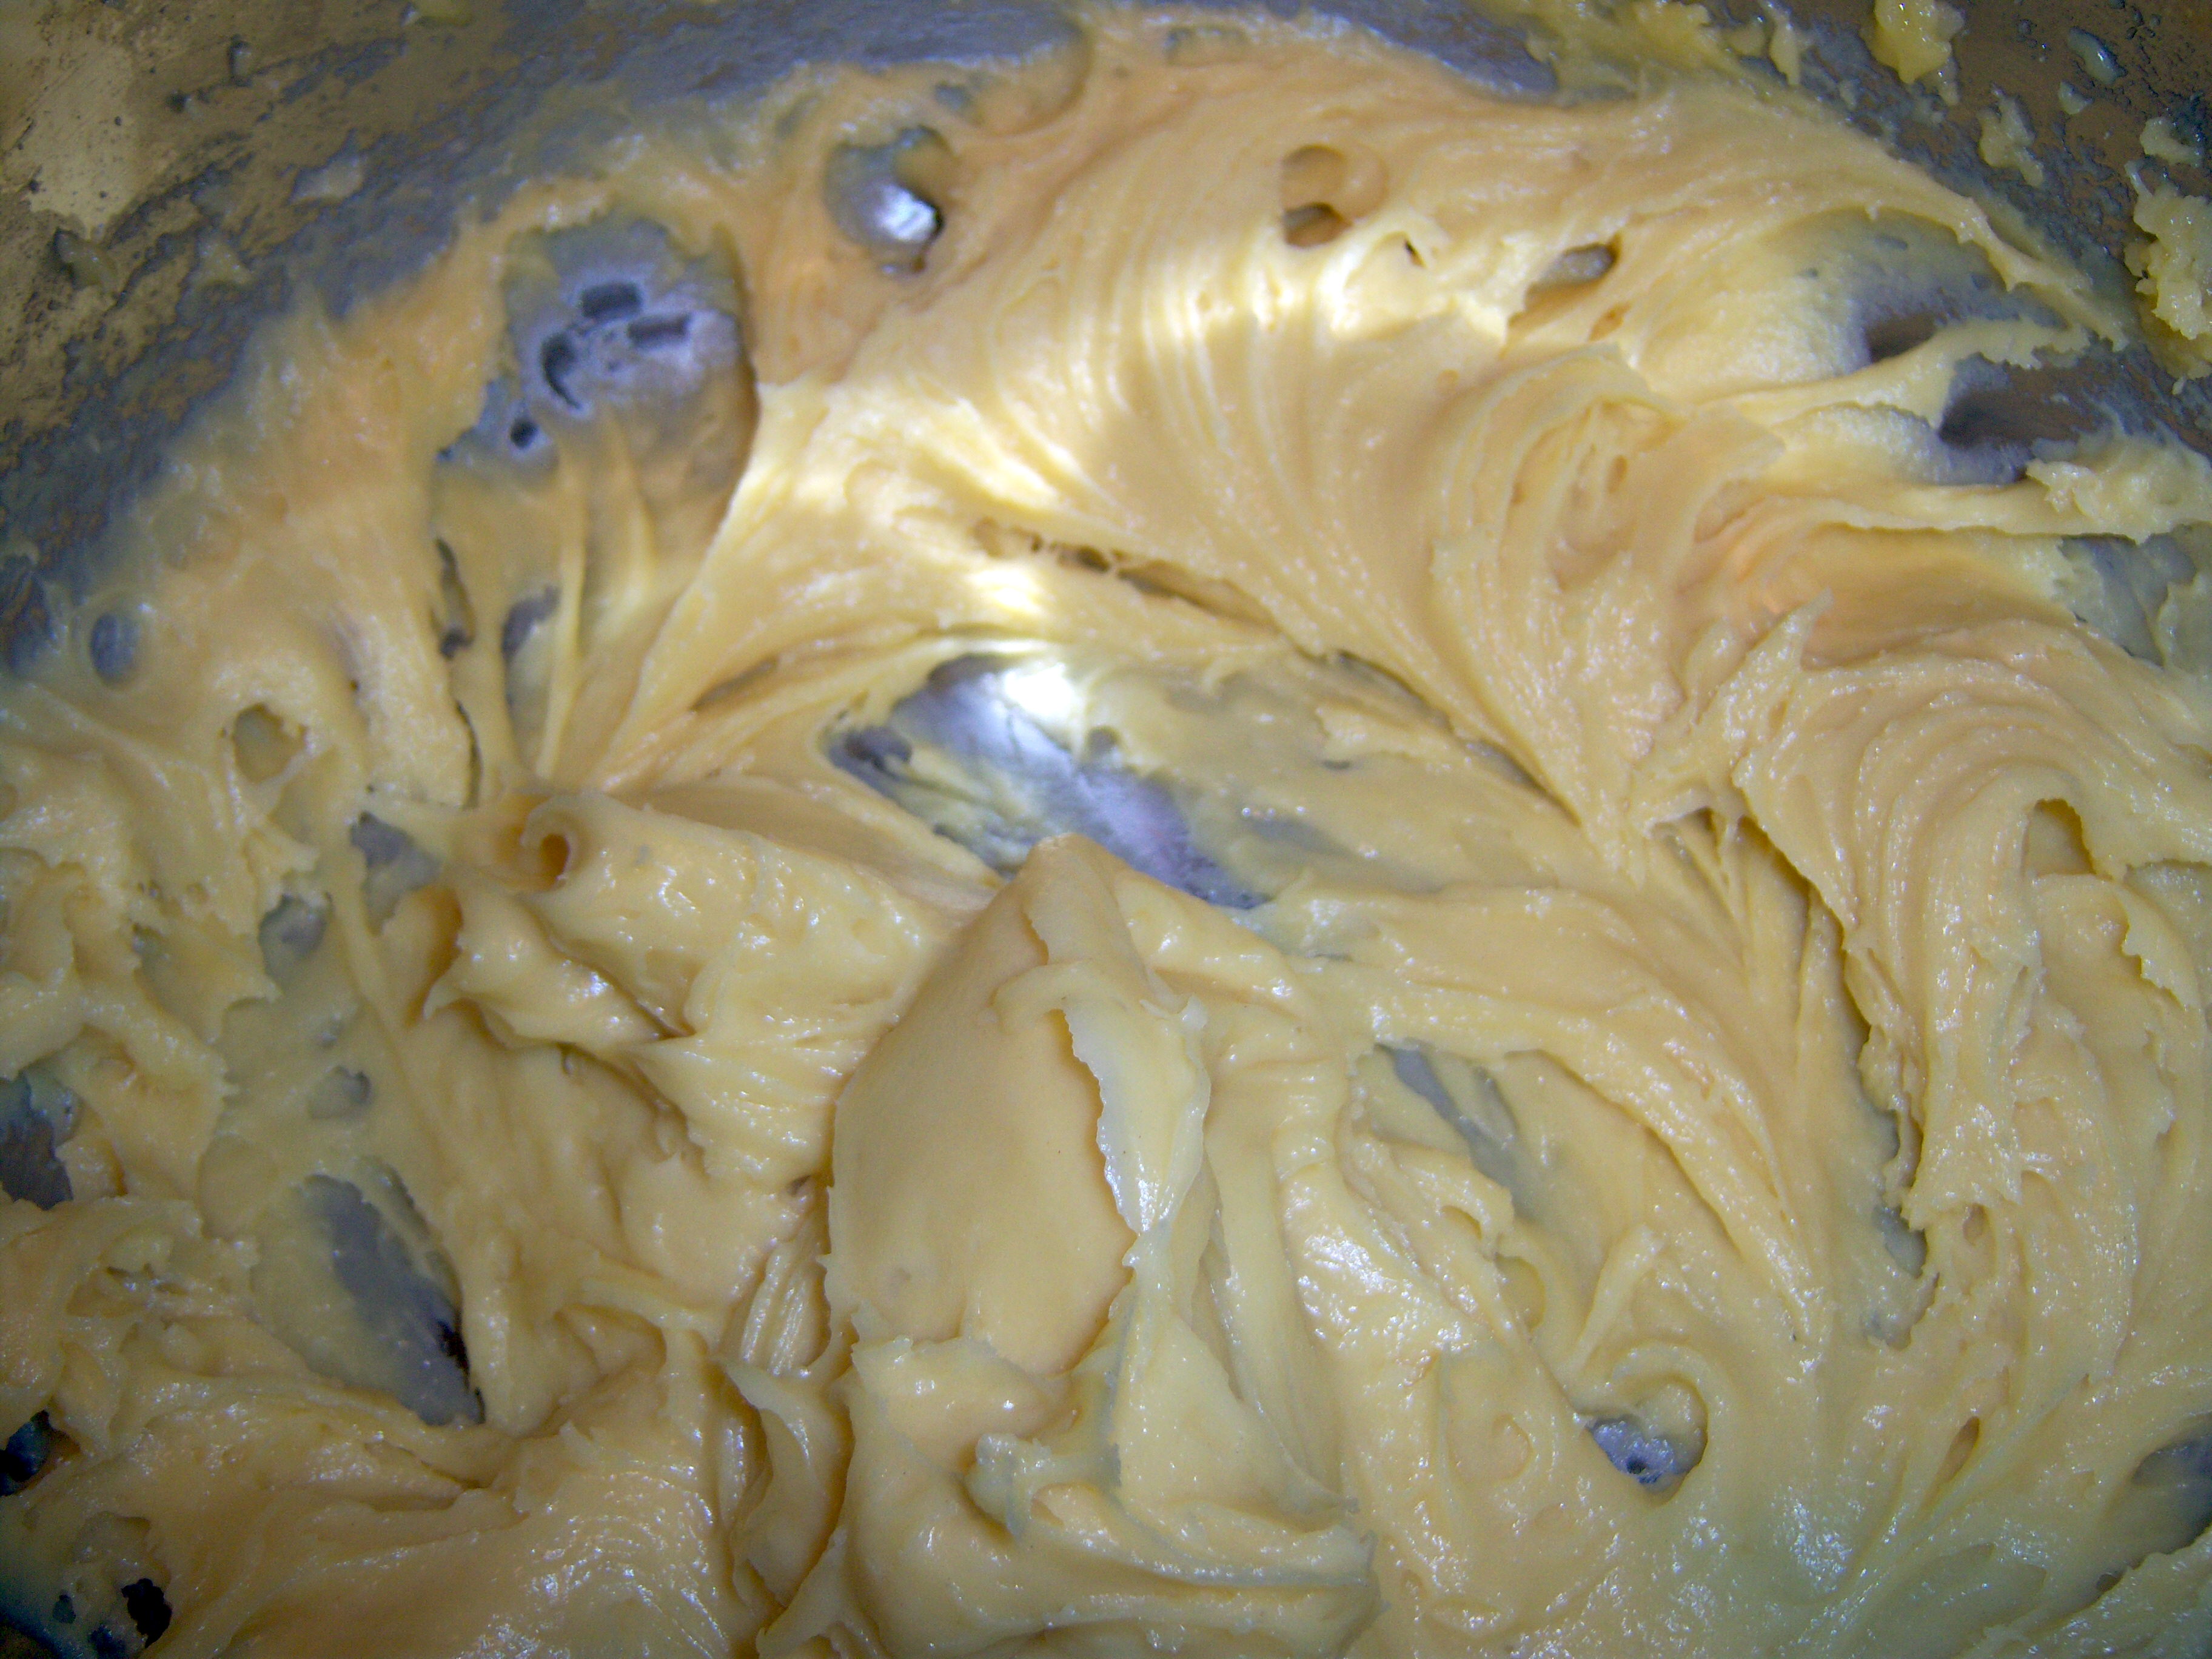 on the baking sheet. Piffle. I just used a spoon. And really, that worked out quite well. The recipe says it makes 10 but I was able to get 12.
They bake a surprisingly long time, but when they were done, they looked great. Now, let me say candidly that these are probably best the same day you bake them, but I had to put them in a plastic container and save them for 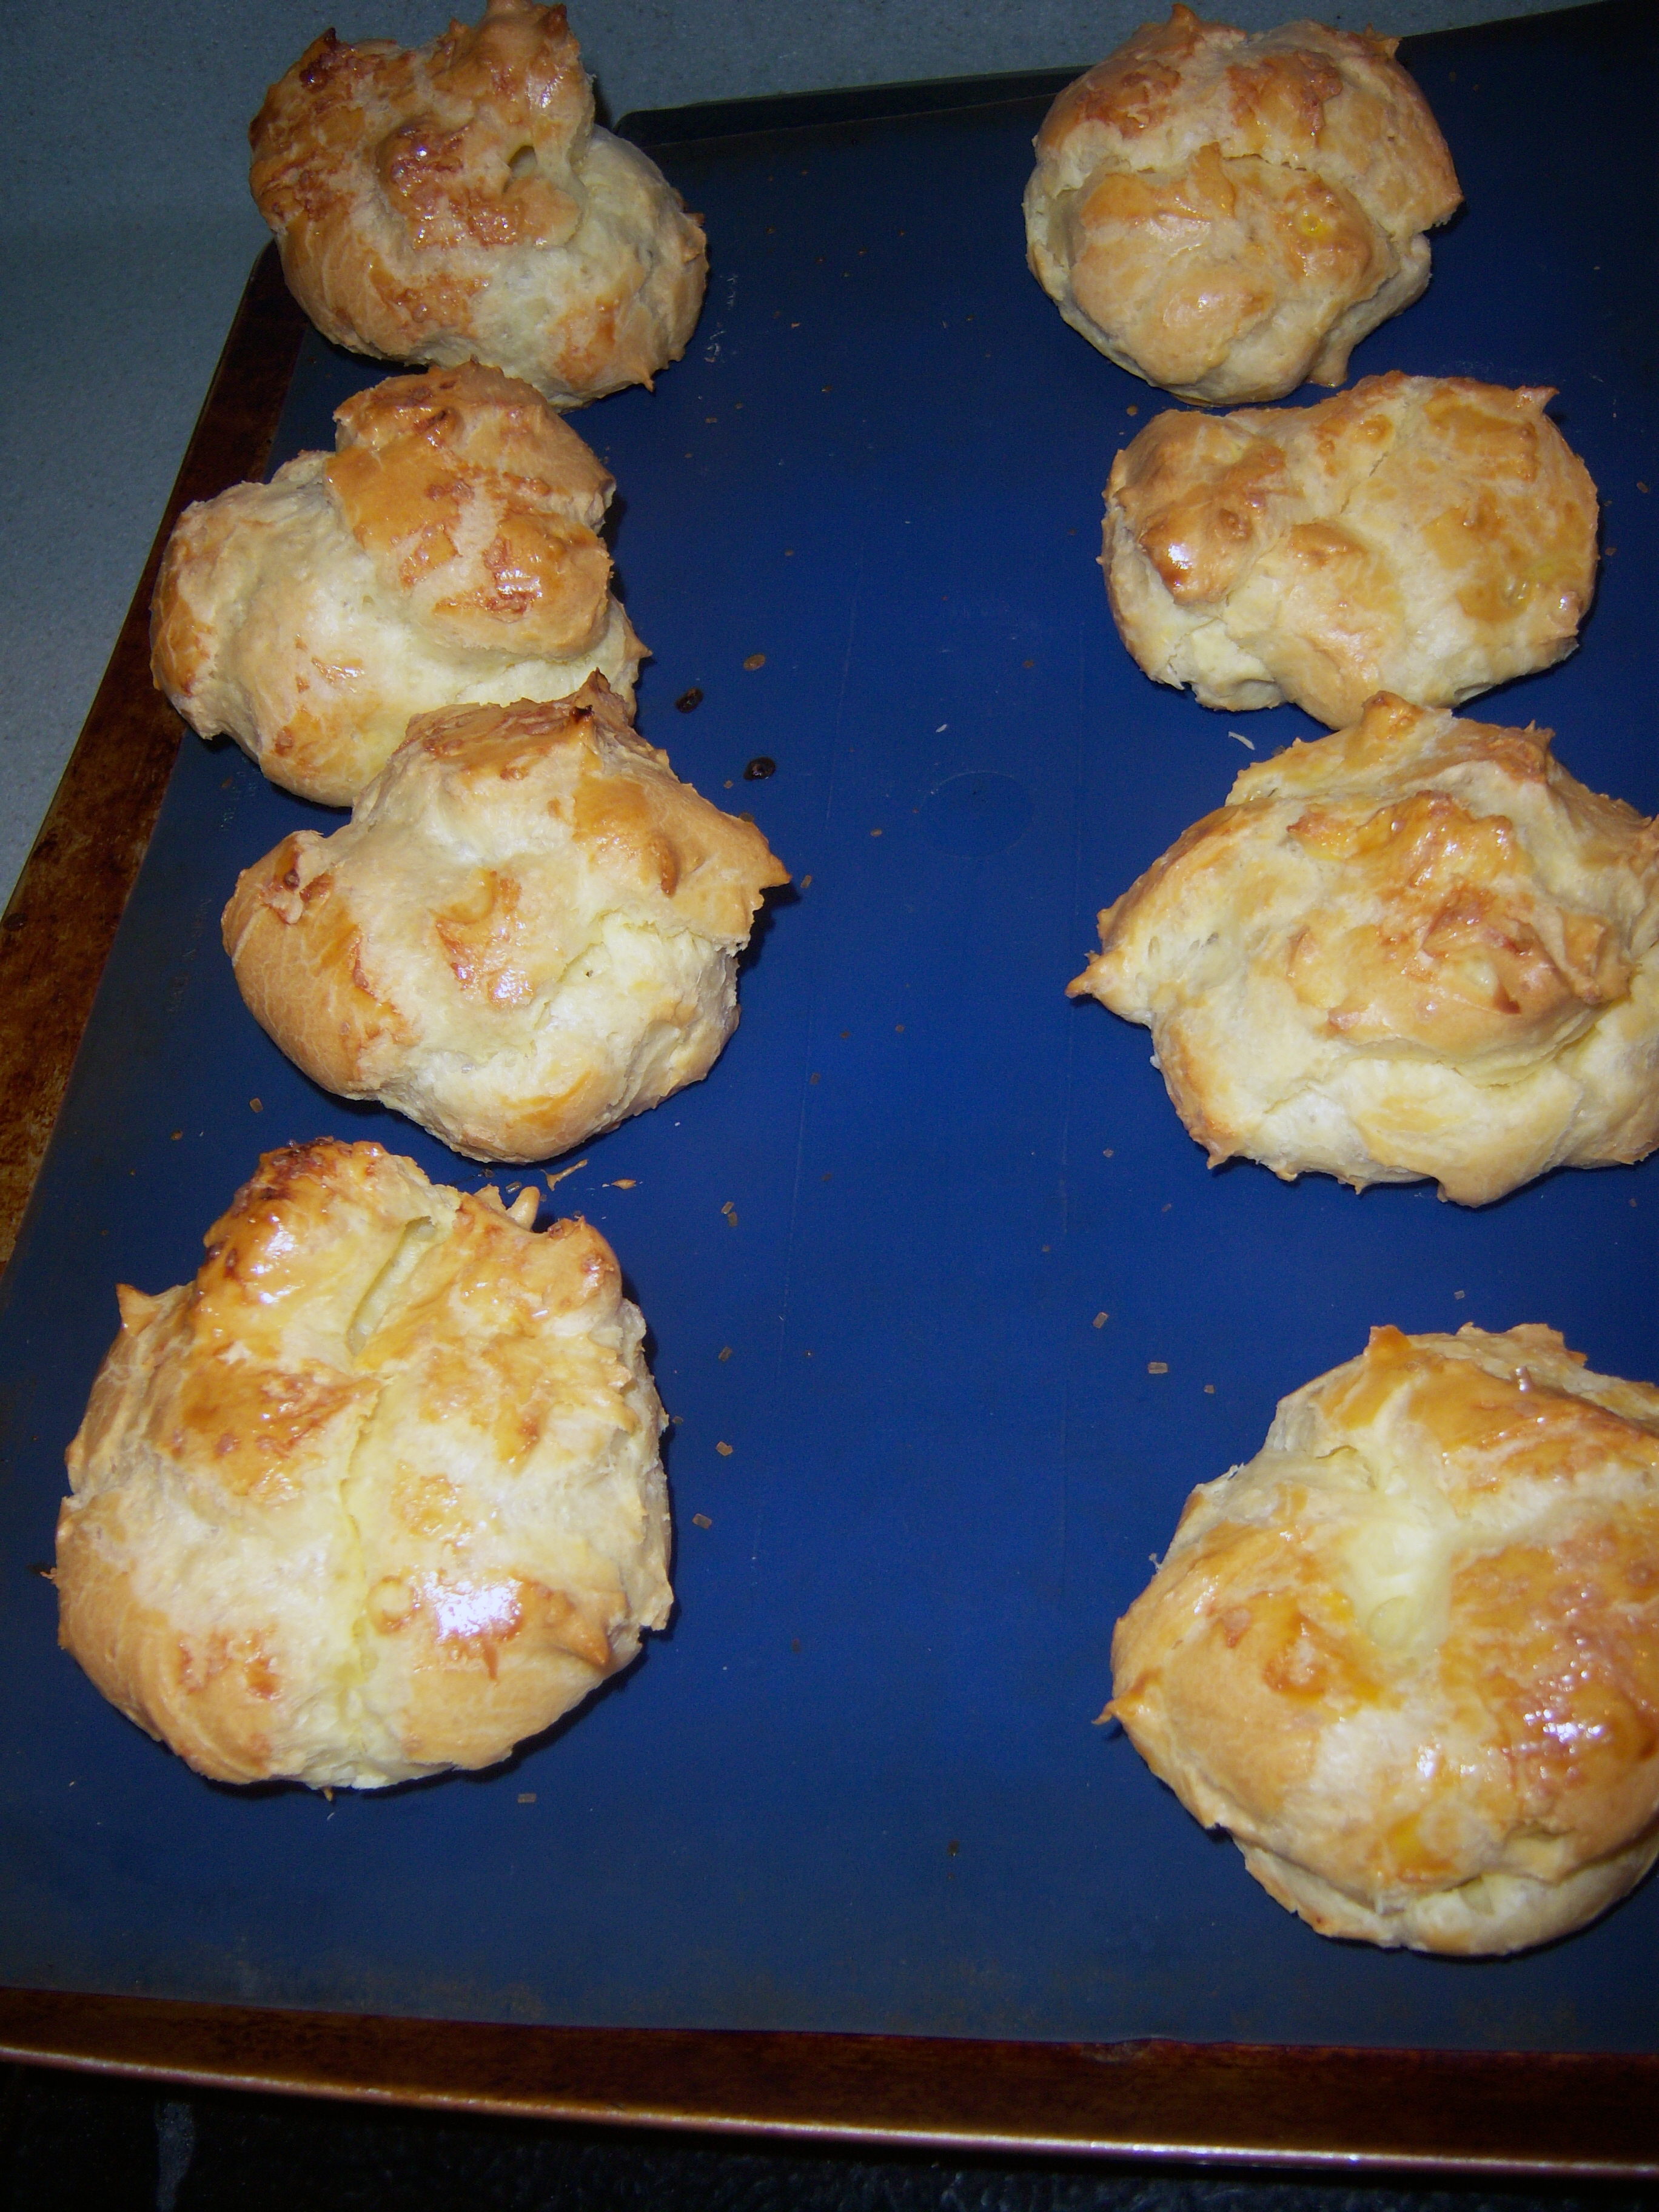 the next day. They did get a tiny bit mushy I think, so eat them the same day if you can.
Next, I got to work on the lemon curd, which would become the lemon mousse. I’ve never made lemon curd before and it was quite easy. Eggs, sugar, lemon juice and lemon zest get cooked, then butter gets mixed in. Pretty easy. I put that in a container to chill and bring along with us.
The next step was the blueberry sauce. Blueberries, water, sugar, salt and lemon zest get cooked down. At the end you add in more blueberries. No problem. I got that done and chilling.
The next morning I packed it all up, along with the heavy cream I needed to make the lemon mousse. It all went into a cooler and came along with us. That night, I served it.
First I cut the cream puffs in half. Next, I got to work on the lemon mousse and here is where things get out of control. I grabbed the heavy cream, dumped it into a bowl and started whipping. Nothing happened. It got foamy but not fluffy. Finally I looked at the carton and realized I had grabbed half and half, which comes in an identical carton (who’s the labeling genius in charge of that I’d like to know!). Down the drain that went and I started over, this time making sure I had the whipping cream I had brought with me. I got it whipped up and stuck my finger in it to check the texture and licked my finger off and immediately gagged. The cream was bad! And I had just bought it two days ago. The expiration date was not until the end of June. What the hell! Fortunately my mother had another carton of heavy cream, so I set to work whipping for the third time and this time it all worked out.
 I folded the whipped cream with the curd and voila! Lemon mousse. I filled the cream puffs with the mousse and was getting ready to put the blueberry sauce on them. My son asked me not to put sauce on his. My father overheard this and asked for me to do the same thing for his.
We sat down to eat and my dad took a bite and said, “Oh! It’s lemon! I thought they were regular profiteroles.” My mother then says to him, “It’s not French honey, it’s Martha,” and takes his plate and goes and puts the blueberry sauce on it. He thought they were regular cream puffs and didn’t like the idea of blueberry sauce on them. Once he realized they weren’t, then he was willing to try it.
These were quite good, despite all the effort it took to produce them! The lemon mousse was light and fluffy and just lemony enough. The blueberry sauce was a nice contrast. It all worked well together and was a nice summer dessert. I enjoyed it a lot. I have to admit I would probably rather have regular cream puffs with chocolate sauce though!
We were heading out to my parents’ lake house for Memorial Day weekend and I needed a dessert to bring. I like to get my cooking done ahead so I can spend the time there enjoying the water. Martha’s Cream Puffs with Lemon Mousse and Blueberry Sauce (June Martha Stewart Living) sounded very summery and … Read more

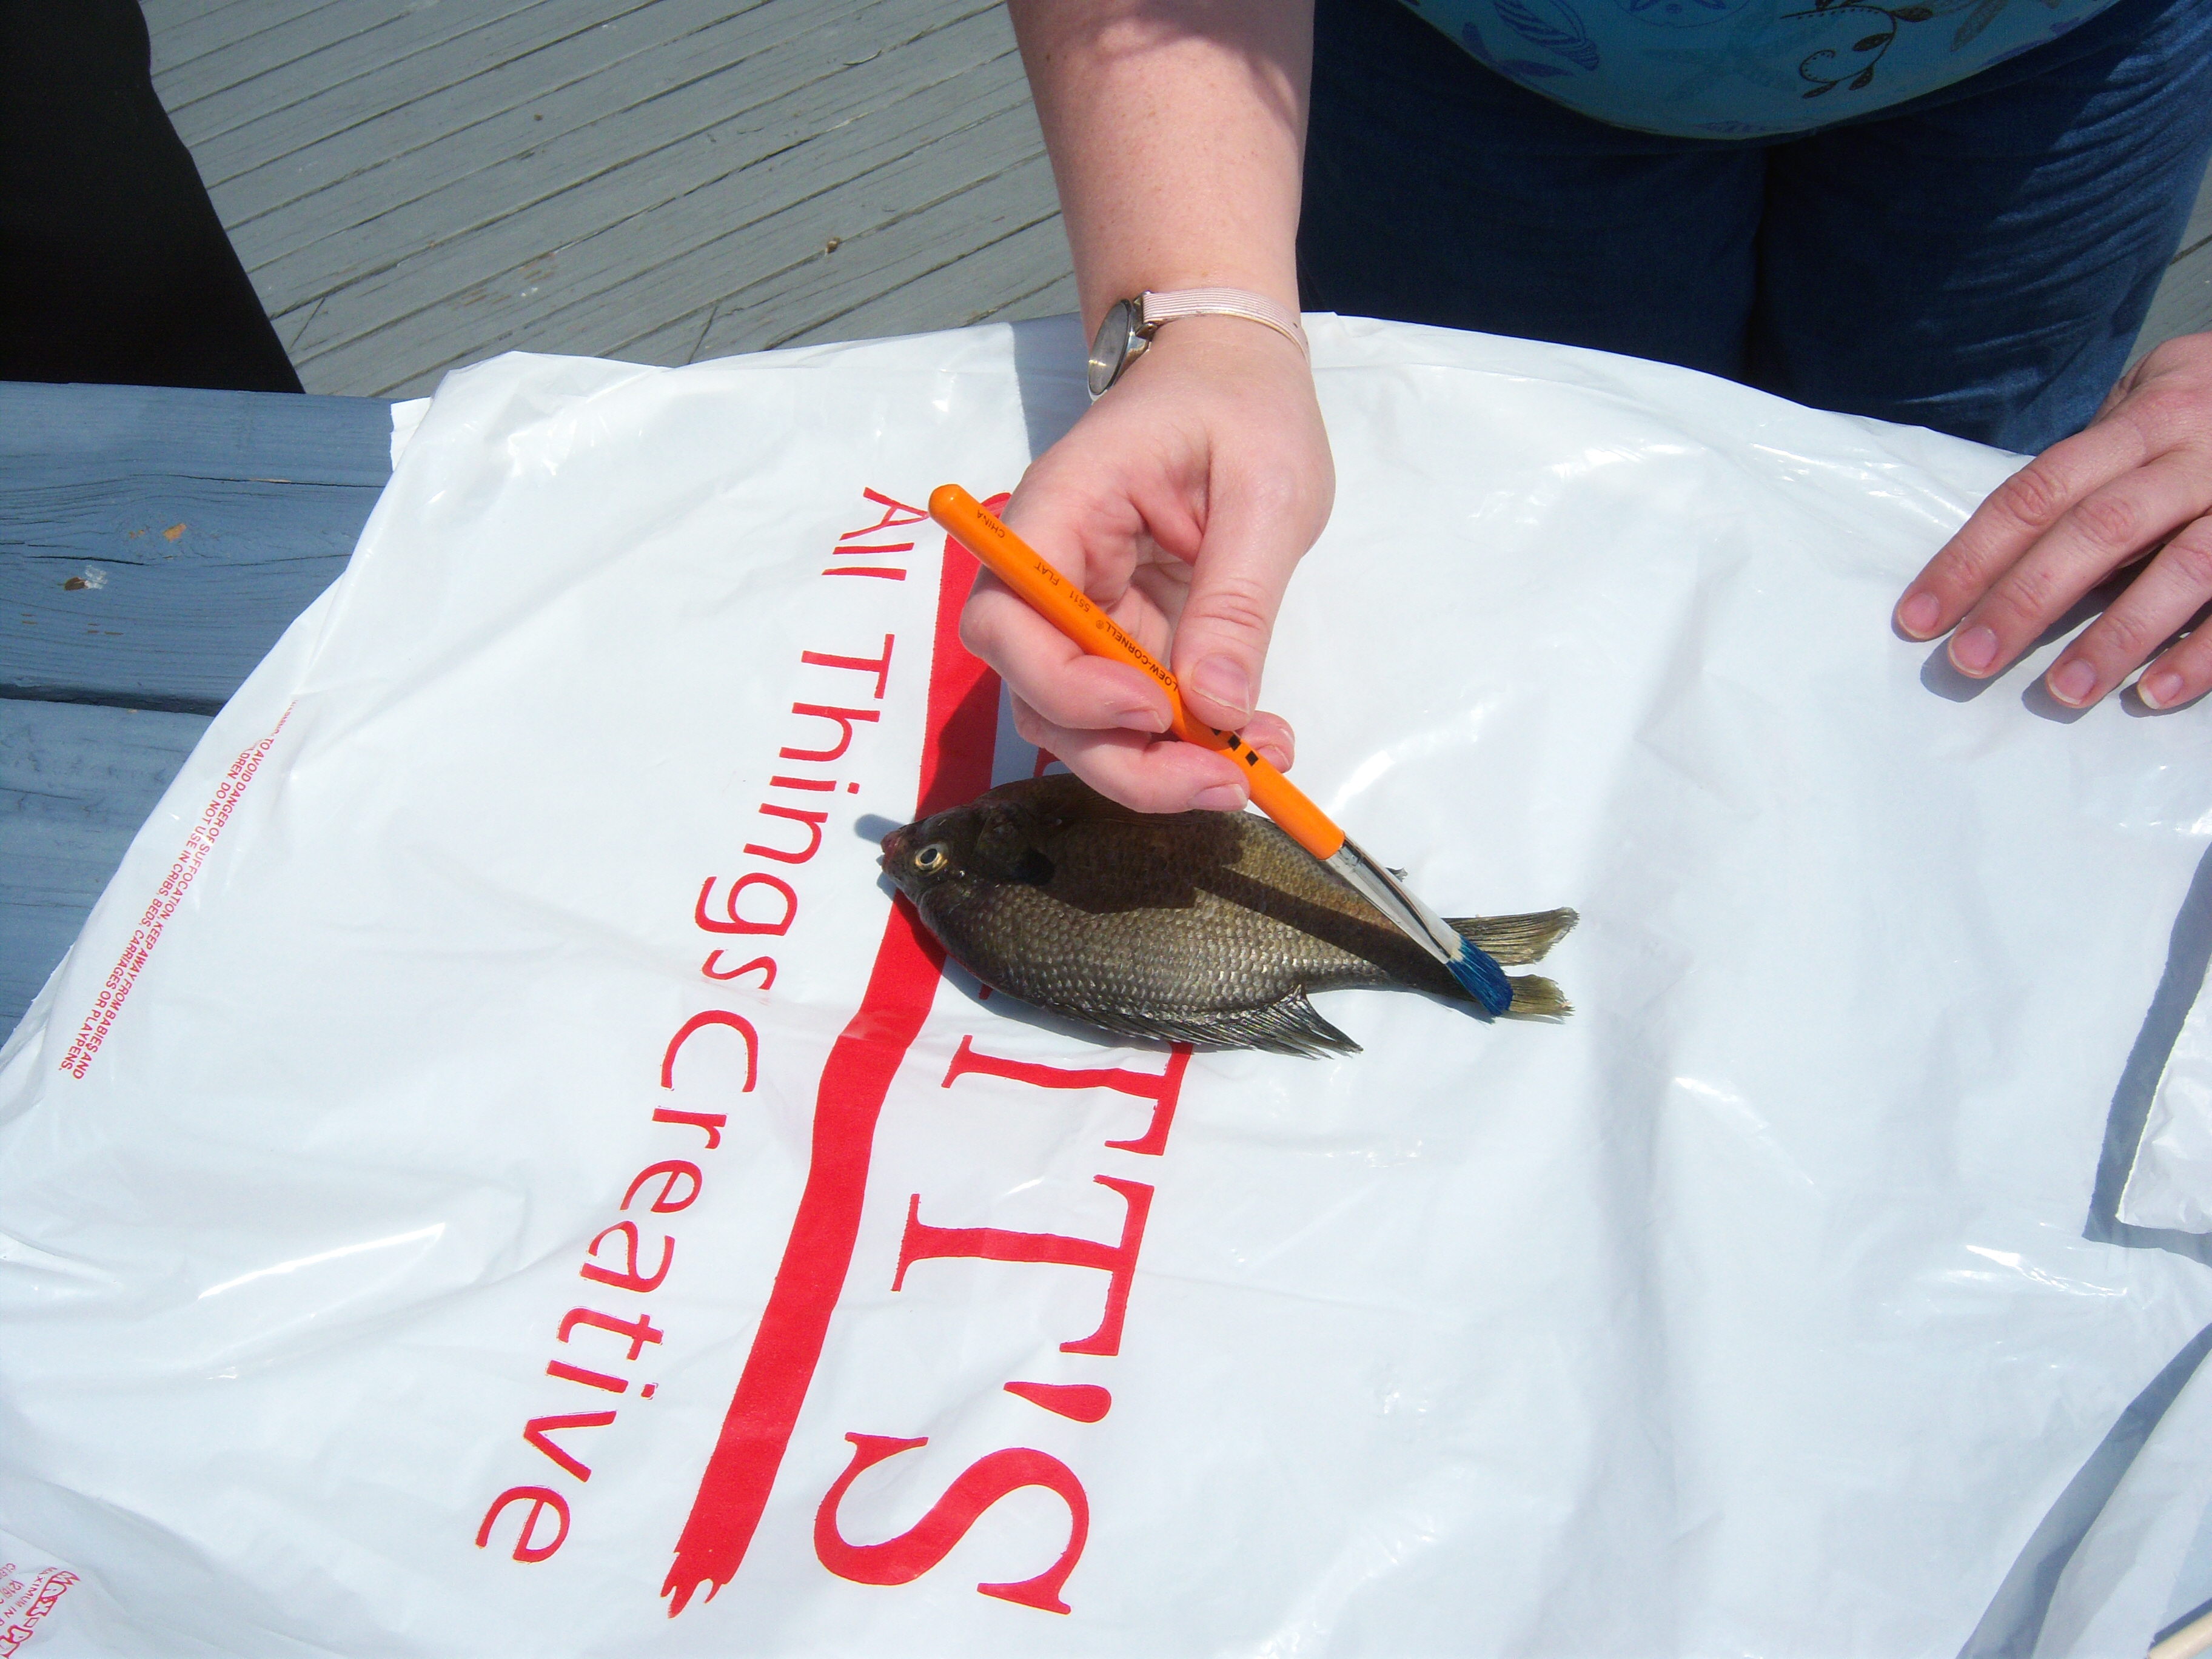 I went to a craft store and bought ink and rice paper. I had a little brush already. I took it with us. We caught a lot of fish, but since bass season has not started yet, we couldn’t keep those big fish. We did catch a lot of little sunfish though and we kept some to eat for lunch. One of the fish we set aside for the print.
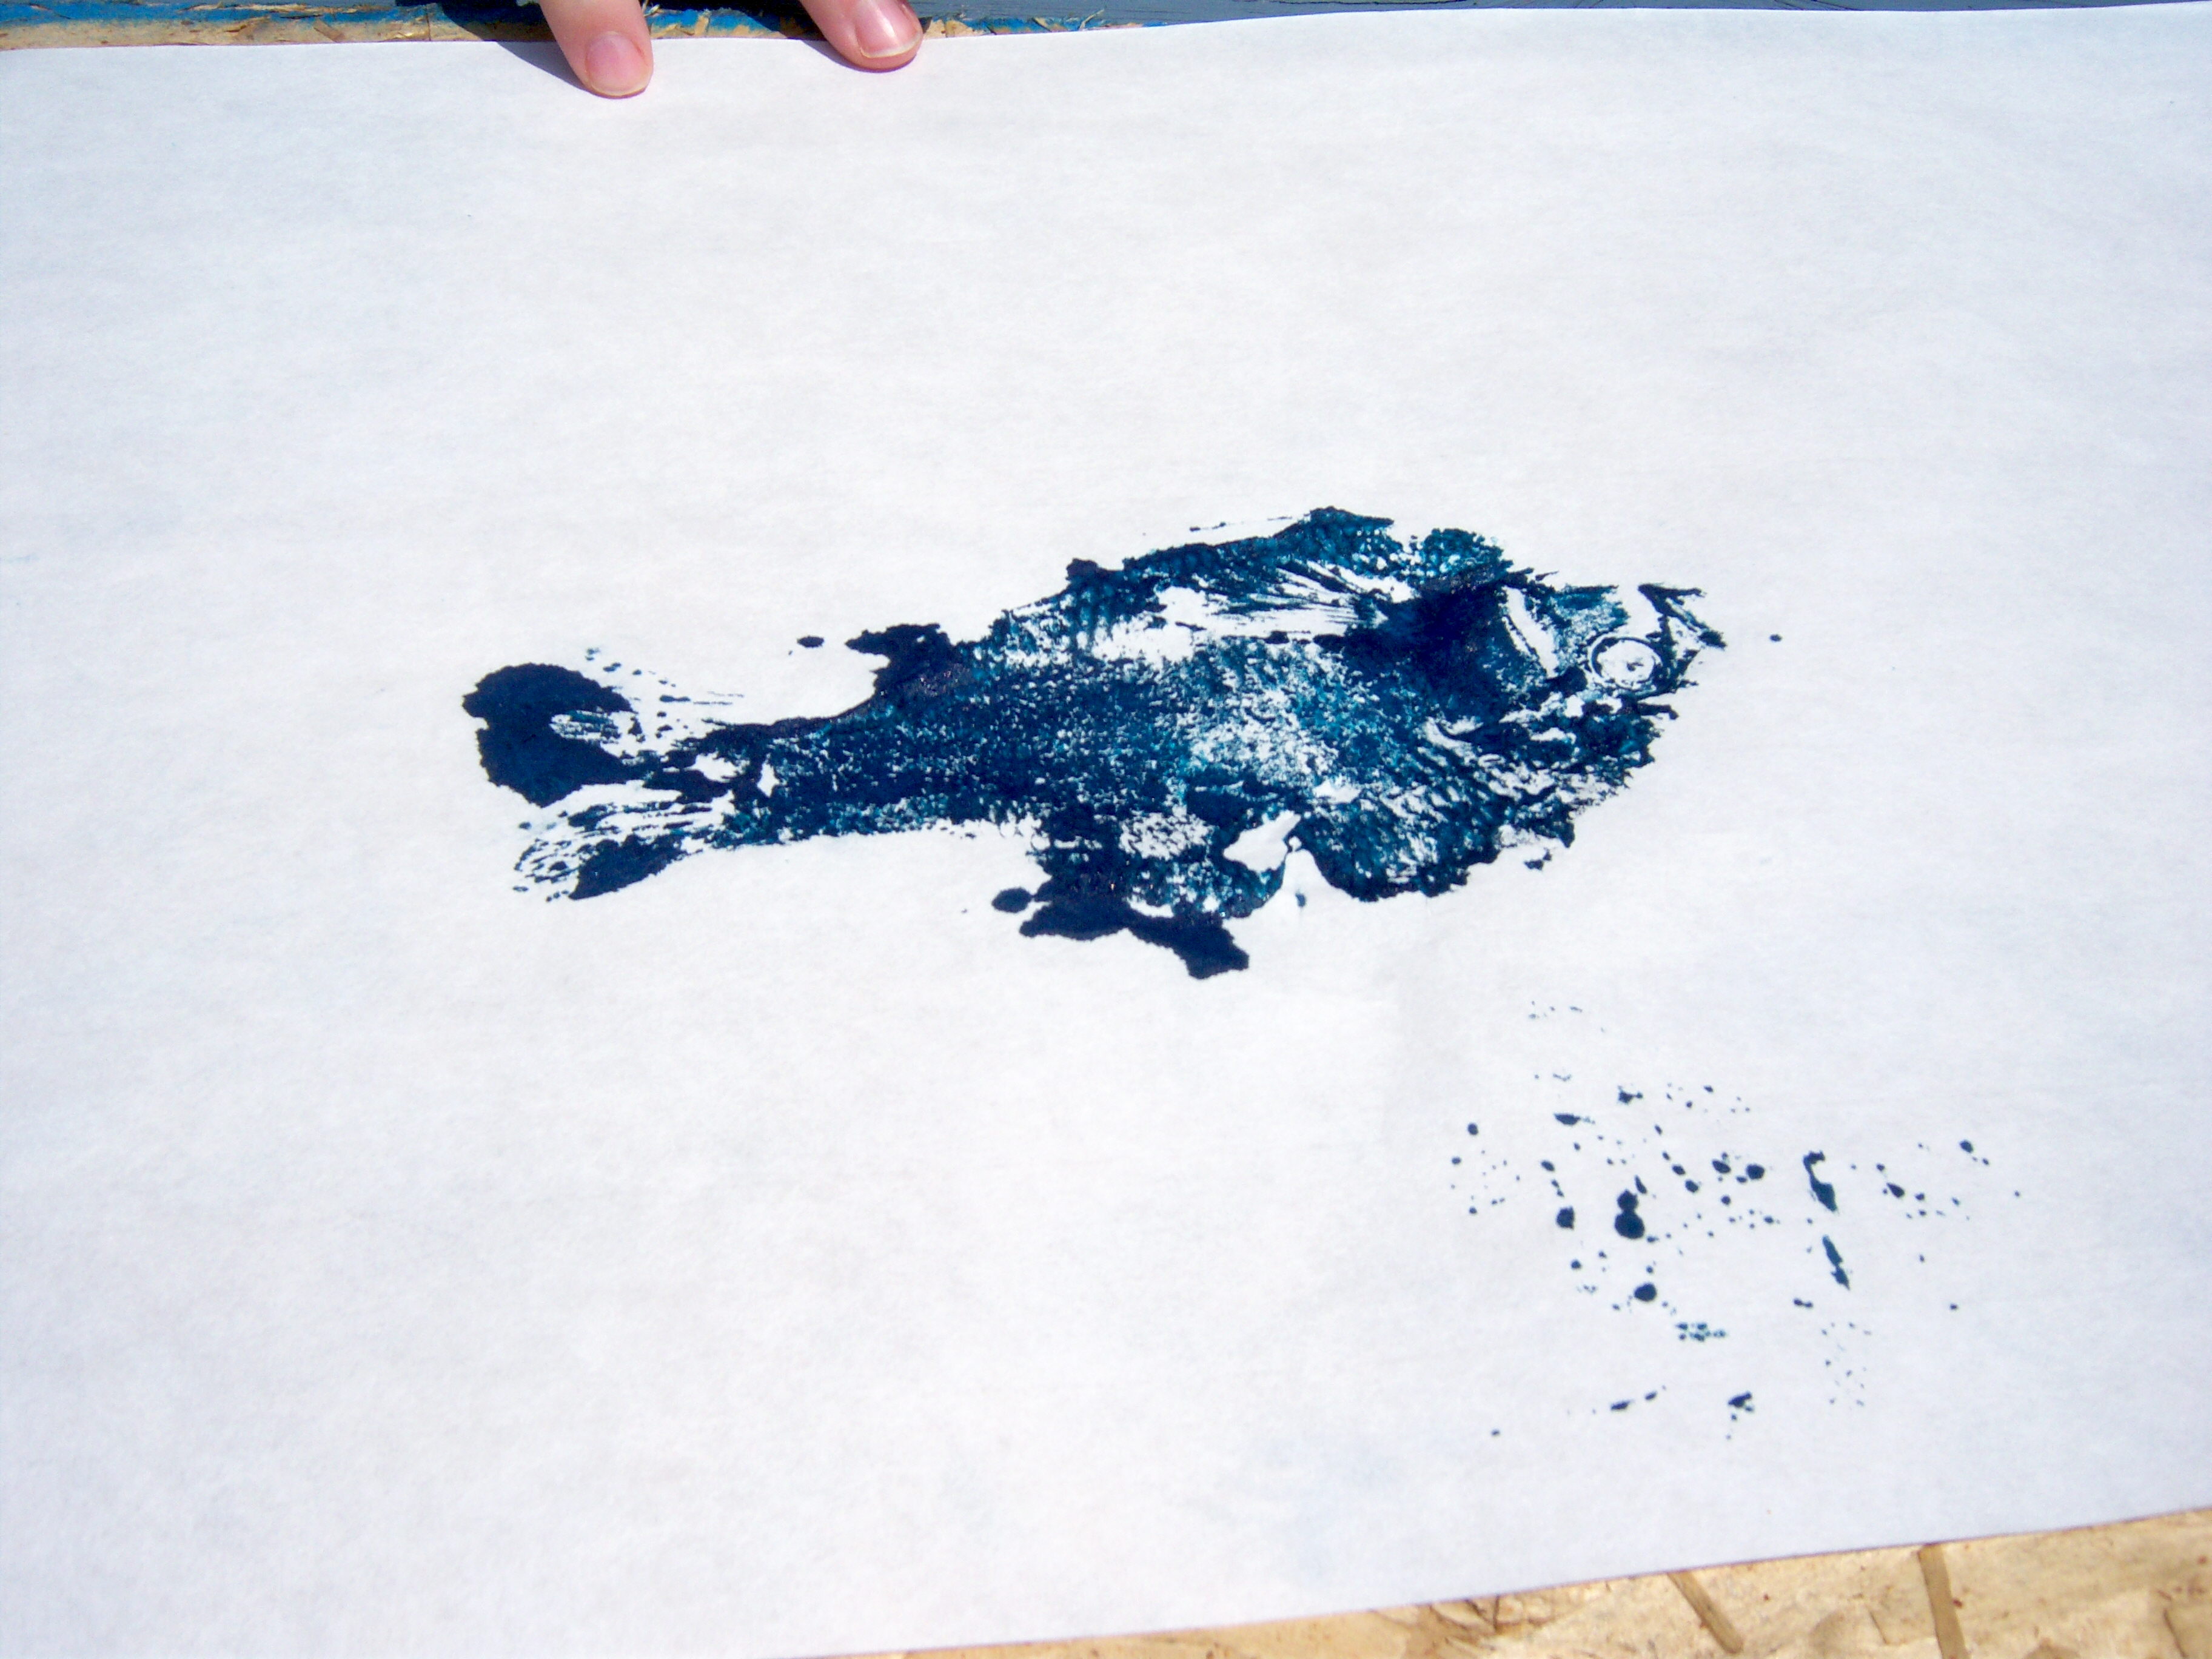
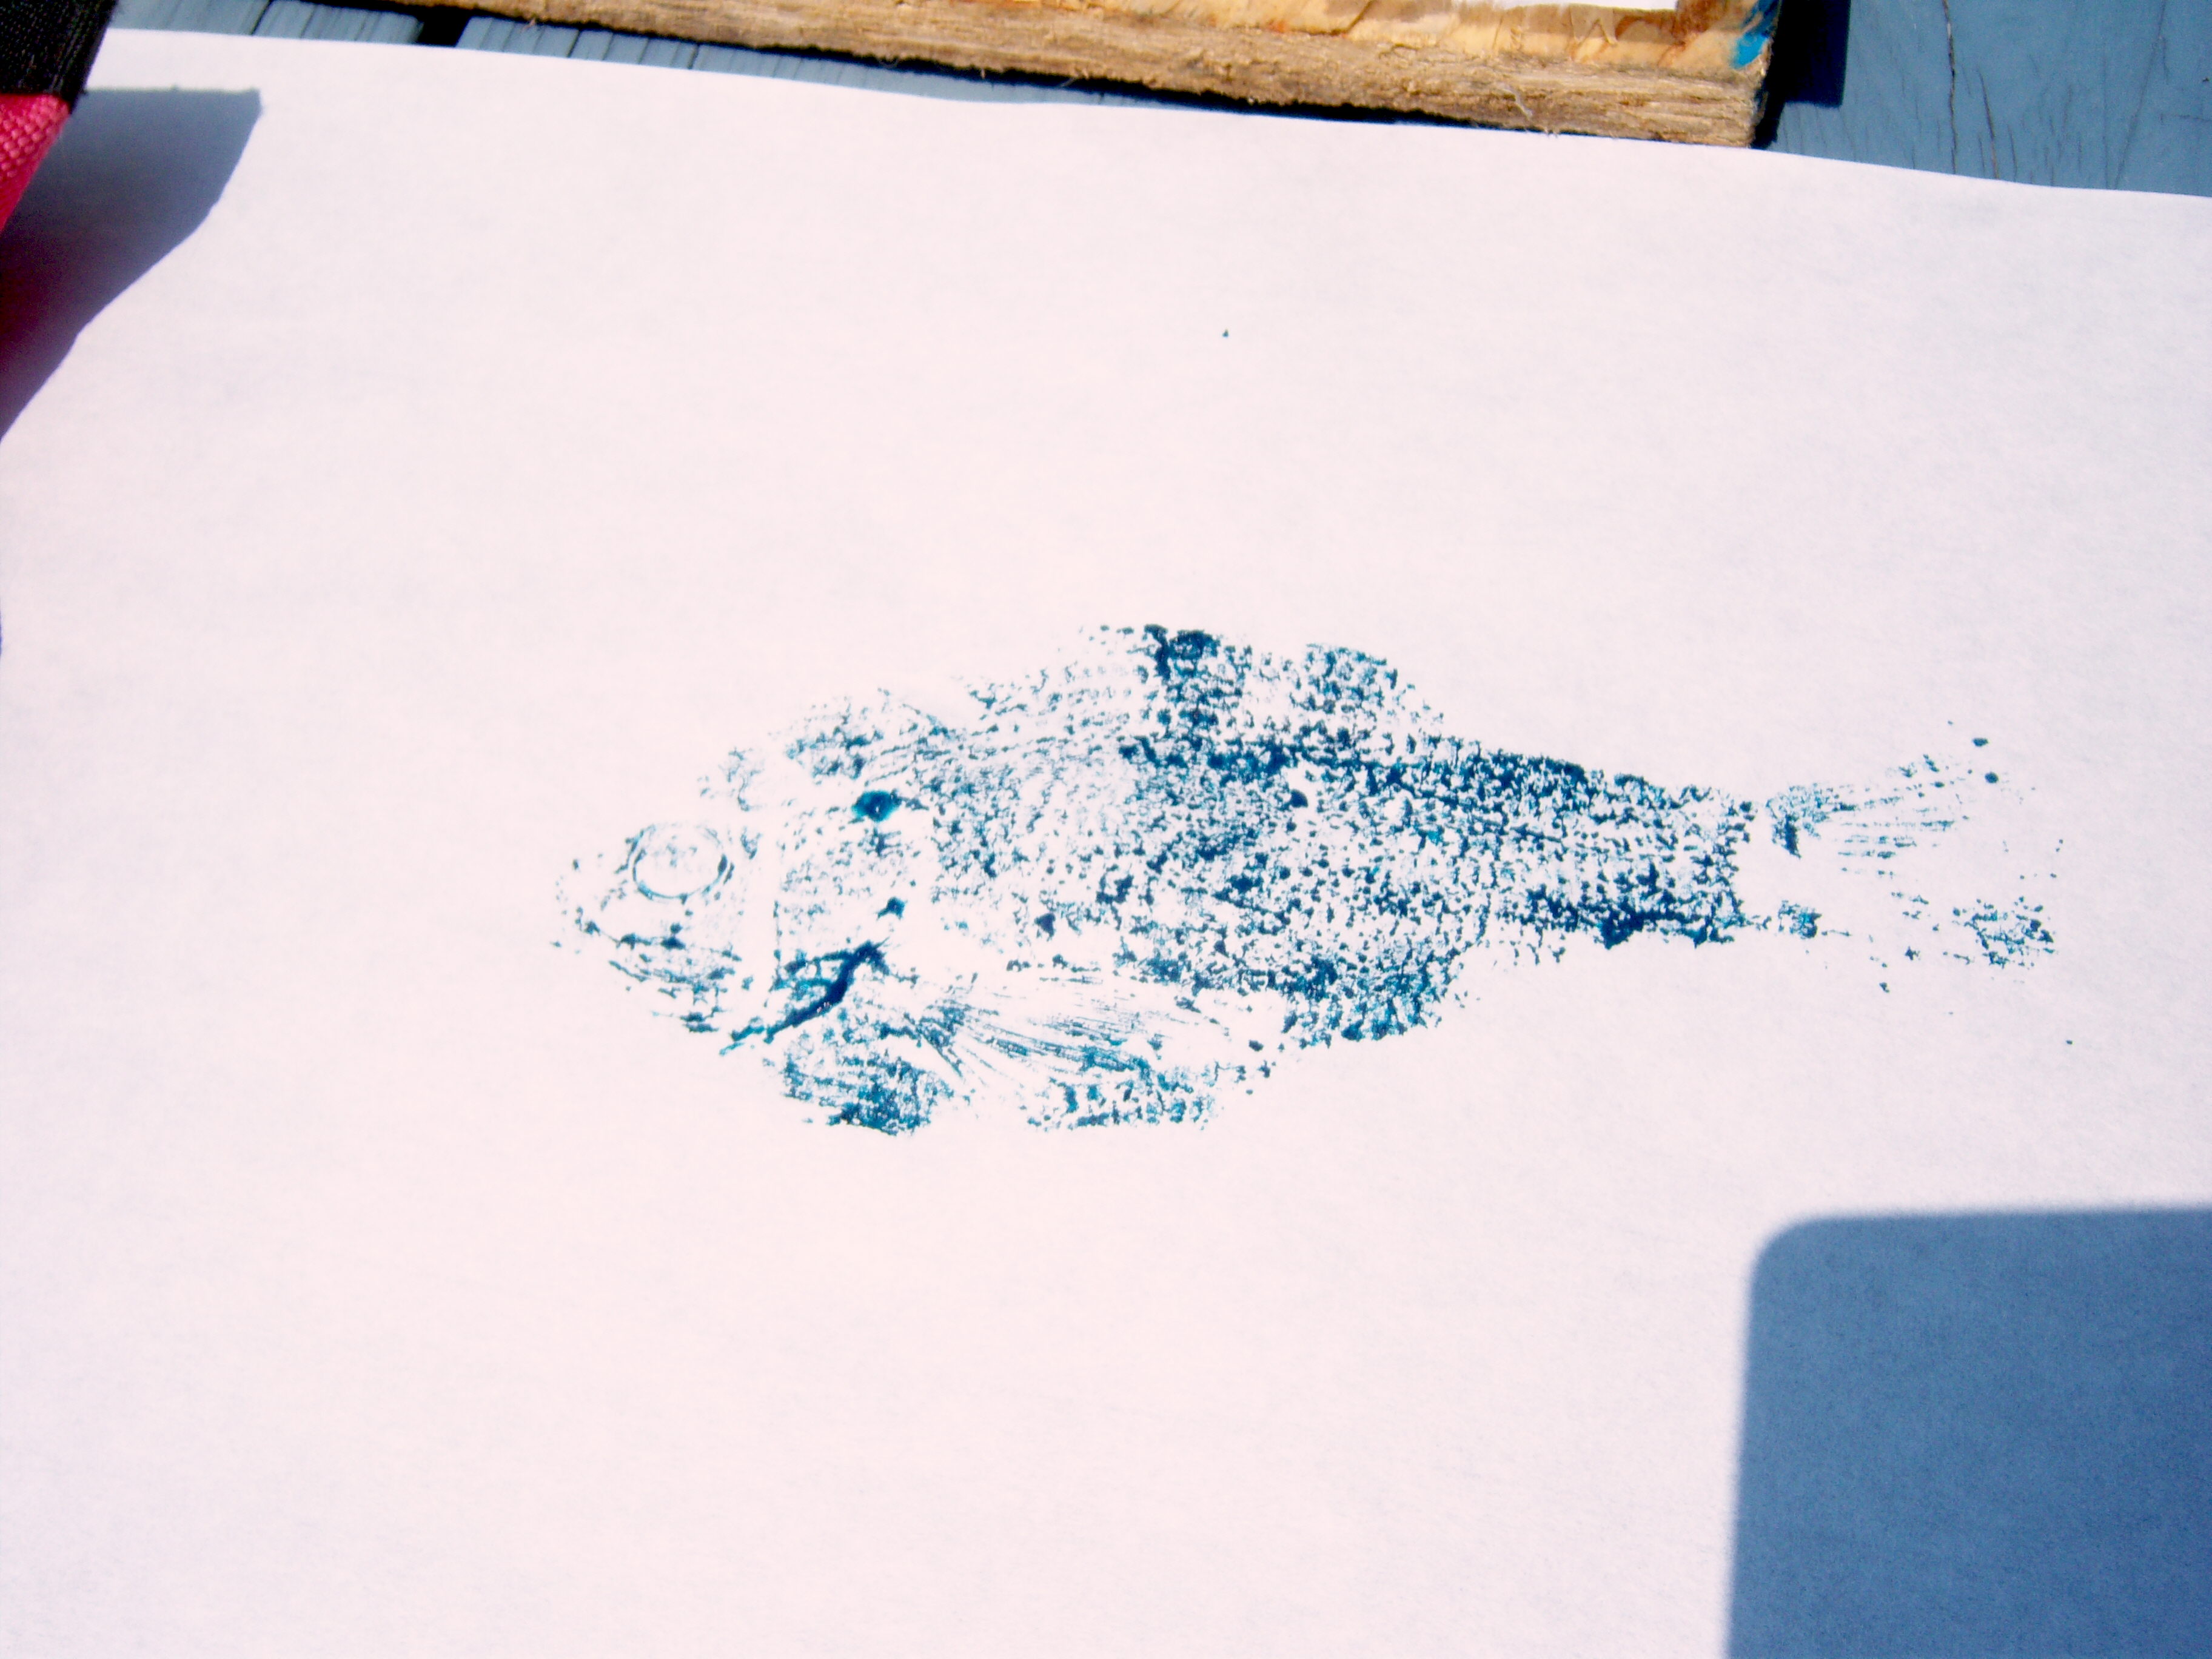
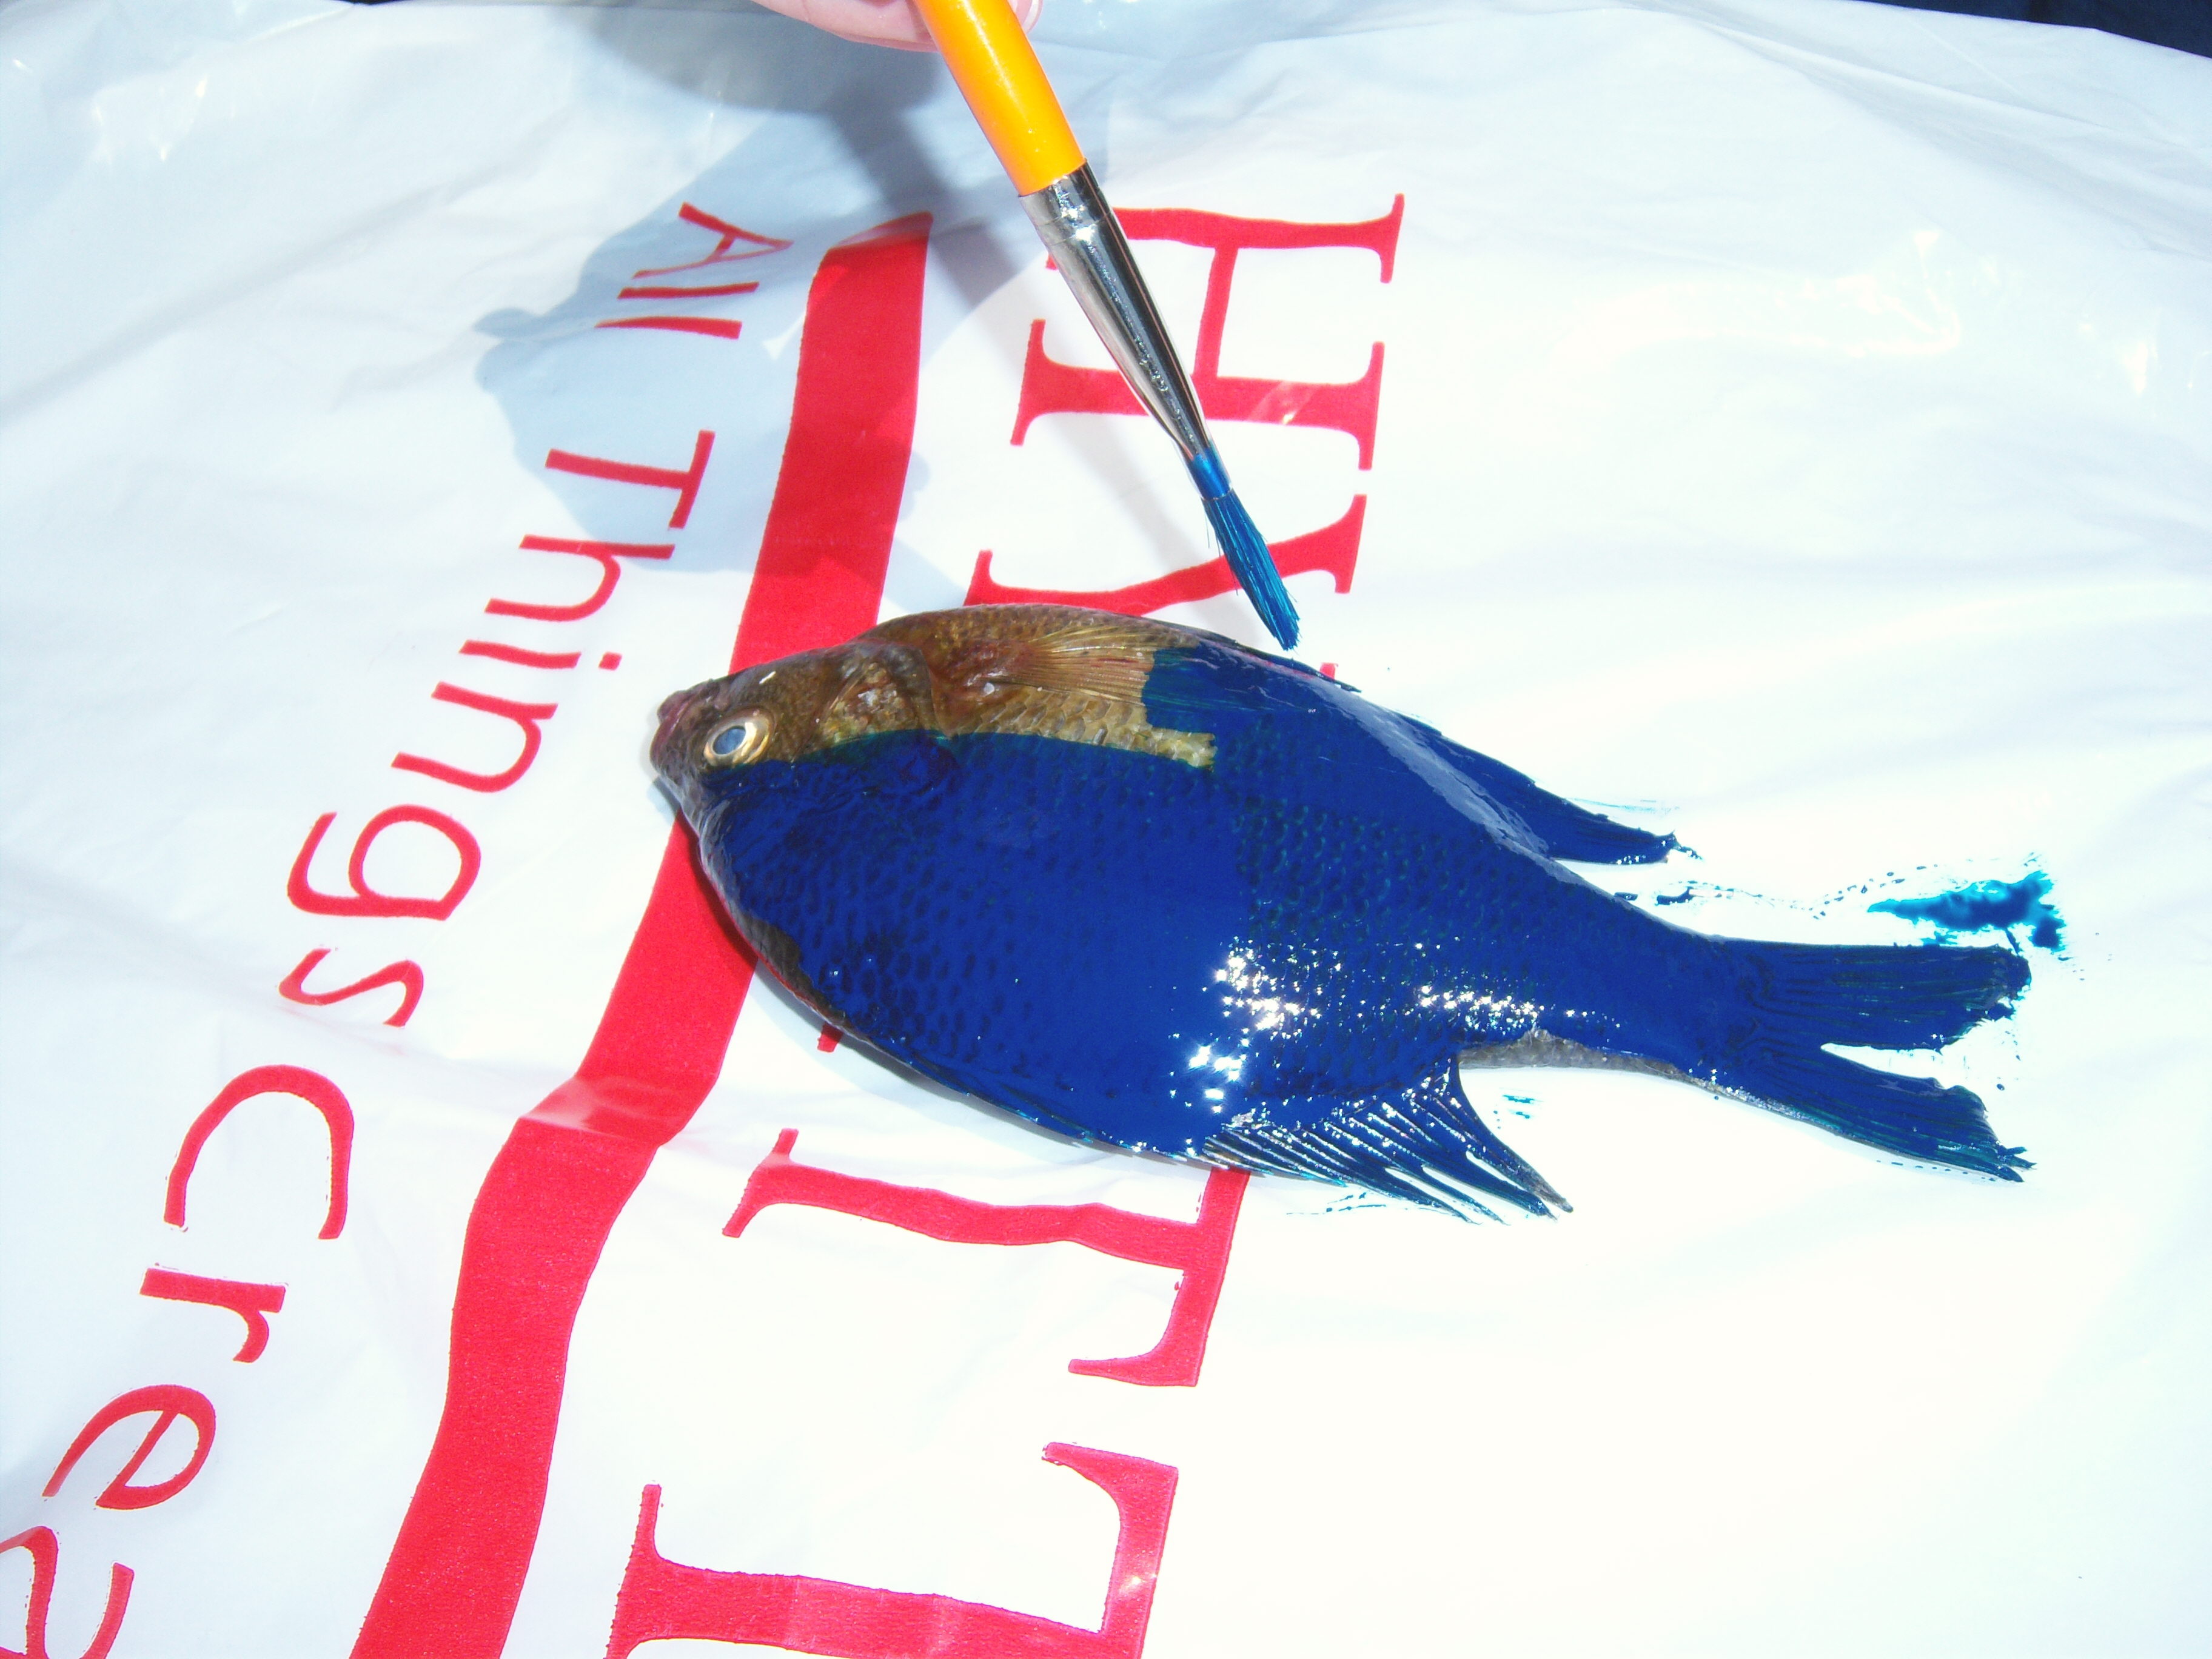 ink on it and pressed the rough side of the rice paper onto it (hoping that was the right side!). The first one wasn’t great and I quickly learned to use a very light coating of ink. The next few turned out really well. I am definitely going to frame one and hang it up at the lake.
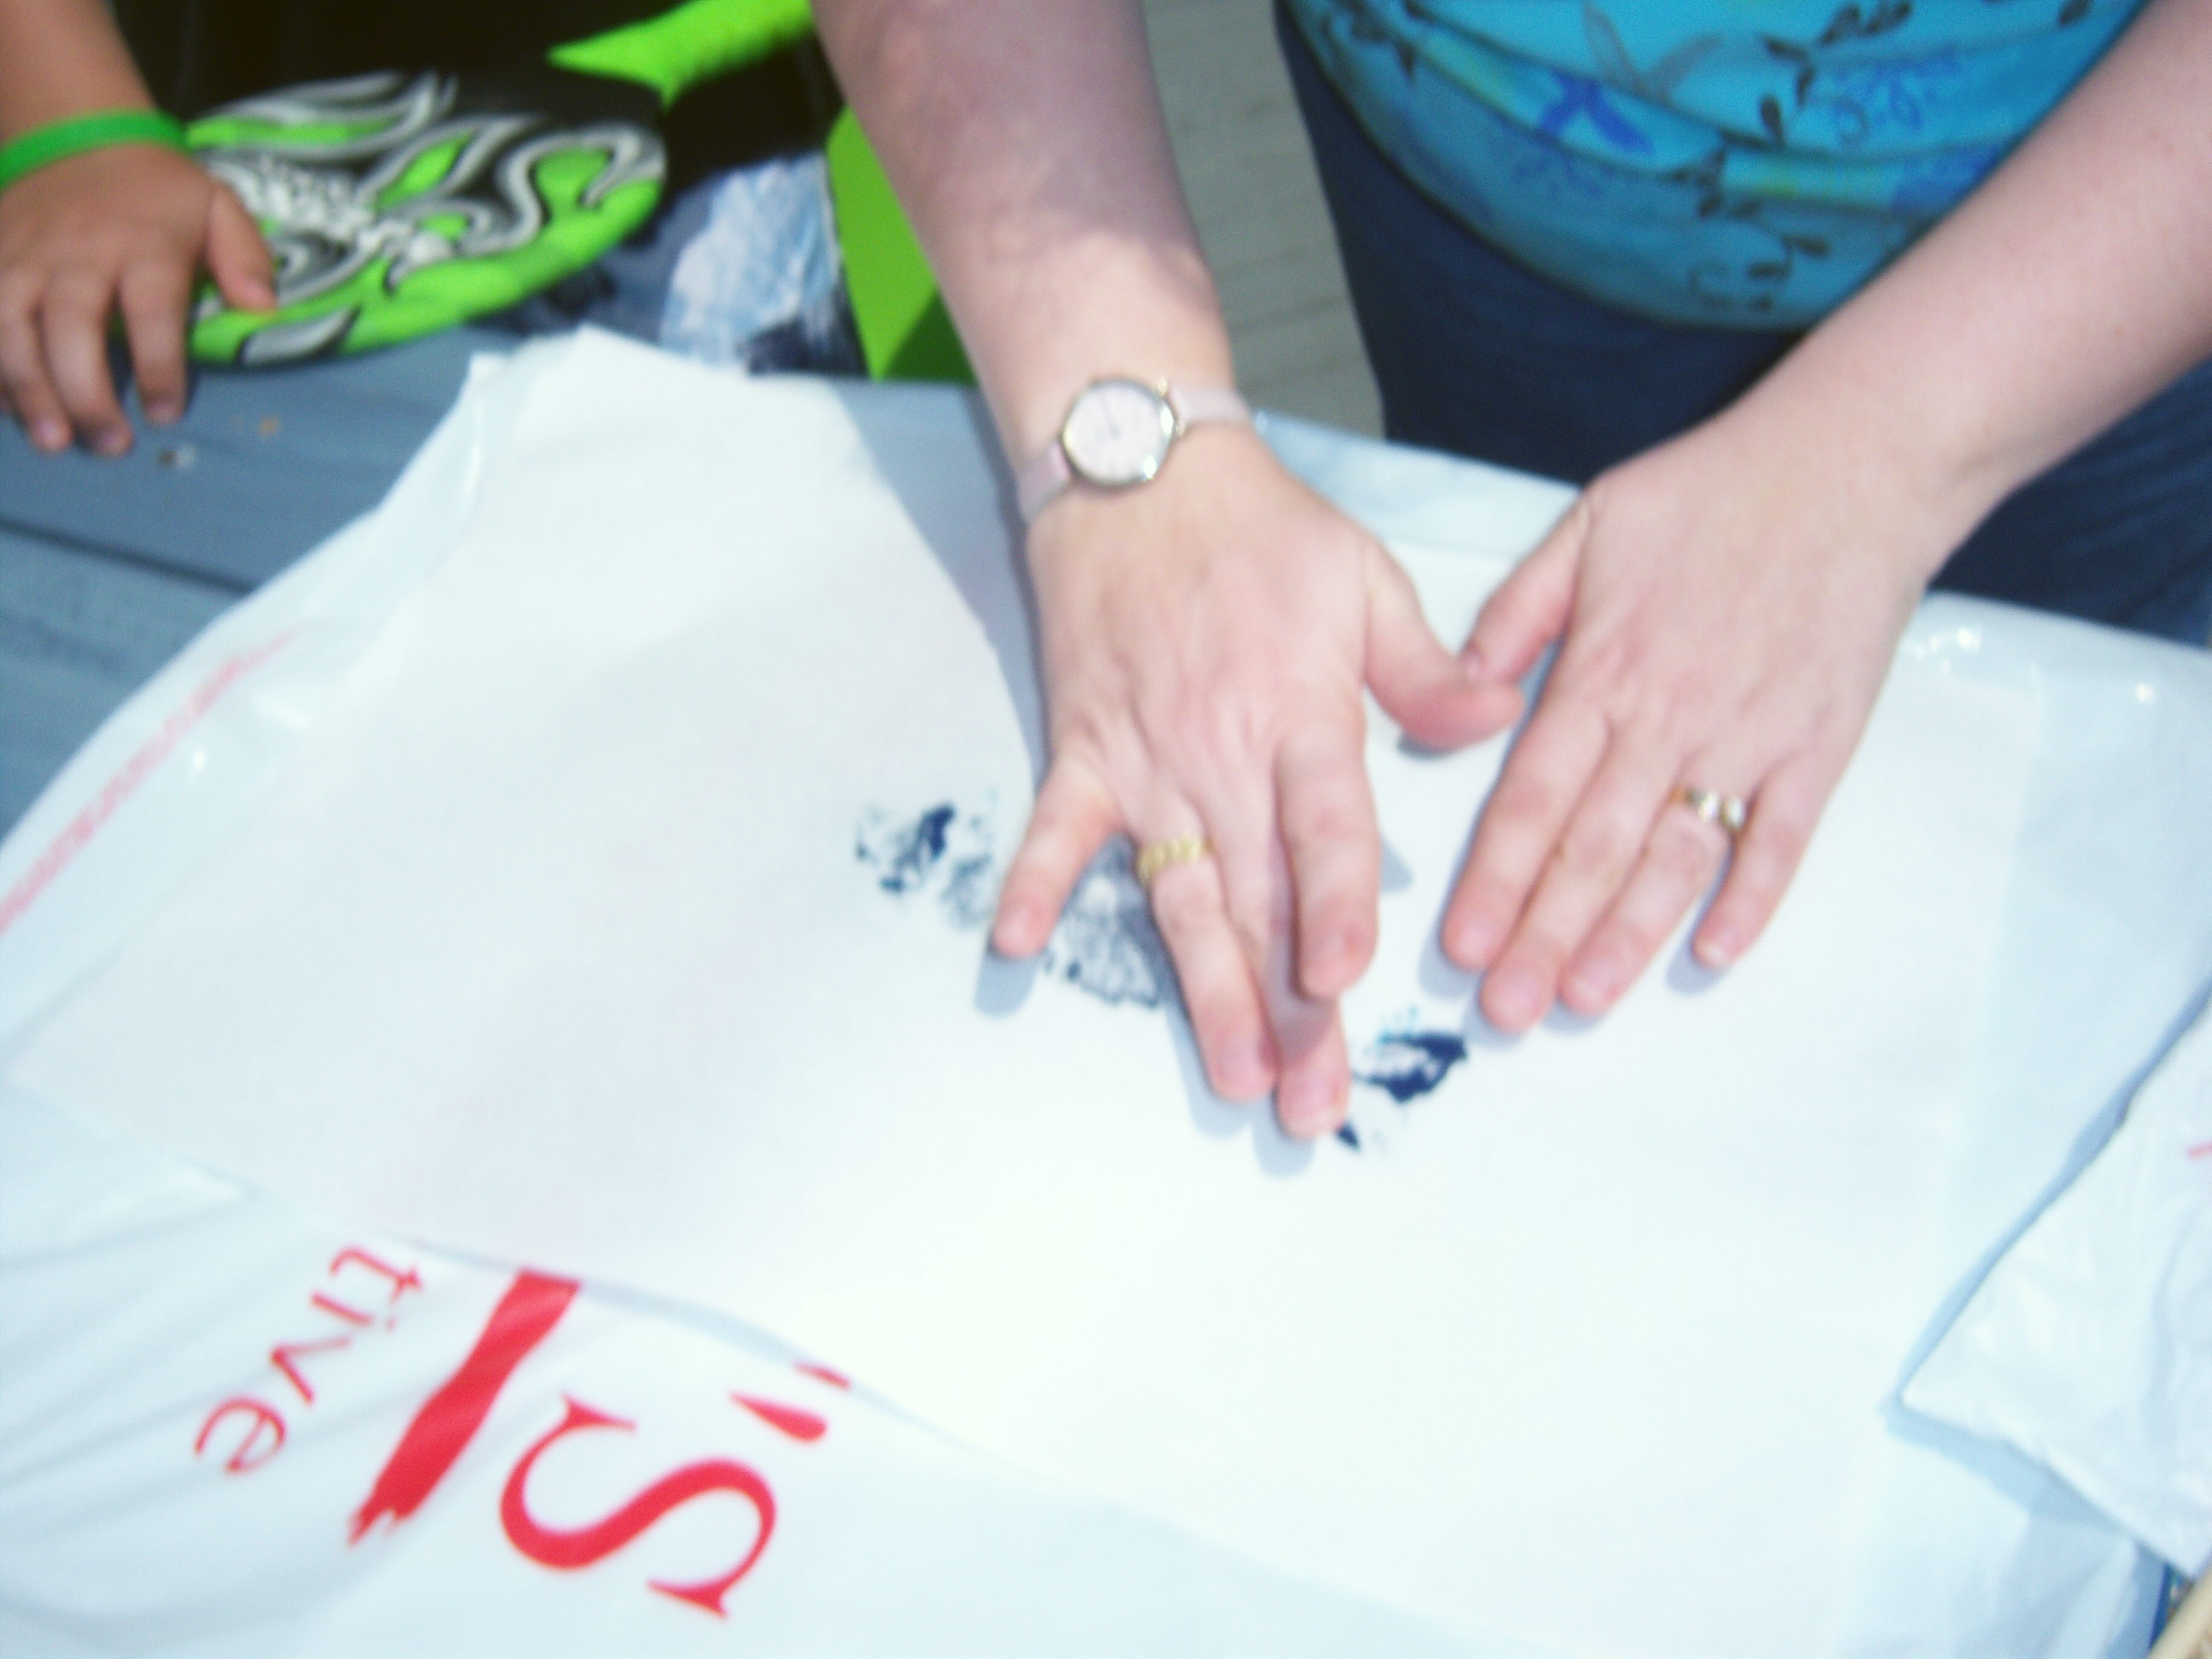 I want to try this again with a really big fish once they are in season and we can keep them, so I left all the supplies at the lake. I’m going to buy some other colors of ink so that I can do a multi-colored print as well.
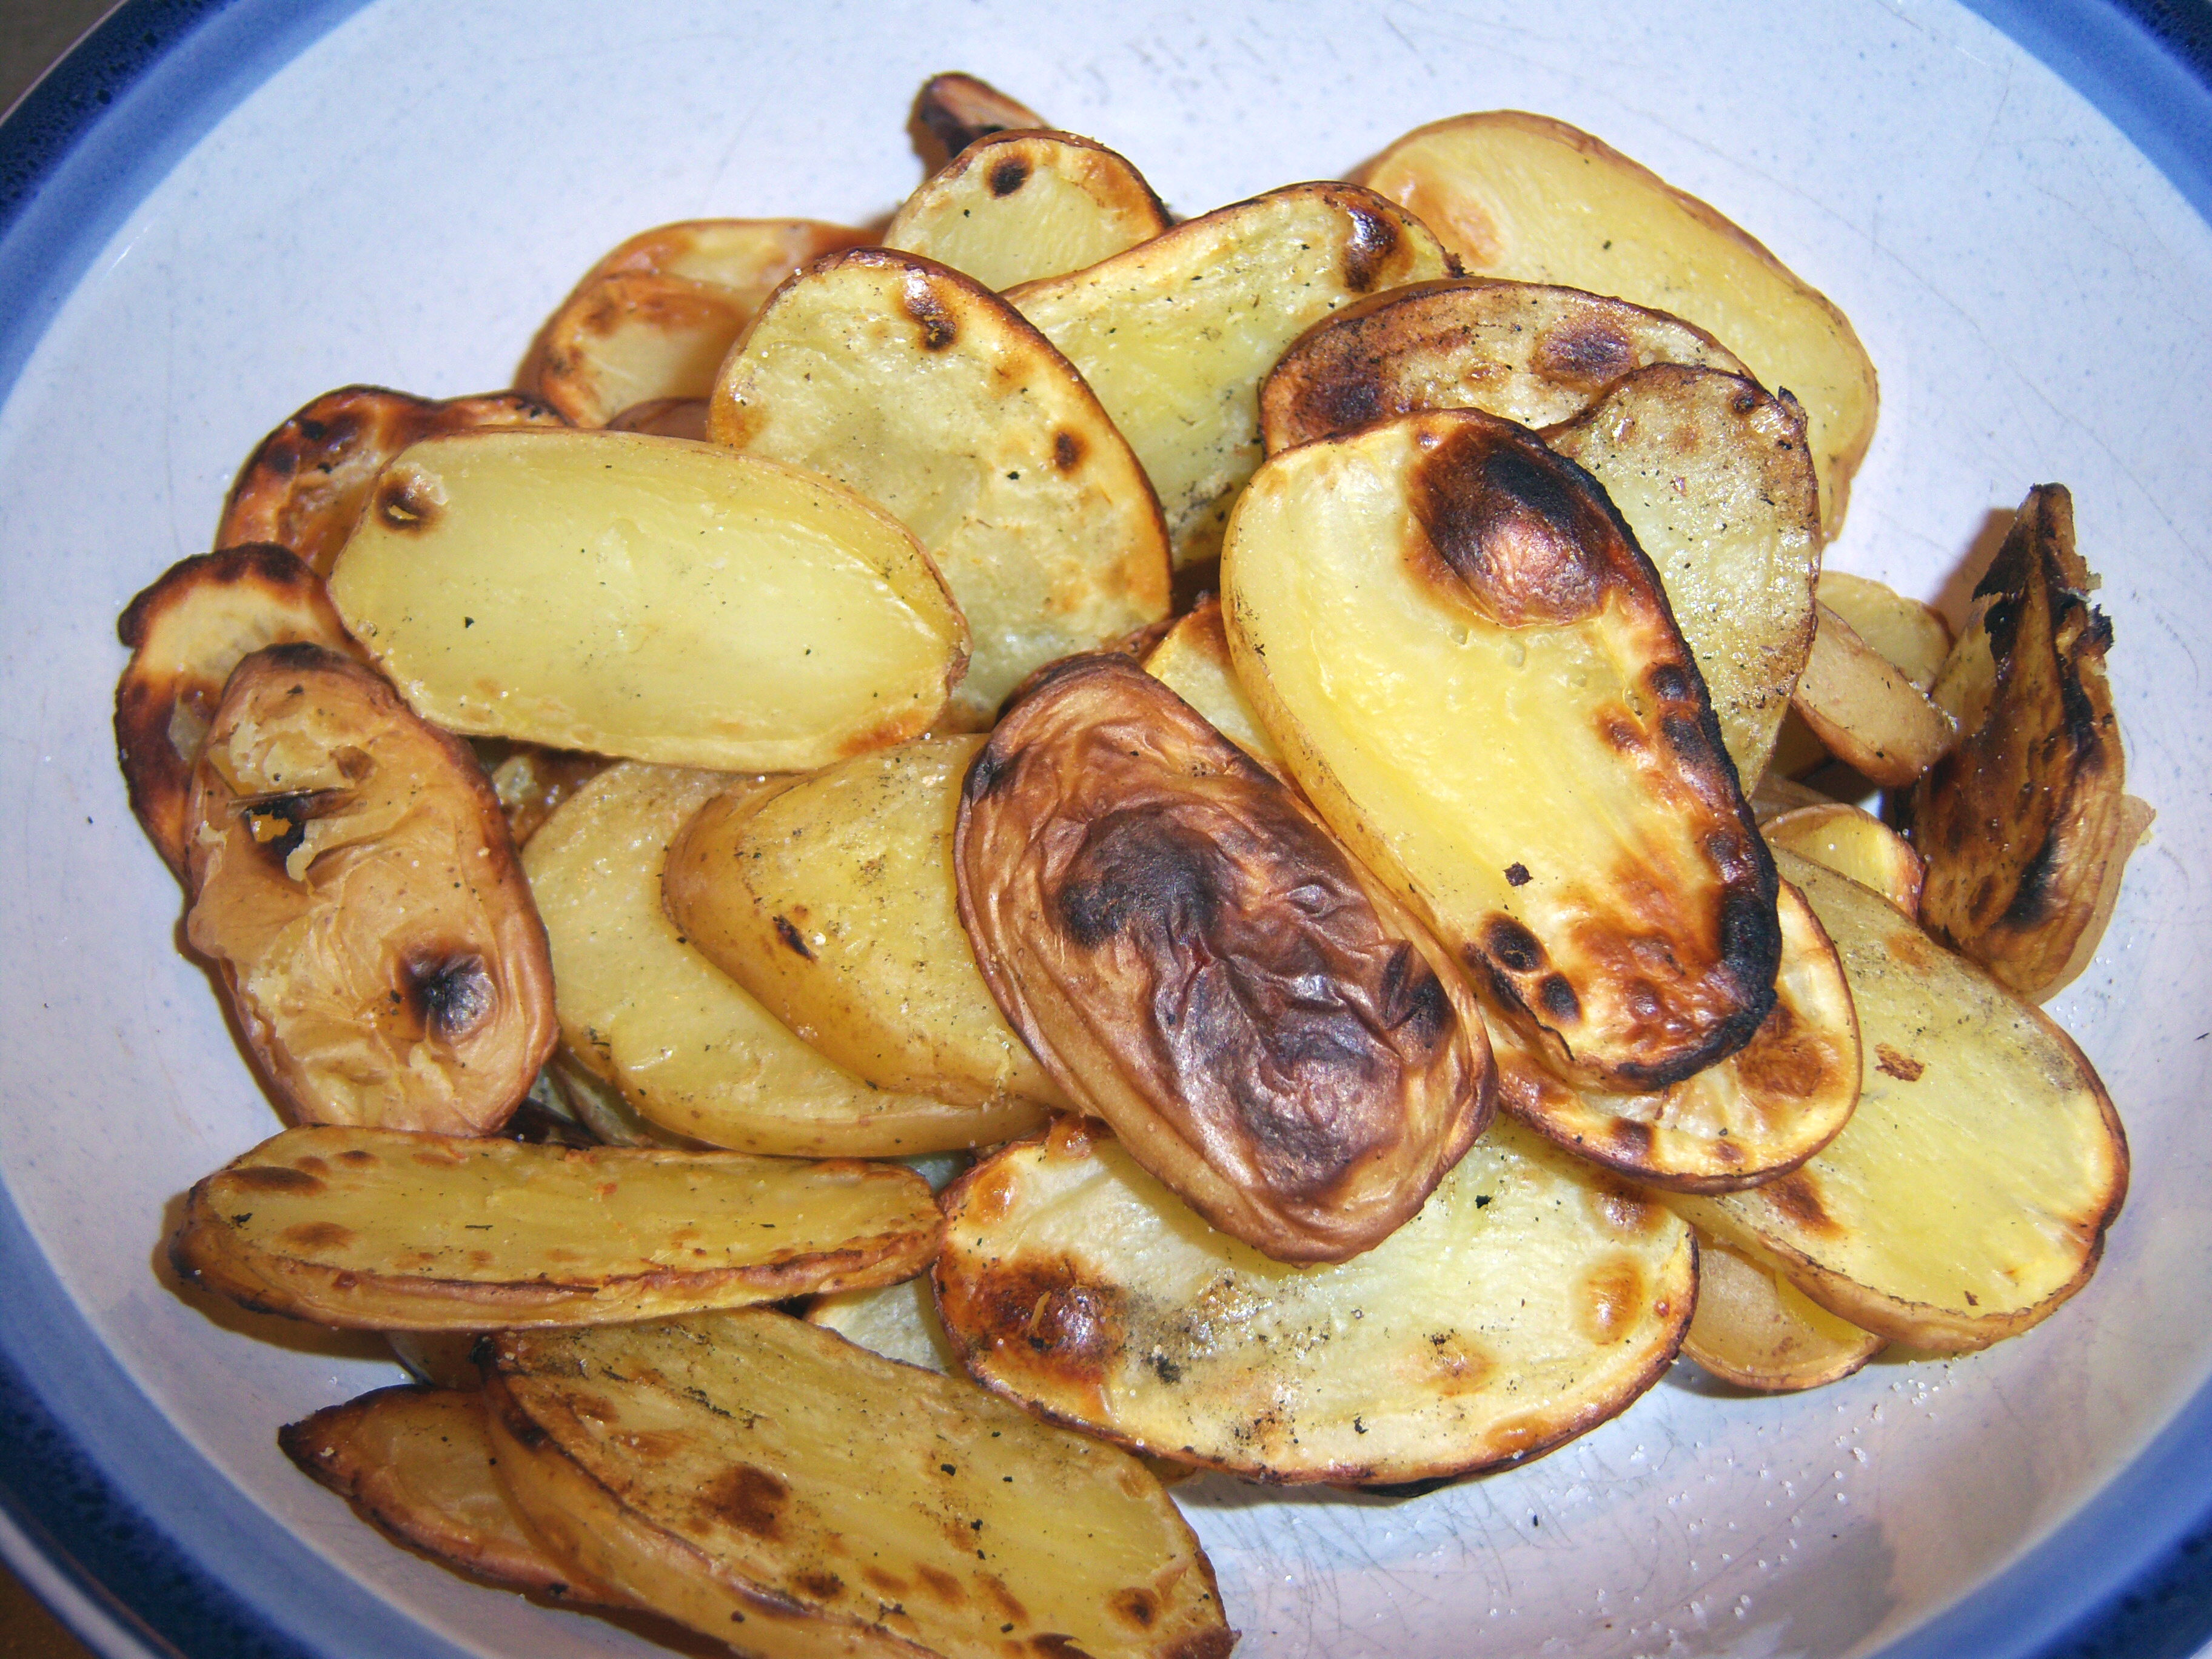 Once everything was cooked, I assembled the sandwich and the salad and we were ready to eat.
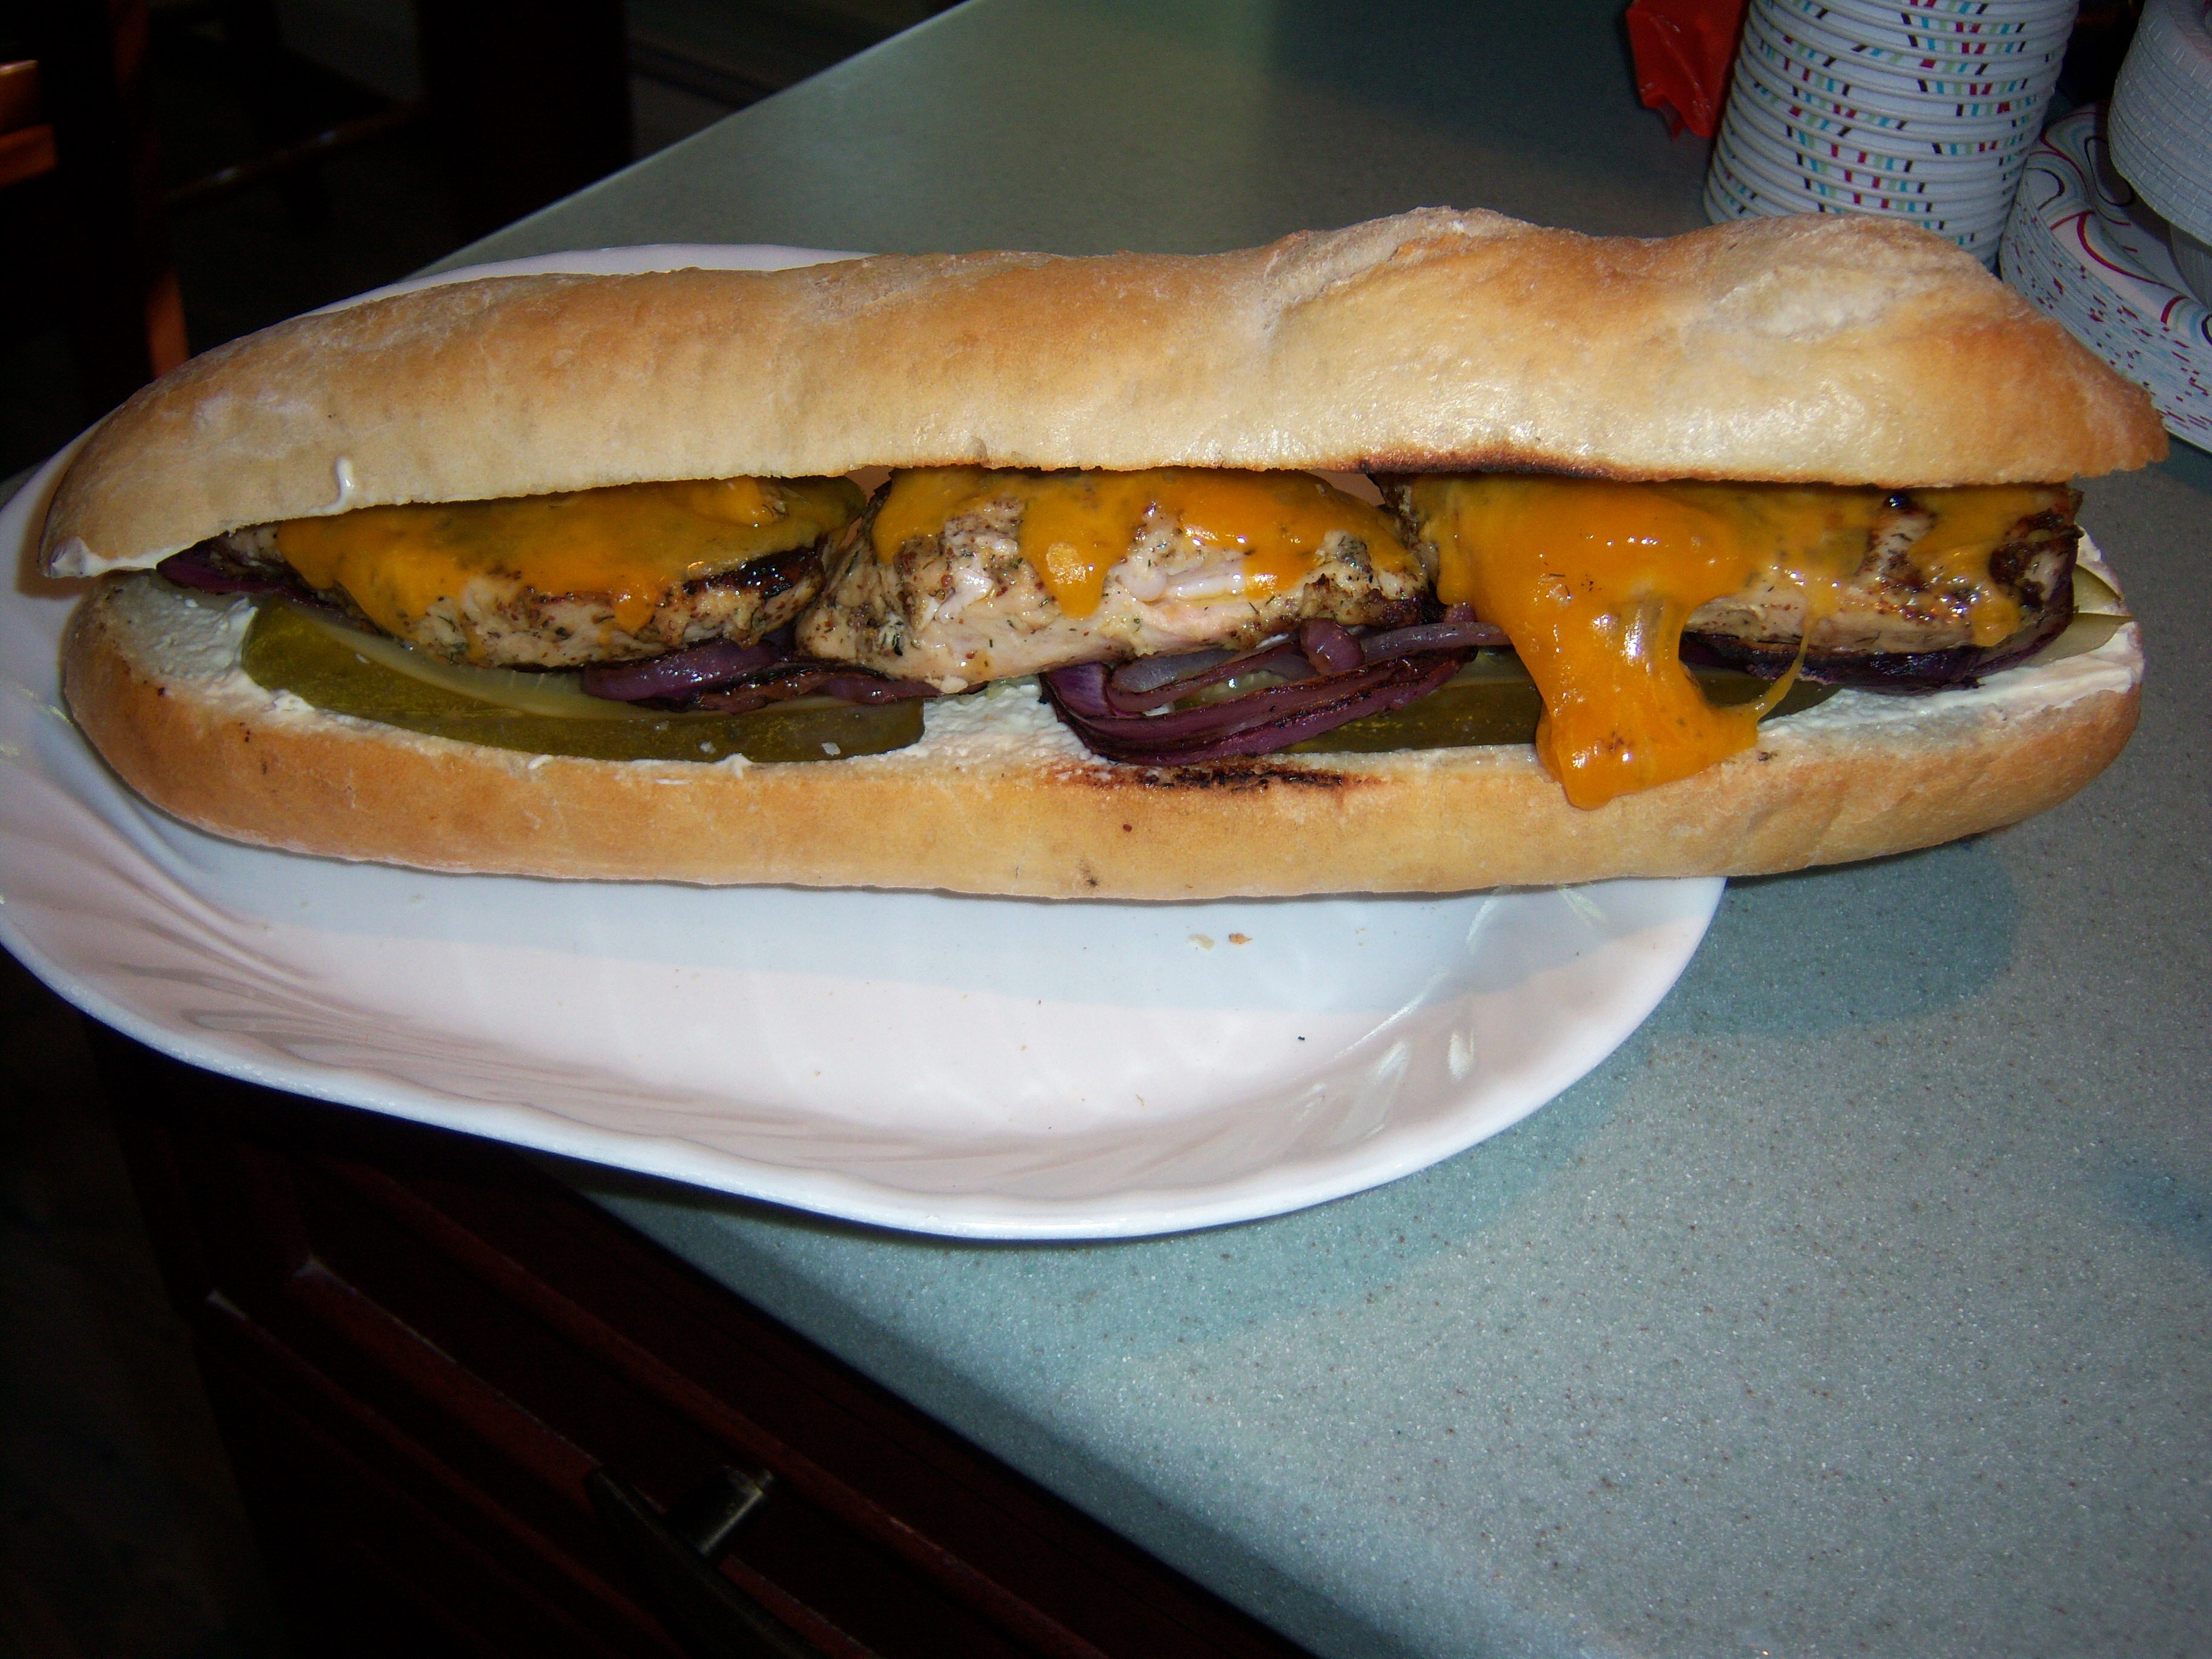 have taken it once we cut it into sections. I am not usually a fan of onion and pickle on sandwiches, but I went with it. This sandwich was good. However, I think the chicken needs to marinate in the mustard mix longer than half an hour. I didn’t really taste mustard at all. I liked the onion and pickles on the sandwich. Martha has you spread creme fraiche on the bread instead of mayo. There was not much noticeable difference, I didn’t think. And in fact no one noticed it was not mayo. I do have to say, I don’t care for sandwiches on big hard pieces of bread like this. It’s just too hard to bite into. I would enjoy this much more on a roll.
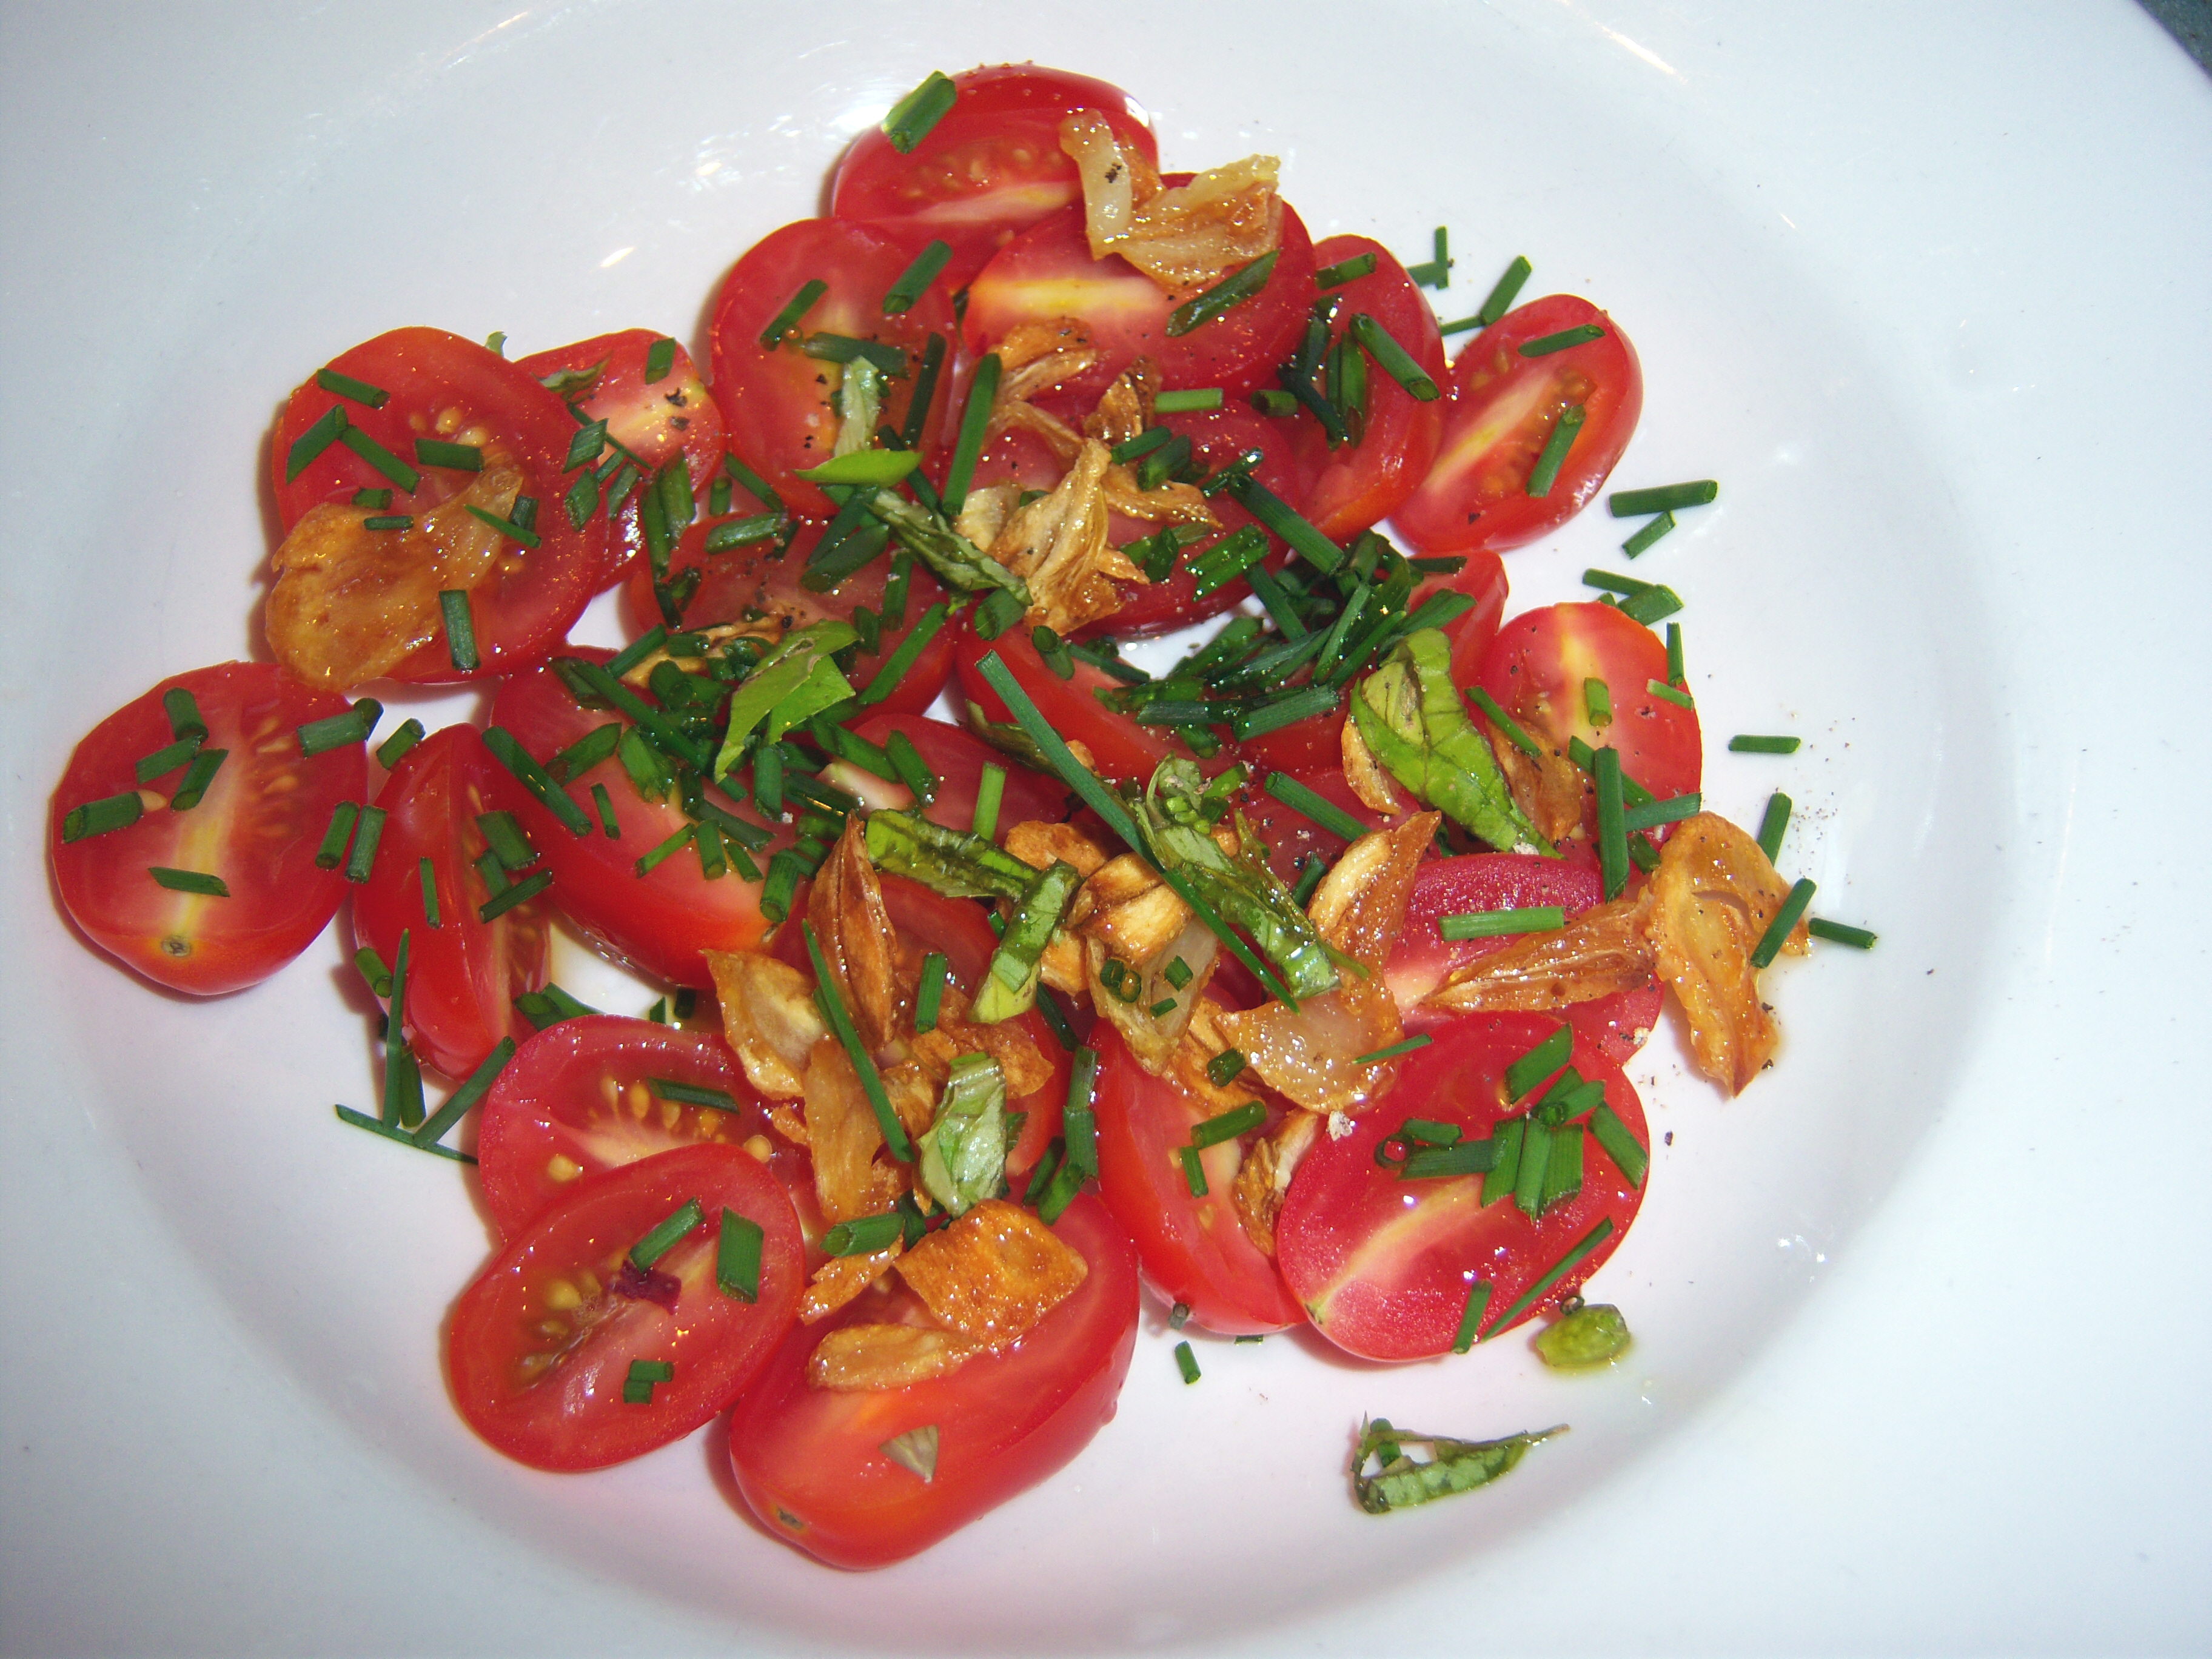 And finally, the tomato salad. This was good. Nothing wild or exciting, but good. I often make simple tomato salads like this in the summer. I expected the garlic pieces to be more flavorful, so that was a little disappointing.
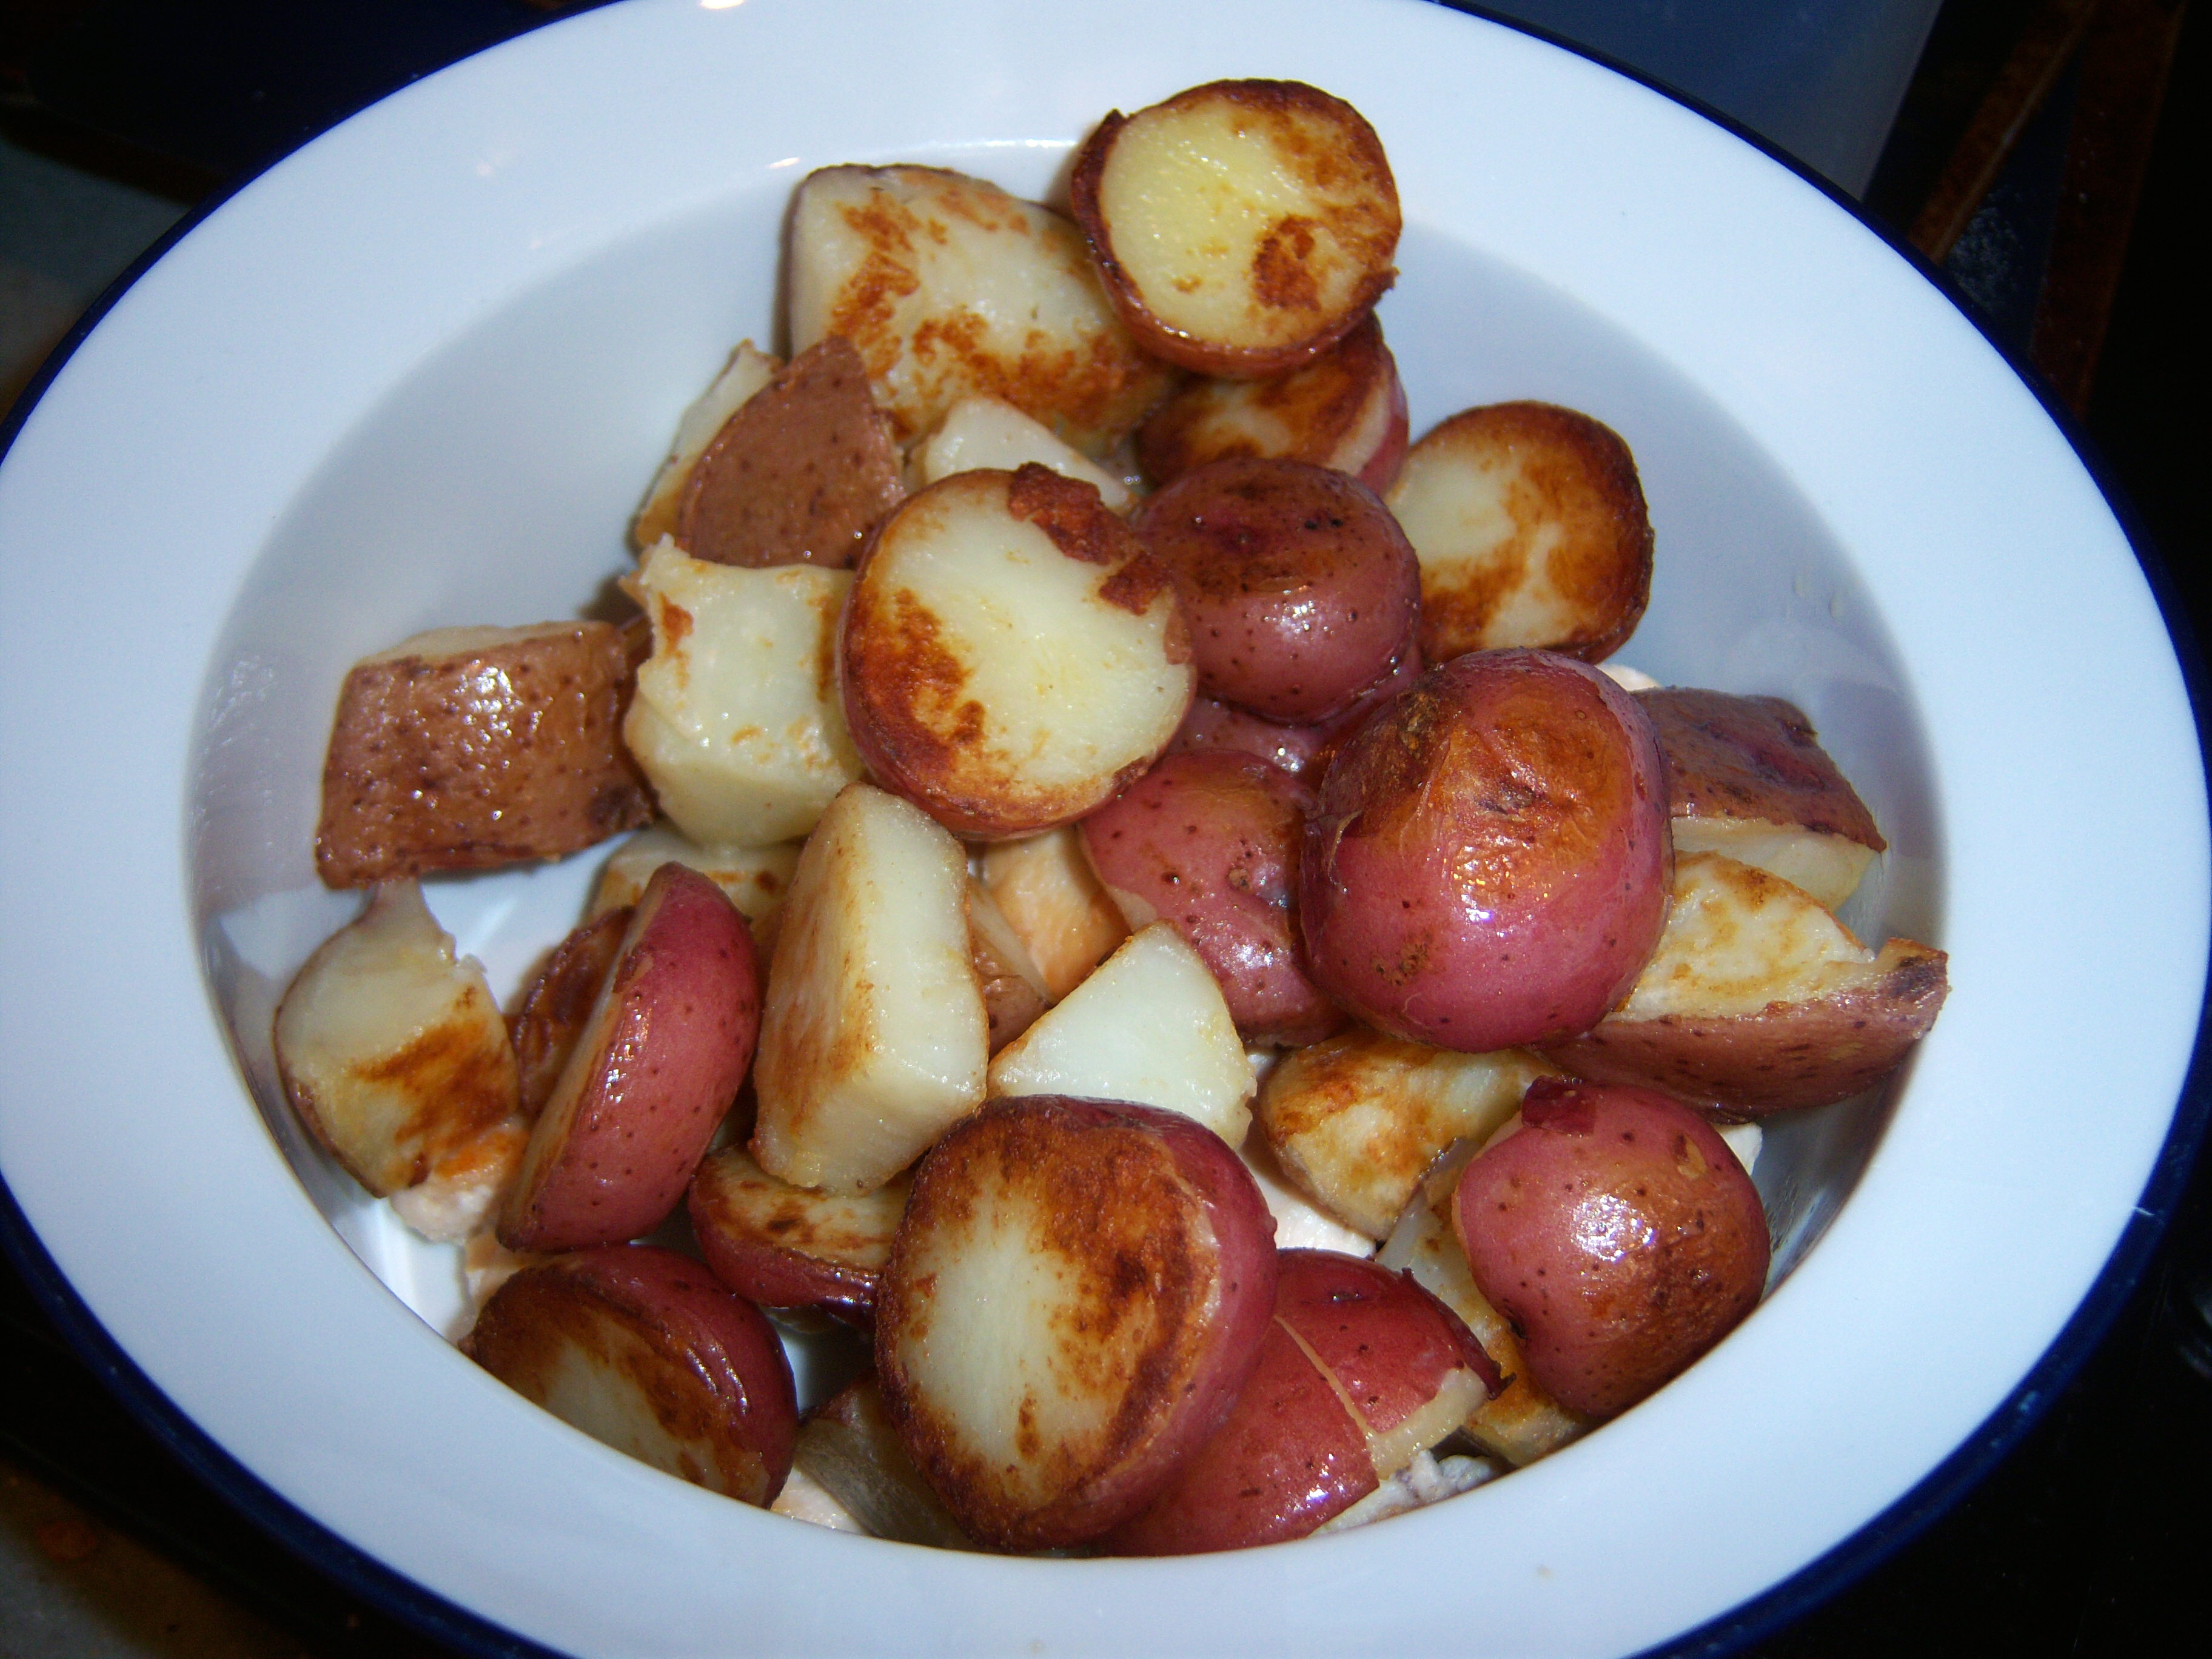 First I boiled the potatoes, then I started creating the hash. First step was to saute the chicken, then the potatoes. Take those out and cook scallion, jalapeno, and then corn kernels. I liked cooking the corn – watching the kernels get brown and listening to some of them pop. Next you add cherry tomatoes, then stock, seasoning and chicken. Add the potatoes back in at the end. It seems like a quick dish but in reality it took quite a while to cook all the separate parts. My corn took much longer to cook than the recipe said.
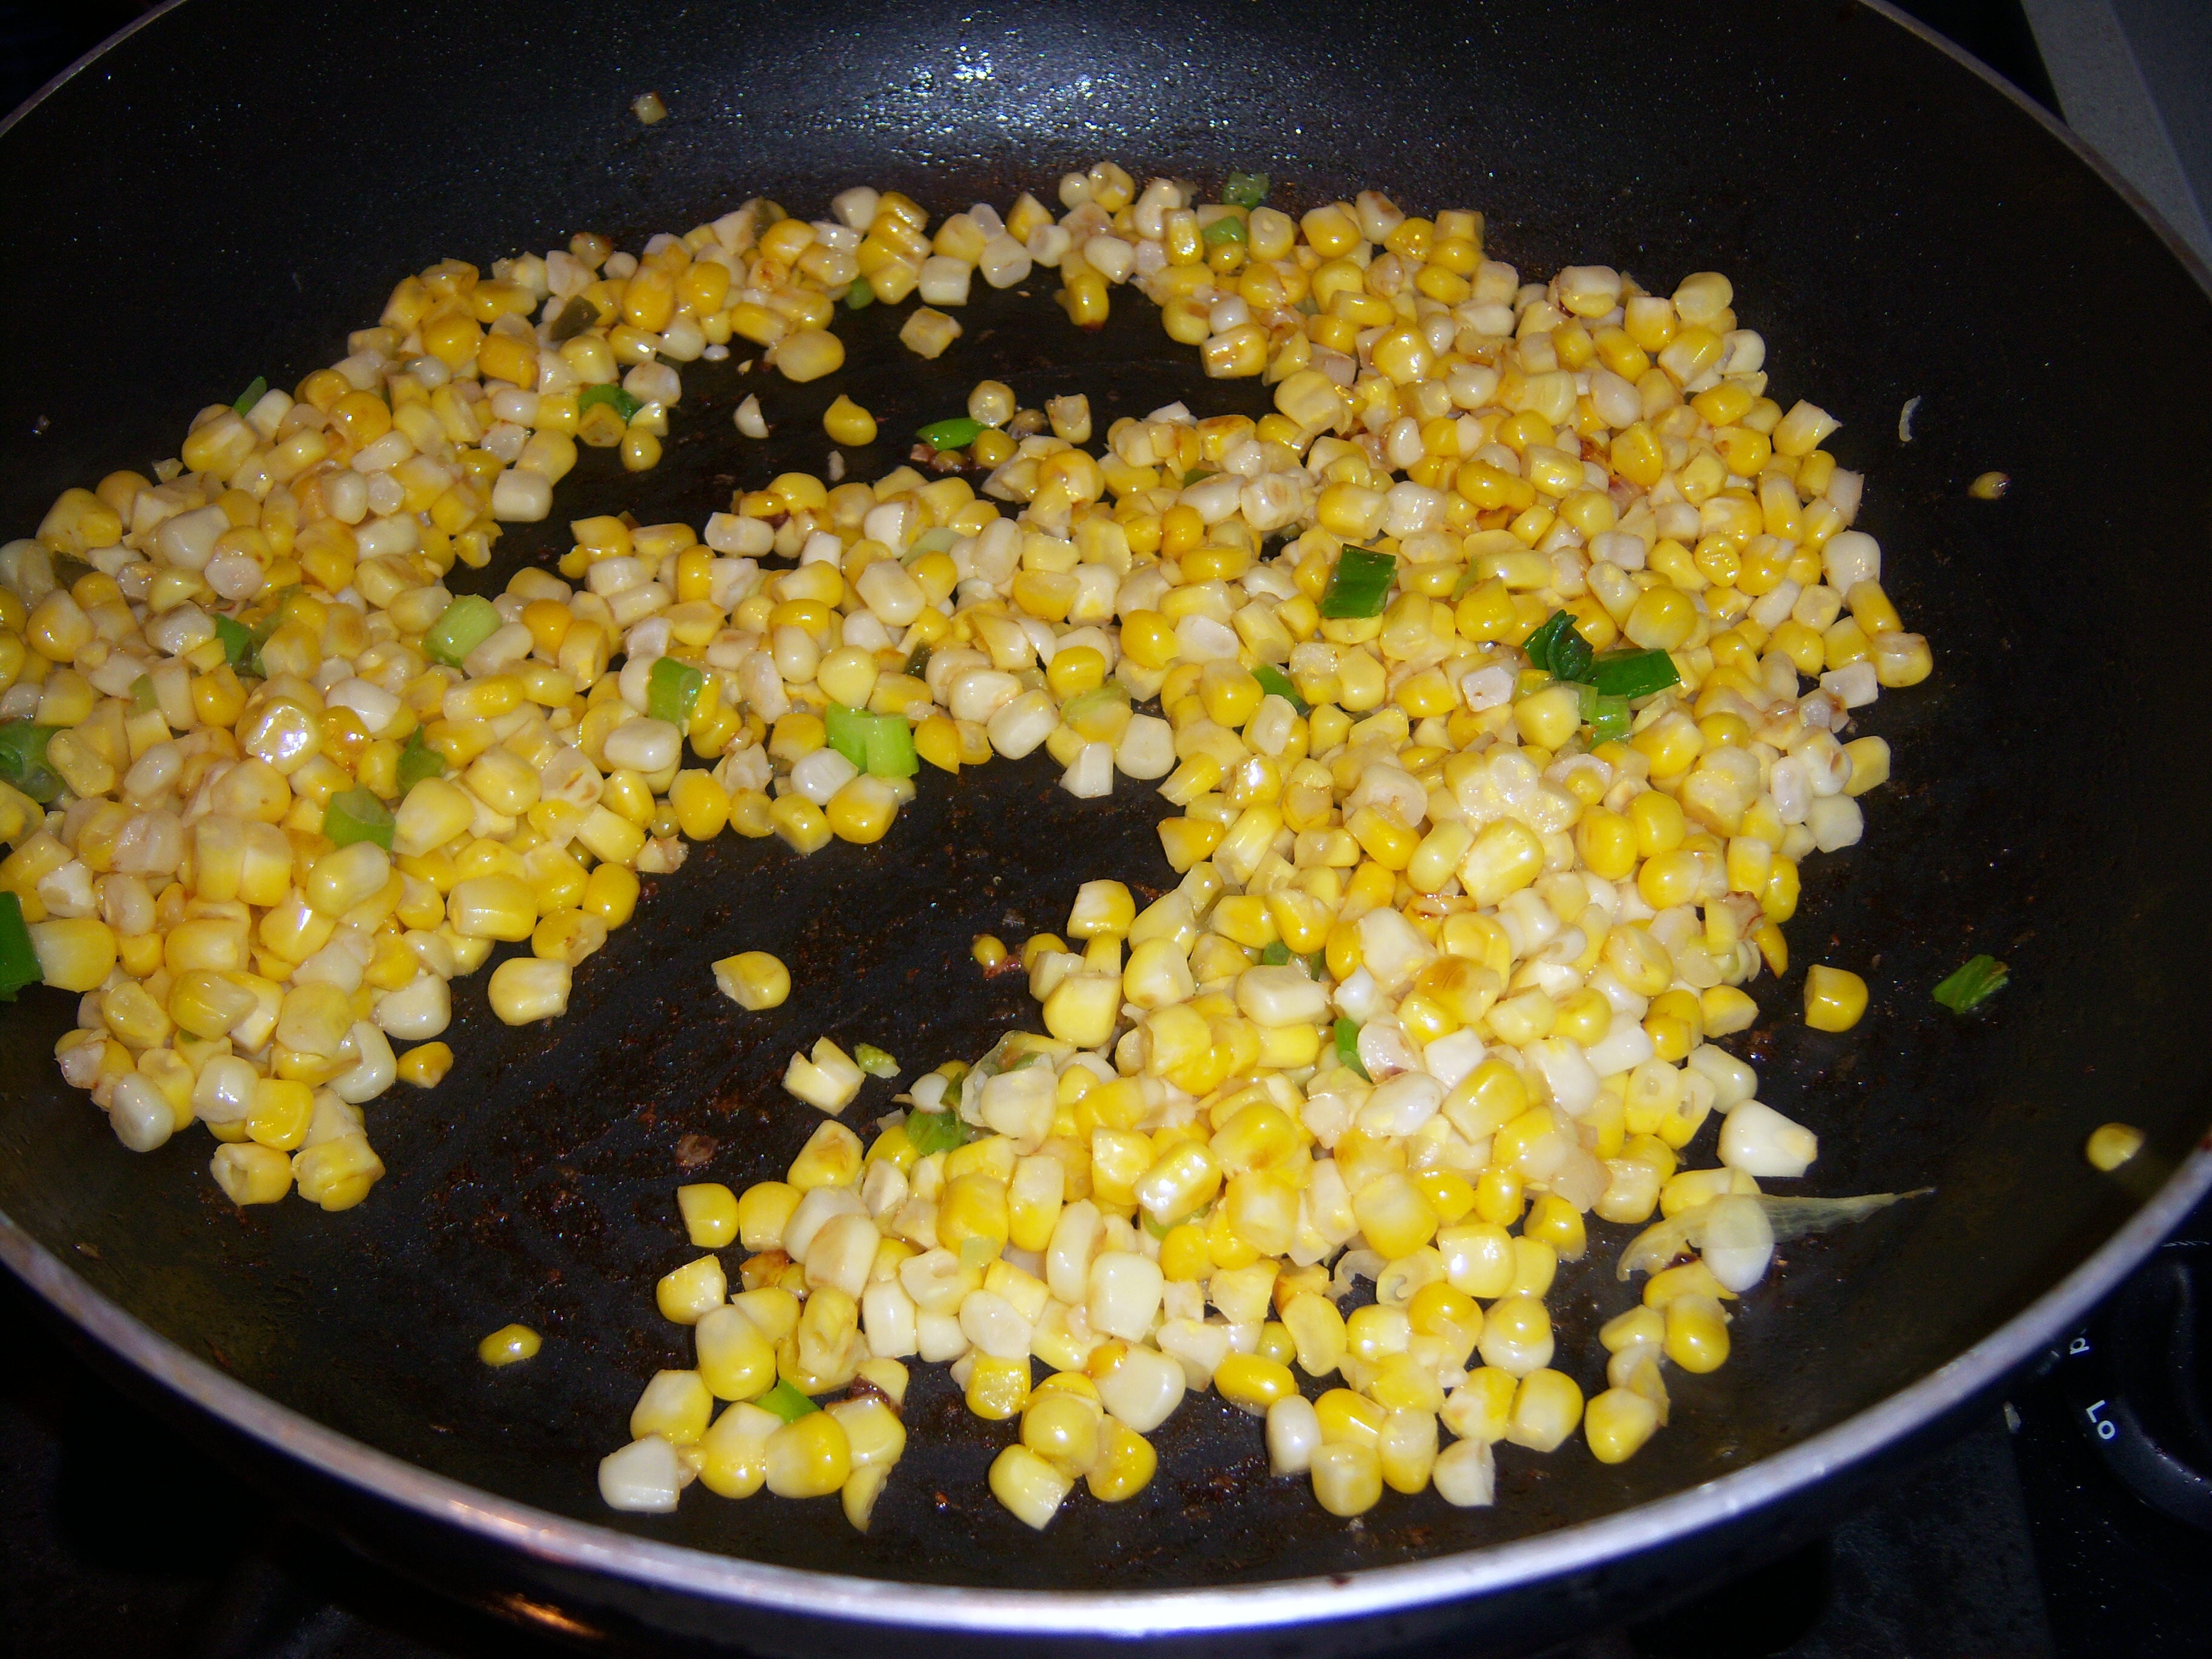
 It was also good reheated the next day. I wasn’t thrilled with how it looked – like a pile of food on your plate, but it had nice flavors.
 I made Martha’s strawberry shortcake cookies. This involved cutting up lots of strawberries into tiny little pieces which wasn’t too enjoyable but I dealt with it all right. Some of Martha’s descriptions of what the dough should look like at certain stages was a little misleading and she had me a little nervous when she told me I was supposed to have coarse crumbs and I really didn’t. I kept going though and everything turned out fine. They took a really long time to bake – almost half an
  hour – but I didn’t really mind that. They tasted more like a biscuit than a cookie. Maybe a little more sugar could have solved that problem? Overall they weren’t terrible and I would probably make them again.
 said they needed whipped cream. They were really an interesting cookie that did not taste at all like a cookie.
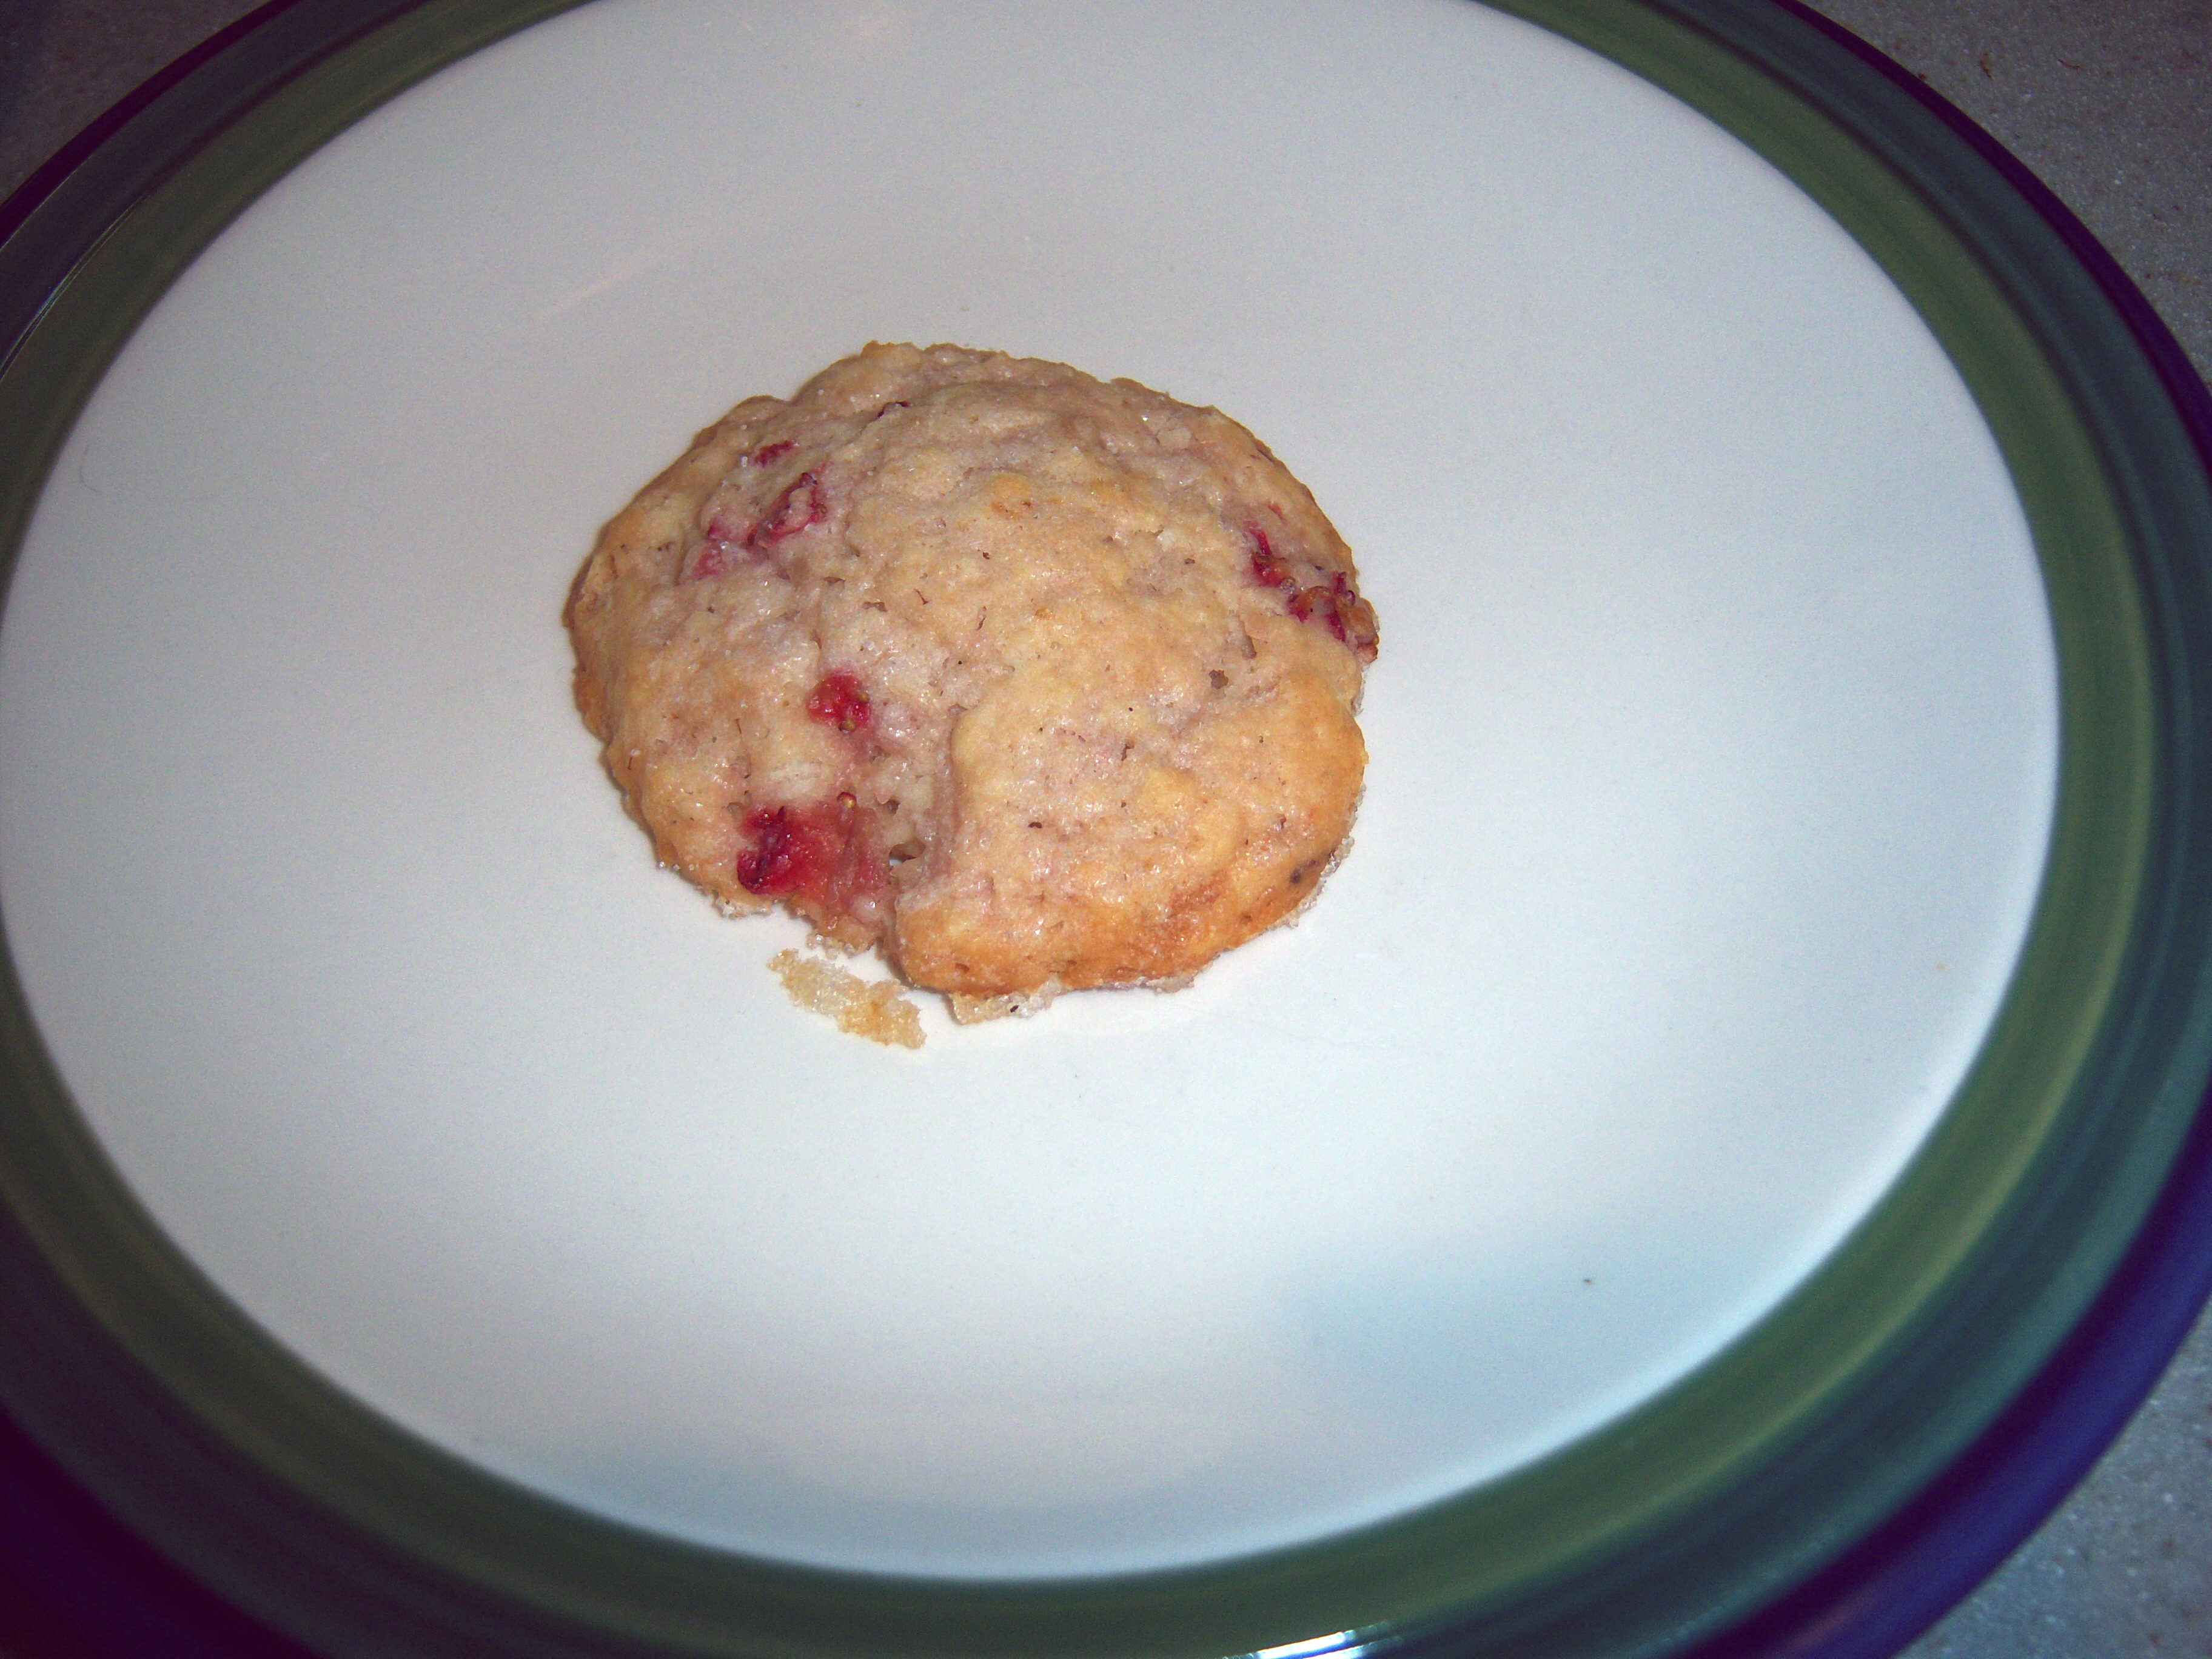 she had not. So I took one cookie out and left it the car and photographed it when I got home!
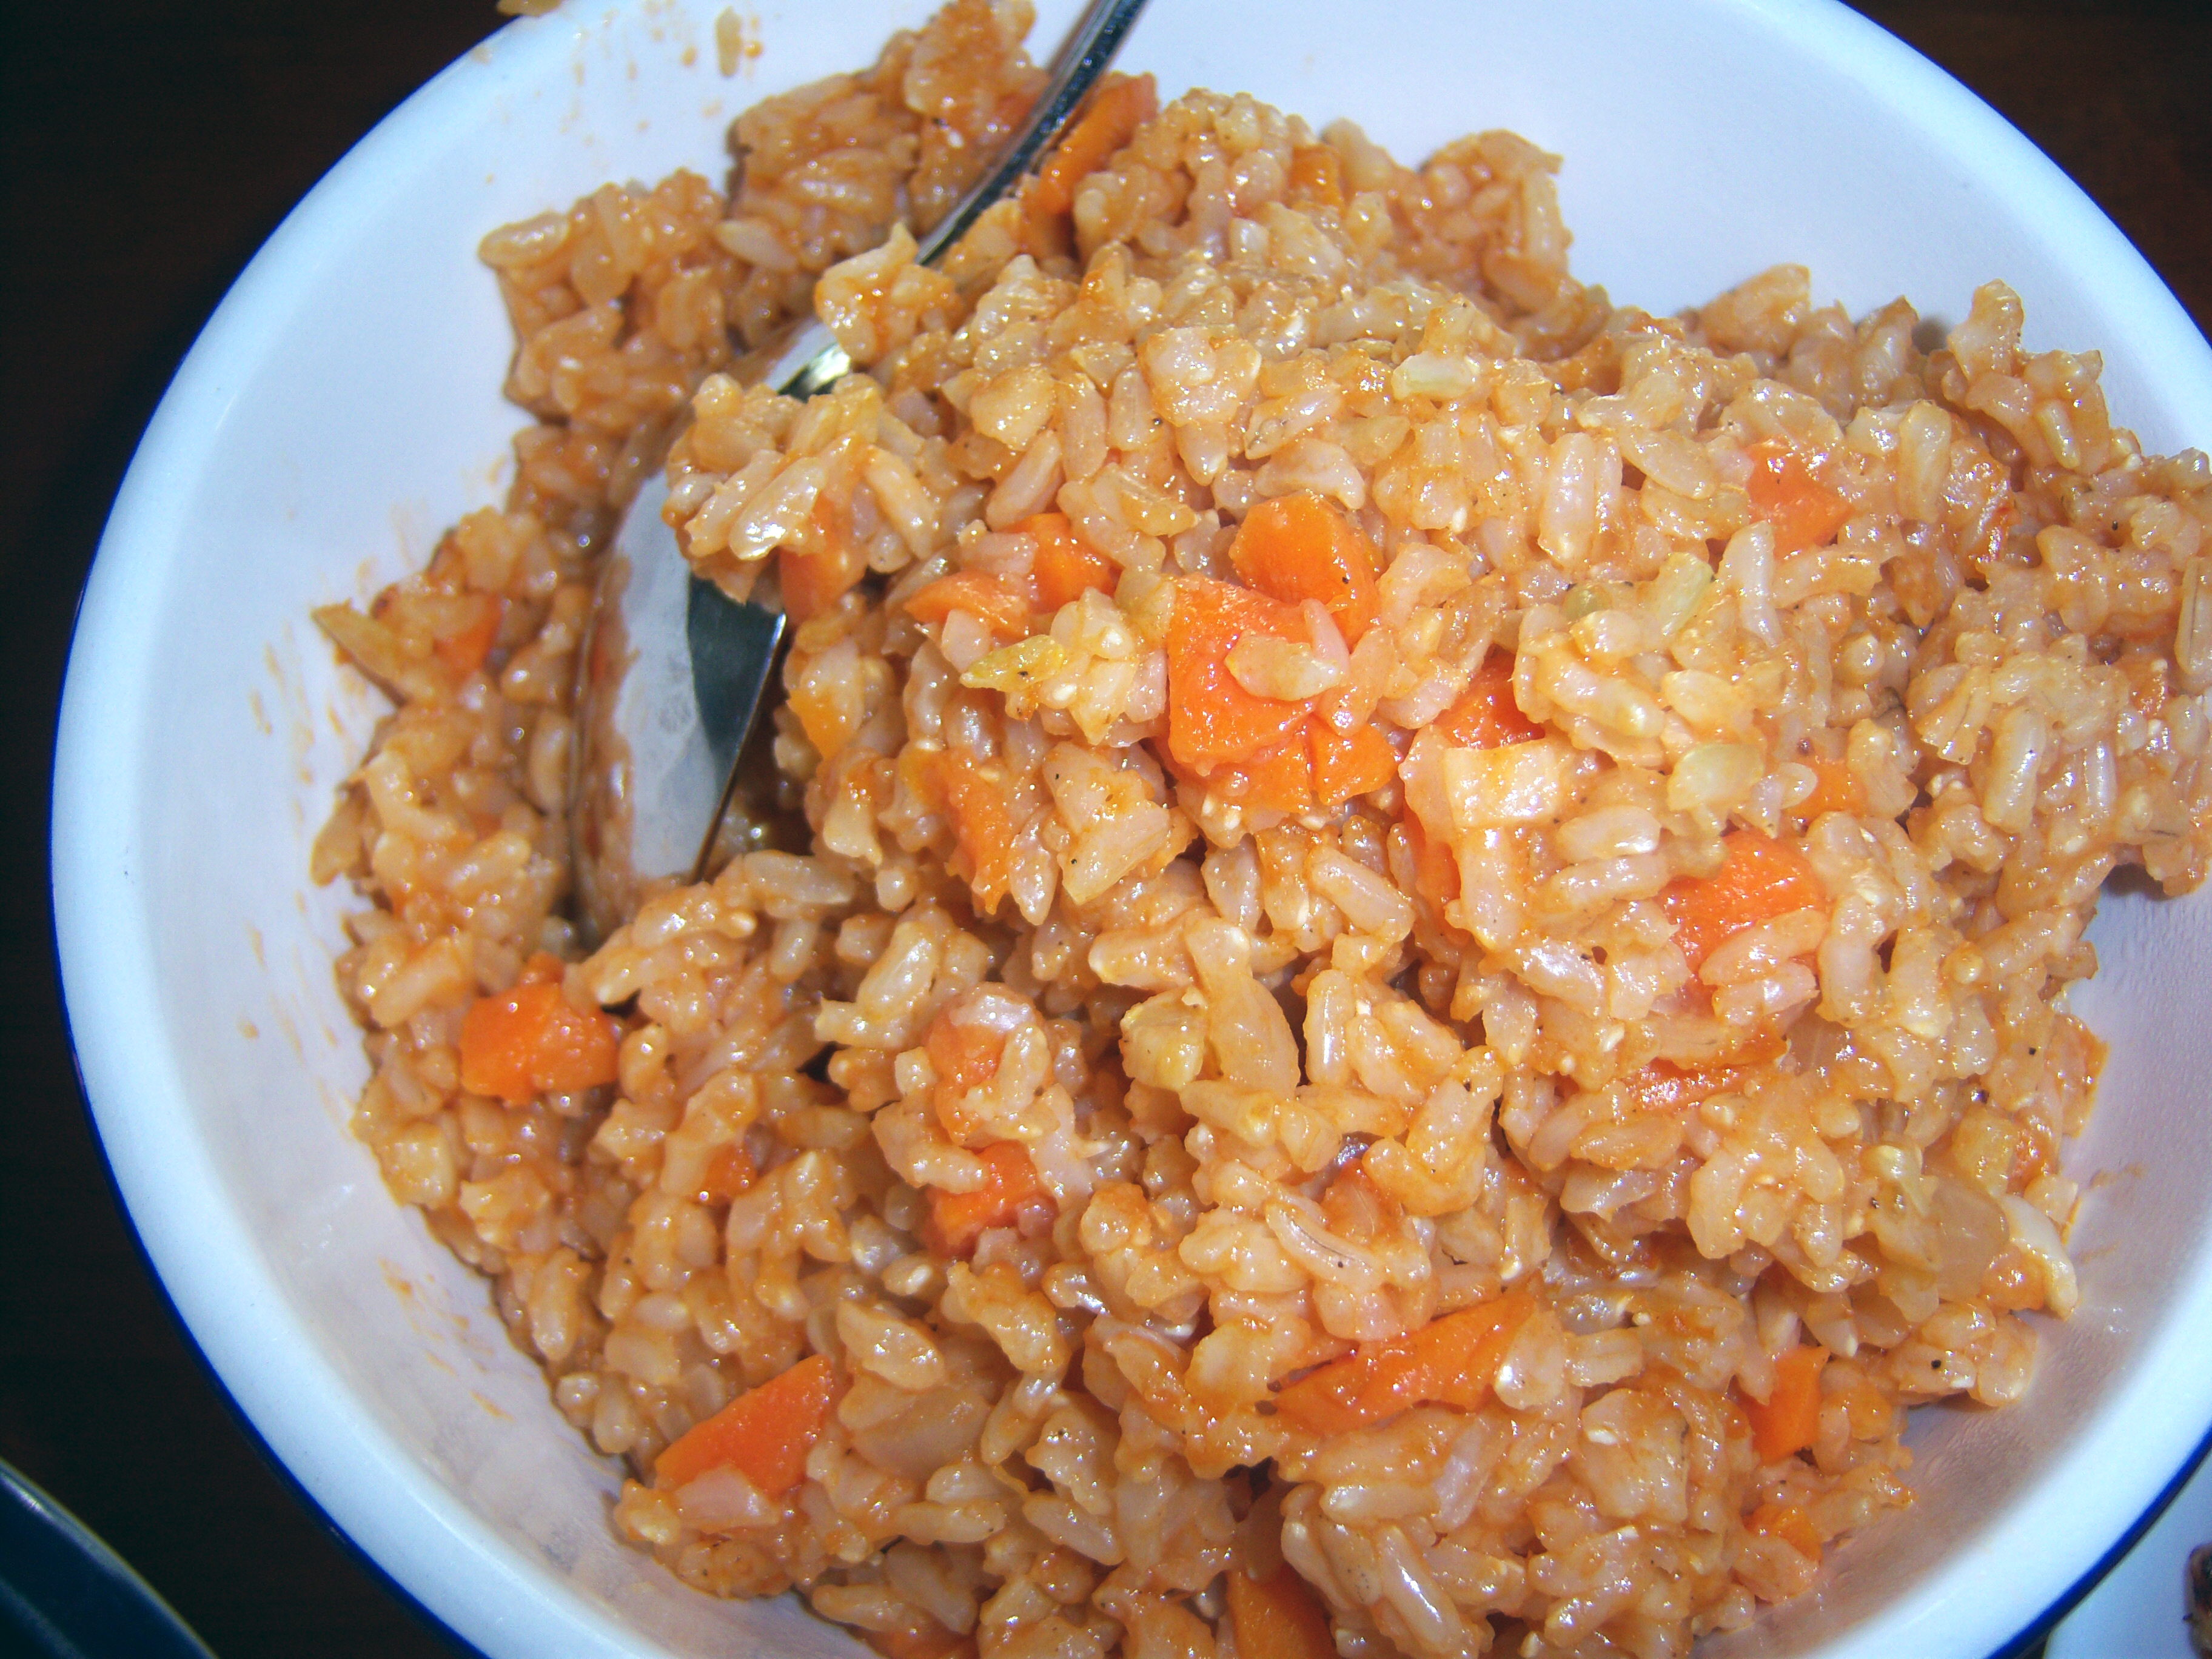 This recipe is very easy. Basically you’re just cooking rice with some onion, garlic, carrot, tomato paste and chicken broth. No additional seasonings or spices.
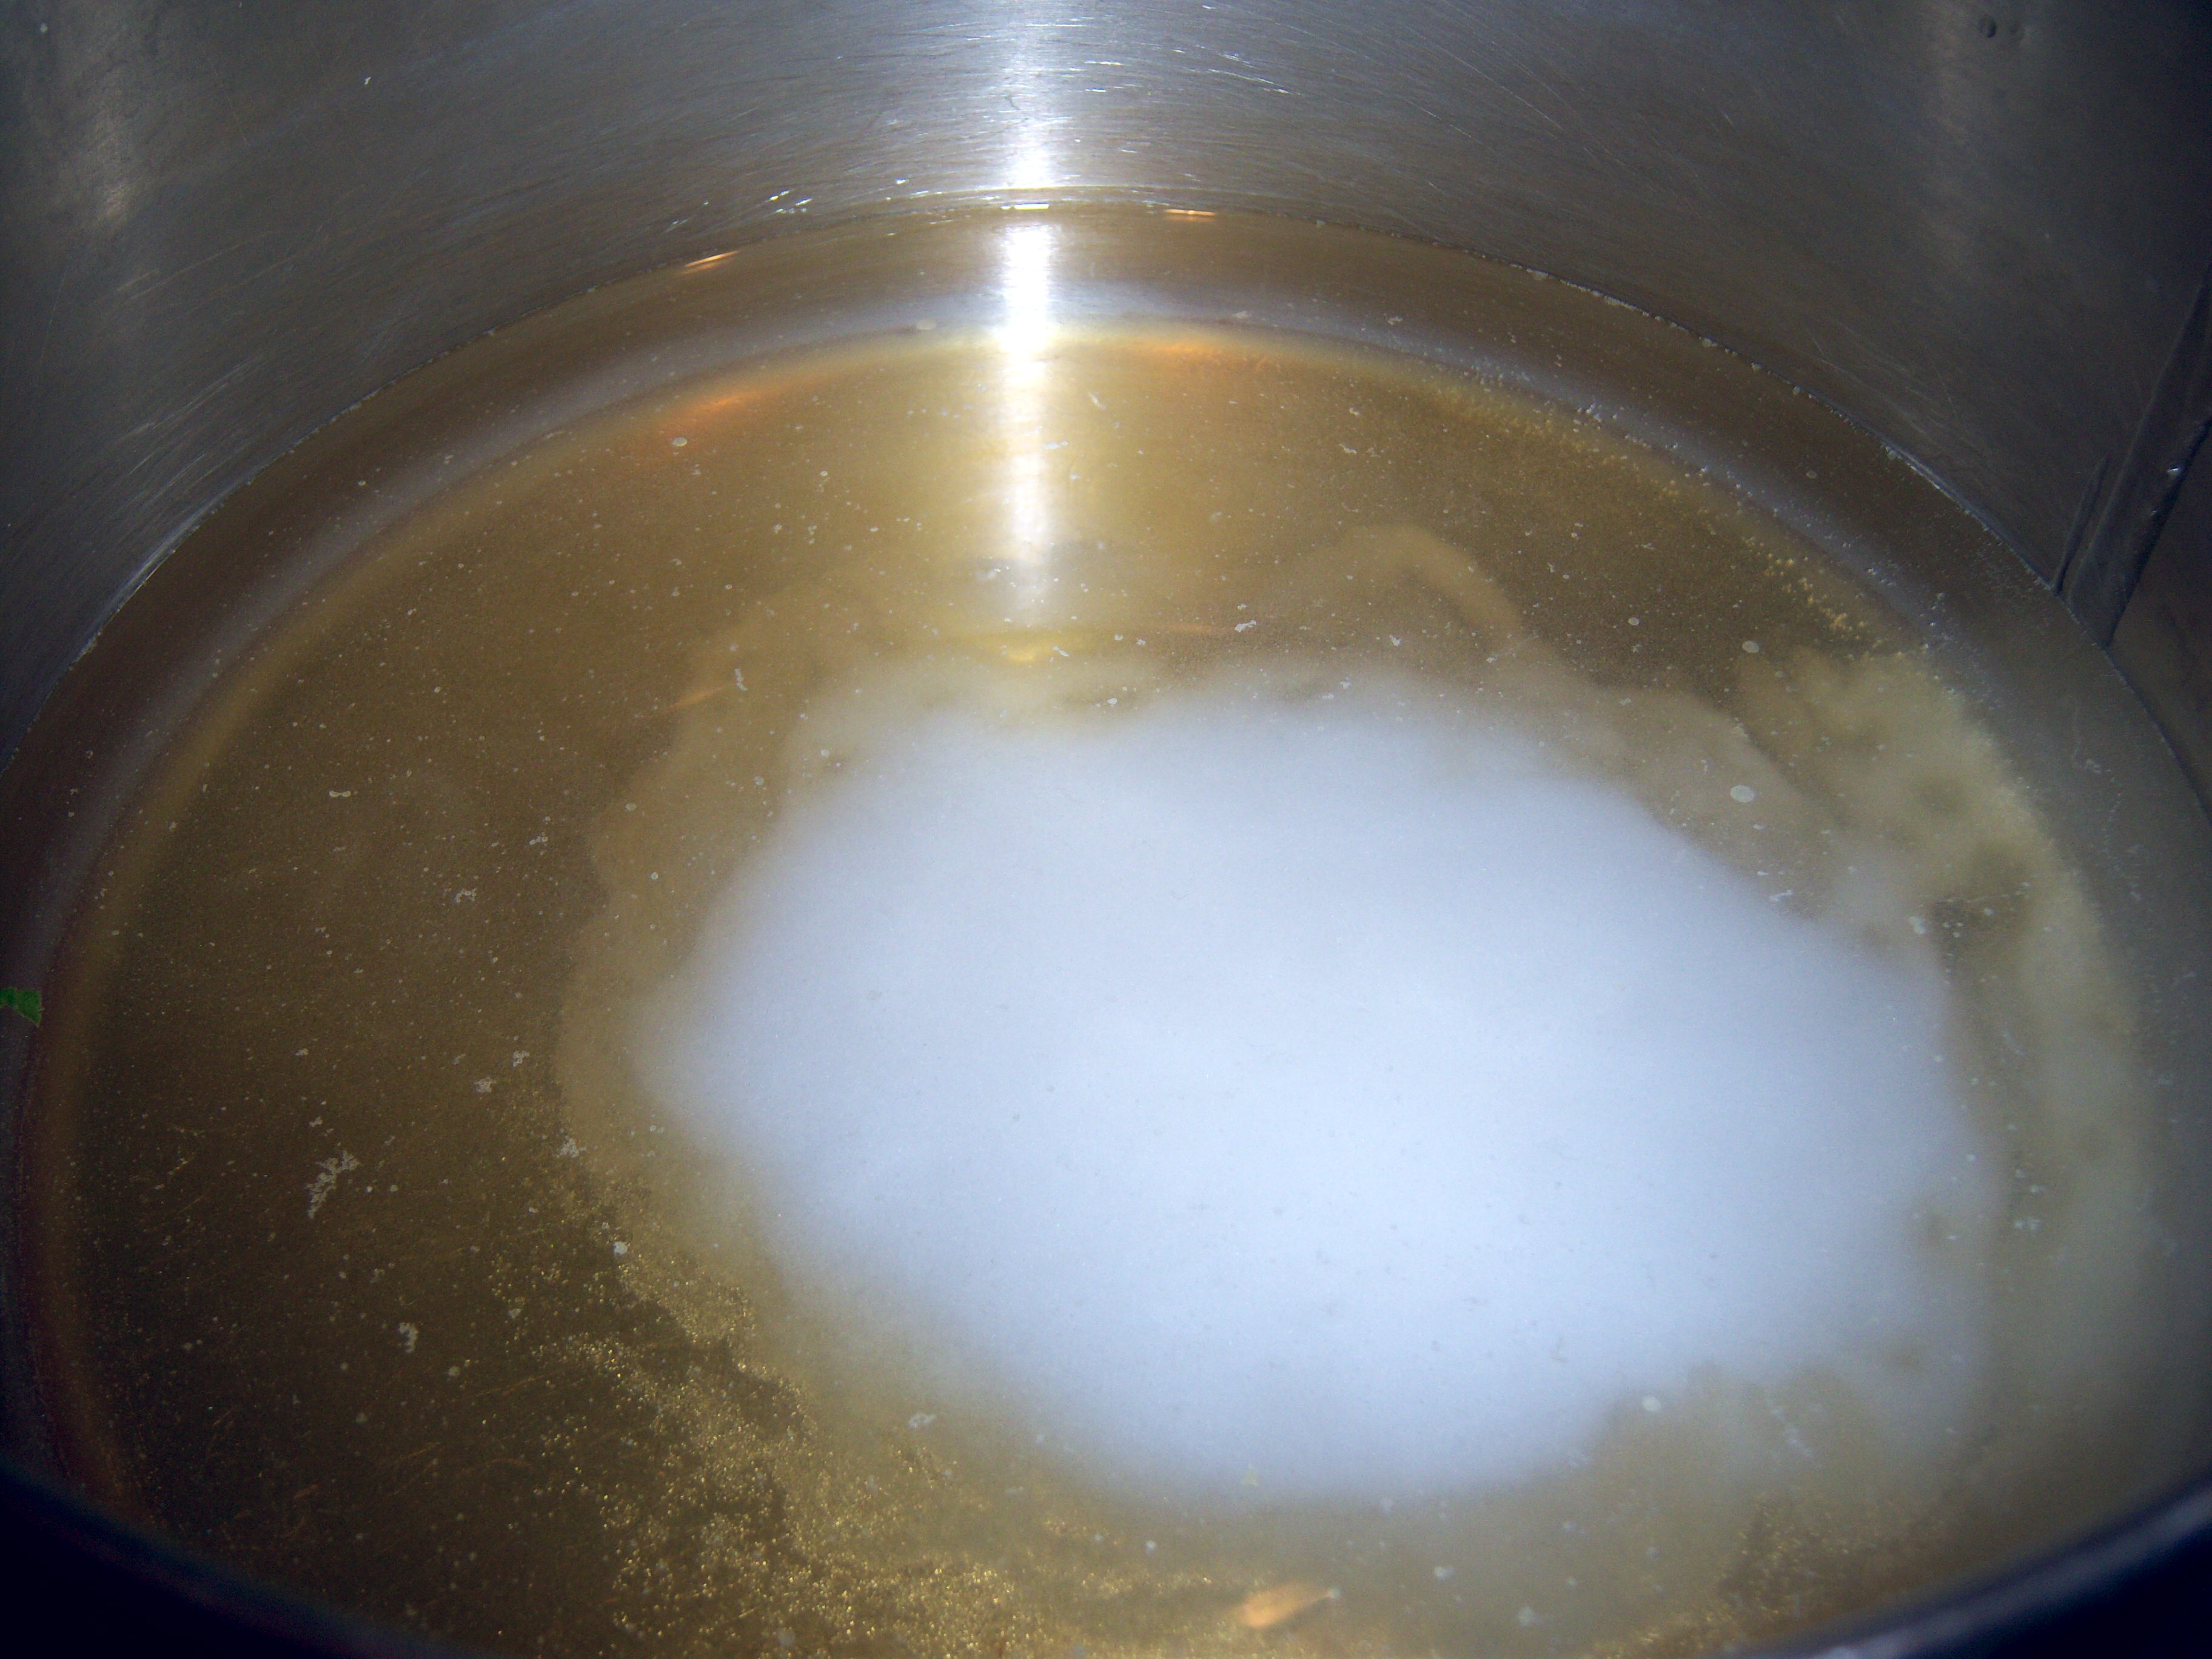 I boiled water, honey and salt. Hmm, those ingredients seemed a little plain-Jane to me, but I gave Martha the benefit of the doubt. I brined 8 boneless chicken breasts for two hours. Trying to be clever, I thought I would make 8 and use the leftovers to make a big salad or some sandwiches another night. Someone stop me the next
 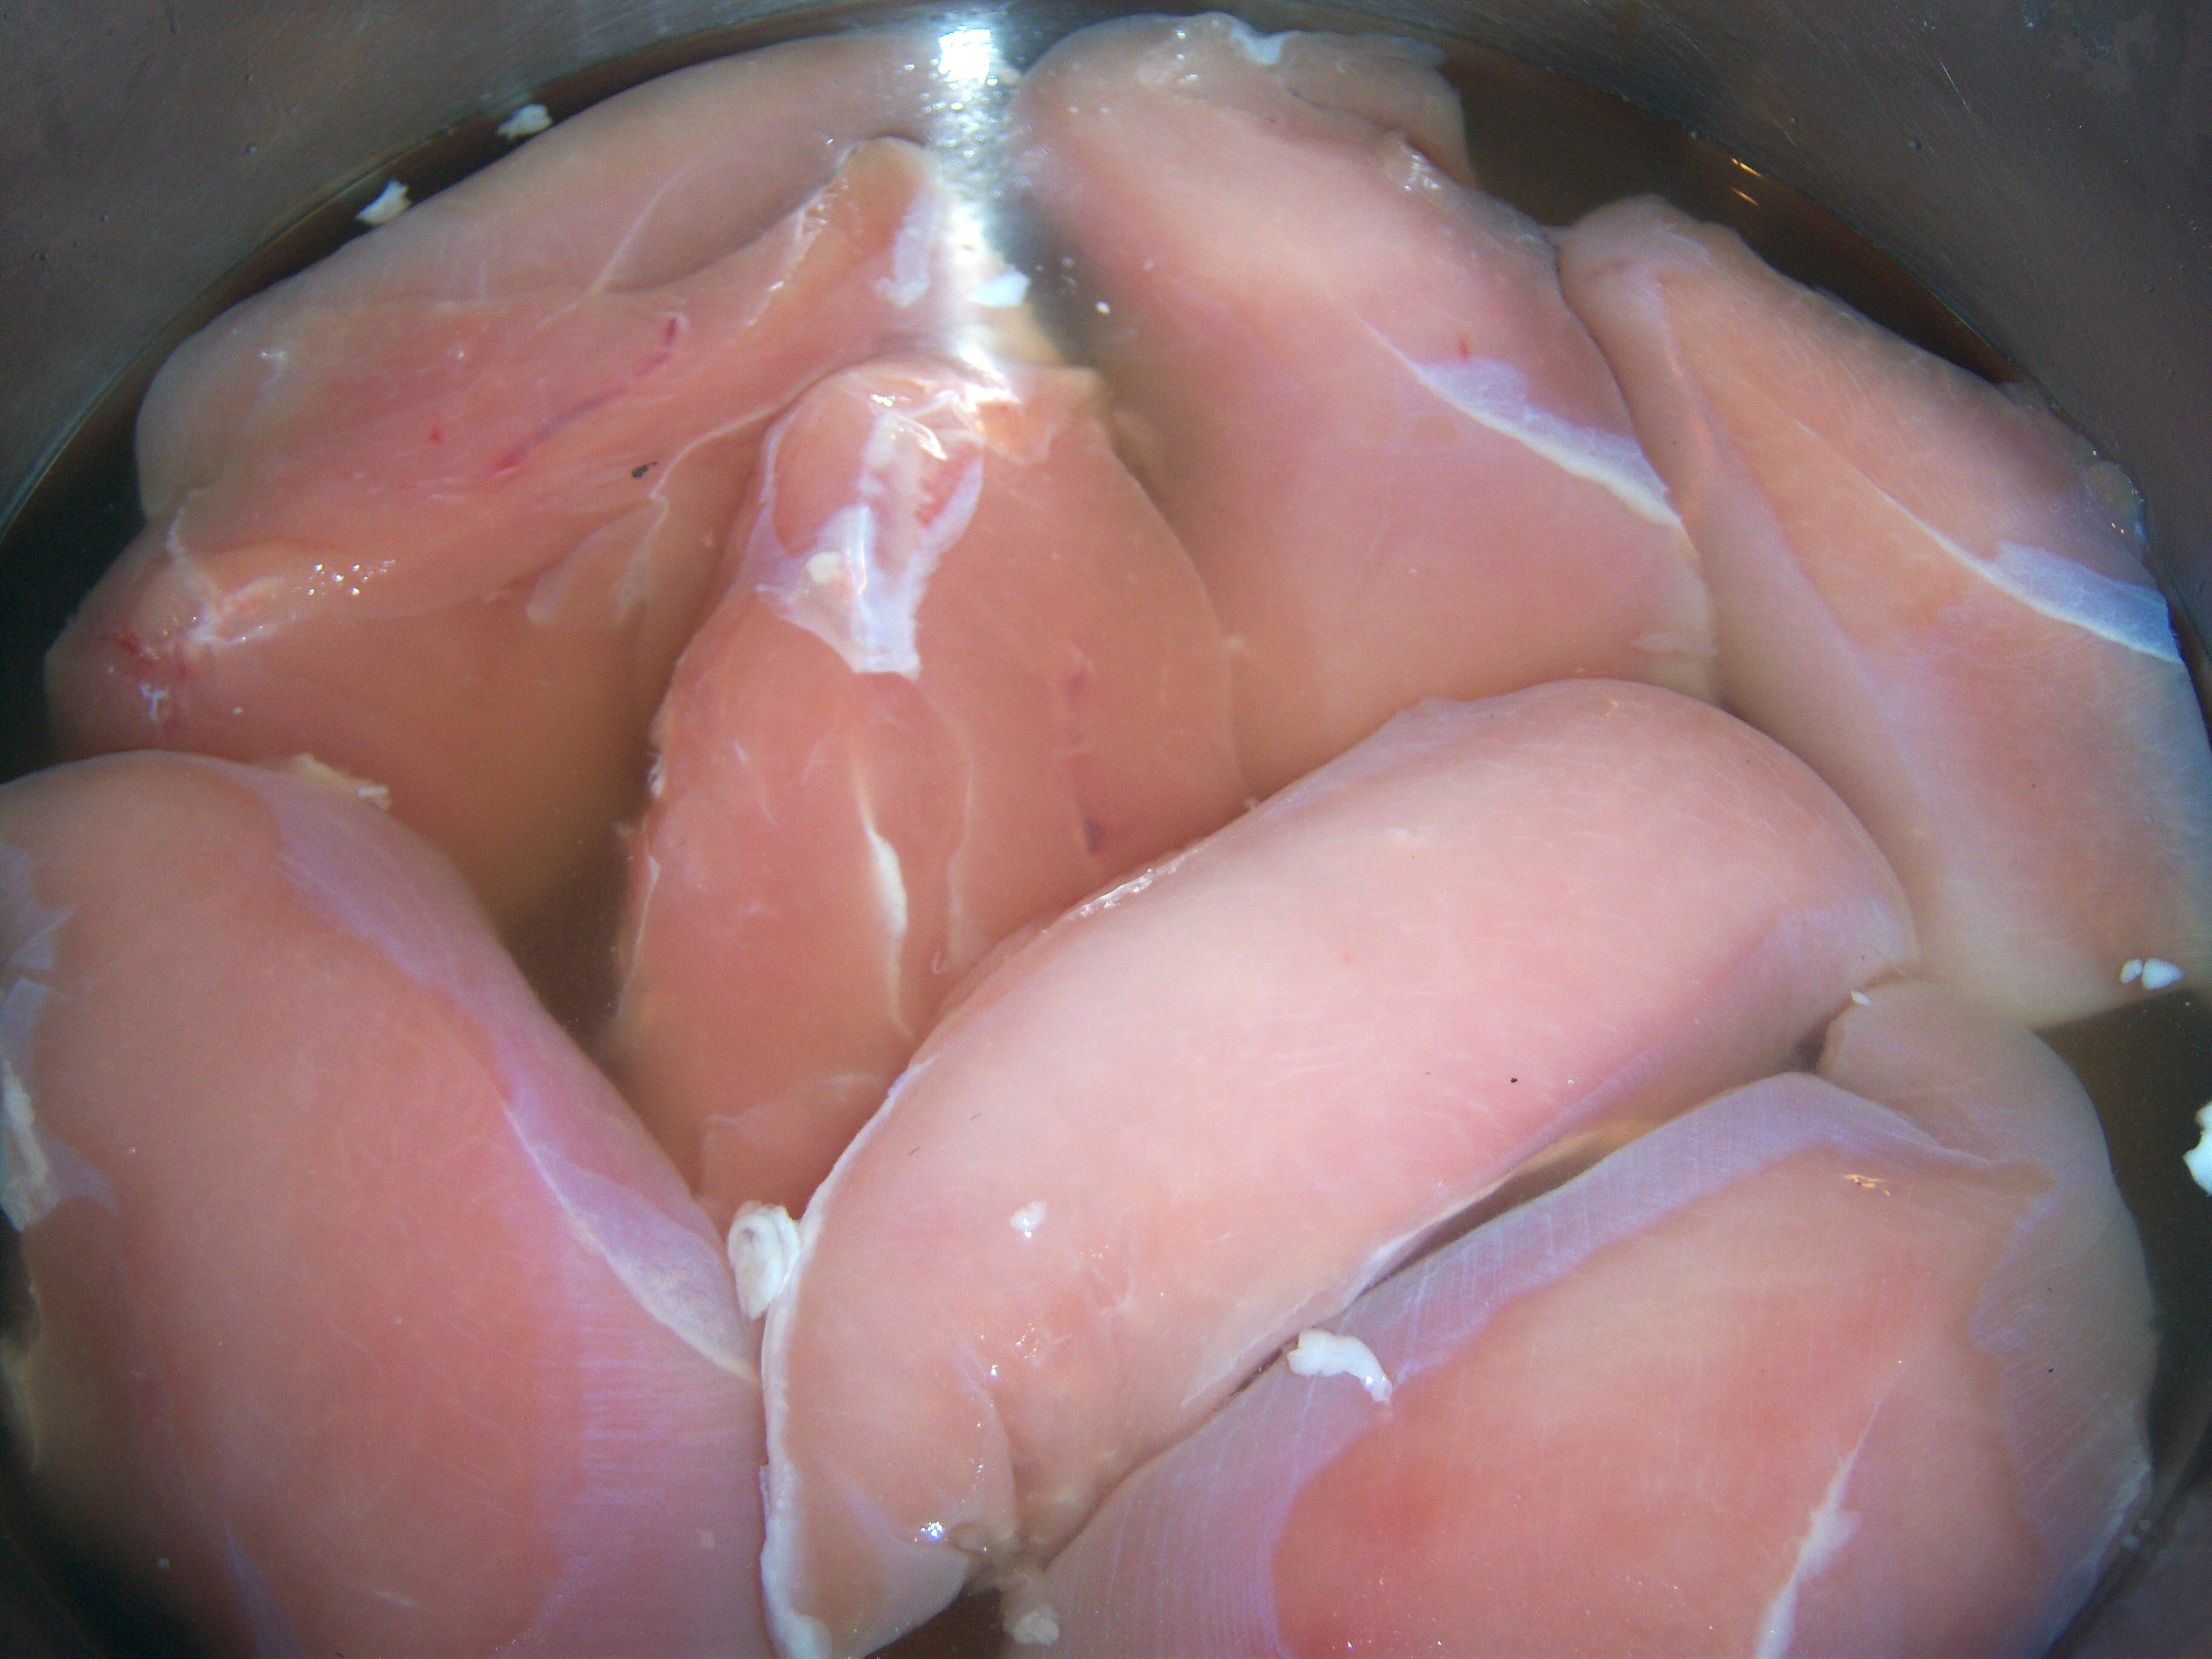 time I try to be clever. We grilled the chicken after the brining.
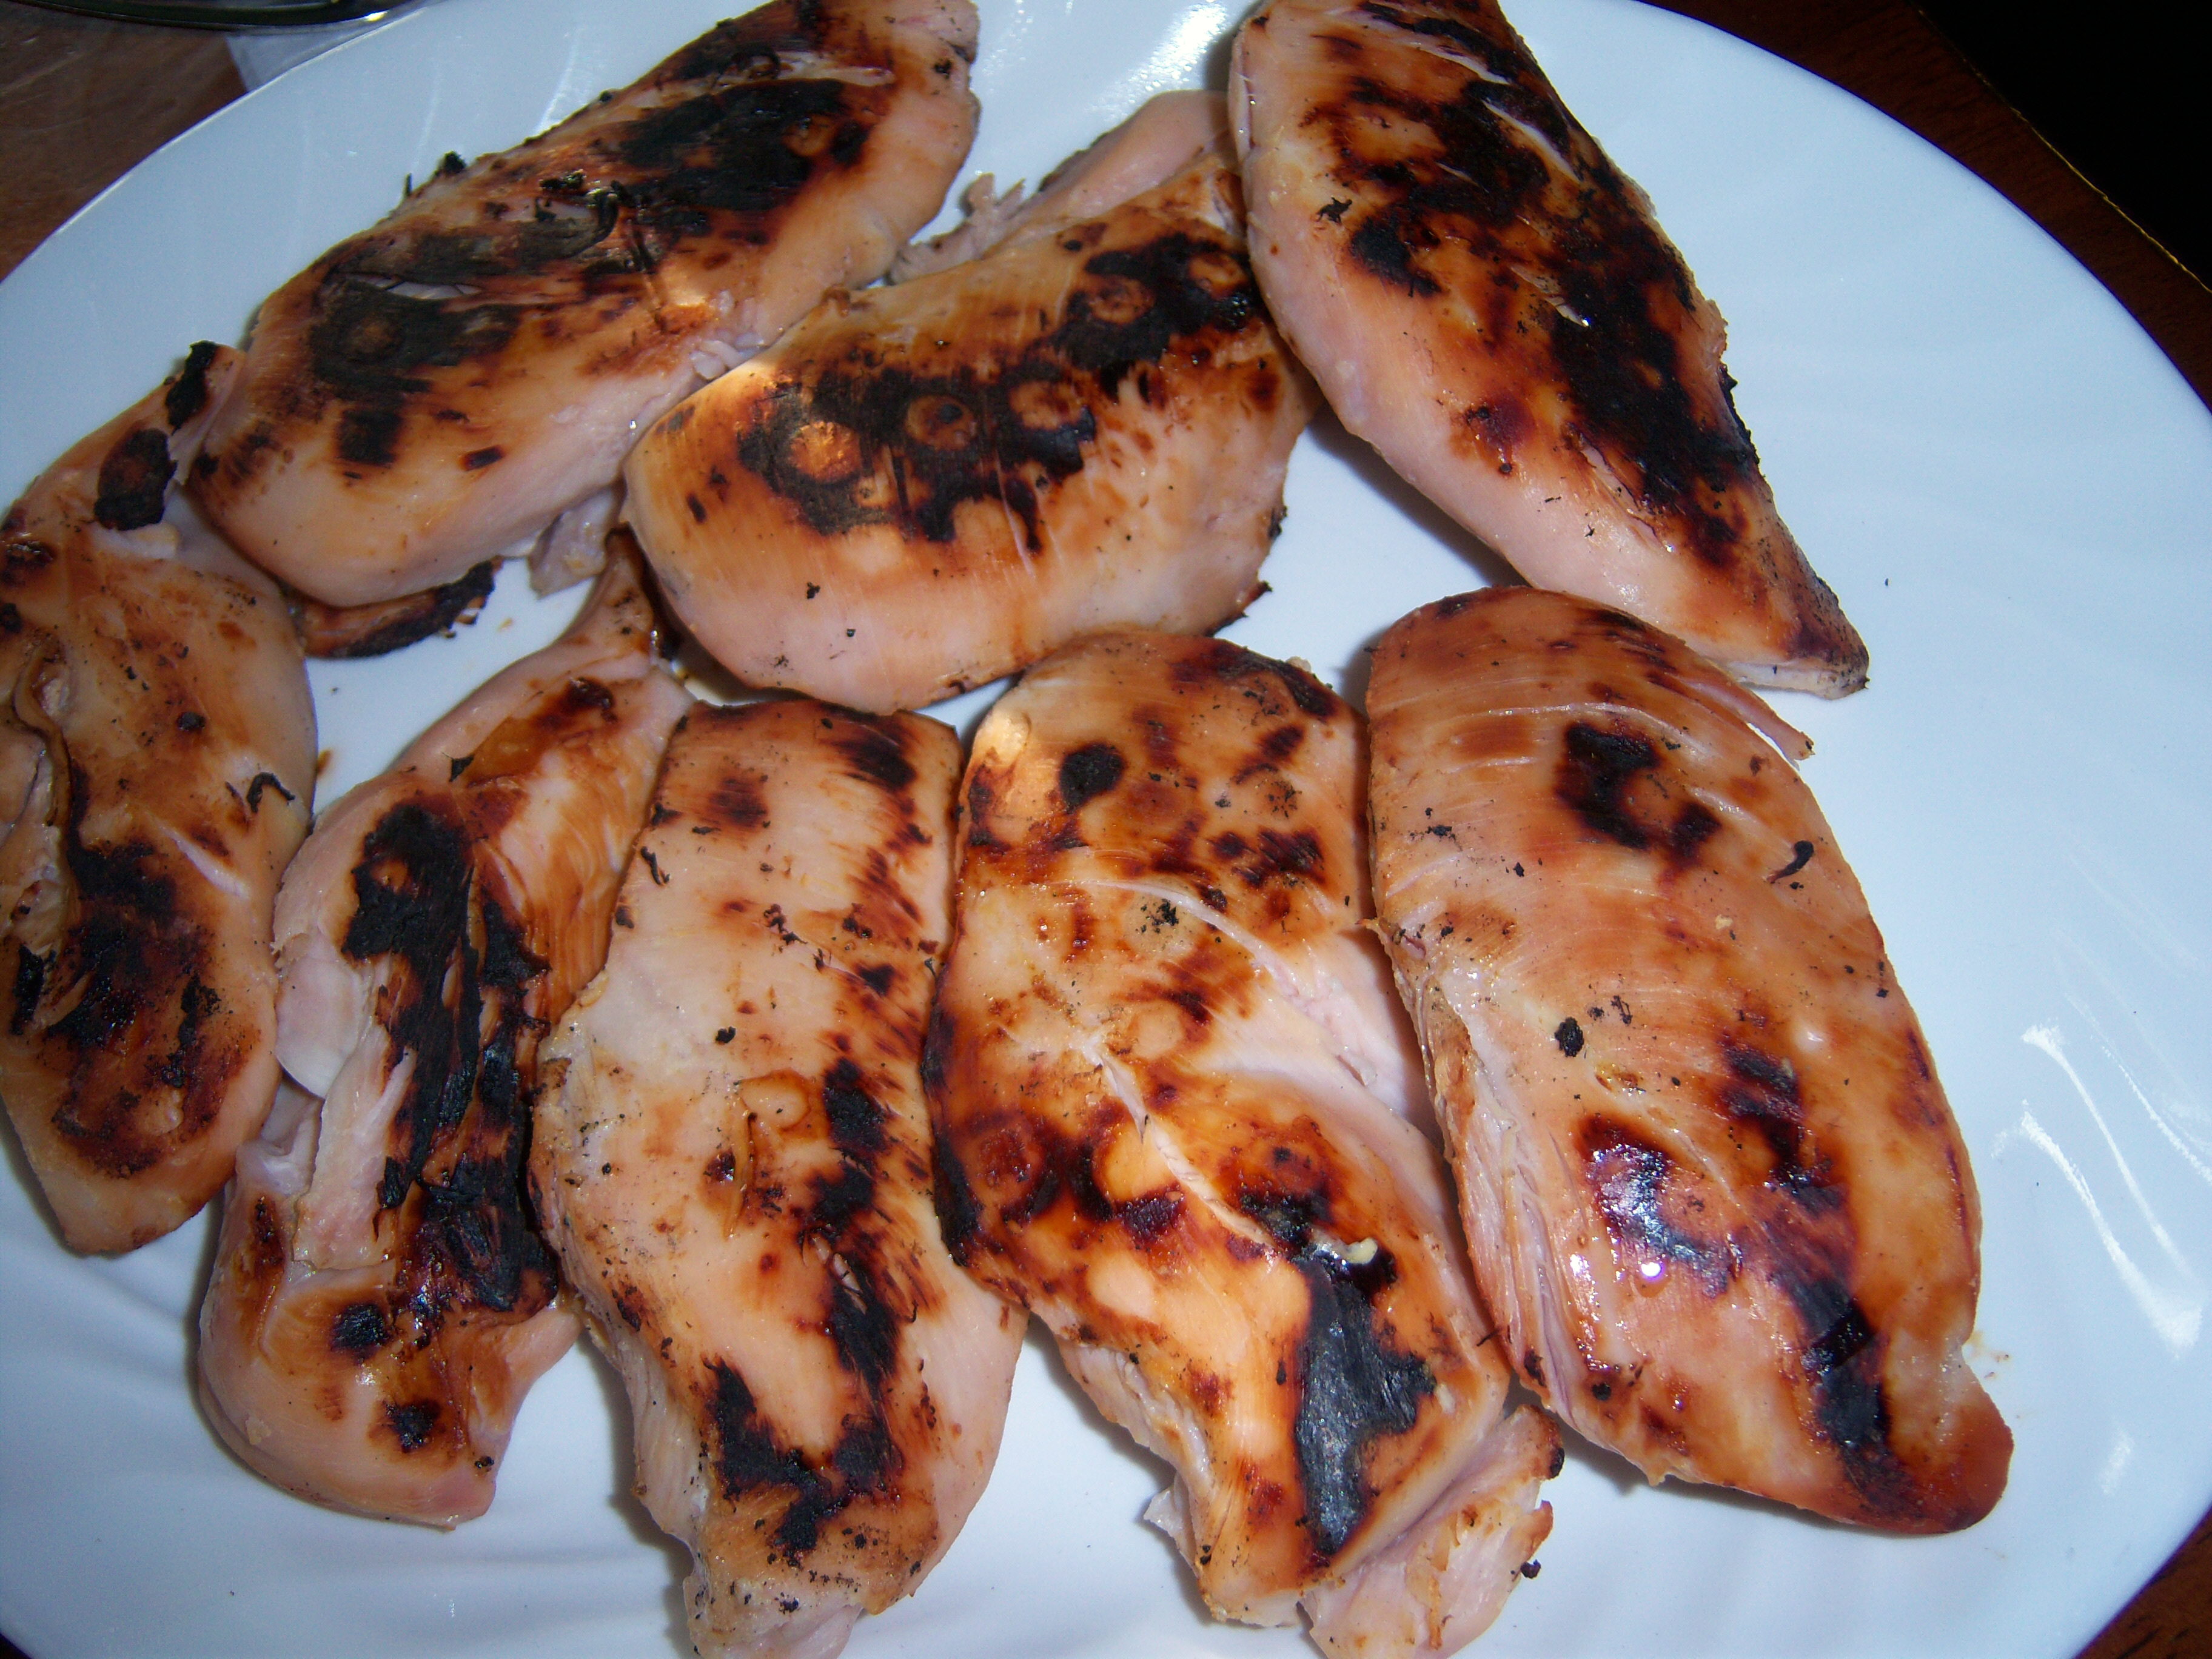 nothing else. The honey flavor did not come through at all. This was a HUGE disappointment!
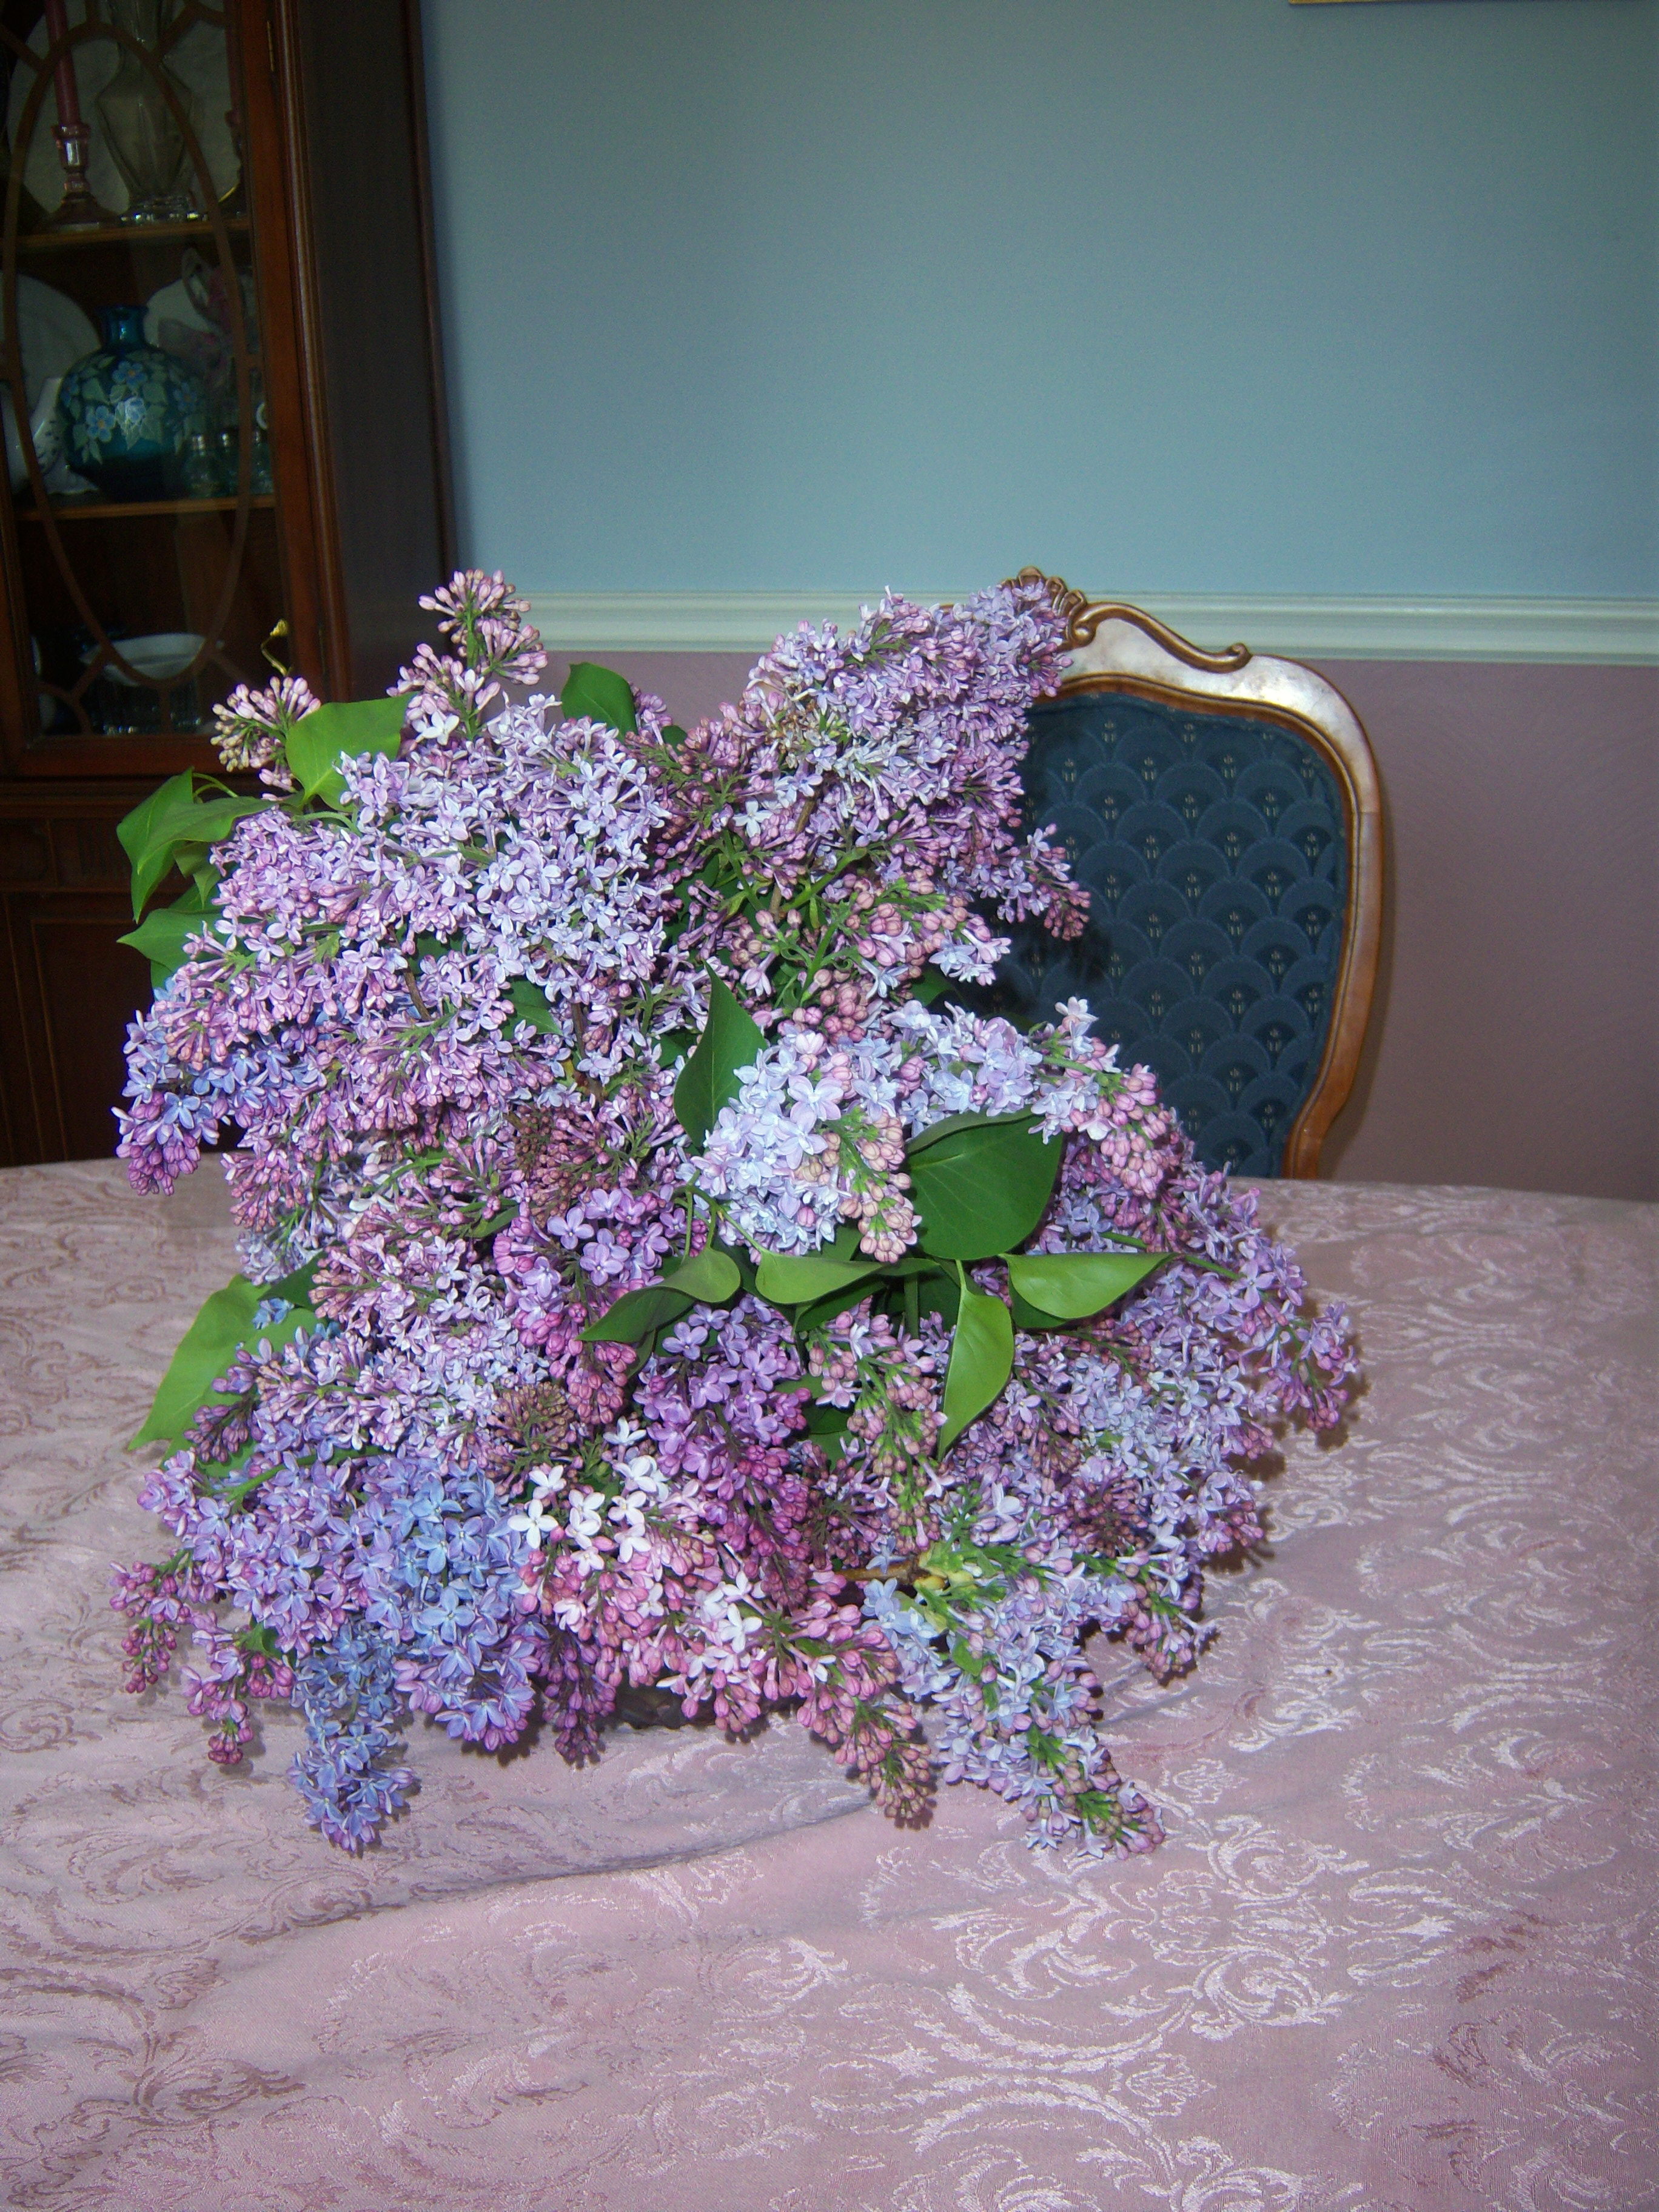 Happy Mother’s Day to all the moms reading this. On Martha’s show Friday, she made an arrangement of lilacs using a bowl and a vase together (this is also in May Living, page 50). Our lilacs are just in bloom, so I decided to give this a try. Of course, it was complicated by several factors. First of all, I don’t have a pedestal bowl and a vase that matches it. I do not have floral tape. I am also not a very talented flower arranger. I tend to prefer to leave my flowers growing outside, where they last longer. If I do pick them, I tend to just stuff a few in a vase.
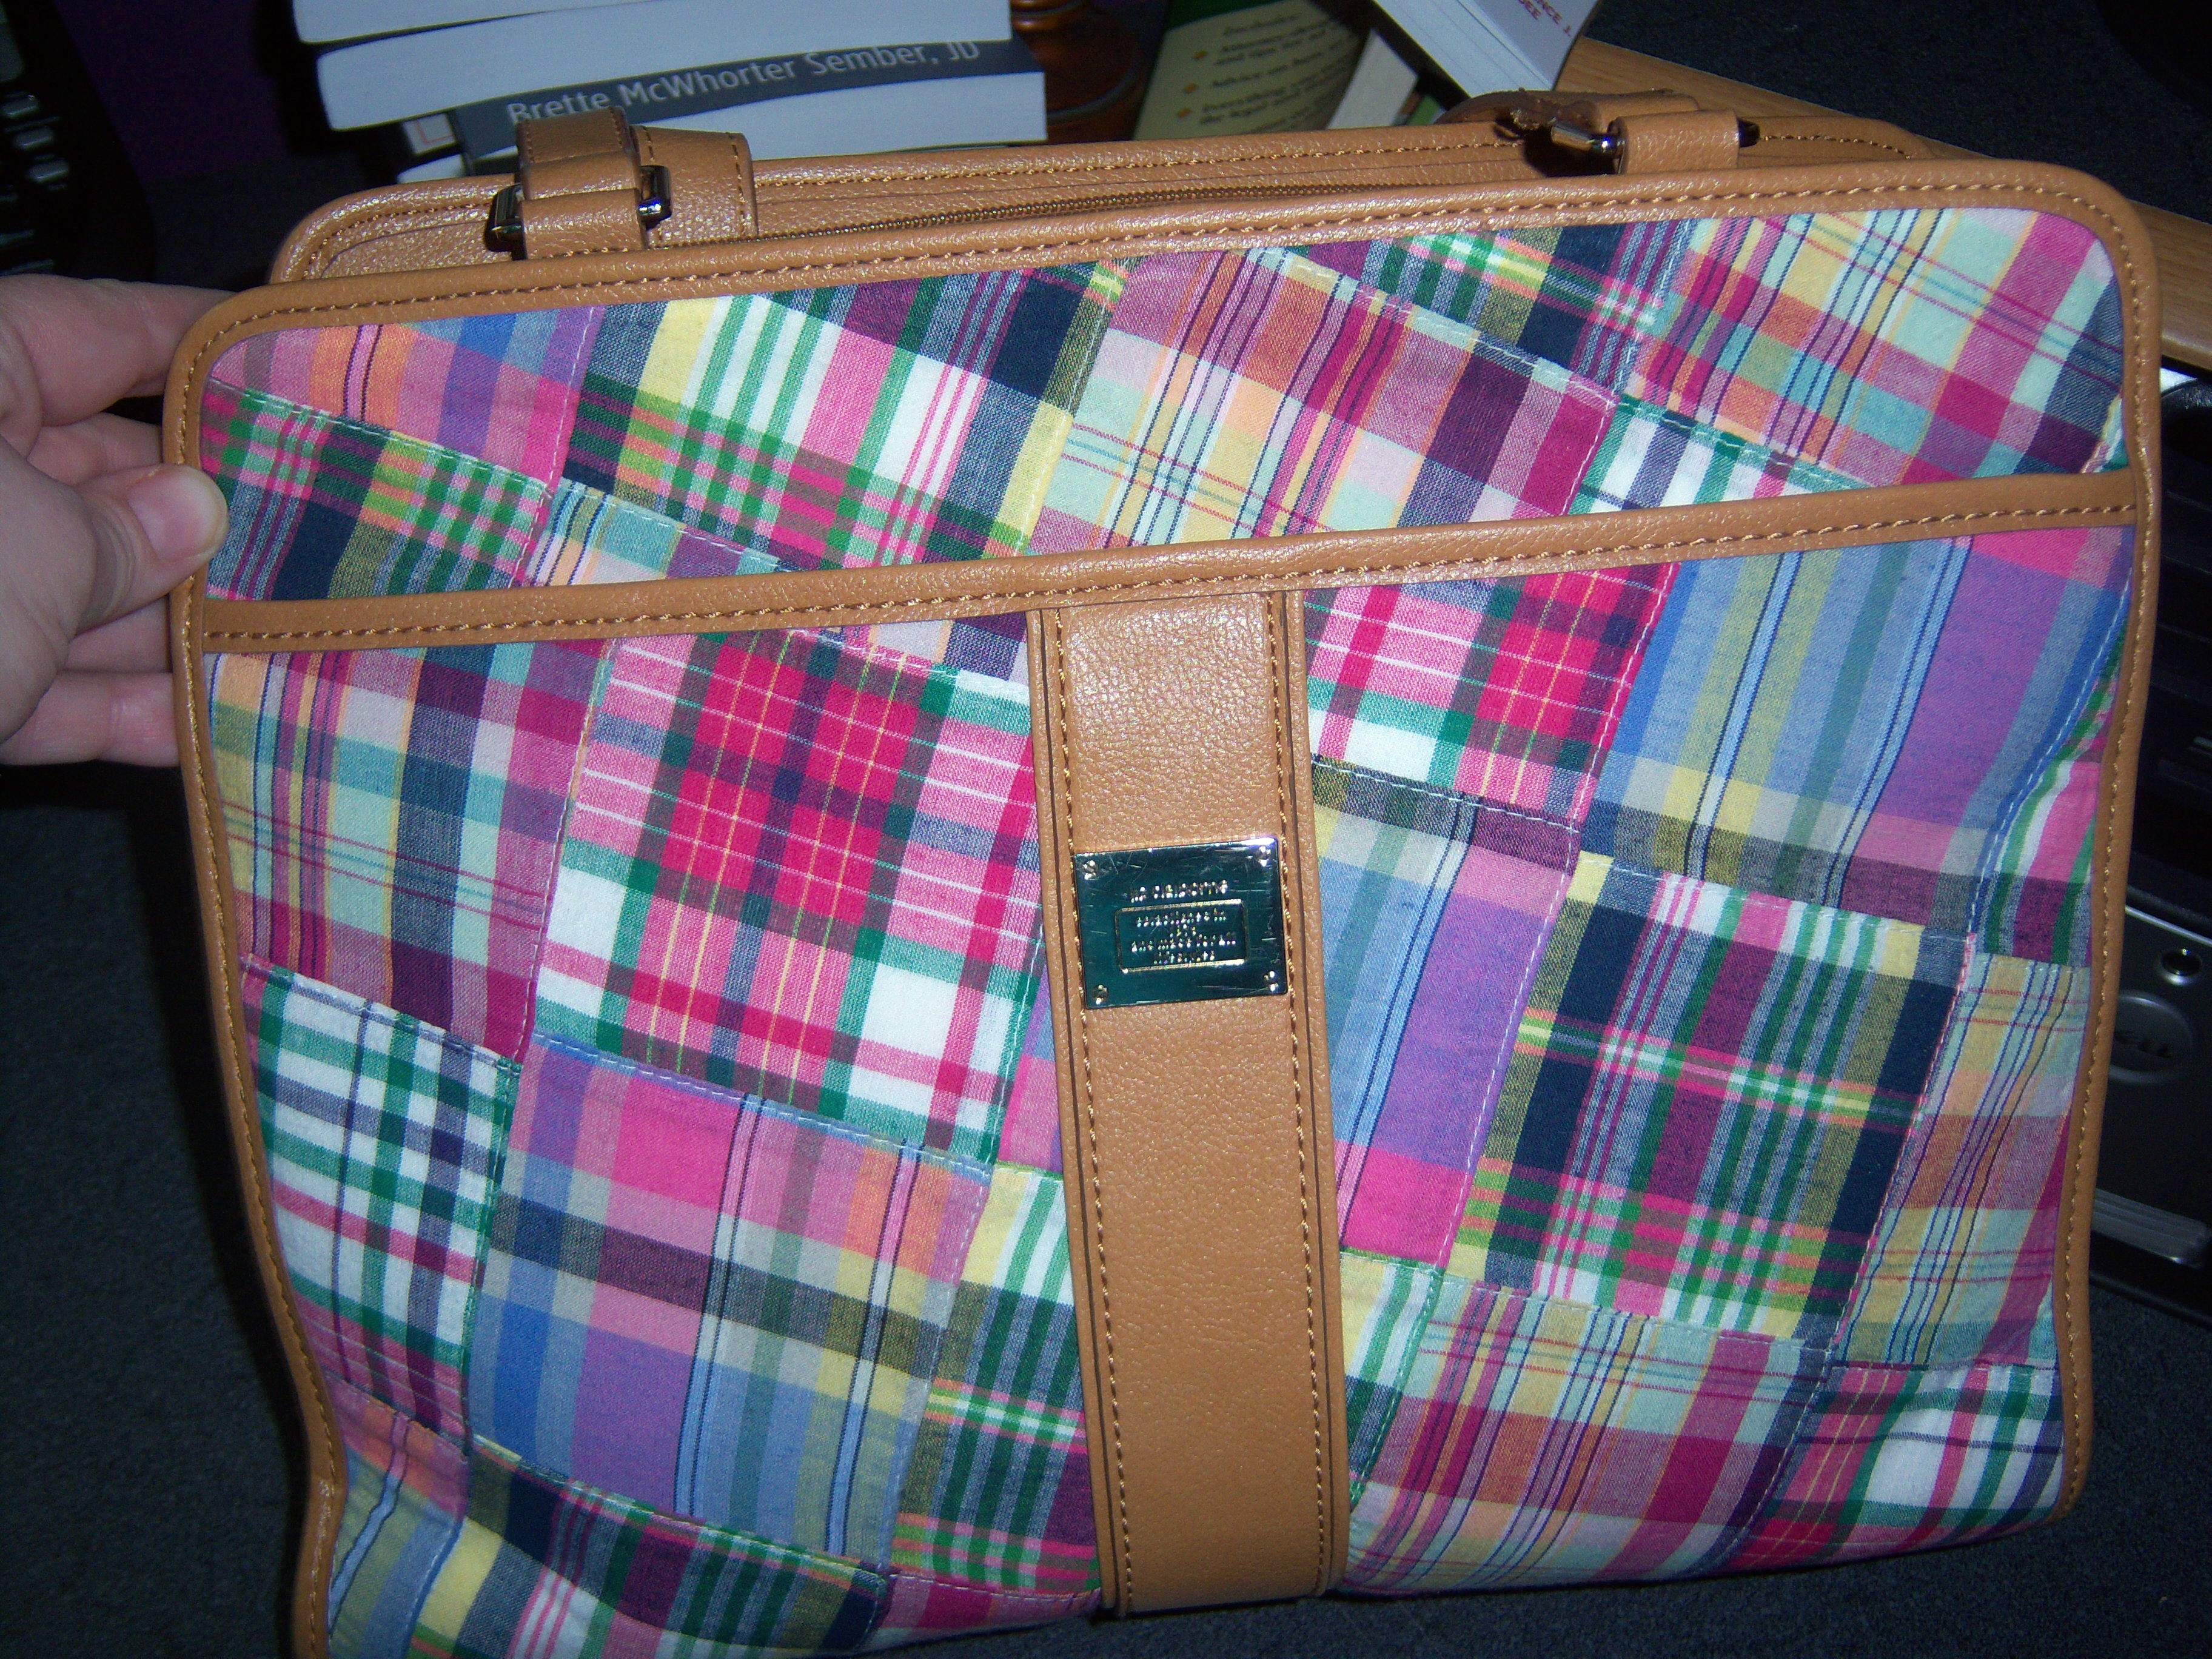 I ended up with this fabulous Liz Claiborne madras (I am mad about madras) purse, which I got at TJ Maxx for $29.99 . I love how it has an outside pocket so I can stick receipts in it without opening up the whole purse. The straps are long enough to fit over my shoulder. I prefer a purse with one strap, not two, but I can make do with two (it seems as though if you have two, one is always falling off your shoulder).
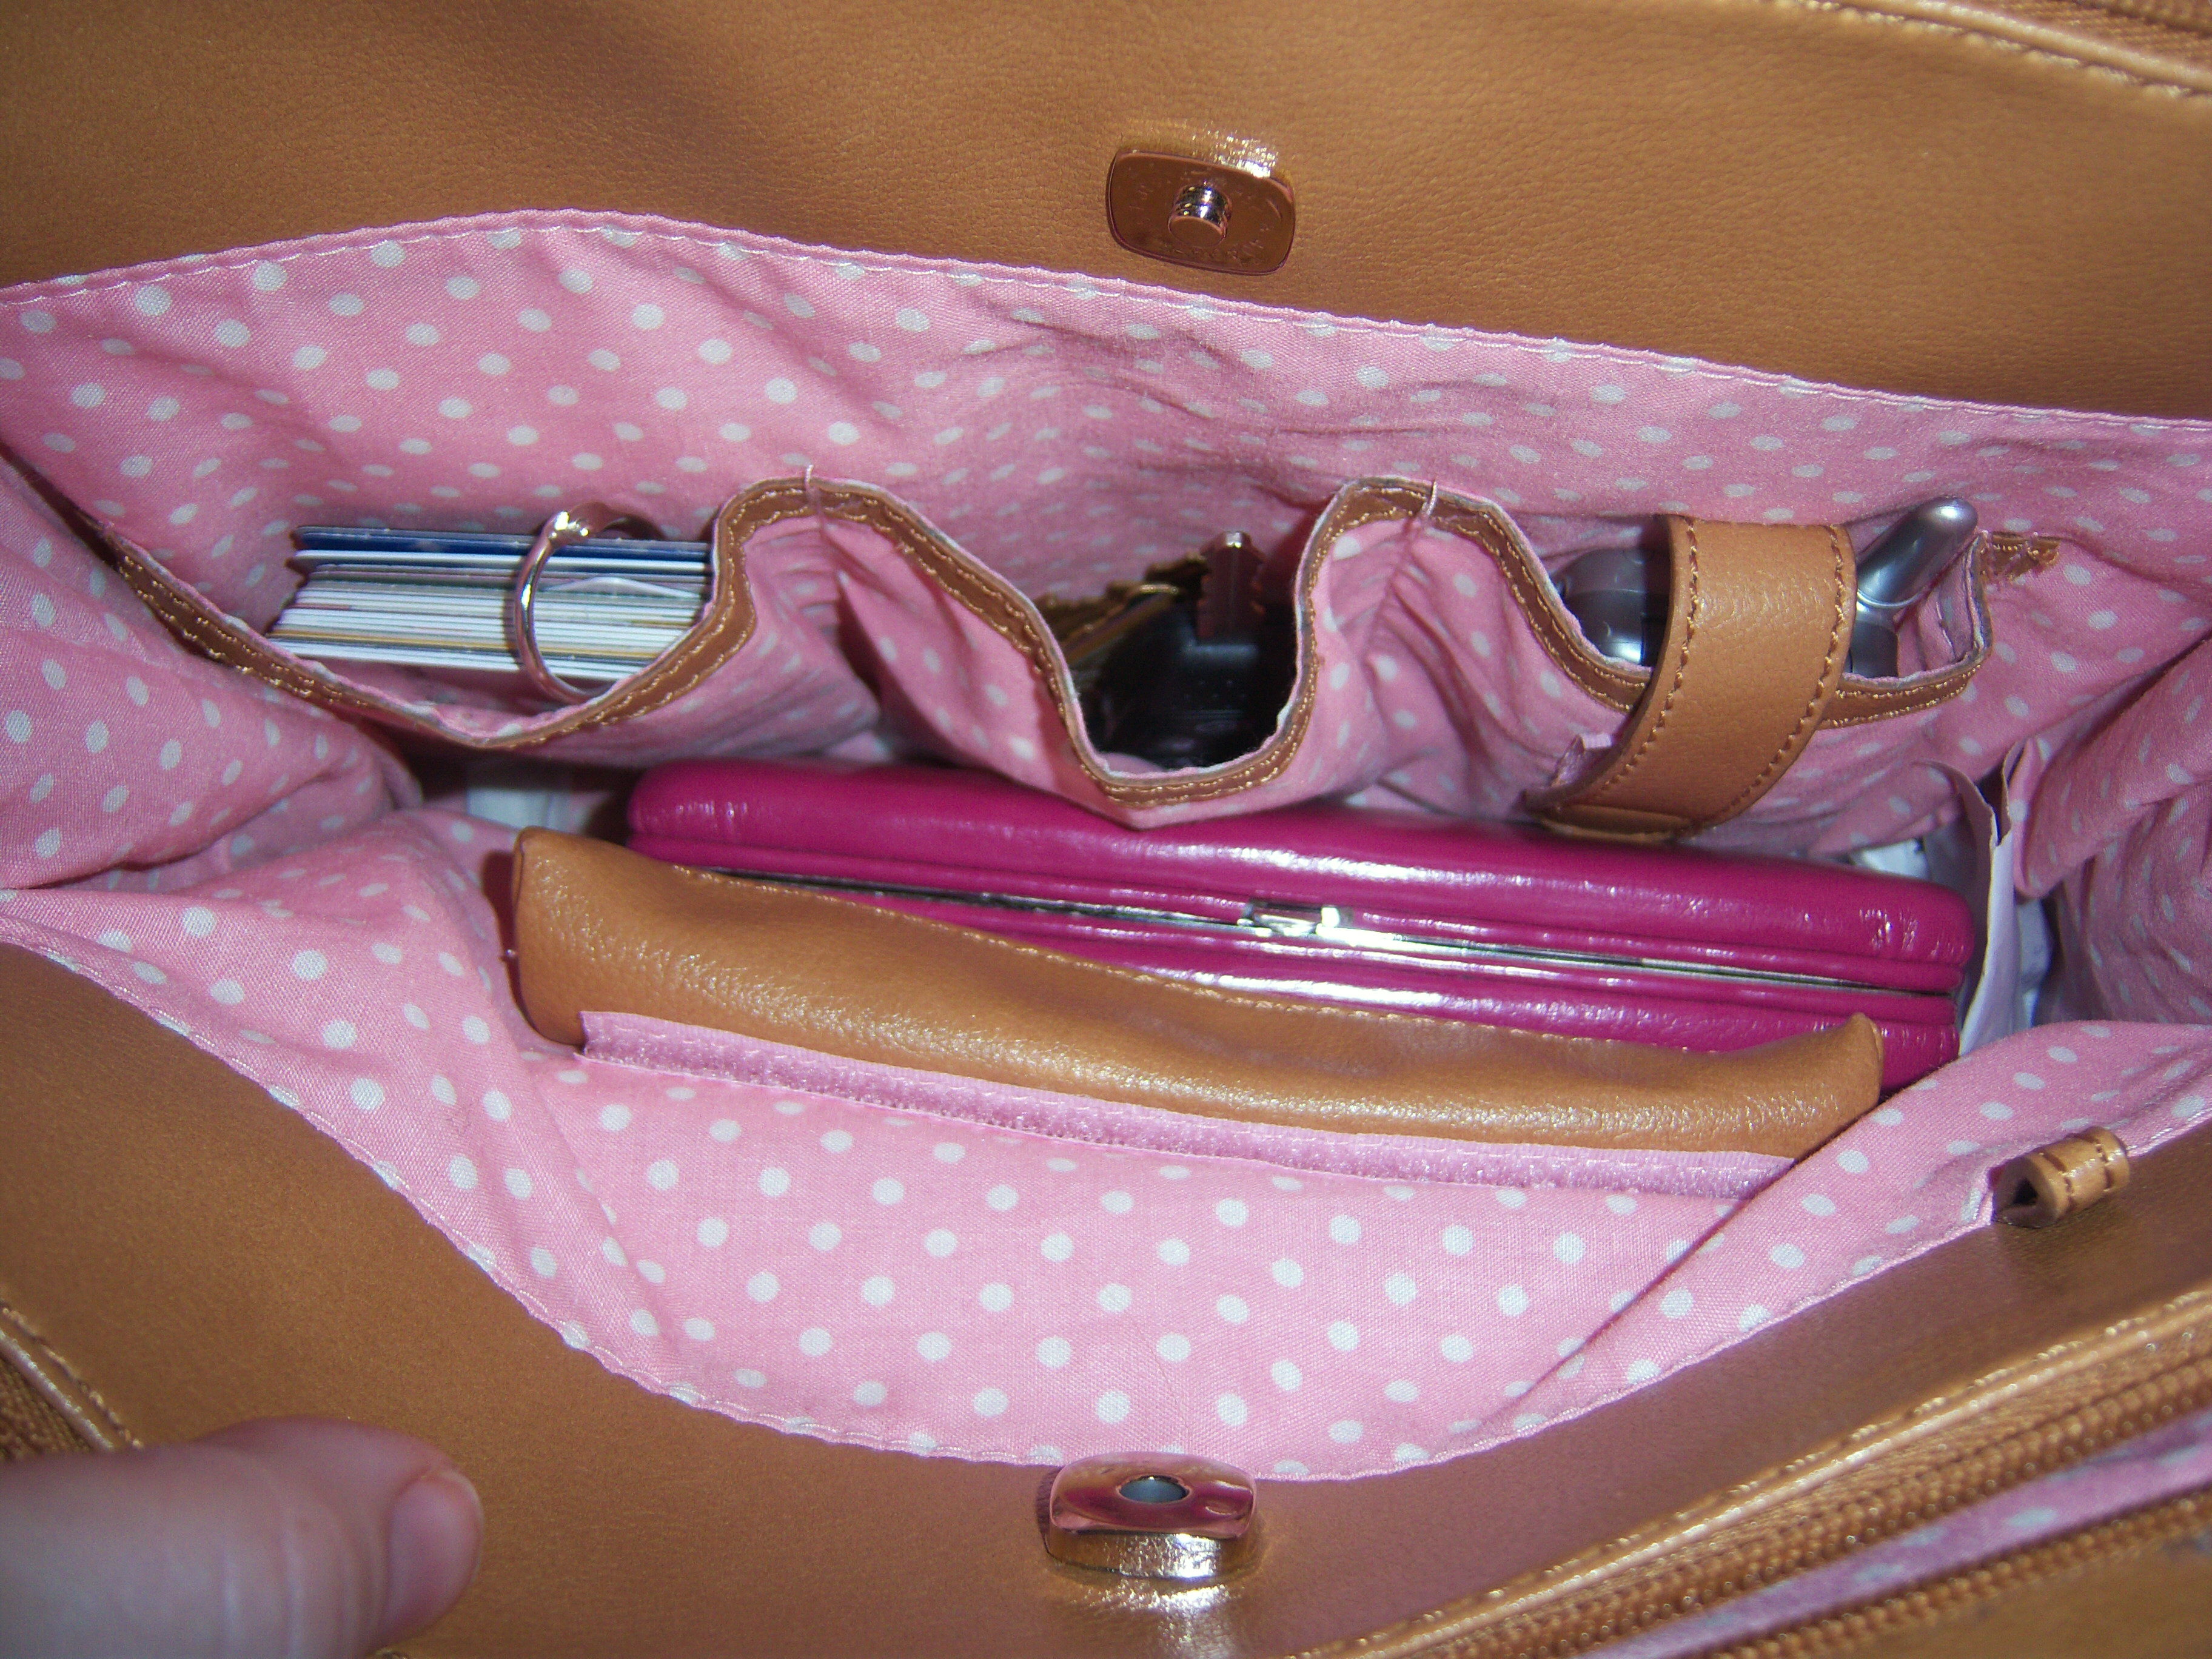 This is the main section of the purse which has a cell phone pocket, a keys pocket and an extra pocket where I keep all my store reward cards. It also, as an added bonus, has a cute little zippered section that is for a pen (it’s the oblong brown section on the bottom part of the photo). That is mighty handy, since pens always get lots in the bottom of a bag.
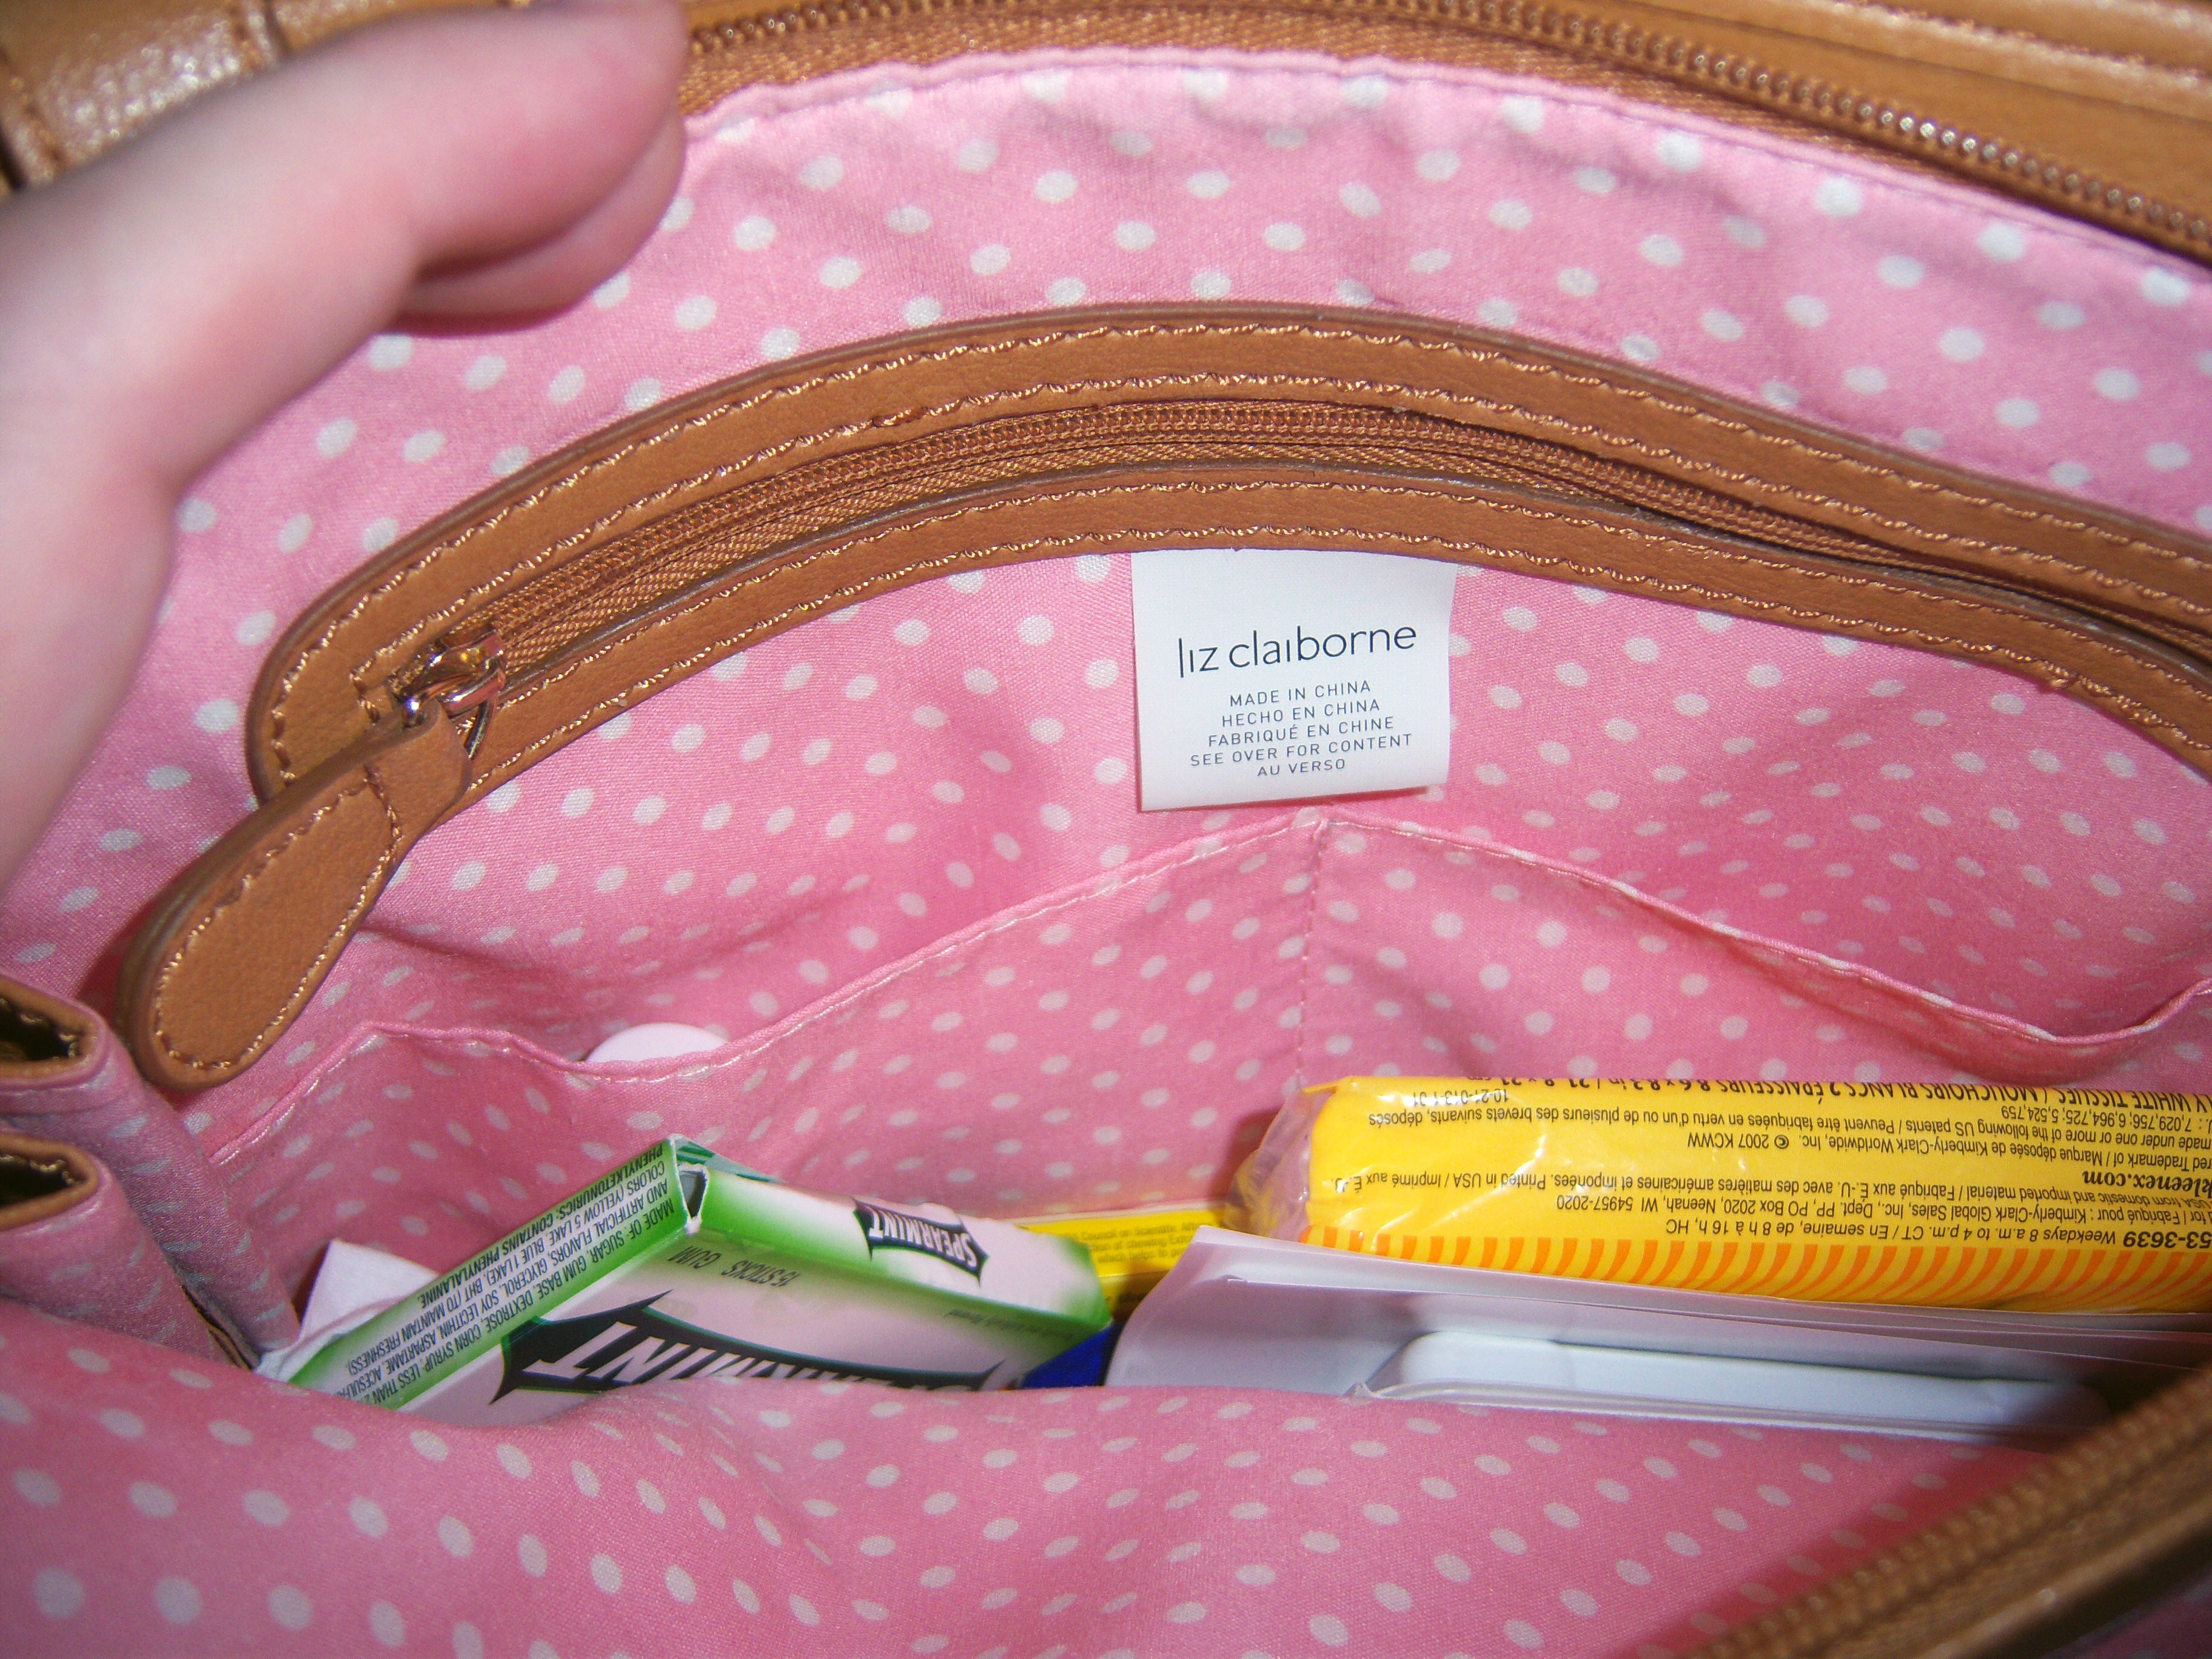 This section has the zippered pocket for lipstick, etc. Don’t you just love the fab pink polka dot interior?
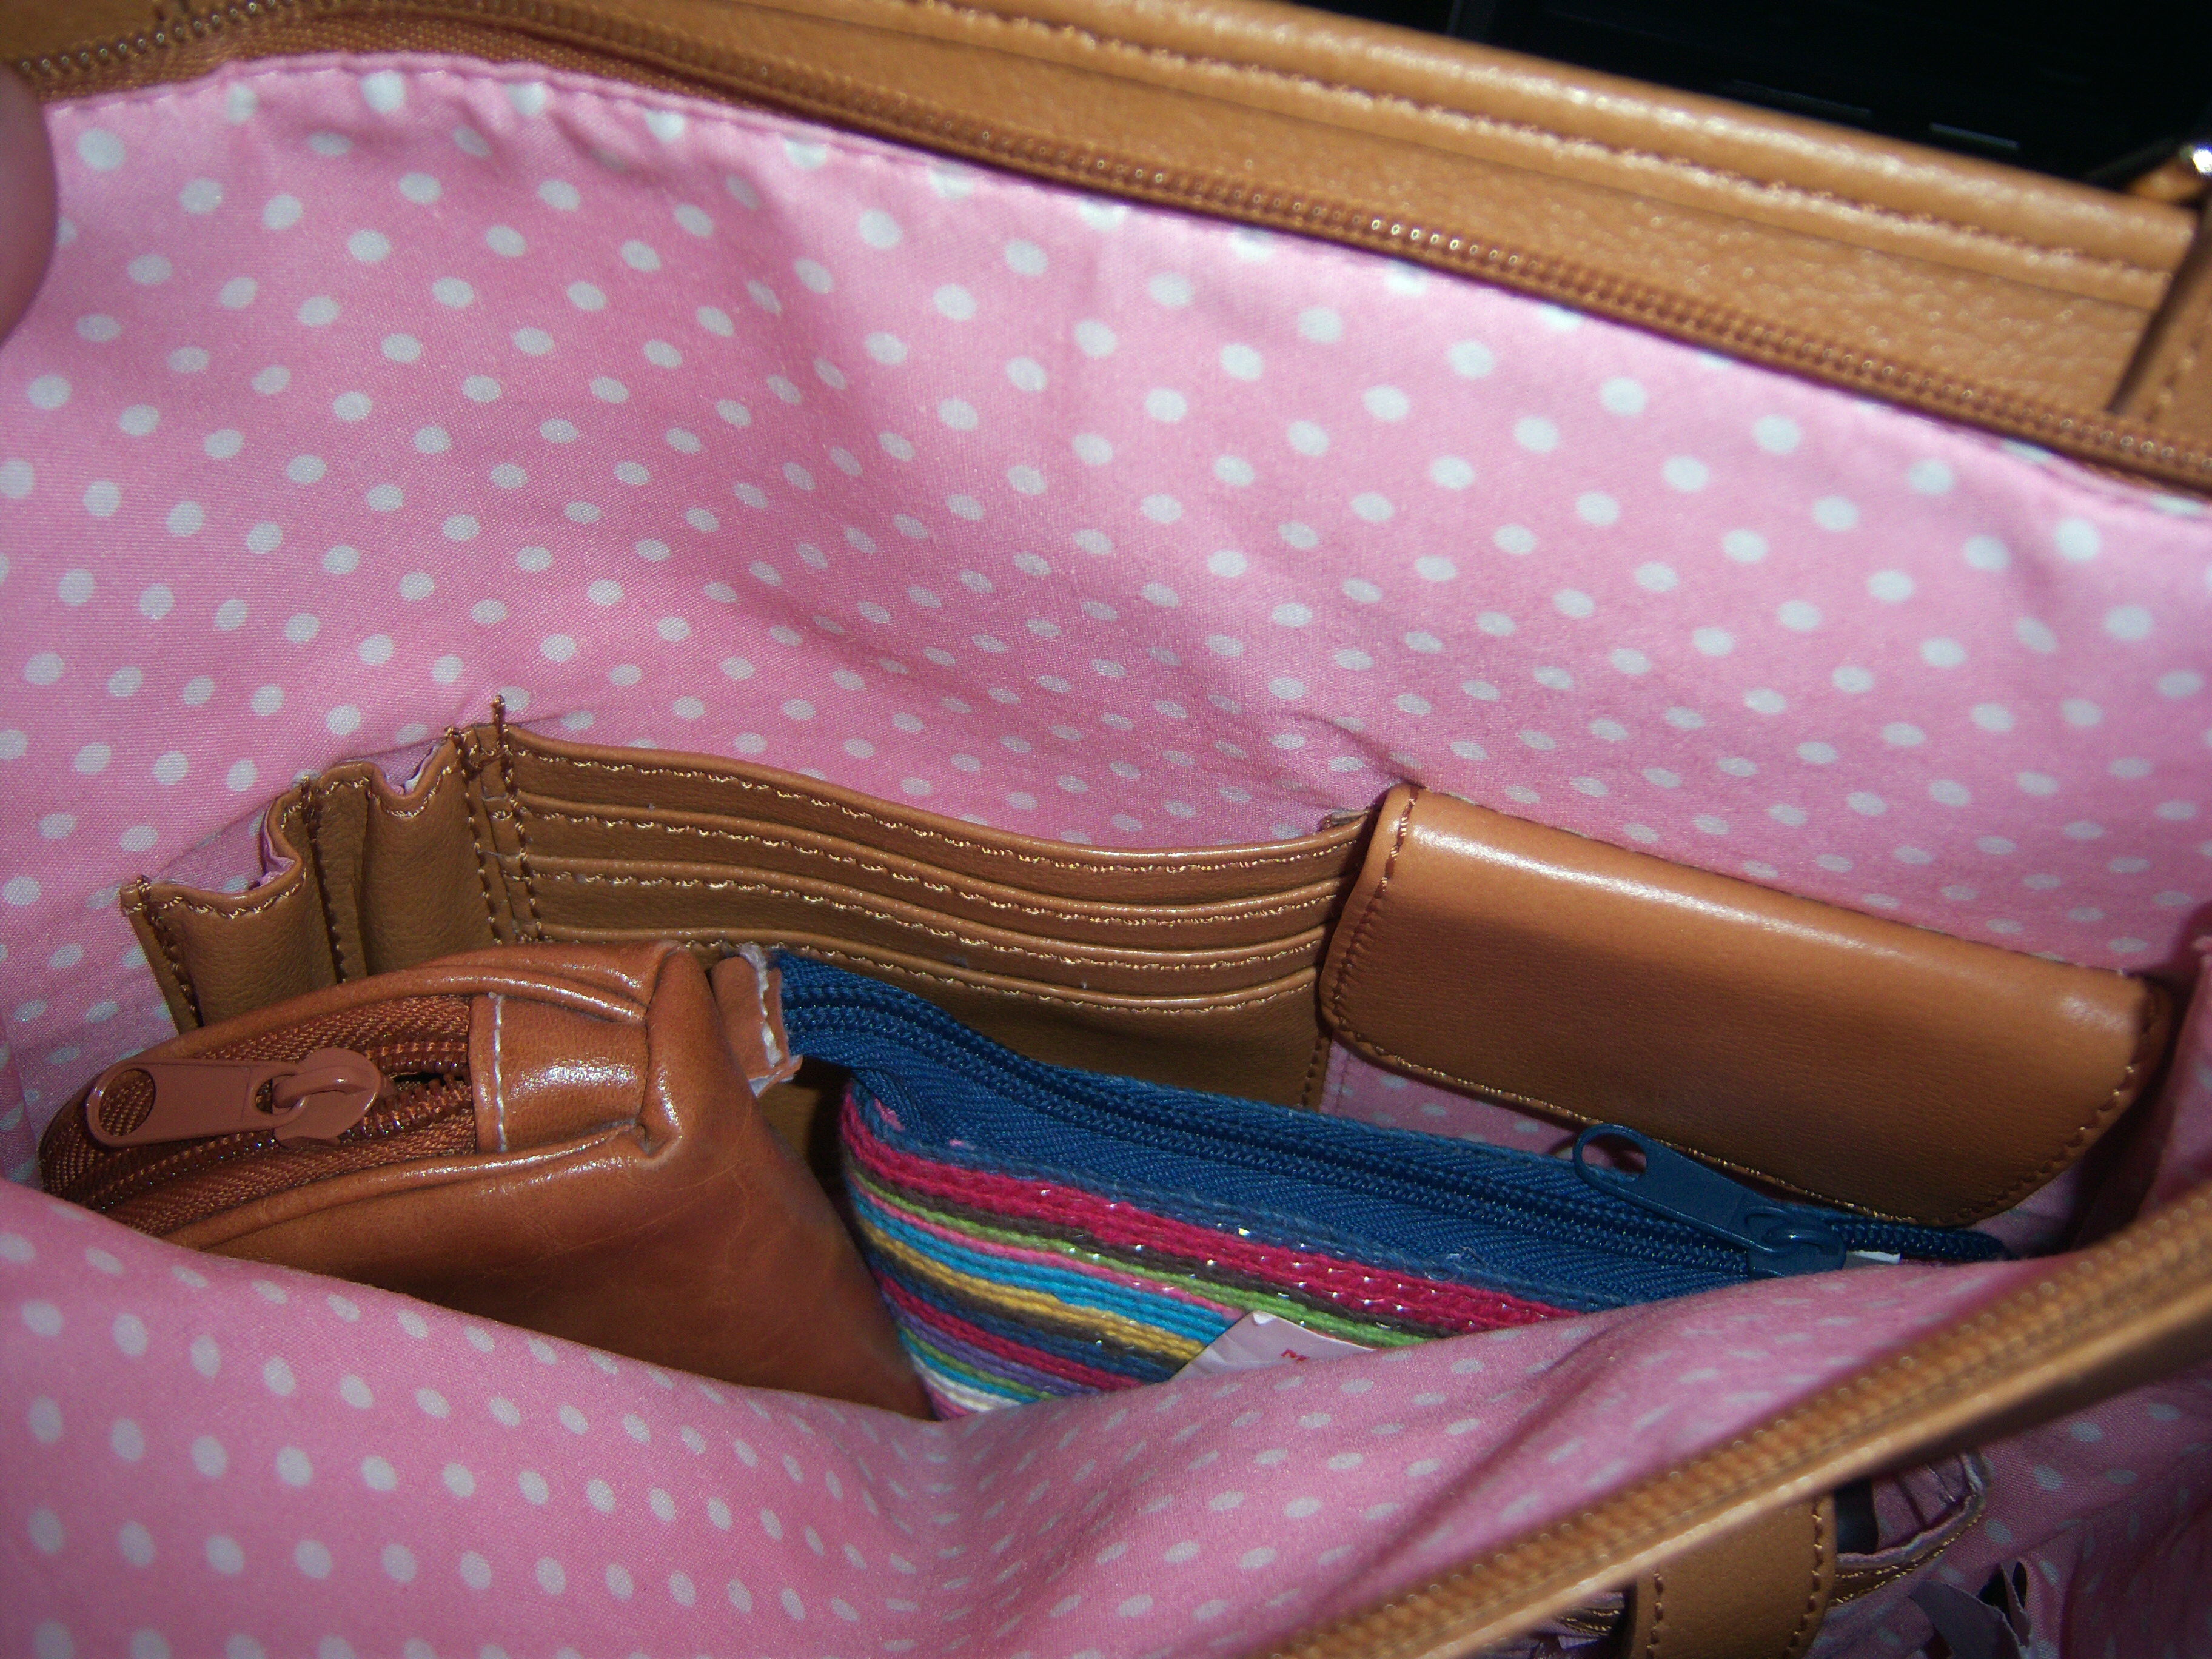 This section of the purse has some built-in features I don’t use. I don’t know why you would put your credit cards, money, license, etc directly in the purse. Not only is it hard to find things, but if you want to switch purses it is much more difficult to take it all out than it is to just remove a wallet. In this photo you’ll see two wallet type things in the bag. The brown one is my medical wallet – I have bandages, Advil, Tylenol, etc in that. The striped one is my coupon/punch card wallet.
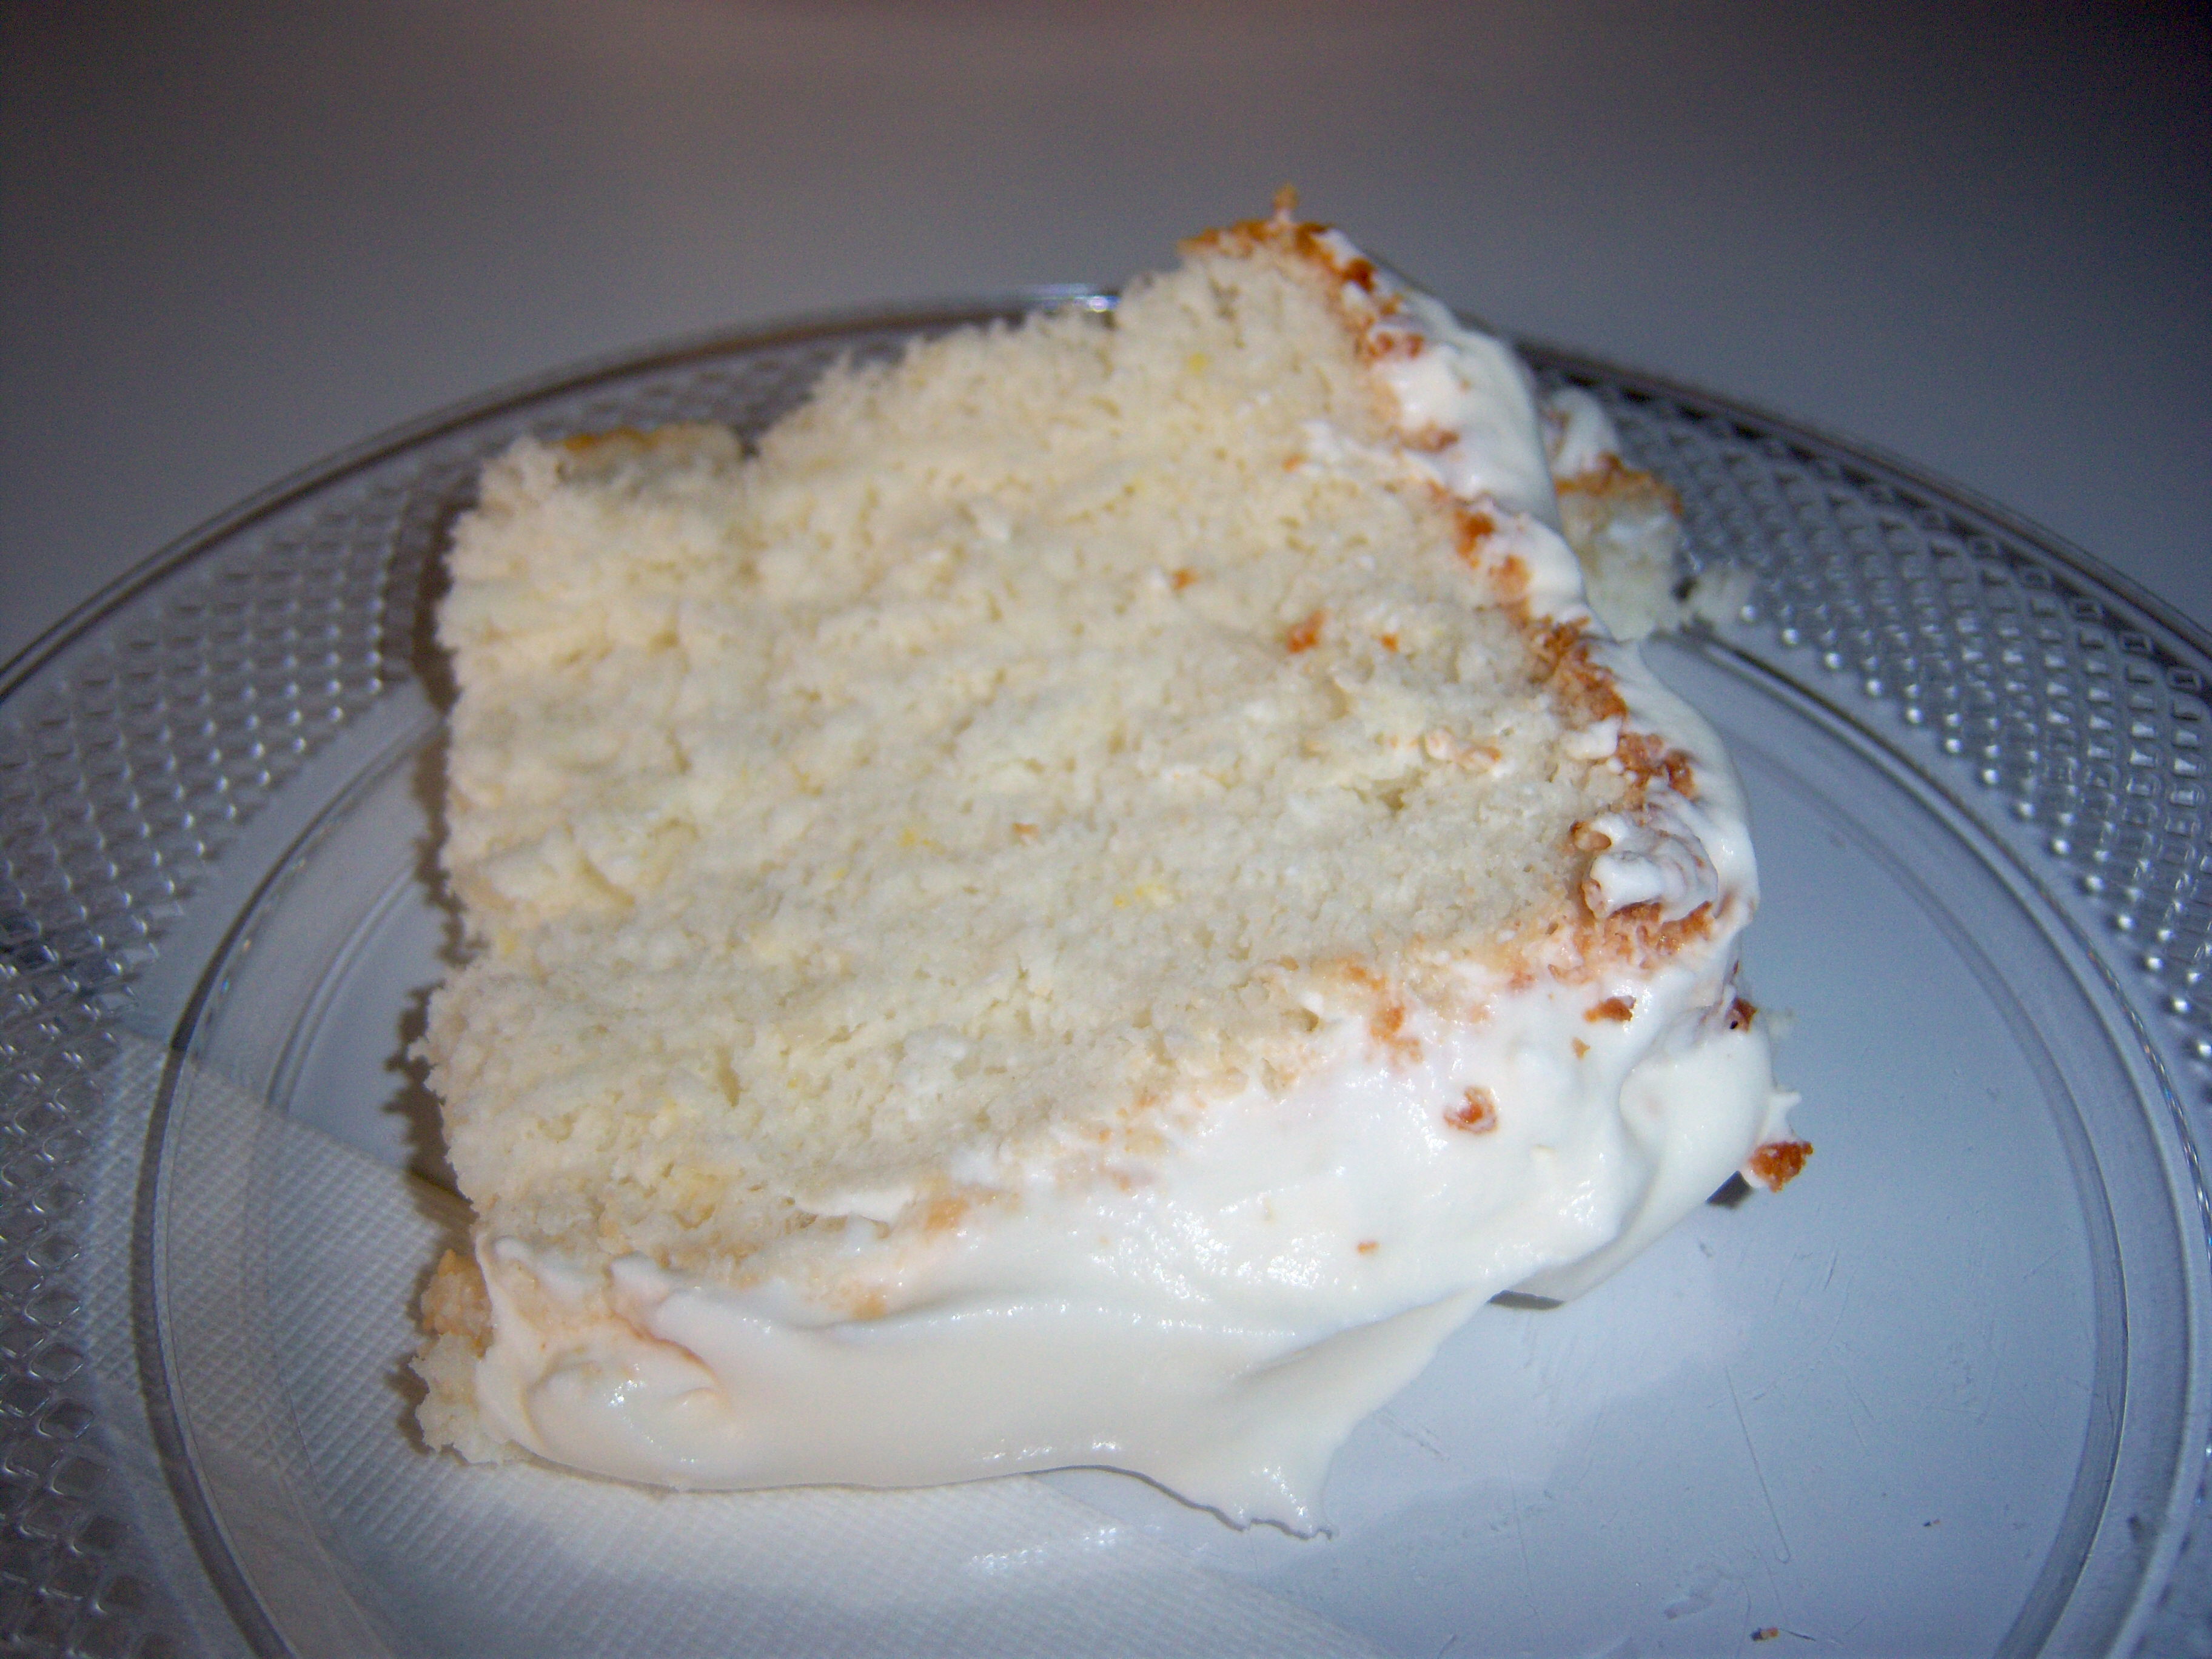 I remained skeptical about this cake until I had my first bite. It was wonderful! It was moist, just sweet enough, very lemony, and very light. It probably would have been even lighter if I had used cake flour, but I don’t think anyone noticed. The frosting was light and creamy and smooth. It added just the right touch to the cake.


