Heart and Sole

Posted by Brette in Food

Continuing on with the fish bonanza in the April issue of Martha Stewart Living, I made the pan sauteed sole. Sole is a fish that I make fairly often. I like it because it is mild and quick to cook.

soleMartha says to dust your fish with Wondra and pan fry it in some butter. When you flip it over, you add thin slices of lemon to the pan. I’ve pan fried sole before, but I’ve never added the lemon slices to the pan, and this was a nice touch. It made the dish very pretty and it seemed to really infuse the fish with a nice taste. I would definitely make this again.

Now for the drama. Although sole is a food I make often, I think this batch caused me to have an allergic reaction! About an hour or two after dinner, I started to feel hot. My entire face, chest and neck had turned beet red, as if I had the world’s worst sunburn. My cheeks were puffy and I was starting to feel like I was having some trouble breathing. I took some Benadryl which did the trick, but also knocked me out. I ate almost nothing else that day other than cereal, fruit, vegetables, and potatoes and definitely nothing that was new or weird. It seems quite odd to me that a fish I have eaten regularly could cause such a violent reaction, but I don’t know what else to think.

Continuing on with the fish bonanza in the April issue of Martha Stewart Living, I made the pan sauteed sole. Sole is a fish that I make fairly often. I like it because it is mild and quick to cook. Martha says to dust your fish with Wondra and pan fry it in some butter. … Read more

Easter eggs. Anyone can do that, right?  Well, that’s what I thought anyway. I decided to do some decoupage eggs as Martha shows in April Martha Stewart Living and also the glitter eggs that are mentioned at the front of the magazine as being online (and are also in the Craft Encyclopedia). This sounded like something I could manage.

The first step was getting the eggs. Blowing out eggs was way too much work for me. Martha says in the magazine you can find blown out eggs at “any craft store”. Ha! Neither Michael’s nor Joann had them. Joann had no eggs of any kind – nothing wooden, paper, etc (and snotty people working there who were not interested in helping me). What craft store has NO wooden or faux eggs available 2 weeks before Easter?

Michael’s had wooden eggs so I bought some of those. I also bought some Mod Podge glue. As for decoupage, I simply do not have the fine motor skills to cut out the shapes in the template in the magazine. Not a chance. So I thought I would be clever and buy some Easter stickers and some cute little confetti.

Sticker Shock

Sticker Shock

The first thing I did was to paint the eggs I was going to decoupage. The first problem was that that the price stickers would not come off!

I don’t know how you paint these without getting fingerprints all over them. I ended up doing several coats and got it all over my hands and the table. I kept dropping the eggs (good thing they weren’t real!).

Painting

Painting

Glue for Glitter

Glue for Glitter

While those dried, I attempted to do the glitter eggs. I read the instructions in the craft encyclopedia several times. It says to hold the egg and paint it with glue then set it in the glitter and cover it. If you hold the egg while putting glue on, the glue comes off on your hands and does not stick to the egg. When you pick the egg up out of the glitter, the glitter comes off on your hands. This is why my first egg ended up with bald spots! I tried to dab a little more glue on and put more glitter, but that was unsuccessful.

Bald Patch

Bald Patch

I was ready to toss the damn eggs out the window, when Mr. MarthaAndMe suggested sticking a nail in the bottom of each one so I could hold the nail. The man is a genius. This worked perfectly and I ended up with evenly glittered eggs that looked pretty darn nice. He made some holes in a piece of wood so we could just stick the nails in it and let the eggs dry. My father-

The Solution

The Solution

in-law says you can do anything if you have the right tools, and again he was proven correct. I think the instructions for this craft made it sound far too simple and did not offer enough guidance.

Next, onto the decoupage. I have never decoupaged, but after hearing Rosie O’Donnell rave about it for years, I thought, how hard could it be? I’ve seen her demonstrate it several times and it looked so easy.

Disaster

Disaster

Wrong. The problem probably lies in my materials and I am willing to admit that up front. The stickers did not work. First of all, they were too large and crumpled at the edges because the eggs are curved. Mr. MarthaAndMe said they were too thick to work and that somehow the adhesive on the stickers interfered with the glue.  Similar problem with the confetti – it would not stick. I was using Martha Stewart confetti and it was kind of stiff.

The Ones that Turned Out

The Ones that Turned Out

Again, I was ready to open the window and pitch the damn things out, but Mr. MarthaAndMe suggested we just hole punch some white paper and use the dots to make polka dots with decoupage. You can see why I married this man. This worked pretty well. I had some trouble with the glue making the paint moist and the paint smearing and coming off.  I was also able to use the tiny Easter egg stickers I had – some of them stuck and some of it didn’t.

Was this fun? Umm, no. It made me crazy. It made a mess. It was not cheap. I would rather buy some decorative eggs for display than monkey around with this and have it never be quite right.

I guess the Easter bunny will not be too happy with me this year.

Bookmark and Share

Easter eggs. Anyone can do that, right?  Well, that’s what I thought anyway. I decided to do some decoupage eggs as Martha shows in April Martha Stewart Living and also the glitter eggs that are mentioned at the front of the magazine as being online (and are also in the Craft Encyclopedia). This sounded like … Read more

I know, corny header. Couldn’t help myself since I needed something to perk me up after making Steamed Halibut from April Martha Stewart Living (also featured on the tv show).

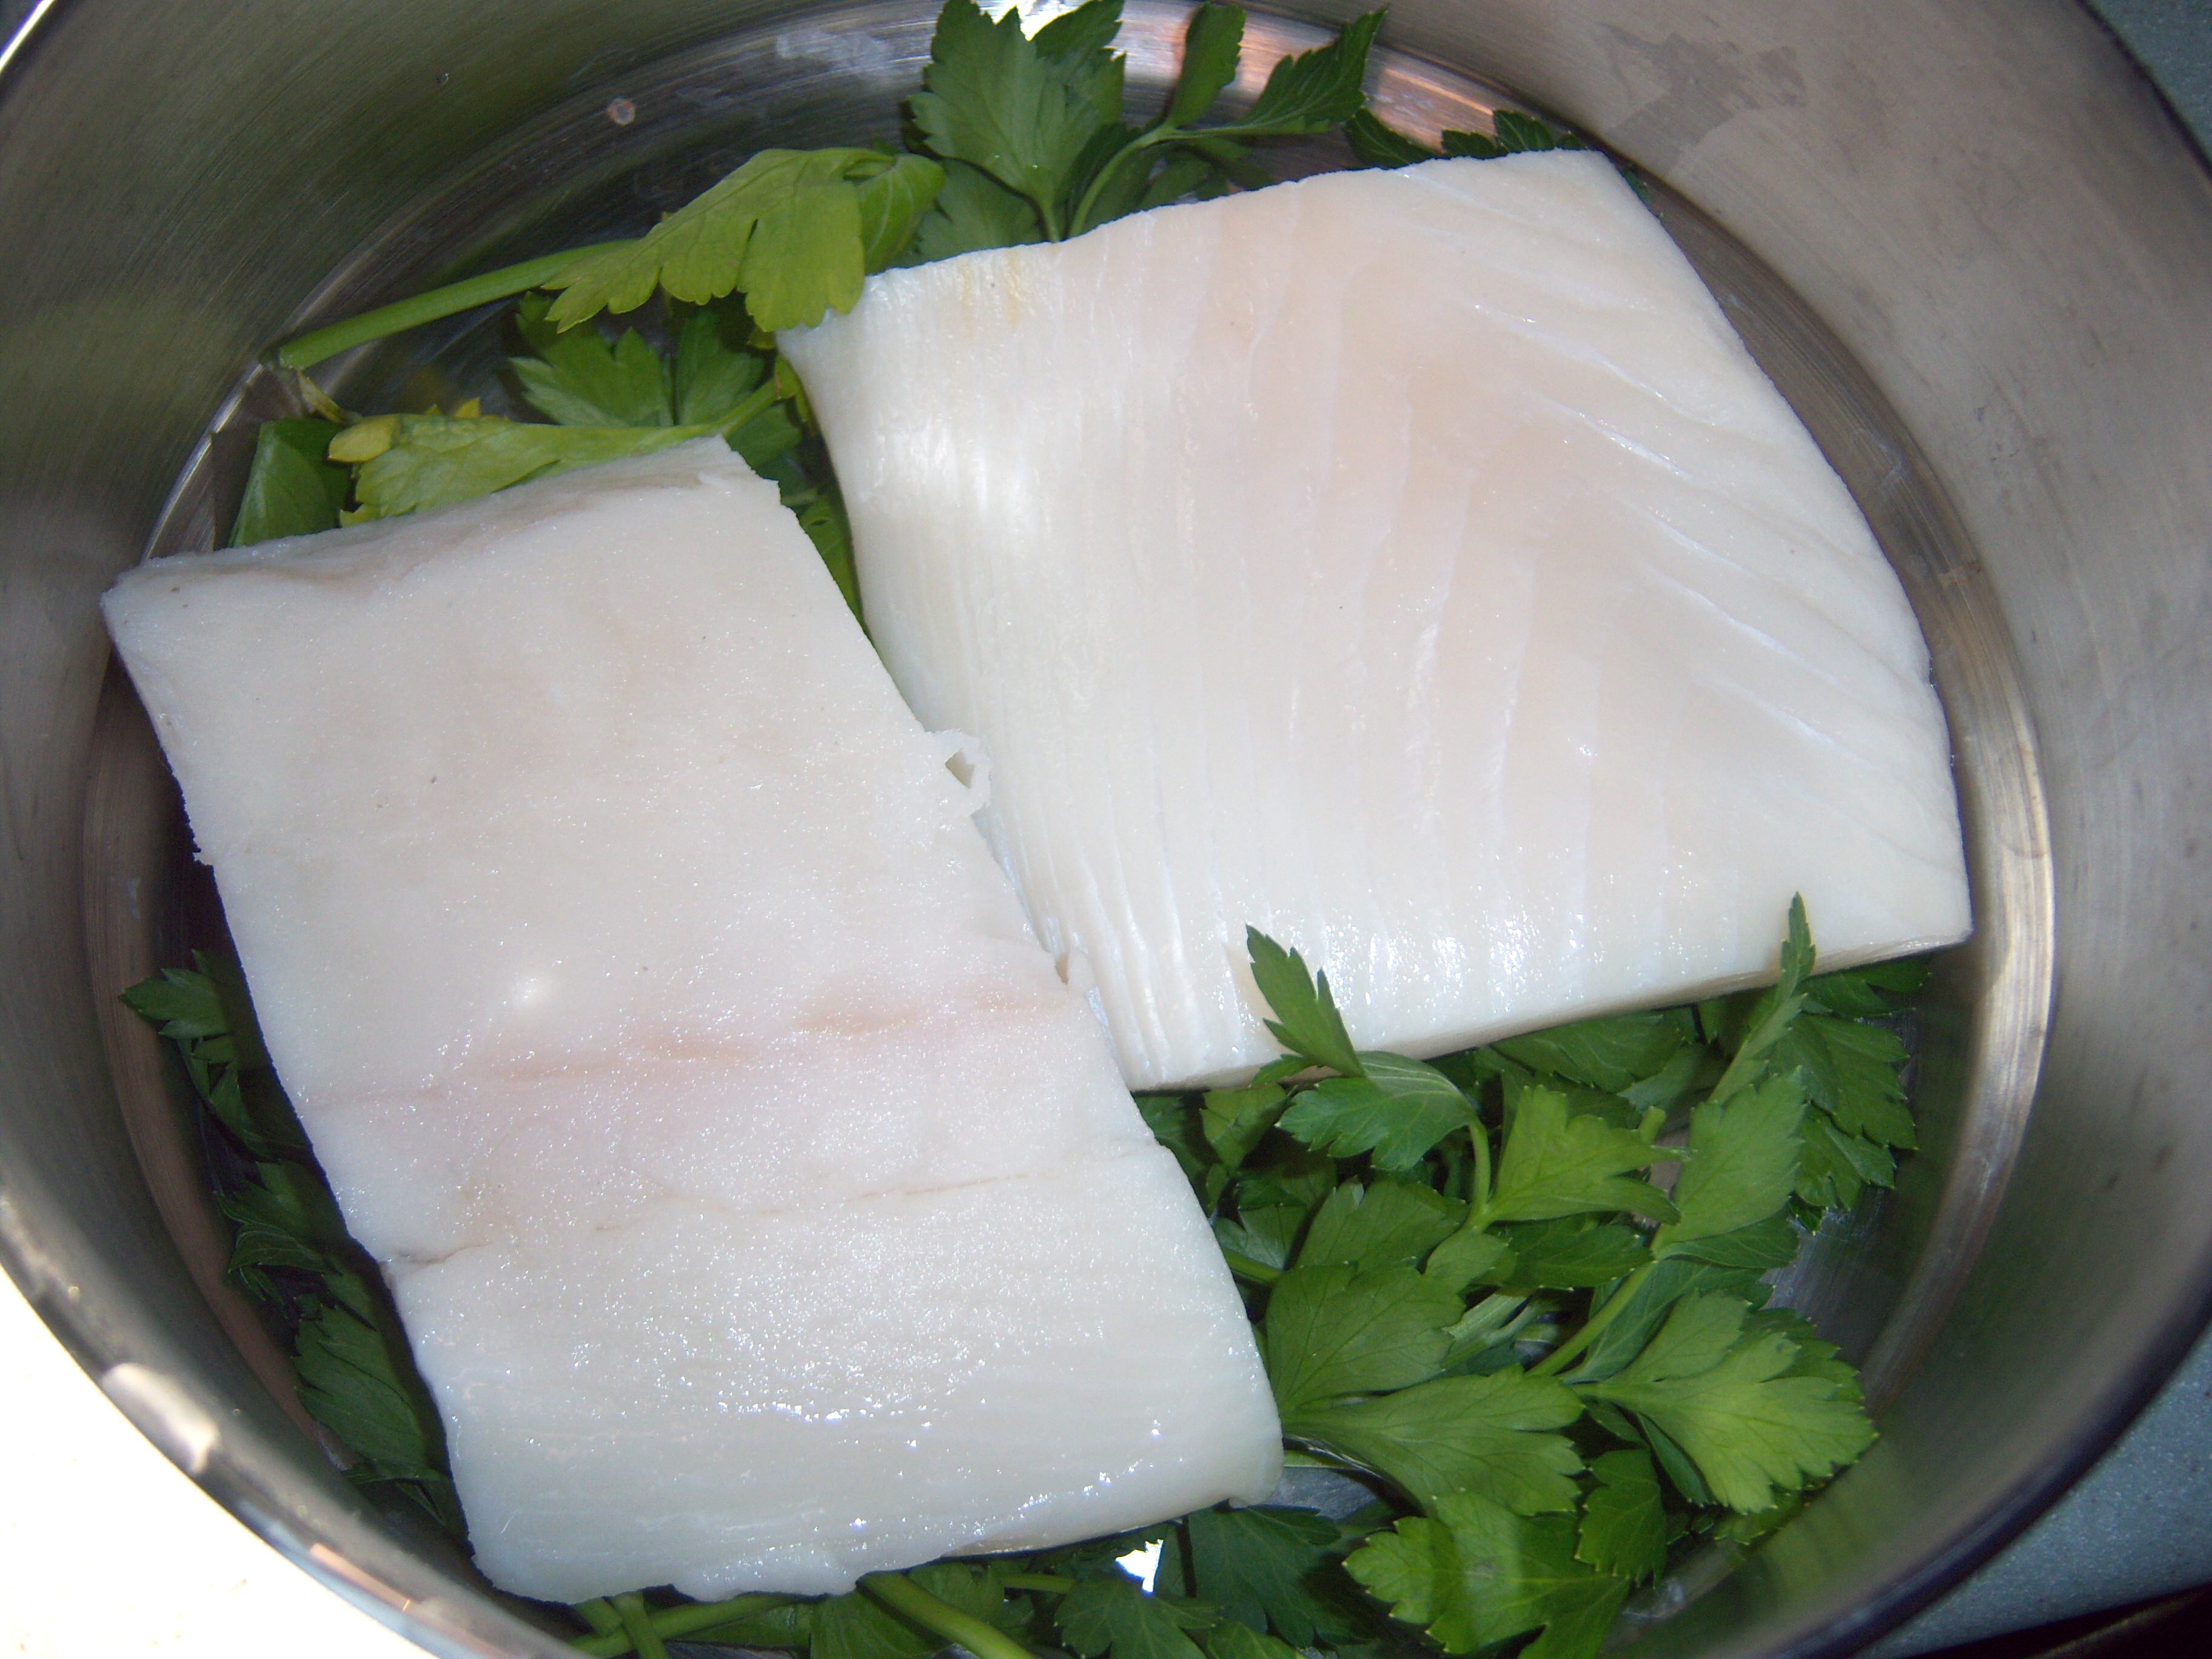
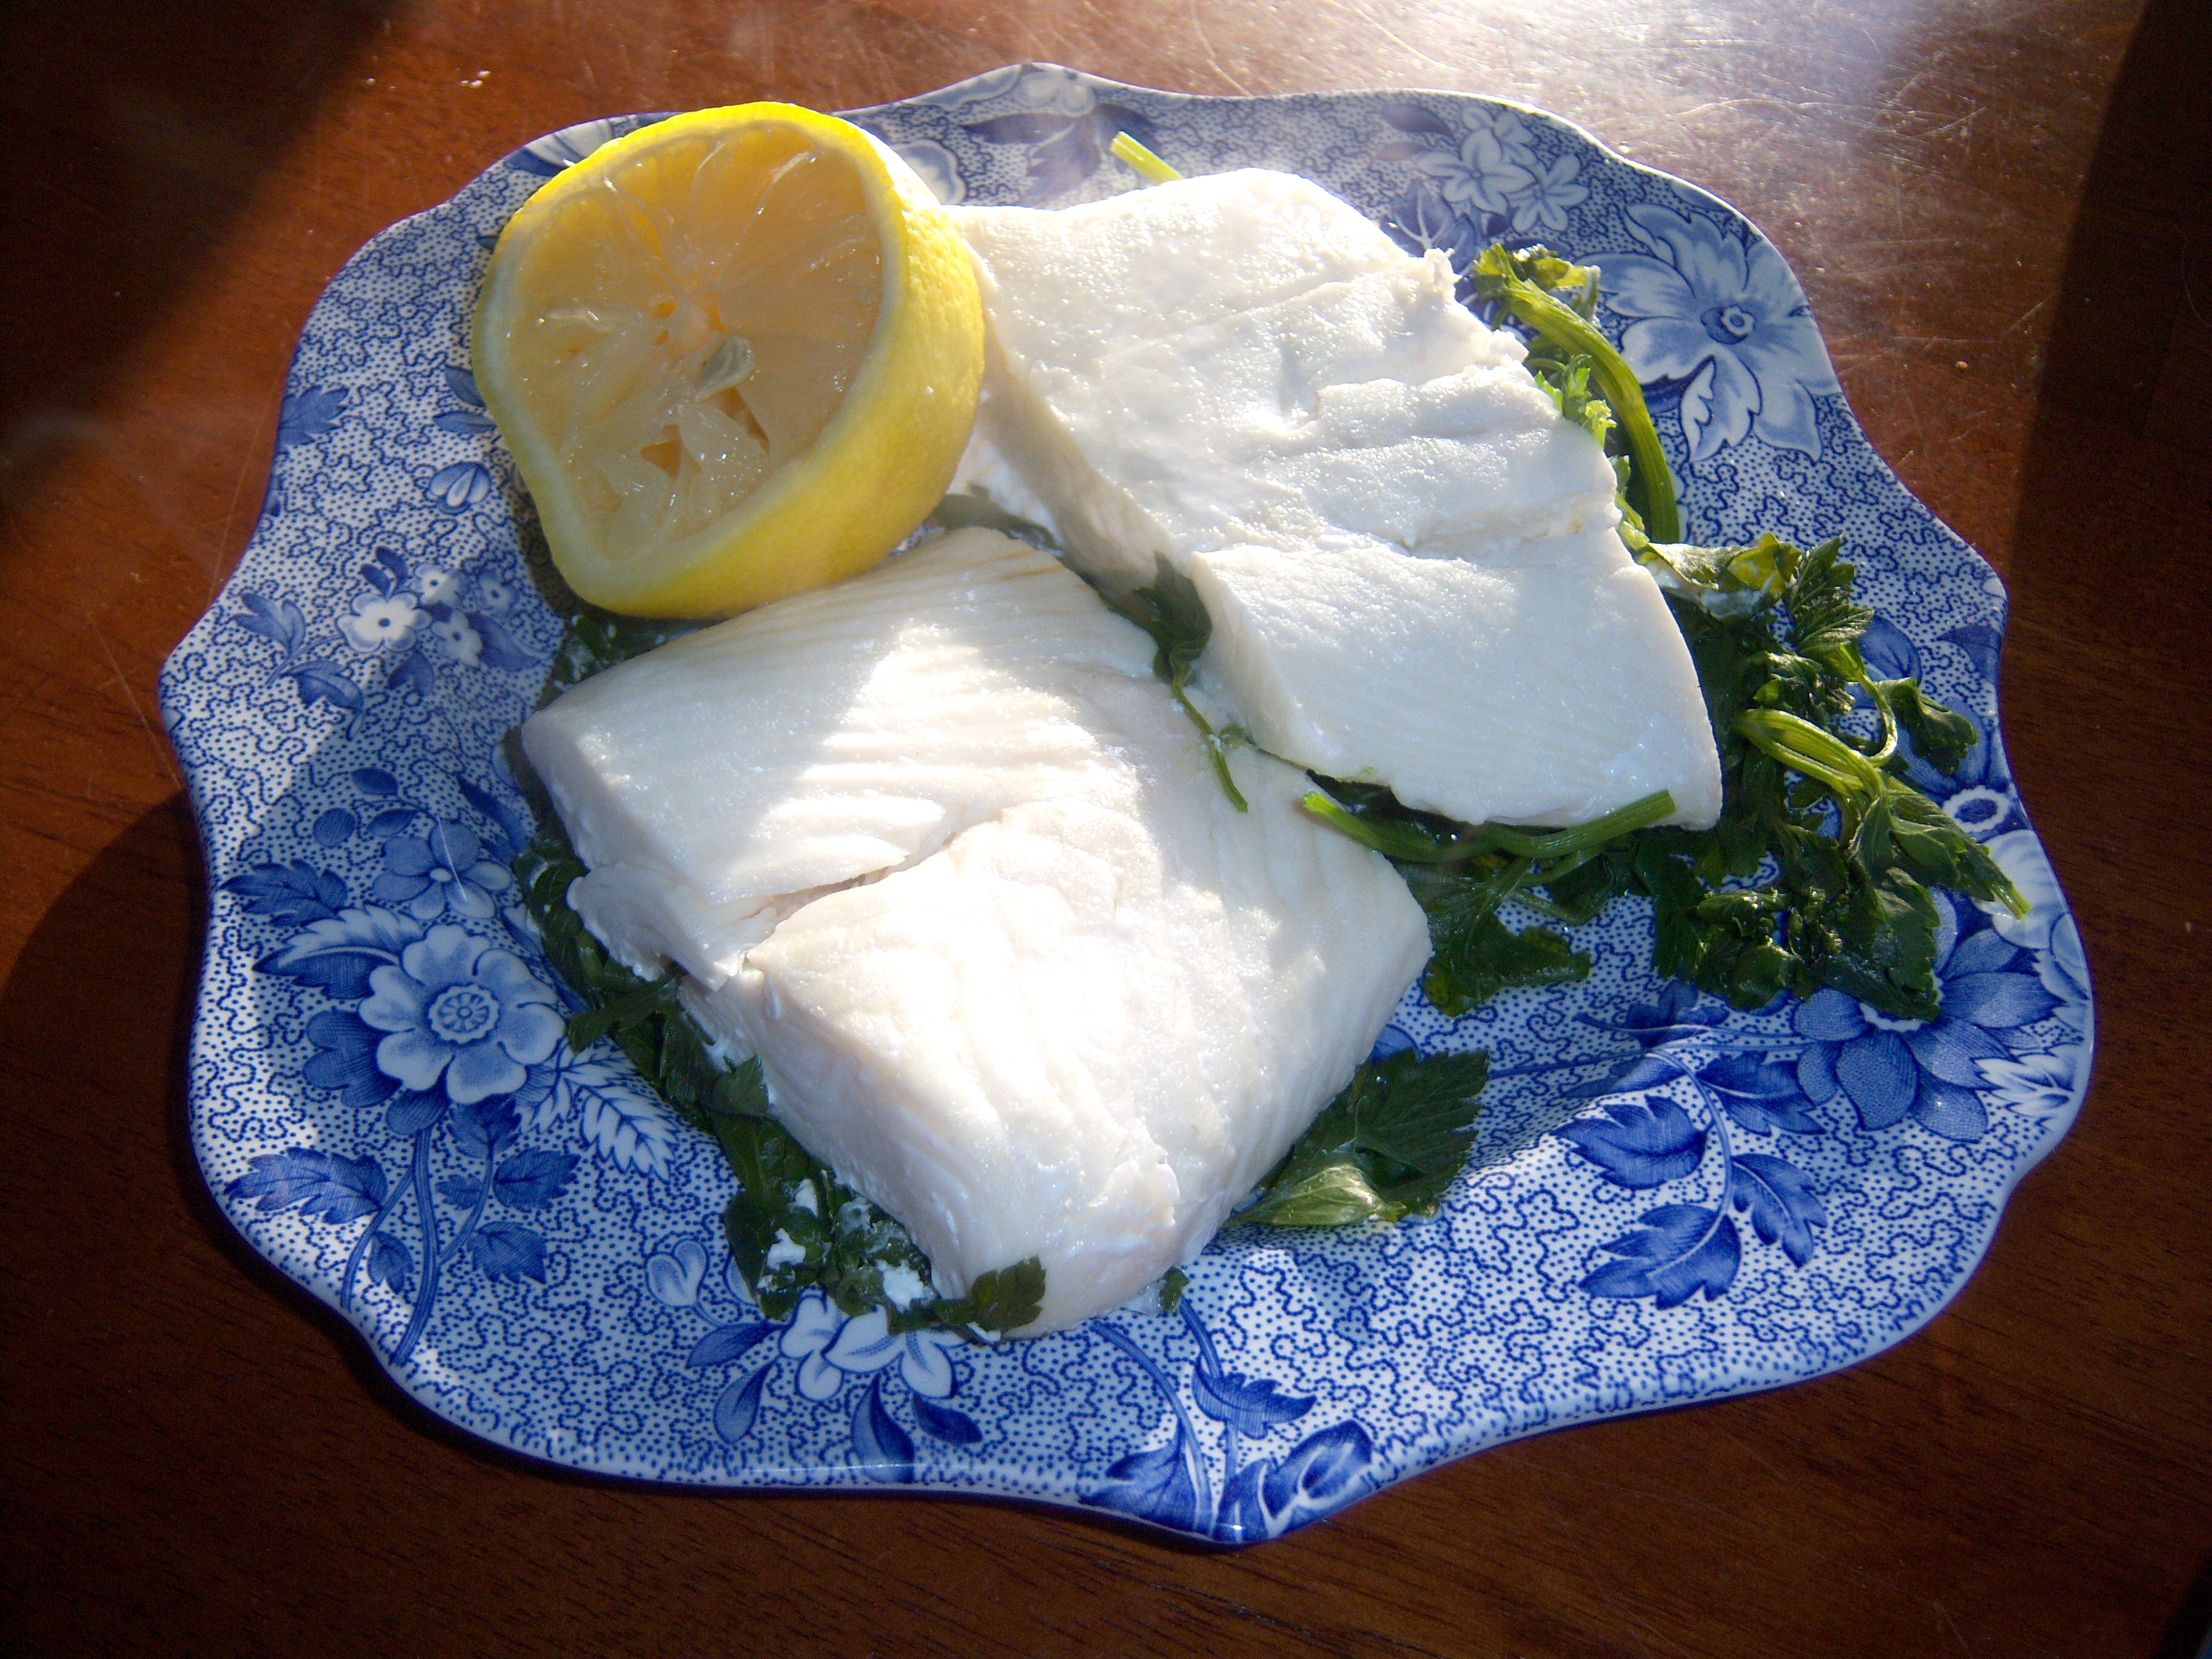
steamed-halibut1I wasn’t excited by the idea of this recipe, but honestly Martha totally raved about it when she had it on the show and it looked easy, so I gave it a shot. I couldn’t find halibut steaks, so I used filets. Martha says to steam the fish on a bed of herbs. I had some flat leaf parsley so I used that.

It steamed very quickly – 5 or 6 minutes. Very simple. It looked pretty when I served it on the bed of herbs with some lemon. How did it taste? Eh. That’s about the best I can do. It was ok. Nothing to write home about (yet apparently enough to write on a steamed-halibut2blog about!). The fish was flaky and moist. It did have a hint of the parsley flavor. But it was bland and boring. The lemon helped a bit but not a lot.  I would not serve halibut this way again.

And please let me point out that I used a metal steamer and all the herbs sort of cooked onto it and it was a pain in the watusi to clean it.  That’s my complaint of the day.

I know, corny header. Couldn’t help myself since I needed something to perk me up after making Steamed Halibut from April Martha Stewart Living (also featured on the tv show). I wasn’t excited by the idea of this recipe, but honestly Martha totally raved about it when she had it on the show and it … Read more

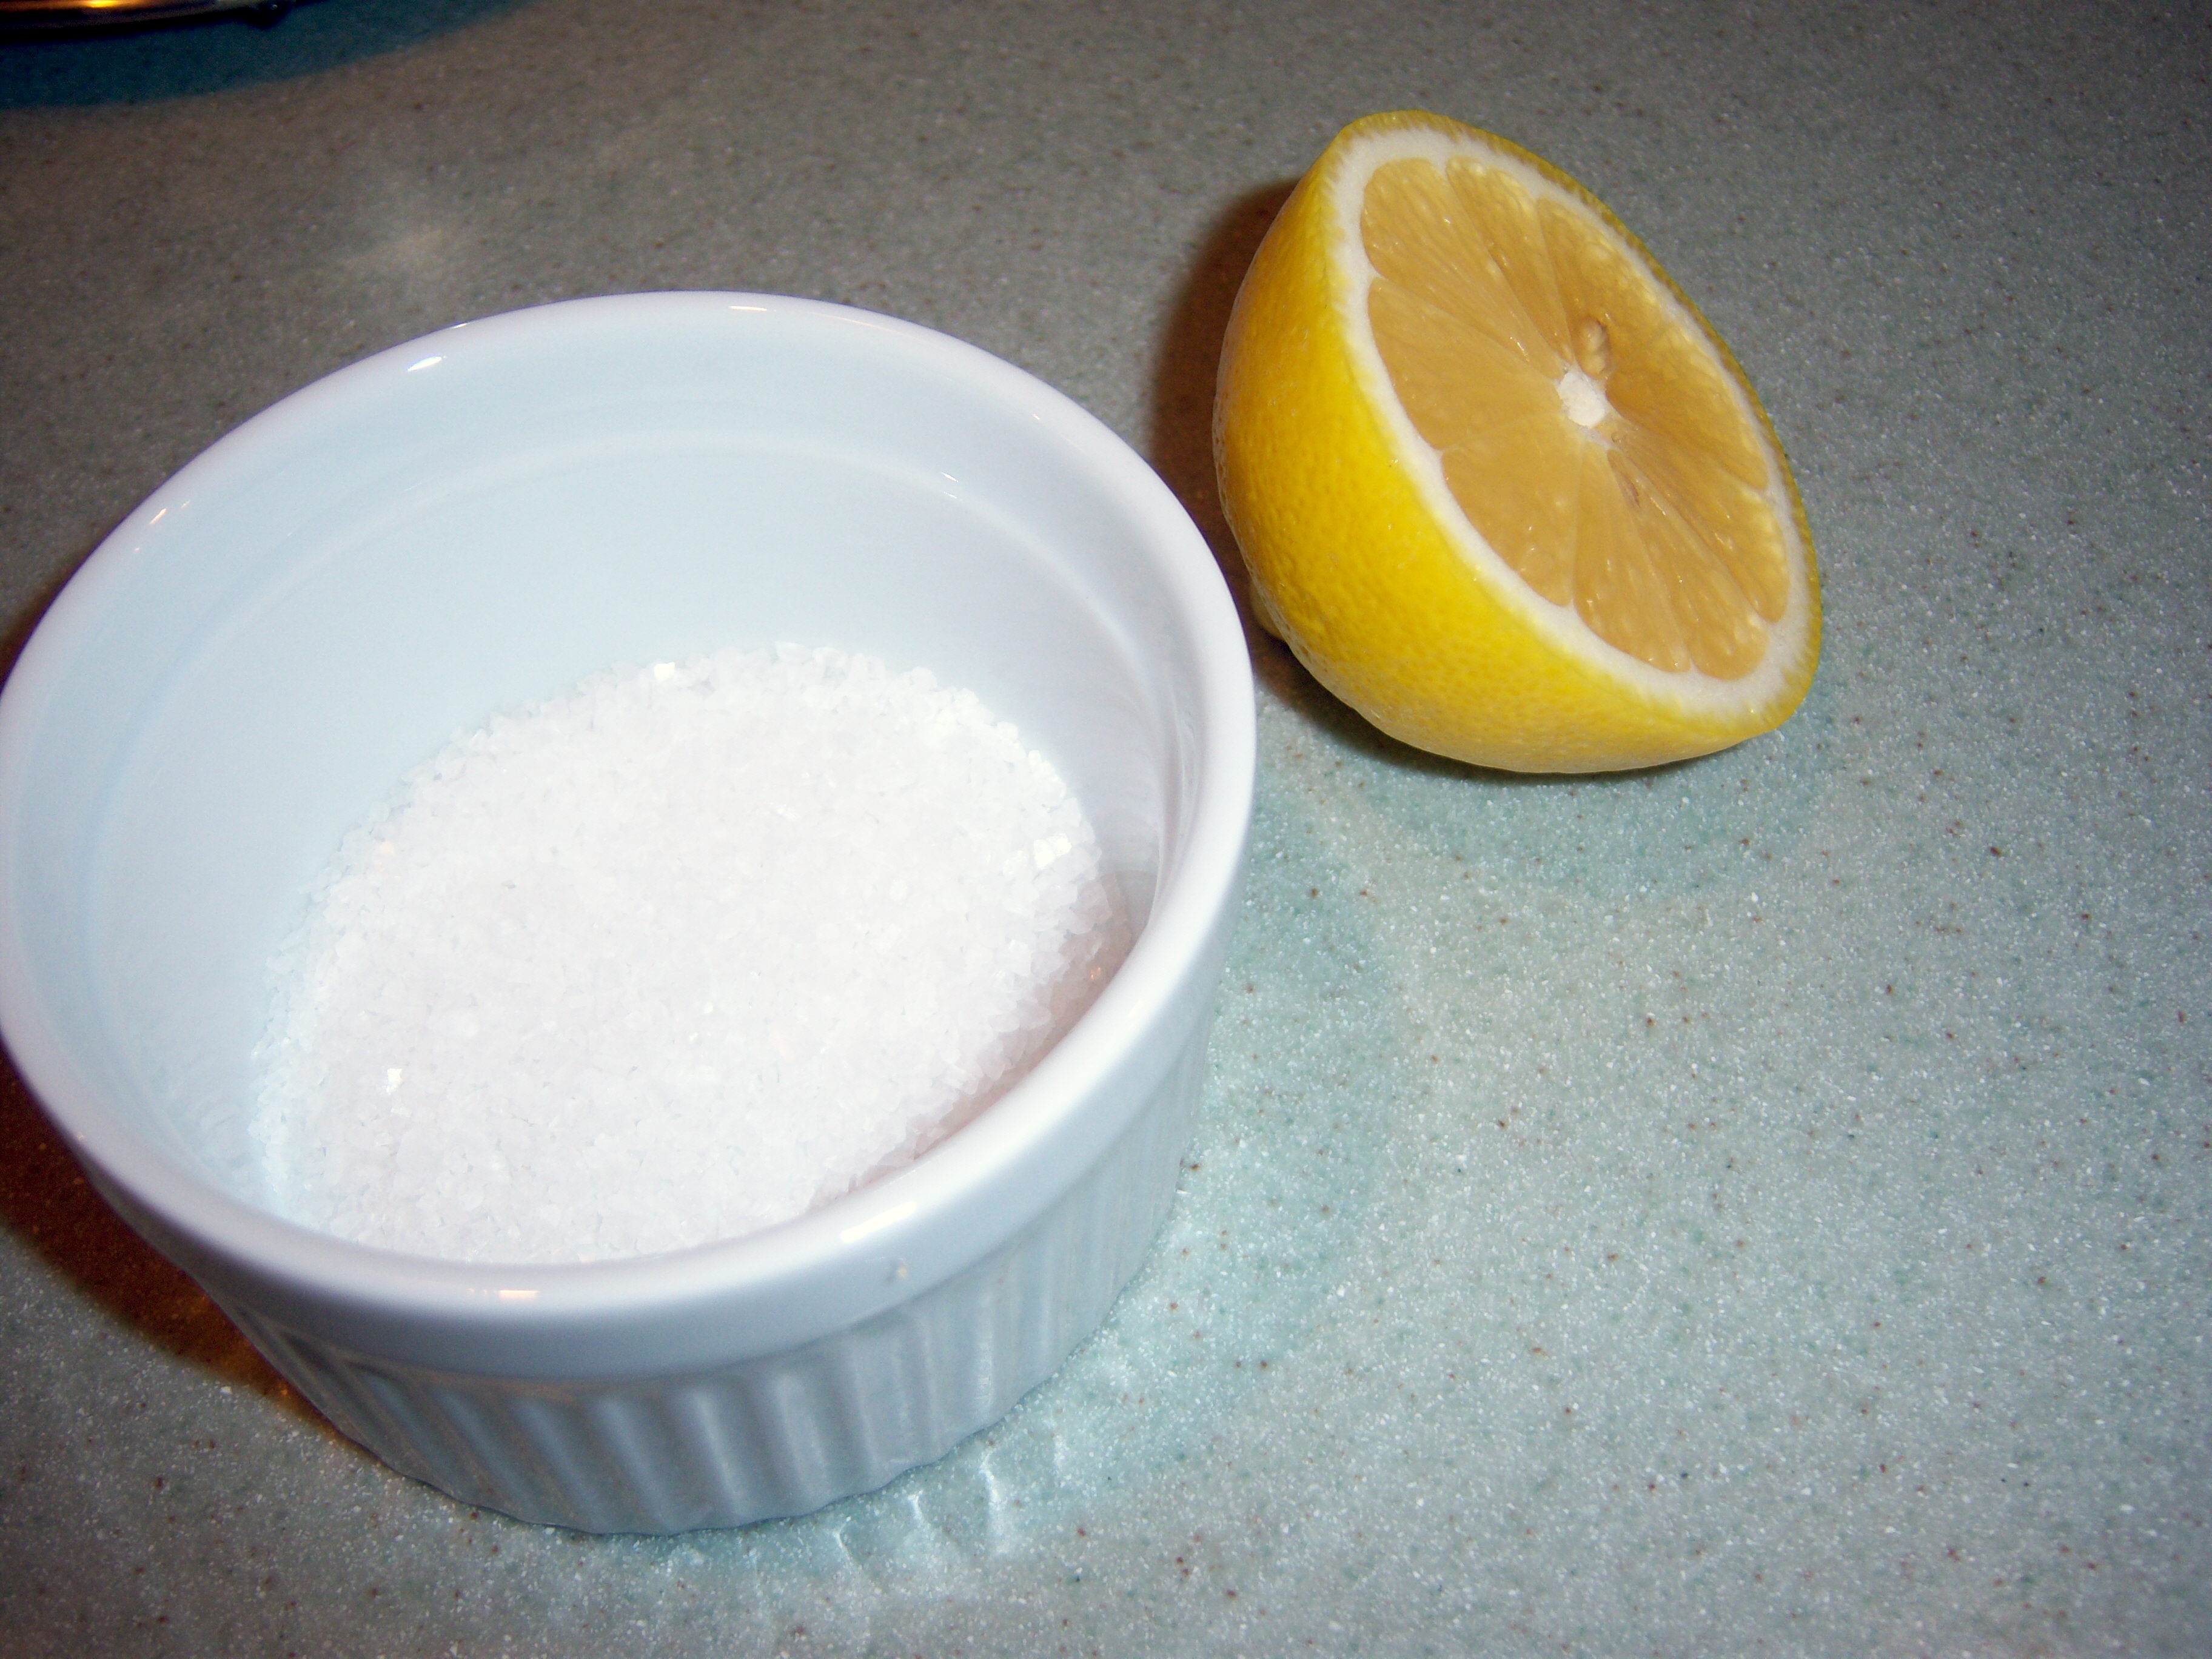
copper2On the March 20 show, Martha demonstrated some ways to use lemon around the house. This also appeared in Apr Living. One of her tips is about using lemon to polish copper. She says to dip half a lemon in coarse salt and then rub your copper with it.

The only copper item I have is a pot with a copper bottom, and to be honest, I never worried about cleaning the copper on it. It’s just the bottom of a pot, so it really wasn’t very high on my to-do list. Martha piqued my curiosity and I decided to see if this would work.

Check out the before and after photos.

Before

Before

You can see that before I had a very dull and dirty pot. Ok, seeing it upside down like this, I will admit it is pretty gross!

Now check out the after. What do you think? It did make a difference, however it did not get it completely clean – and I really

After

After

scrubbed the heck out of it. It’s definitely a much brighter color.

Any ideas on how to get it completely clean?

On the March 20 show, Martha demonstrated some ways to use lemon around the house. This also appeared in Apr Living. One of her tips is about using lemon to polish copper. She says to dip half a lemon in coarse salt and then rub your copper with it. The only copper item I have … Read more

I’m moving ahead to the April issues now although it still doesn’t feel like spring here with a high today of 35!

Black-and-White Cheesecake Squares are the Last Course in the April Martha Stewart Living (the replacement for Cookie of the Month). Decadent is the word that comes to mind from looking at the recipe and photos.

I started by lining my baking pan with parchment. It annoyed me though. I would rather just spray the pan, but I followed Martha’s instructions even though it seemed a little silly. Mixing up the brownie dough was easy and the dough tasted really good! Then, though, I had to go through Martha’s usual 30 steps of making something and refrigerating it and then baking and cooling, etc. I gritted my teeth and followed the instructions.

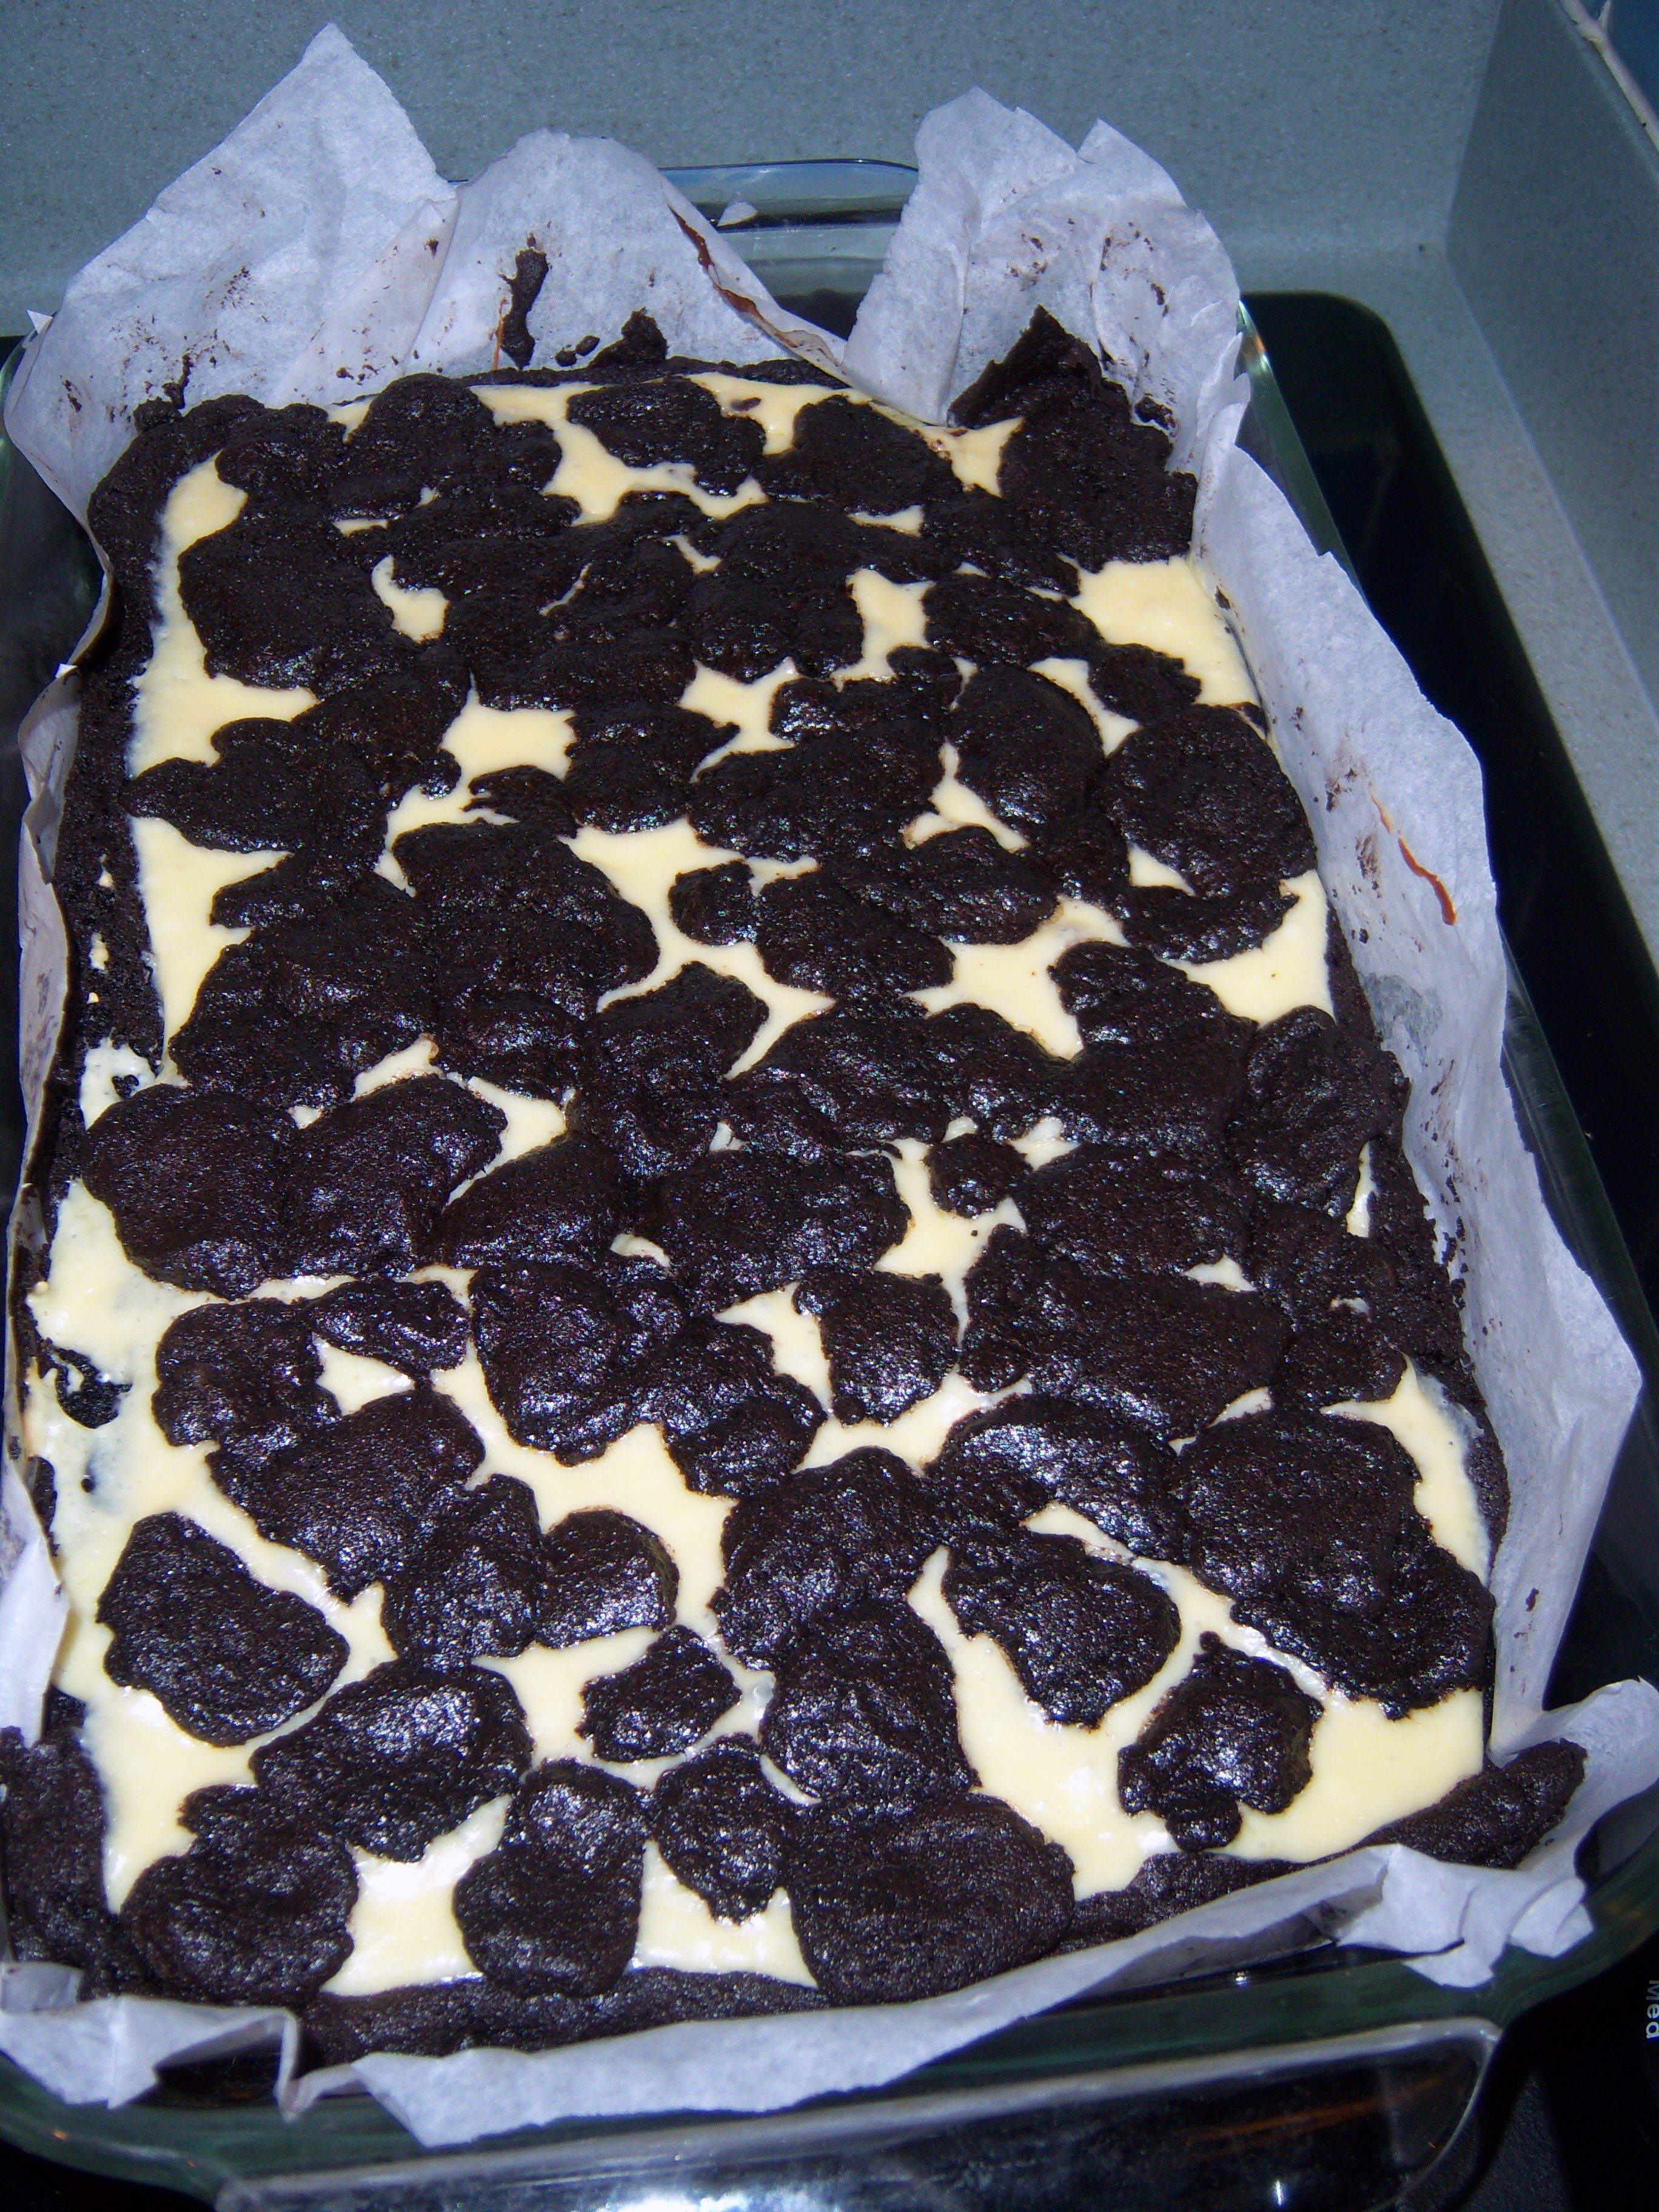
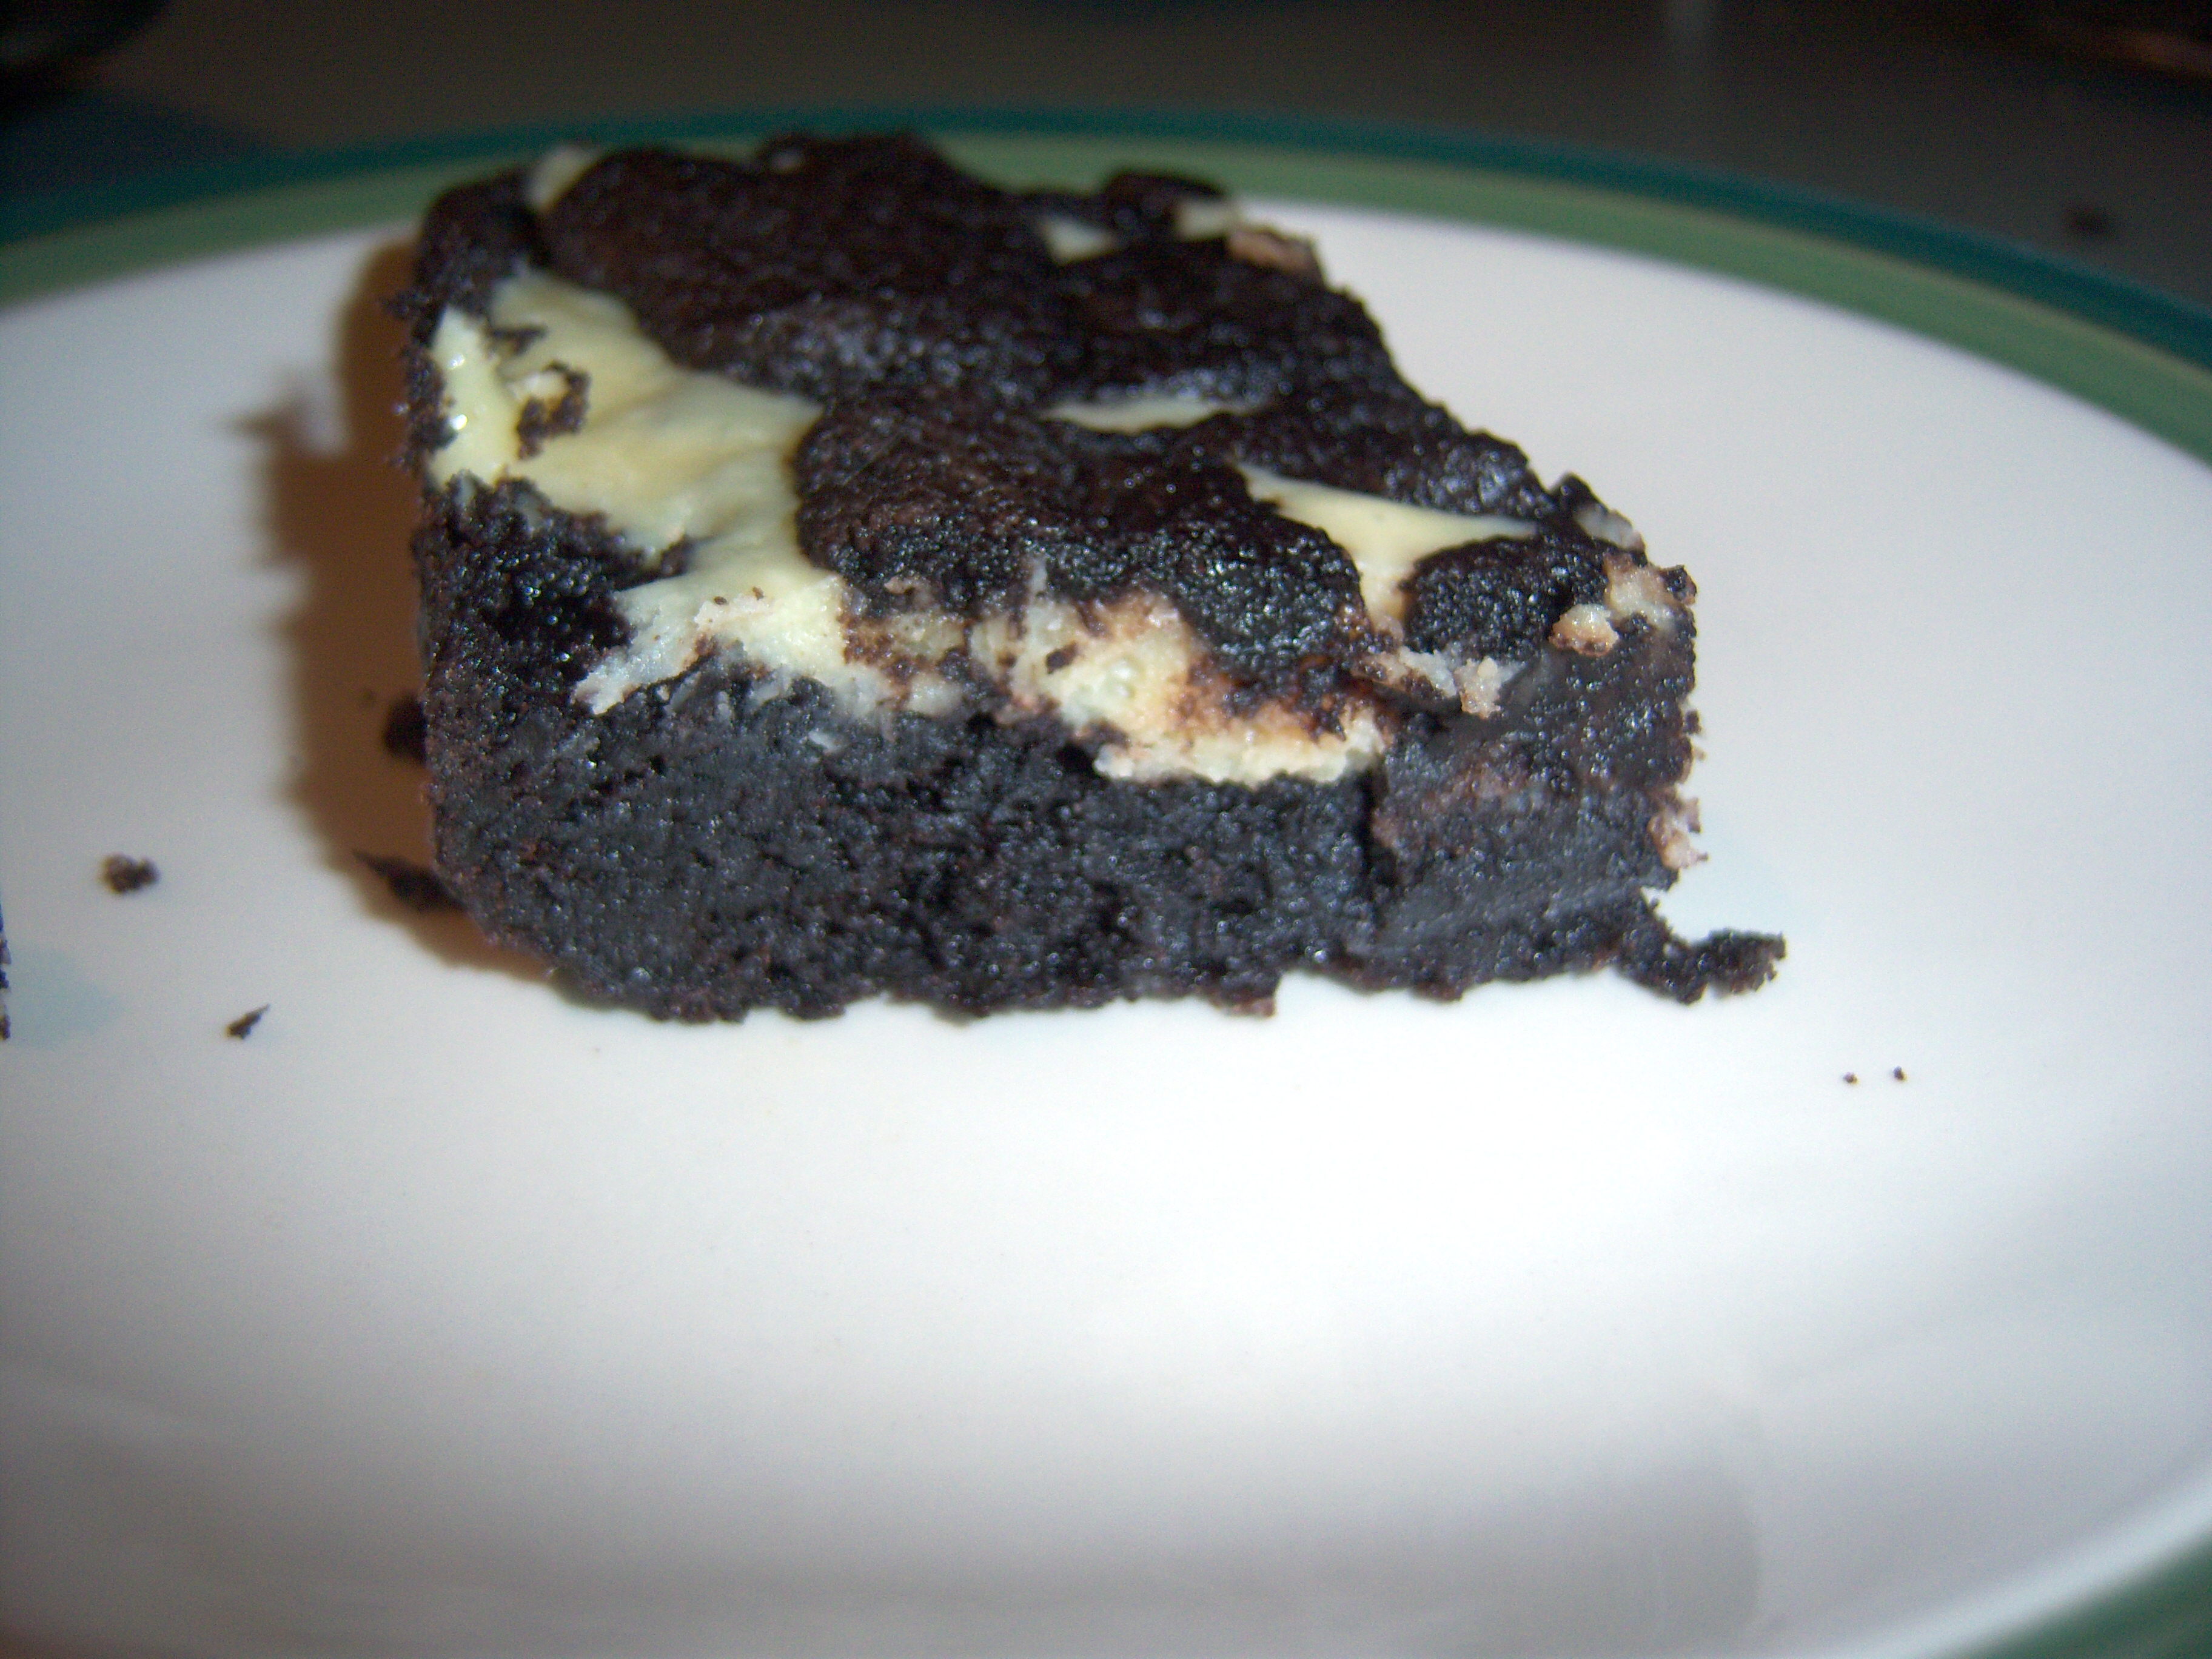
cheesecake-browniesYou bake the brownie crust, but reserve a cup of dough. Once the bottom is cooled, you mix up the cheesecake mixture, pour that on, then sprinkle the remaining dough on top and bake.

I baked mine to the time specified, but I really think it could have baked a bit longer. The bottom was wonderful – crunchy and very chocolate. The cheesecake part was a bit gooey for me. Despite that criticism, this is currently the item in the house that is causing me cheesecake-brownie2paroxysms of guilt. It is evil.

I’m moving ahead to the April issues now although it still doesn’t feel like spring here with a high today of 35! Black-and-White Cheesecake Squares are the Last Course in the April Martha Stewart Living (the replacement for Cookie of the Month). Decadent is the word that comes to mind from looking at the recipe … Read more

In March Martha Stewart Living,  Lucinda Scala Quinn (my fave!) has a section on Eastern influences, so I decided to make the Soba Soup with Chicken, Shrimp, and Vegetables and the Edamame with Sesame Salt.

Edamame

Edamame

The edamame is simple and it’s something I make all the time. I like to make extra and keep it in the fridge for snacks. You just boil it and season it. If you’ve never had edamame, they taste a lot like lima beans.

Now for the soup. I did a major cheat on this one. Martha (Lucinda, actually in this recipe!) wants you to make your own broth. Sigh. It just takes so much time and as much time as I put into this blog, I can’t do even more. So instead I used pre-made broth and added some ginger and garlic and cooked it a bit. The soup itself contains chicken, which I cooked in the broth, then shredded, shrimp cooked in the broth, and napa cabbage, mushroom, carrot, and tofu. Tofu. I know, I was scared too. But I have to say I did not even notice it in this soup. You also add soy sauce and you put some sesame oil on the soba noodles.

The Soup

The Soup

This came together quickly and was really a very satisfying meal. All the protein the bowl made it feel very hearty and it was great on a cold night. I just love soba noodles. They’re actually made of buckwheat and one of my most favorite things in the world is buckwheat pancakes, so it’s no surprise. Thumbs up on this one Lucinda!

In March Martha Stewart Living,  Lucinda Scala Quinn (my fave!) has a section on Eastern influences, so I decided to make the Soba Soup with Chicken, Shrimp, and Vegetables and the Edamame with Sesame Salt. The edamame is simple and it’s something I make all the time. I like to make extra and keep it … Read more

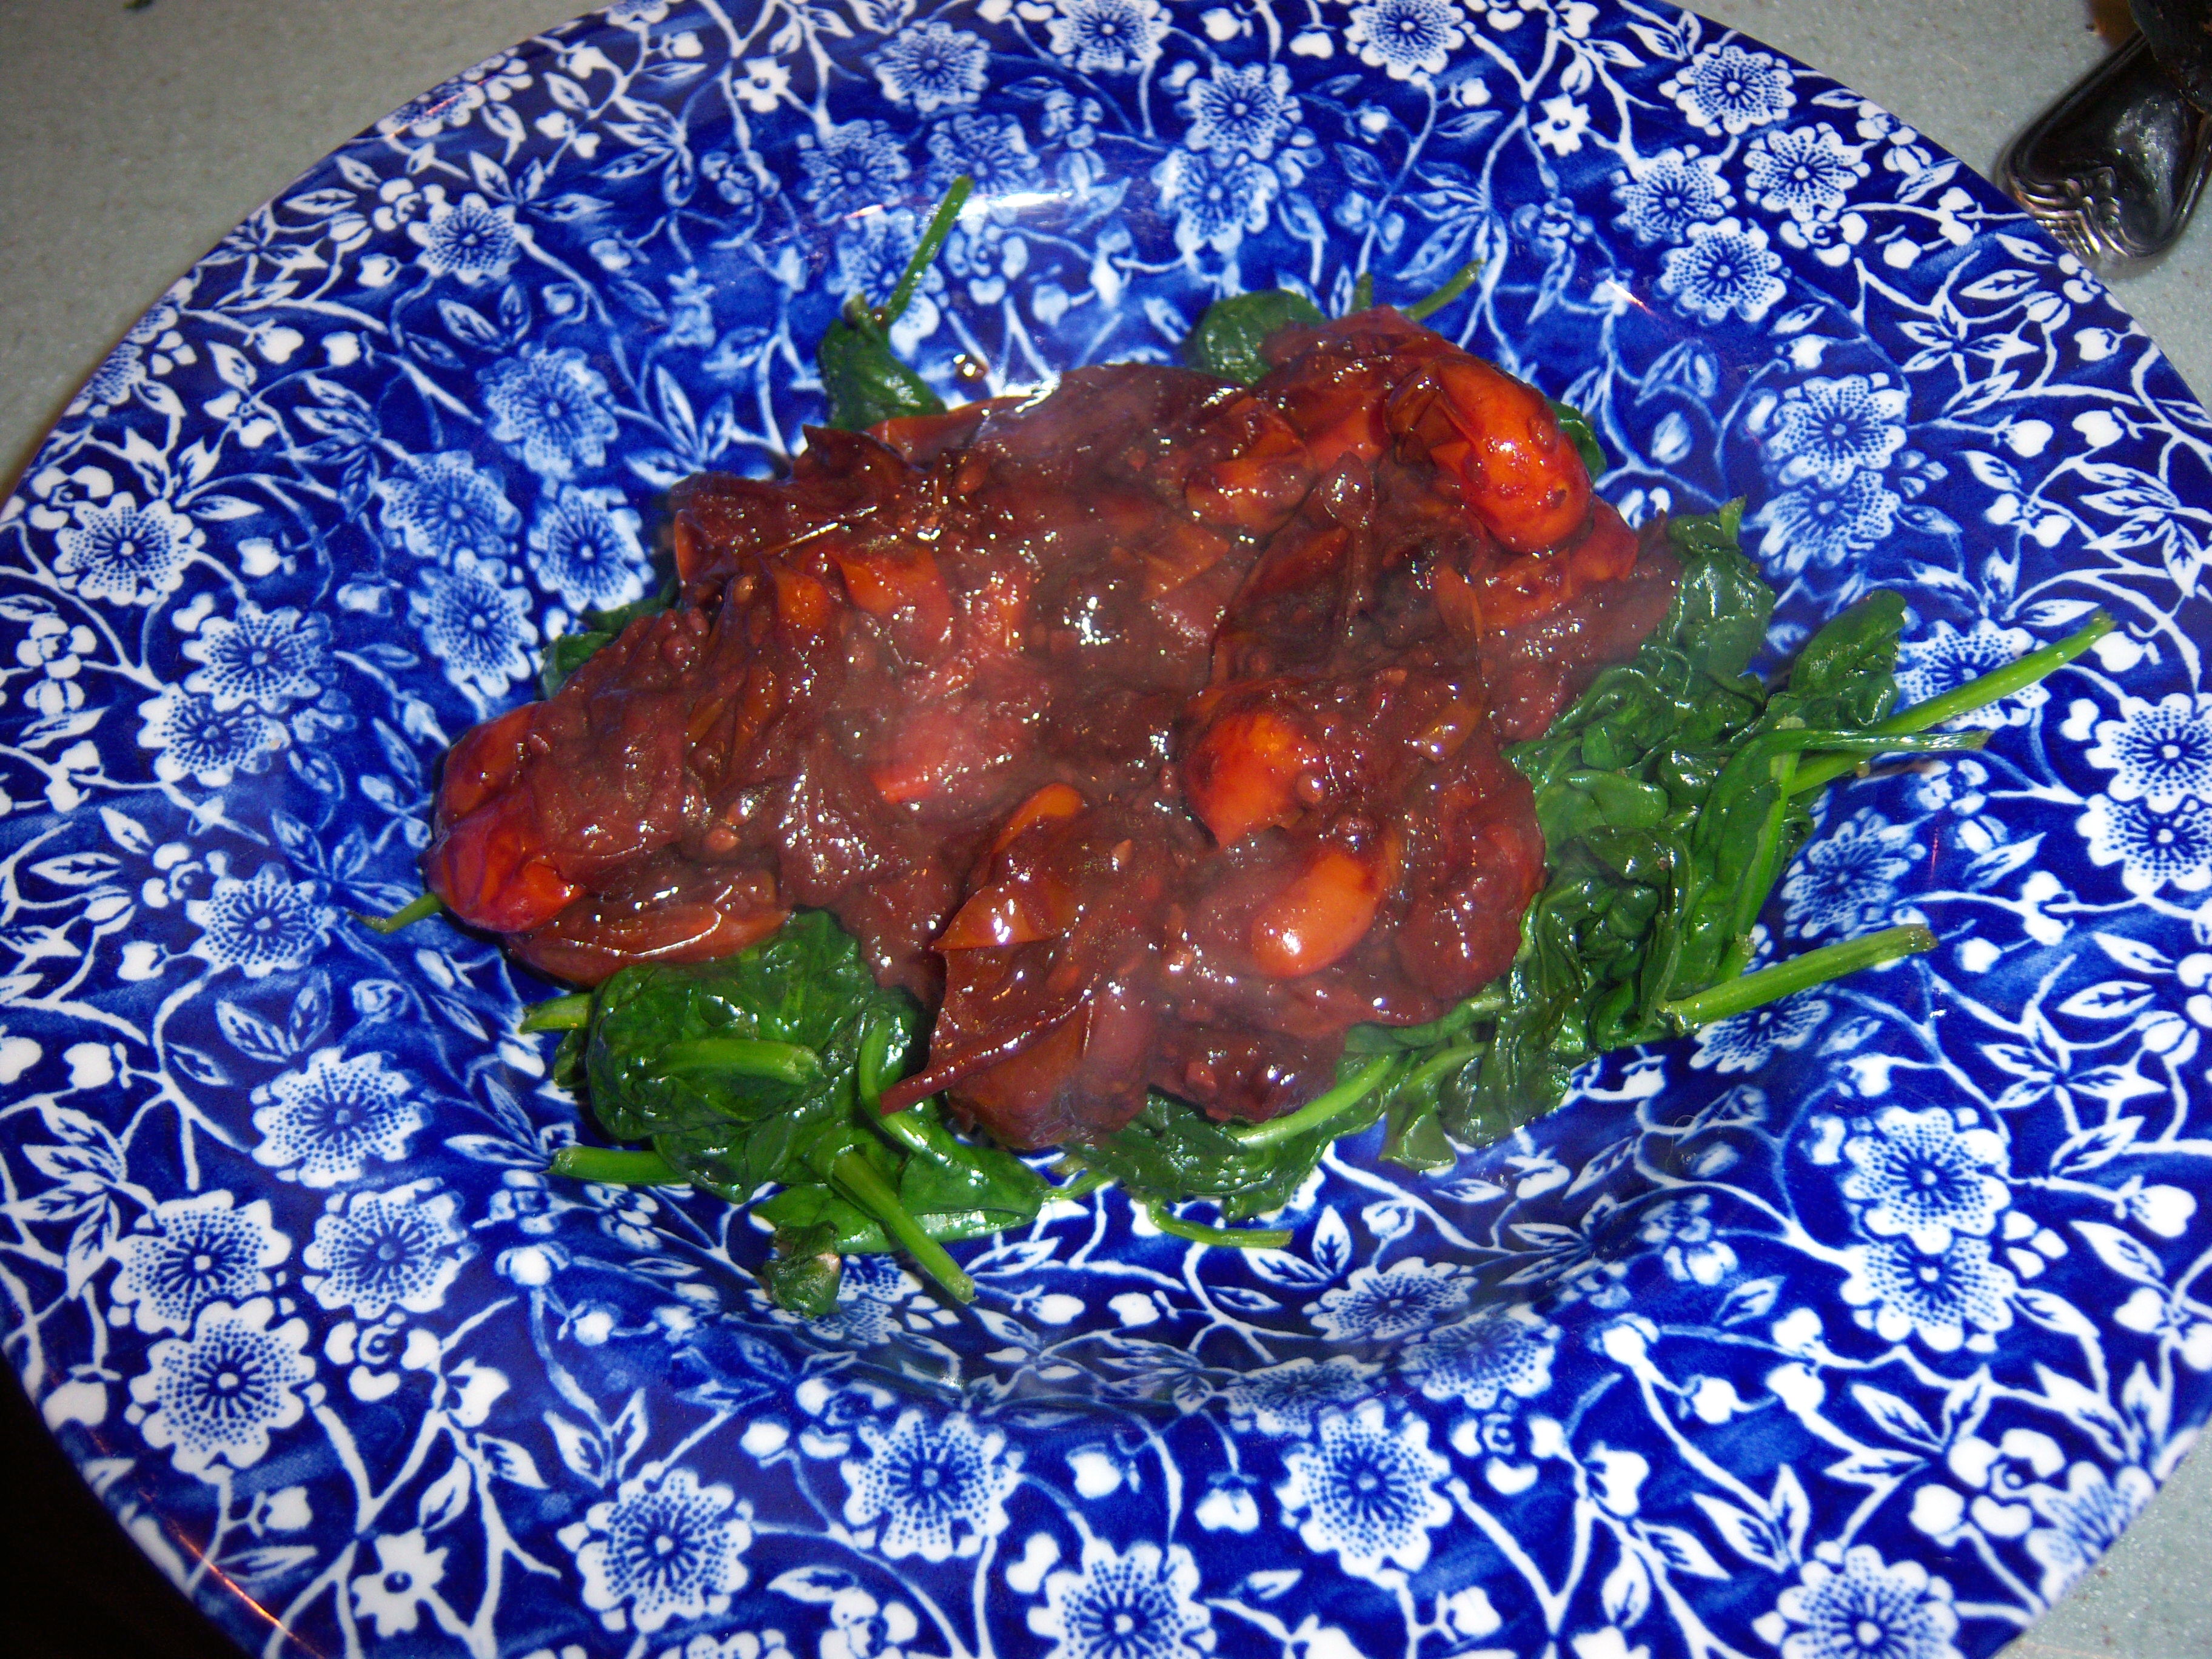
The concept of the Warm Tomato Dressing (Martha Stewart Living, March) seemed sort of weird to me. It sounded more like a sauce than a dressing, but I gave it a try. It was very simple to make and was quick to come together. You cook cherry tomatoes until they blister, then you add balsamic vinegar, red wine, garlic, red wine vinegar, sugar and salt. I had to smush the tomatoes a little to get them to soften up but once I did that it quickly thickened.

warm-tomato-dressingI served this over some wilted spinach and it was really delicious! This would taste good on many things – chicken, pasta, a hearty fish (like swordfish).  It has a really beautiful color and a nice consistency. This is a good thing!

The concept of the Warm Tomato Dressing (Martha Stewart Living, March) seemed sort of weird to me. It sounded more like a sauce than a dressing, but I gave it a try. It was very simple to make and was quick to come together. You cook cherry tomatoes until they blister, then you add balsamic … Read more

I made Martha’s Raspberry Custard Pie as dessert for our St. Pat’s dinner. Although the final result was good, I think my brain was on vacation as I was

Don't crimp my style!

Don't crimp my style!

making this. First, I made Martha’s crust. I refrigerated it as she directs and then found it nearly impossible to roll out, even after I let it sit out a while to warm up. The dough kept cracking at the edges. Finally got it into a pan and I used Martha’s two finger plus thumb crimping method (which really worked amazingly well!). No problem. I added beans (I need to buy some pie weights!)  to the pie crust and got it in the oven. Well, half-brained me, I forgot to put parchment paper down first before I poured the beans in! So when I went to get the beans out, I ended up with road kill pie crust. It was not usable, so I

Mini-Martha's treat

Mini-Martha's treat

had to start over. However, in Martha’s waste not, want not mentality, I used the messed up crust to make a little cinnamon and sugar pie for Mini-Martha who was not going to like raspberry pie. My second attempt was much better  – and this time I did not refrigerate the crust and it rolled out very, very nicely without a problem.

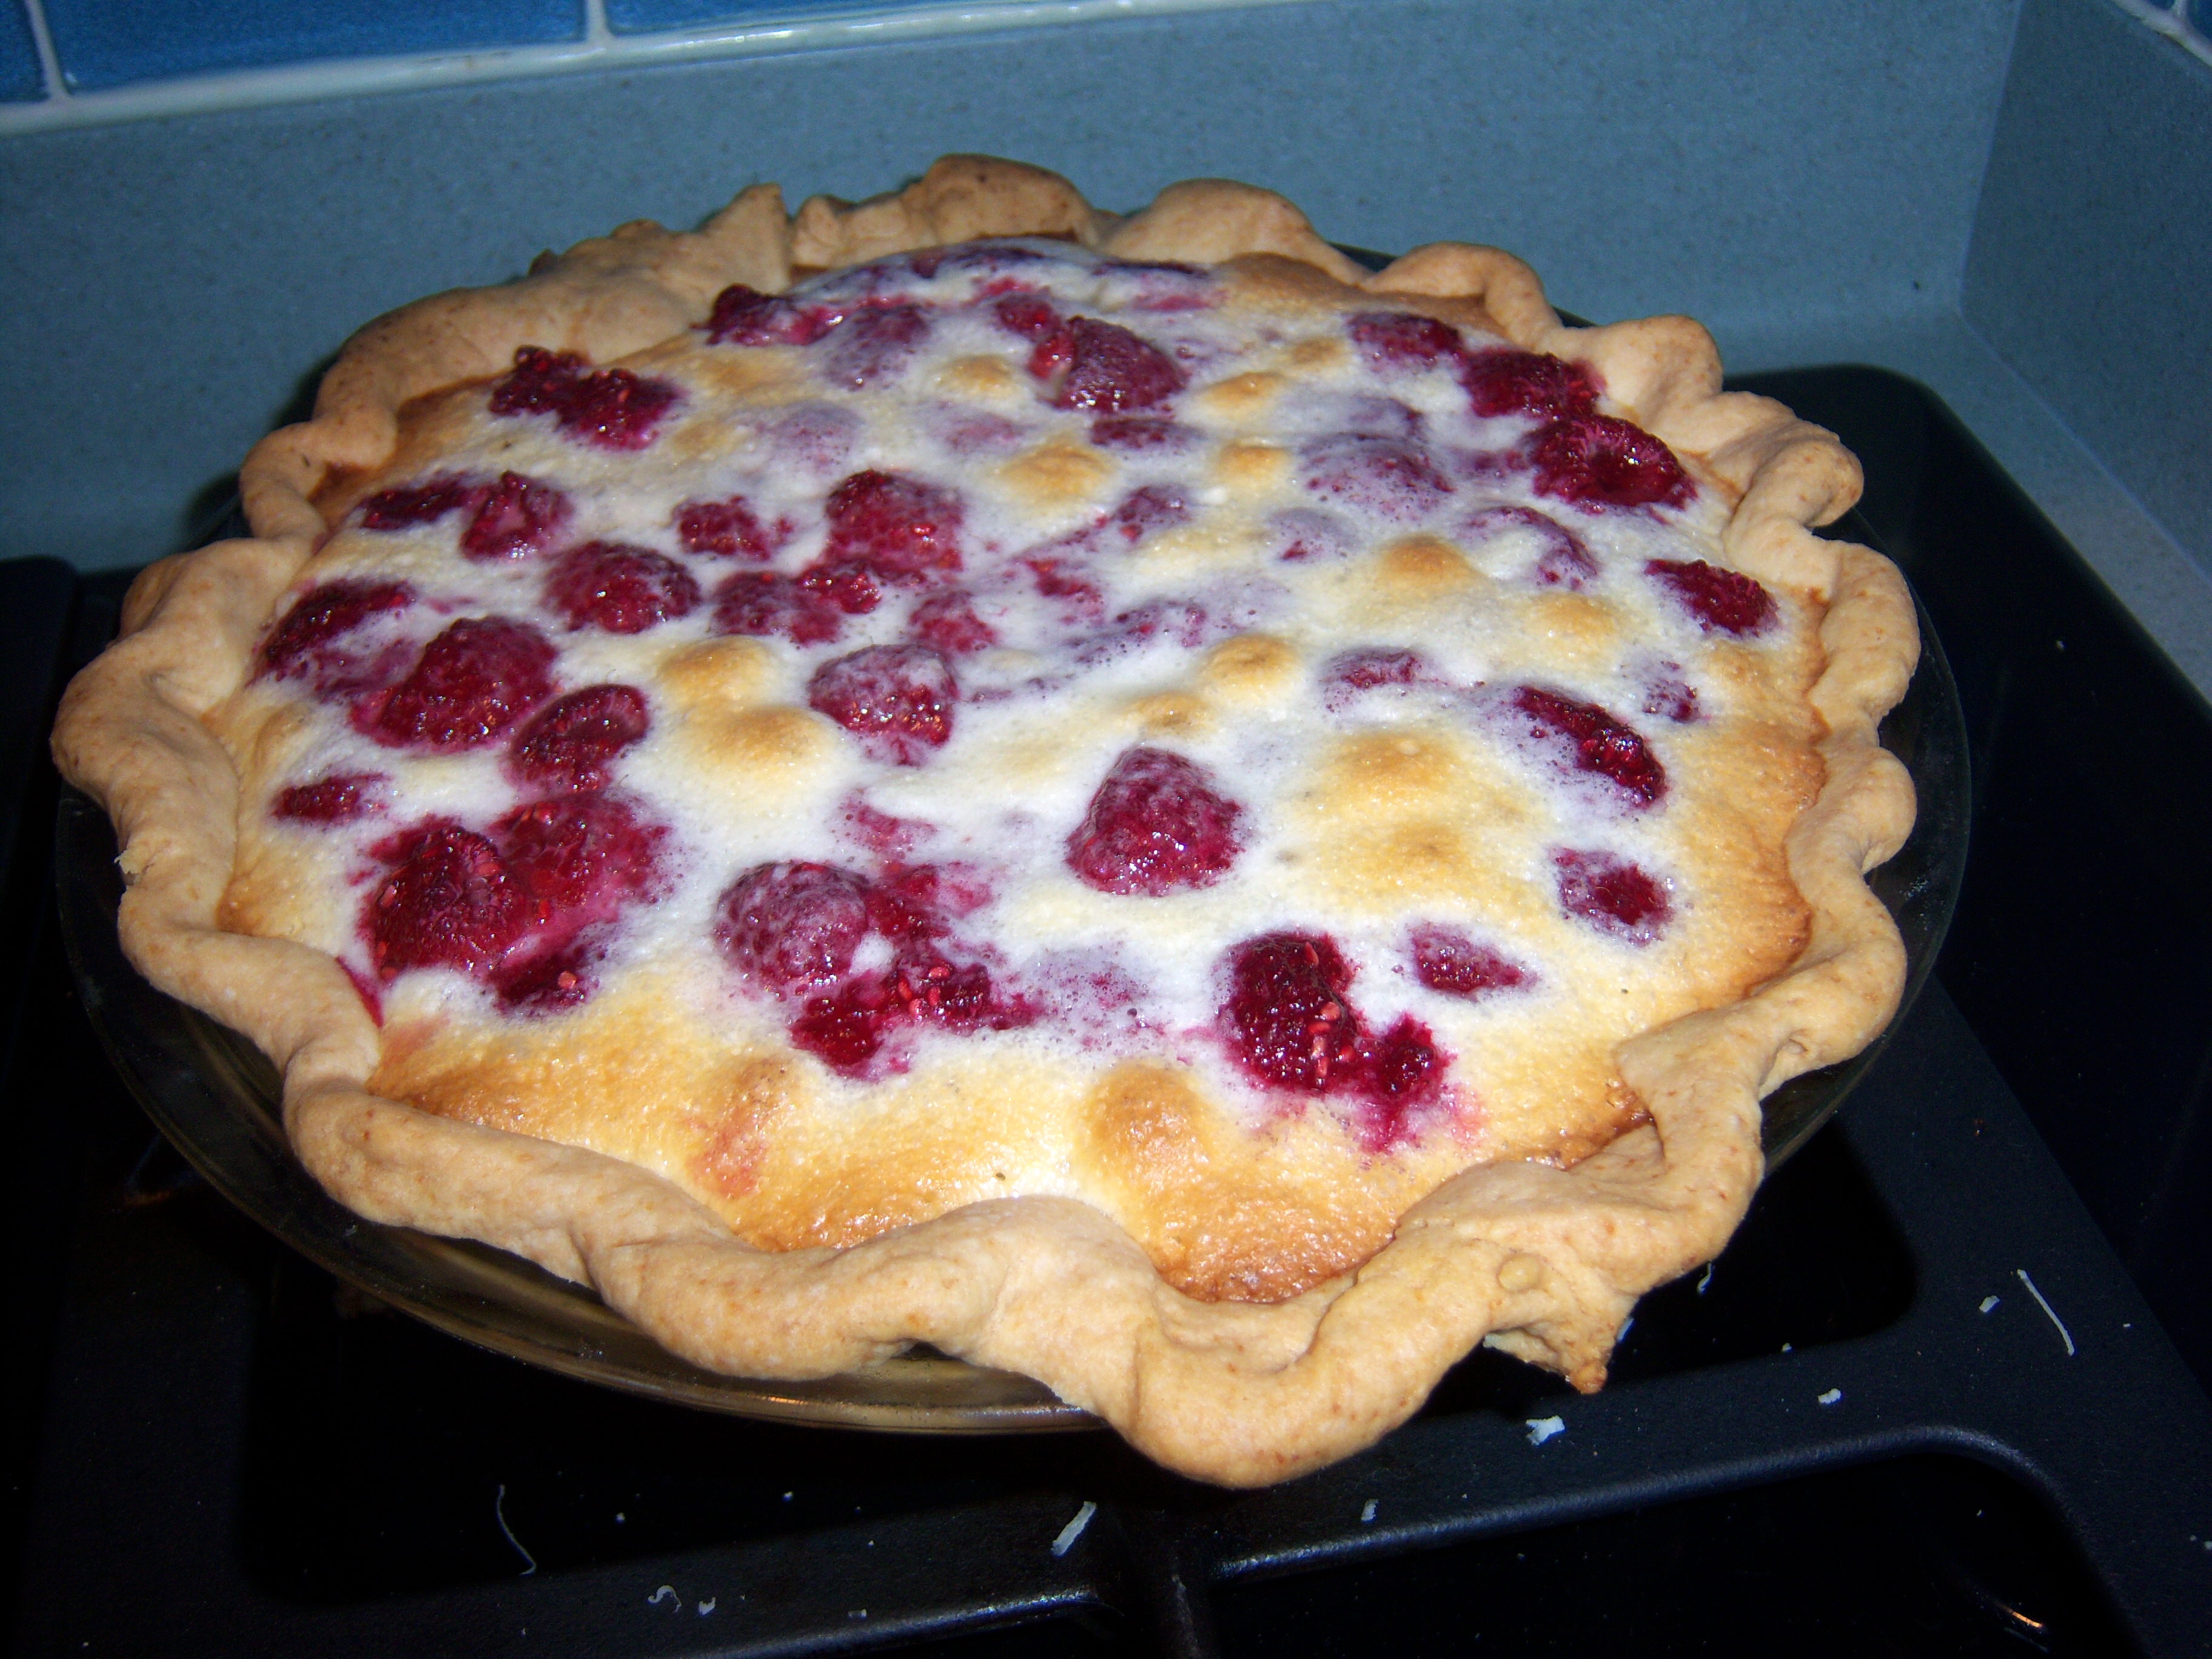
Once I had a usable crust, I made the custard. This took me two tries. I was measuring out the sugar and completely lost count. I had no idea how many 1/4 cups I had dumped in! So I had to dump it out and start over to make sure it came out right! Once I got over that brain freeze, I mixed the rasp-tart2raspberries with it and got that into the oven. It cooked nicely.  The custard set up well and the pie was pretty. My mom (Big MarthaAndMe) really liked it – I knew she would since raspberries are so sour and we always say Nana likes “pucker pies” – pies that are very tart. I wasn’t a great fan of this dessert. It was a little too tart for me.  It was definitely easy to make (or it would have been had my brain not been on vacation!).rasp-tartfinal

I made Martha’s Raspberry Custard Pie as dessert for our St. Pat’s dinner. Although the final result was good, I think my brain was on vacation as I was making this. First, I made Martha’s crust. I refrigerated it as she directs and then found it nearly impossible to roll out, even after I let … Read more

Top o’ the morning to you! Hold onto your hats gang, this is going to be a looooonnnggg post.  We always celebrate St. Patrick’s Day – it’s a family tradition – with corned beef and cabbage and my cheese soda bread. This year, I decided to do it Martha’s way.
Corned Beef

Corned Beef

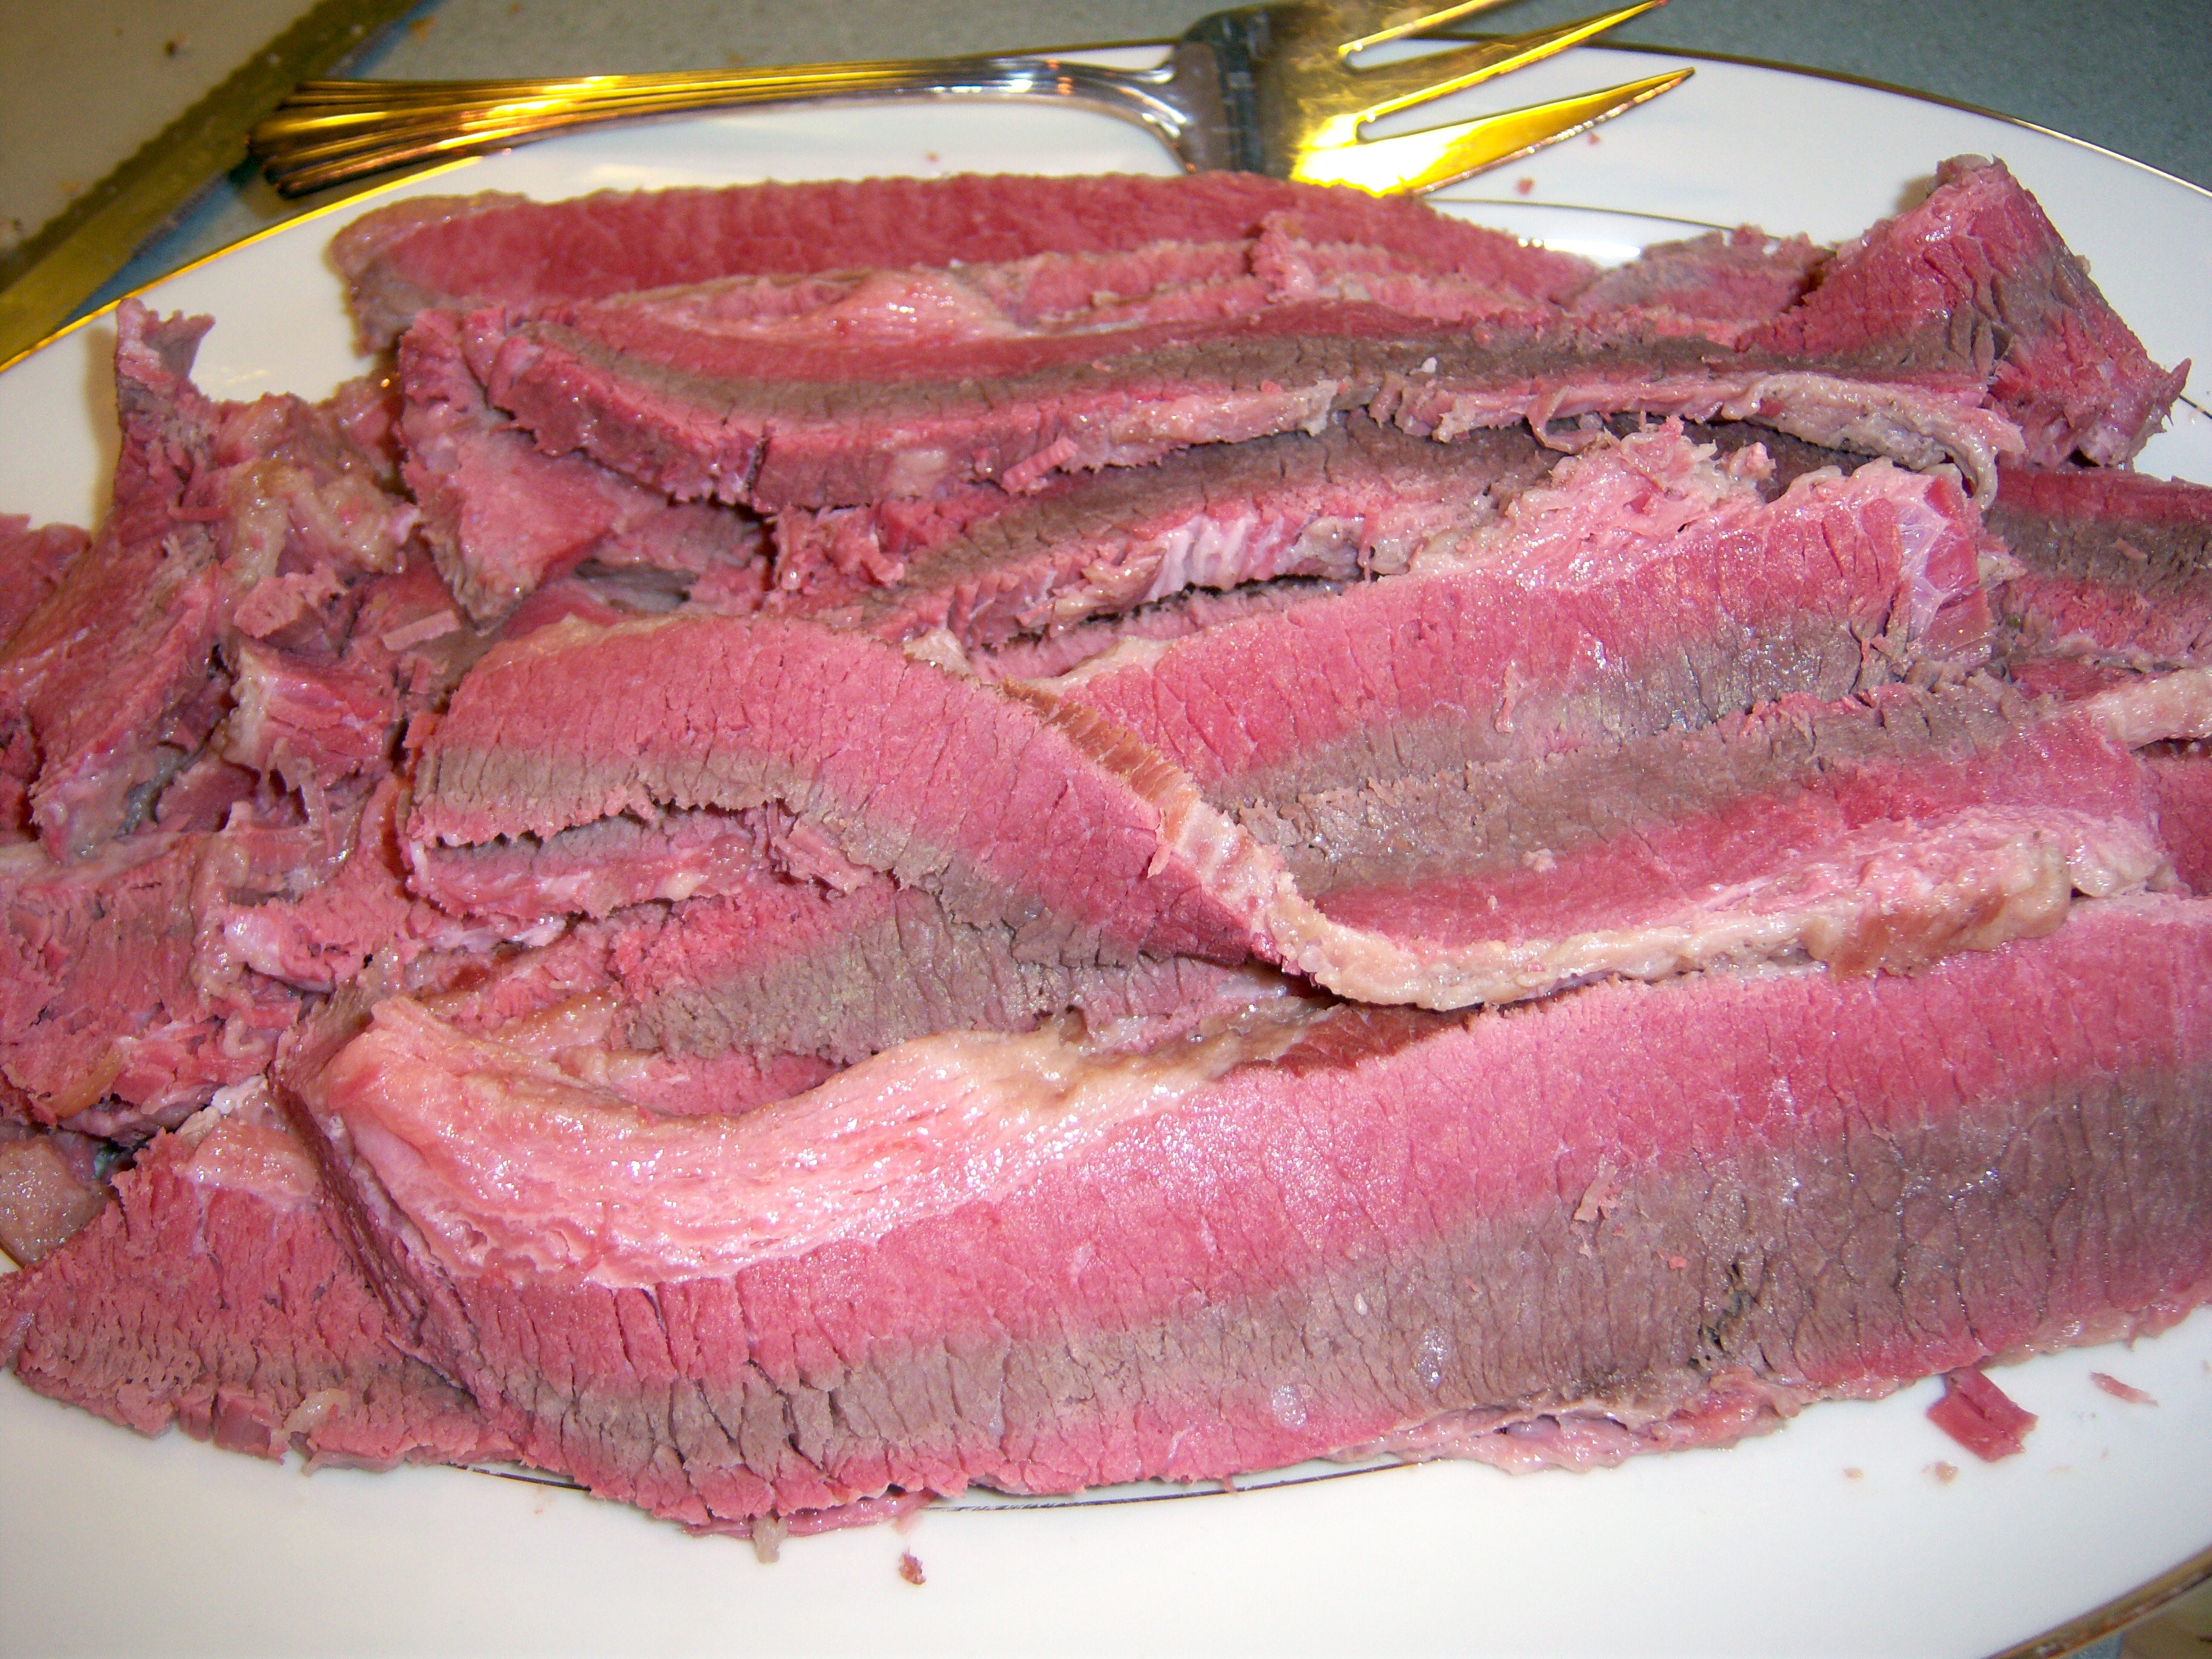
First, Homemade Corned Beef with Vegetables, which is in March Martha Stewart living and also shown on the tv show. As I posted two weeks ago, I corned the beef myself. It was actually quite easy to do (other than not being able to find pink curing salt -I substituted a meat curing salt instead). The meat has to cure for two full weeks. I cooked this in much the same way I always do – in a big pot with some carrot, celery, and onion.

When I make this, I always add cabbage, carrots, and potatoes. Martha calls for tunips also, so I added those.  I followed her instructions about steaming the turnips and carrots, although in the past I have always just cooked all the veggies in the pot with the meat and they are good that way too.  The results?

Veggies

Veggies

Excellent! I was worried my corned beef would not be pink since I did not have pink curing salt, but as you can see, it did mostly turn pink. It tasted very good. If I had any criticism it would be that it seemed a little too salty. The vegetables were great and the turnips were a nice addition. Martha says to serve this with broth and mustard. In my family, we serve it with horseradish and ketchup, and some sour cream for the potatoes.  I will definitely corn my own beef again next year!

Martha has a recipe for Irish Soda Bread in the magazine and she also made it on tv, talking about how she made up this recipe herself (I was excited to try something that really was straight from her hands).  I also made my own cheese soda bread so we could have a taste-off.

Martha's Soda Bread

Martha's Soda Bread

Martha’s bread was easy to make, once I ran to the store for wheat bran! She uses milk that she sours with vinegar instead of buttermilk. Her recipe has no eggs in it, whereas mine does. She adds caraway seeds and raisins. The bread came together nicely. When I baked it, it flattened significantly though. Cutting it into slices was an adventure. It pretty much fell apart and wasn’t very nice

Soda Bread Sliced

Soda Bread Sliced

looking. It did, however, taste FANTASTIC. Really, really amazing. I am not a raisin fan, so I picked those out. The wheat bran really makes this bread wonderful – crunchy and sweet and hearty.  I will definitely make this again (although maybe I’ll make a loaf for me without raisins in it!).

Cheese soda bread

Cheese soda bread

Now for my own Cheese Soda Bread. Here’s the recipe:

4 c flour

1 tbsp baking powder

1 tsp salt

3/4 tsp baking soda

6 tbsp butter

2 heaping cups shredded cheddar cheese

2 eggs

1 1/2 c buttermilk.

Preheat the oven to 350. Cut the butter into the dry ingredients and stir in the cheese. Beat the eggs and reserve 1 tbsp. Mix eggs with buttermilk and stir into dry ingredients. Turn it out onto a floured surface and form it into a round. Place on greased baking sheet and brush outside with reserved egg. Bake for 75 minutes and allow to rest for 15 minutes before slicing.

I have been making this for years and years and got the recipe from my mom (Big MarthaAndMe). It is  just as simple to make as Martha’s. It uses buttermilk and eggs and of course the cheese is a big change from Martha’s. I love this bread so much, but it is very different from Martha’s – almost like they are not both in the same family of breads. I think I will have to make both every year from now on!

My reuben

My reuben

Now, on to the leftovers. One of the reasons I love St. Patrick’s Day dinner is because there are always leftovers! The next day I always make a reuben sandwich. I use pumperknickel rye bread. I put ketchup on one slice and mustard on the other. I use sliced corned beef, Swiss cheese and sauerkraut and cook it in a pan like grilled cheese. Oh! It is so good.

My other big leftover dish is corned beef hash. First, I cook some onion and set it aside. I use the potatoes from the corned beef because they are already cooked. I dice them and then cook them in a pan with olive oil, slowly, until they are brown and crisp. Then I add the onion and diced corned beef and salt and pepper to taste. I serve it with ketchup. It’s to die for.

Top o’ the morning to you! Hold onto your hats gang, this is going to be a looooonnnggg post.  We always celebrate St. Patrick’s Day – it’s a family tradition – with corned beef and cabbage and my cheese soda bread. This year, I decided to do it Martha’s way. First, Homemade Corned Beef with … Read more

no