Fun with Flan

Posted by Brette in Food

On the last Cooking School segment, Martha Stewart and Sarah Carey made custards. I would have made the creme brulee, but oddly I just don’t have a blow torch sitting around. So I decided to go with the flan. I have never made flan or creme brulee, so this was a new experience for me.

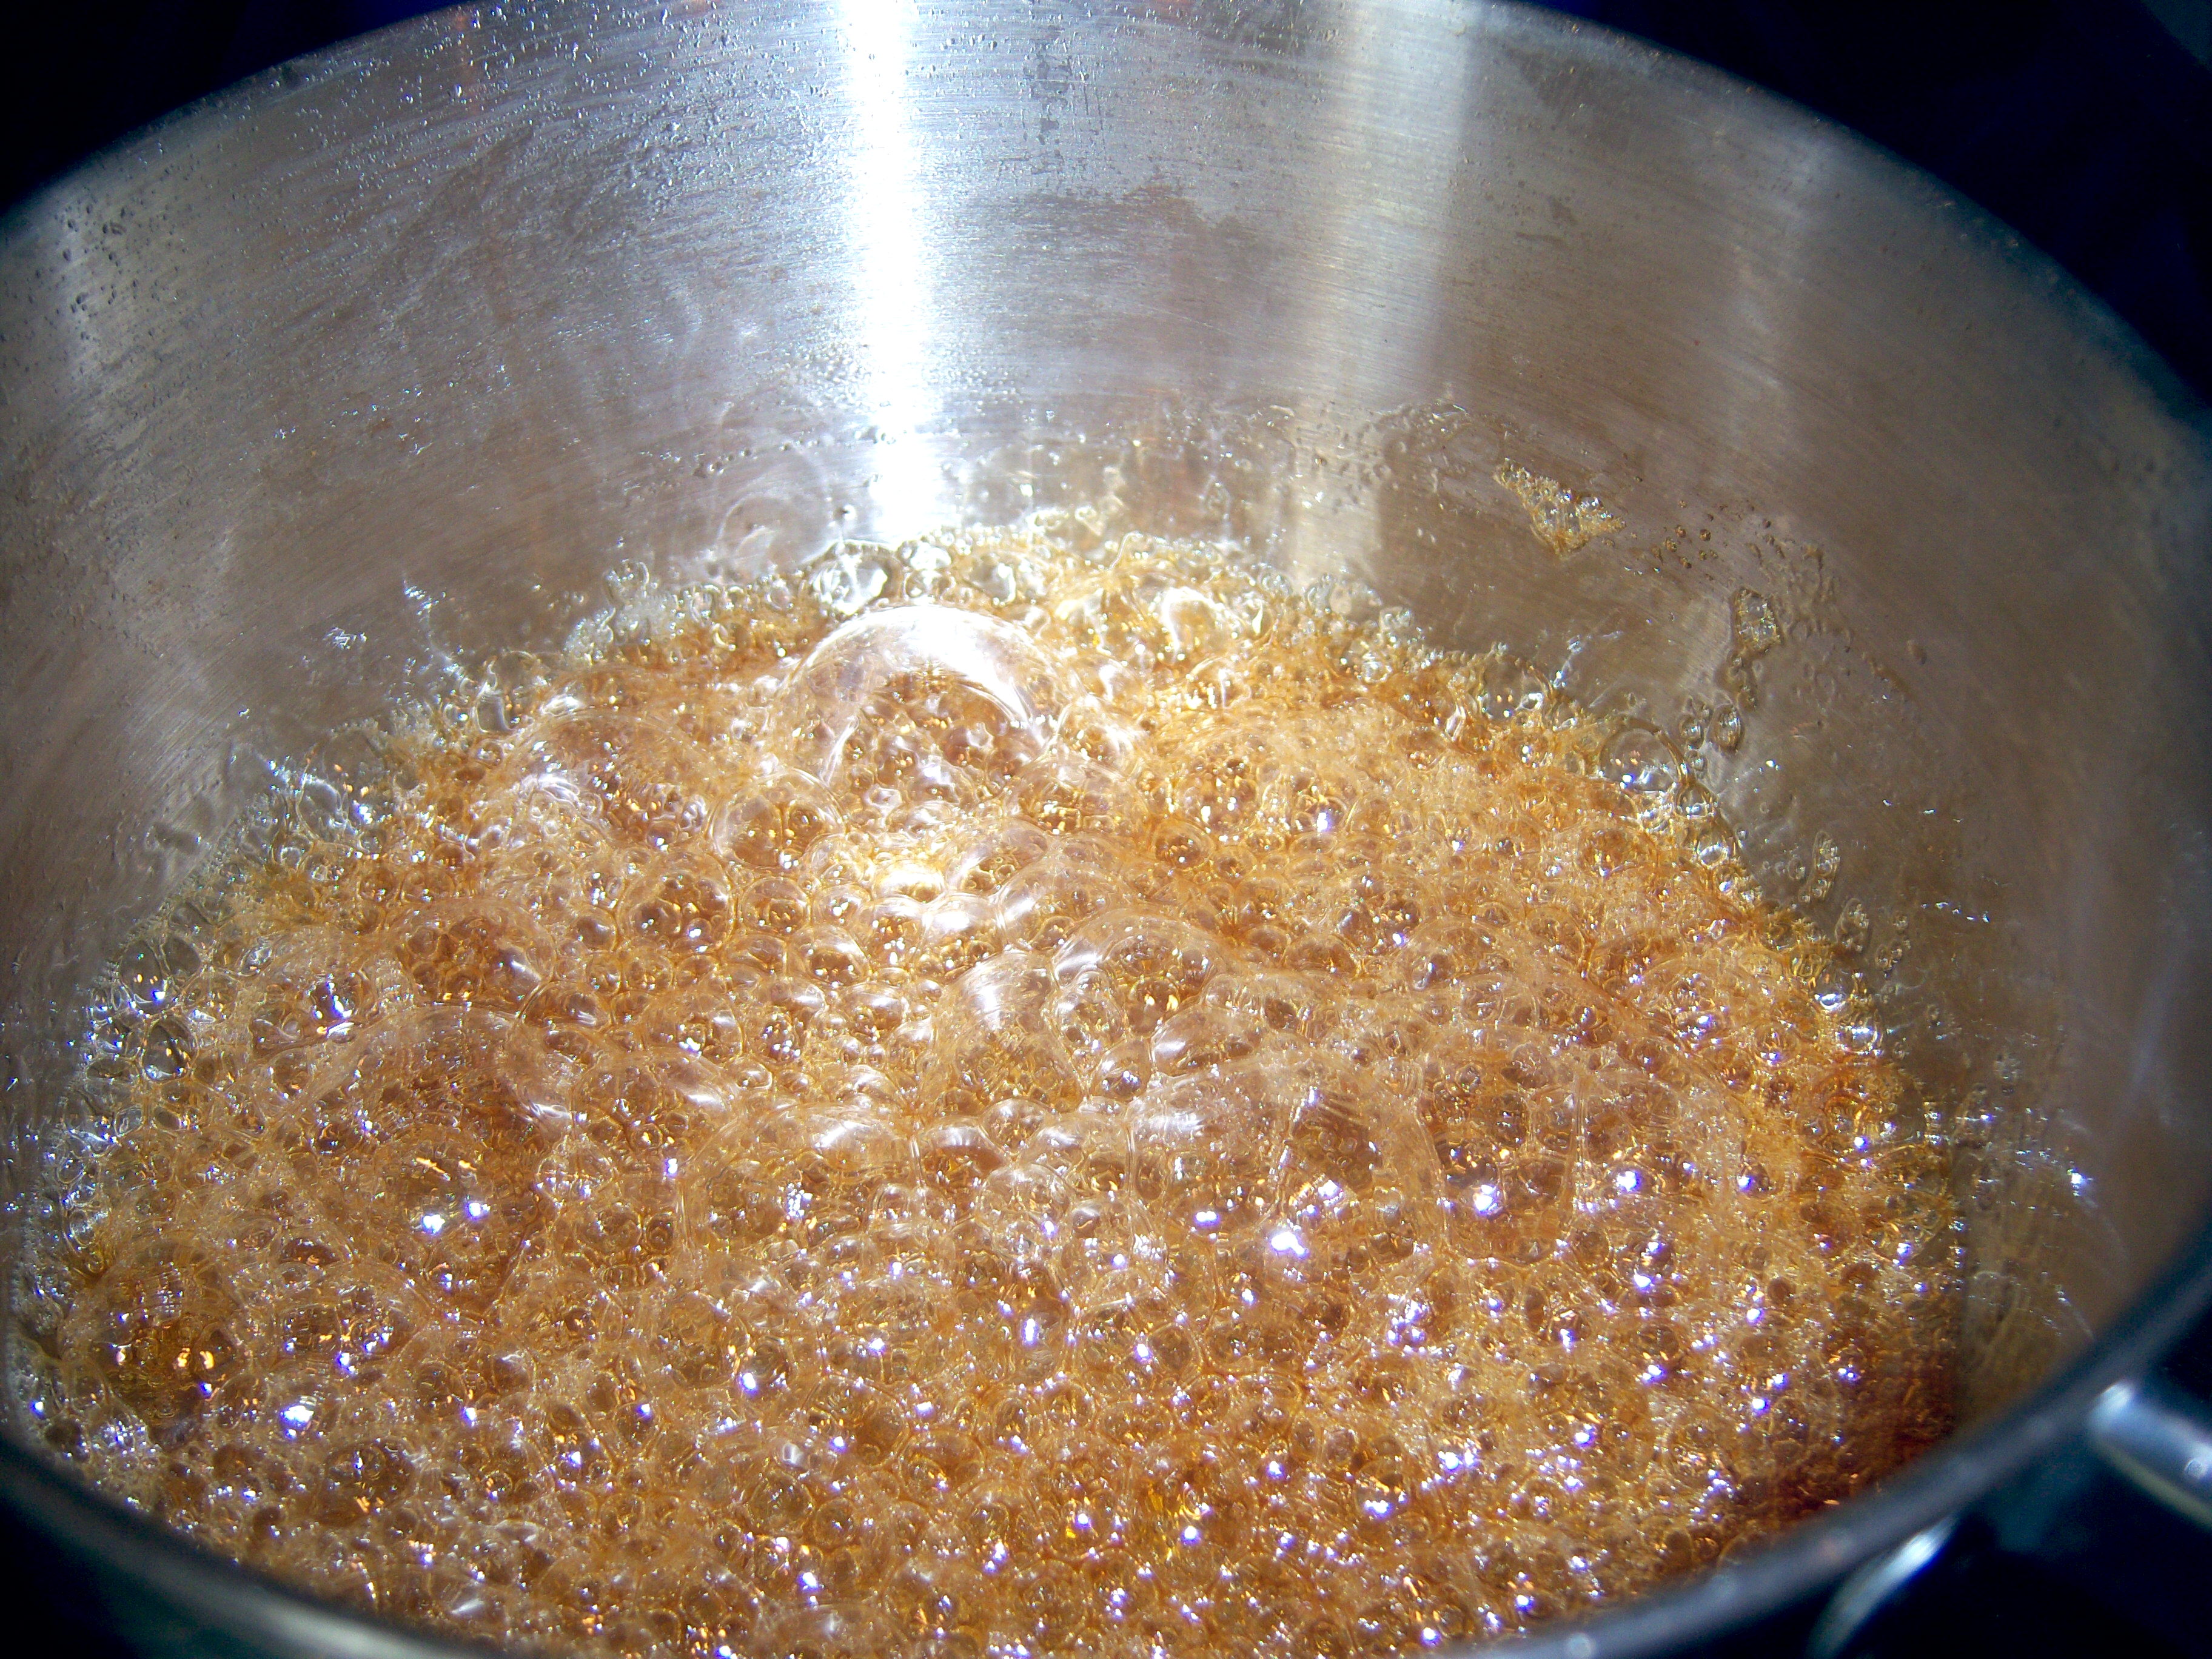
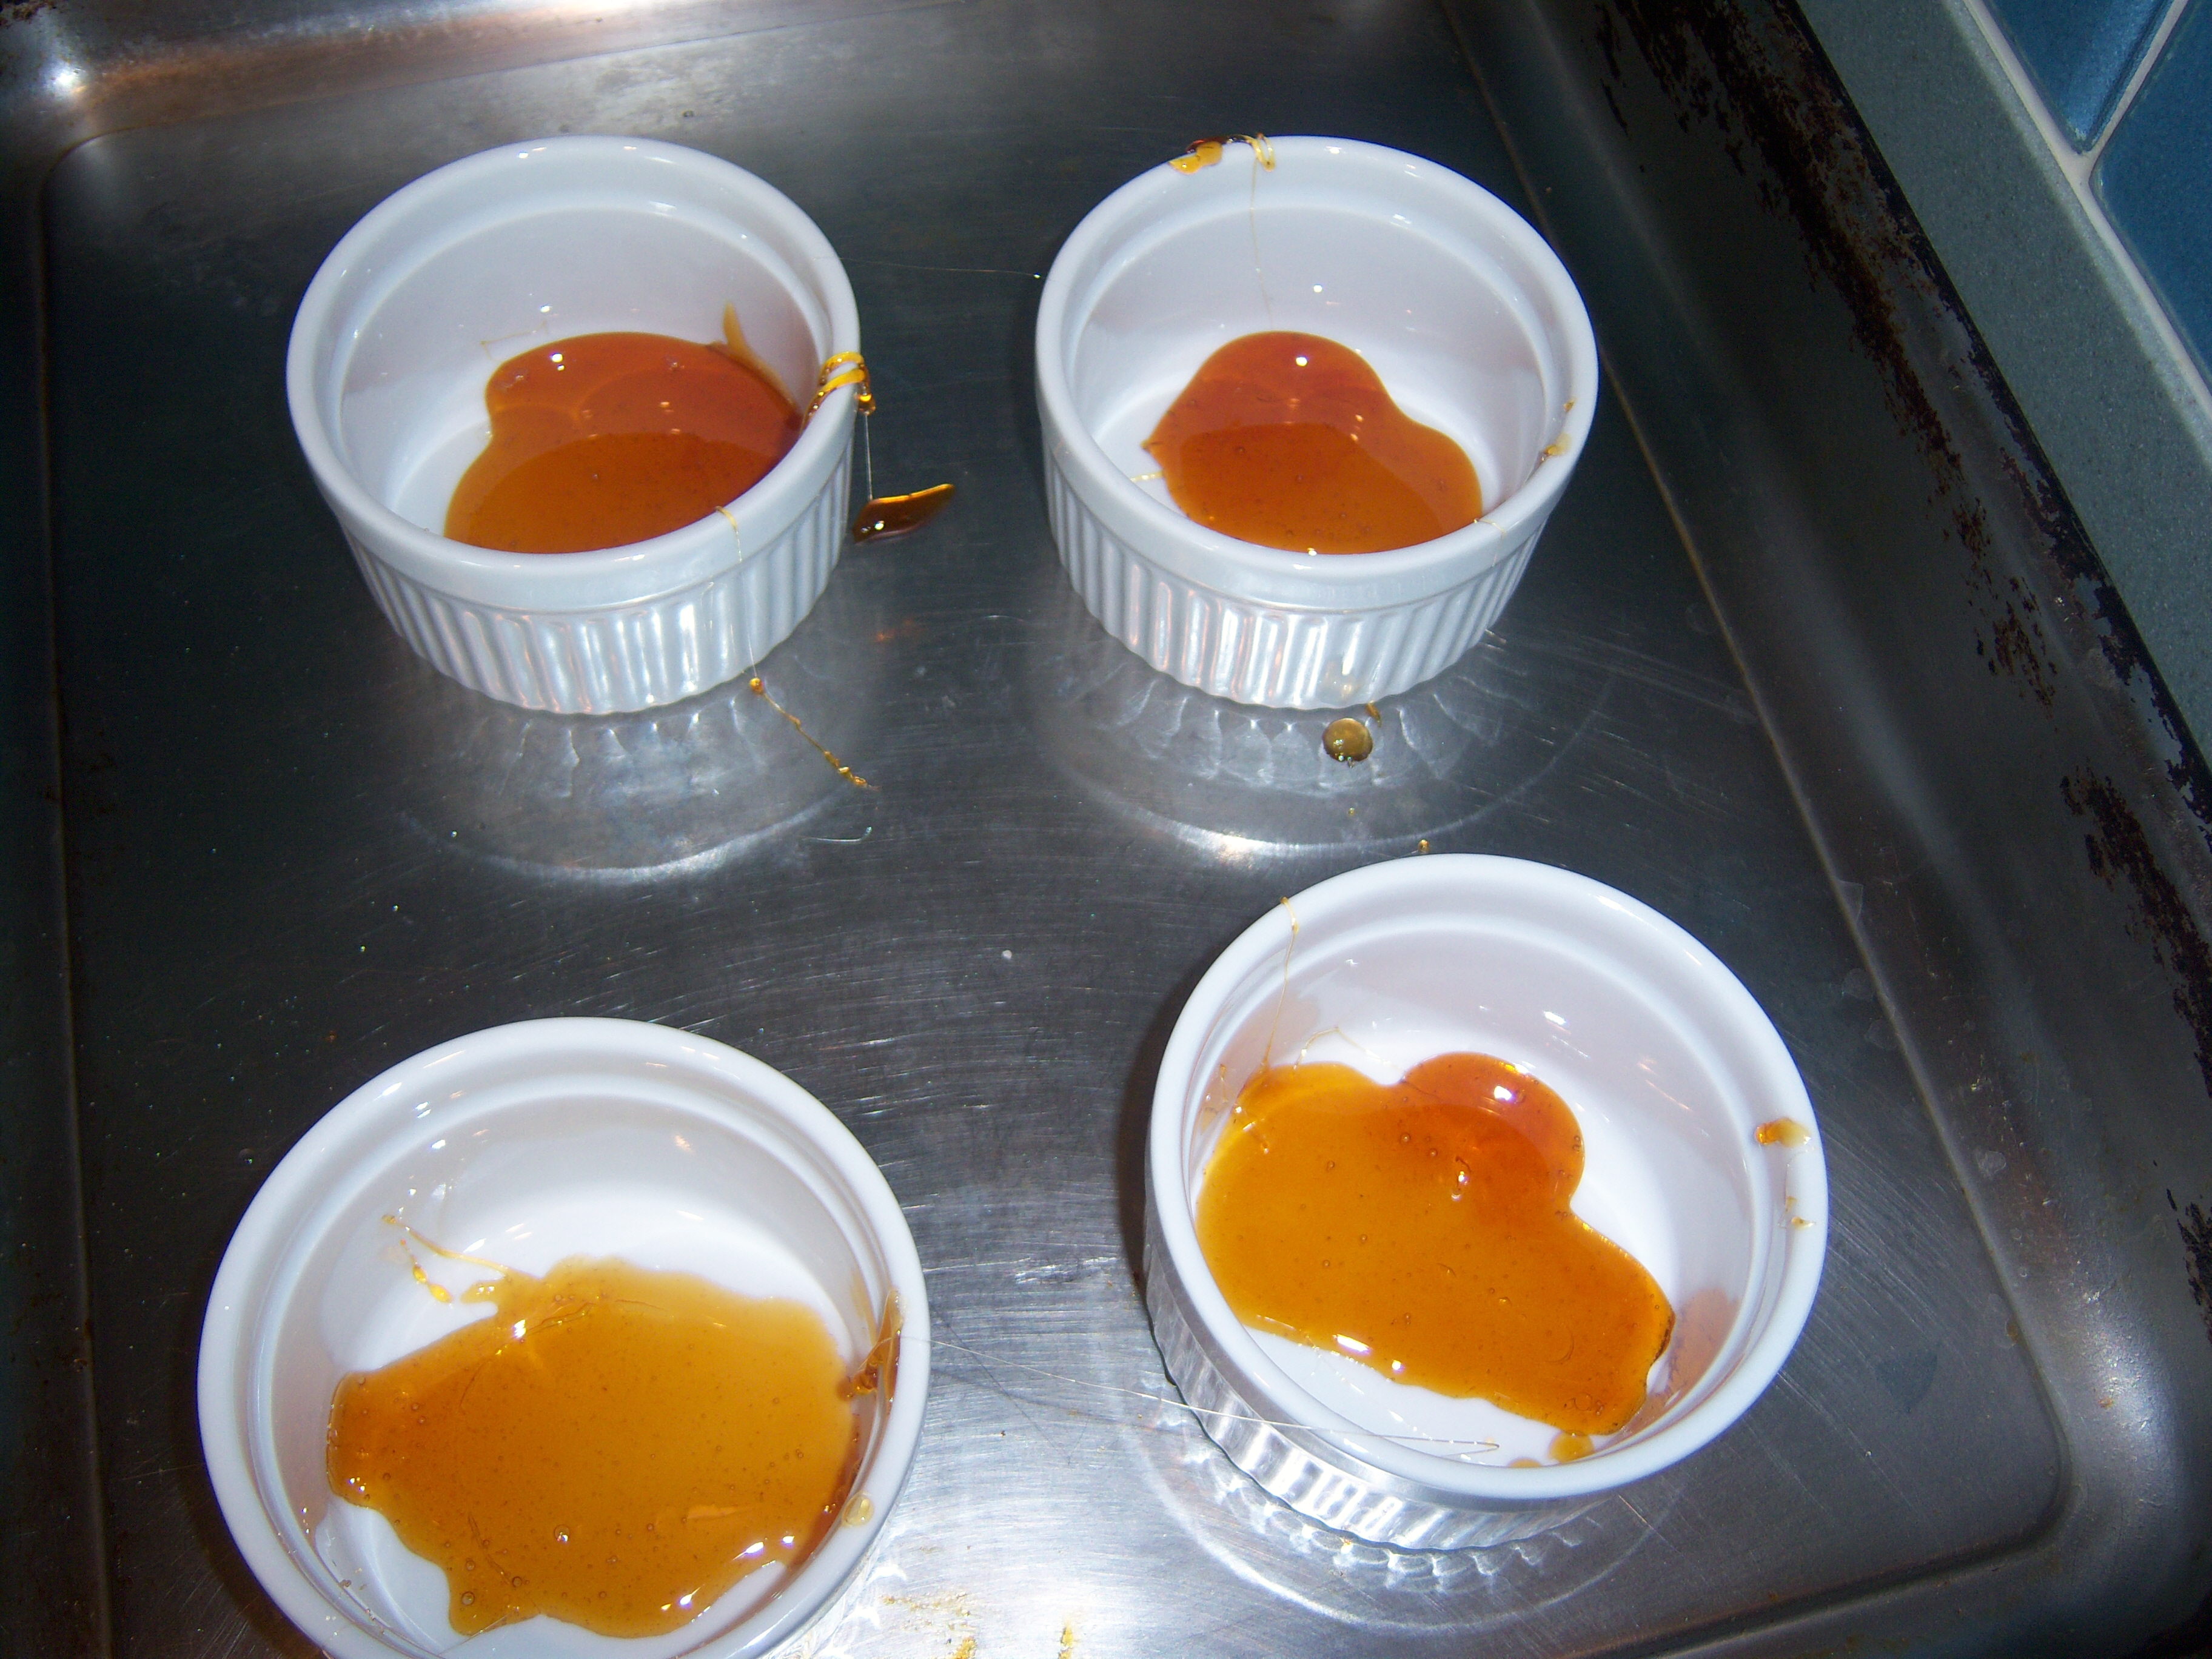
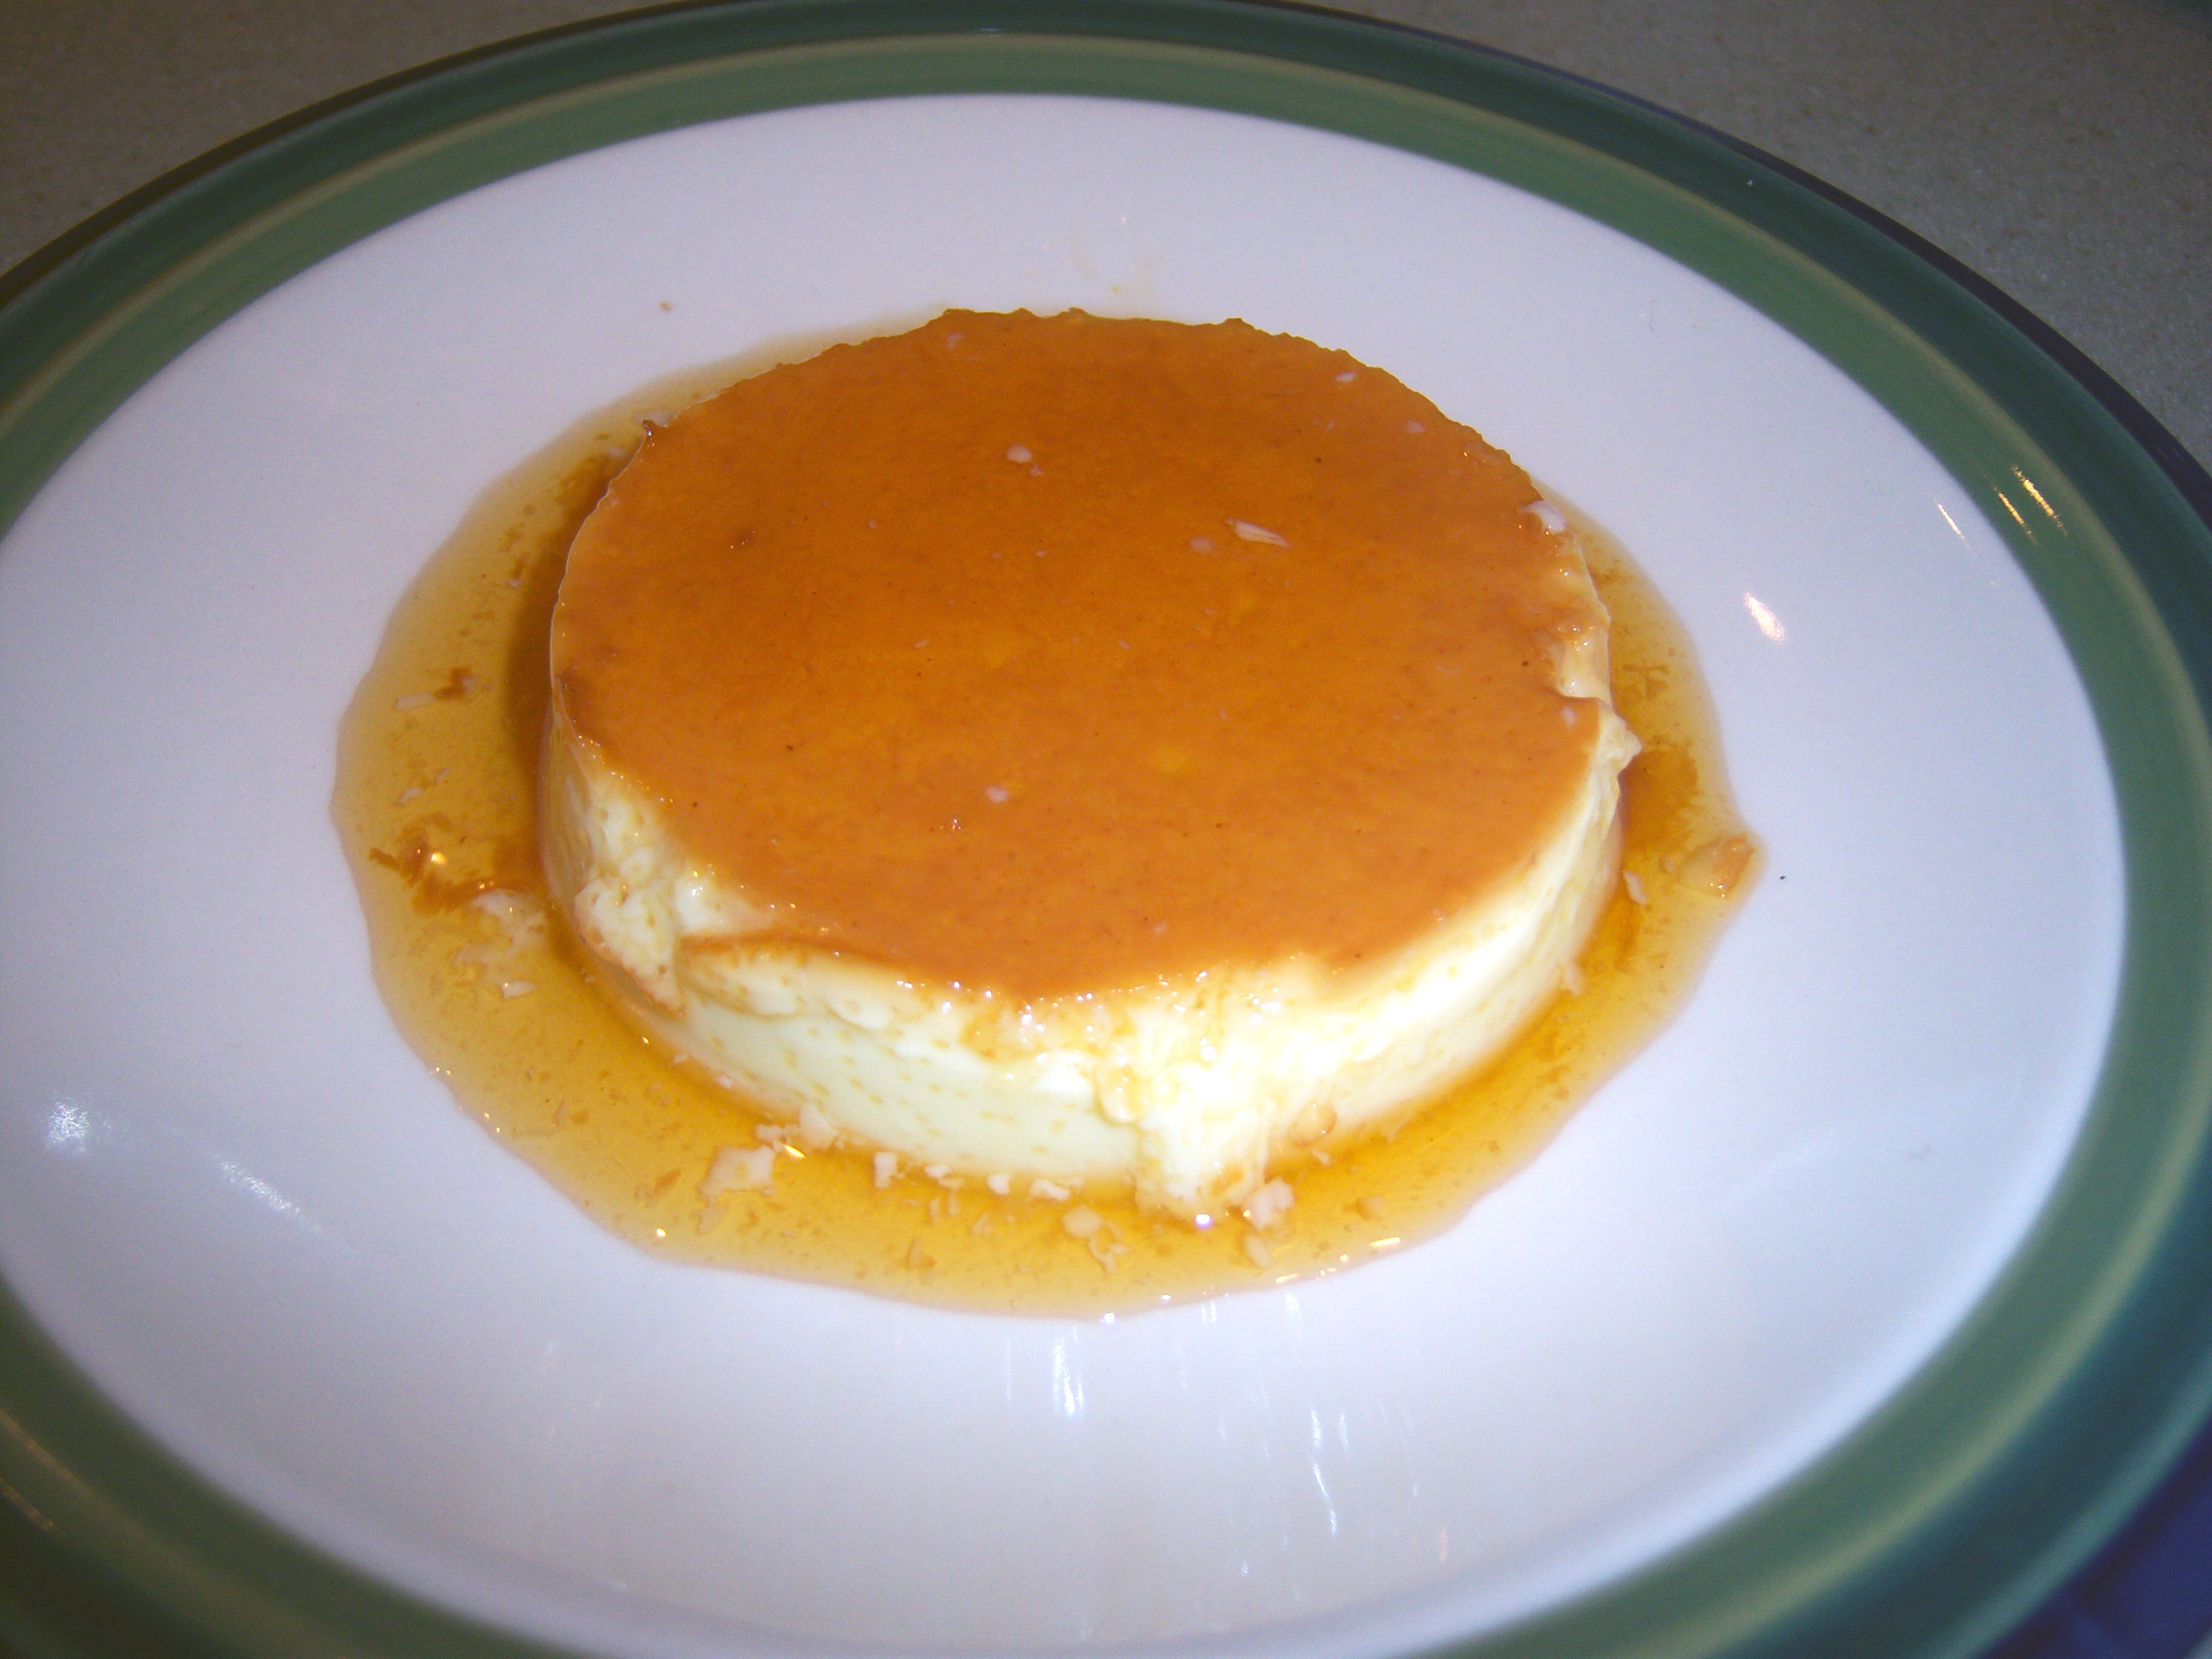
flan-caramelFirst I cooked the sugar and water. This was simple – and I kept wiping down the sides of the pan with water. It turned the right color. When I poured it in the ramekins, I had the same problem Martha had on the show – it cooled very quickly and I could not get the bottom of each covered evenly.flan-caramel2

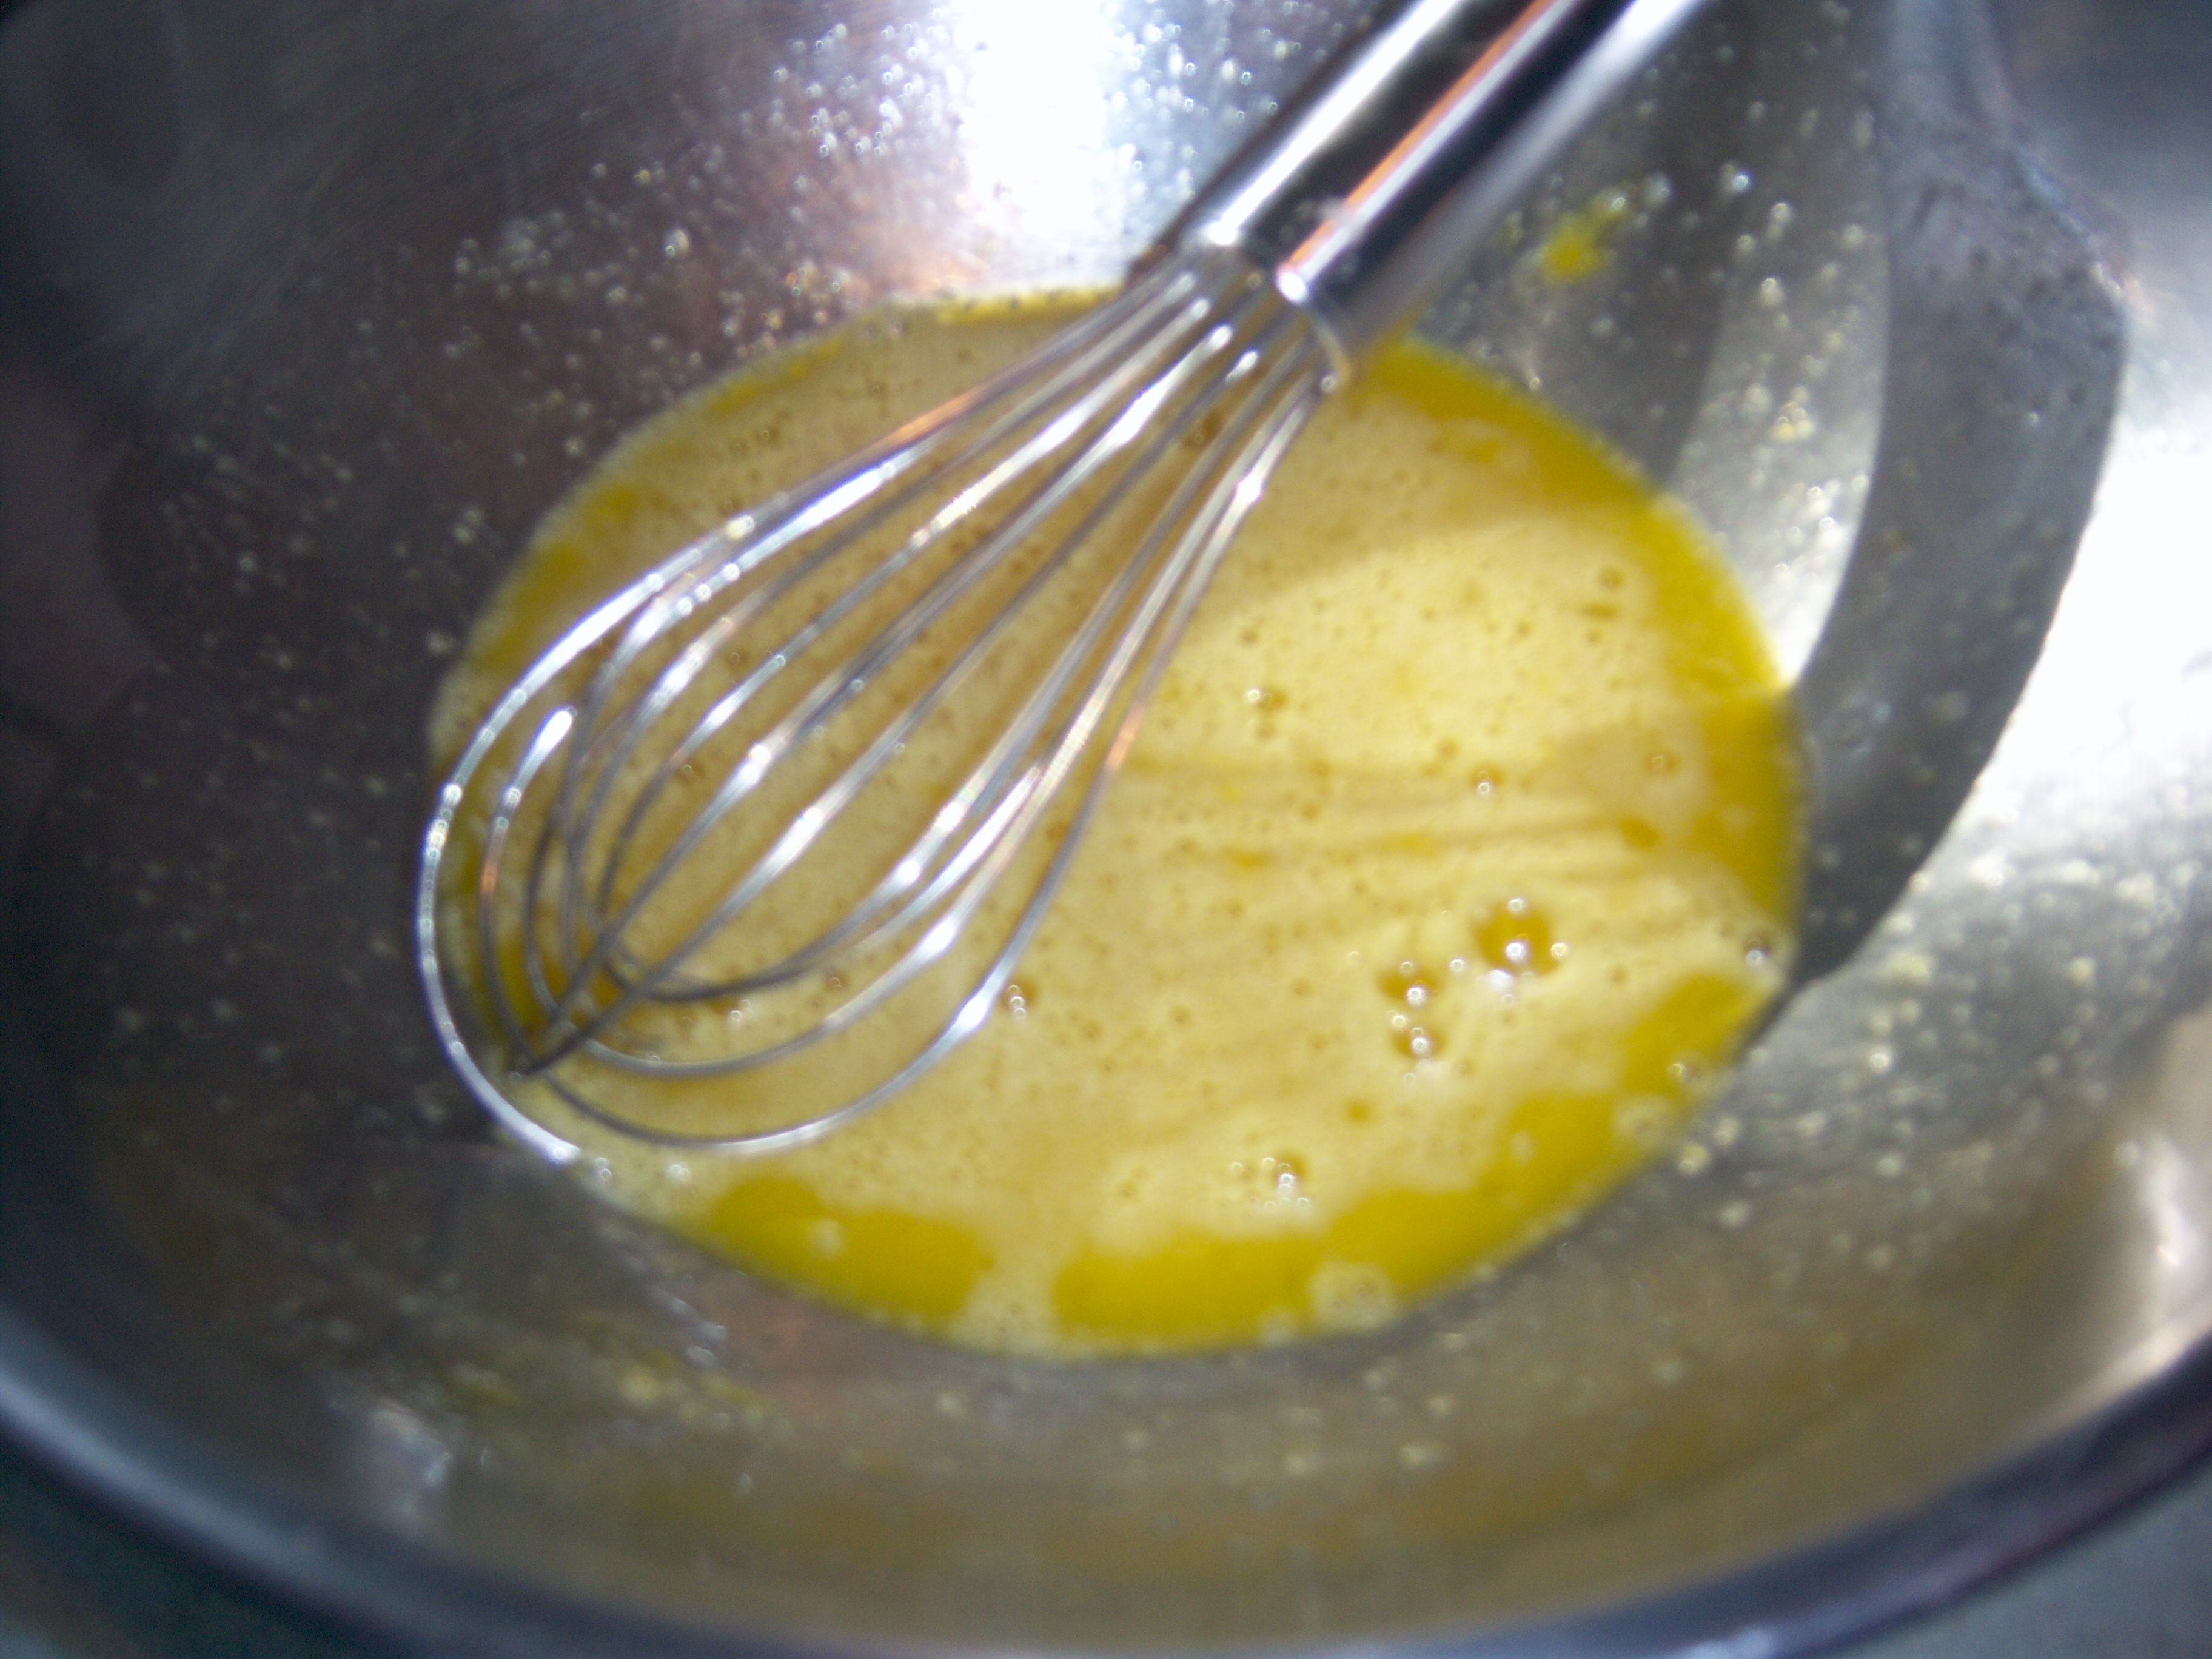
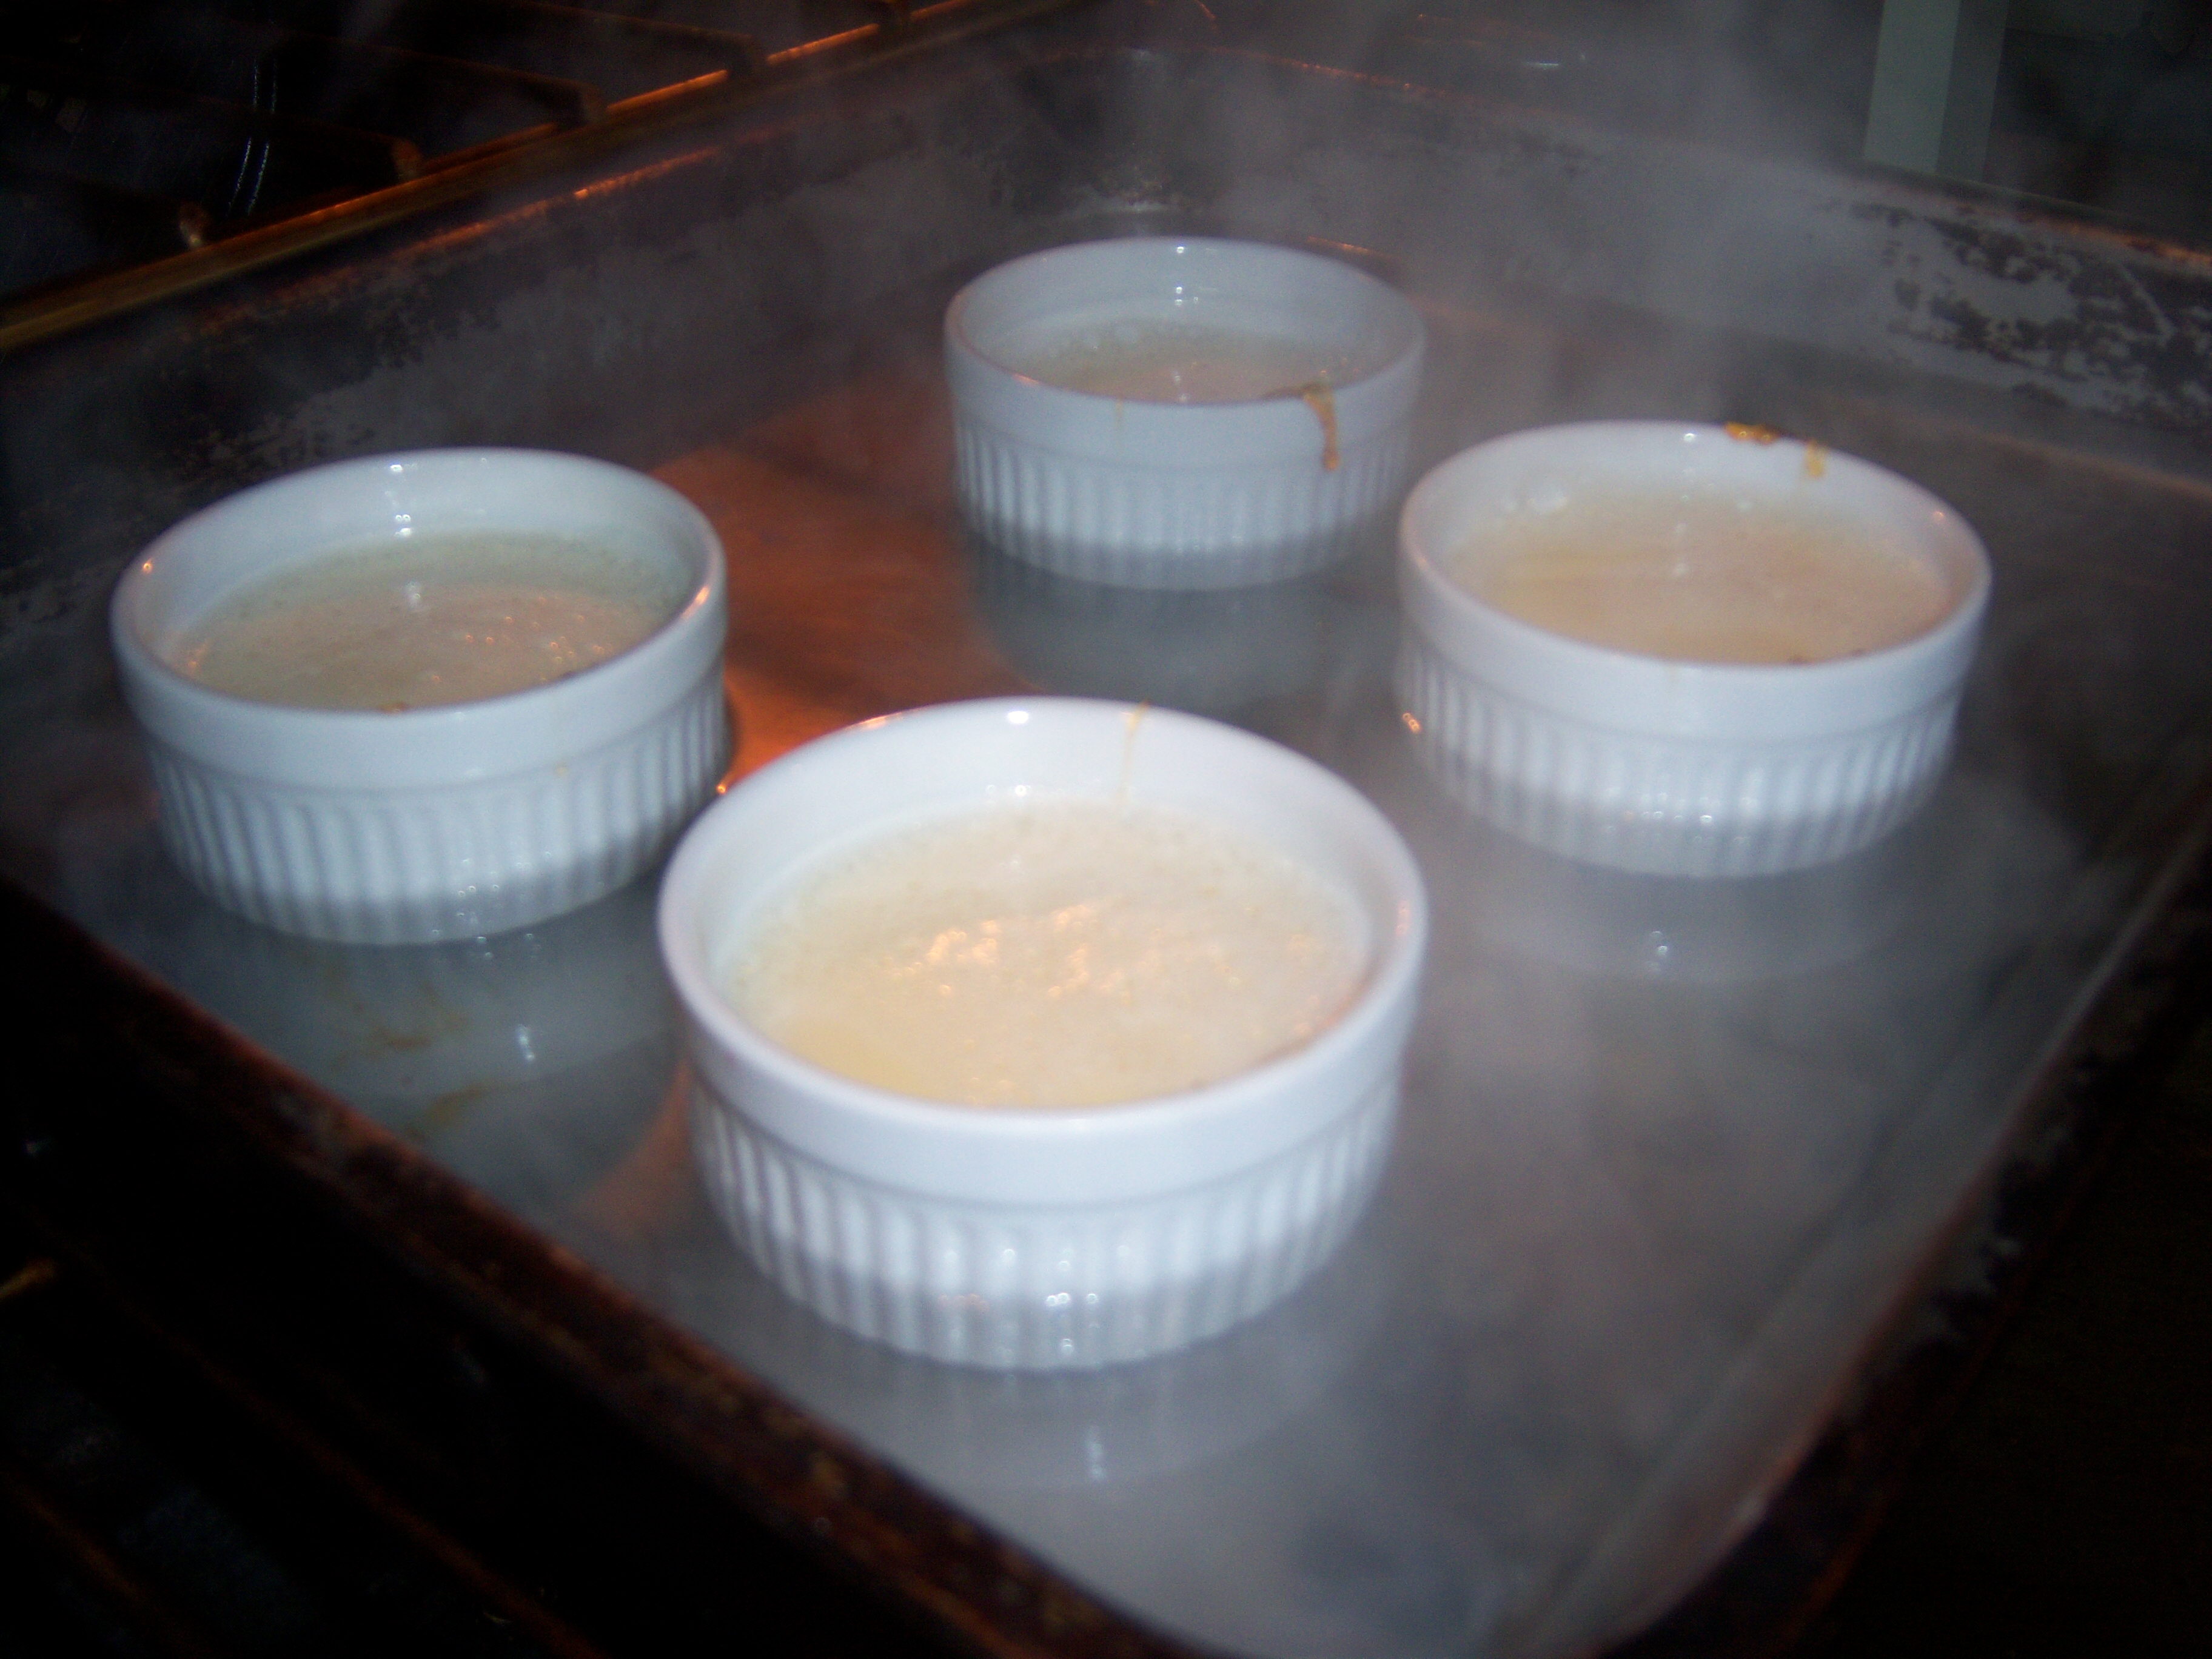
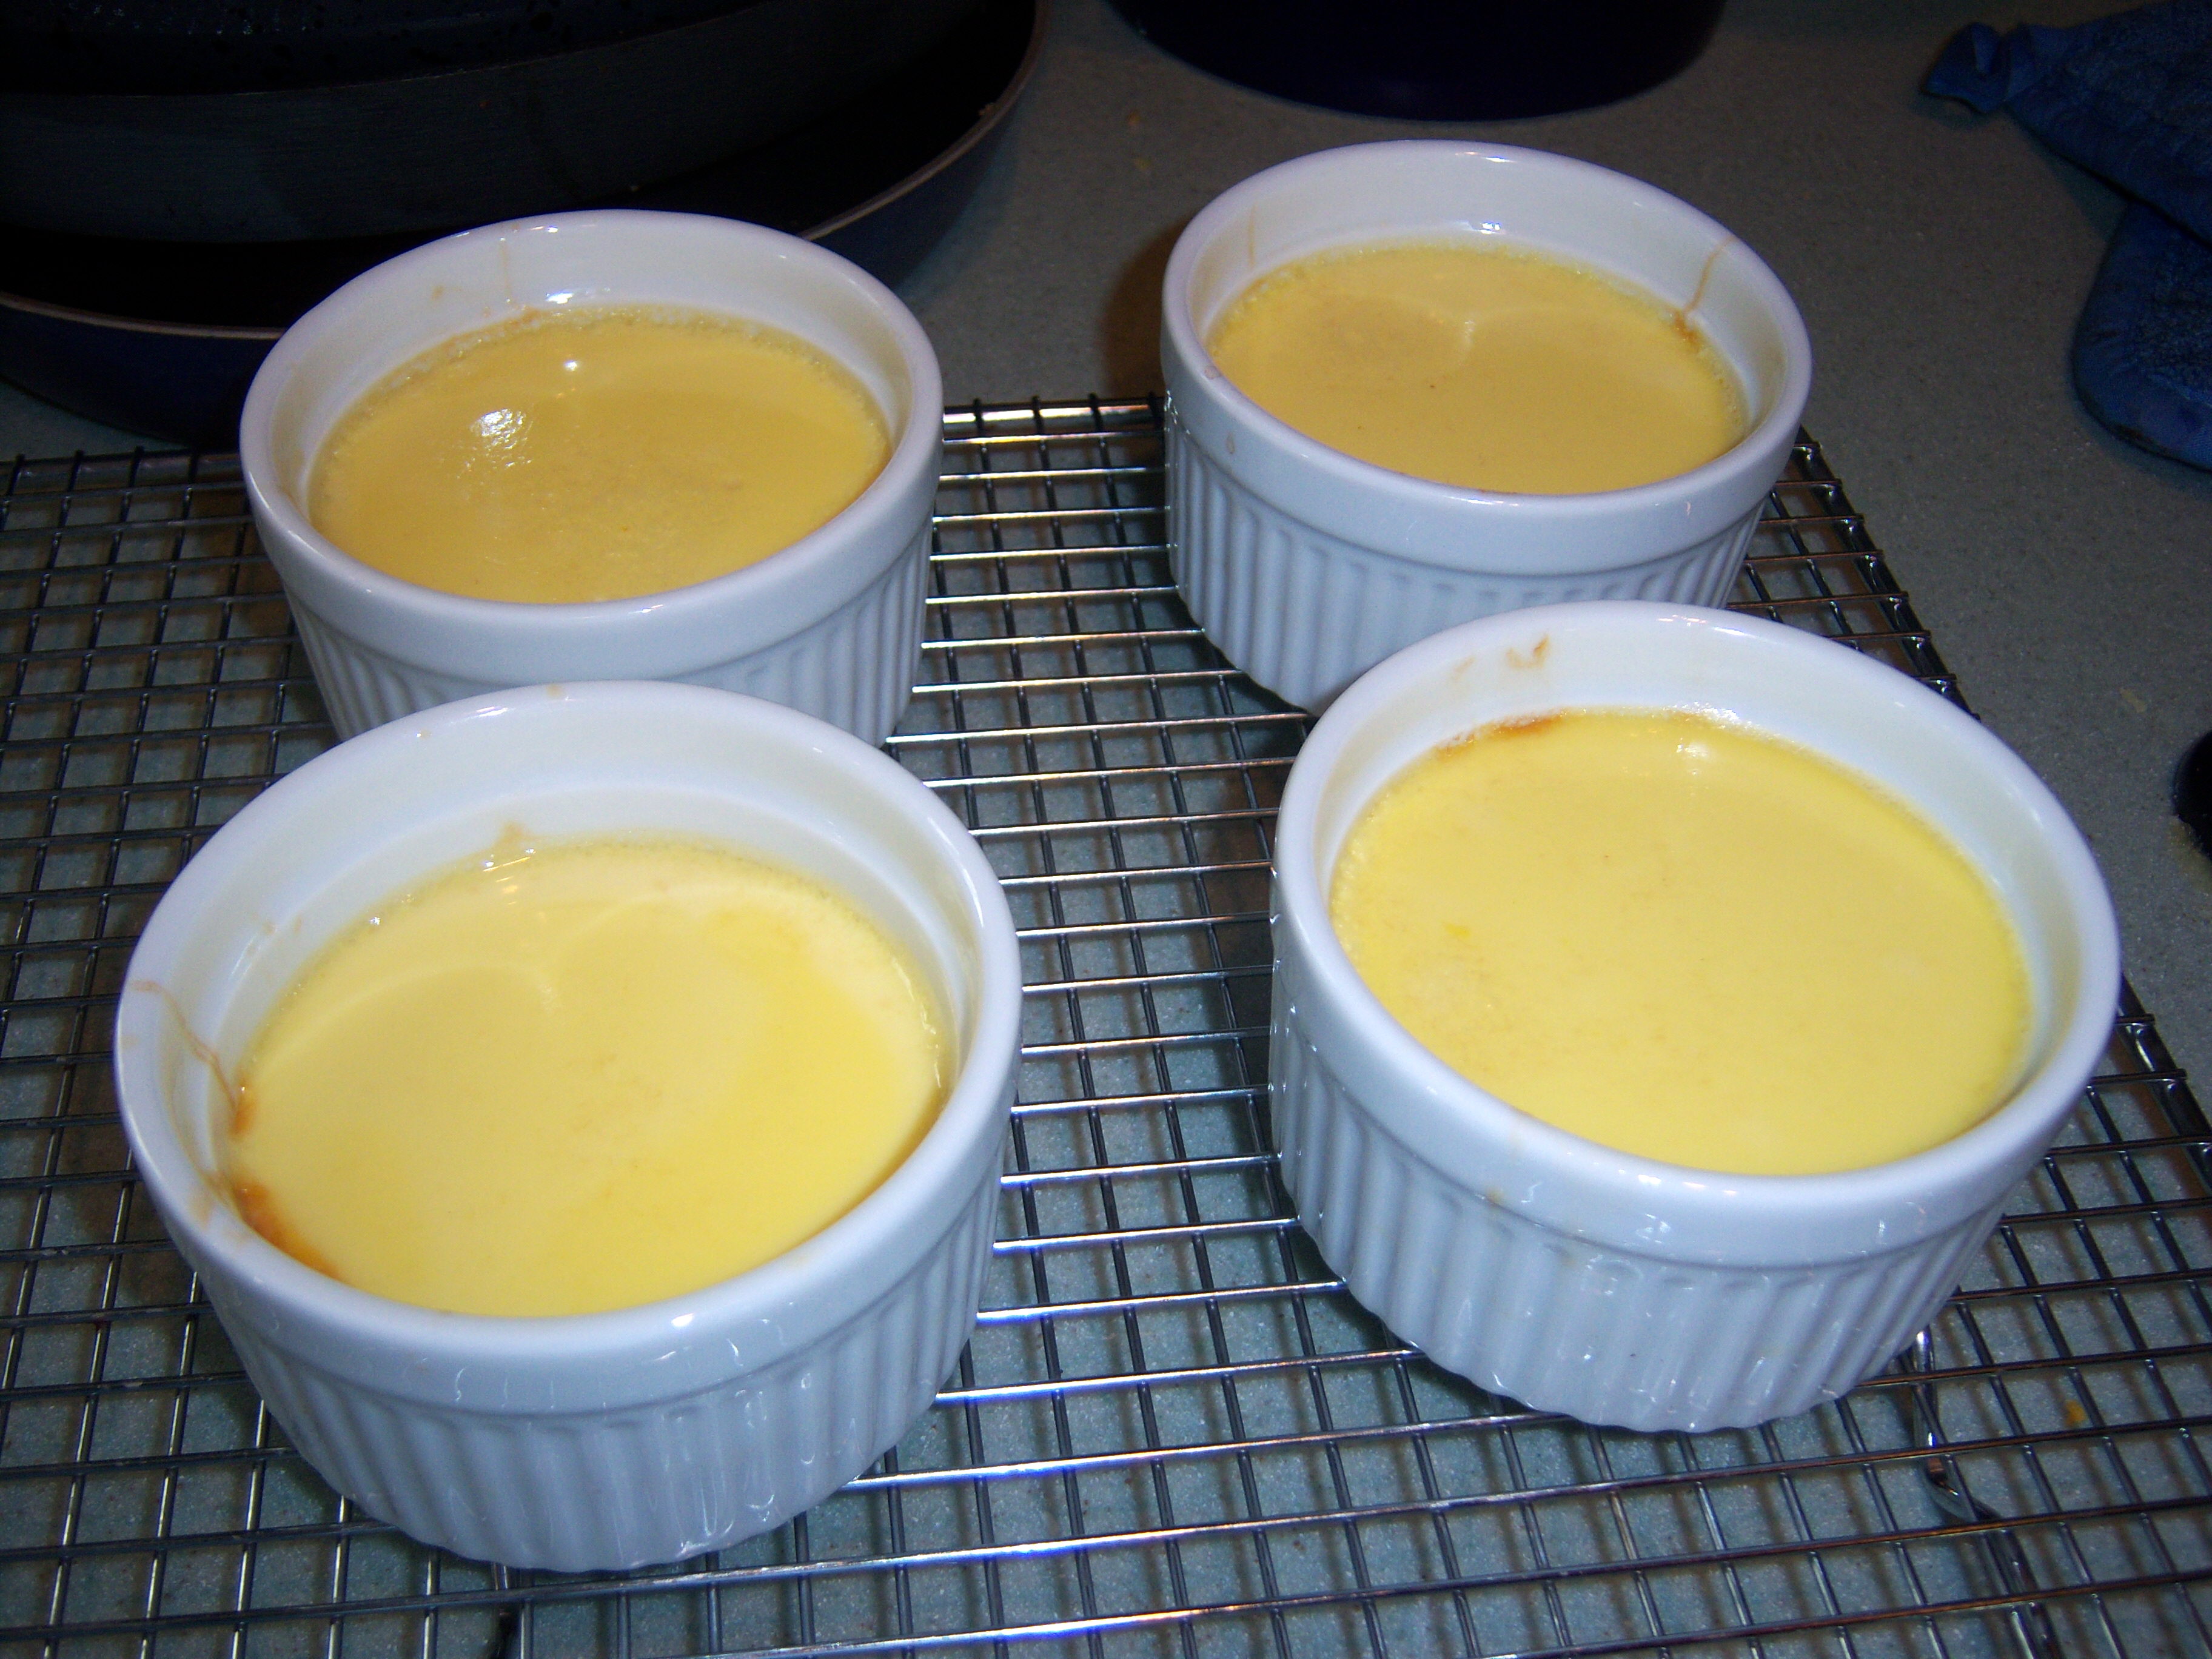
Then I moved on to make the custard. I whisked the eggs and egg yolks and flan-custard1cooked the milk and sugar. I tempered the eggs, then added the rest of the milk. I strained it and poured it into ramekins. I added the water bath and cooked for about 35 minutes. They came out perfectly.

flan-ovenOne small problem. Martha says to remove them from the water bath using tongs. They kept slipping out of the tongs and I almost got them wet, which would have been not so wonderful. Mr. MarthaandMe came riding to the rescue and got them out, but did manage to burn himself with the hot water in the process.flan-cooked

I let them cool on a rack, then chilled them. They came out of the ramekins nicely without a lot of trouble, and looked really pretty on the plates with the syrup on them. There was just one teeny tiny problem. They tasted really, really awful. As in edible. The custard was just gross  – no flavor to it. The syrup had a slightly burned taste. It was simply flan-platehorrendous, so they all got dumped down the drain. So much for flan.

On the last Cooking School segment, Martha Stewart and Sarah Carey made custards. I would have made the creme brulee, but oddly I just don’t have a blow torch sitting around. So I decided to go with the flan. I have never made flan or creme brulee, so this was a new experience for me. … Read more

Is it me or have the last few cooking school segments been really, really basic? The one about poaching and now rice? There must be people who don’t know how to cook rice, but aren’t those the people that just buy Minute Rice?Anyway, Wednesday on the Martha Stewart Show, Martha and Sarah Carey showed us three ways to make rice – absorption, rice pilaf and risotto.

Rice Steamer

Rice Steamer

I always use a steamer to cook my rice. It’s a Black and Decker multi-purpose steamer that I also steam vegetables in. It takes longer than a rice cooker – I would say about 45 minutes. I normally make only brown rice.

I did appreciate seeing Martha and Sarah make risotto. I love risotto and it made me crave it. I have this fabulous recipe that includes roasted butter squash, pancetta, and fontina cheese.  It’s so good, I swear, I could roll in it.

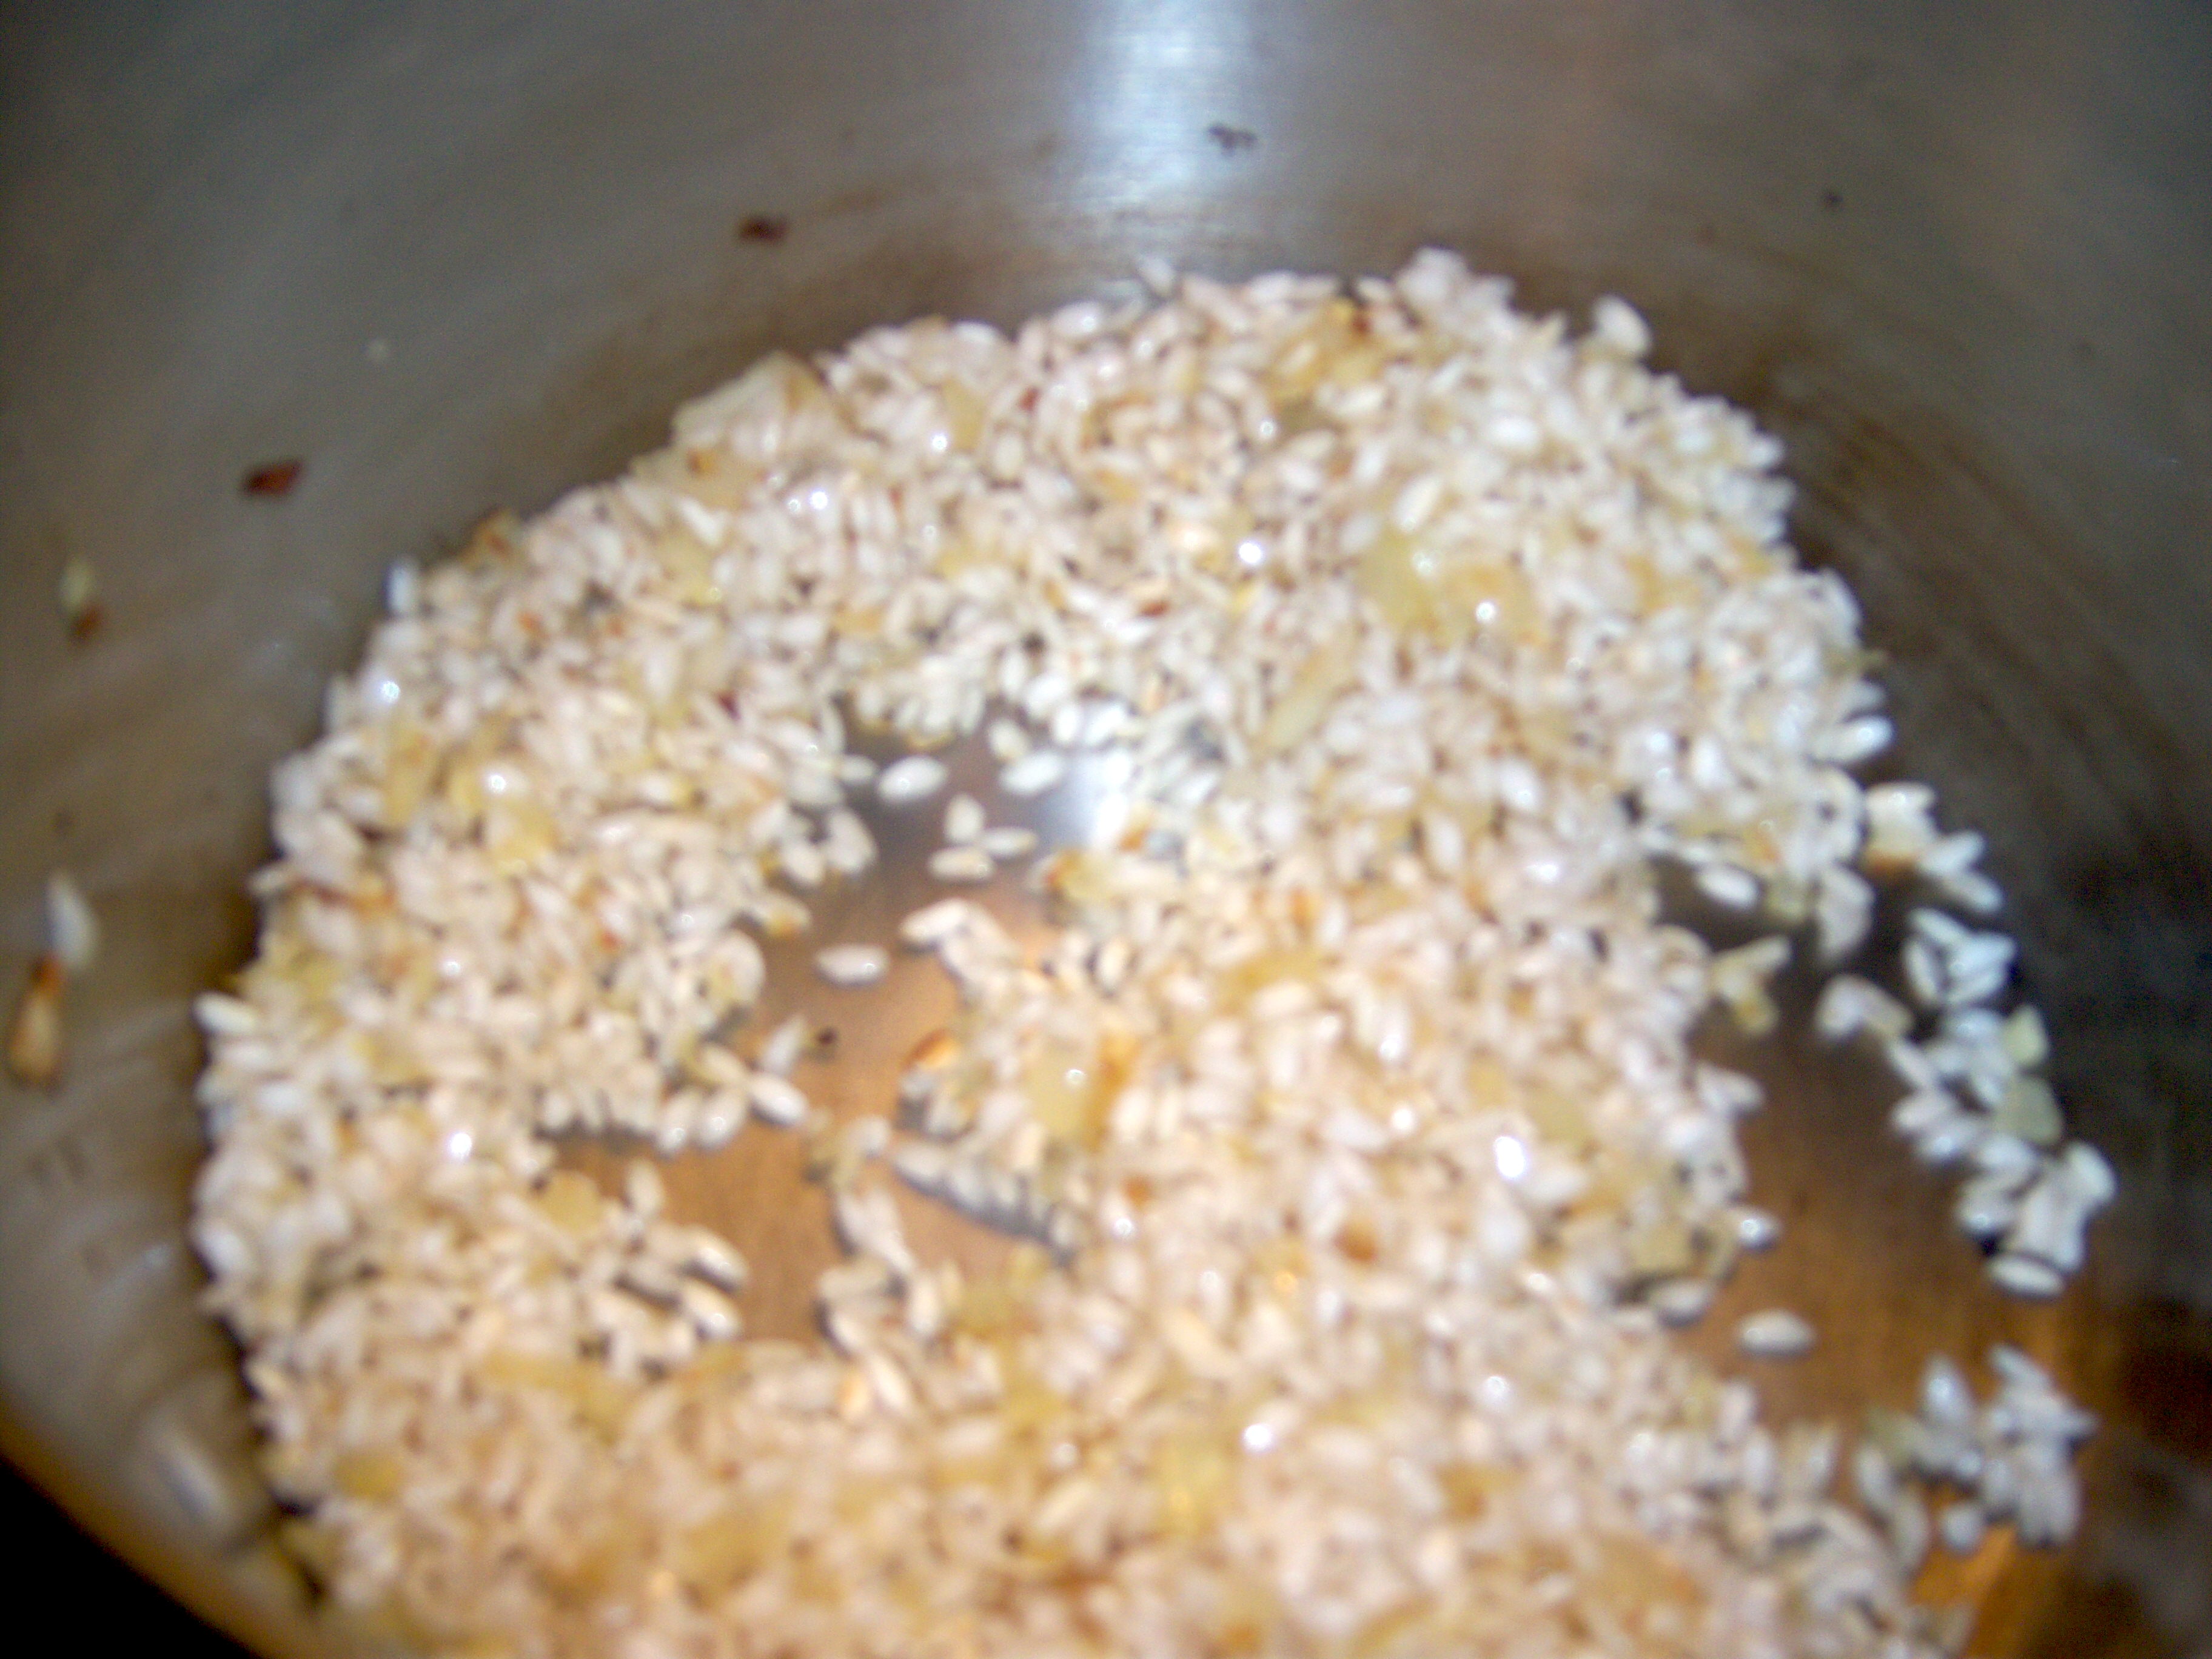
I didn’t have any butternut squash hanging around, so I made a mushroom and broccoli risotto.  First you start with cooking some onions in oil, then you add the rice and cook that until it makes a popping sound. risottopan Then you gradually add the broth and stir until your arm falls off. I admit I do not stand there and stir constantly. I will dump in some broth, mix it up and work on something else and come back to it. I also do not use 100% broth. I like to use some water. I think it can be almost too rich if you use just broth.

At the end, I added in butter, salt and pepper, parmesan cheese (oh yes!) and cooked mushrooms and broccoli.  This was delicious.

Finished Risotto

Finished Risotto

I am not a big fan of rice pilaf. I think it’s boring. I would rather have plain rice with butter and salt.

Is it me or have the last few cooking school segments been really, really basic? The one about poaching and now rice? There must be people who don’t know how to cook rice, but aren’t those the people that just buy Minute Rice?Anyway, Wednesday on the Martha Stewart Show, Martha and Sarah Carey showed us … Read more

This week on Martha’s cooking school segment, she and Sarah Carey steamed fish.  Since I don’t have bamboo steamers (which she used to make the steamed salmon), I decided to make the whole steamed fish. Well, except for the small fact that you can’t buy a whole fresh fish around here. And except for the fact that there seems to be some sort of fish shortage or crisis – all the stores have empty fish counters this week. I don’t know if there was some shipping problem or what, but something’s up. So I ended up buying some frozen mahi mahi pieces. A whole fish would have been too much for the two of us anyhow (kids won’t eat it!).

I was able to find lemon grass at my store (color me shocked) and I’ve never used it before. What an amazing scent it has! I cut that up, cut up some ginger and garlic and scallion and got some cilantro together. I put some under the fish and some on top. I sprinkled the fish sauce over it.

Ready to cook

Ready to cook

I made my fish in an oval bowl and put it in a large saute pan with boiling water in it. I covered it with foil. It took longer to cook than I expected – probably about 20-25 min and my pieces of fish were not more than an inch and a half thick. There was a large amount of broth in the bottom of the bowl.

Ready to eat

Ready to eat

I loved the way this tasted! Very flavorful. The fish was cooked perfectly (when it was finally cooked!). I served it with rice. We didn’t even squeeze the lime juice onto it, it had such a nice full flavor. I did feel the steaming process to be kind of a pain. It took a long time and it would have been a lot easier to pan fry the fish or grill it, but I did like how it became infused with all the flavors, so it is worthwhile to do it for that. It is an interesting cooking method – you don’t need any special equipment and it’s nice how it creates the flavorful broth.

I cannot imagine doing this with a whole fish. I was shaking my head through the segment as Martha was talking about how she loooooves to serve it whole with the head attached and doesn’t understand why people don’t like to see that. Same reason I prefer not to serve my roast chicken with a beak on the platter, Martha. I also don’t like bones and in my experience any time you bring a fish to the table with bones, some of those bones end up in your mouth.


This week on Martha’s cooking school segment, she and Sarah Carey steamed fish.  Since I don’t have bamboo steamers (which she used to make the steamed salmon), I decided to make the whole steamed fish. Well, except for the small fact that you can’t buy a whole fresh fish around here. And except for the … Read more

On the latest cooking school, Martha and Sarah made a jellyroll, also called a genoise. I’ve heard of both of these terms, but didn’t really know what they meant. This is, essentially, a very thin cake that is rolled with filling inside it.

Now, before we dive in here, if I could take a moment to vent. Are there not more important skills one needs to know as a cook? I’m not sure this cake that no one has heard of would go to the top of my list. My other vent: It’s DECEMBER. Everyone is inundated with holiday cookies and candy. Who on earth wants to focus on learning a dessert that is not holiday related right now? Maybe a lesson on gravy or seafood would be helpful right now.

That being said, I geared up to make my first jellyroll. The key to this cake, says Martha, is the eggs. There is no other leavening, so you have to rely on the eggs to puff your cake.
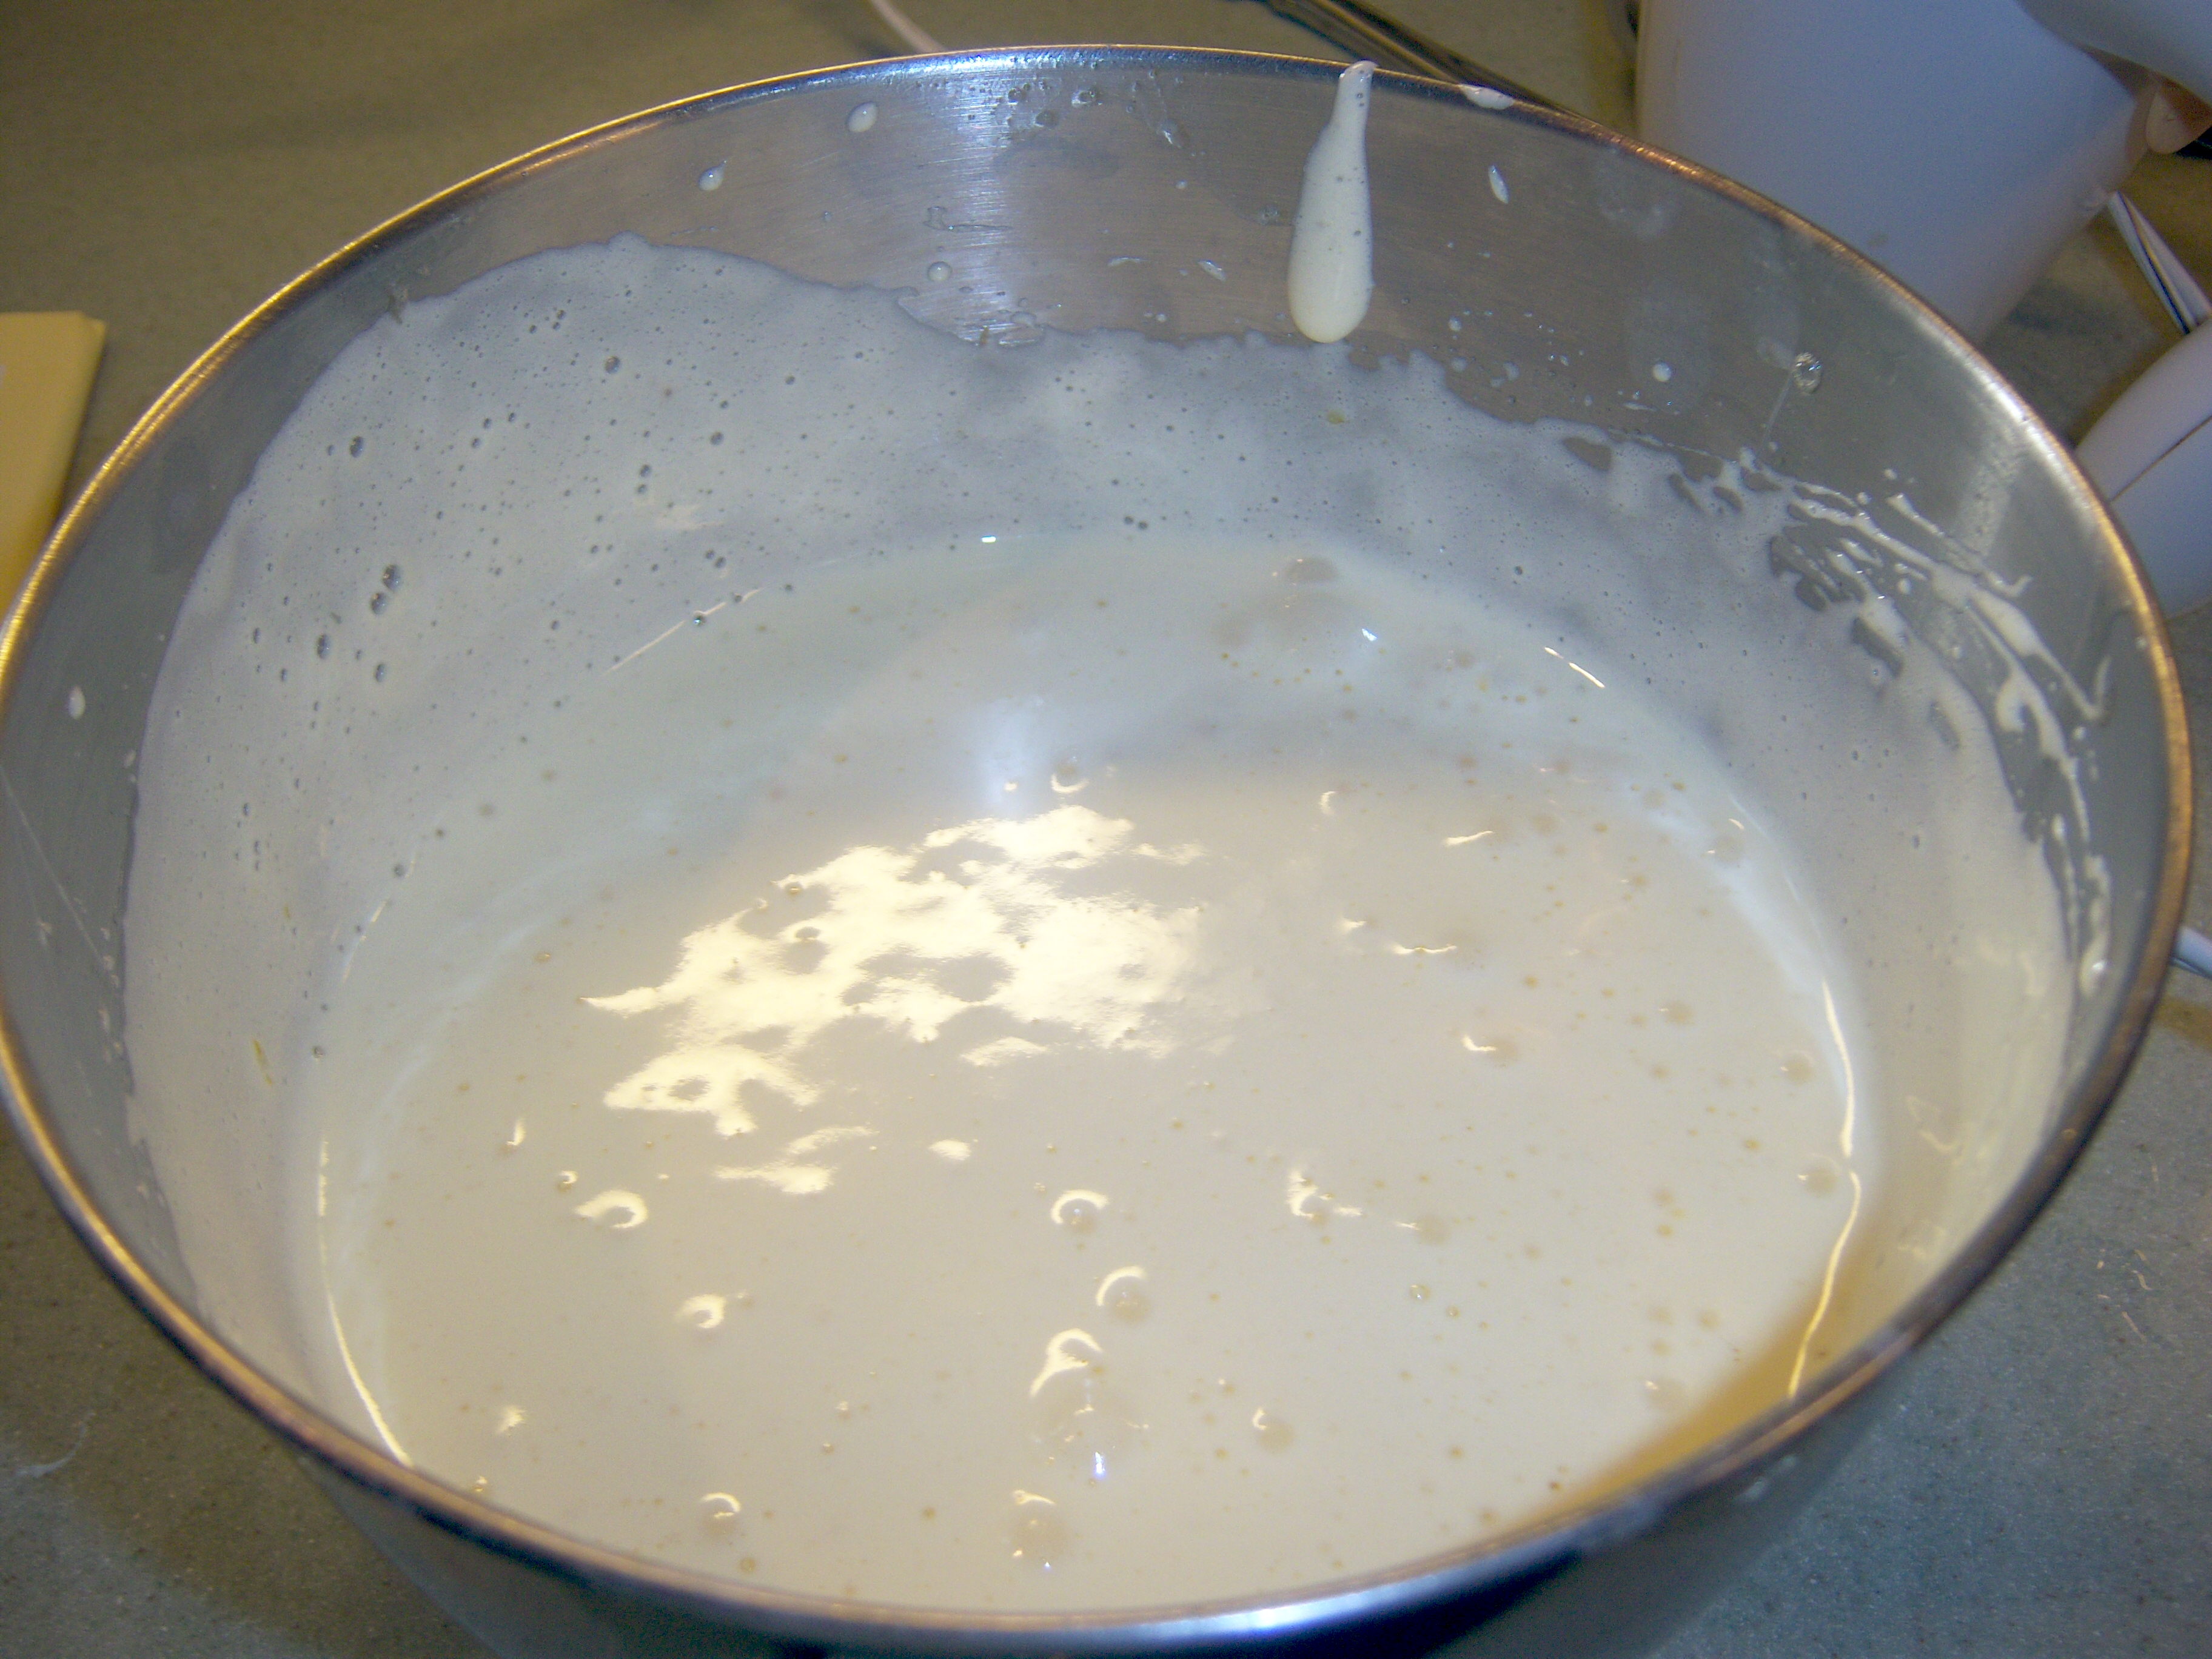
Beaten eggs

Beaten eggs

The first step is to cook the eggs and sugar over hot water until the sugar dissolves and the mixture is warm. I whisked it and it quickly came up to temperature. Next step, you beat the heck out of the eggs. It takes a few minutes but they turn almost white and increase in volume. They get very thick, like cake batter. It was actually an interesting transformation to watch.

After you’ve got your eggs ready, you sift in the dry ingredients. This cake

Dry ingredients sifted in

Dry ingredients sifted in

actually has almost nothing in it – eggs, sugar, flour, butter,  and cocoa powder (I was making the chocolate).  Once they’re in the bowl, you fold them in carefully. The trick is to keep your eggs inflated. I was a little worried here – my batter did deflate significantly once I

Completely folded

Completely folded

had it all folded in.  Once you’ve got it folded, you drizzle your melted butter down the sides of the bowl and fold that in too.

Then you pour your batter into a baking sheet that has parchment paper (sprinkled with cocoa powder) in it. I had some trouble getting the batter to spread. It was rubbery and didn’t want to smooth out. Finally I had it ready for the oven. this cooks

Ready for the oven

Ready for the oven

very, very quickly – 6 minutes in a 450 degree oven.

Once it’s done, you let it cool slightly in the pan.  While it’s still warm, you upend it onto a towel that is coated with cocoa powder. This seemed very, very weird to do (put a cake on a towel), but I did it.

My towel at the ready

My towel at the ready

Once you’ve got it on the towel, you cover it with parchment and roll it up. Martha says this will give the cake some memory of the rolling, so it will be easier to roll with the filling. You let it sit, rolled up, until it is cool. I was afraid rolling it was going to be hard, but it wasn’t.

The rolled jellyroll

The rolled jellyroll

The next step is to unroll it once it’s cool. I did this and discovered the end of my jellyroll had broken right off. Eek!

Jellyroll SOS

Jellyroll SOS

I forged ahead though. First I put strawberry jam on the roll. Martha says to put a rum mixture on the chocolate jellyroll, but I’m not into rum.  The recipe for the white jellyroll uses jam, so that’s what I did.  My jam had big hunks of strawberry in it. I think I would pick those out next time – the lumps didn’t work out so well. Next I made whipped cream and smoothed that on.

Sarah Carey cautions to keep your filling 1/4 of an inch away from the sides. Good advice, I think. Otherwise it will all smoosh out the sides.

The filling

The filling

The next step is to roll it back up. I tucked the broken edge into the inside. It rolled up pretty easily. Some whipped cream did smoosh out at the very end. Martha says to wrap it back up in your towel and clip it so it will stay tight. You refrigerate this for half an hour to three hours. I recommend going closer to three hours to really get it set nicely. I was afraid it was all going to unroll when I took it out, but it didn’t.

I really recommend you trim the ends of the roll before serving. As you can see in the photo, it looks a little messy and not so pretty on the ends.

I was worried that it would be hard to slice – that it would smoosh all over when you cut it. No problems there either. The slices came off very nicely. The roll is very firm and simple to slice.

Plate o' happiness

Plate o' happiness

What a pretty dessert this is! I loved the pink jam next to the white cream. It looked like a Ho-Ho. How’d it taste? Yummy! I thought it was going to be dry – the cake did seem a little dry when I was rolling it. The jam and cream really soak in and soften it. You get a wonderful mouthful of chocolate, cream and jam and my, oh, my it was heavenly. It feels very light, so you don’t feel like you just ate a big, heavy piece of cake.

Martha – I am sorry I doubted you on this! Why don’t more people make this dessert? It’s wonderful. It wasn’t really all that hard to make at all. Getting the eggs right was intimidating, but I really think anyone can do it.

If Martha had provided instructions on how to make this into a buche de noel, I would have done that (and that would have been seasonal), but she didn’t. It’s just as well – fooling with meringue would have sent me over the top.

The finished roll

The finished roll

On the latest cooking school, Martha and Sarah made a jellyroll, also called a genoise. I’ve heard of both of these terms, but didn’t really know what they meant. This is, essentially, a very thin cake that is rolled with filling inside it. Now, before we dive in here, if I could take a moment … Read more

For the past few years, I have done a wet brine for my Thanksgiving turkey. My brine usually includes salt (obv, as my teen would say), cider, sugar, lemon juice, lemon slices, orange slices, and some Williams Sonoma Turkey Brine mix Mr. MarthaAndMe bought me for Christmas one year.  I’ve experimented with adding brown sugar or molasses. I’ve had great success with brining. It creates a moist and flavorful turkey. It’s well worth the effort. Martha said on her show Tuesday that this is the year of the brined turkey. She said in past years people were all excited about deep frying their turkeys, but this year everyone is brining. Look at me, riding the trend!

In the past, I bought a Plainville Farms organic turkey from a butcher shop. This year, however, I bought an organic, free range turkey from my grocery store. It was $64 for a 19 pound turkey! Yowza!

In the November issue of Living, Martha has a recipe for a Dry-Brined Turkey, which she and Sarah Carey demo’ed on the 5th Cooking School lesson on her show (which I missed, but was able to catch most of online). I had never heard of a dry brine before this, so this is a new one for me. The scientific explanation for it that somehow the salt draws all the juices of the turkey to the surface which makes it juicier. I’m not chemist, but I’ll give it a shot. Martha says you must dry brine your turkey on Tuesday if you want it on Thursday (it needs to sit for 48 hours), so that was the plan.

Mr. MarthaAndMe and the cavity

Mr. MarthaAndMe and the cavity

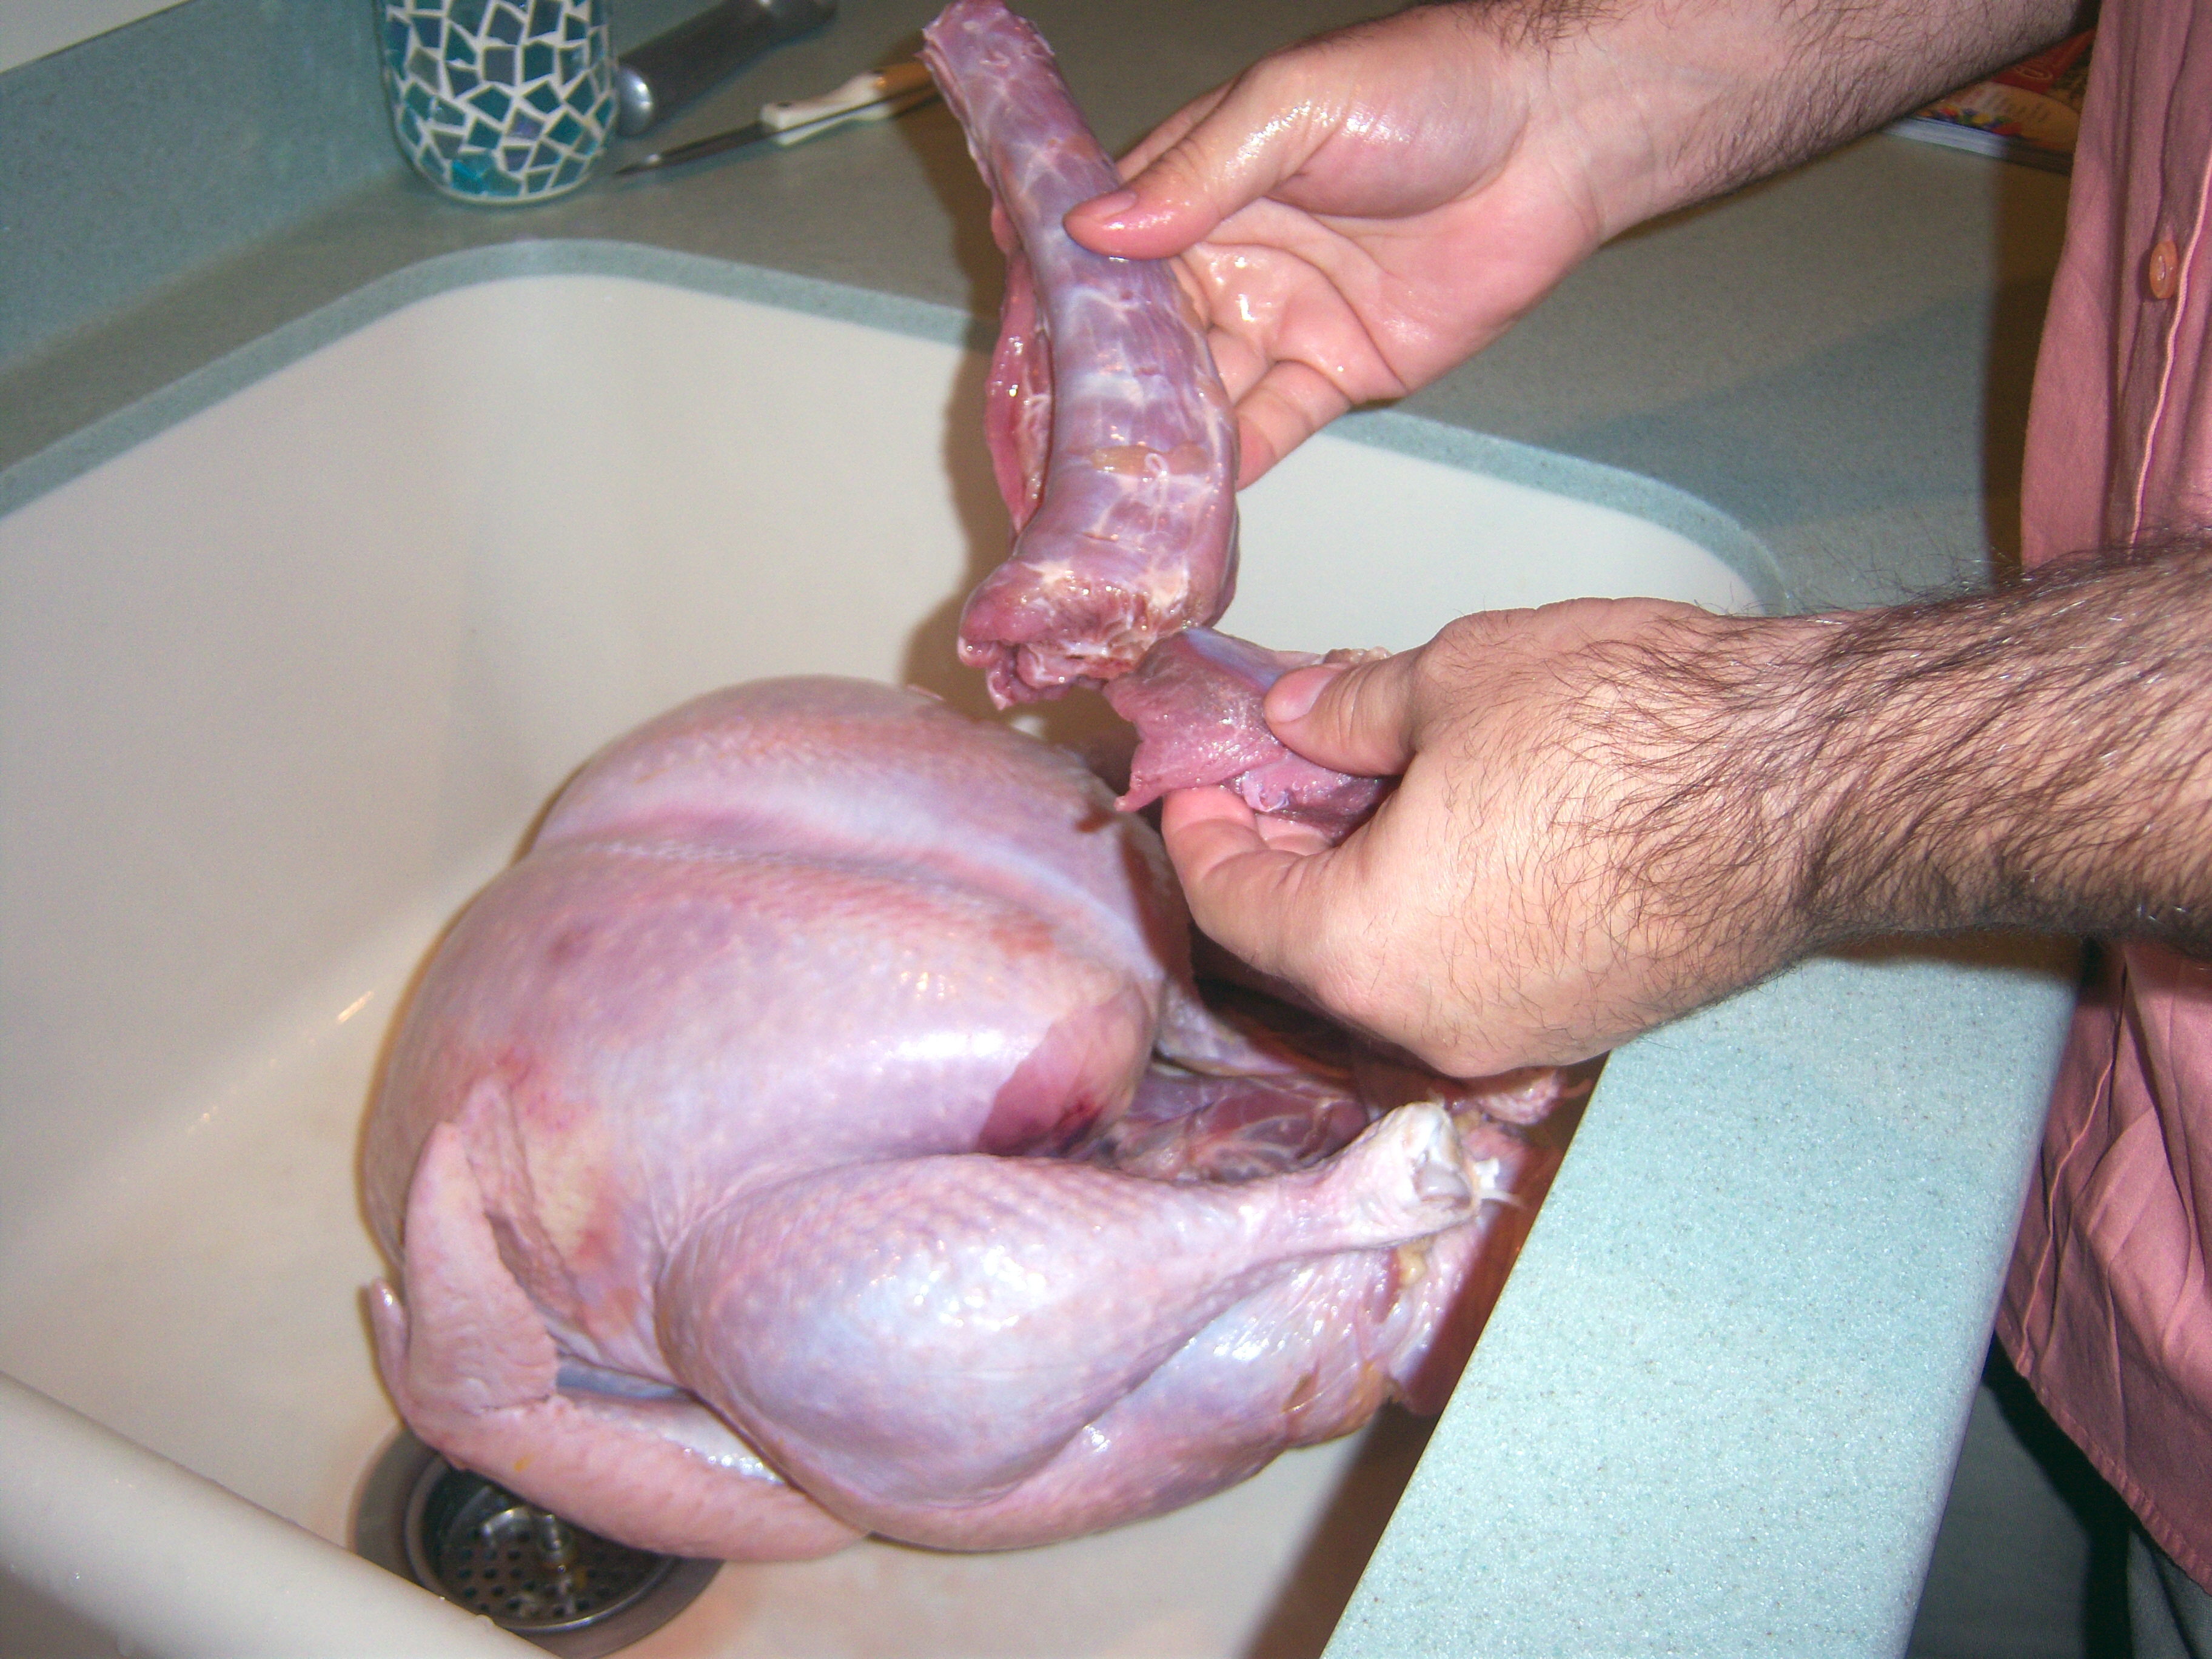
First step is to remove the giblets. Eww, gross. I hate those! Mr. MarthaAndMe was glad to step in and hold the turkey’s intimate parts for me. I love how Martha wears gloves to work with turkeys. I definitely could use those. One small glitch – this turkey had an actual feather still attached. Eeek! That did not make me happy! Mr. MarthaAndMe bravely plucked it out.

Next, you rinse the turkey off, inside and out. I understand the importance of this, but boy do I hate doing it. All I can do is imagine nasty turkey salmonella germs all

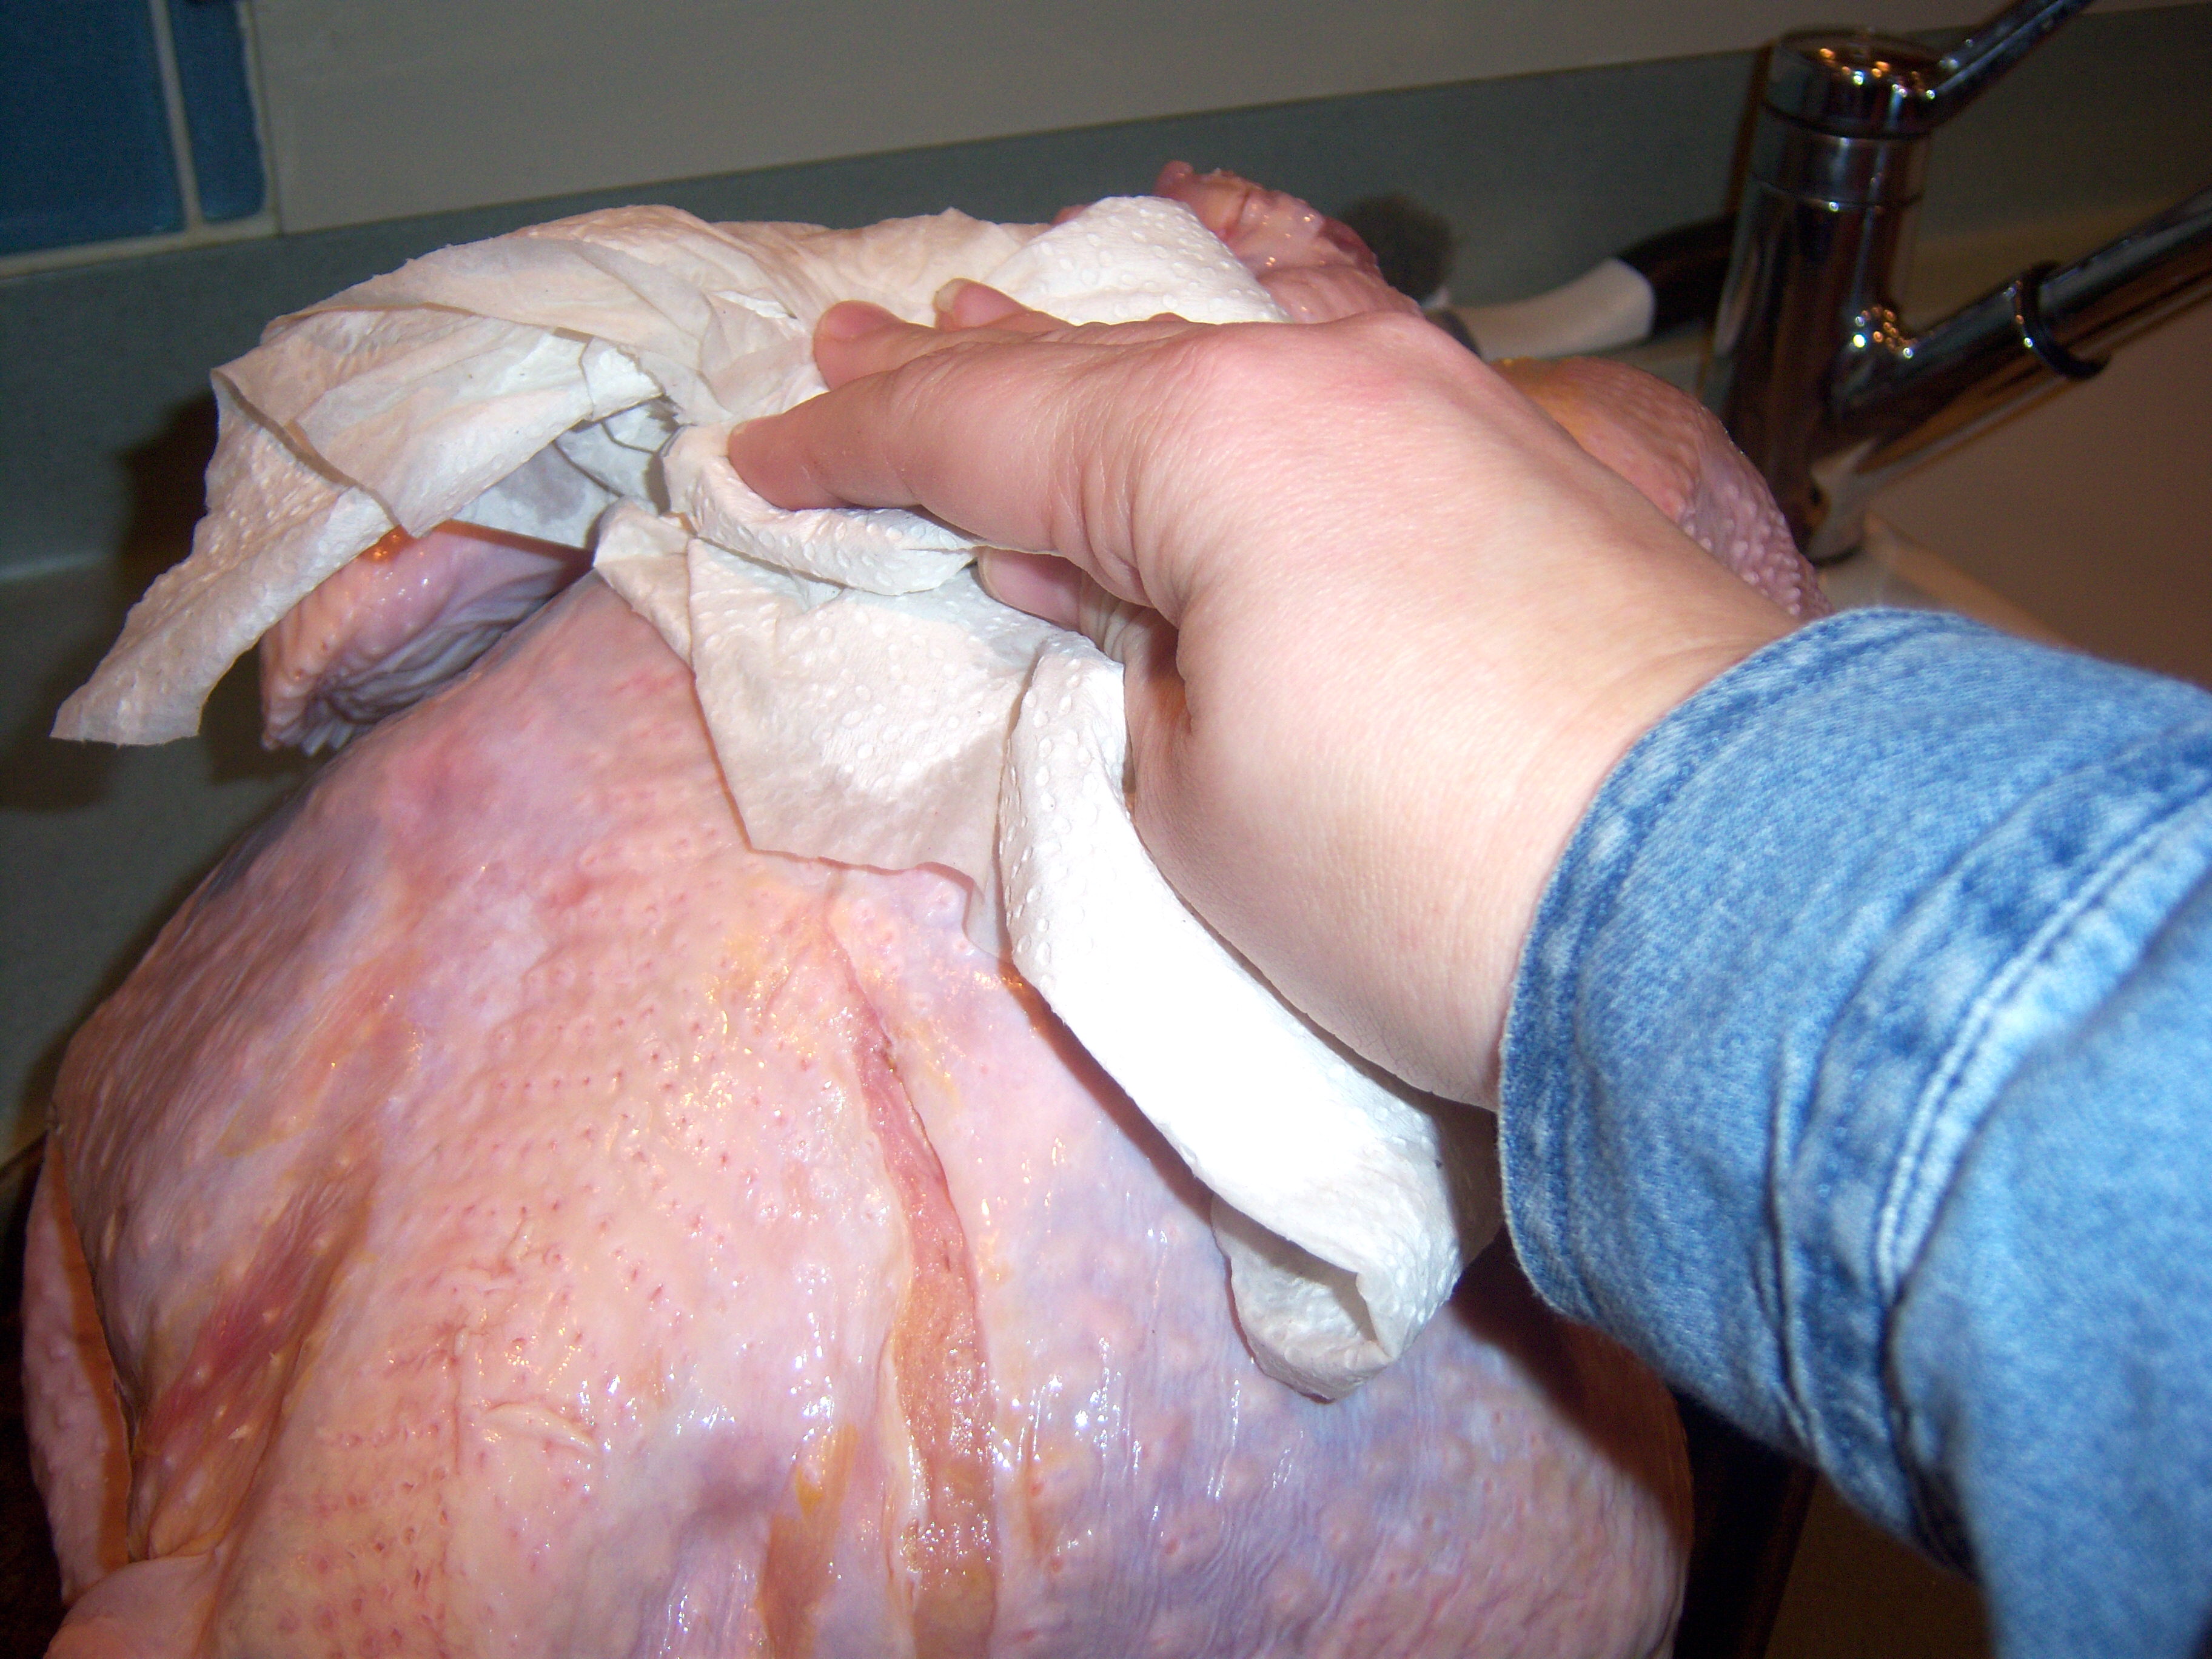
Patting Mr. Turkey Dry

Patting Mr. Turkey Dry

over my sink. Blech. (I know I do seem to have many issues when it comes to turkeys, don’t I?) There was some serious cleaning when this project was done I can tell you.

The next step is to pat the turkey dry. Ok, got that Martha.

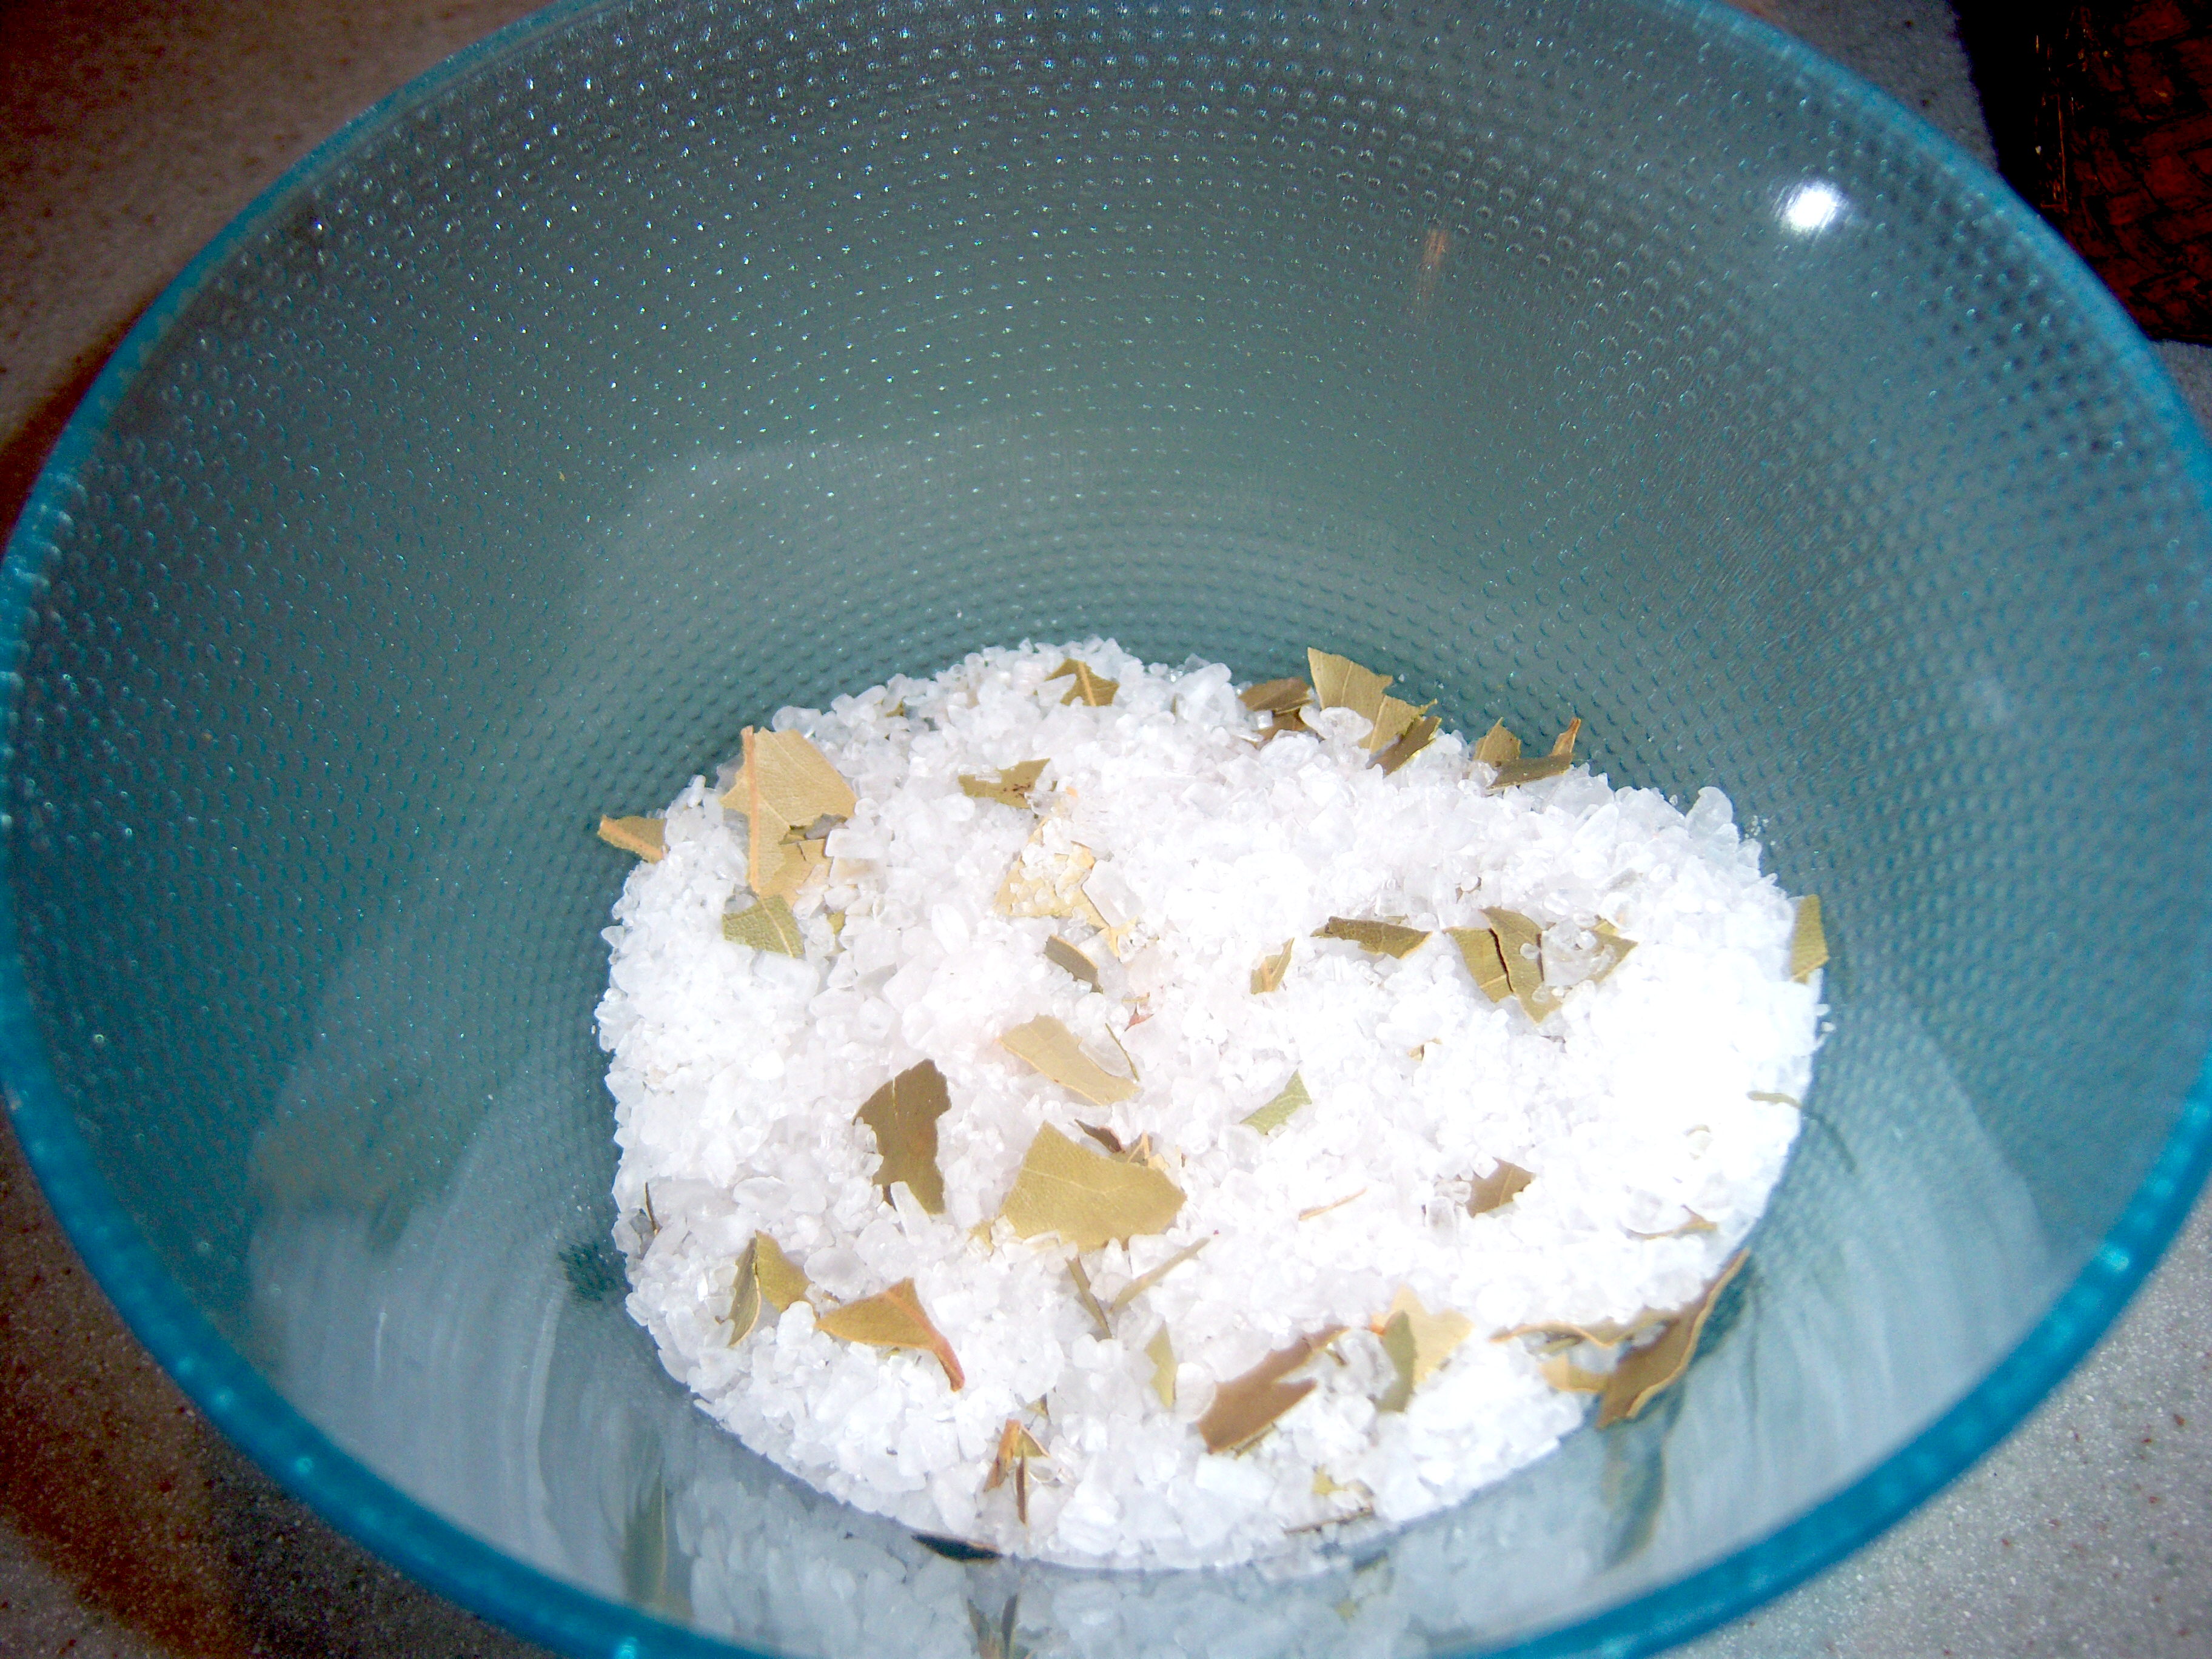
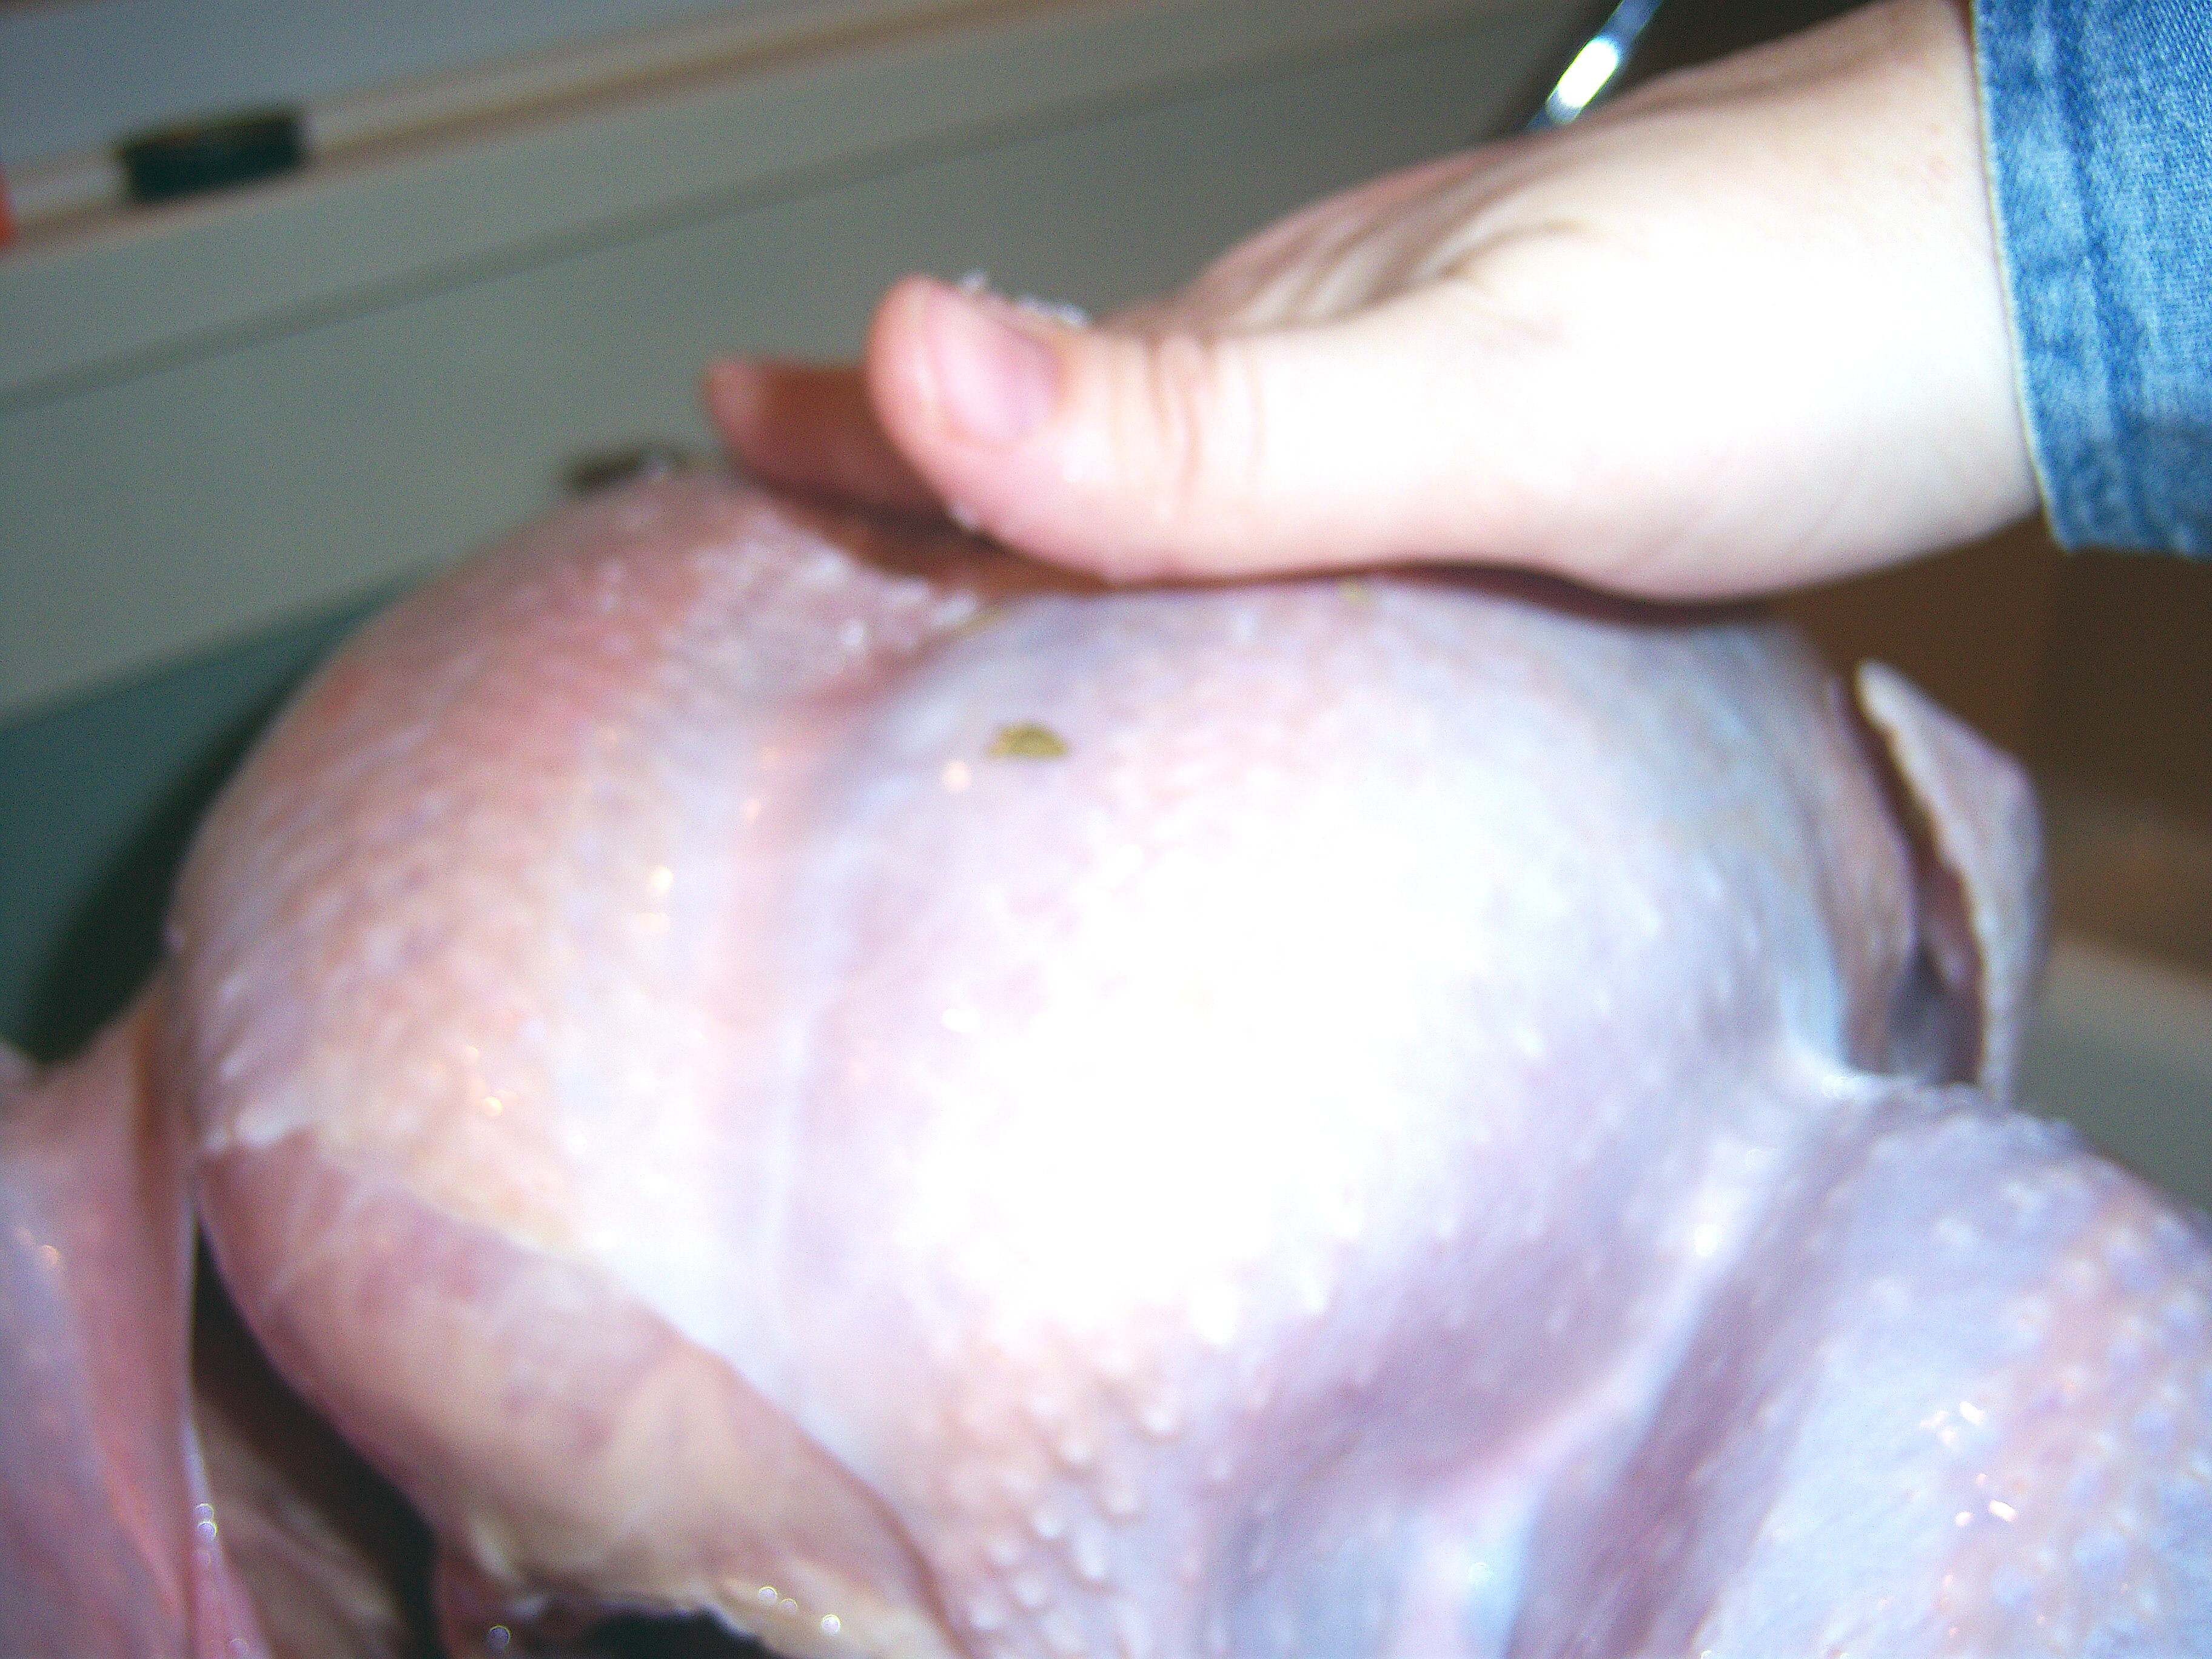
Then you rub the turkey, inside and out, with a mix of salt and bay leaves. I really expected there to be more in the mixture than that, but I’m doing what Martha says. This was harder than it sounds. Since I patted Mr. Turkey dry, the salt and bay leaf stuff didn’t want to stick to him at all. I kept rubbing it on and it kept just rolling off.

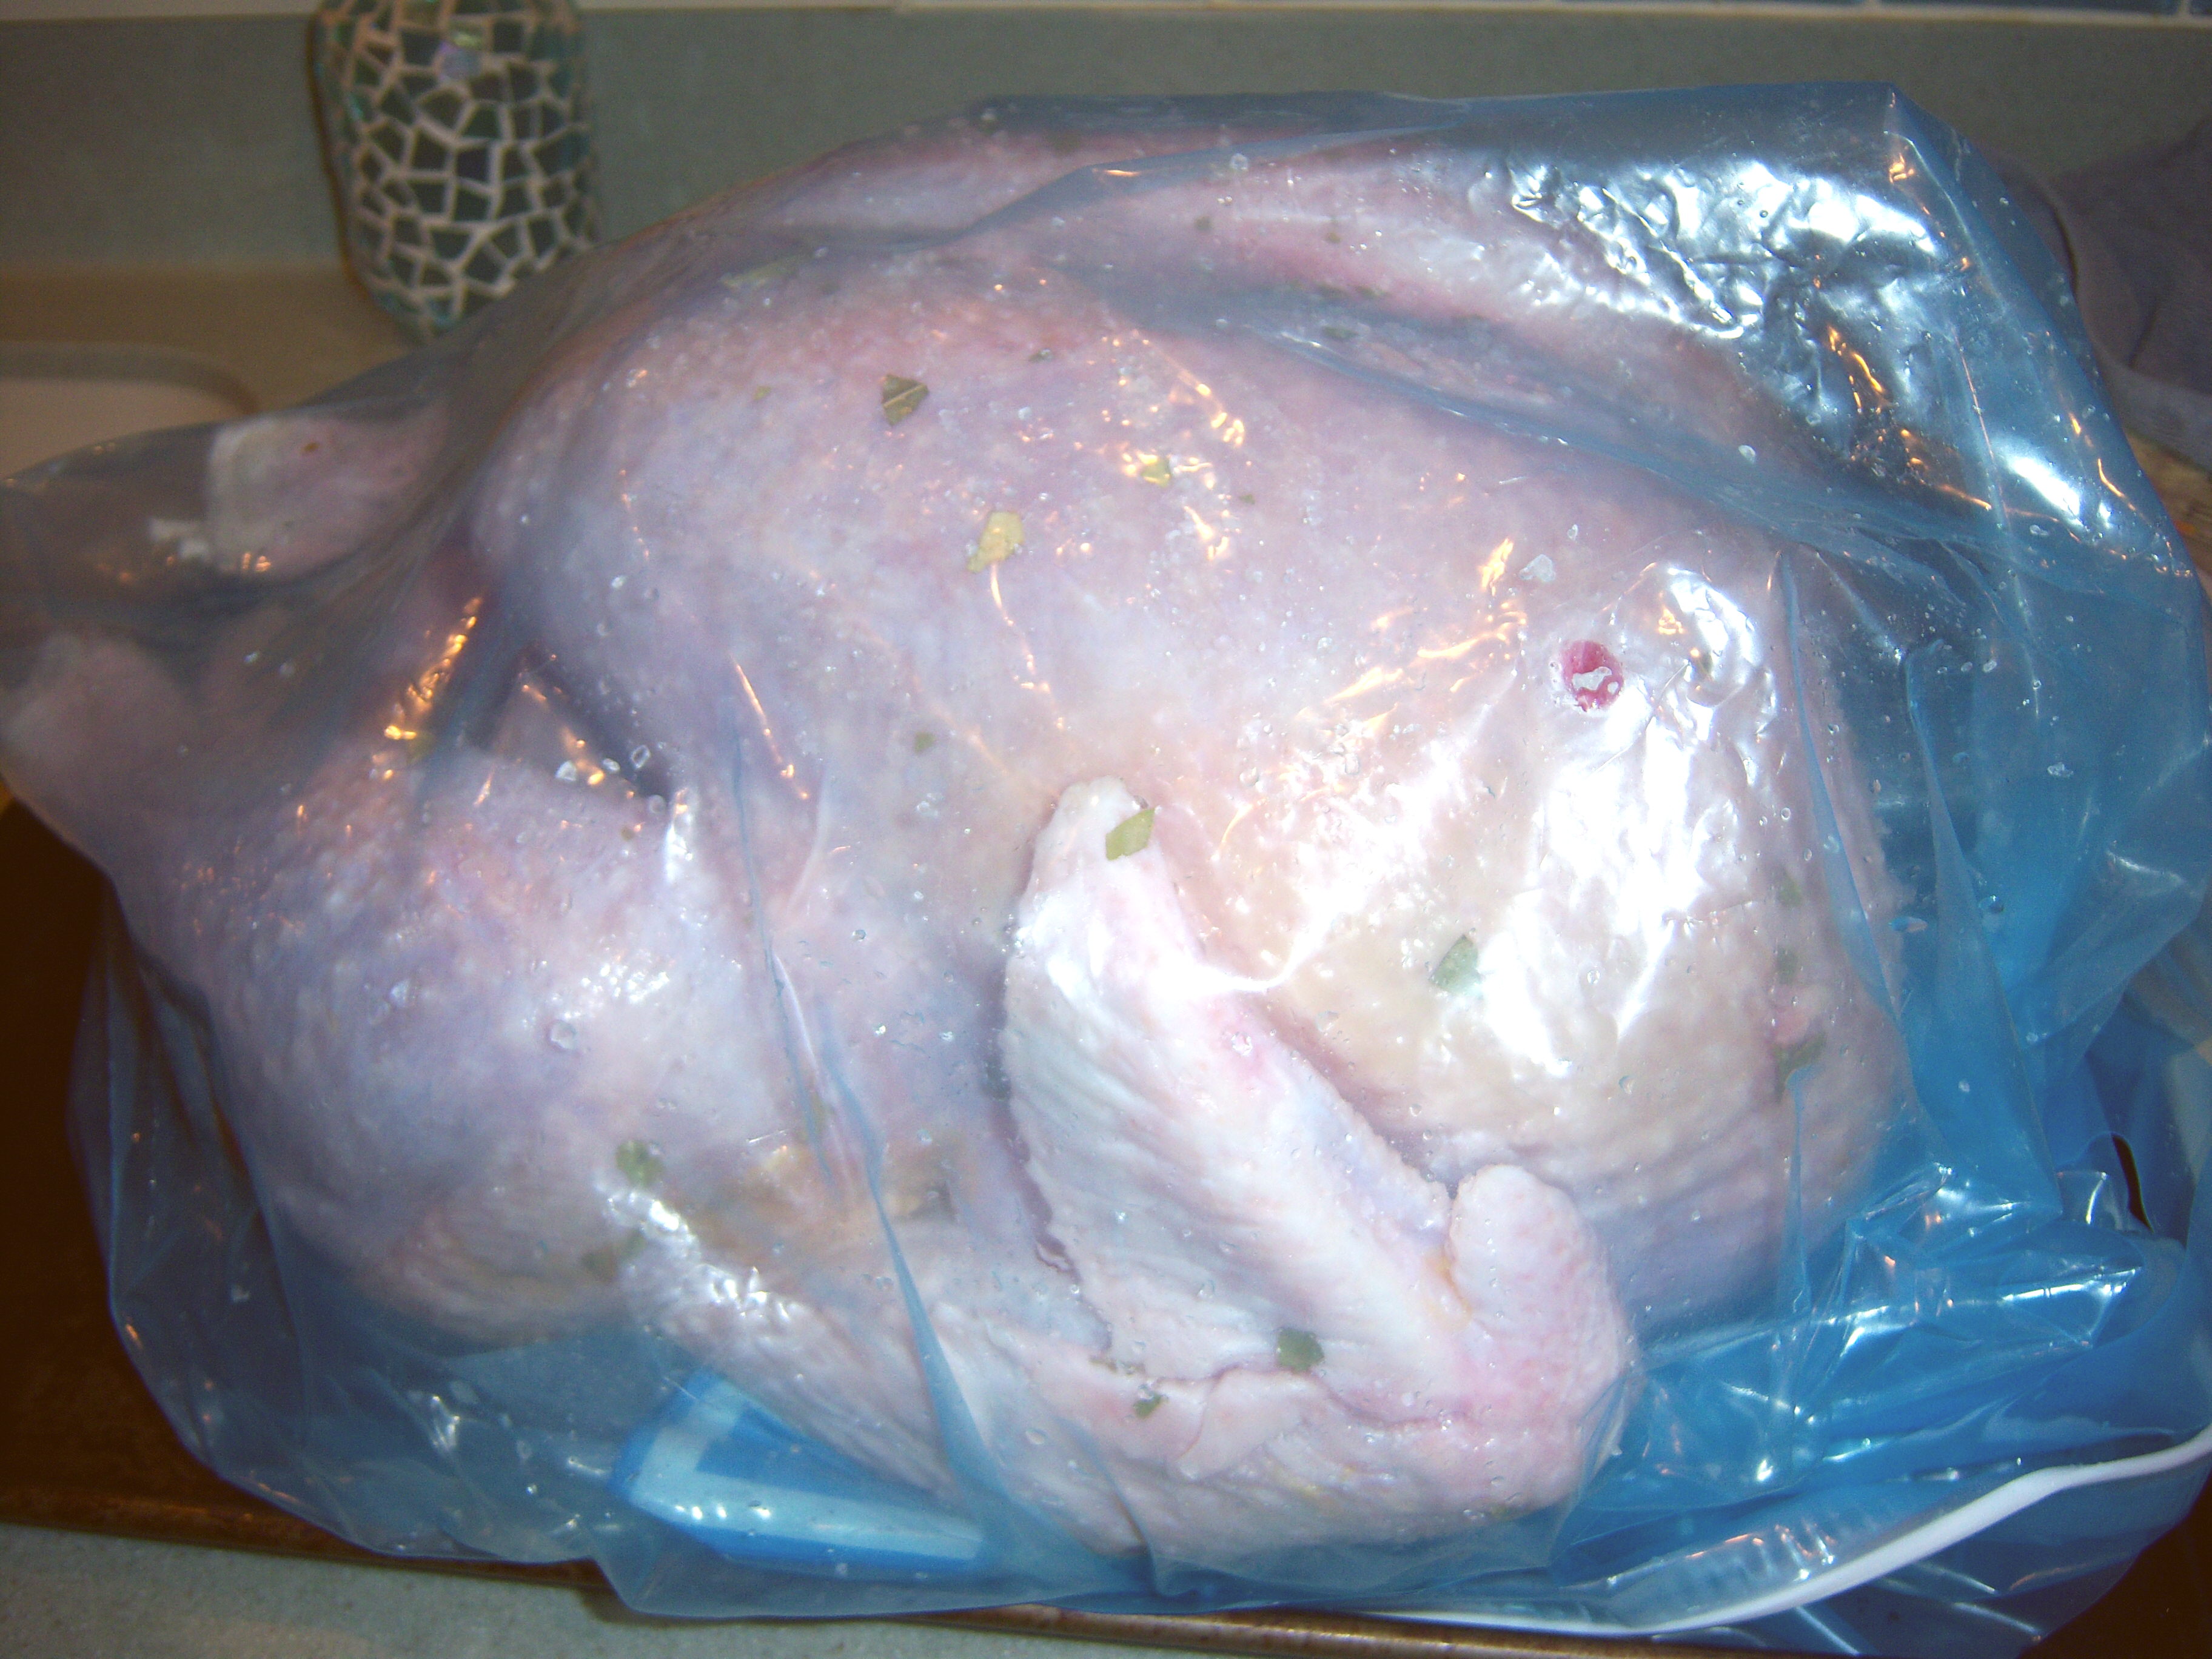
Then you put the turkey-lurkey in a bag and get the air out and refrigerate until

Dry Brine

Dry Brine

Thanksgiving day. Martha says to use an oven bag. I cheated and used a giant size Ziploc. I got all the air out and tucked the zippy part underneath.

I’m a little nervous about this! I’m used to my wet brining approach, so I’m worried this won’t be as good. All I can do is trust in Martha. As always, I do enjoy trying something new, so I’m definitely game. I’ll report back after turkey day as to the results! I’m sure there are others of you out there trying this method too, so I’m interested to hear your results also.

Turkey massage

Turkey massage

Turkey in a bag

Turkey in a bag

For the past few years, I have done a wet brine for my Thanksgiving turkey. My brine usually includes salt (obv, as my teen would say), cider, sugar, lemon juice, lemon slices, orange slices, and some Williams Sonoma Turkey Brine mix Mr. MarthaAndMe bought me for Christmas one year.  I’ve experimented with adding brown sugar … Read more

I’ve only completed half of this cooking school lesson so far. Martha and Sarah Carey made chicken piccata (to demonstrate sauteing) and then an Indian spice yogurt marinaded chicken that was pan-fried. I’ll get to the second one at a future date (or not since I’m not a big fan of spicy Indian food).

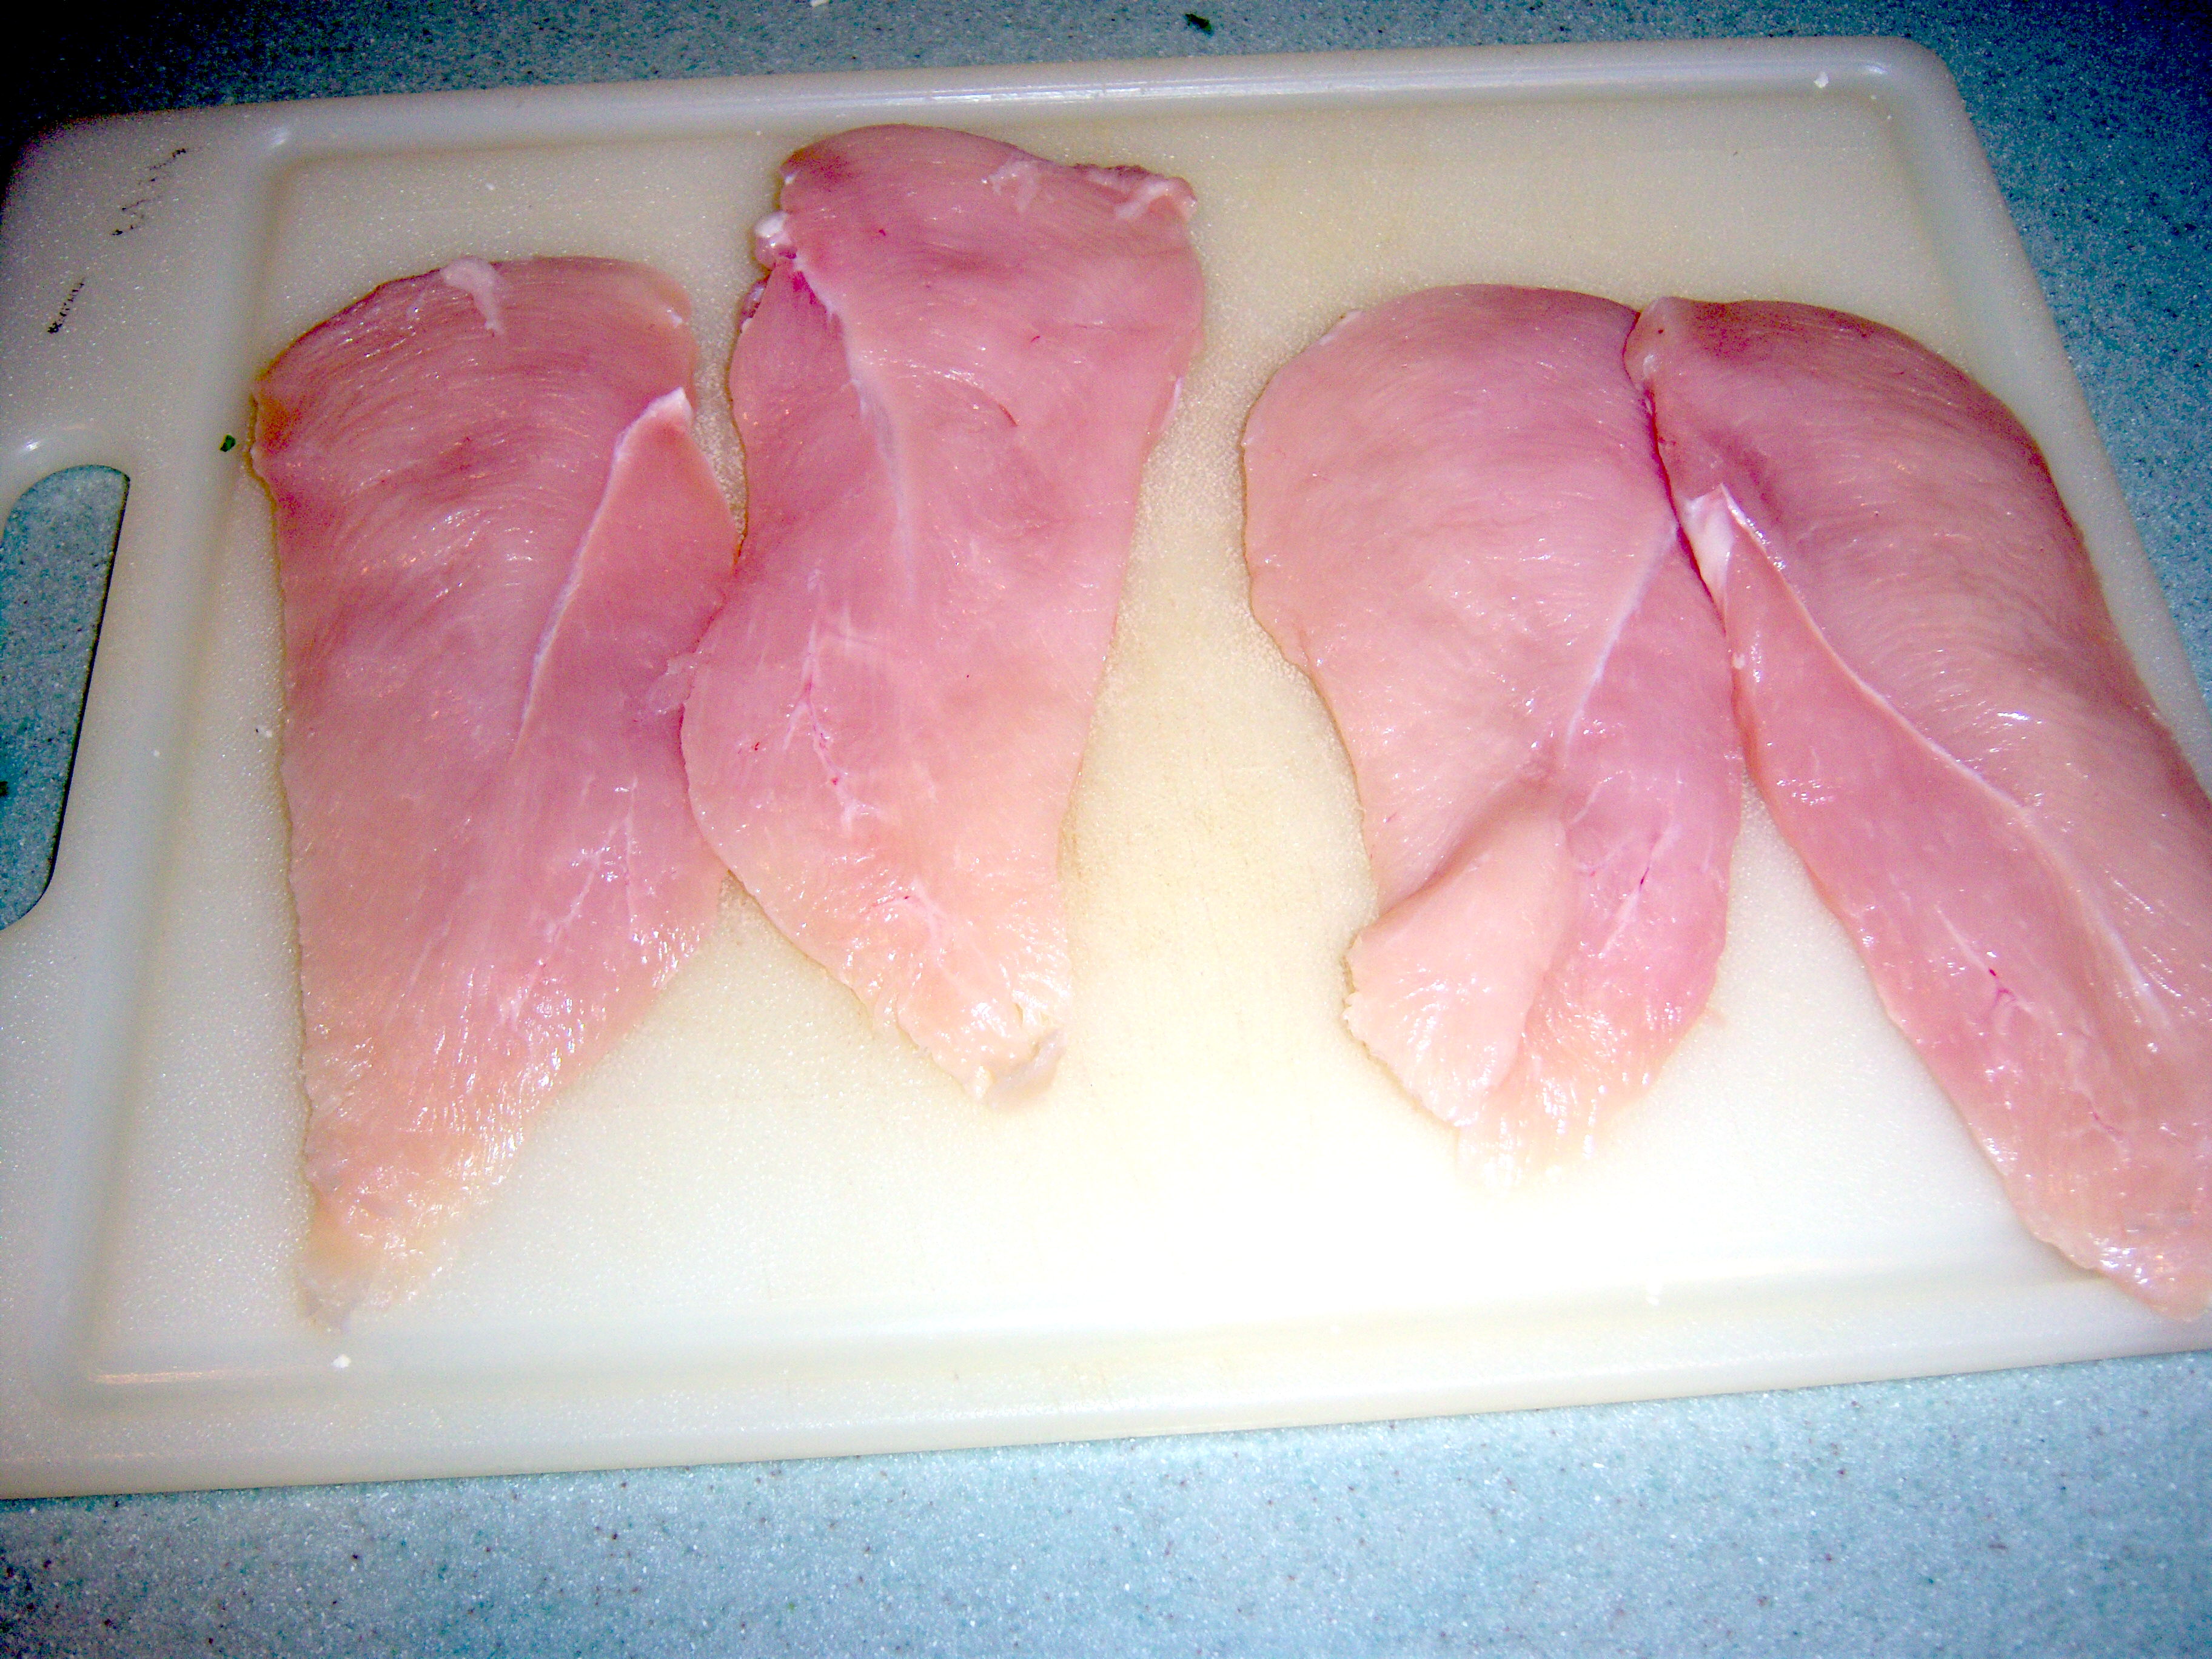
Cutlets

Cutlets

The first step in this

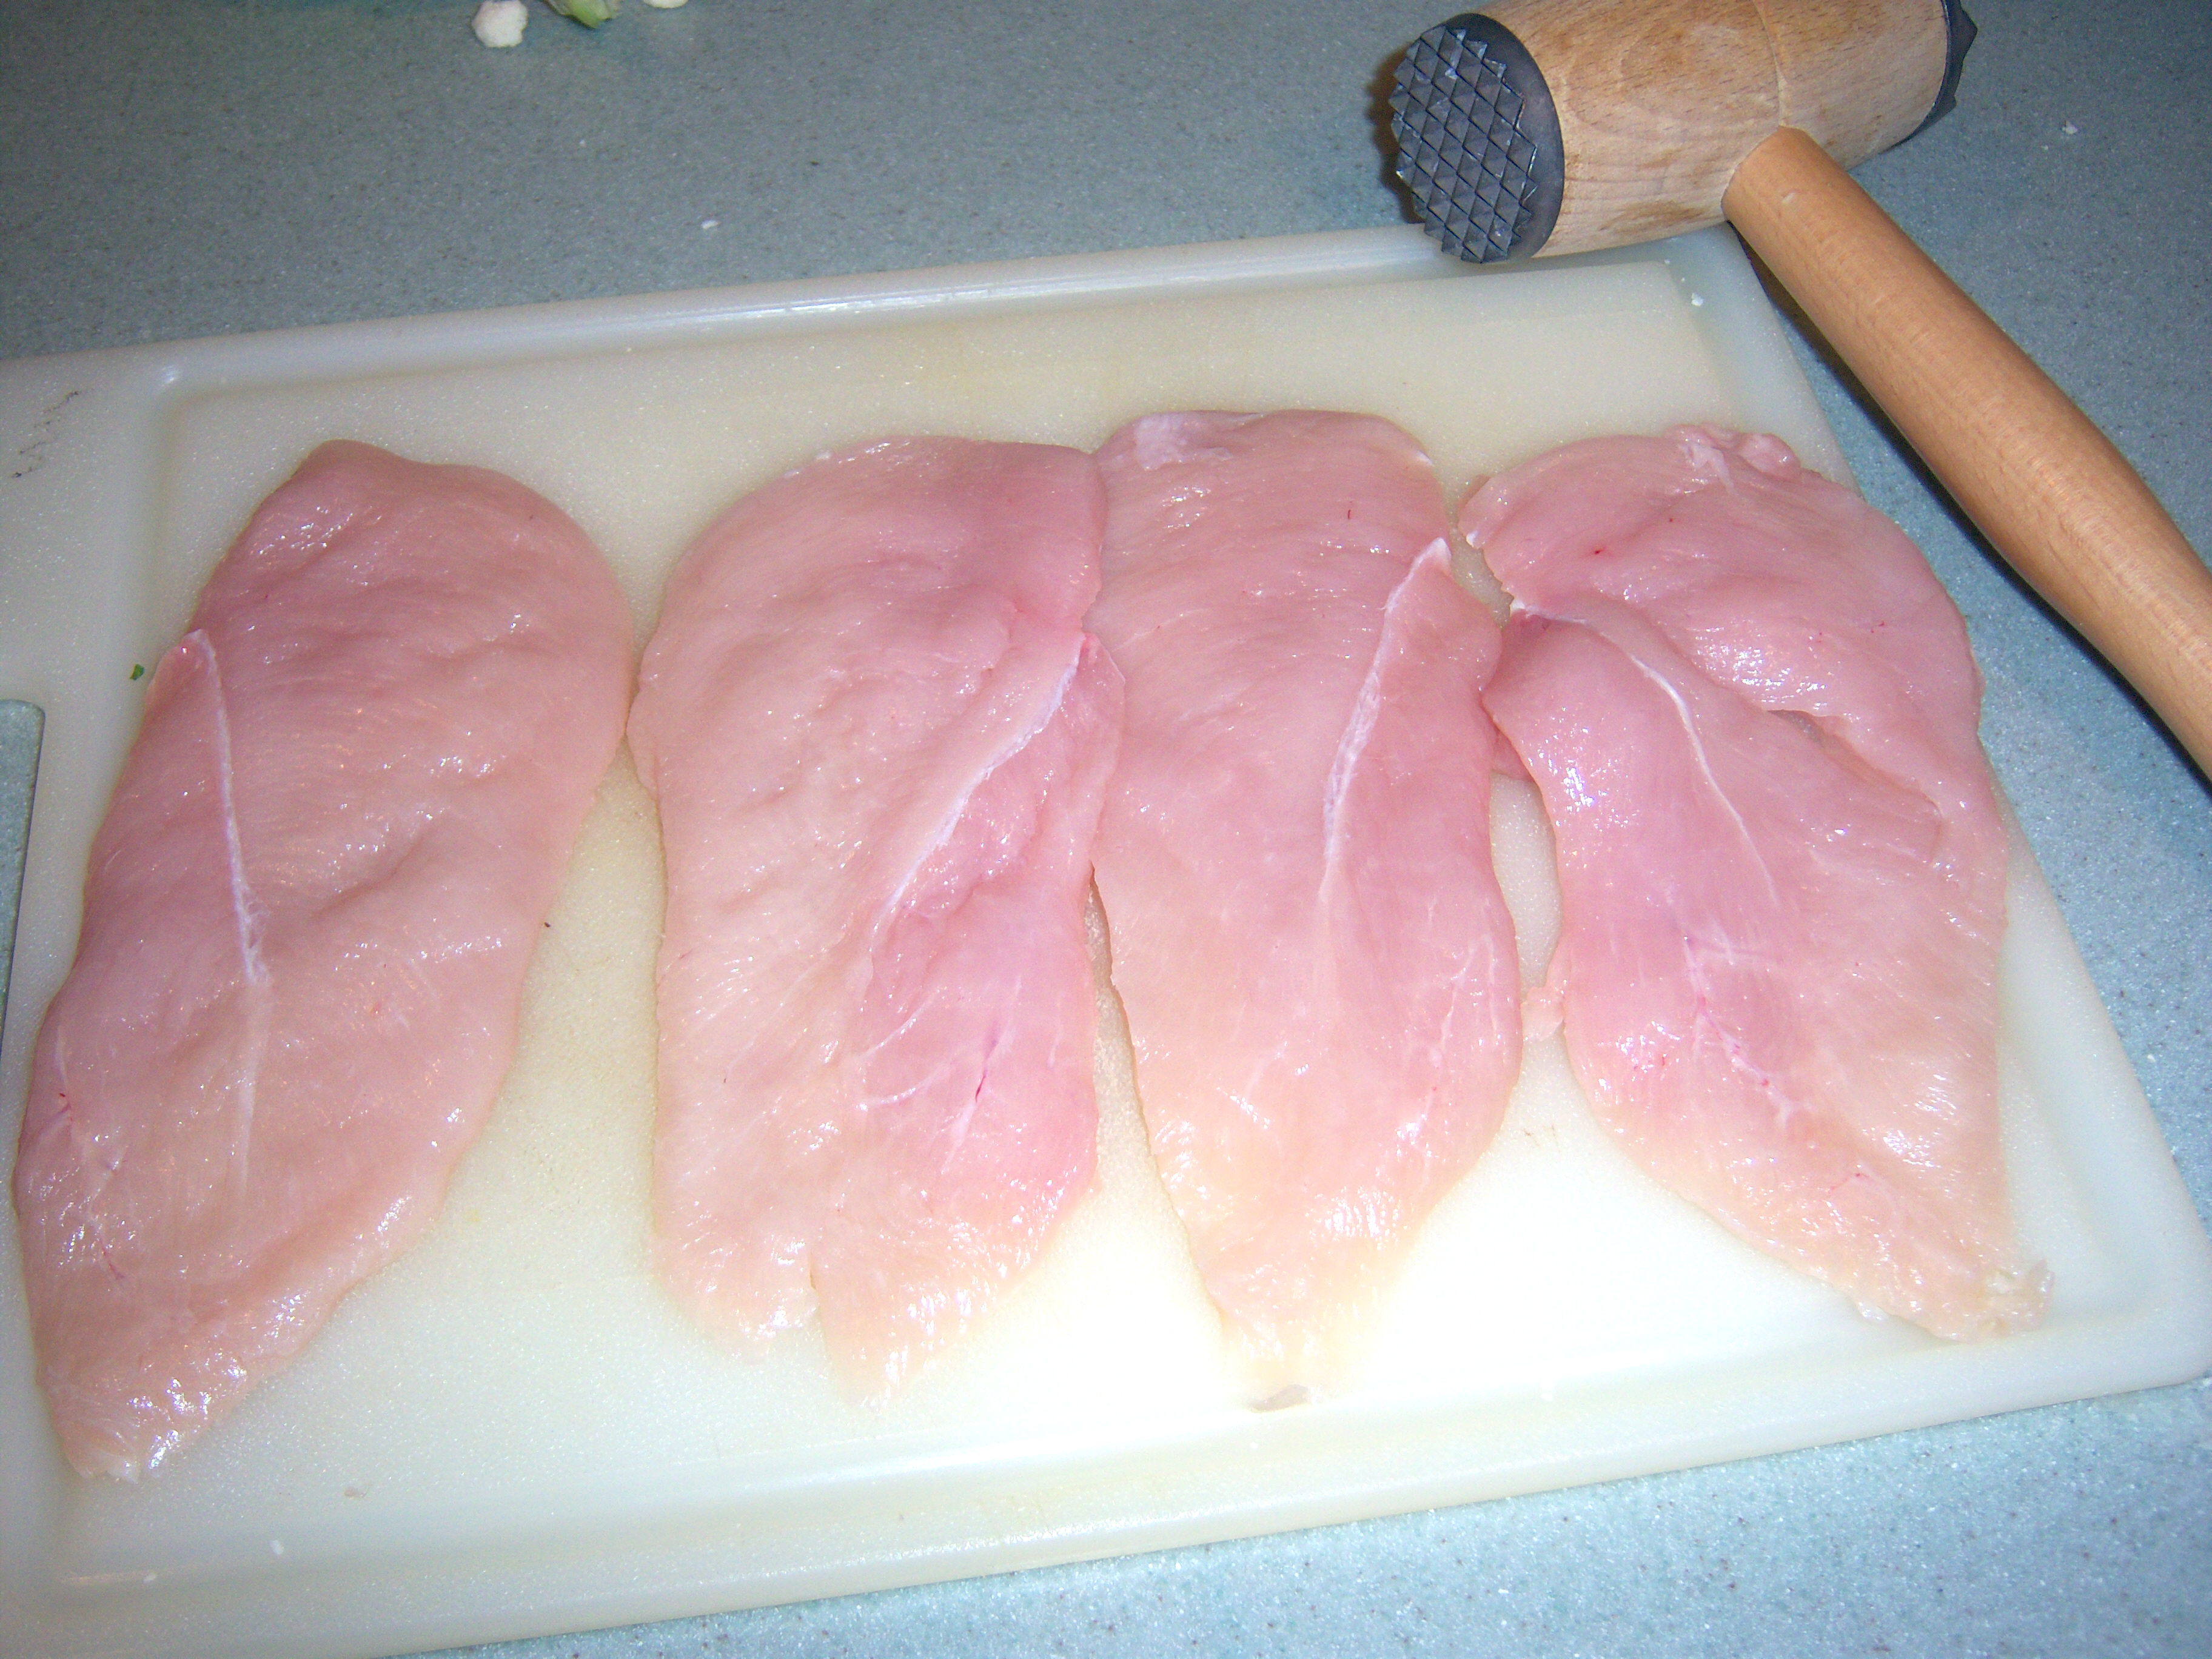
Cutlets pounded

Cutlets pounded

was to make chicken cutlets. I must confess, I never knew what that was really! I just thought it was a chicken breast that was pounded thin. I had no idea you were supposed to cut it in half, to reduce the thickness. Color me ignorant on that. I was a little apprehensive about cutting the breasts in half, but it was super easy. They came out evenly and there was no anxiety necessary!

Next you are supposed to pound the cutlets to make them thin. Martha uses a metal mallet. My mom always used the side of a wooden tenderizer mallet and that’s what I use too (don’t worry – I cover the breasts in plastic so the wood does not get contaminated – no salmonella for this family). This was no problem to do either.

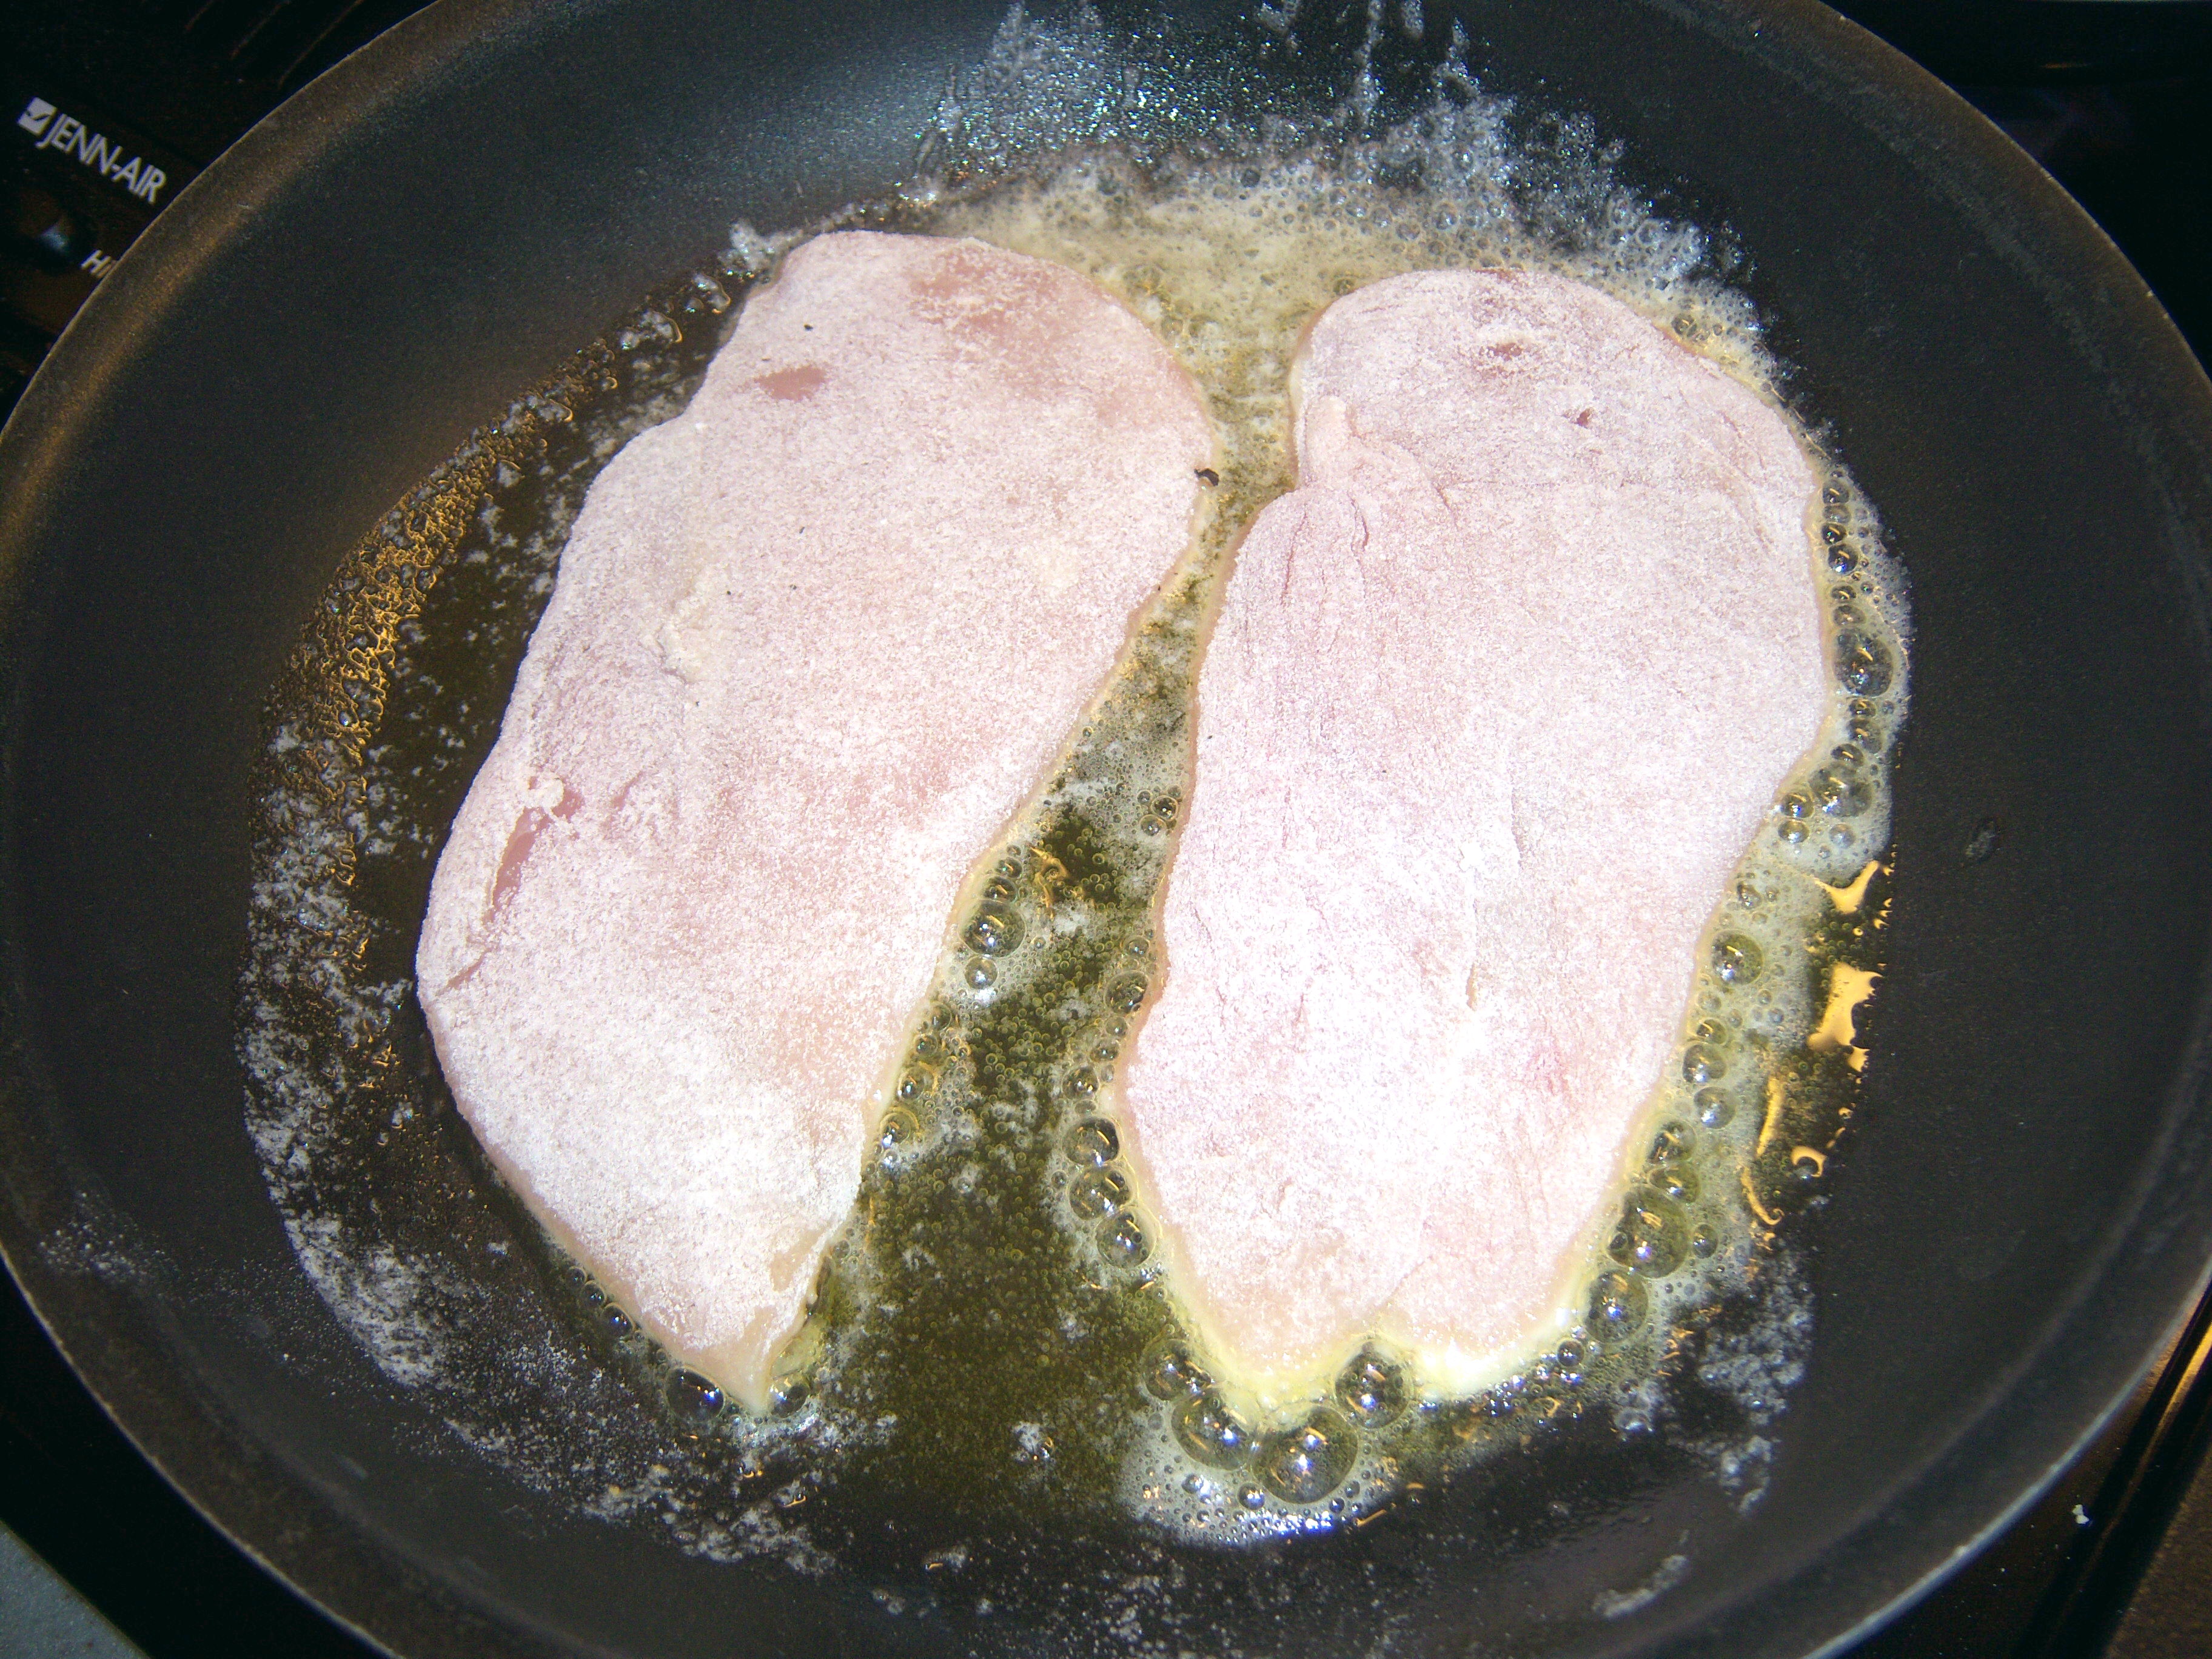
Cooking.....

Cooking.....

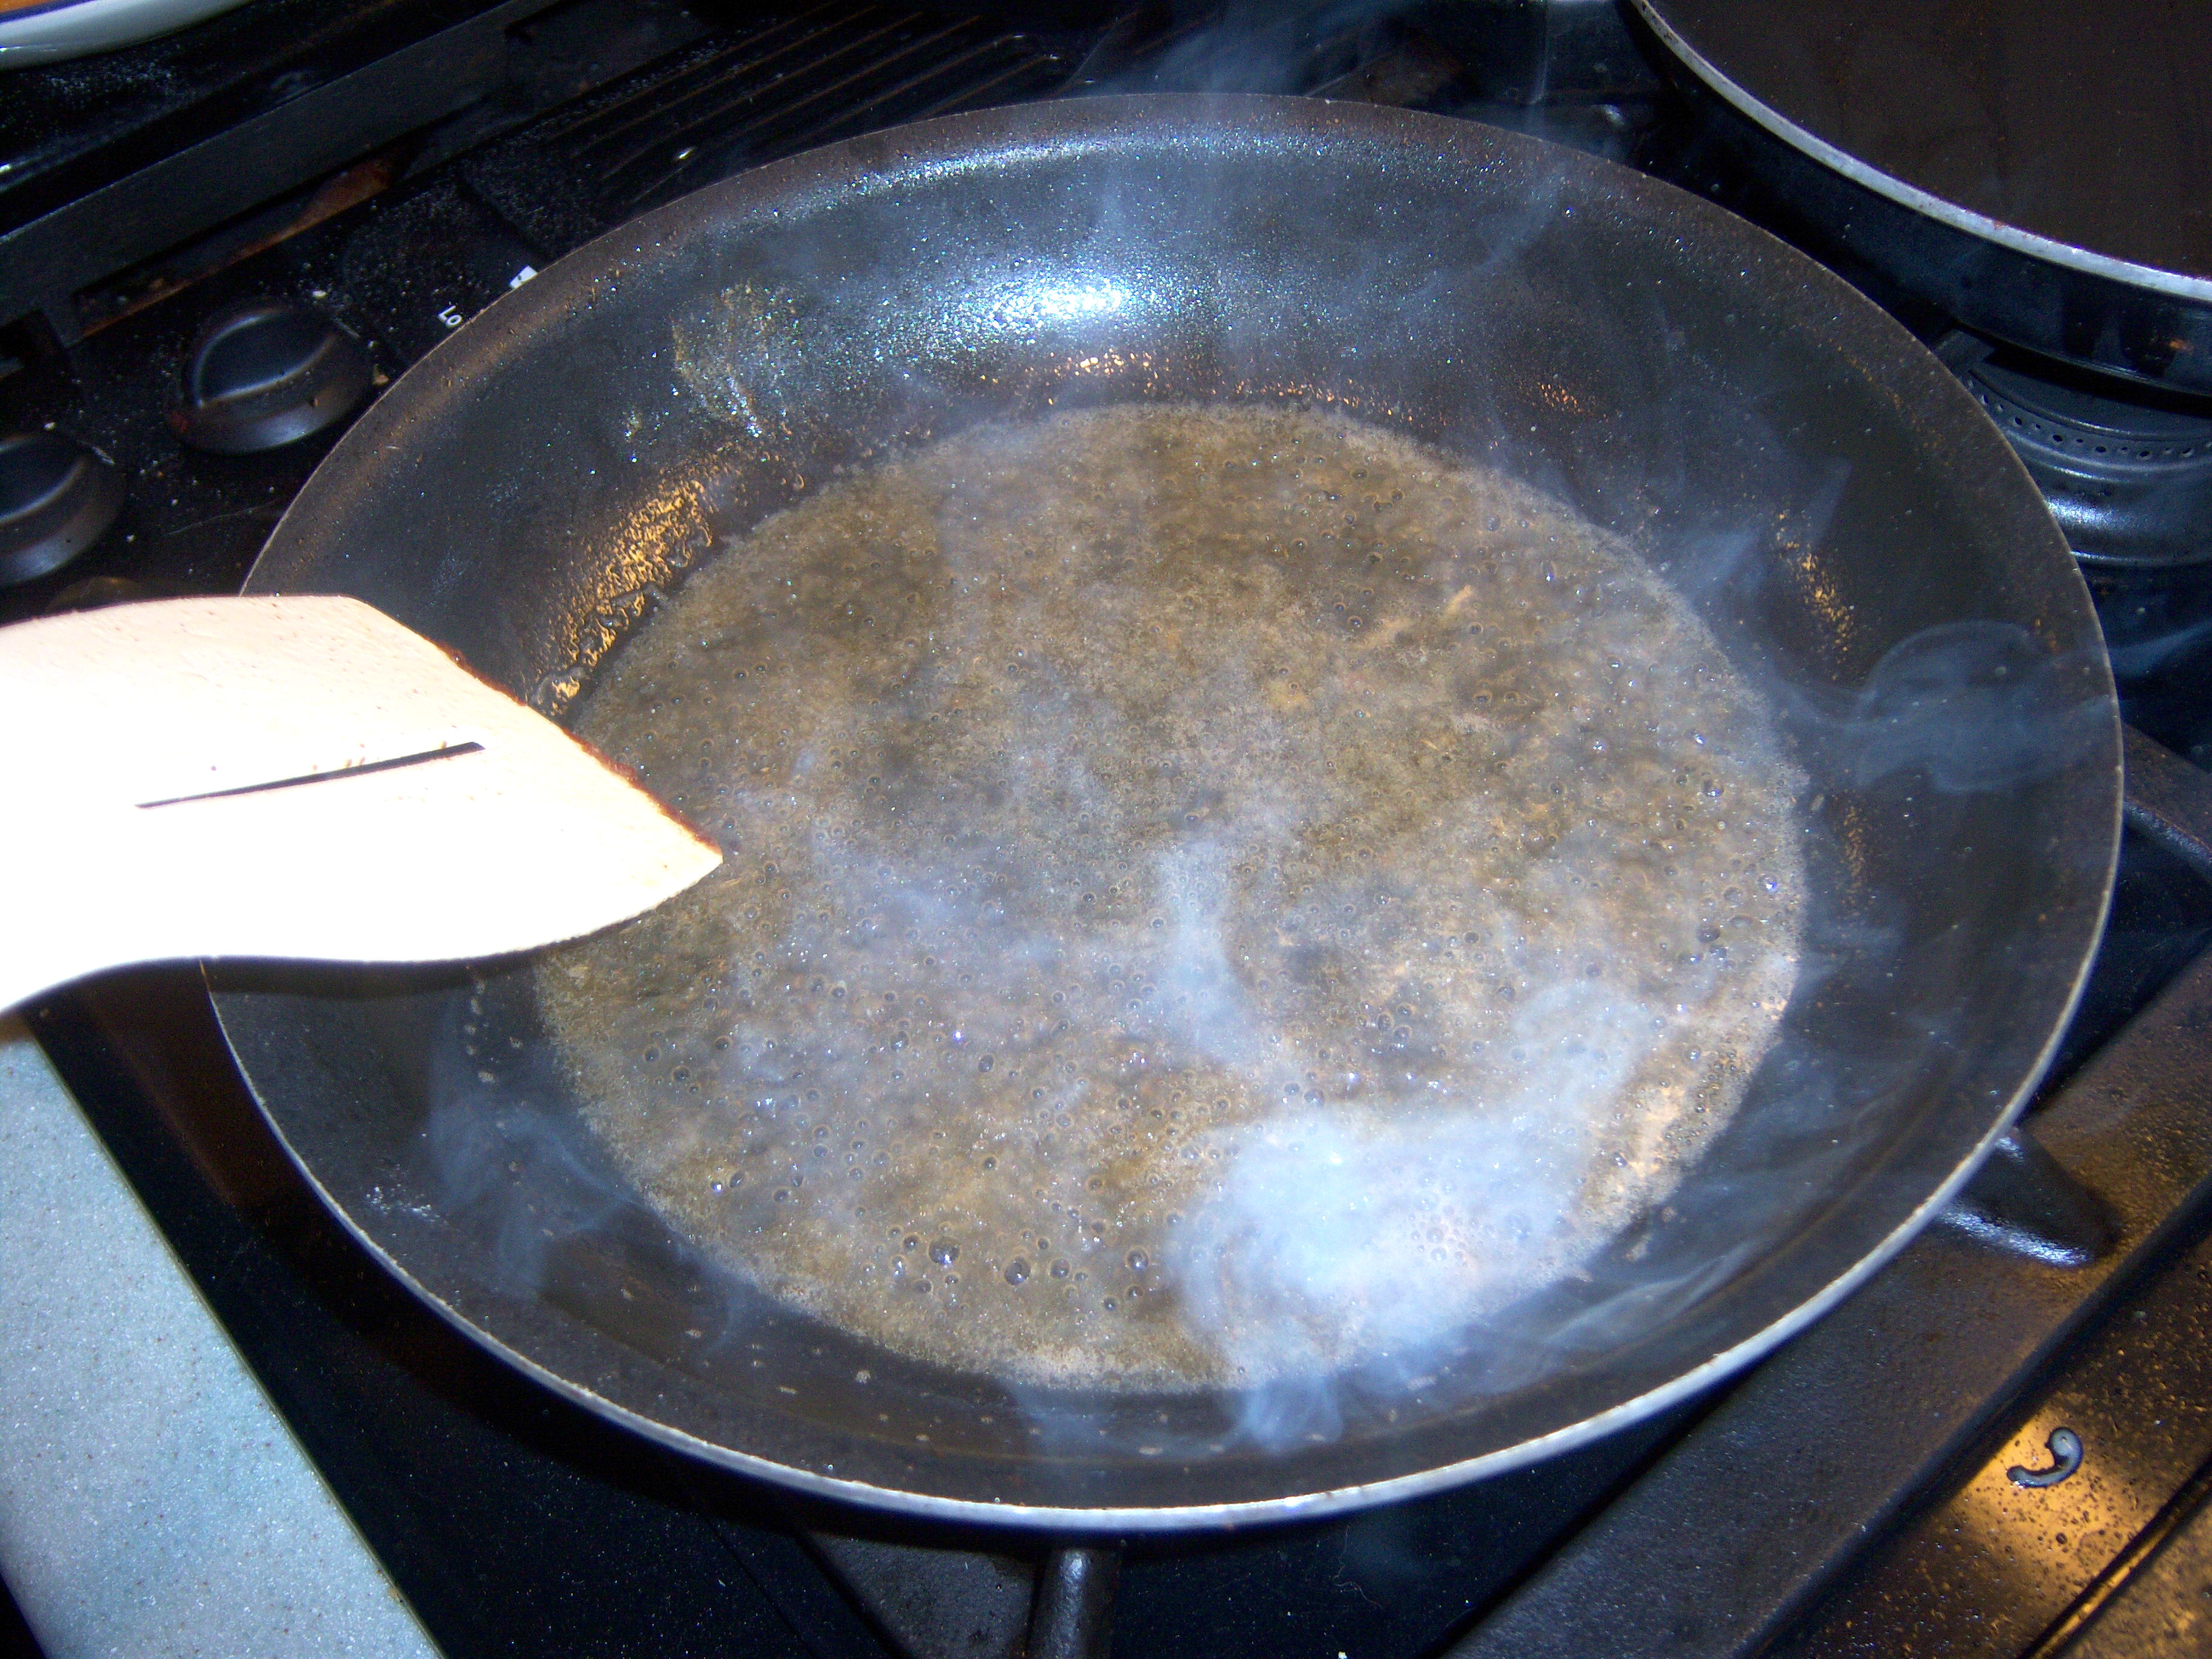
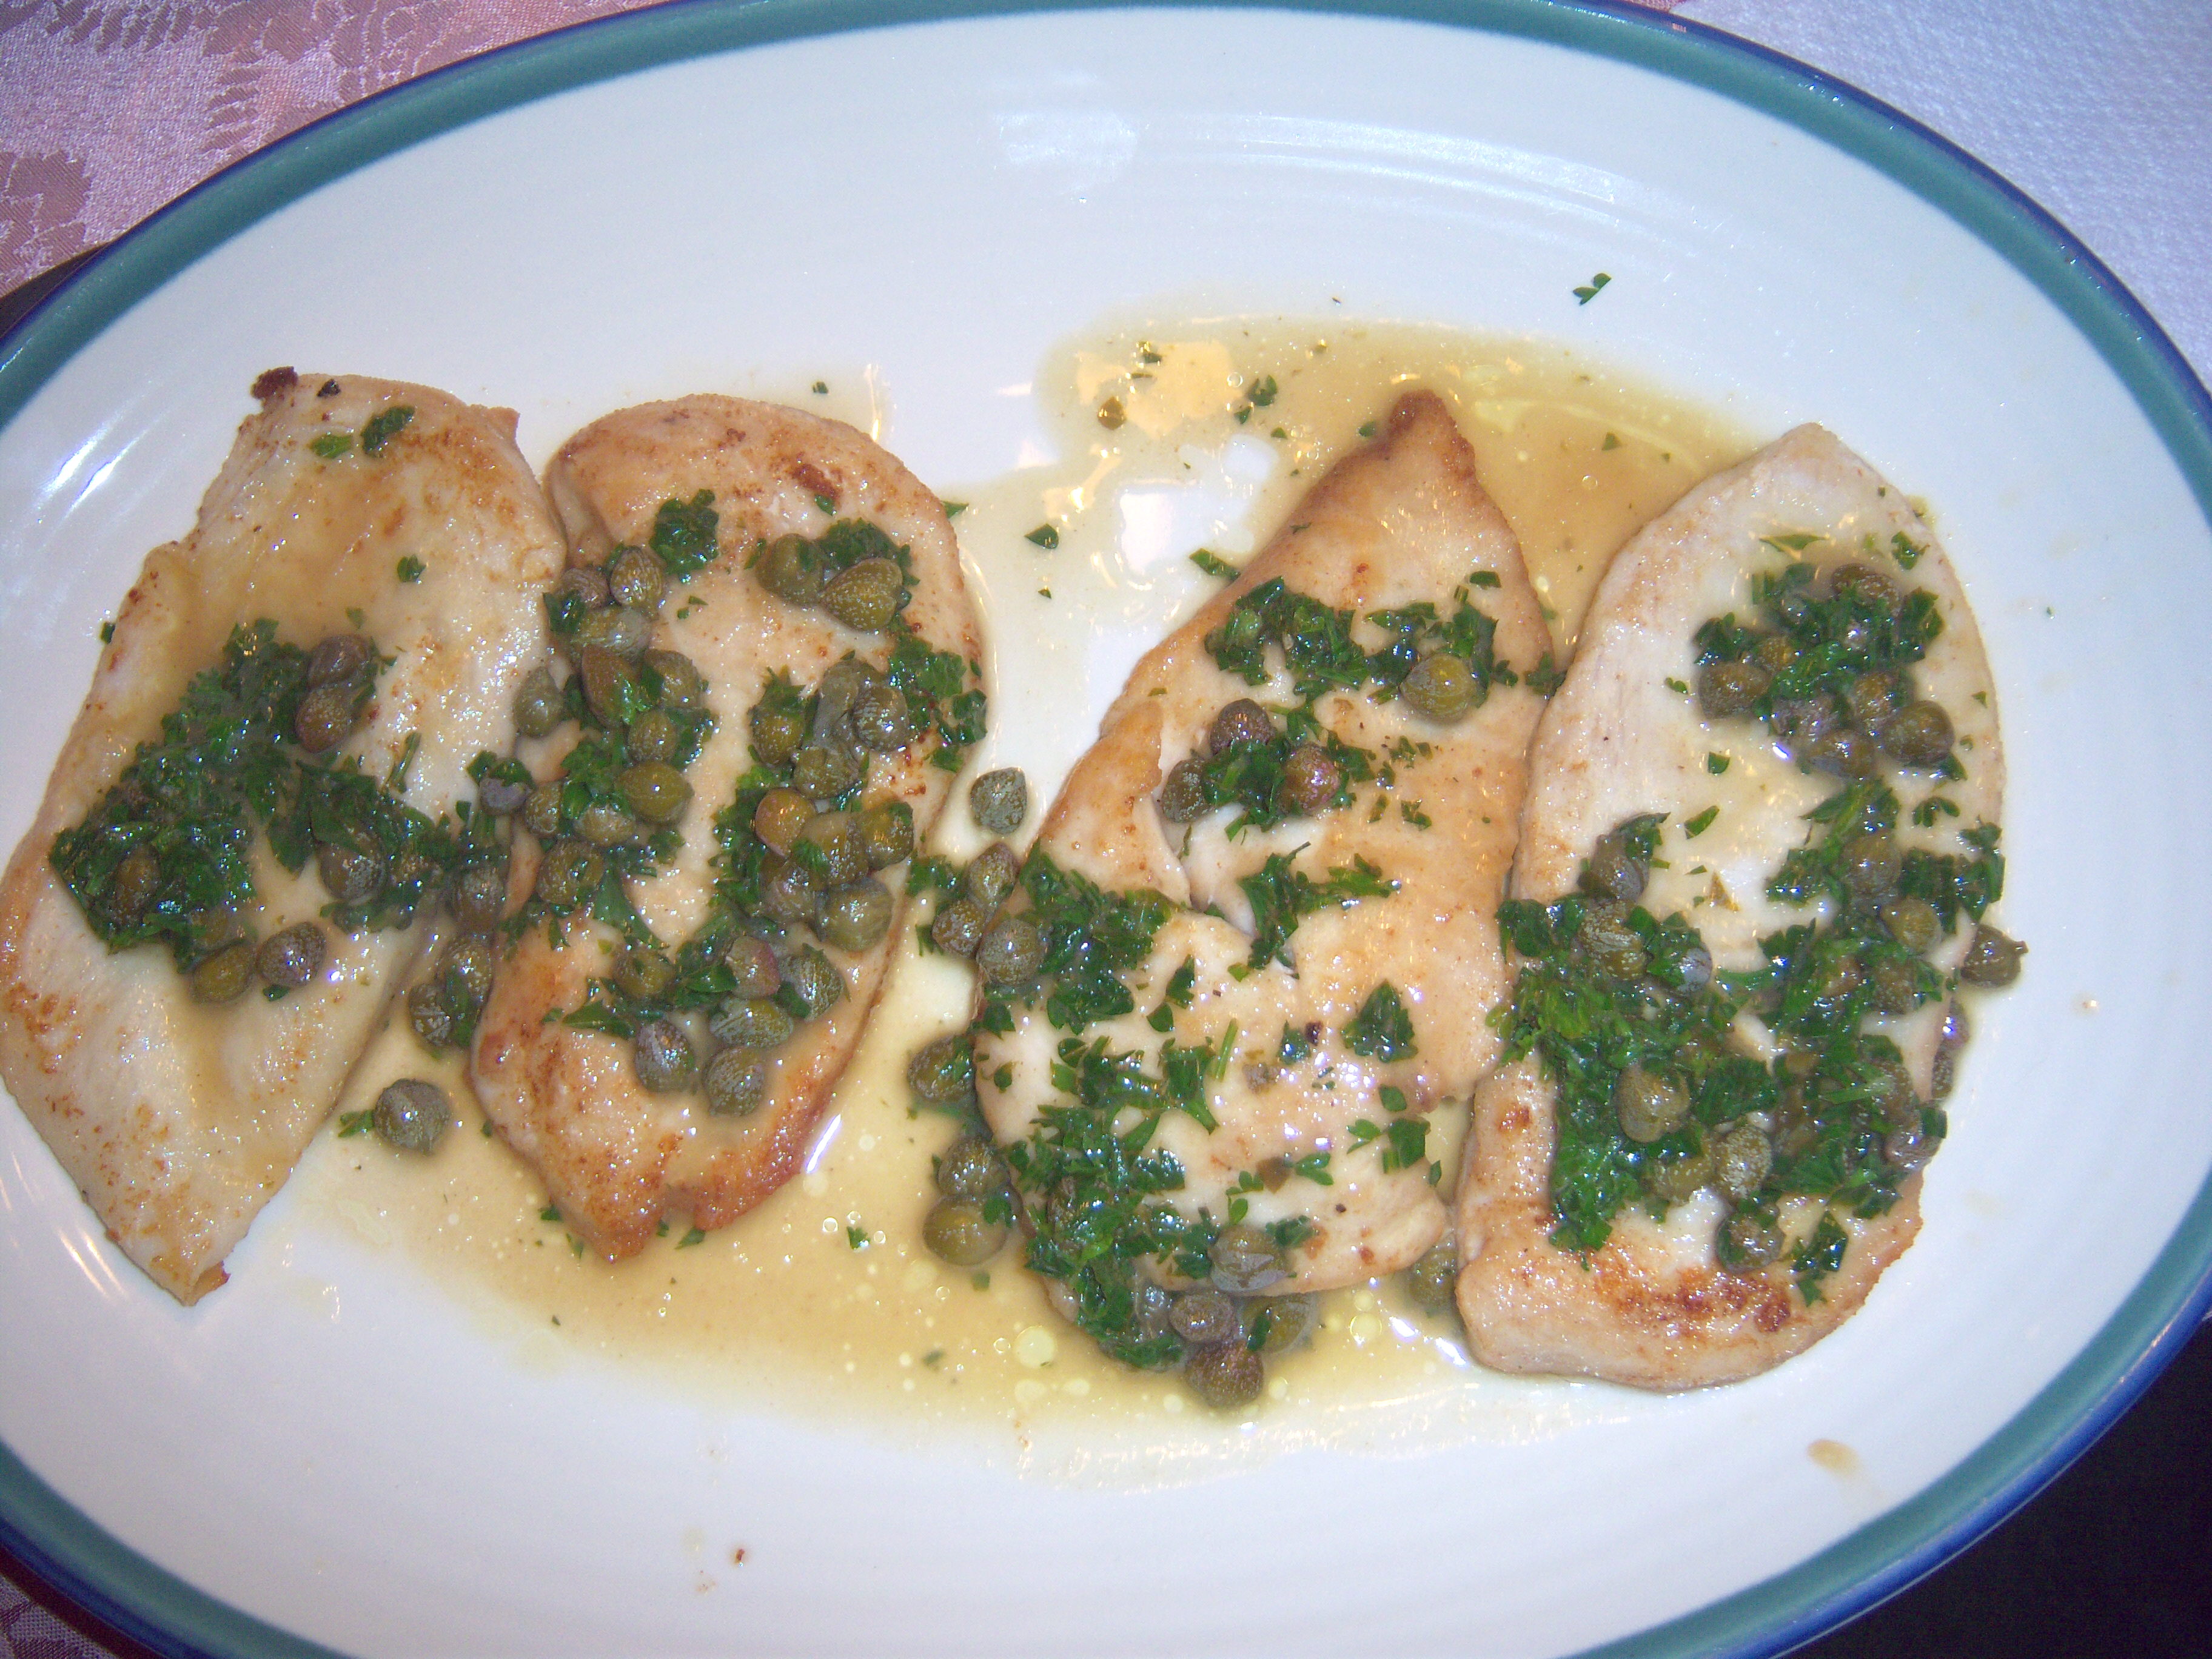
I coated the breasts in the seasoned flour and cooked them in the oil and butter. No problem there either. They cooked really quickly. Once done, I removed them and added the wine, lemon juice, capers and parsley.

This was super simple,

Feelin' saucy

Feelin

super quick, and super tasty! I have never had chicken piccata before – I guess I thought it sounded boring. I’ve also never eaten capers before. I thought they were like olives (which I

A gorgeous dish

A gorgeous dish

don’t like) so I’ve always avoided them. I have to say, they gave a nice flavor as long as you didn’t eat too many at a time.  I love how the chicken was nicely browned and kind of crunchy. This one’s a good thing! Thanks Martha!

A Side Note

As a side note, I want to mention that I made Martha’s matzoh ball soup (from the Cooking School book) earlier this week. I was sick as a dog and didn’t manage to take any photos. Basically I made chicken soup like I always do (this time I threw in some of the leftover celery root and parsnips from Cooking School lesson 3 – the braised pork shoulder). Her matzoh balls are different than the recipe on the side of the matzoh can. I must confess the first time I ever even tried this kind of soup was last year, so I’m a newbie at this. Martha has you whip the egg whites separately. This did make the dough lighter. I liked their flavor, but found it was hard to get them to come out very round. Mine were all lop-sided and disturbed looking. They tasted great though. So that one gets a thumbs up too.
My December issue of Living recently came in the mail, so I’ll be moving forward to projects from there soon. That issue is a little intimidating – everything is so over the top. I also have Martha’s holiday special issues for both food and crafts and will be using those as well. Christmas is really creeping up on us. I’m looking forward to having a Martha Thanksgiving and Christmas this year. I feel as though Martha is helping me pay attention to details more than I normally would, which I am appreciating.

I’ve only completed half of this cooking school lesson so far. Martha and Sarah Carey made chicken piccata (to demonstrate sauteing) and then an Indian spice yogurt marinaded chicken that was pan-fried. I’ll get to the second one at a future date (or not since I’m not a big fan of spicy Indian food). The … Read more

When I saw this in the magazine (Nov issue of Living, From My Home to Yours, starting on p. 29), I thought there is no way I am ever making that! Not only did the length of time intimidate me, but if you’ve been following along with me, then you know I can get squeamish when it comes to meat descriptions that are too closely linked to anatomy! Then Martha and Sarah prepared it for cooking school and I knew I had to give it a try.

Hitting the Stores

First things first! Shopping! My grocery bill for this was about $21(not bad). I had to get a pot though! You’re supposed to use a Dutch oven for this. I’m embarrassed to say I didn’t have one. I went to Target first, and they had nothing! Next I went to TJ Maxx. They had the cast iron enameled Dutch ovens like Martha uses for about $50, but they were so heavy!! Not to mention they didn’t have blue which was what I really wanted (yes, it all hinges on color coordination – see! I am just like Martha!). I just couldn’t imagine myself humping that heavy thing around the kitchen (I think you could break your foot if you dropped it, seriously), so I went with a lighter metal Dutch oven for $30.

Getting Started

I decided to make this for Sunday dinner. Let me say here I have never braised anything and didn’t really know what the term meant. I have certainly browned meats before making stew, but never have I done an actual braise. I was a little skeptical of the process.

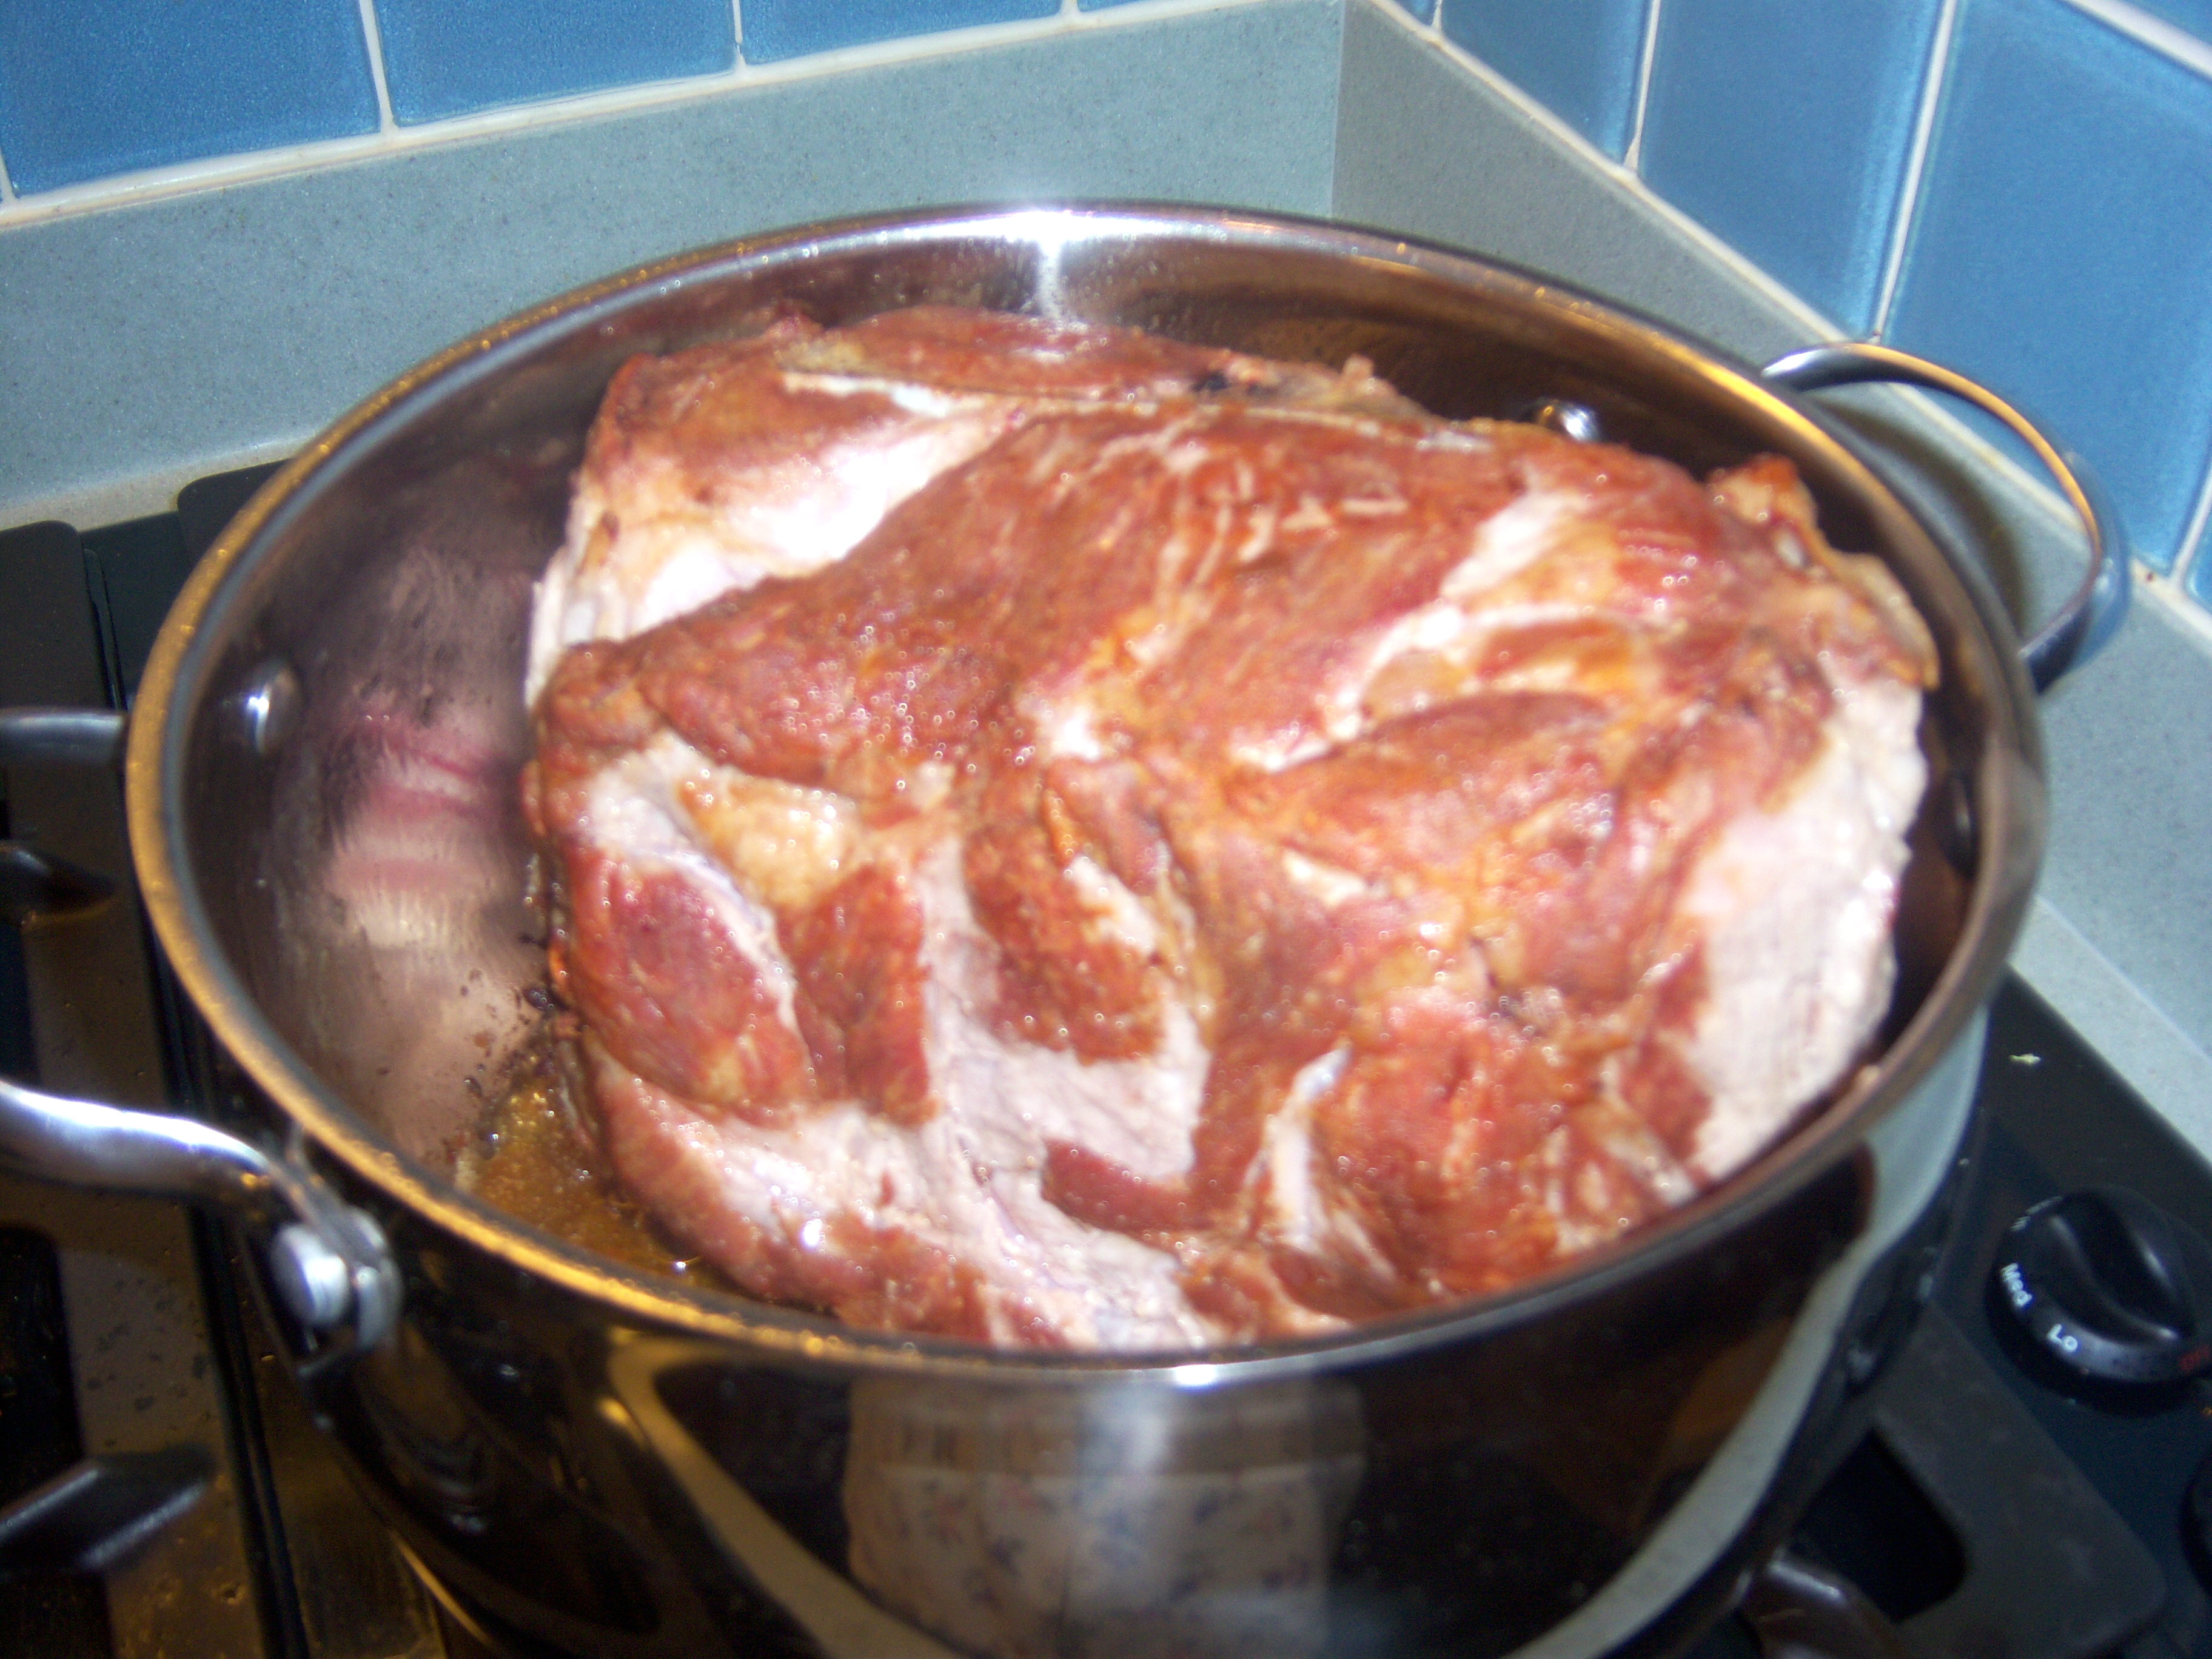
After browning

After browning

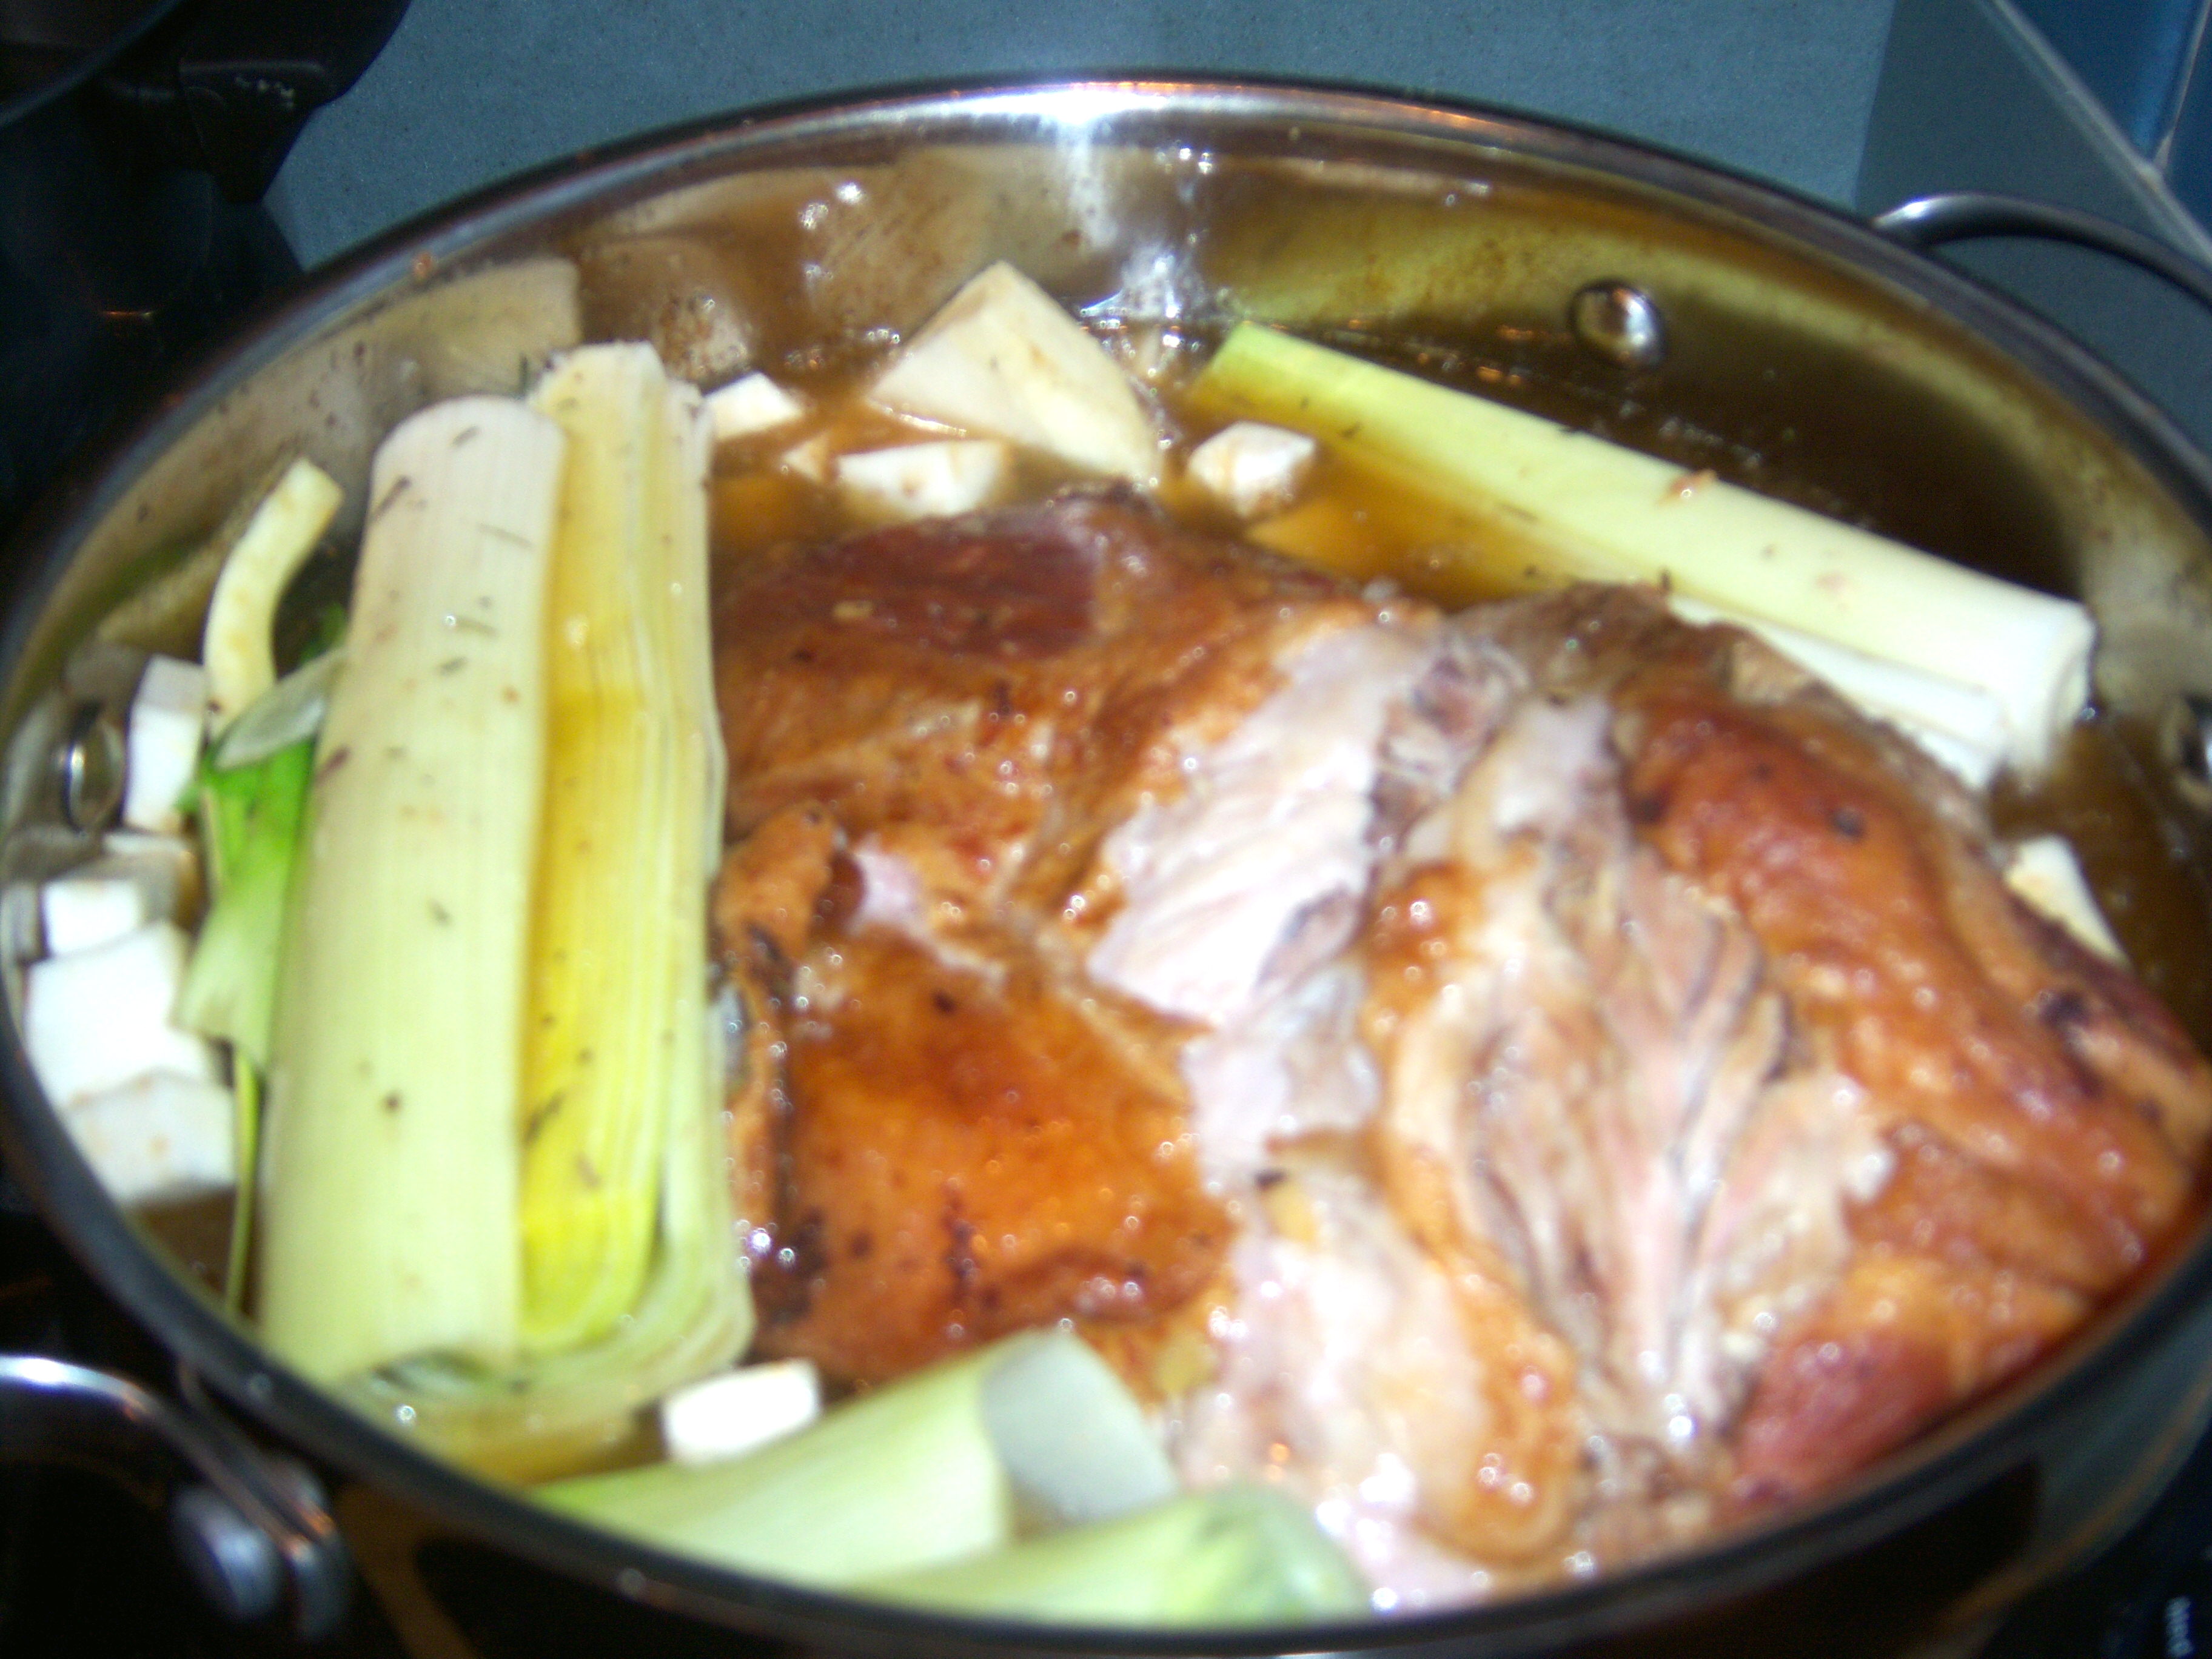
I dropped the pork shoulder in the pot to begin browning and it smelled so good! It was a little hard to turn it over to get all the sides brown, but with a little help from Mr. MarthaAndMe, it all worked out ok. As it browned, it smelled even better! There was a momentary panic when the kitchen filled with smoke, but I opened a window and turned on the vent and all was well in Marthaland.

Veggie Tales

Once that was done, it was time to saute the veggies. Another confession

Cooking the veg

Cooking the veg

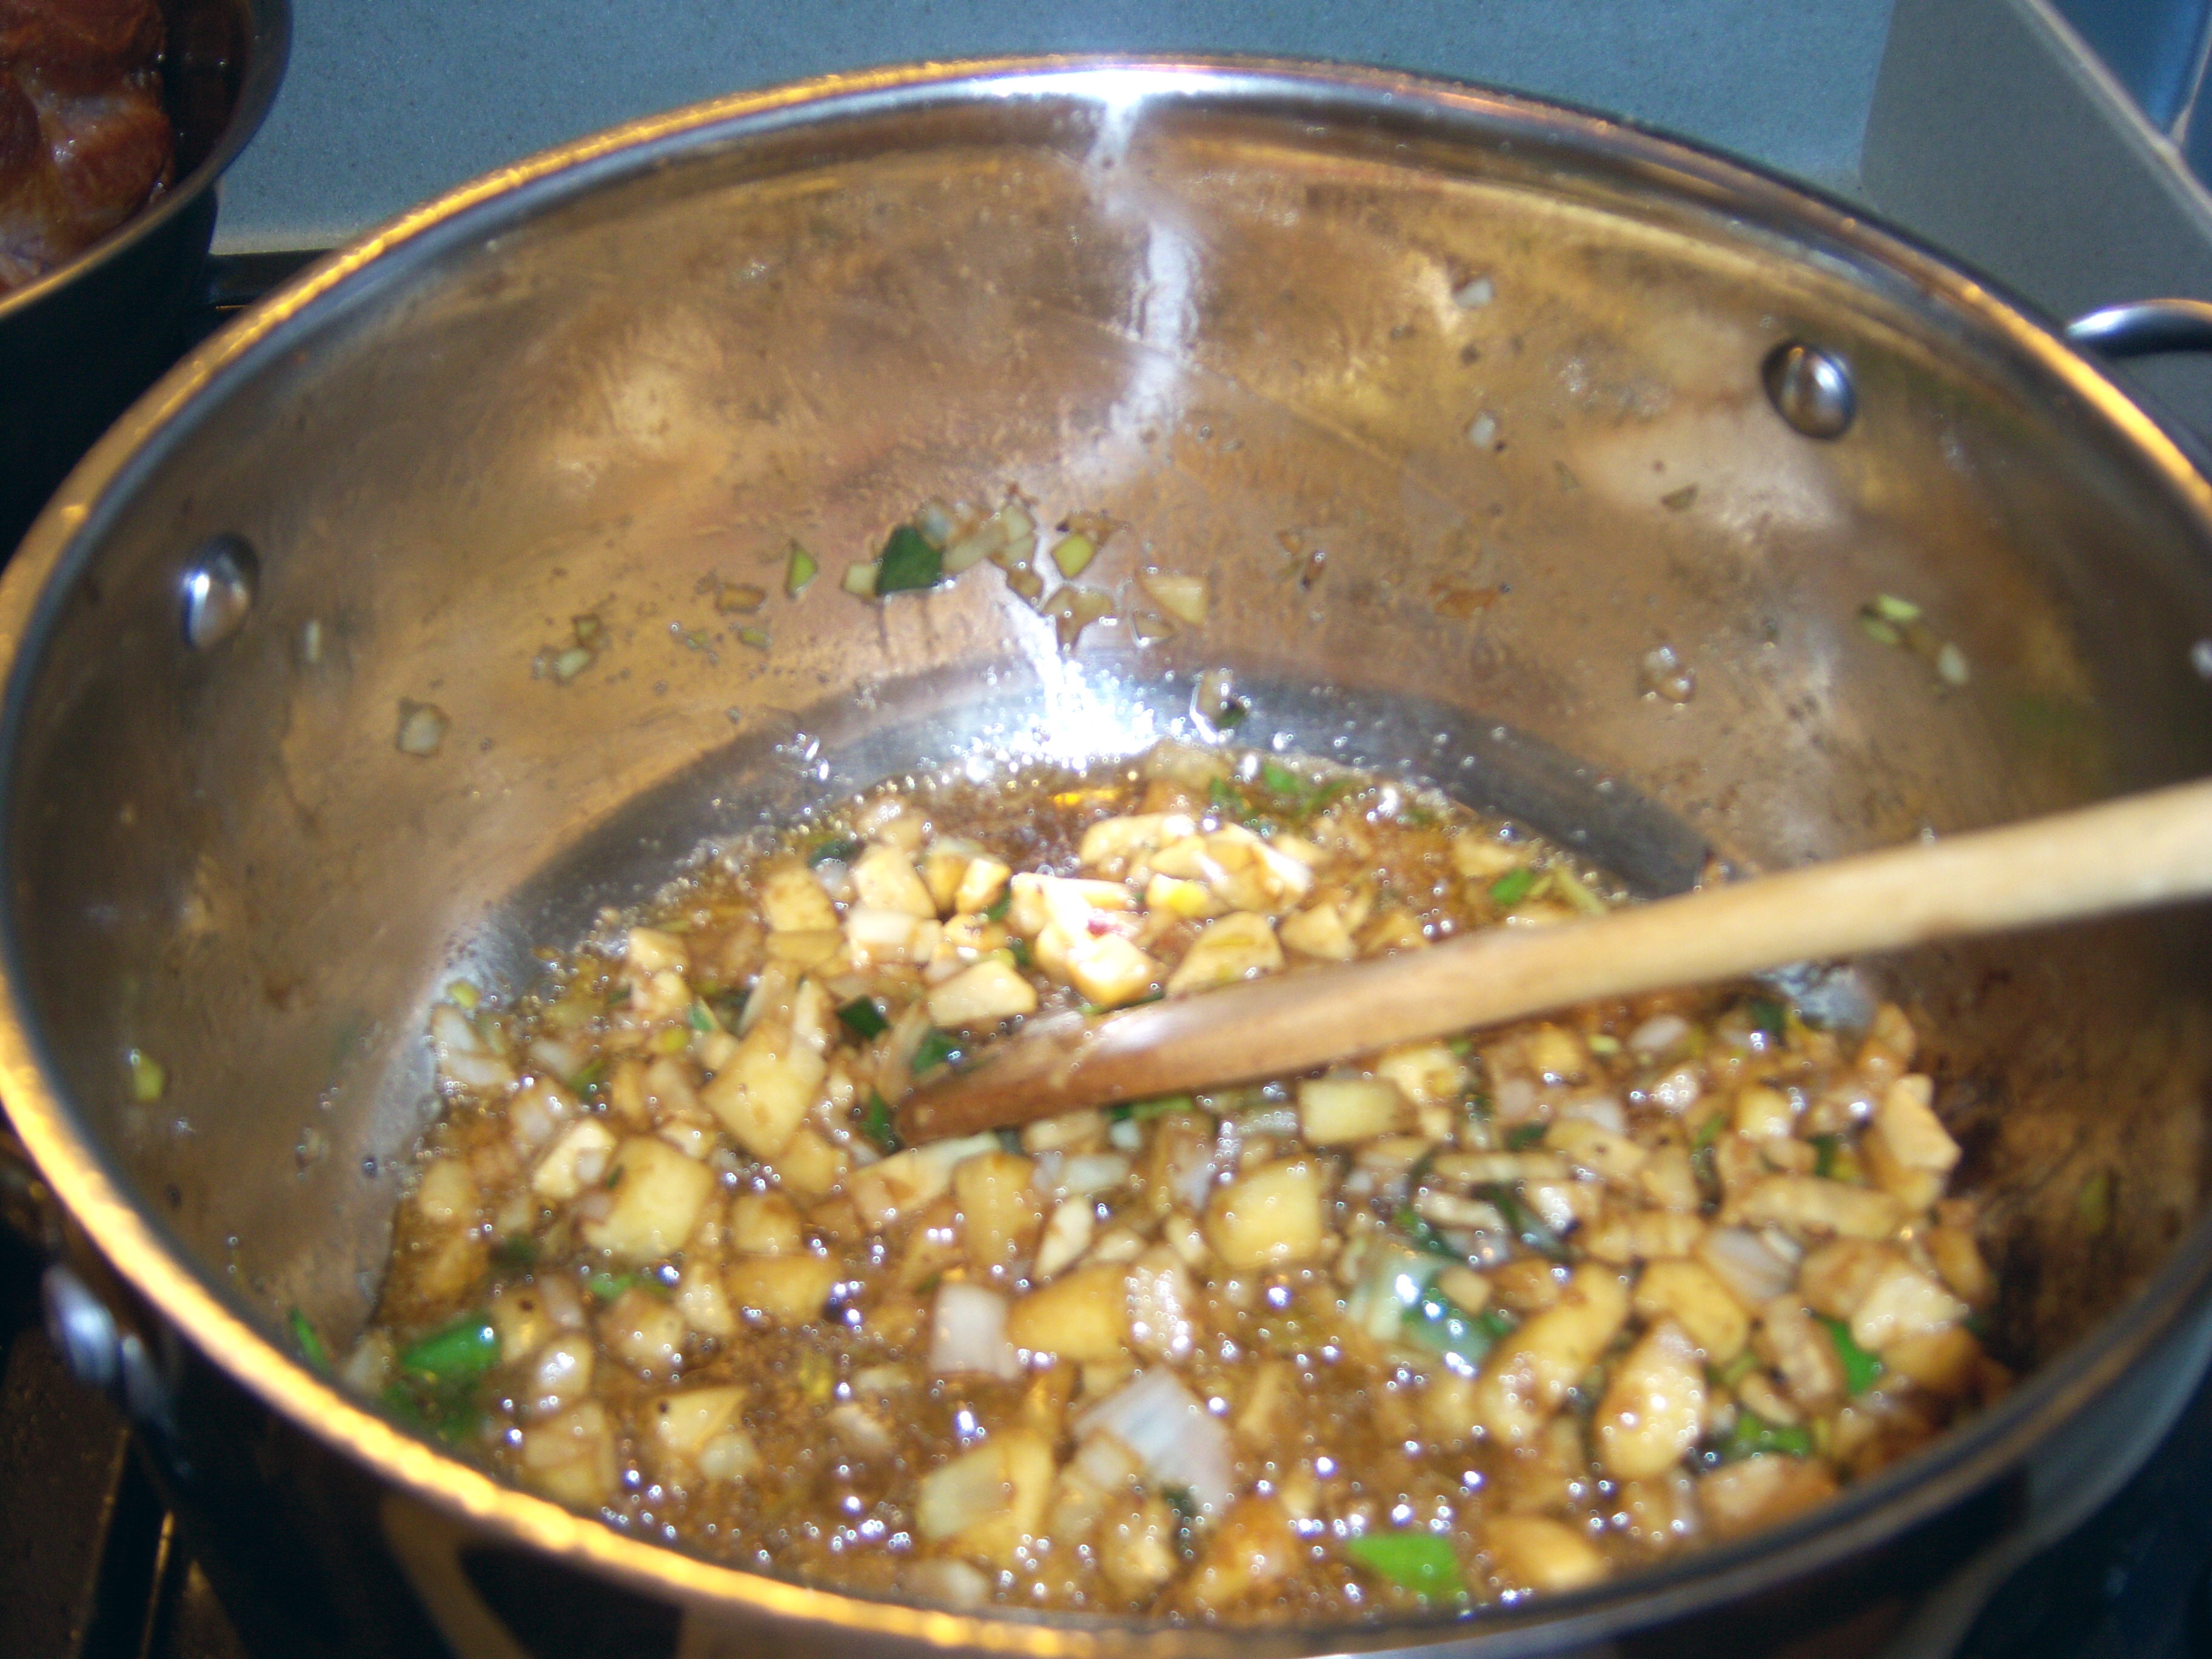
here – I have never cooked with leeks or celery root! Leeks have been off limits ever since my mother tried to poison Mr. MarthaAndMe with some leek soup she made for Thanksgiving, then left on the porch overnight (thinking it was cold enough). He ate some the next day and got really sick (sorry, Mom but it’s the truth!). Leeks were a little more challenging to work with than I expected – the dirt gets inside them and you’ve got to really clean the heck out of them. I’ve never had a reason to use celery root. Parsnips I do make once in a while (I roast them with carrot and rutabaga with some oil and balsamic vinegar). The veggies cooked up nicely and I added the meat to the pot.

Hitting the Bottle?

Adding the liquid

Adding the liquid

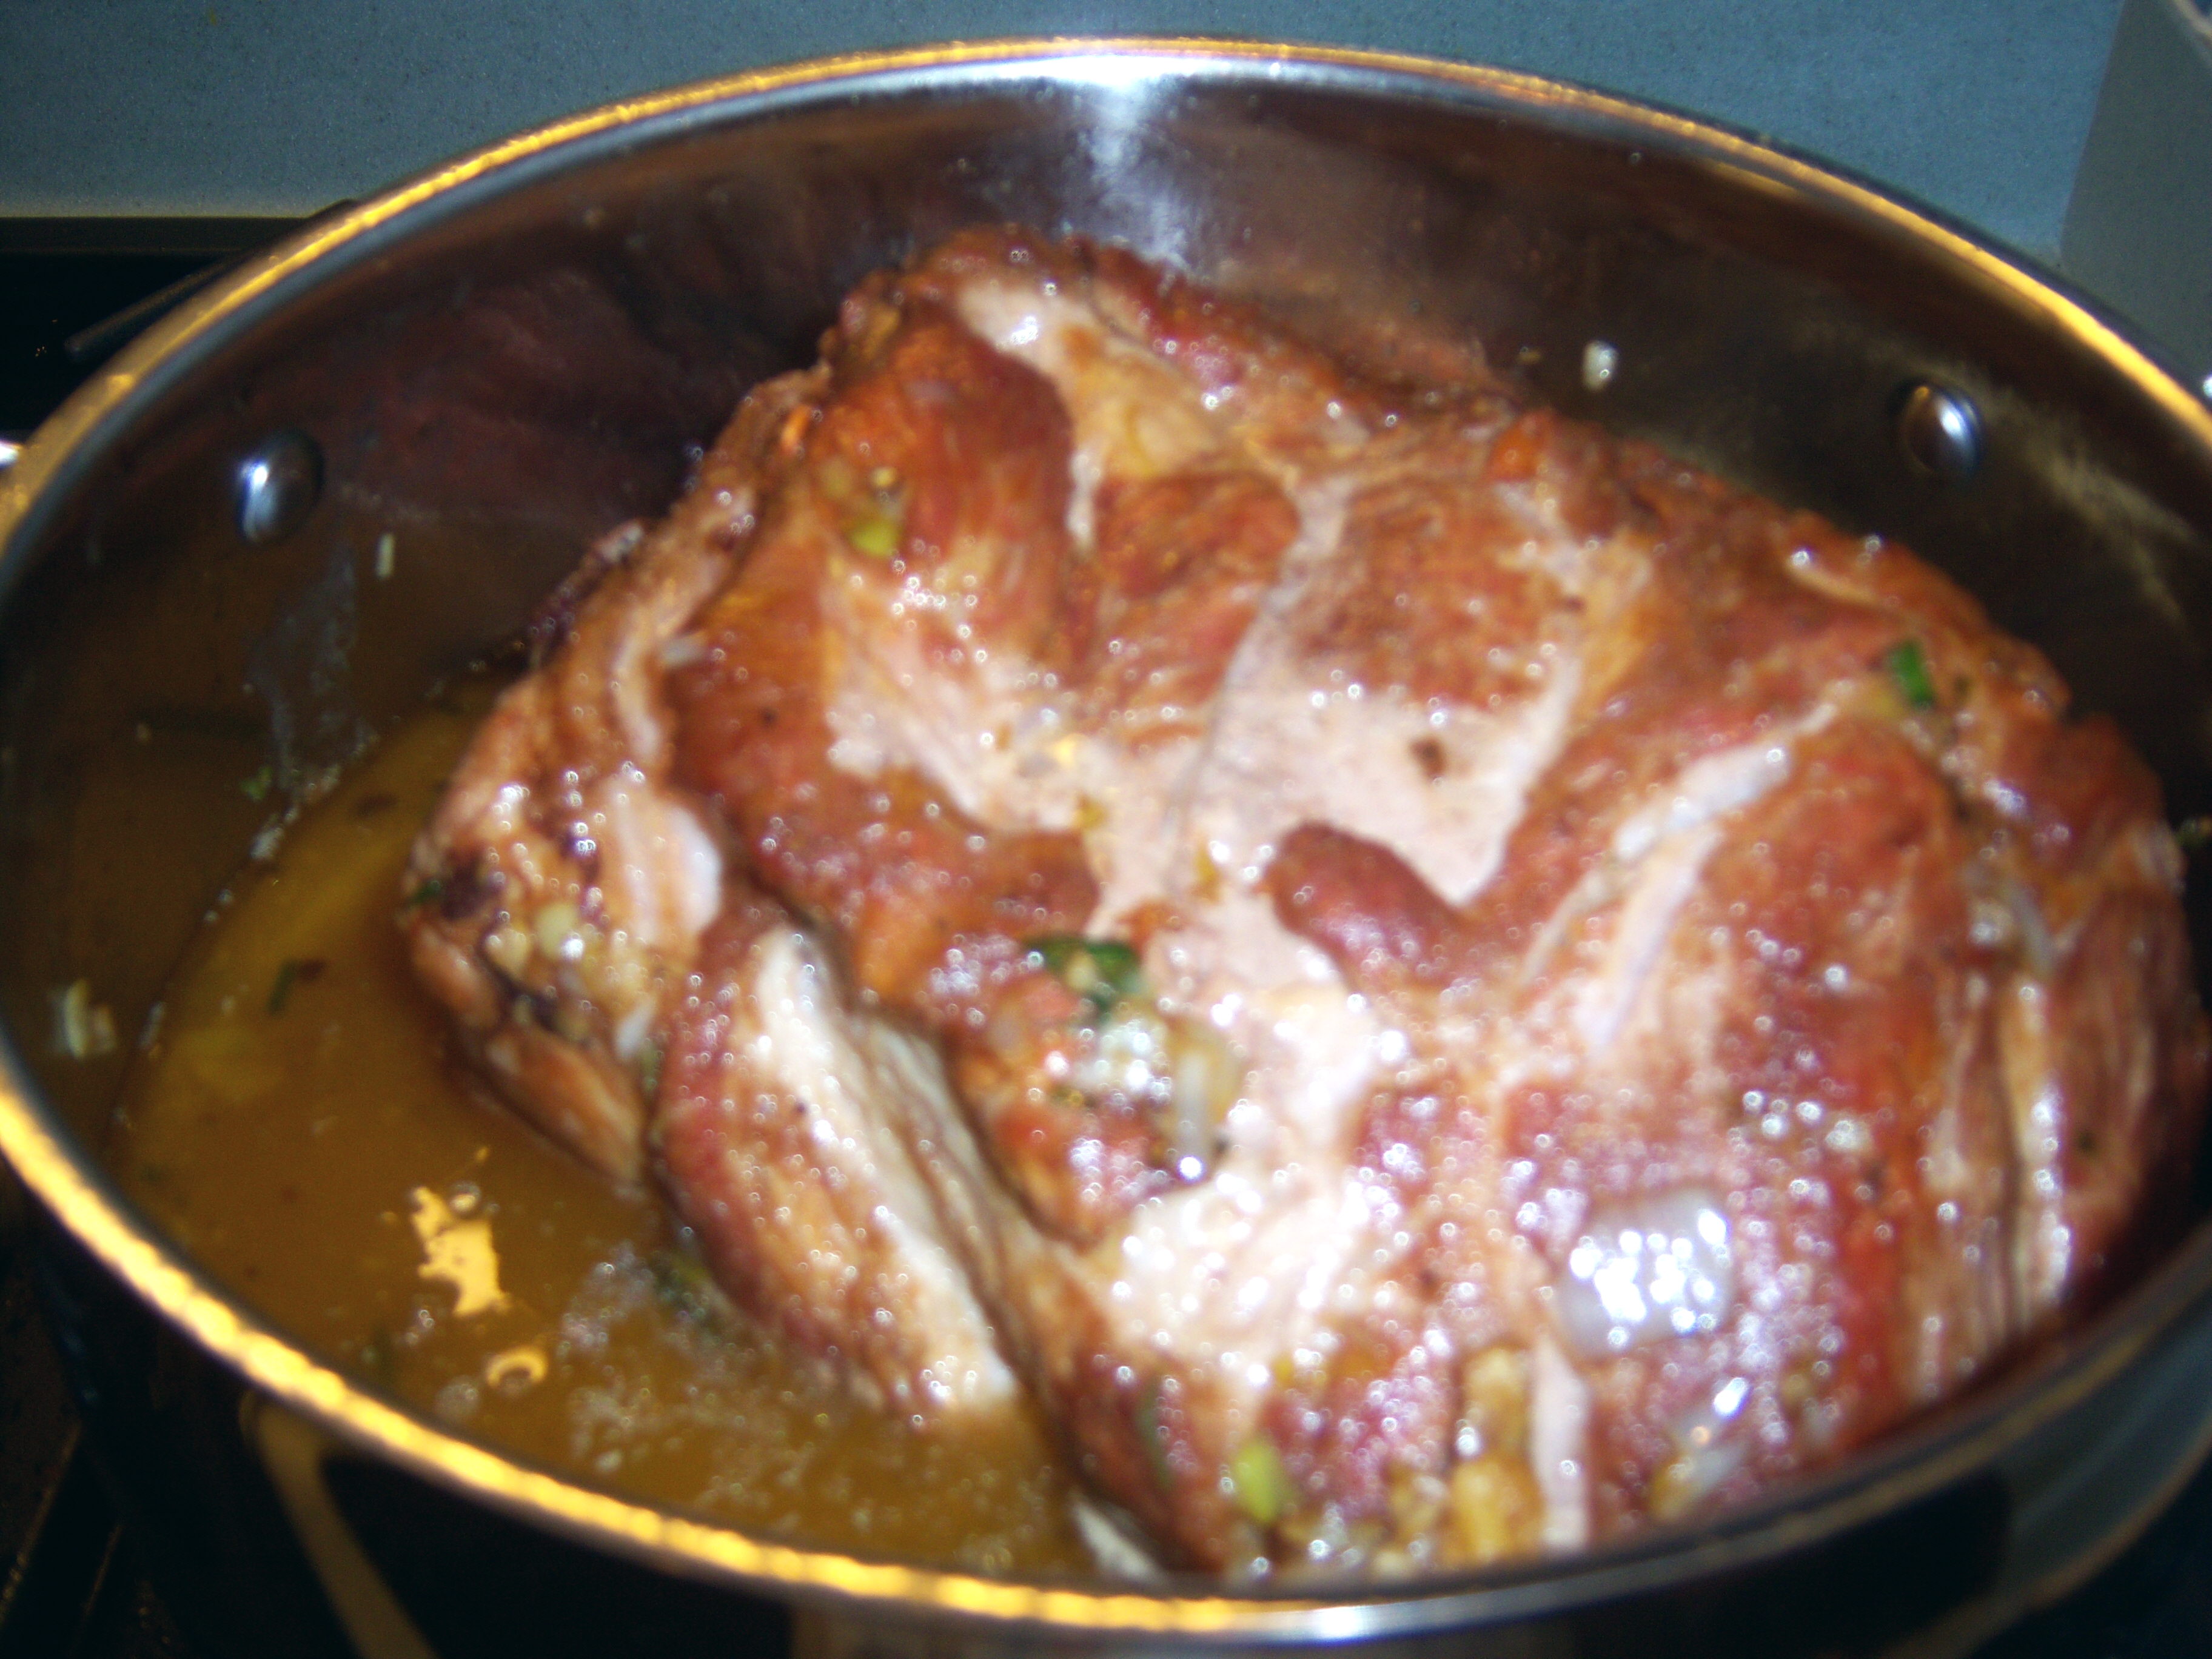
Next it was time to add liquid.  Here was another hurdle for me! The recipe called for hard cider. I have never had hard cider in my life and have absolutely no idea where to buy it! Do you know? The local hooscow shop? I seriously have no idea. The recipe says you can substitute sparkling cider. That seemed stupid, so I just used regular cider (just one cup as directed if substituting) and used stock and a little white wine for the rest of the liquid. I boiled it and popped it in the oven.

Finishing Up

I cooked it 2 1/2 hours and strained it and added the veggies. Then I cooked

Ready for the last 30 min

Ready for the last 30 min

it for another 30 min. When it came out it looked and smelled good. I made the beurre

Beurre manie

Beurre manie

manie Martha is all excited about, but really, 1 tbsp of flour does not do much thickening. I like my gravies thick, so I dumped in Wondra and got it to the consistency I like.

Serving

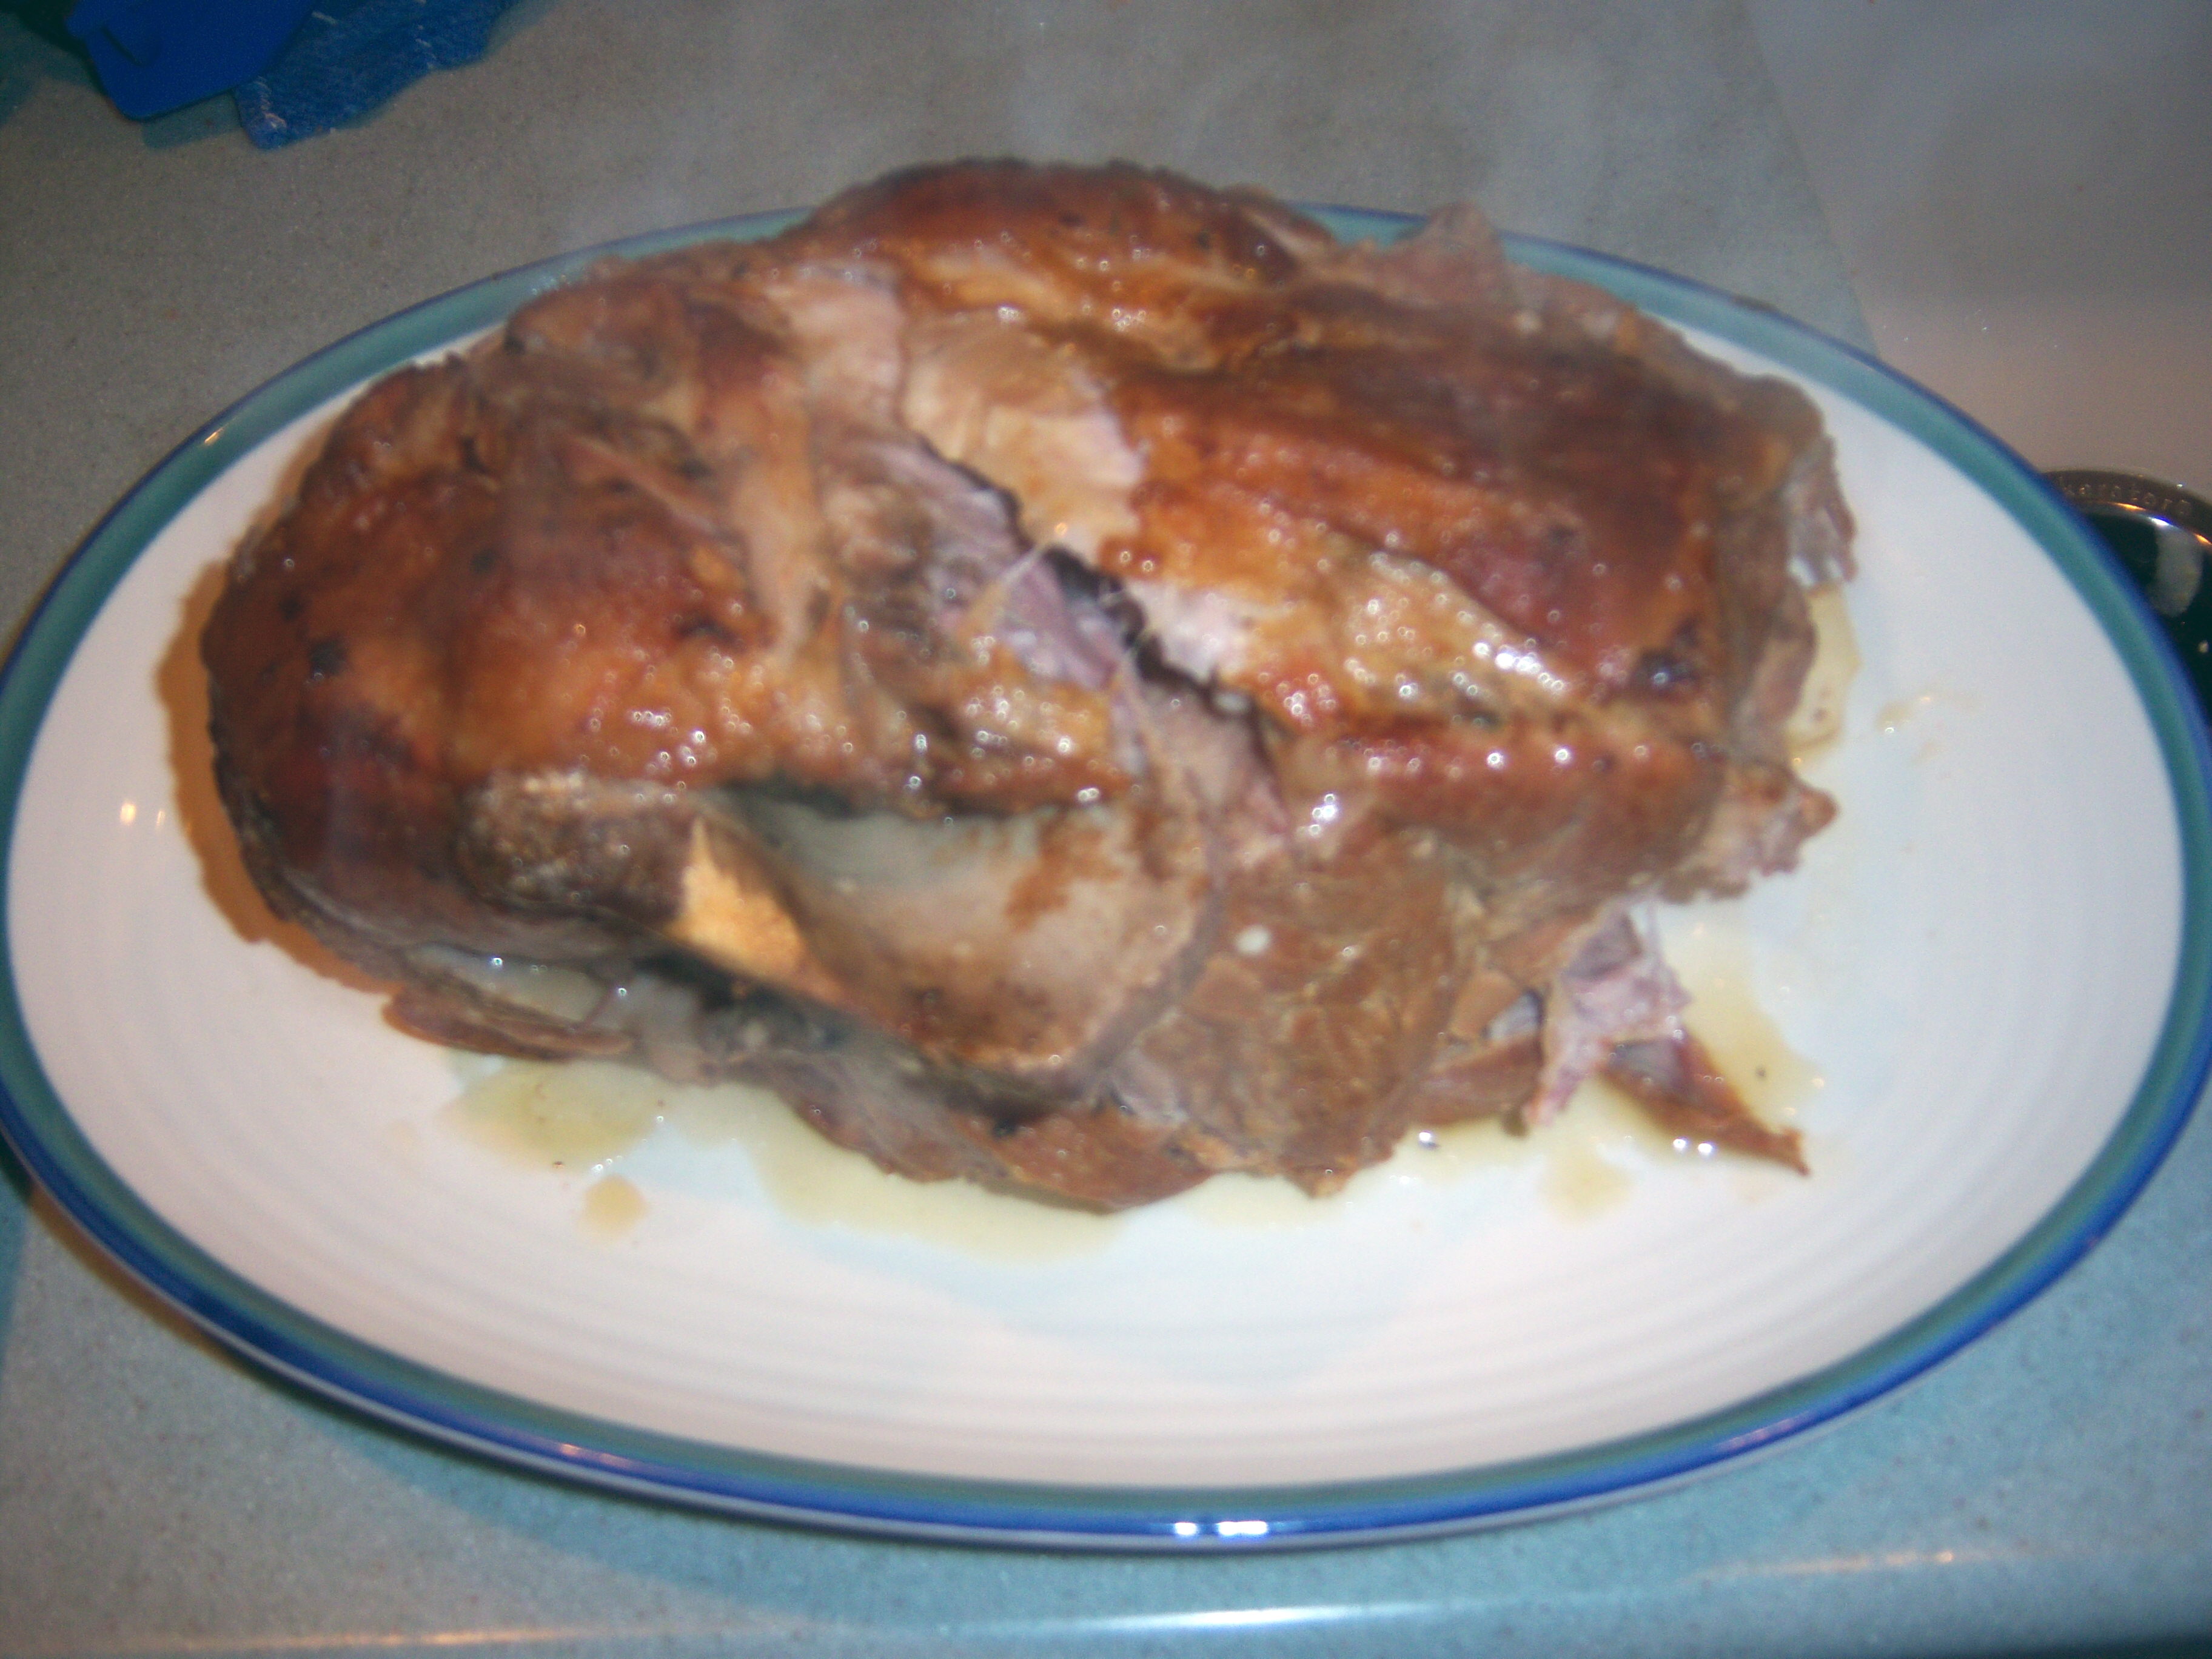
The recipe says to pull the meat apart with a fork into pieces. I did this, but

Finished meat

Finished meat

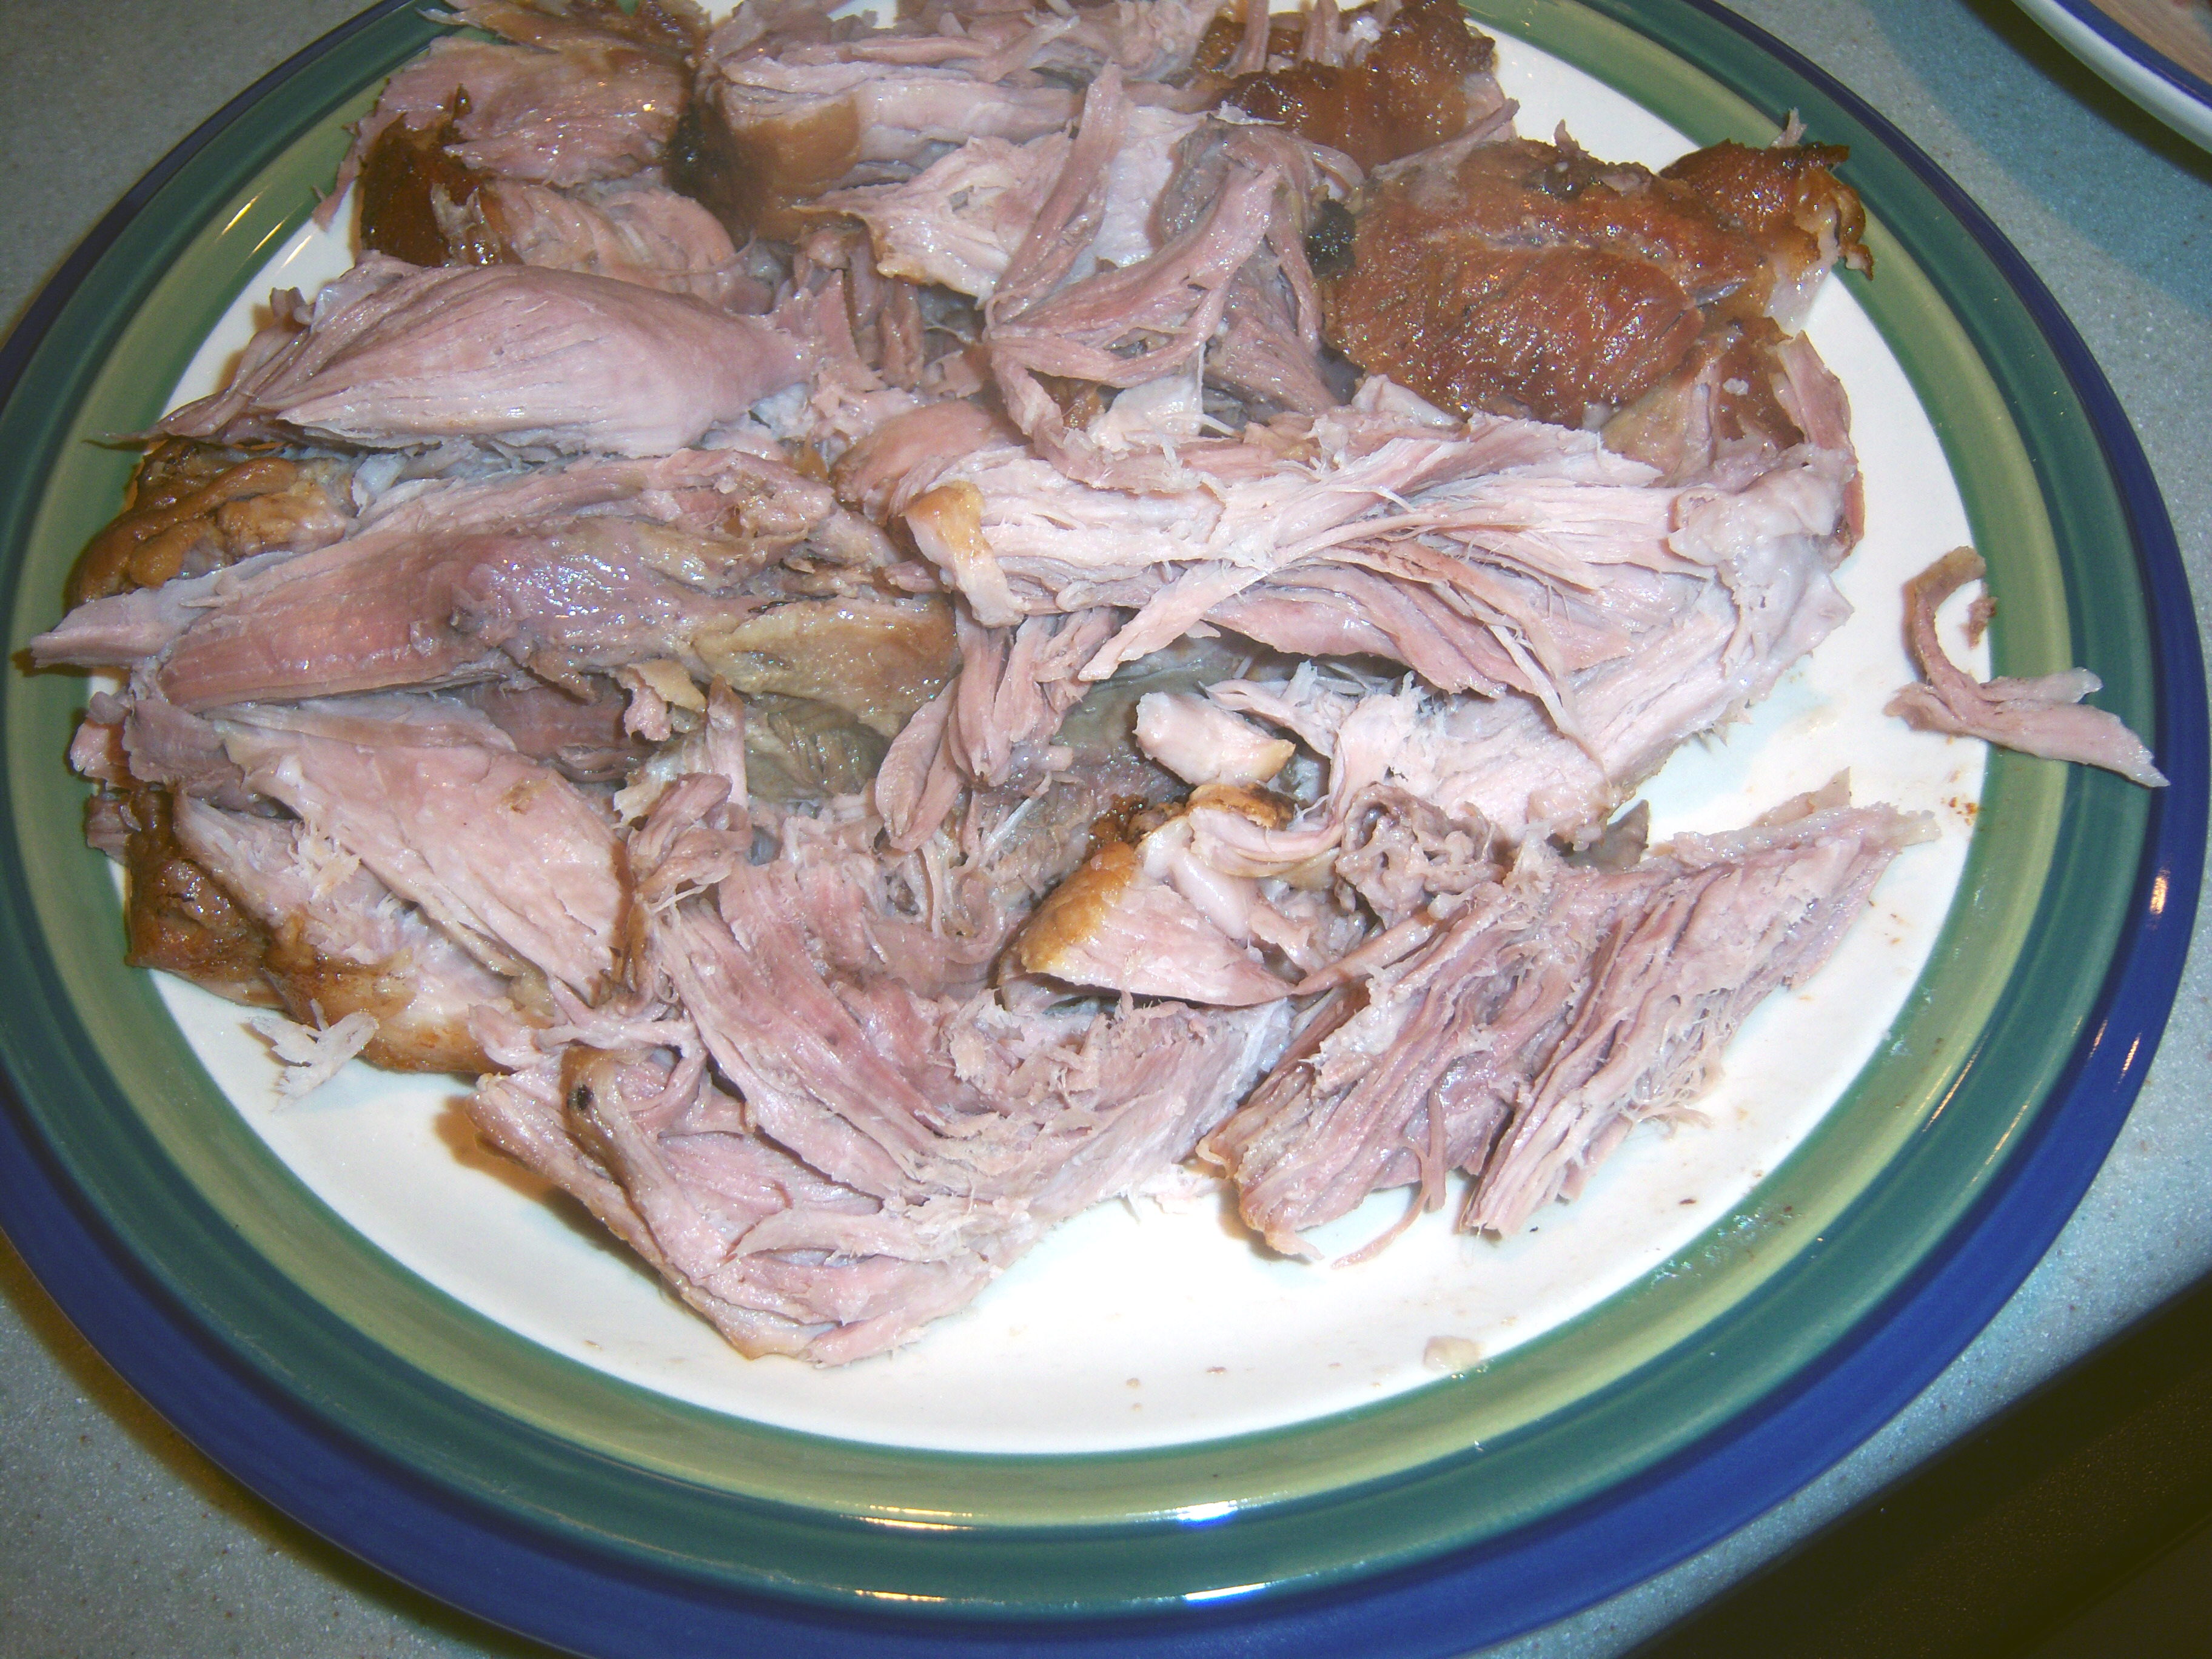
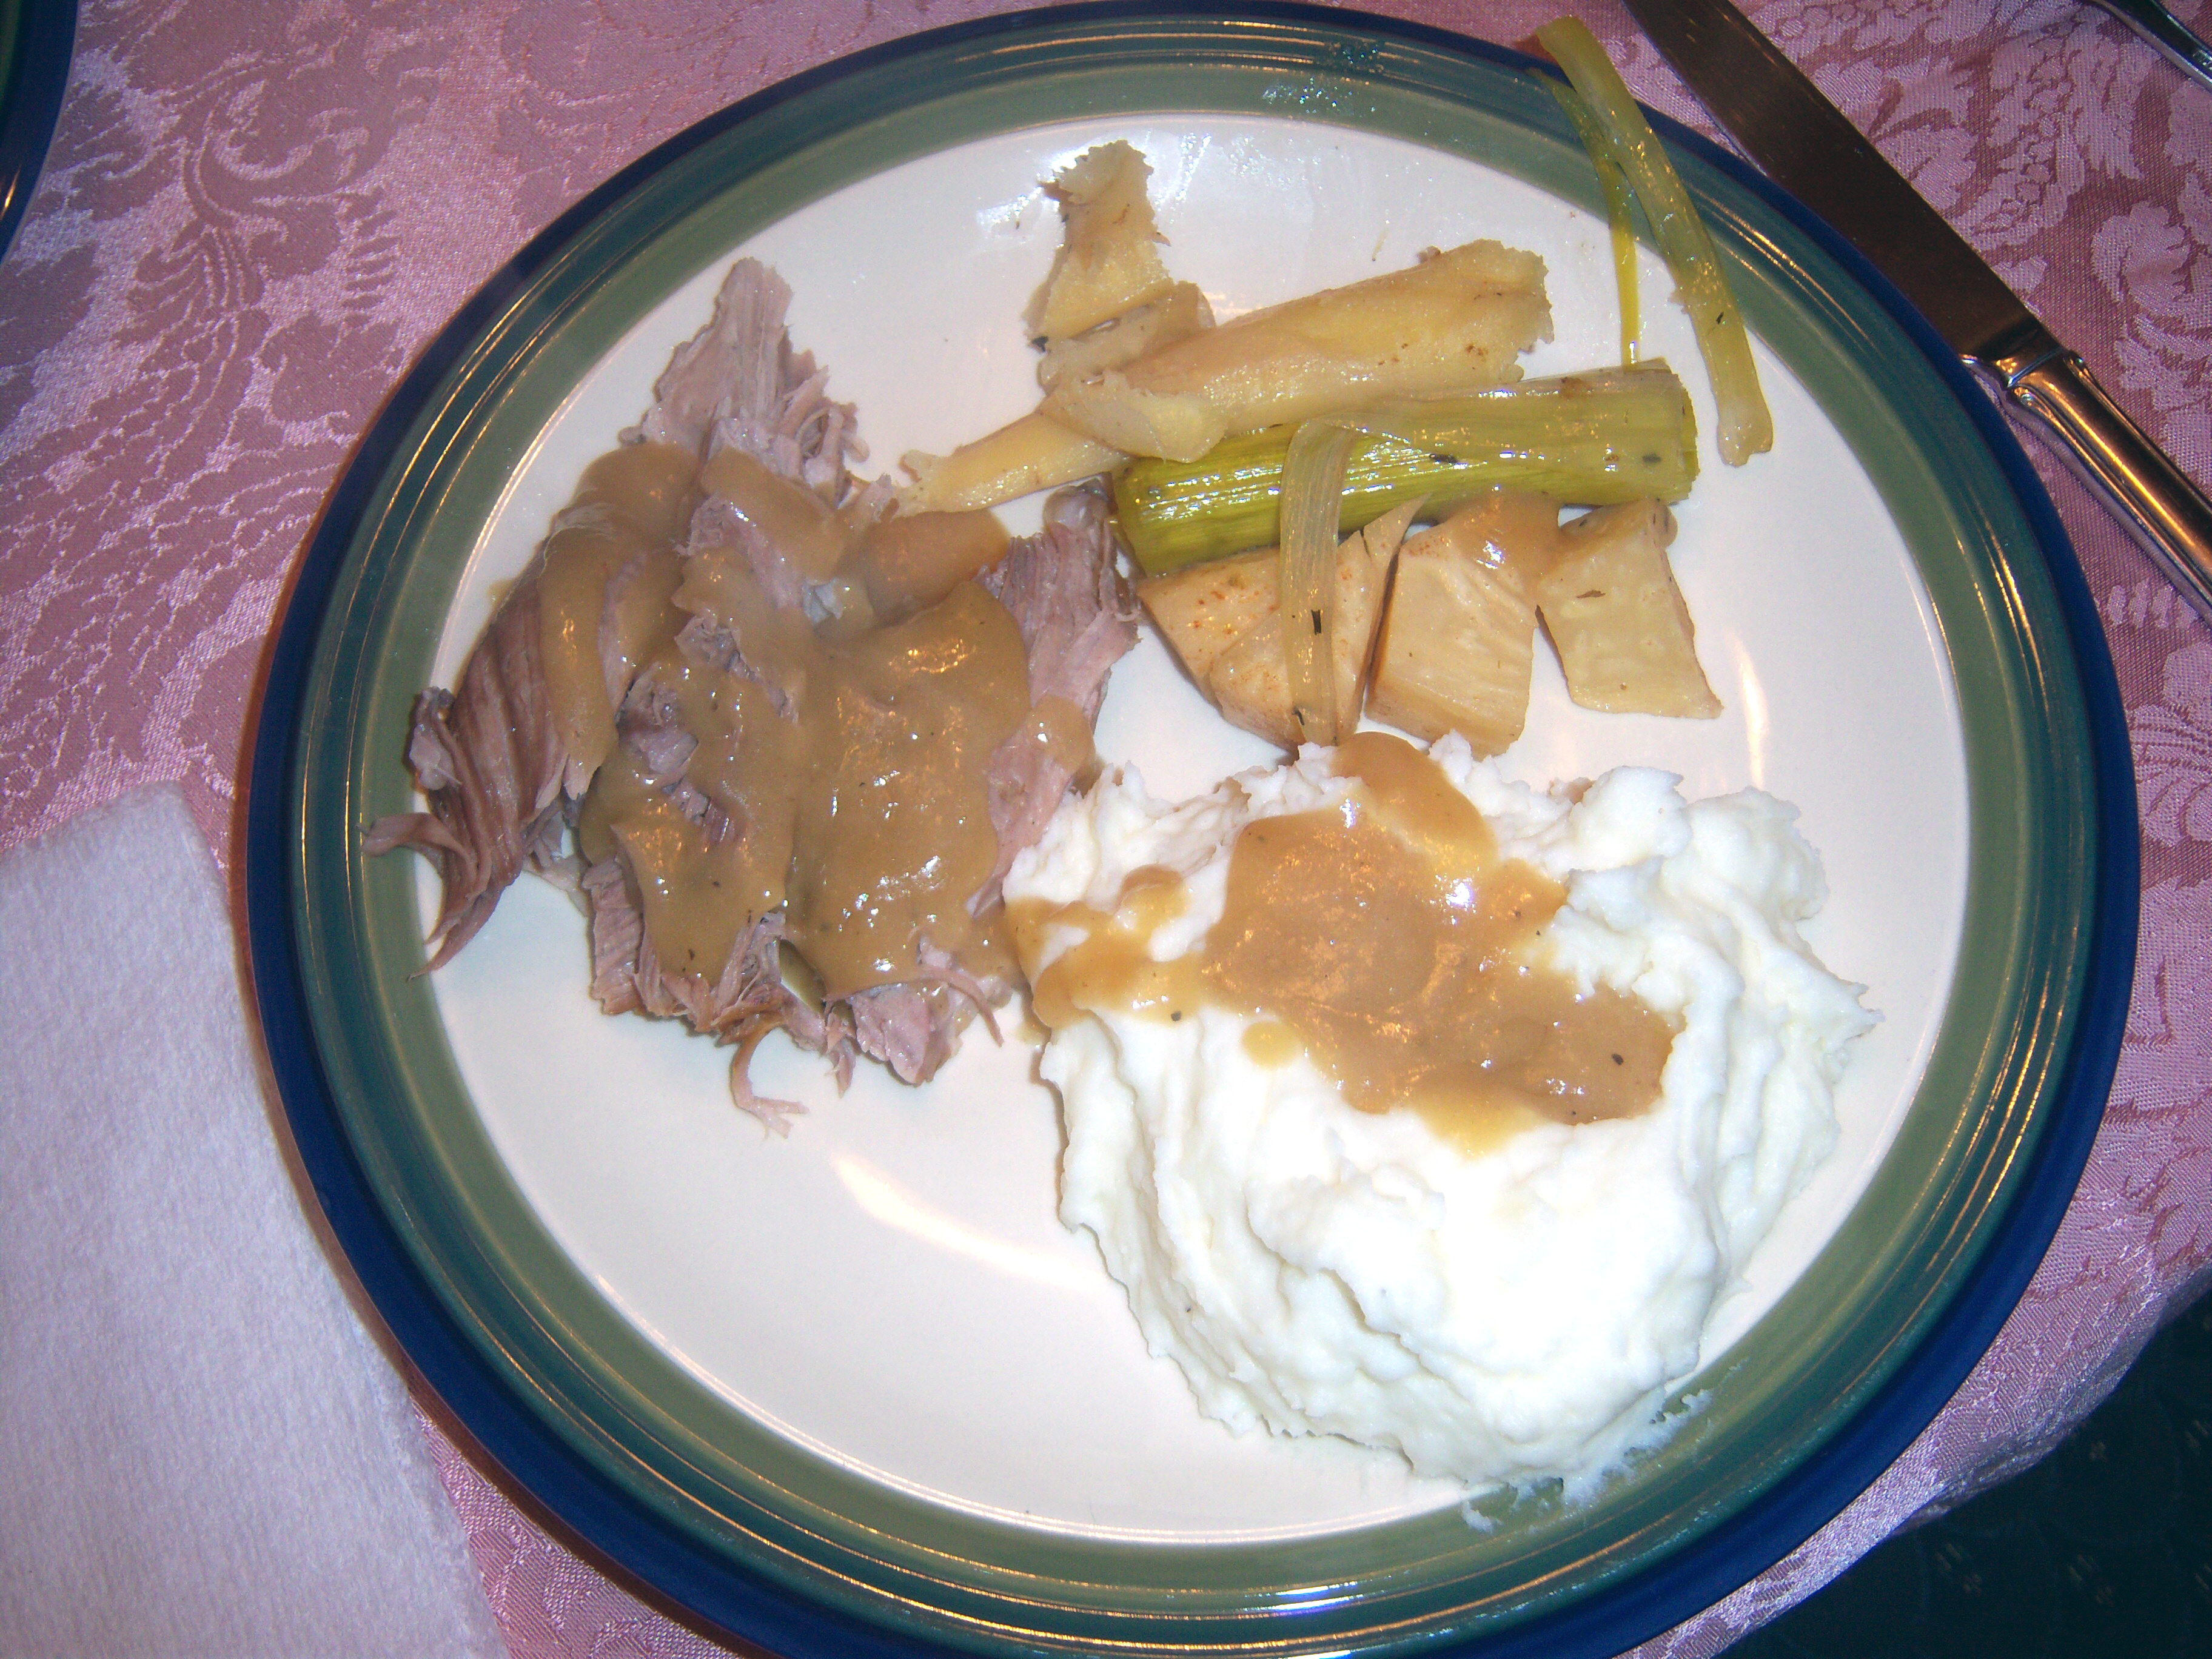
really, it didn’t look very nice to put out a platter of hunks of meat. I also think this is nicer if you shred it a little more finely. I did that on my plate before eating and it made it look and taste better. This had a nice, moist consistency. The flavor was tasty. The gravy was good (although I would use more cider next time). The leeks were ok. The parsnip and celery root were good.

Shredded meat

Shredded meat

This is not something I would serve to guests since it just does not look very appetizing with all those hunks of meat on a platter. I don’t think I would make it again. It took all afternoon to make and was kind of a big deal. I think I would rather have a pork roast than this.

Side Dish

To go along with this, I decided to make Big Martha’s Mashed Potatoes (p. 221of

Dinner is served

Dinner is served

the Nov issue of Living). The key ingredient is cream cheese. I didn’t really care for this. I always make my mashed potatoes with sour cream and much prefer that flavor. This was too sweet somehow. They weren’t awful, just not how I like them. Overall, this was a good dinner. Mr. MarthaAndMe really enjoyed it. The 10 year old son (Mini-Martha) liked the mashies but wouldn’t eat the meat. Surprisingly, the 16 year old daughter loved it. I was lukewarm on it.

Your Thoughts

Do you think braising is an essential cooking technique everyone should know how to do? Do you braise a lot of meats? If you tried this recipe, I would love to know how it turned out for you!

When I saw this in the magazine (Nov issue of Living, From My Home to Yours, starting on p. 29), I thought there is no way I am ever making that! Not only did the length of time intimidate me, but if you’ve been following along with me, then you know I can get squeamish … Read more

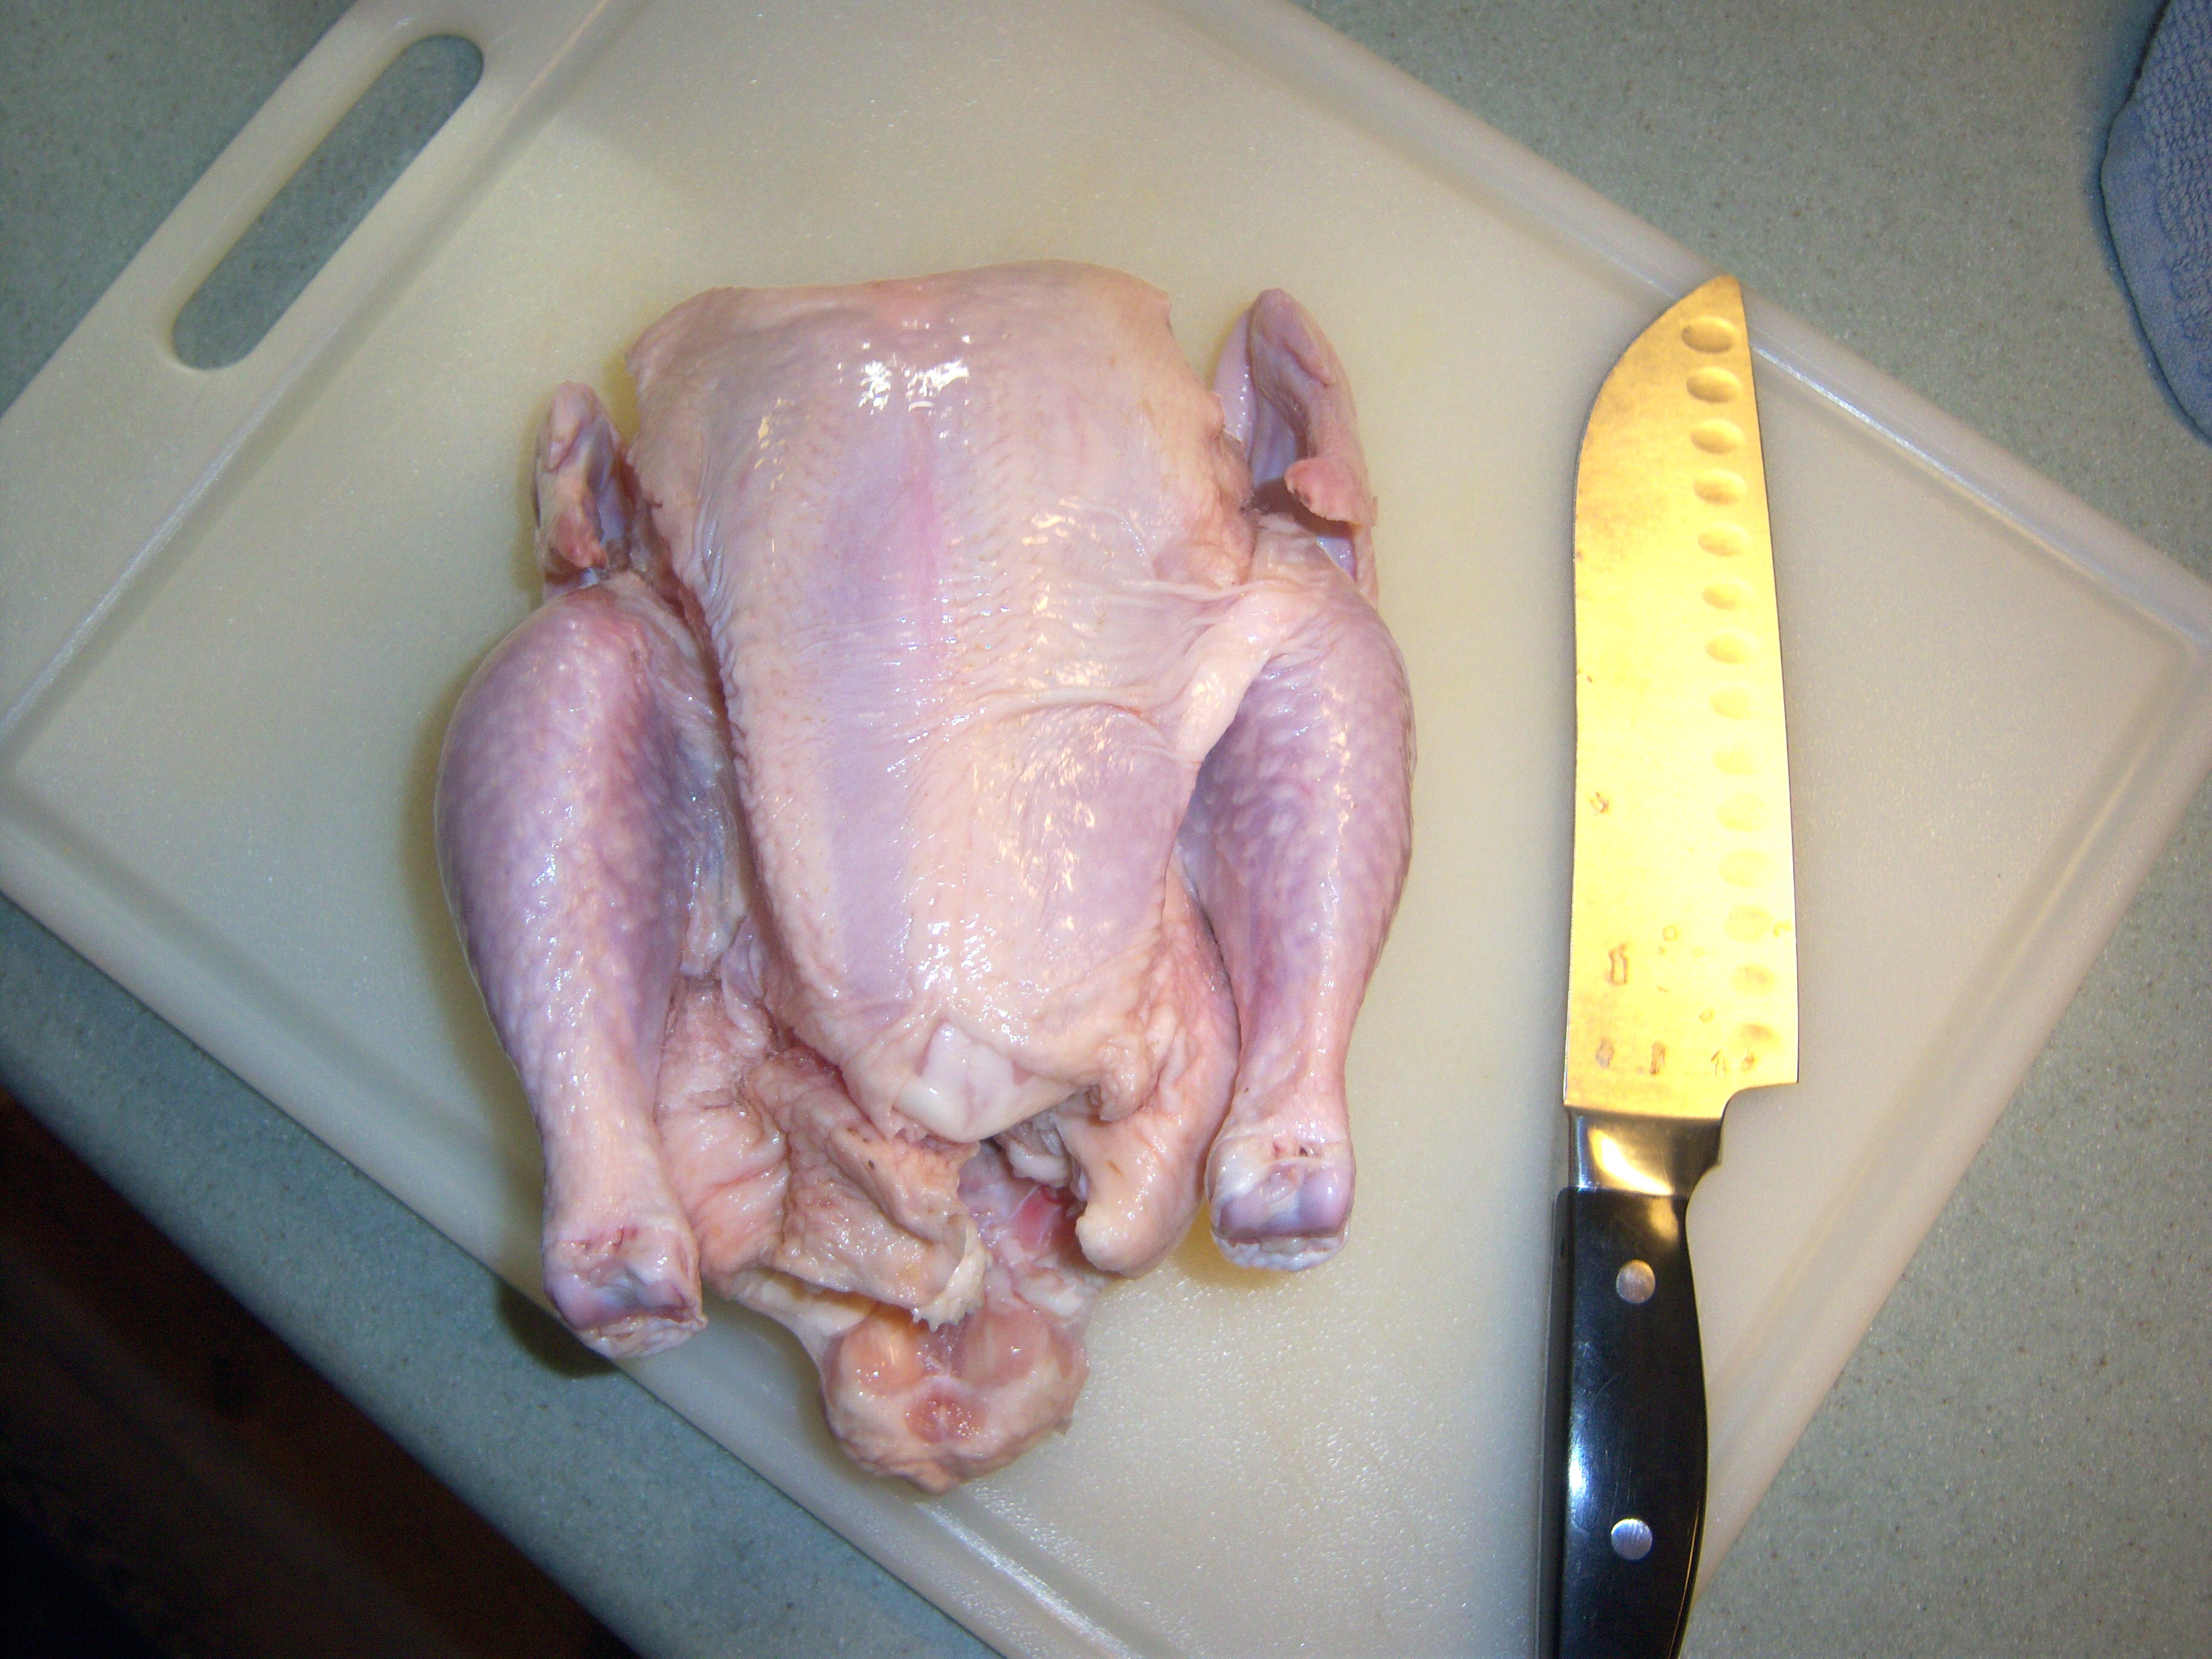
Martha’s second cooking school segment was about chicken.  She and Sarah Carey showed how to cut up a whole chicken. They emphasized how much cheaper it is to buy a whole chicken and cut it up yourself, rather than buying parts. This is absolutely true, but it’s nothing I would ever have done myself. I have been buying organic meat exclusively for about the last six months and my grocery store only has whole chickens or breasts. I have been wishing they carried other combos and parts, but I never did think about actually cutting up a whole chicken myself.

Chicken Fingers

I must confess, I really, really, really hate to touch raw chicken. The idea of cutting up a whole chicken was just about more than I could handle. We do eat meat, but I can’t think too much about it to be honest. I search out free range and pasture fed animals that have been well cared for and we eat less meat than we used to.

Mr. MarthaandMe is the one who carves chickens and turkeys in this family and agreed to be on standby in case I totally freaked out or cut off a thumb. I am proud to report to you though that I did it with no mishaps!

Cuts Like a Knife

I got out a plastic board, my big chef knife and a towel I designated “the chicken towel”. I opened up Cooking School next to me so I could follow along.

On the show, Sarah Carey cut it the way it is described in the book. I have no idea what the hell Martha was doing during this episode. She was totally showing off, hacking through her chicken with a pair of scissors, leaping steps ahead of Sarah so we could all see that she knew what she was doing. Geesh! Sarah’s steps were really pretty clear. The description and photos in the book were not as good as the episode when you could see Sarah actually pulling the joints apart. I wish I had had it on while I was doing it so I could see her do it, pause it, then do it myself.

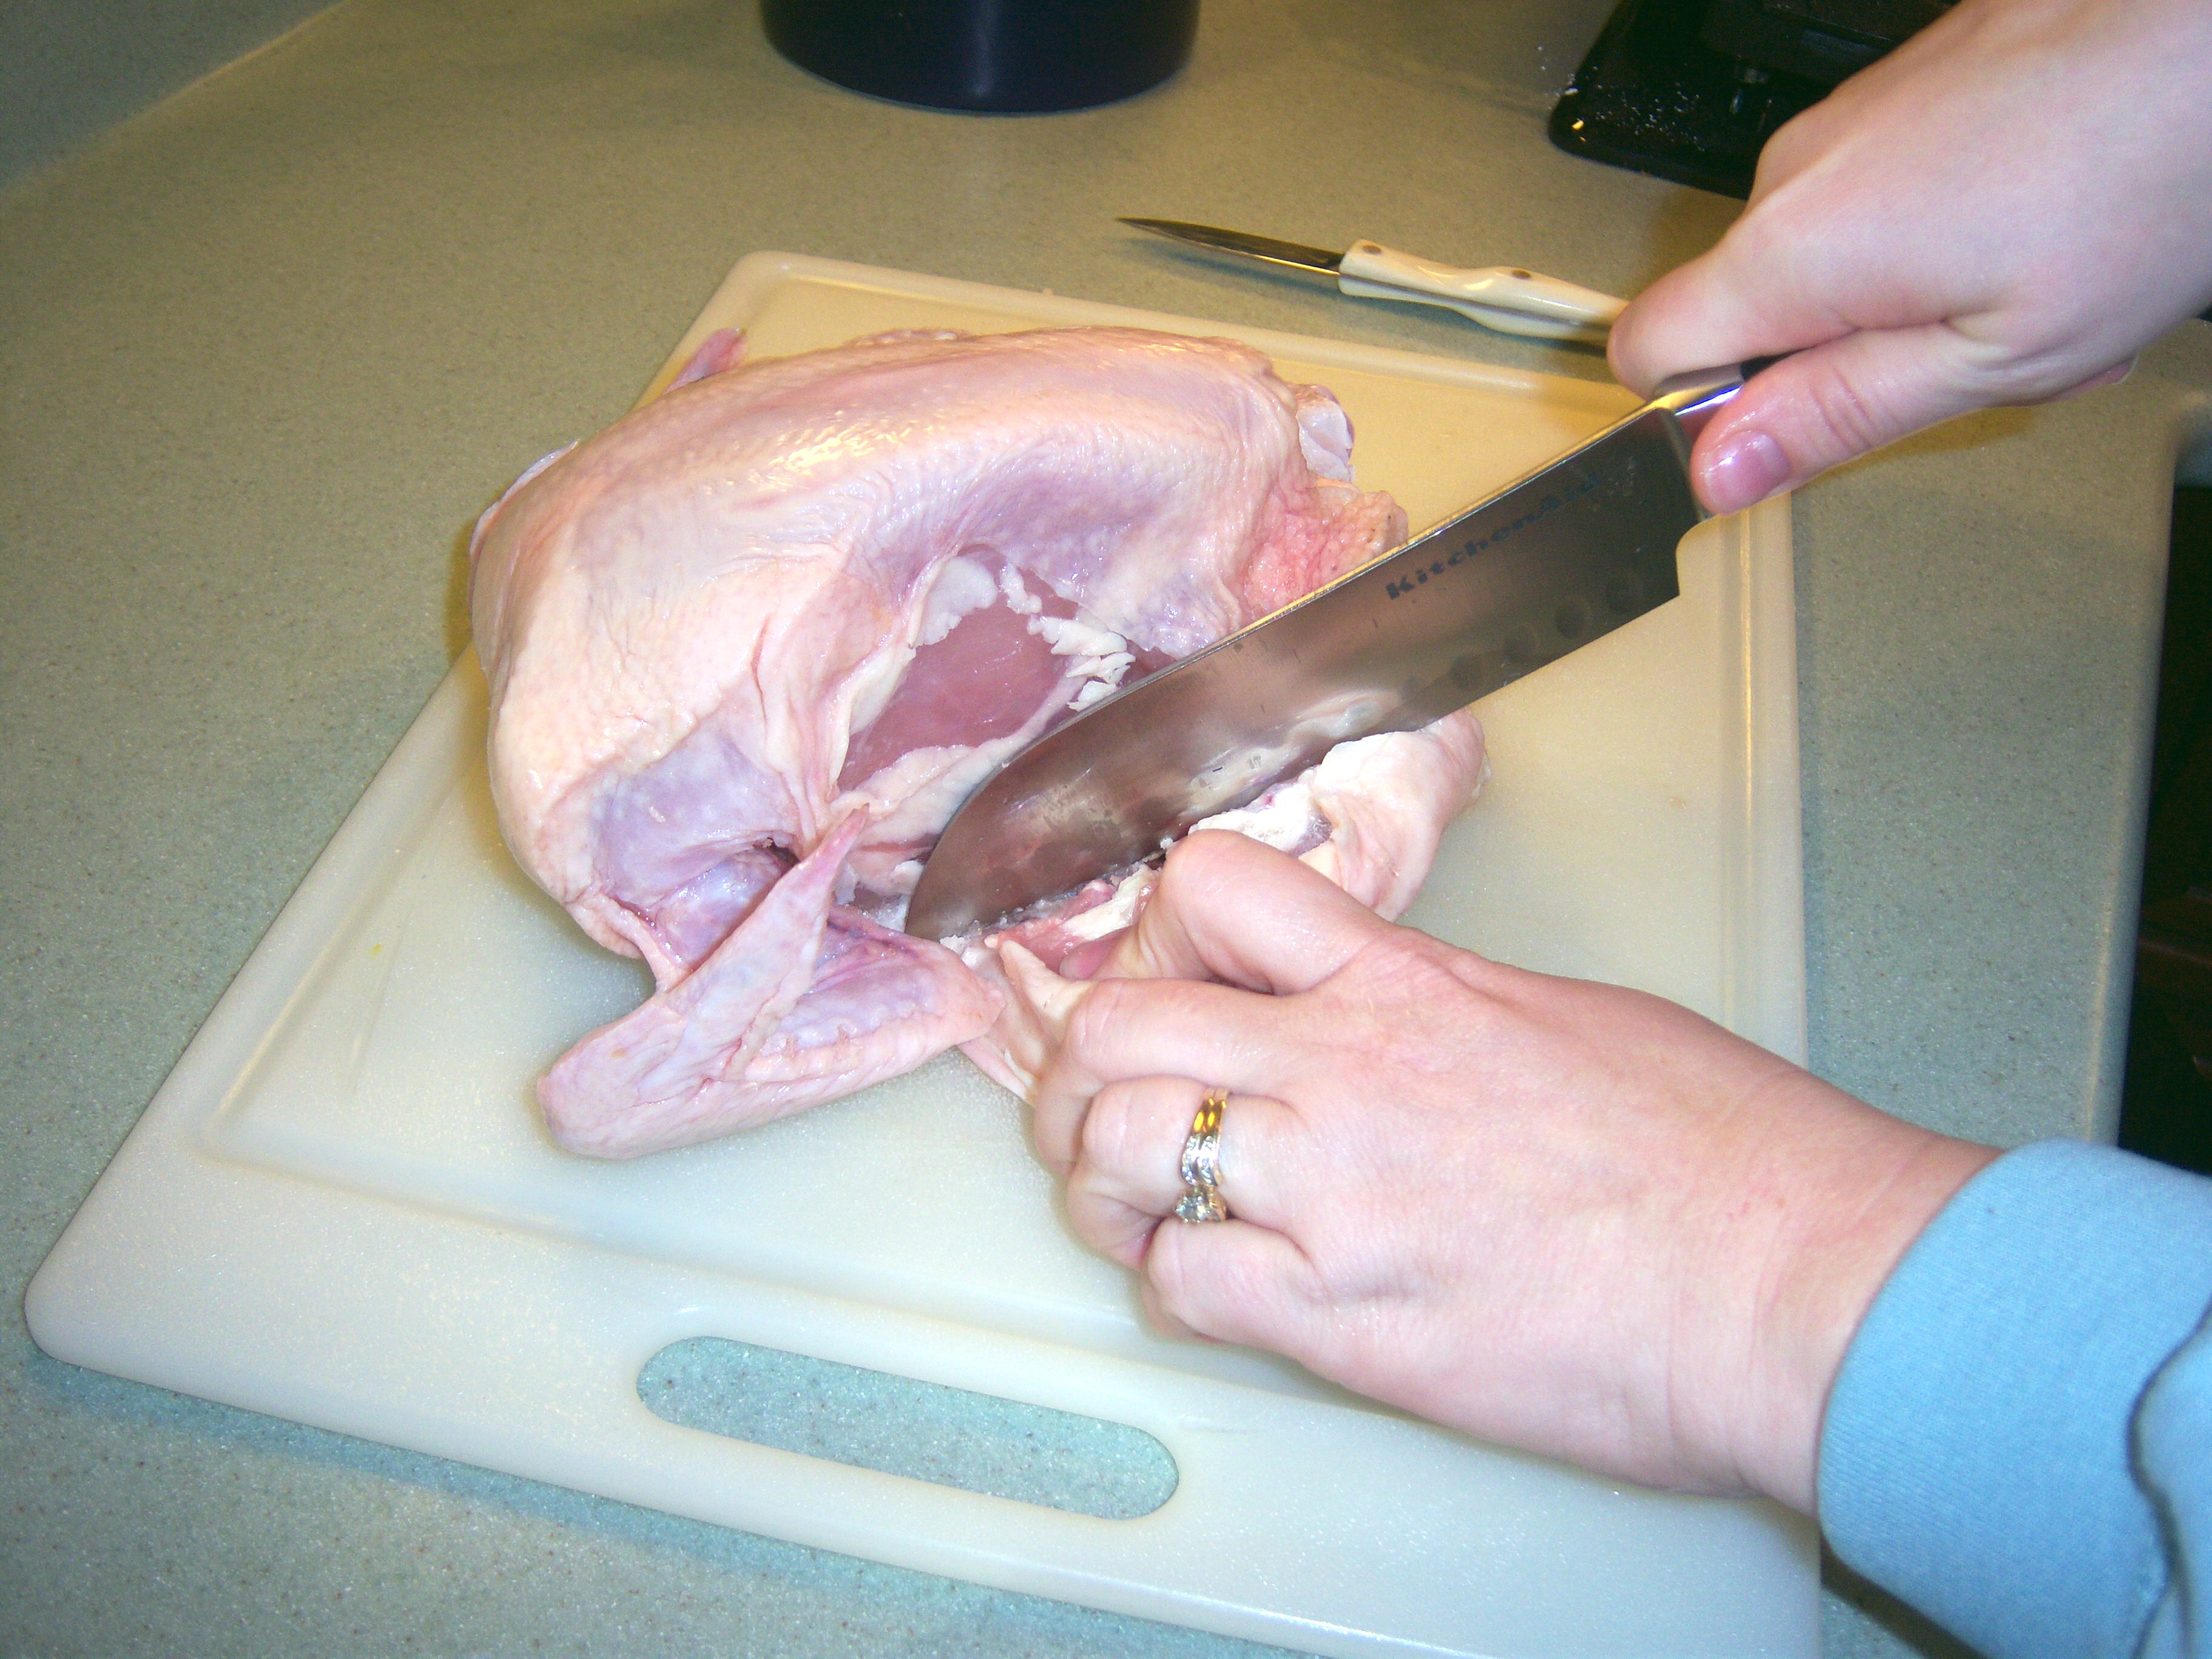
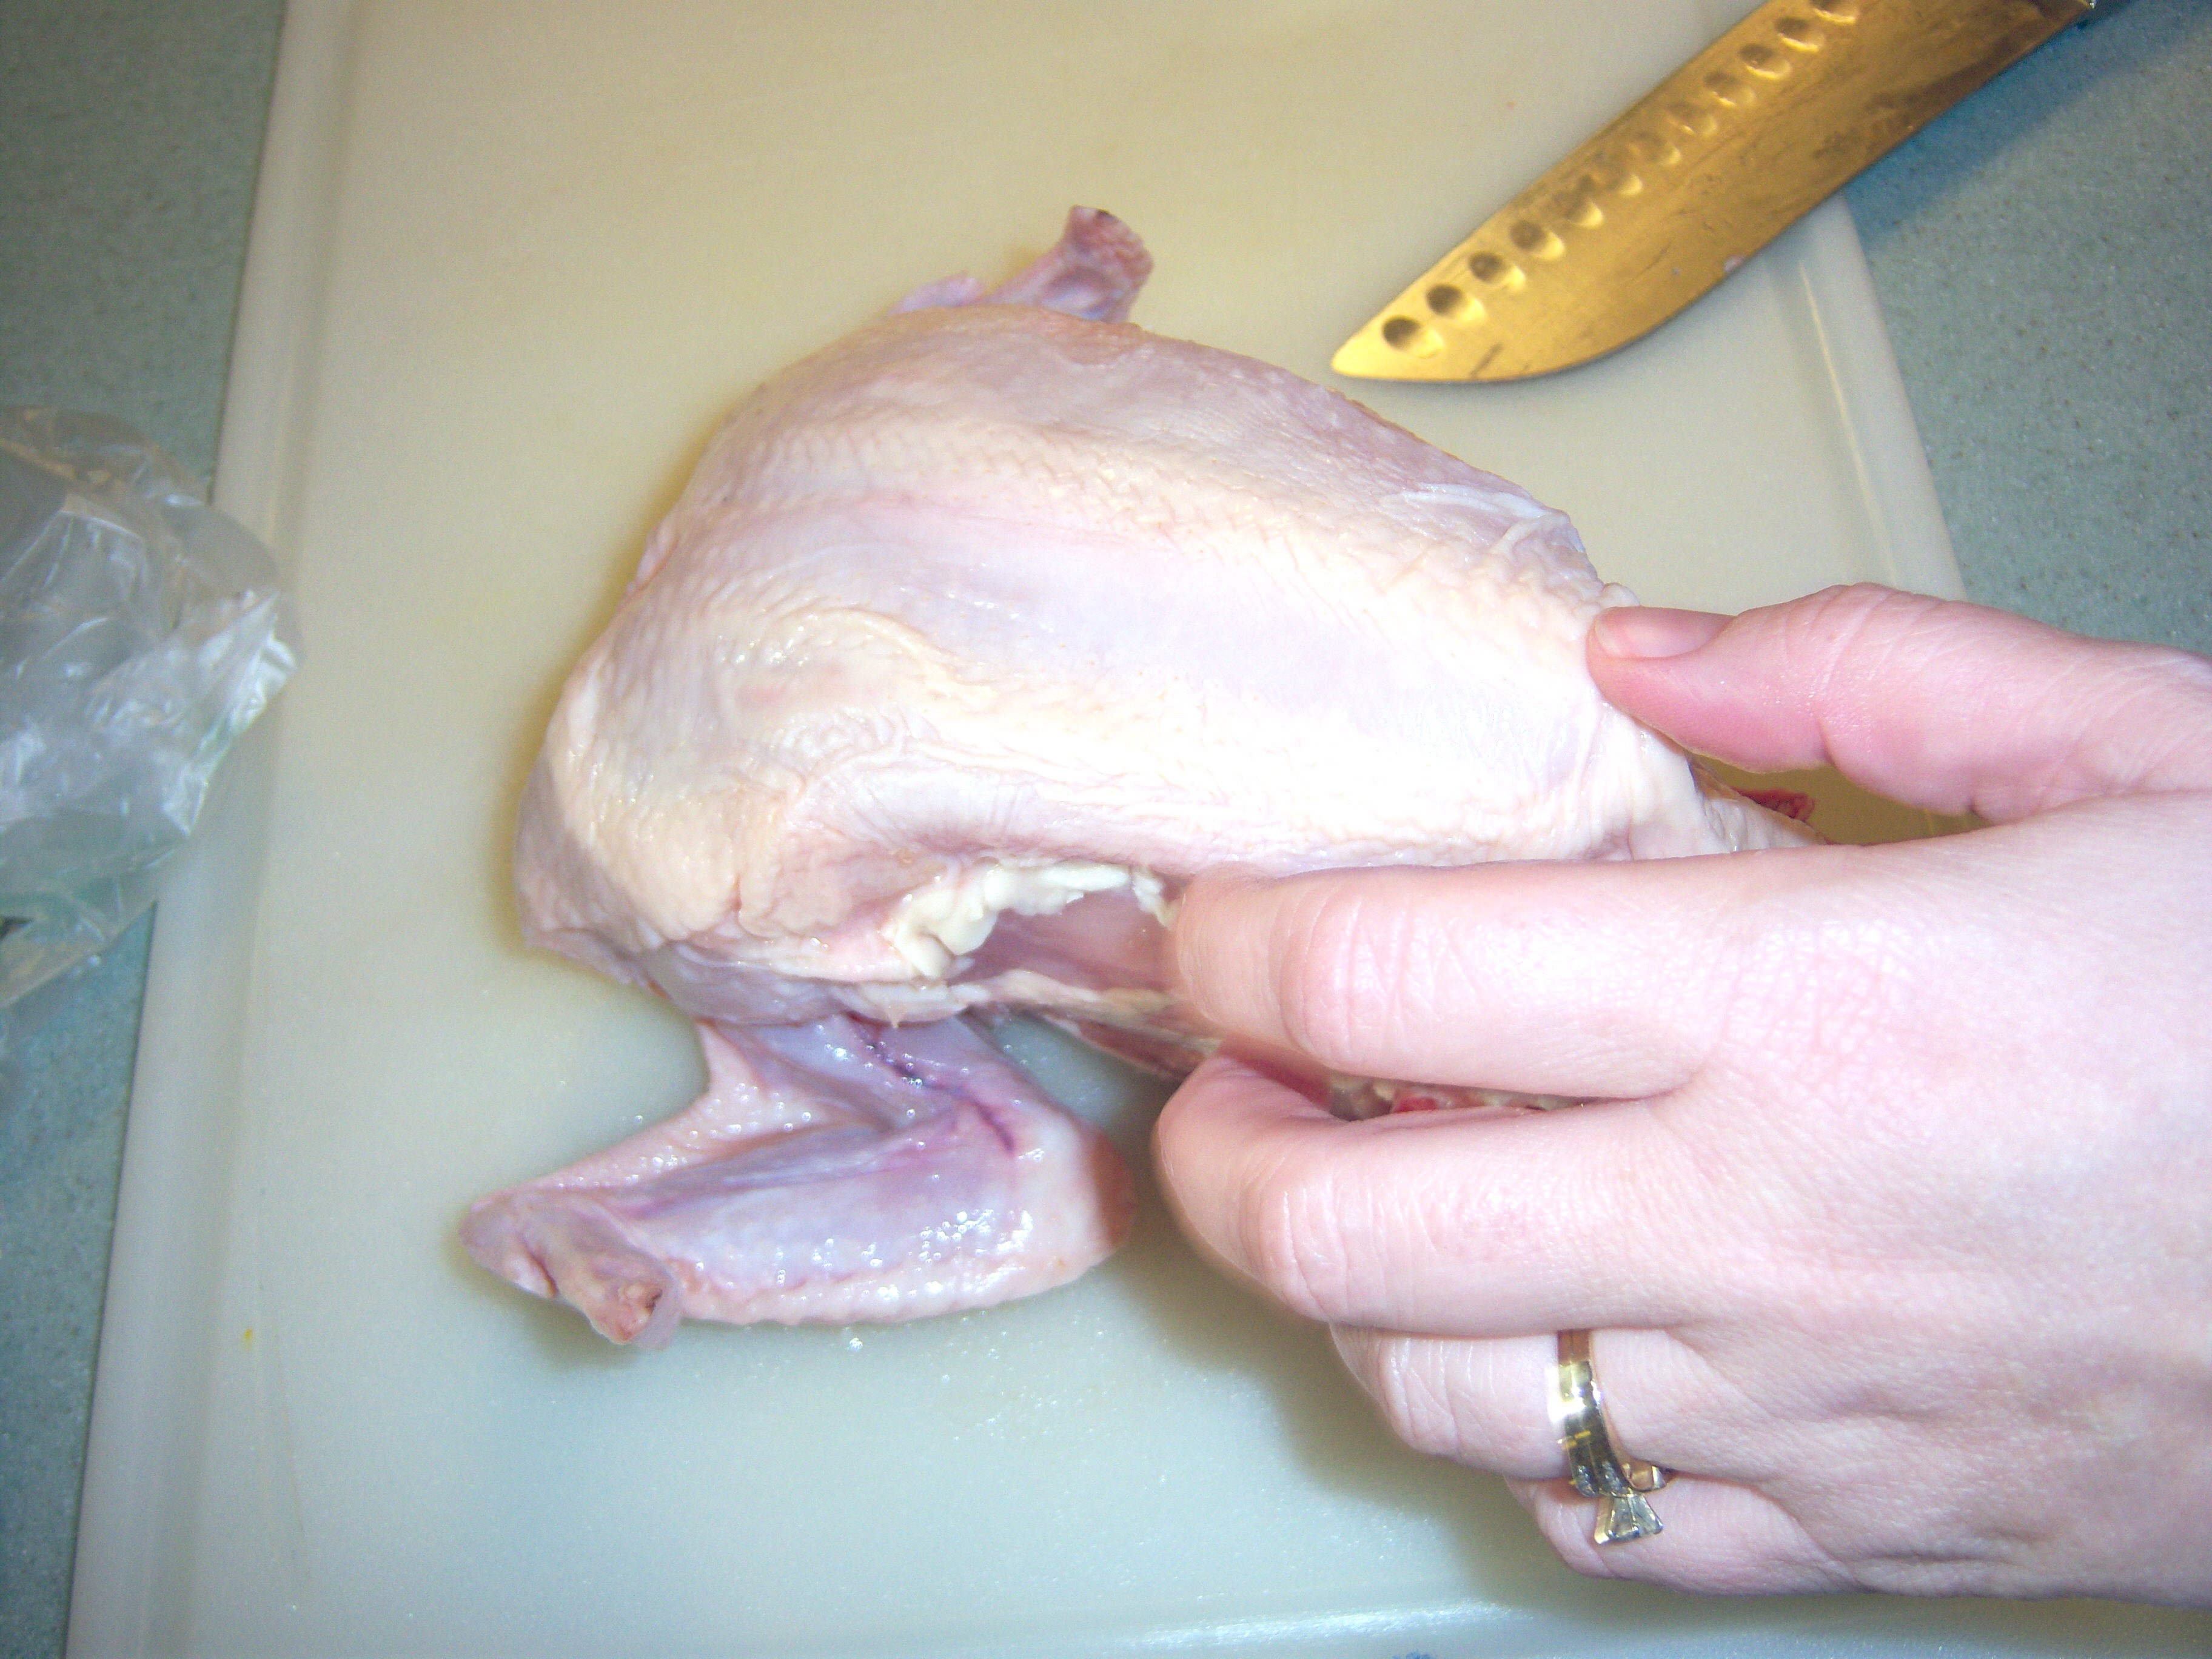
Removing the leg

Removing the leg

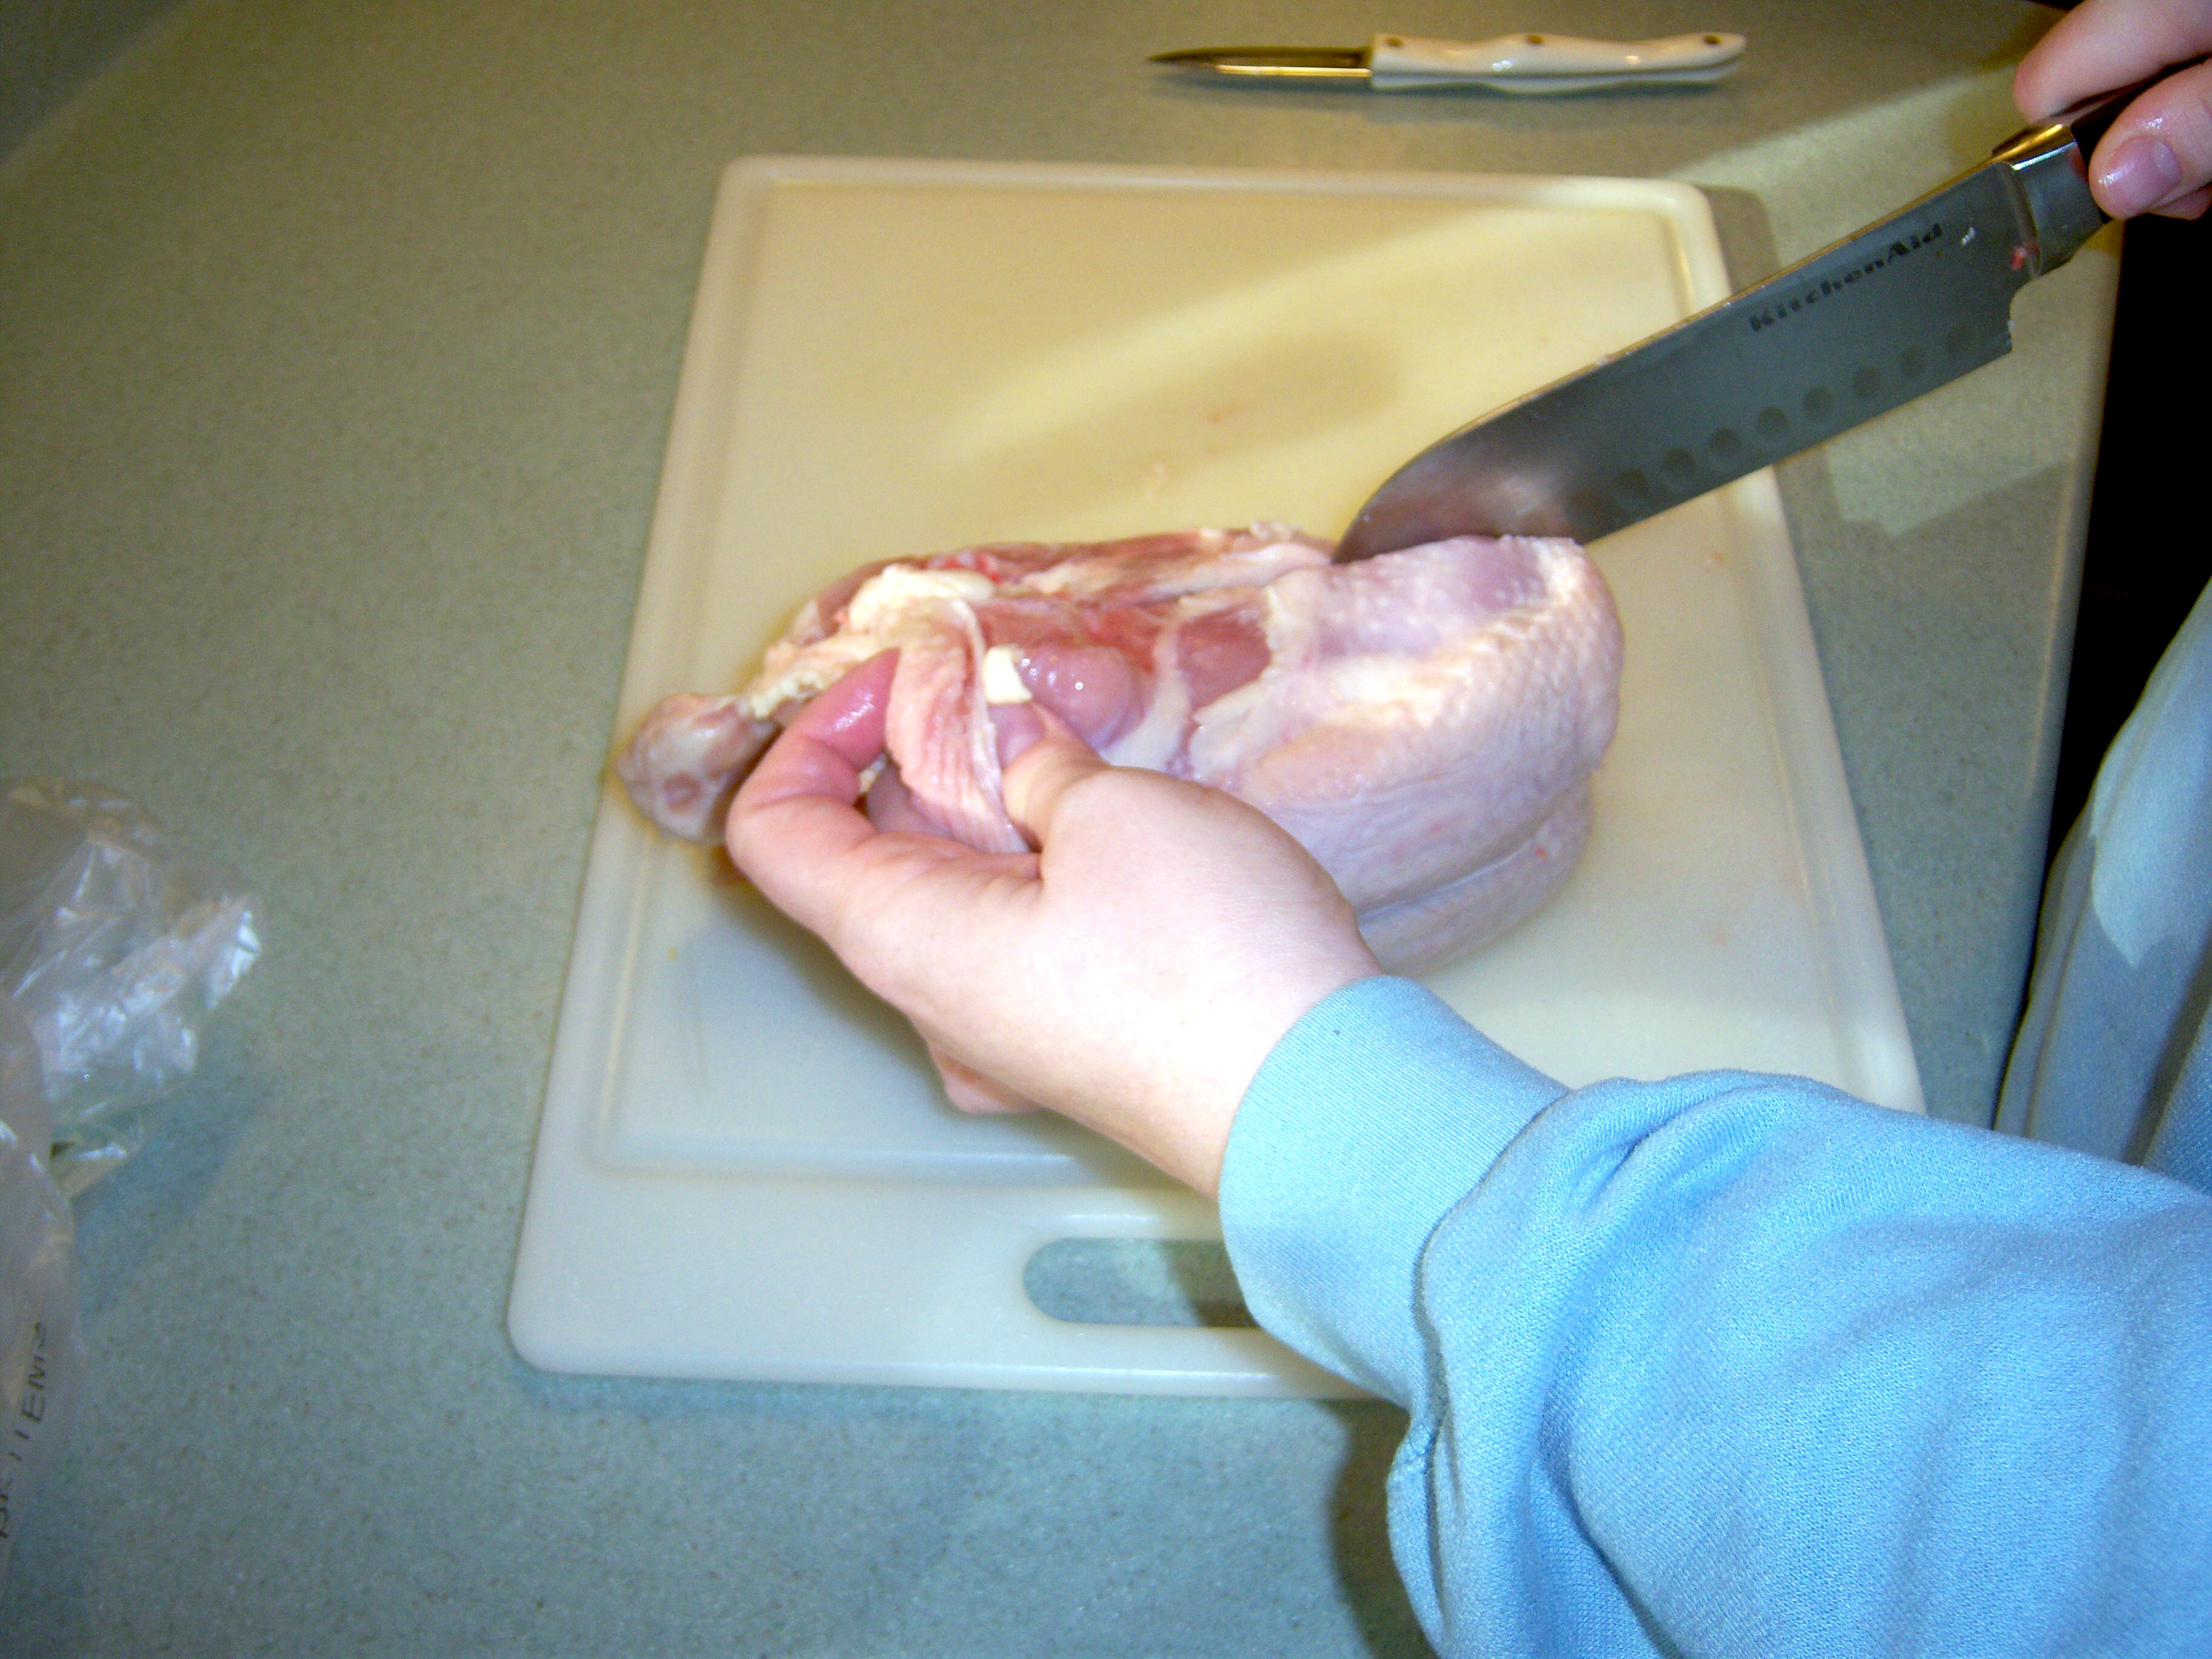
So I started in. First was the leg. I cut through the skin then had to cut down to the joint. I did that then had to pull to pop it out. Ew. This was not pleasant and I might have gotten a little

Wings

Wings

squeamish. I did manage to do it though. The trick is pulling it apart enough so you can see where the joint is, and then cutting between the joint and the body of the chicken. Then I cut the leg and thigh apart. Next I got the wings off – these were easy compared to the legs.

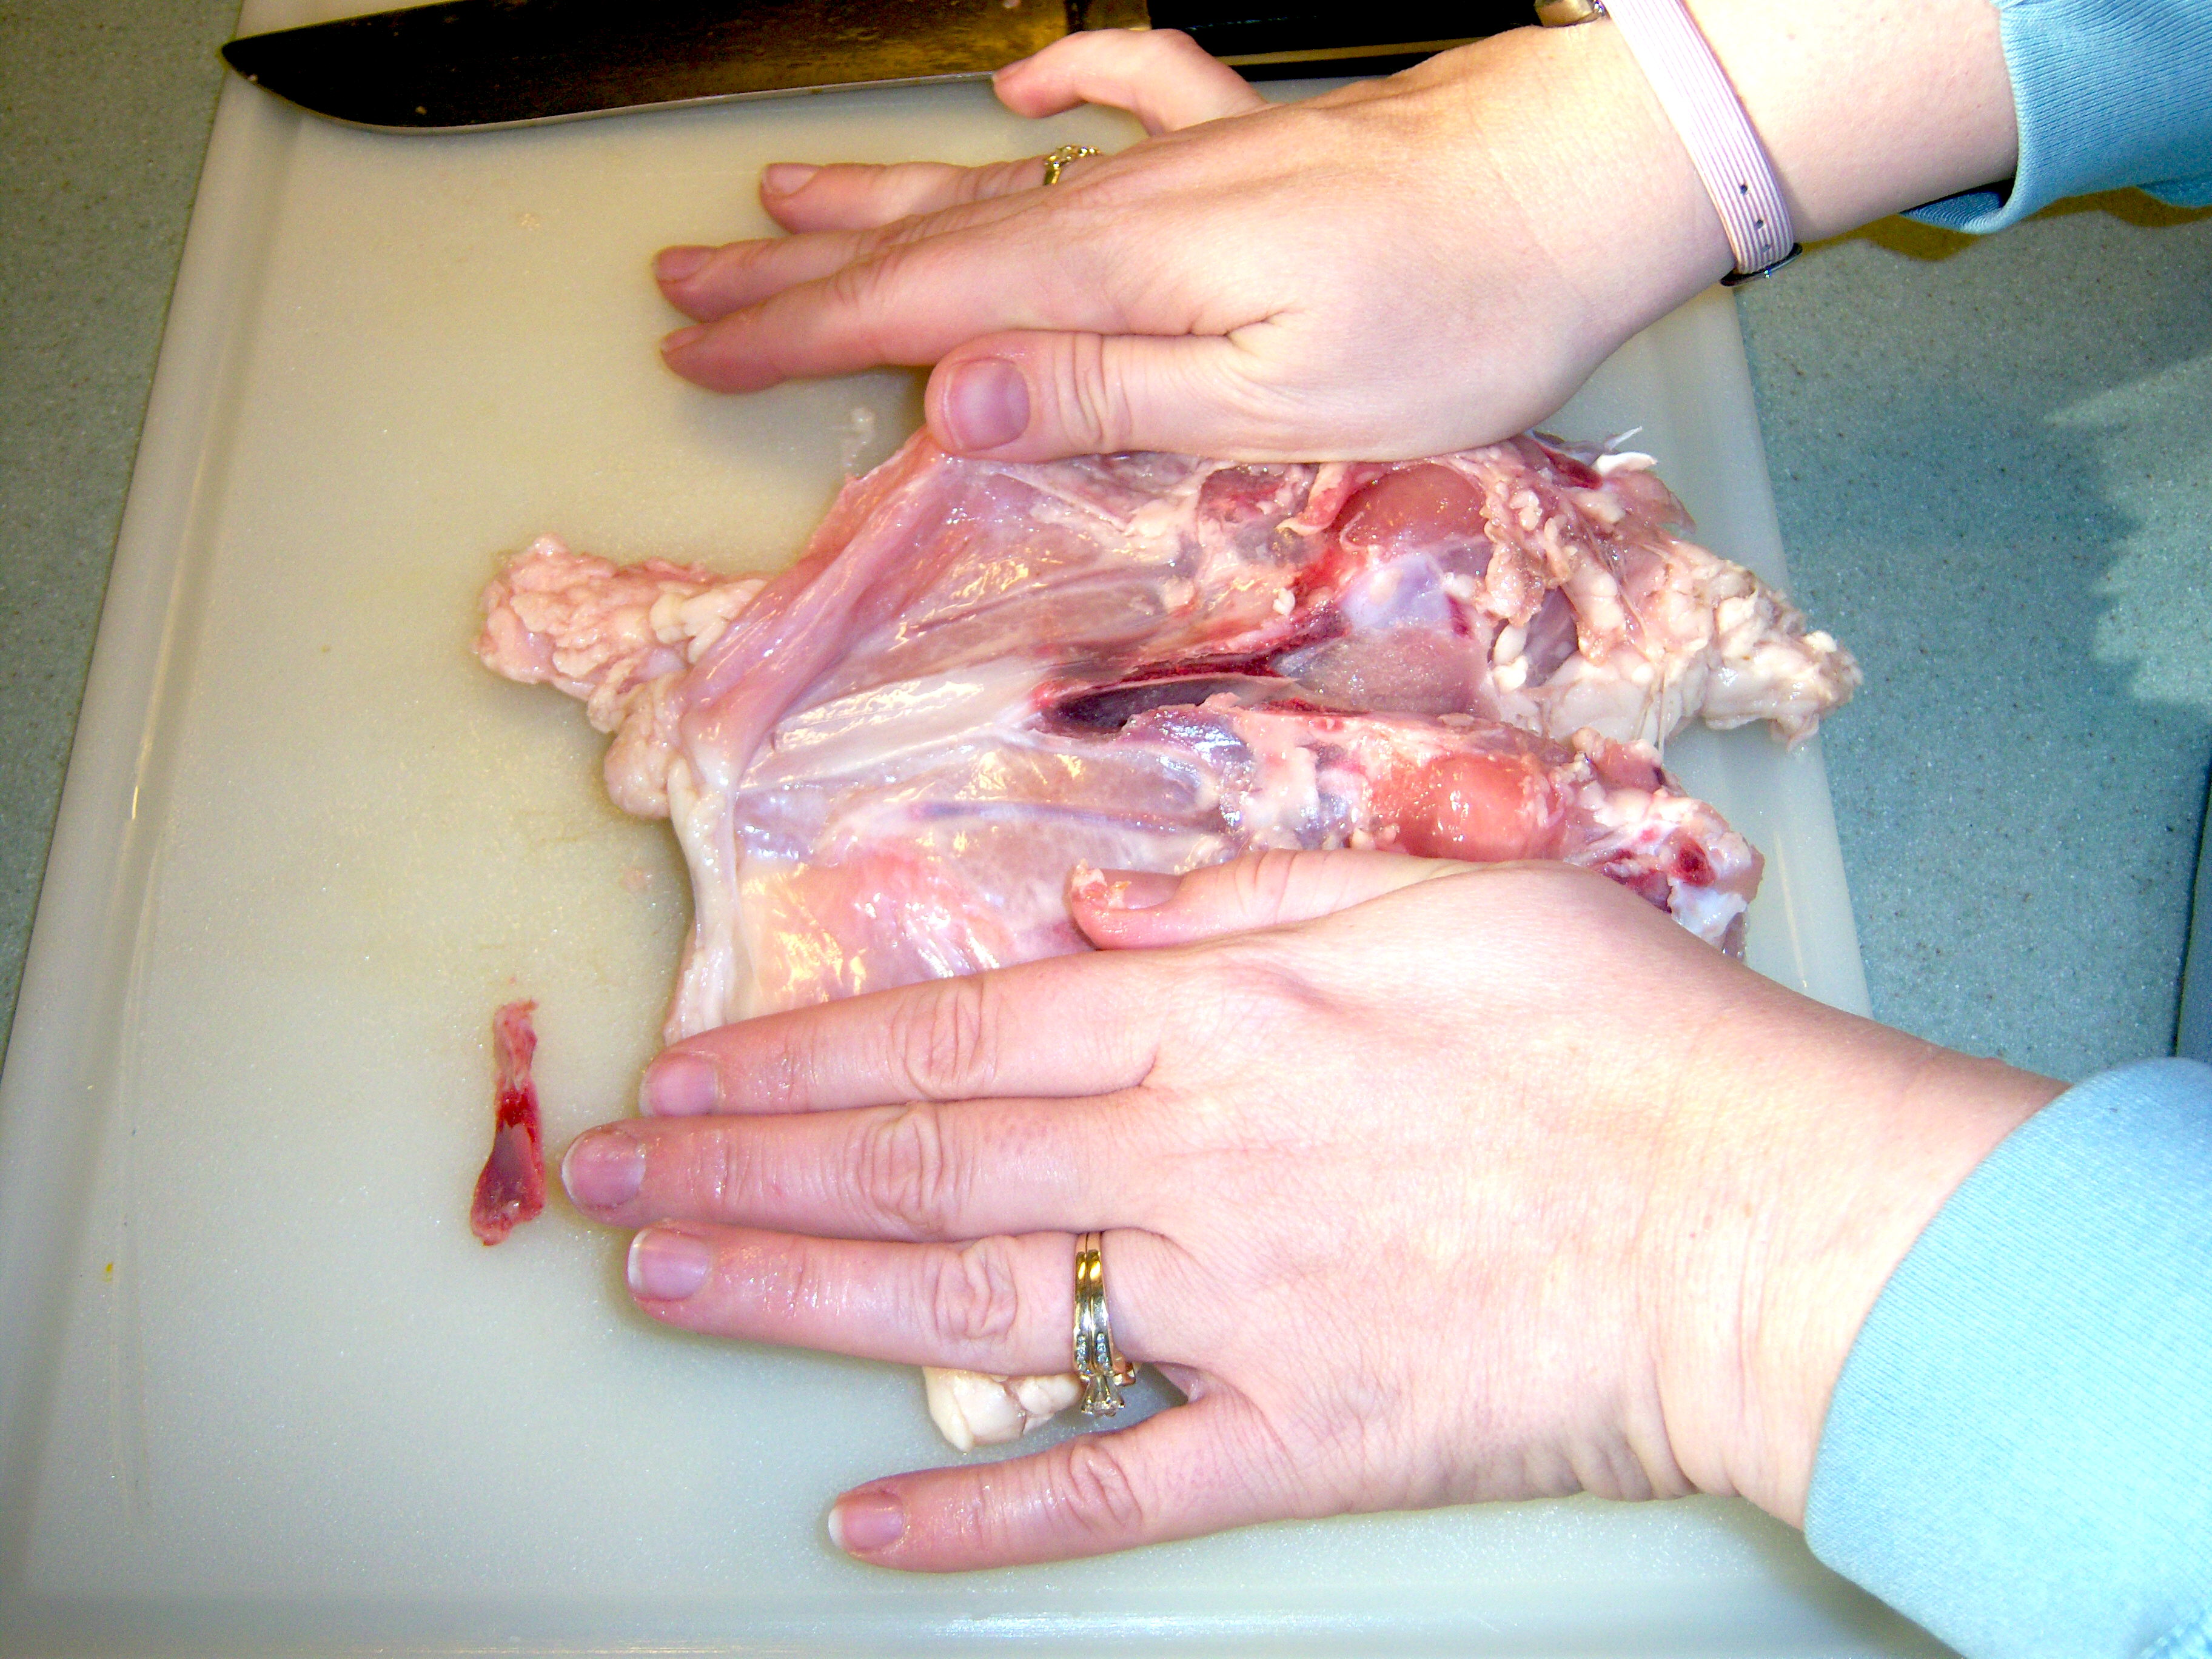
Hacking the breast from the back was not for the faint of heart. Mr. MarthaandMe encouraged me from the sidelines as I looked up in panic a few

Removing breast from back

Removing breast from back

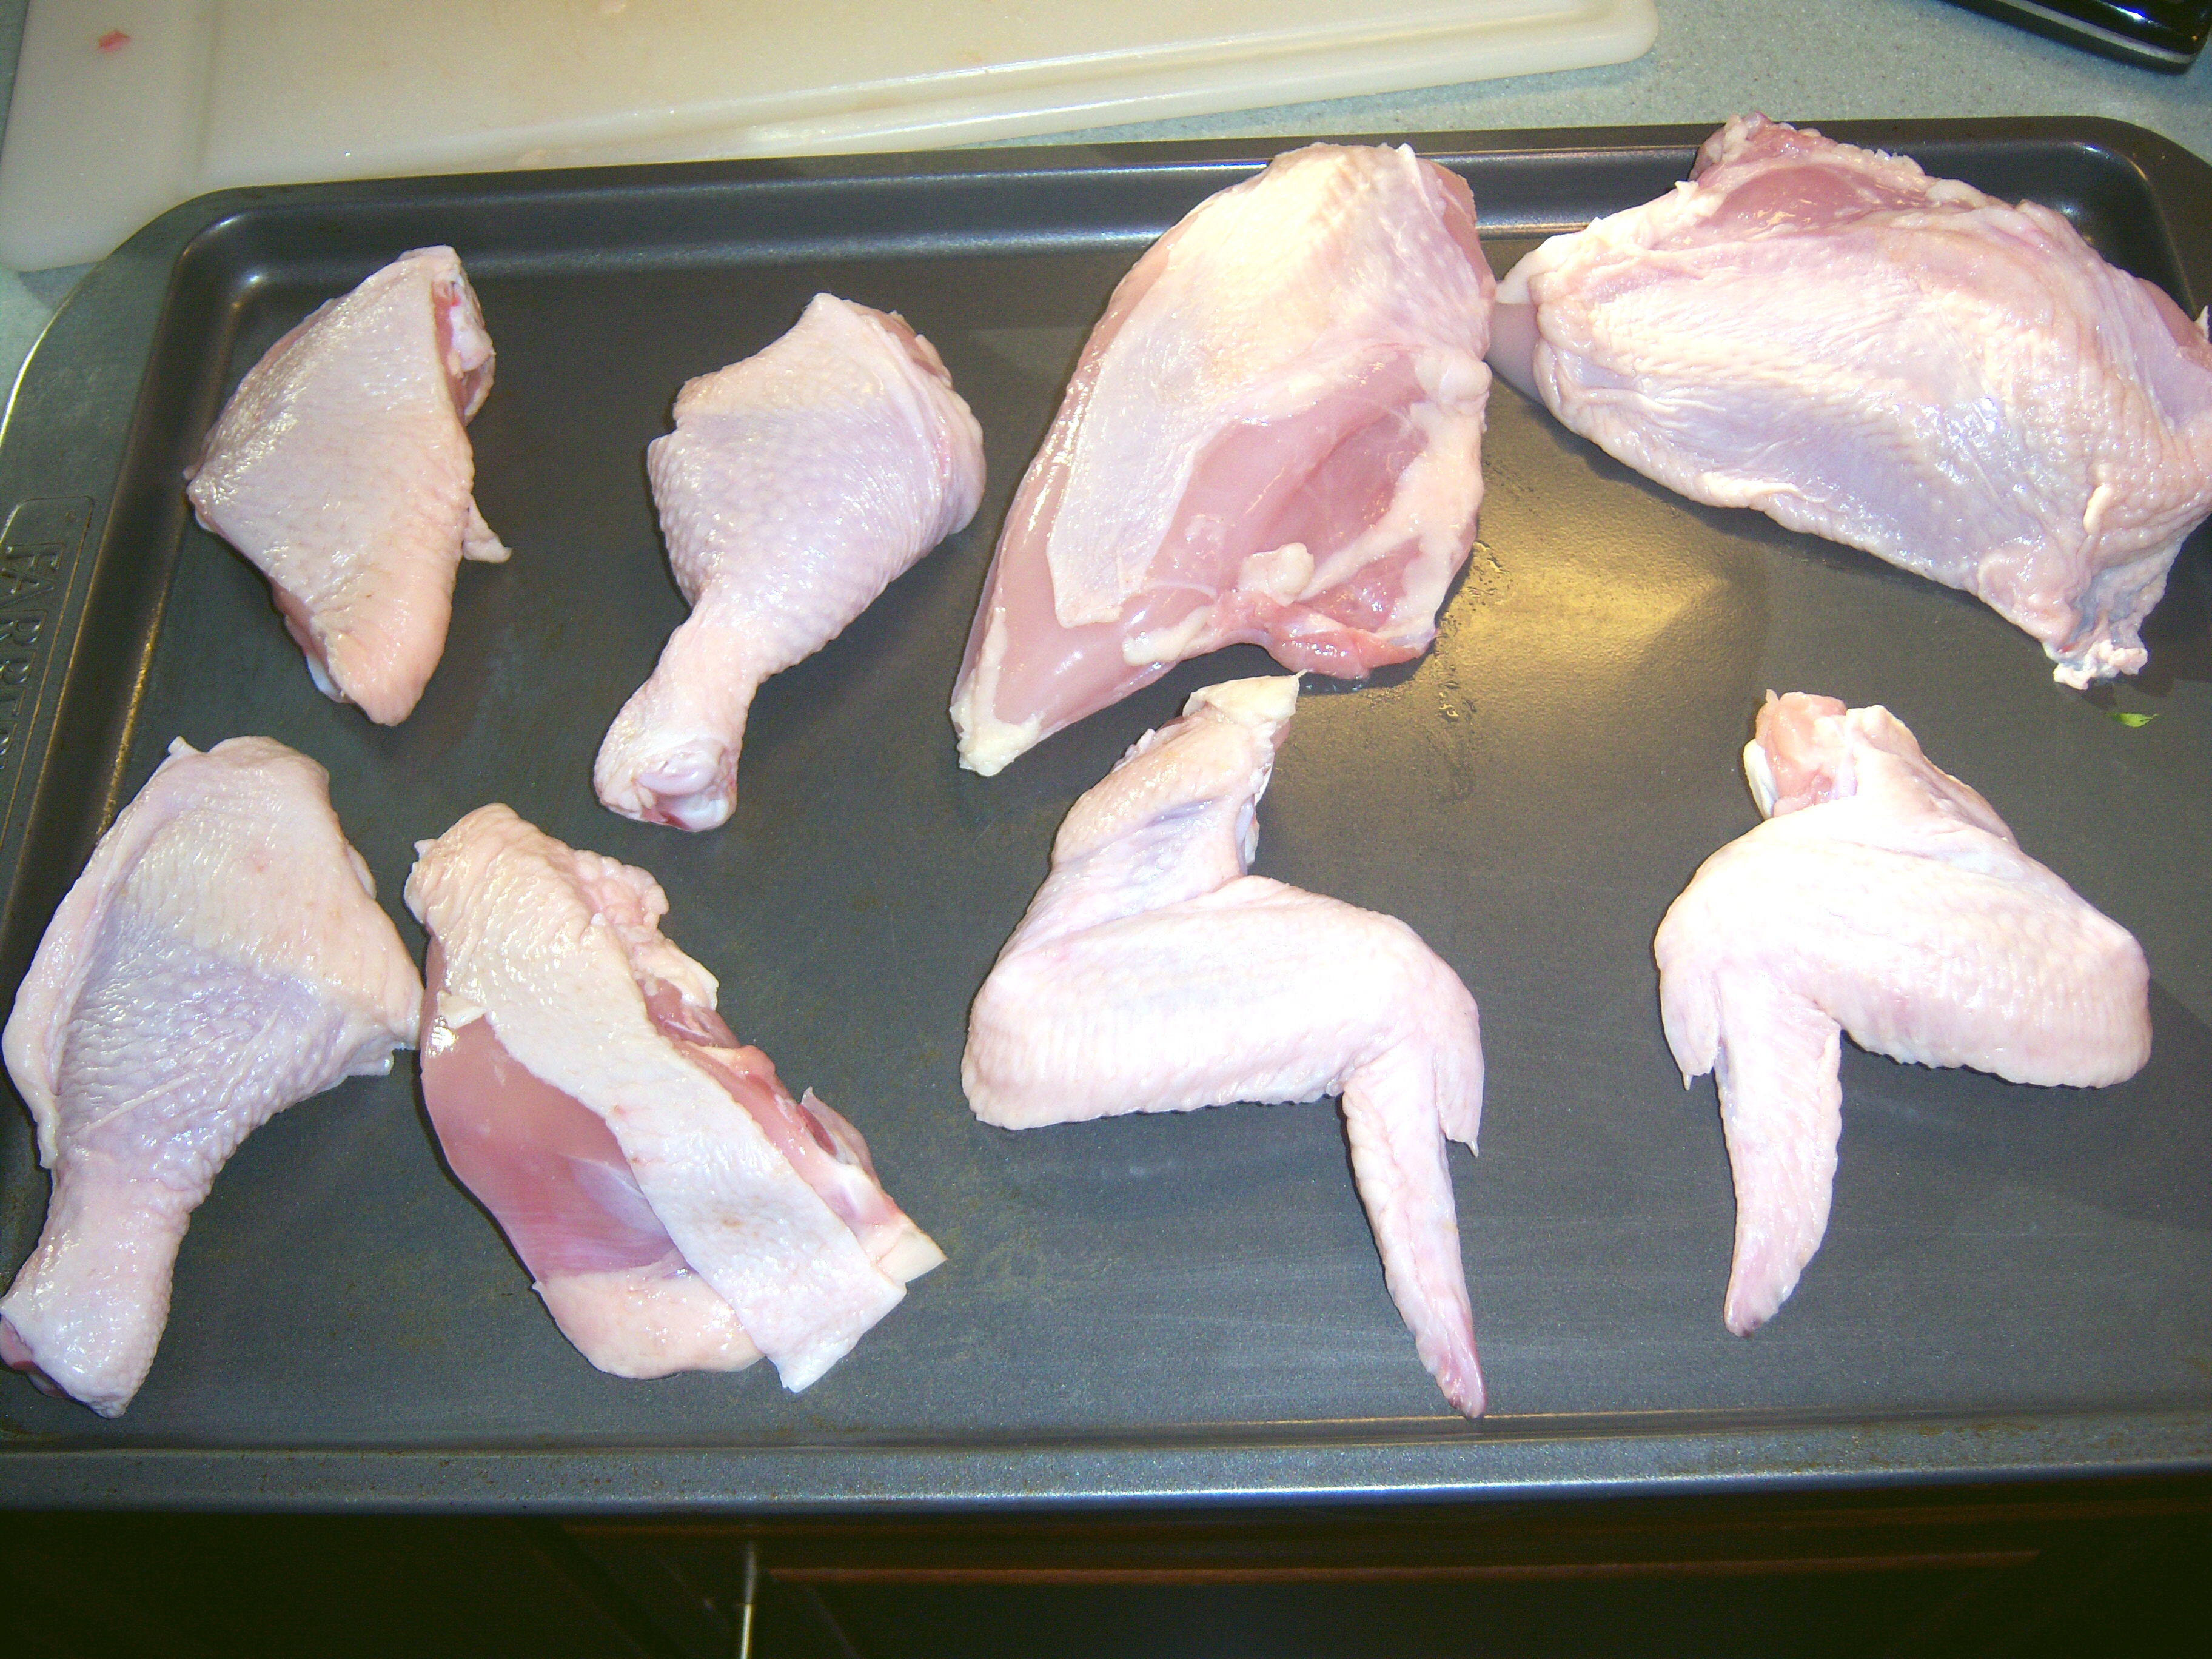
times. Somehow I managed to hack through it and got it apart. This was about just using sheer force – it was not easy, I was not enjoying it and I just kept going. I have no idea if I cut it where I was supposed to since I was just hacking through bone. Separating the breasts was harder than it looked too. The book said to use the heel of your knife to crack the backbone. No clue what that means.  Finally I just snapped it with my hands.I had to trim the breasts a bit – there was some big nasty skin hanging off

Cutting the breast

Cutting the breast

from them. Once I did that, I had a nice tray of chicken though.

My Reaction

I was really intimidated by this, having never cut up a chicken in my life. It was not fun and I admit I washed my hands 6 times throughout the process (OCD, anyone?). However, being able to have

Success!

Success!

organic chicken in the pieces I want it in is a pretty powerful motivator. Martha’s right about this being a way to save money. I would rather buy it already cut up (and pay more to avoid having to do this), but since that’s not an option, I guess I would consider doing this again. Or maybe I’ll just delegate this job to Mr. MarthaandMe!

The Recipe

Now that I had my chicken cut up, I had to do something with it for dinner. I decided to go with Martha’s buttermilk fried chicken recipe from the Cooking School book. Let me say here that we vacationed in Hilton Head, SC

Eating Paula's Chicken in 2006

Paula's Chicken

a couple of summers ago and we had the pleasure of dining at Paula Deen’s The Lady and Sons in Savannagh where I had the most perfect fried chicken known to man. After that trip, I spent months trying to perfect fried chicken and settled on Paula’s recipe with some minor modifications. Paula says you have to use self-rising flour. I agree. I discovered fried chicken turns out best if you double dip it (egg, flour, egg, then flour). I usually use a mix of peanut oil and Crisco (yes, I know you’re not supposed to mix oils). Mr. MarthaandMe got me a deep fryer for Mother’s Day this year and now I use that. I learned to cook the heck out of it or it will be bloody inside and brown on the outside. I also learned it tastes better if you let it rest before eating it. It’s also excellent the next day.

Paula does not recommend soaking in buttermilk. Martha does – then wants you to let the chicken sit out and dry a bit. Paula uses egg wash, Martha doesn’t. Martha adds cornmeal to her coating, Paula does not.

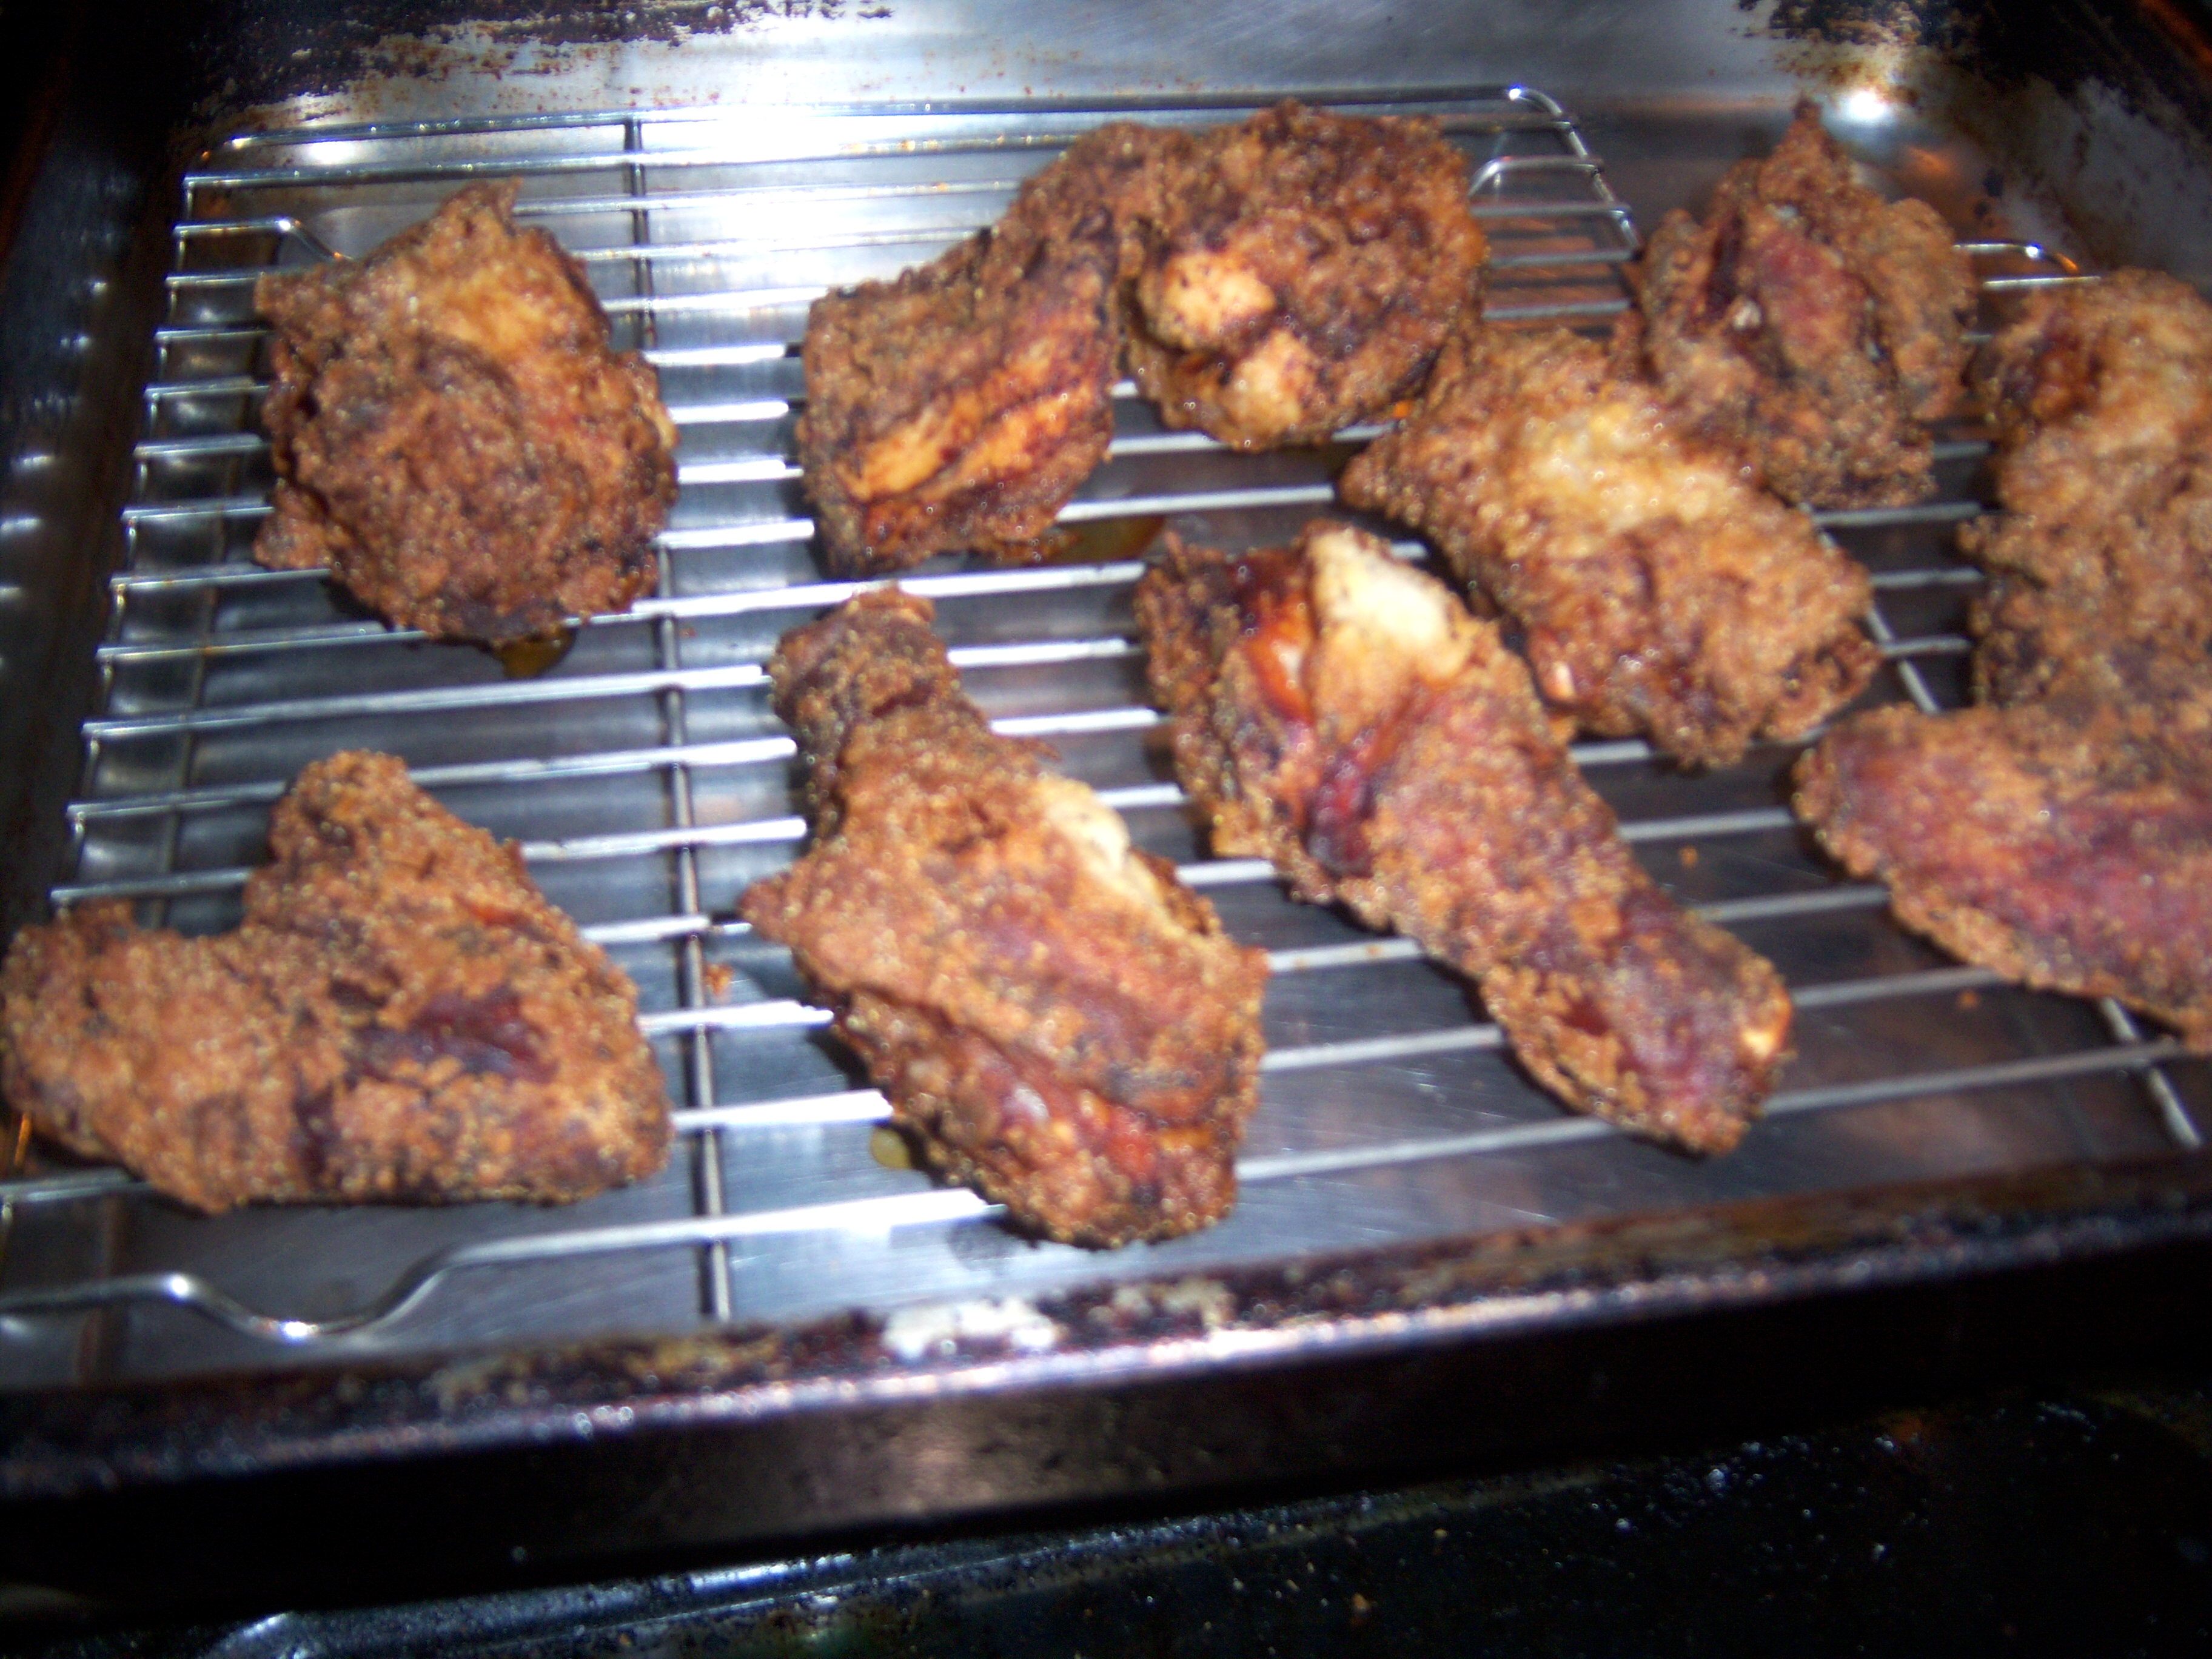
Martha's chicken

Martha's chicken

To be true to my Martha experiment, I cooked the chicken according to Martha’s instructions. This chicken cooked very quickly, and turned very brown. I don’t know if that had to do with the coating or maybe because I was using an organic chicken which was also a bit small.

The crust was tasty. I liked the crunch the cornmeal added. However, the skin didn’t really cook and was all mushy and fatty underneath the coating in some places. I didn’t feel as though the buttermilk marinade made much of a difference. I’m definitely going back to Paula’s recipe. Sorry Martha, but you’re not a Southern gal. It was fun to experiment with a different recipe, but Paula really knows her stuff!

Martha’s second cooking school segment was about chicken.  She and Sarah Carey showed how to cut up a whole chicken. They emphasized how much cheaper it is to buy a whole chicken and cut it up yourself, rather than buying parts. This is absolutely true, but it’s nothing I would ever have done myself. I … Read more

Martha is plugging her new cooking school book in a hot and heavy way. The magazine has a lesson from it and each week on her show there is going to be an on-air lesson. Being a good little disciple, I have gone out and captured a copy (oddly enough in my local B&N it wasn’t in the cookbook section, but on a separate table in the middle of the store, which struck me as very odd). My plan is to follow along with the lessons on the show and post here each week so you can see how it goes.

Do I Need Cooking School?

Am I a little resentful that Martha thinks we all need to go to cooking school? Yes, maybe a little. After all, as she has admitted, she’s never gone. I think most of us who do cook have learned it on our own, or from our mothers. I’m lucky in that I had two grandmothers who loved to cook, as well as two parents who participated in a monthly “gourmet club” (if that sounds totally 70s, it’s because it was) and threw a Martha style Christmas party every year. So I’m not too shabby in the kitchen.

What I’m learning from Martha though is that there are so many things I really don’t know about cooking. While it totally ticked me off to have to have Martha and Sarah Carey (editor of Everyday Food and clearly the one who wrote most of this Cooking School tome) lecture me on how to chop an onion, I must admit I’ve already picked up some things.

The Knives

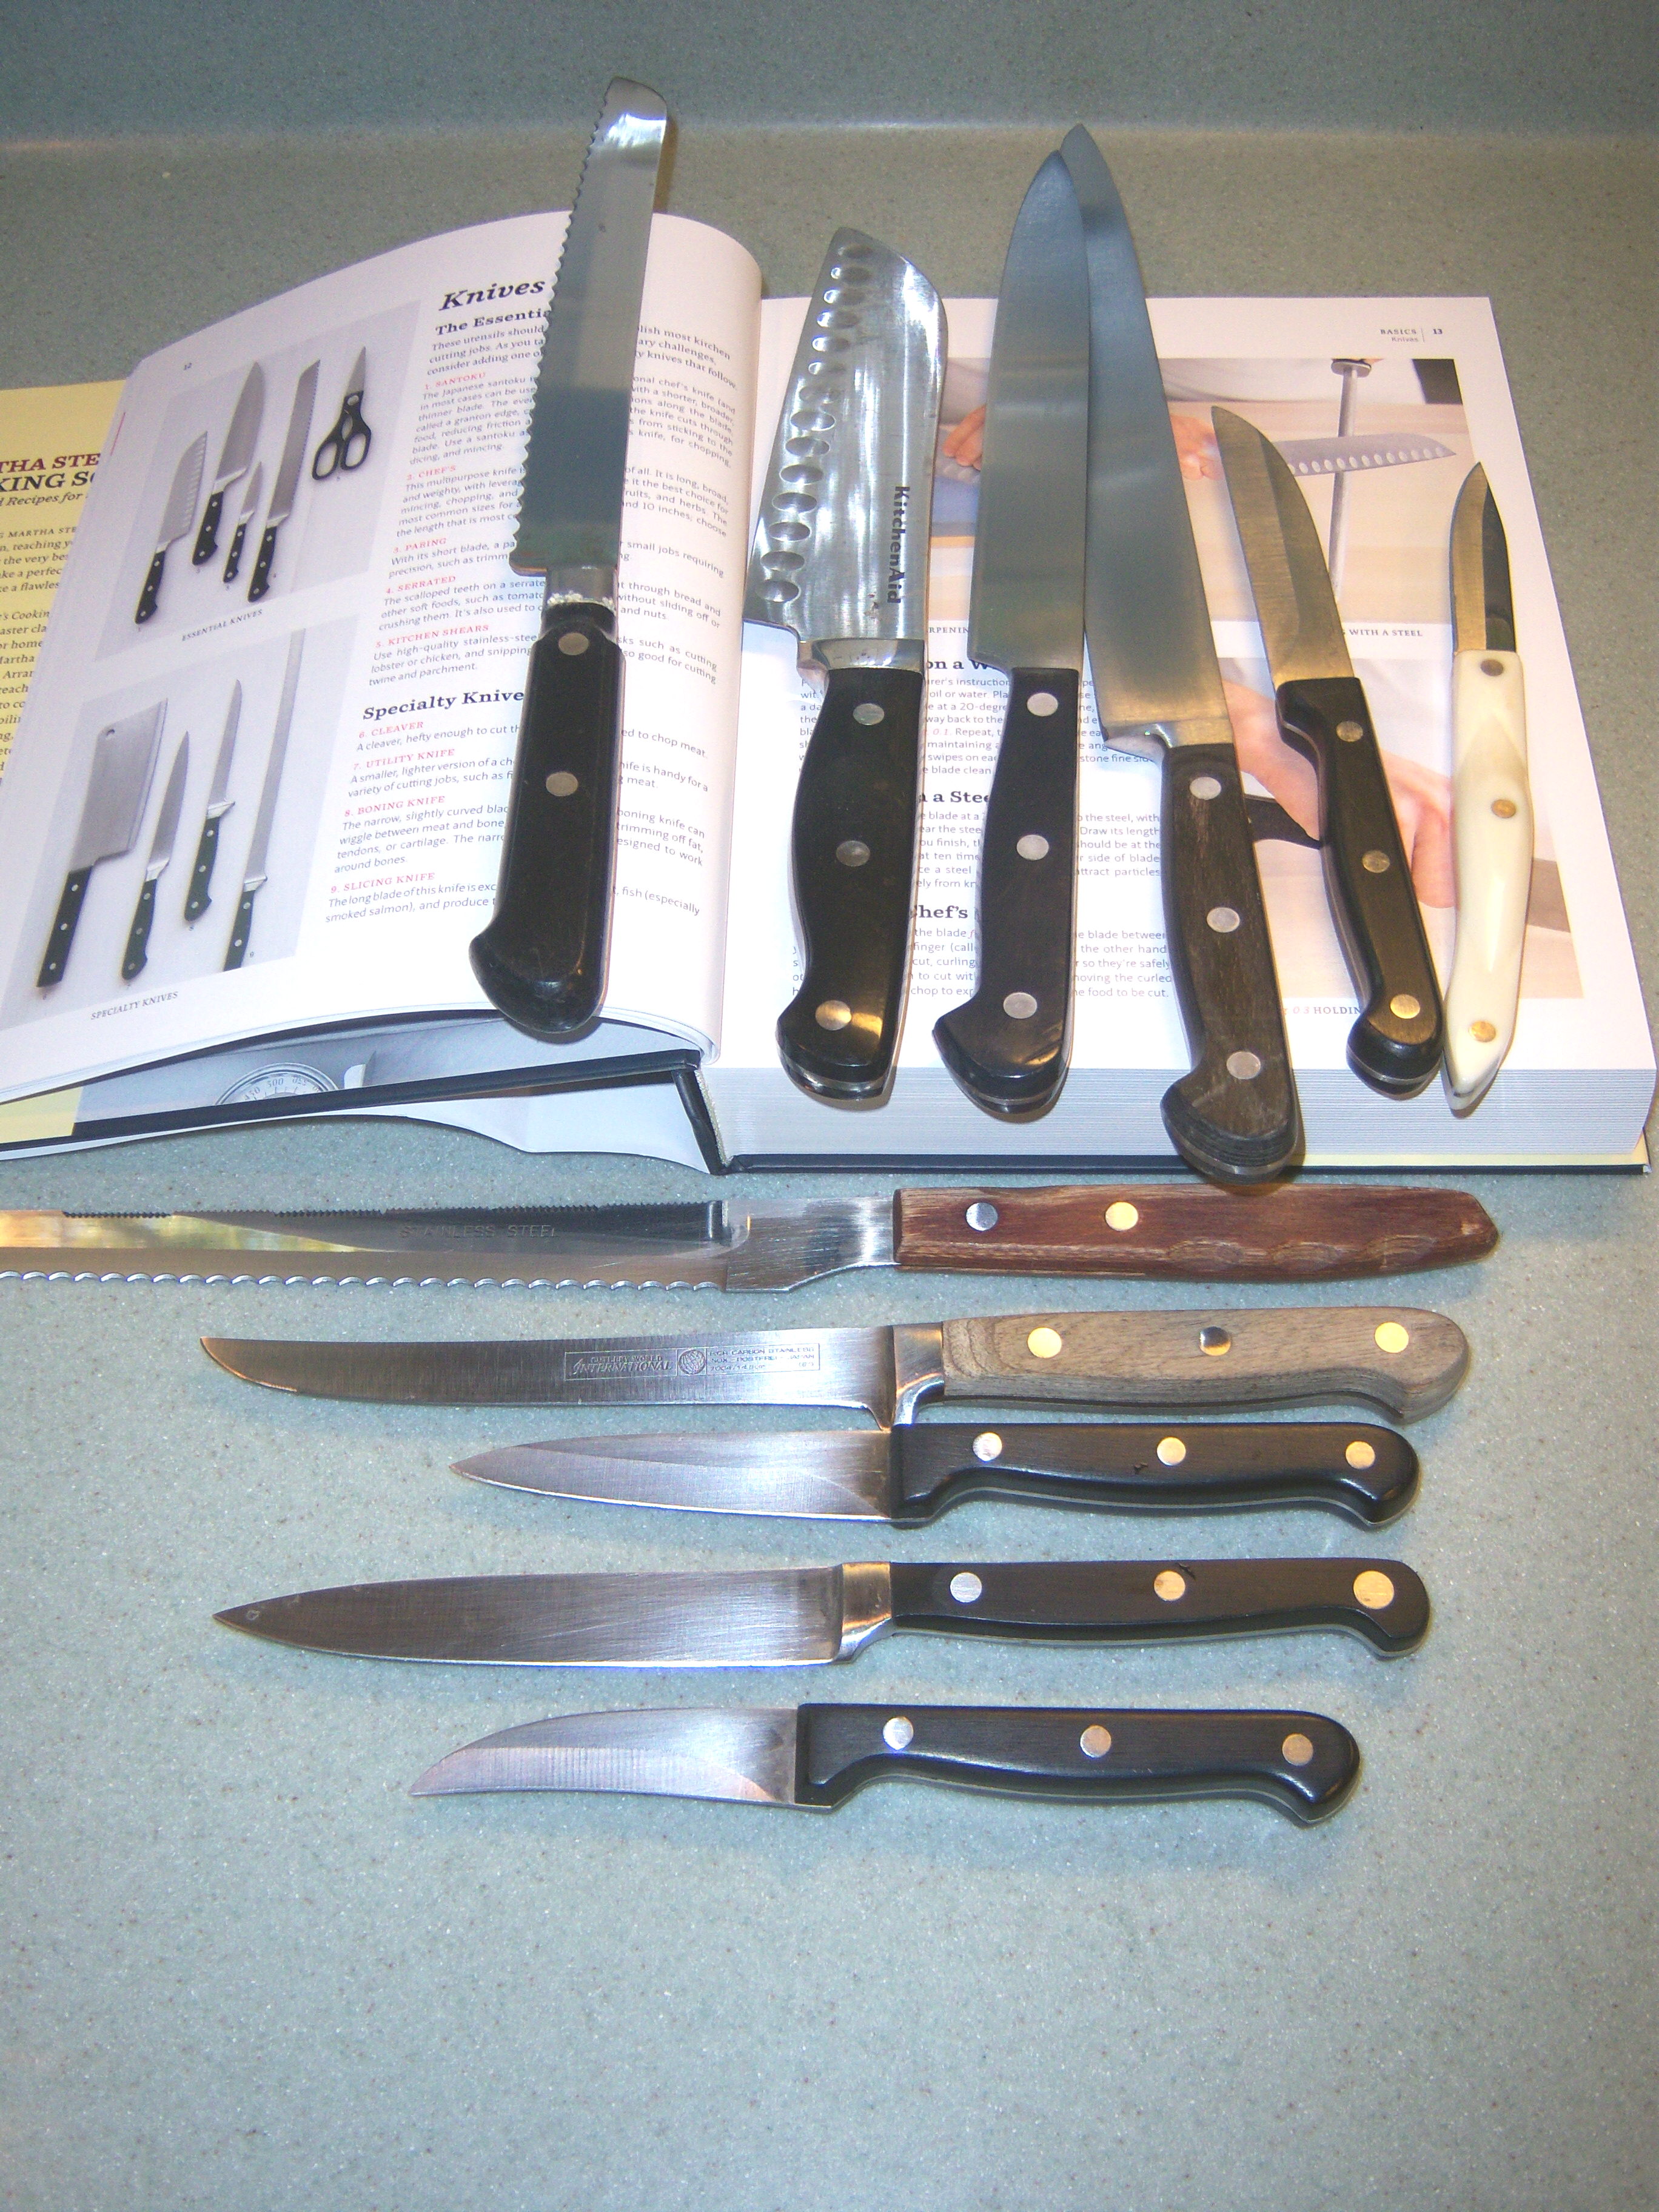
My knife collection

My knife collection

Martha and Sarah, in the first cooking school on-air lesson, went over the kinds of knives we should have.  Here is a photo of my entire knife collection, next to the photo in the book of what you should have. The first knife on the left on the book is serrated and I bought this knife before Mr. MarthaandMe got married – almost 20 years ago – and it’s still great. The next one is a chef’s knife I bought after seeing Rachel Ray use it! The rest are a hodgepodge that have landed in my knife block over the year. The one with the white handle was bought from a cousin who was selling Cutco knives. I don’t have a cleaver, but other than that, I think I can say I pass this cooking school lesson with a good grade.

Onions

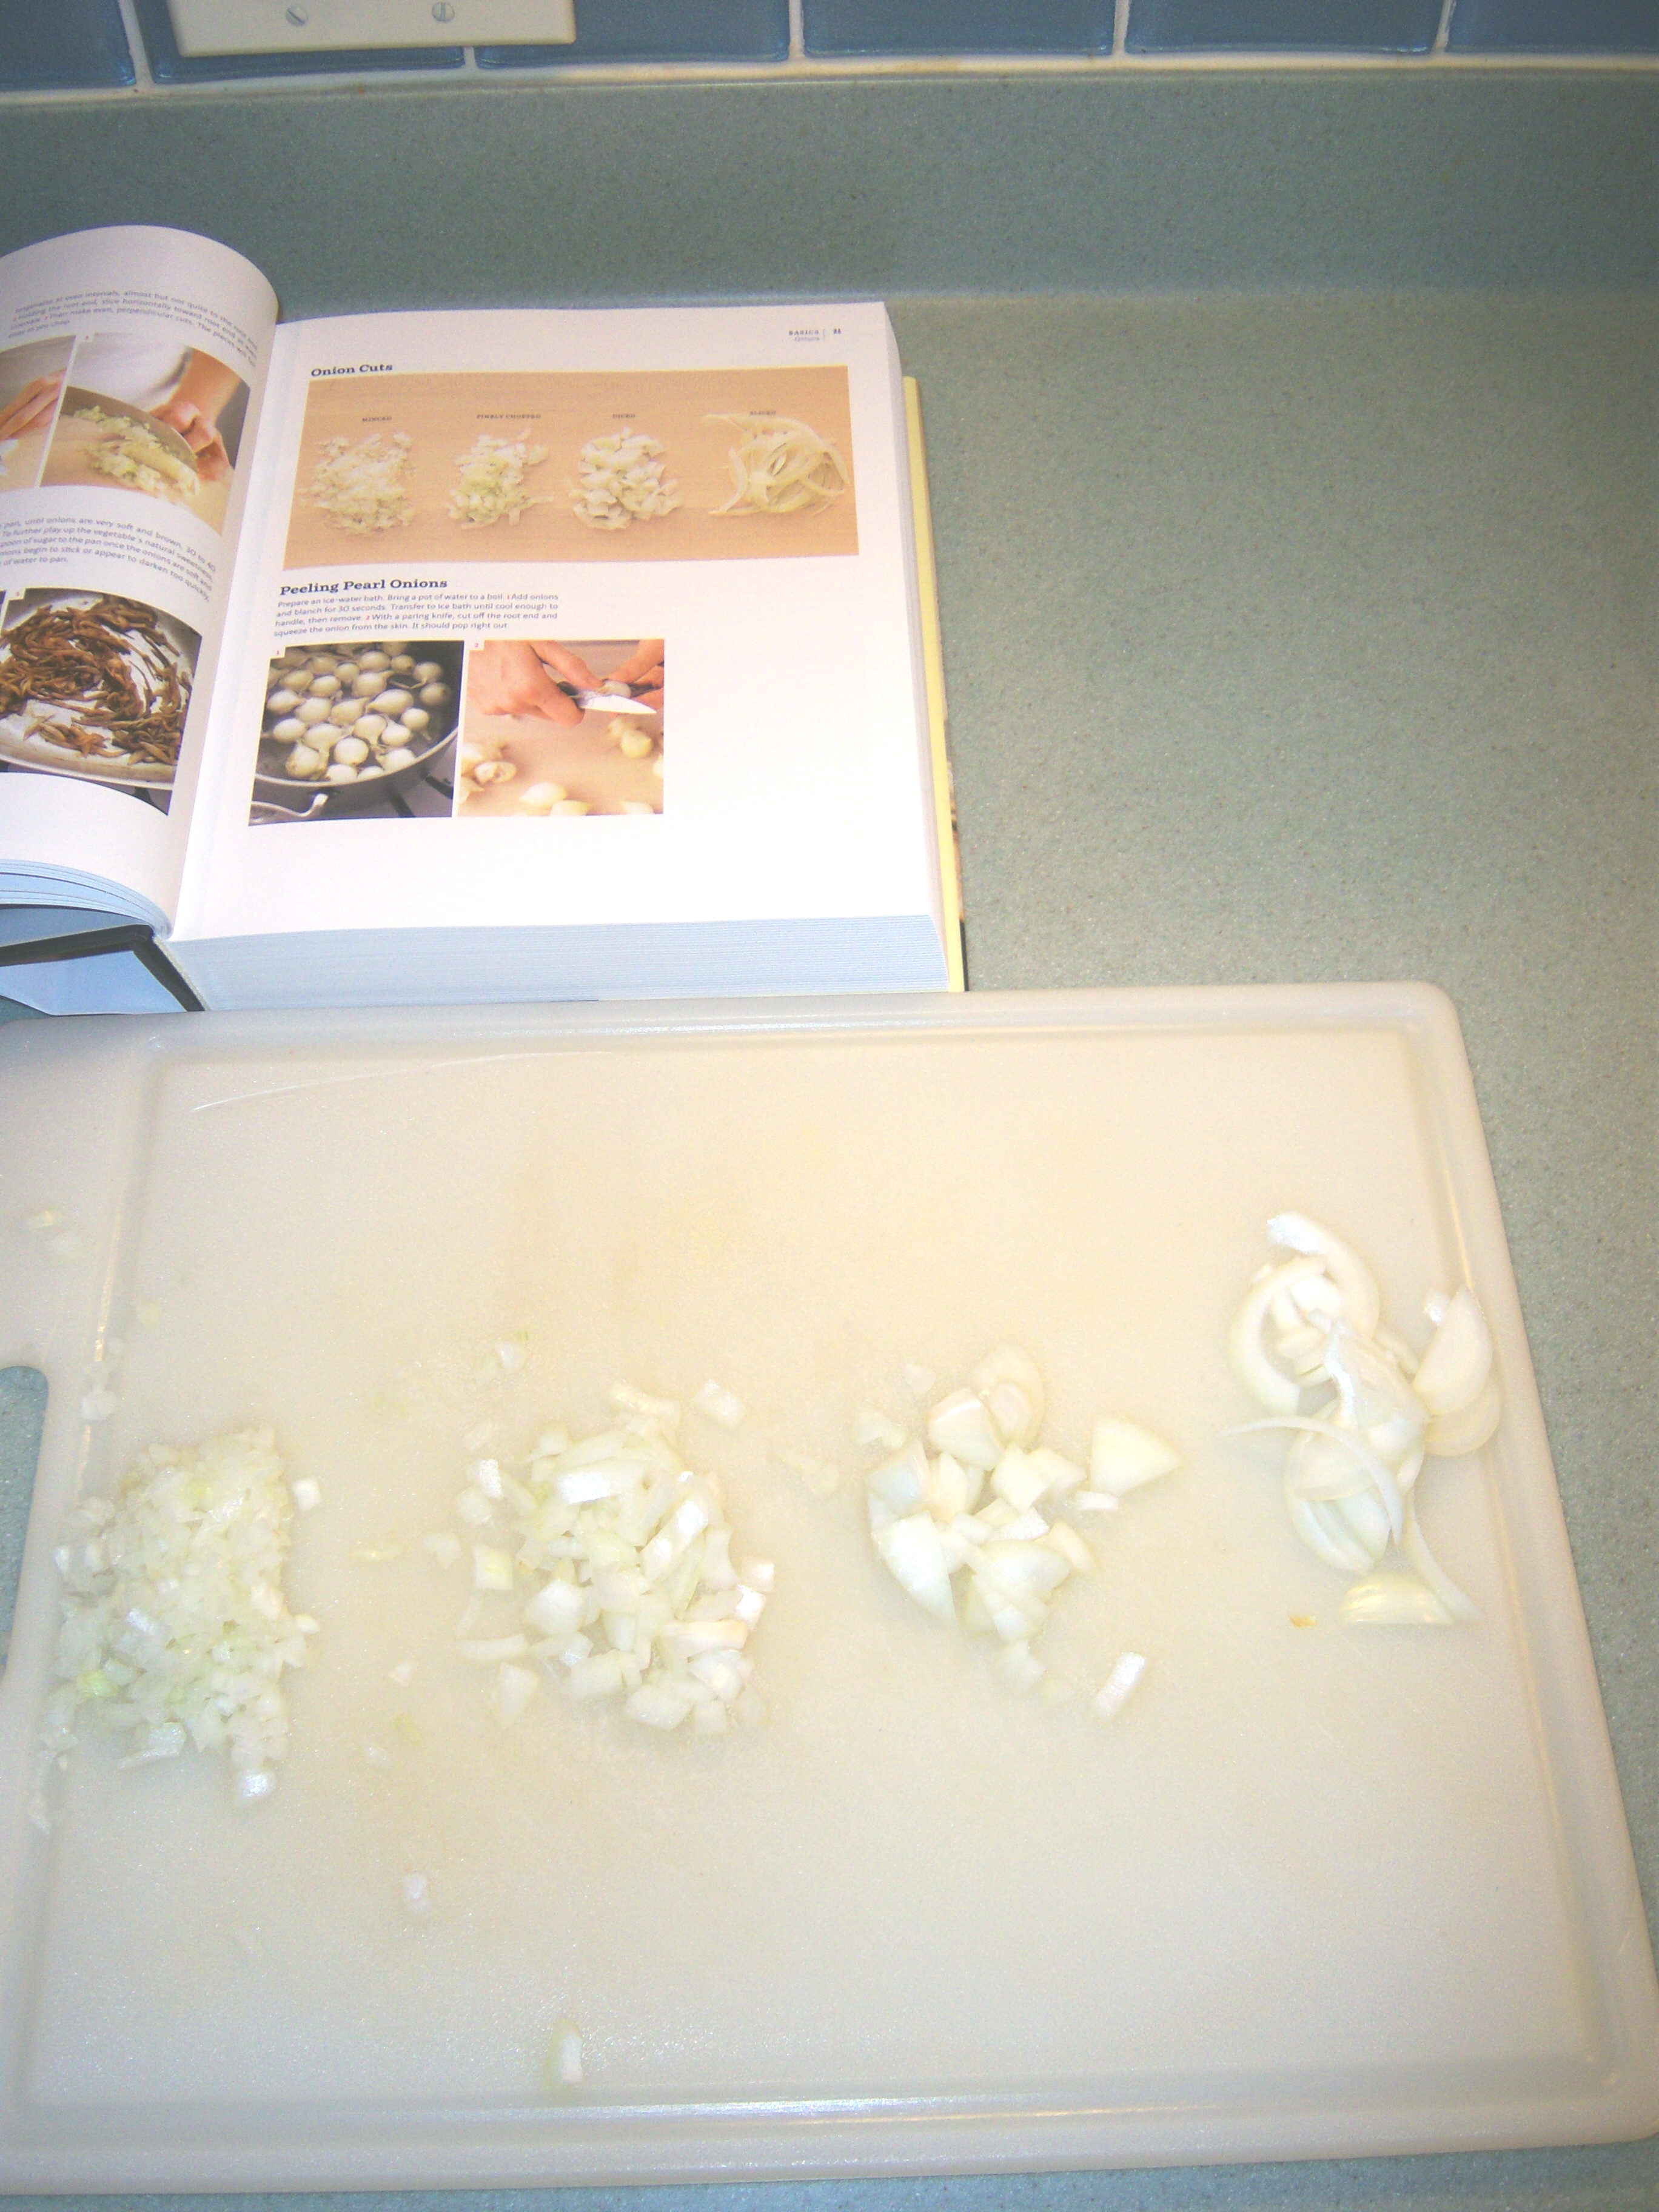
Also in the first tv lesson, Sarah Carey showed how to cut an onion  – sliced, diced, finely chopped and minced. I used to always dump my onions in my small food processor to chop, but (and this is the height of laziness) I hate how the stupid bowl never seems to fit in the dishwasher and it just seemed easier to hack it up myself. I knew what slicing meant. Diced, minced and chopped all sort of meant the same thing to me. So here is where Martha has taught me something.

My onion lesson

My onion lesson

Here’s the results of the lesson. From left to right you can see minced, finely chopped, diced and sliced and up at the top is the page in the book with the same thing. Once I learned which was what, this was easy.

I also must admit I did not know the correct way to hold a chef’s knife until Sarah Carey showed me on the show. I have always held on to the handle and sometimes put the other palm on top of it for added pressure. Sarah explained how to hold the knife so your finger and thumb are touching the blade and this really gave me more control. Wow! I didn’t know Martha had so many things to teach me about the basics!

Making Stock

The other segment of the on-air lesson was chicken stock. Martha says we should all make our own. I do make my own when I am making soup or something like chicken and biscuits or chicken and dumplings. Other than that, I buy the cartons of stock and use that. I’m going to make stock when I do the next lesson, which will require me to hack up a chicken.

An Everyday Food Note

Although I know Martha is not knee-deep and hands-on (that’s an image isn’t it?) in the production of Everyday Food magazine, I have been turning to it often. The recipes in Living are great, but on a weekday when I’ve got hockey or lessons to drive kids around to in the afternoon, I just don’t have time to say, braise a pork shoulder for approximately half a day.

Finding myself in a bind one night this week, I turned to Everyday Food’s November issue for inspiration and made Rigatoni with Spiced Meat Sauce (p. 92). Holy cow guys – this was gross. Really, really yucky. Who makes a pasta sauce out of tomato paste, vinegar, cinnamon, and cayenne??? This was so bad I could not serve it as it was. I had to do some serious doctoring of this recipe to be able to put it on my table. First of all, I used ground turkey instead of ground lamb (I like ground lamb when I make Greek food but really no other time) or ground beef. I have been substituting this a lot – in meatballs, meatloaf, tacos, etc and am loving it.

To do something with the nasty sauce, I dumped in a can of stewed tomatoes and ton of Italian herb mix. I added more garlic (the recipe did call for some as well as onion). I also added some parmesan cheese. By the time I did all of that and cooked it for about half an hour, it was edible and the MarthaandMe family ate it happily.

Martha – please do something about Everyday Food. I absolutely know this recipe is not something you would put on your table! NOT a good thing!

Sneak Peek

I’ve got plans afoot for upcoming posts. I’m going to tackle more crafts from the November issue of Living. I’m going to make the big cake from the issue also. We’re going to do a Martha Thanksgiving here. And Martha is going to help me do some organizational things around the house. Currently she is very displeased about the state of my closet and is itching to get her hands on it.

I’m also continuing my search for ways to bring “good things” into my life. This week, I folded the fitted sheet to the bed and instead of just balling it up, I made an effort to fold it nicely (not easy to do at all) and place it on the shelf. It took more time, but I’m finding that if I tell myself I deserve to be surrounded by good things, I feel privileged and pampered somehow. Taking the time to fold something so that it looked nice did give me some satisfaction. I also reminded myself I was “homekeeping” and not just doing the laundry which made the whole experience much more pleasant!

Martha is plugging her new cooking school book in a hot and heavy way. The magazine has a lesson from it and each week on her show there is going to be an on-air lesson. Being a good little disciple, I have gone out and captured a copy (oddly enough in my local B&N it … Read more

no