 We have two holiday wreaths that go up each year: one on the front door, and the second on a wall in the dining room. I realized these wreaths must be at least 15 years old, probably older. I am also pretty sure the wreaths themselves were hand-me-downs that we redecorated. The metal framing of the wreaths was rusty, so it was definitely time to trash them. I’m on a kick to refresh my holiday decorations this year, purging things I’m tired of or that are just not pretty and adding new things. The wreaths were definitely on the list. They had tired ribbon, ancient silk flowers and metallic holly that was peeling.
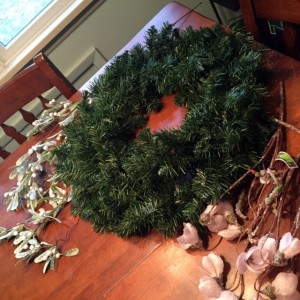
I started by buying two new wreaths at Michael’s for $7 each. We fluffed the greenery on the wreaths after bringing them hom. Since my holiday colors don’t include red (I know, call me a rebel) it’s always hard to find decorations that will work with 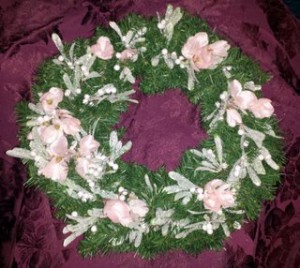 my pastel theme. I picked up some small white poinsettias at Michael’s as well as some glittery baby’s breath and spray of some sparkly leaves with sparkly berries. I then ordered, returned and reordered several different color pink poinsettias from the Joann Fabrics site. The colors were different in person but I ended up keeping the second batch.
I then went Menne Nurseries, a local garden shop that has a huge indoor Christmas decor shop and found some beautiful light pink sparkly flowers and sage green leaves with white sparkly berries. The choices at this shop are definitely more high end and interesting than what I am finding at Michael’s and Joann. All in all I spent about $60 for the material that went on the wreaths.
 The husband did the hard work of wiring the items to the wreaths after we collaborated on placement.He used green floral wire to attach the piece to the wreath frame. I think they turned out well. The bright pink poinsettia wreath is bit gaudy, but I think it will look nice on the front door, and actually be visible from the road. The lighter pink wreath may be going in the dining room or it may find a new home somewhere else this year.
I’m working on a third wreath that will go in my kitchen and will post about that adventure once I finish it!
Do you have holiday decorations that are tired and need to be refreshed?
Here are my tips for making your own wreaths:
– Buy an inexpensive wreath and put loads of things in it, You’ll never know it was inexpensive because you won’t see much of it.
– Come up with a theme or color scheme and shop towards it. Don’t get distracted by things outside your plan.
– Buy more than you think you will need to fill the wreath. Buy three times more than you think you will need. You always need more than you think and you can return whatever you have leftover.
– Decide on an orientation for your wreath. Which is the top and which is the bottom? Then decide if you are going to distribute your decorations throughout the wreath evenly or if you want to create a larger asymmetrical display area on one section of the wreath.
– Do a dry run first, setting things where you think they might go before you wire anything in or cut off long stems from anything you buy. You’ll be able to move things around and determine what works in the wreath and what doesn’t.
– Once you know where things are going to go, cut them and place them but don’t wire anything in until everything has been placed. If you need to readjust it is much easier if things are not wired in.
– If you are going to have a bow, wait until the wreath is finished to make it. If you make it for a bare wreath it often looks too small when applied to a fully decorated wreath.
We have two holiday wreaths that go up each year: one on the front door, and the second on a wall in the dining room. I realized these wreaths must be at least 15 years old, probably older. I am also pretty sure the wreaths themselves were hand-me-downs that we redecorated. The metal framing of … Read more →

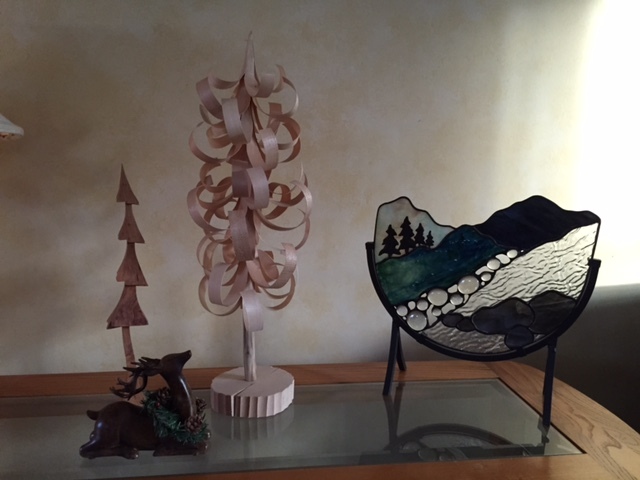
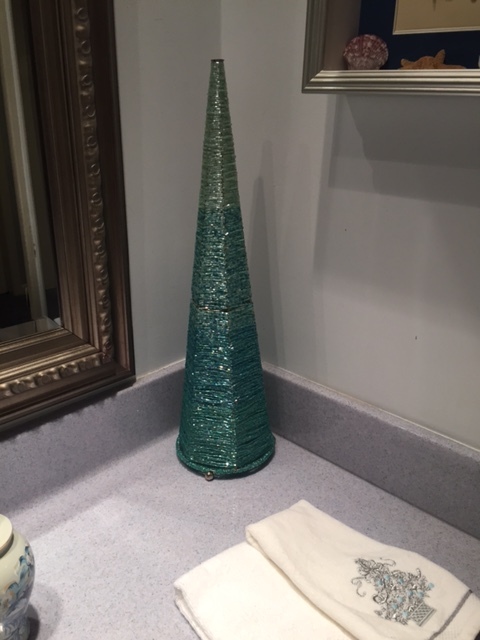
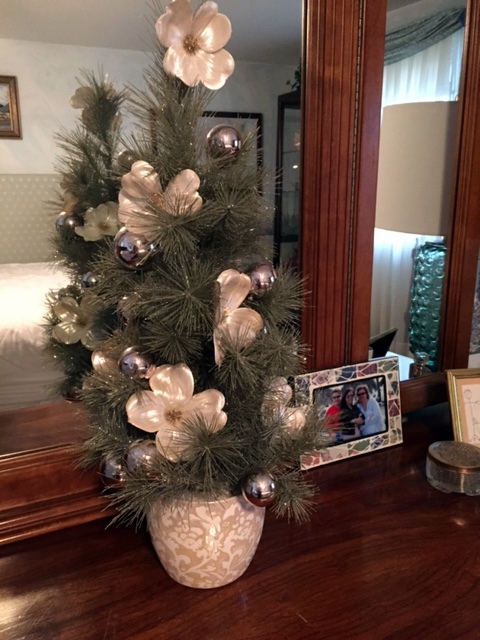
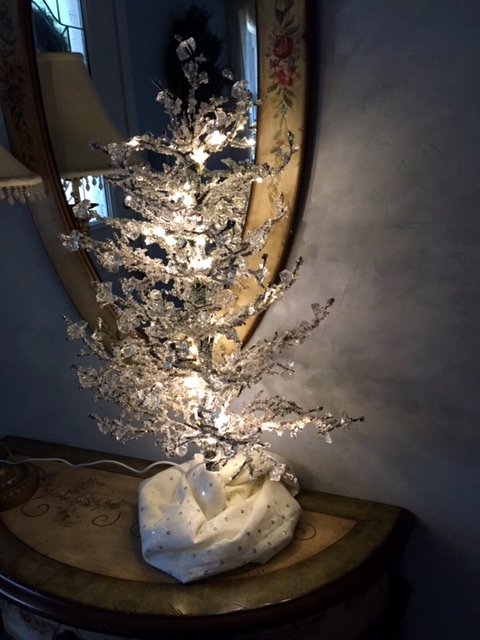
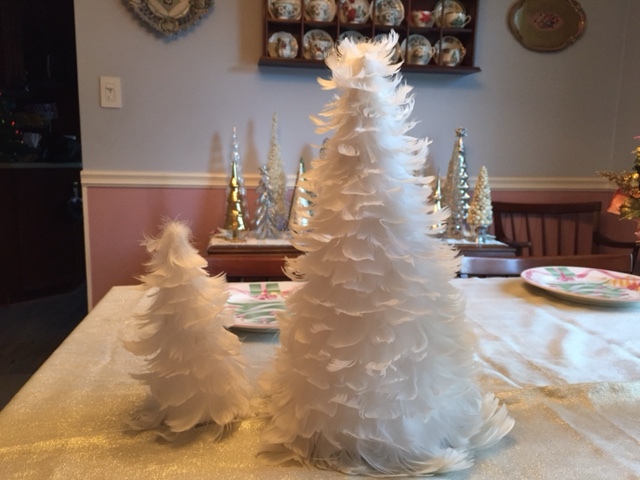 I’m enjoying taking you on this tour of my trees. Today’s trees are feather trees. I bought these years ago and they have had some adventures. The little tree is a favorite of our dogs. It has been snatched several times. They are, after all, bird dogs (golden retrievers) so I can’t be mad at them for doing what comes naturally. I’ve always managed to rescue it. The big tree is starting to look a little not so pristine at the bottom and I’m debating what to do. If I get the feathers wet I don’t know if they will ever look the same. I don’t think I could replace them. I could gather some material or fake snow around the bottom to conceal it. That’s a problem for next year I guess. I do love these trees and think they are so unique. They are part of the dining room forest as well.