In the special Holiday Season’s Eatings issue (p.77), Martha has a recipe for risotto with shrimp and green peas. This sounded like a great weekday meal, so I gave it a try. It seemed very Martha to make something that sounds so elegant and restaurant worthy.

I am a fan of risotto. Risotto is arborio rice, a type of rice that absorbs liquid and becomes creamy. Some people think it is too time consuming, but I find it to be relaxing to make somehow. Usually I make mine plain (just cheese) or I make this absolutely fab butternut squash risotto (it starts with pancetta, then once you have the risotto made, you add roasted butternut squash and pieces of fontina cheese and thyme. OMG – it’s making me hungry to type this).

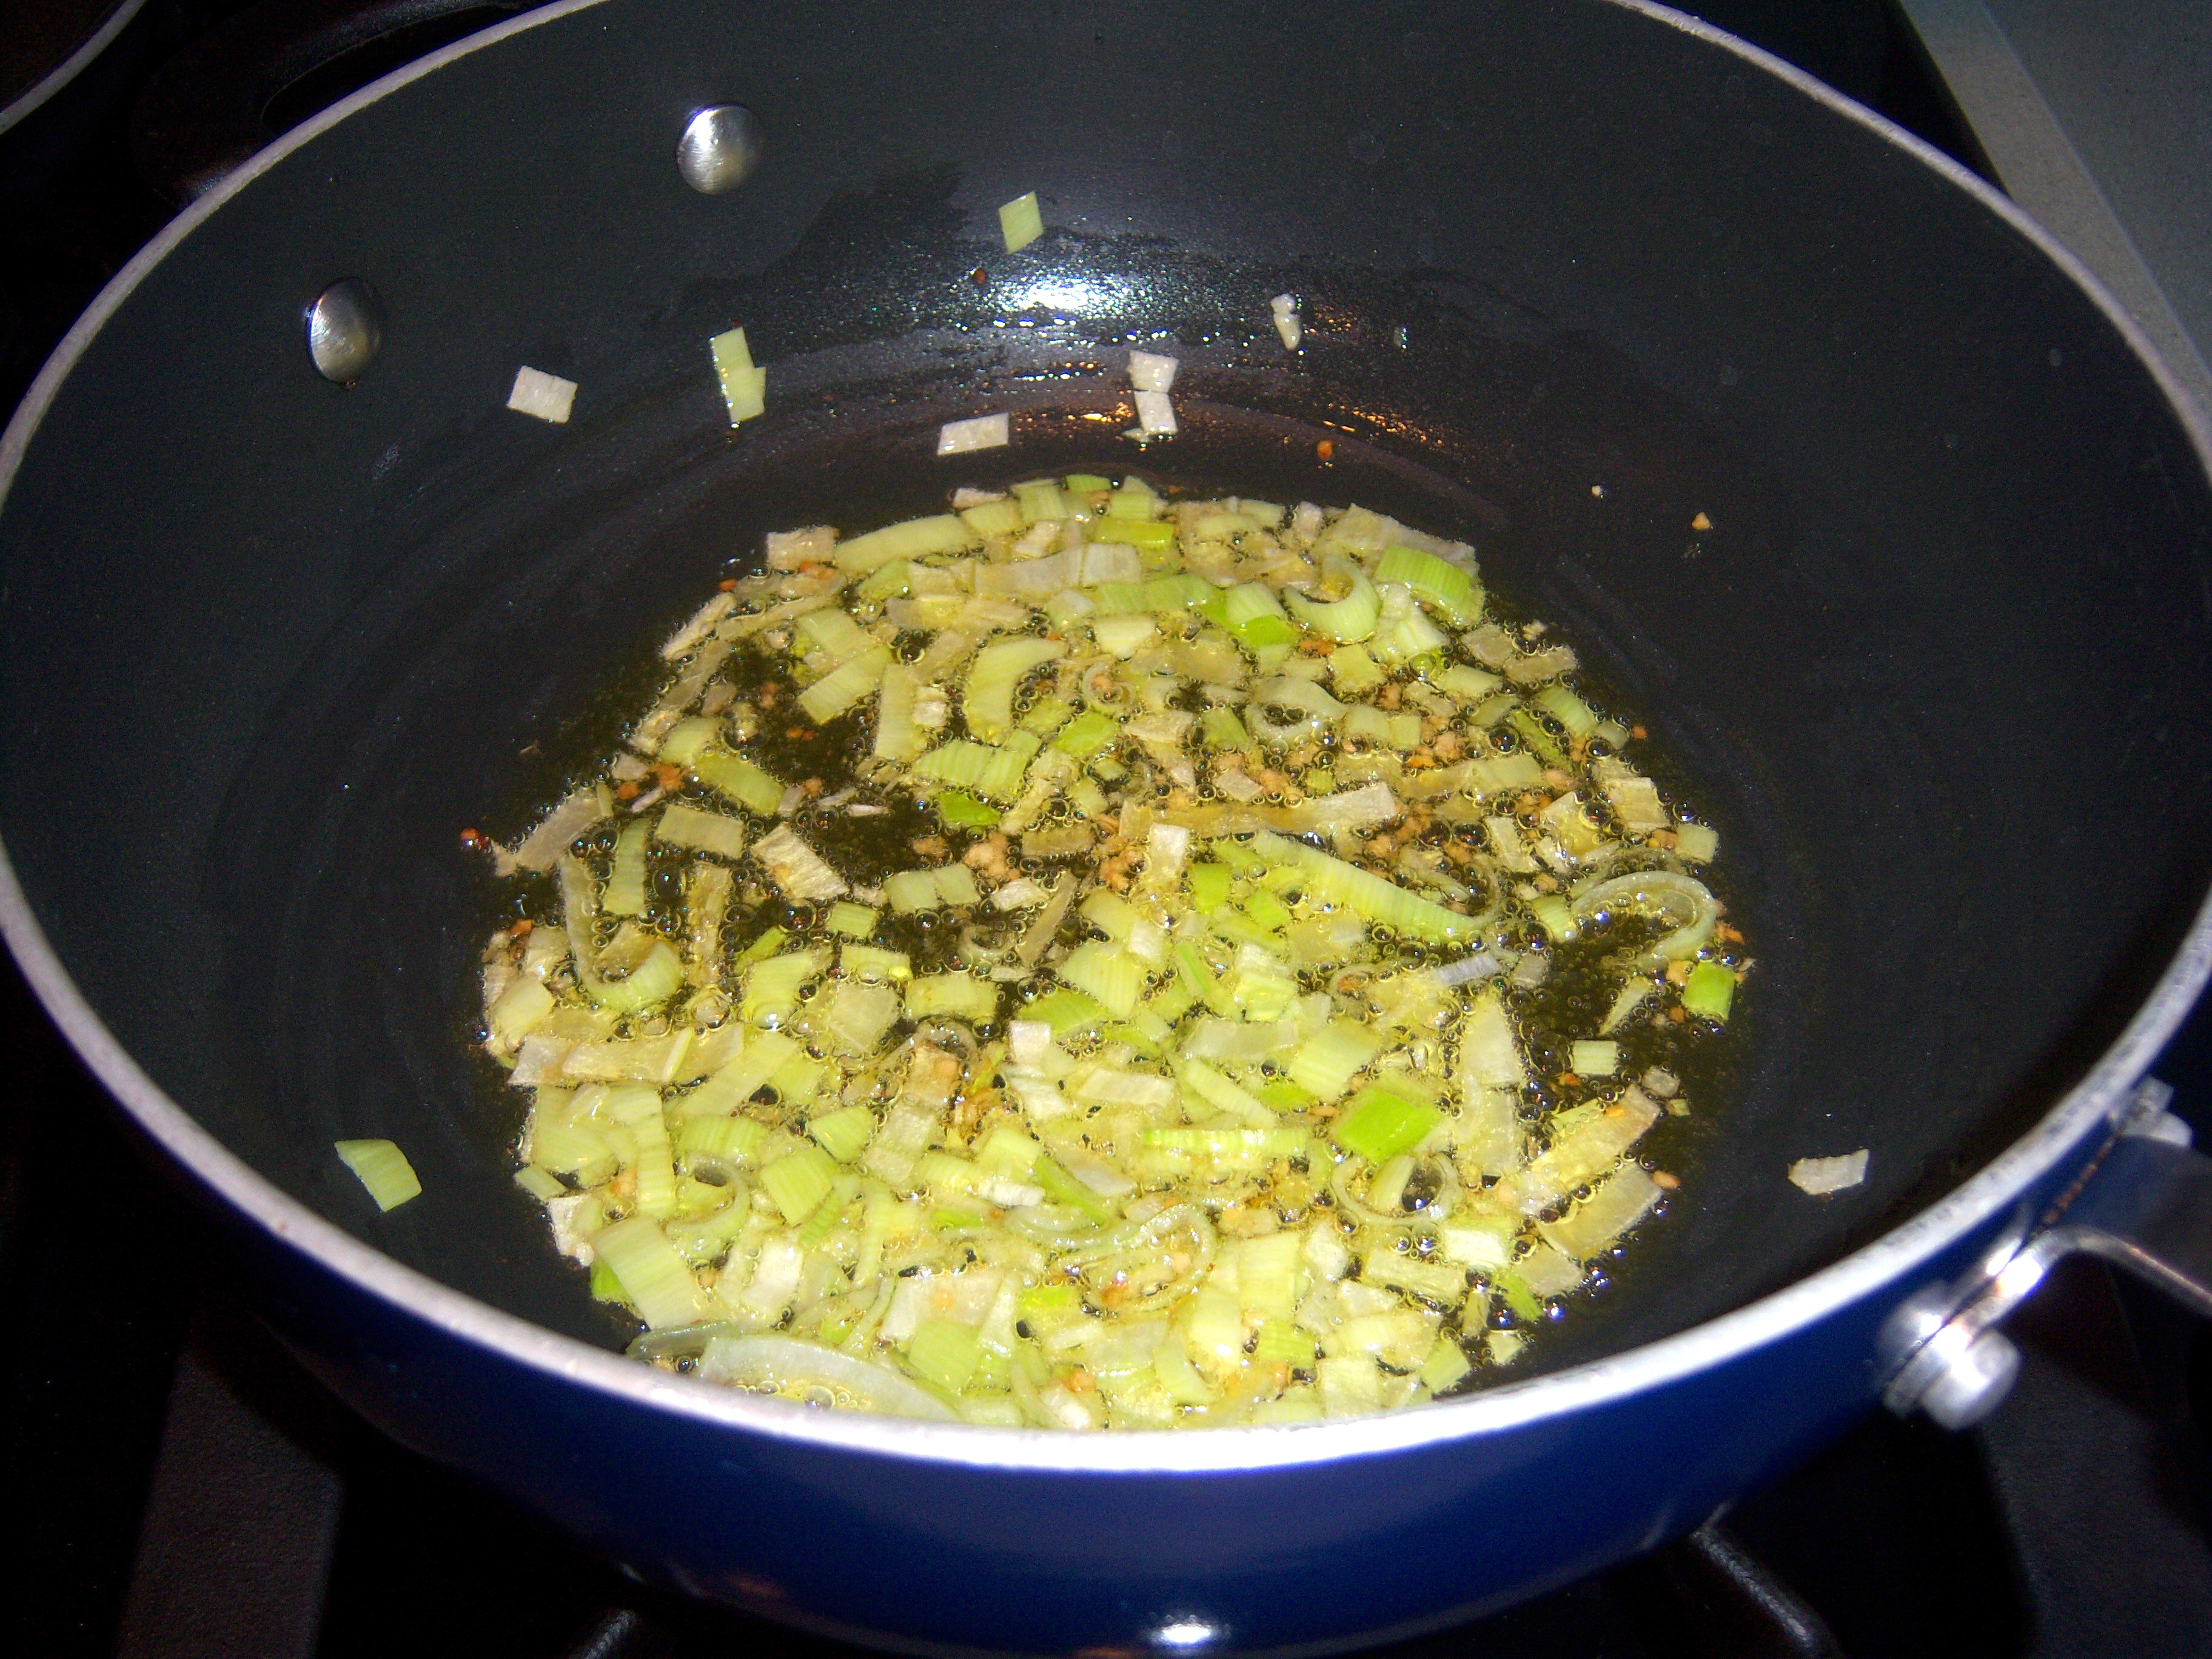
Garlic and leaks

Garlic and leaks

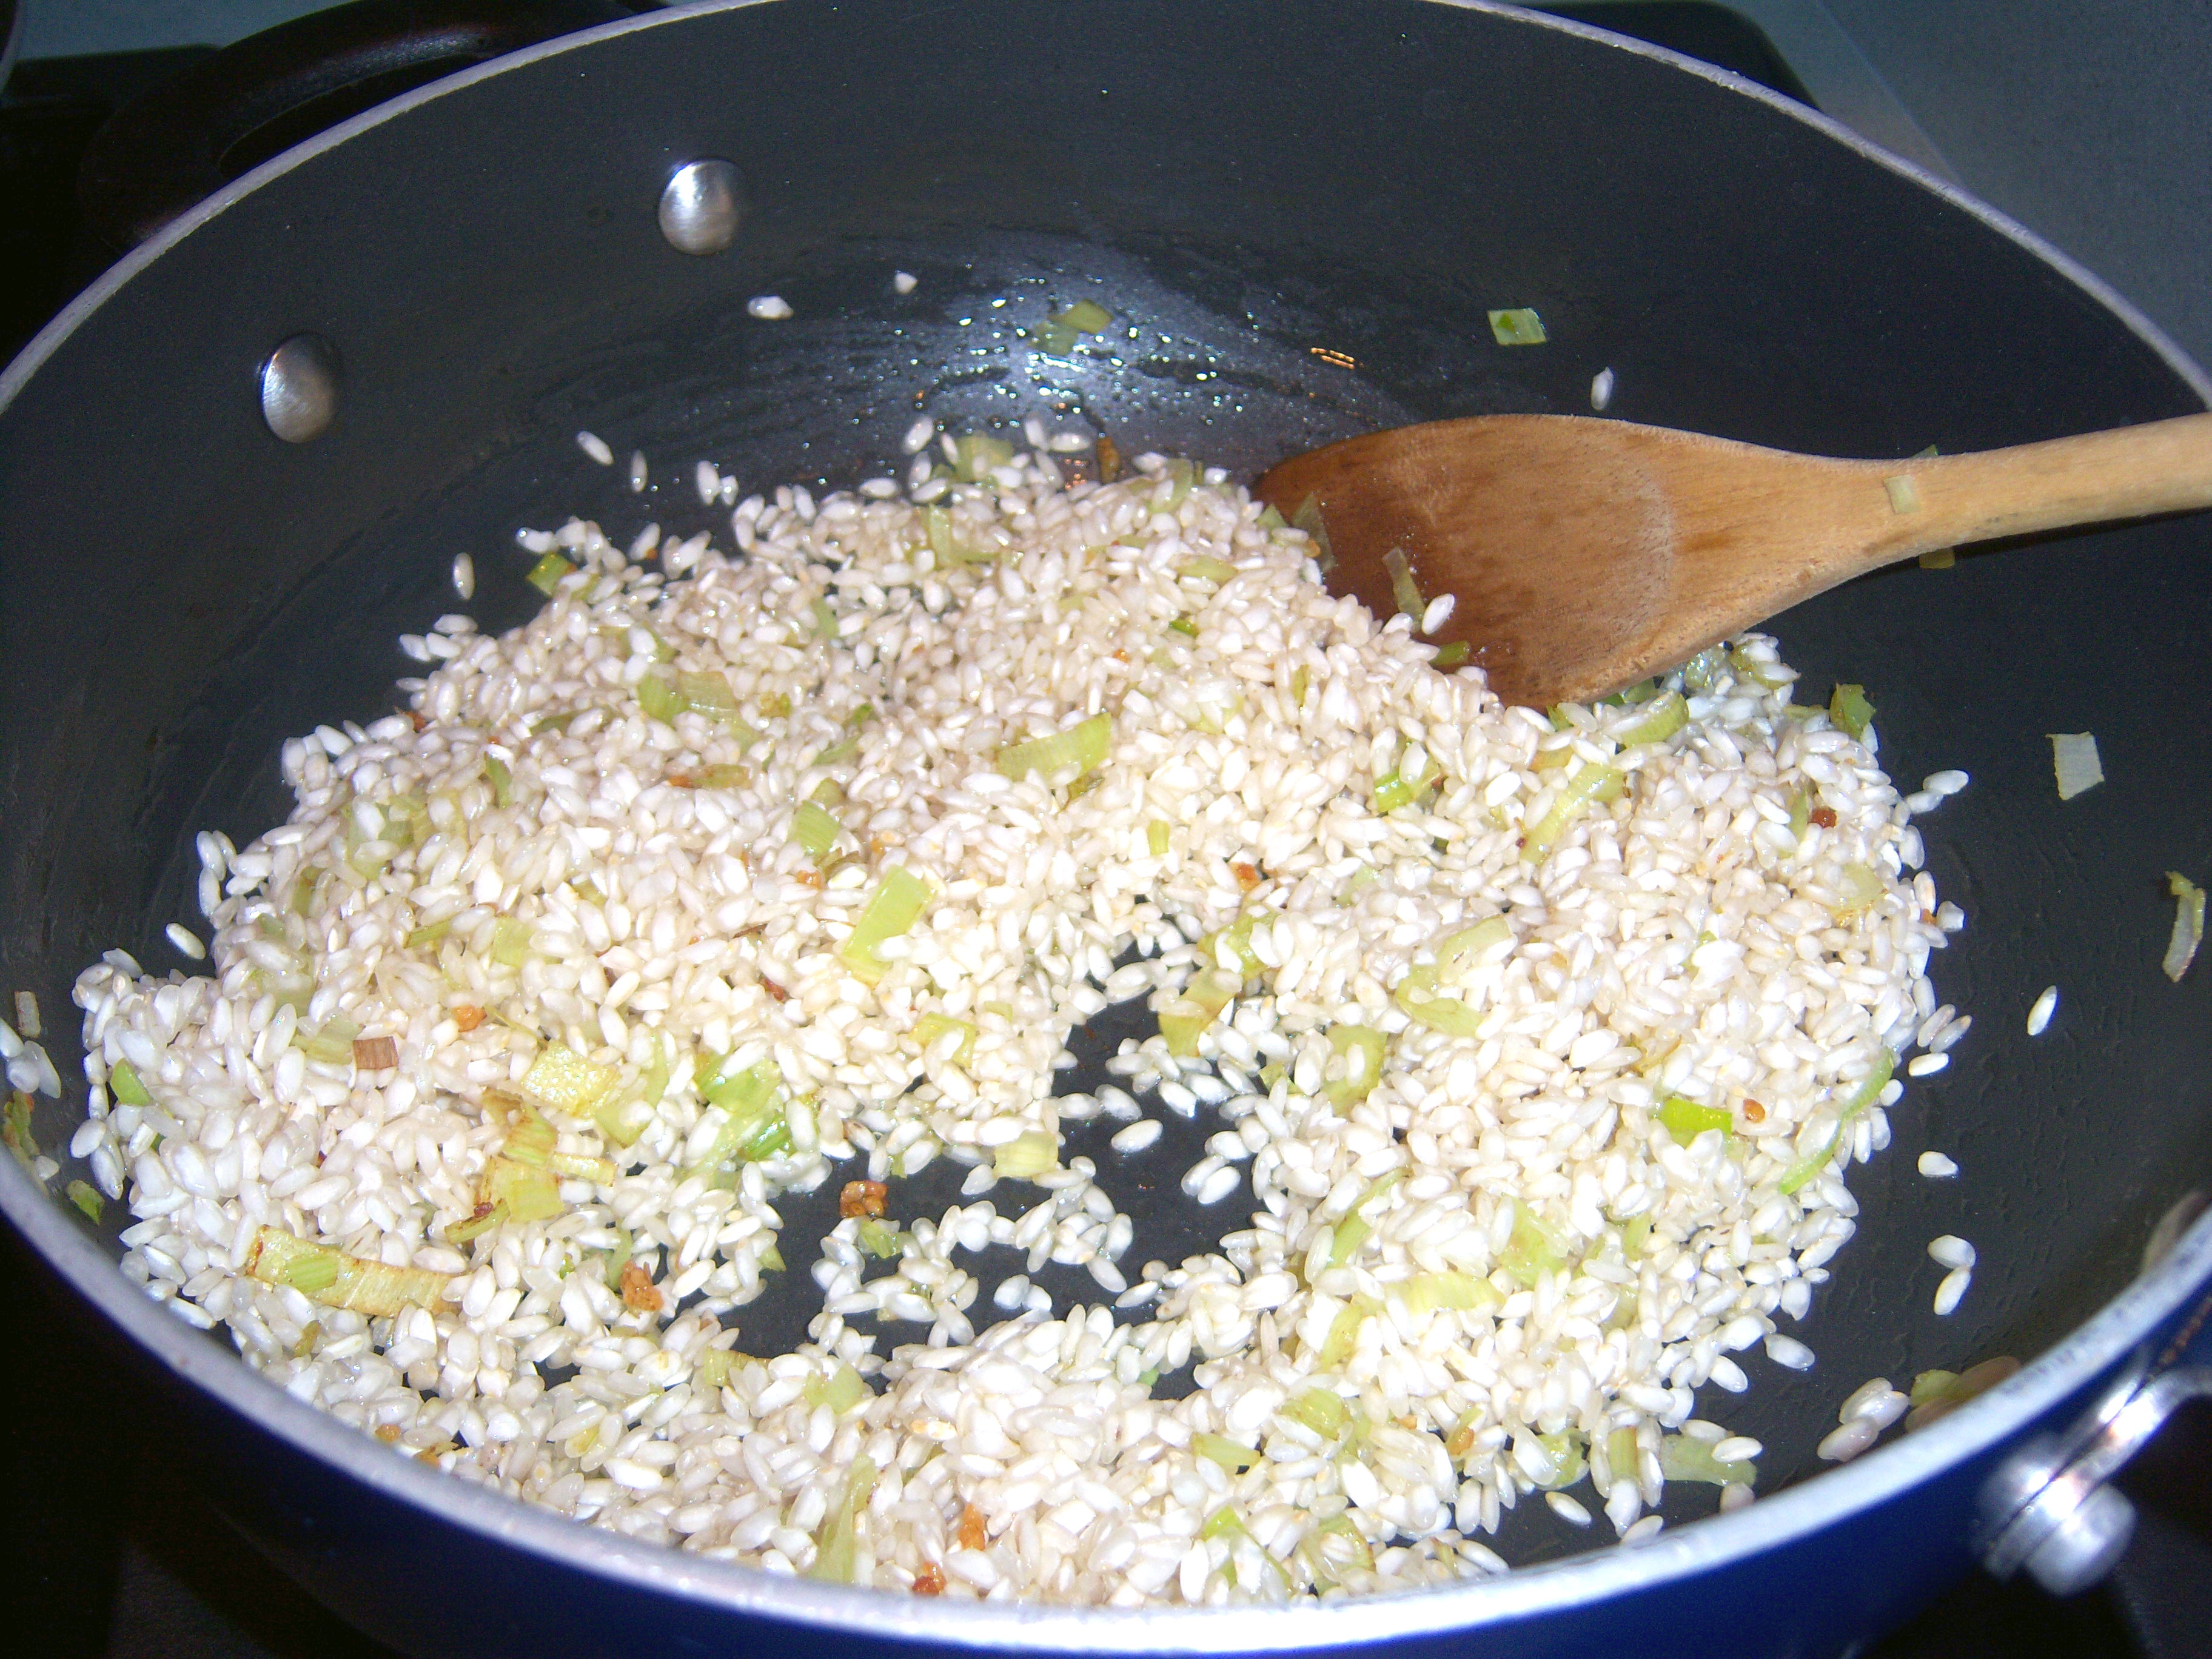
Martha’s risotto has you start off with oil and garlic, and then some chopped leeks. When I make risotto, I usually use chopped onion, no garlic. Next, you add your rice and get it coated in the oil (I know there is a reason for this, but I don’t know what it is).

Add the rice

Add the rice

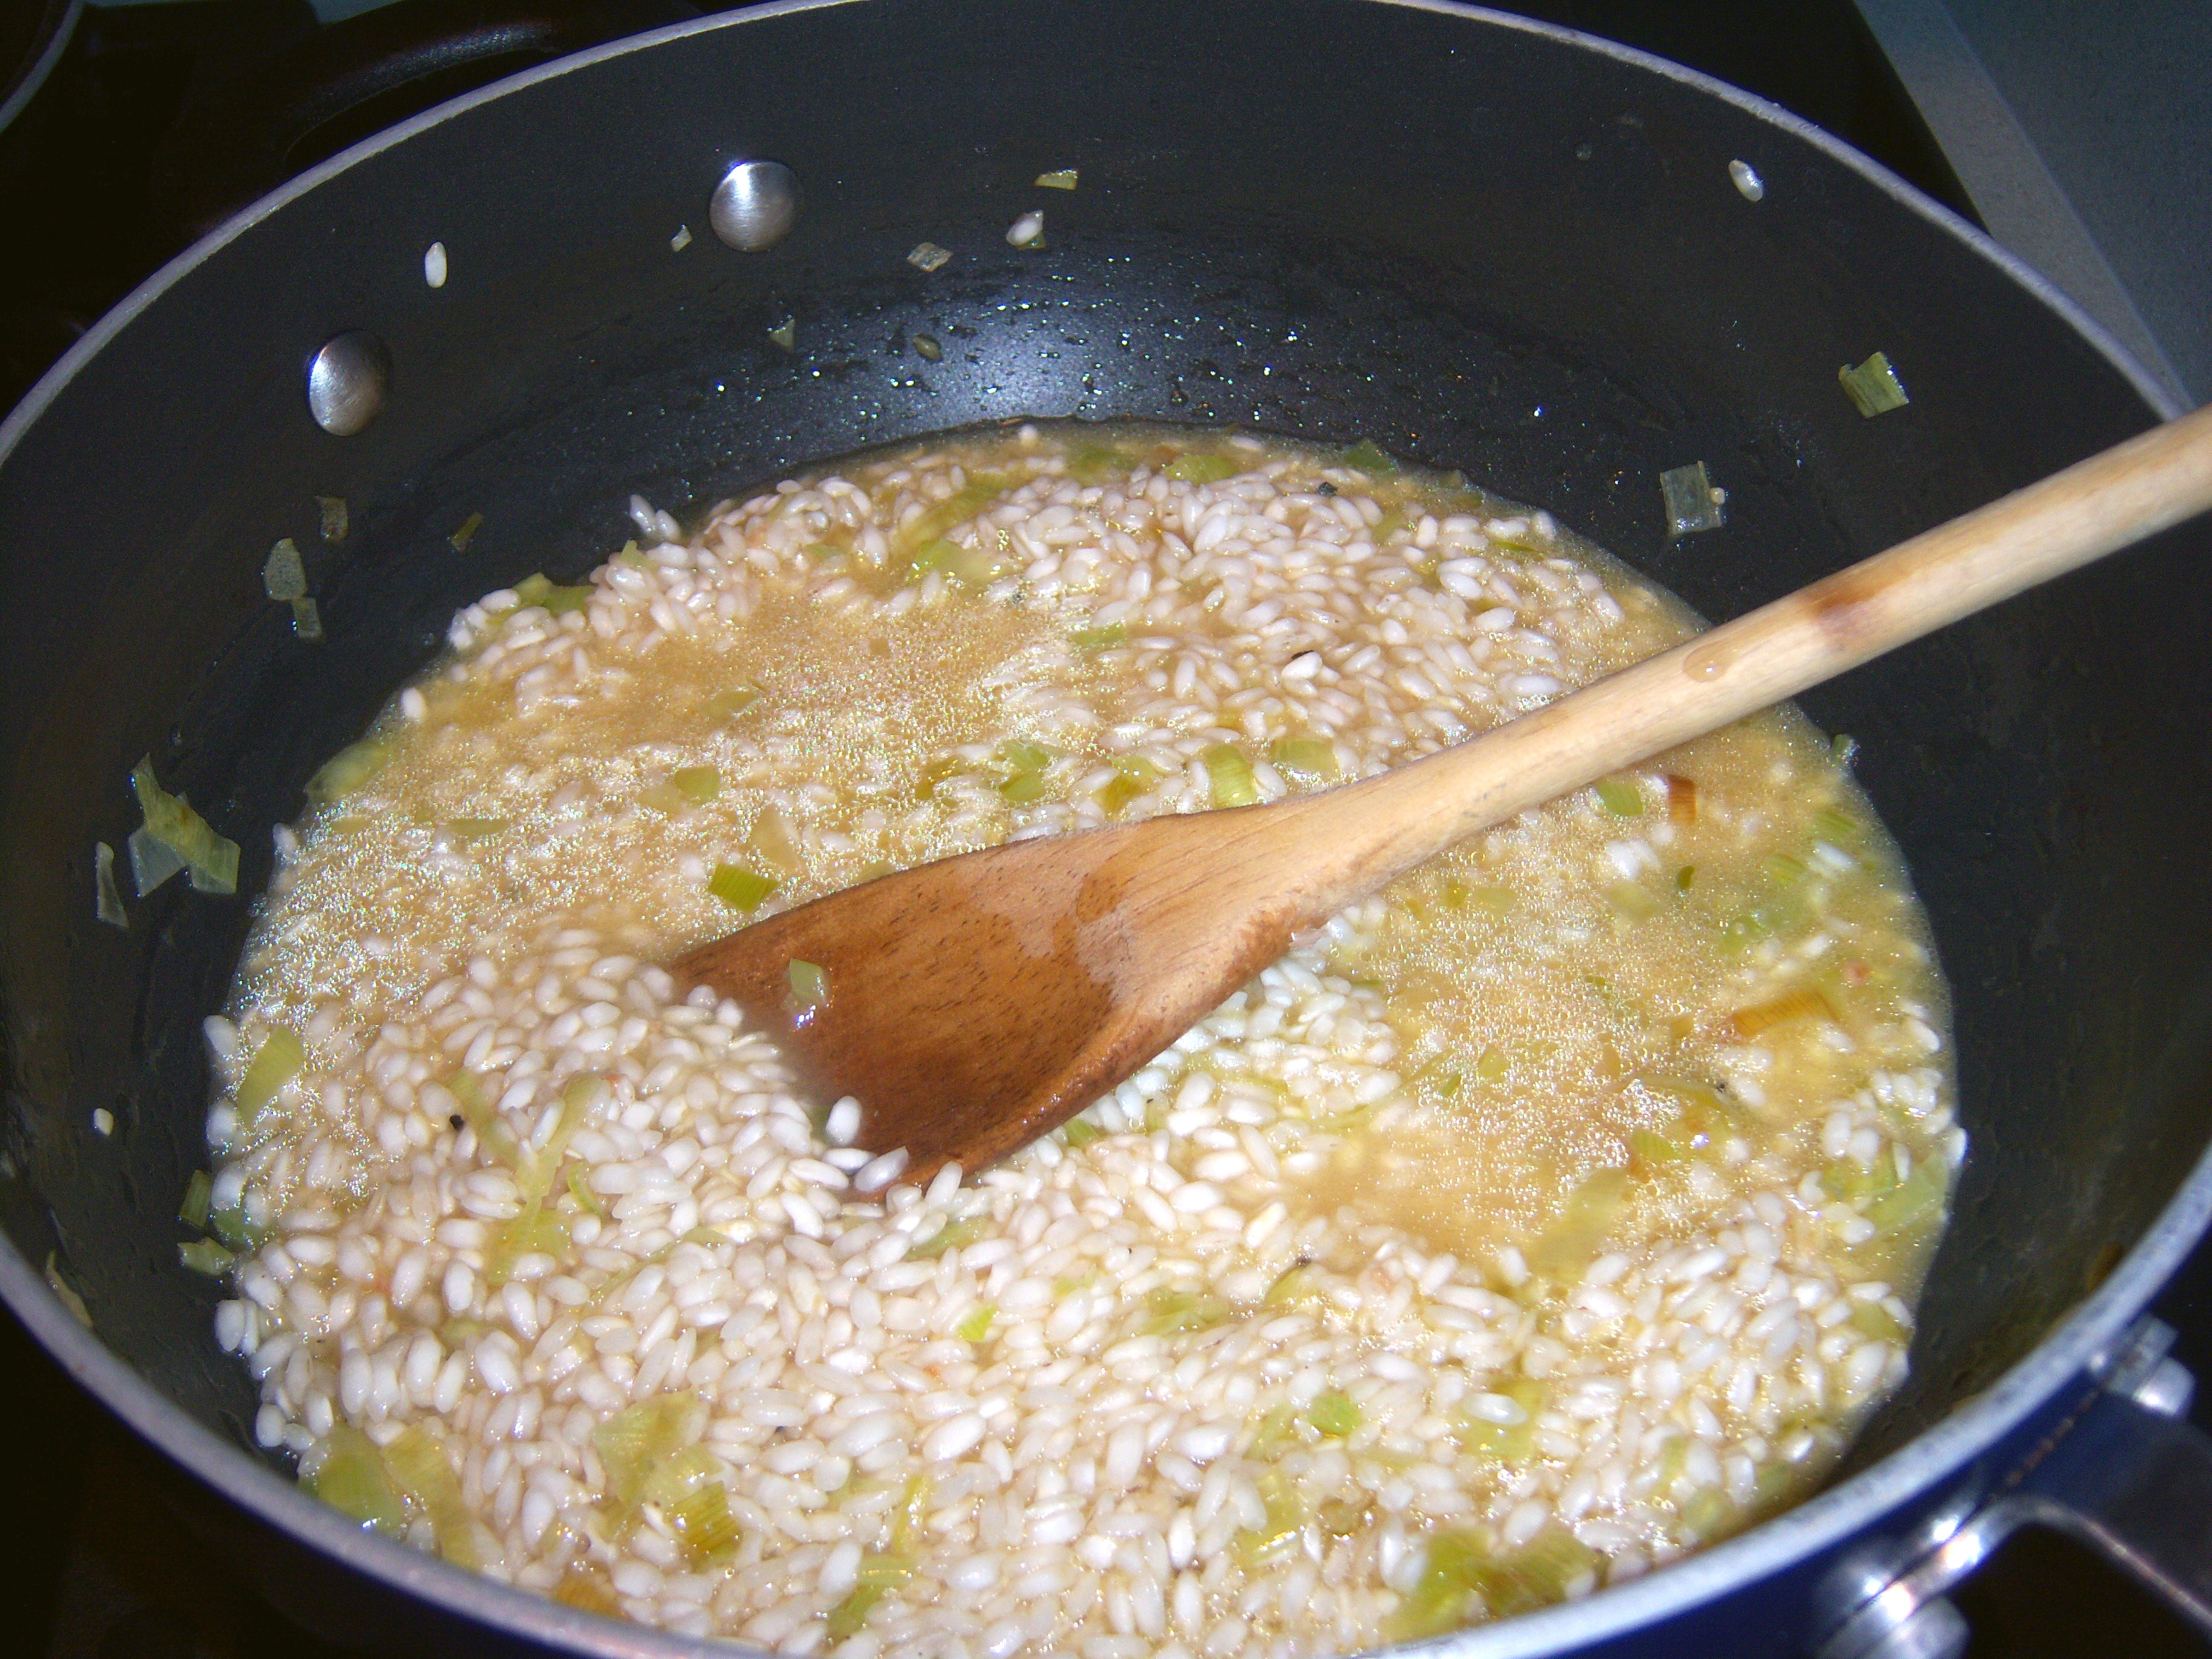
The thing about risotto is that it is like a needy child. You must be prepared to give it ongoing attention. You’ve got to on standby for when it needs you. You gradually add a little broth and stir and wait for it to be absorbed, then you add a little more. You go on this way for half an hour or 45 minutes.

Martha wanted me to use clam juice. I didn’t have any so I

The liquidity event

The liquidity event

went with chicken broth and water. I did add lemon juice as she directed.

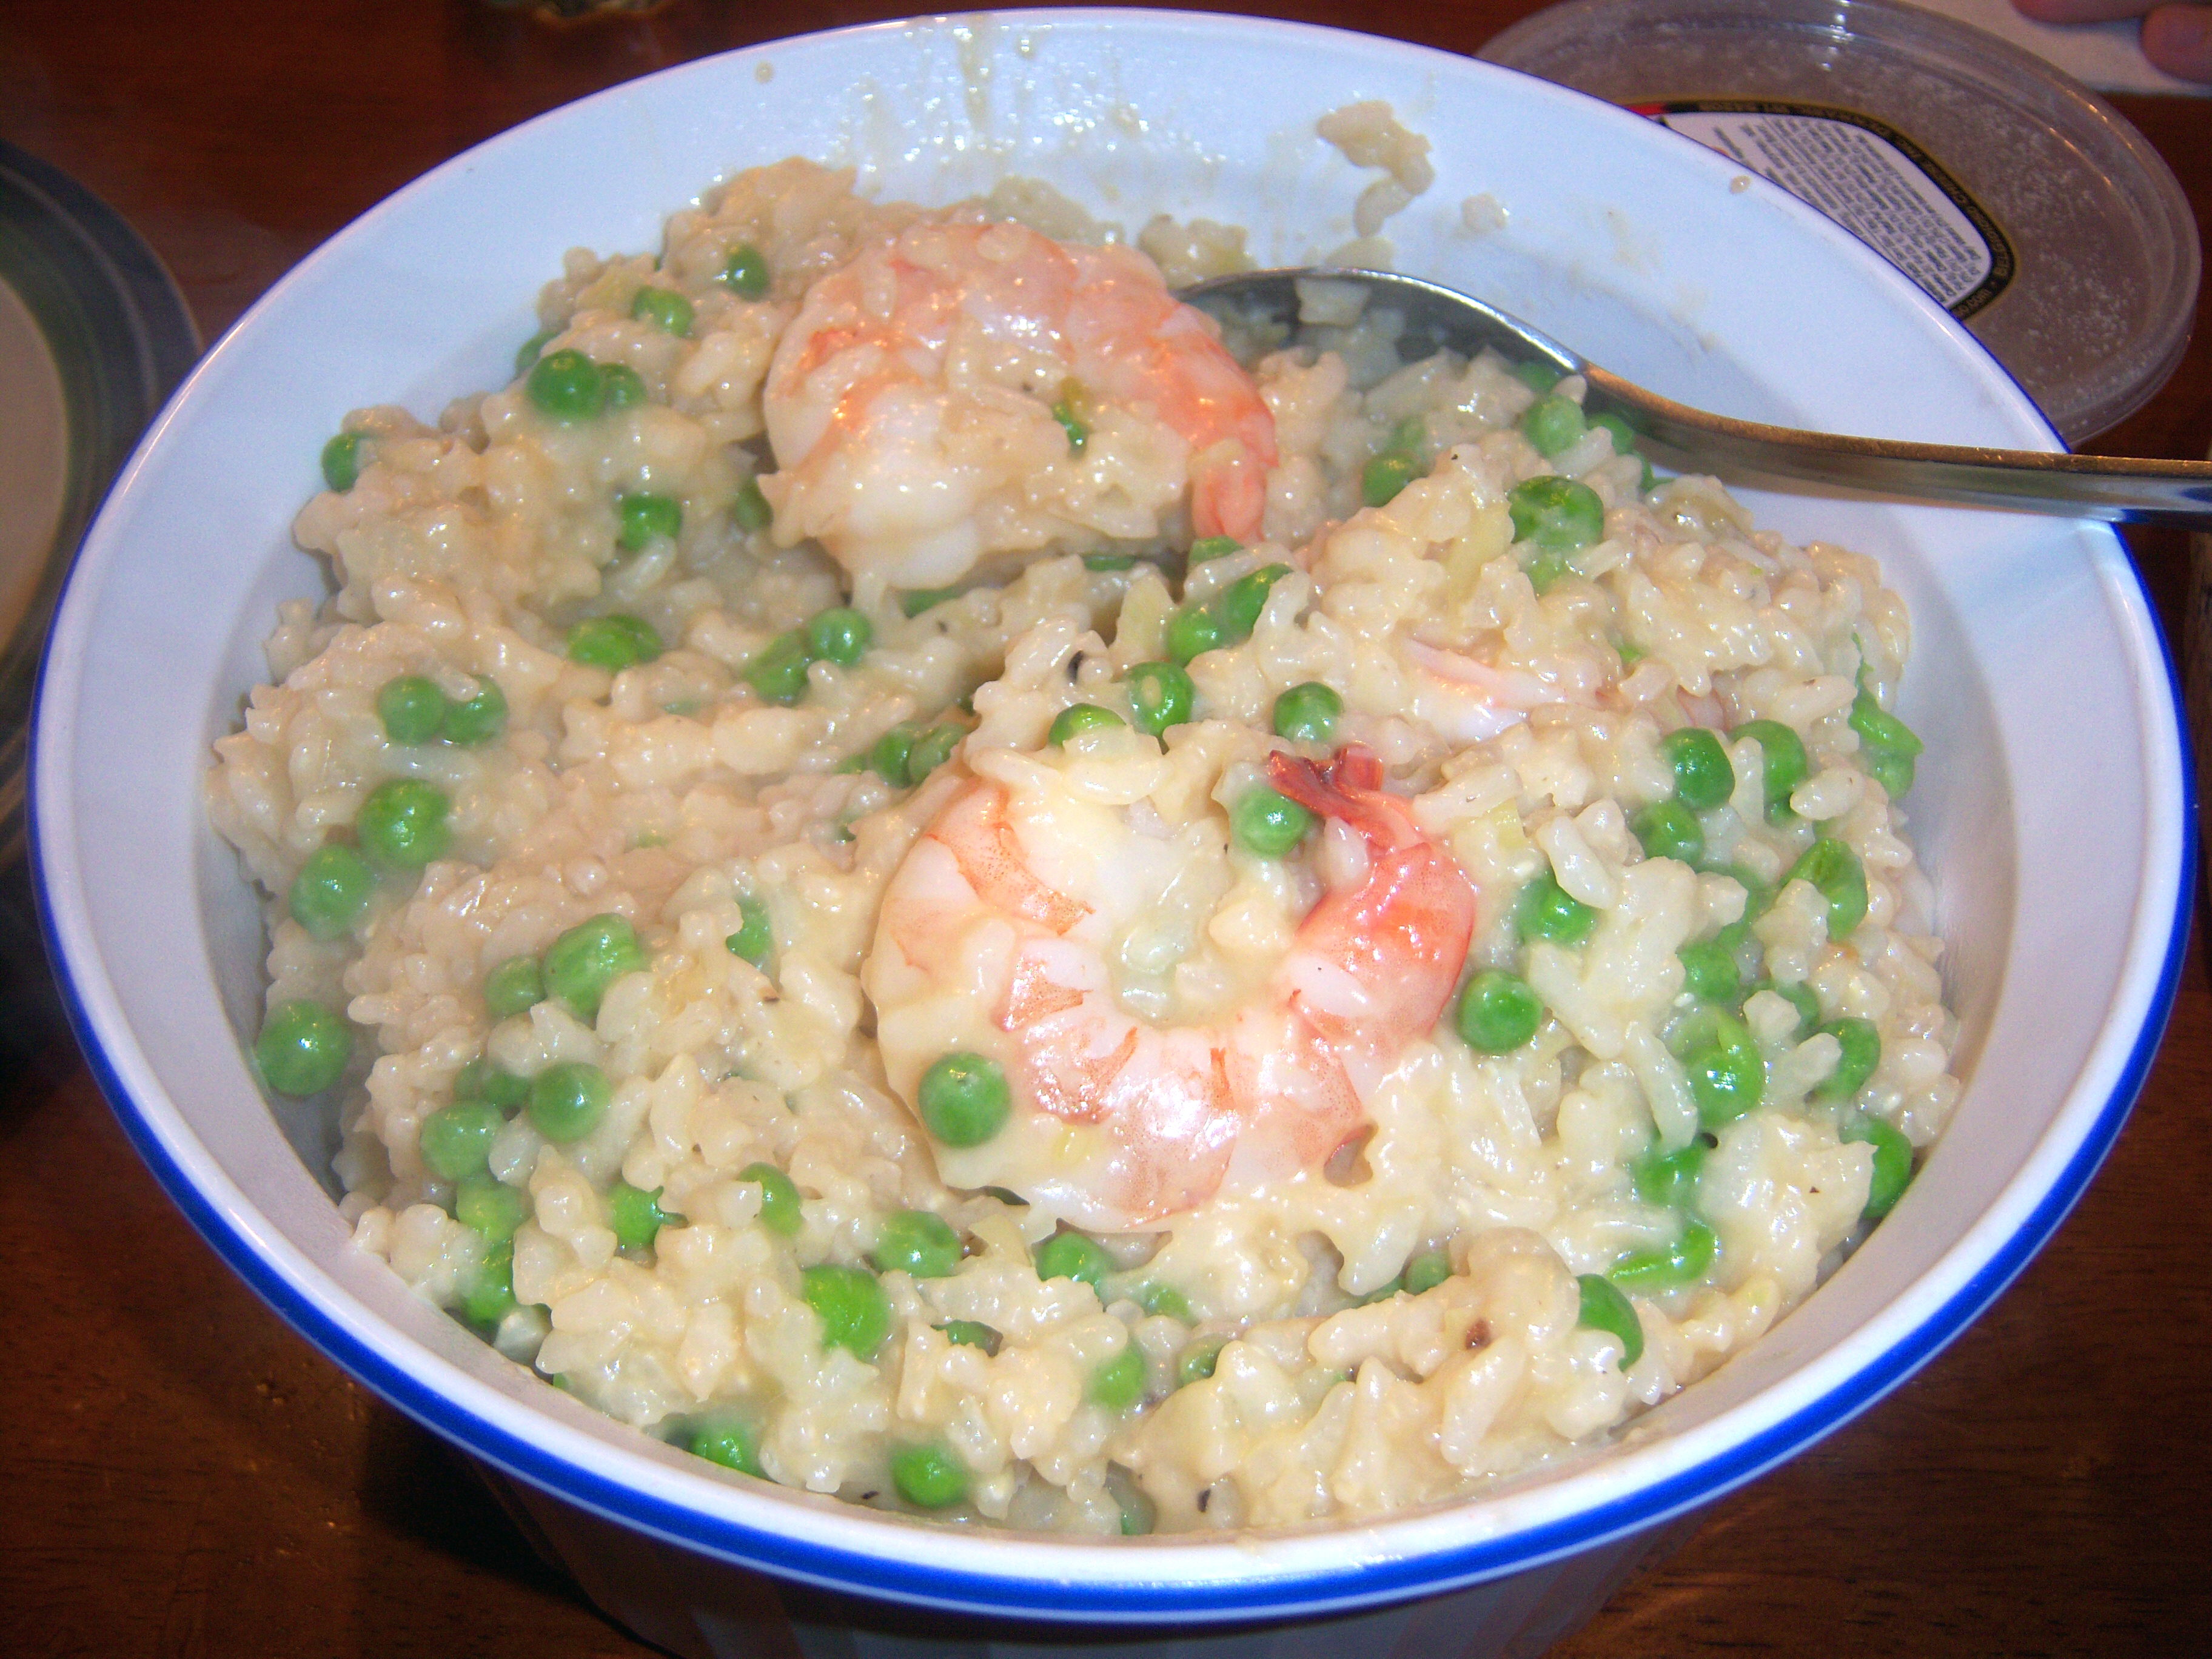
You just make this like a regular risotto until the end. Once you’ve got the rice to a nice texture – soft and creamy but not too gooey and all the liquid is absorbed, you toss in your shrimp and peas and stir it until they cook. The nice thing about shrimp and peas is that they cook very quickly.

I did add parmesan cheese (also known as nectar of the gods) to this.

Byoo-tee-full

Byoo-tee-full

Martha’s recipe didn’t have cheese and that is a crime against nature.

This dish turned out nicely. It was easy to make and does make a colorful, pretty dish. It’s definitely fancier than serving plain rice or plain risotto.

If you’re afraid of risotto, don’t be. It’s really hard to mess it up. You just gradually keep adding liquid until you get to the texture you want. It’s very forgiving. If you add too much liquid, just cook it a little longer.

This recipe is a good thing!

In the special Holiday Season’s Eatings issue (p.77), Martha has a recipe for risotto with shrimp and green peas. This sounded like a great weekday meal, so I gave it a try. It seemed very Martha to make something that sounds so elegant and restaurant worthy. I am a fan of risotto. Risotto is arborio … Read more

I’ve decided to give some candy as gifts this year. I’m using some of Martha’s recipes for this endeavor.

On page 226 of December Living is a recipe for Penuche Fudge. I had never heard of this fudge, but it sounded good.

This was a very easy recipe. I boiled evaporated milk, brown sugar, white sugar, butter and salt. It has to get to 236 degrees on a candy thermometer. Fortunately, I have one. I’ve even made candy before, so I wasn’t as terrified as I might have been if this was all new to me.

I always forget how long it takes for candy to reach the right temp. You can be cruising right along up to 200 degrees and then it will take what seem like an hour to crawl up to that soft ball stage.

Fudge mix

Fudge mix

Once the candy reached the right temp, you mix in powdered sugar for about 4 minutes until it is smooth. Then you add vanilla and nuts (I used pecan instead of walnuts) and pour into a loaf pan.

Very simple, very nice. The candy tastes good. It’s got a caramel flavor and because it is fudge, it is not hard to chew. I would say it is good, but not great.

Cooling

Cooling

If you want a fab candy, I’ve got an amazing one for you. The December issue of Paula Deen’s mag has a recipe for a Kit Kat bar that is awesome! It’s made with crackers and is really simple.

I want candy...

I want candy...

I’ve decided to give some candy as gifts this year. I’m using some of Martha’s recipes for this endeavor. On page 226 of December Living is a recipe for Penuche Fudge. I had never heard of this fudge, but it sounded good. This was a very easy recipe. I boiled evaporated milk, brown sugar, white … Read more

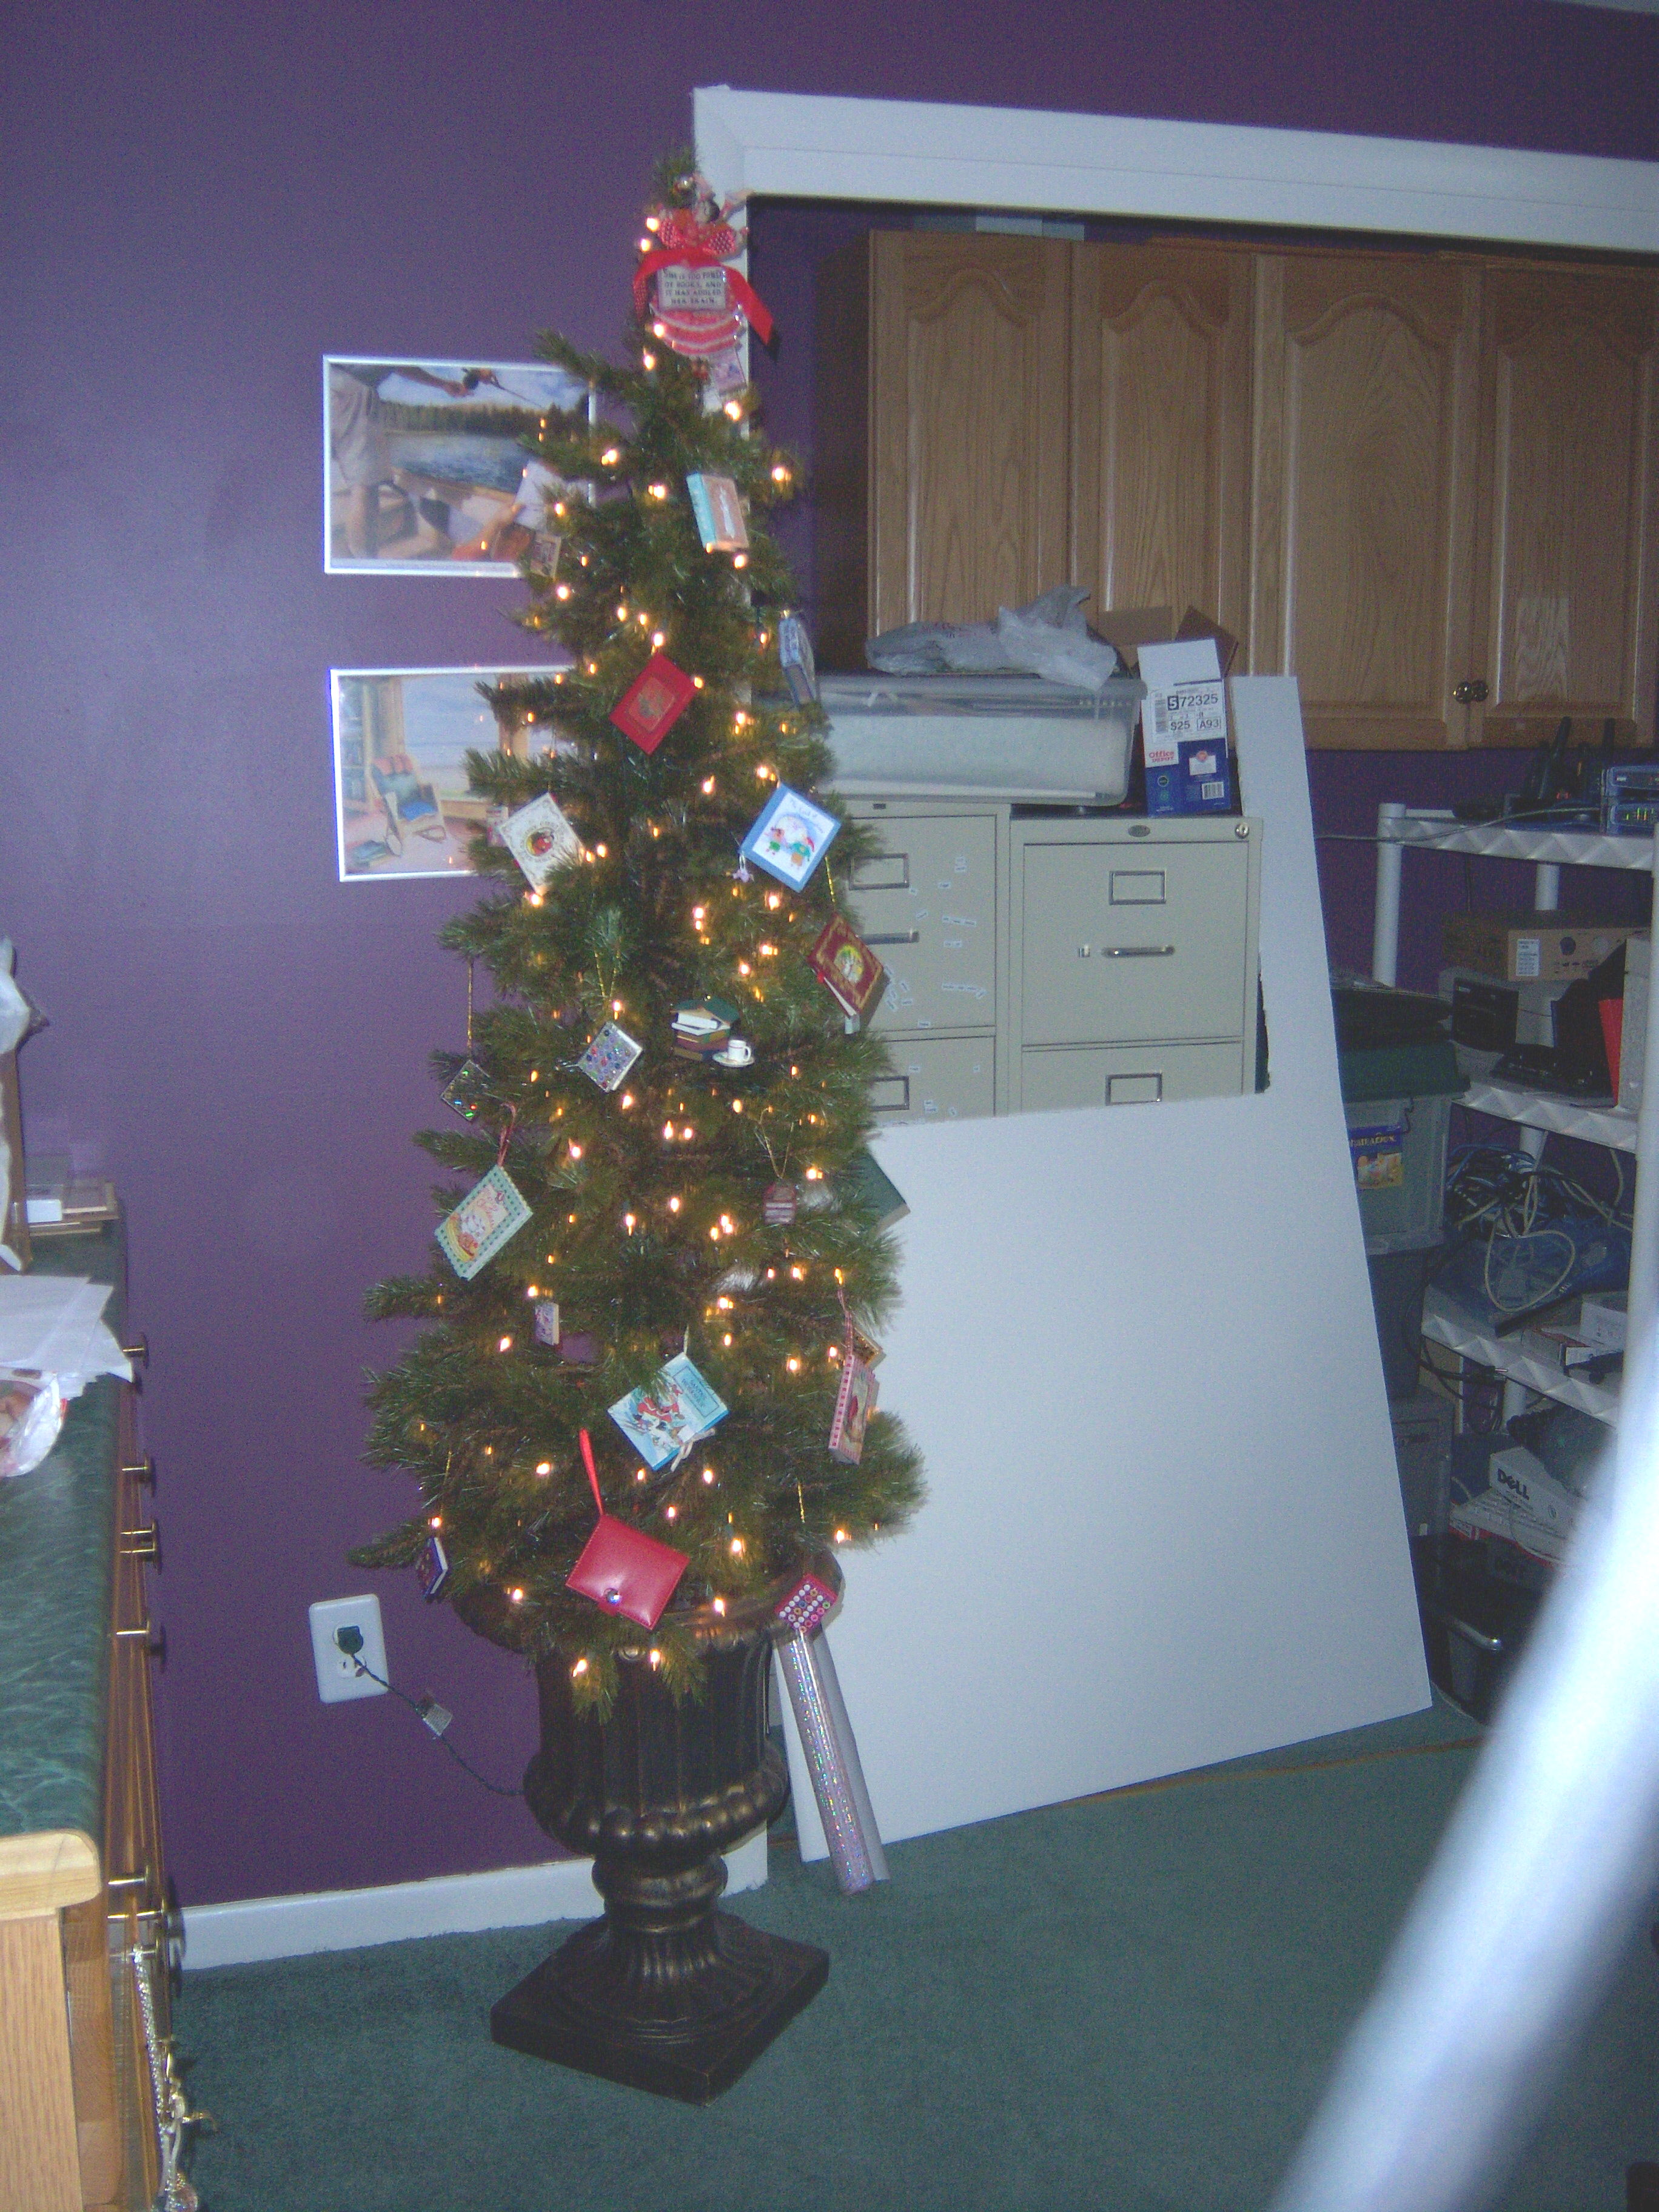
Welcome to my holiday home. Since I’m trying to do everything as Martha would, I am especially proud of my decorations this year. Here are photos of my living room tree and mantel (complete with Martha Stewart tree skirt and stockings that came from KMart several years ago). I’m also popping in a photo of my office tree. Since I’m a writer, it’s a book tree. Enjoy!

liv-treemanteloffice-treea

Welcome to my holiday home. Since I’m trying to do everything as Martha would, I am especially proud of my decorations this year. Here are photos of my living room tree and mantel (complete with Martha Stewart tree skirt and stockings that came from KMart several years ago). I’m also popping in a photo of … Read more

On the latest cooking school, Martha and Sarah made a jellyroll, also called a genoise. I’ve heard of both of these terms, but didn’t really know what they meant. This is, essentially, a very thin cake that is rolled with filling inside it.

Now, before we dive in here, if I could take a moment to vent. Are there not more important skills one needs to know as a cook? I’m not sure this cake that no one has heard of would go to the top of my list. My other vent: It’s DECEMBER. Everyone is inundated with holiday cookies and candy. Who on earth wants to focus on learning a dessert that is not holiday related right now? Maybe a lesson on gravy or seafood would be helpful right now.

That being said, I geared up to make my first jellyroll. The key to this cake, says Martha, is the eggs. There is no other leavening, so you have to rely on the eggs to puff your cake.
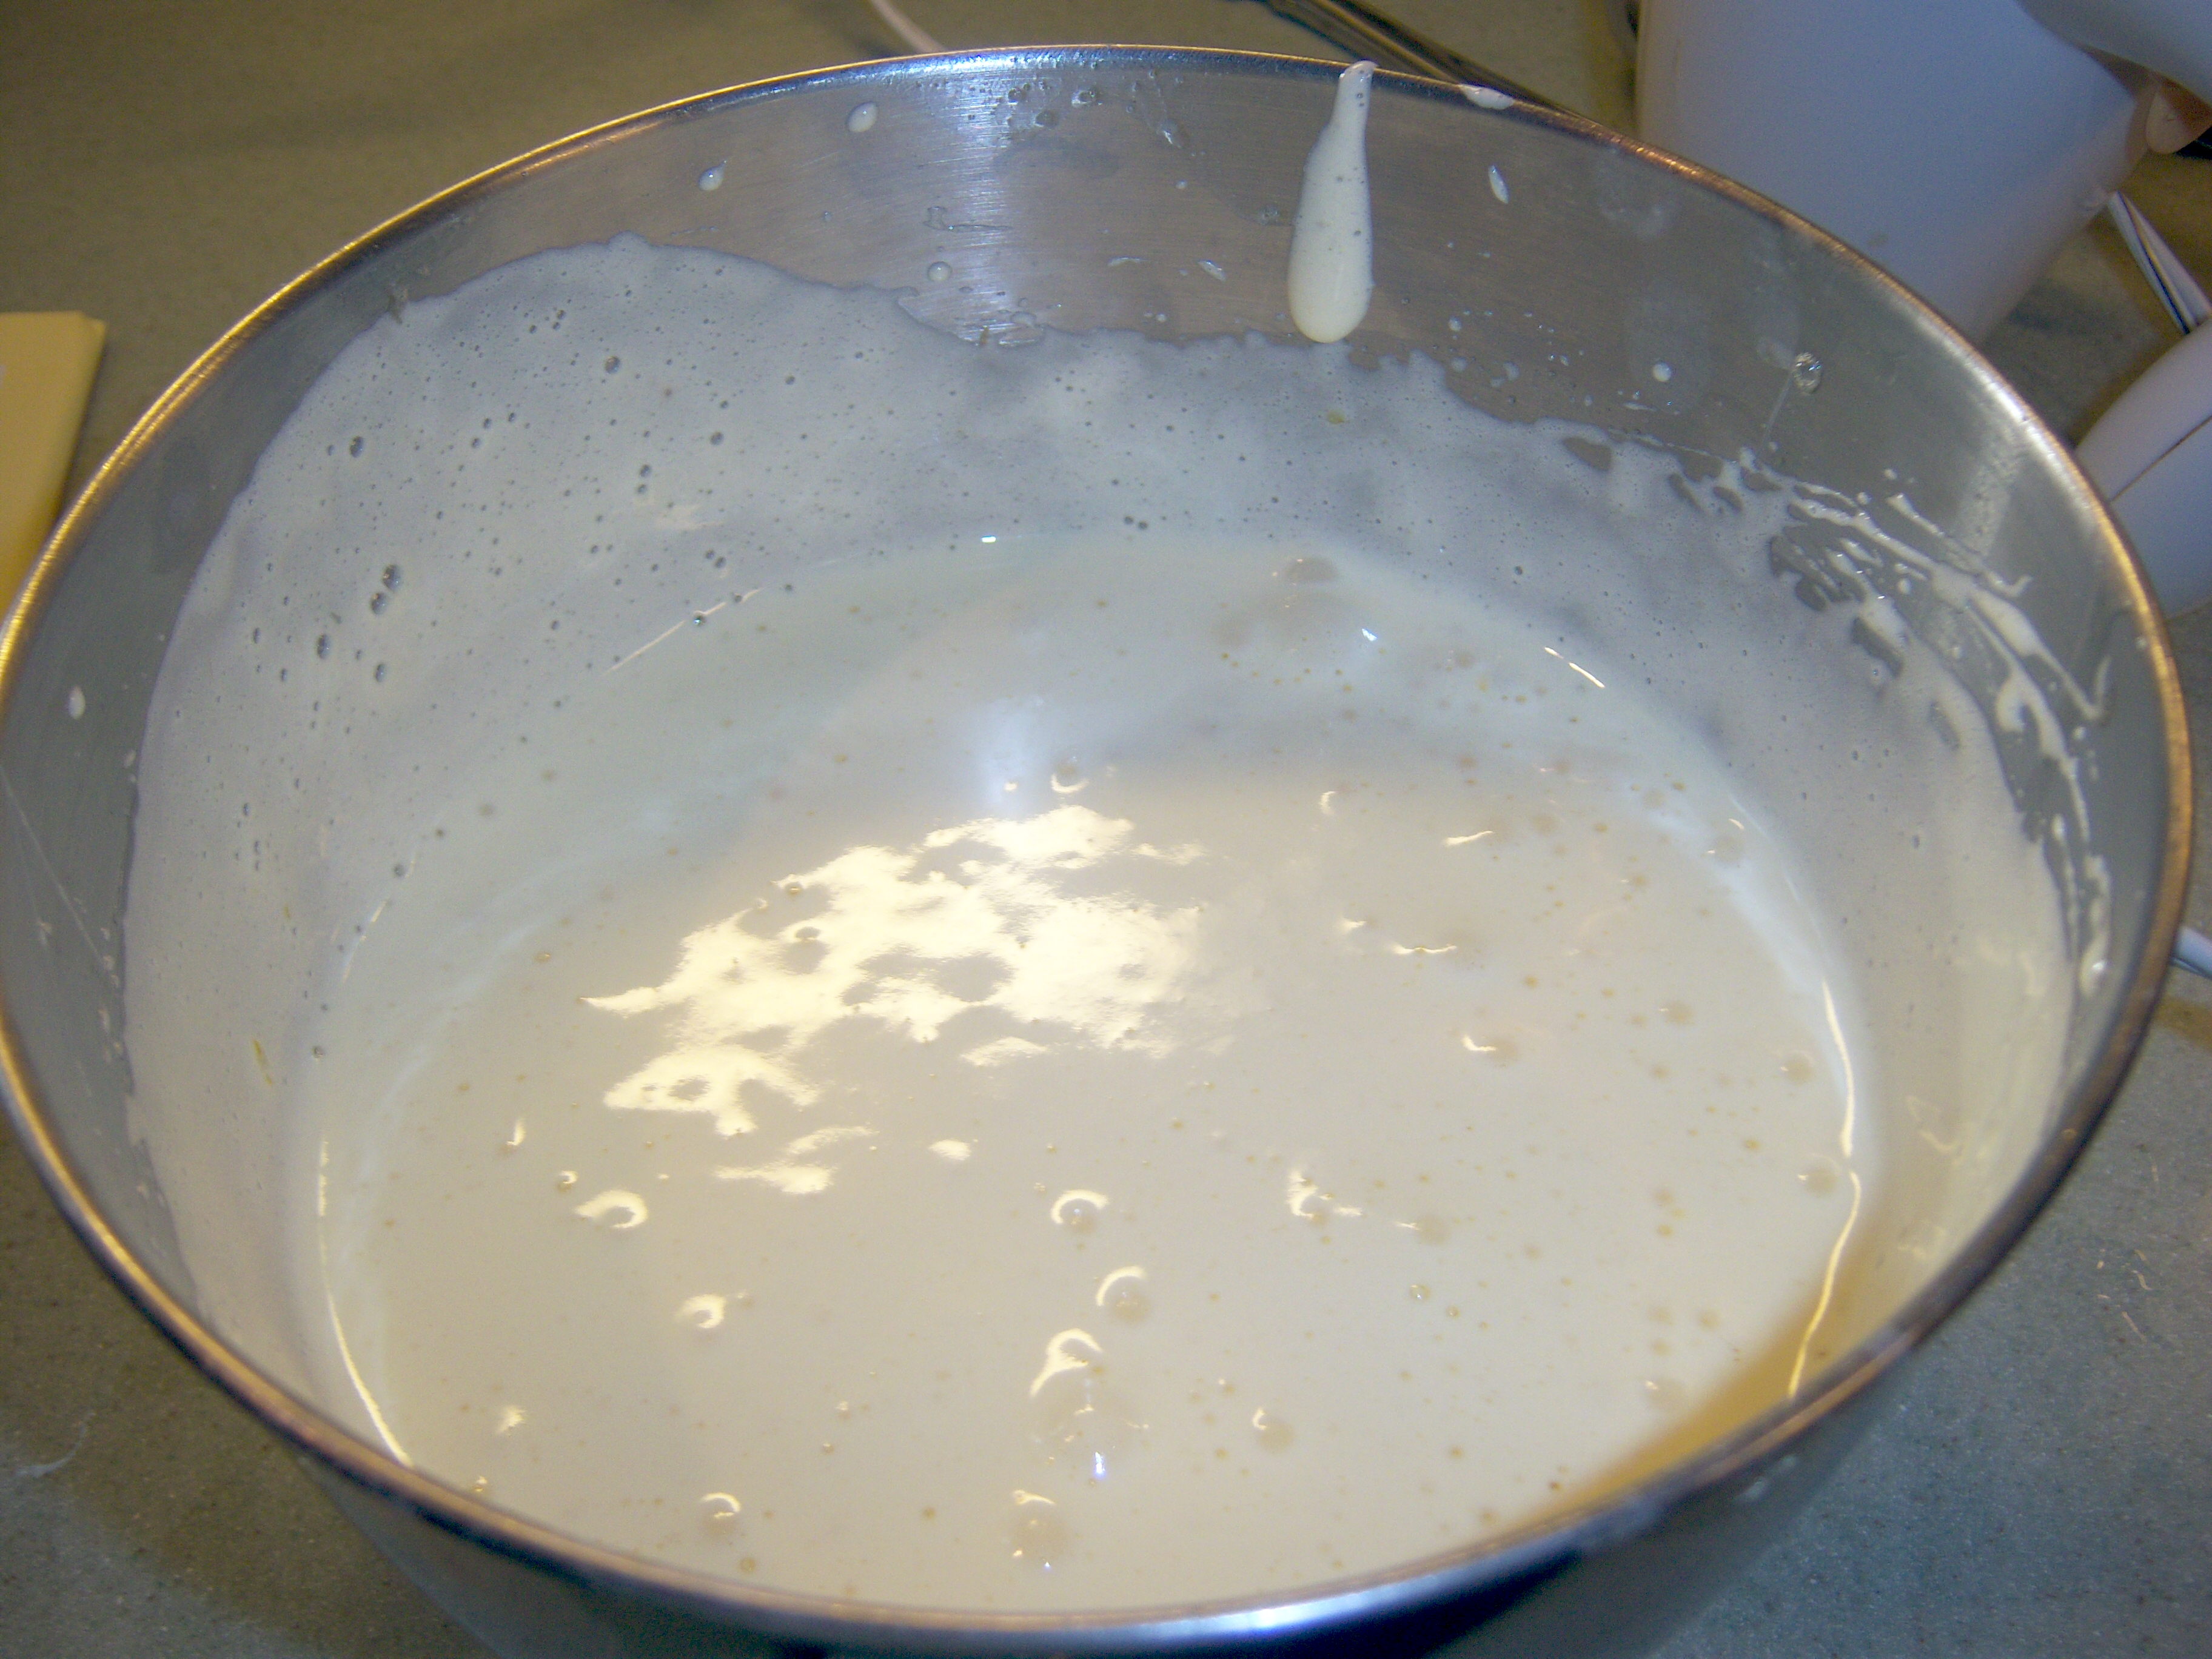
Beaten eggs

Beaten eggs

The first step is to cook the eggs and sugar over hot water until the sugar dissolves and the mixture is warm. I whisked it and it quickly came up to temperature. Next step, you beat the heck out of the eggs. It takes a few minutes but they turn almost white and increase in volume. They get very thick, like cake batter. It was actually an interesting transformation to watch.

After you’ve got your eggs ready, you sift in the dry ingredients. This cake

Dry ingredients sifted in

Dry ingredients sifted in

actually has almost nothing in it – eggs, sugar, flour, butter,  and cocoa powder (I was making the chocolate).  Once they’re in the bowl, you fold them in carefully. The trick is to keep your eggs inflated. I was a little worried here – my batter did deflate significantly once I

Completely folded

Completely folded

had it all folded in.  Once you’ve got it folded, you drizzle your melted butter down the sides of the bowl and fold that in too.

Then you pour your batter into a baking sheet that has parchment paper (sprinkled with cocoa powder) in it. I had some trouble getting the batter to spread. It was rubbery and didn’t want to smooth out. Finally I had it ready for the oven. this cooks

Ready for the oven

Ready for the oven

very, very quickly – 6 minutes in a 450 degree oven.

Once it’s done, you let it cool slightly in the pan.  While it’s still warm, you upend it onto a towel that is coated with cocoa powder. This seemed very, very weird to do (put a cake on a towel), but I did it.

My towel at the ready

My towel at the ready

Once you’ve got it on the towel, you cover it with parchment and roll it up. Martha says this will give the cake some memory of the rolling, so it will be easier to roll with the filling. You let it sit, rolled up, until it is cool. I was afraid rolling it was going to be hard, but it wasn’t.

The rolled jellyroll

The rolled jellyroll

The next step is to unroll it once it’s cool. I did this and discovered the end of my jellyroll had broken right off. Eek!

Jellyroll SOS

Jellyroll SOS

I forged ahead though. First I put strawberry jam on the roll. Martha says to put a rum mixture on the chocolate jellyroll, but I’m not into rum.  The recipe for the white jellyroll uses jam, so that’s what I did.  My jam had big hunks of strawberry in it. I think I would pick those out next time – the lumps didn’t work out so well. Next I made whipped cream and smoothed that on.

Sarah Carey cautions to keep your filling 1/4 of an inch away from the sides. Good advice, I think. Otherwise it will all smoosh out the sides.

The filling

The filling

The next step is to roll it back up. I tucked the broken edge into the inside. It rolled up pretty easily. Some whipped cream did smoosh out at the very end. Martha says to wrap it back up in your towel and clip it so it will stay tight. You refrigerate this for half an hour to three hours. I recommend going closer to three hours to really get it set nicely. I was afraid it was all going to unroll when I took it out, but it didn’t.

I really recommend you trim the ends of the roll before serving. As you can see in the photo, it looks a little messy and not so pretty on the ends.

I was worried that it would be hard to slice – that it would smoosh all over when you cut it. No problems there either. The slices came off very nicely. The roll is very firm and simple to slice.

Plate o' happiness

Plate o' happiness

What a pretty dessert this is! I loved the pink jam next to the white cream. It looked like a Ho-Ho. How’d it taste? Yummy! I thought it was going to be dry – the cake did seem a little dry when I was rolling it. The jam and cream really soak in and soften it. You get a wonderful mouthful of chocolate, cream and jam and my, oh, my it was heavenly. It feels very light, so you don’t feel like you just ate a big, heavy piece of cake.

Martha – I am sorry I doubted you on this! Why don’t more people make this dessert? It’s wonderful. It wasn’t really all that hard to make at all. Getting the eggs right was intimidating, but I really think anyone can do it.

If Martha had provided instructions on how to make this into a buche de noel, I would have done that (and that would have been seasonal), but she didn’t. It’s just as well – fooling with meringue would have sent me over the top.

The finished roll

The finished roll

On the latest cooking school, Martha and Sarah made a jellyroll, also called a genoise. I’ve heard of both of these terms, but didn’t really know what they meant. This is, essentially, a very thin cake that is rolled with filling inside it. Now, before we dive in here, if I could take a moment … Read more

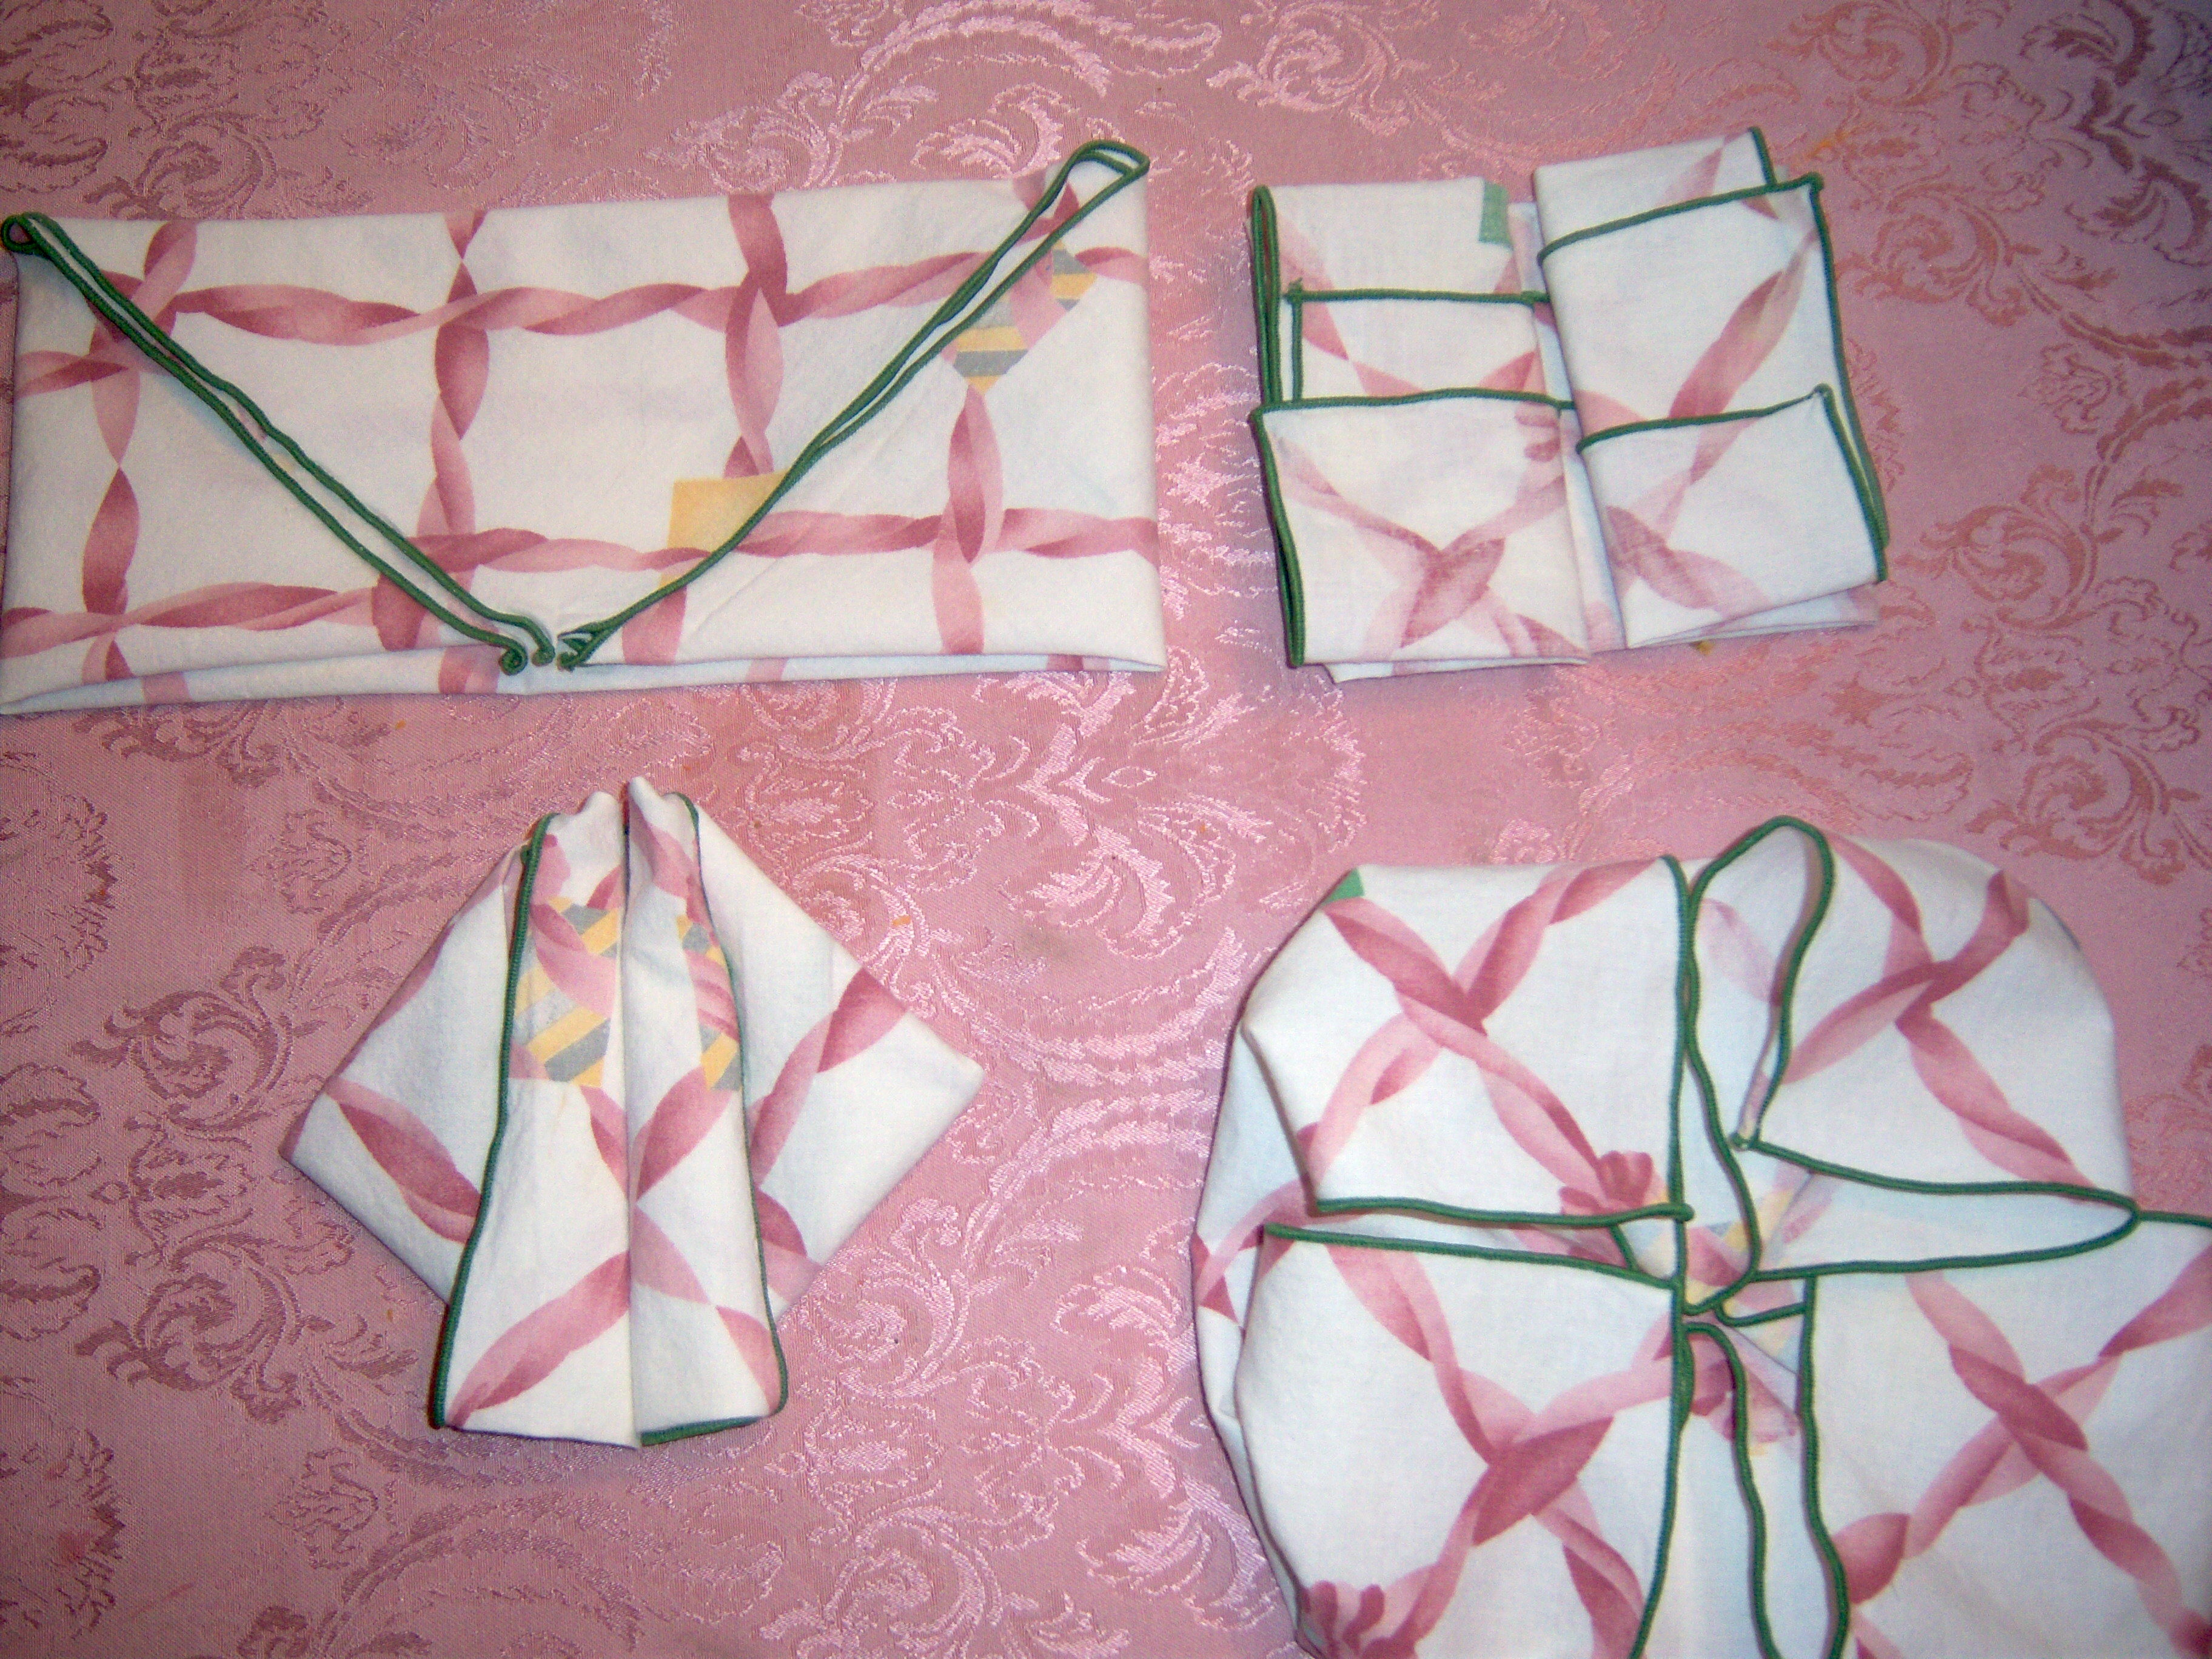
Martha has a two-page spread on napkin folding in the December Living (p. 12). She shows 4 different folds and I decided to try my hand at them with my Christmas napkins.

napkin-foldingStarting at the top left, is the envelope fold. This one is tres cute I think! I would love to do this one and slip a scratch off lottery ticket in it or a small candy bar. This was really simple to make.

At the top right is the menu fold. This doesn’t look so great with a napkin with a pattern on one side. Maybe with a plain napkin and one that wasn’t so uneven at the edges it would look better. I’m not too enamored with this one.

Bottom left is the modern fold. I think this would work better with a really large napkin. The rolls at the center won’t stay together for me and I think if it was bigger, it would.

Last is the bottom right, the lotus fold. Well, I must admit I was scratching my head over the directions for this one. I still don’t think I got it right – it looks nothing like the picture.  Too complicated for me to attempt. I am spatially challenged and this one is beyond my abilities!

The result here is I would do the envelope fold for a table setting but probably not the others. I resolve to fold my napkins in this fold for Christmas morning breakfast!

Martha has a two-page spread on napkin folding in the December Living (p. 12). She shows 4 different folds and I decided to try my hand at them with my Christmas napkins. Starting at the top left, is the envelope fold. This one is tres cute I think! I would love to do this one … Read more

In my quest to do things the Martha way, I am taking to heart the suggestions in the December issue of Living.

On page 4, Martha provides what she calls “gentle reminders”. I’ve read her tipping guide. I don’t have that many people to tip, although I do have to buy gifts for teachers, tutors, and a house cleaner. Usually I do gift cards for these people and I’m going to do that again this year. However, I may be cutting back on the amounts (isn’t everyone cutting back?) and giving some candy (Martha’s recipes) in addition to the gift card.

Next, Martha suggest we create handcrafted gift card holders. I am going to give this a try for some gift cards I am giving to relatives.

Martha suggests we organize all of our paperwork from the holidays – receipts and warranties. I’m ahead of the game on that. I have a manila folder in my desk I put every receipt in. What I really need to learn to do, however, is to write on each receipt what it is for and what item it is. In the spirit of Martha, I’m going to add that to my to-do list.

Protecting our pets is the next tip. I actually have a funny story about this one. I have a gumdrop tree. It’s a metal tree that you stick gumdrops on. My kids love it. It usually sits on an end table in the family room. Last year one of our dogs disappeared while we were eating dinner at some point in December. He returned licking his lips which is a bad sign. It turns out he completely denuded the gumdrop tree! This year, we put it out again and I forgot about that, so he promptly helped himself again. We’ve now moved it to the top shelf of a bookcase in the family room. He occasionally walks over there and lifts his nose in the air and sniffs to let us know he would really like some.

Because we have big dogs with big tails, I don’t do candles, except for one Yankee candy that sits on a high table. I don’t have anything else that is dangerous for our dogs, so I think they are safe for the holidays.

Page 134 has tips for simplifying the season.  Martha suggests keeping a master calendar. I already do that. Next she says to remember to unwind. I do need to remind myself of that. Yesterday I ordered a holiday mystery for myself from Amazon and I am going to make time to sit down and enjoy it.

Another tip is to update your address book. When we got out the Christmas decorations, I found the cards we received last year in the basket I keep them in. I went through them to see if I could make any into gift labels and came upon a note from friends with a new address. I’ve got to add that into my address book (which I now keep in pencil so it is easy to make changes!).

Last year I cut back my Christmas card list and stopped sending them to people we don’t really know. I’m continuing with that this year. I bought one box of cards and that’s going to be it. If I need more, I have lots of leftover ones from years past.

Martha recommends postponing some holiday festivities. This is good advice. My dad’s family does not celebrate together until Jan 2 this year and we usually see my in-laws a few days after Christmas. It eases the craziness and gives you something to look forward to after the big day.

Another suggestion is to reevaluate gift exchanges. Oh, wouldn’t I love to do this! We buy gifts for some people that we barely know and I would love to put an end to that. It’s easier said than done though and negotiating something like in my family is nearly impossible.

Our decorations are completely up (I’ll post some photos soon) and my shopping is just about done. Next I’ve got to get serious about wrapping and baking.

In my quest to do things the Martha way, I am taking to heart the suggestions in the December issue of Living. On page 4, Martha provides what she calls “gentle reminders”. I’ve read her tipping guide. I don’t have that many people to tip, although I do have to buy gifts for teachers, tutors, … Read more

This month’s cookie from Living is a Chocolate Peppermint cookie. These looked gorgeous in the mag – covered in white chocolate and sprinkled with crumbled peppermint candy.

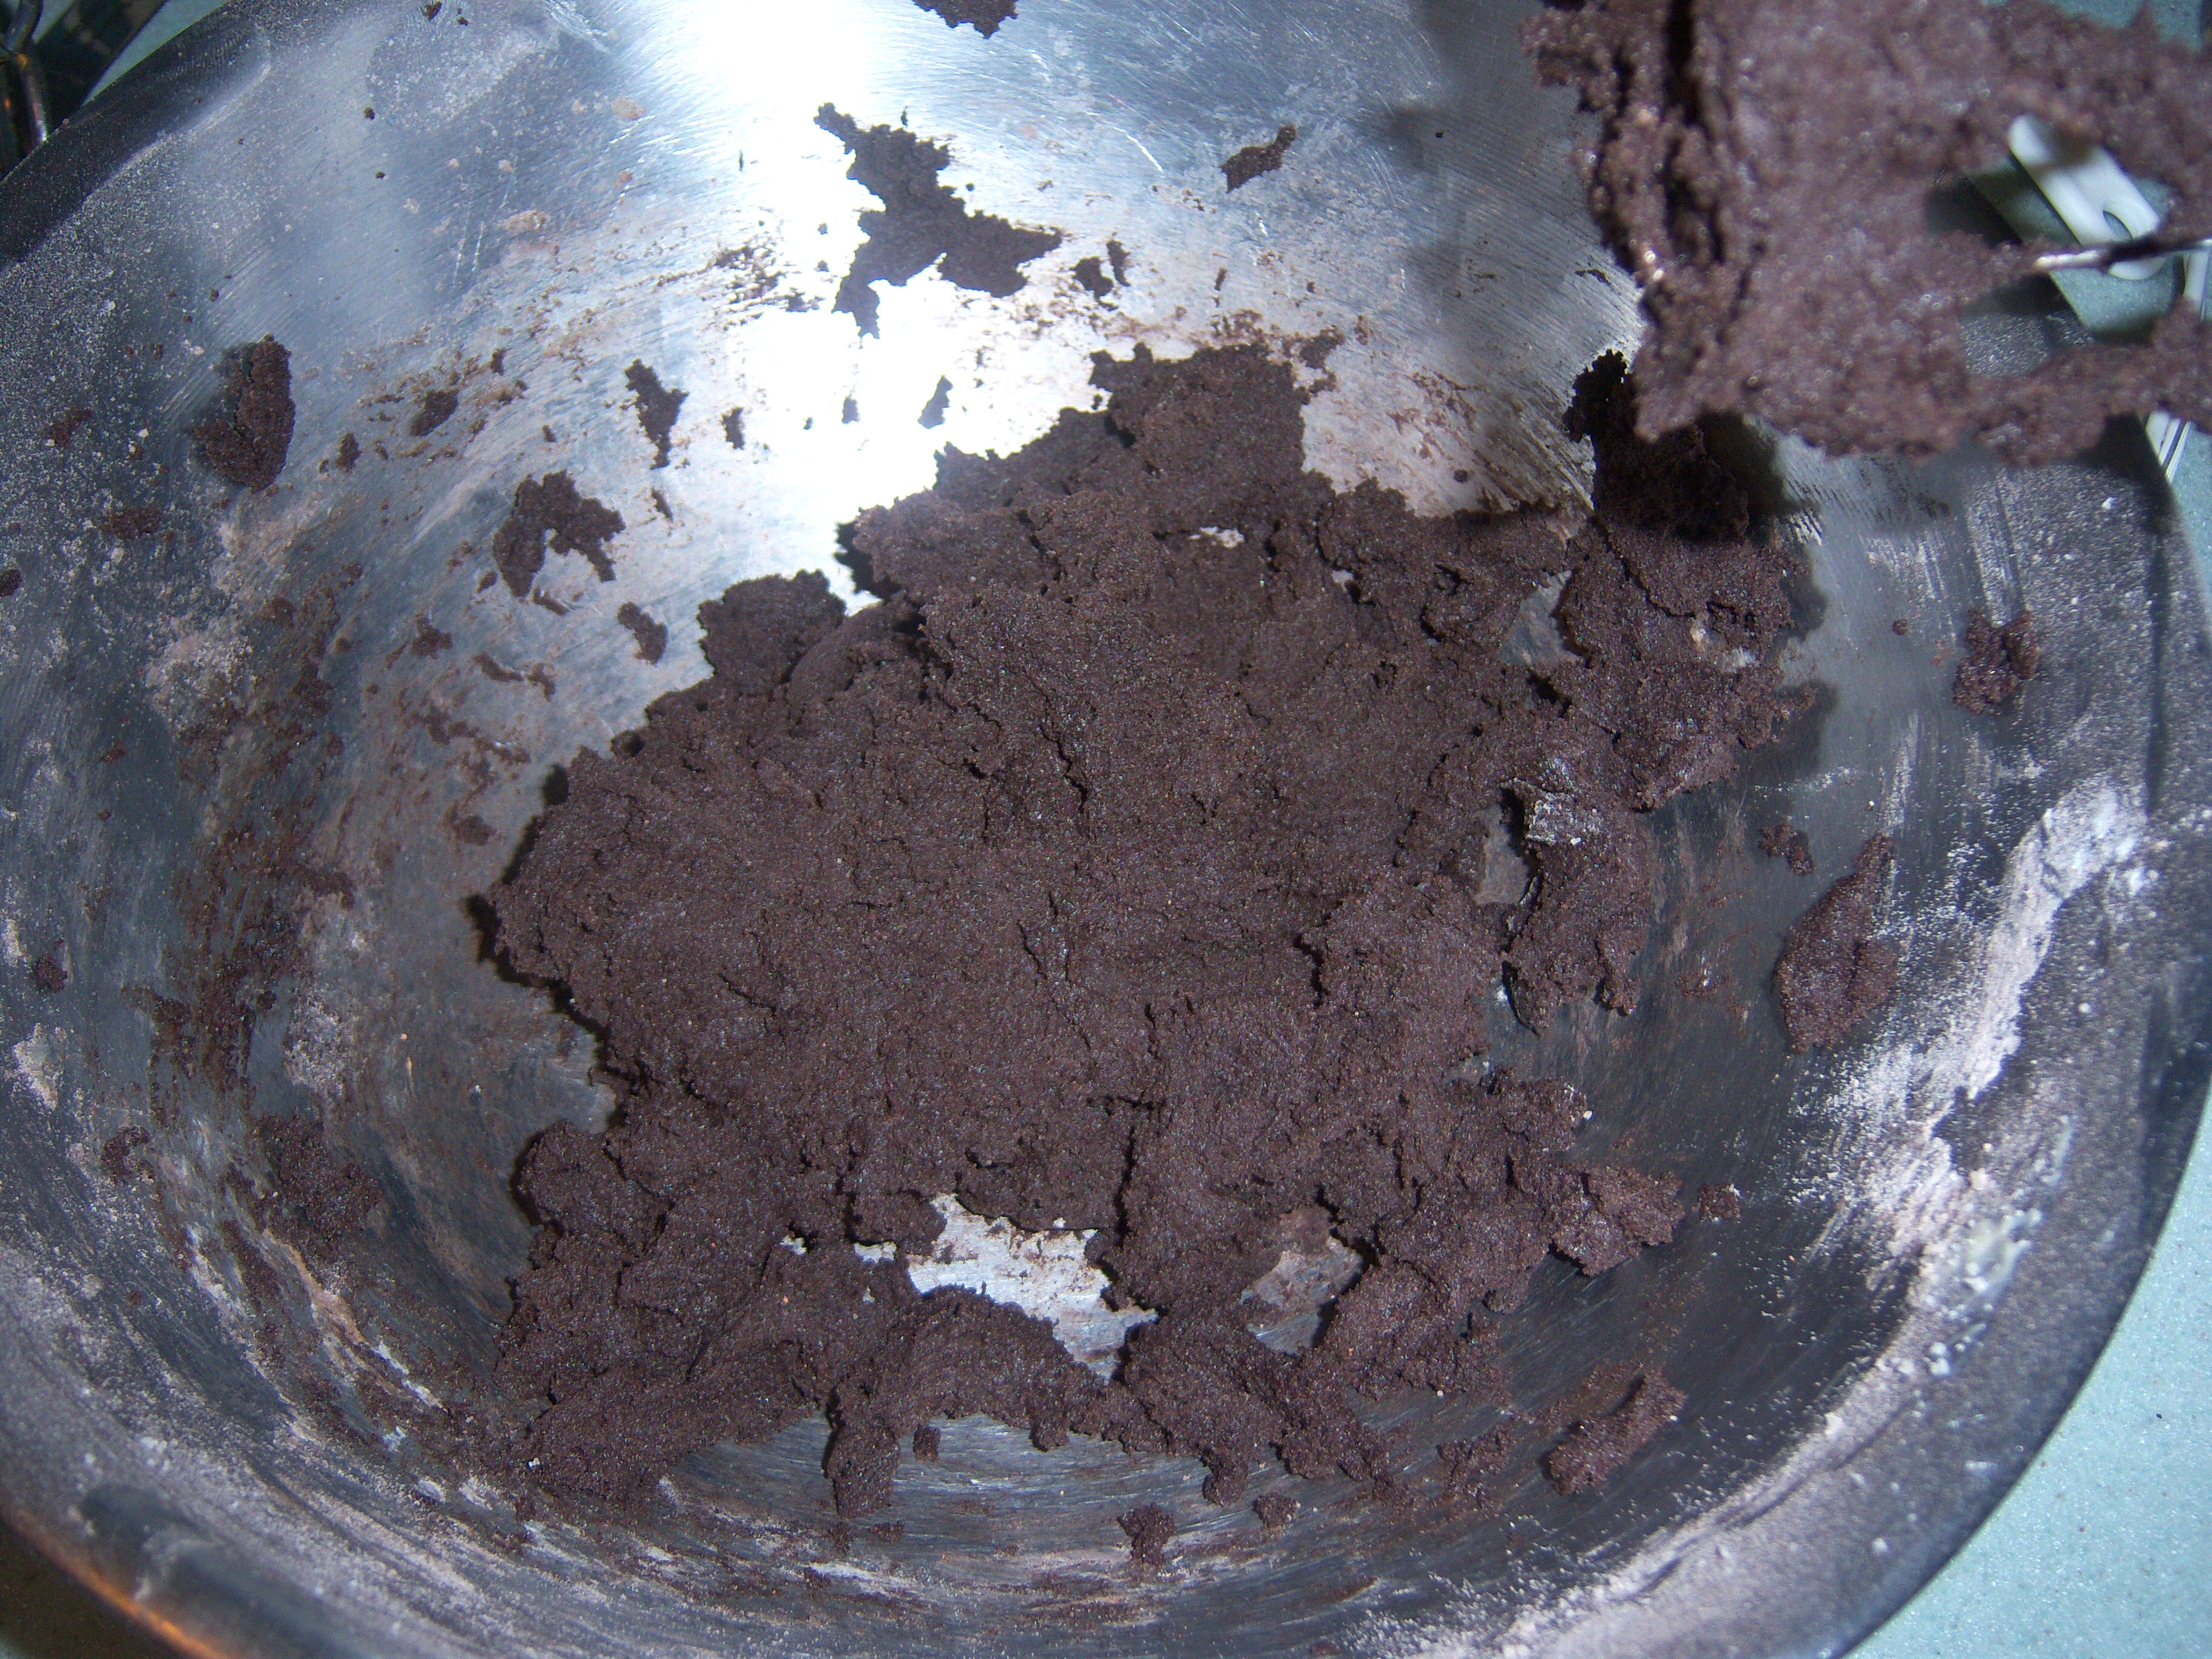
The Dough

The Dough

I got started making these and realized I didn’t see I needed peppermint extract, so off to the store went Mr. MarthaAndMe (good thing I could bribe him with the white chocolate). The dough was simple to make – butter, sugar, egg, peppermint, flour, cocoa, baking powder, baking soda and salt. The recipe said to make it into two disks and refrigerate. I did so and rolled it out. Then it said to

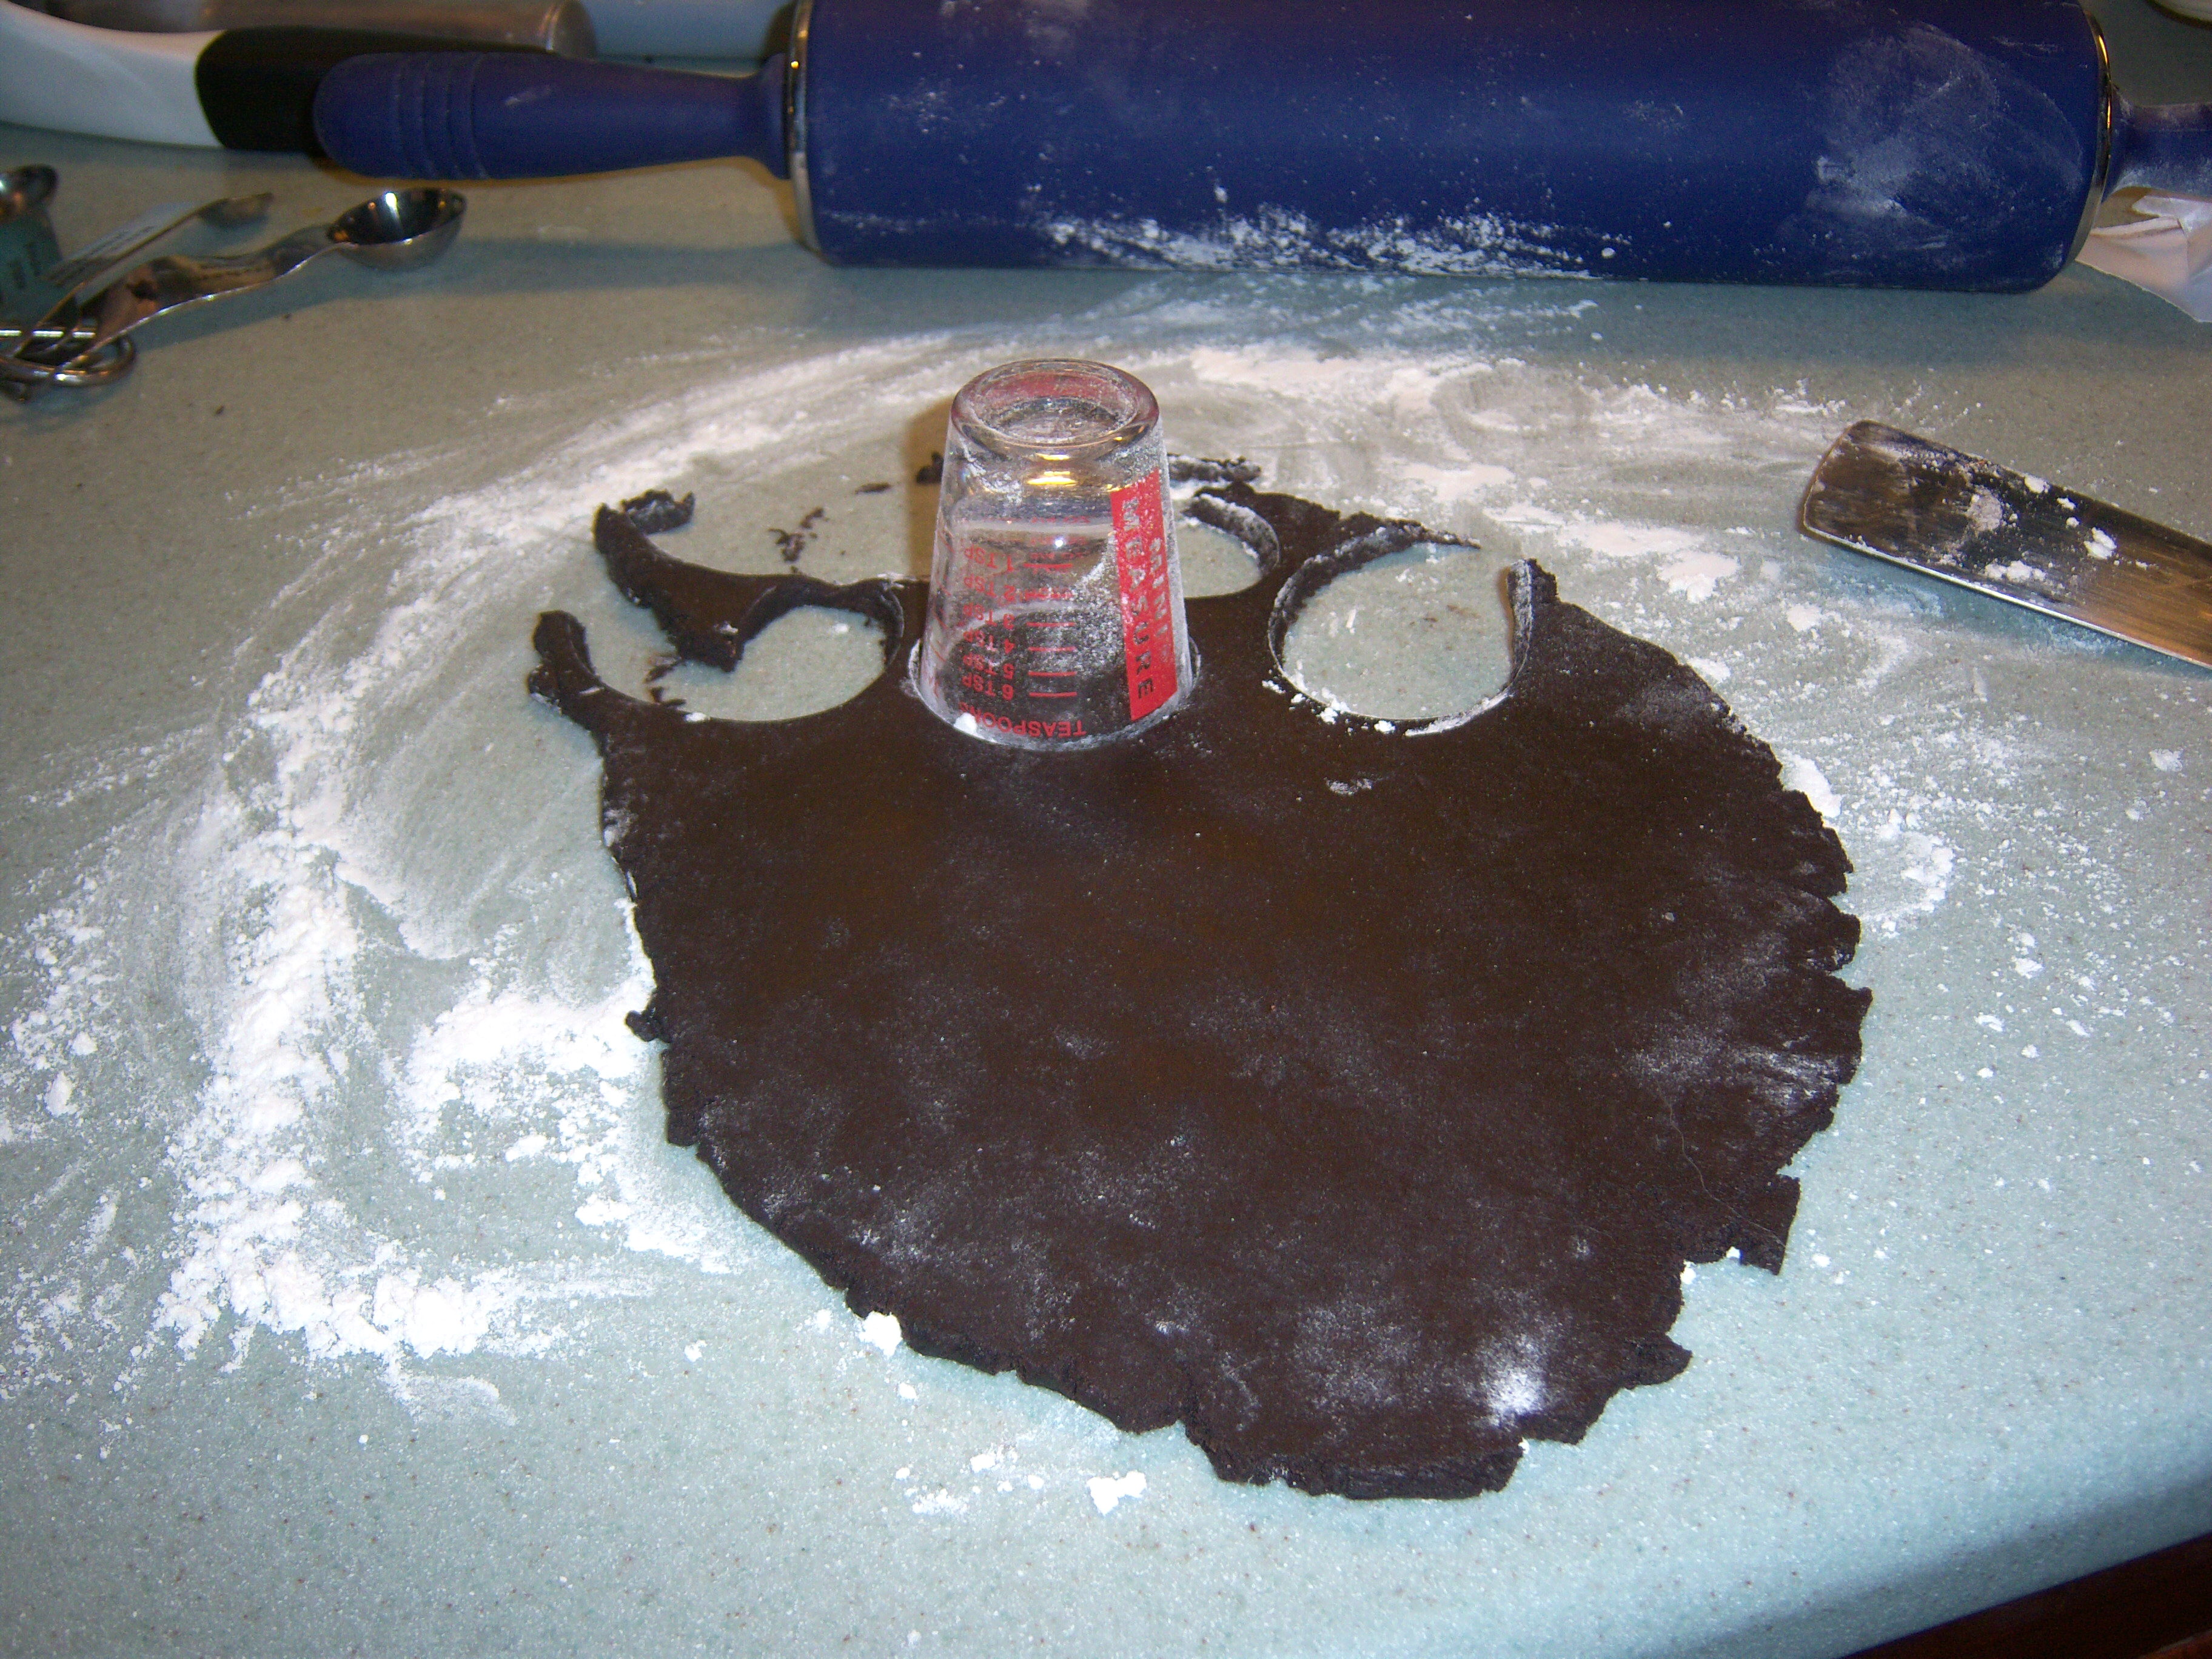
Cutting out circles

Cutting out circles

freeze it before cutting it out. Bah. I skipped that step since it was quite firm and went right to the cutting out.

Martha says to use a 2 inch circle cookie cutter. Well, I don’t have that but I had a little glass measuring cup – until I dropped it on the floor about halfway through and it shattered! Clean up aisle 4, Mr. MarthaAndMe. I then used a spice jar lid for the rest and that worked quite well.

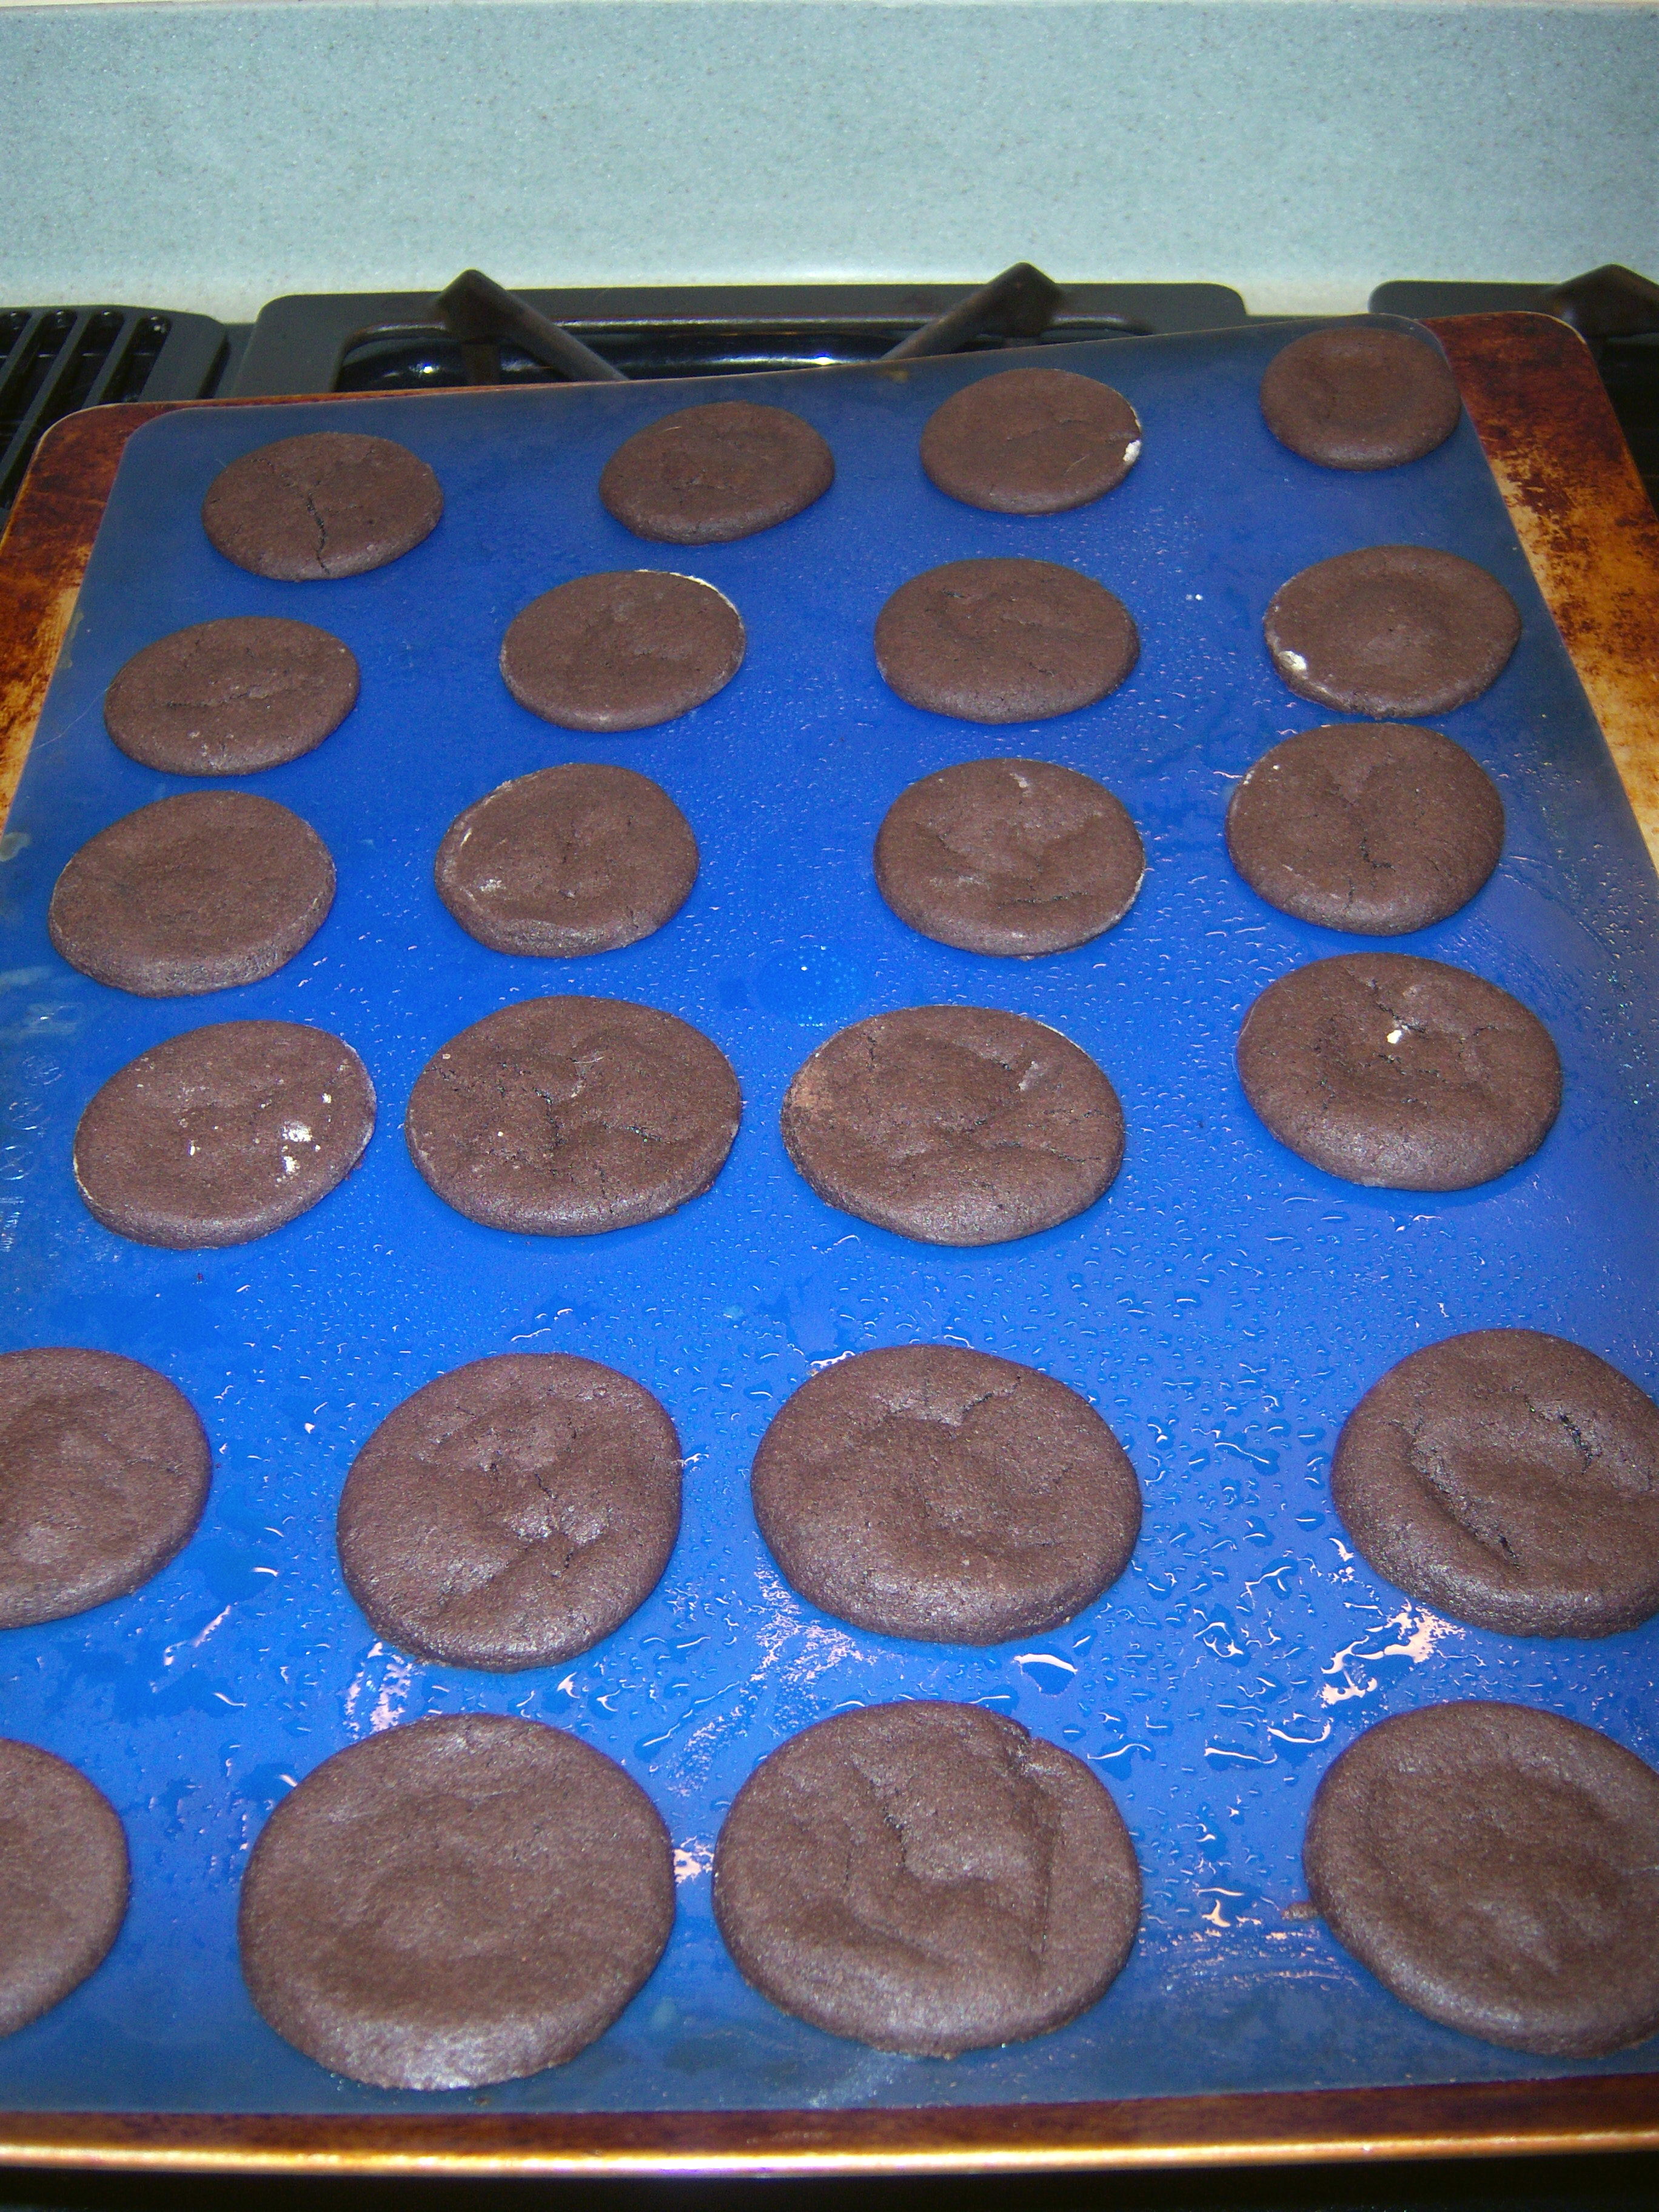
OUt of the oven

OUt of the oven

After cutting them out, you bake them for about 12 min. Easy. They came out looking very nice. Once they cool, you dip them in white chocolate. I melted my chocolate in the microwave – Martha says to do it over hot water. Bah.

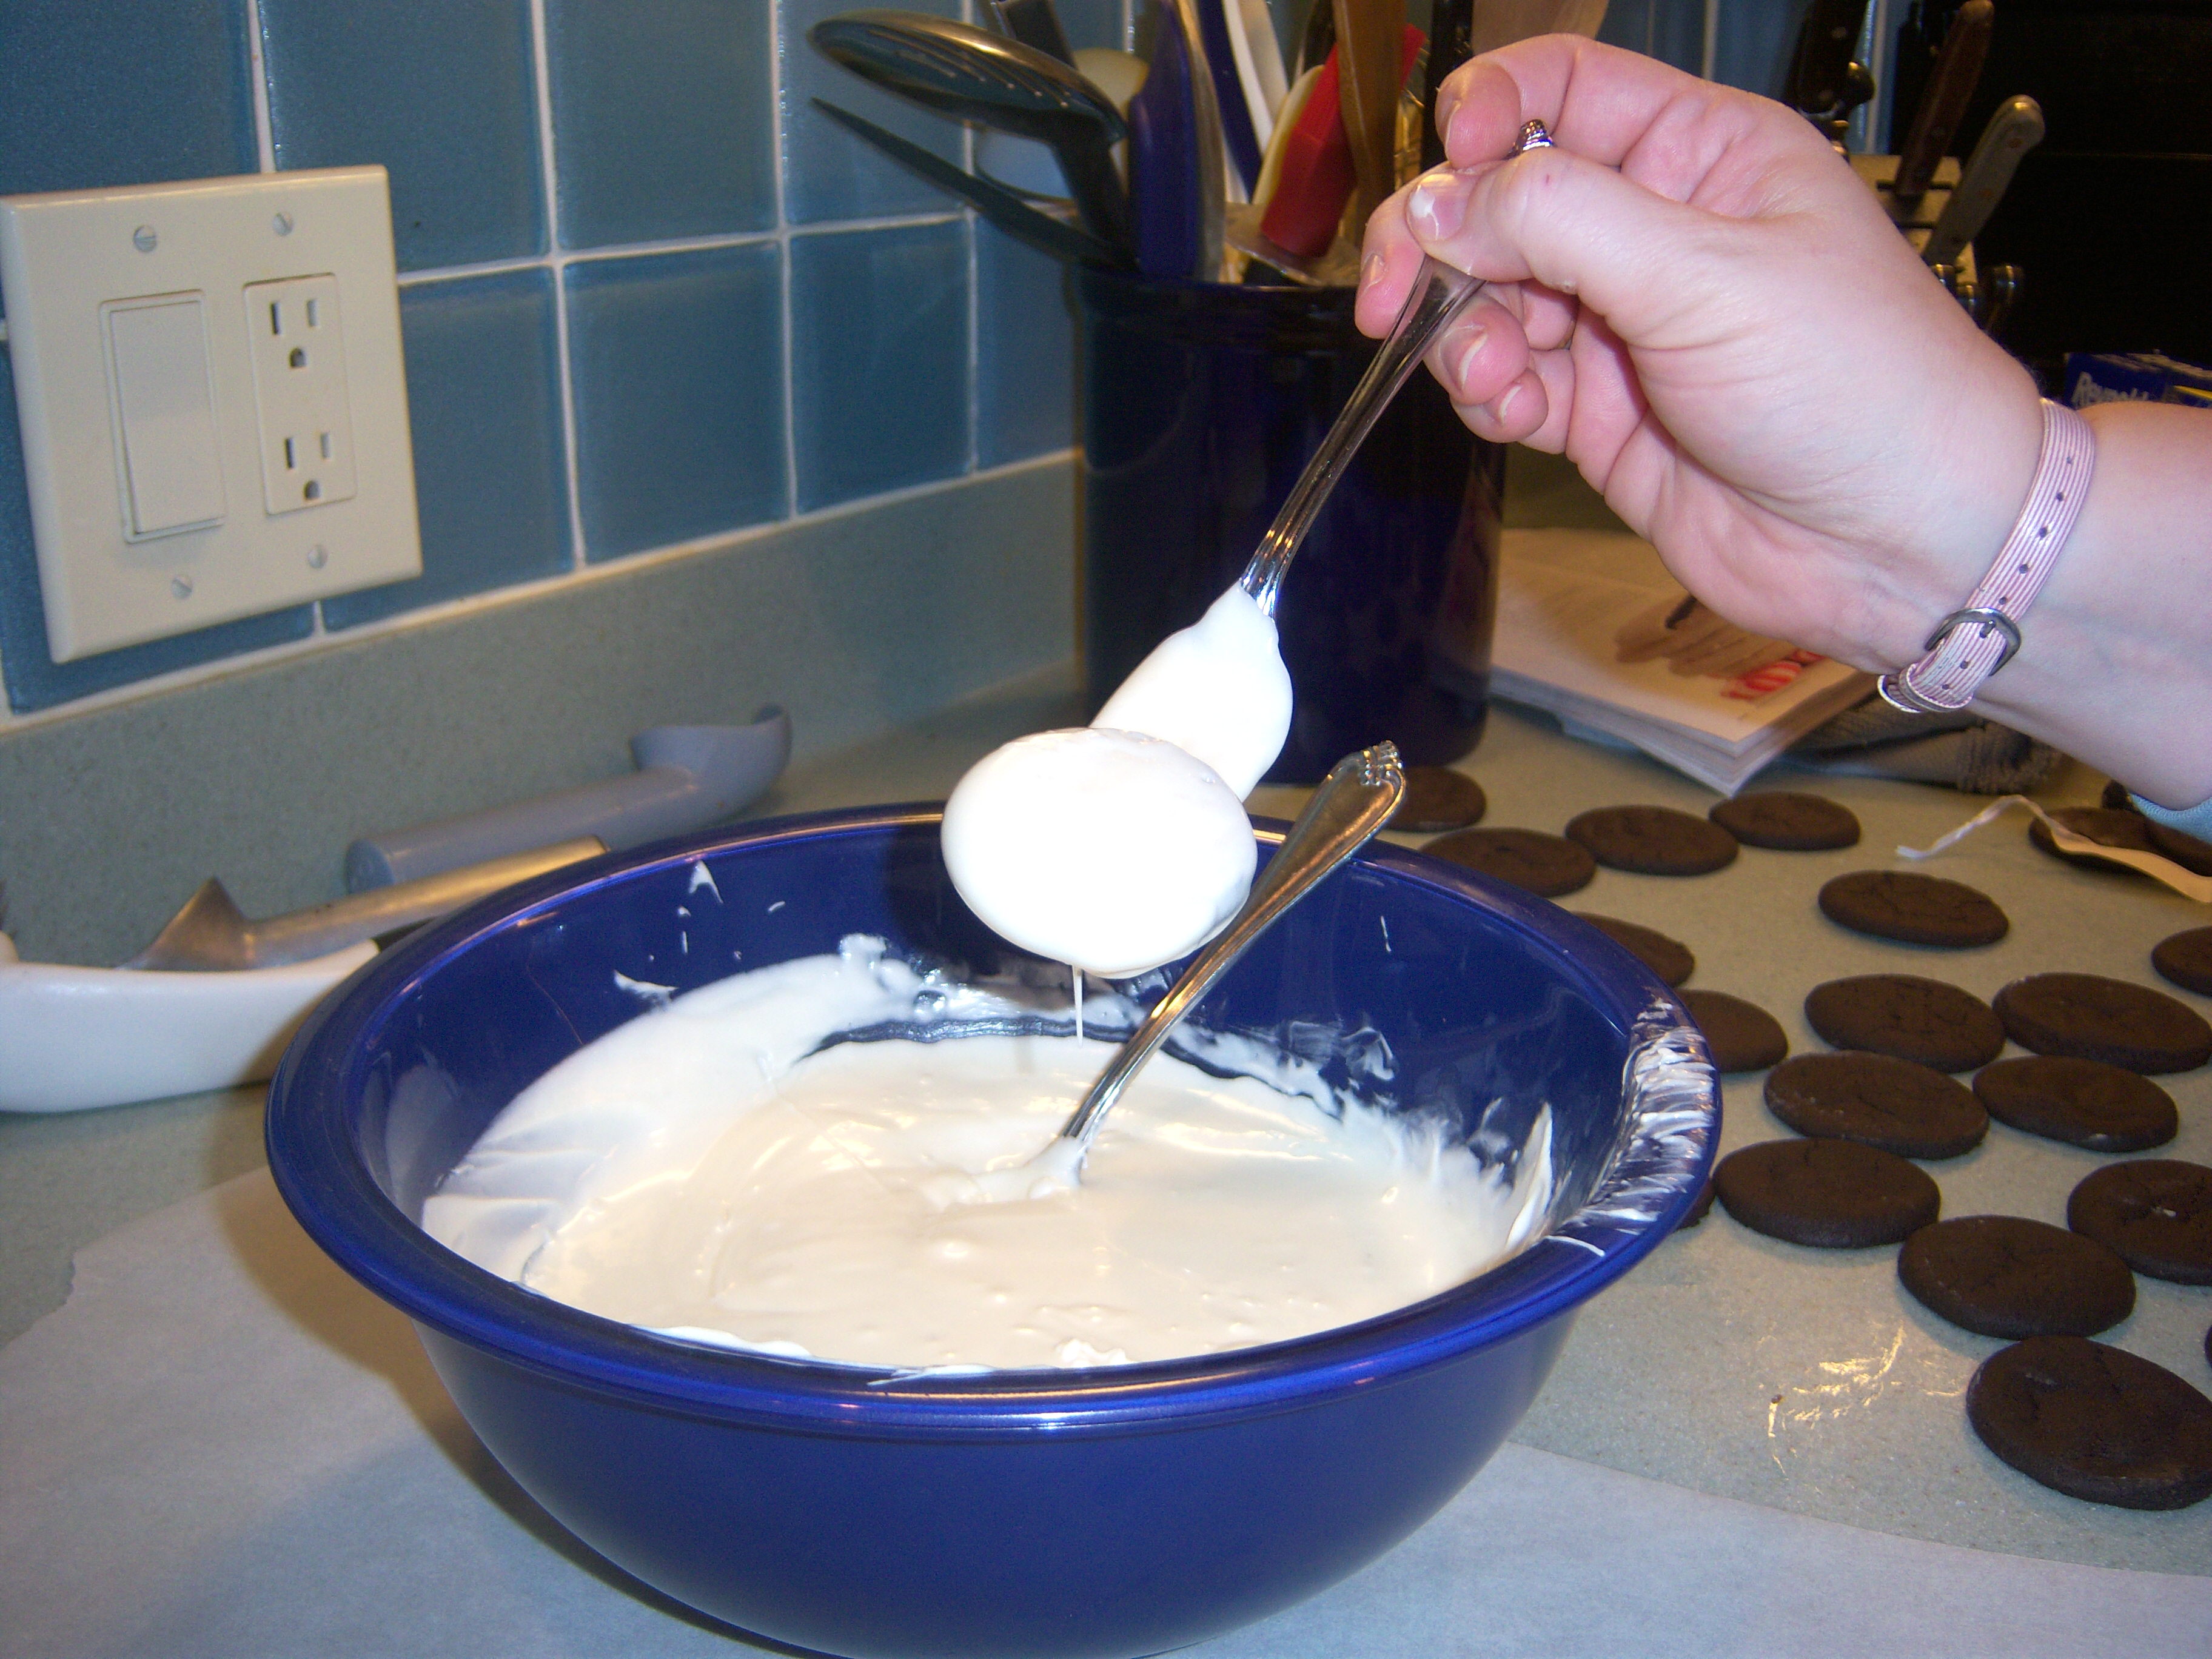
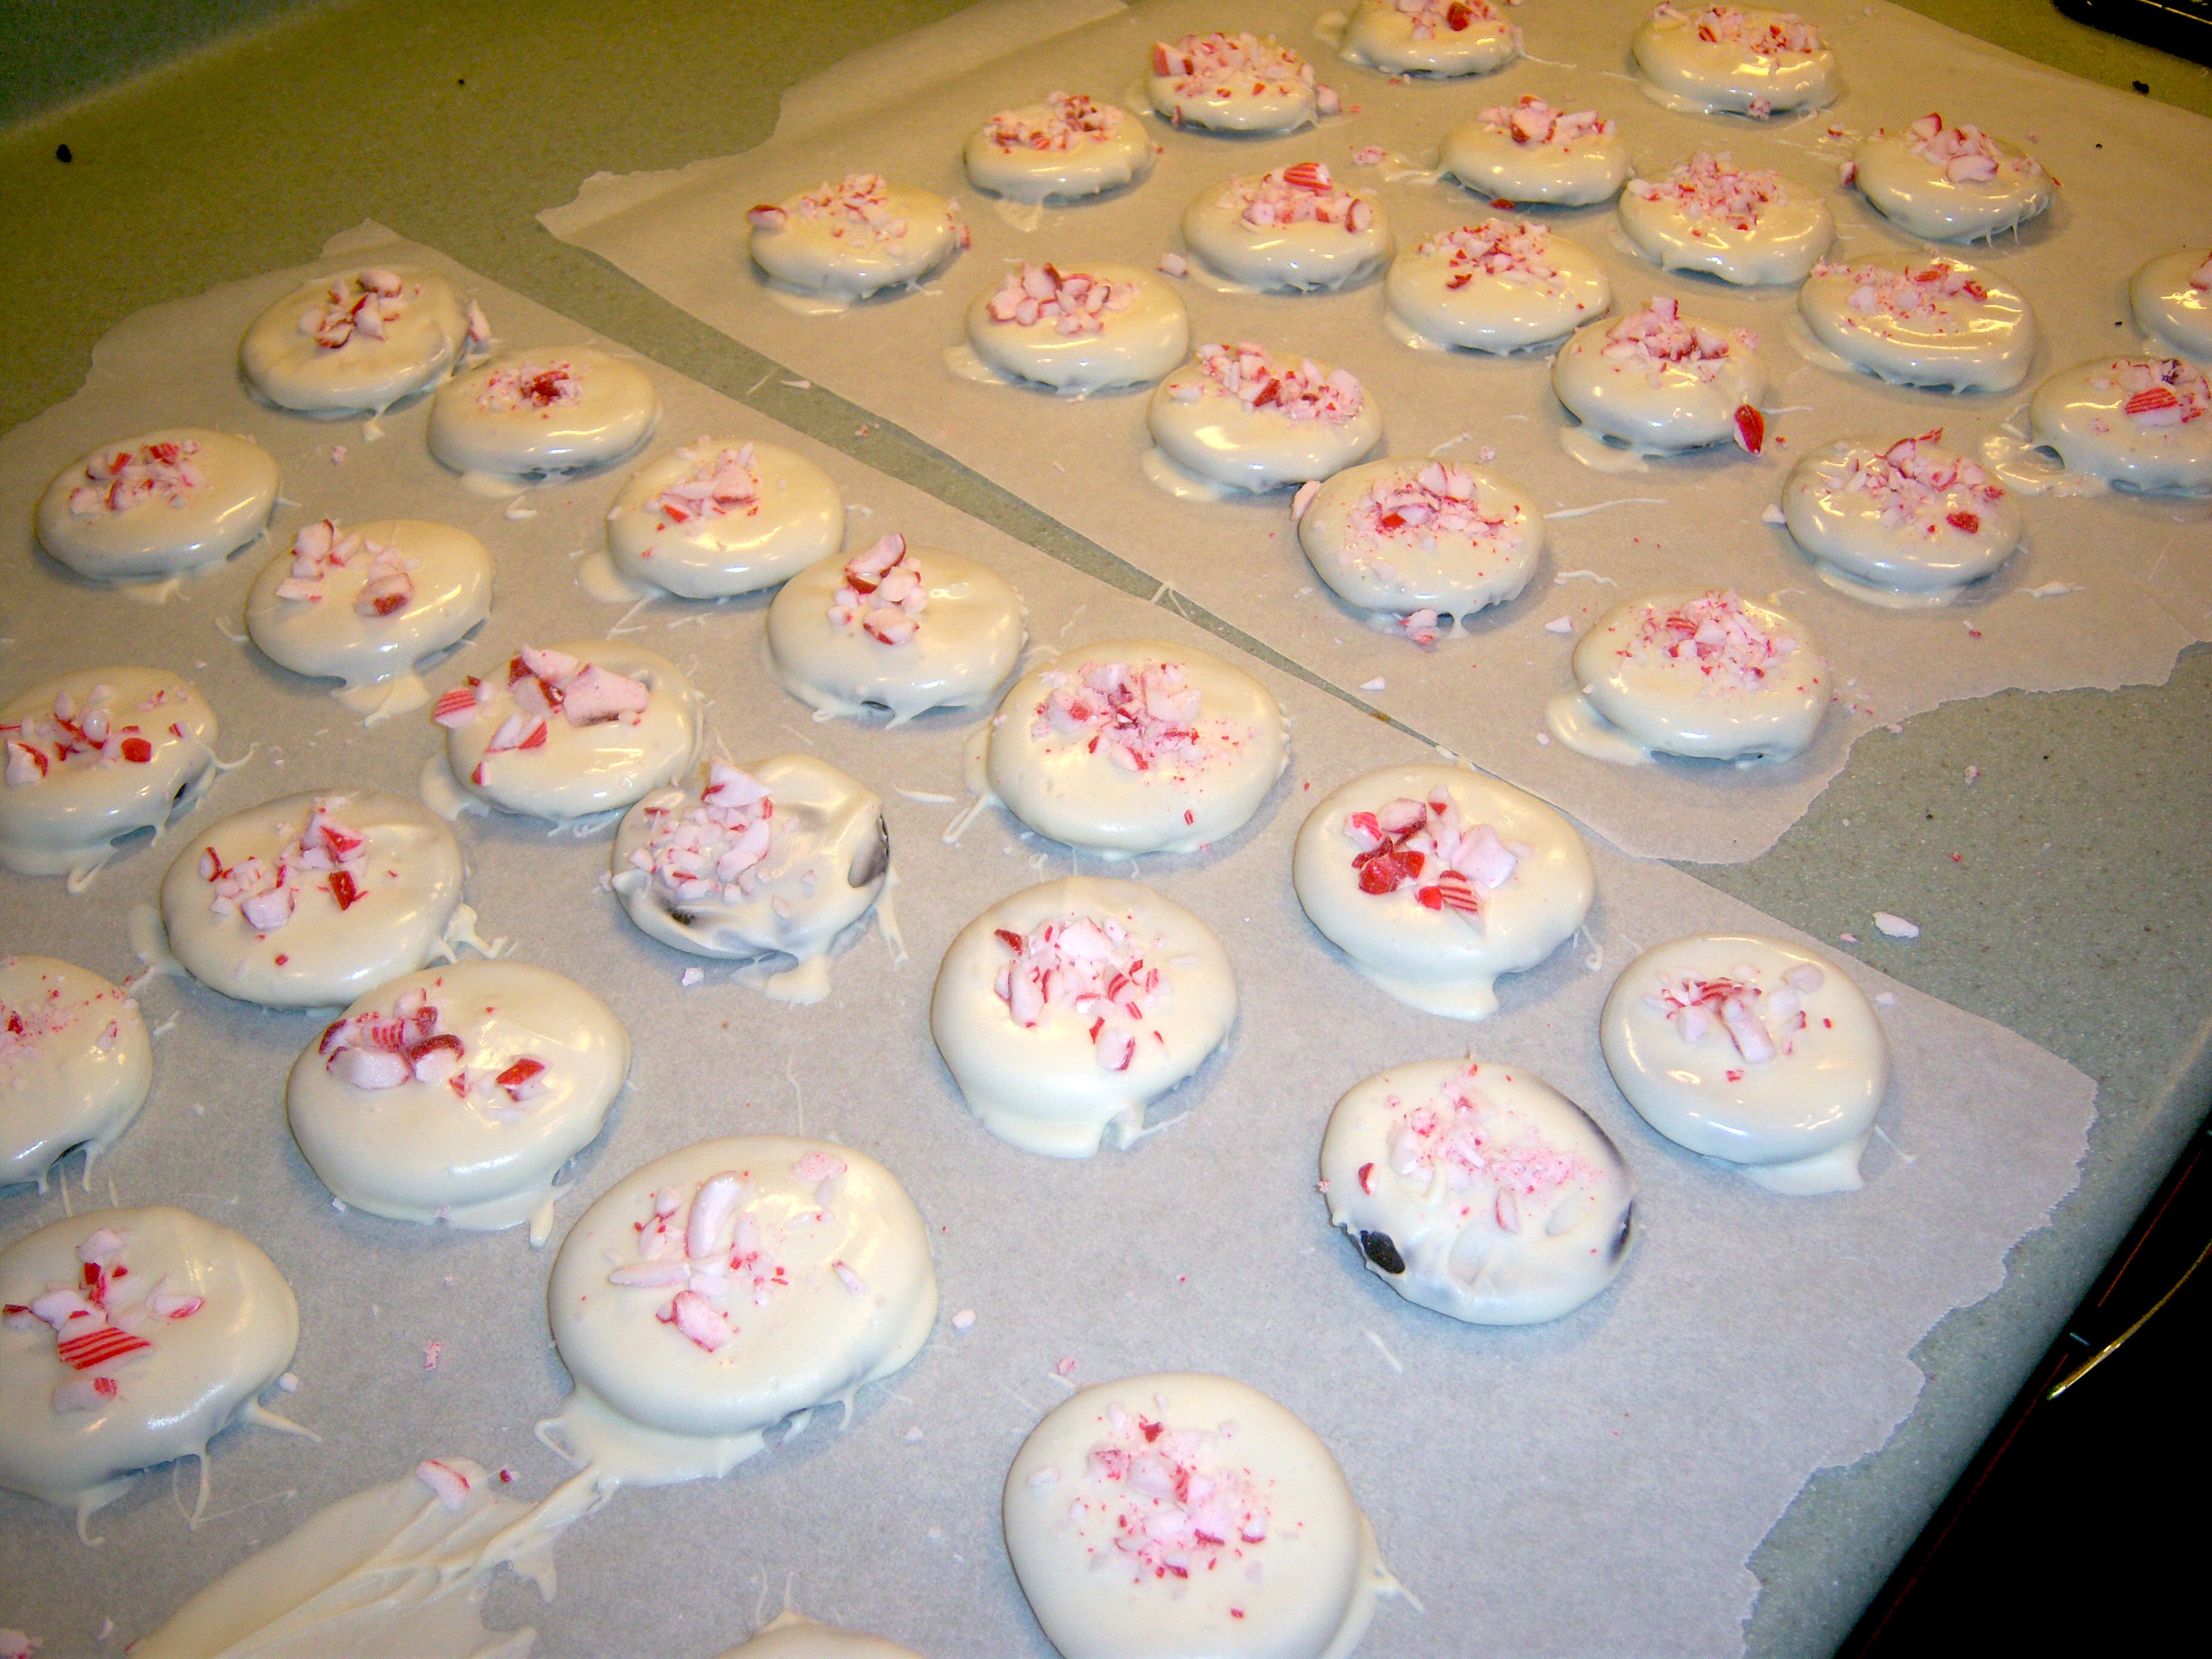
Dipping the cookies in was a little messy. It’s hard to drain the chocolate off them before setting them back down. Half the time I dropped them back in the chocolate by mistake. I had plenty of chocolate though. Mini-Martha sprinkled on the crushed peppermint (which he also had the job of crushing – the perfect task for a 10 yr old boy). I let them dry and they look terrific.

Now, as to who will eat them. We have conflicts! Mini-Martha and I don’t like

Dipping

Dipping

white chocolate, so we ate some plain cookies. They were really good, very similar to Girl Scout Thin Mints (I might try this again and dip them in dark chocolate to make them just like those). Mr. MarthaAndMe loves white chocolate, but regular chocolate makes him break out. He did sample one and gave it a total thumbs up. That leaves only the teen daughter who with the perpetual diet will likely not eat many. Looks like another batch to give away.

The Finished Product

The Finished Product

I recommend this cookie though – very pretty, not to complicated, tasty and also very Christmassy. A good thing.

This month’s cookie from Living is a Chocolate Peppermint cookie. These looked gorgeous in the mag – covered in white chocolate and sprinkled with crumbled peppermint candy. I got started making these and realized I didn’t see I needed peppermint extract, so off to the store went Mr. MarthaAndMe (good thing I could bribe him … Read more

On the day after Thanksgiving, Martha made a Turkey Cobb Sandwich on her show. The recipe is also in the November Living on page 68 (although this did not jump out at me until I saw her make it on tv). I love a good Cobb salad (although I pick out the olives), so this sounded pretty good. I’m definitely tiring of turkey at this point, so this seemed like a good (and fast) way to disguise some for a weeknight meal.

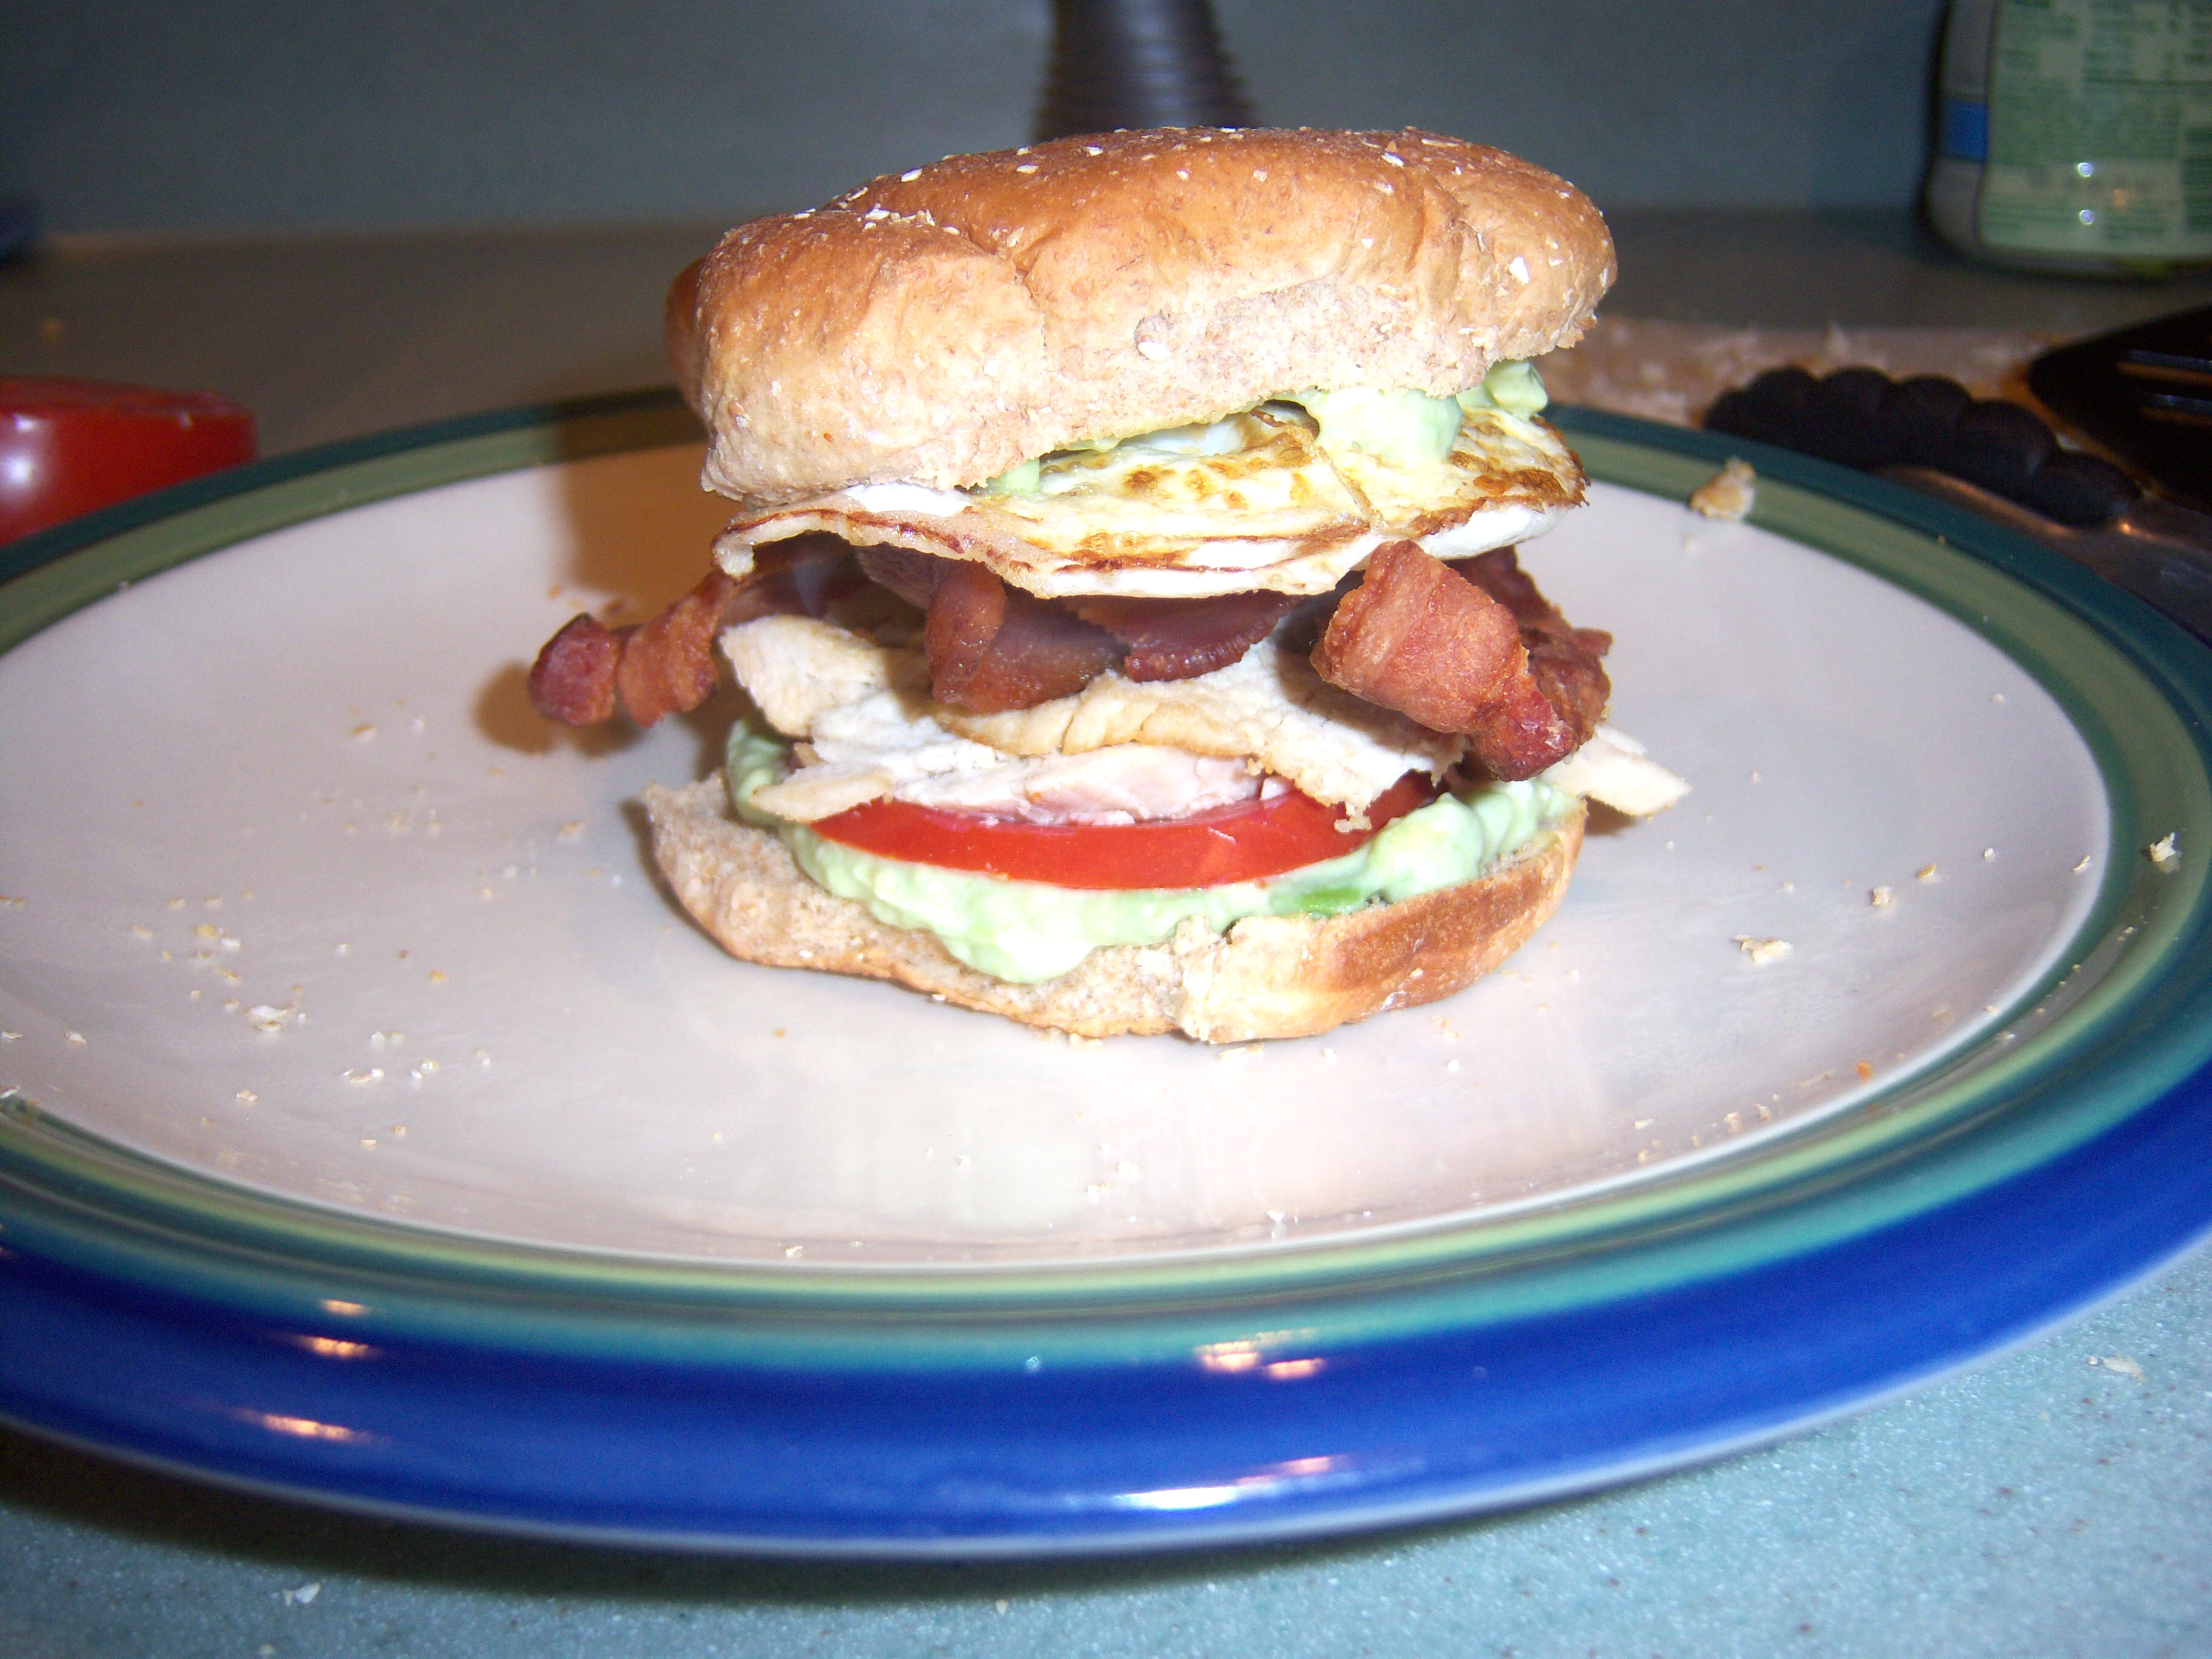
First, I cooked the bacon. While that was cooking I smushed up avocado with bleu cheese and sliced tomato and turkey. I quickly heated up turkey and then cooked the egg over easy. While all that was happening, I toasted the bun. I put it all together and it was quite a sandwich! I was afraid it was going to slip and slide all over the place and fall apart, but it didn’t. I’ve got one trick to share that I think helped. When I put tomato slices on sandwiches, I pick out the gooey seed part then I set the slices on a paper towel for a few minutes. It really helps dry them off so they don’t slide all over.

Turkey Cobb Sandwich

Turkey Cobb Sandwich

This was a great sandwich (although I don’t think I want to know how much fat and calories is in it!!). I would definitely make this one again. I served it with fresh fruit and it was a nice light (well, it felt light, ok, even if it did have egg, bacon and avocado in it!) fast meal. A good thing!

On the day after Thanksgiving, Martha made a Turkey Cobb Sandwich on her show. The recipe is also in the November Living on page 68 (although this did not jump out at me until I saw her make it on tv). I love a good Cobb salad (although I pick out the olives), so this … Read more

No-Knit Scarf

Posted by Brette in Crafts

Welcome to December! If there ever was a month that screamed Martha Stewart, it’s December. I have lots of Martha projects planned for this month, so I thought I would dive right in with a craft!

I don’t know how to knit (although I can crochet a little) so I was intrigued with the no-knit scarf, page 73 of the Handmade Holidays special issue. You make the scarf with bulky yarn and tie knots instead of knitting. This, I thought, I could actually do.

My first task was the yarn. I ended up with yarn that may not be as bulky as it is supposed to be, but I liked the color and texture. I got the yarn for about $2.60 at Joann’s, using a 40% off coupon, so that was a deal.

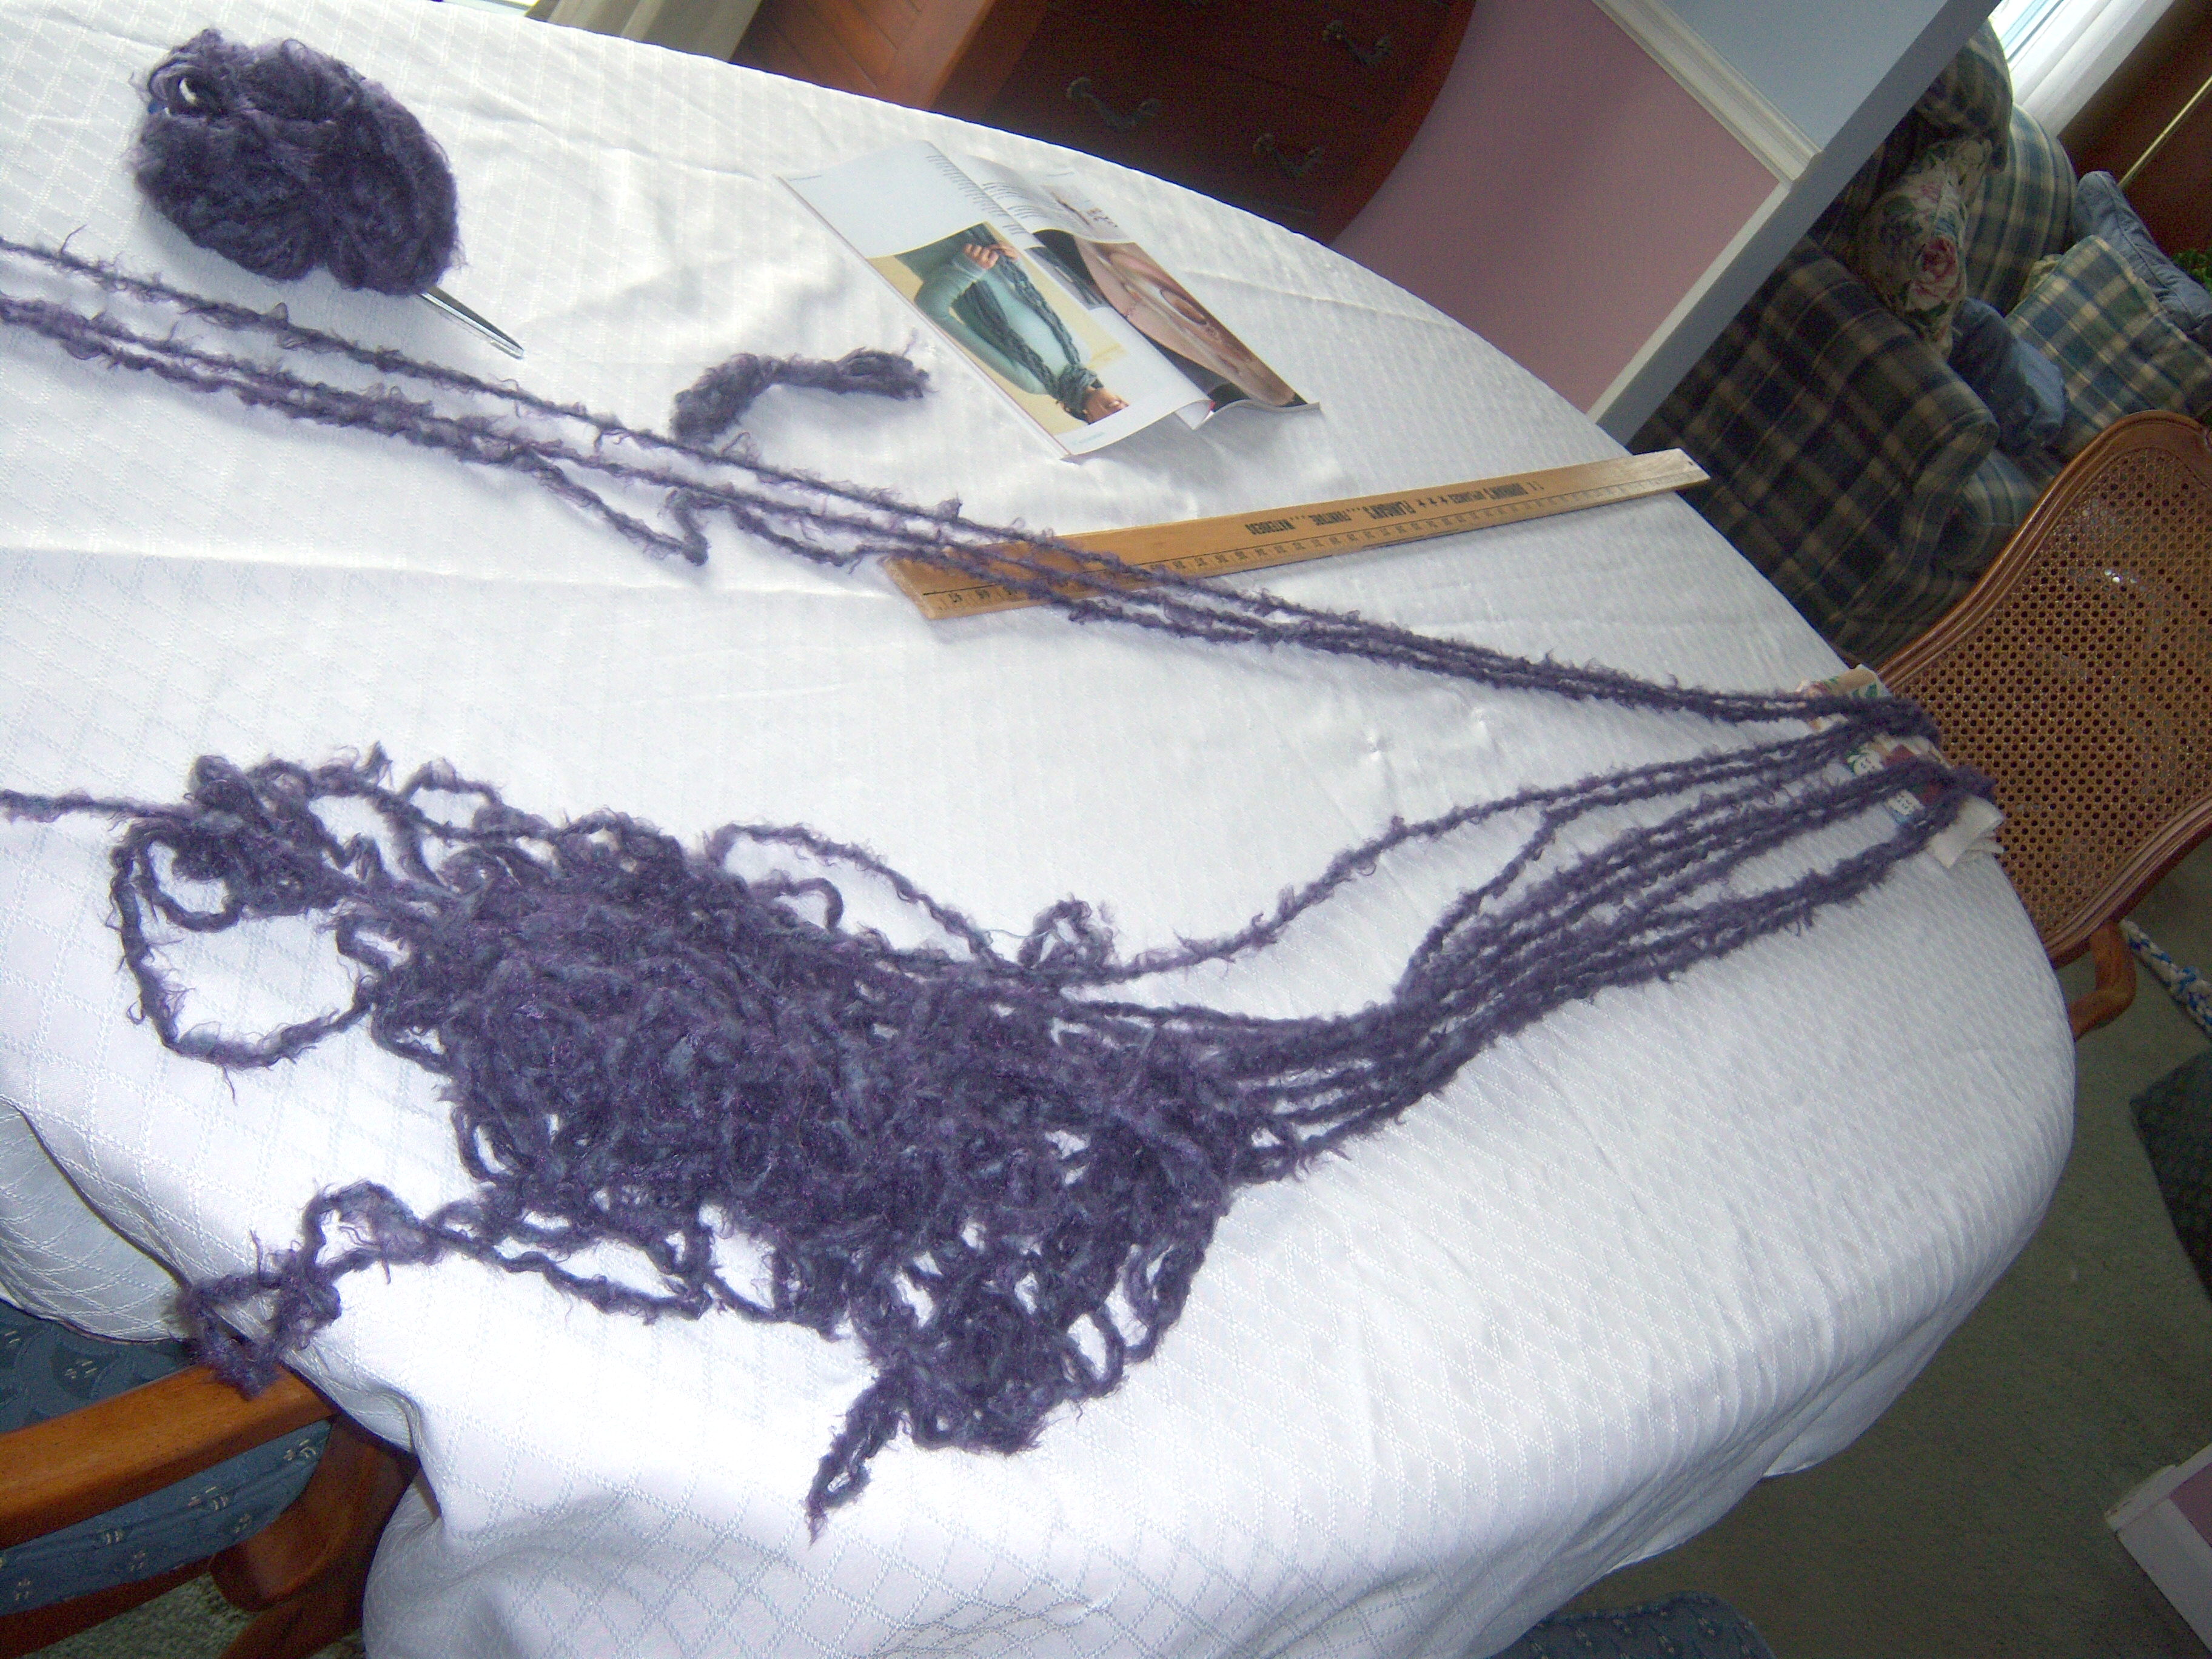
First, you cut 12 lengths of yarn that are about 140 inches long. I made my a little longer in case of mistake. Then you divide the yarn into 4 groups with three strands in each. I recommend setting yourself up at a dining room table for this since they are very long.

I had to look up how to tie a square knot, since I had no idea what that meant. Basically it’s just a double knot.

If you want to use yarn that is not giant and bulky, then I would say to add more strands to each of your four groups. If I did this again with the yarn I used I would have doubled it I think.

Getting set up

Getting set up

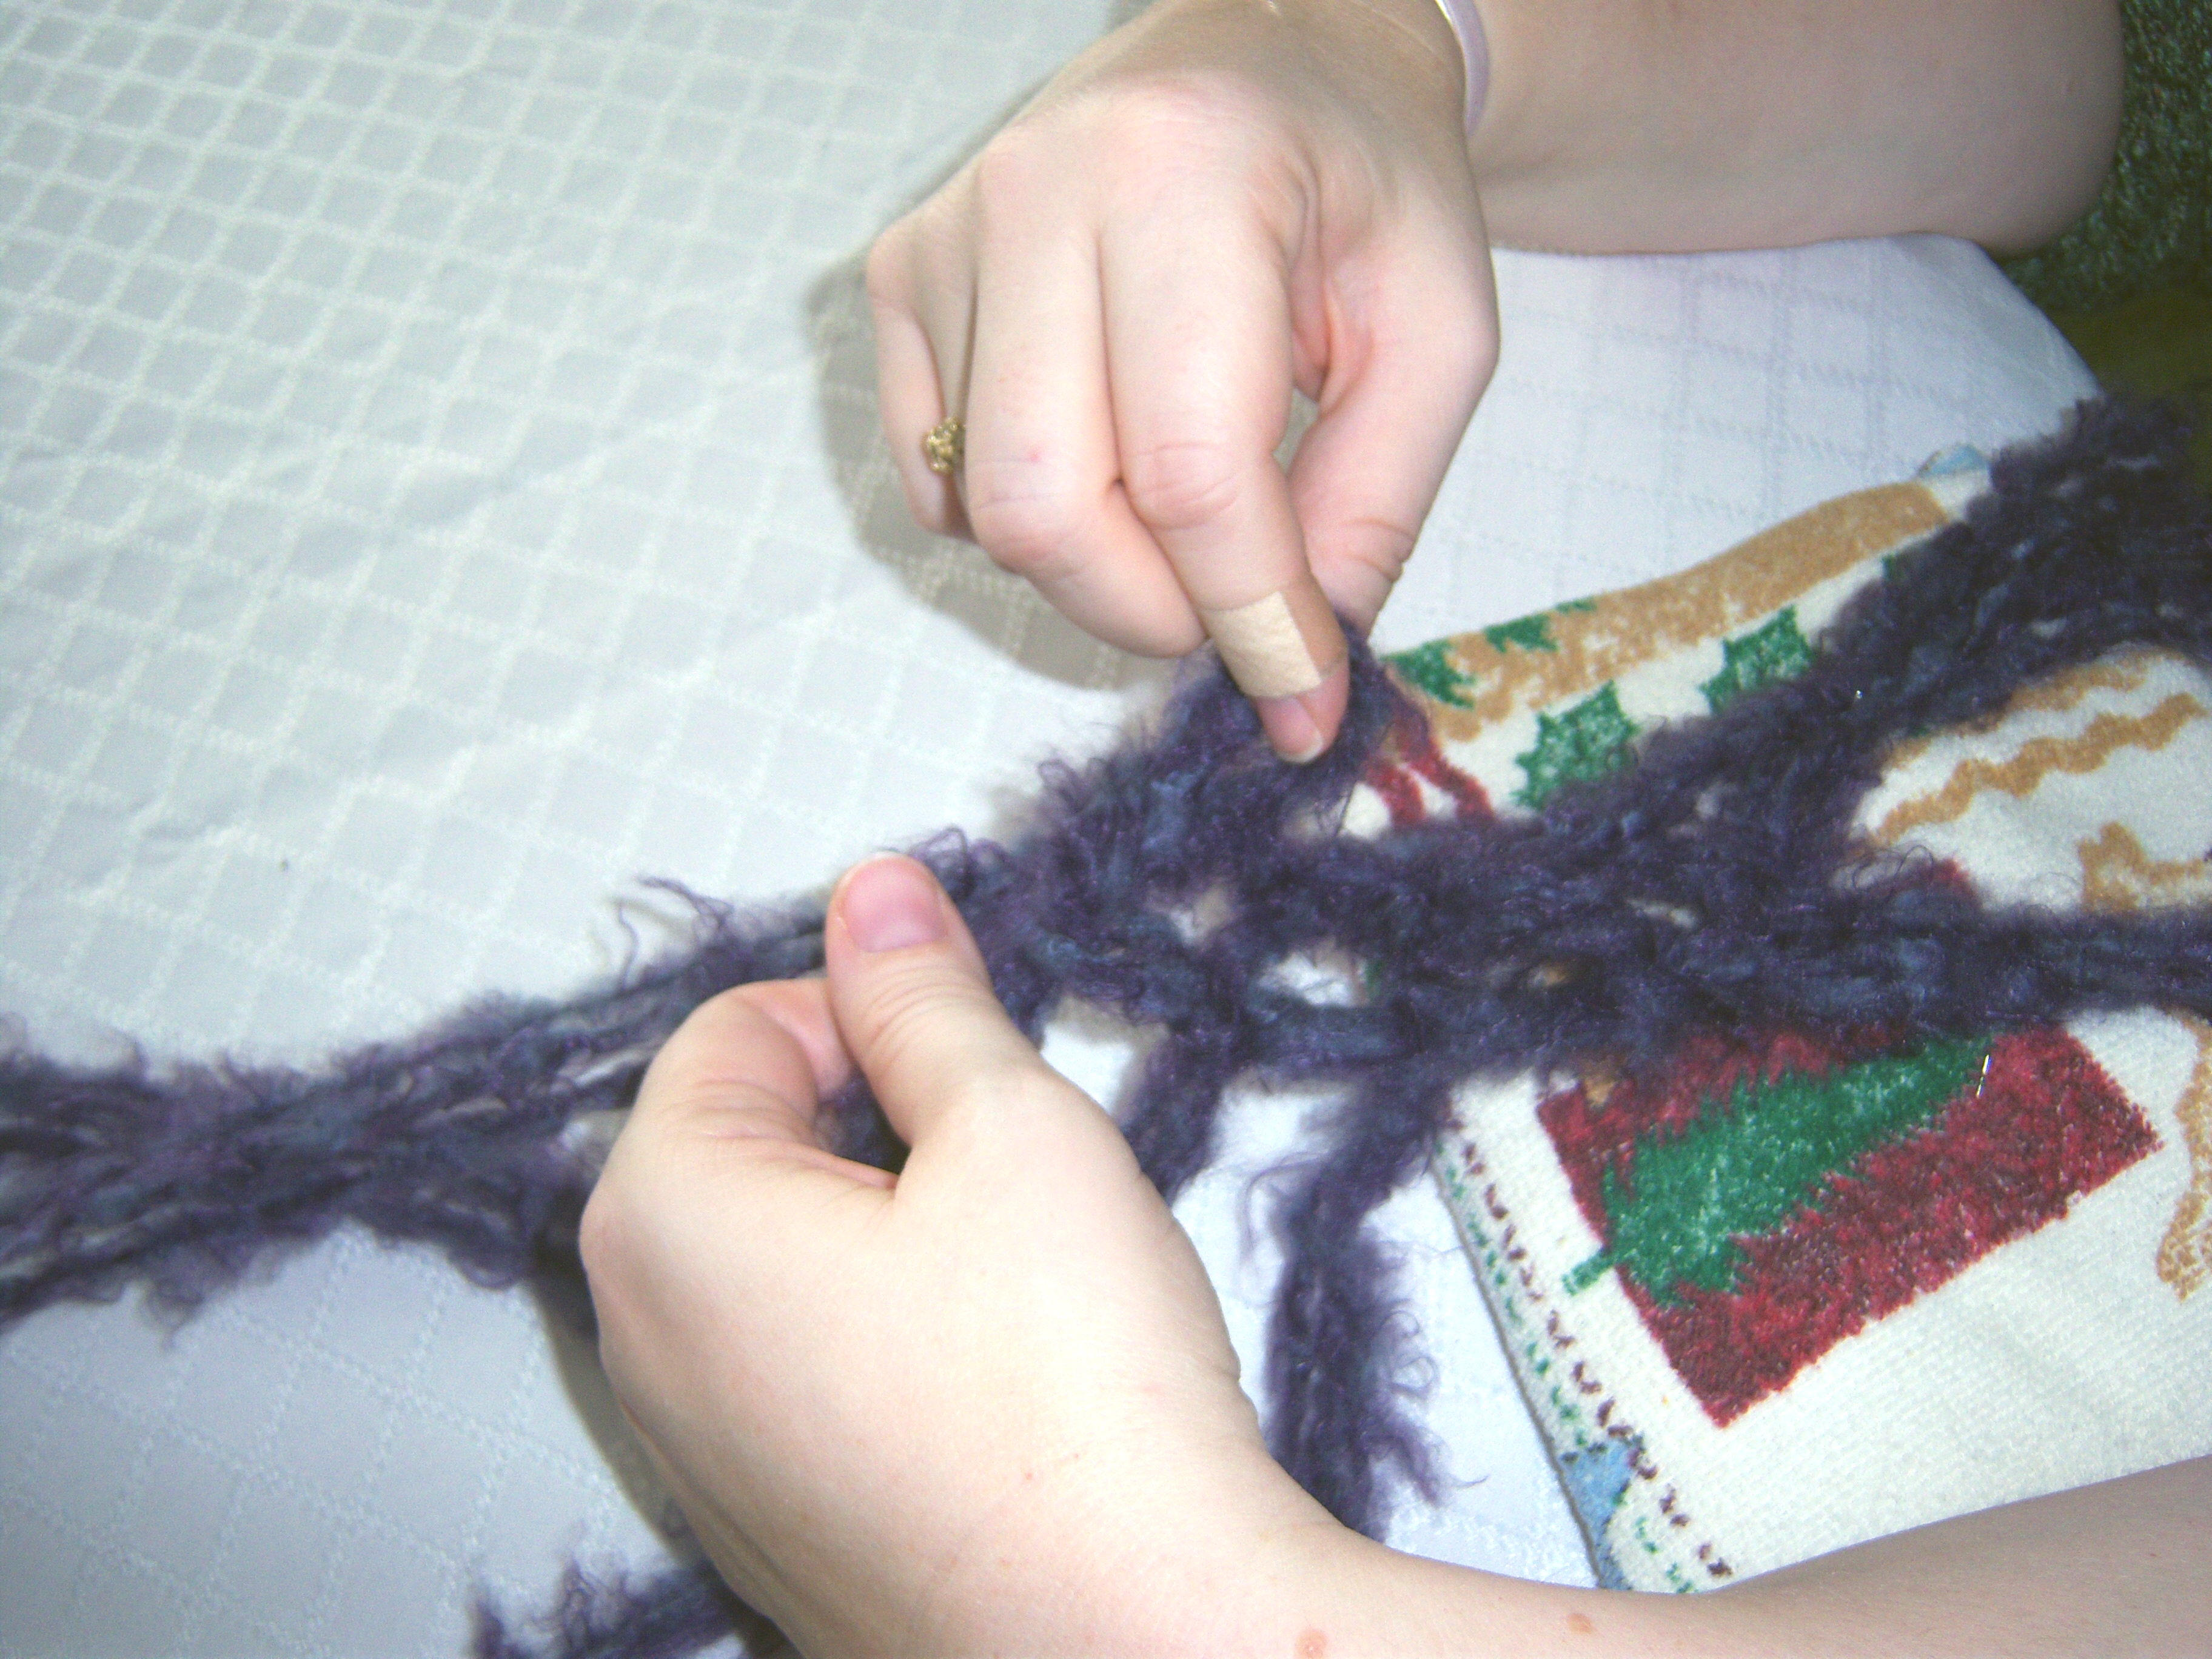
Once you’ve got it all ready to go, you tie two bunches together then tie the other two bunches together. Imagine your yarn groups are labelled ABCD. Tie A and B together and C and D togther. Then you tie the inside groups together – B and C. Then you start over and do the outside groups, then the inside, over and over.

Not difficult to do, but it takes a little concentration. It also really helps to

Tying

Tying

have someone else helping you pull the yarn through and straightening it out. The instructions say to pin the end to a piece of foam board. I didn’t have any foam board, but I tried to pin it to a towel. It kept coming off. Instead, I recommend putting something heavy, like a book on the end of it.

I did fine until I got close to the end. Here’s the problem. Because you’re tying the inside B and C strands to each and also to the outside A and D strands, the B and C strands get shorter faster, since you’re using them more. I ended up with those strands done and two feet left on the other ones. I think there must be a way to flip the strands over at some point while tying so that you distribute them more evenly. If I ever do this again, I will try that.

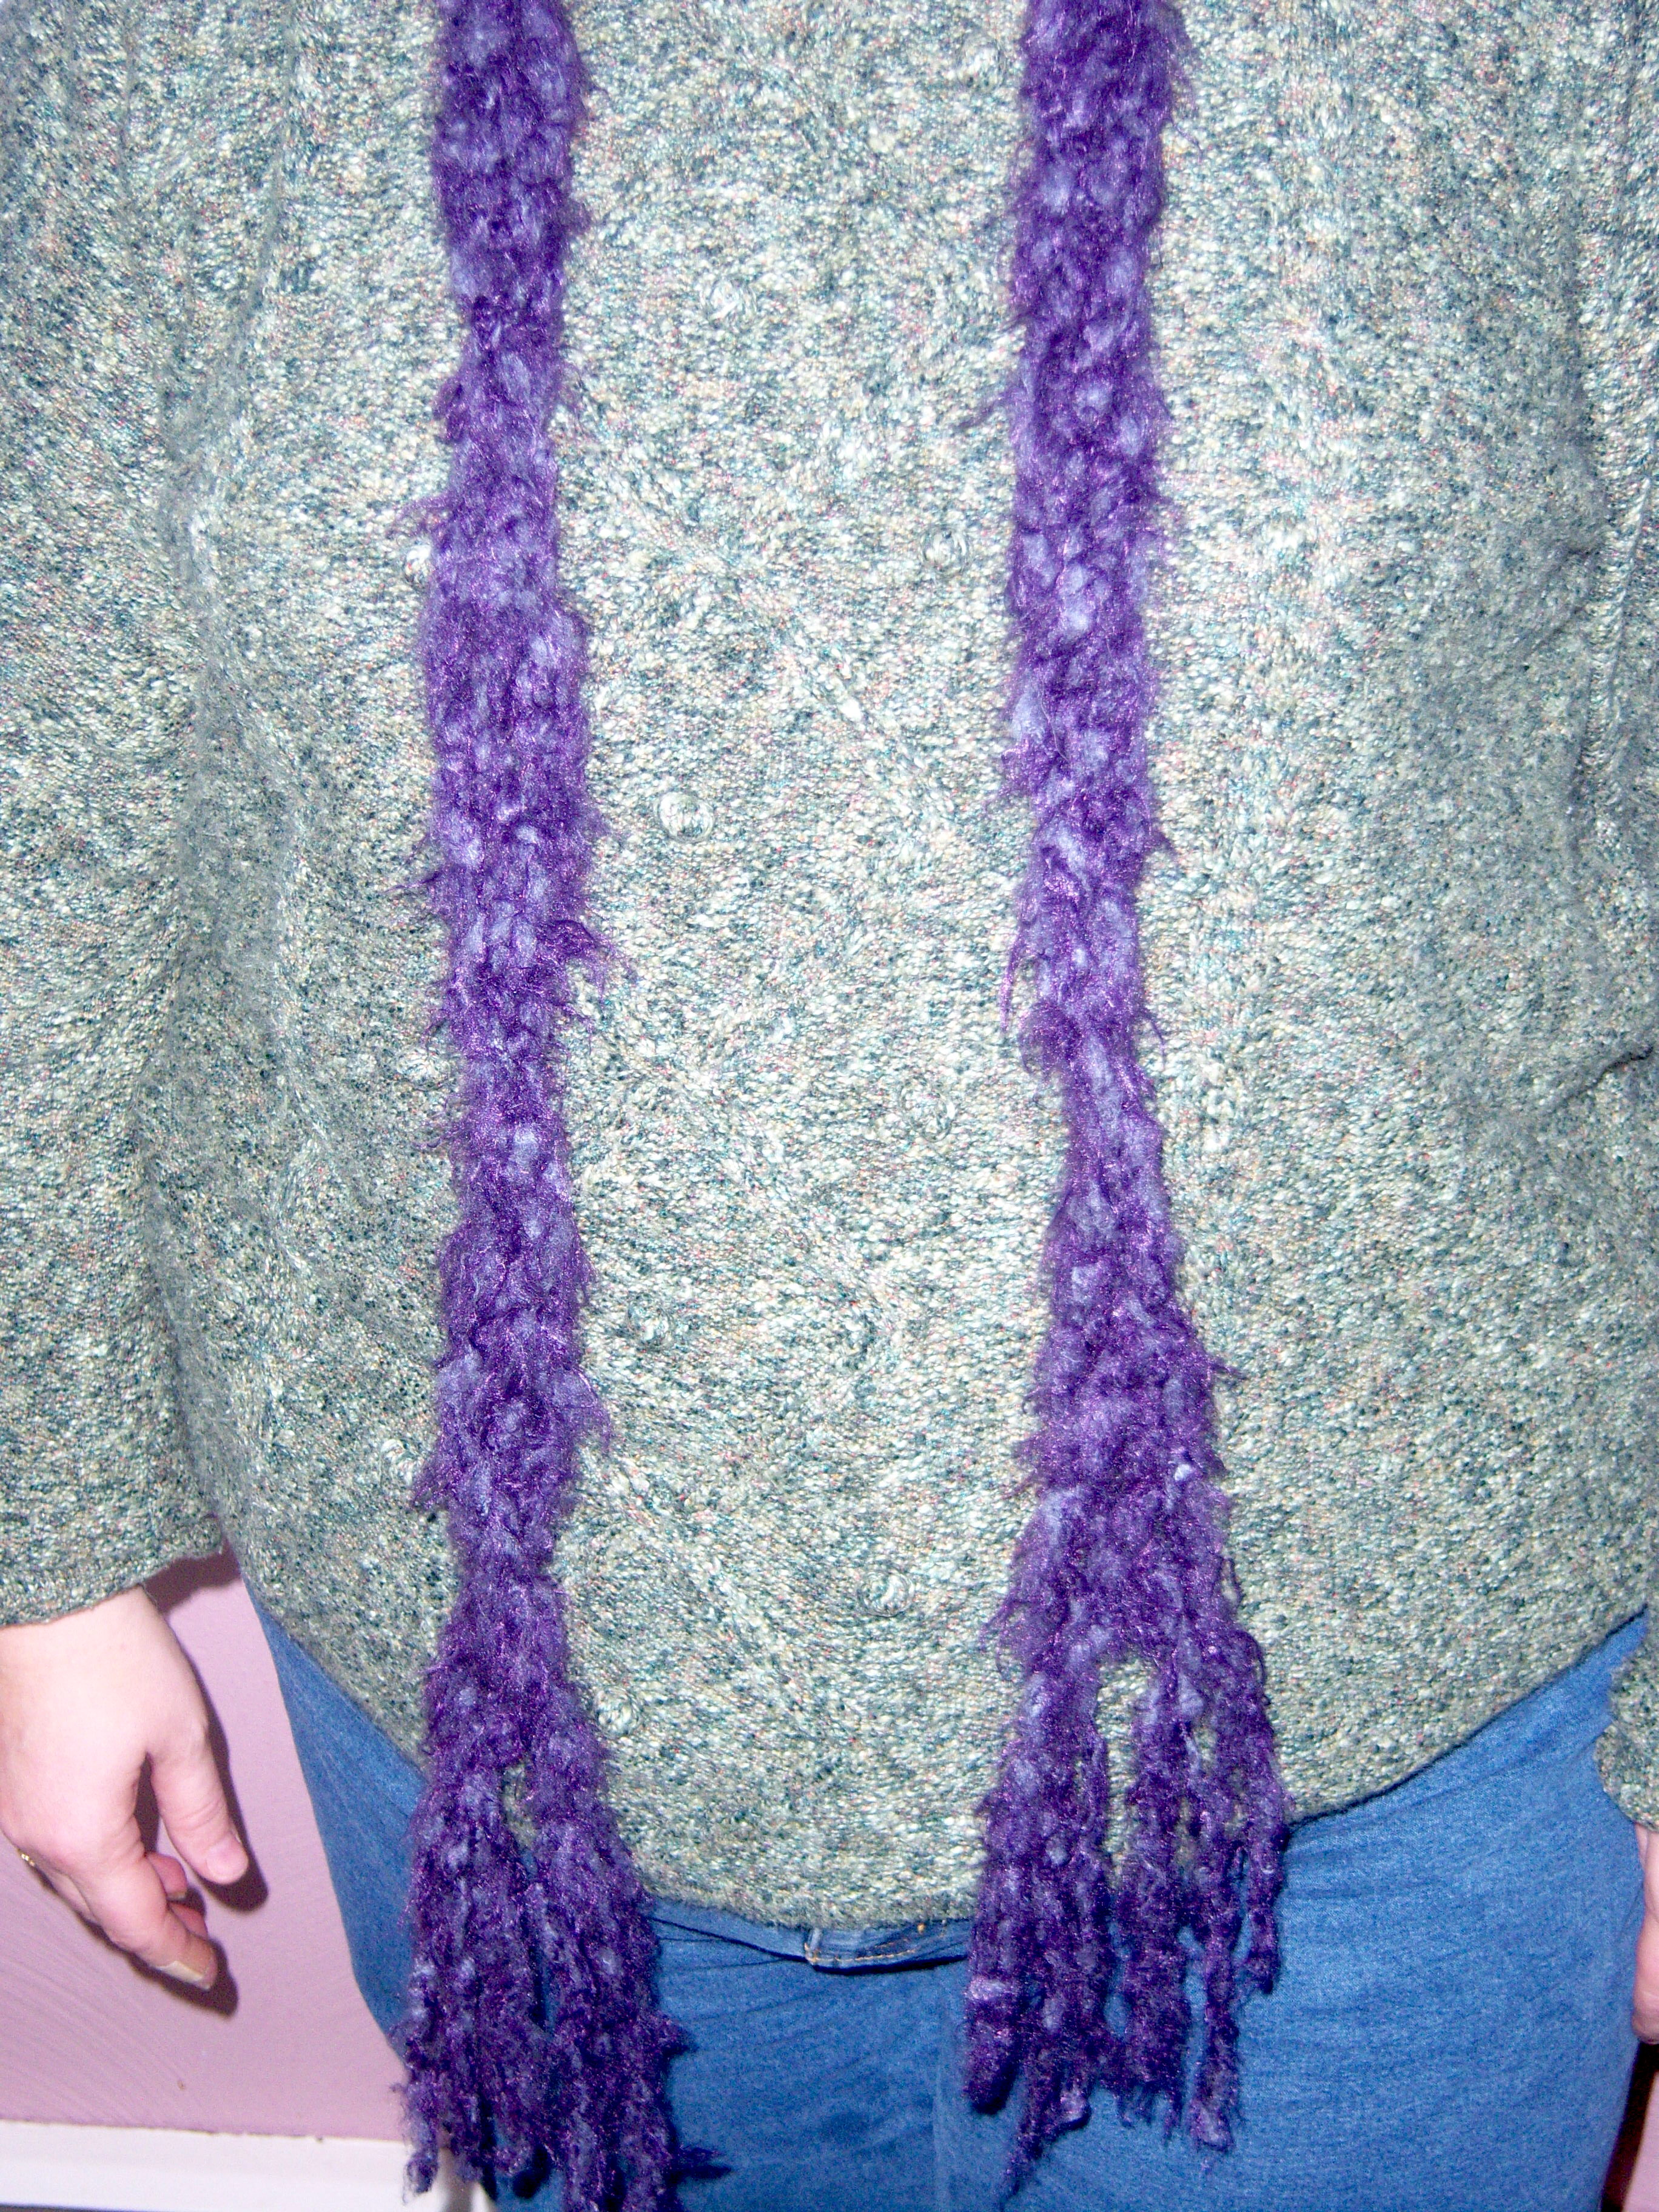
The finished product

The finished product

Because of this, my scarf is a lot shorter than I would have liked, so I’m pretty disappointed with it.

Welcome to December! If there ever was a month that screamed Martha Stewart, it’s December. I have lots of Martha projects planned for this month, so I thought I would dive right in with a craft! I don’t know how to knit (although I can crochet a little) so I was intrigued with the no-knit … Read more

Turkey Redux

Posted by Brette in Food

We have a lot of leftovers from our turkey. The day after Thanksgiving, we usually have turkey sandwiches for lunch. For dinner, I reheat the entire Thanksgiving meal. To reheat the turkey, I put some gravy in a pan and heat that, then add in some slices of turkey for just a few minutes until it is hot. That way the turkey doesn’t overcook and stays moist.

By the Saturday after Thanksgiving I am starting to tire of turkey. So I really appreciated the section in the November Living with all the great leftover idea. My first try was turkey croquettes (page 70).

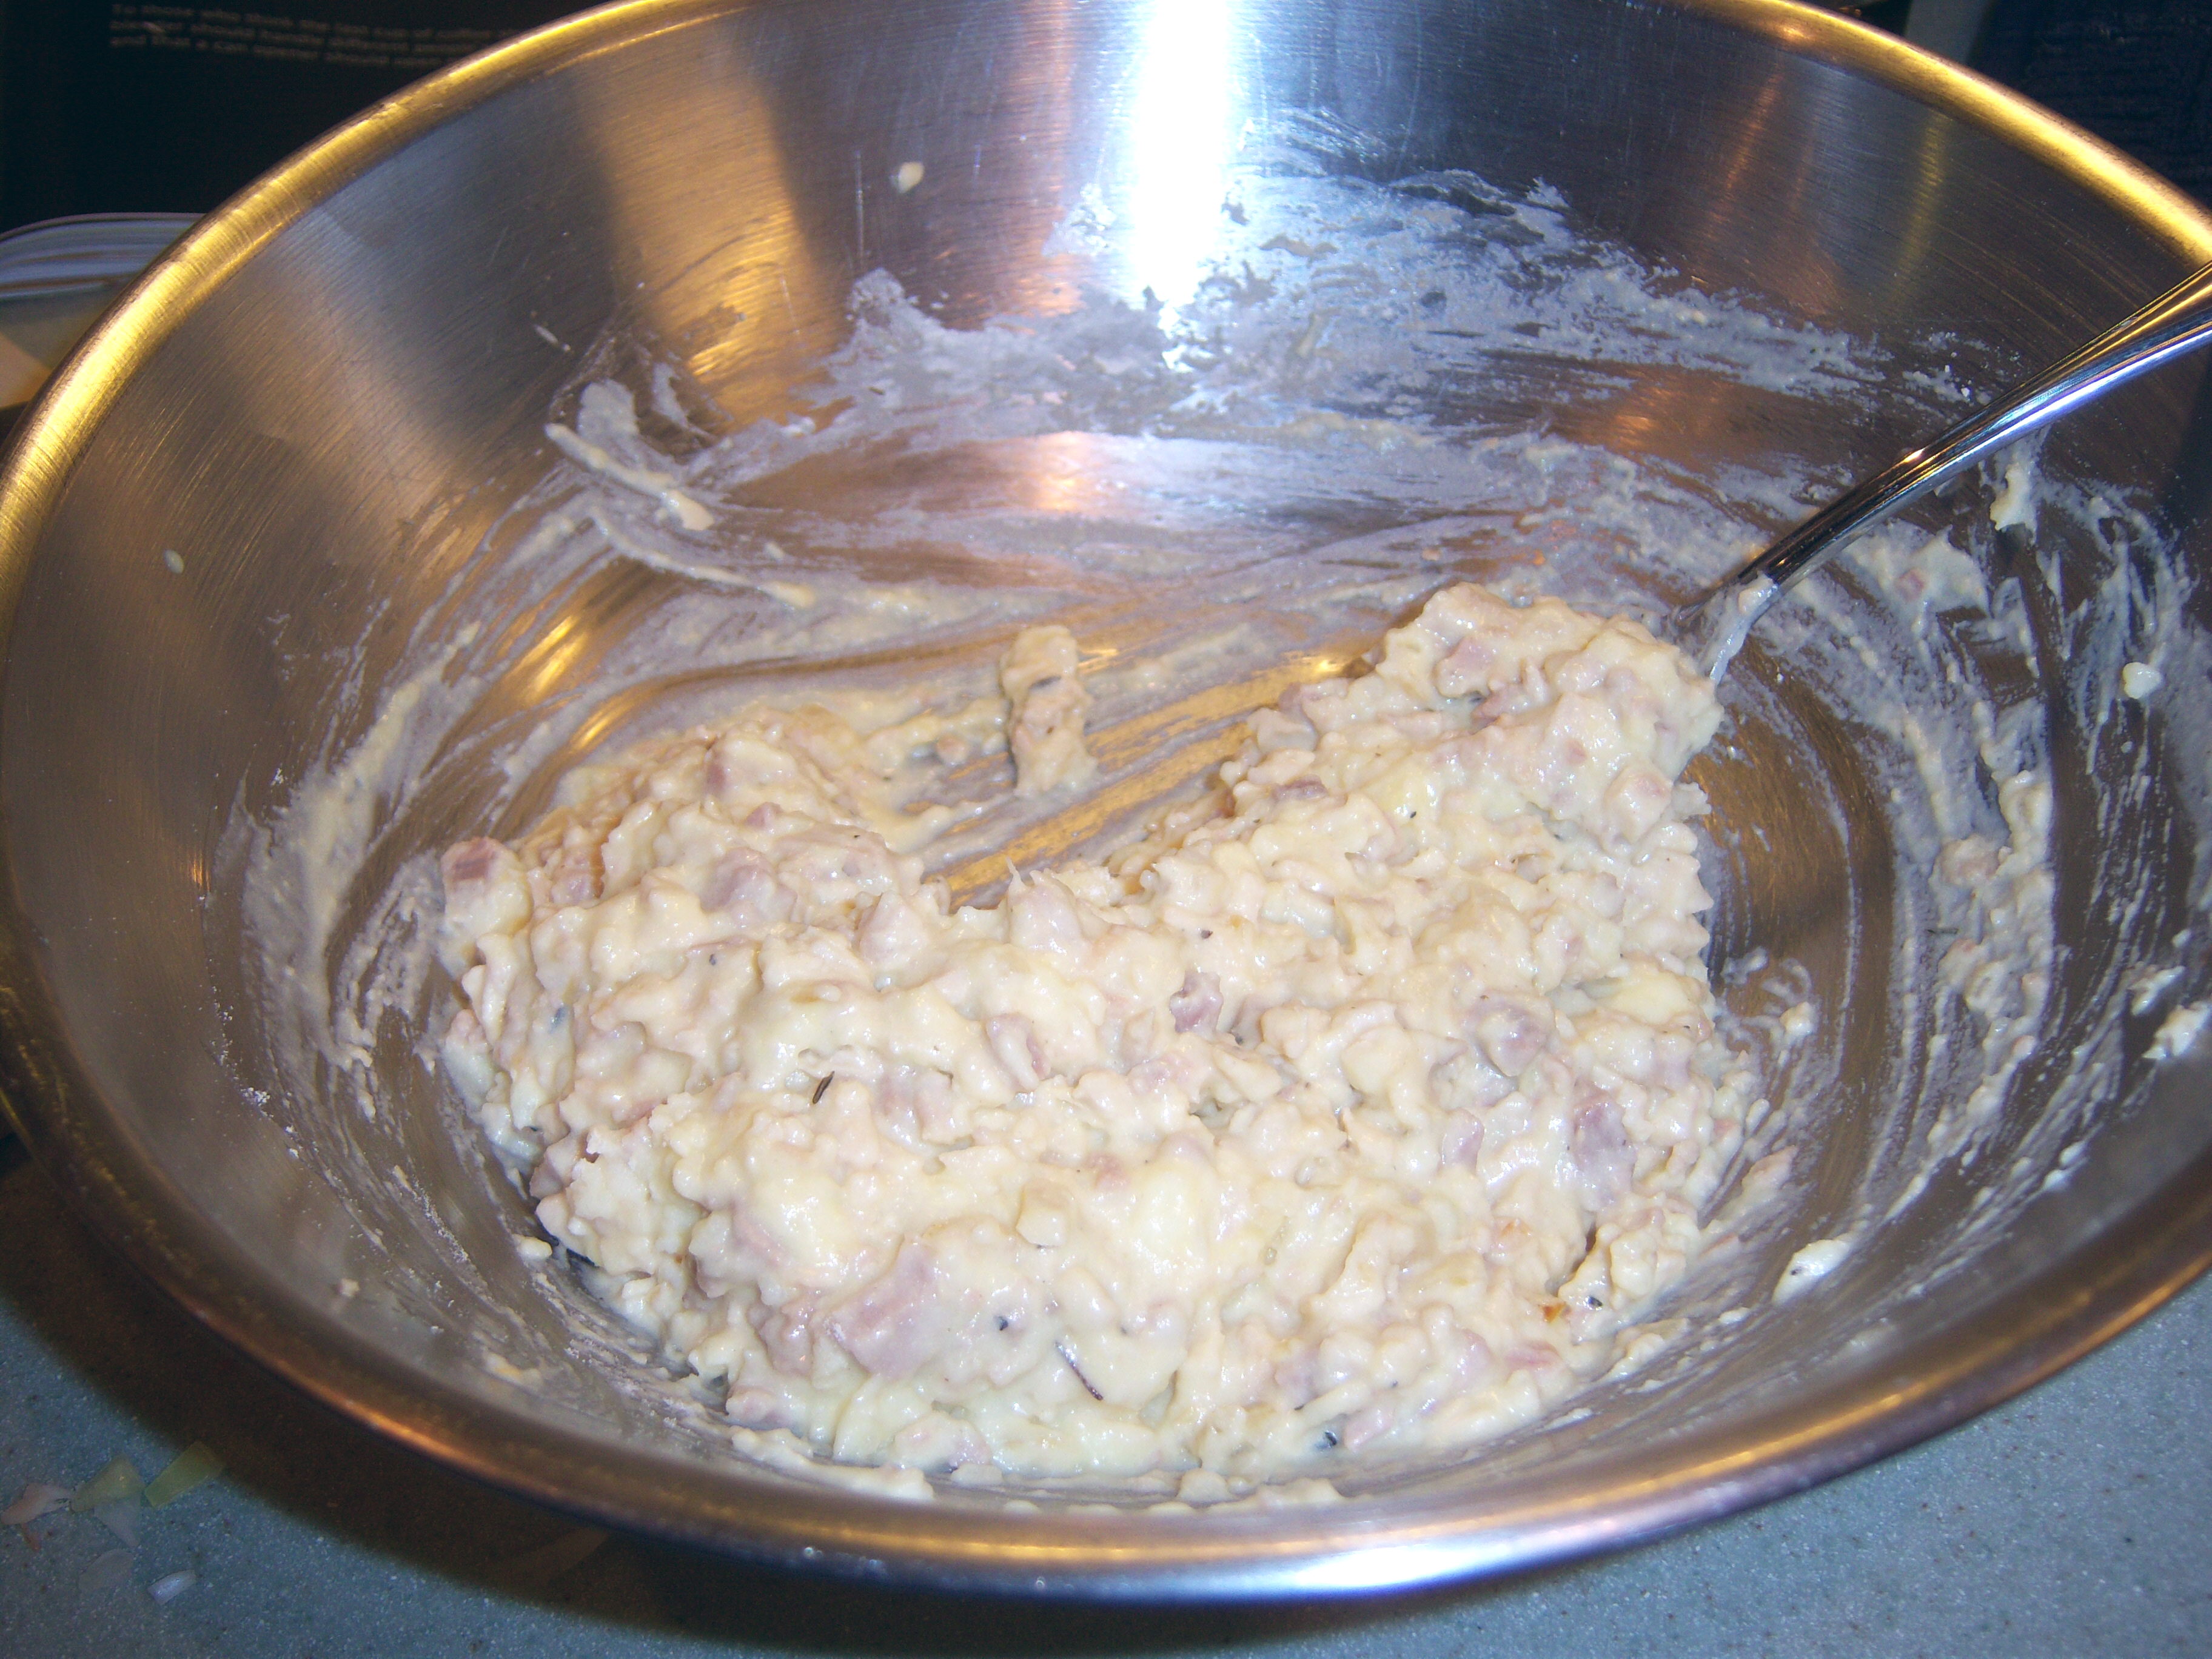
Croquette mixture

Croquette mixture

The recipe seemed pretty easy. You cook onion in a pan with oil then add thyme and sage. Next you add some chopped turkey and a little cream and cook until the cream is gone. You transfer it to a bowl and let it cool. Then add mashed potatoes, flour and egg. Mix it up and make little croquettes. Here’s where it got tricky. These croquettes were very, very mushy. Martha says to dip them in breadcrumbs, put them on a tray and freeze them for 15 min (a lot of Martha’s recipes

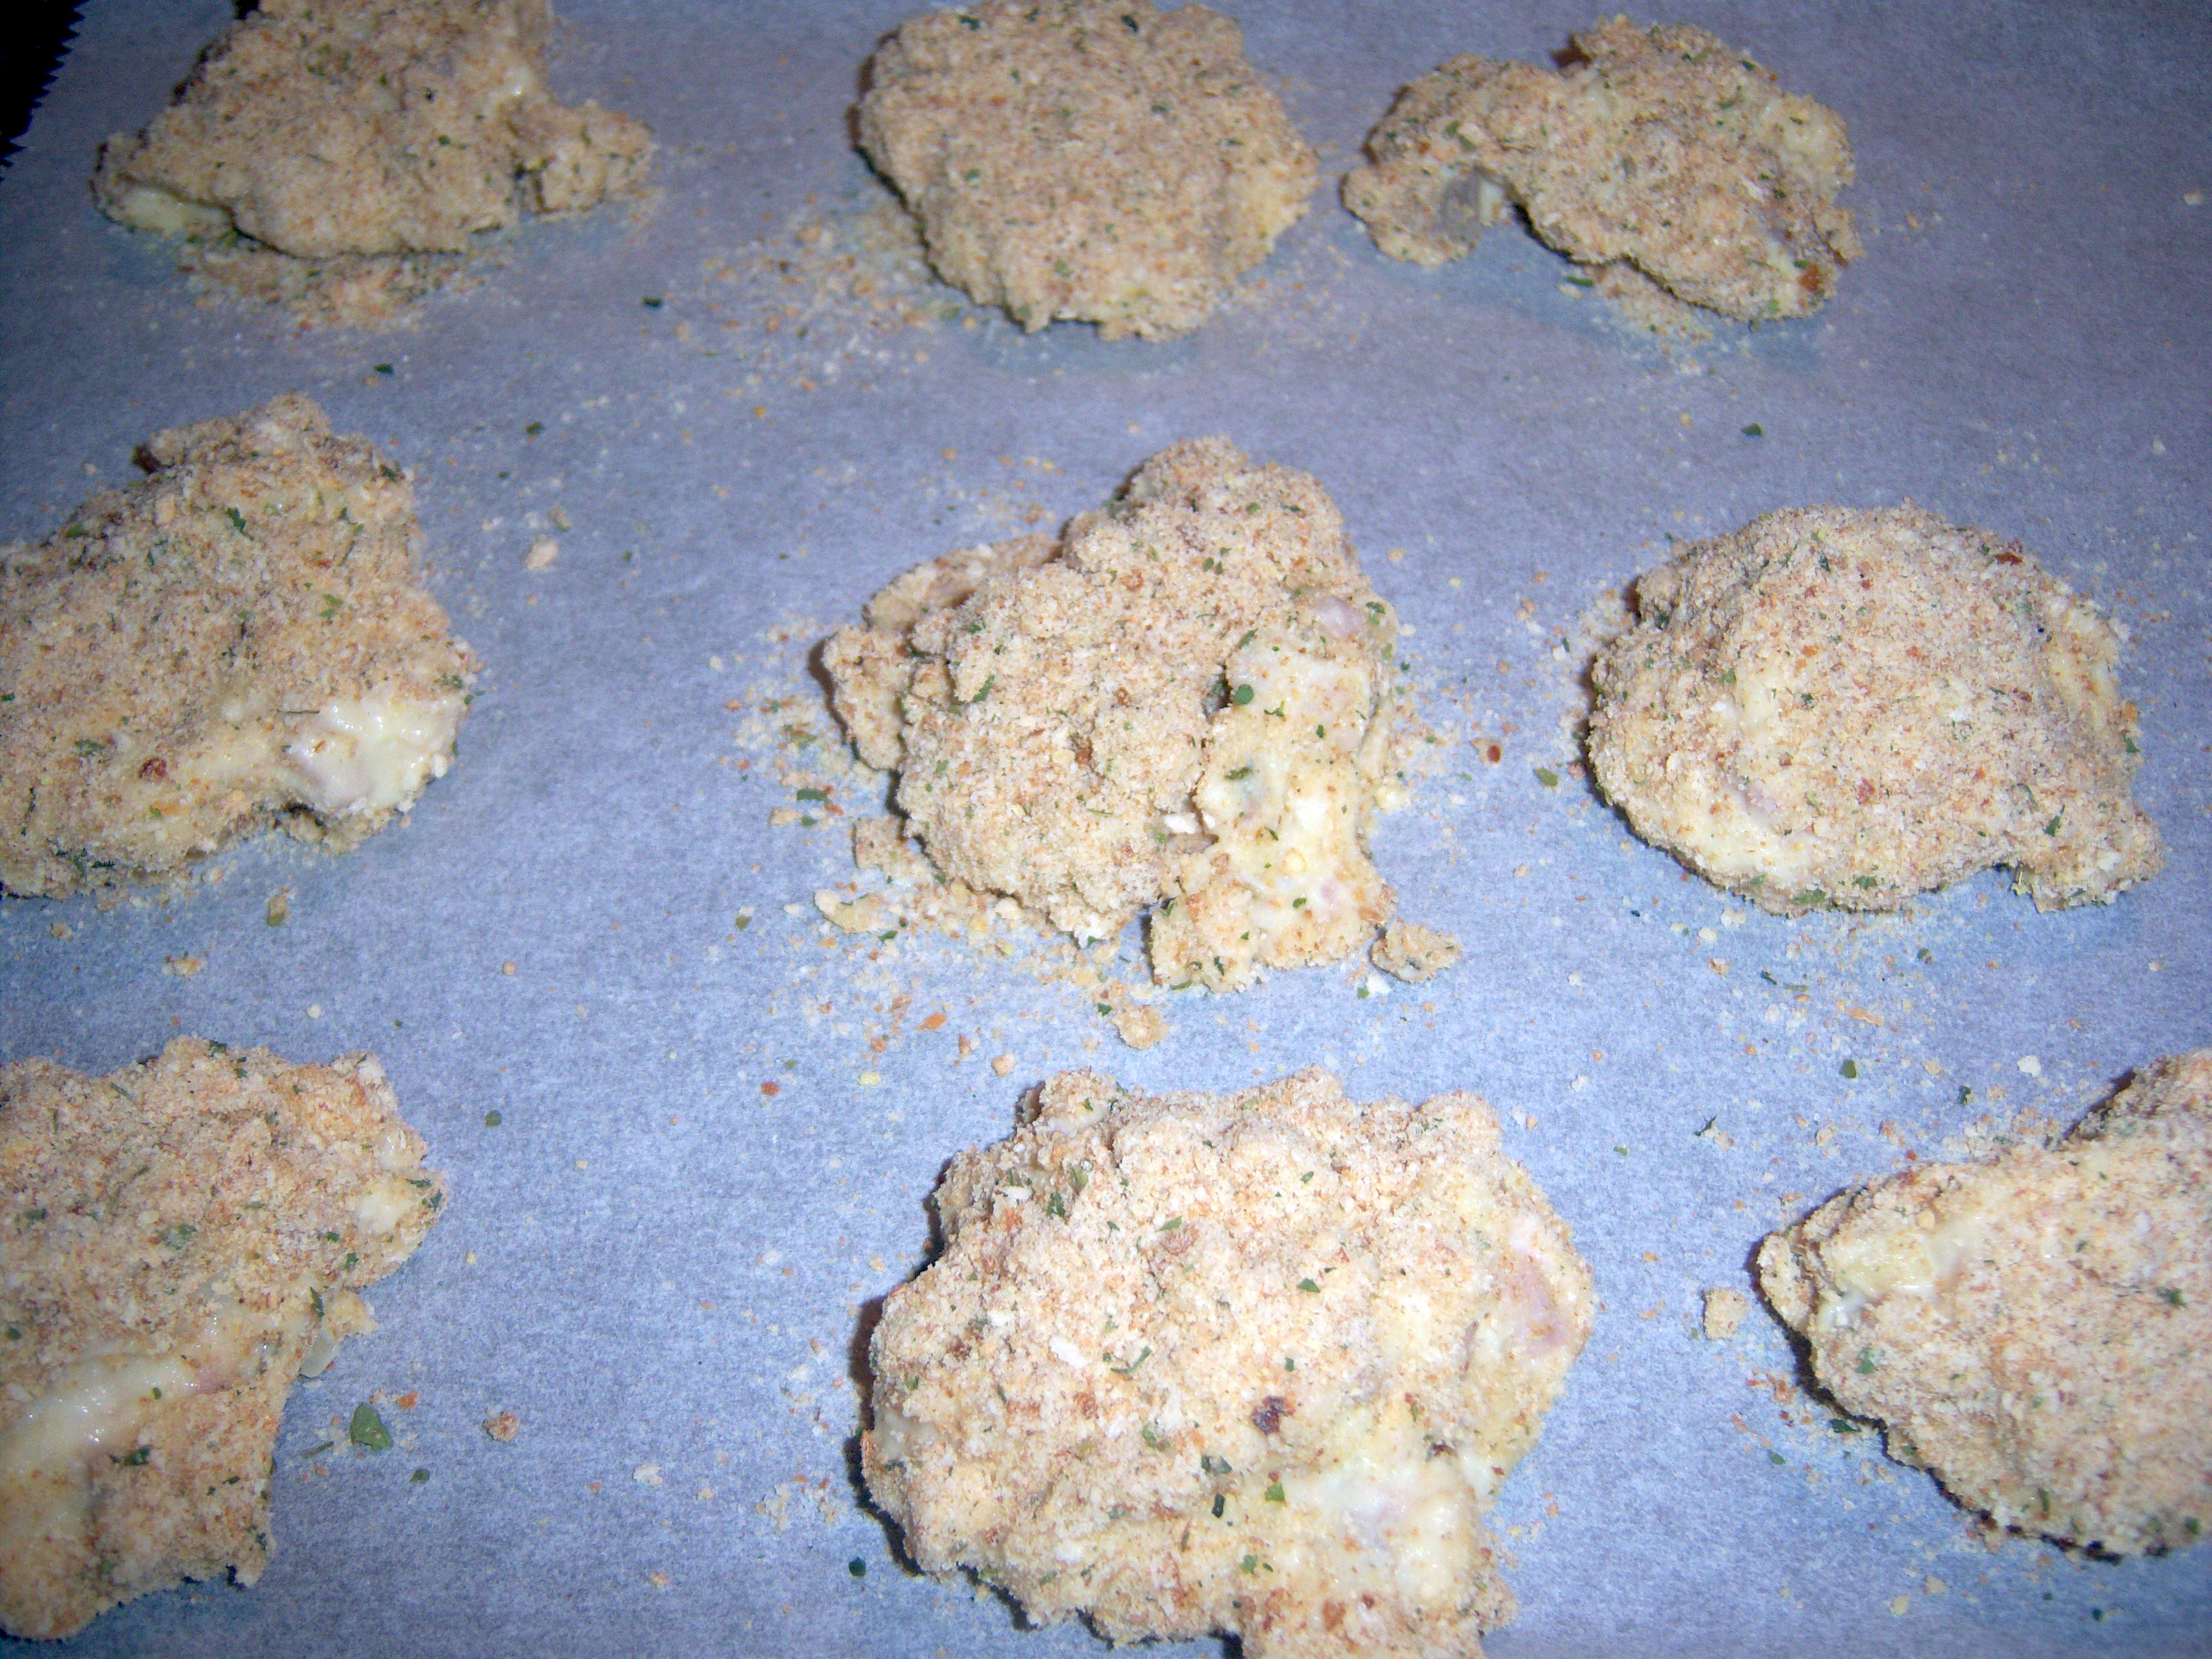
Ready to freeze

Ready to freeze

require a freezing step, I am finding). It was very hard to cover the mushy blobs in breadcrumbs and hard to transfer them to a tray. I muttered a bit at Martha under my breath. I think it might make sense to freeze the mixture for a few minutes first, then shape them into croquettes. They were really hard to work with.

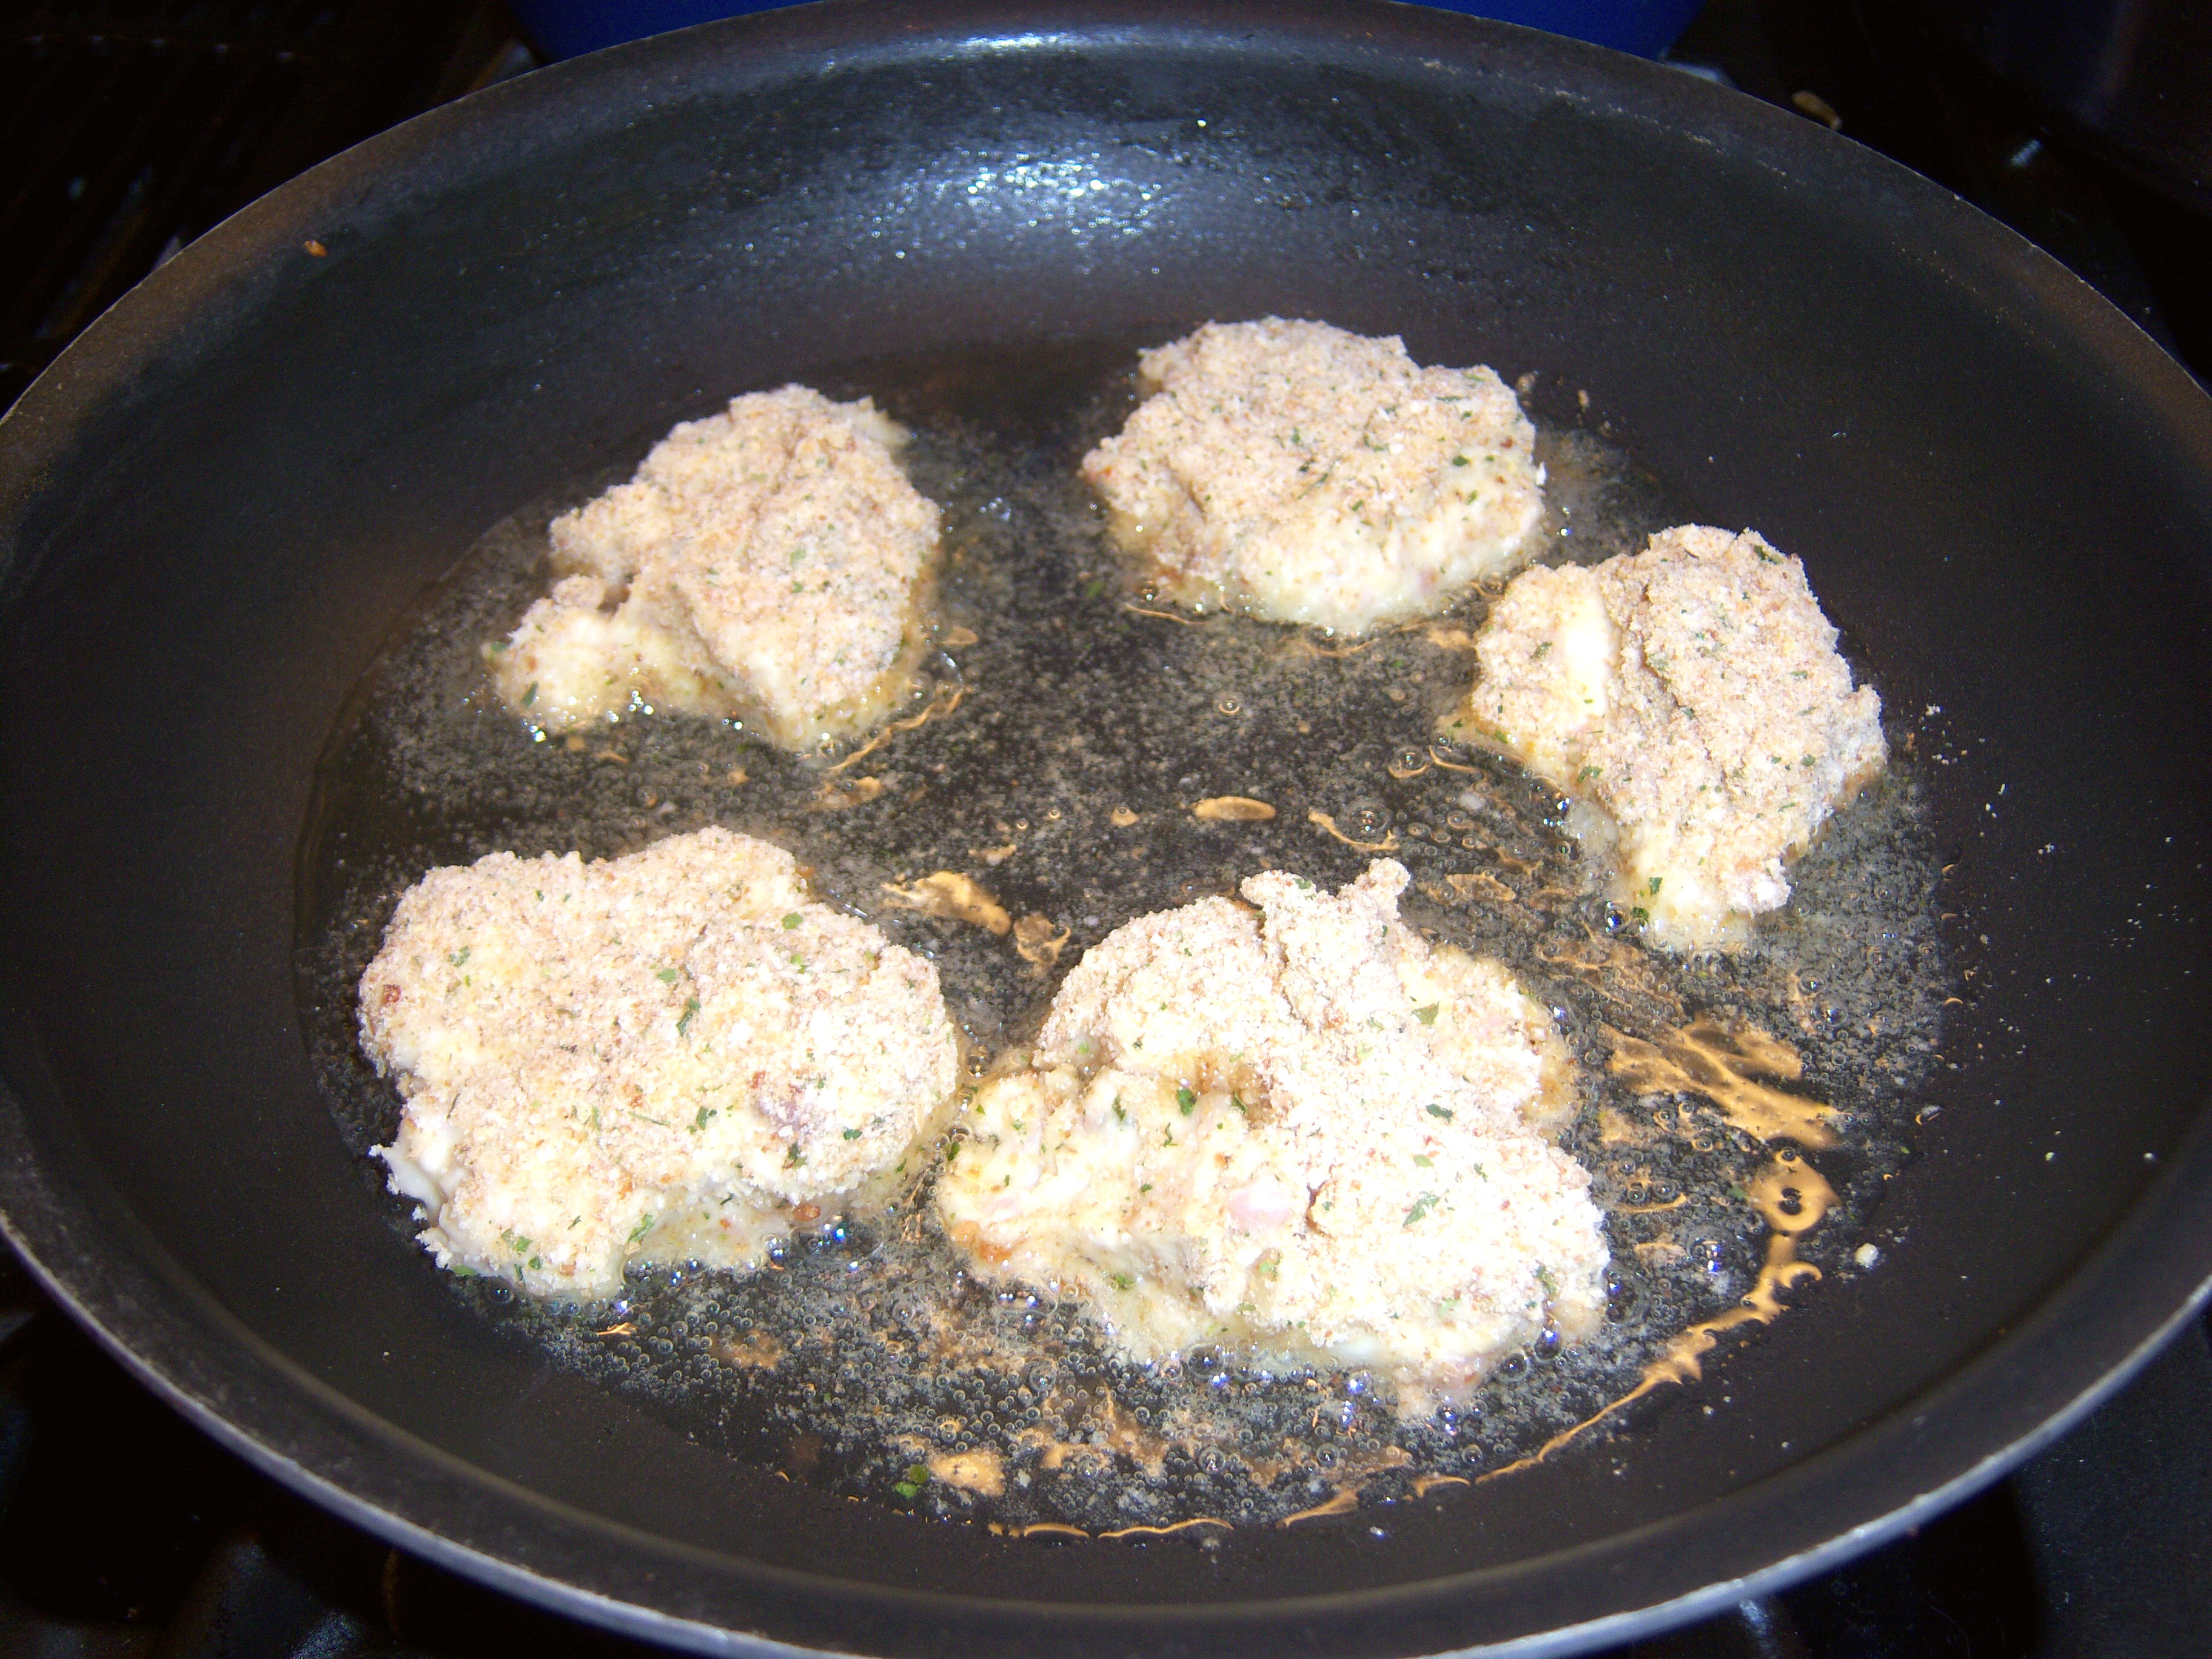
After I froze the breaded croquettes, them it was time to fry. The key here is make sure your oil is very hot. The first batch I did broke apart a little and didn’t cook

Fry it up in a pan

Fry it up in a pan

very evenly, but the second batch was perfect.

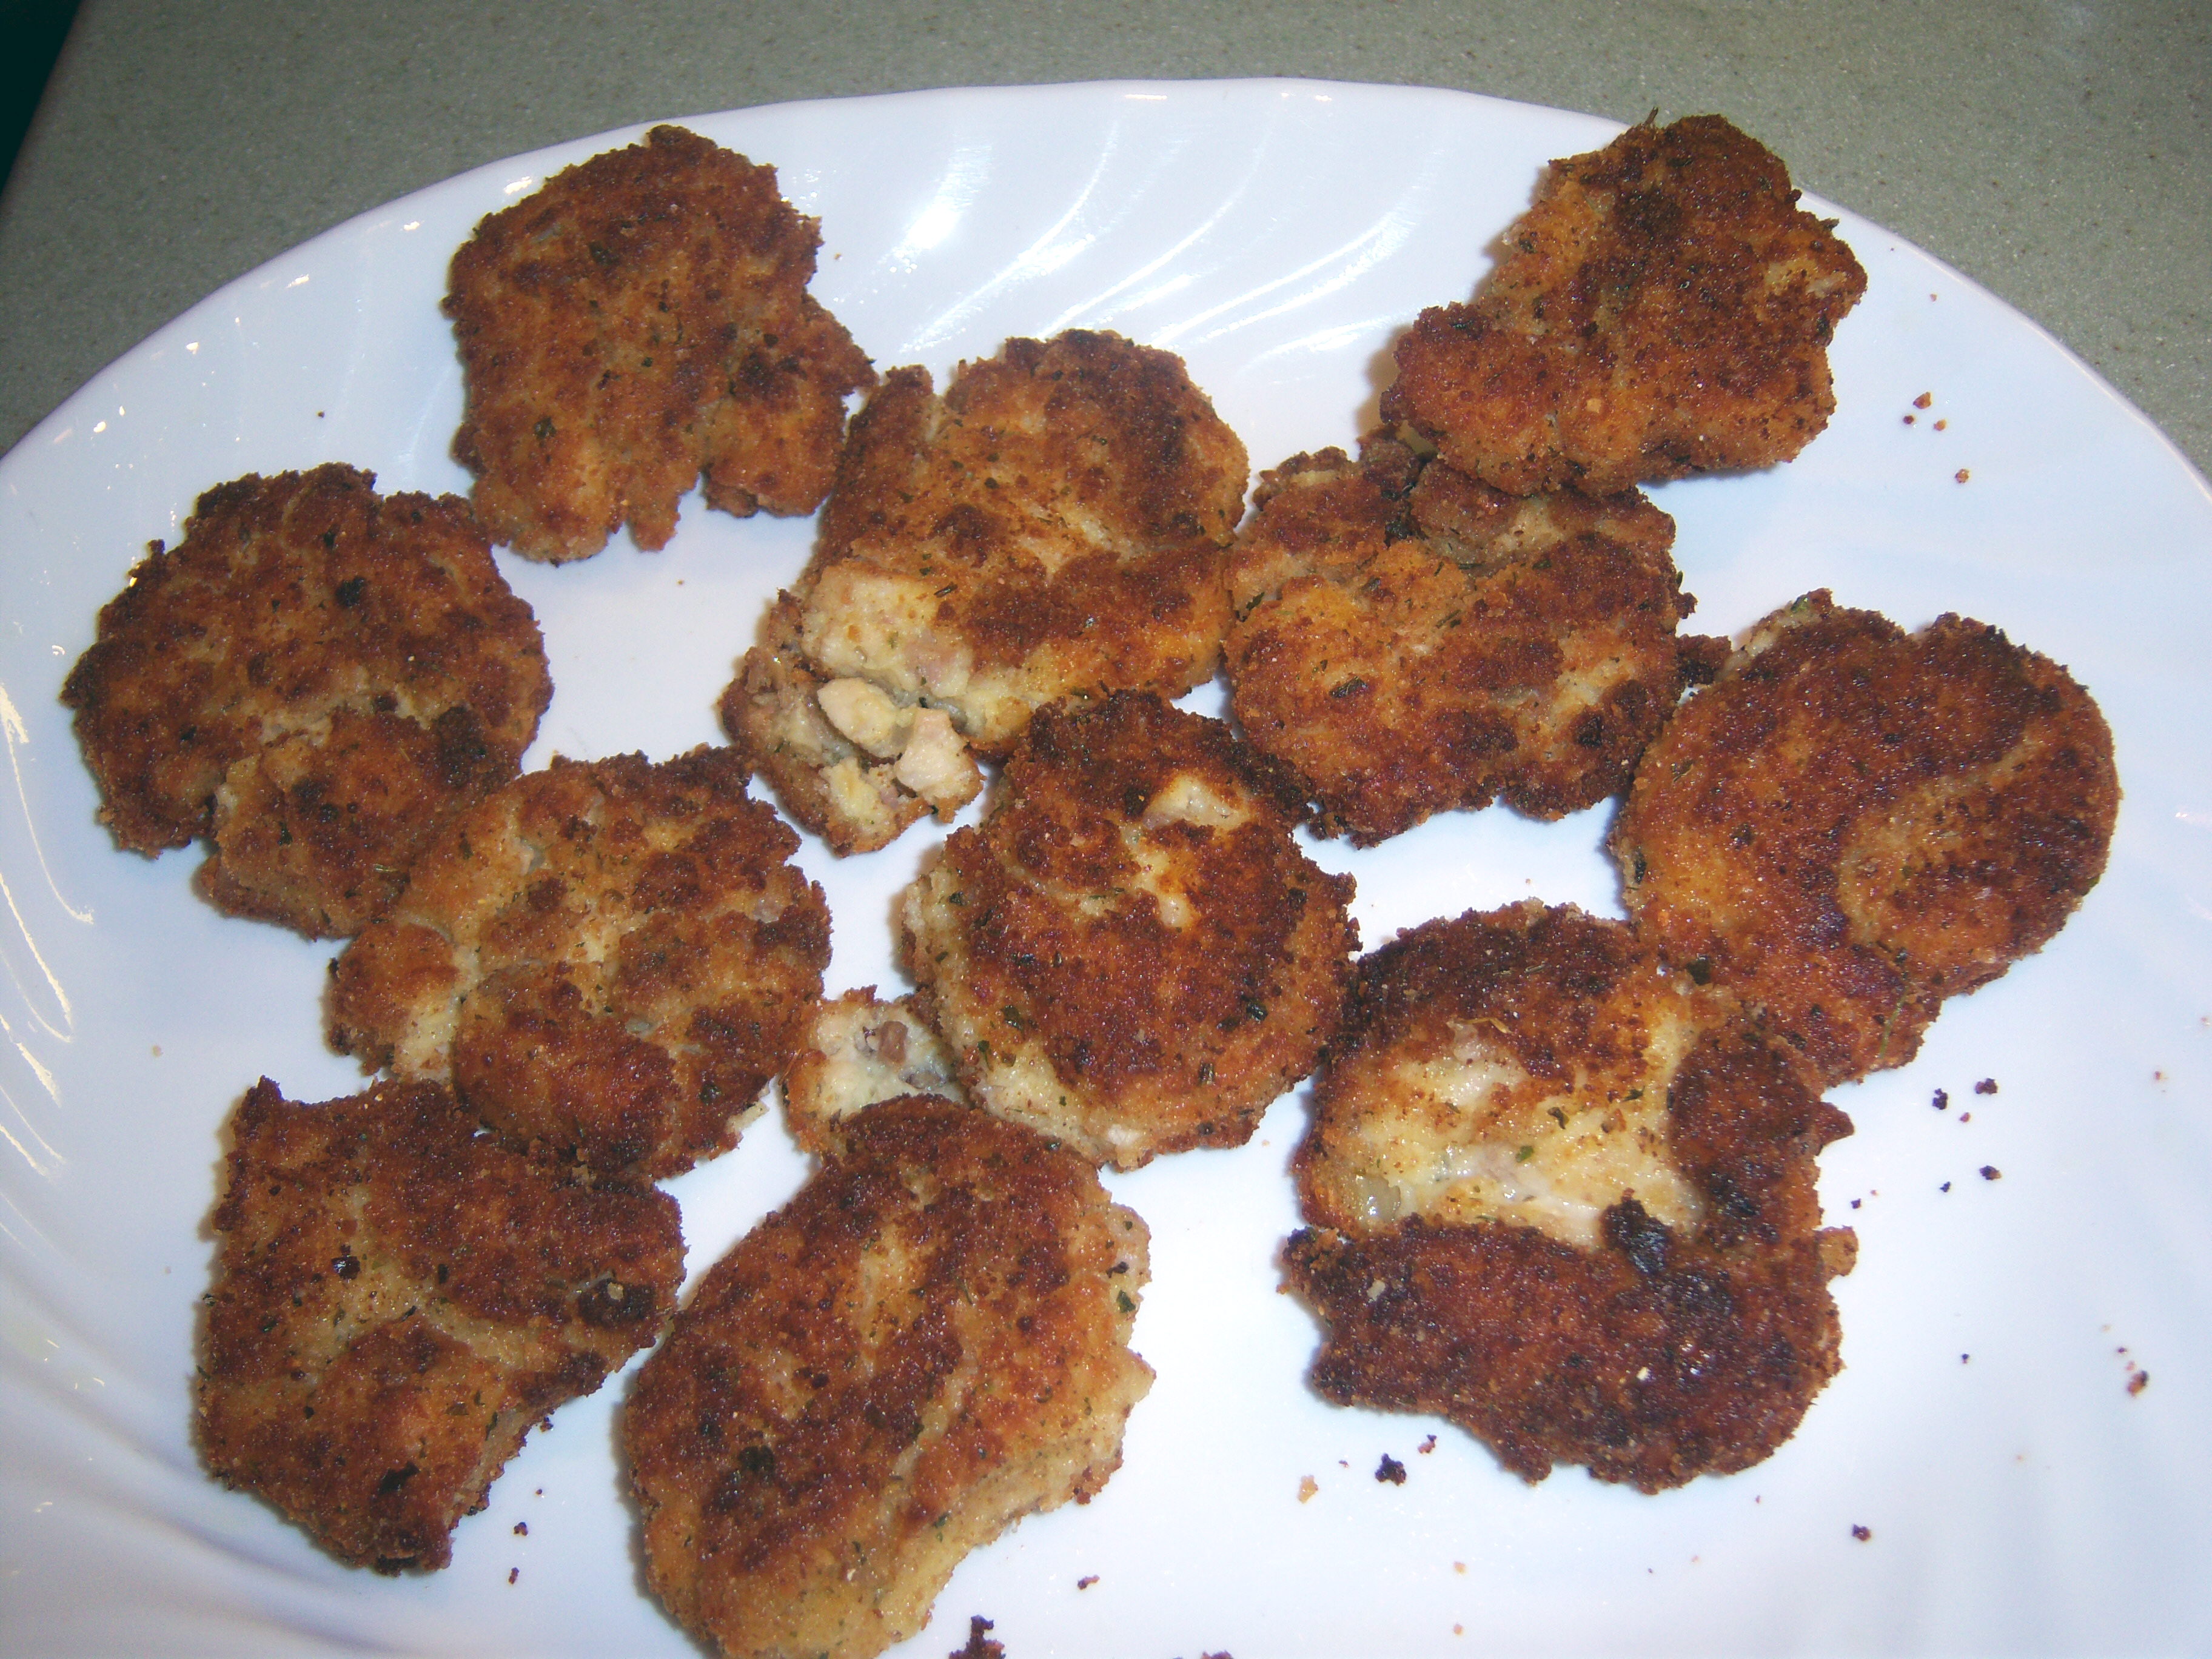
You serve them with cranberry sauce. They were tasty with a nice flavor. What was weird was you couldn’t really tell you were eating potato at all. They definitely need the cranberry sauce, so don’t leave that out. I would definitely make these

Fried to perfection

Fried to perfection

again next year. They’re a nice alternative to other turkey leftover dishes I think. A good thing.

We have a lot of leftovers from our turkey. The day after Thanksgiving, we usually have turkey sandwiches for lunch. For dinner, I reheat the entire Thanksgiving meal. To reheat the turkey, I put some gravy in a pan and heat that, then add in some slices of turkey for just a few minutes until … Read more

no