We always have pumpkin pie for Thanksgiving – it’s a tradition. My recipe uses the crust recipe I got from my mother and the filling that I am embarrassed to admit came from an ad for Libby’s canned pumpkin! Martha has a recipe for Traditional Pumpkin Pie on page 82 of November Living. It was time for a pie-off.

First I made my own crust. This is a simple, no hassle crust. I dump 1 1/3 c of  flour, 1 stick of butter, 1 tsp salt and 1 tbsp sugar in the Cuisinart and process till it looks like meal. Then I gradually add 1/4 c ice water until it forms into a ball. I roll it out (and it rolls out smoothly and easily) and pour in the filling and bake. Easy and reliable.

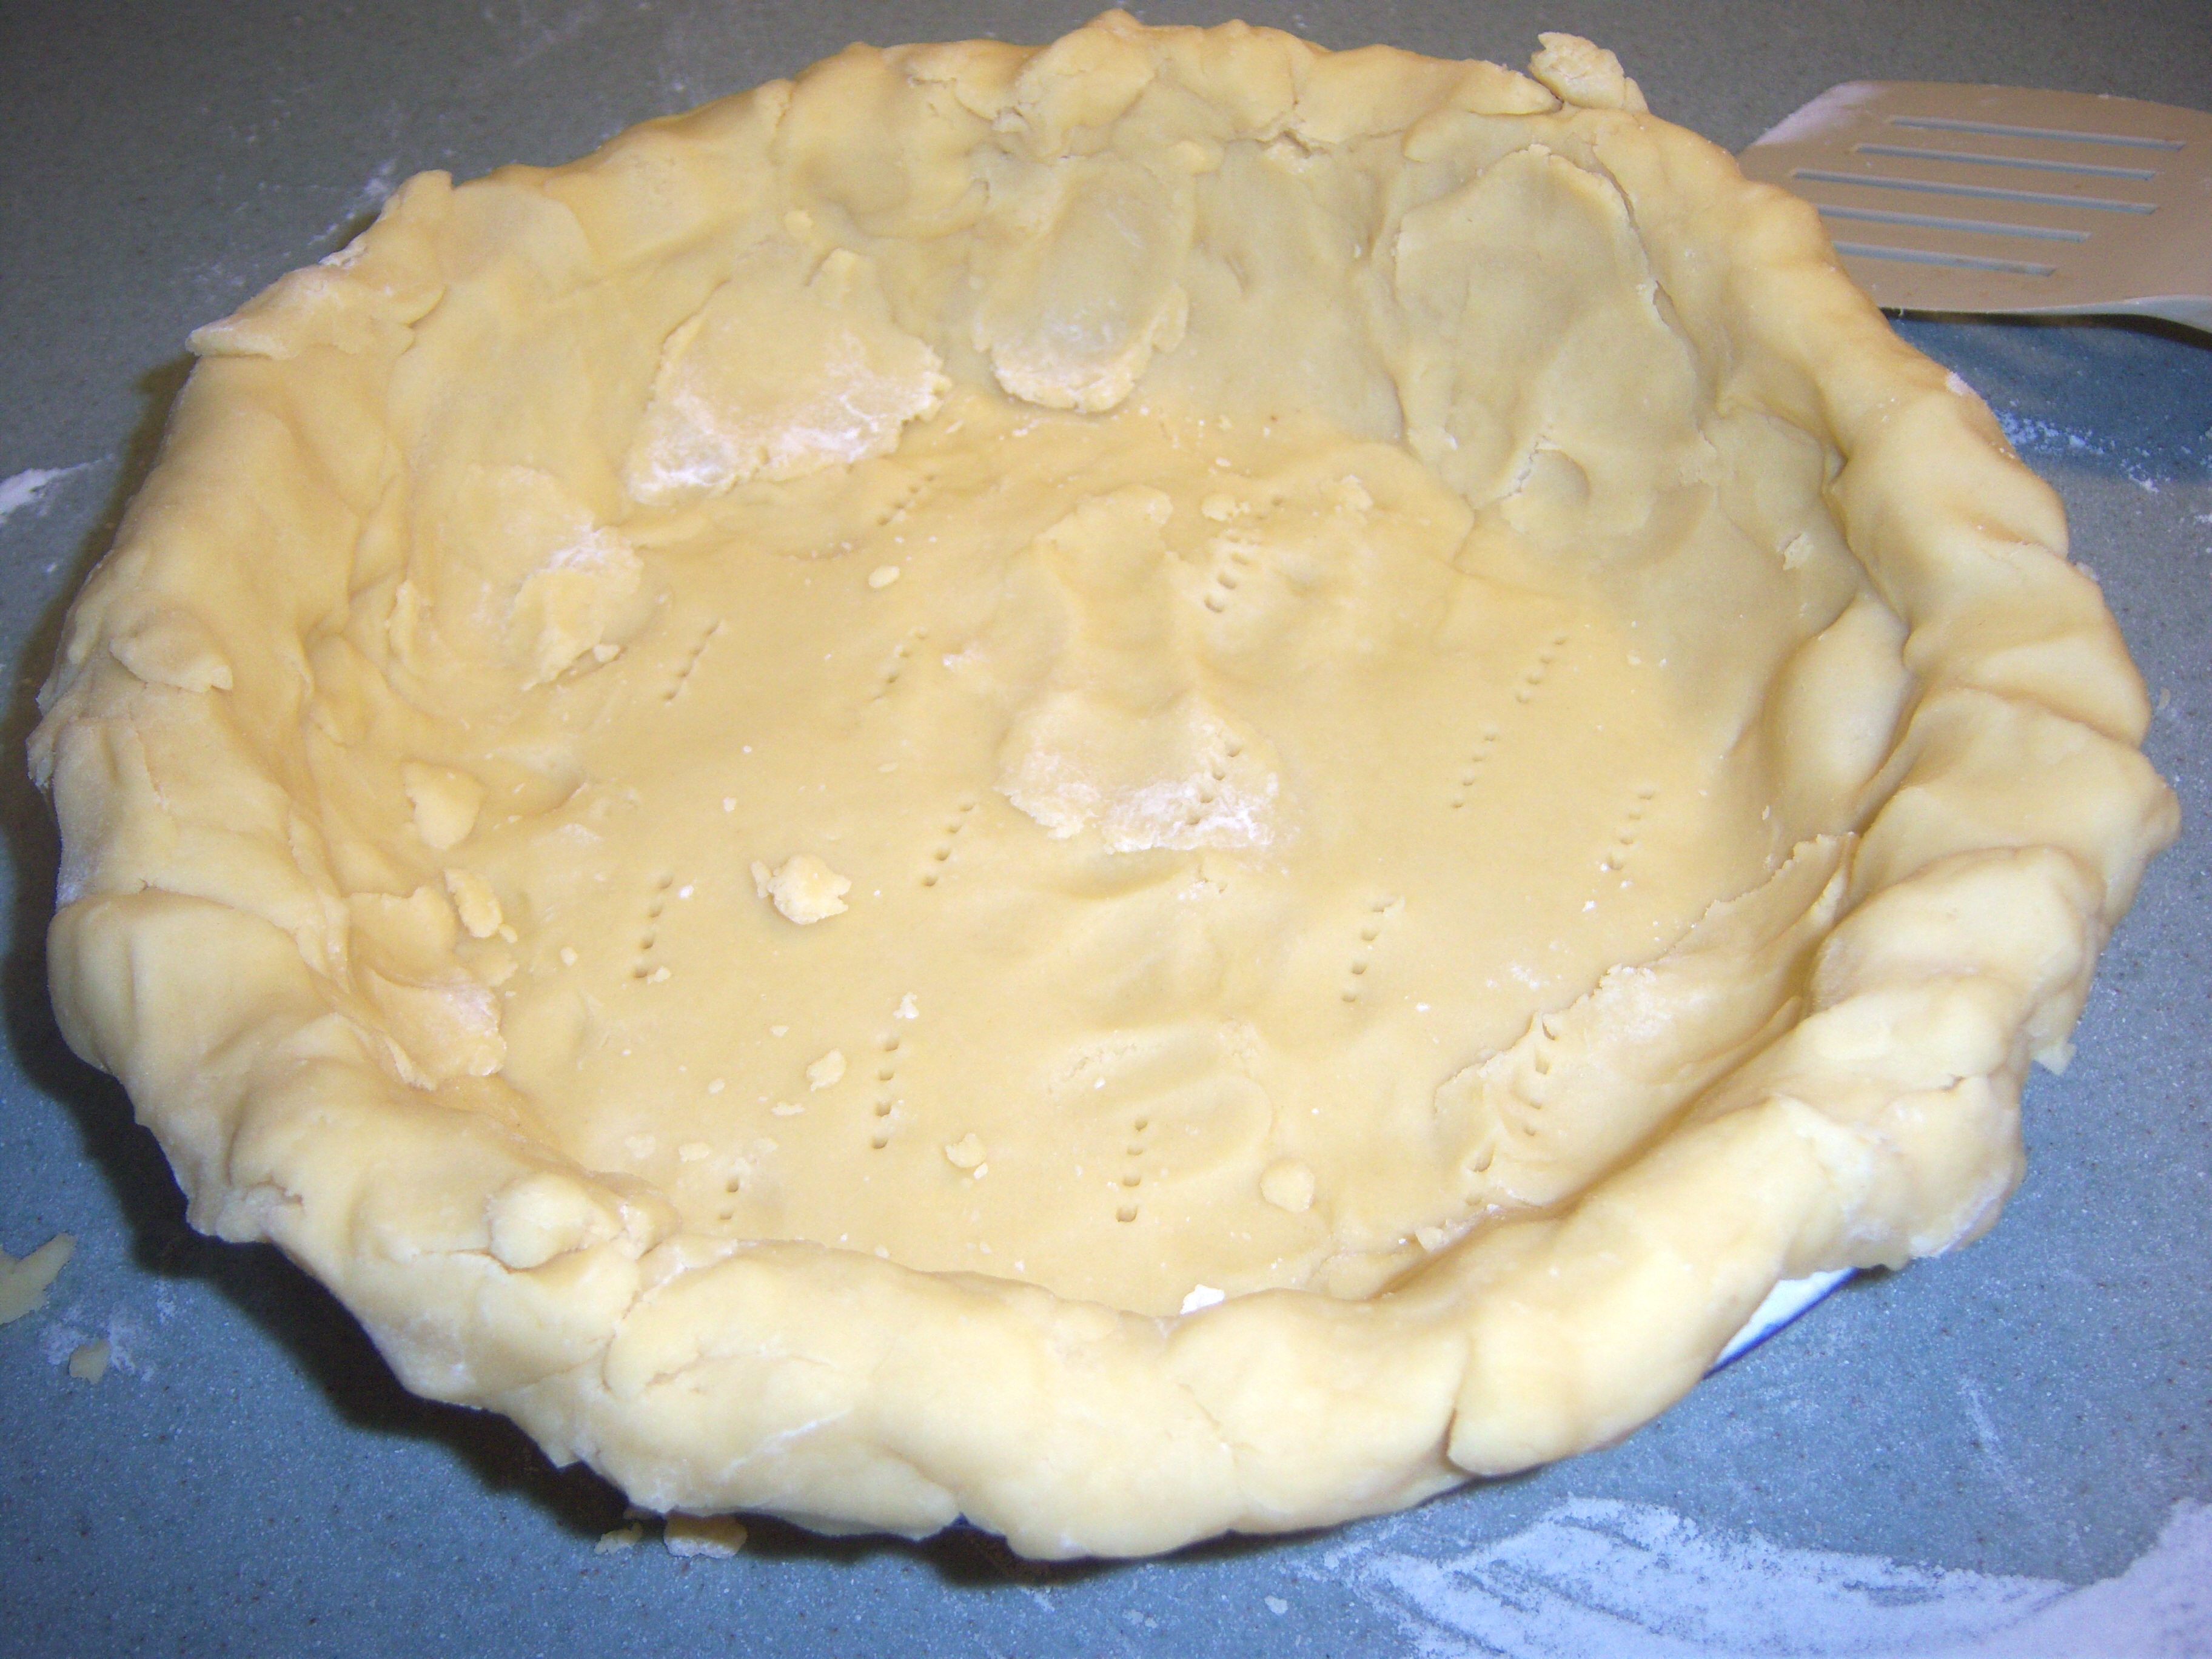
Next I did Martha’s crust. Martha calls for 2 1/2 c flour, 1 tbsp sugar, 1 tsp salt and 2 sticks of butter. Then you add 3-4 tbsp cold water. Quite different than mine – twice as much butter and almost twice as much flour and much

Messy

Messy

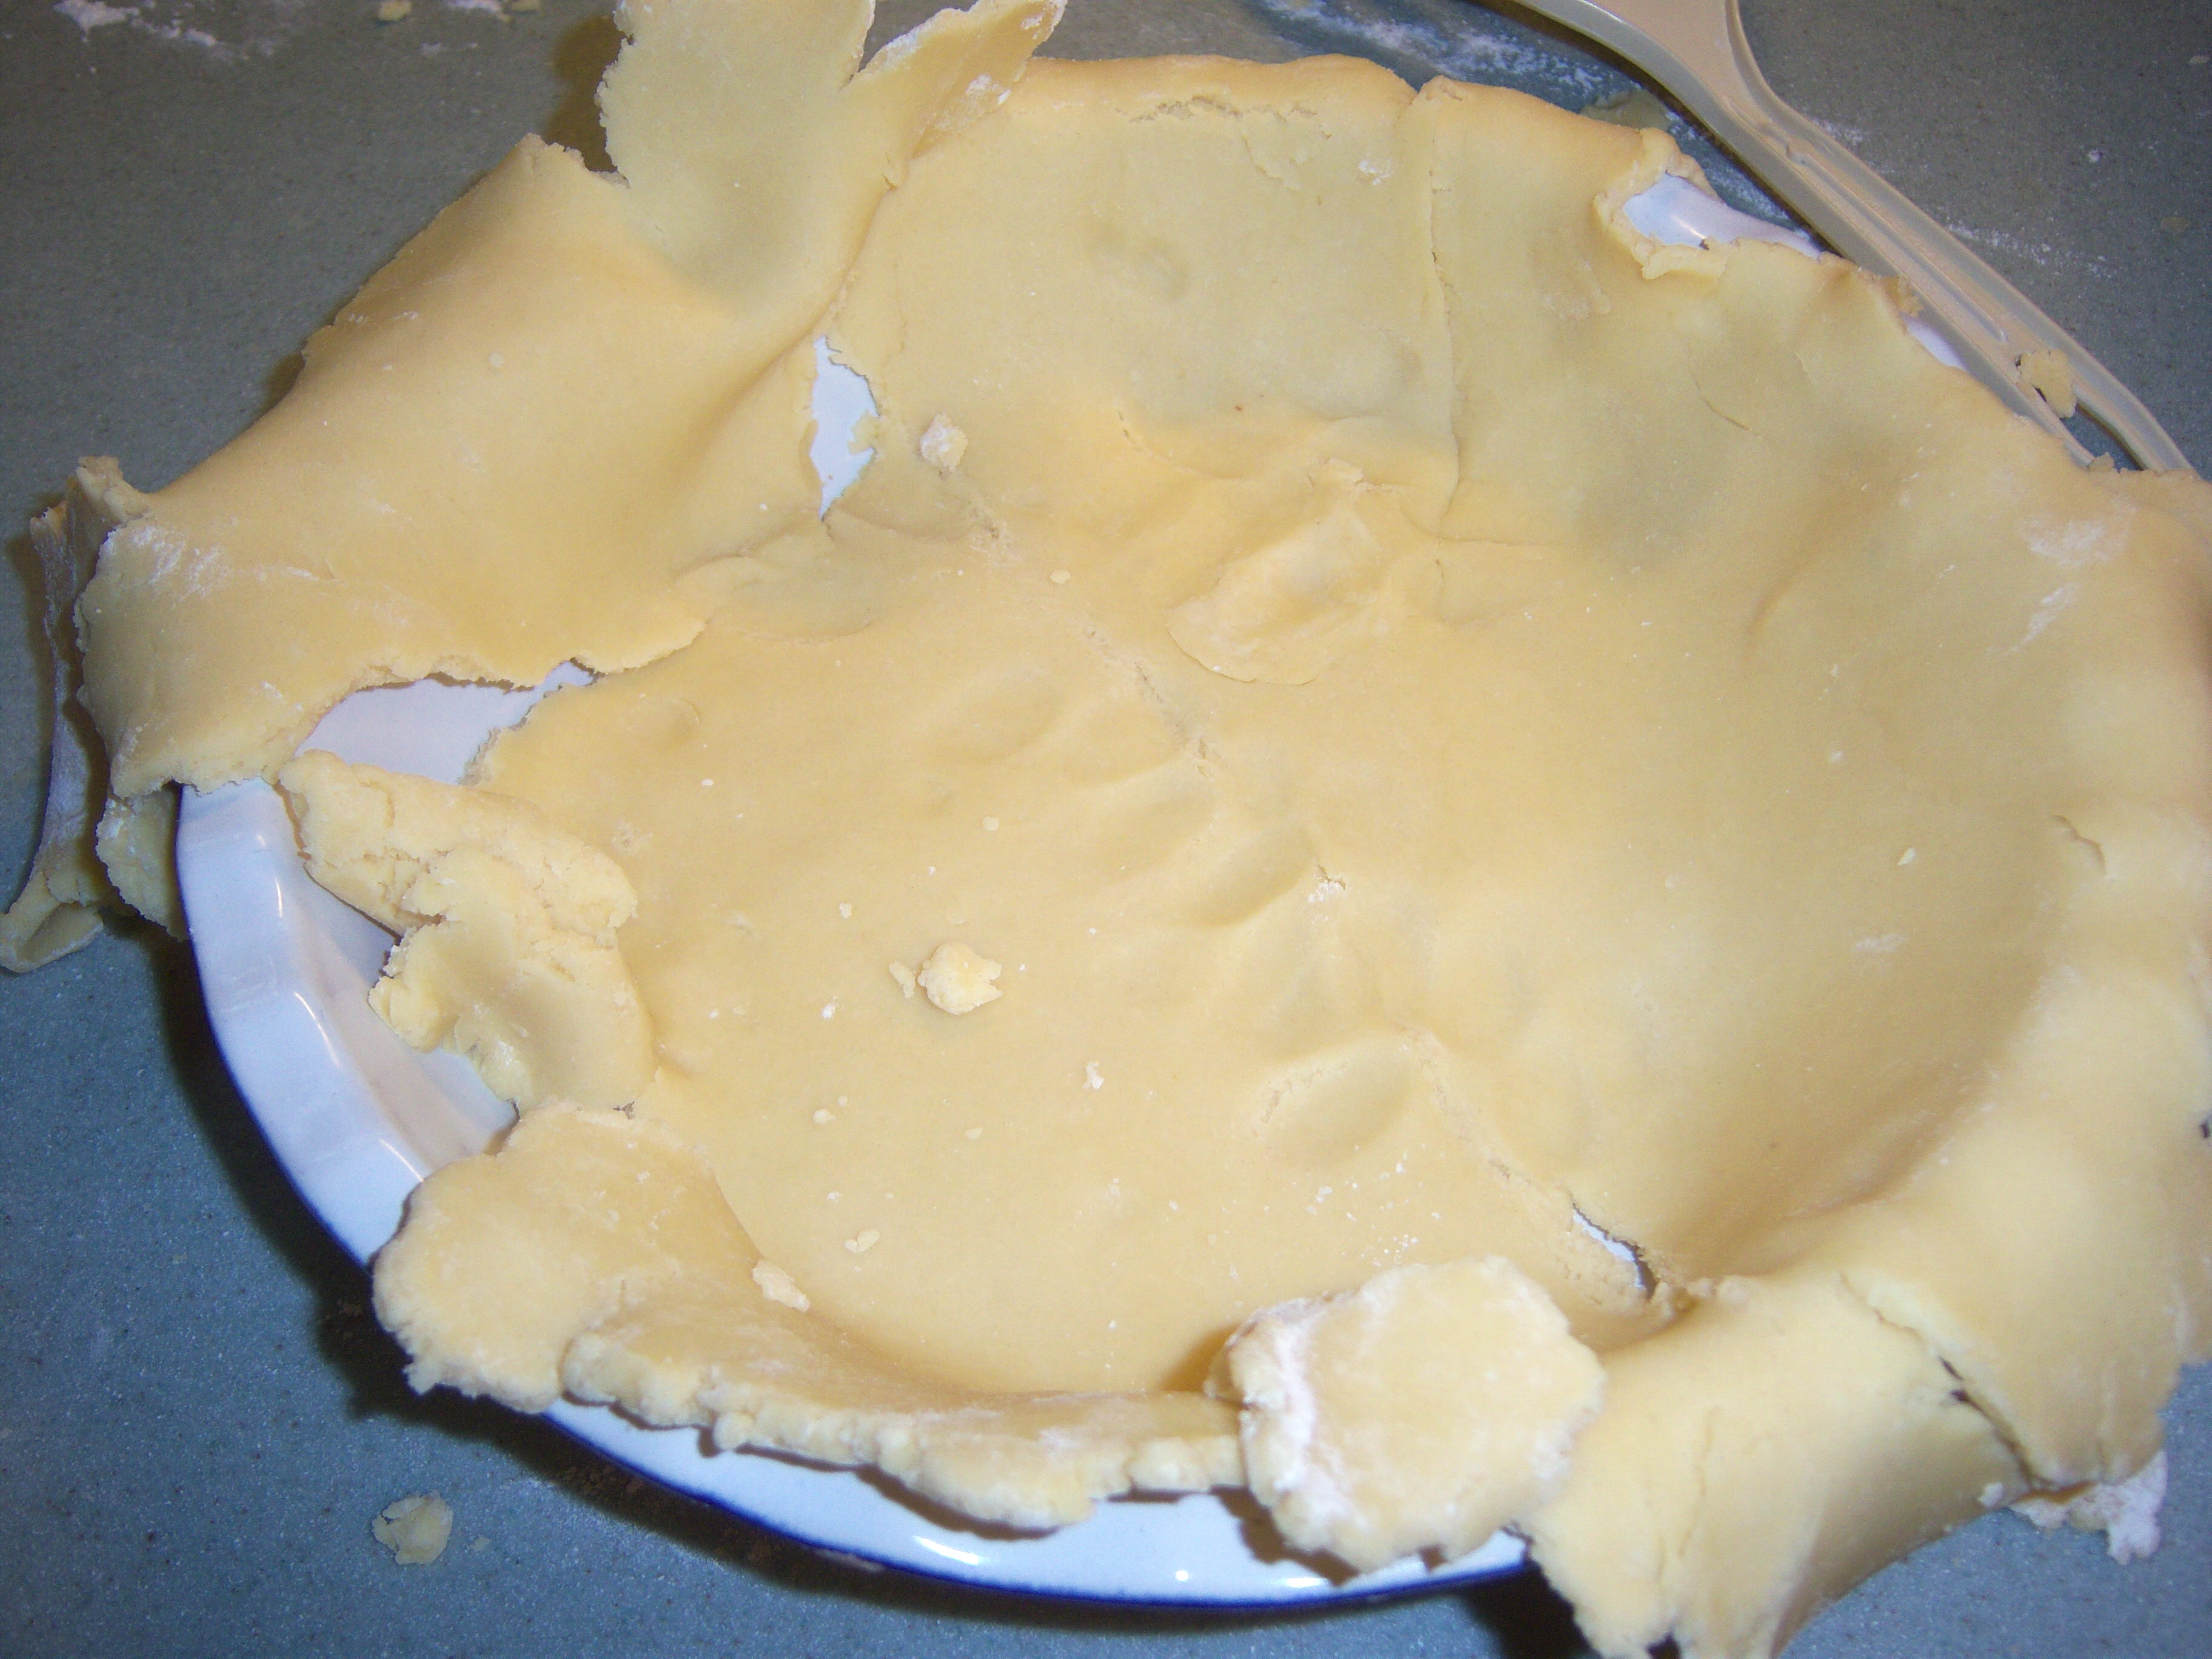
less water. Martha directs you to chill it for 1 hour before rolling it out. I did that. I rolled it out and it was a giant mess. It ripped and shredded all over the place. I ended up having to patch it in places once it was in the pan.

Then Martha says to freeze the pie shell for 15 minutes. When you take it out, you prick it with a fork, put parchment paper inside it and fill it with pie weights. Then

Patched

Patched

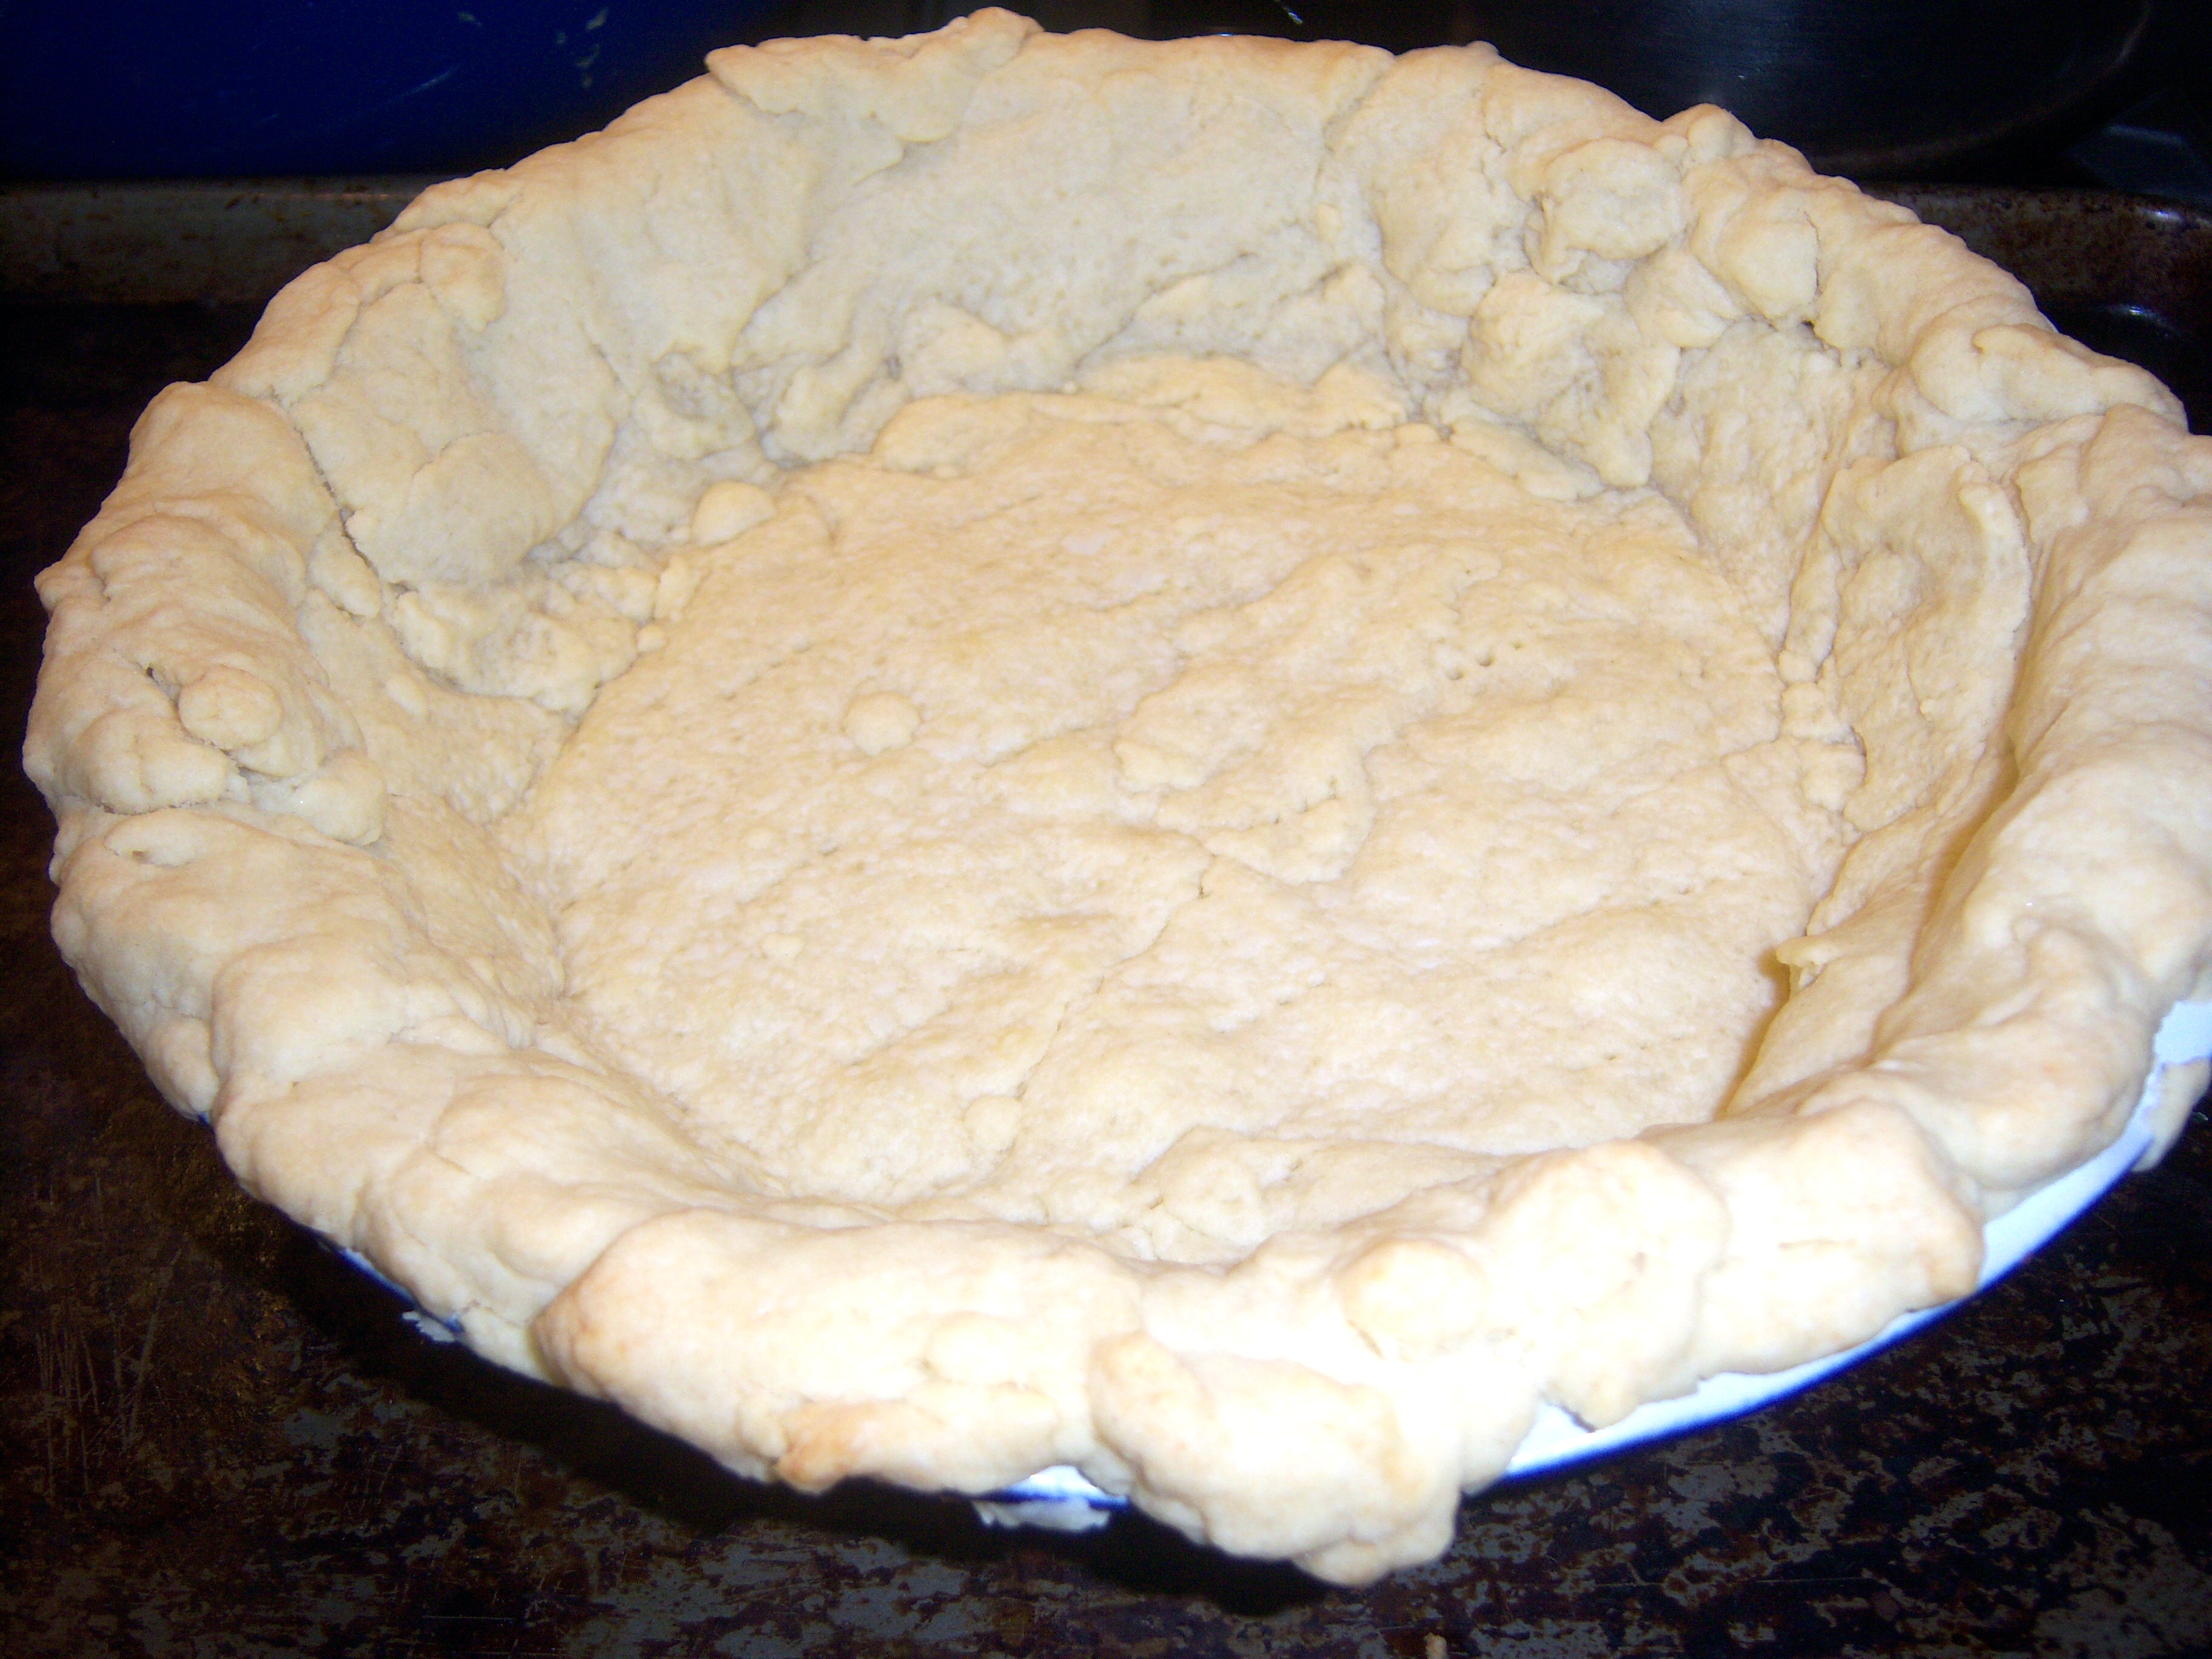
you bake for 15 min at 375. Take it out and remove the pie weights and parchment paper and bake for another 15-20 min until it is brown.

By the time I did all this, my pie was completely done. I was feeling a bit annoyed at how complicated Martha’s process was. Thank goodness I have two

Martha's crust baked

Martha

ovens though or I would have been in trouble! That turkey needed to go in while all this was happening!

Next, let’s take a look at the 2 fillings. My fabulous Libby’s pie is made up of 3/4 c white sugar, 1/2 tsp salt, 1 tsp cinnamon, 1/2 tsp ginger, 1/4 tsp cloves, 2 eggs, 15 oz pumpkin and 12 oz evaporated milk.

Martha’s filling is 3/4 c brown sugar, 1 tbsp cornstarch, 1/2 tsp salt, 3/4 tsp cinnamon, 3/4 tsp ginger, 3/4 tsp nutmeg, 1 tsp vanilla, 3 eggs, 12 oz evaporated milk and 15 oz canned pumpkin. Again, different than mine. She uses an extra egg, brown sugar instead of white, and nutmeg instead of cloves. The cornstarch is extra also.

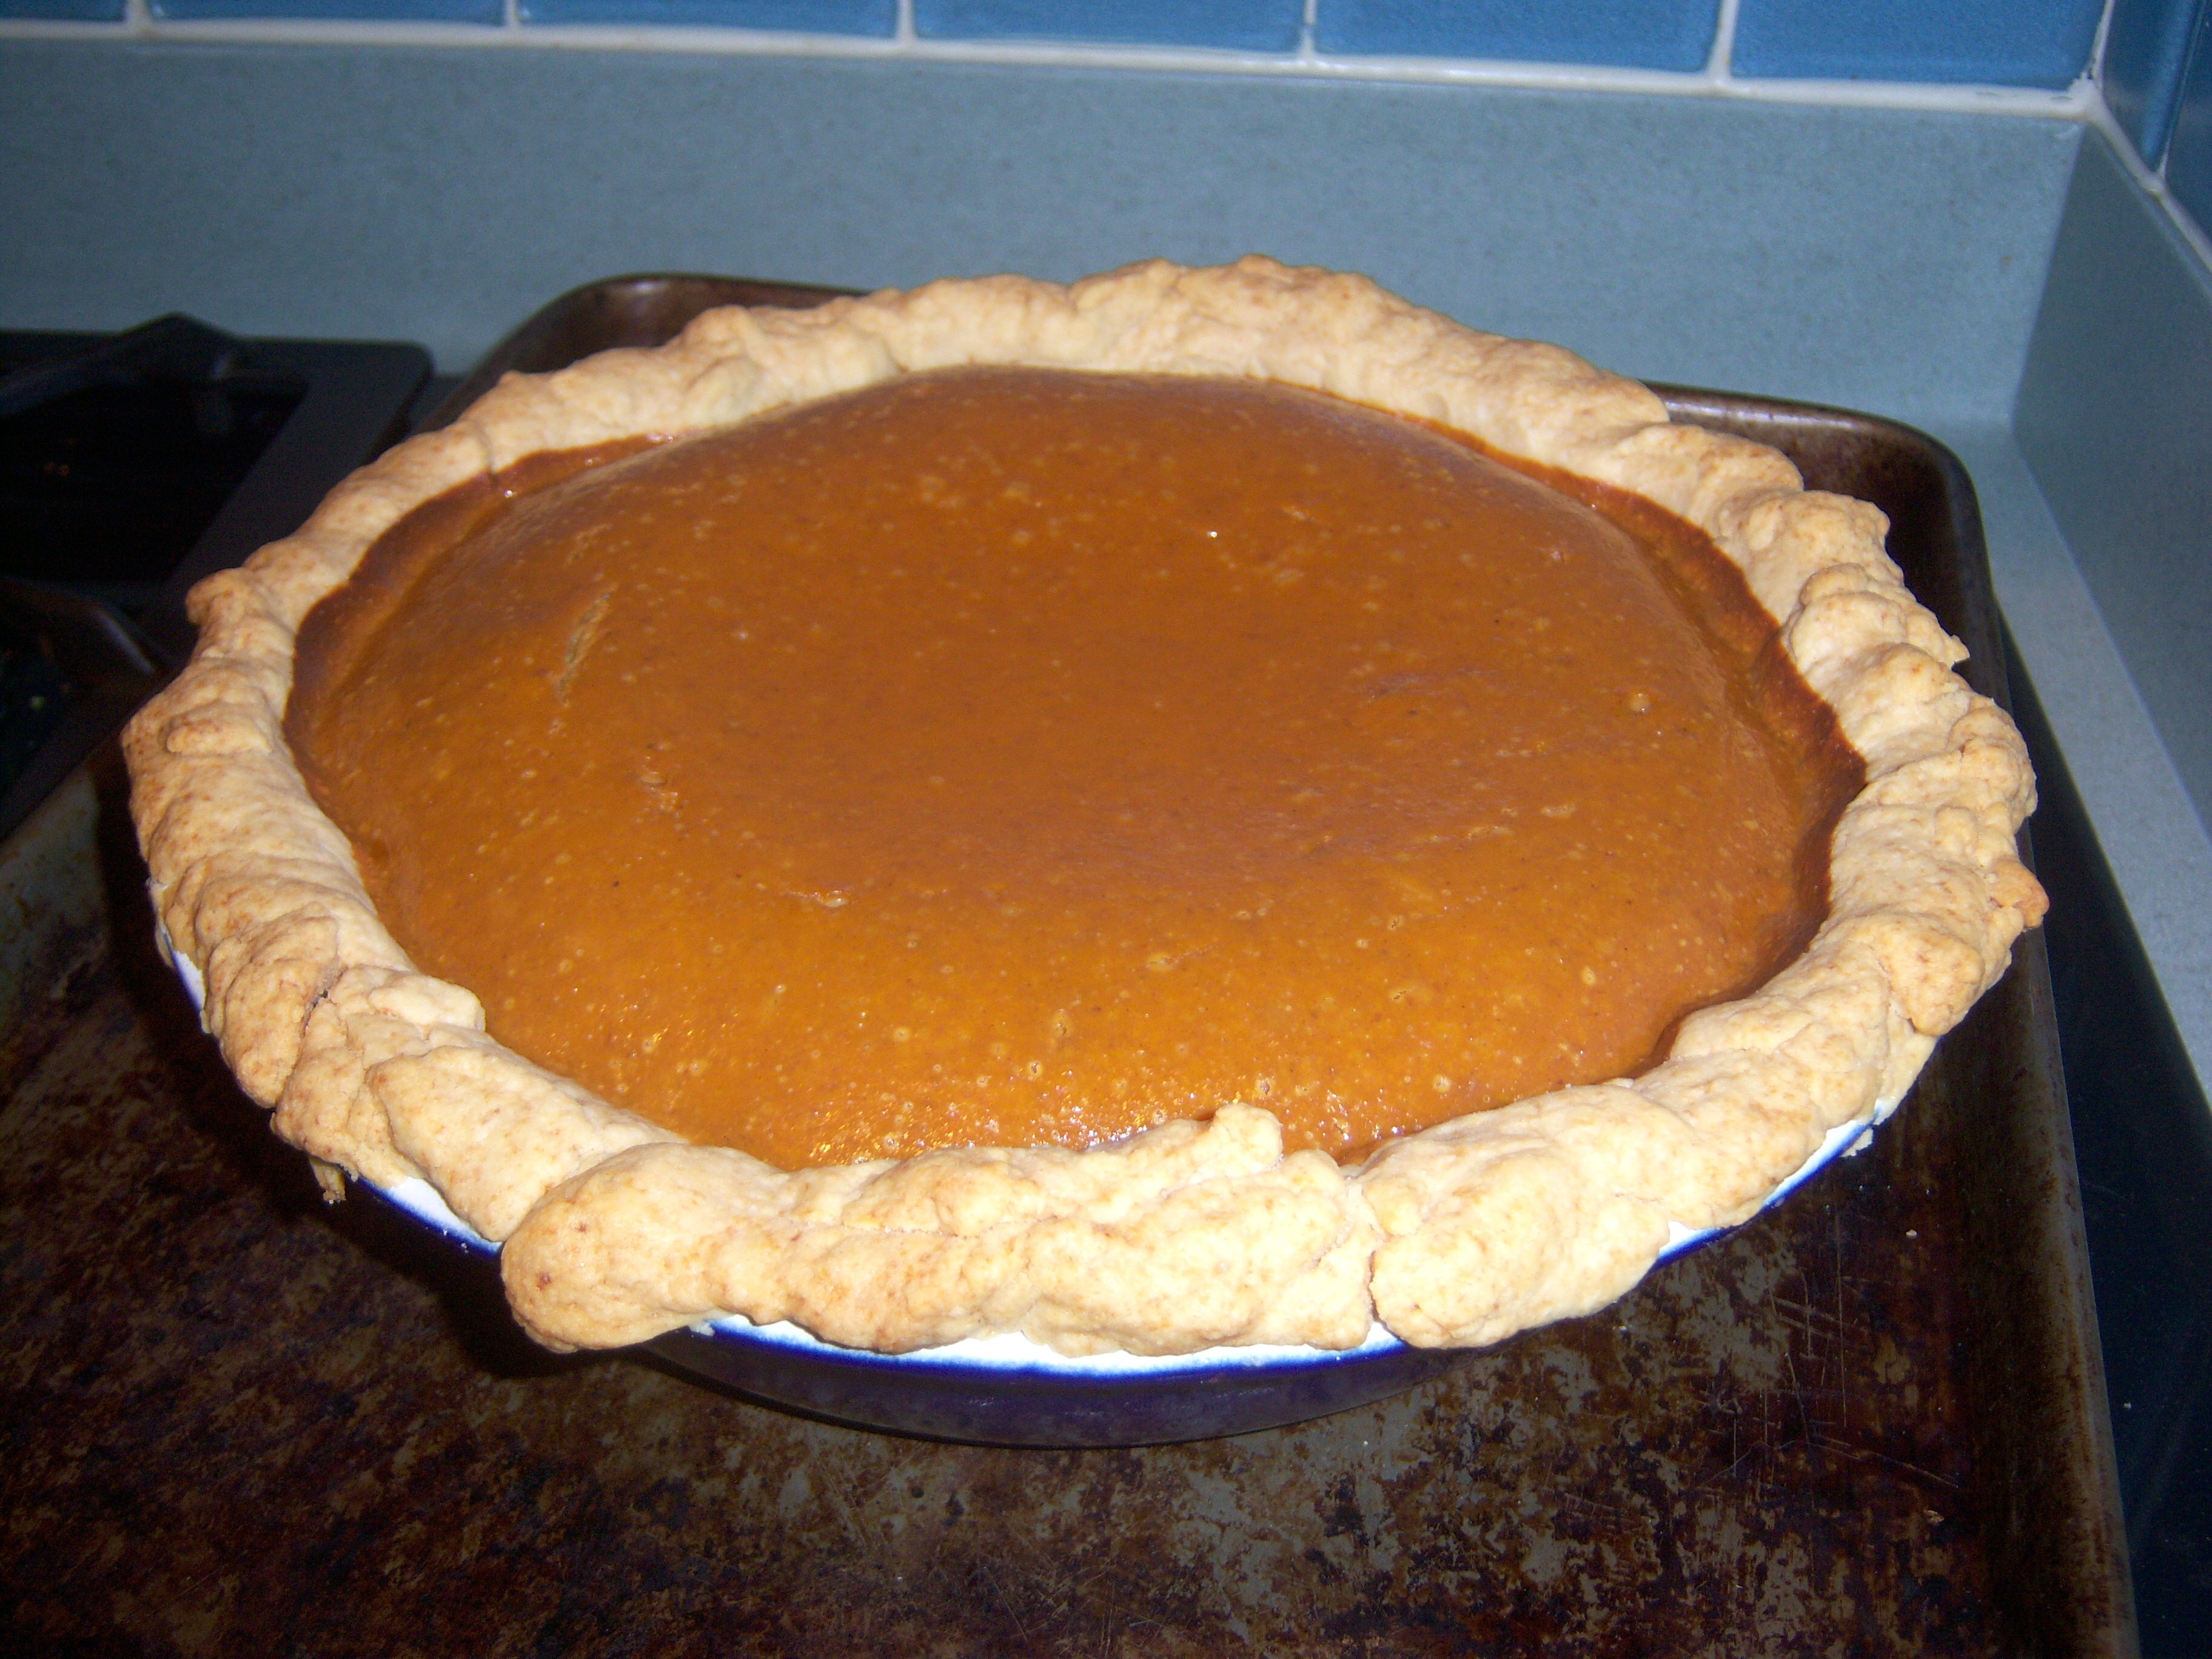
My pie

My pie

My pie bakes at 425 for 15 min then you reduce the temp to 350 and bake for another 40-50 min. It was done exactly on time.

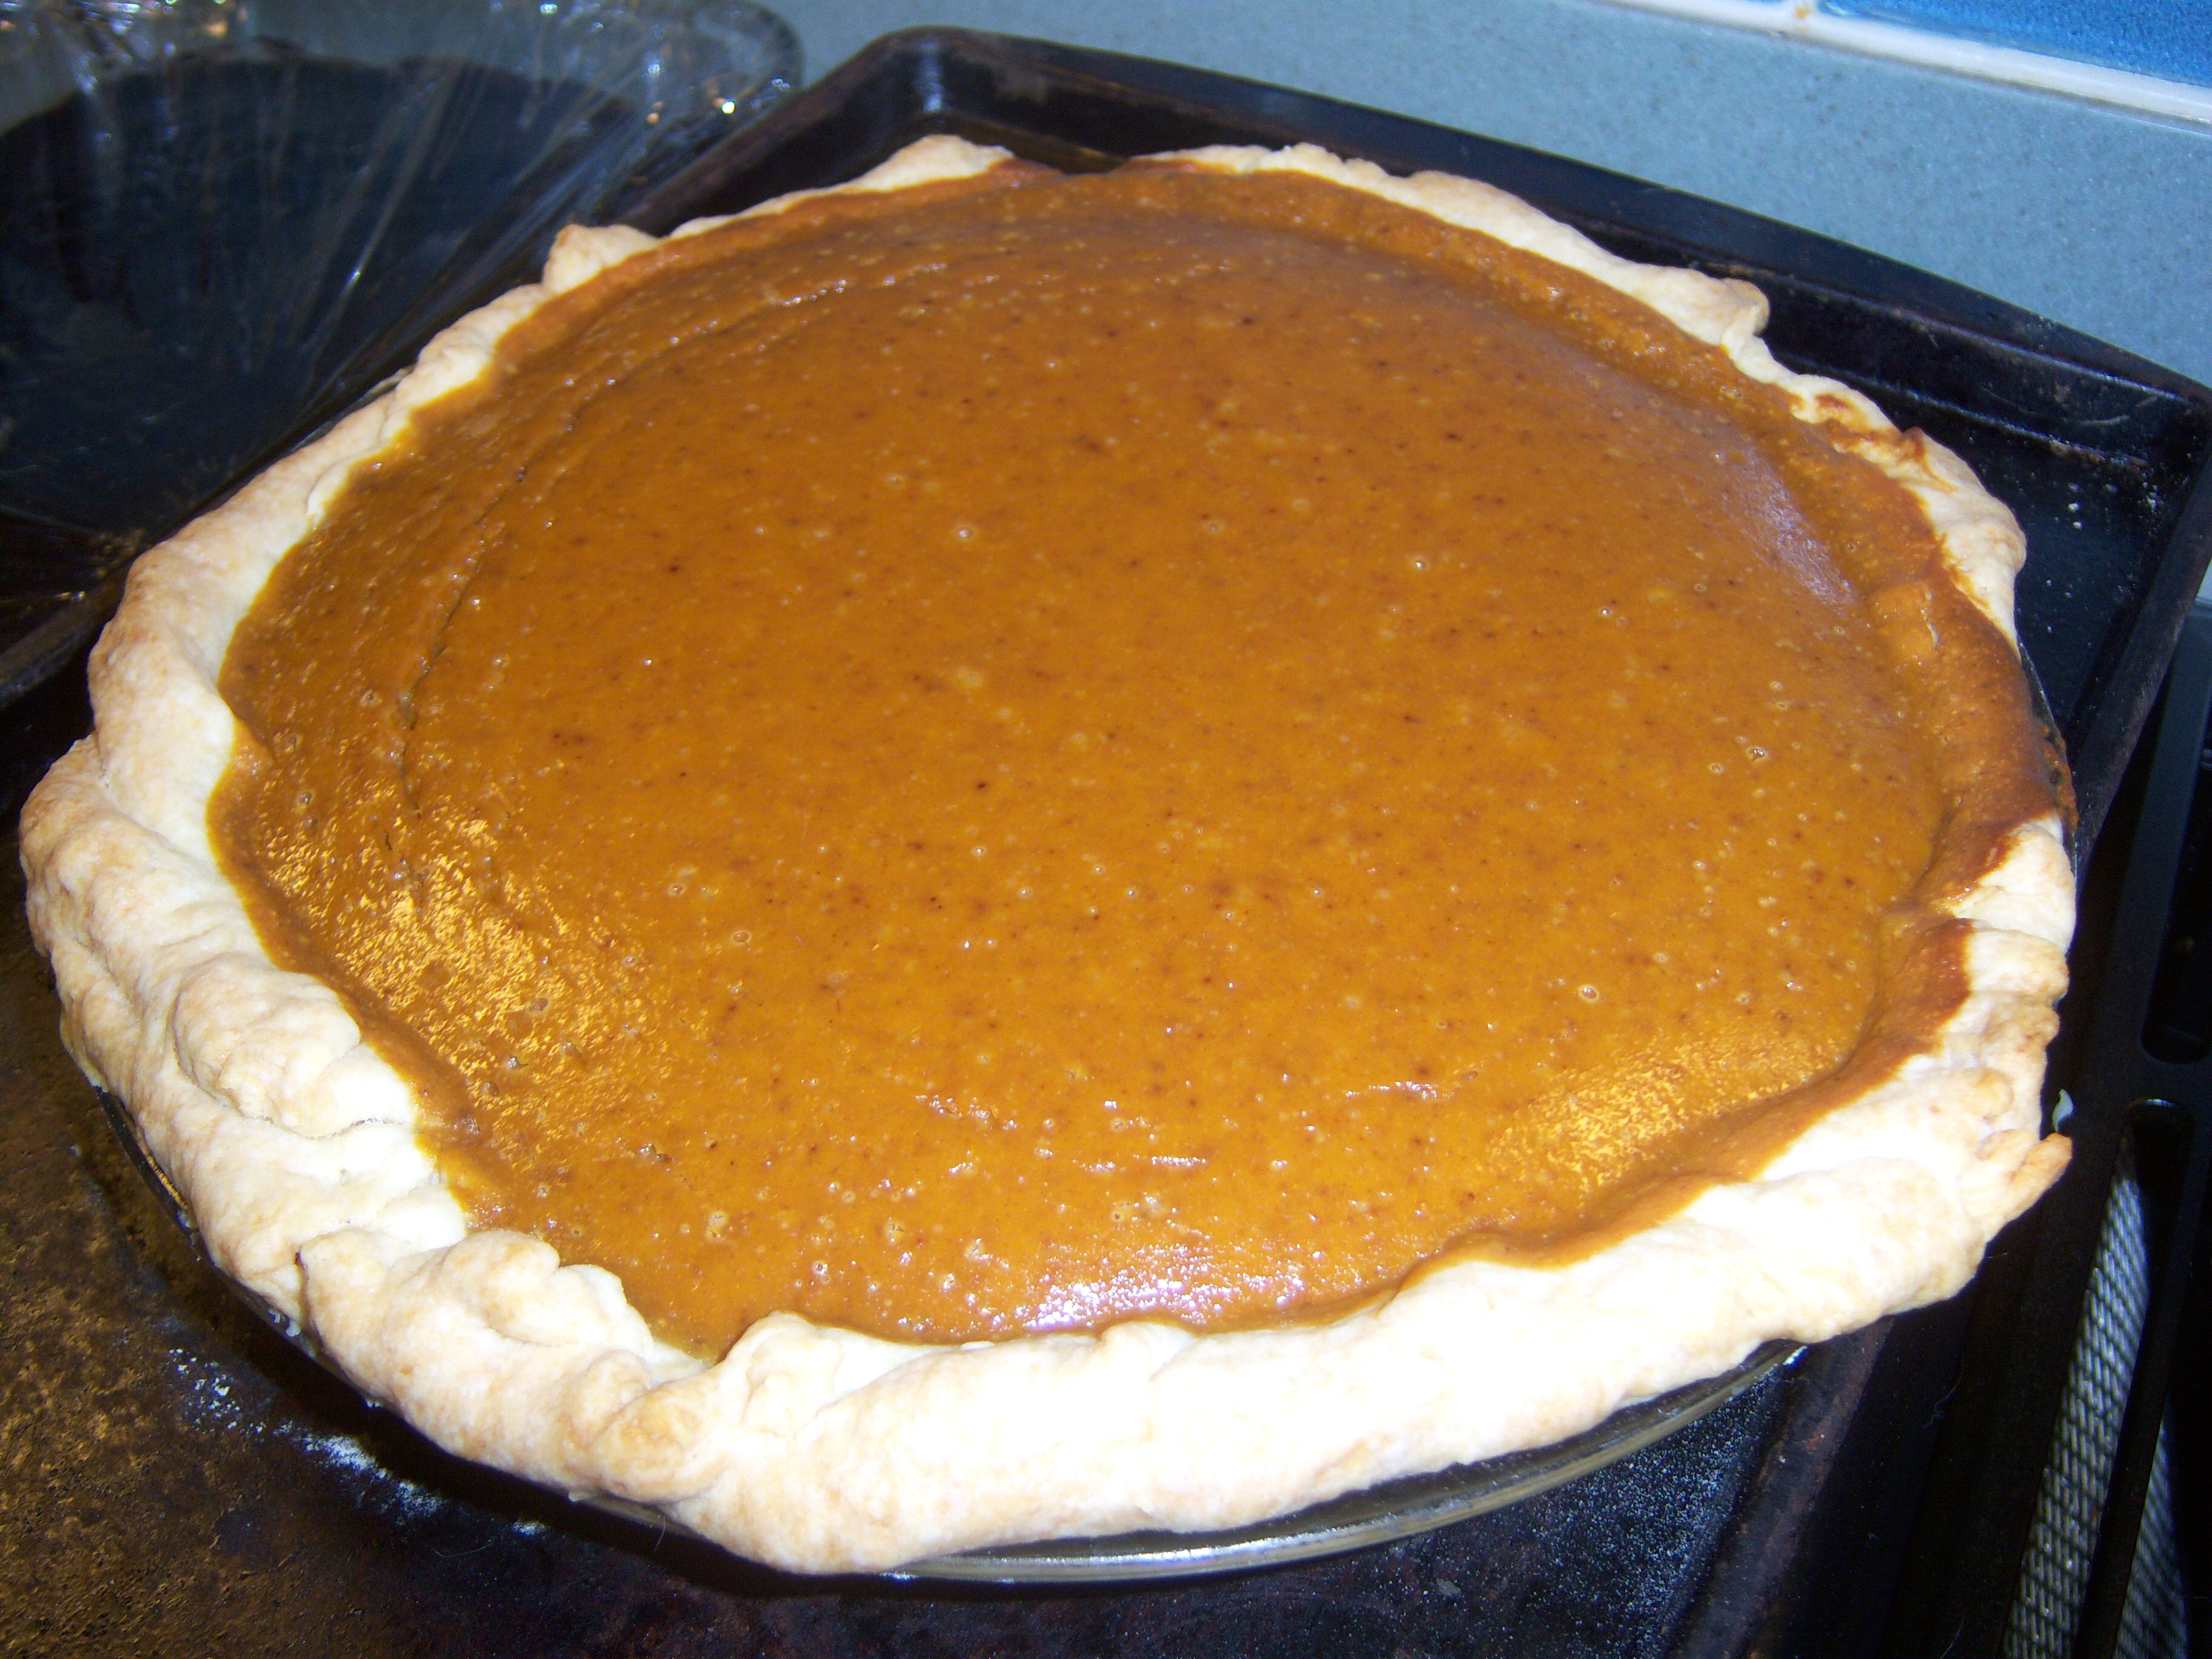
Martha’s pie bakes at 325. The recipe says 50-55 minutes. WRONG! That pie was not done for a good hour and a half, and that was only after I got annoyed and cranked the temp to 350!

Martha's pie

Martha

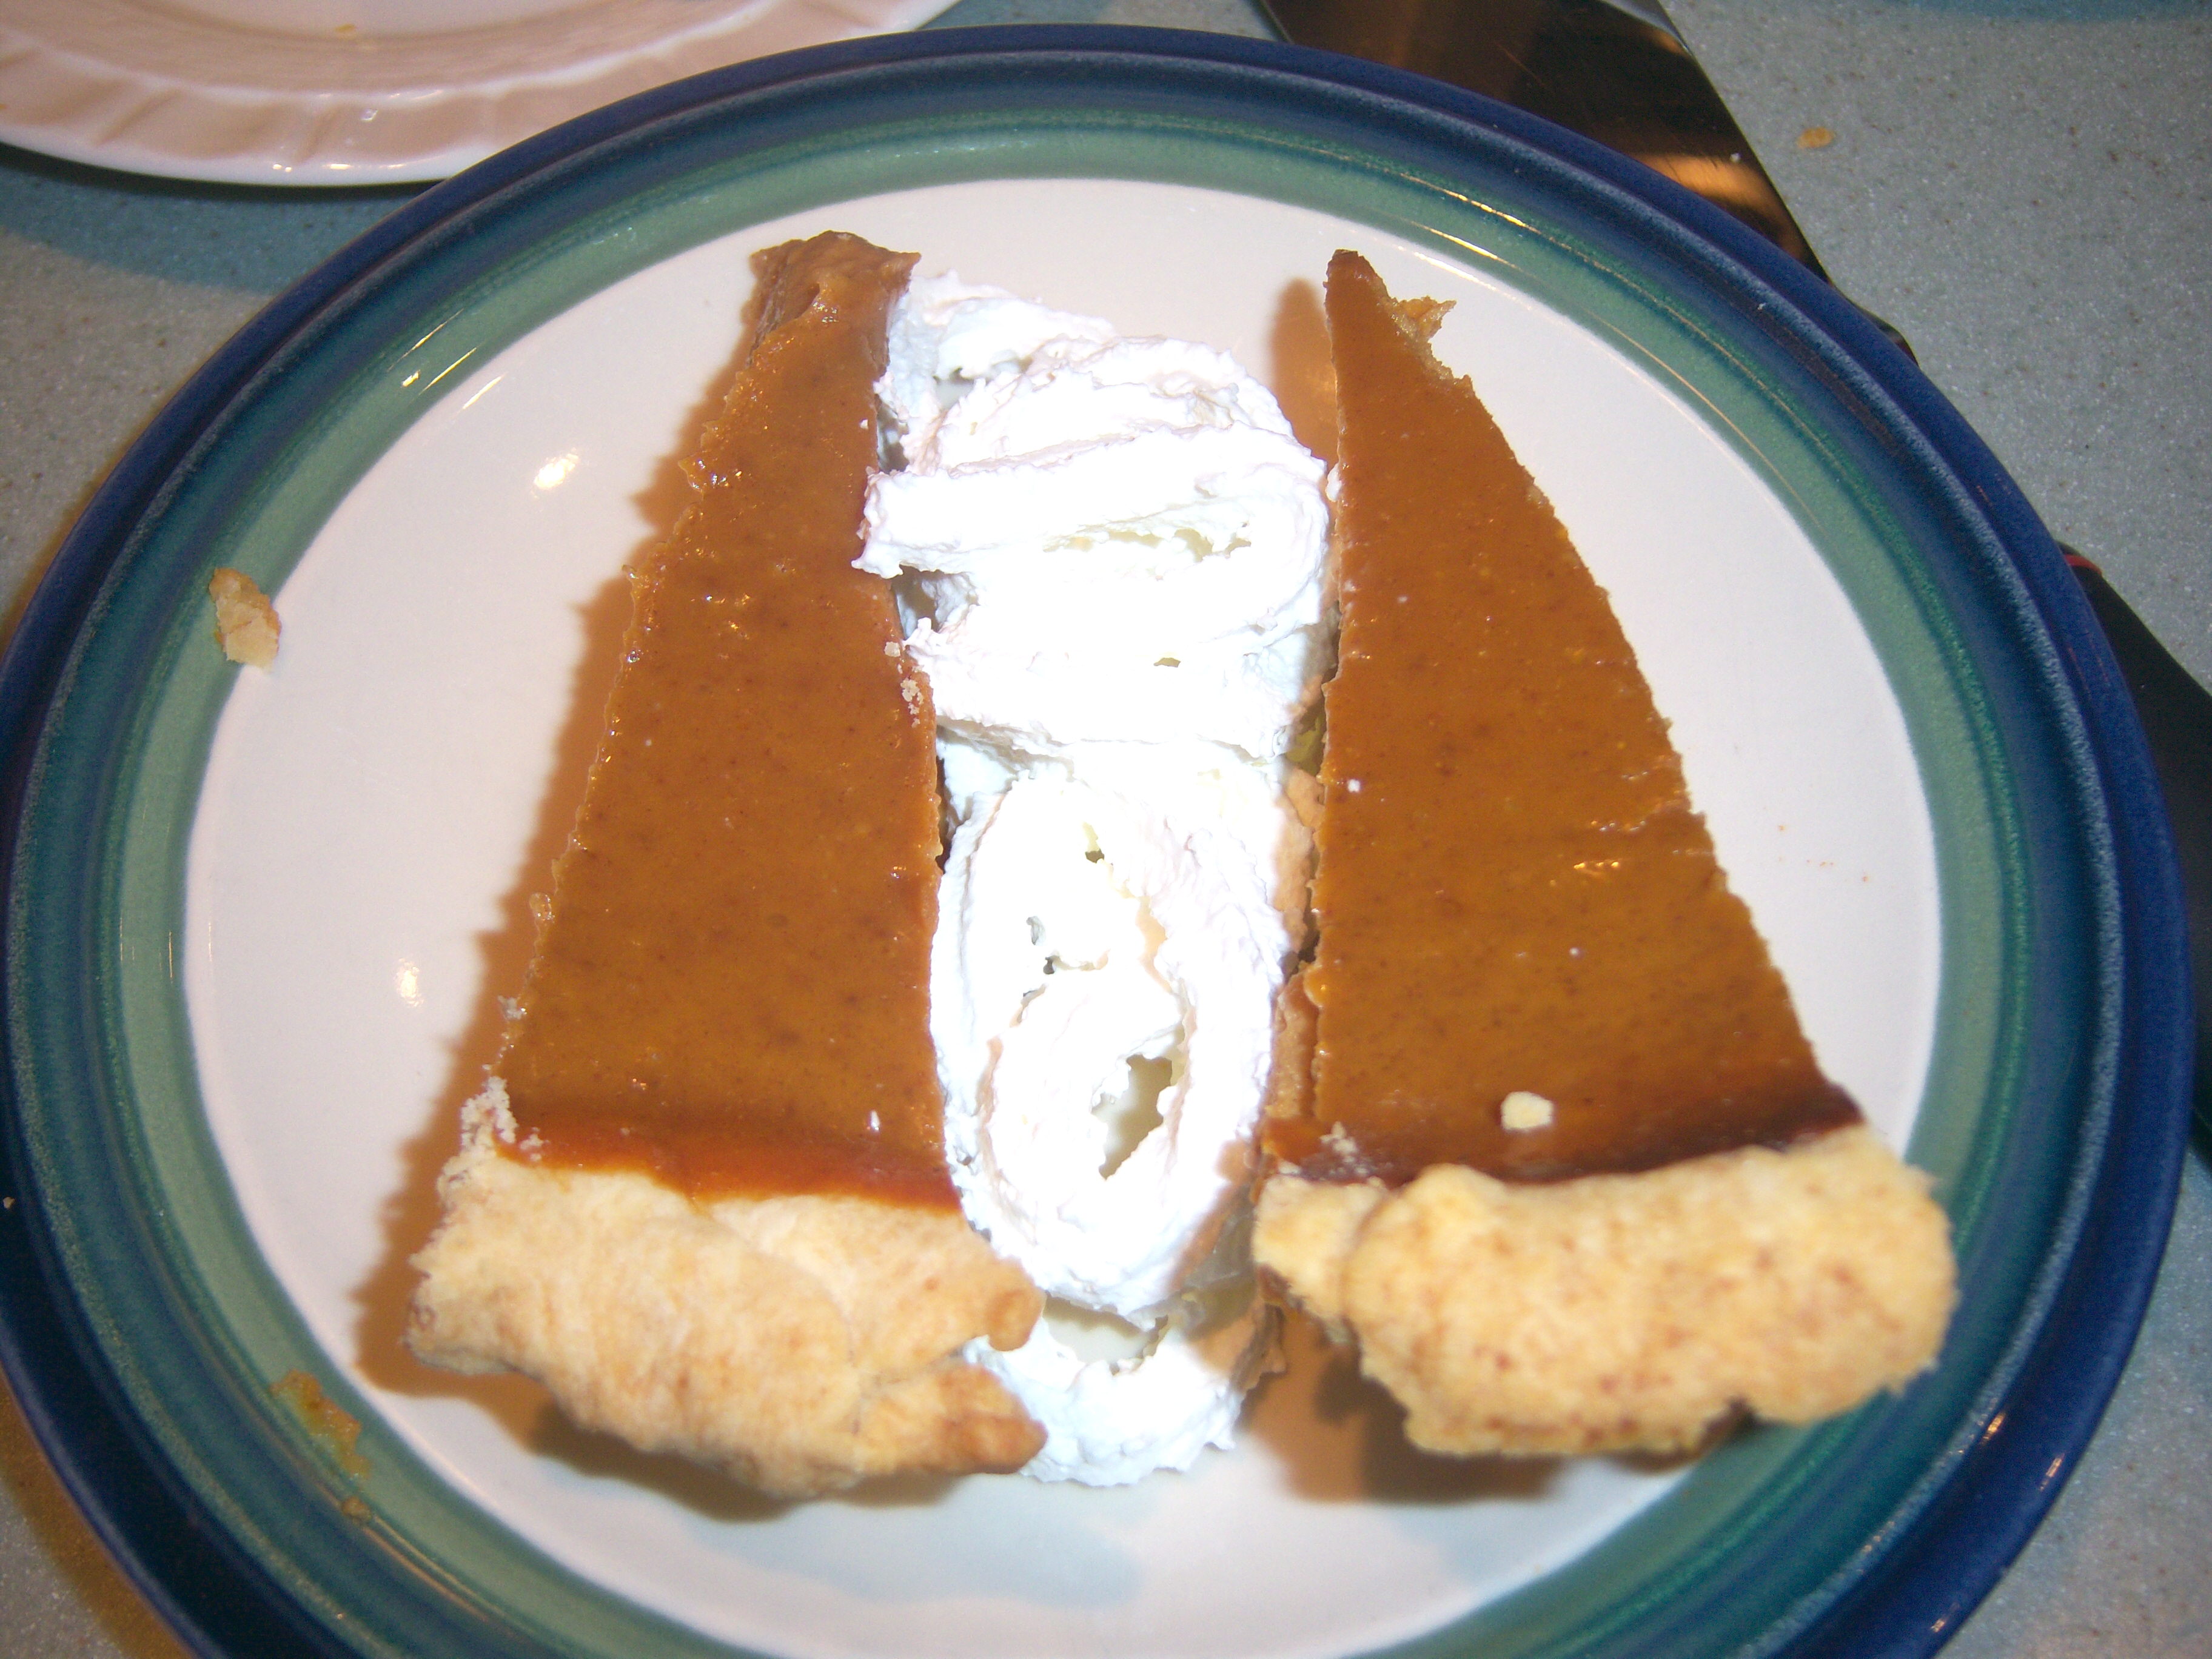
Both pies looked good. Martha’s was a little taller than mine.

I made the family do a taste test. The results were split. I loved Martha’s crust. Yes, it was a giant pain to make it, but it tasted terrific. I would make it again. I liked my filling better. It had a stronger flavor and tasted more like pumpkin to me. So in the future I would make her crust with my filling.

Mine- left, Martha- right

Mine- left, Martha- right

The rest of the family was split also. Mini-Martha liked my pie. Teen daughter liked Martha. Mr. MarthaAndMe liked both.

We always have pumpkin pie for Thanksgiving – it’s a tradition. My recipe uses the crust recipe I got from my mother and the filling that I am embarrassed to admit came from an ad for Libby’s canned pumpkin! Martha has a recipe for Traditional Pumpkin Pie on page 82 of November Living. It was … Read more

Turkey Talk

Posted by Brette in Food

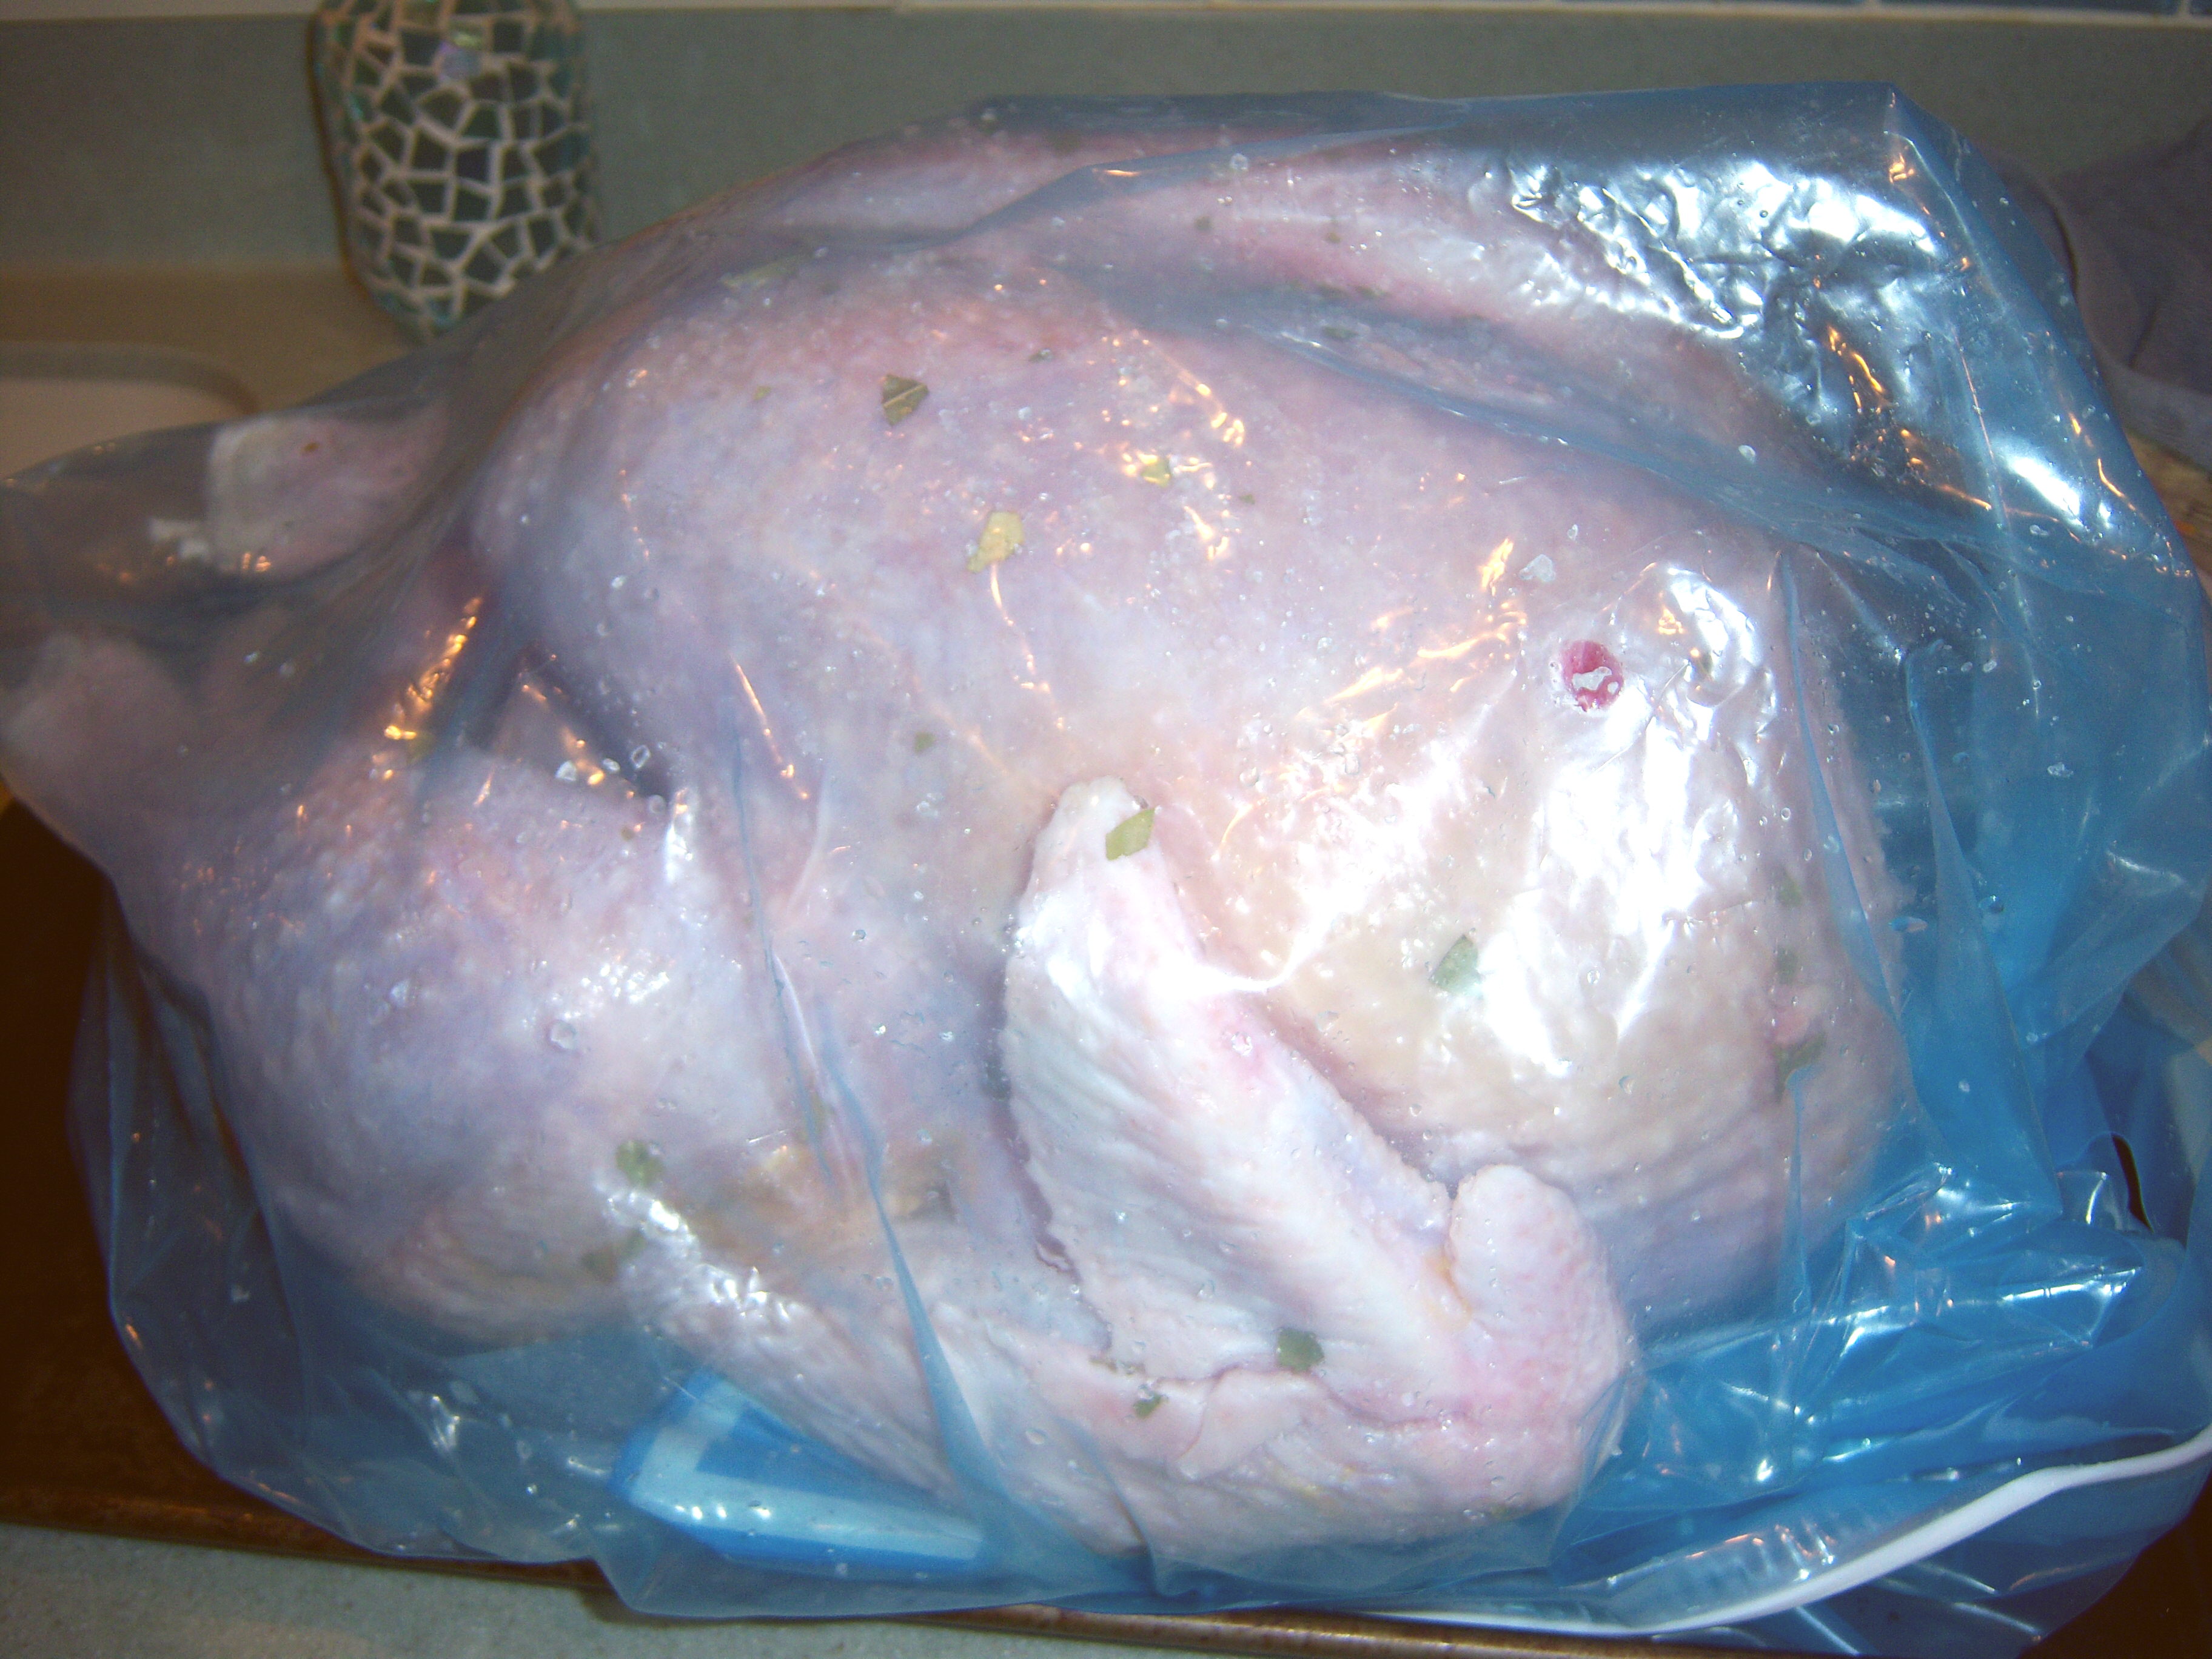
As I posted earlier, this year I made Martha’s dry brined turkey. In the past I’ve done a wet brine and been very happy with it. I took the plunge though and put my turkey in Martha’s hands.

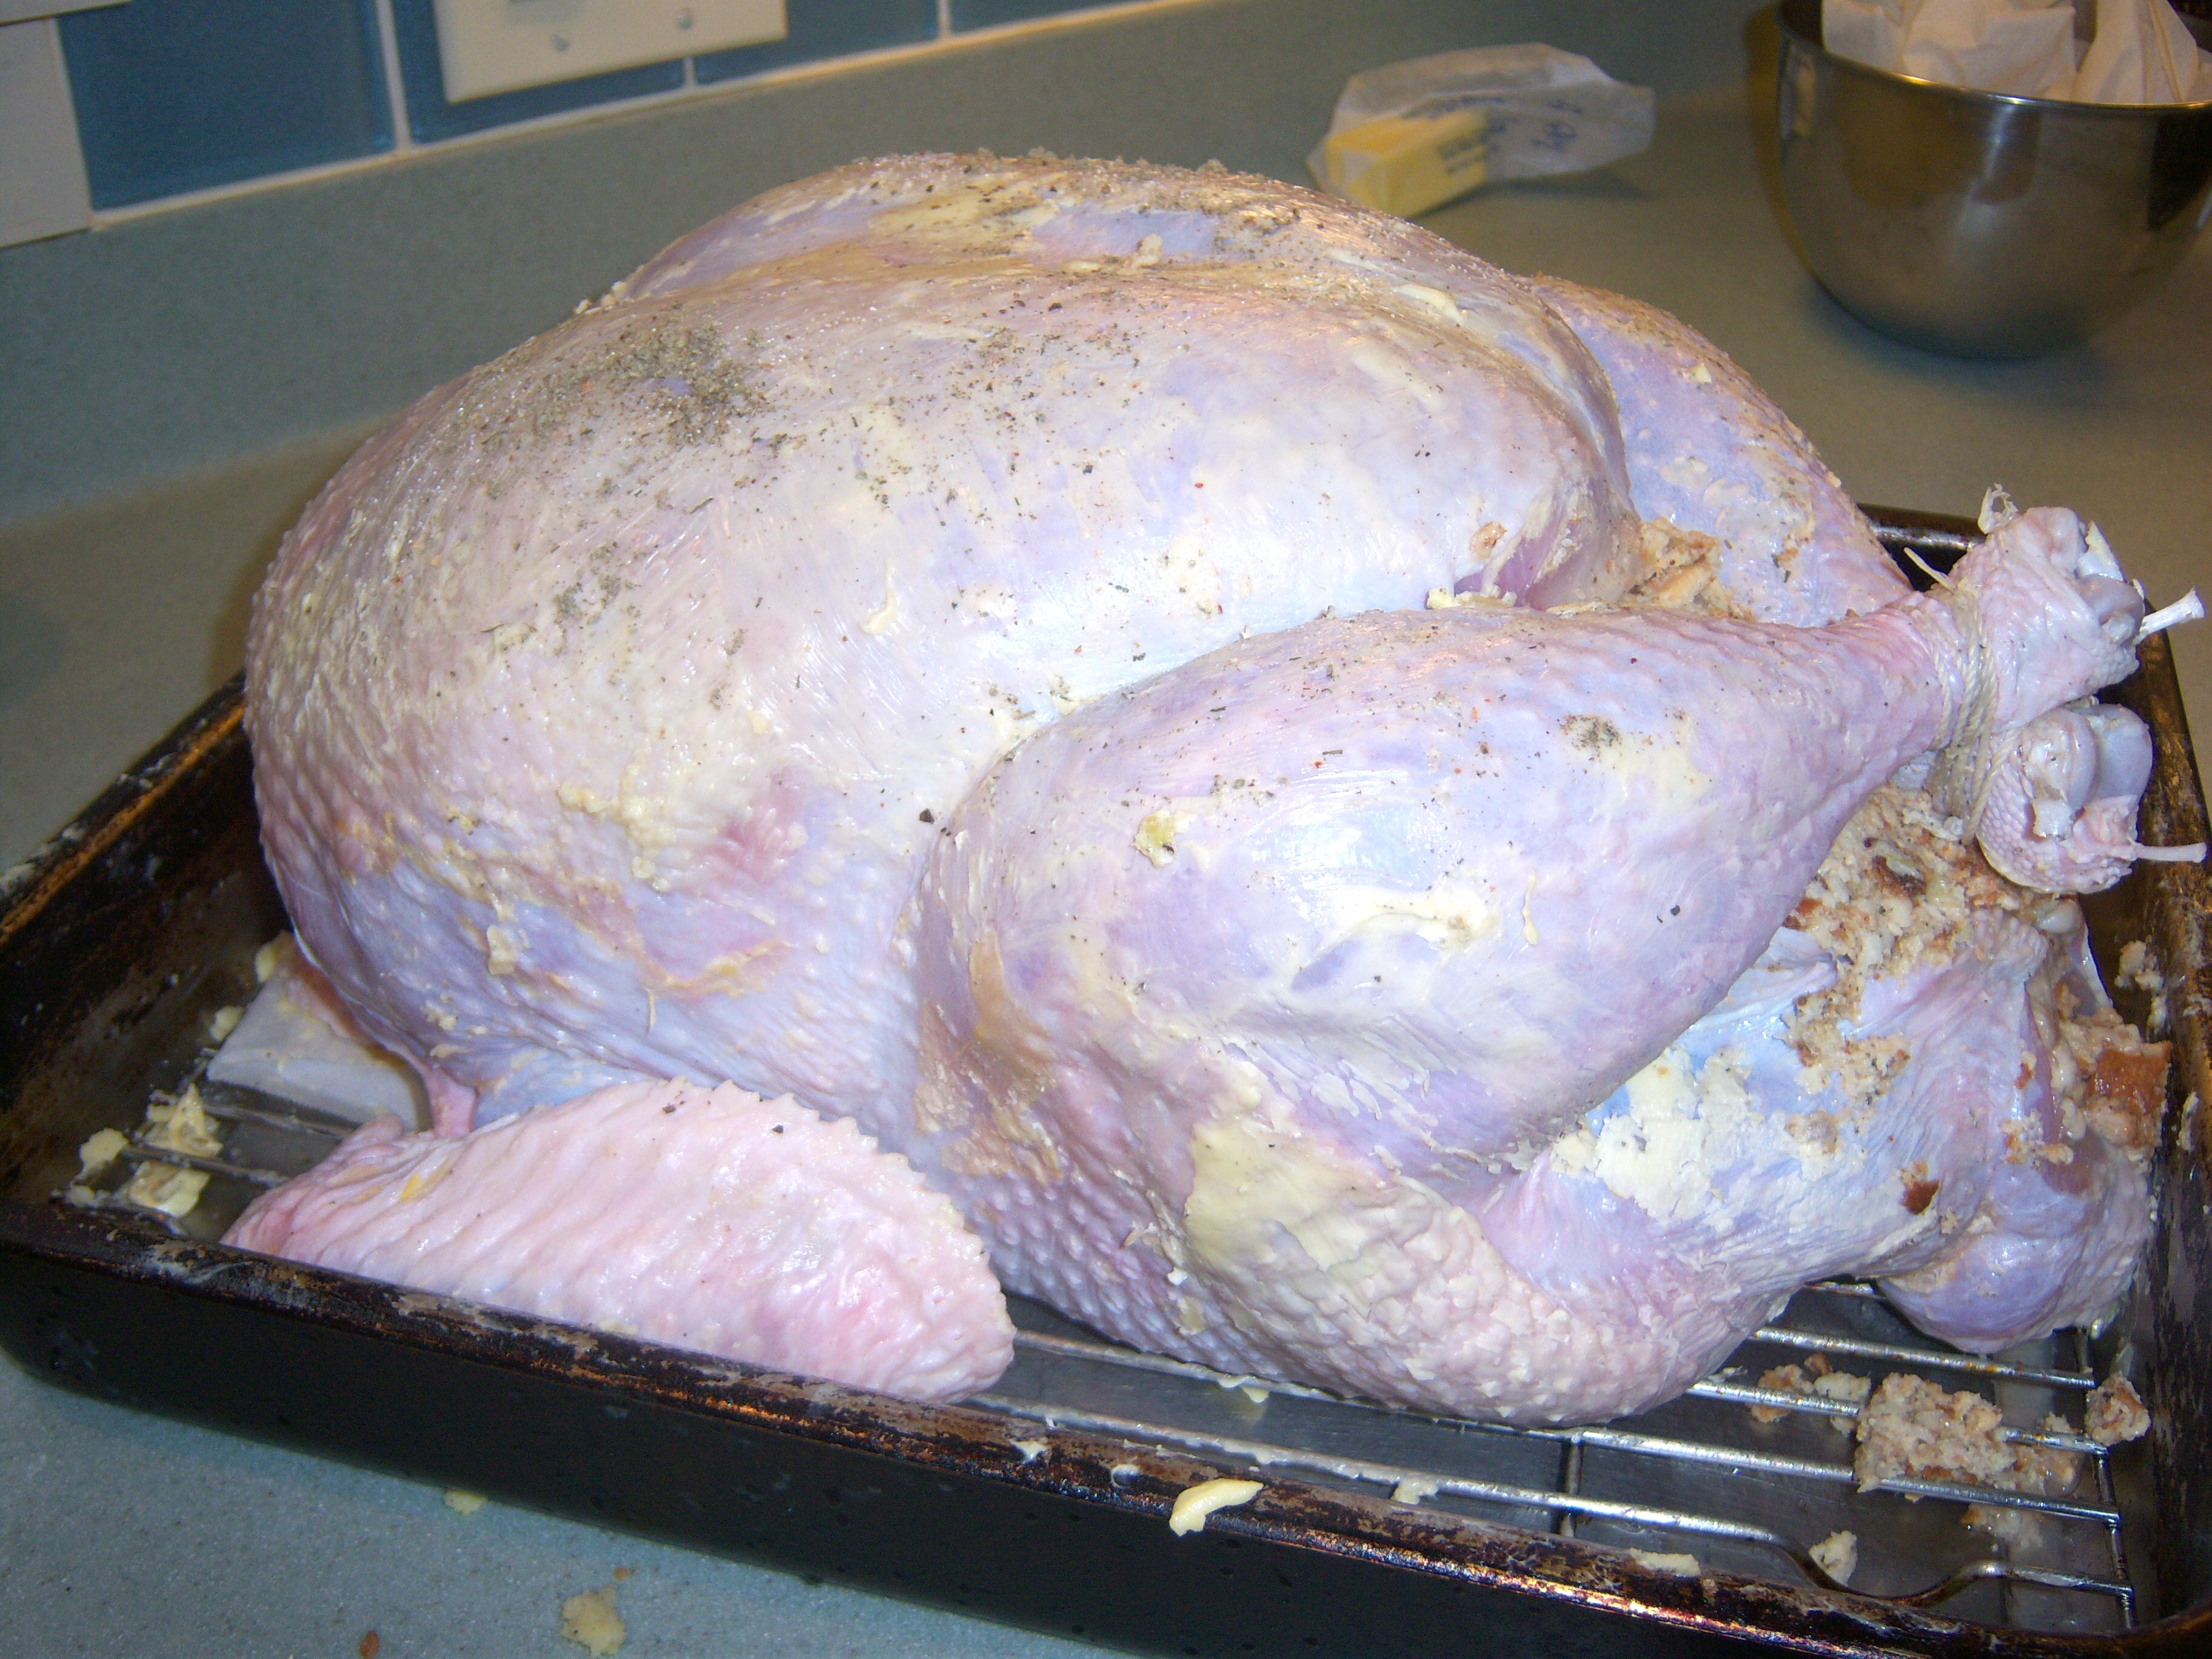
Ready for the oven

Ready for the oven

The dry brine meant I coated the turkey with a mix of salt and bay leaves and left it in the fridge for 48 hours. Thanksgiving Day, Mr. Turkey came out and we first rinsed it well inside and out. I was a little paranoid about so much salt, so I really wanted to give it a good rinse. Martha says to pat the turkey dry and then rub it with half a stick of butter. I’ve never rubbed a turkey with butter, but if Martha says so I will obey. I also sprinkled some poultry seasoning and salt and pepper on it.

I stuffed the big cavity with regular stuffing. I admit I did not do a Martha stuffing since my kids would mutiny. Here’s how I make stuffing. All year long I keep a bag in the freezer and throw stale bread and the ends of loaves into. Come Thanksgiving, I have a nice variety of different breads and plenty to make stuffing with. I cook up onions and celery and add that with poultry seasoning, thyme, rosemary, bay leaves, sage, salt and pepper to the stuffing. Then I get it wet with broth and water. Pretty easy.

The small cavity was stuffed with a new family tradition – cornbread stuffing. We tried this last year and it was a hit and everyone wanted it again. I make cornbread and treat it like I do the regular bread stuffing.

Once the turkey was stuffed, Martha says to tuck the wings underneath it. It took a while to figure out how to do this. What she really means it to take the tips of the wings – that third, skinny part – and bend it backwards and then stick it under the front of the turkey (the neck end). Next, I tied the legs together as directed by Martha. Into the oven it went. Martha says to baste it every half hour with a butter and white wine mixture. I just used butter (we’re not big on wine).

Martha says to start the oven at 425 then turn it down to 350 after half an hour. I did as directed.

Here’s where things got a little kooky. My turkey was 19 lbs and every chart I consulted said it should take 4 1/2 to 5 hours stuffed to cook. Ha! This bird was done in 3 1/2 hours! I was not prepared at all! I turned the oven down to warm and raced around peeling potatoes and cooking veggies.

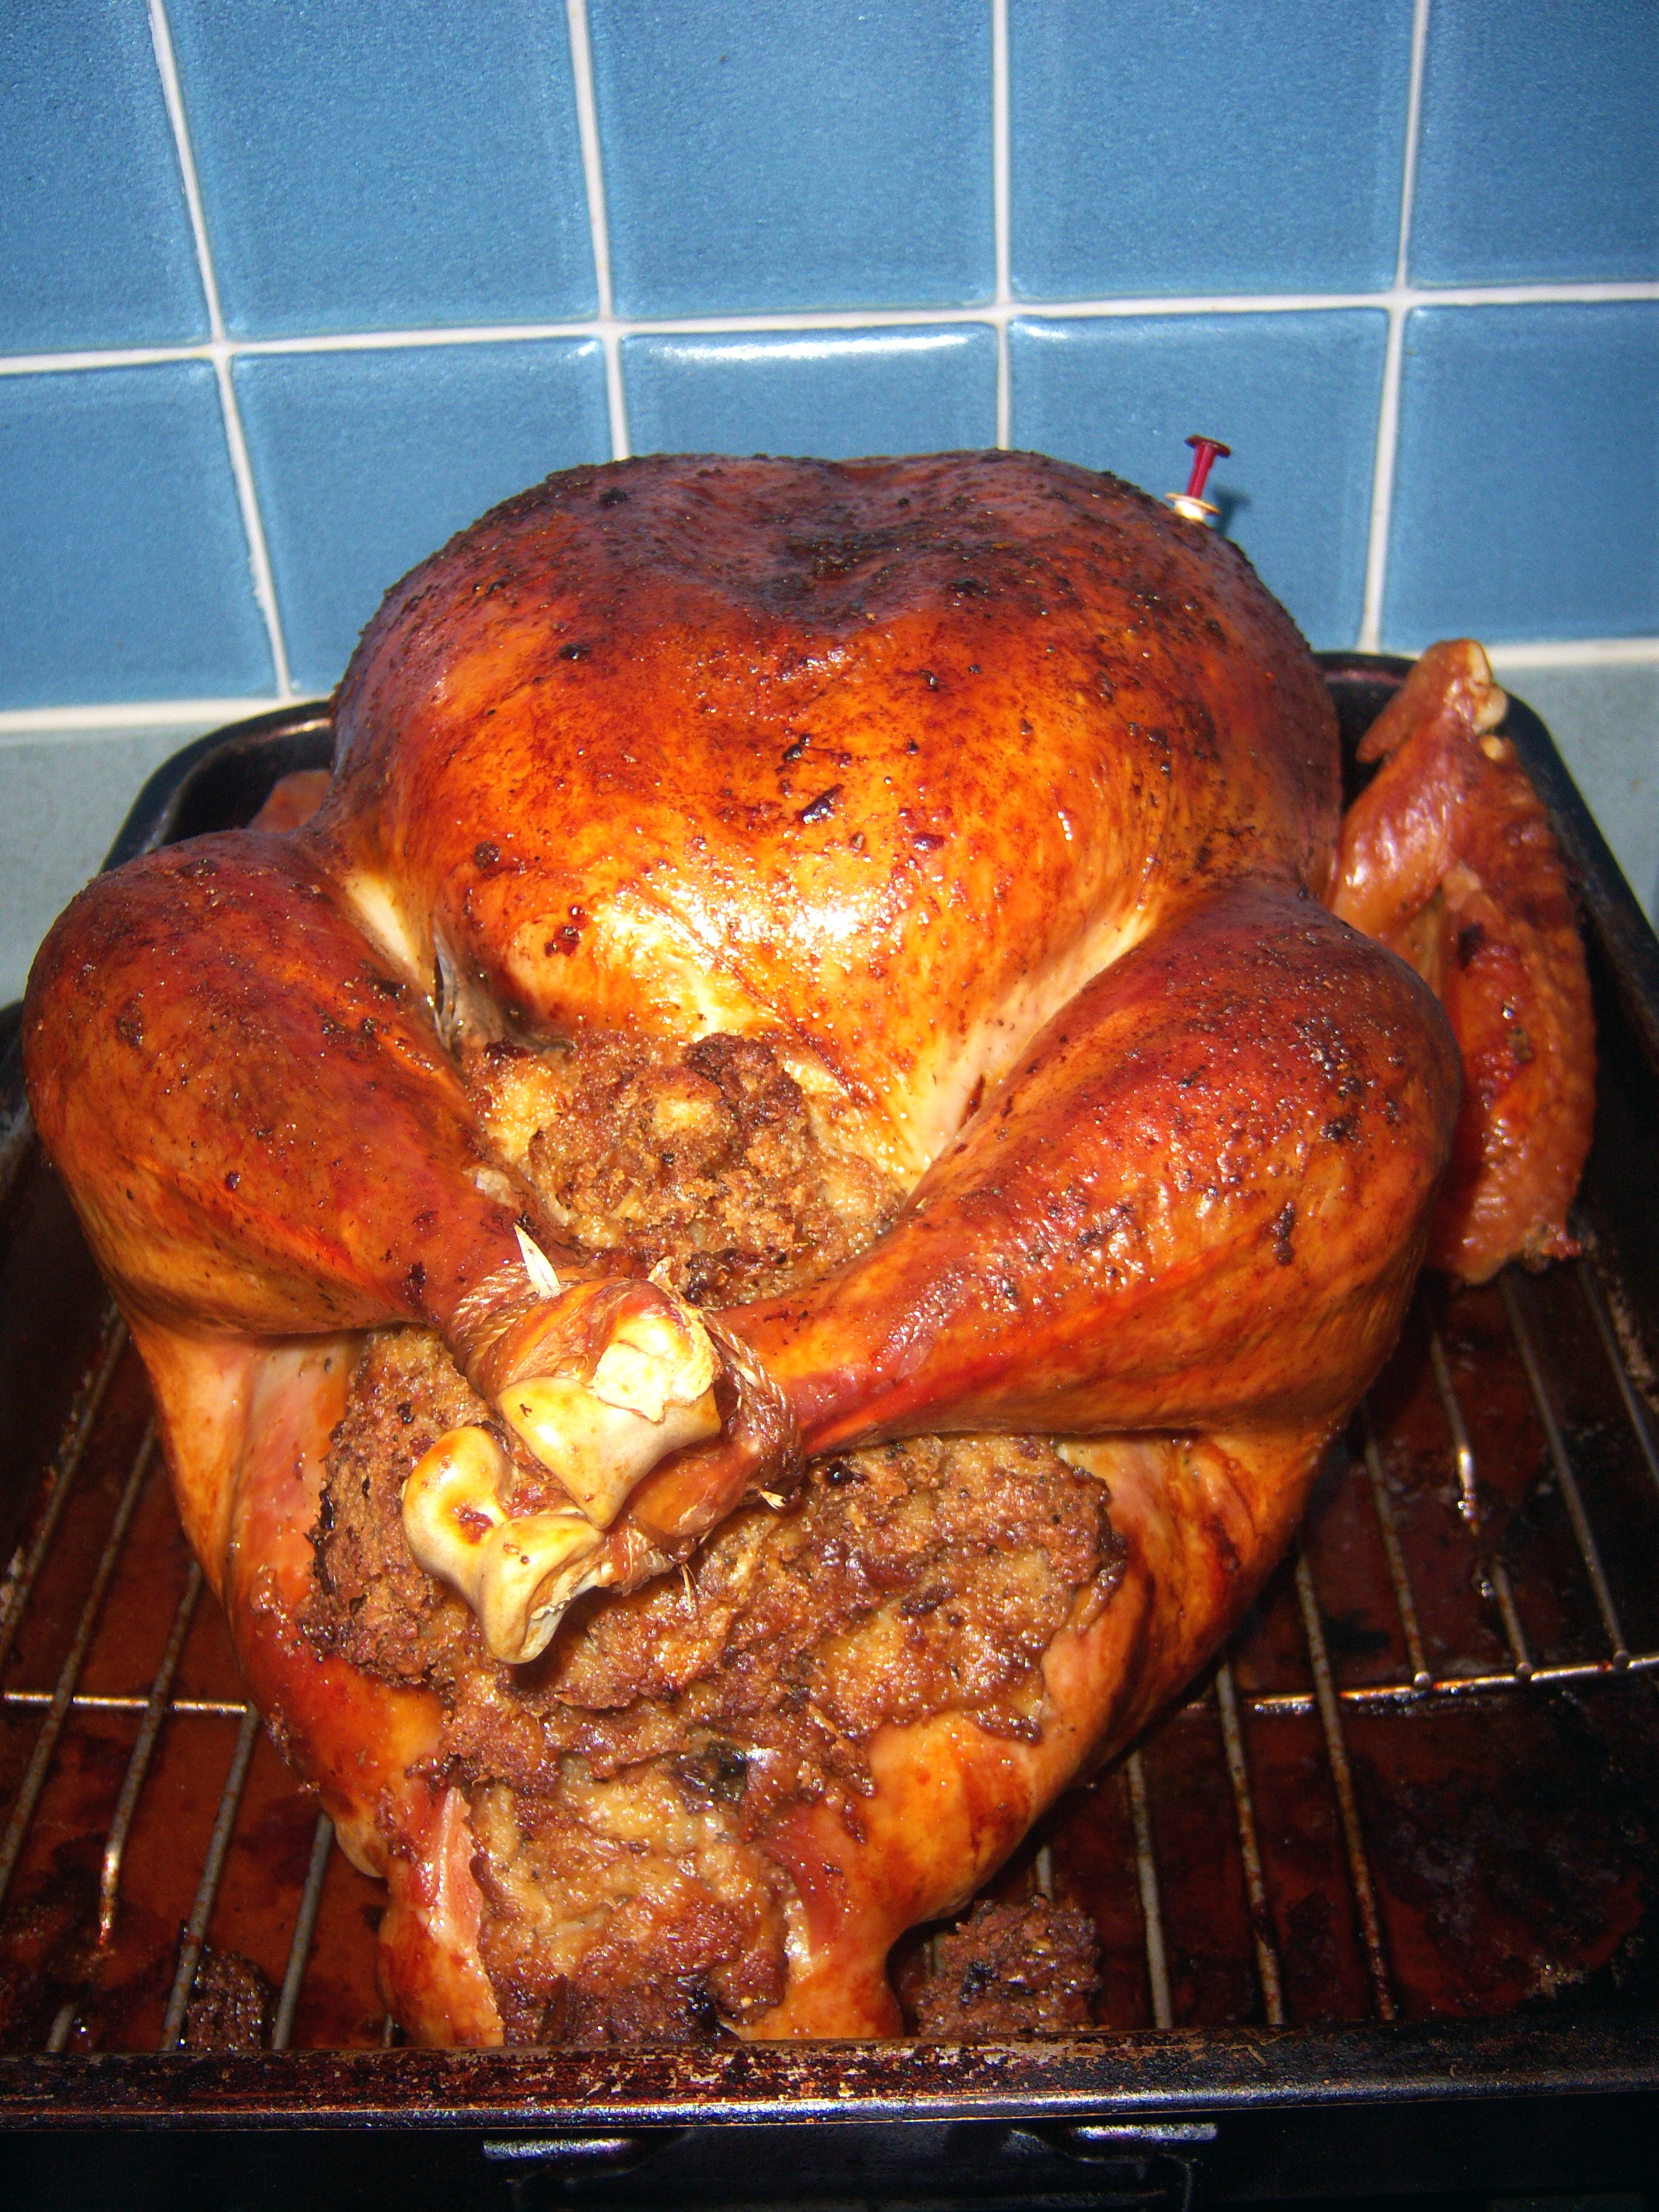
Right out of the oven

Right out of the oven

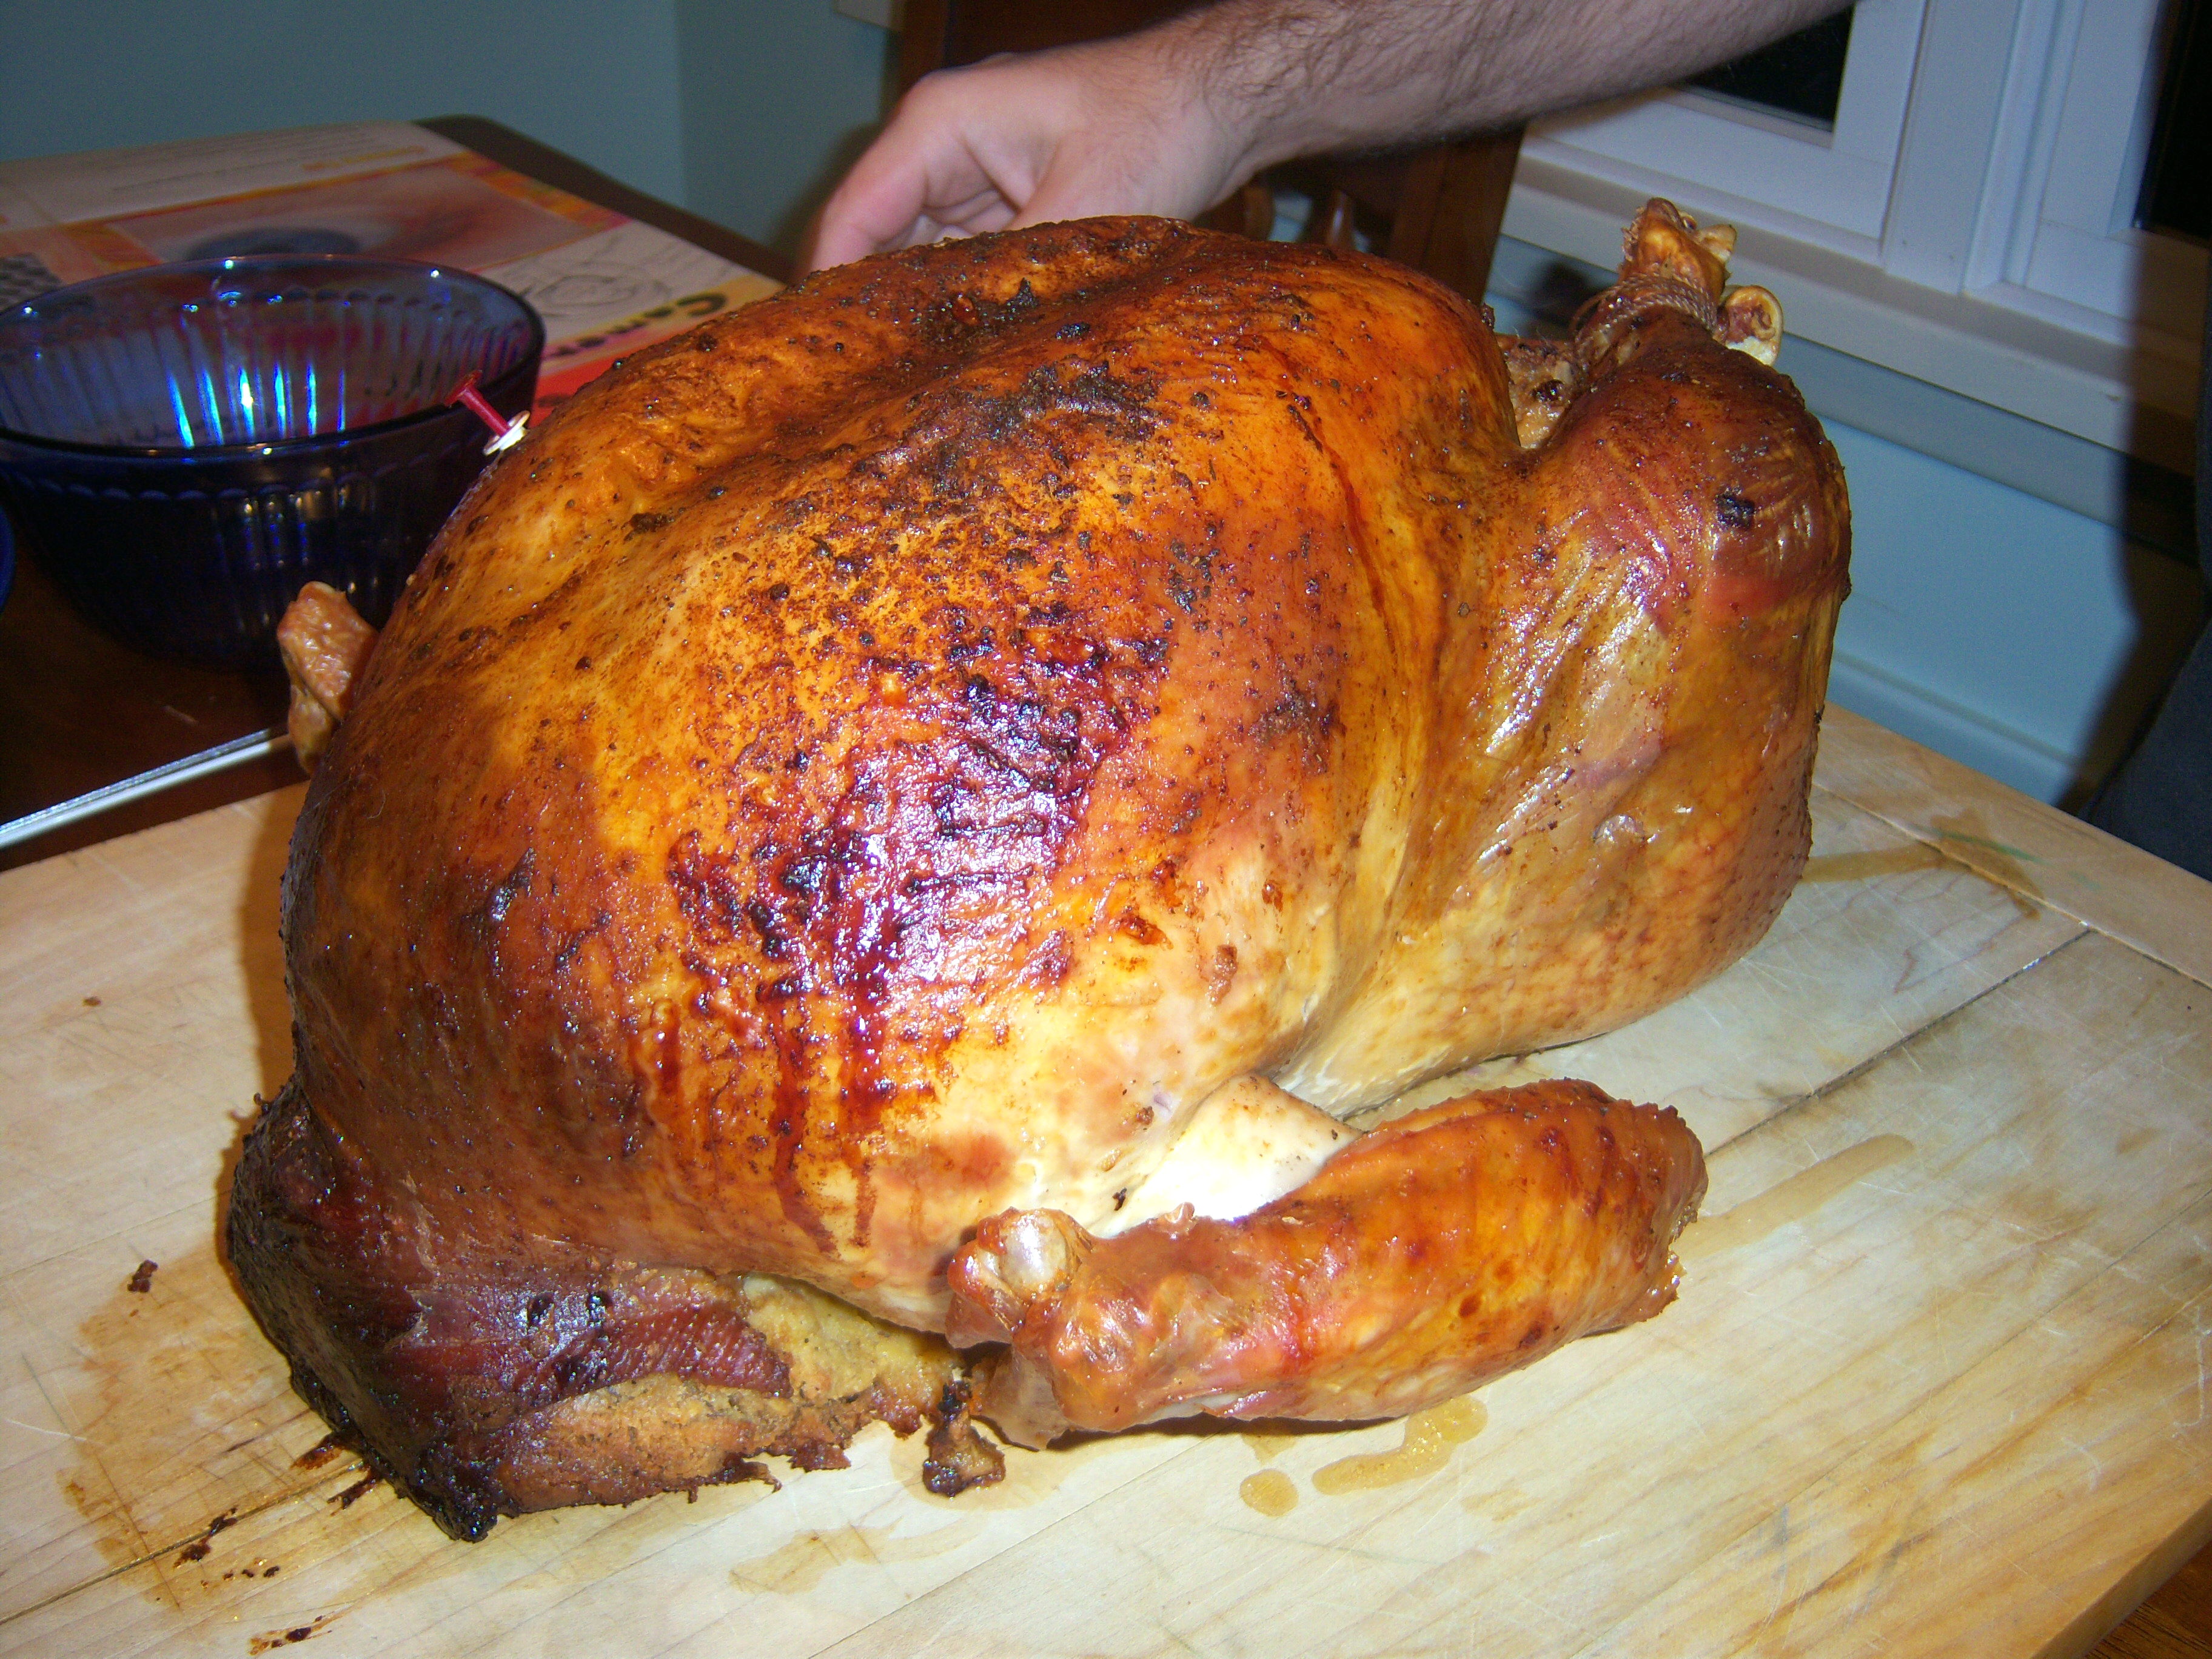
I let it rest outside the oven for about half an hour before Mr. MarthaAndMe carved. What a beautiful bird this recipe produced! It was a gorgeous bronze color, just like the one of the cover of the November issue of Living. I’ve never seen a turkey so brown and perfect.

This was hands down the most delicious turkey I have ever made. It tasted simply incredible. Moist, flavorful, silky – to die for. I did use a different kind of turkey this year – organic, free range when in the past I’ve only used organic, so that may be part of it. But I believe the dry brine definitely made this turkey moist and tasty. Slathering it with

Ready to carve

Ready to carve

butter probably helped too.

What else did we have? Mashed potatoes, gravy (pan drippings mixed with turkey broth that I mix Wondra into), and roasted root vegetables (carrot, parsnip and rutabaga with olive oil and balsamic vinegar). Pumpkin pie for dessert (that’ll be tomorrow’s post, so tune in to find out how Martha’s pie went).

We had a great Thanksgiving. We watched the parade and the dog show. After dinner we played some games and then watched the Charlie Brown Thanksgiving show. It was a terrific, relaxing day. We have lots of leftovers – Oh! I can’t wait to have that turkey sandwich at lunch! I’m also planning to try out some of Martha’s leftover ideas from November Living.

I will definitely make this dry brined turkey again next year. It is much easier to make than the wet brine and the results were simply incredible!

As I posted earlier, this year I made Martha’s dry brined turkey. In the past I’ve done a wet brine and been very happy with it. I took the plunge though and put my turkey in Martha’s hands. The dry brine meant I coated the turkey with a mix of salt and bay leaves and … Read more
Win Martha’s products, each Friday from now to the end of the year. I’m entering. I really want one of the lamps! What do you want to win?

Happy Thanksgiving! Check back to see how Martha’s dry brined turkey and pumpkin pie turned out!

Win Martha’s products, each Friday from now to the end of the year. I’m entering. I really want one of the lamps! What do you want to win? Happy Thanksgiving! Check back to see how Martha’s dry brined turkey and pumpkin pie turned out!

For the past few years, I have done a wet brine for my Thanksgiving turkey. My brine usually includes salt (obv, as my teen would say), cider, sugar, lemon juice, lemon slices, orange slices, and some Williams Sonoma Turkey Brine mix Mr. MarthaAndMe bought me for Christmas one year.  I’ve experimented with adding brown sugar or molasses. I’ve had great success with brining. It creates a moist and flavorful turkey. It’s well worth the effort. Martha said on her show Tuesday that this is the year of the brined turkey. She said in past years people were all excited about deep frying their turkeys, but this year everyone is brining. Look at me, riding the trend!

In the past, I bought a Plainville Farms organic turkey from a butcher shop. This year, however, I bought an organic, free range turkey from my grocery store. It was $64 for a 19 pound turkey! Yowza!

In the November issue of Living, Martha has a recipe for a Dry-Brined Turkey, which she and Sarah Carey demo’ed on the 5th Cooking School lesson on her show (which I missed, but was able to catch most of online). I had never heard of a dry brine before this, so this is a new one for me. The scientific explanation for it that somehow the salt draws all the juices of the turkey to the surface which makes it juicier. I’m not chemist, but I’ll give it a shot. Martha says you must dry brine your turkey on Tuesday if you want it on Thursday (it needs to sit for 48 hours), so that was the plan.

Mr. MarthaAndMe and the cavity

Mr. MarthaAndMe and the cavity

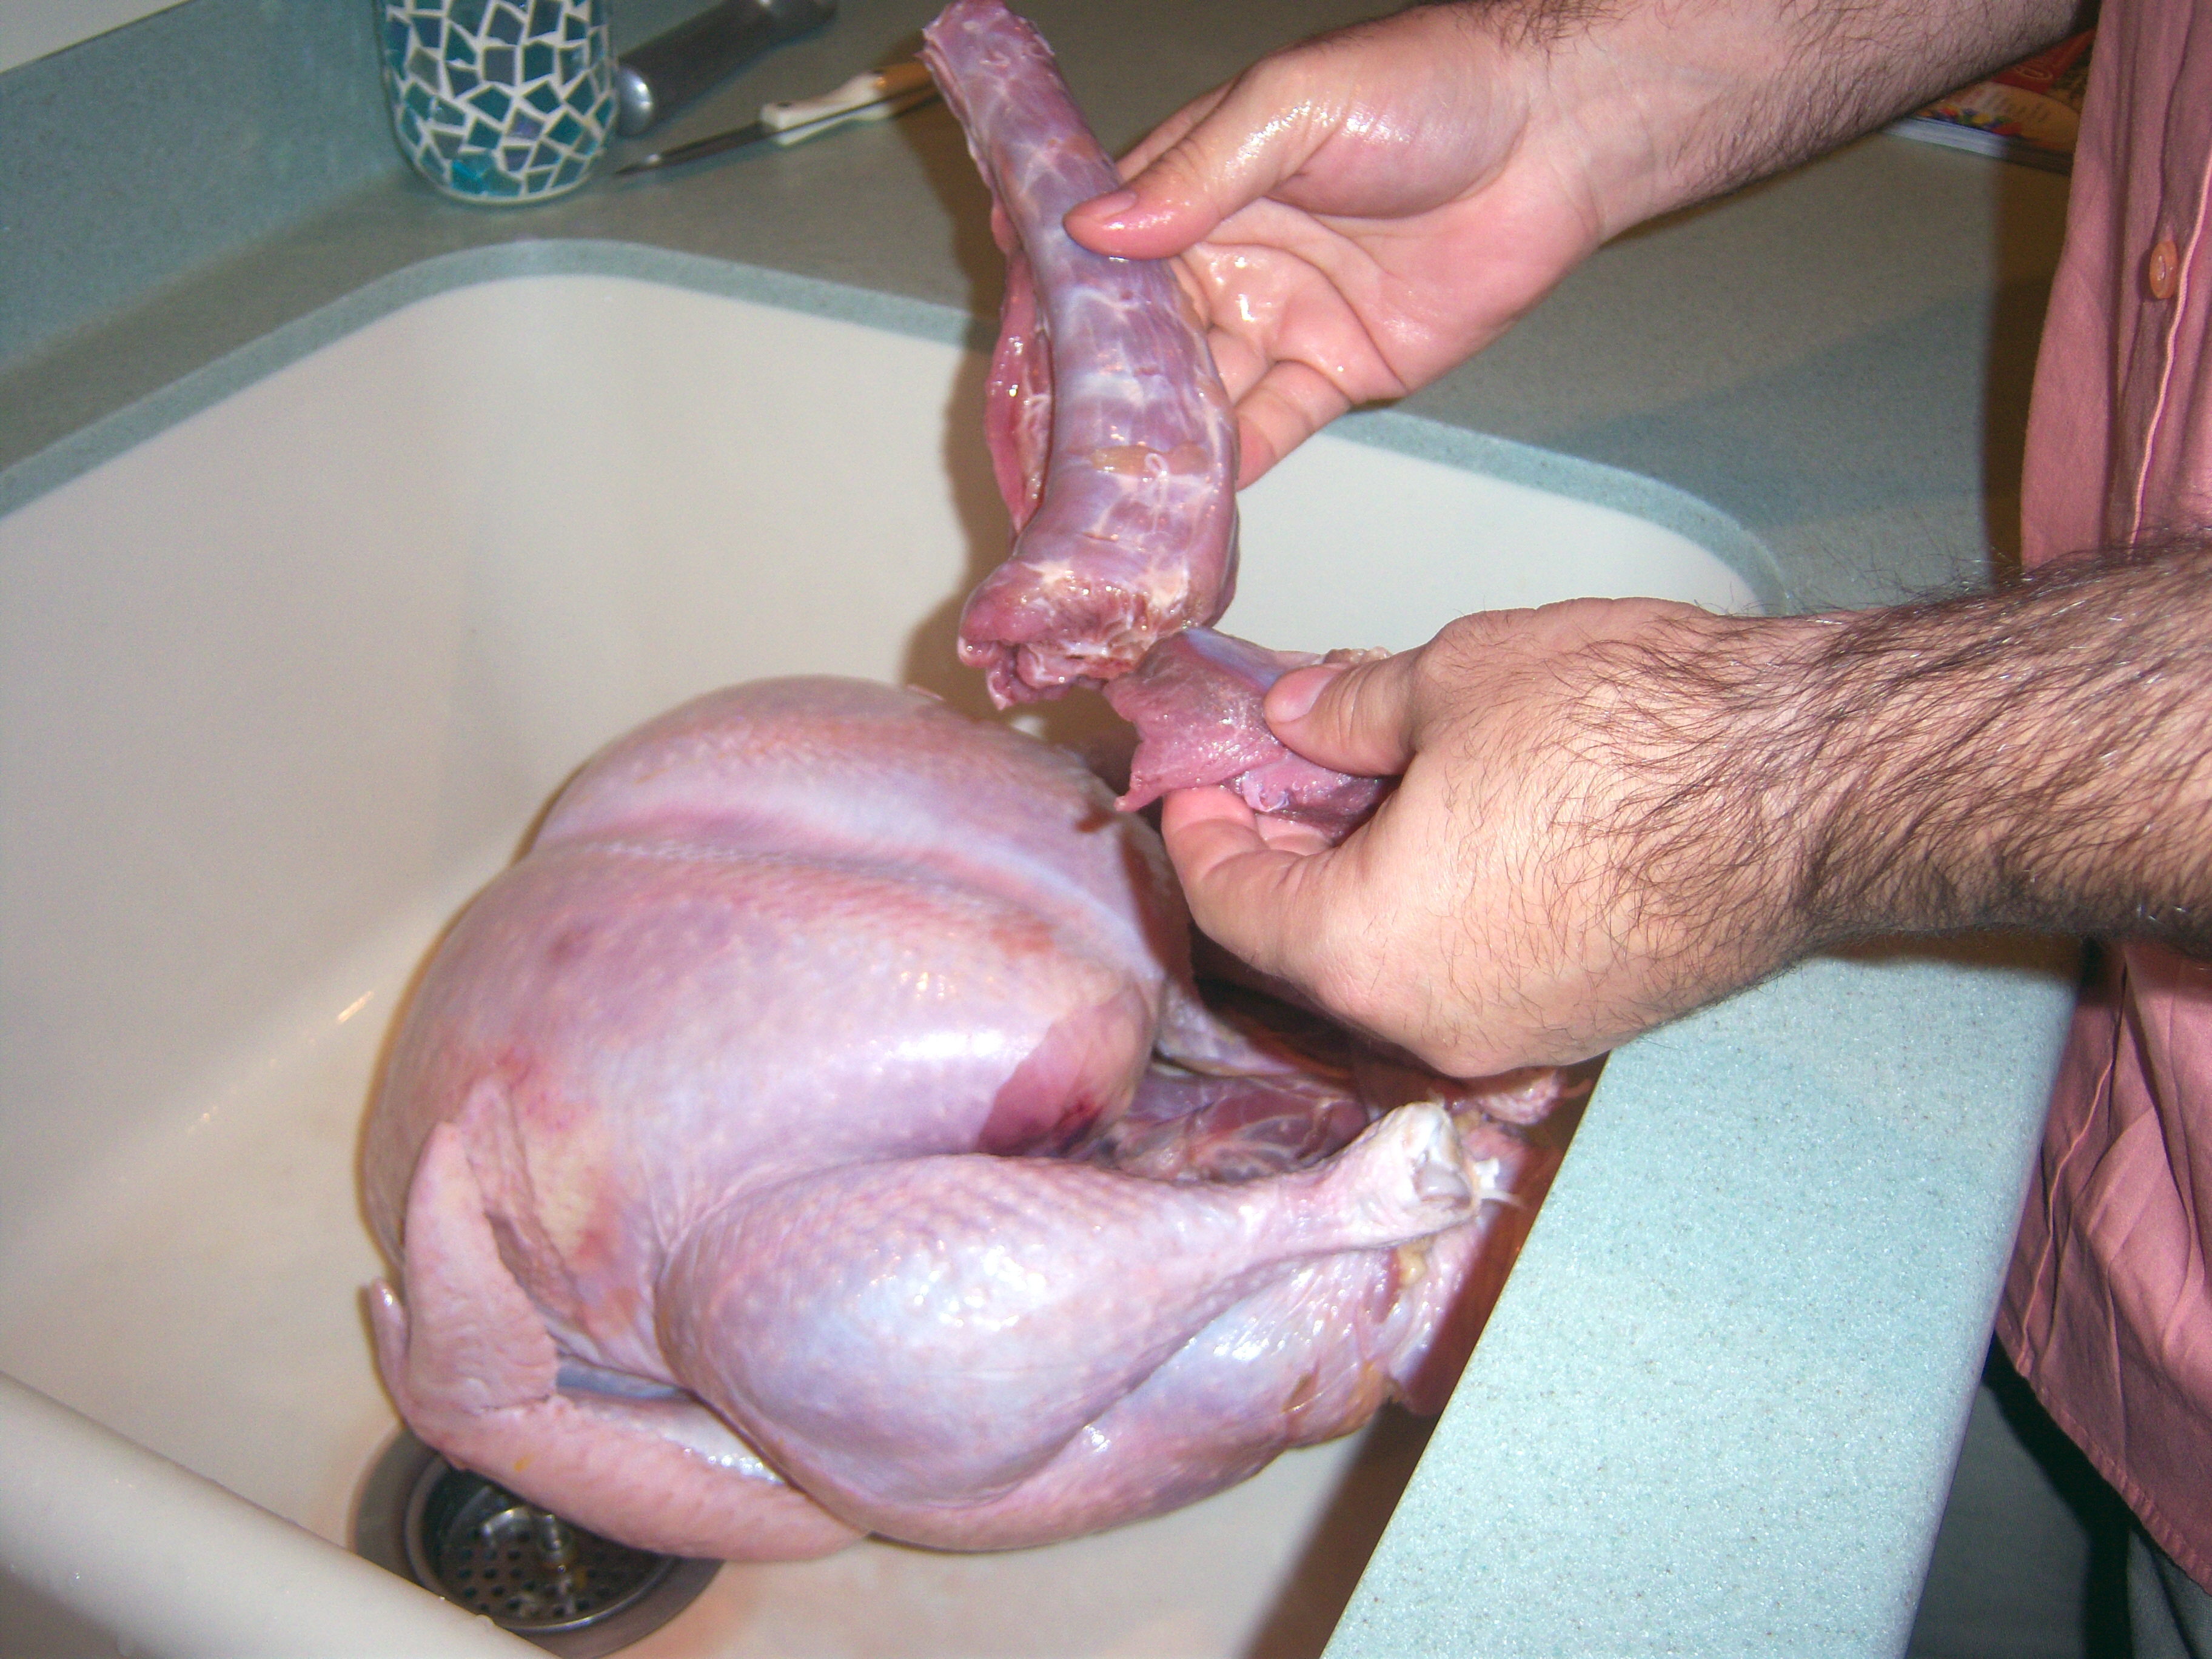
First step is to remove the giblets. Eww, gross. I hate those! Mr. MarthaAndMe was glad to step in and hold the turkey’s intimate parts for me. I love how Martha wears gloves to work with turkeys. I definitely could use those. One small glitch – this turkey had an actual feather still attached. Eeek! That did not make me happy! Mr. MarthaAndMe bravely plucked it out.

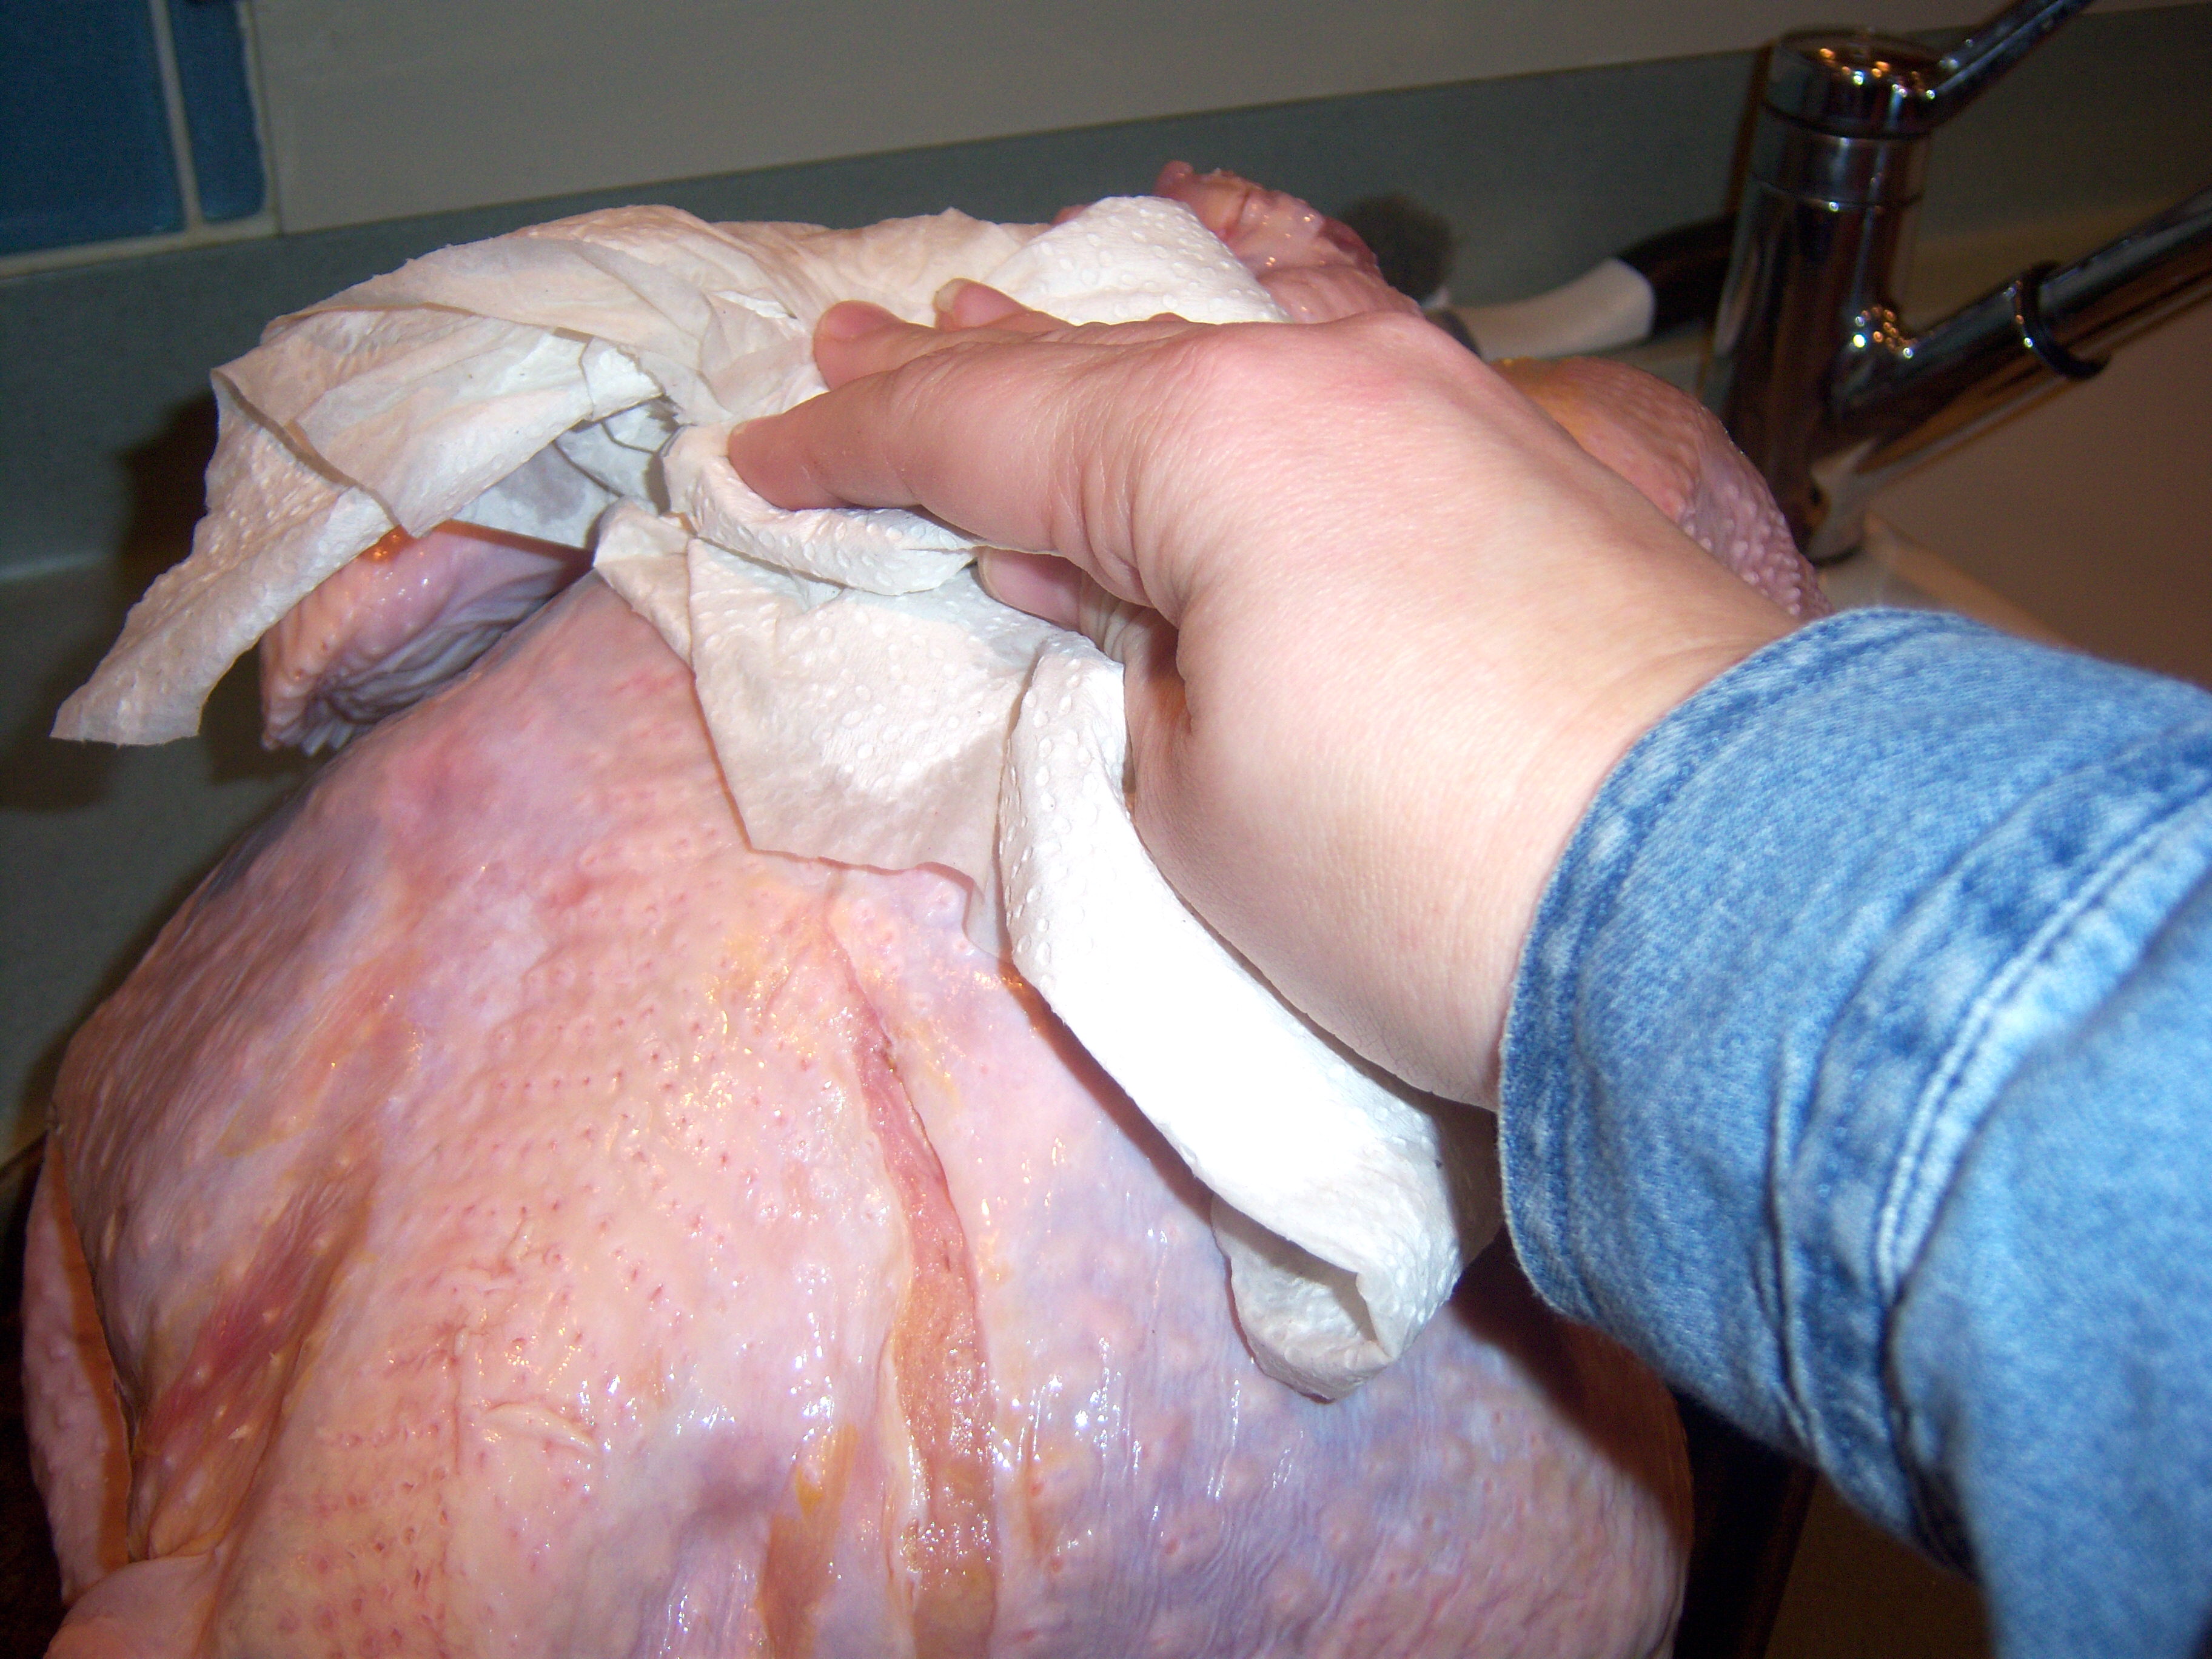
Next, you rinse the turkey off, inside and out. I understand the importance of this, but boy do I hate doing it. All I can do is imagine nasty turkey salmonella germs all

Patting Mr. Turkey Dry

Patting Mr. Turkey Dry

over my sink. Blech. (I know I do seem to have many issues when it comes to turkeys, don’t I?) There was some serious cleaning when this project was done I can tell you.

The next step is to pat the turkey dry. Ok, got that Martha.

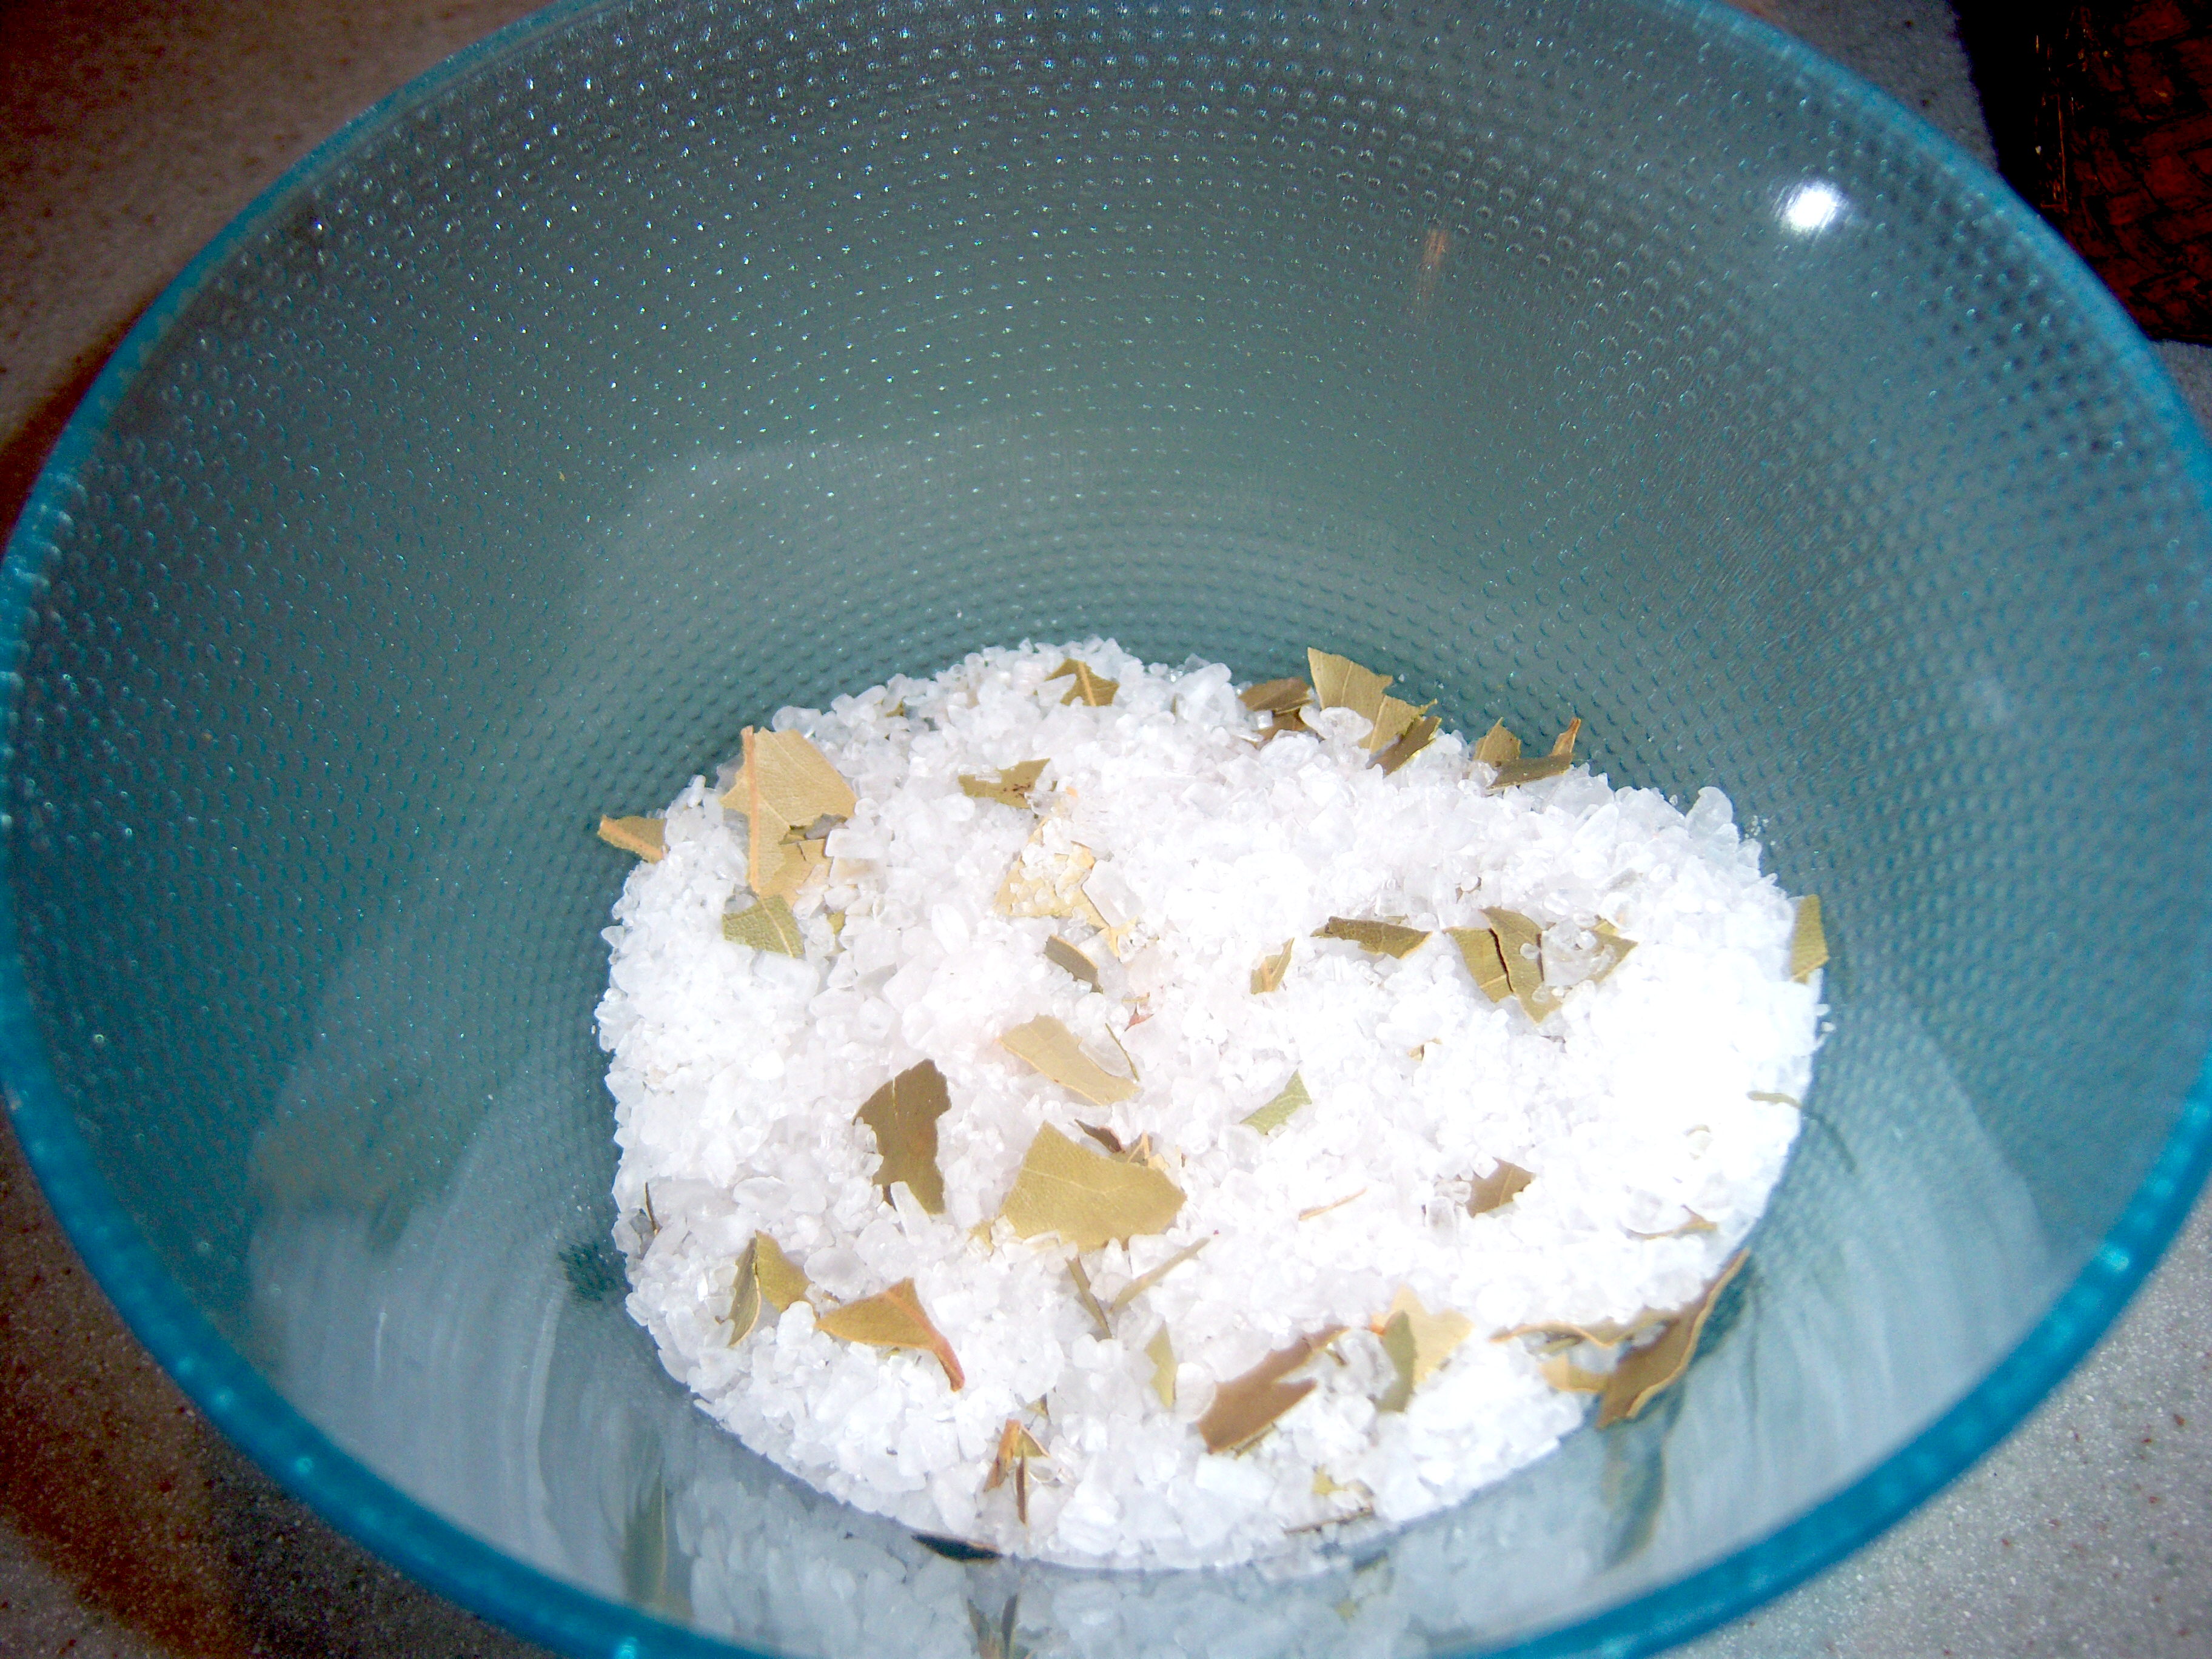
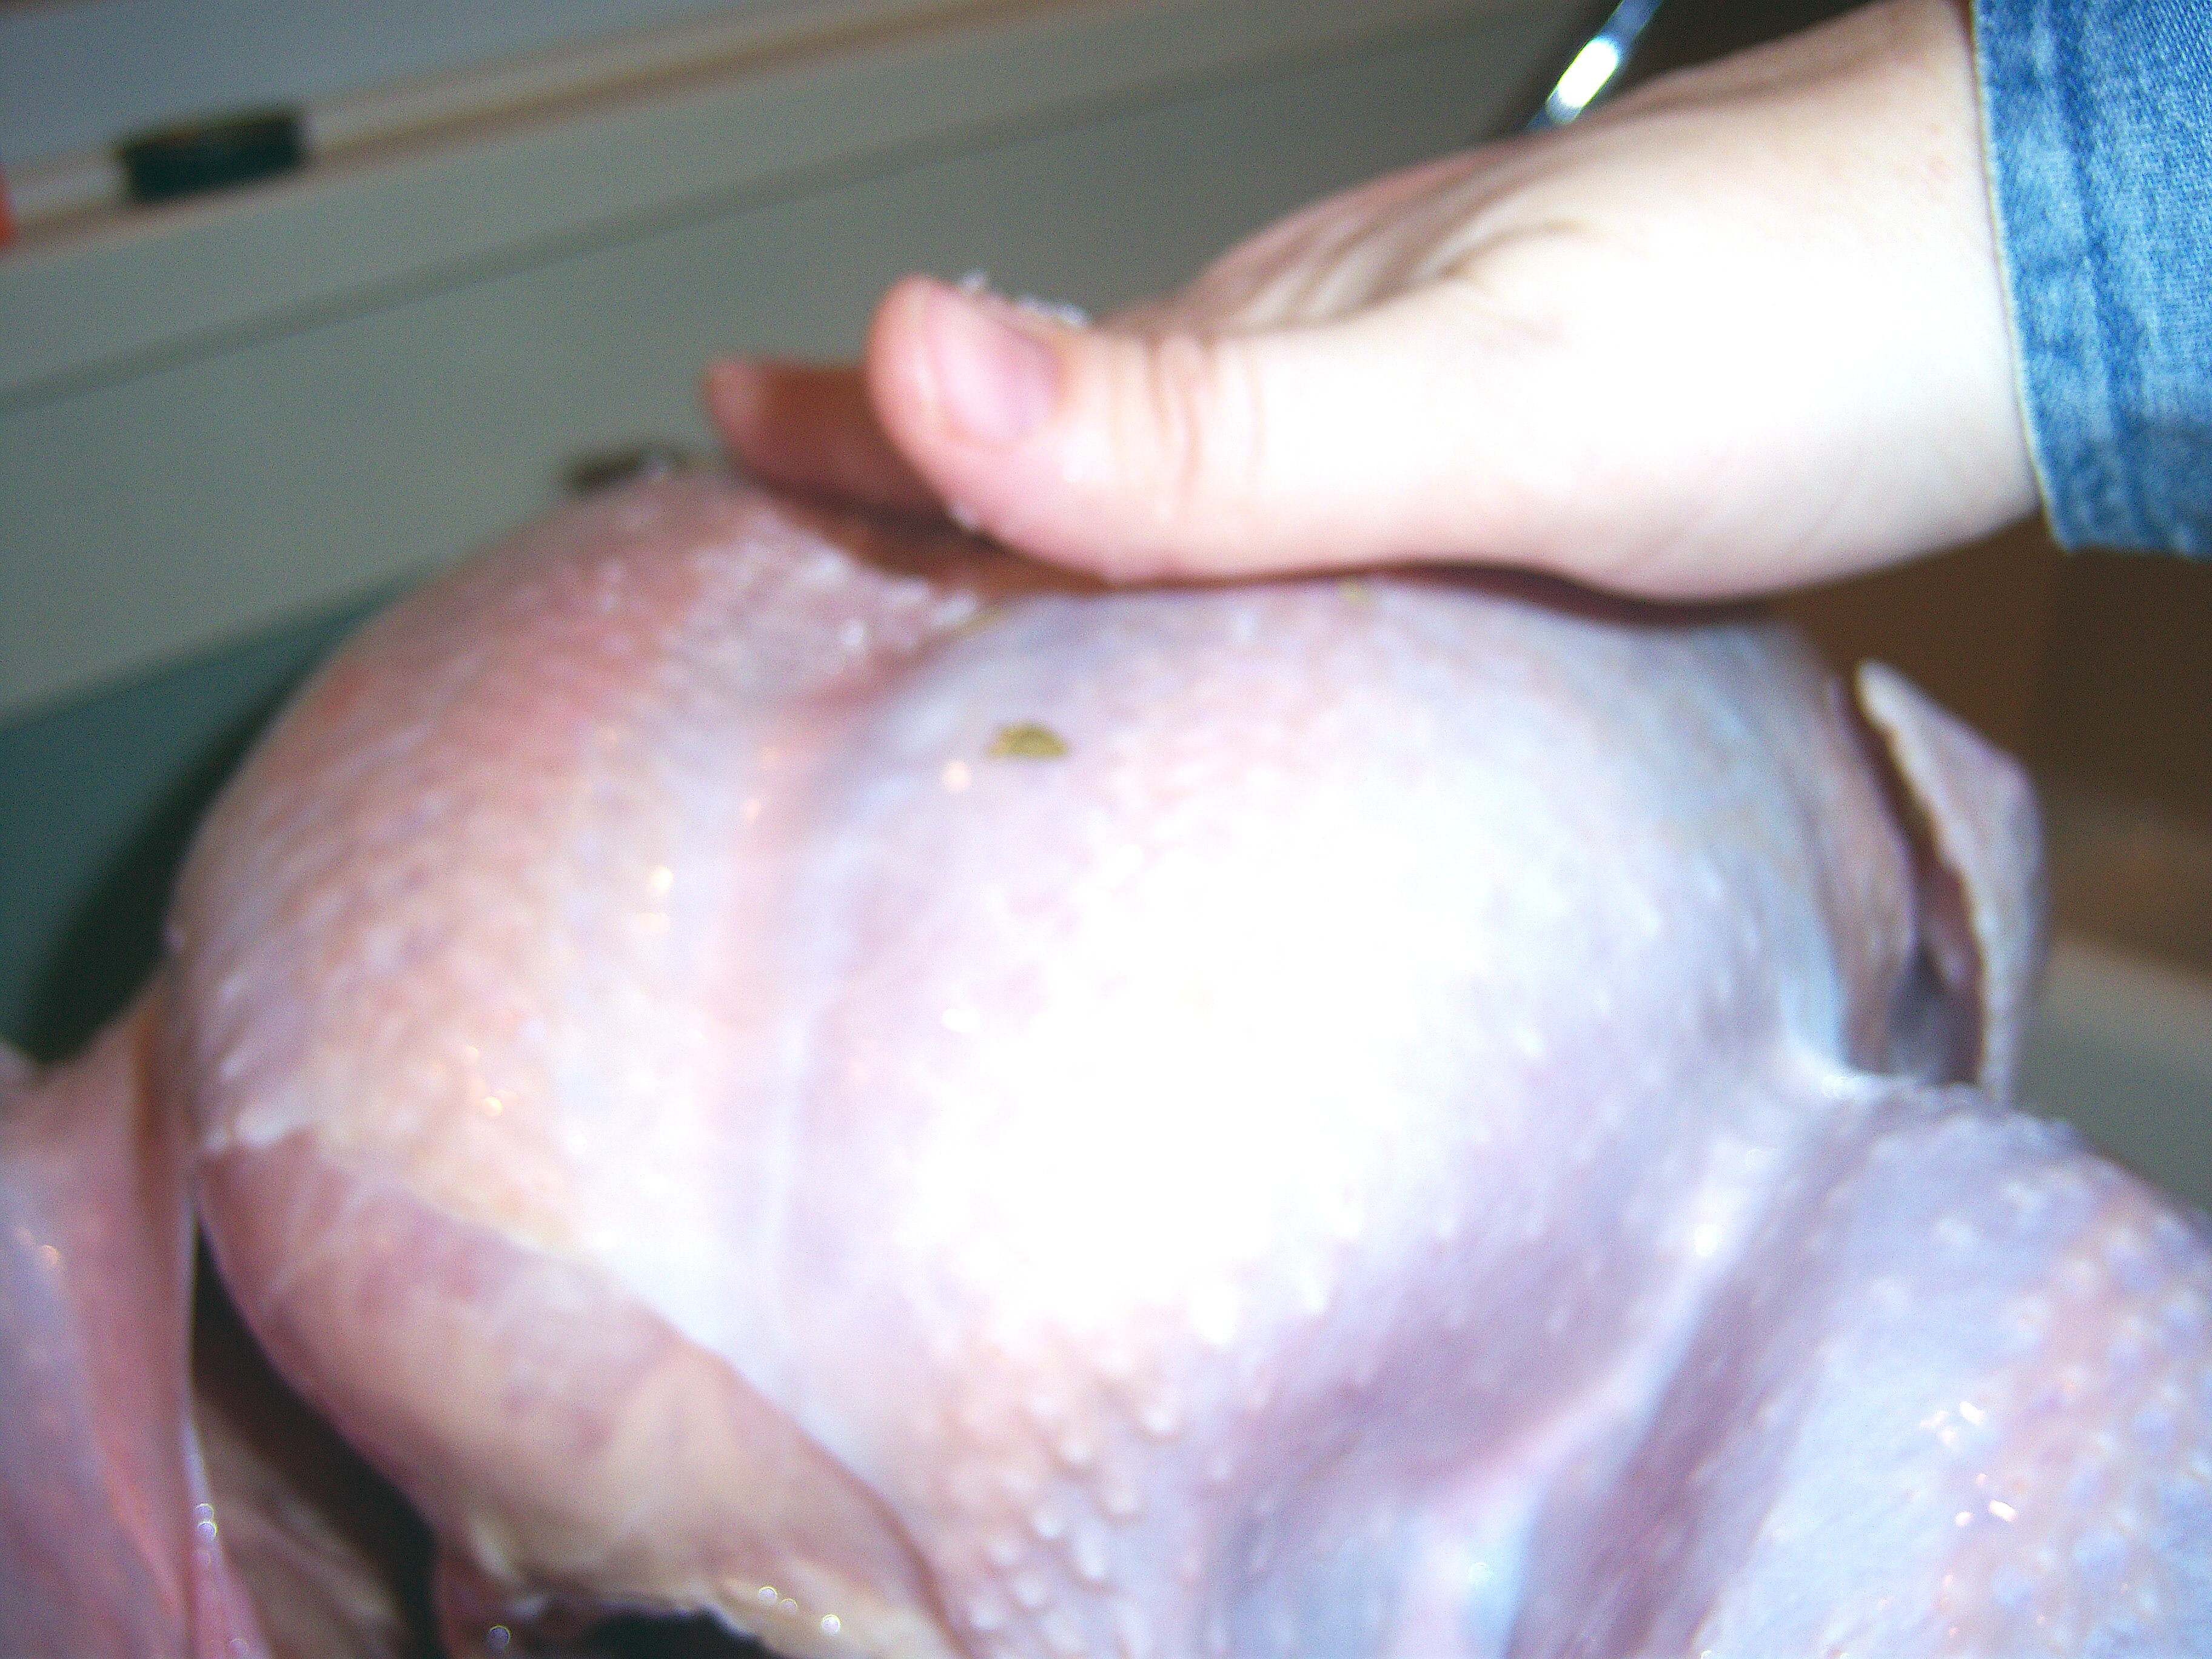
Then you rub the turkey, inside and out, with a mix of salt and bay leaves. I really expected there to be more in the mixture than that, but I’m doing what Martha says. This was harder than it sounds. Since I patted Mr. Turkey dry, the salt and bay leaf stuff didn’t want to stick to him at all. I kept rubbing it on and it kept just rolling off.

Then you put the turkey-lurkey in a bag and get the air out and refrigerate until

Dry Brine

Dry Brine

Thanksgiving day. Martha says to use an oven bag. I cheated and used a giant size Ziploc. I got all the air out and tucked the zippy part underneath.

I’m a little nervous about this! I’m used to my wet brining approach, so I’m worried this won’t be as good. All I can do is trust in Martha. As always, I do enjoy trying something new, so I’m definitely game. I’ll report back after turkey day as to the results! I’m sure there are others of you out there trying this method too, so I’m interested to hear your results also.

Turkey massage

Turkey massage

Turkey in a bag

Turkey in a bag

For the past few years, I have done a wet brine for my Thanksgiving turkey. My brine usually includes salt (obv, as my teen would say), cider, sugar, lemon juice, lemon slices, orange slices, and some Williams Sonoma Turkey Brine mix Mr. MarthaAndMe bought me for Christmas one year.  I’ve experimented with adding brown sugar … Read more
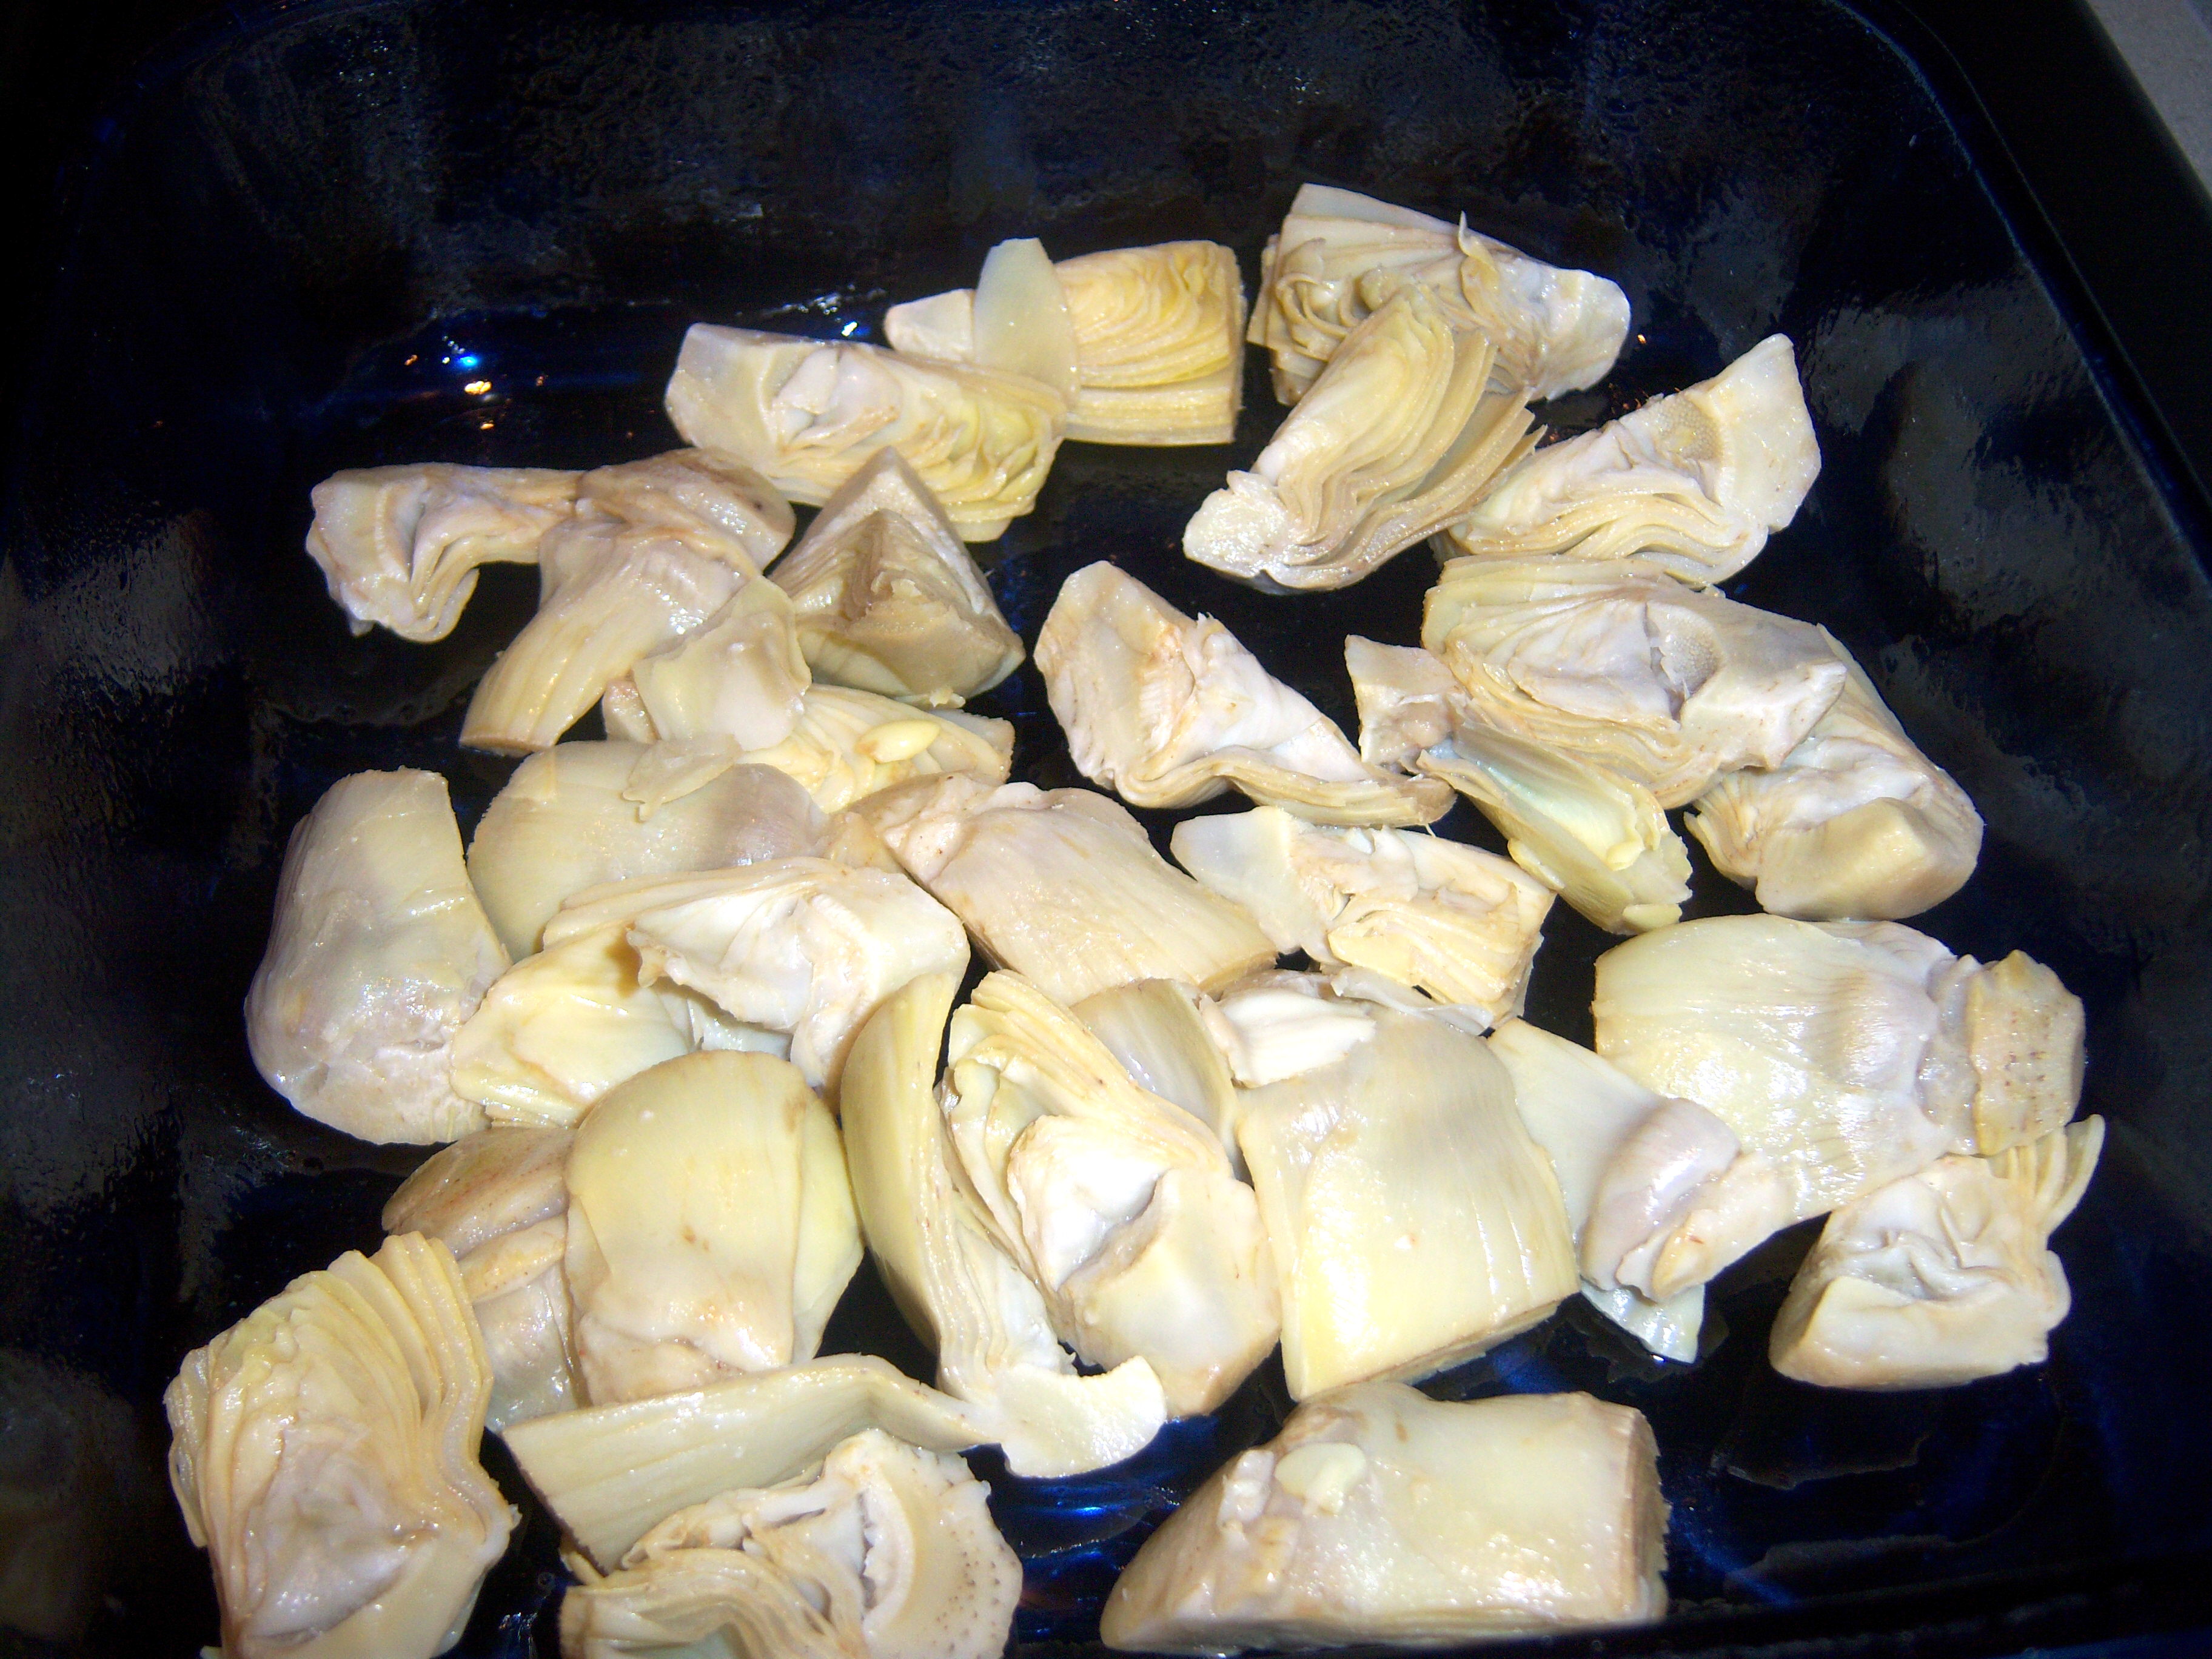
On Martha’s show yesterday, Sarah Carey and Lucinda Scala Quinn both cooked their “Sensational Sides” from the November issue of Living. These are recipes their families make every year. Sarah made peach stuffing, which I find too weird to attempt (although the fact that Sarah was raised on a commune in Woodstock is fascinating). Lucinda made baked artichoke hearts. I have to say when I saw this in the magazine, it didn’t interest me, but when I saw her make it, it looked so good (and Martha was raving about it)!

Getting to the heart

Getting to the heart

So, out I ran to the grocery store to buy some artichoke hearts (you have no idea how many grocery store trips Martha is causing me!). The recipe calls for 3 nine oz packages. I only bought one since the daughter wasn’t home for dinner and Mini-Martha would likely have only a taste. I cut the rest of the recipe by 1/3 as well.

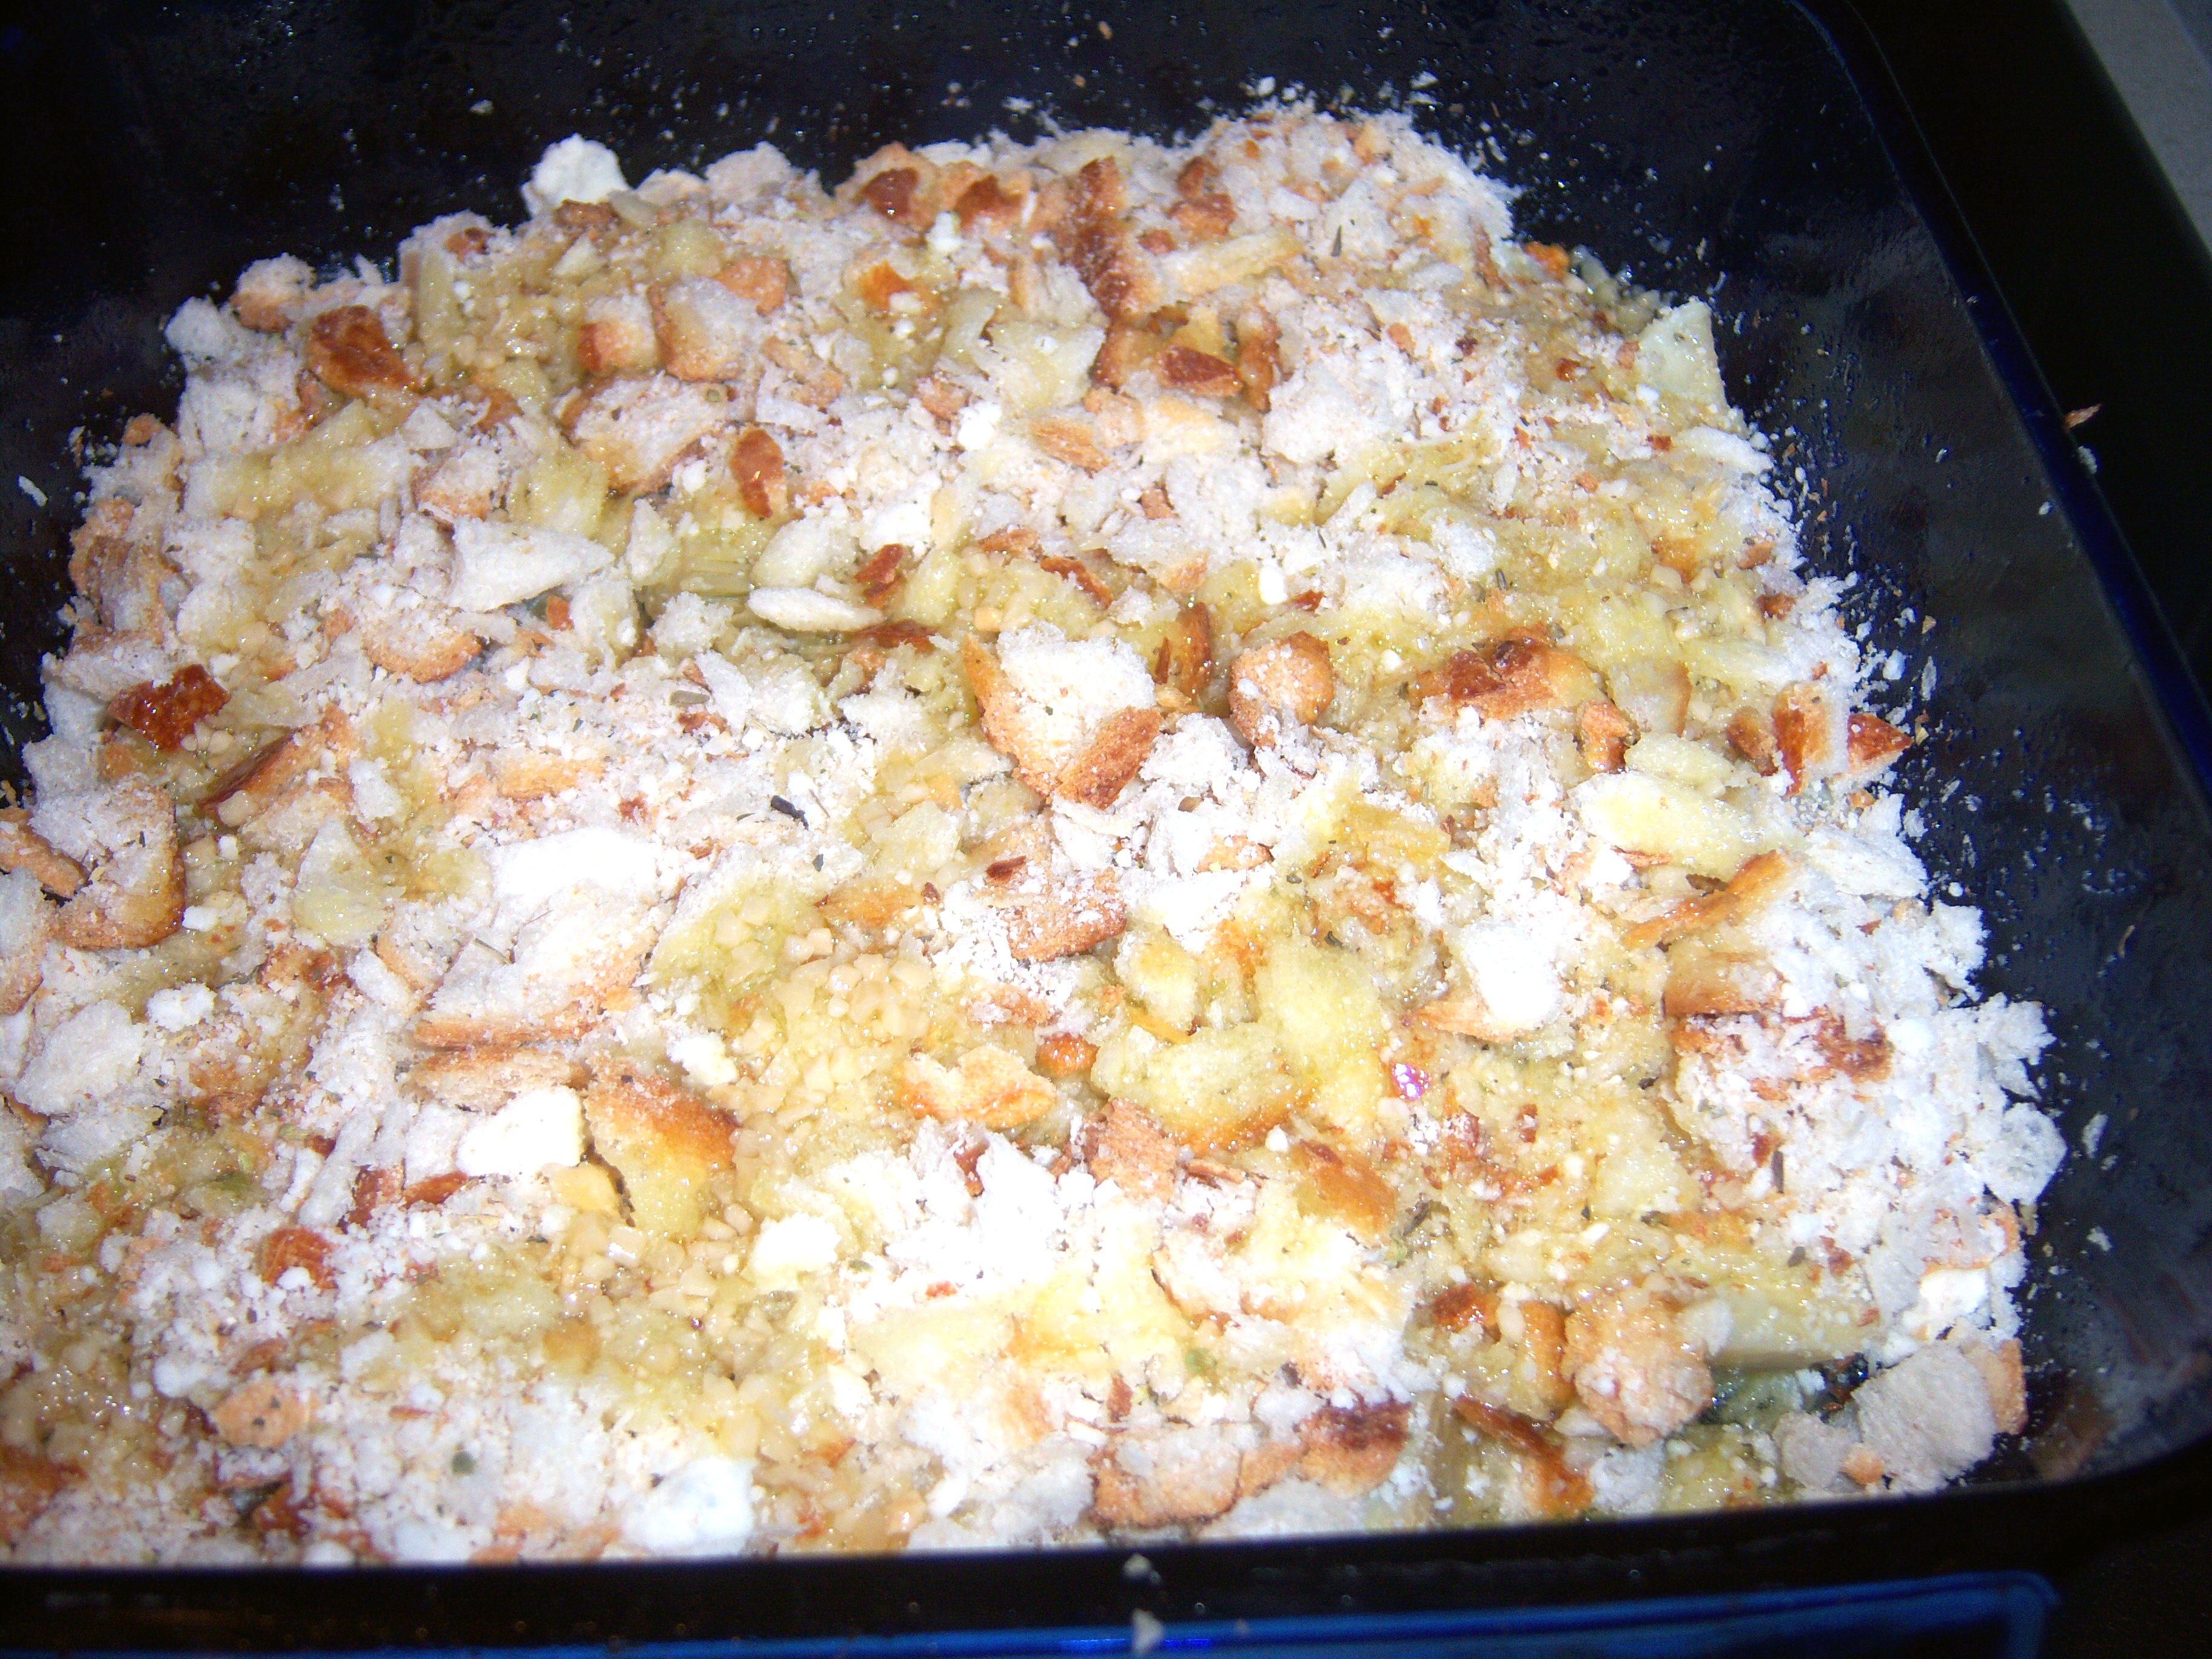
This was super easy to throw together. Put your hearts in the pan (sounds

Ready for the oven

Ready for the oven

like a song, doesn’t it?). Mix breadcrumbs (Martha will be proud – I made my own for this!), grated cheese, herbs and seasonings together and spread over it. Then whisk lemon juice, garlic and oil together and spread over it.

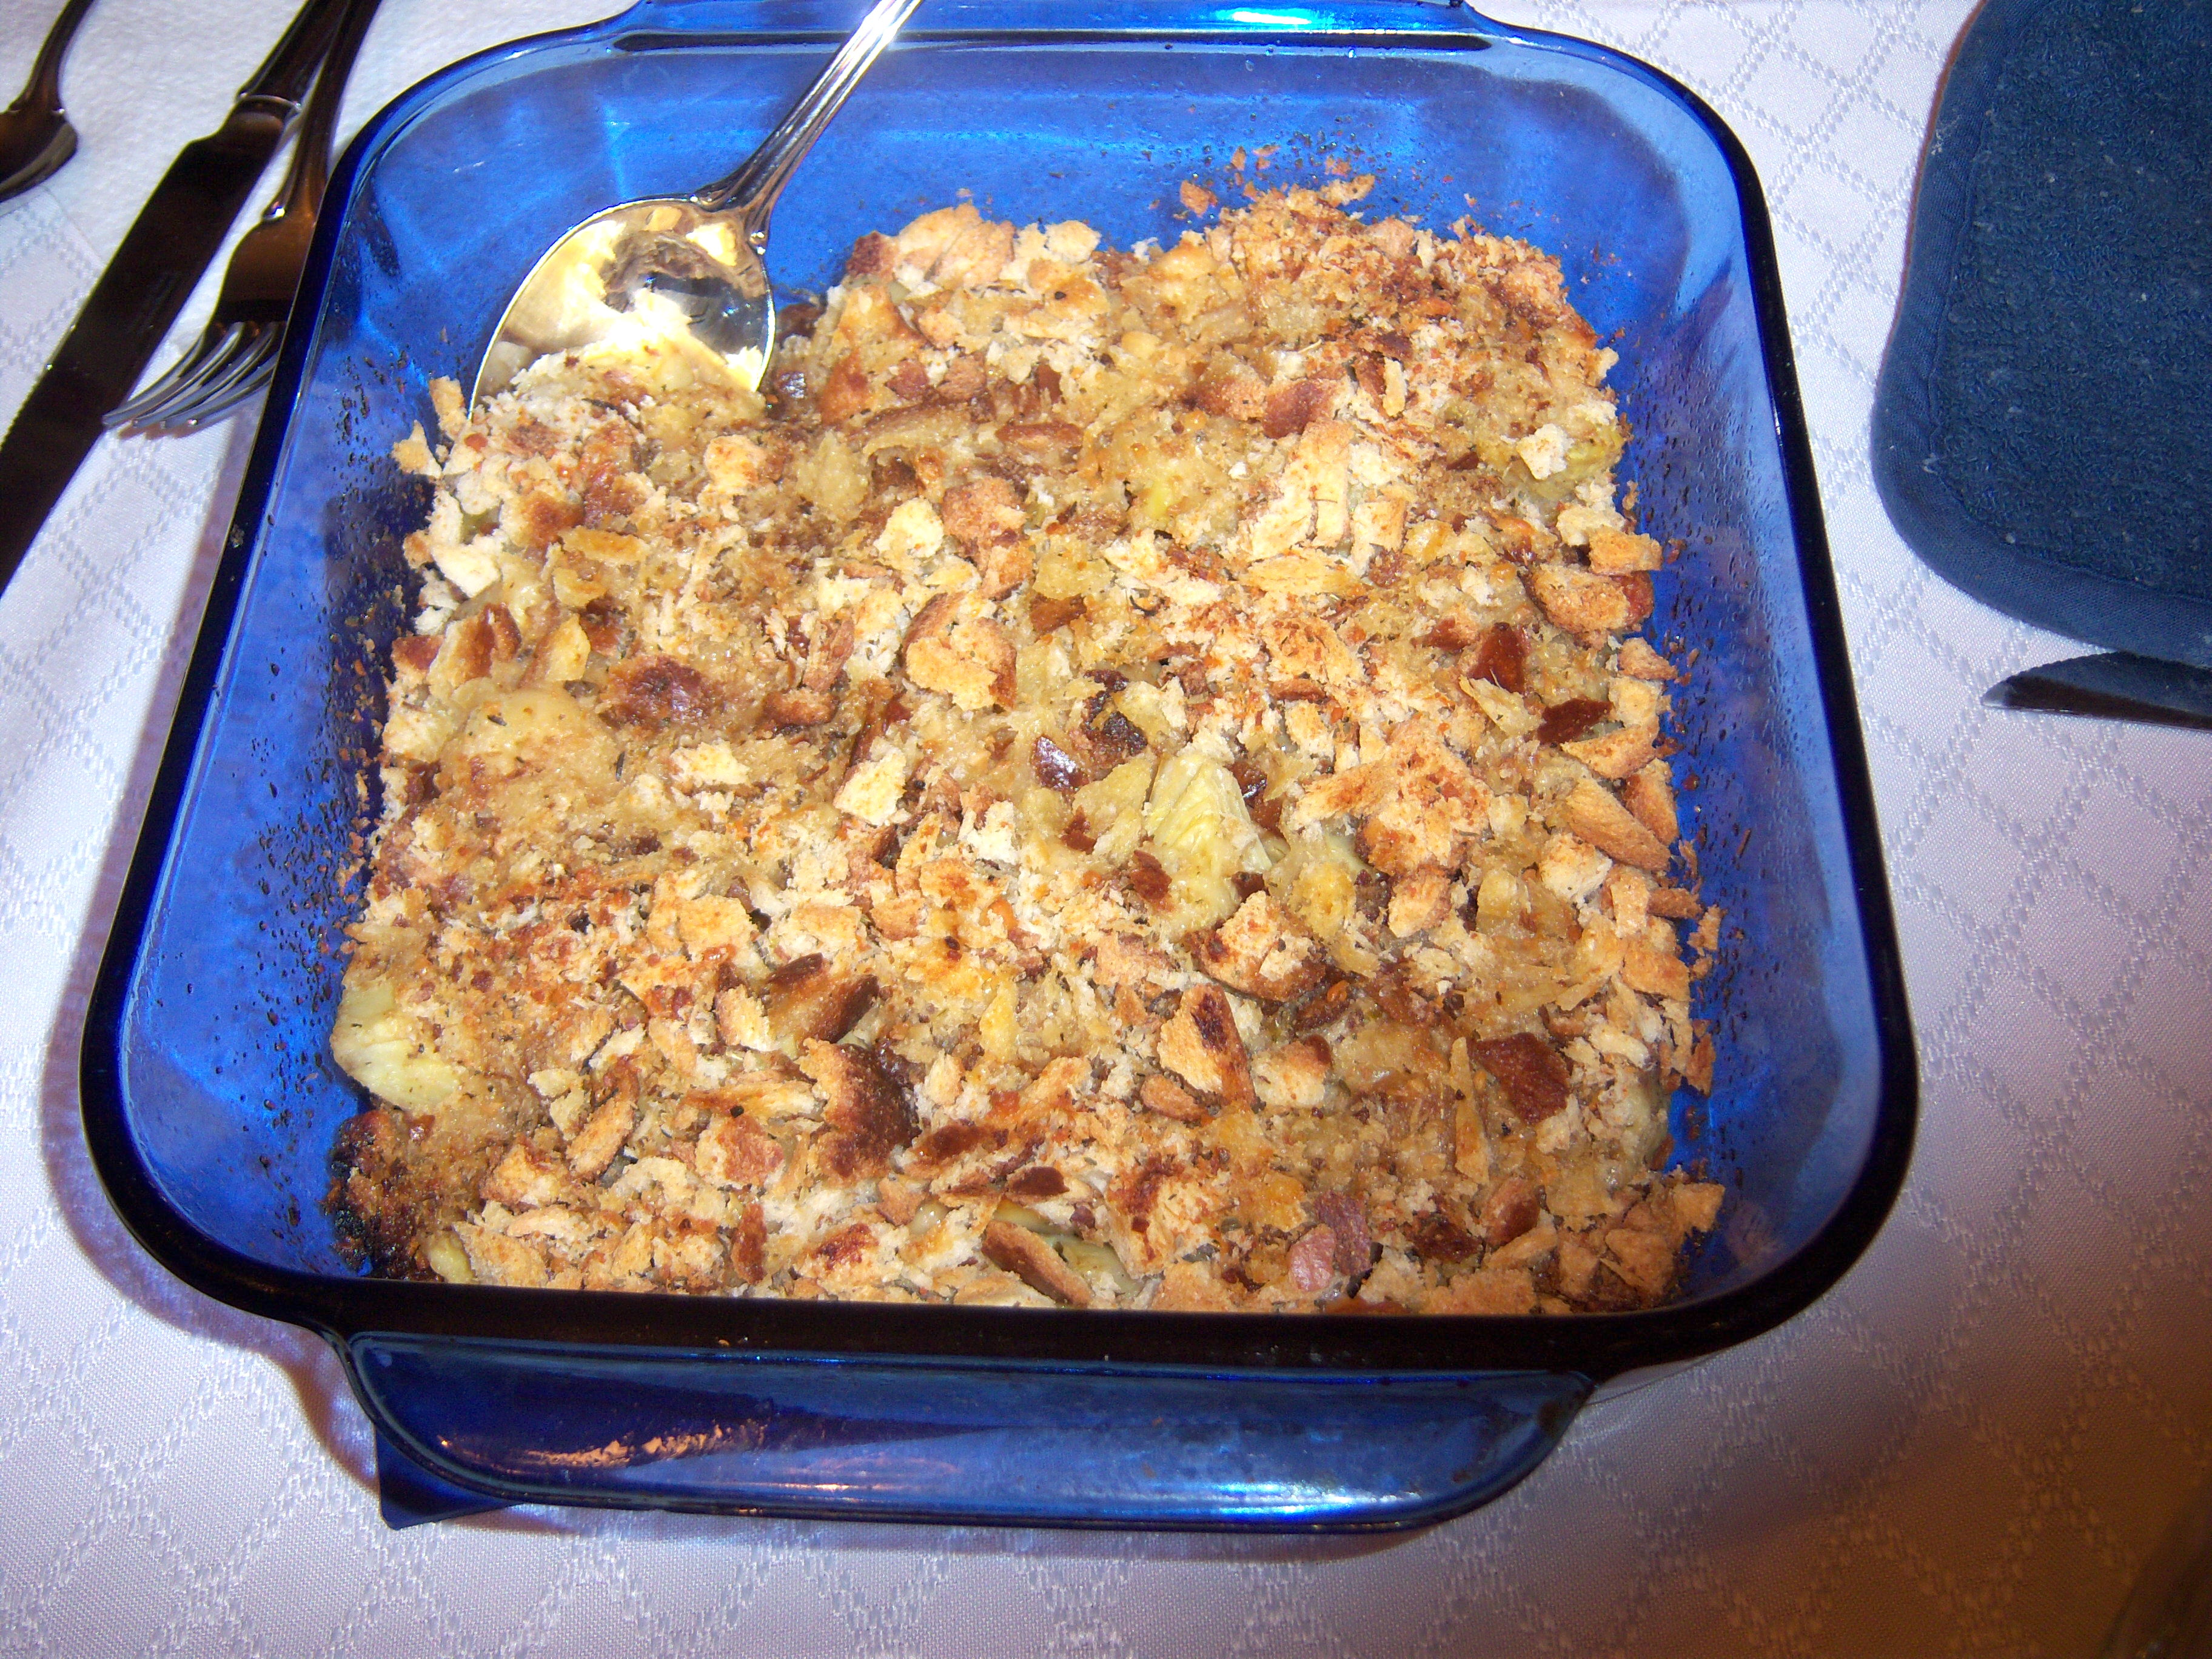
You cook it for about half an hour at 325 covered, then crank it to

Crunchy!

Crunchy!

375 uncovered. How did it taste? This was pretty good. The hearts were soft and the topping was crunchy. Here’s how I would improve it. First of all, use melted butter instead of olive oil. It just needs some extra flavor. Cut back on the lemon juice. It was a bit a tart I thought. I think I would make this again with those changes. I can also see adding some bacon crumbles or more cheese to this to make it really decadent.

Pomegranate Peeling

My kids like pomegranates, but they are such a huge mess. So I was simply stunned when I saw Martha easily remove the seeds from one on her show. I had to try it.

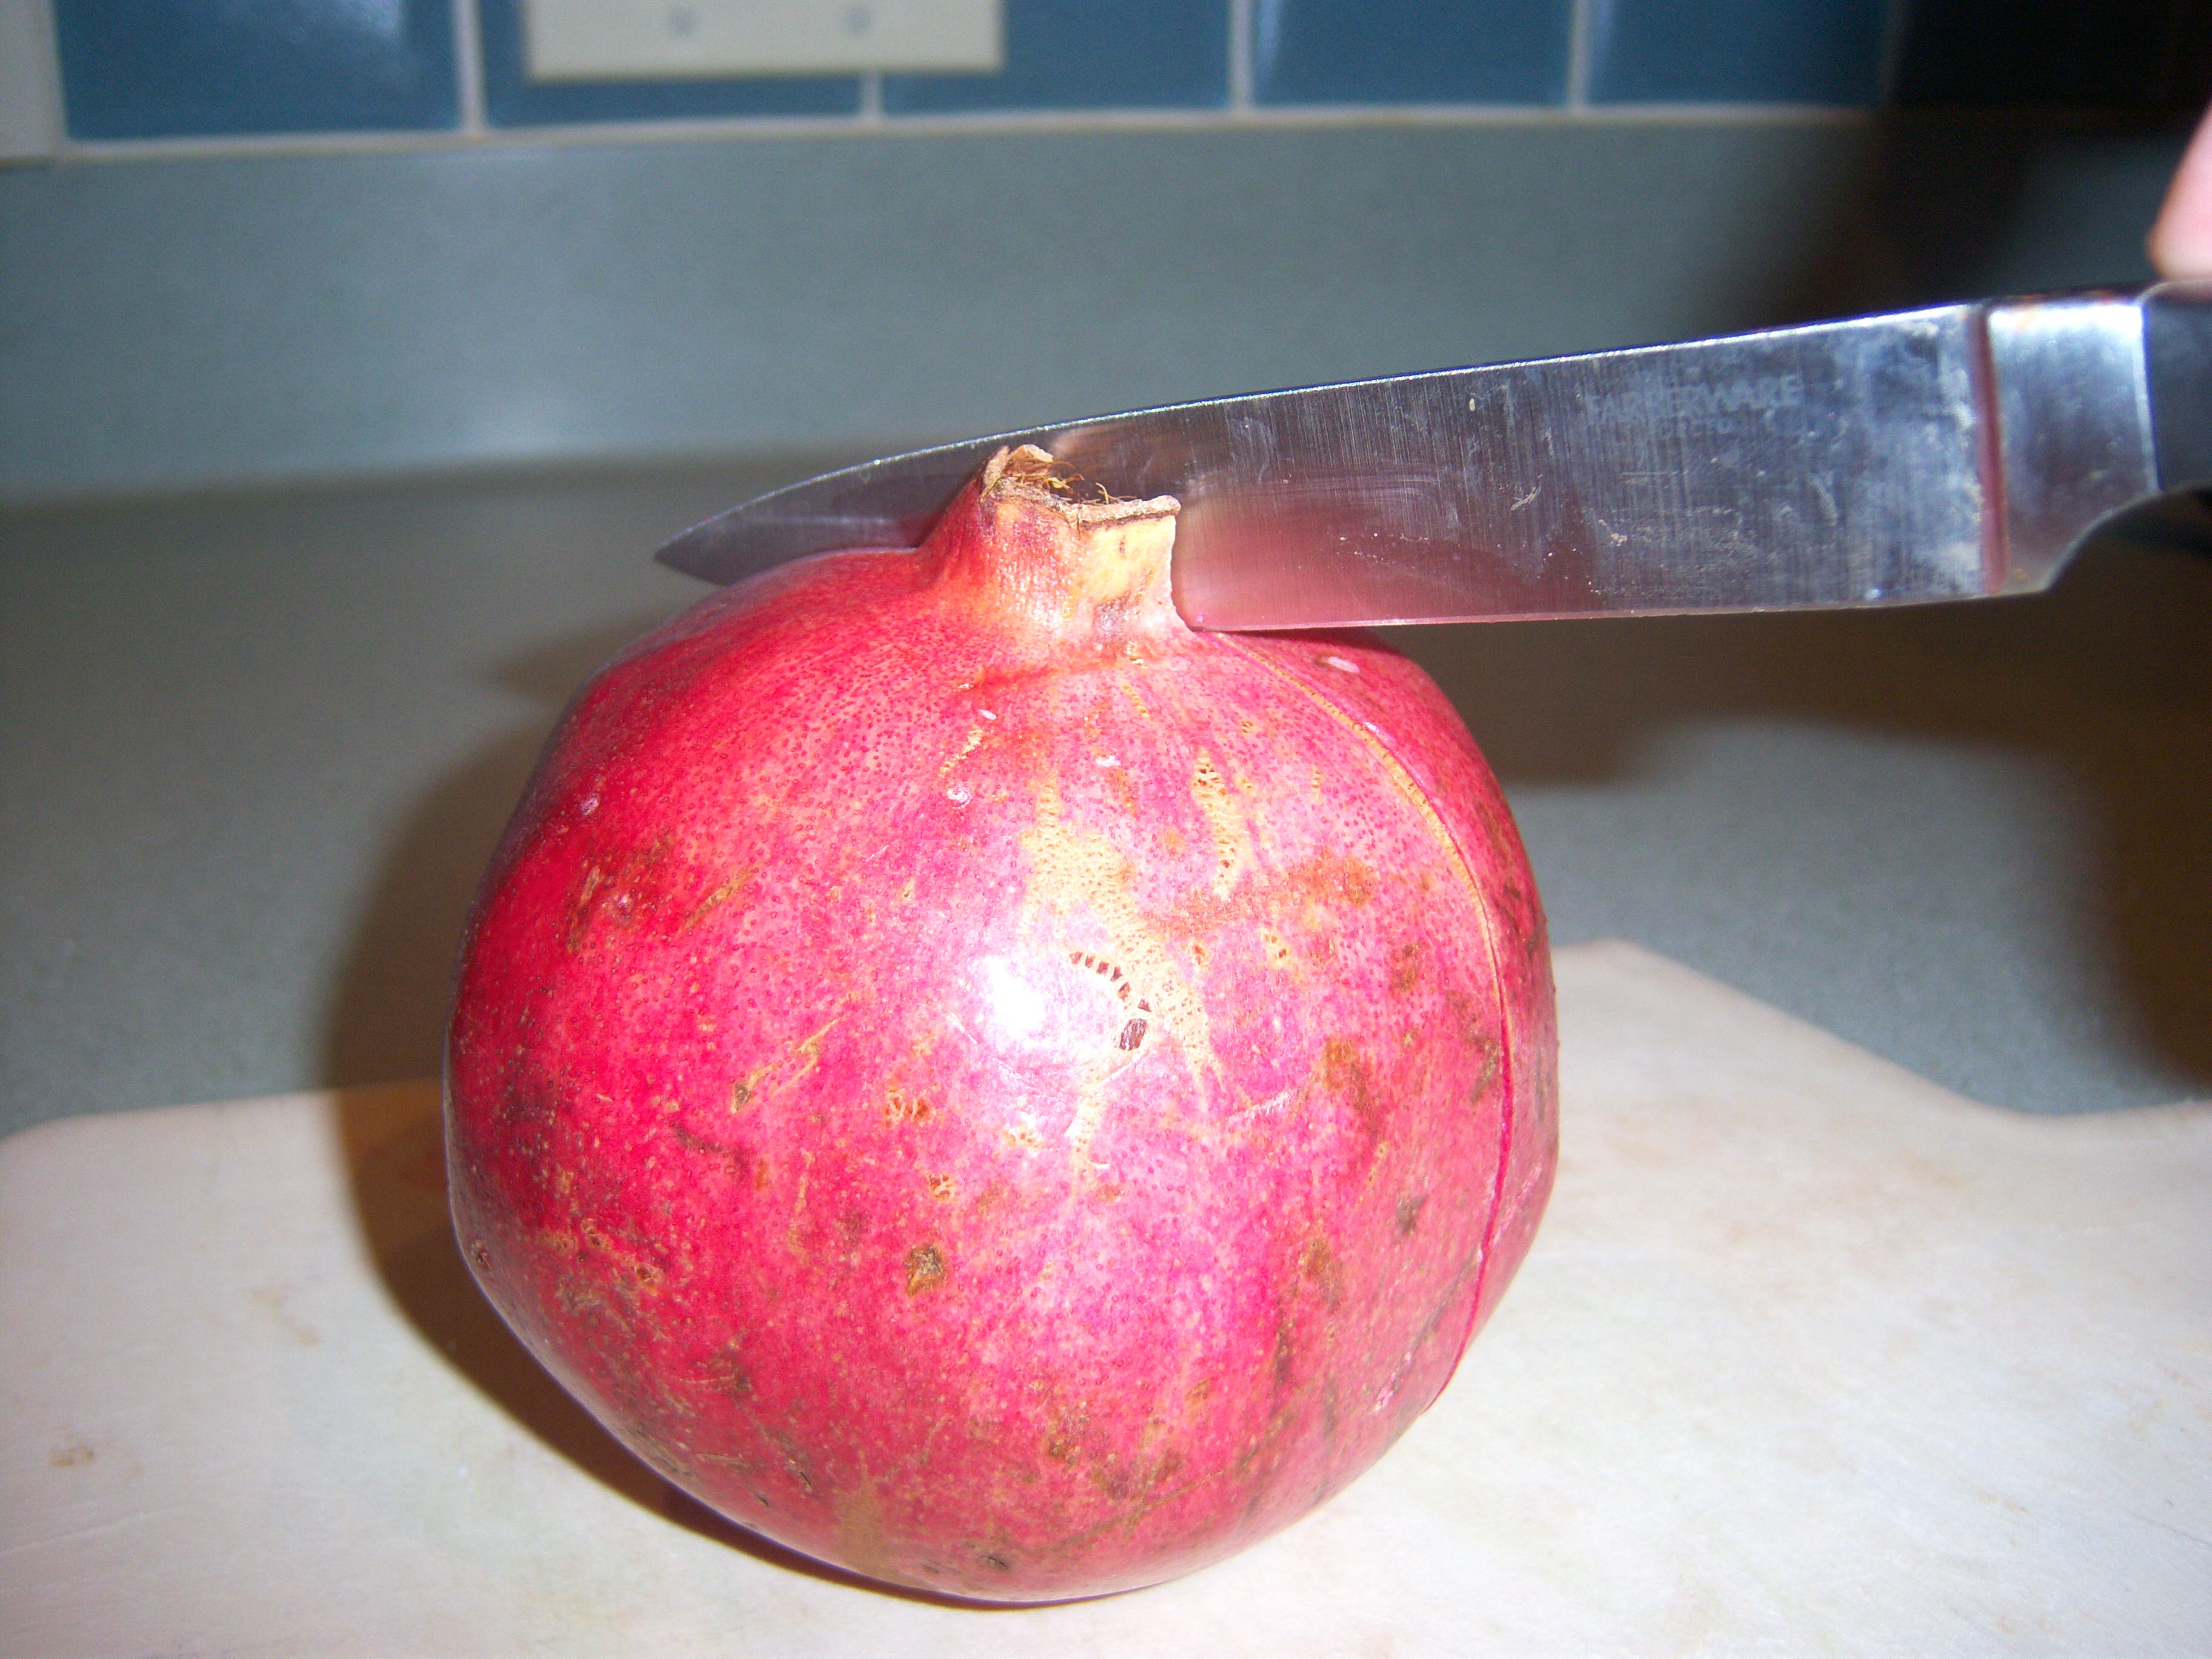
Scoring

Scoring

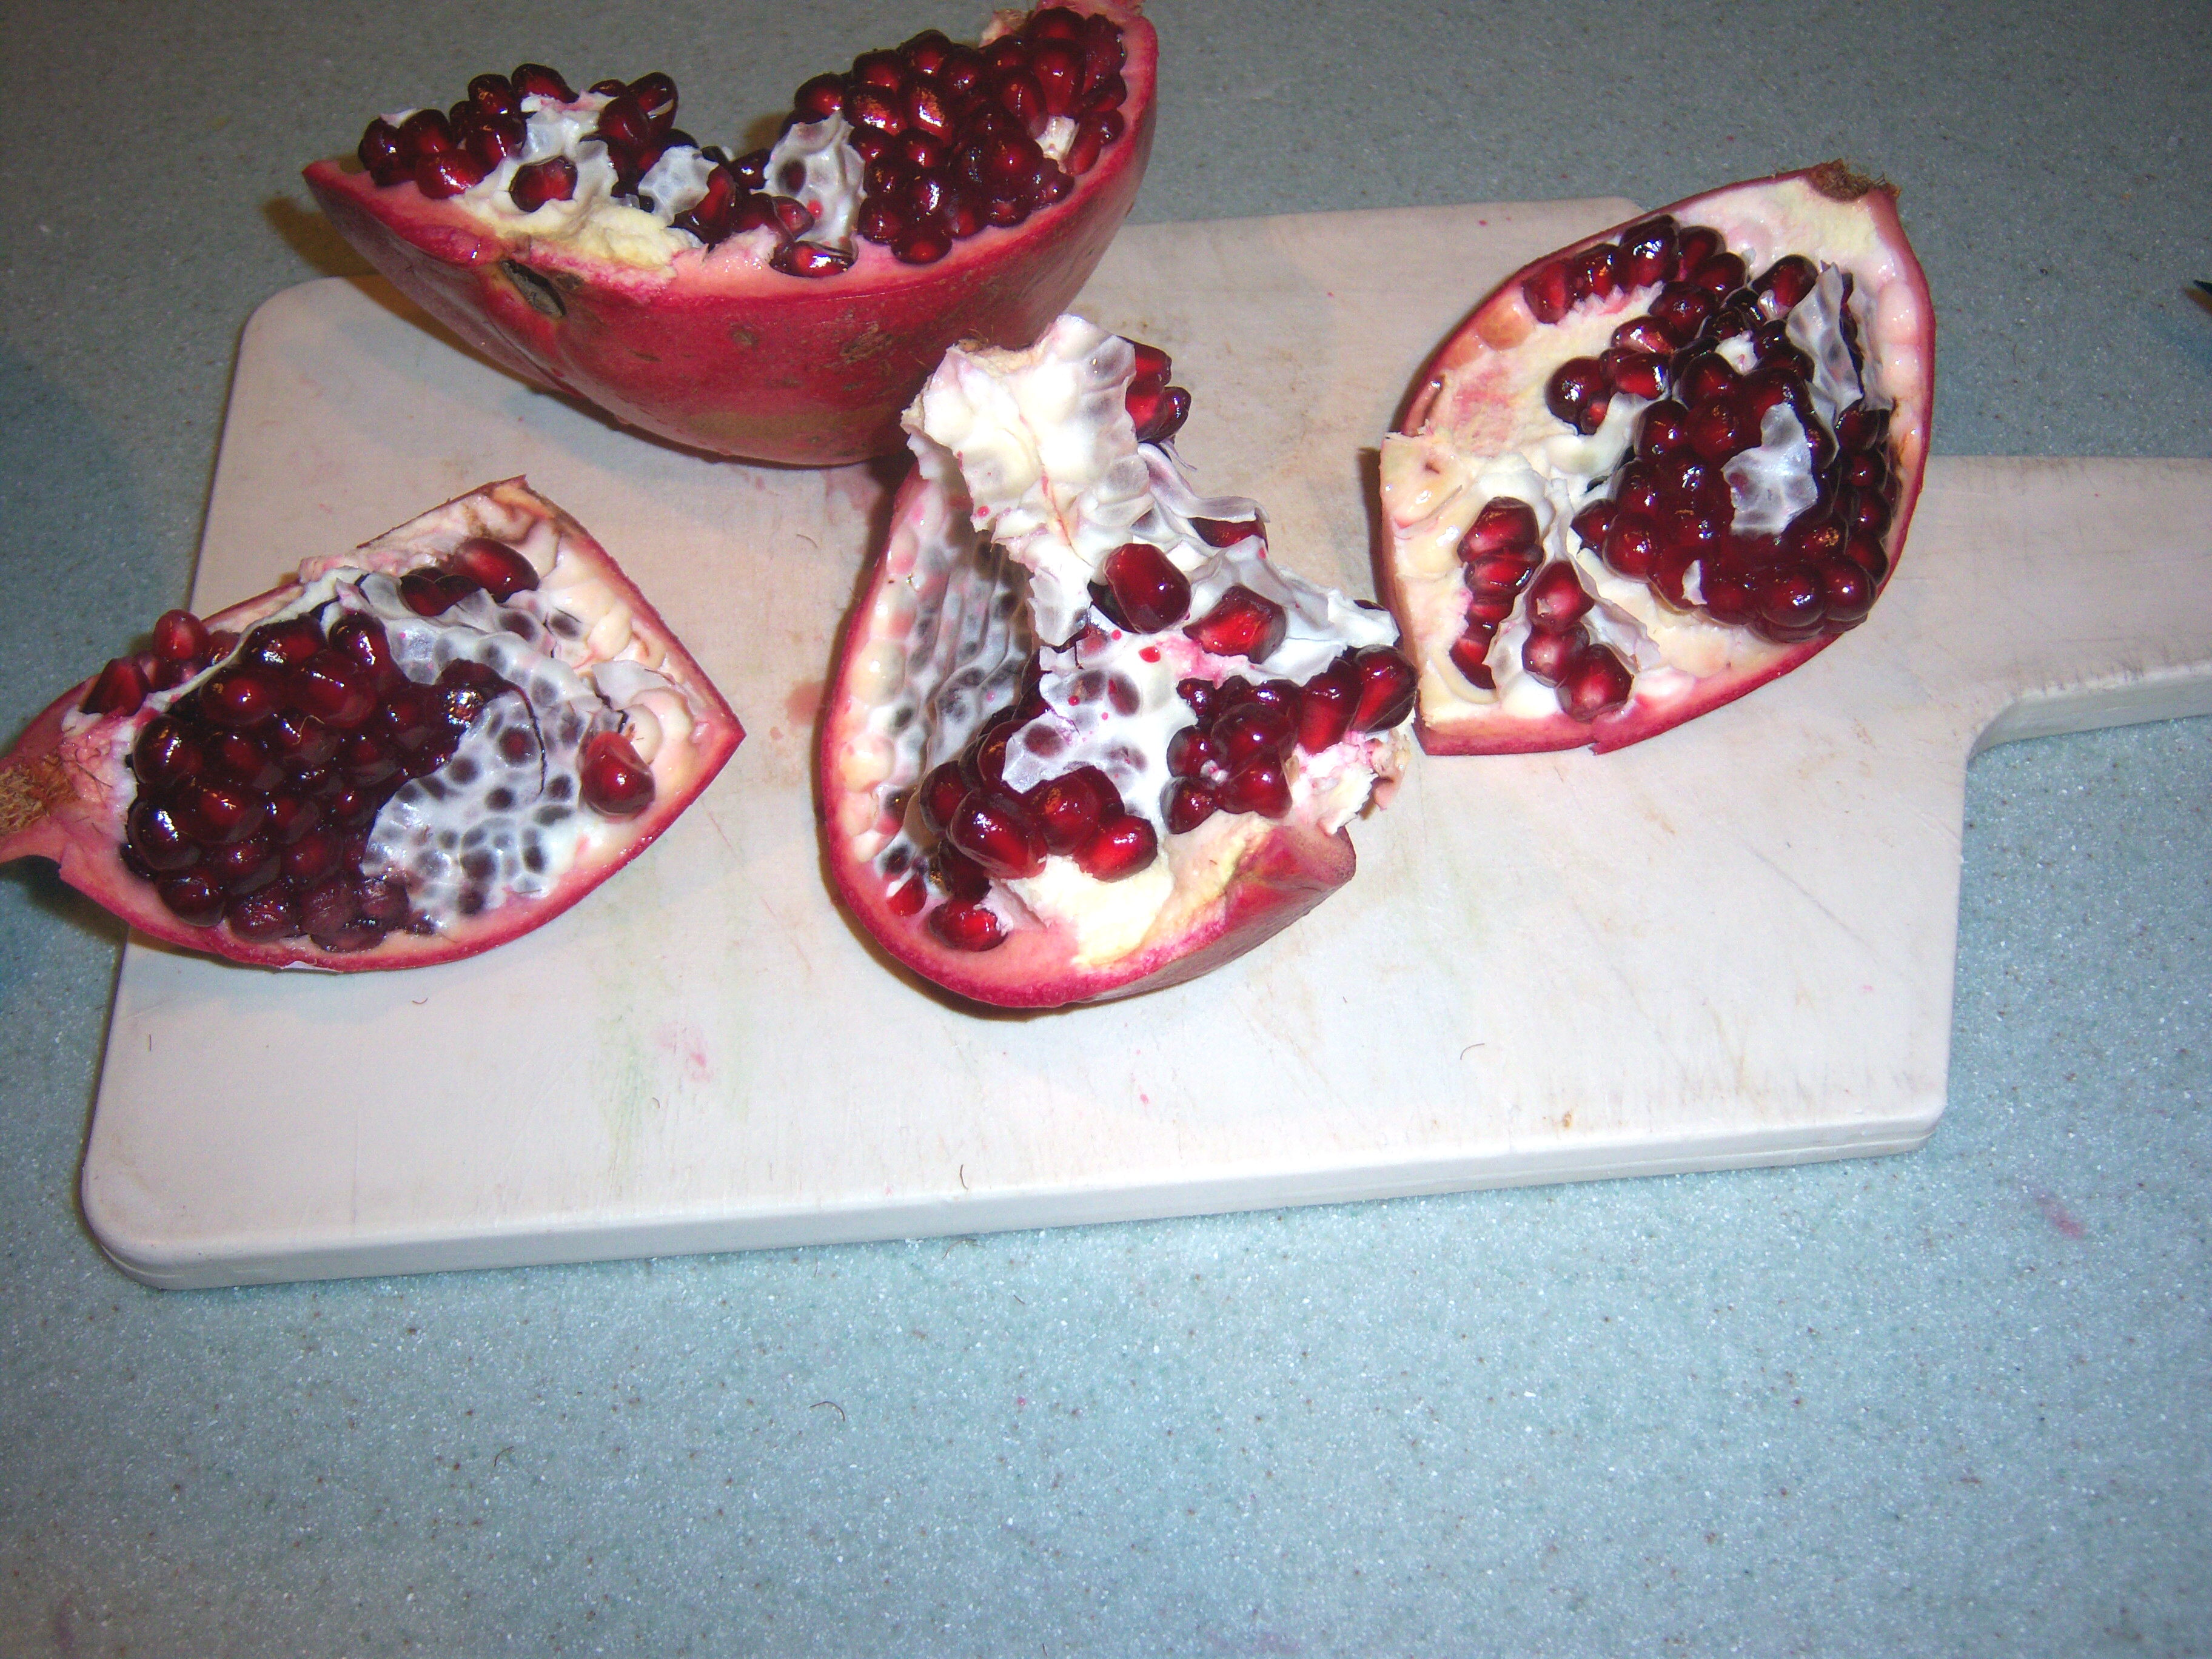
Martha says to cut through the skin as if you are quartering it, but only cut the skin, not the insides. Use that incision to get your fingers in and pull it apart into 4 quarters.

The pieces

The pieces

Once you have the 4 quarters, whack them on the back with the back of a wooden spoon and all the seeds will magically pop out (so says Martha). The POM pomegranate lady Martha had on didn’t even know this!

I had to try it. First I sliced the skin. This was easy. Then I pulled it into quarters. Again, not too hard, although it did not come apart very evenly.

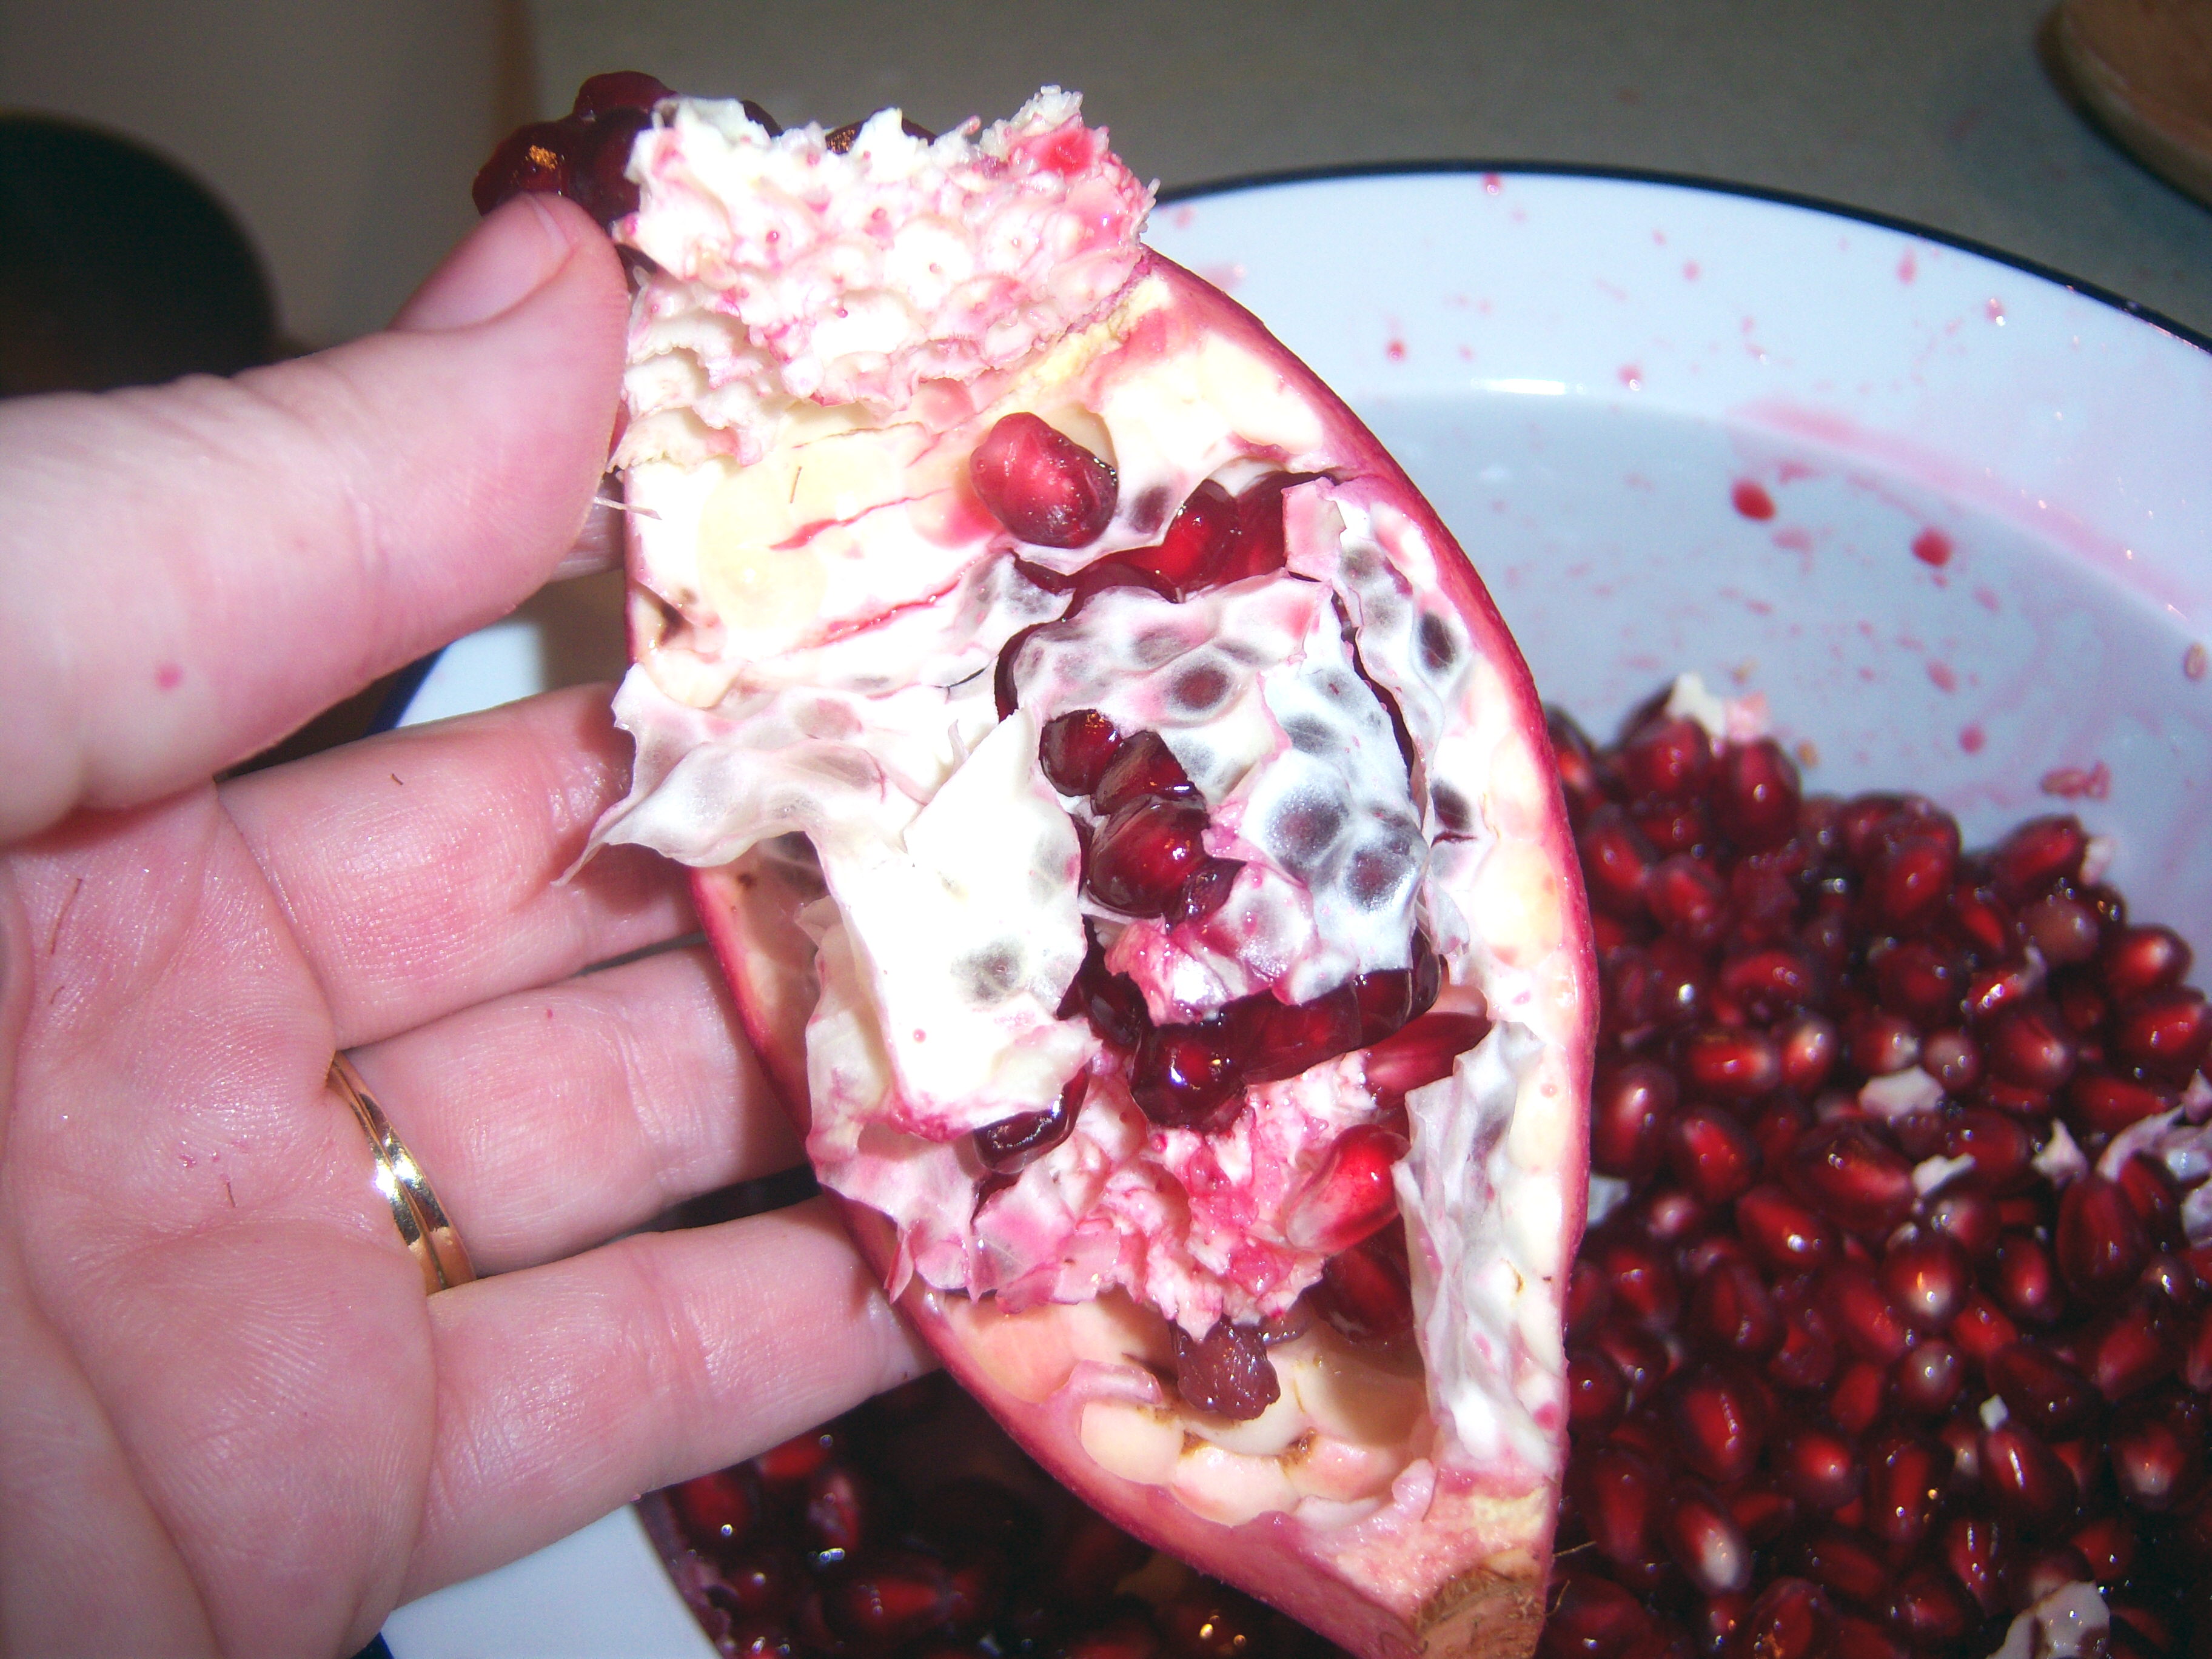
Then I got to take out my aggressions on it with the wooden spoon. It did

Seeds remaining

Seeds remaining

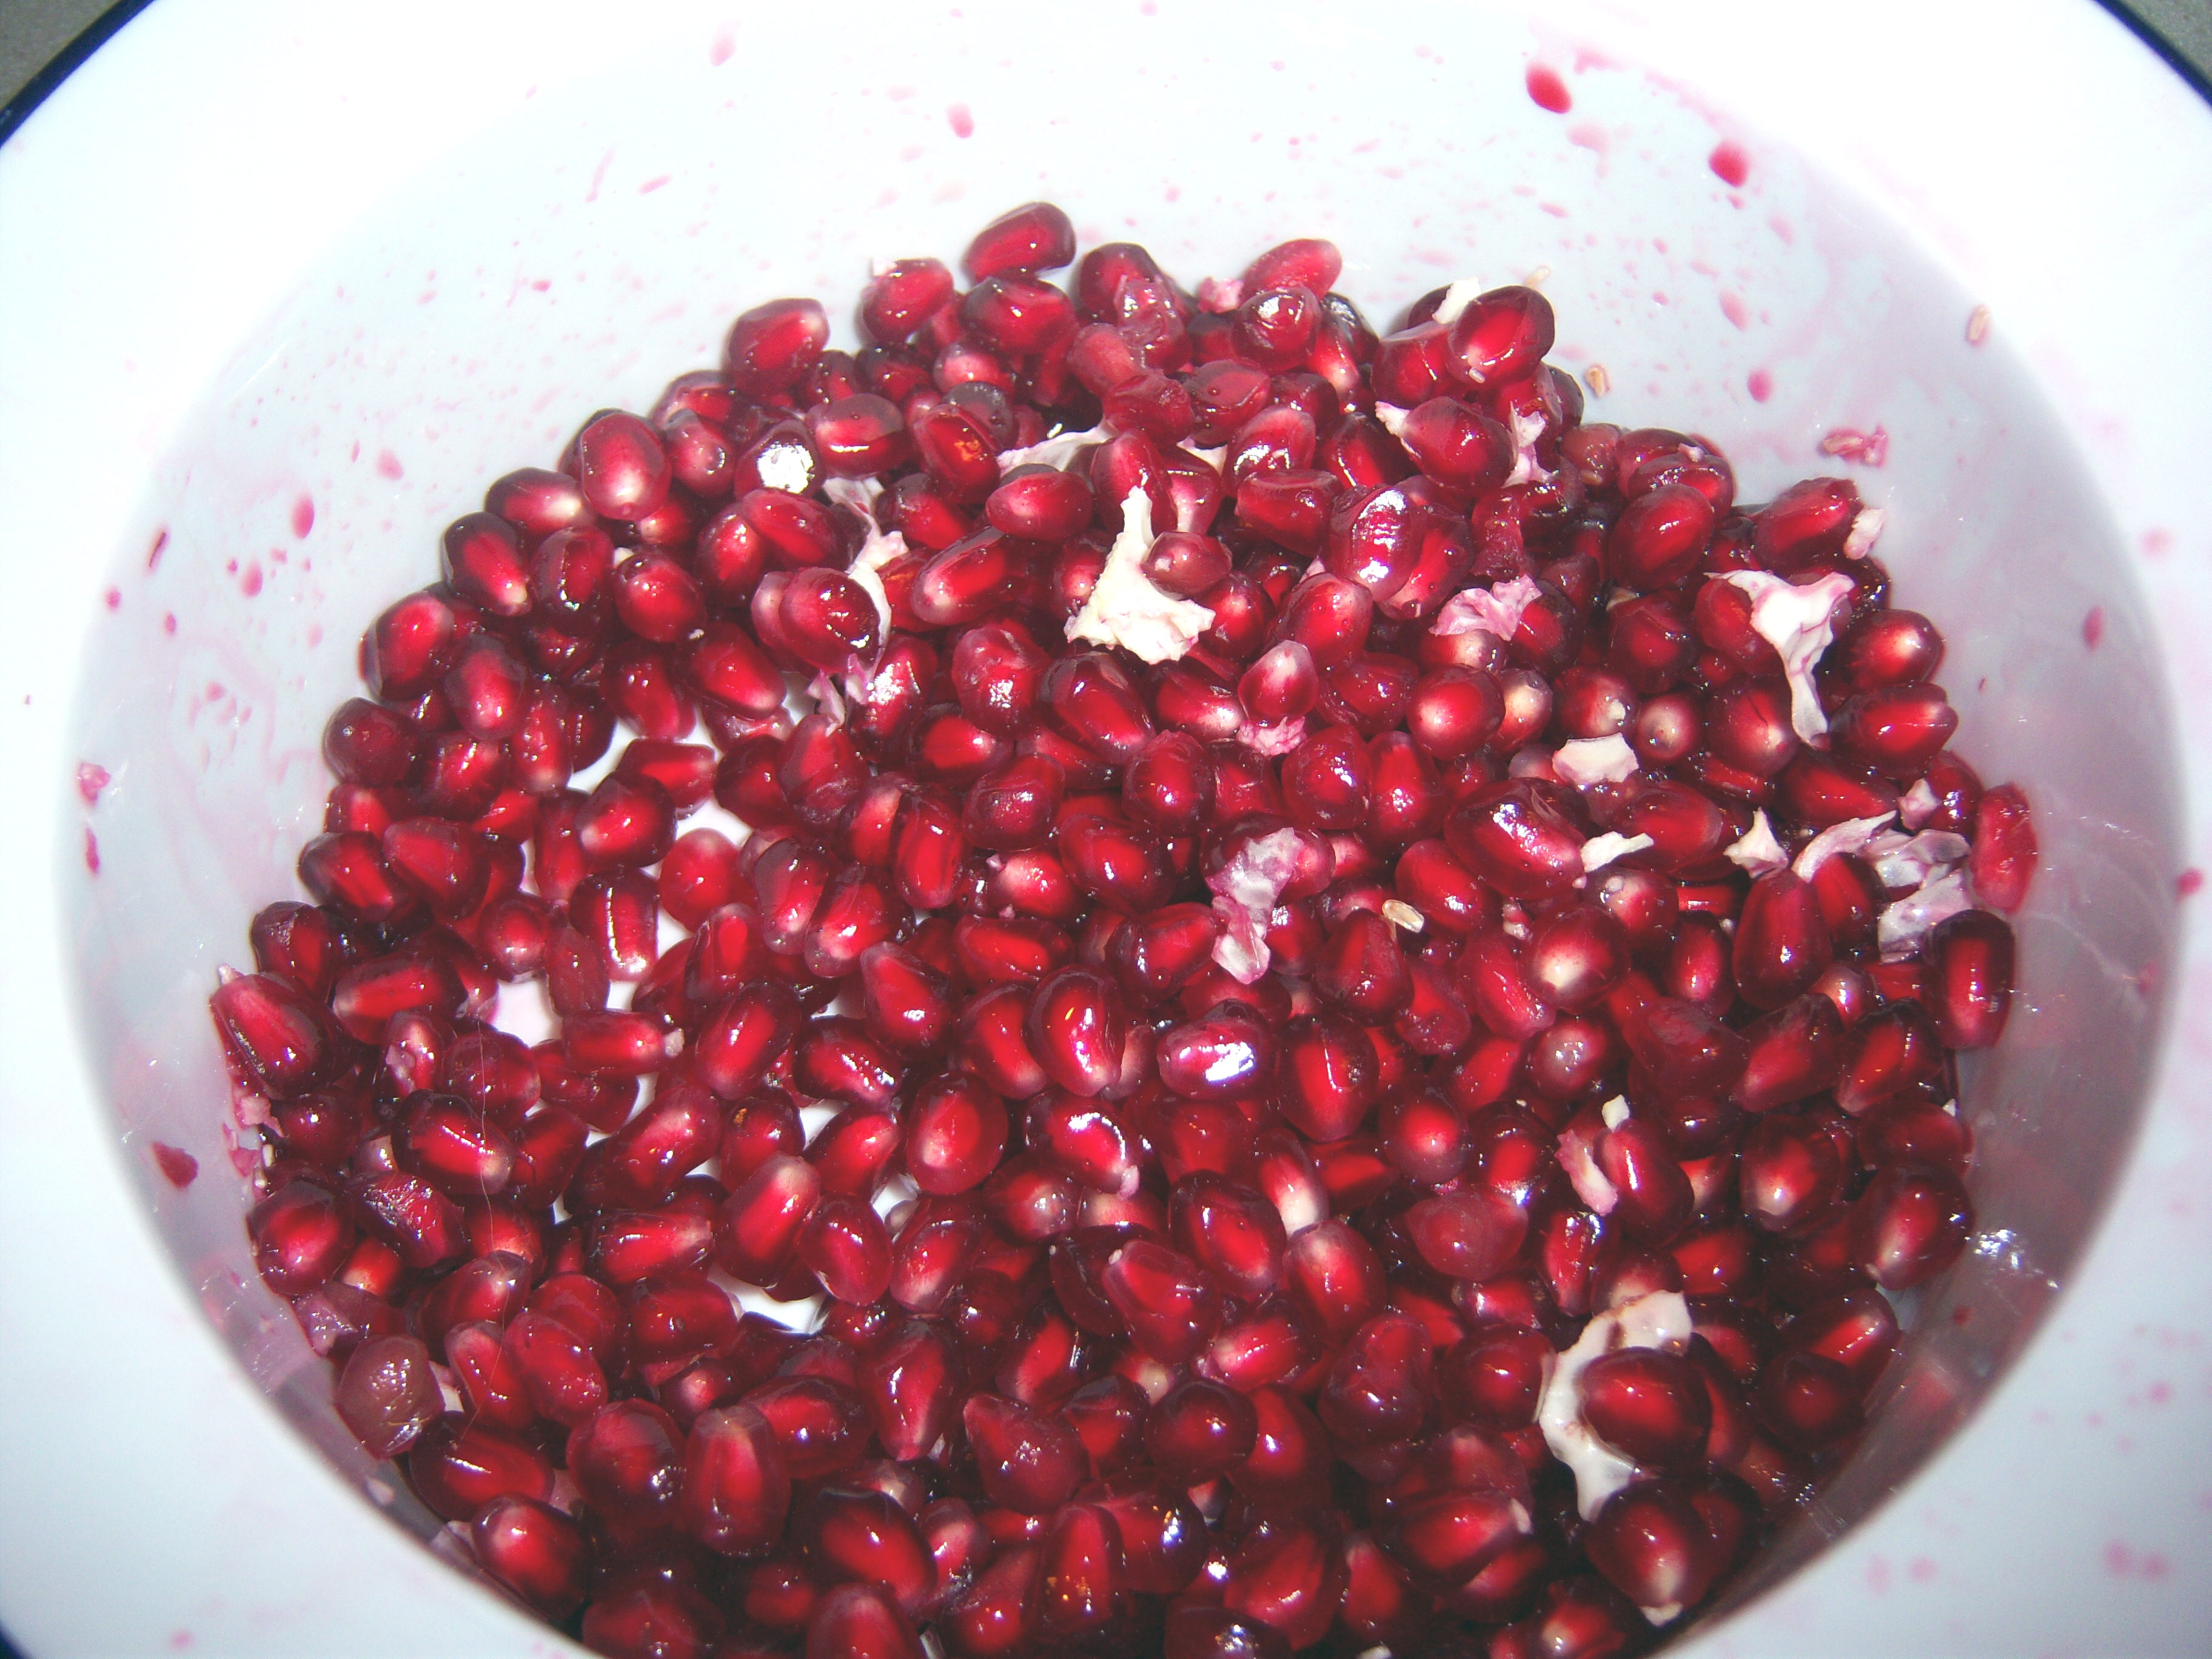
get most of the seeds out, but you do have to pull some of the pulp out to get to some and get some seeds out by hand. Overall, fairly effective. It was messy though. Seeds were flying every which way and you can see juice was spattering too, if you look at the edges of the bowl. This was pretty effective though and much easier than trying to peel it and pick out seeds by hand. I will definitely use this method again. Now if Martha just had a plan for how to eat the seeds without having to have a spitoon at the ready, I would be really excited!

The results

The results

On Martha’s show yesterday, Sarah Carey and Lucinda Scala Quinn both cooked their “Sensational Sides” from the November issue of Living. These are recipes their families make every year. Sarah made peach stuffing, which I find too weird to attempt (although the fact that Sarah was raised on a commune in Woodstock is fascinating). Lucinda … Read more
I must confess that since we usually stay home for Thanksgiving, I don’t go nuts (ha! You’ll get the joke later in the blog) with table decorations. I use the good china, but generally stick with everyday silverware. Cloth napkins, maybe. This year, in my ongoing Martha makeover, I knew I had to kick it up a notch or two.

Candy Caper

First, I printed out the turkey candy bar wrapper template from Martha’s site that is shown on page 110 of the November issue of Living. I thought this was going to be slam dunk easy. Silly me. On 3 different trips to the store, I bought three different candy bars. None were the right size for this. The directions say to buy a 3 by 6 inch candy bar. Apparently all my efforts to estimate this size did not work! I have no idea why this was so complicated. The only way to make this one work is to take the wrapper to the store and find a candy bar that fits it. I gave up finally. No candy bars on my table. Sorry, Martha.

Going Nuts

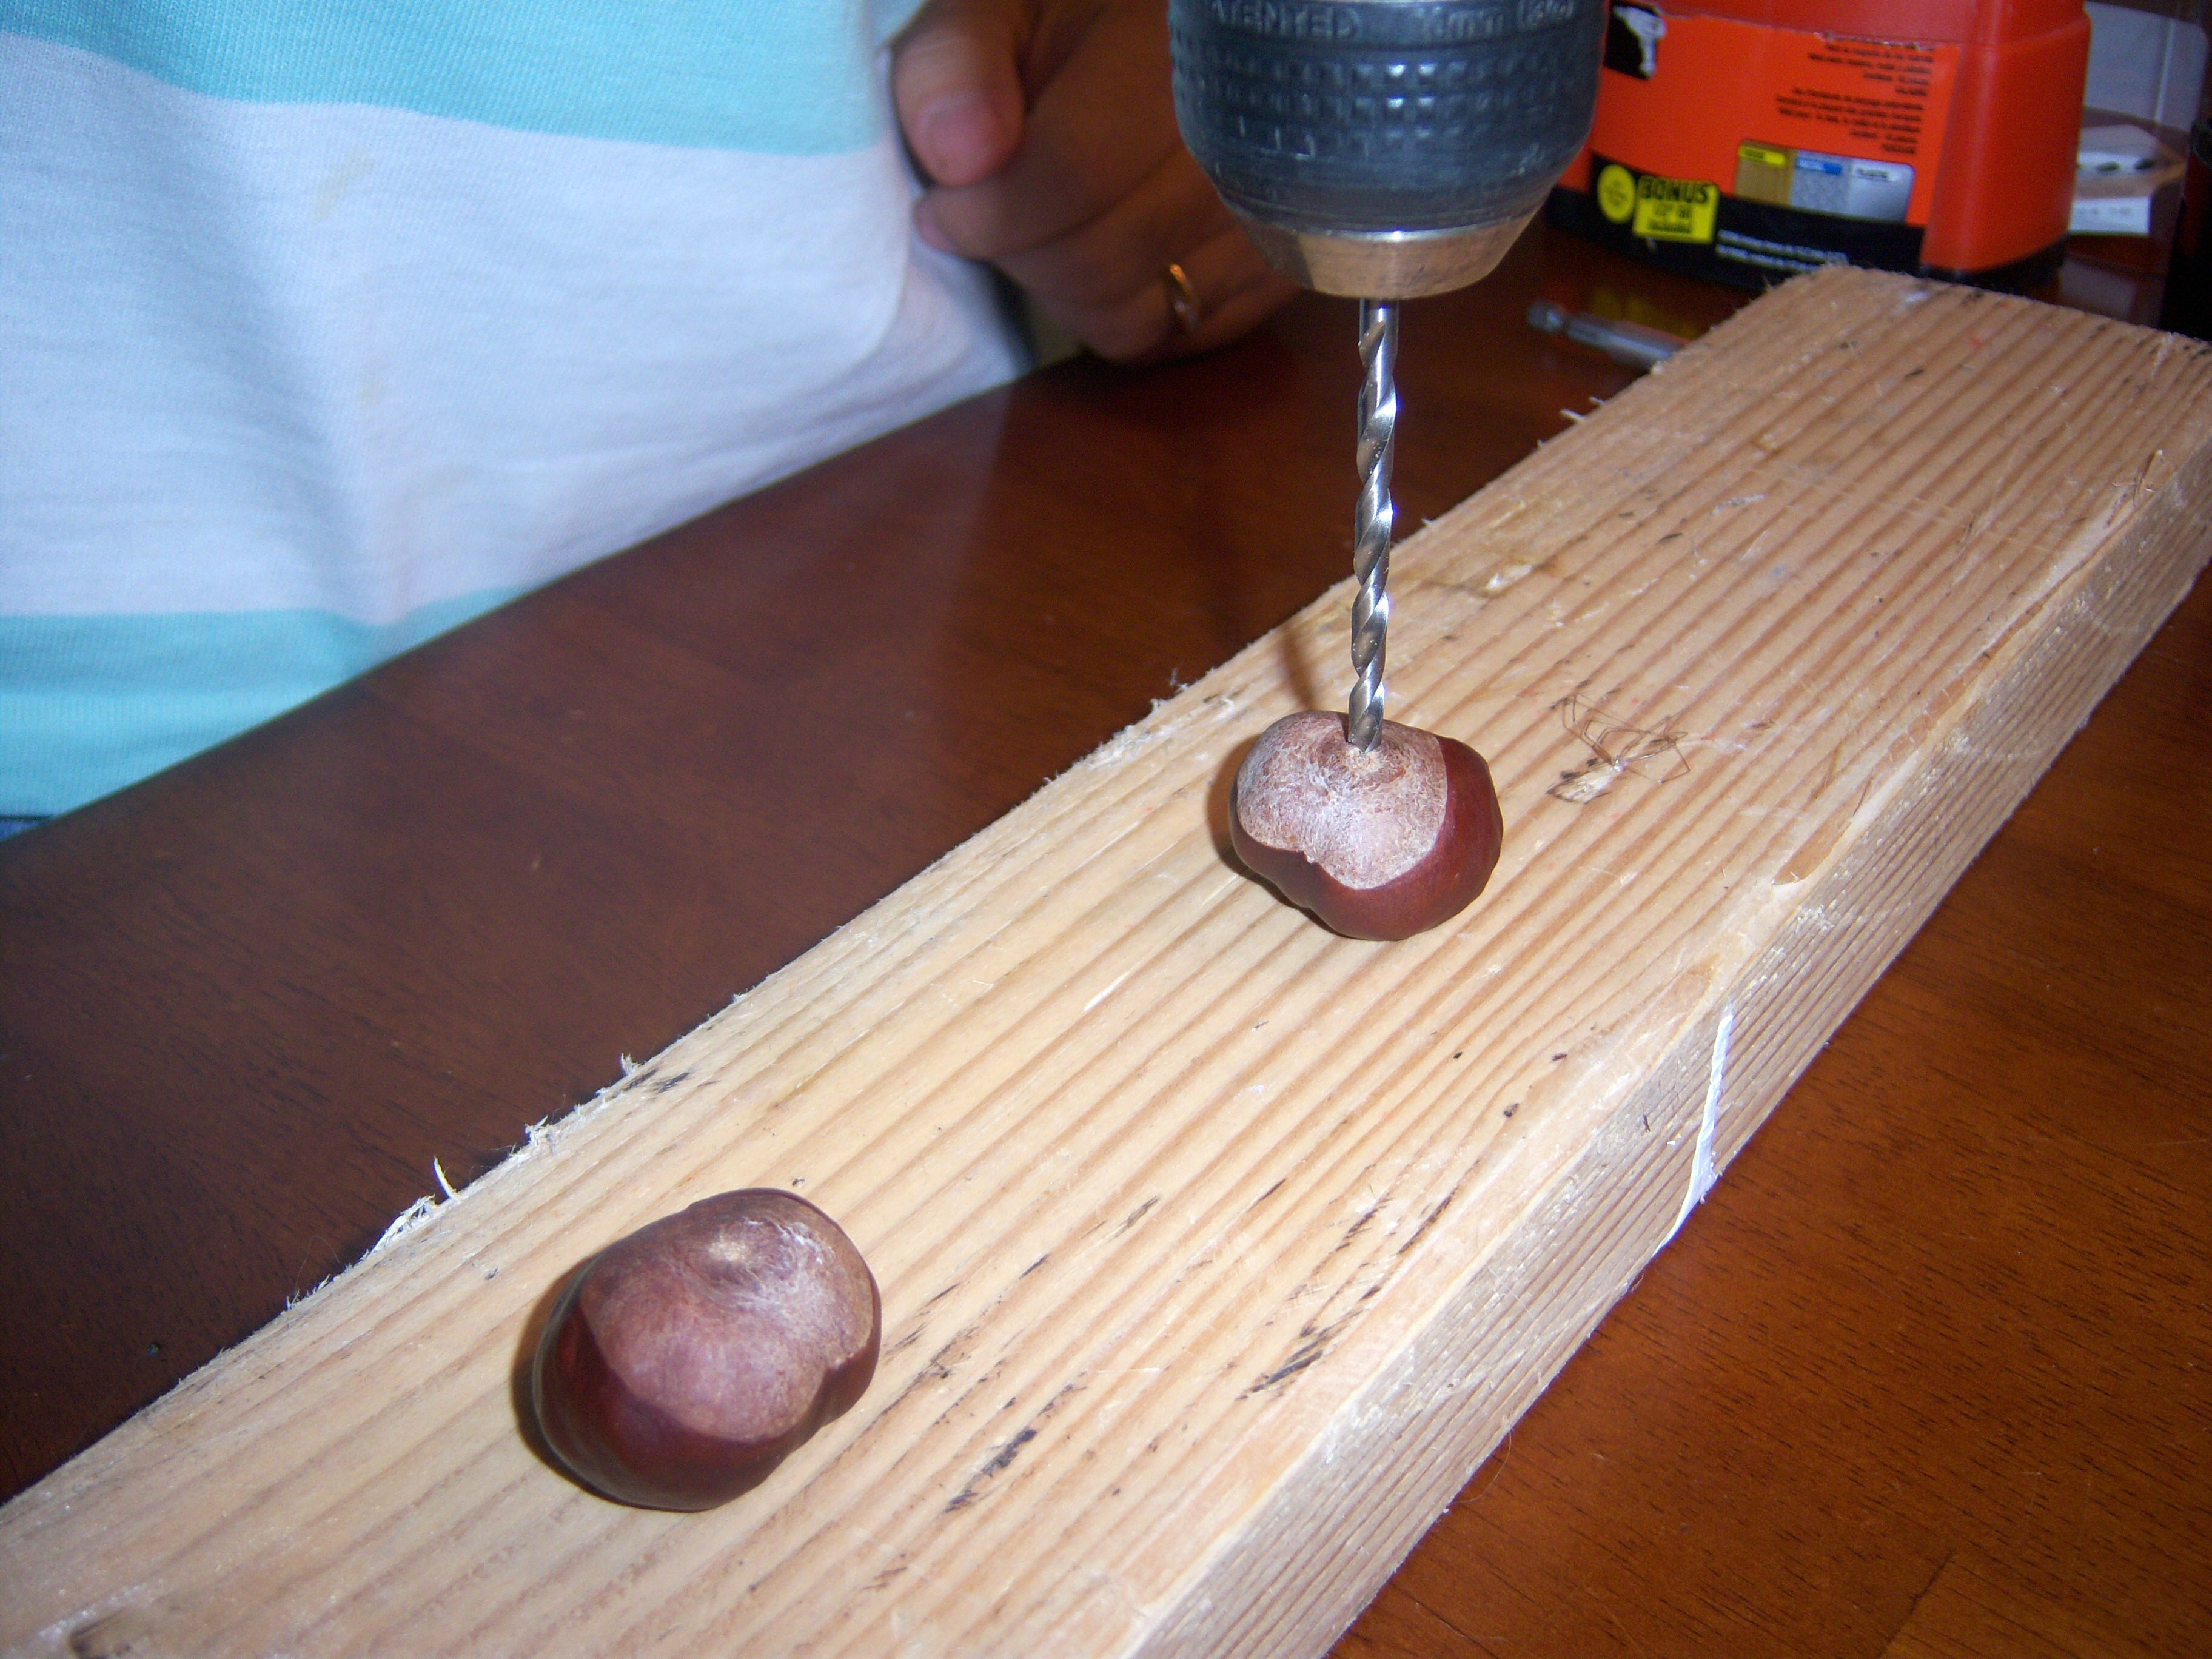
Next I decided I wanted to make the cute acorn napkin decoration from page 54 of November Living. I couldn’t find any faux acorns, and we don’t have any real ones around here. Instead, I decided to use chestnuts! My mom always used to take me to pick them up when I was kid and she would tell me to put one in my pocket for luck. Once I had kids, she would take them to pick up chestnuts too. I have a basket of chestnuts in the family room that comes out with the fall decorations, so I just stole a few from it to do this.

Drill in action

Drill in action

Mr. MarthaAndMe got

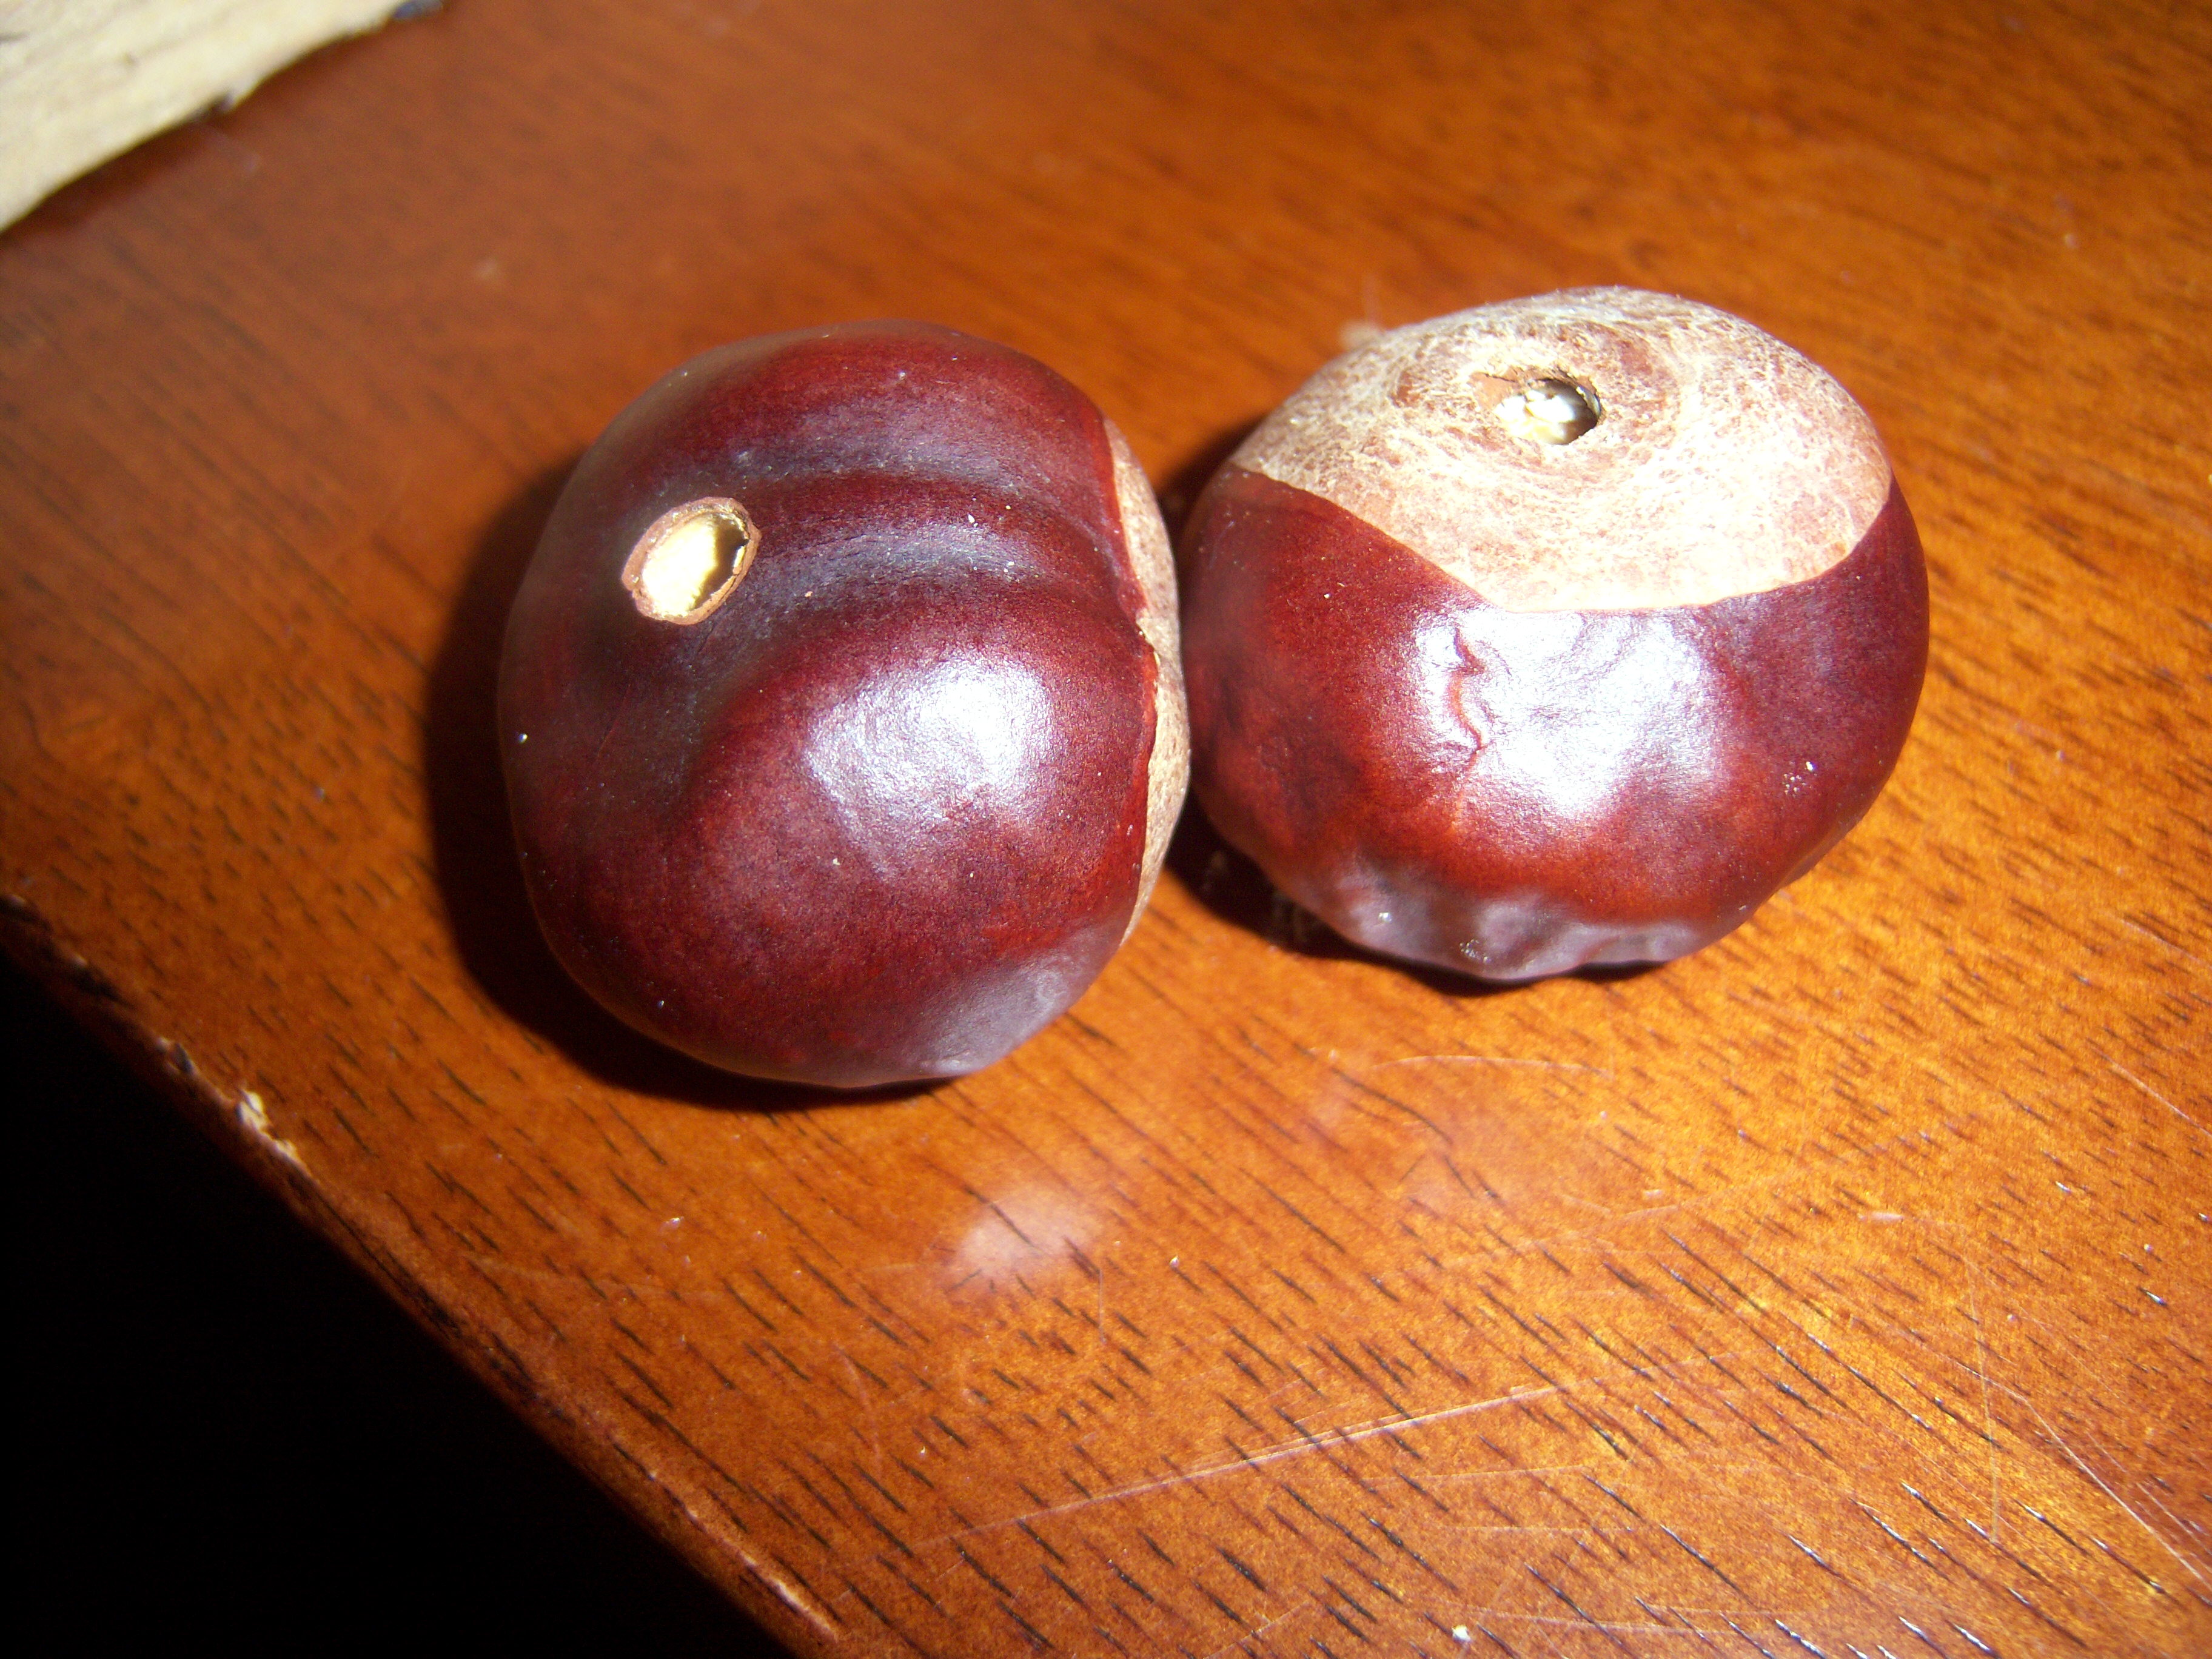
Ready to use

Ready to use

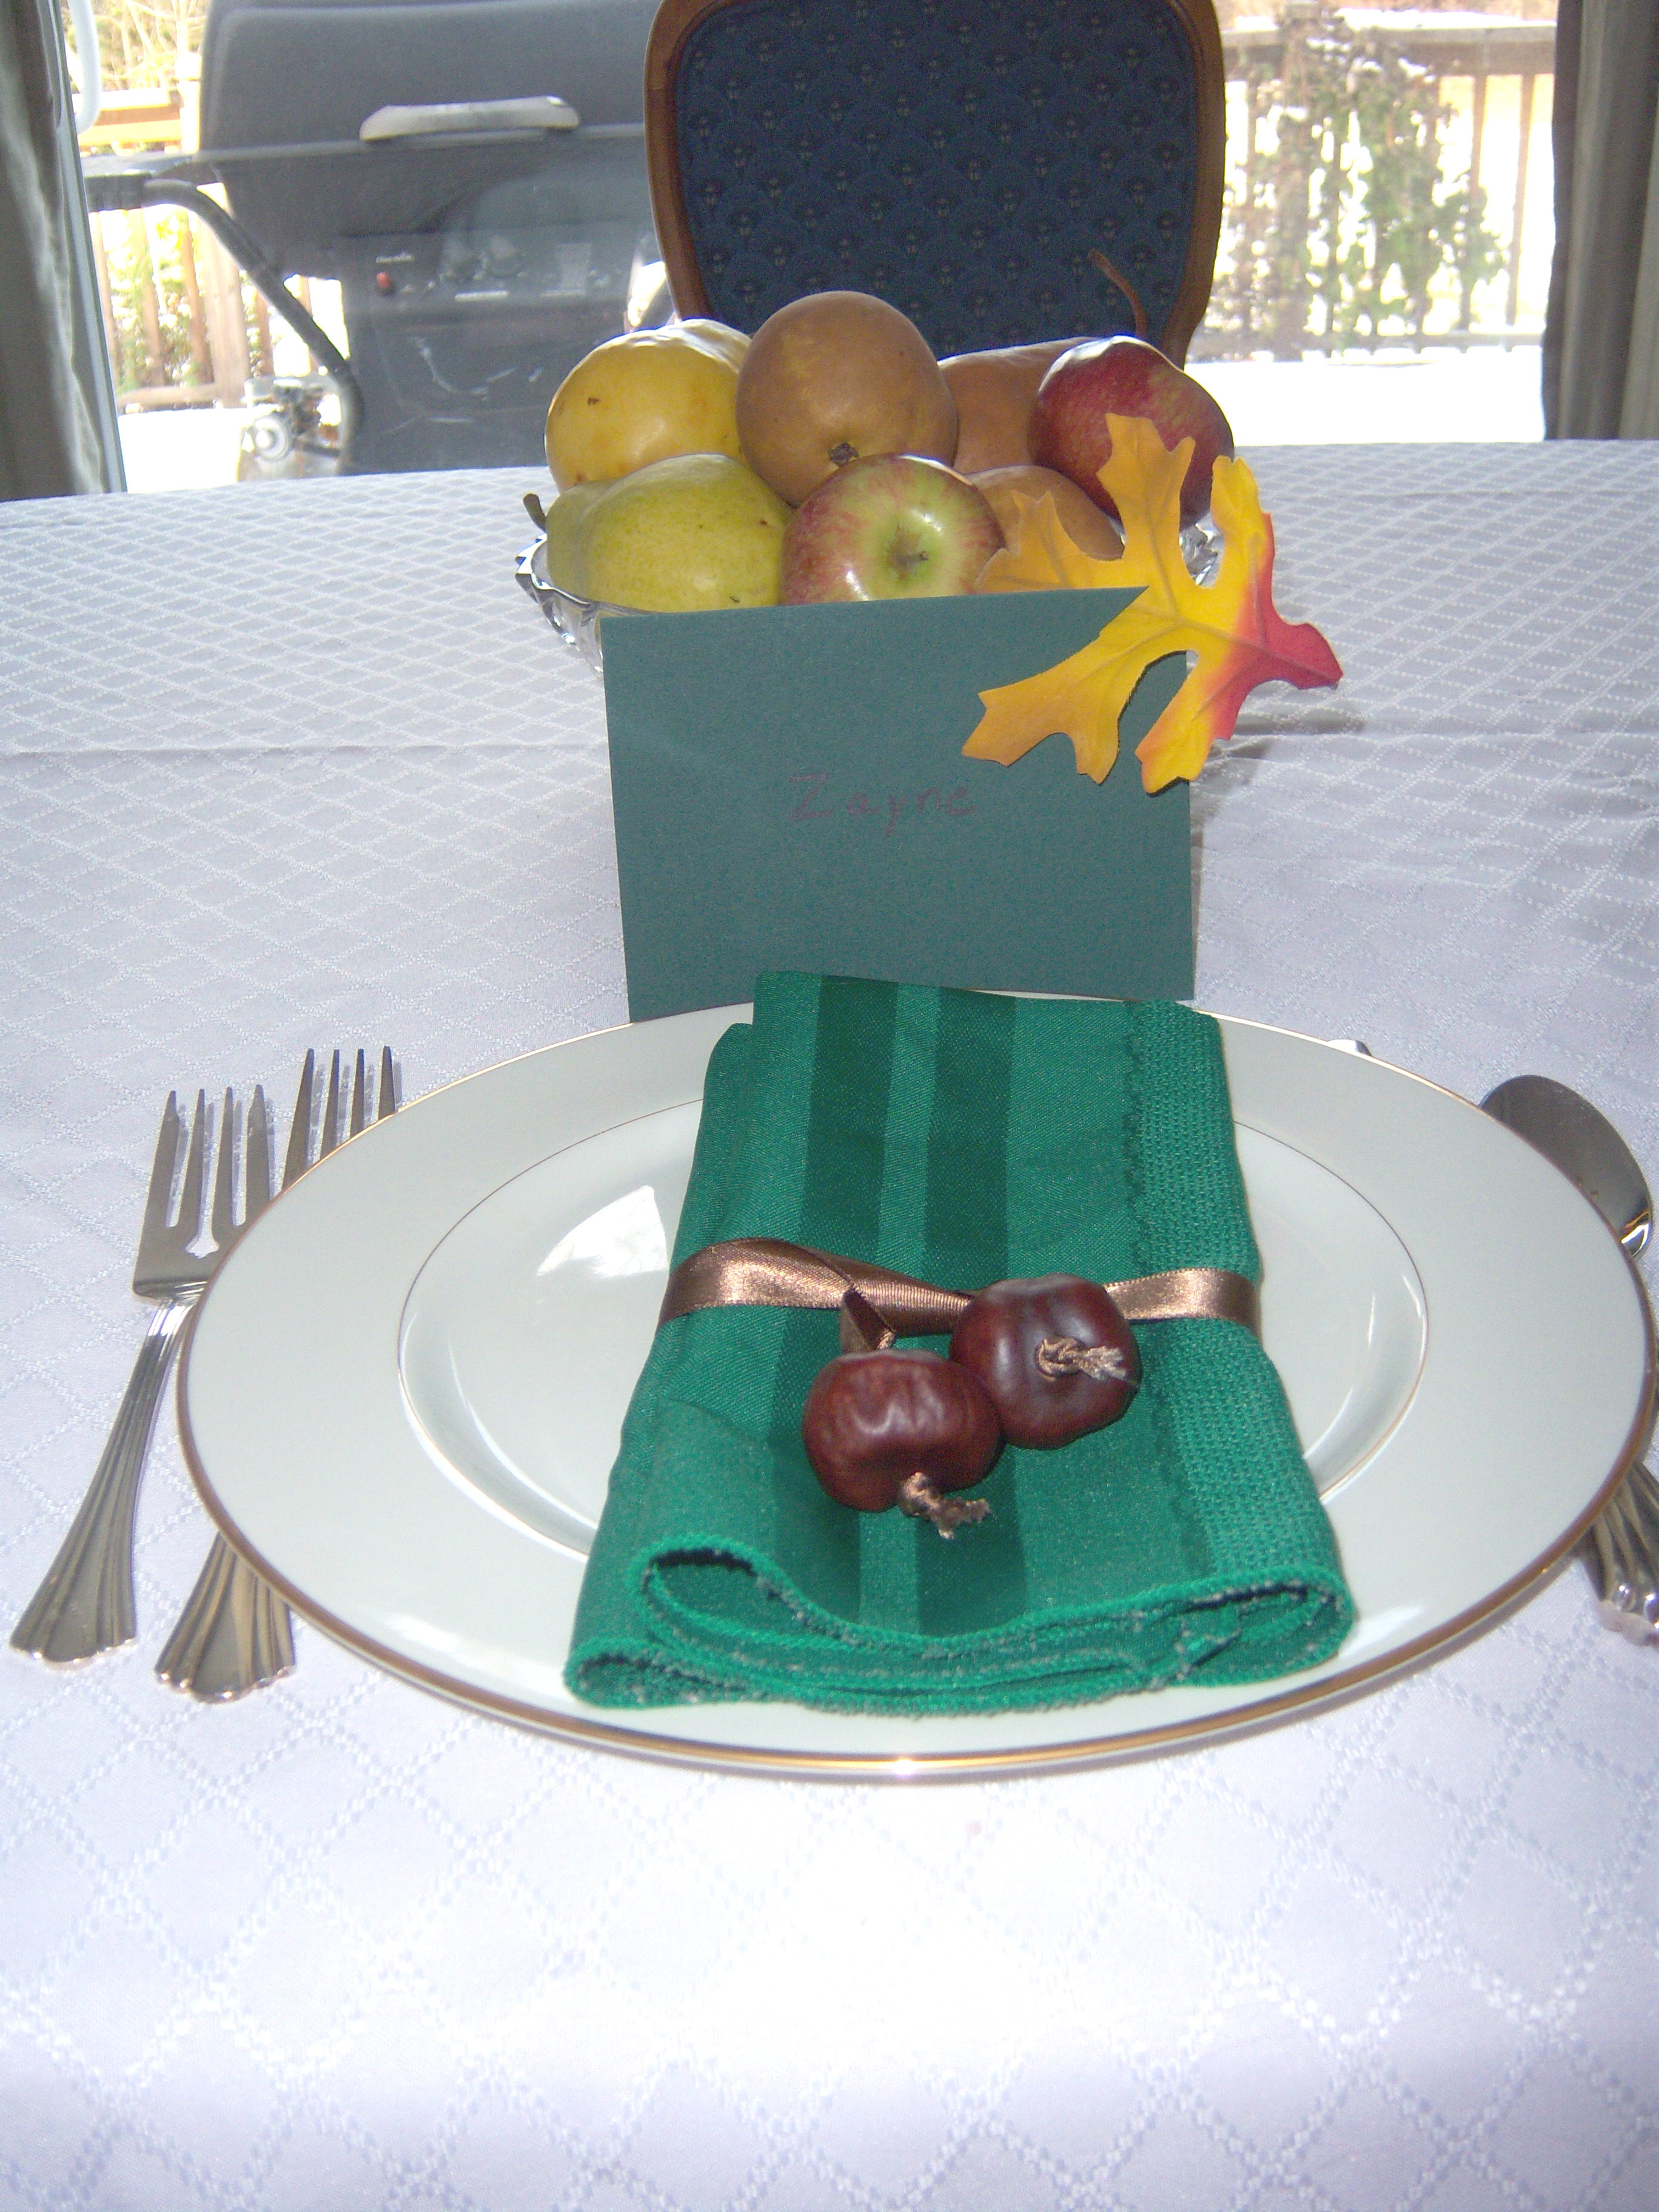
out the drill and we drilled a hole in each chestnut. It wasn’t too hard to do at all! Then I pushed ribbon through (I used the end of a paper clip to shove it through) and tied a knot under each chestnut. Next, I just wrapped the ribbon around the napkin and tied it into a knot.

I think these are adorable and the added bonus is that they would work for a woodsy kind of Christmas setting too. This was so easy! I am proud of myself for attempting and succeeding at another craft (ok, so it was a minor one!).

Getting Centered

Martha had a “Good Things to Save Money” tip on her show recommending you just fill a bowl with apples for your Thanksgiving centerpiece. There’s also a section in the Nov. Living about making centerpieces from cabbages (trust me here, the cabbages in my grocery store do not look like the pretty ones Martha used).

I have a really cute faux pumpkin with flowers in it that I actually bought at the grocery store, which is my fall centerpiece. But to please Martha, I attempted to make my own from apples and pears. It looks kind of lame I think.

Placecards

Table setting a la Martha

Table setting a la Martha

On Page 54 of November Living, Martha also has leaf placecards. You take a plain card (she used black but I chose green) and cut a diagonal slit in one corner and insert a leaf there. Great, except all of our leaves have turned brown, crumpled into nothing, and been covered with snow by now. So I used a faux leaf instead. I think it’s actually kind of cute.

I must confess that since we usually stay home for Thanksgiving, I don’t go nuts (ha! You’ll get the joke later in the blog) with table decorations. I use the good china, but generally stick with everyday silverware. Cloth napkins, maybe. This year, in my ongoing Martha makeover, I knew I had to kick it … Read more
Quizzical

Posted by Brette in Life

What Kind of Dreamer Are You?

Martha’s got a new quiz (dontcha love a good quiz? I adore them!) that will help you determine what kind of dreamer you are and therefore what kind of business you would best be suited to start. My results came back saying I am an altruistic dreamer and should look into starting a nonprofit. Not sure that fits me. I tend to like profit – silly me. The other choices were creative dreamer or motivational dreamer. I think I am more of a creative dreamer, however I have organizational skills and oomph that propel me forward, so I don’t just sit and stare at the stars, thinking what if. What kind of dreamer are you? Do you agree with Martha’s assessment?

What Kind of a Giver Are You?

The Christmas Workshop has this quiz. I thought this one would be fun since I adore gift giving. The quiz told me I am a Big-Time Baker. Well, that’s true, but the other choices were A Handy Crafter (not me) or a Personalized Purchaser. I think the last one fits me best. I do bake some gifts, but mostly I love the hunt of finding just the right gift for someone. I actually enjoy giving gifts better than getting them. There’s too much pressure when someone gives me a gift! If I don’t like it, I have to pretend realistically that I do and I have no patience for people who buy bad gifts.

What Kind of Dreamer Are You? Martha’s got a new quiz (dontcha love a good quiz? I adore them!) that will help you determine what kind of dreamer you are and therefore what kind of business you would best be suited to start. My results came back saying I am an altruistic dreamer and should … Read more
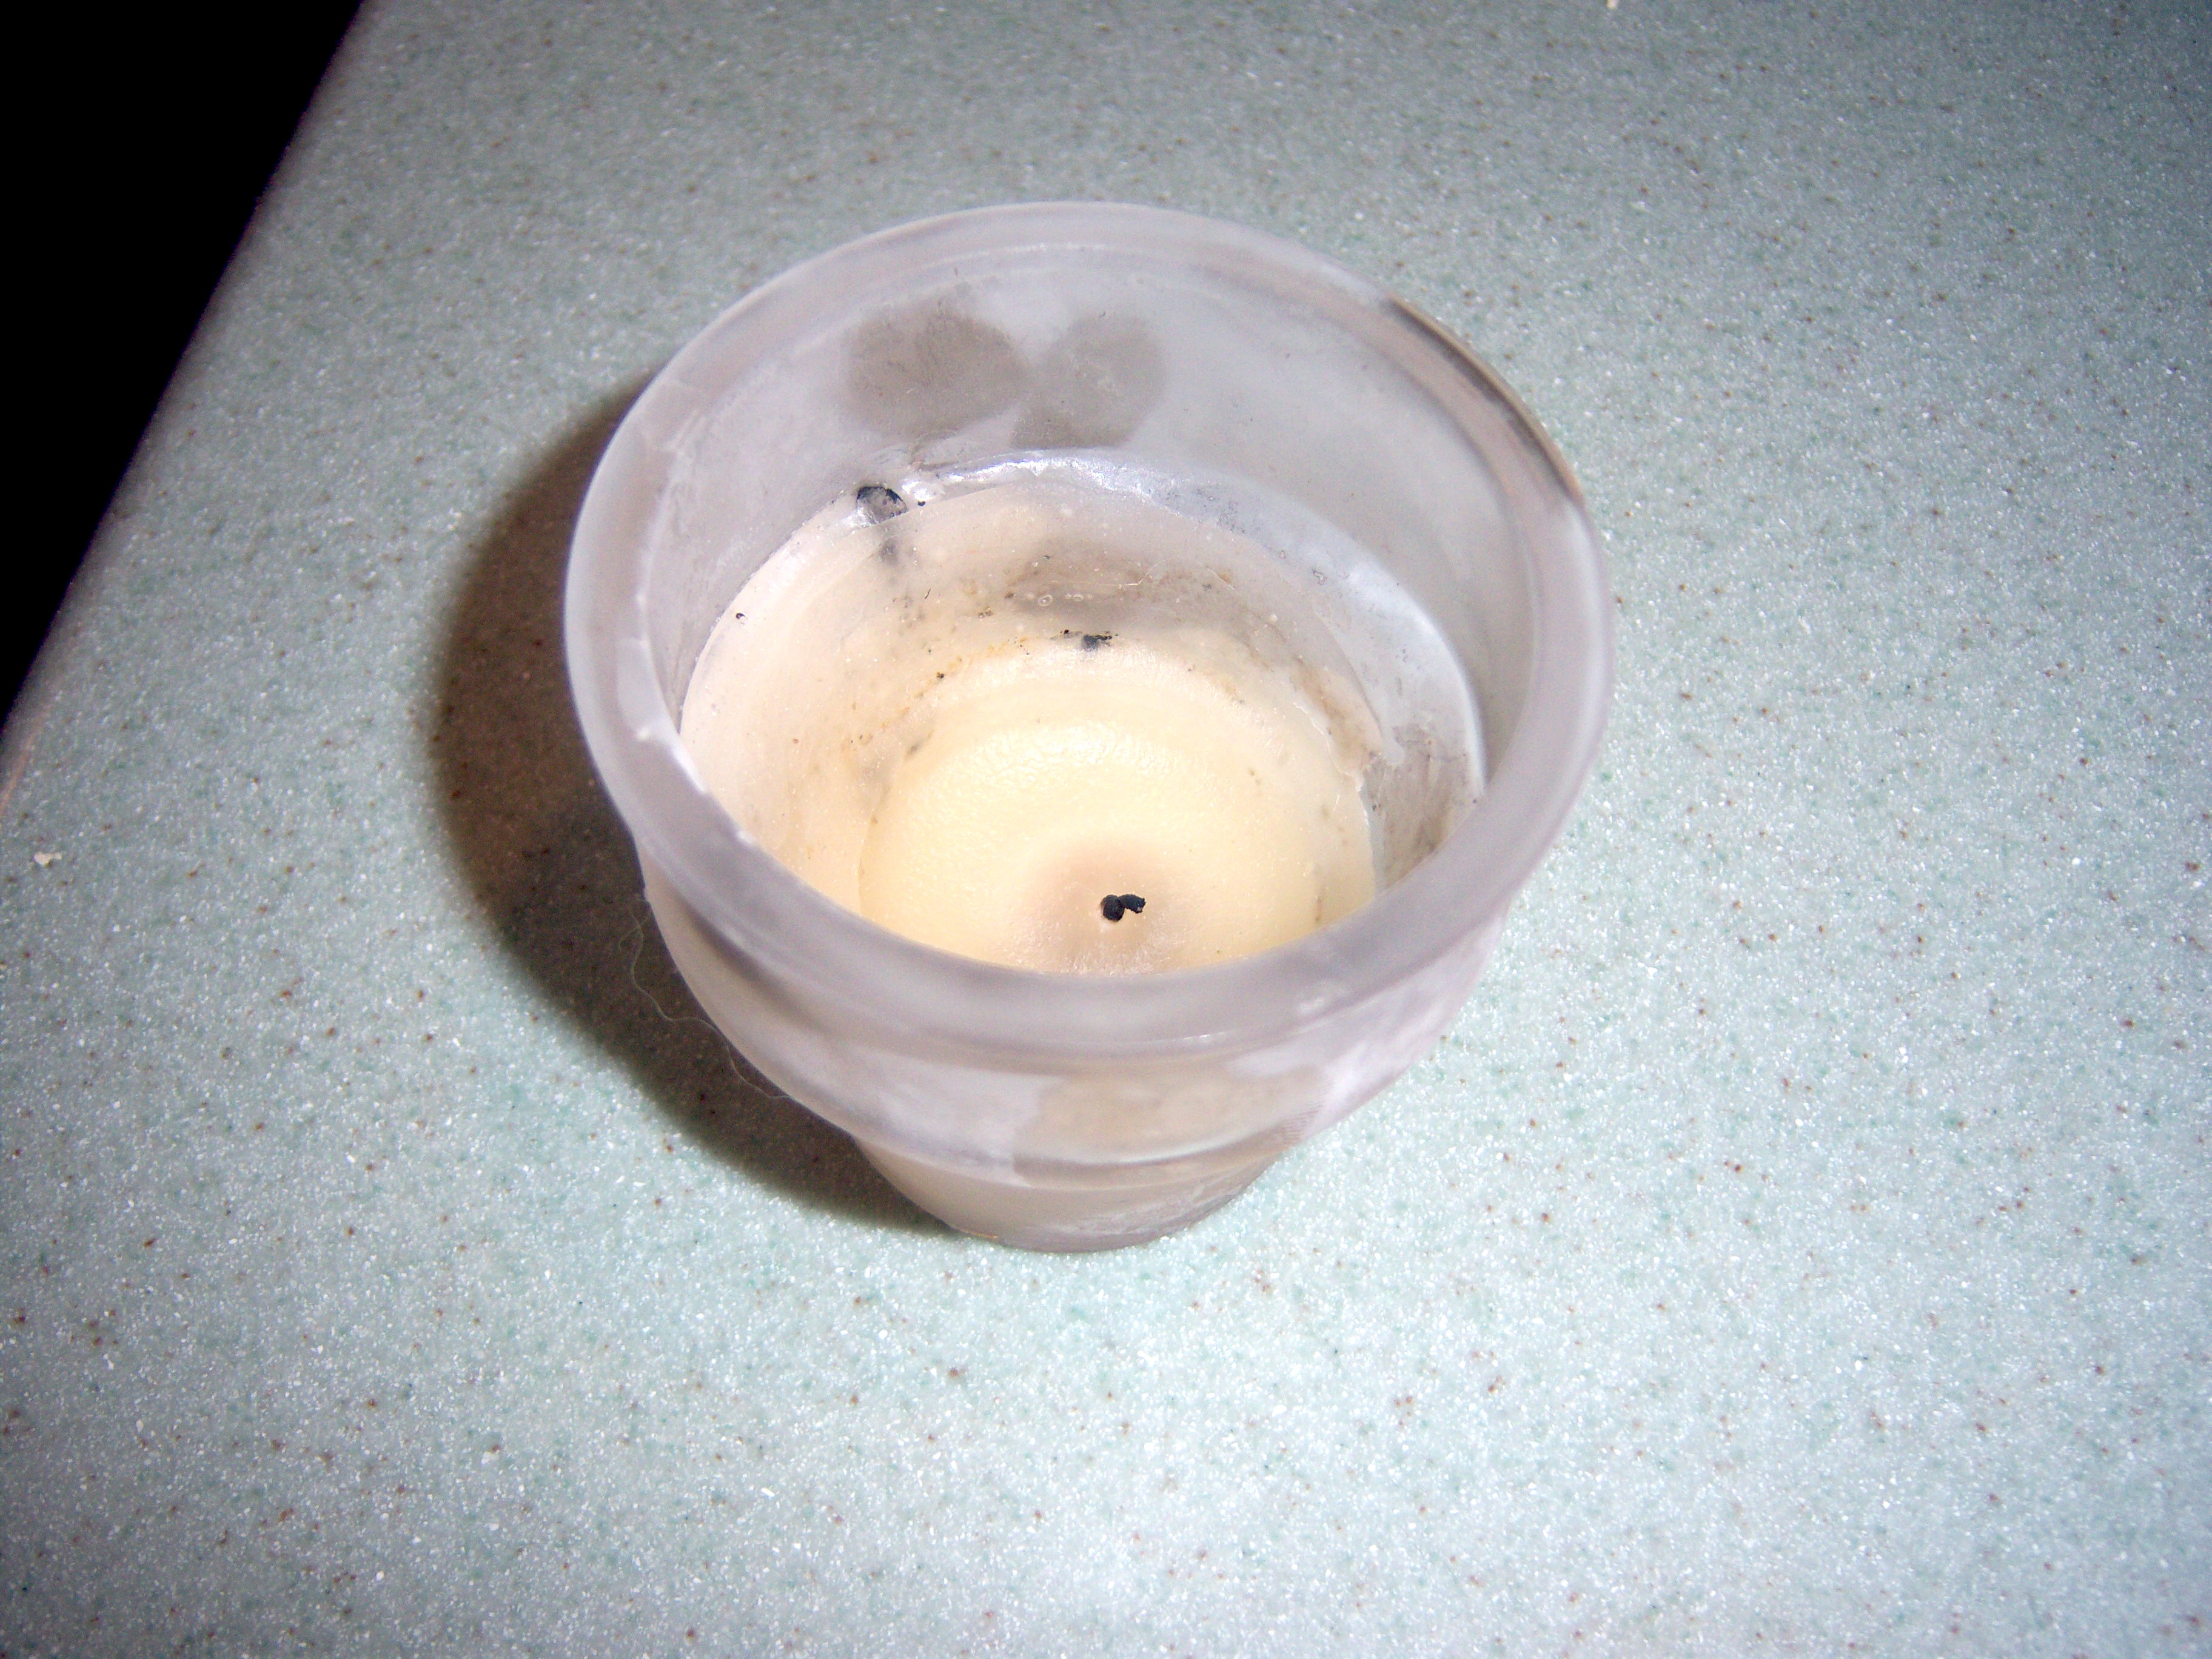
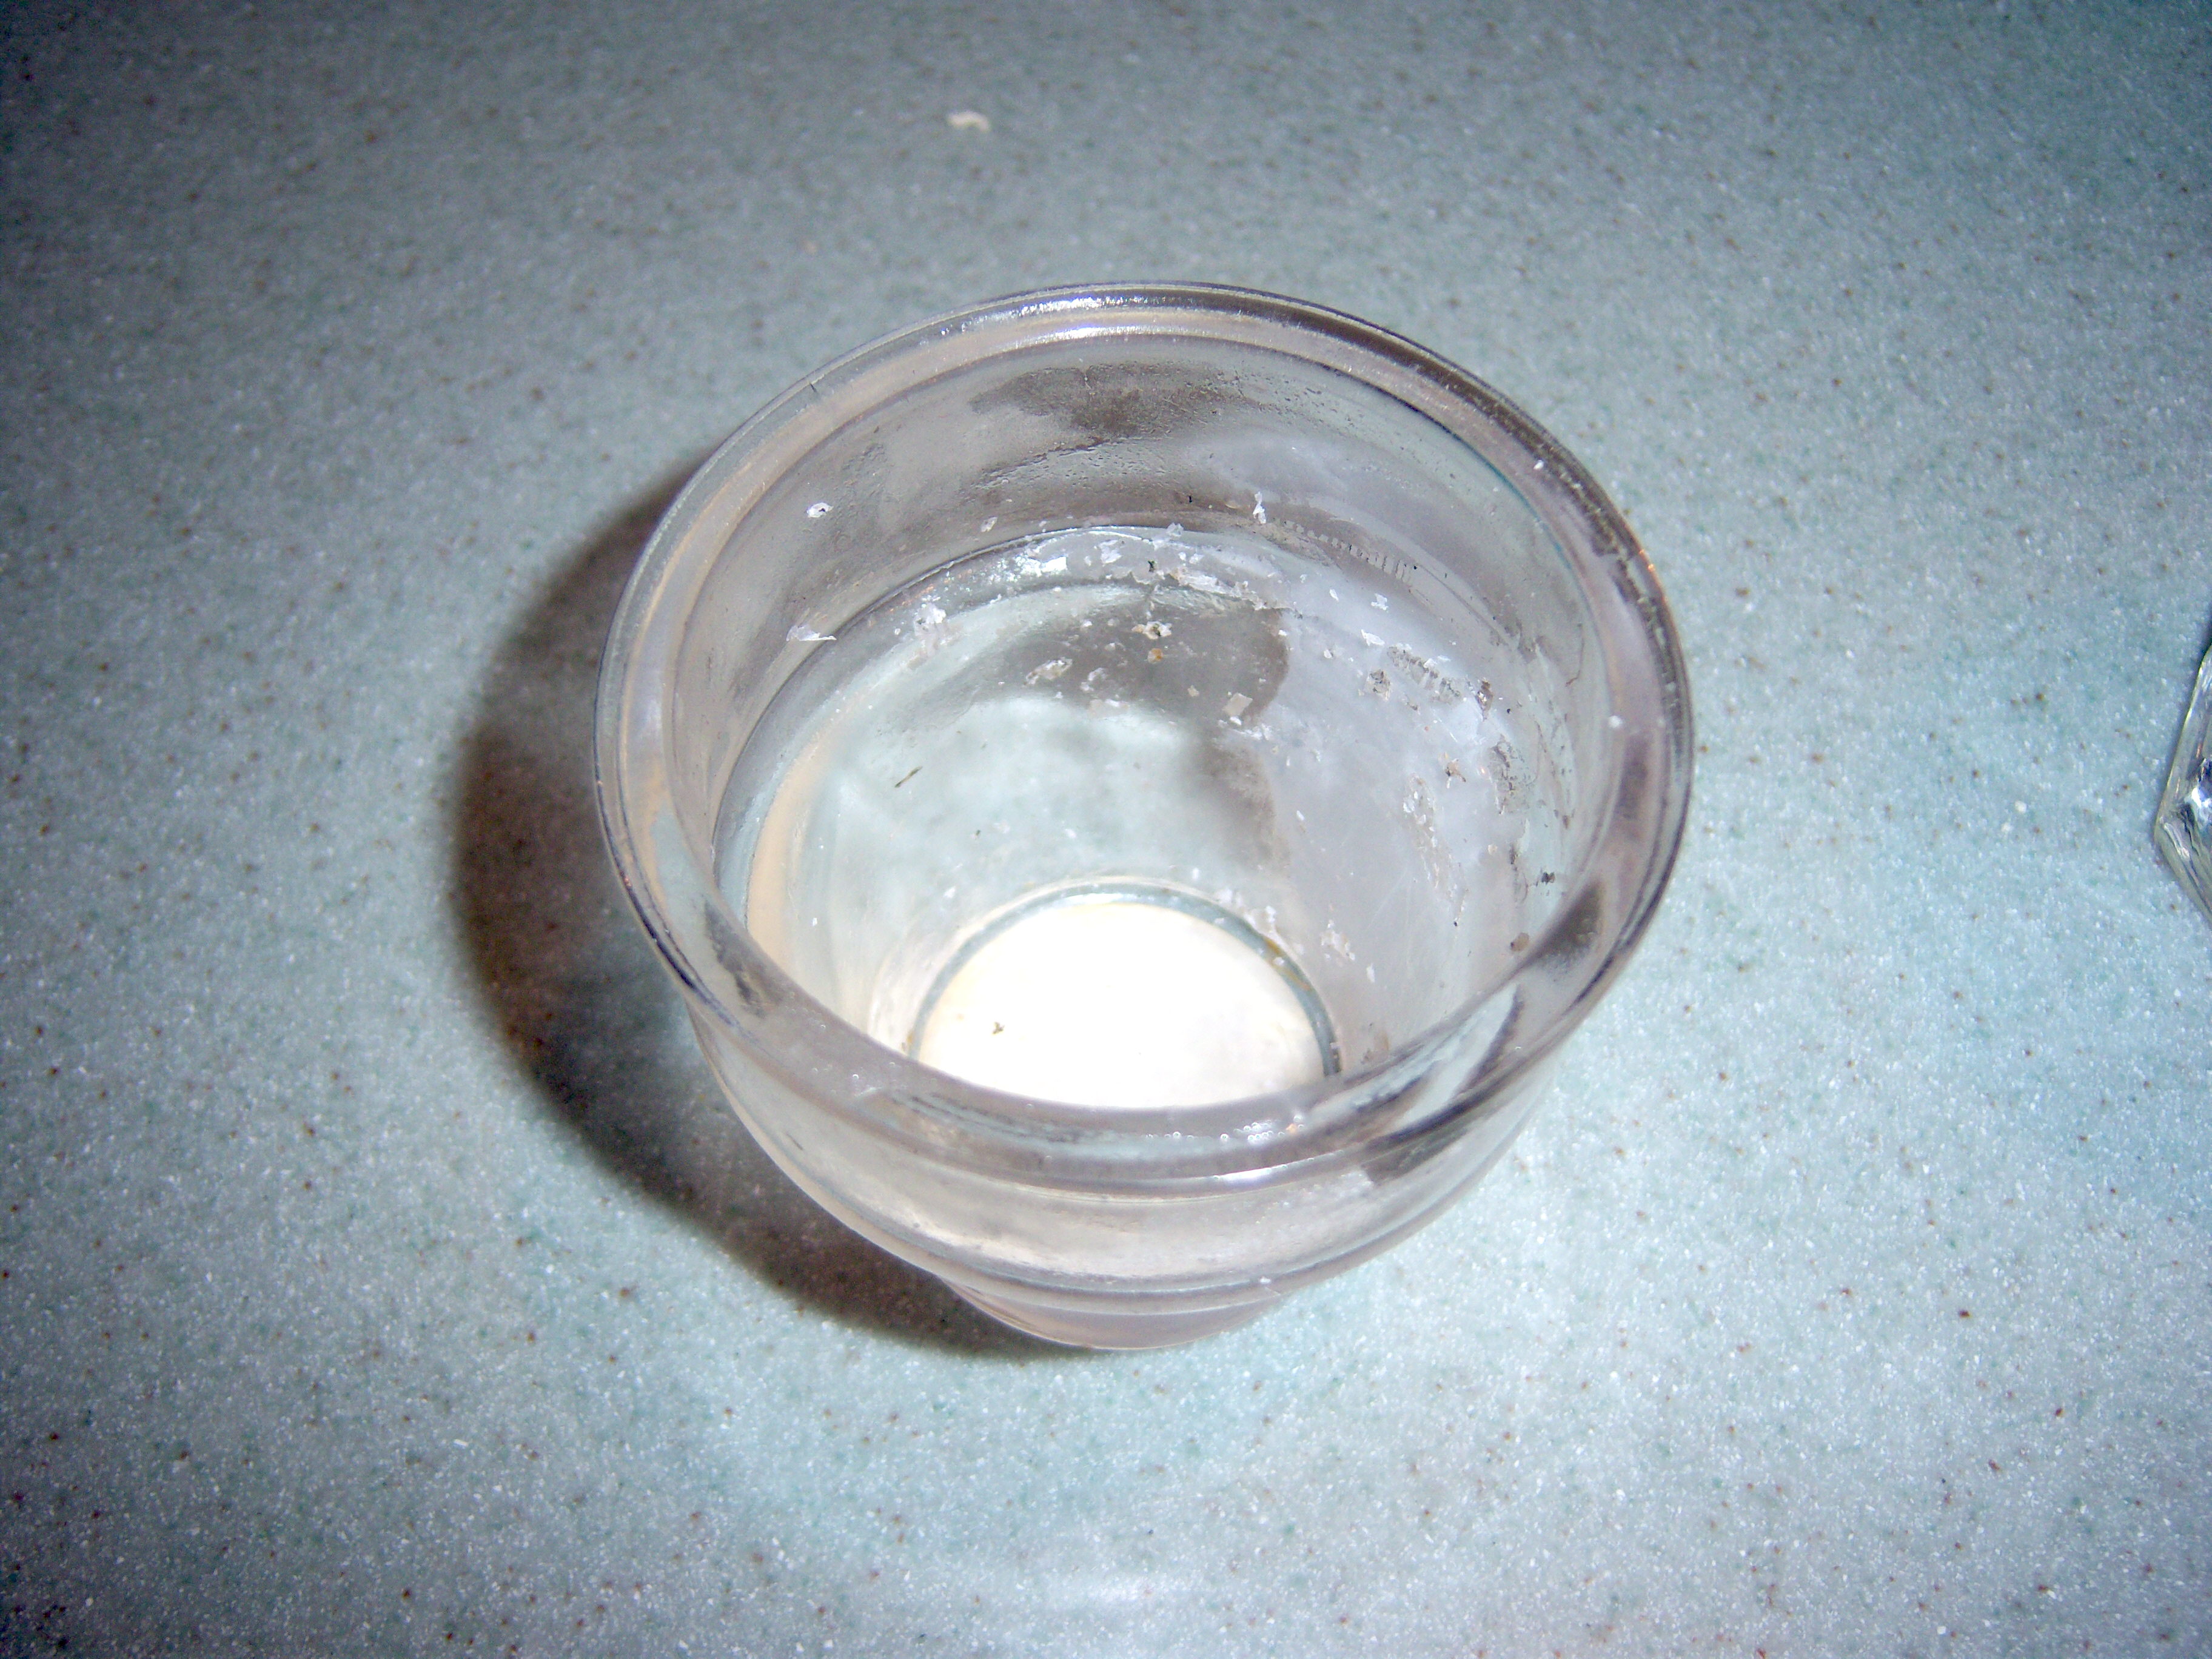
I’ve poured over the November Ask Martha in Living and have come away with some tidbits. Firstly, I really appreciated the answer about removing wax from votives. I had not clue how to do this. Martha suggests popping the votive in the freezer and then removing the wax. This totally worked for me! Here are my before and after photos (the after one still needs some cleaning up, but the huge glob of candle wax is completely gone):

Before

Before

And after

And after

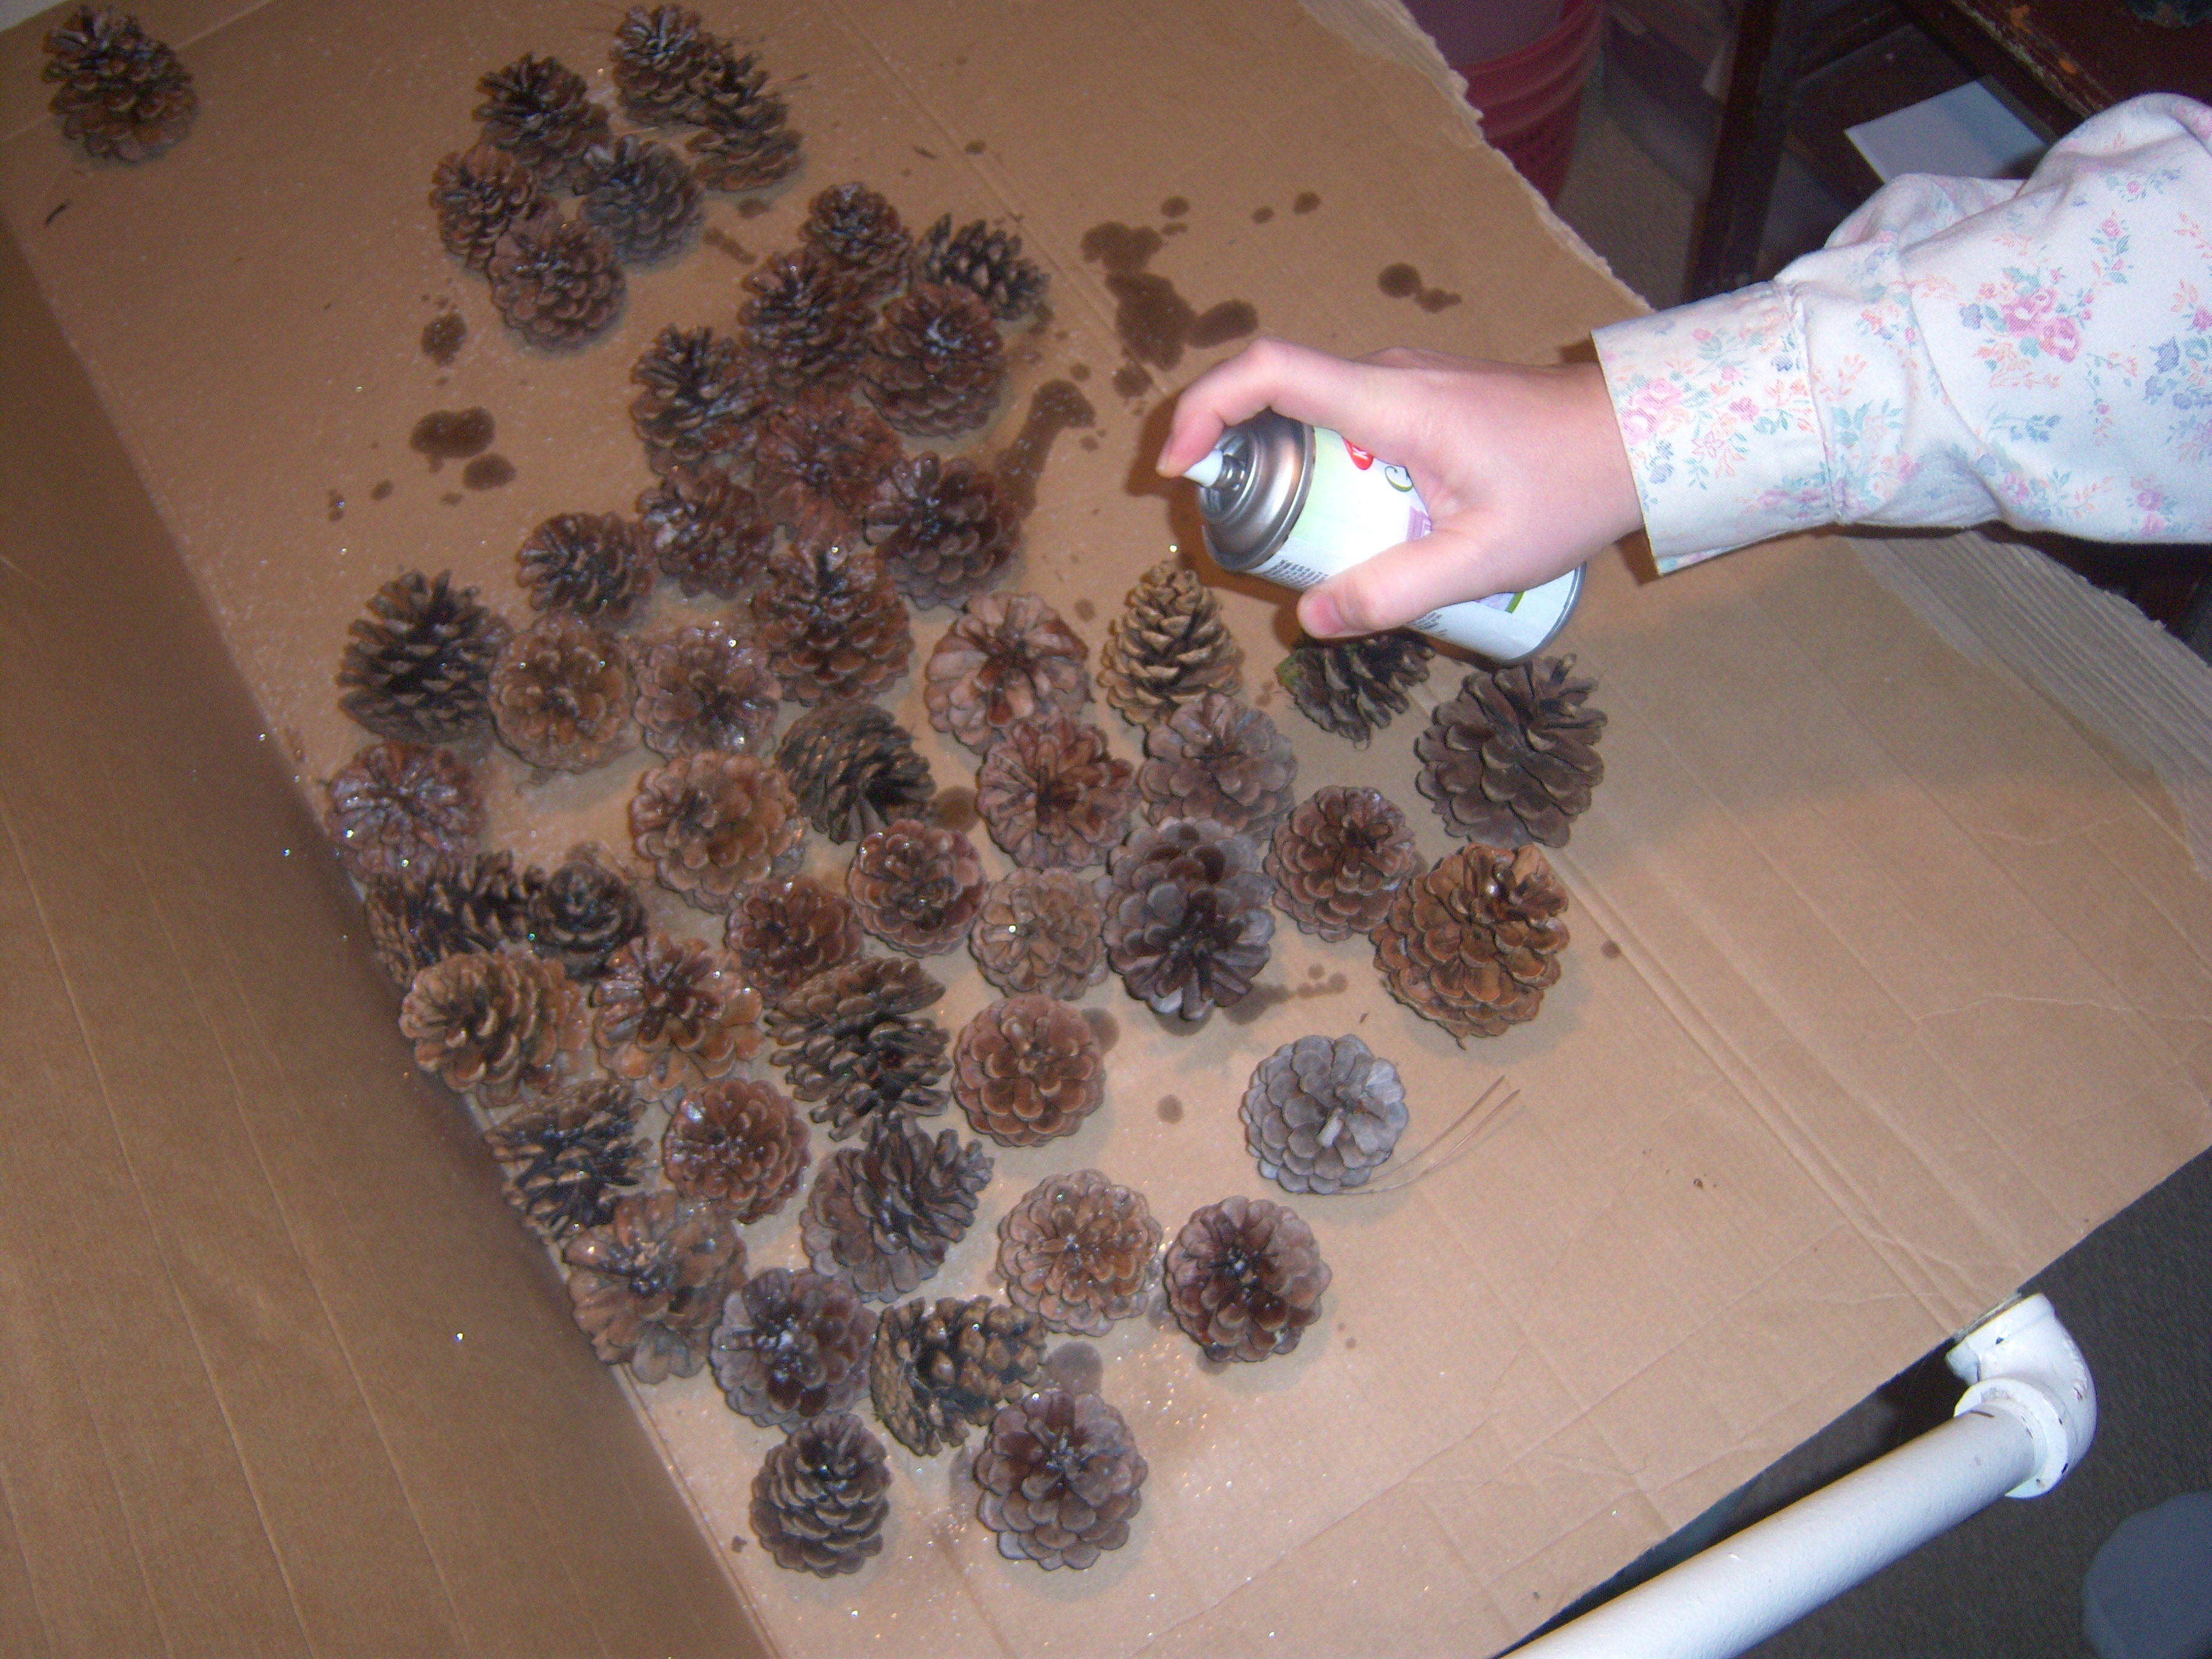
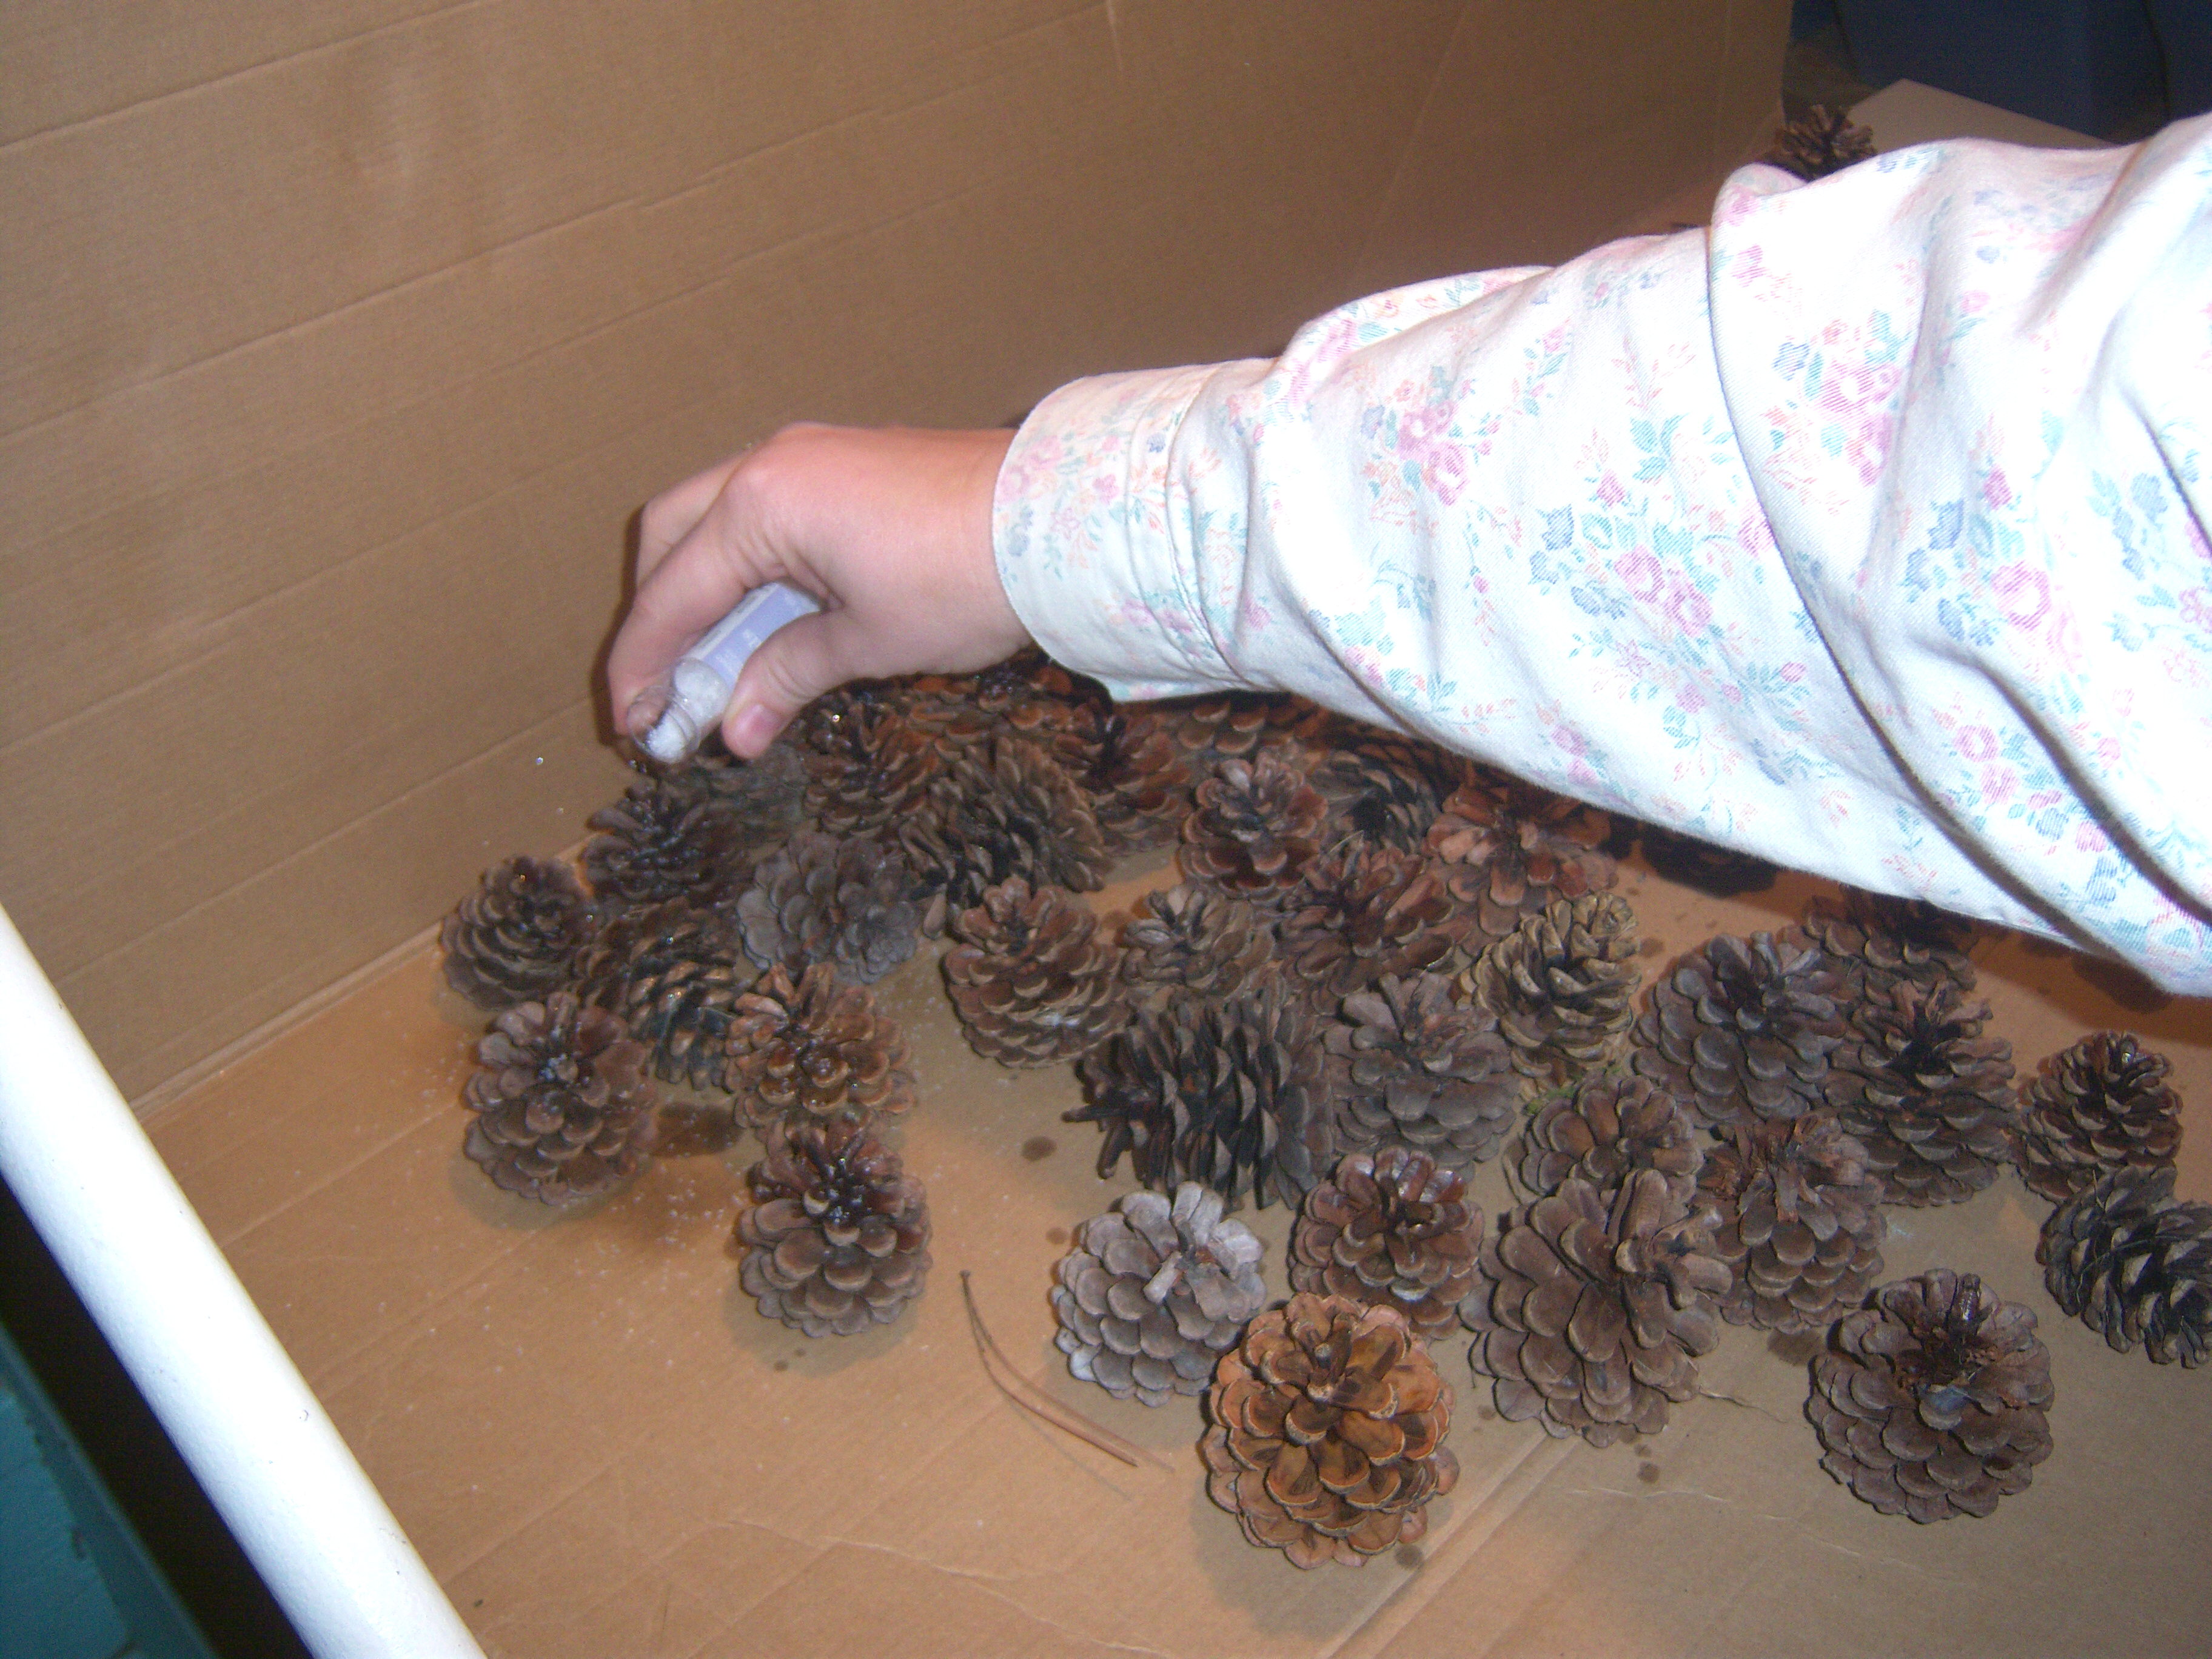
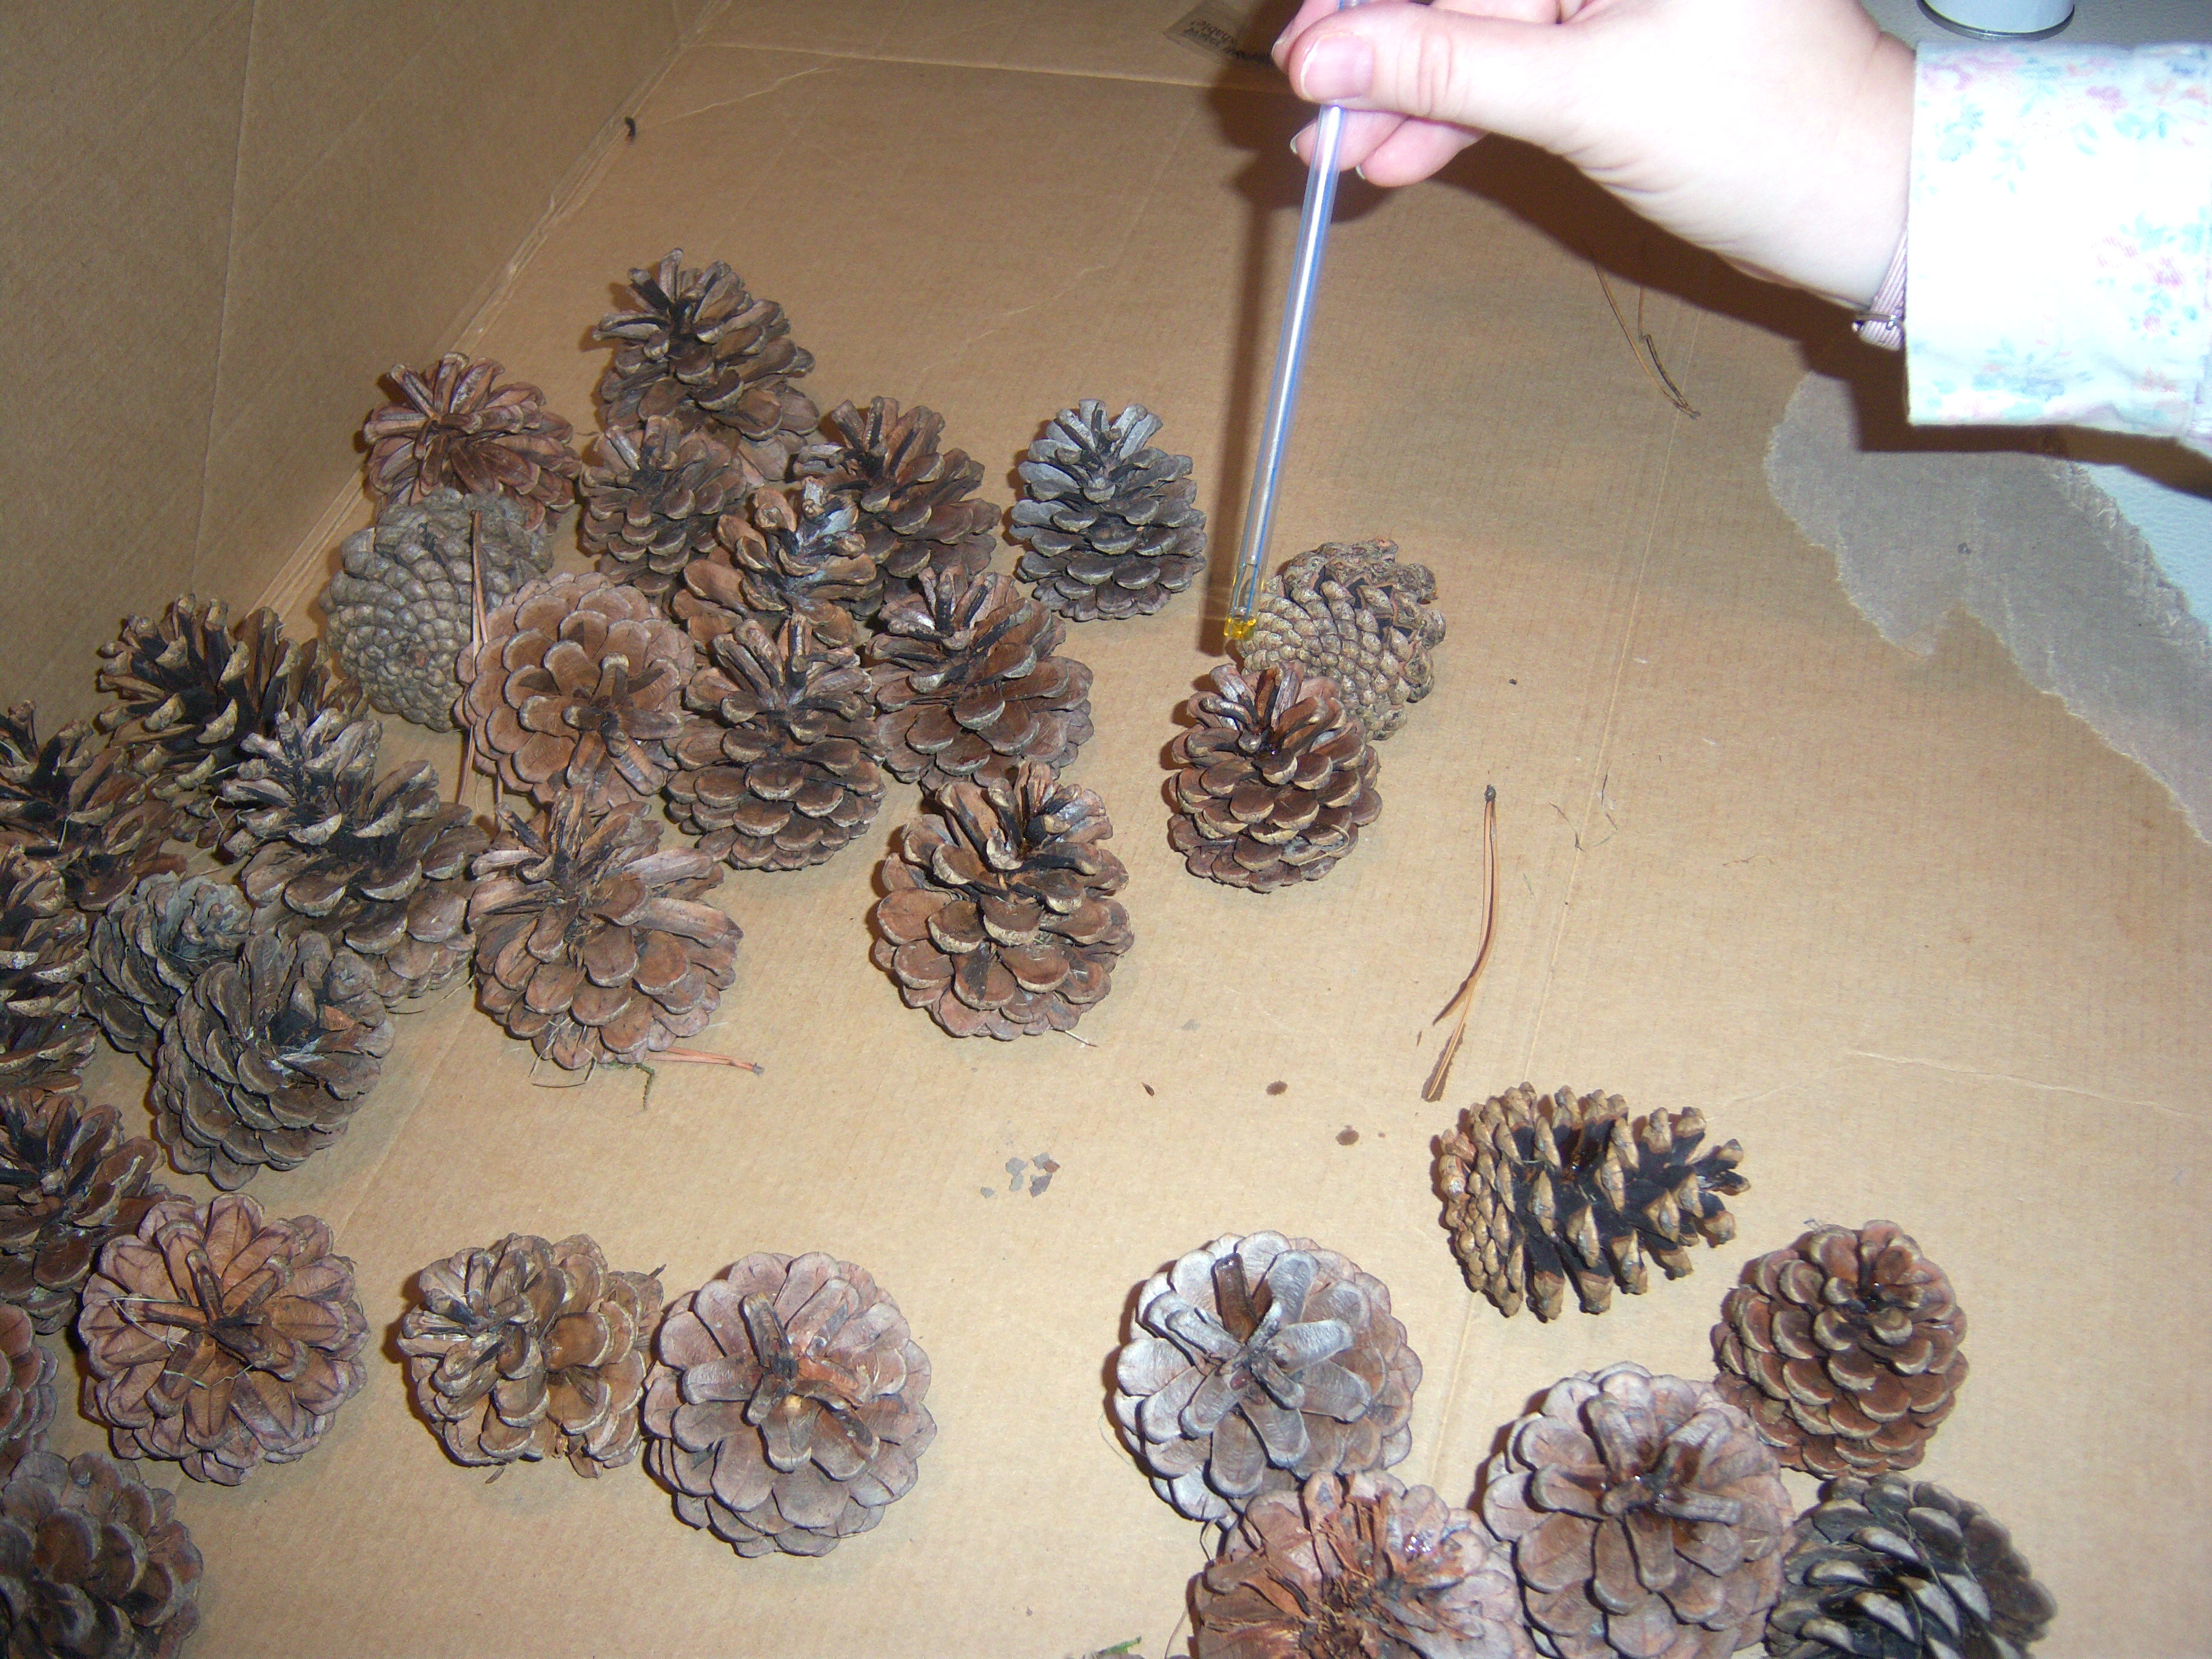
The other question I enjoyed was the one about adding fragrance to wood-burning fireplaces. One of Martha’s suggestions was to dry and then scent pinecones. I sent Mini-Martha to the backyard to pick up pinecones. I dried them in the oven at 200 degrees for about 45 minutes. Then I spread them out and sprayed them with a glittery spray. It didn’t turn out too glittery, so I sprayed it again and while still wet, shook on some white glitter. Gorgeous! Next I dropped on some scented oil. Martha says to keep the scented pinecones in a plastic ziploc, which I will do, but my plan is to give this as a gift, so I’m going to put them in a basket once we’re closer to Christmas.

Spraying

Spraying

Glittering

Glittering

Scenting

Scenting

I’ve poured over the November Ask Martha in Living and have come away with some tidbits. Firstly, I really appreciated the answer about removing wax from votives. I had not clue how to do this. Martha suggests popping the votive in the freezer and then removing the wax. This totally worked for me! Here are … Read more
Some Tidbits

Posted by Brette in Food

Lots of little things to report in this post.

I Hate Cable

My local stations don’t carry Martha’s show (why? I cry). For a while, I was watching it on Fine Living, but those episodes sometimes didn’t correspond to the schedule on the site. Sometimes they would play old reruns, other times they would play the current show. Too confusing. Then I found the little doo-hickey on Martha’s site that lets you type in your zip code and it will tell you where to find the show. I discovered it is carried by a Canadian station we get (I’m in Buffalo – no snow jokes please- which is on the border) at 1 p.m. Terrific! So I started DVRing it there. Wednesday of this week I was all excited because it was cooking school day. I went to play it at about 1:30 and no Martha! I checked the schedule and it had been pre-empted by something called “The Crown Speech” which was a news special in Canada (I could totally make some crack about this but I am totally not going to since I love my Canadian neighbors). Well, you can’t keep me away from Martha, so I quickly checked the Fine Living listings, but she wasn’t there either! Eek! Disaster!

Back to the online doo-hickey. Turns out Fine Living no longer carries it, but suddenly there is a local channel carrying it at 11 a.m. Which means I missed it for that day! This was a total and complete tragedy! I needed to see this cooking school since it was about Thanksgiving. She had an audience of people who have never cooked Thanksgiving dinner before! I needed to see this!!!  Now I’ll have to just use the recipes in the magazine and check the book for extra tidbits. Martha, you need to have your shows available to download online. There’s no reason not to. If my teen can watch Gossip Girl online, I should be able to watch you.

So now I’ve got the DVR set to tape both the Canadian broadcast and the local one in case this kind of pre-empting happens again (this is known as the belt and suspenders method of viewing).

Mac and Cheese

I was sitting at my son’s hockey practice earlier this week and my daughter asked what was for dinner. I told her (beef potpie) and she asked if we could have homemade mac and cheese with it.  My first reaction was no way – I didn’t have enough cheese or enough time! But when I got home, instead of dumping out a box of it, I first looked at Martha’s recipe in Cooking School. It looked almost as easy as making it from a box so I went for it. I’ve made my own in the past, but have never been happy with it. I especially detest the homemade kind that has egg in it (sorry, Paula Deen!). Martha’s recipe was really easy. You start with some butter and onions and add flour then milk. This really cooked up to a nice thickness and then I added cheese. It was ready within minutes. I skipped the step of putting it in a casserole dish and putting breadcrumbs on top. It tasted great and was simple. A good thing.

Crepes

On Nov 10, Martha had on Chef Brian Sikora, who made herb crepes. I was going to attempt this recipe, but as I’ve reported in some other posts, I was sick as a dog. I cheated and bought some crepes. It was about $4 for a package of 10. I have attempted crepes in the past and wasn’t happy with how they turned out, so this was a good compromise. I spread some Dijon mustard on them and filled them with ham, asparagus and cheese. I made a cheese sauce to go on top and baked them till the sauce bubbled. They were yummy.

Roasted Cauliflower

I also made the roasted cauliflower from the special holiday issue of Living. No photos here either guys – you cannot believe how sick I’ve been. I can barely make food and type a blog. That’s about all I’ve got energy for. Anyway, Martha said to roast your cauli in the oven with oil, vinegar, capers and seasonings. I skipped the capers and used balsamic vinegar. Usually I like my cauli with butter and cheese, so I was a little leery. This was good though! The cauli turned slightly brown and got a a little crunchy at the ends. The oil and vinegar was tasty. I would definitely make this again.

Jealous

Yesterday Martha showed us her new Turbo Chef oven which cooked a 12 lb turkey in 42 minutes. OMG. Um, Santa? What a cool thing this is. Although I have to say I do love how the Thanksgiving turkey cooks all day and you smell it and it just builds the anticipation! Anyone know how much these babies cost?

Elsewhere on the Web

Martha Moments has a great blog about Martha’s circular logo, which I’m emulating on this site. He also has a really cool post about making bows from Martha’s magazines.

Mad About Martha is my go-to place to find out how Every Day Food recipes work out. So glad that I don’t have to make the banana oat smoothie myself to know it was not so great.

Living Oprah is finding herself dreaming about Oprah. So far I have not dreamt about Martha, although I do find myself thinking about her through much of the day. How would Martha do this? What would Martha cook for dinner?

Good Things also tried fresh pasta from Martha – not the pici that was such a disaster for me, but from the cooking school book. That’s where I will have to turn next if I want to try this fresh pasta thing again.

THANK YOU!!!!

And finally – thank you to everyone who is reading and following my journey. I had over 600 hits yesterday. I love hearing from you and knowing you’re checking in on me!

Lots of little things to report in this post. I Hate Cable My local stations don’t carry Martha’s show (why? I cry). For a while, I was watching it on Fine Living, but those episodes sometimes didn’t correspond to the schedule on the site. Sometimes they would play old reruns, other times they would play … Read more
Oak-Leaf Bowl

Posted by Brette in Crafts

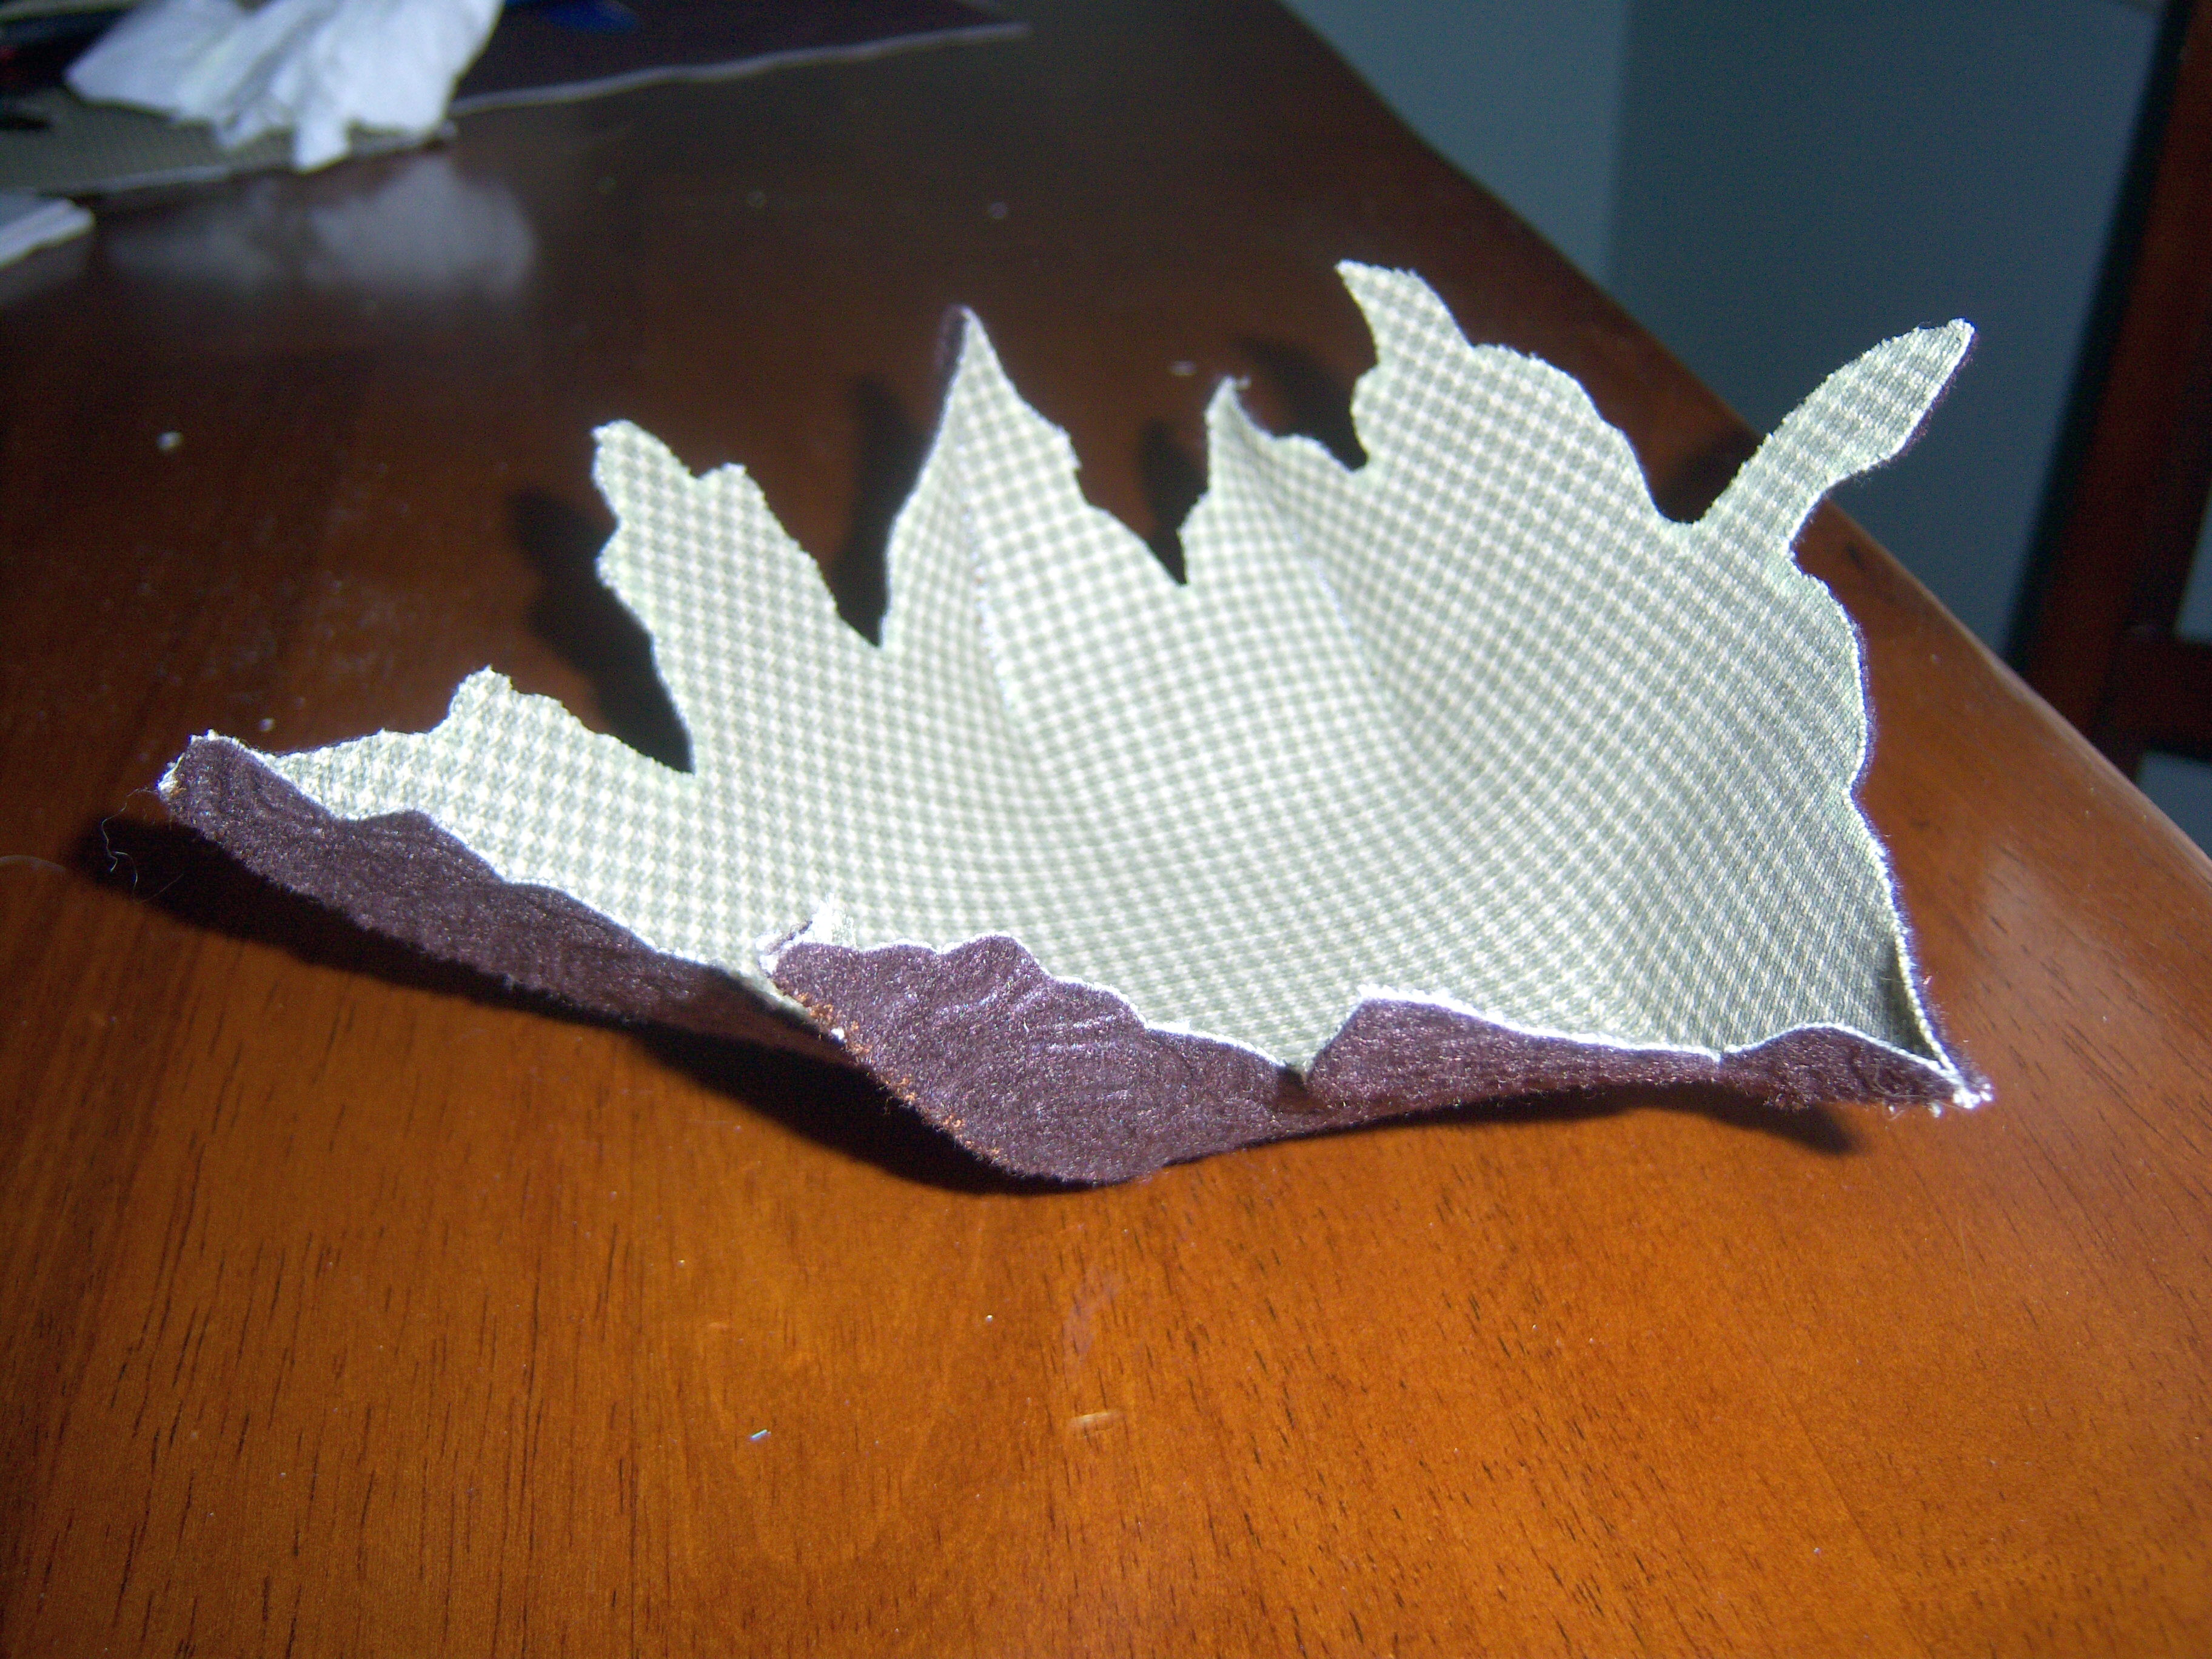
It was time to buckle down and do some crafting with Martha. I decided to make the oak-leaf bowl from p. 95-96 of Nov. Living, which Martha also made on the show. It looked not too complicated.

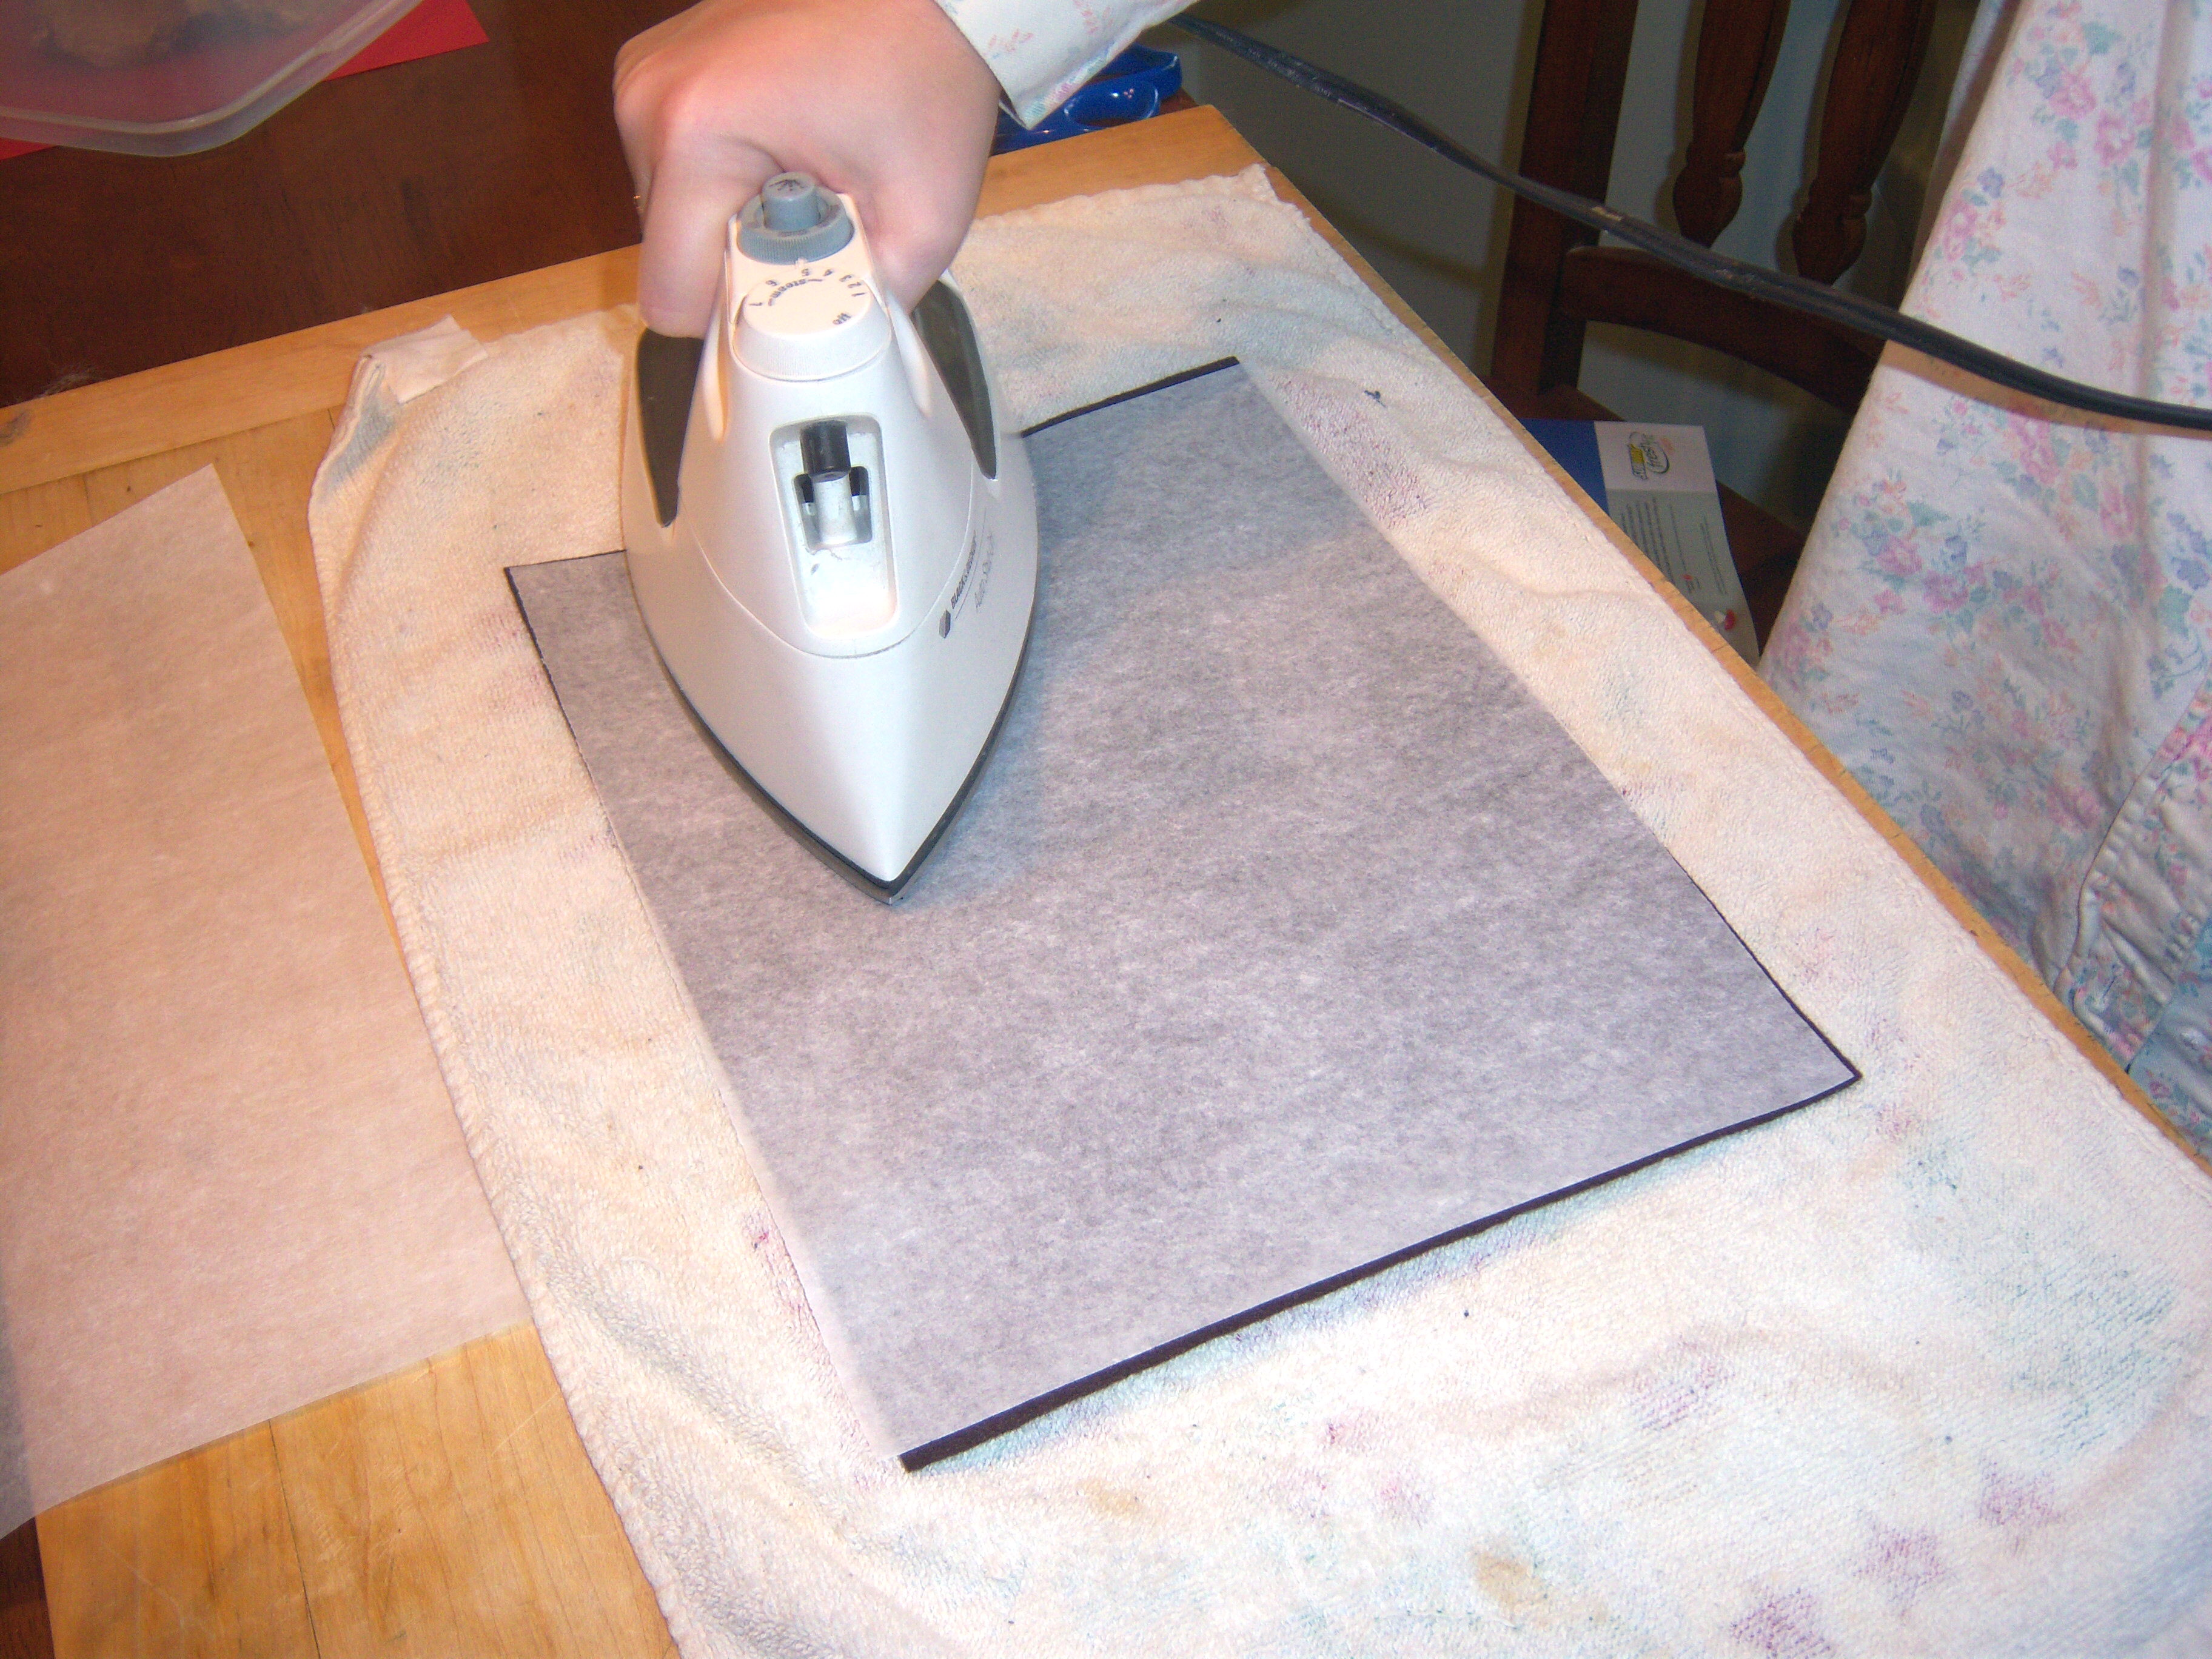
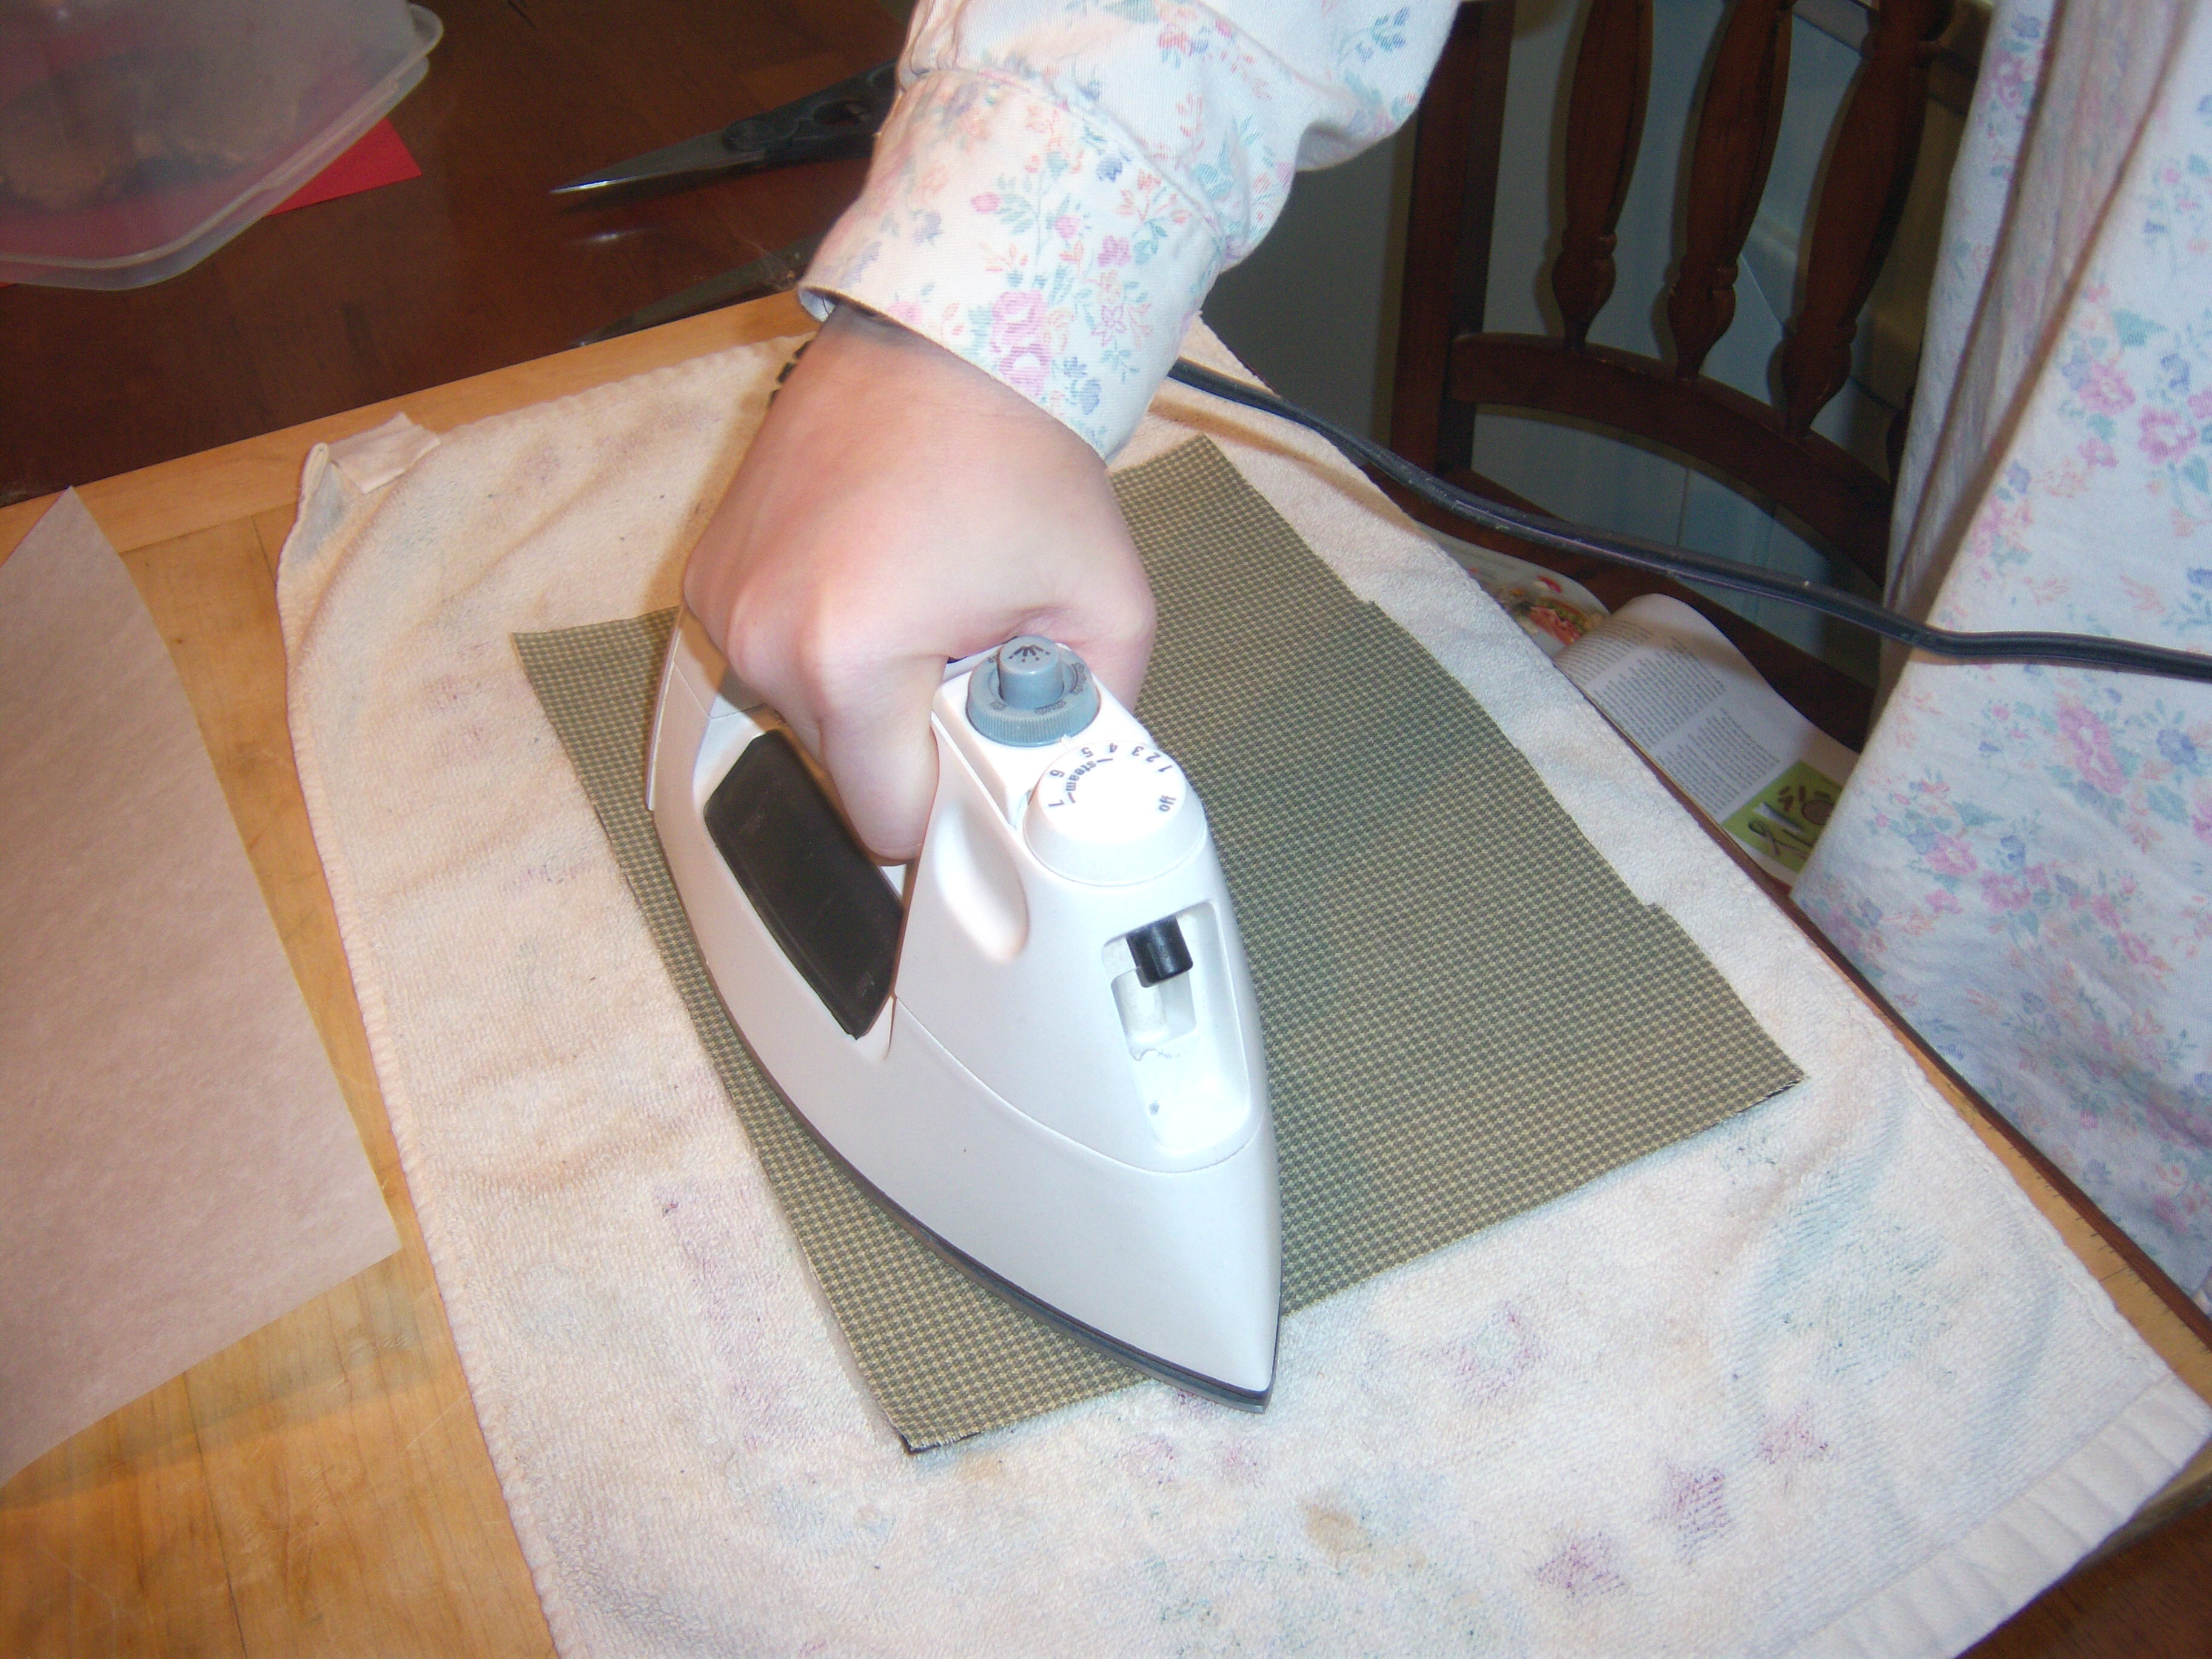
First off, I hit the craft store. This was actually a cheap project for me. I bought a piece of felt for 79 cents and got a remnant of some tweed for $2.17. The fusing material was  $3.99 (I think there are 3 or 5 in the bag and I used only one).

Come fuse with me

Come fuse with me

Ok, so I started off

Totally fusionary

Totally fusionary

fusing the two fabrics together. This was easy. The hardest part was finding the iron! We never use it and it was stuffed away somewhere.

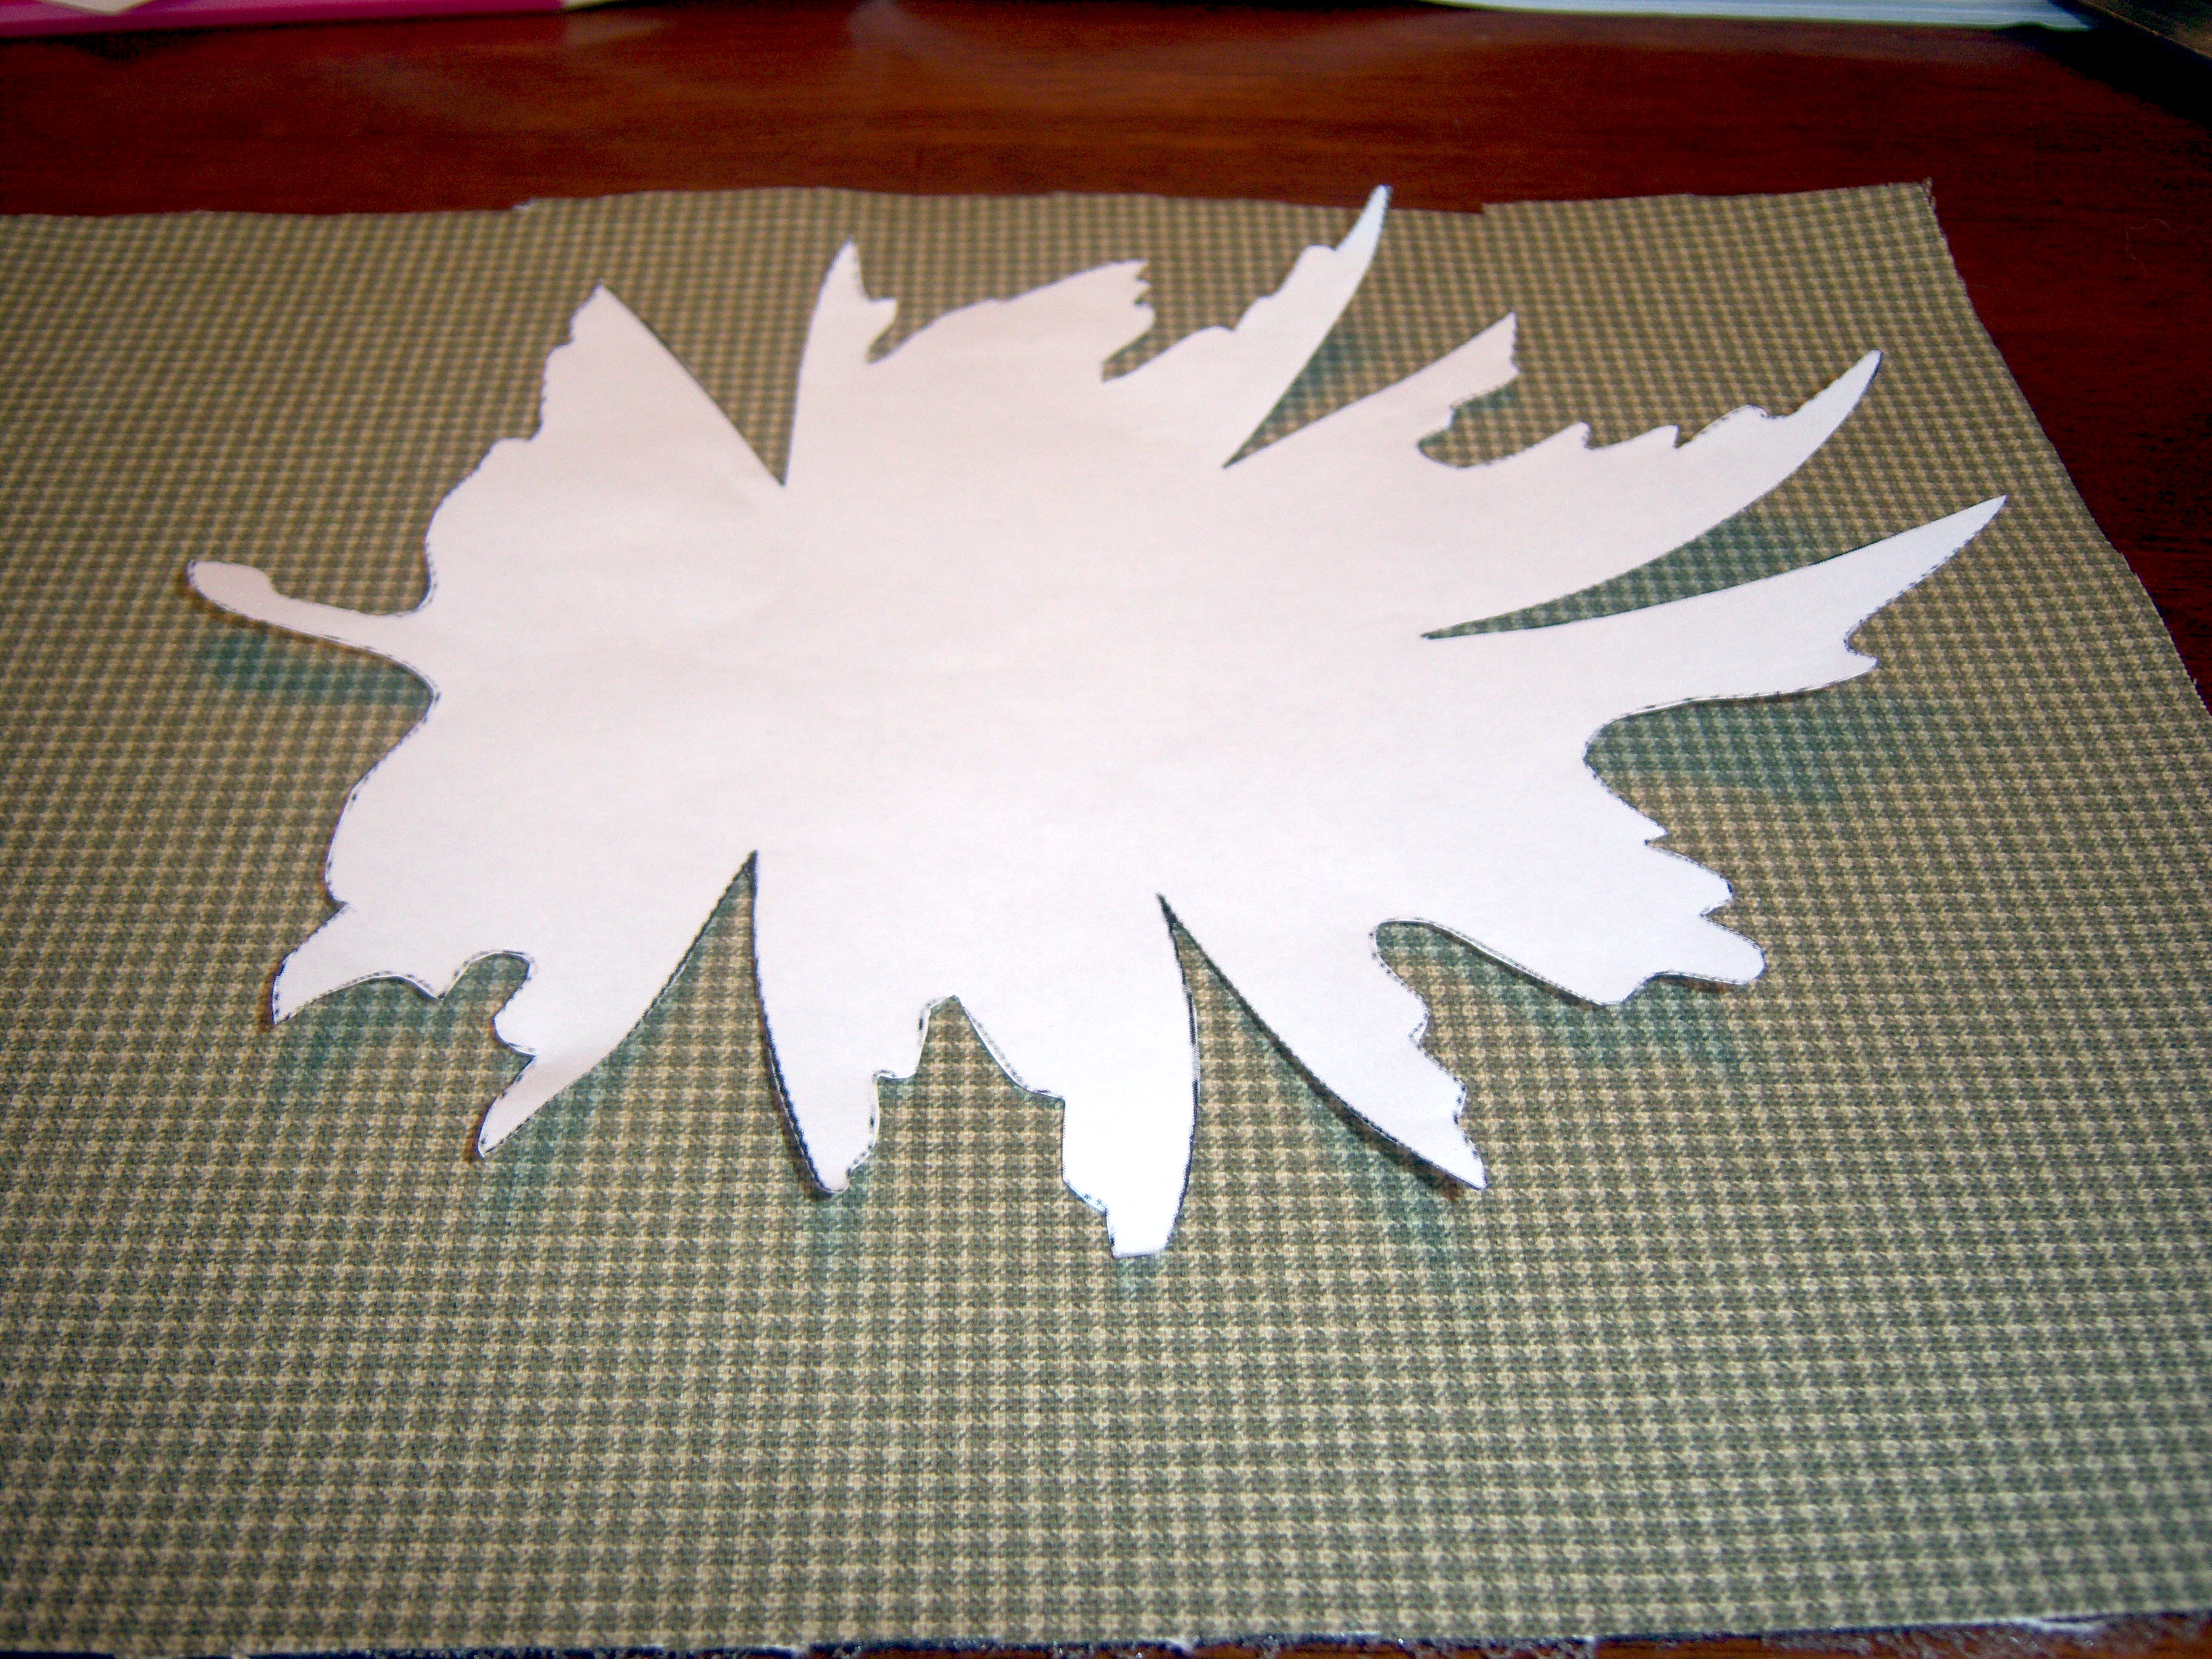
Next I cut out the leaf template that Mr. MarthaAndMe brilliantly enlarged for me on the computer. I’m not sure who has a copier at home that will enlarge things, but I sure don’t have one. Martha was pretty casual about this – “Now just blow it up on your printer or copier”. Umm, ok.

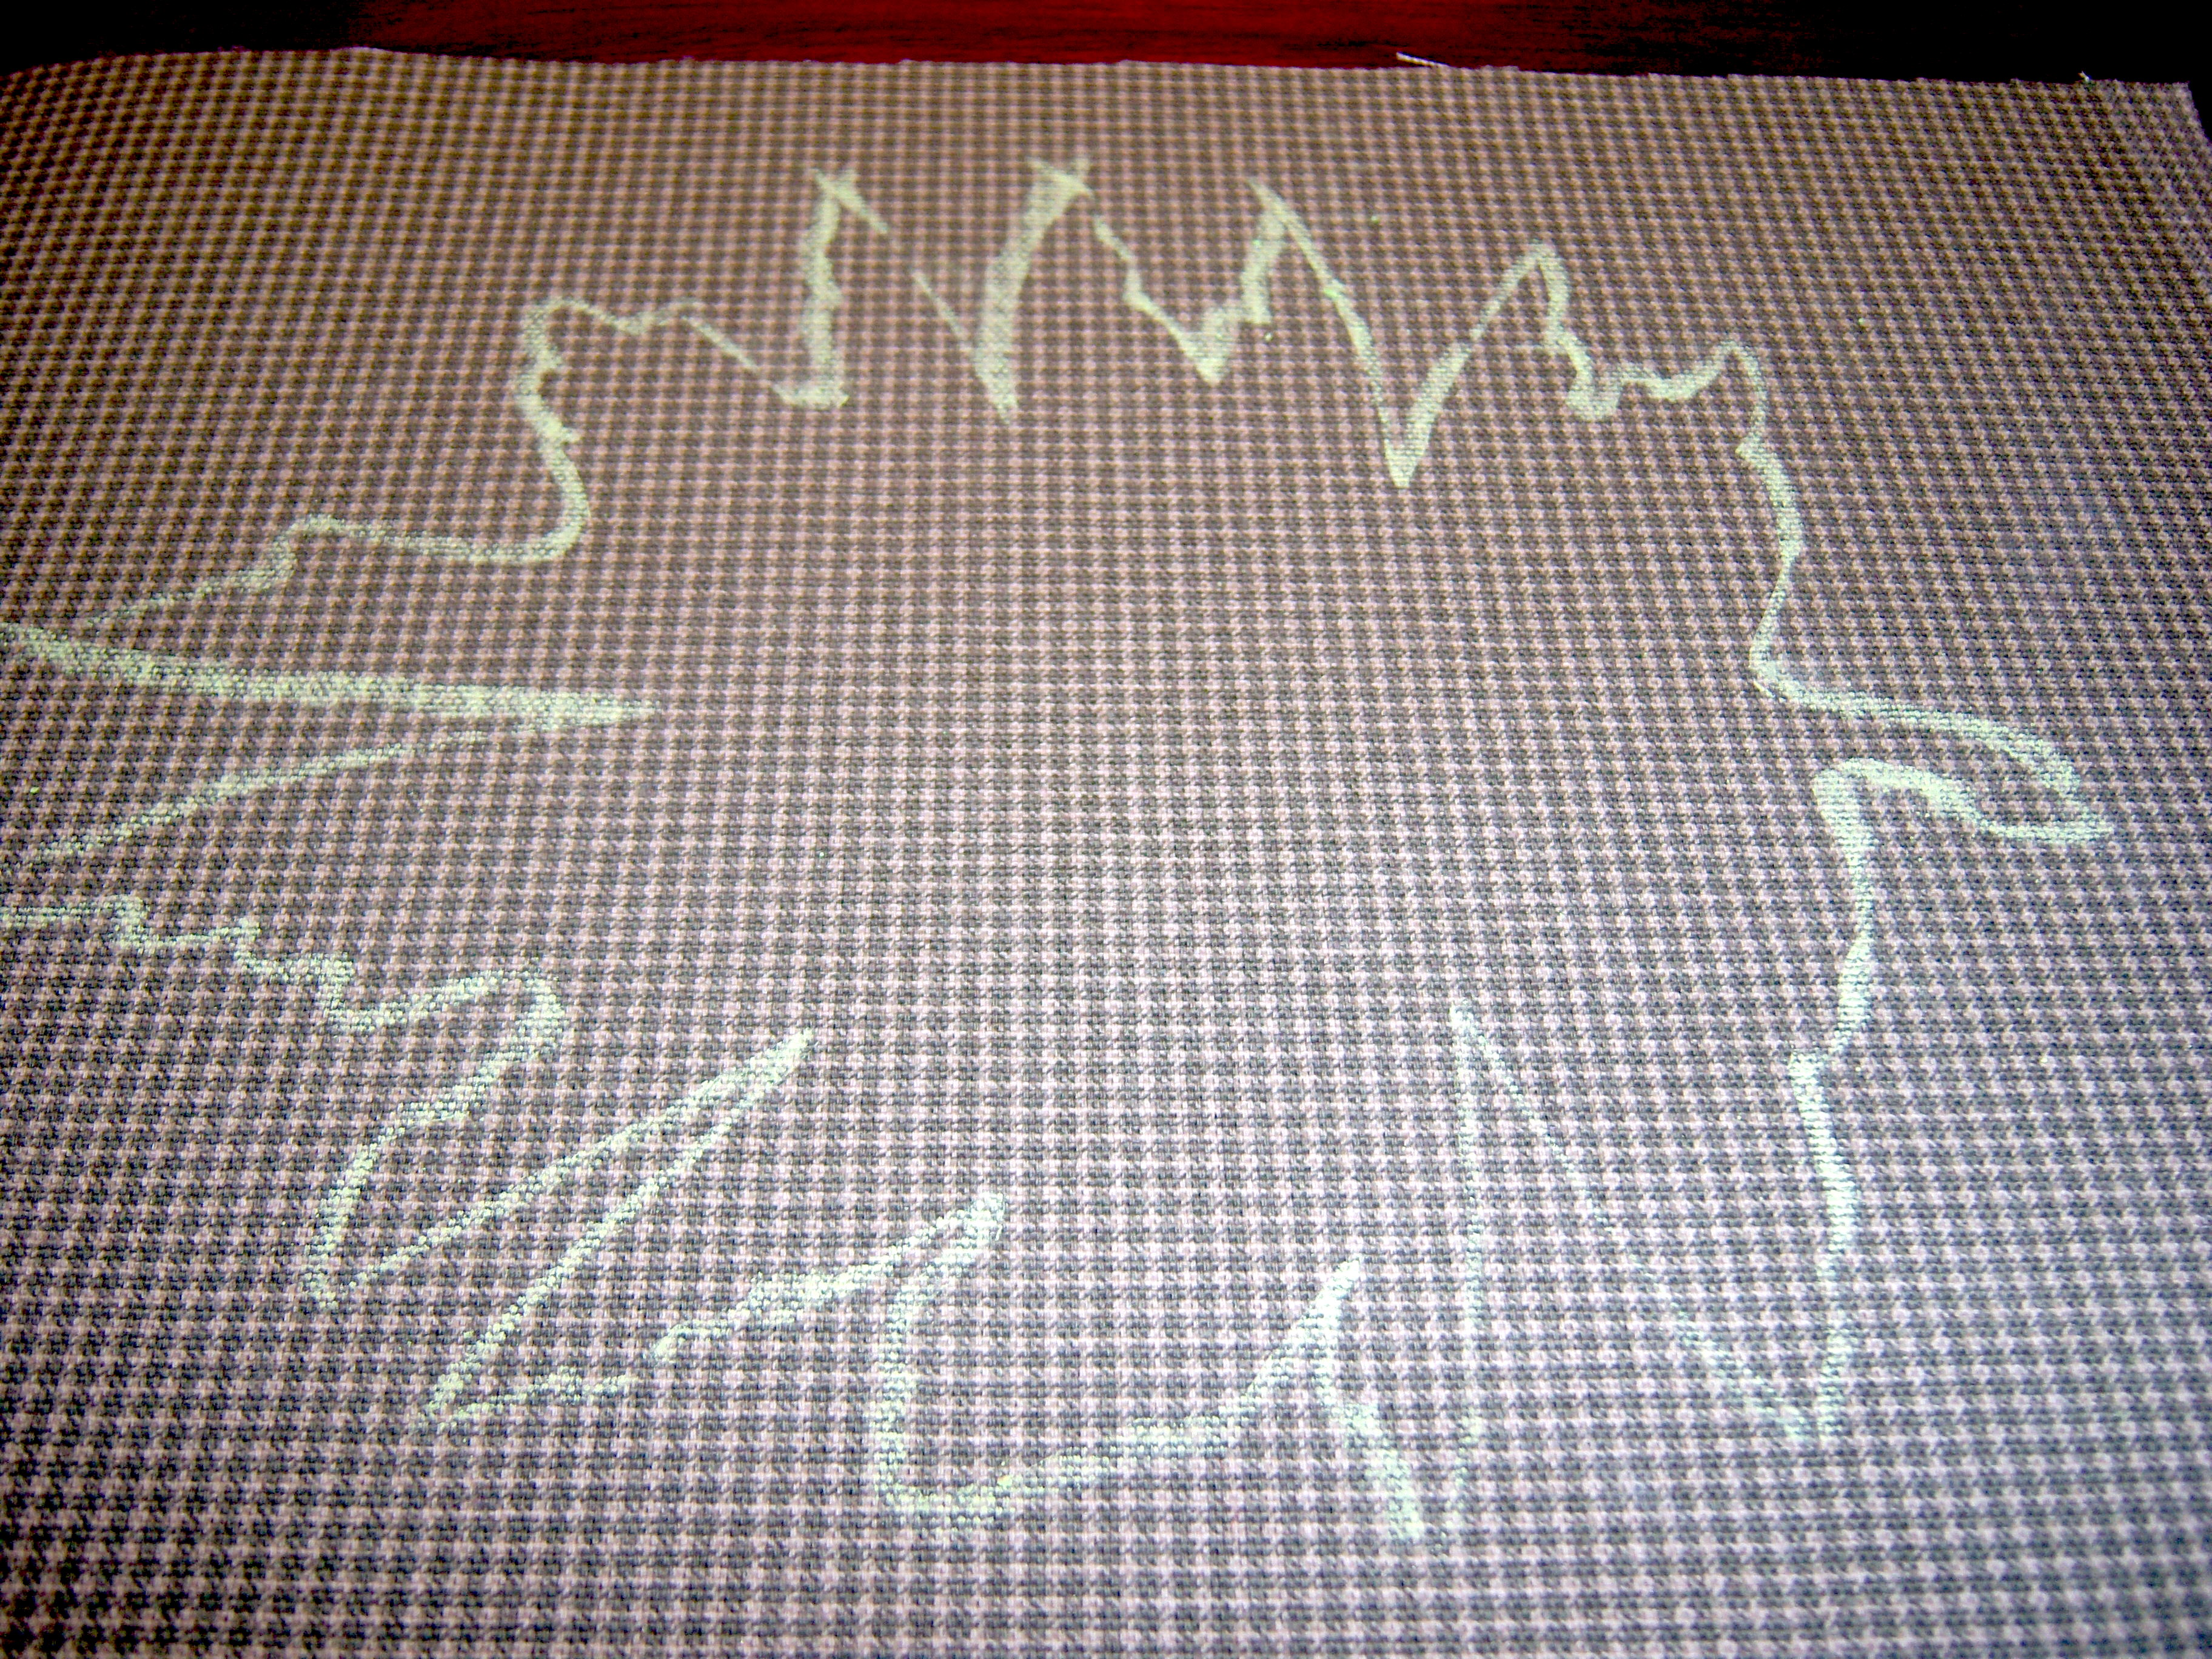
Martha says to trace the template on the material using a disappearing ink pen. I don’t have one of those (or if I did, it must have disappeared). Mr. MarthaAndMe suggested I trace it with chalk. He’s just as cute

Template time

Template time

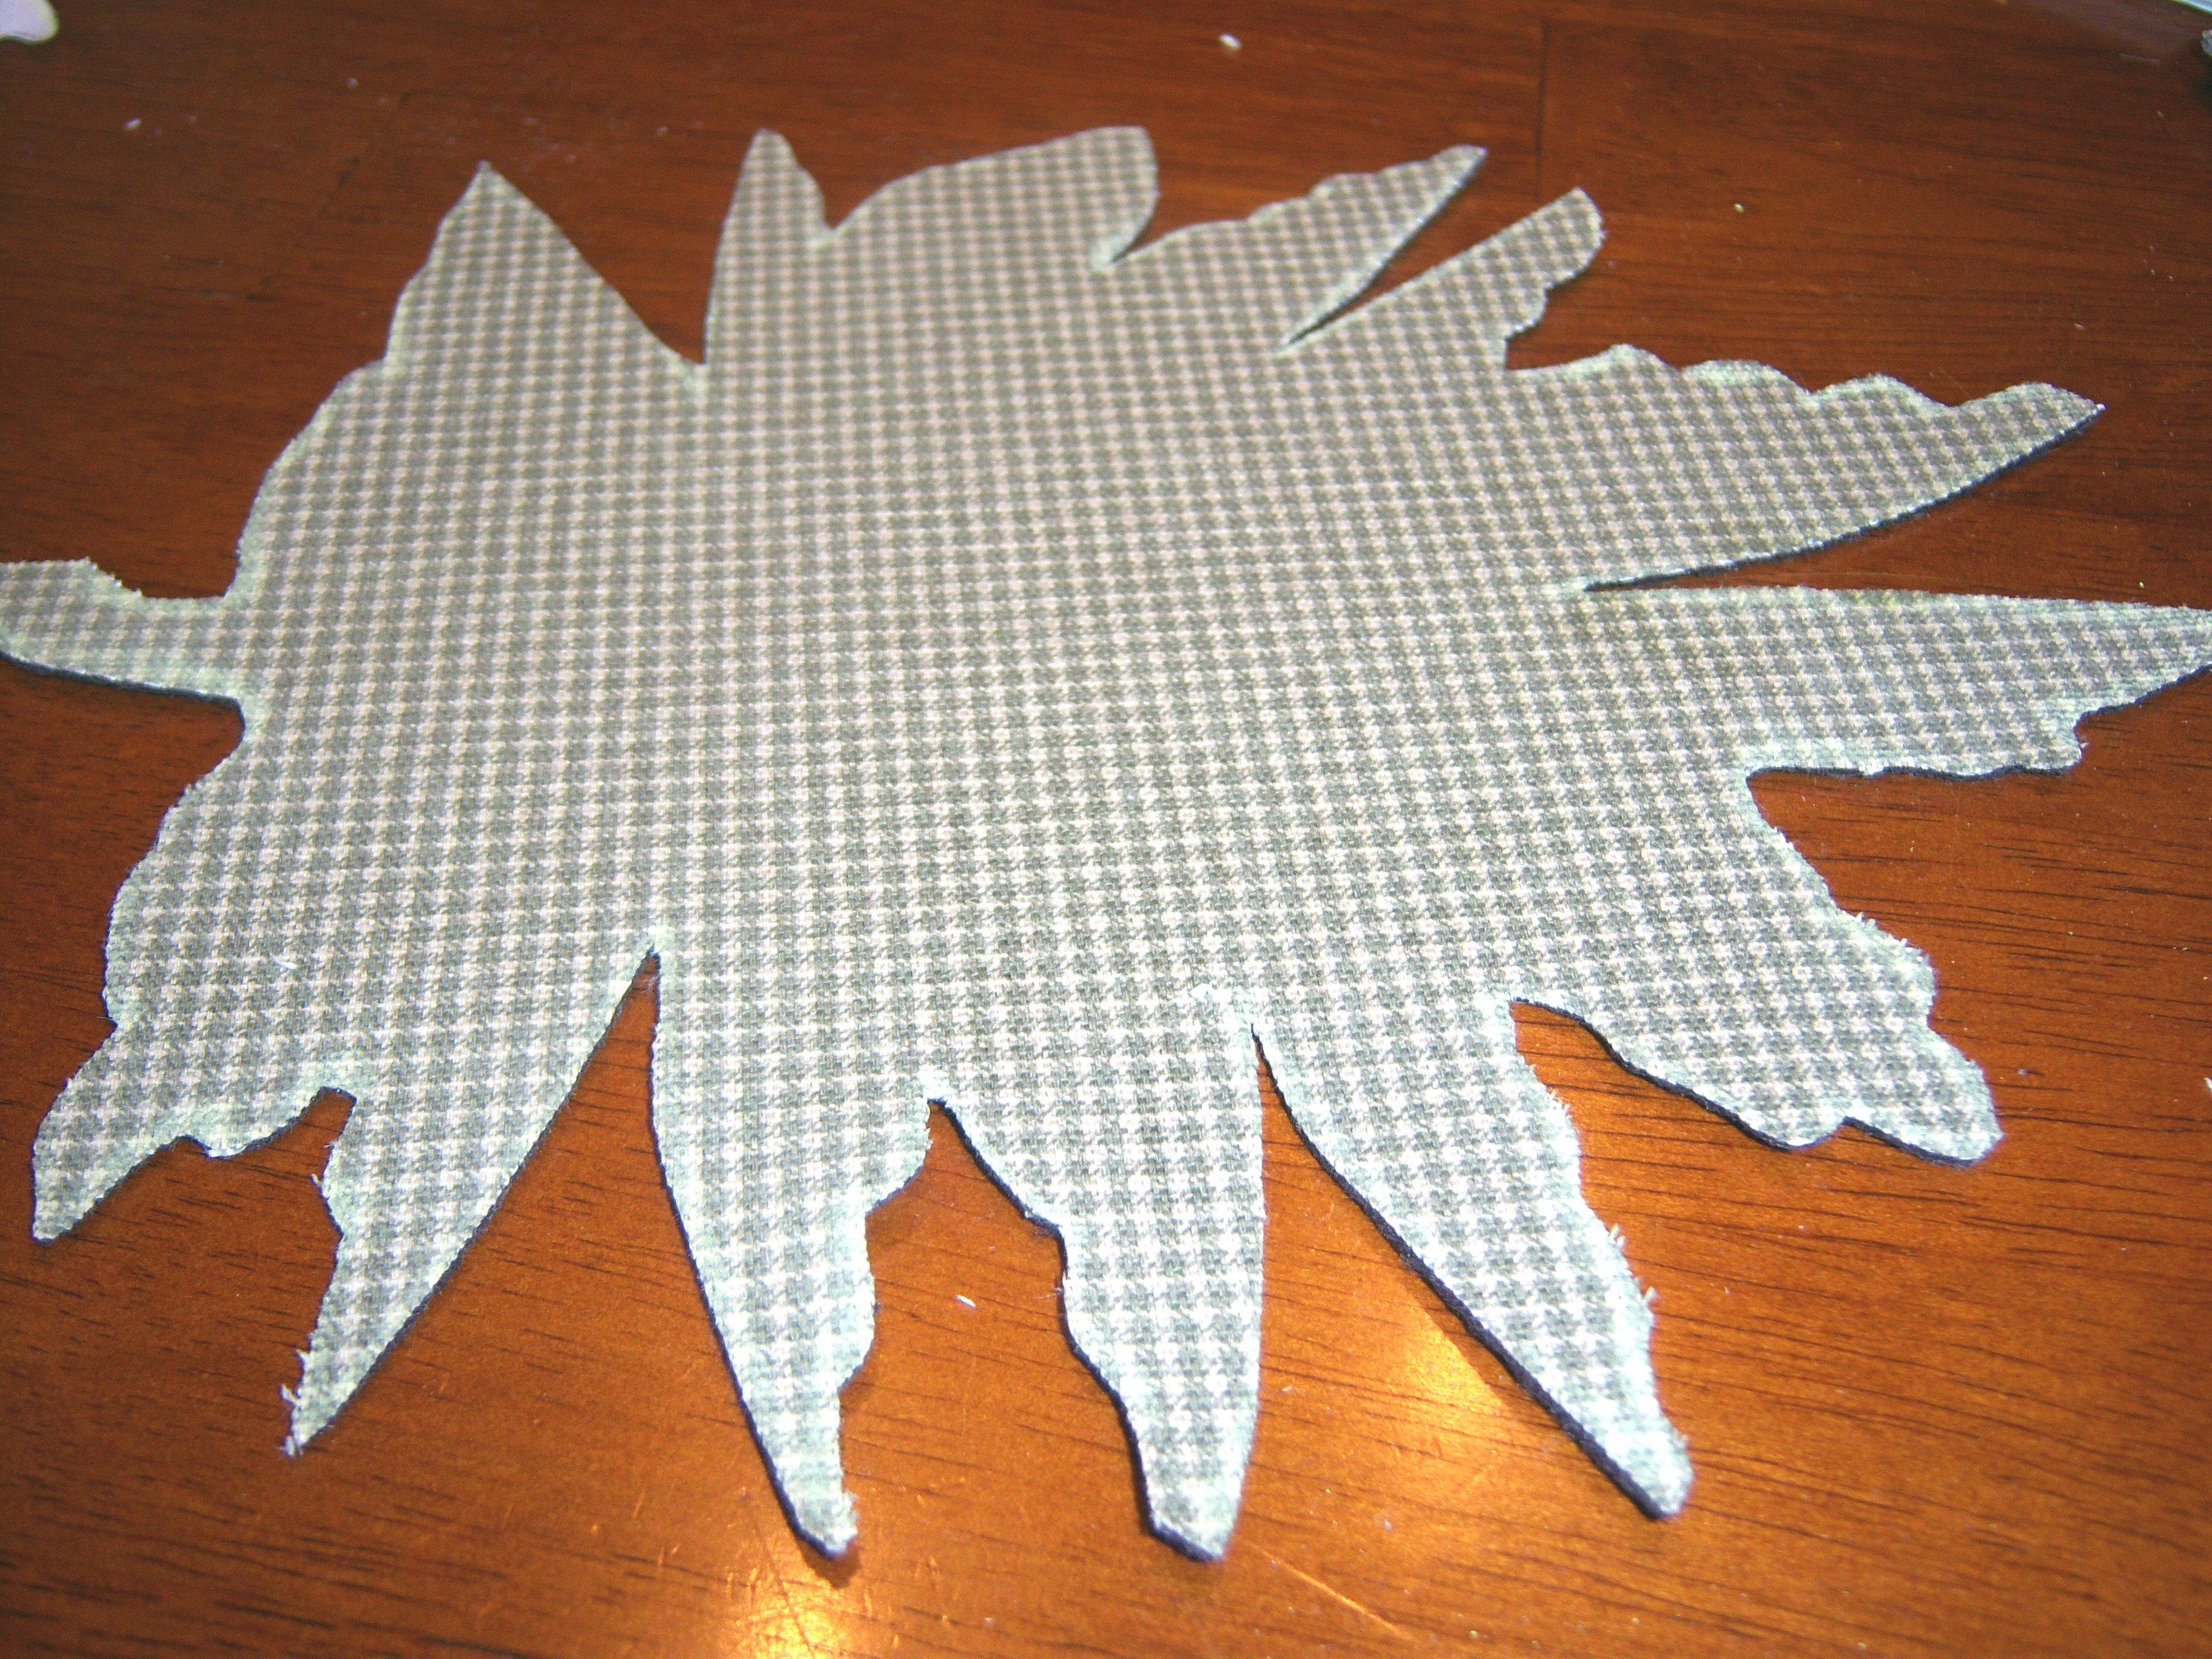
as he is smart, folks! This worked well. Next, I cut out the material. This was hard on the hands, but doable.

Martha then wanted me to “create darts” by sewing closed the V-shaped notches on the fabric with a “zigzag stitch”. First problem, I don’t have a sewing machine. Second problem, I really am not sure what a dart is. Third problem – no clue what a zigzag stitch is. Those are some big problems, gang.

Chalk it up

Chalk it up

The cut out

The cut out

I hand sewed this and did it so that I stuck the needle in one side and pulled it out the other. Instead of making it go back in the side it just came out of, I looped it over the top of the seam so it went back in the first side (I’m you sewing geniuses know what this is called, but I don’t). This kind of covered up the bare edges of the fabric. It took a while and my fingers are pretty mangled.

Once it was done, I was pretty impressed by it. It really looks like a leaf. Not sure what I would put in it though.  And I’m not really a big lover of fall type colors. Mr. MarthaAndMe suggested I give it as a gift and maybe I’ll end up doing that. I’m not sure it’s exactly perfect enough to do that with though (some of the edges are a tiny bit frayed).

Ta-dah!

Ta-dah!

So now for the deeper questions. How did this project make me feel? I have to say that I have always somewhat enjoyed hand sewing. I once hand sewed a cushioned seat and back for a child’s rocking chair and I also hand sewed some doll house things – curtains, tablecloths, sheets, blankets, and pillows. I’m not too bad at mending holes and I can sew a button on, so I’m not a total loser. There is something very relaxing about sitting still and doing something like this with your hands. It’s a nice brain-free activity – something that does not require higher thought. I don’t like messing things up though and get frustrated when the needle goes the wrong way,  the thread gets knotted or I sew it crooked. This one was pretty idiot proof though I have to say, if I was able to make it turn out looking this good.

This project took me a couple of hours. I don’t know if the time put into it equals the result. I know it is supposed to be about the process and the joy of creating something with your own hands. I get that, but I think I might rather go shopping and buy something I like that is really well-made.

It was time to buckle down and do some crafting with Martha. I decided to make the oak-leaf bowl from p. 95-96 of Nov. Living, which Martha also made on the show. It looked not too complicated. First off, I hit the craft store. This was actually a cheap project for me. I bought a … Read more
no