On page 118 of the Handmade for the Holidays special issue, Martha has a recipe for granola. This seemed like it would make a great gift. I ran around buying all the ingredients and began what was a simple process.

The liquid mixture

The liquid mixture

First you melt butter and stir in brown sugar, honey, salt, water, vanilla, and cinnamon. Then you stir in rolled oats, oat bran, wheat germ, raw cashews and raw almonds. You spread the mixture on two baking sheets and bake for an hour and a half. The granola looked great – golden and shiny. It stuck together just enough. You’re then supposed to mix it with dried cherries, coconut and golden raisins. Before I did that, I tasted it.

Fresh from the oven

Fresh from the oven

Oh boy. Thumbs down. It was very salty and not very sweet. It needed a lot more cinnamon and sugar and maybe something else (not sure what!). It was pretty bland, although the nuts tasted good. It did have a nice crunchy texture. The verdict was that I would not give this to anyone without some major doctoring. I’m considering trying to mix it with more sugar and cinnamon to see if I can make it edible, but as of right now, this is off the gift-giving list. Thumbs down on this, Martha.

During this whole process, my Handmade for the Holidays magazine fell into a sink full of water. I think it’s probably not salvageable (although I am trying to dry it), so this might be my last project from that issue!

On page 118 of the Handmade for the Holidays special issue, Martha has a recipe for granola. This seemed like it would make a great gift. I ran around buying all the ingredients and began what was a simple process. First you melt butter and stir in brown sugar, honey, salt, water, vanilla, and cinnamon. … Read more

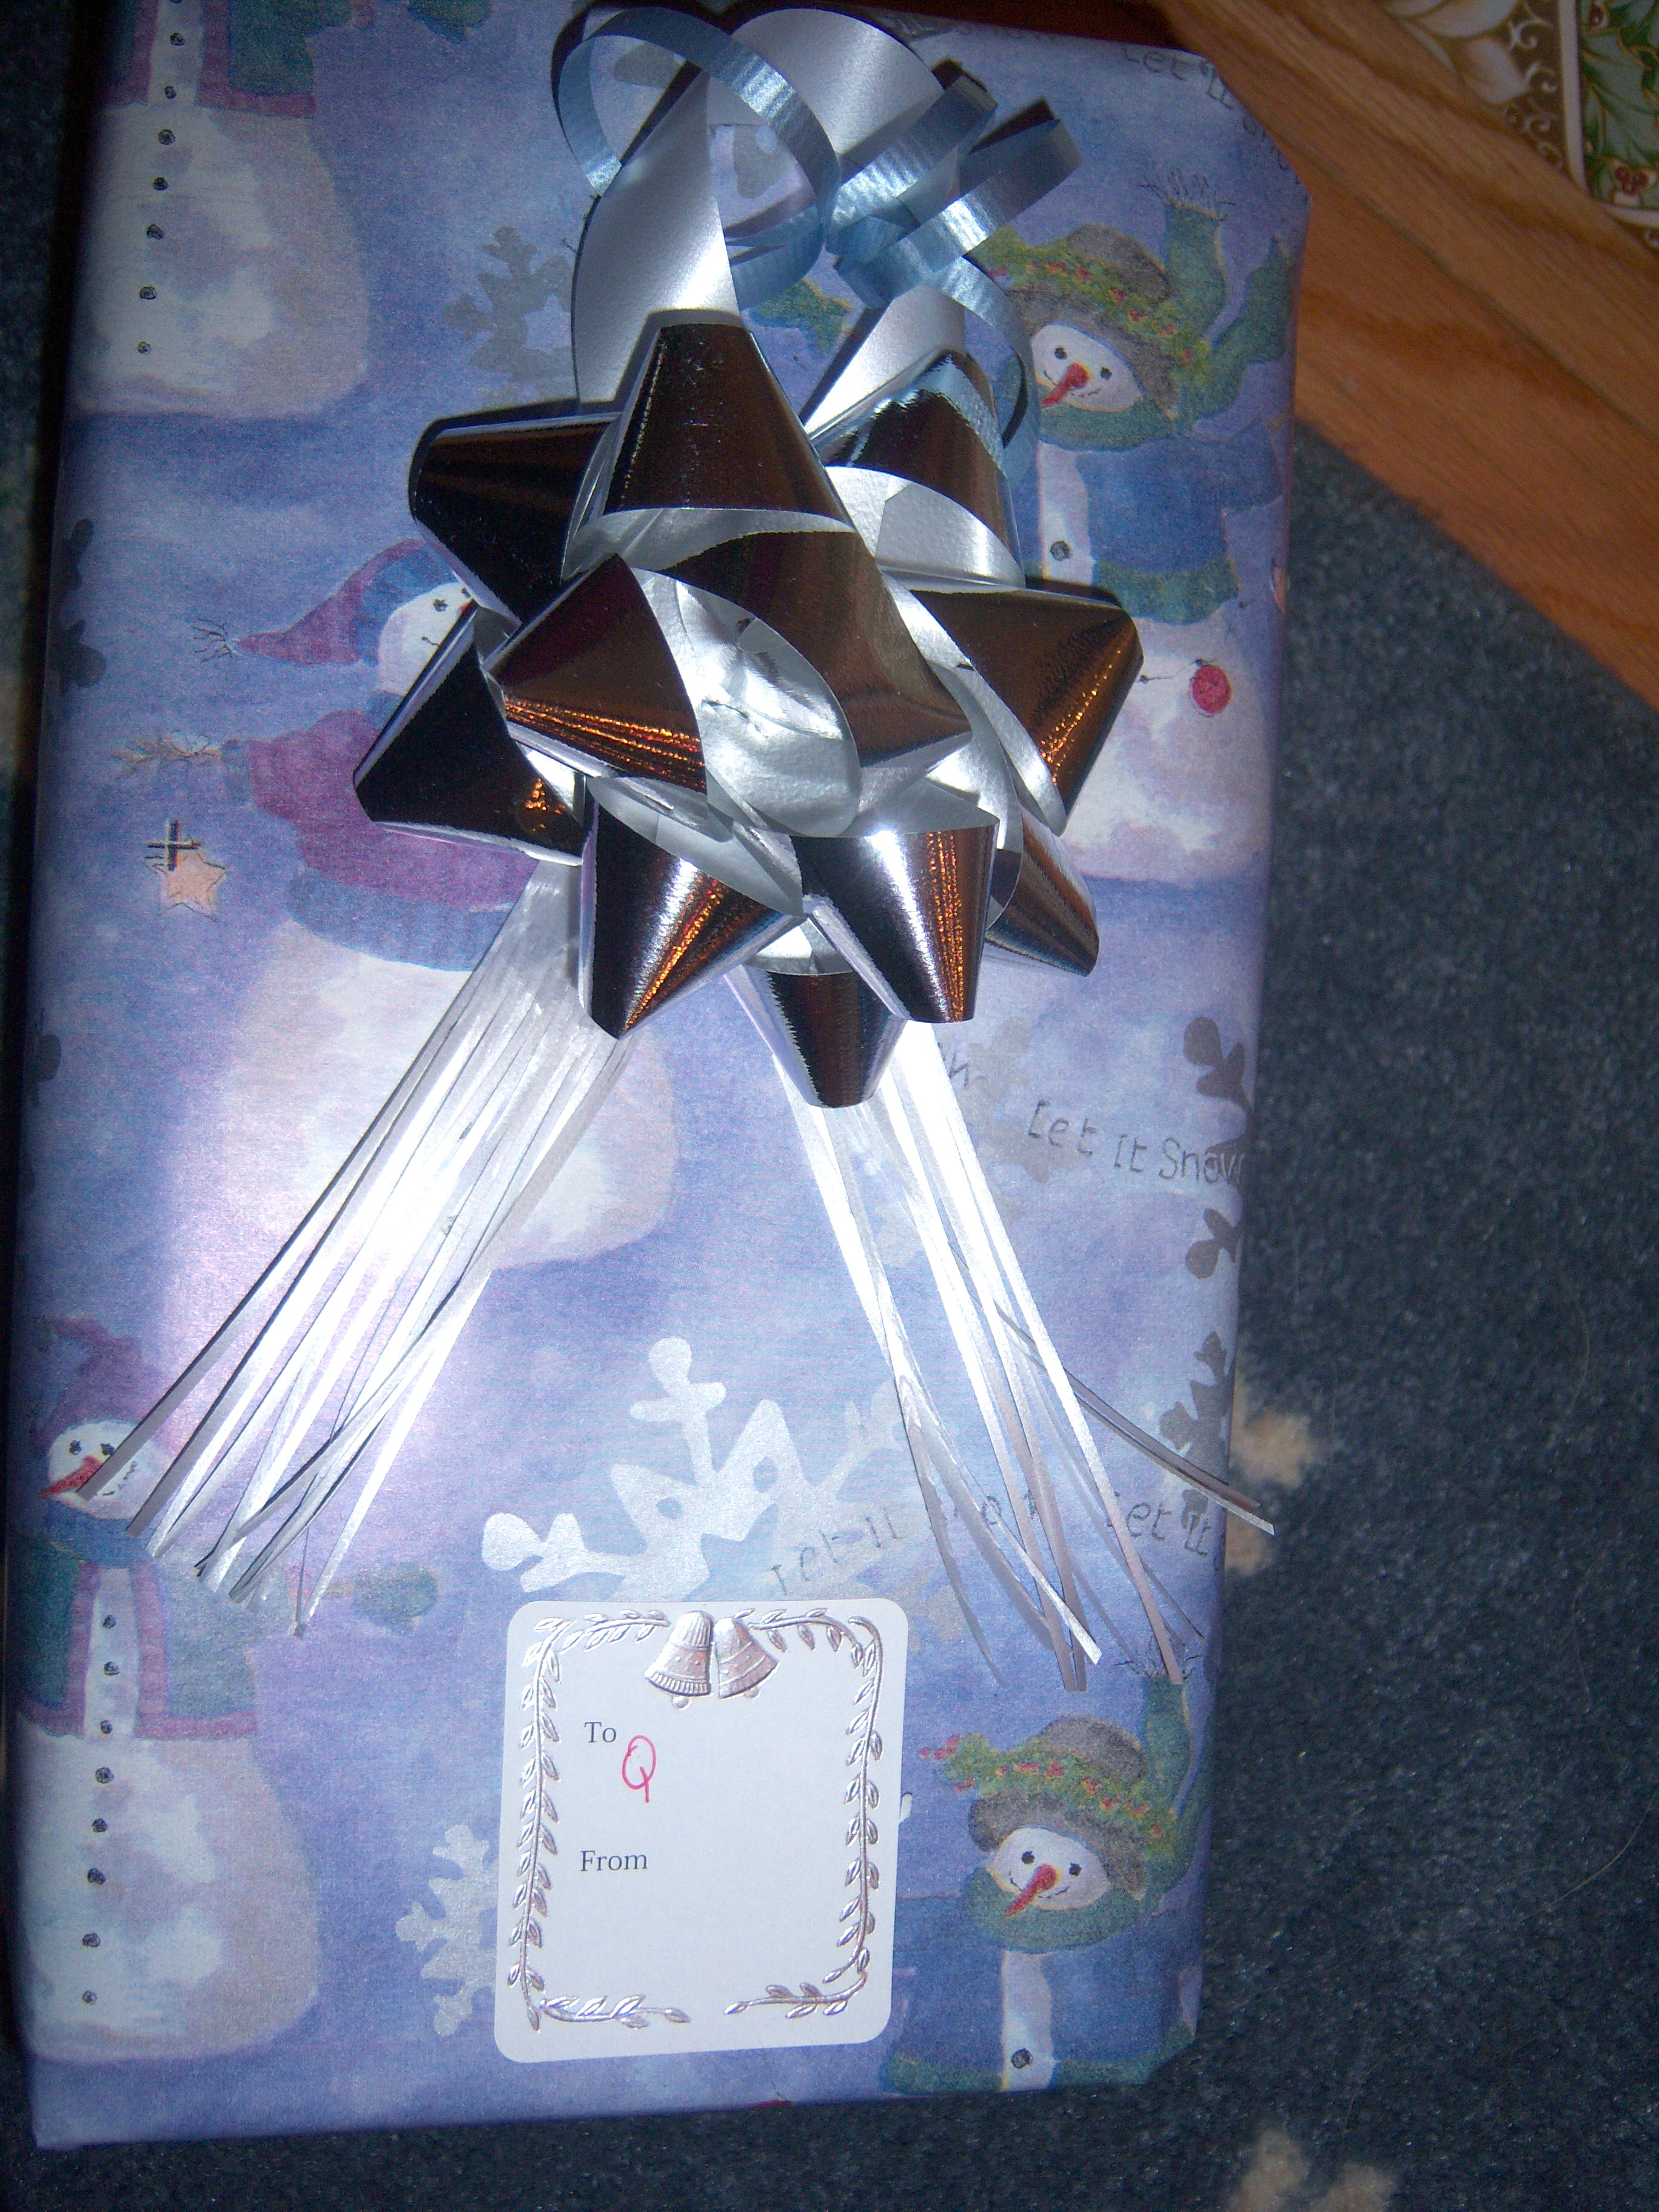
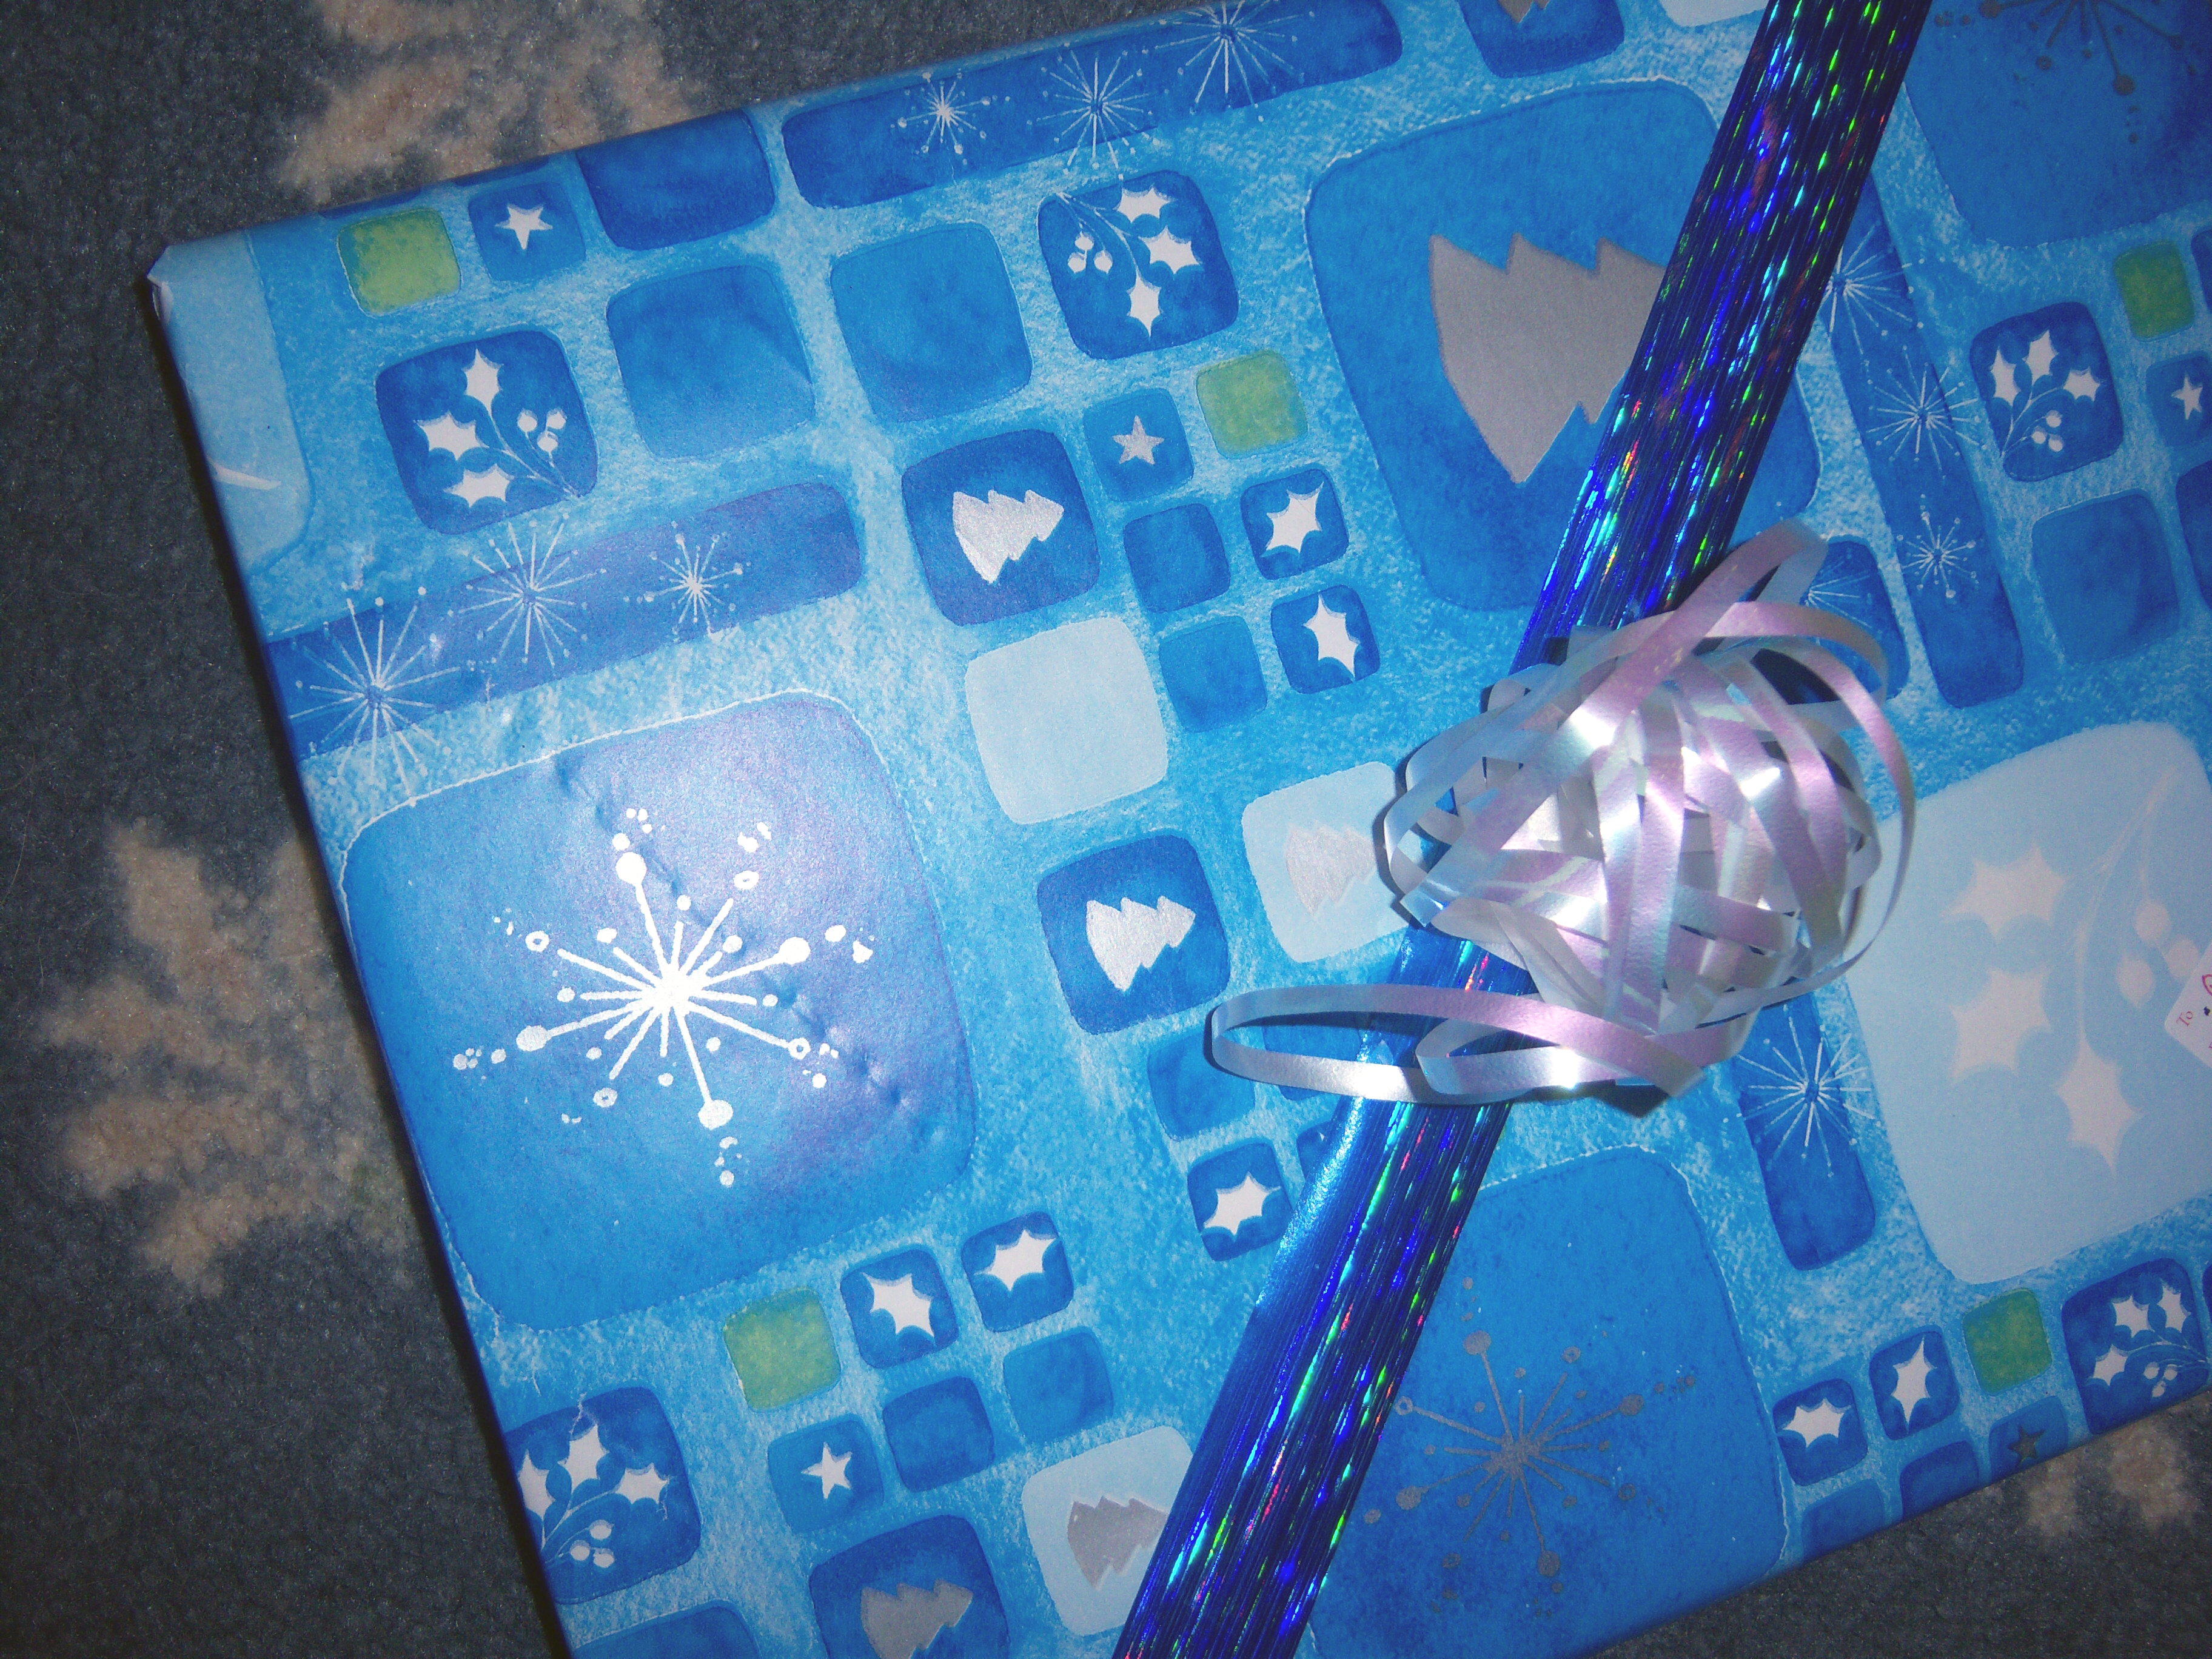
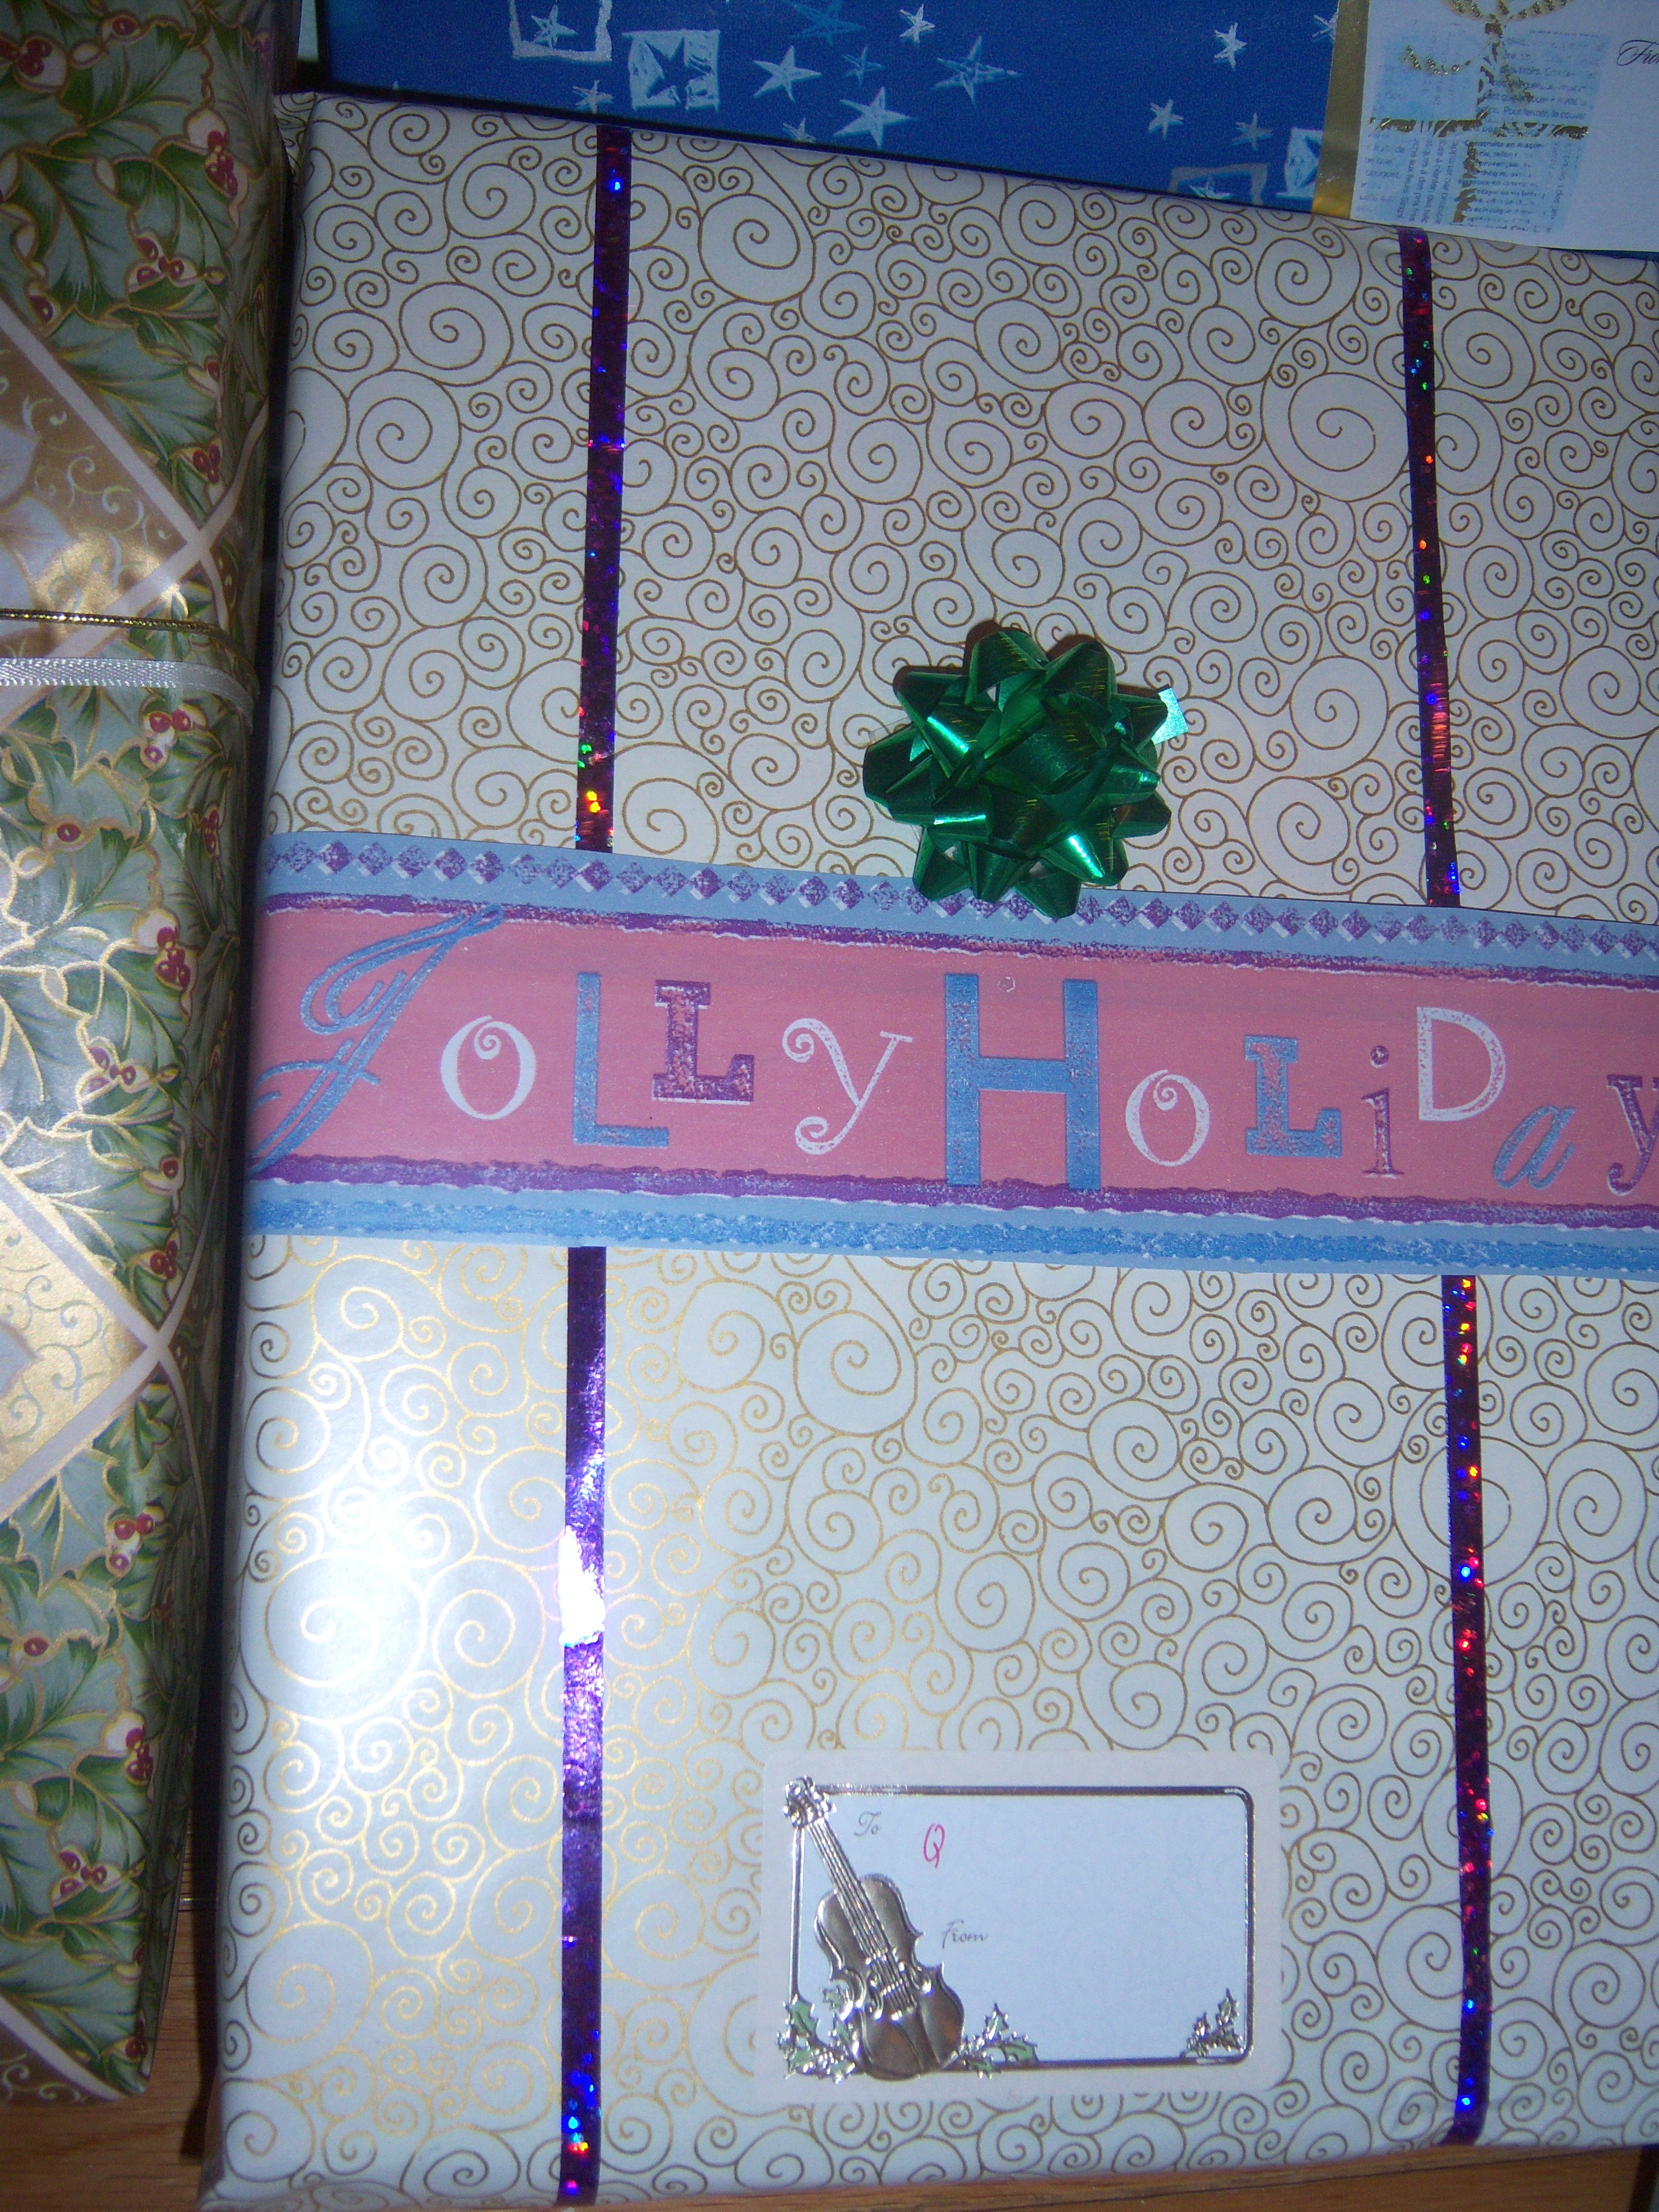
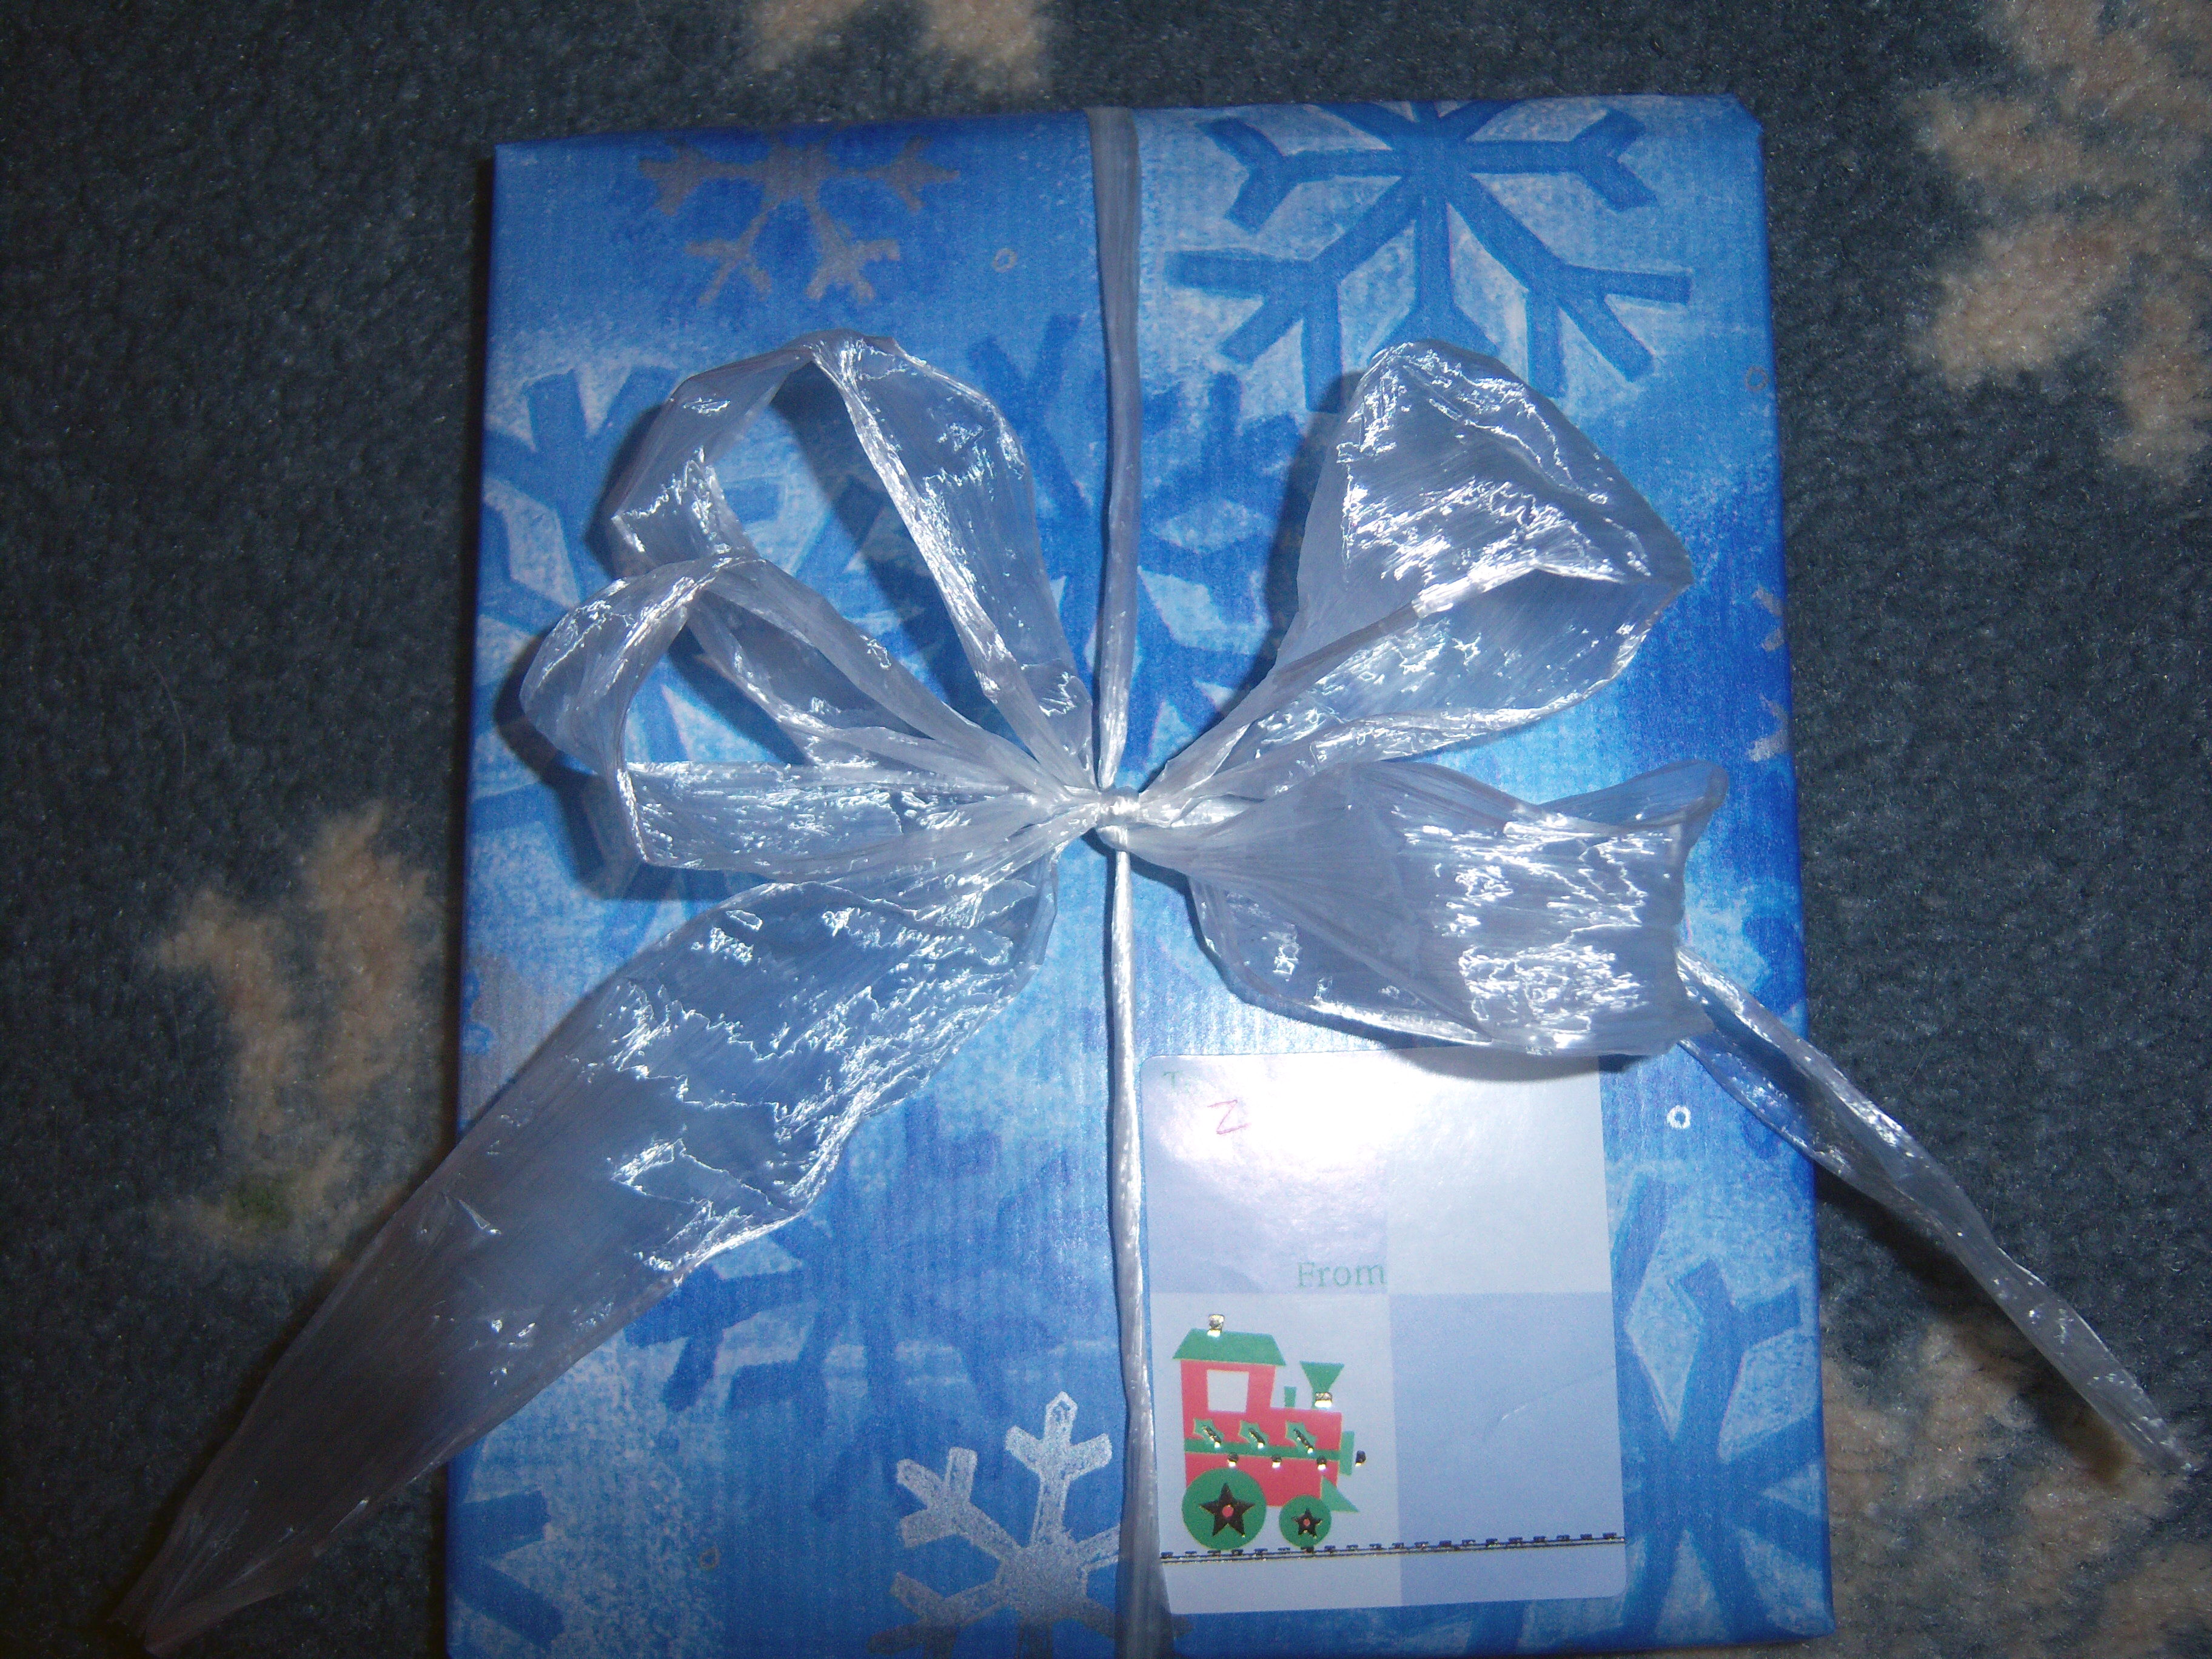
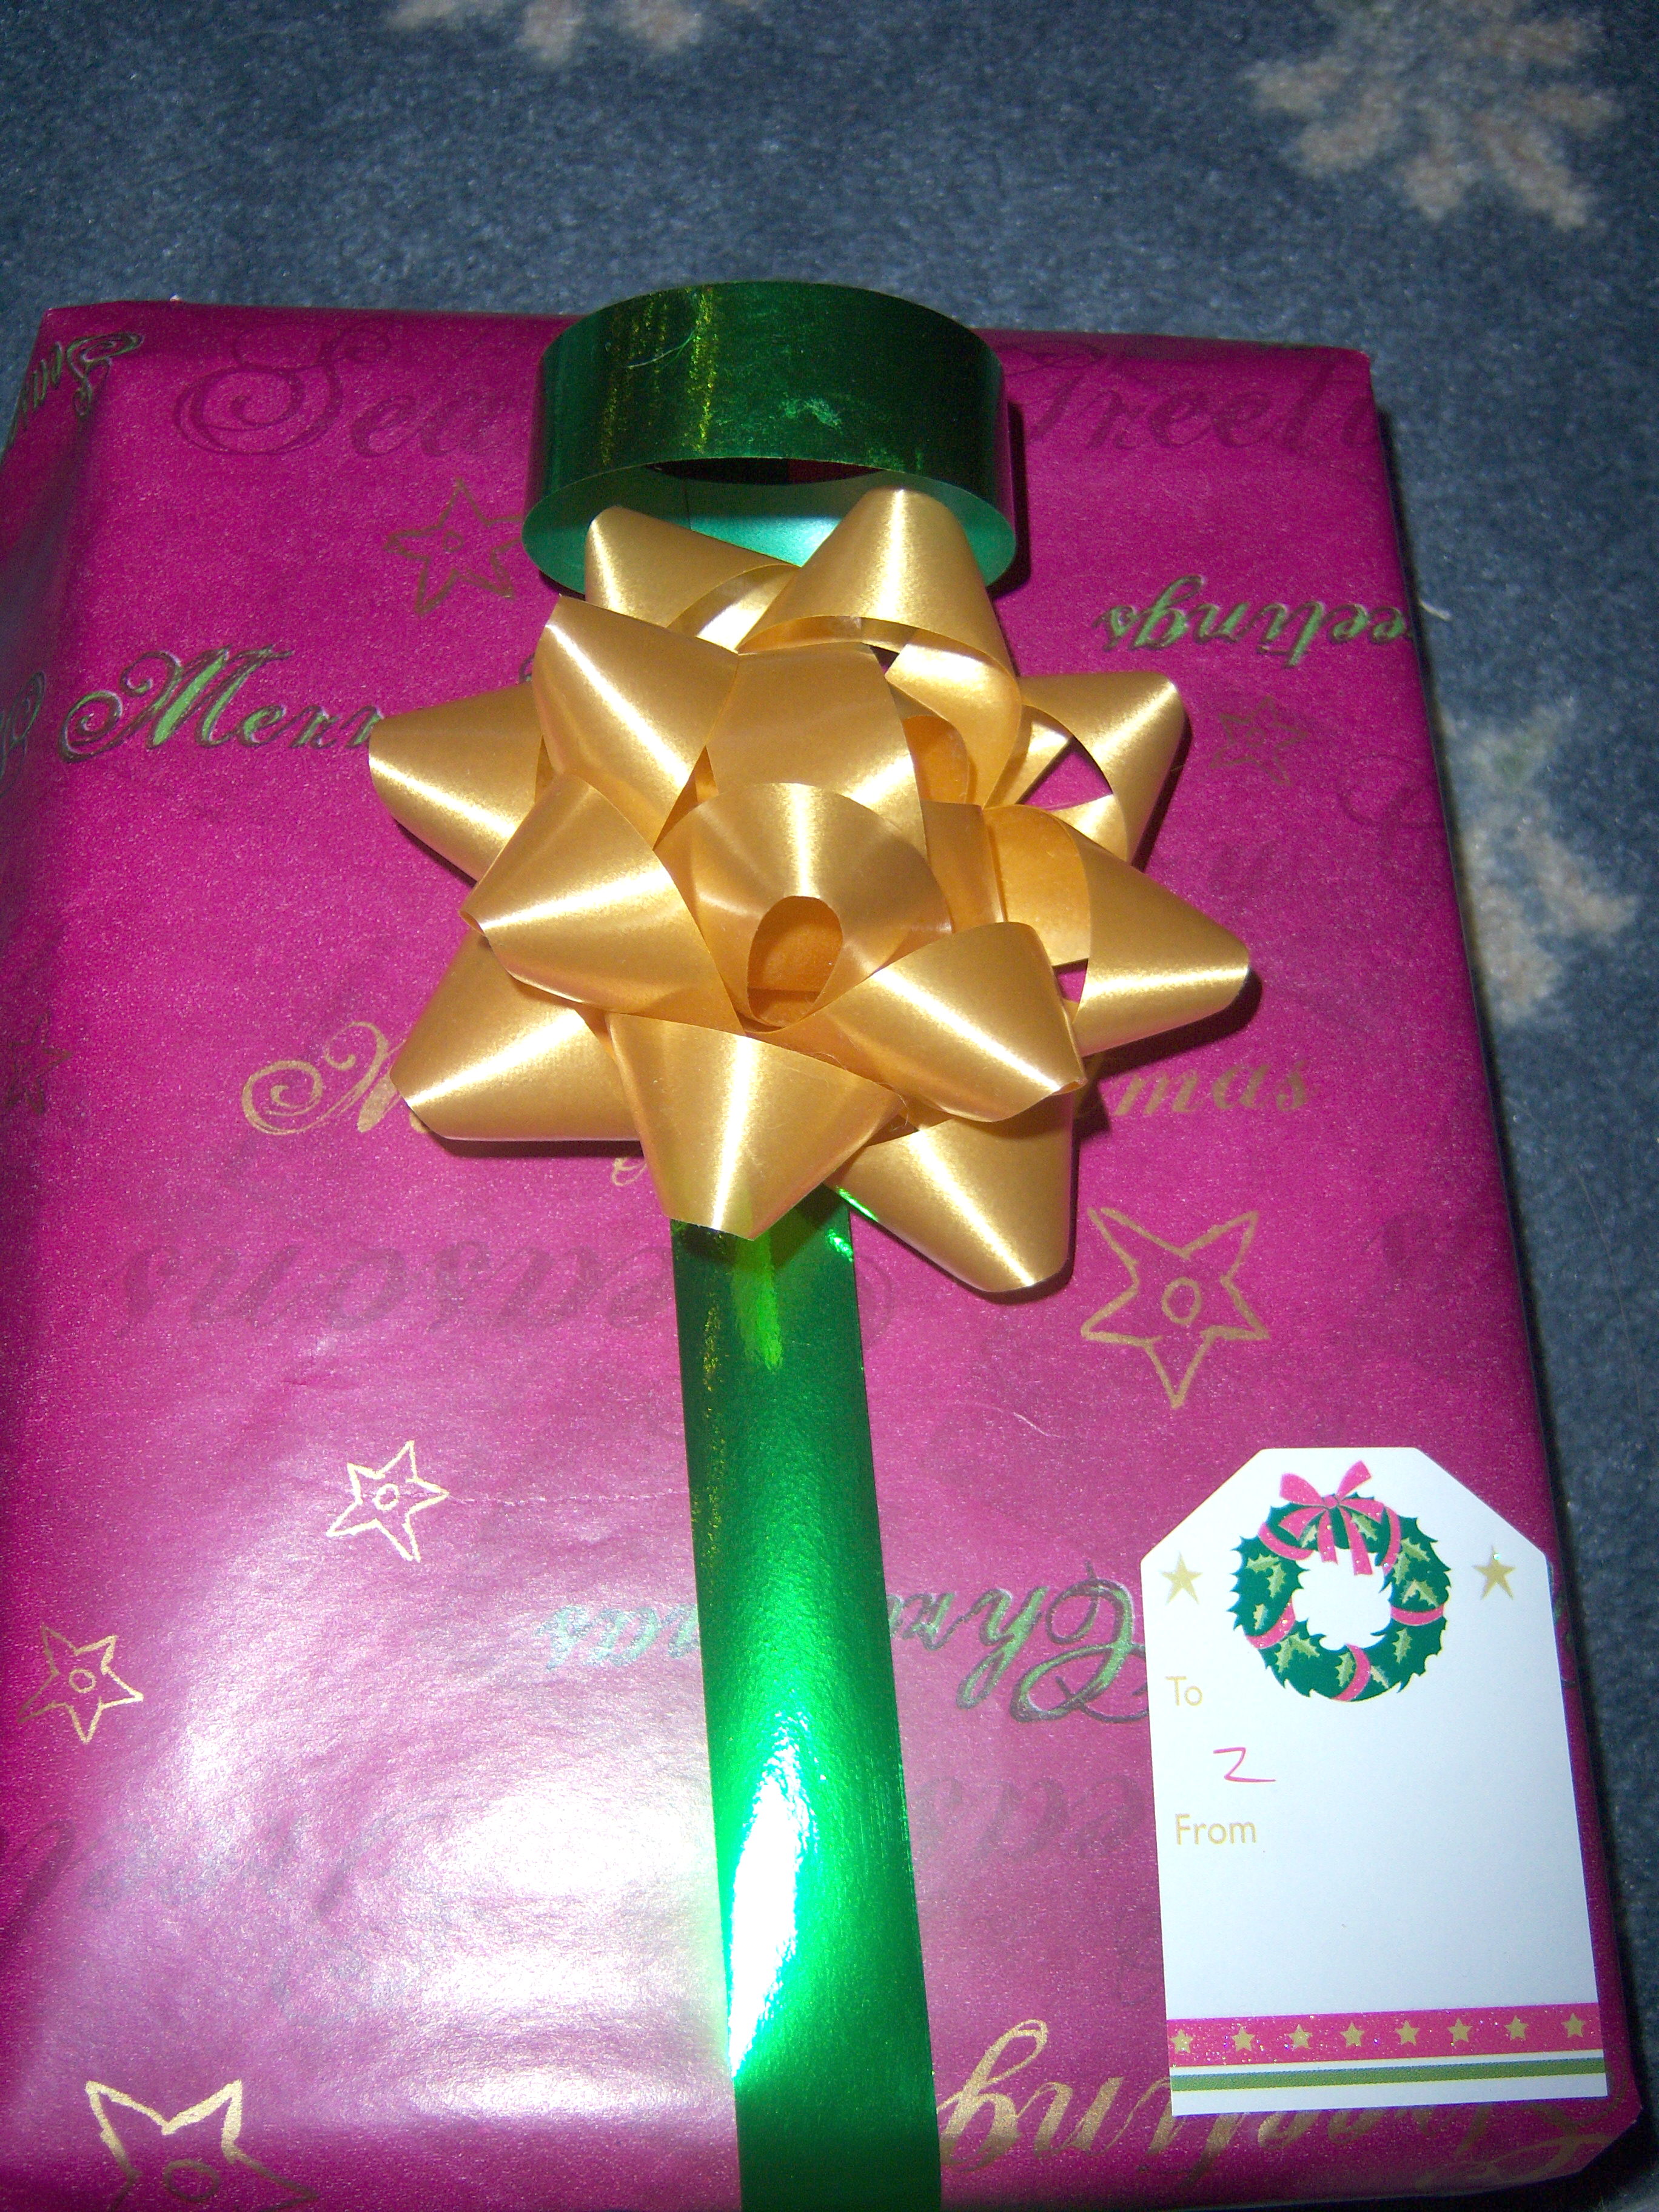
Martha has lots of great wrapping ideas in December Living. I love wrapping gifts. I only buy paper that coordinates with my tree, so that means it’s got to be pink, blue, green white, etc. This is a huge challenge for a holiday where everything is green and red.

I love to wrap creatively and always use lots of ribbons. I think it’s so boring when people wrap a gift and slap a bow on. I even know someone who doesn’t even bother with bows and I can’t imagine that.

I usually insist that my gift tags color coordinate with the wrapping paper. This year I’m cutting corners a bit and trying to use up my backlog of tags that may not exactly match (so please pardon any color faux pas you see).

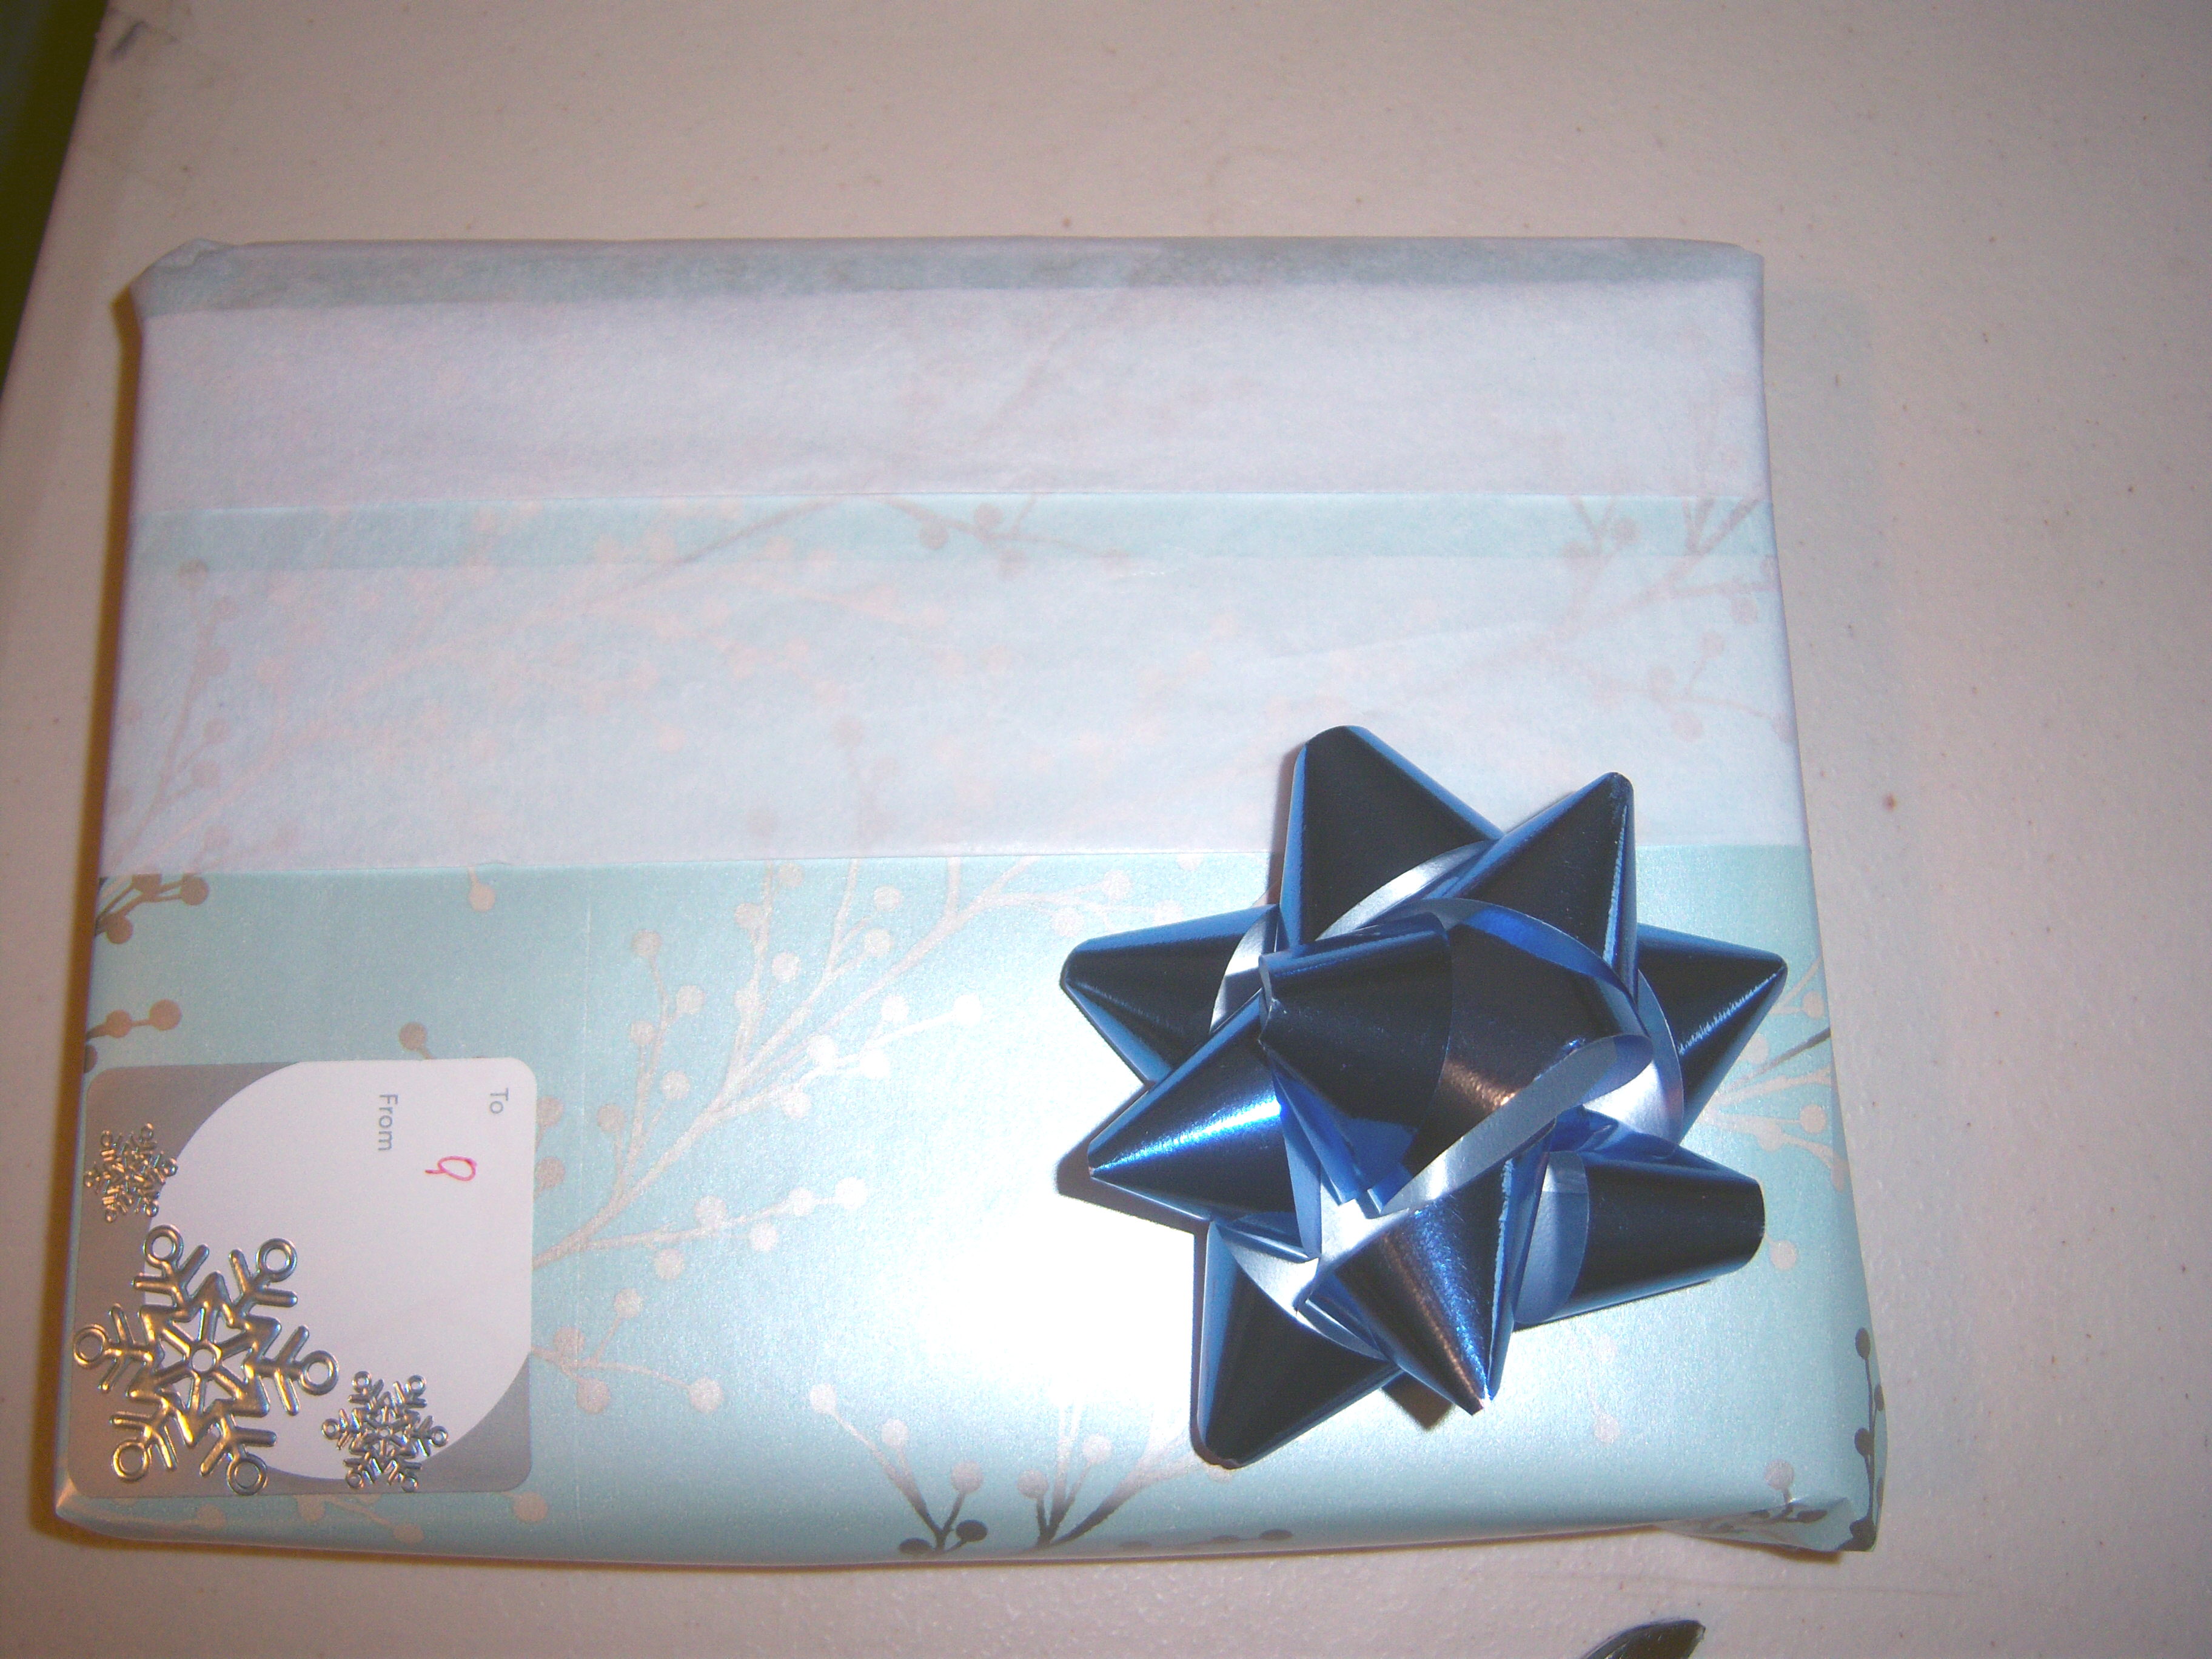
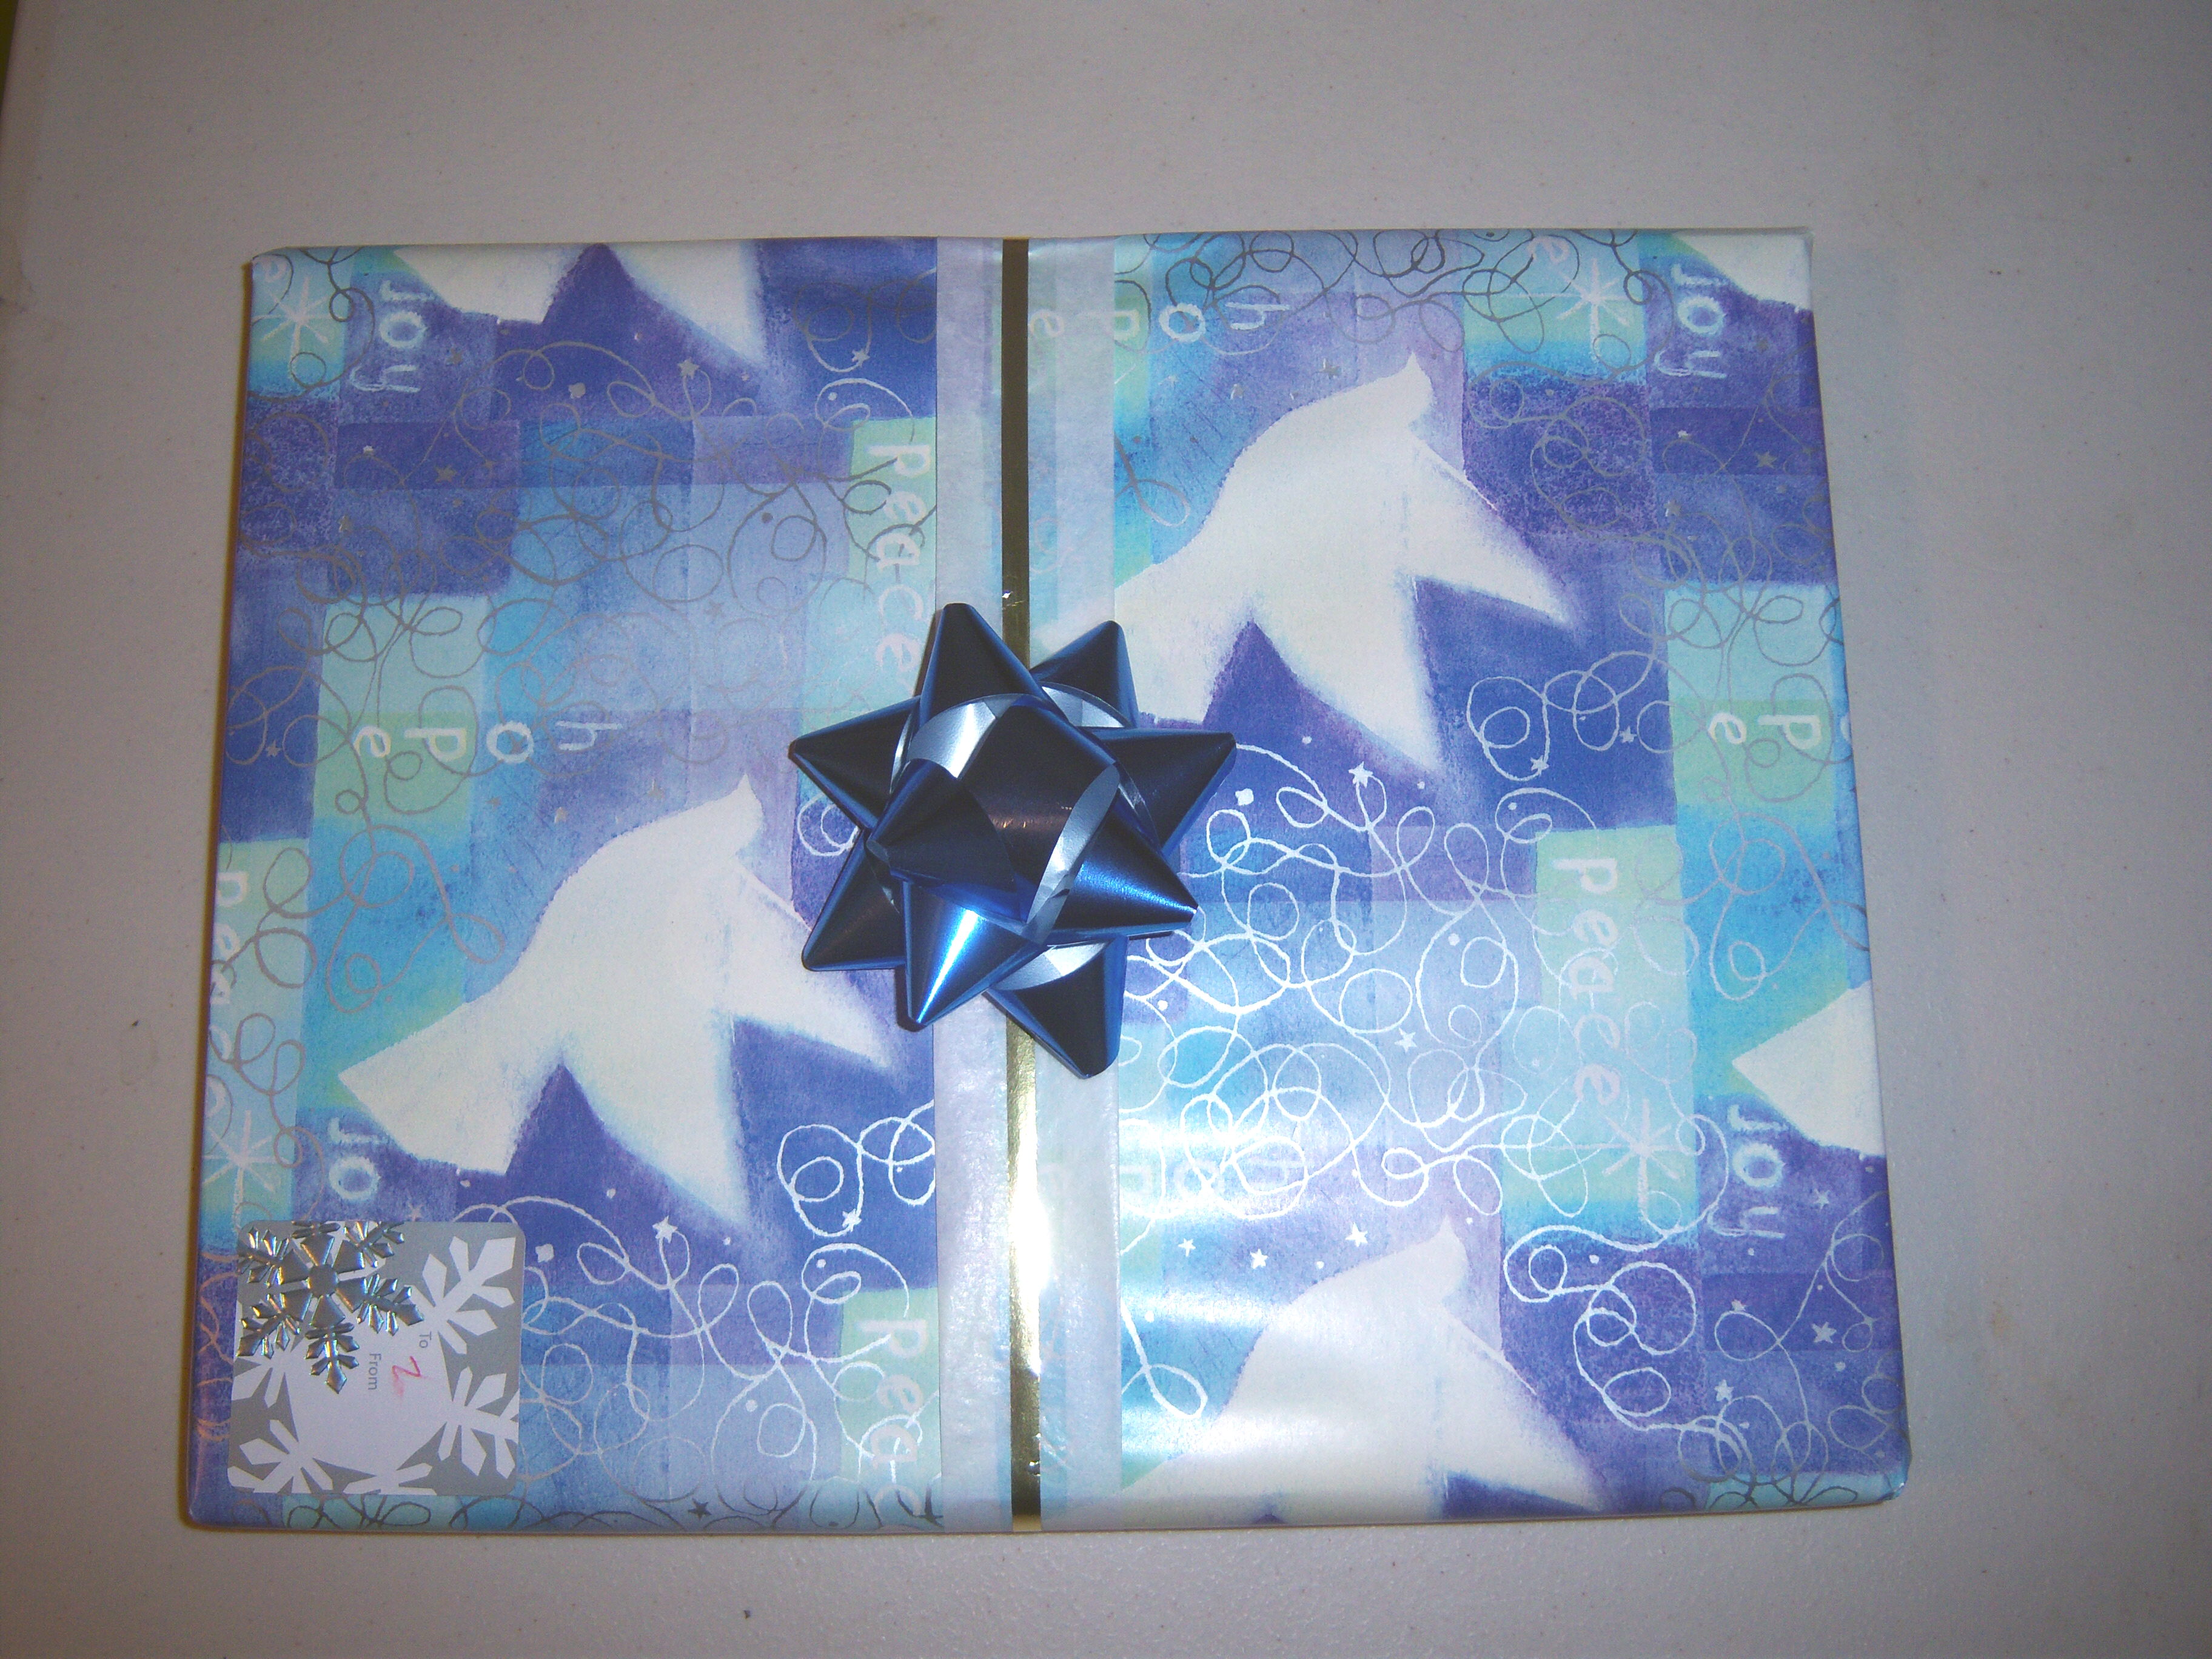
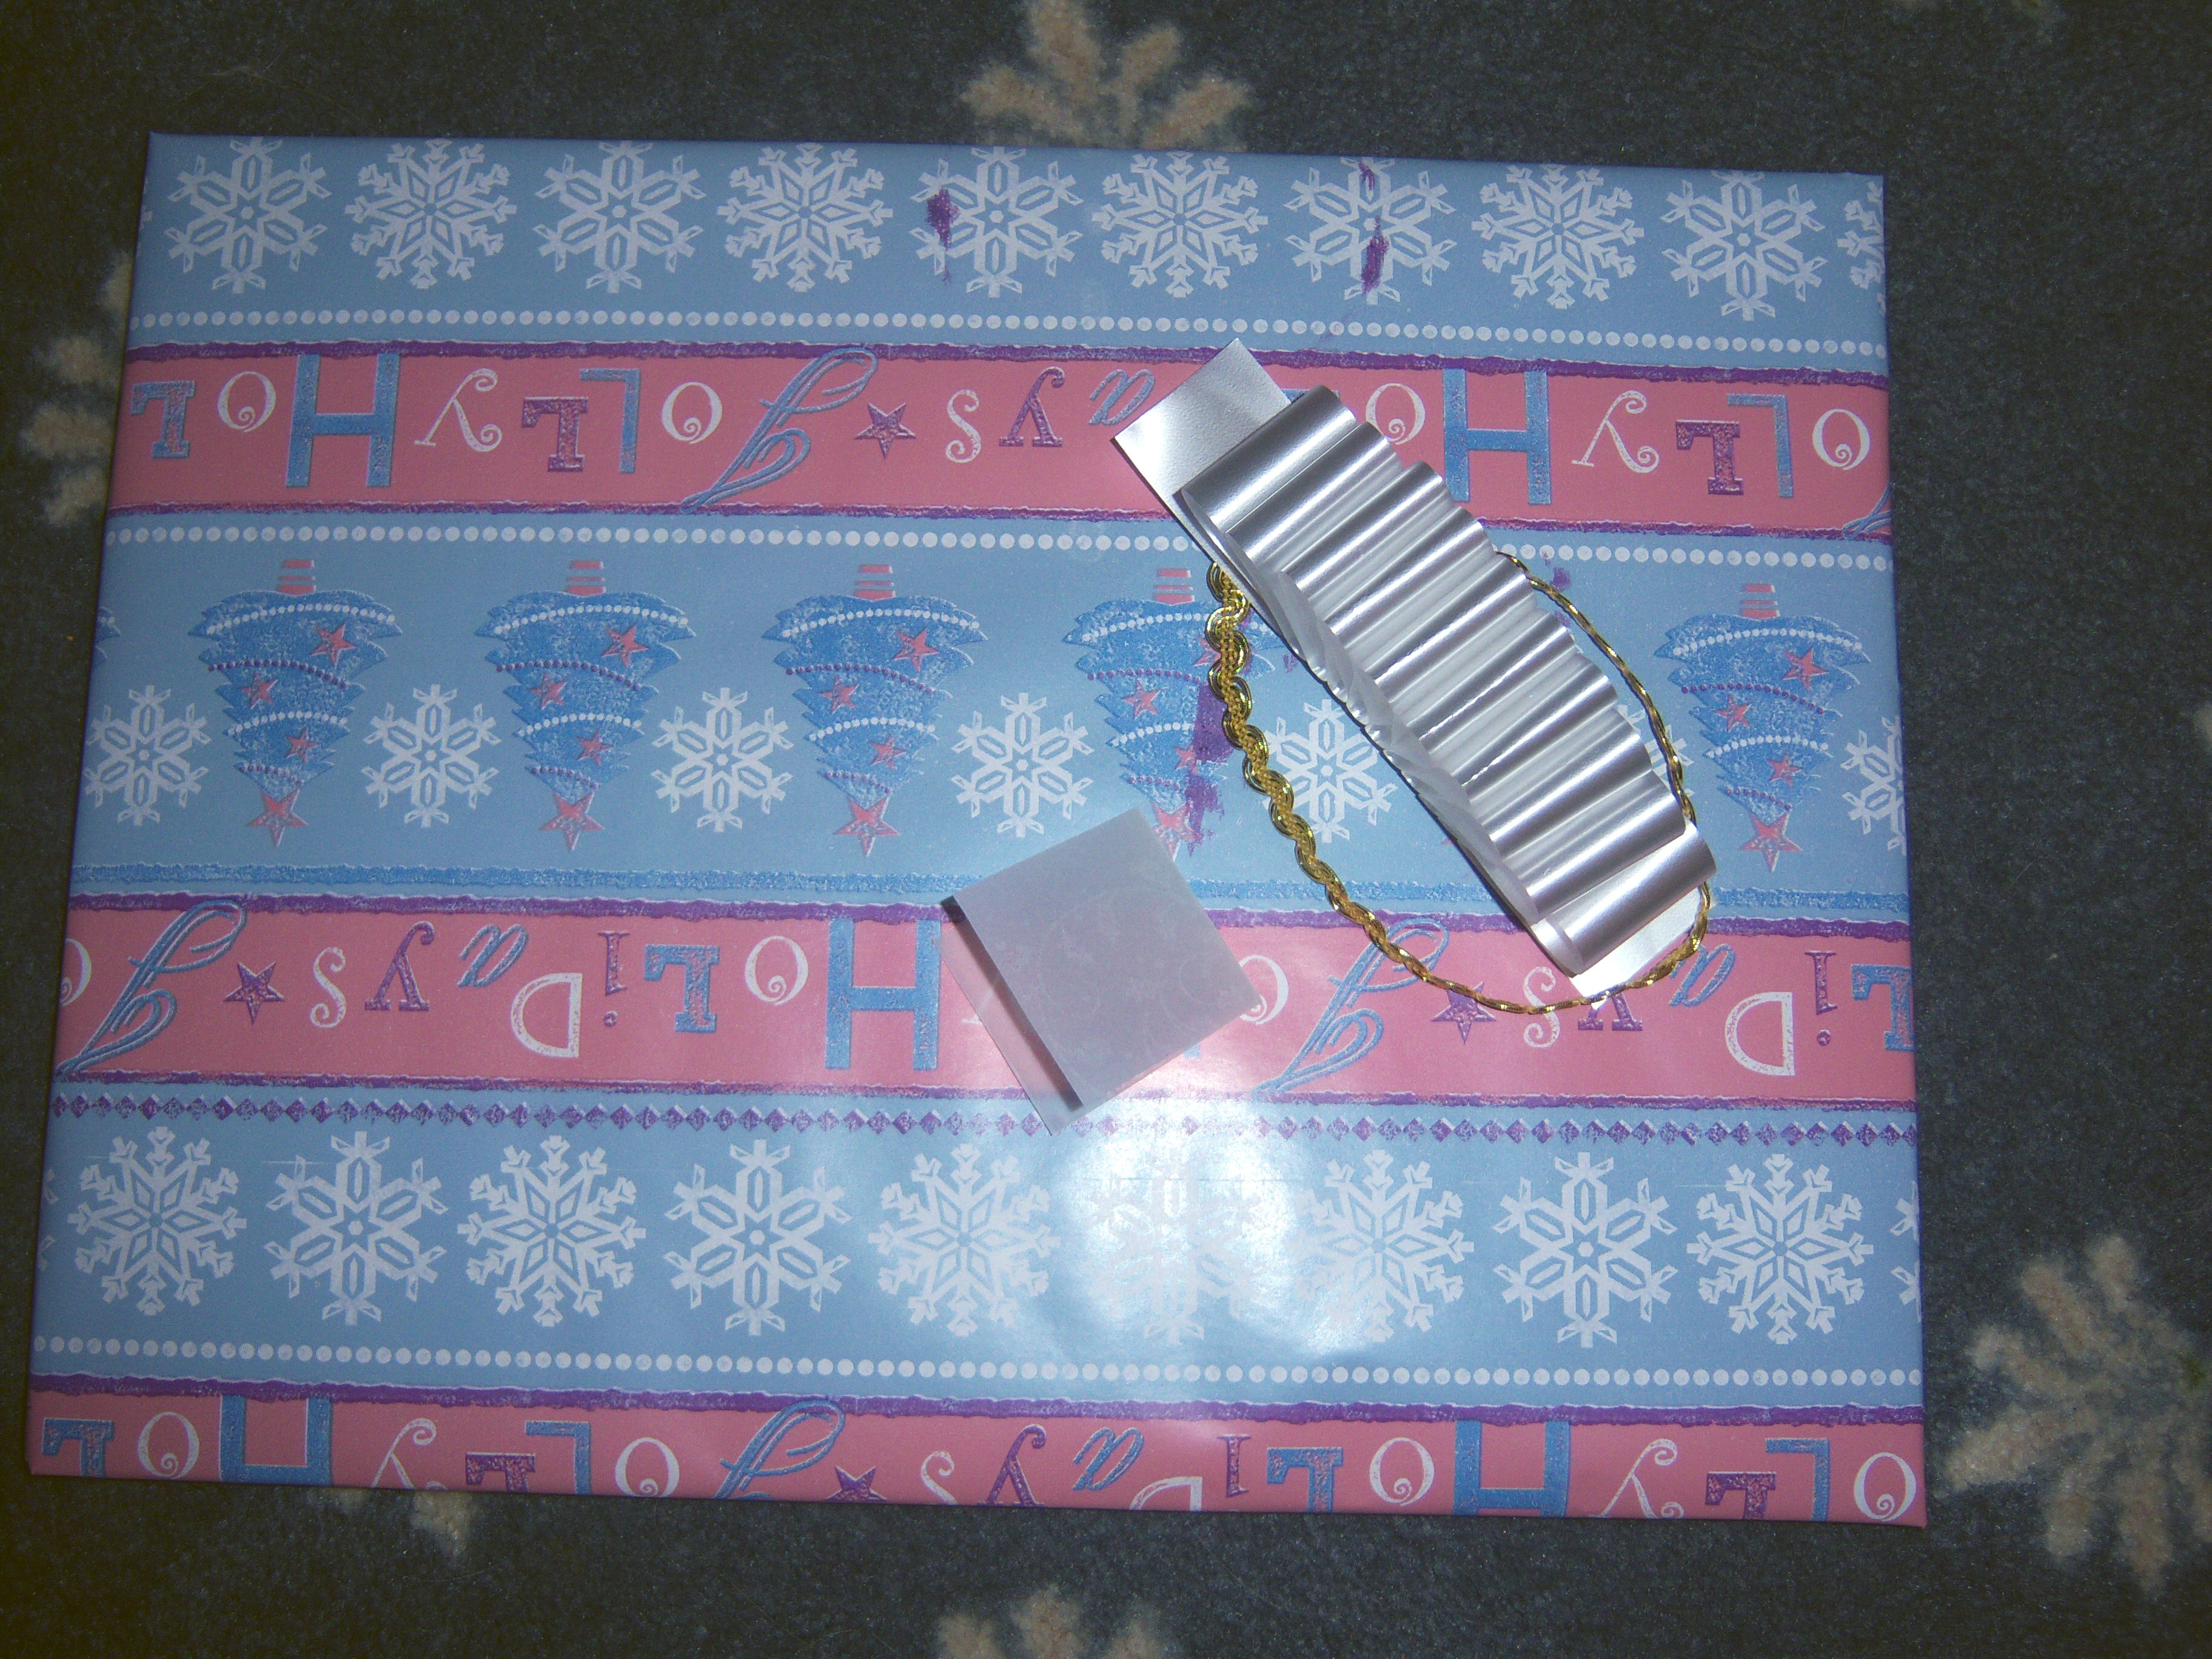
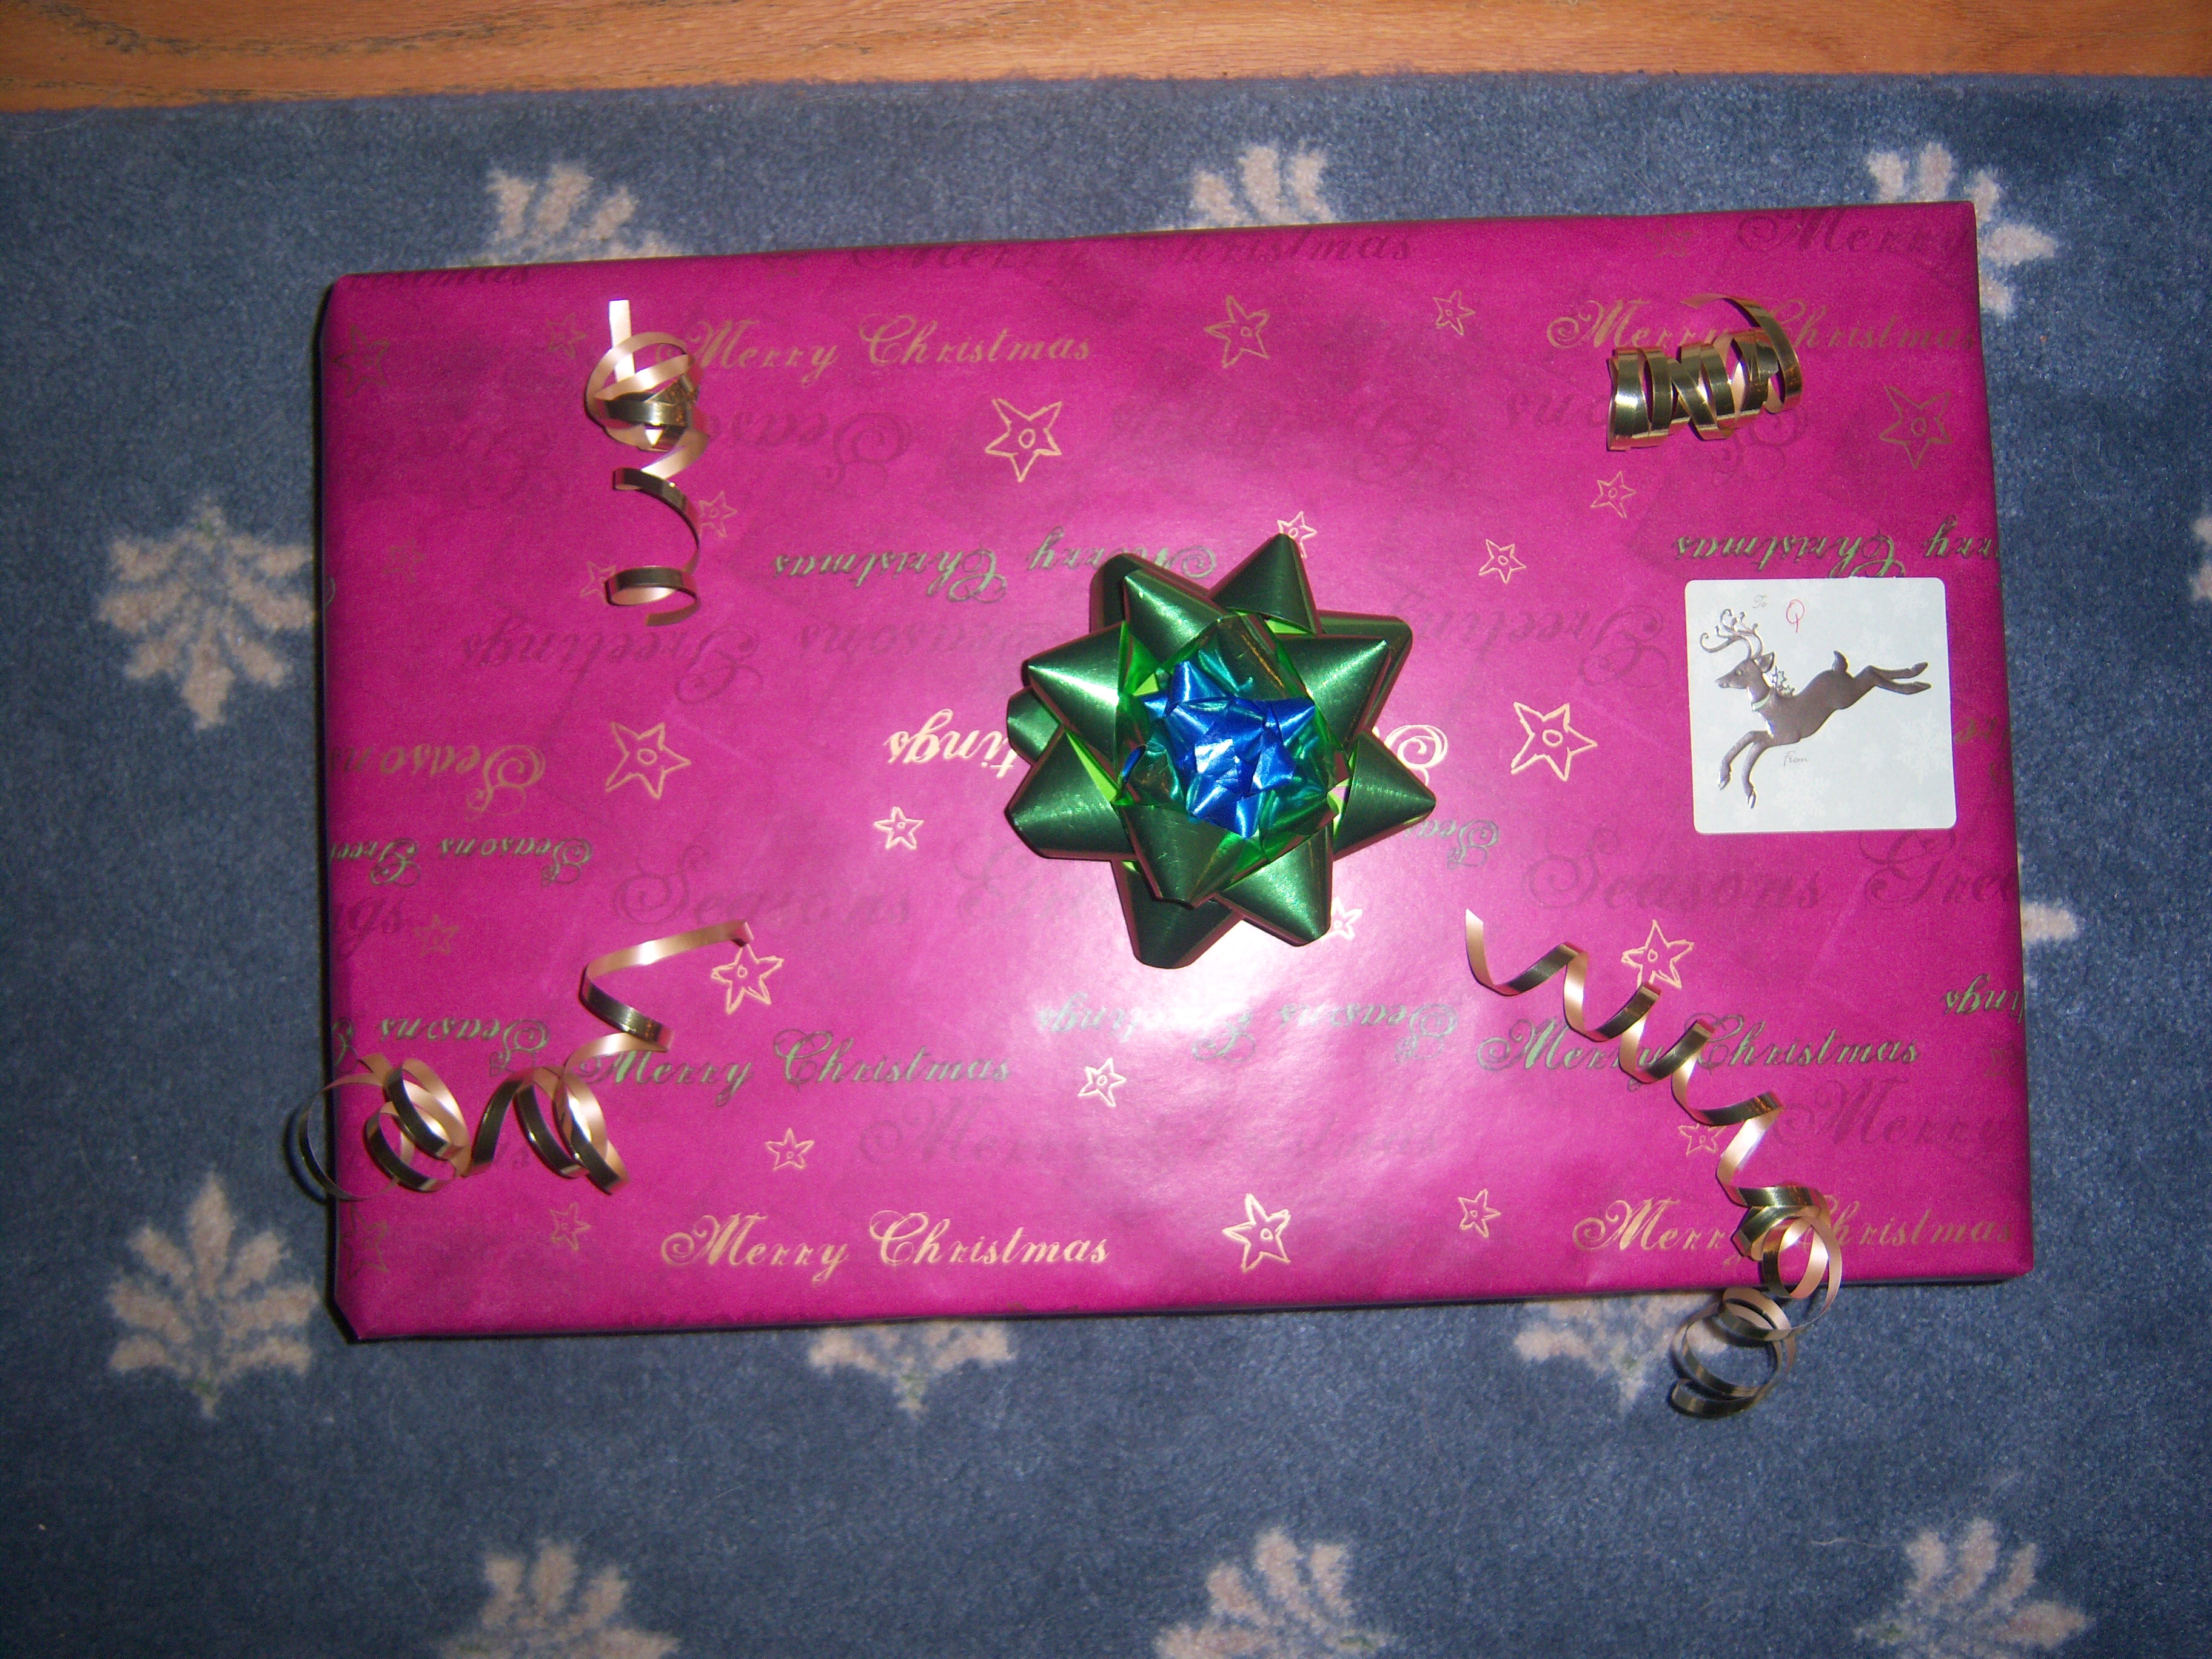
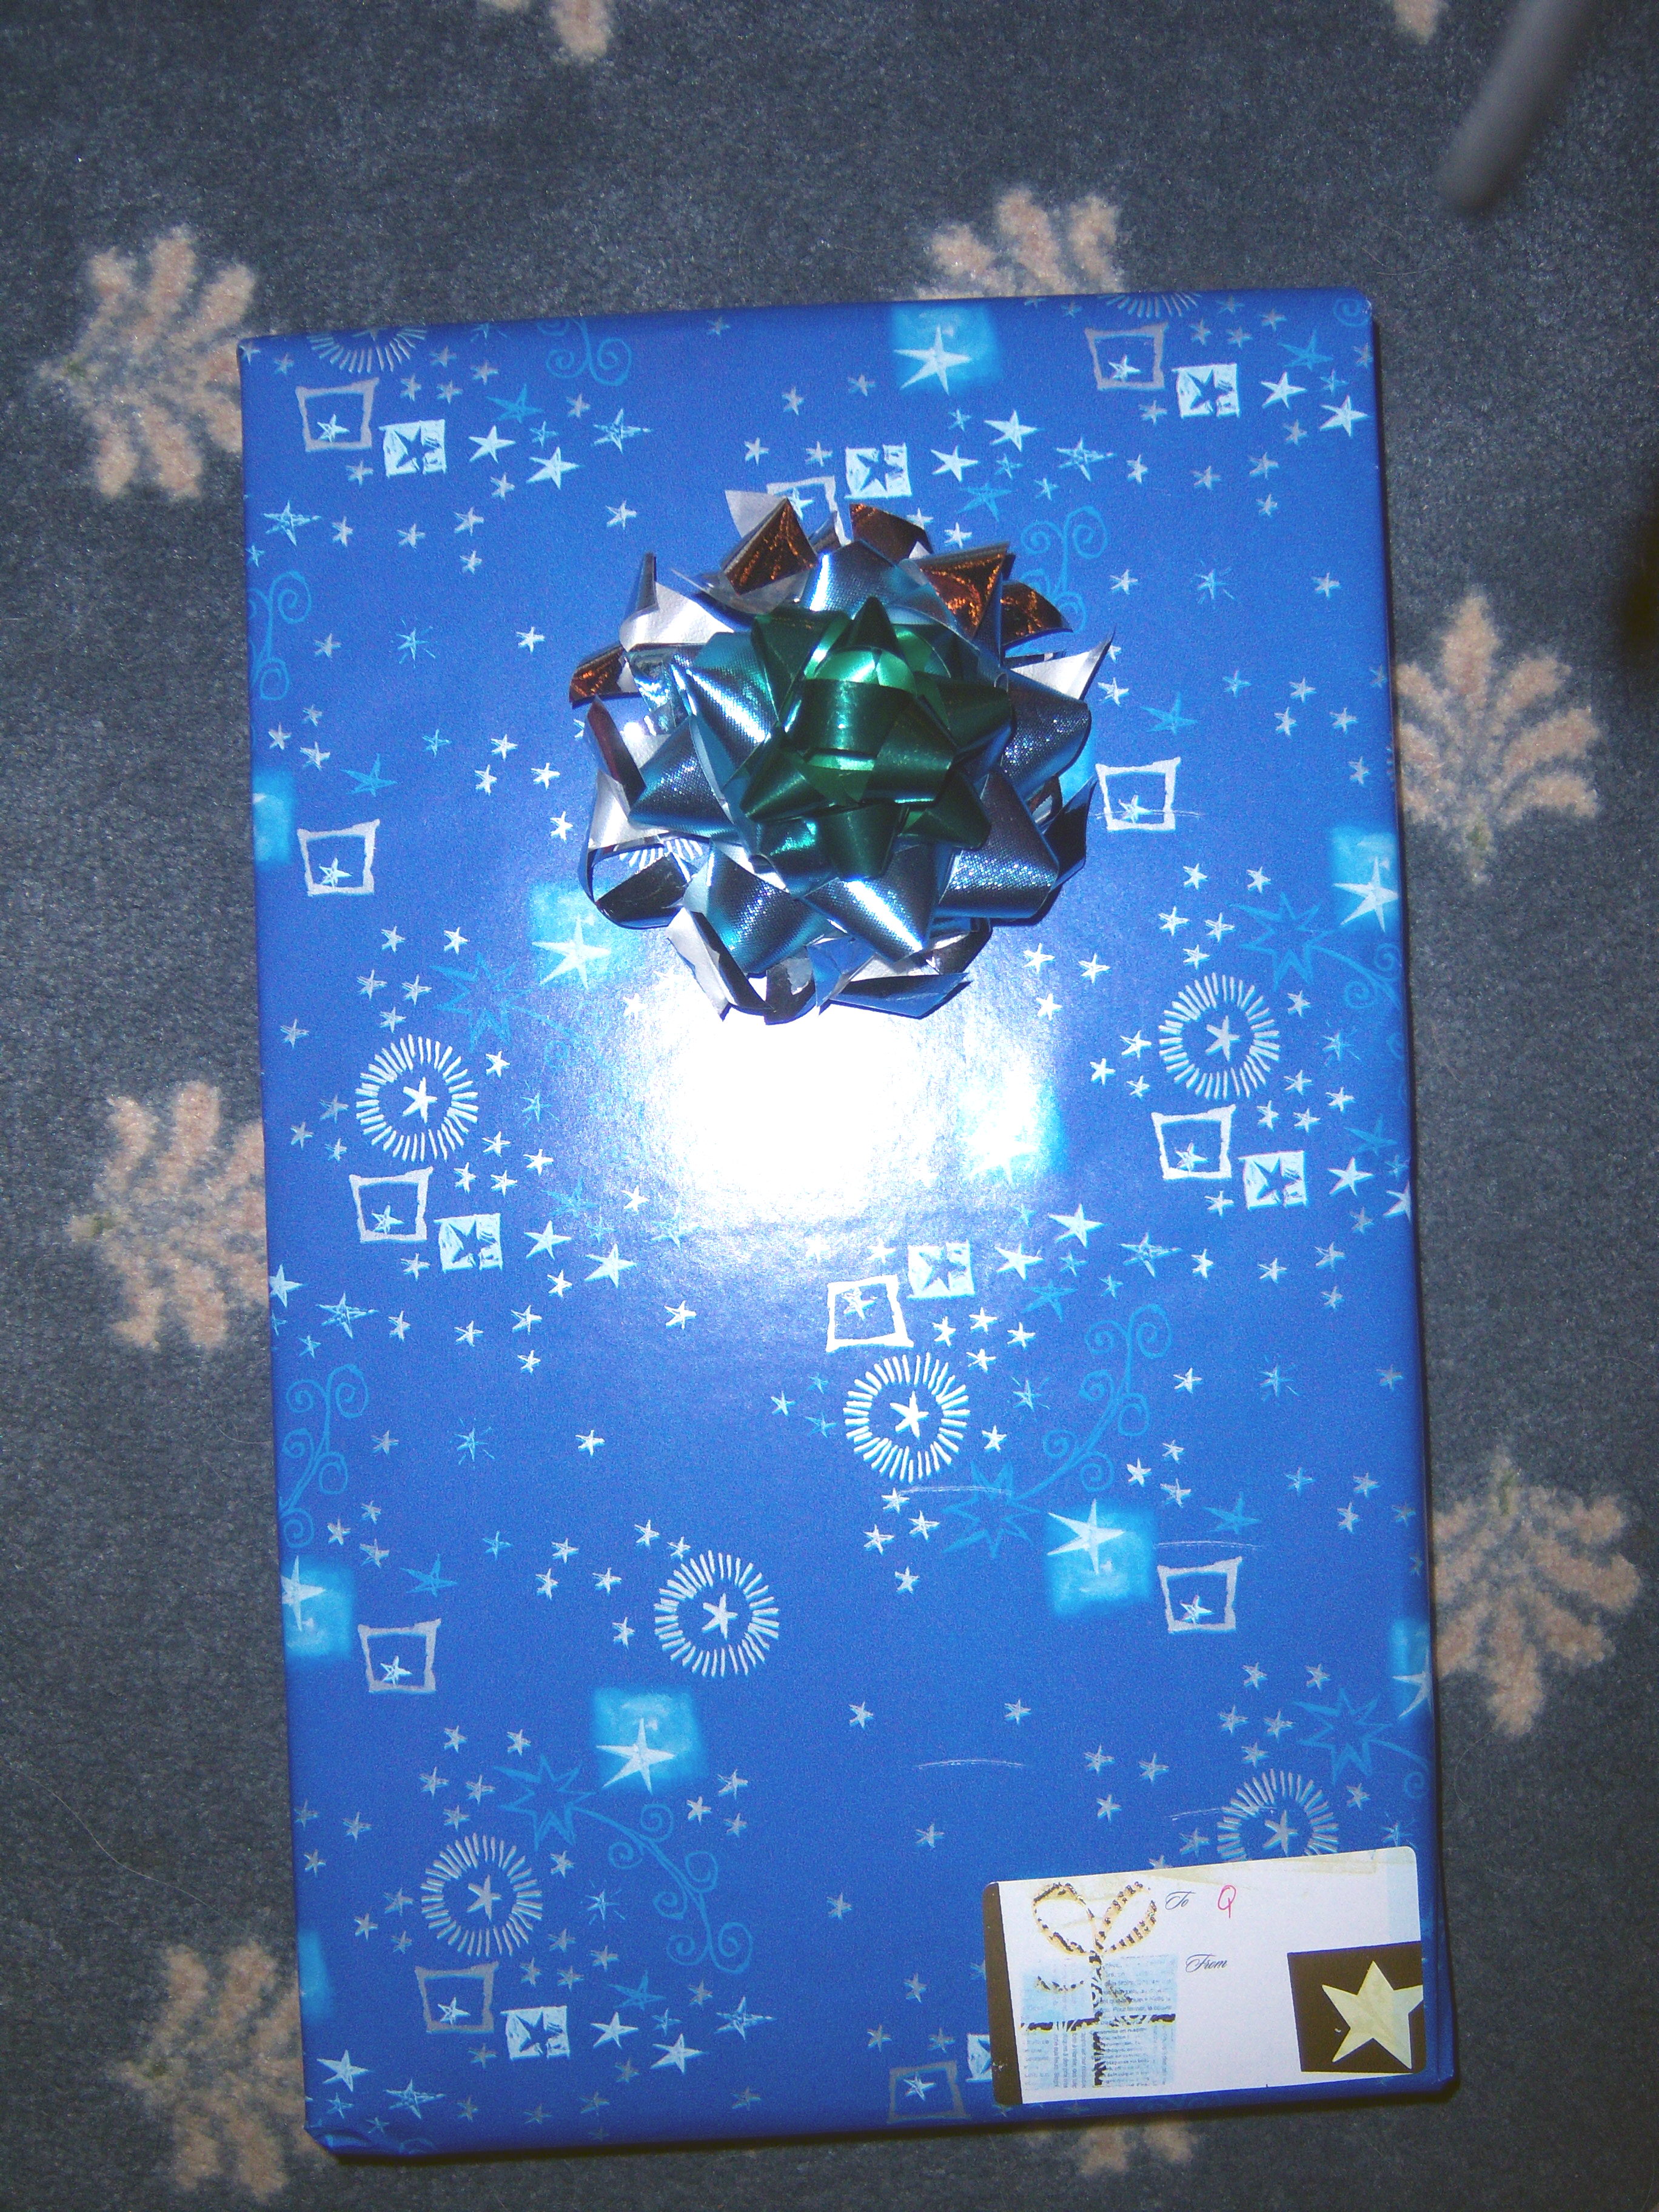
Here is a gallery of some gifts I’ve wrapped – some with Martha-inspired ideas and others that are all mine.

Using my shredder

Martha's tissue paper idea

Tissue as ribbon

Ball o' ribbon

Wrapping paper as ribbon

Tying my own bows

Ribbon halo over bow

Ring of ribbon

A little wild

Martha's pom pom bow

Martha has lots of great wrapping ideas in December Living. I love wrapping gifts. I only buy paper that coordinates with my tree, so that means it’s got to be pink, blue, green white, etc. This is a huge challenge for a holiday where everything is green and red. I love to wrap creatively and … Read more

In December Living, page 208, the “What’s for Dinner” section this month is far too complicated. Cioppino? Really? For a busy weeknight in December? Not on your life. It’s just not happening. With all the expenses December brings, I cannot bring myself to buy mussels and clams for a weeknight meal. And I do not have time to try something totally out of my league like this.

Hearty and yummy

Hearty and yummy

I was, however, enticed by the bread accompanying it – Baguette with Parmesan and Roasted Garlic. Martha says to roast some garlic, then spread it on the bread and top with some shaved Parmesan. Oh, yummy! We did sprinkle a little olive oil on the bread as well. This was easy and tasty. To roast the garlic, I just dumped some olive oil over the garlic head, put it in a small glass pan and covered with foil then cooked the heck out of it.  It tastes fab, but be prepared to have garlic breath for the rest of the night.

In December Living, page 208, the “What’s for Dinner” section this month is far too complicated. Cioppino? Really? For a busy weeknight in December? Not on your life. It’s just not happening. With all the expenses December brings, I cannot bring myself to buy mussels and clams for a weeknight meal. And I do not … Read more

As the candymaking cavalcade continues, I decided to make the Cocoa and Sugar Dusted Chocolate Almonds from page 109 of the Handmade Holidays special issue. This sounded very simple (always the curse of death).

Almonds after cooking

Almonds after cooking

The first step is to cook the almonds with sugar, water and cinnamon in a pot on the stove. Then pour it onto baking sheets and stick it in the freezer. So far, so good. Getting it off the baking sheet was another story. I had it on waxed paper, which kept ripping as I tried to get the nuts off.

The next step is to melt semi-sweet chocolate and stir the nuts into it. Martha says to then put the almonds on a wire rack. Now, picture how small an almond is. Then picture the racks you own. Would an almond not fall through that? Definitely. Mr. MarthaAndMe came up with a solution – he

Mr MarthaAndMe's Solution

Mr MarthaAndMe's Solution

wrapped fishing line around and around a wire rack. He is oh-so-clever.

Once we had this in place, I mixed the almonds with the chocolate. Not so great. The chocolate sort of solidified and got all chunky. When I put the almonds on the rack, they looked like nasty pieces of something unpleasant

Unsightly mess

Unsightly mess

I will not name here. Not to mention, I did not need the stupid wire rack thing – setting them on waxed paper worked just as well since they were not drippy.

Because the chocolate was not nicely coating the almonds, I first stuck it in the microwave to try to soften it a bit, but that did not seem to help (and I was worried about the sugar coating dissolving). Then I put it over a pot of boiling water. This helped a little. I ended up rolling each almond by hand to smooth out the layer of chocolate on it. This was a major pain and I admit it made me complete cranky.

Next you cool the almonds and then roll half of them in cocoa powder and half in powdered sugar. This was easy.

The results

The results

The taste test? Well, I think the almonds needed to cook longer in the sugar mixture because they were not as crunchy as I would have liked.  I’m not sure using raw almonds was the way to go here, Martha. I think regular almonds might have worked out better. I was thoroughly disgusted by this entire project by the end. What should have been simple took forever and did not turn out as I envisioned.

As the candymaking cavalcade continues, I decided to make the Cocoa and Sugar Dusted Chocolate Almonds from page 109 of the Handmade Holidays special issue. This sounded very simple (always the curse of death). The first step is to cook the almonds with sugar, water and cinnamon in a pot on the stove. Then pour … Read more

Sides O'Martha

Posted by Brette in Food

I made some side dishes of Martha’s from the Season’s Eatings holiday special issue and thought I would share how it went.

Twice Baked Potatoes

Twice baked potatoes are a favorite in our house. I learned my recipe from my mom. They are a great thing to make when just a plain baked potato seems too, well, plain.

Martha’s recipe calls for starting with baking the potatoes in the oven. Sometimes I cheat and microwave them, but this time I did it her way. I have to say, the way a baked potato smells when it is made in the oven can’t be beat. And it does seem to taste better when cooked in the oven.

Getting the scoop

Getting the scoop

Martha wants you to cool the potatoes and scoop out the inside. No problem. Then her recipe has you add cream, butter, 6 egg yolks (really), salt and pepper and Gruyere cheese. Then you bake it for about half an hour until it’s brown looking.

The verdict? Ok, not

Ready to bake

Ready to bake

great. All the egg in this makes it taste like Duchess potatoes and almost quiche-like. It wasn’t awful, just not what I’m used to. I didn’t care for the texture and it just didn’t have enough flavor for me. I also don’t love the Gruyere in this.

Now let me tell you how to make REALLY good twice baked potatoes (my version). Start the same way – bake the potatoes and scoop them out. Then you add butter (do not skimp!), chopped onion, sour cream(enough to make it creamy), salt and pepper, cheddar cheese (a good amount), parmesan cheese, and an herb mix I have called bouquet garnee (it’s thyme and rosemary and parsley I

Fresh from the oven

Fresh from the oven

think). Scoop it back in the shells and sprinkle the tops with paprika. This is how to make a twice baked potato!

I also always save the skins and made potato skins with cheese and bacon on them.

Gingered Carrots

For the past year or so, when I make carrots I usually boil them and finish them with butter, honey, salt and pepper and a little dill. Martha’s recipe wasn’t that different, except she has you slice some ginger into matchsticks and use that instead of the dill. This was a terrific side! I loved it. The ginger gave it a very nice flavor and it really complimented the honey. I’m going to make carrots this way from now on. A good thing!

I made some side dishes of Martha’s from the Season’s Eatings holiday special issue and thought I would share how it went. Twice Baked Potatoes Twice baked potatoes are a favorite in our house. I learned my recipe from my mom. They are a great thing to make when just a plain baked potato seems … Read more

Martha had Paula Abdul on (in all her non-coherent glory) and made Chocolate Thumbprint Cookies during cookie week (why isn’t every week cookie week in my life?) This recipe is also in December Living. I have to say, I passed right by the recipe in the magazine. It didn’t strike me as anything great. But then I saw it on-air and I knew it was something I had to make.

As complicated as Martha can sometimes make things, this cookie was actually pretty easy. First you make the cookie dough which is nothing difficult at all. It’s a basic dough with lots of cocoa powder (I used Hershey’s special dark). The dough did not firm up into a ball for me – it was a bowl of crumbs, pretty much. When I smushed it though, it stuck, so I was able to roll out the balls. You roll them in sugar then put them on the baking sheet.

Wooden spoon method

Wooden spoon method

On the show, Martha suggested using the end of a wooden spoon to make the indentations in the cookies. As you can see, this didn’t work very well. The cookies ended up splitting down the sides. I used my thumb instead and it was much more successful.

Baking them should have been simple, except I chose to attempt this on a weekday afternoon. I got them halfway done, and a child needed a ride, so out they came. I got home and put them in again and another child needed a ride. Out came the cookies again. It went on and on this way. It is truly a miracle they turned out at all.

Once these are baked, you make the chocolate and vanilla ganache to fill them. This part of the recipe was unnecessarily complicated. Martha wants you to cook honey and cream and scrape a vanilla bean and cook it with the scrapings and the whole pod. I did not have a whole vanilla bean and my grocery store did not sell any. I just dumped in about a teaspoon of vanilla extract instead.

Have a cookie...

Have a cookie...

Martha then wants you to cool this and strain it and then pour it over the bittersweet chocolate in a food processor. My food processor which  has served me well for 20 years) just died – actually the bowl broke. So until the replacement bowl gets here, I’m without one. Instead I just dumped the chocolate into the pot and warmed it up until the chocolate melted. No straining or mess. Very easy. Once it cooled, I spooned it into the cookies and let them rest. I needed to refrigerate them to get the ganache to really set up so I could pack them away.

The verdict? This is absolutely delicious. A good thing.  The cookie tastes very much like a very dense brownie. The ganache is tasty too. One point of contention – the recipe says it makes 90. 90! No way. Given, the recipe says to make each cookie 2 teaspoons, but on the air Martha was using a small little ice cream scooper/melon baller thing, so I used that too. This recipe made maybe 25 cookies for me. They weren’t huge either  -they were just about the right size. If you want more, you’ll need to double the recipe.

Happy birthday to me today!

Martha had Paula Abdul on (in all her non-coherent glory) and made Chocolate Thumbprint Cookies during cookie week (why isn’t every week cookie week in my life?) This recipe is also in December Living. I have to say, I passed right by the recipe in the magazine. It didn’t strike me as anything great. But … Read more

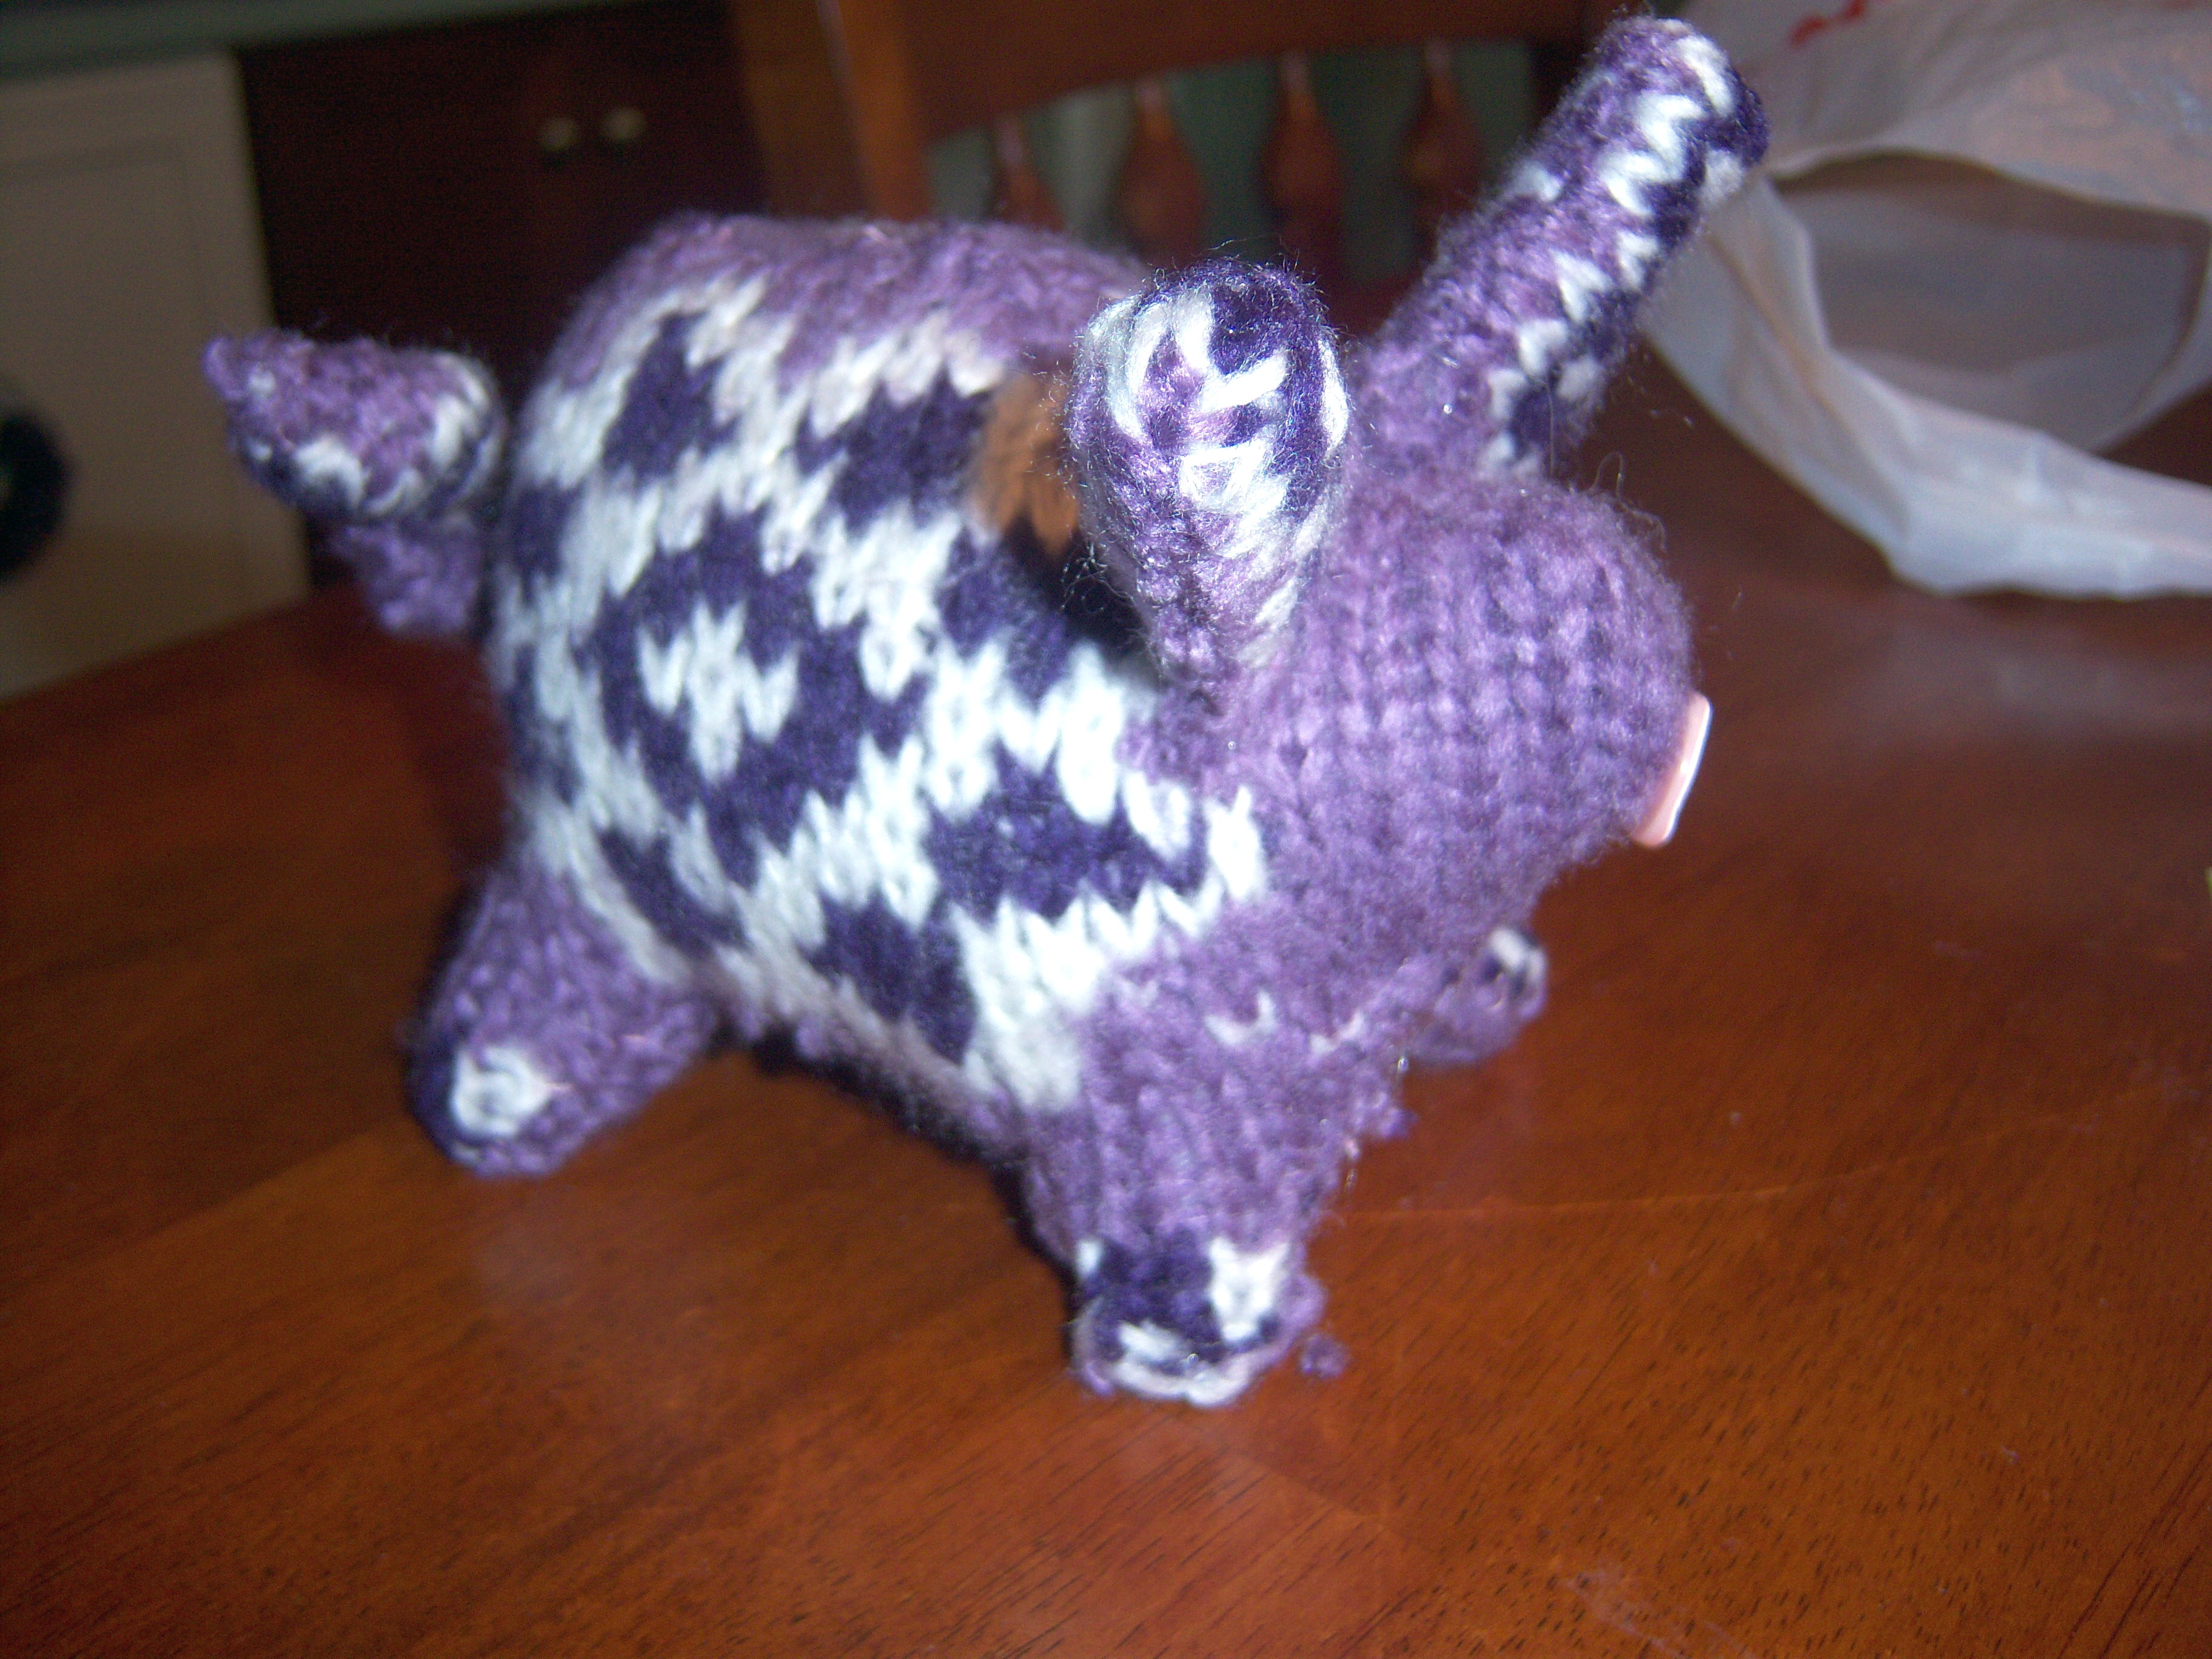
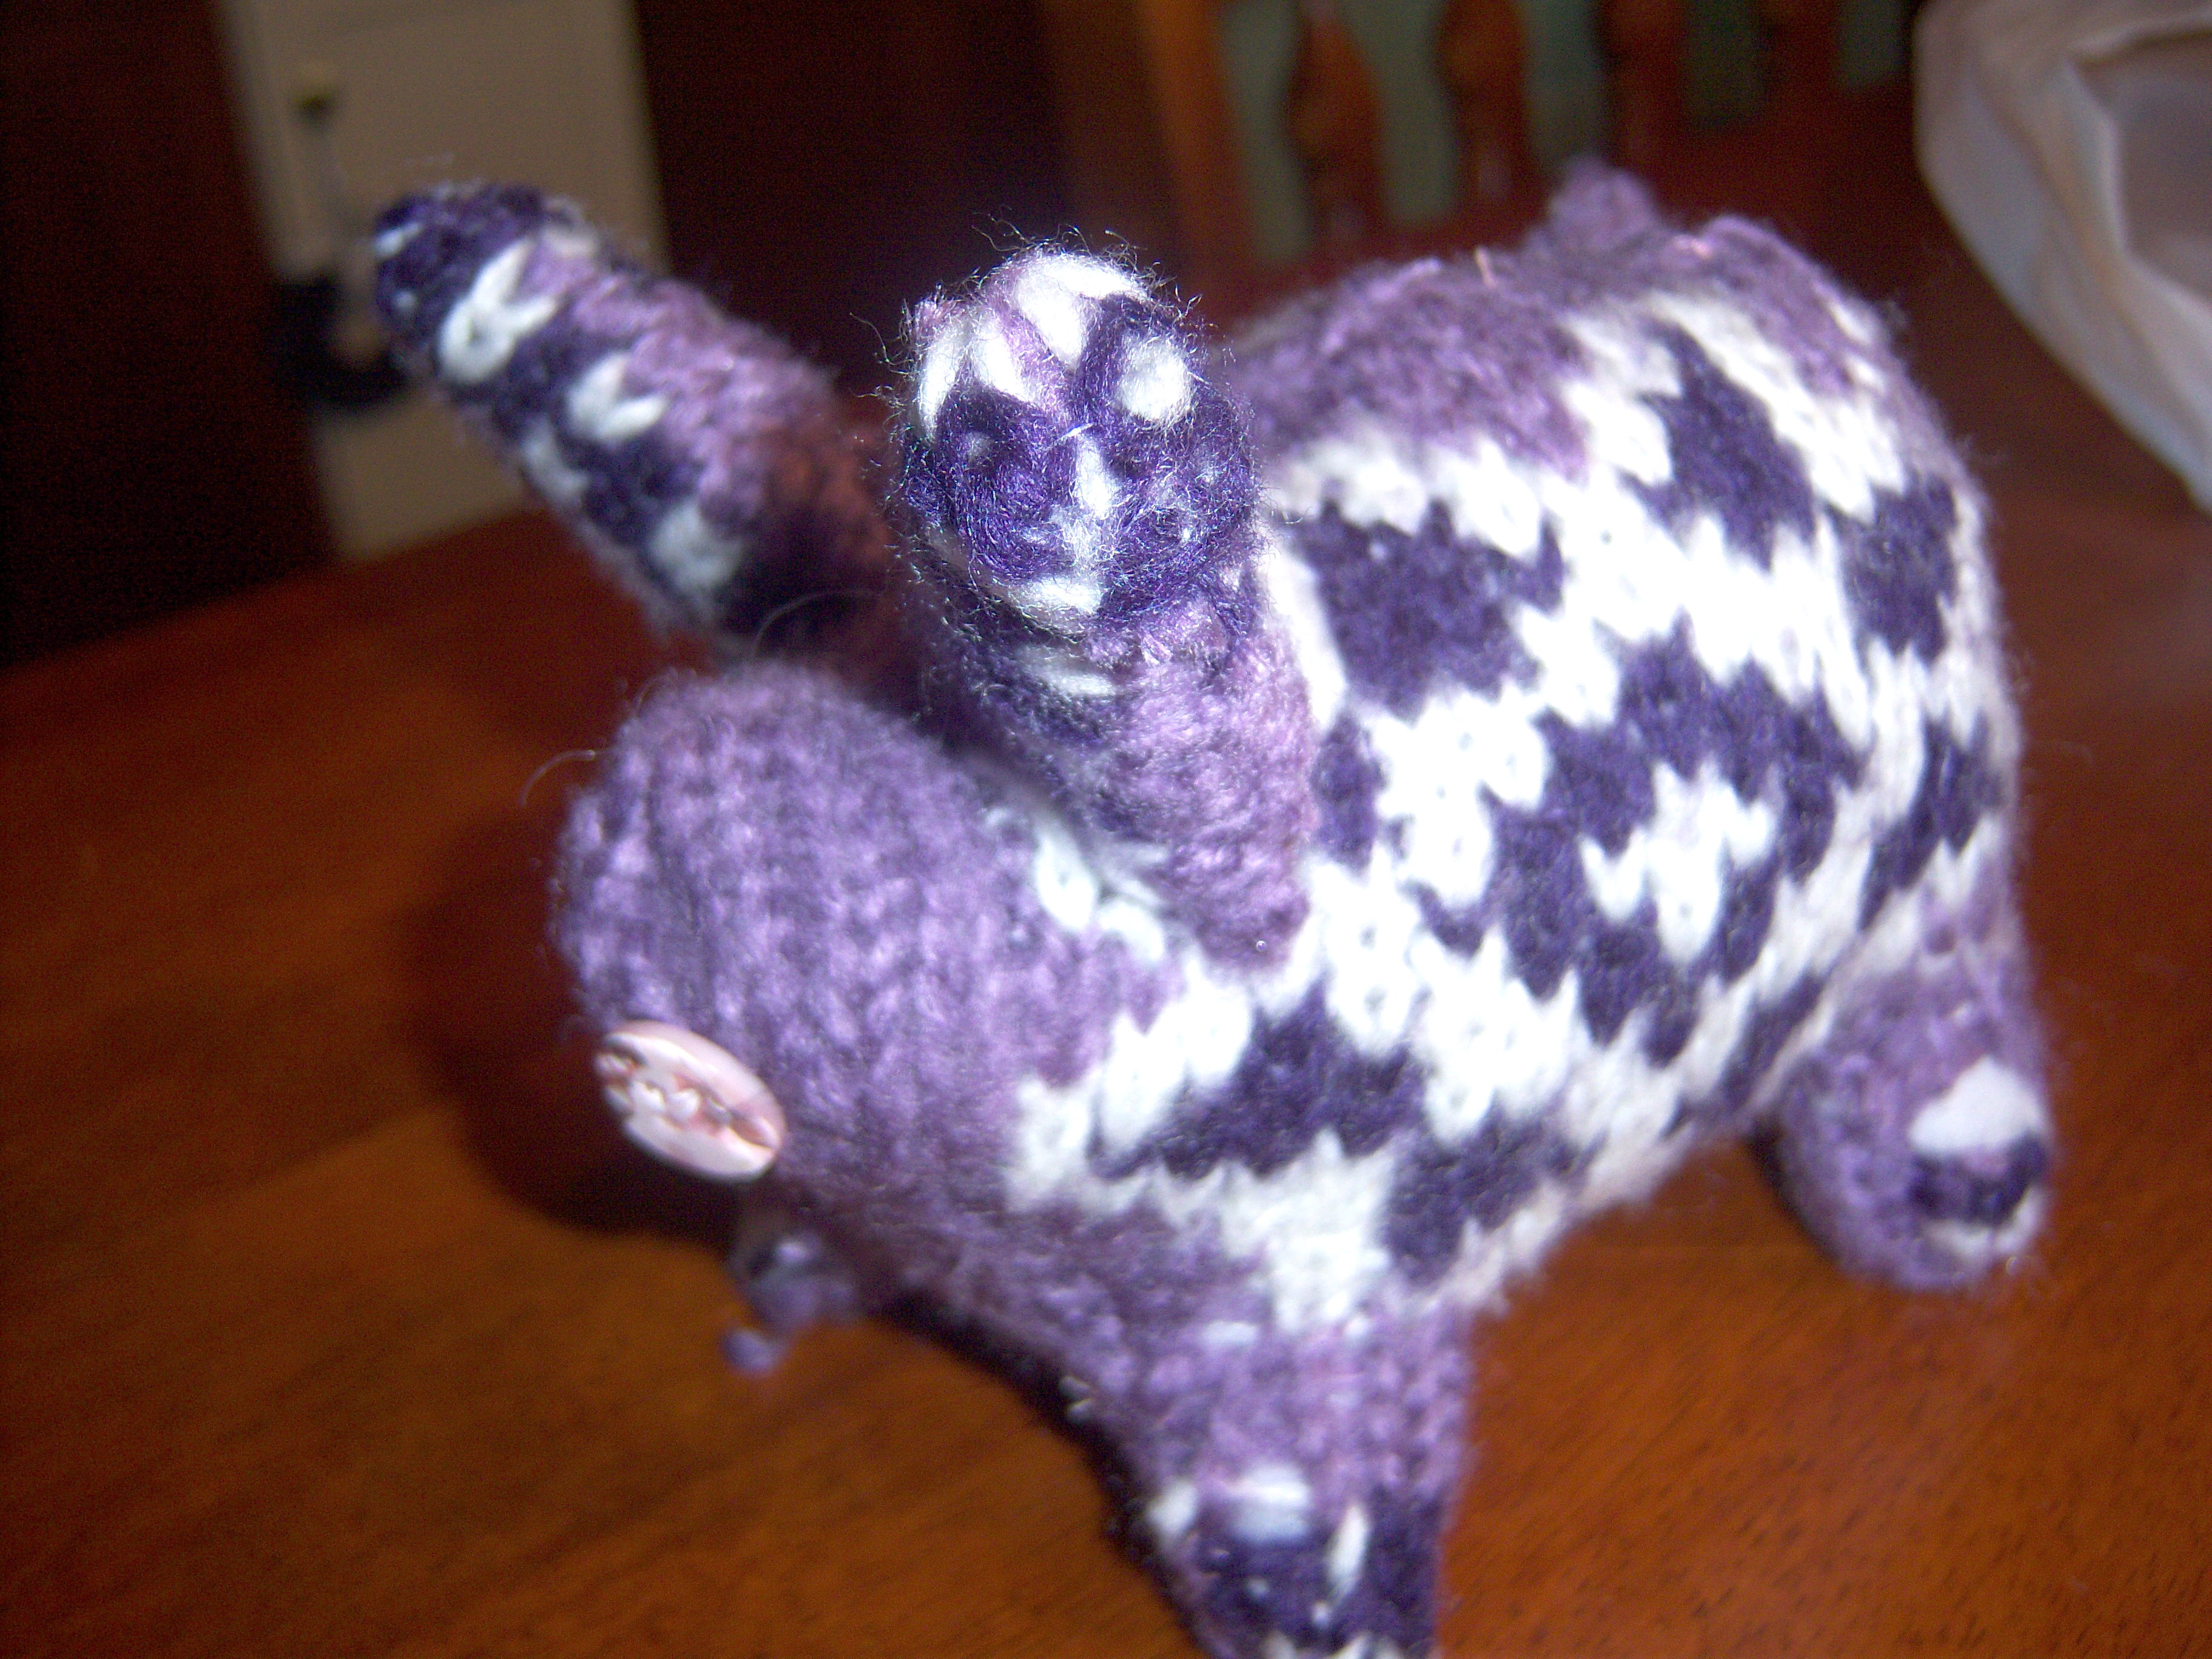
This year Martha is all about “handmade, homemade” gifts and decorations. Very smart, for this economic climate. In her Handmade for the Holidays special issue (page 59), Martha has instructions and a template for making a stuffed pig out of an old sweater (yes, really). You can probably tell already there’s no way this could go well for me.

The day of the pig began with a shopping trip. I had to buy batting ($3.50)  to stuff said pig and then I had to make a trip to Goodwill to find a sweater. Here is probably where my first problem was. Martha says to use a “felted wool sweater”. I have no idea what that means. I am sure Martha’s closets are filled with lined and sacheted shelves containing a heavenly multitude of sweaters in every color and design. The selection at Goodwill is a bit more, shall we say, limited. I have to say I was pretty impressed with Goodwill though. Everything on the racks was in quite good condition and they had some decent looking things.

I ended up buying a purple acrylic sweater with white snowflakes on it ($4.49). I believe the acrylic may have been the problem. I also think now that Martha intended a sweater that was more tightly knit than the one I chose.

Templates

Templates

Mr. MarthaAndMe kindly blew up Martha’s template by scanning it, working some magic and printing it. I cut out the template and pinned it to the sweater. I cut out the shapes.

Martha says to sew the underside of the pig to the sides. I did ok with this, but the feet on the underside ended up smaller than the feet on the sides, so I had to be a little creative in getting it to go all together.

Once I started sewing, I started to realize why a more closely knit sweater would have been better. The sweater was unraveling at the cut edges, making it very difficult to sew it together.

I sewed the sides together. Then I attempted to make the tail. My first attempt was a disaster. I had to start over and cut a piece bigger than the template instructed. Somehow my sweater was very thick and once I sewed the original piece together, I could not get it to turn inside out – it was too thick.

Martha says to cut out a round piece of wool for the nose. Mine kept unraveling – it was just too small a piece. I improvised and instead sewed a button on for the pig’s nose.

I had some trouble with the ears  – again, I had to go and cut them out bigger than the template in order to get them to turn inside out.

Some repairs were necessary

Some repairs were necessary

I stuffed the pig with batting and finished sewing him up. At this point I realized I had some serious issues. The pig was pulling apart at the seams in many places – because the edges were so unraveled. So, I had to do some repair work on the spots. I found this great thread I have in my sewing box that is like fishing line – invisible. I used that and you can’t tell I had to patch things.

The end result? Well, let’s just say I would not actually give this to someone pig-final2as a gift. pig-final1This is not where my talent lies! The ears are too tall and they look like rabbit ears. The nose is not centered. The whole thing is just weird. Maybe some people are good at this, but well, I’m just not. It was sort of fun to do – although it would have been a lot more fun if the material hadn’t kept unraveling on me.
This year Martha is all about “handmade, homemade” gifts and decorations. Very smart, for this economic climate. In her Handmade for the Holidays special issue (page 59), Martha has instructions and a template for making a stuffed pig out of an old sweater (yes, really). You can probably tell already there’s no way this could … Read more

On Martha’s show this week she’s doing a cookie week. Love that – thanks Martha. Tuesday’s show had Rufus Wainwright and the McGarrigle family singers (clueless as to who they are – I’ve heard of him, but not them). Rufus’ mom showed how to make her Ski Biscuit Cookies (while Rufus made it clear he’s never been in a kitchen in his life). These looked so cool on the air. They are long cookies shaped like skis, with a curve at the end like a real ski. I had to give this a try.

What’s weird about the recipe is you make it in a pot! First you cook butter, brown sugar and molasses until it boils. Then you add the dry ingredients (flour, cinnamon, allspice, cloves, ginger and baking soda). This part was very easy and I appreciated being able to make it all in one pot. You chill the mix then roll it out into a rectangle and use a knife to cut out ski shapes.  This part, well, it was slightly more challenging for me. I used the edge of a cutting board to get some straight edges so that was no problem.

The hard part was sizing the skis. The first ones I did seemed a little skinny, so I cut the next ones wider but somehow they then puffed out of control in the oven and I was left with toboggans not skis.

Before you put this in the oven, you’re supposed to use candied ginger and candied dragees to make the design on the cookies for the thingie that holds on the boot. They ran out of time on the show and didn’t really show what this was supposed to look like. I am not a skier (please, do not make me dredge up very disturbing memories of a bunny slope and an instructor shouting at me to snowplow) so I didn’t really know what to do here.

The results

The results

Once decorated, you then bake the cookies, taking your silicone lining and pulling it up so it curves up at the edge of the pan – this makes the skis curve. That worked well. The recipe didn’t make a whole heck of a lot.

They taste like gingerbread. Here’s a little confession though- I tasted the dough and it didn’t seem sweet enough to me, so I added some more brown sugar. They’re very thin and crisp (I am more of a moist gingerbread gal). Mr. MarthaAndMe is loving these though, so they will certainly be enjoyed.

I’m a little worried about the curved ends breaking off while in storage – they seem brittle to me. If I give any of these away, I think I am going to take two and cross them in an X and then tie some ribbon around the middle. I’m worried no one will know these are skis otherwise!

On Martha’s show this week she’s doing a cookie week. Love that – thanks Martha. Tuesday’s show had Rufus Wainwright and the McGarrigle family singers (clueless as to who they are – I’ve heard of him, but not them). Rufus’ mom showed how to make her Ski Biscuit Cookies (while Rufus made it clear he’s … Read more

Winter Bark

Posted by Brette in Food

I’m a candymaking machine (which only makes me think of that famous I Love Lucy episode in the candy factory). I made Martha’s Winter Bark from page 228 of the December Living.

Ready to swirl

Ready to swirl

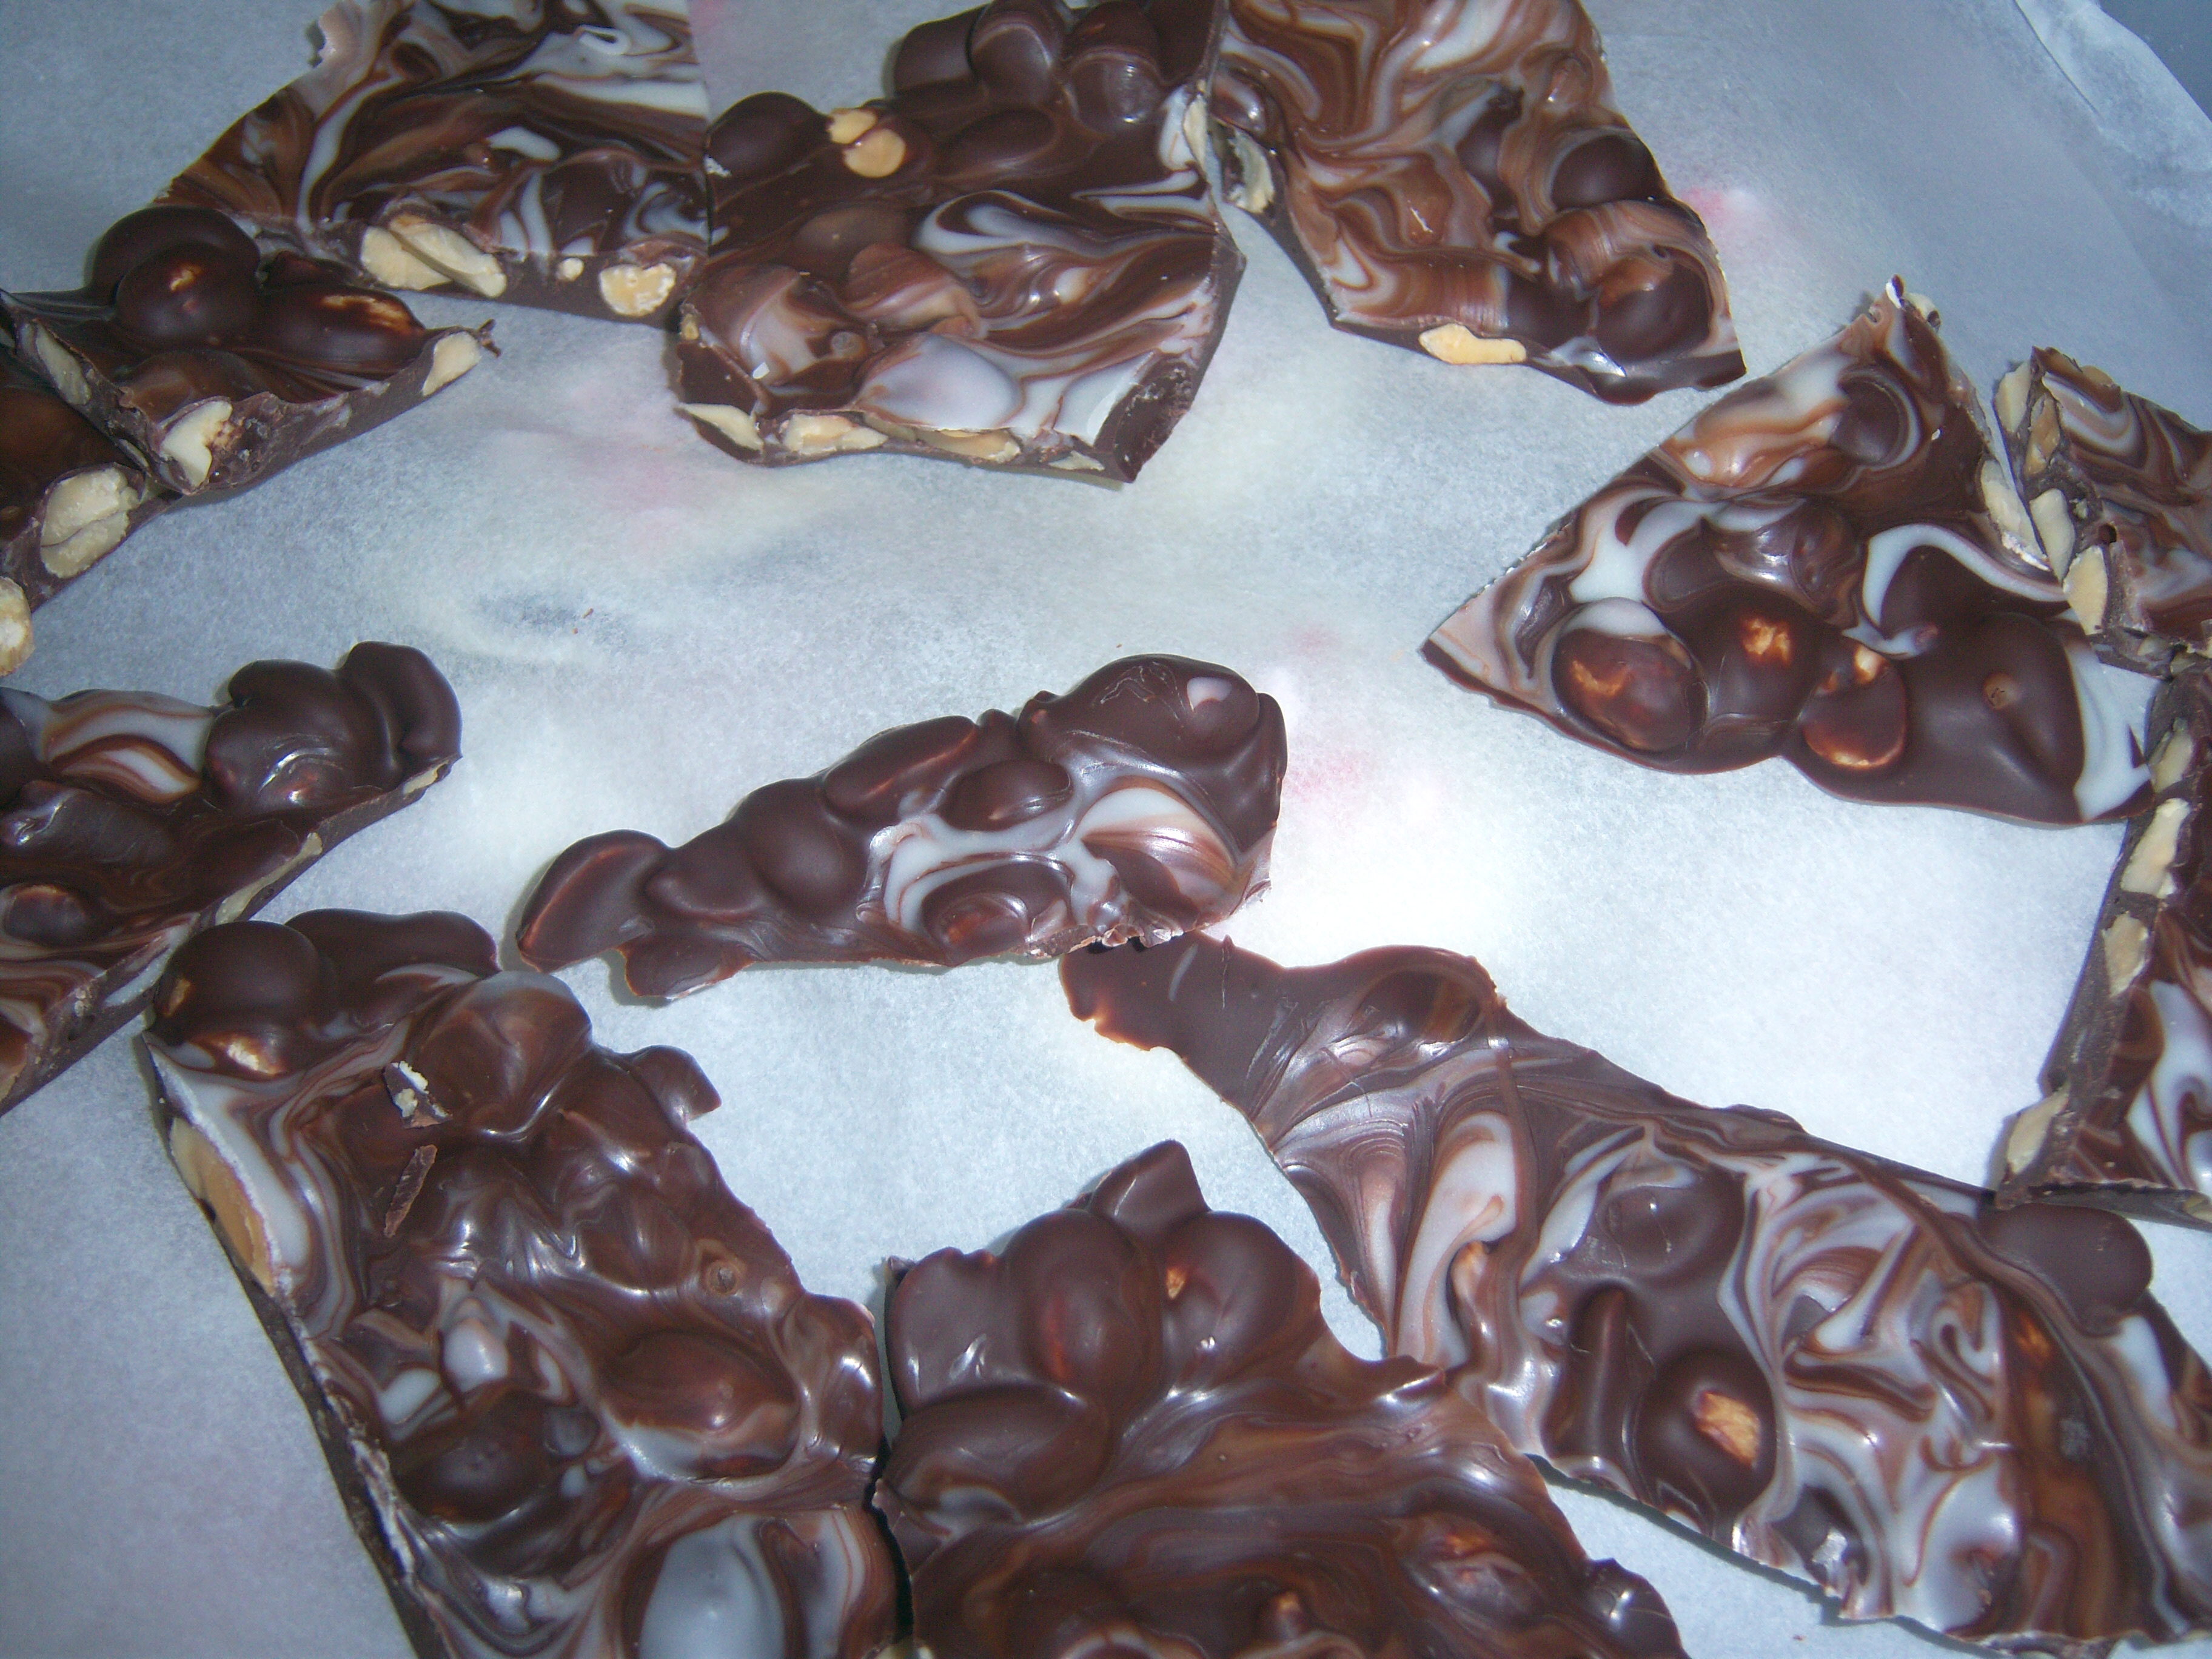
If you’re afraid of candymaking, this is a recipe for you. You melt bittersweet chocolate and white chocolate. Martha says to use a double boiler, but being a gal of the modern age, I used the microwave ( I am just so cutting edge). Then you mix some peanuts in the bittersweet chocolate and dump it out on a piece of waxed paper or parchment on a baking sheet. Then drop glops of the white chocolate over it and swirl it with a skewer or cake tester. Let it cool

Swirled

Swirled

then break it into pieces. Super, super simple. It tastes pretty good. Nothing incredibly exciting, but good. Next time, I would use almonds instead of peanuts. This candy is really pretty and makes a nice gift.

I’ve also made two other candy recipes recently. One is called

Open up...

Open up...

Opera Fudge, and is something I saw on Martha last year. I don’t have any photos to post from this because my hands were coated in candy throughout the process. Basically you cook the candy to soft ball stage, pour it out and let it cool. Then you plop your butt in a comfy chair, in front of a tv show which you do not want to change the channel of (because you’re not going to be able to change it), and you knead the candy for about half an hour. At one point I became a little panicked. I was home alone and all I could think of was the house starting on fire and me being unable to open the door to get out because my hands were coated in a huge, horrible, nasty sticky mess.

It was truly weird though. Just when you reach that panicked point where you think the candy has come to life and is going to eat you alive, it gets warm and morphs into a ball and is no longer sticky at all. Very, very strange. Then you make balls and dip it in chocolate. The consensus here was that it tasted good but was not worth all the effort.

I’m a candymaking machine (which only makes me think of that famous I Love Lucy episode in the candy factory). I made Martha’s Winter Bark from page 228 of the December Living. If you’re afraid of candymaking, this is a recipe for you. You melt bittersweet chocolate and white chocolate. Martha says to use a … Read more

no