I made some side dishes of Martha’s from the Season’s Eatings holiday special issue and thought I would share how it went.

Twice Baked Potatoes

Twice baked potatoes are a favorite in our house. I learned my recipe from my mom. They are a great thing to make when just a plain baked potato seems too, well, plain.

Martha’s recipe calls for starting with baking the potatoes in the oven. Sometimes I cheat and microwave them, but this time I did it her way. I have to say, the way a baked potato smells when it is made in the oven can’t be beat. And it does seem to taste better when cooked in the oven.

Getting the scoop

Getting the scoop

Martha wants you to cool the potatoes and scoop out the inside. No problem. Then her recipe has you add cream, butter, 6 egg yolks (really), salt and pepper and Gruyere cheese. Then you bake it for about half an hour until it’s brown looking.

The verdict? Ok, not

Ready to bake

Ready to bake

great. All the egg in this makes it taste like Duchess potatoes and almost quiche-like. It wasn’t awful, just not what I’m used to. I didn’t care for the texture and it just didn’t have enough flavor for me. I also don’t love the Gruyere in this.

Now let me tell you how to make REALLY good twice baked potatoes (my version). Start the same way – bake the potatoes and scoop them out. Then you add butter (do not skimp!), chopped onion, sour cream(enough to make it creamy), salt and pepper, cheddar cheese (a good amount), parmesan cheese, and an herb mix I have called bouquet garnee (it’s thyme and rosemary and parsley I

Fresh from the oven

Fresh from the oven

think). Scoop it back in the shells and sprinkle the tops with paprika. This is how to make a twice baked potato!

I also always save the skins and made potato skins with cheese and bacon on them.

Gingered Carrots

For the past year or so, when I make carrots I usually boil them and finish them with butter, honey, salt and pepper and a little dill. Martha’s recipe wasn’t that different, except she has you slice some ginger into matchsticks and use that instead of the dill. This was a terrific side! I loved it. The ginger gave it a very nice flavor and it really complimented the honey. I’m going to make carrots this way from now on. A good thing!

I made some side dishes of Martha’s from the Season’s Eatings holiday special issue and thought I would share how it went. Twice Baked Potatoes Twice baked potatoes are a favorite in our house. I learned my recipe from my mom. They are a great thing to make when just a plain baked potato seems … Read more

Sides O'Martha

Posted by Brette in Food

I made some side dishes of Martha’s from the Season’s Eatings holiday special issue and thought I would share how it went.

Twice Baked Potatoes

Twice baked potatoes are a favorite in our house. I learned my recipe from my mom. They are a great thing to make when just a plain baked potato seems too, well, plain.

Martha’s recipe calls for starting with baking the potatoes in the oven. Sometimes I cheat and microwave them, but this time I did it her way. I have to say, the way a baked potato smells when it is made in the oven can’t be beat. And it does seem to taste better when cooked in the oven.

Getting the scoop

Getting the scoop

Martha wants you to cool the potatoes and scoop out the inside. No problem. Then her recipe has you add cream, butter, 6 egg yolks (really), salt and pepper and Gruyere cheese. Then you bake it for about half an hour until it’s brown looking.

The verdict? Ok, not

Ready to bake

Ready to bake

great. All the egg in this makes it taste like Duchess potatoes and almost quiche-like. It wasn’t awful, just not what I’m used to. I didn’t care for the texture and it just didn’t have enough flavor for me. I also don’t love the Gruyere in this.

Now let me tell you how to make REALLY good twice baked potatoes (my version). Start the same way – bake the potatoes and scoop them out. Then you add butter (do not skimp!), chopped onion, sour cream(enough to make it creamy), salt and pepper, cheddar cheese (a good amount), parmesan cheese, and an herb mix I have called bouquet garnee (it’s thyme and rosemary and parsley I

Fresh from the oven

Fresh from the oven

think). Scoop it back in the shells and sprinkle the tops with paprika. This is how to make a twice baked potato!

I also always save the skins and made potato skins with cheese and bacon on them.

Gingered Carrots

For the past year or so, when I make carrots I usually boil them and finish them with butter, honey, salt and pepper and a little dill. Martha’s recipe wasn’t that different, except she has you slice some ginger into matchsticks and use that instead of the dill. This was a terrific side! I loved it. The ginger gave it a very nice flavor and it really complimented the honey. I’m going to make carrots this way from now on. A good thing!

I made some side dishes of Martha’s from the Season’s Eatings holiday special issue and thought I would share how it went. Twice Baked Potatoes Twice baked potatoes are a favorite in our house. I learned my recipe from my mom. They are a great thing to make when just a plain baked potato seems … Read more

Martha had Paula Abdul on (in all her non-coherent glory) and made Chocolate Thumbprint Cookies during cookie week (why isn’t every week cookie week in my life?) This recipe is also in December Living. I have to say, I passed right by the recipe in the magazine. It didn’t strike me as anything great. But then I saw it on-air and I knew it was something I had to make.

As complicated as Martha can sometimes make things, this cookie was actually pretty easy. First you make the cookie dough which is nothing difficult at all. It’s a basic dough with lots of cocoa powder (I used Hershey’s special dark). The dough did not firm up into a ball for me – it was a bowl of crumbs, pretty much. When I smushed it though, it stuck, so I was able to roll out the balls. You roll them in sugar then put them on the baking sheet.

Wooden spoon method

Wooden spoon method

On the show, Martha suggested using the end of a wooden spoon to make the indentations in the cookies. As you can see, this didn’t work very well. The cookies ended up splitting down the sides. I used my thumb instead and it was much more successful.

Baking them should have been simple, except I chose to attempt this on a weekday afternoon. I got them halfway done, and a child needed a ride, so out they came. I got home and put them in again and another child needed a ride. Out came the cookies again. It went on and on this way. It is truly a miracle they turned out at all.

Once these are baked, you make the chocolate and vanilla ganache to fill them. This part of the recipe was unnecessarily complicated. Martha wants you to cook honey and cream and scrape a vanilla bean and cook it with the scrapings and the whole pod. I did not have a whole vanilla bean and my grocery store did not sell any. I just dumped in about a teaspoon of vanilla extract instead.

Have a cookie...

Have a cookie...

Martha then wants you to cool this and strain it and then pour it over the bittersweet chocolate in a food processor. My food processor which  has served me well for 20 years) just died – actually the bowl broke. So until the replacement bowl gets here, I’m without one. Instead I just dumped the chocolate into the pot and warmed it up until the chocolate melted. No straining or mess. Very easy. Once it cooled, I spooned it into the cookies and let them rest. I needed to refrigerate them to get the ganache to really set up so I could pack them away.

The verdict? This is absolutely delicious. A good thing.  The cookie tastes very much like a very dense brownie. The ganache is tasty too. One point of contention – the recipe says it makes 90. 90! No way. Given, the recipe says to make each cookie 2 teaspoons, but on the air Martha was using a small little ice cream scooper/melon baller thing, so I used that too. This recipe made maybe 25 cookies for me. They weren’t huge either  -they were just about the right size. If you want more, you’ll need to double the recipe.

Happy birthday to me today!

Martha had Paula Abdul on (in all her non-coherent glory) and made Chocolate Thumbprint Cookies during cookie week (why isn’t every week cookie week in my life?) This recipe is also in December Living. I have to say, I passed right by the recipe in the magazine. It didn’t strike me as anything great. But … Read more

On Martha’s show this week she’s doing a cookie week. Love that – thanks Martha. Tuesday’s show had Rufus Wainwright and the McGarrigle family singers (clueless as to who they are – I’ve heard of him, but not them). Rufus’ mom showed how to make her Ski Biscuit Cookies (while Rufus made it clear he’s never been in a kitchen in his life). These looked so cool on the air. They are long cookies shaped like skis, with a curve at the end like a real ski. I had to give this a try.

What’s weird about the recipe is you make it in a pot! First you cook butter, brown sugar and molasses until it boils. Then you add the dry ingredients (flour, cinnamon, allspice, cloves, ginger and baking soda). This part was very easy and I appreciated being able to make it all in one pot. You chill the mix then roll it out into a rectangle and use a knife to cut out ski shapes.  This part, well, it was slightly more challenging for me. I used the edge of a cutting board to get some straight edges so that was no problem.

The hard part was sizing the skis. The first ones I did seemed a little skinny, so I cut the next ones wider but somehow they then puffed out of control in the oven and I was left with toboggans not skis.

Before you put this in the oven, you’re supposed to use candied ginger and candied dragees to make the design on the cookies for the thingie that holds on the boot. They ran out of time on the show and didn’t really show what this was supposed to look like. I am not a skier (please, do not make me dredge up very disturbing memories of a bunny slope and an instructor shouting at me to snowplow) so I didn’t really know what to do here.

The results

The results

Once decorated, you then bake the cookies, taking your silicone lining and pulling it up so it curves up at the edge of the pan – this makes the skis curve. That worked well. The recipe didn’t make a whole heck of a lot.

They taste like gingerbread. Here’s a little confession though- I tasted the dough and it didn’t seem sweet enough to me, so I added some more brown sugar. They’re very thin and crisp (I am more of a moist gingerbread gal). Mr. MarthaAndMe is loving these though, so they will certainly be enjoyed.

I’m a little worried about the curved ends breaking off while in storage – they seem brittle to me. If I give any of these away, I think I am going to take two and cross them in an X and then tie some ribbon around the middle. I’m worried no one will know these are skis otherwise!

On Martha’s show this week she’s doing a cookie week. Love that – thanks Martha. Tuesday’s show had Rufus Wainwright and the McGarrigle family singers (clueless as to who they are – I’ve heard of him, but not them). Rufus’ mom showed how to make her Ski Biscuit Cookies (while Rufus made it clear he’s … Read more

Winter Bark

Posted by Brette in Food

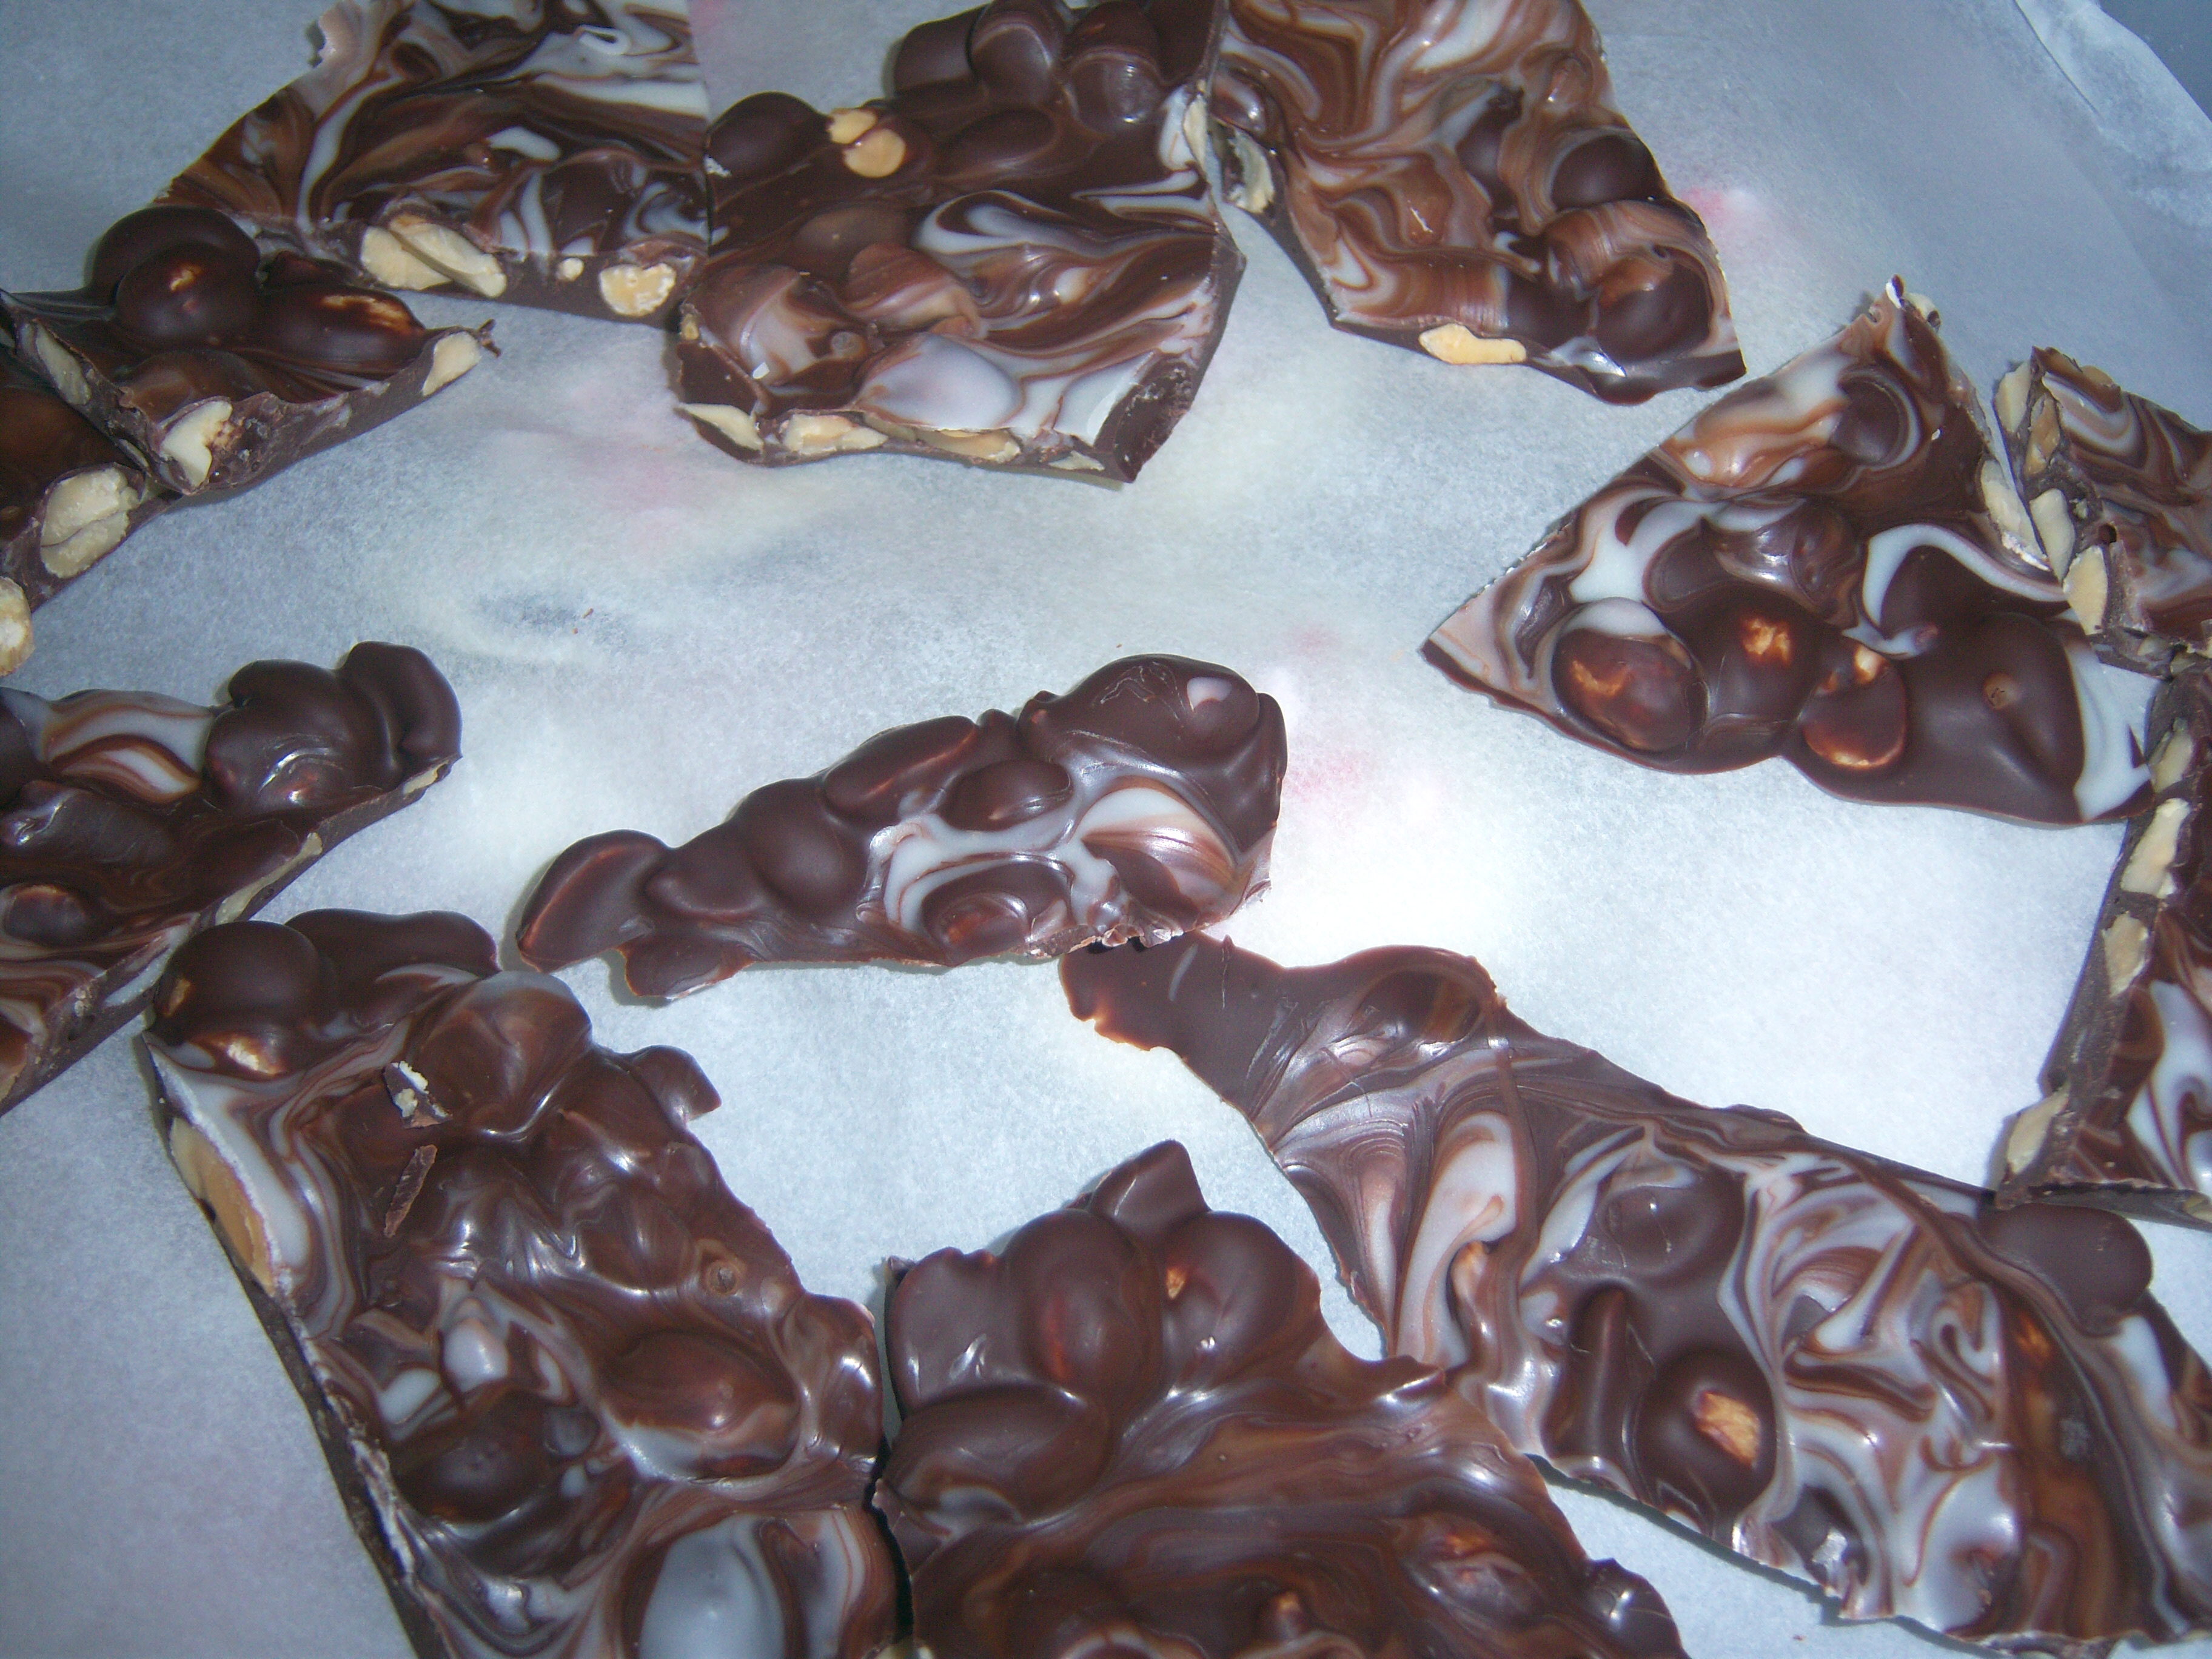
I’m a candymaking machine (which only makes me think of that famous I Love Lucy episode in the candy factory). I made Martha’s Winter Bark from page 228 of the December Living.

Ready to swirl

Ready to swirl

If you’re afraid of candymaking, this is a recipe for you. You melt bittersweet chocolate and white chocolate. Martha says to use a double boiler, but being a gal of the modern age, I used the microwave ( I am just so cutting edge). Then you mix some peanuts in the bittersweet chocolate and dump it out on a piece of waxed paper or parchment on a baking sheet. Then drop glops of the white chocolate over it and swirl it with a skewer or cake tester. Let it cool

Swirled

Swirled

then break it into pieces. Super, super simple. It tastes pretty good. Nothing incredibly exciting, but good. Next time, I would use almonds instead of peanuts. This candy is really pretty and makes a nice gift.

I’ve also made two other candy recipes recently. One is called

Open up...

Open up...

Opera Fudge, and is something I saw on Martha last year. I don’t have any photos to post from this because my hands were coated in candy throughout the process. Basically you cook the candy to soft ball stage, pour it out and let it cool. Then you plop your butt in a comfy chair, in front of a tv show which you do not want to change the channel of (because you’re not going to be able to change it), and you knead the candy for about half an hour. At one point I became a little panicked. I was home alone and all I could think of was the house starting on fire and me being unable to open the door to get out because my hands were coated in a huge, horrible, nasty sticky mess.

It was truly weird though. Just when you reach that panicked point where you think the candy has come to life and is going to eat you alive, it gets warm and morphs into a ball and is no longer sticky at all. Very, very strange. Then you make balls and dip it in chocolate. The consensus here was that it tasted good but was not worth all the effort.

I’m a candymaking machine (which only makes me think of that famous I Love Lucy episode in the candy factory). I made Martha’s Winter Bark from page 228 of the December Living. If you’re afraid of candymaking, this is a recipe for you. You melt bittersweet chocolate and white chocolate. Martha says to use a … Read more

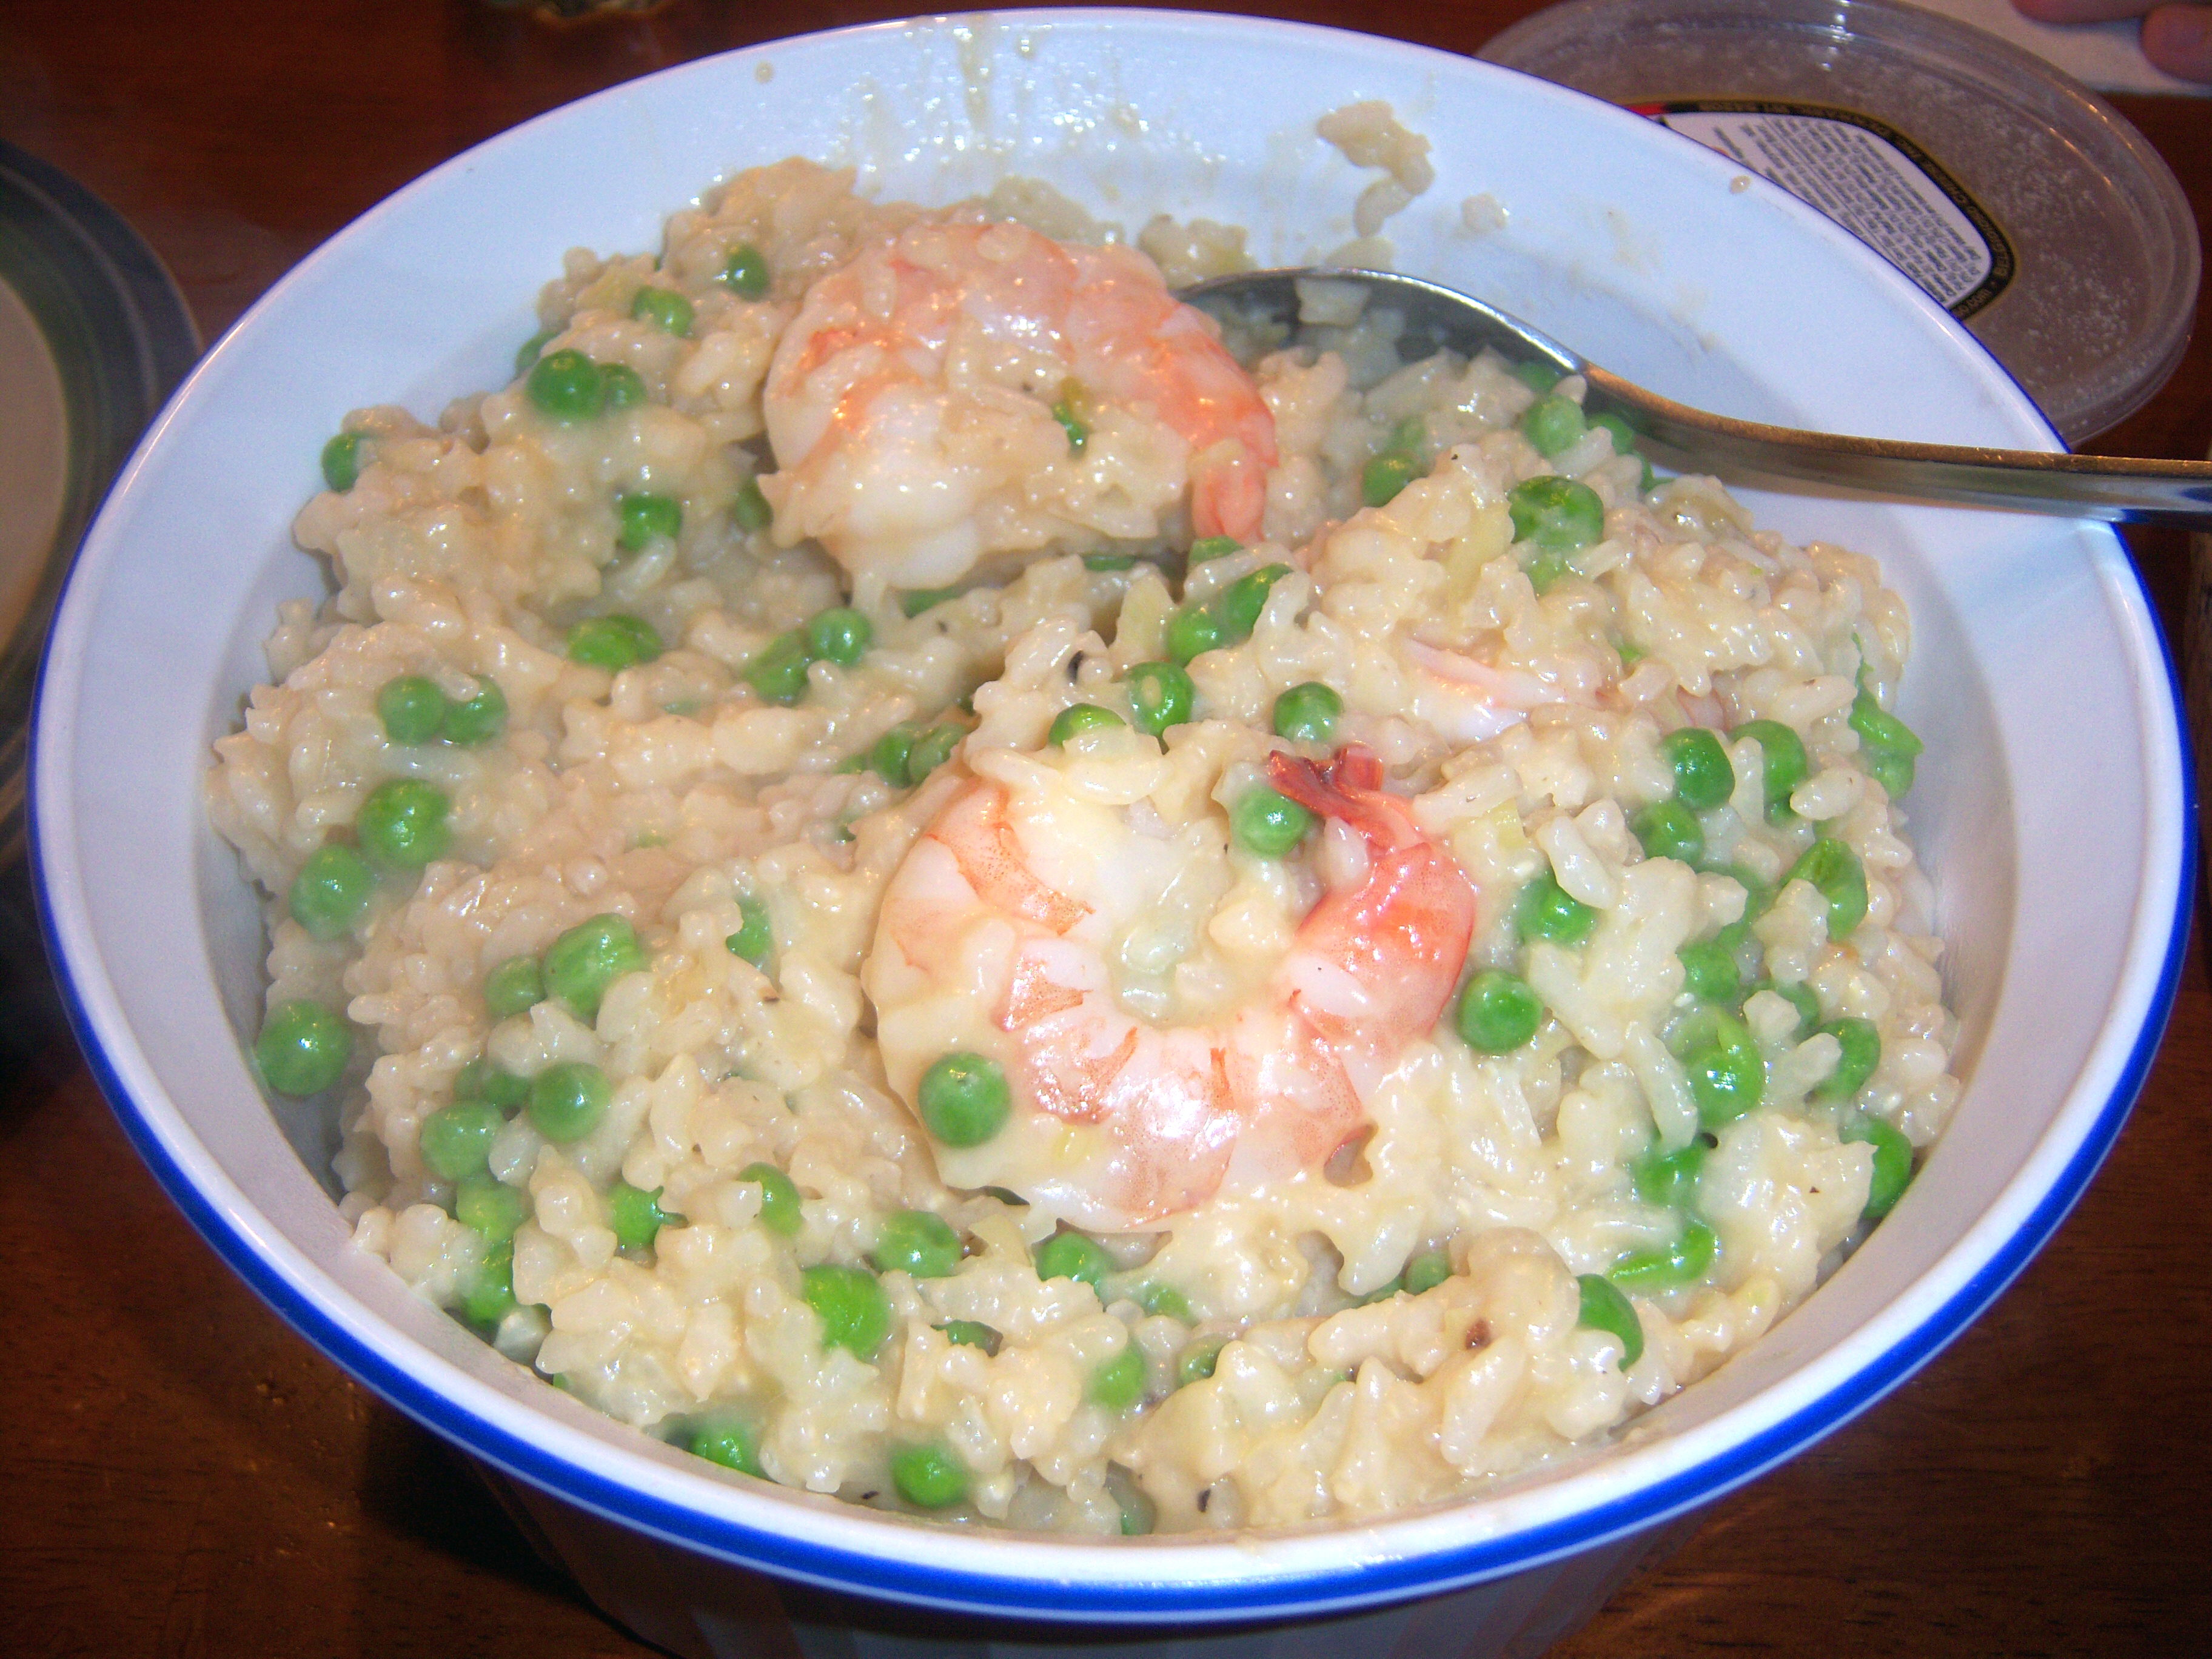
In the special Holiday Season’s Eatings issue (p.77), Martha has a recipe for risotto with shrimp and green peas. This sounded like a great weekday meal, so I gave it a try. It seemed very Martha to make something that sounds so elegant and restaurant worthy.

I am a fan of risotto. Risotto is arborio rice, a type of rice that absorbs liquid and becomes creamy. Some people think it is too time consuming, but I find it to be relaxing to make somehow. Usually I make mine plain (just cheese) or I make this absolutely fab butternut squash risotto (it starts with pancetta, then once you have the risotto made, you add roasted butternut squash and pieces of fontina cheese and thyme. OMG – it’s making me hungry to type this).

Garlic and leaks

Garlic and leaks

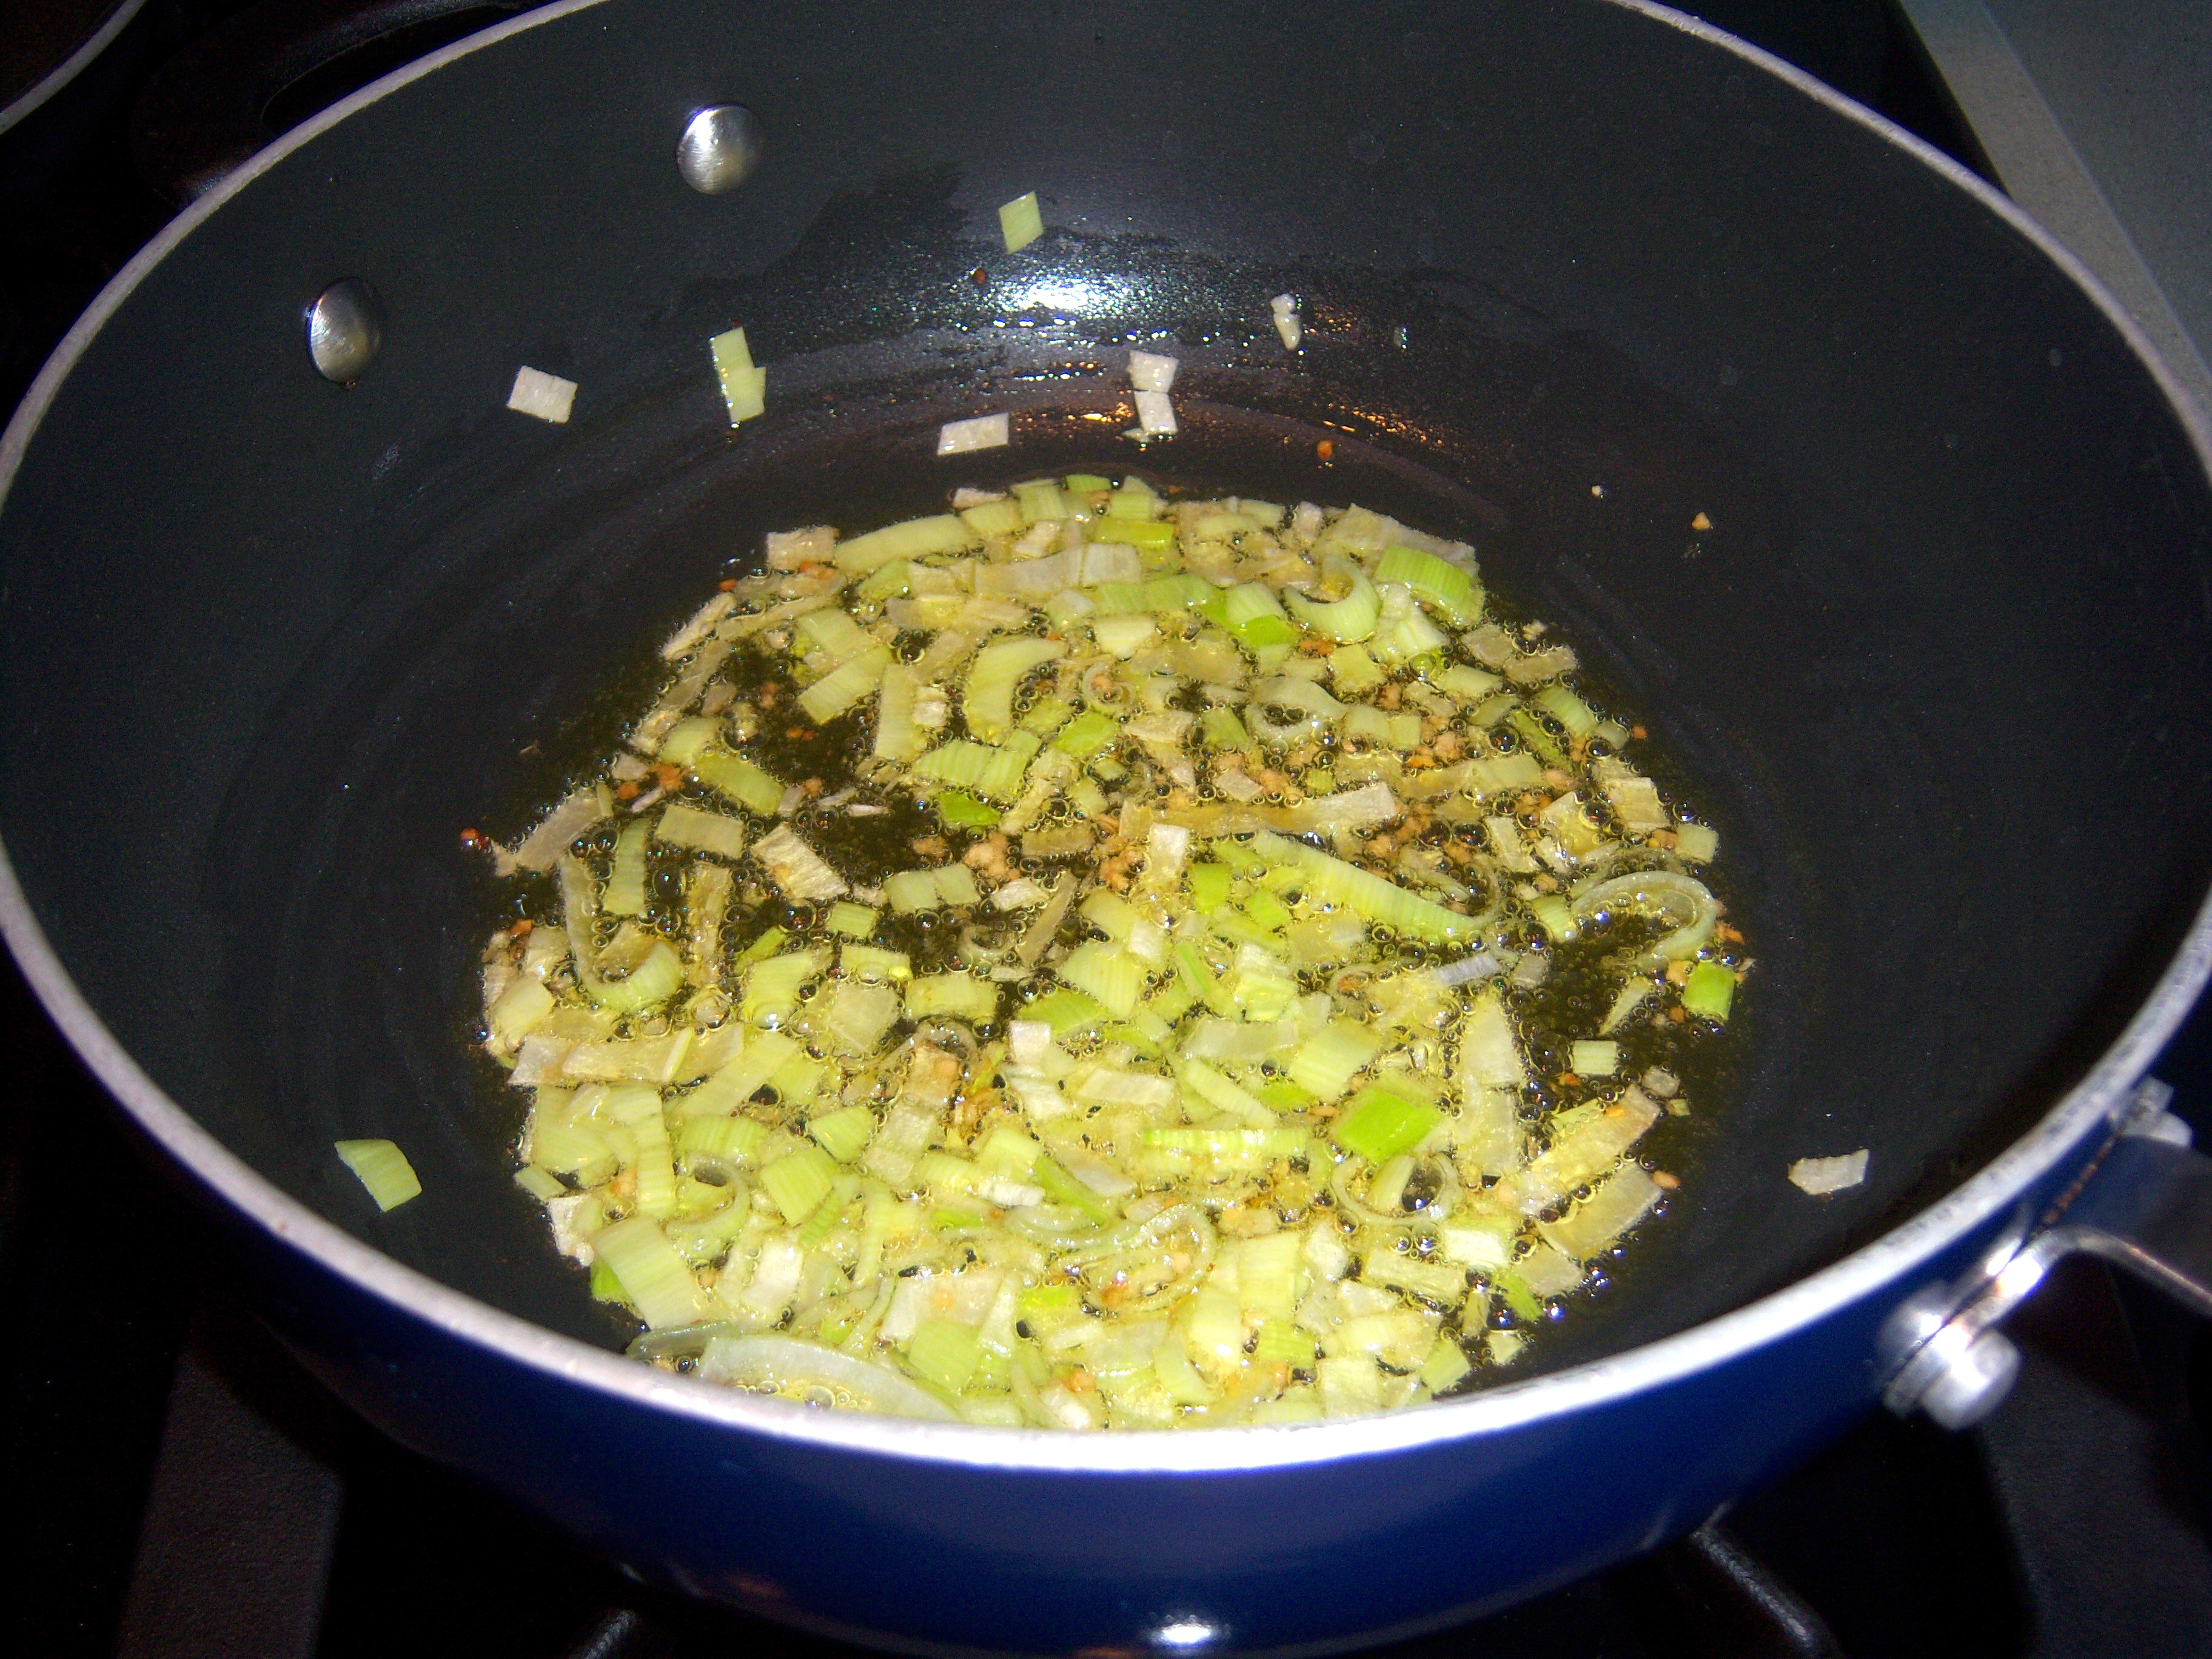
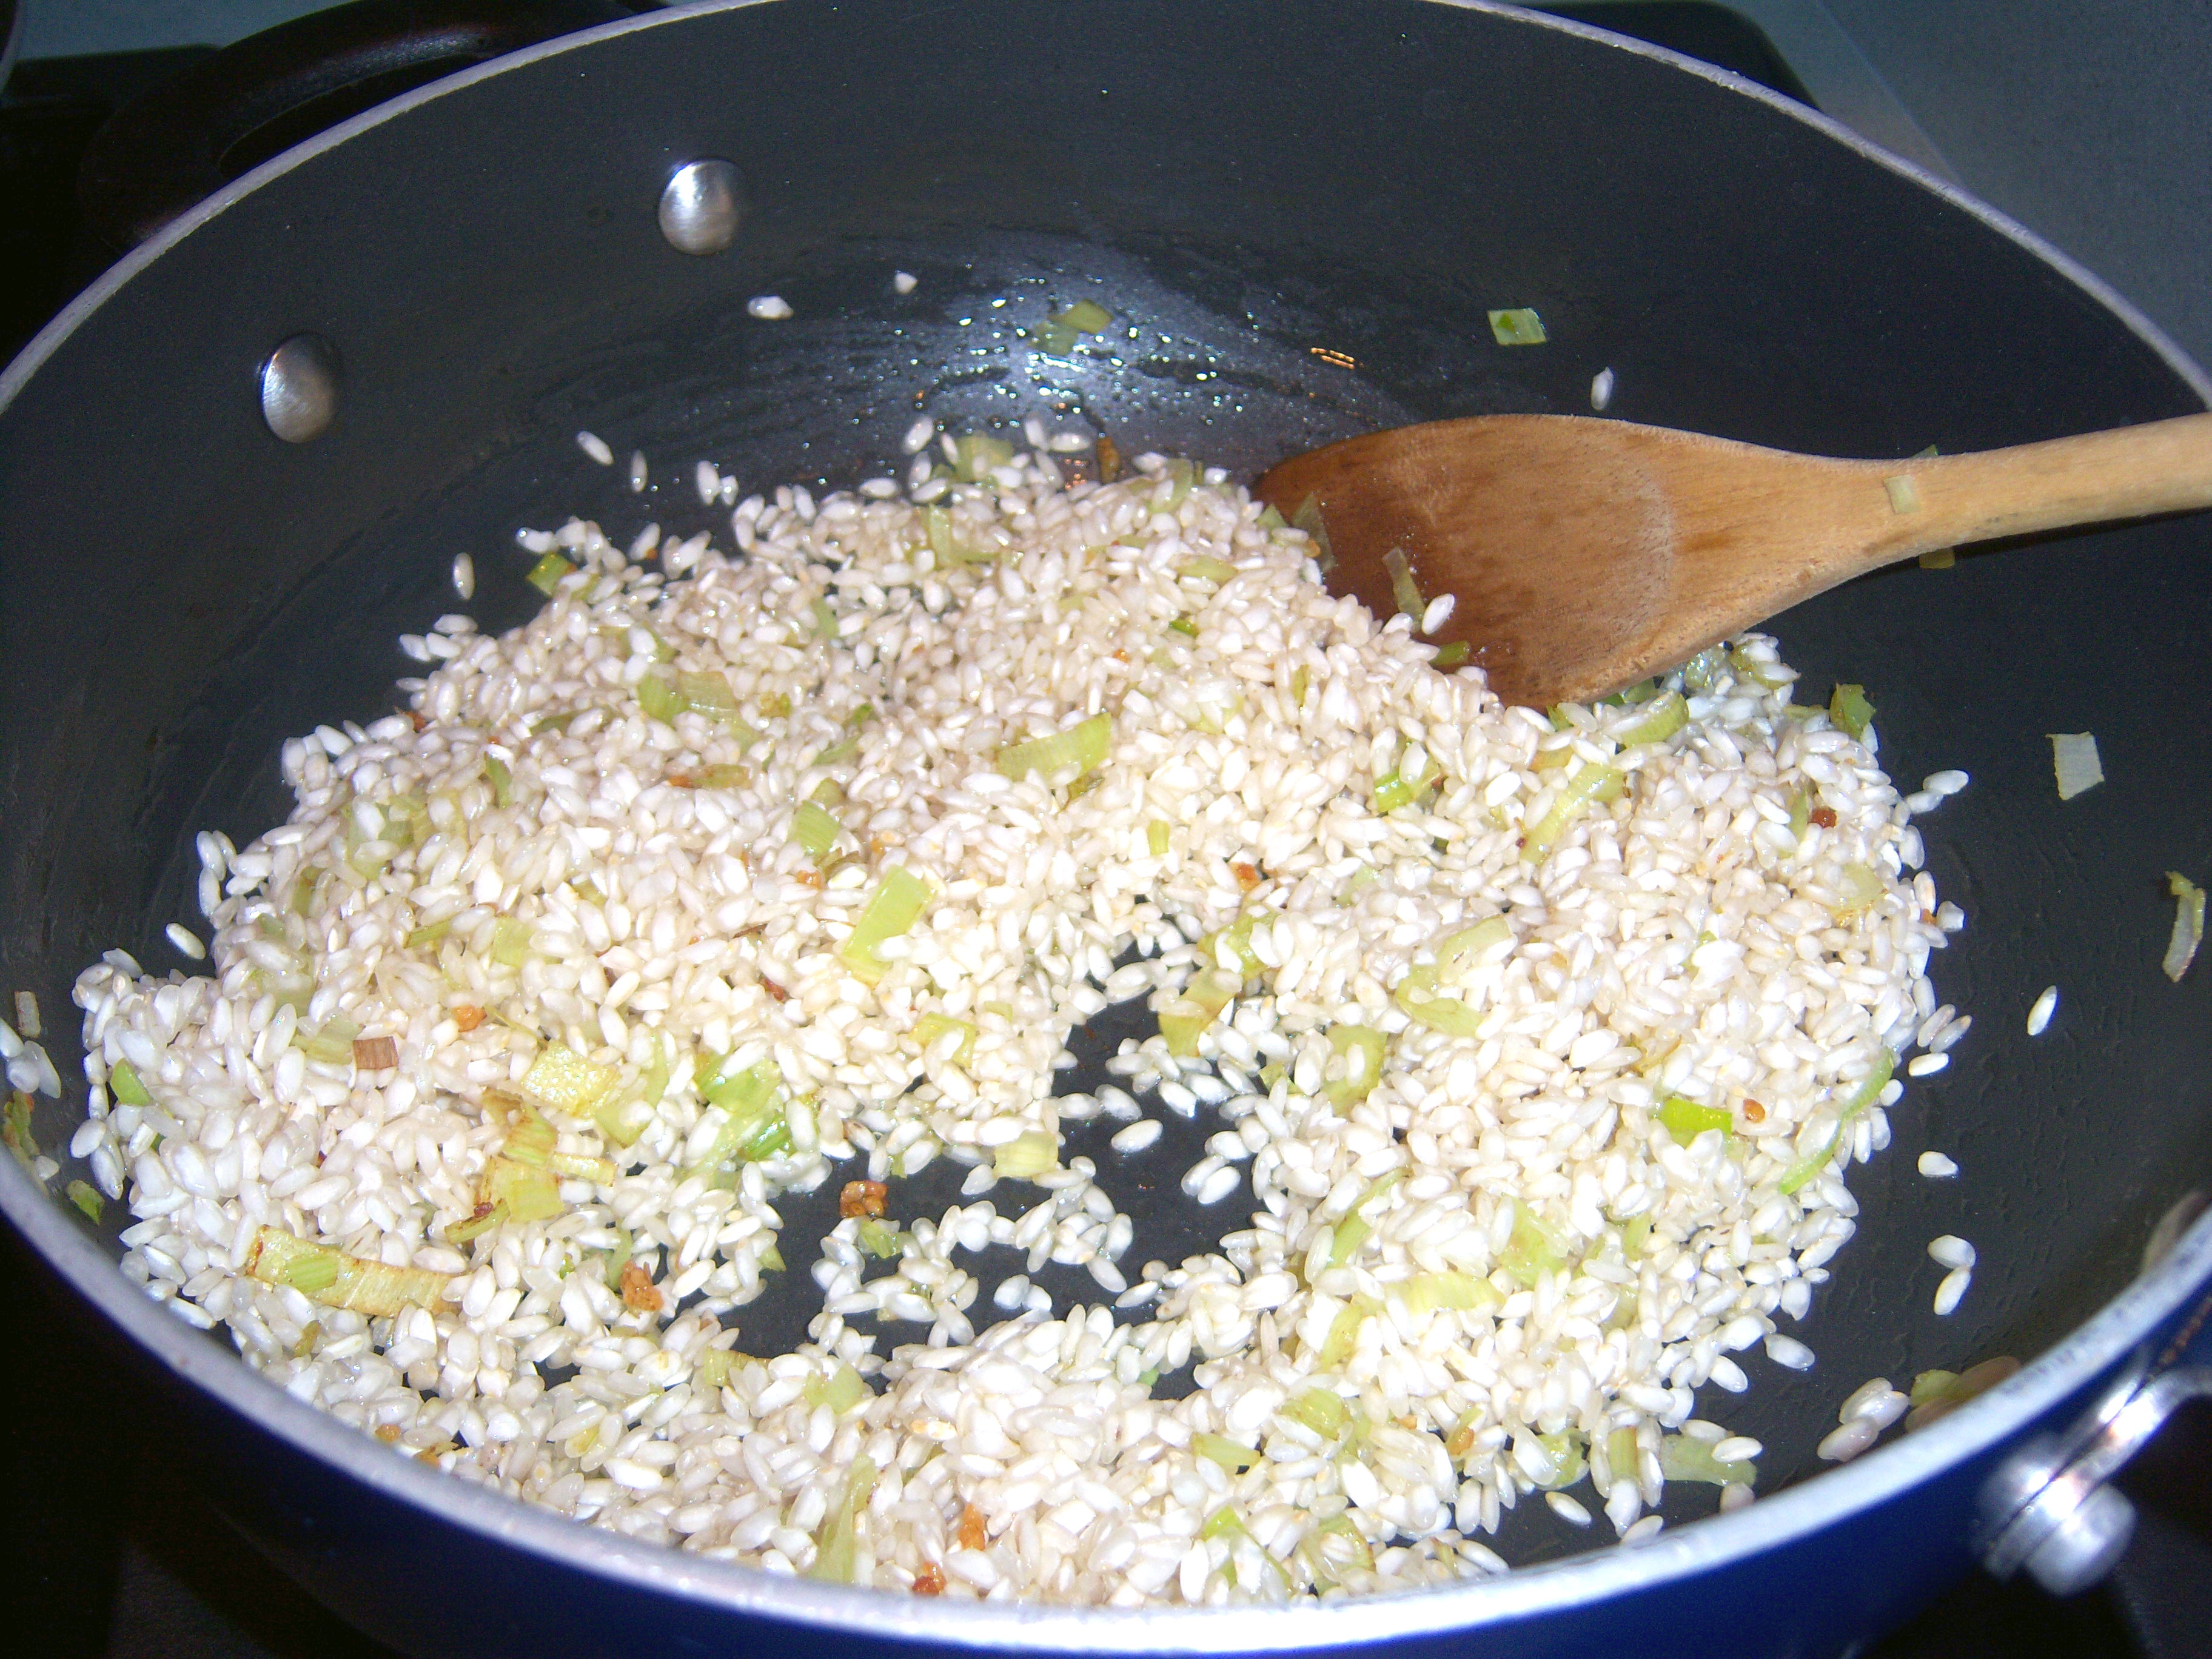
Martha’s risotto has you start off with oil and garlic, and then some chopped leeks. When I make risotto, I usually use chopped onion, no garlic. Next, you add your rice and get it coated in the oil (I know there is a reason for this, but I don’t know what it is).

Add the rice

Add the rice

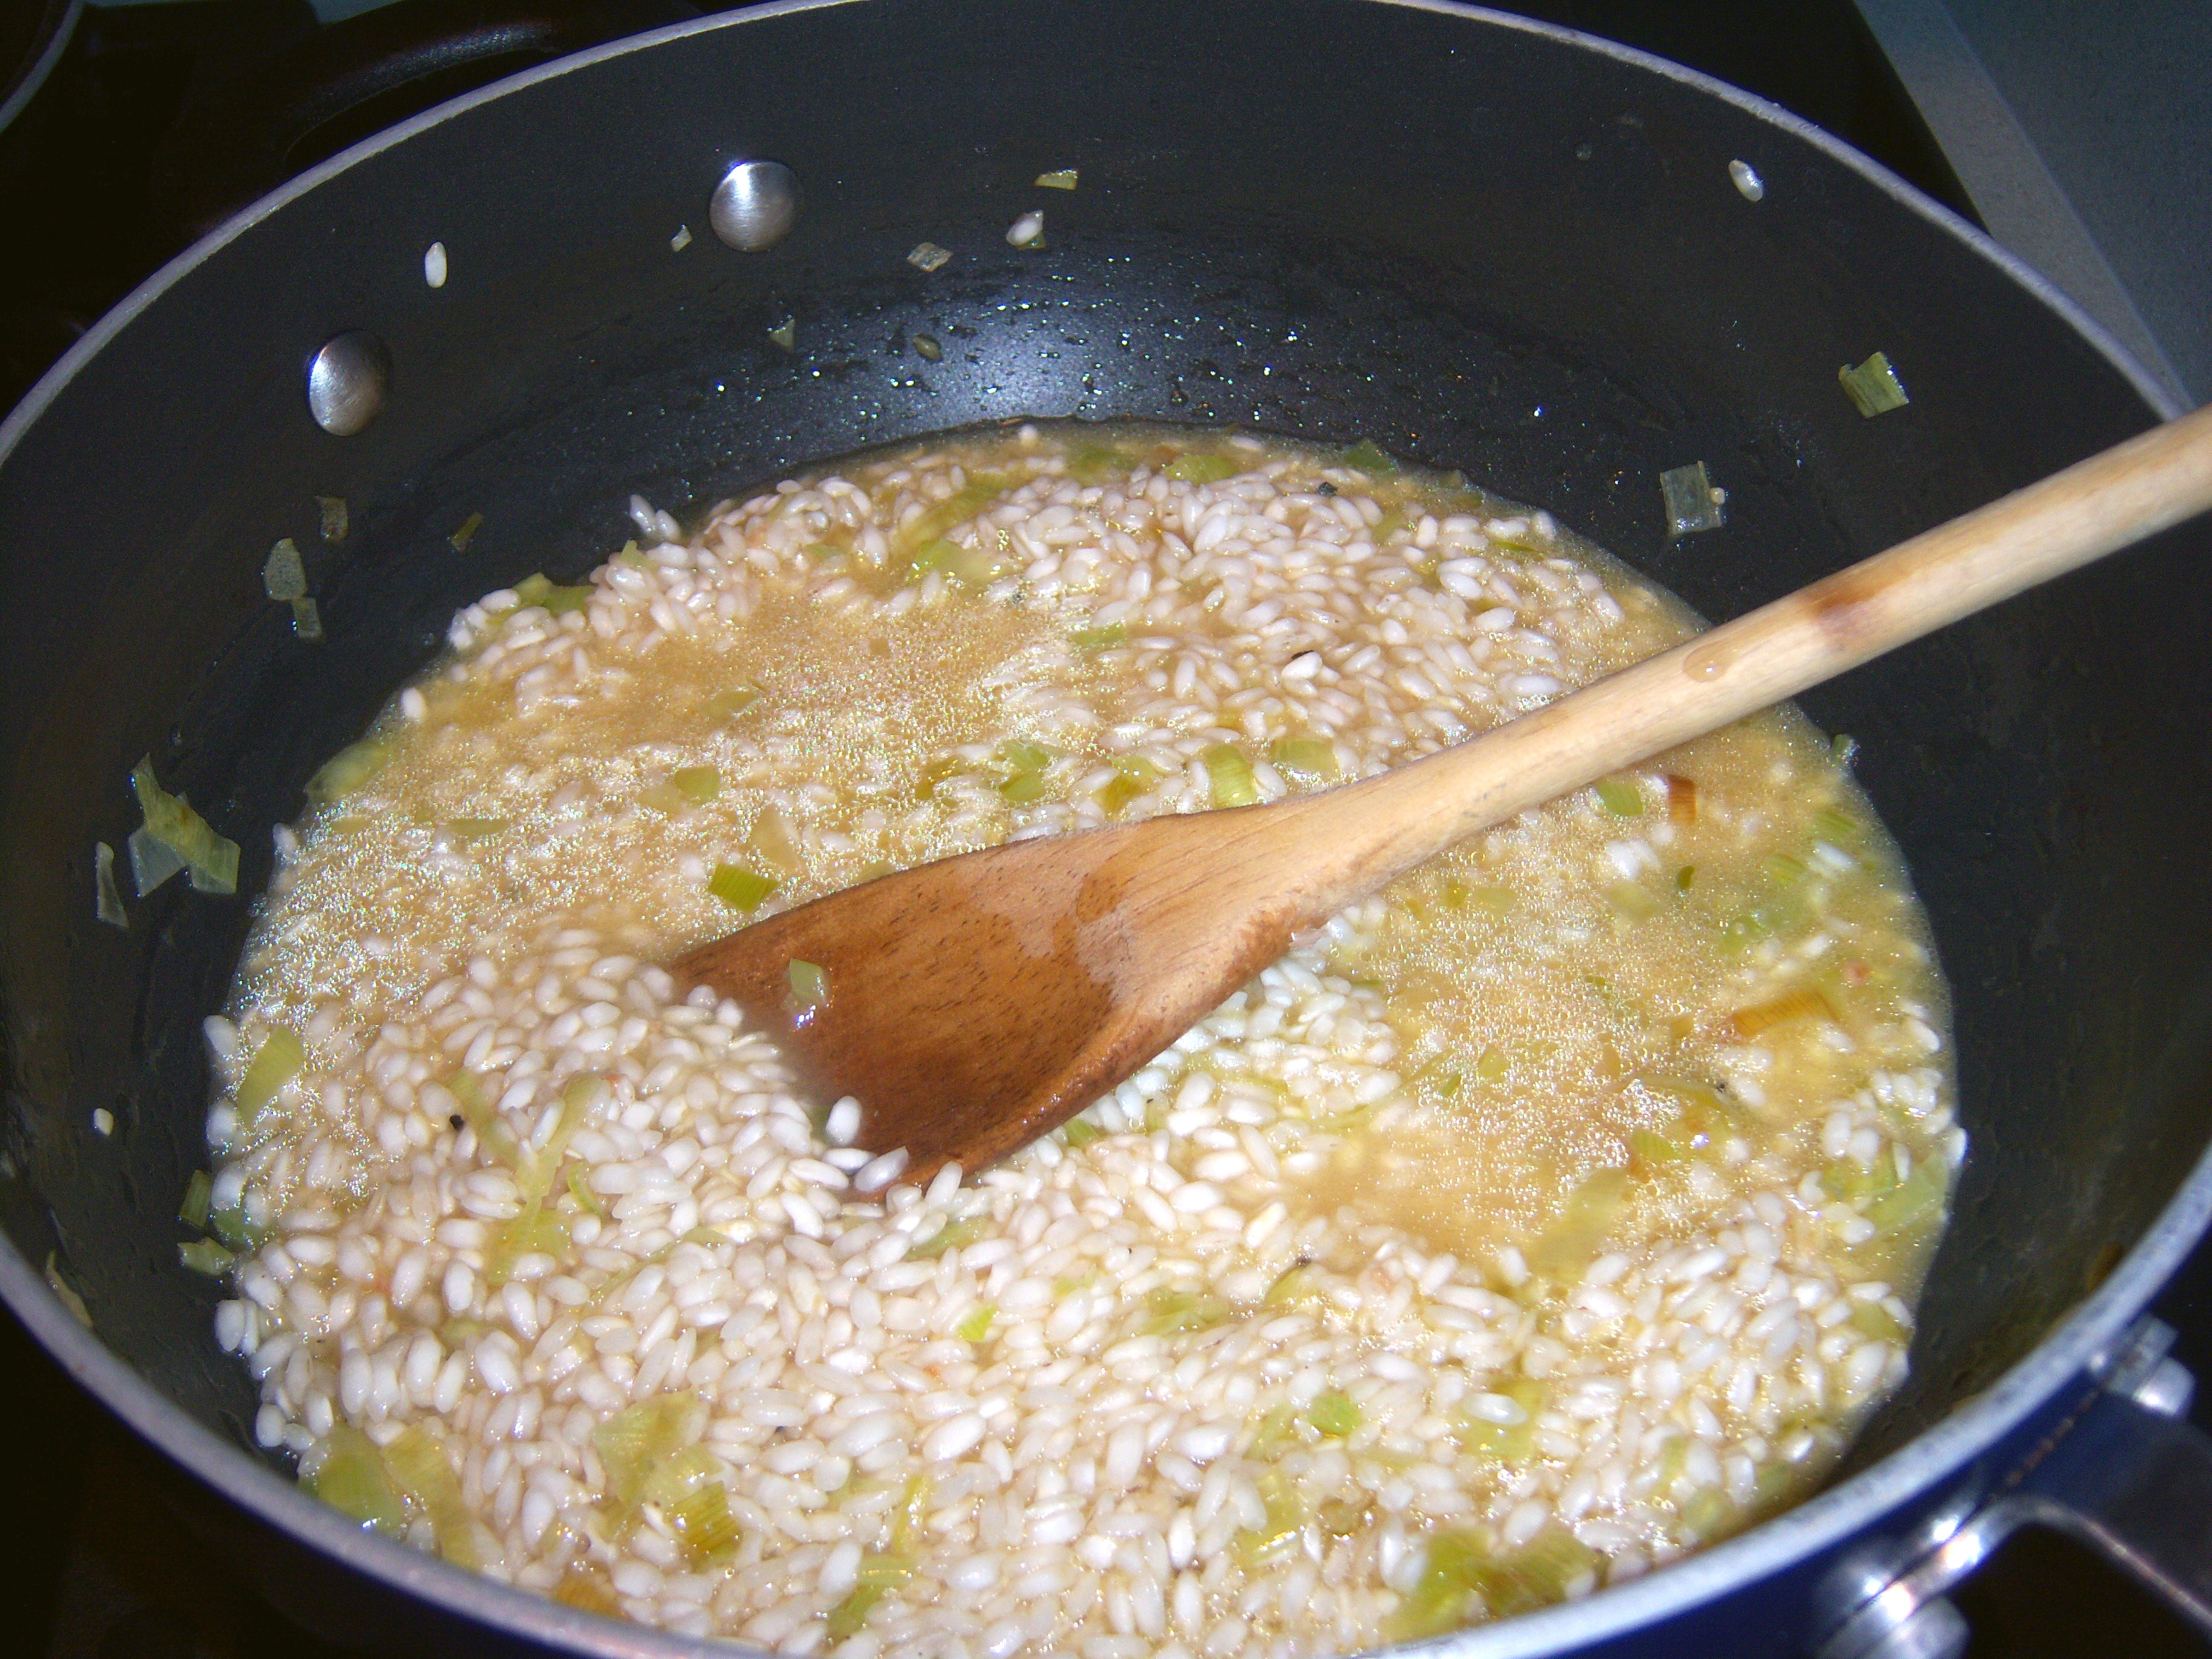
The thing about risotto is that it is like a needy child. You must be prepared to give it ongoing attention. You’ve got to on standby for when it needs you. You gradually add a little broth and stir and wait for it to be absorbed, then you add a little more. You go on this way for half an hour or 45 minutes.

Martha wanted me to use clam juice. I didn’t have any so I

The liquidity event

The liquidity event

went with chicken broth and water. I did add lemon juice as she directed.

You just make this like a regular risotto until the end. Once you’ve got the rice to a nice texture – soft and creamy but not too gooey and all the liquid is absorbed, you toss in your shrimp and peas and stir it until they cook. The nice thing about shrimp and peas is that they cook very quickly.

I did add parmesan cheese (also known as nectar of the gods) to this.

Byoo-tee-full

Byoo-tee-full

Martha’s recipe didn’t have cheese and that is a crime against nature.

This dish turned out nicely. It was easy to make and does make a colorful, pretty dish. It’s definitely fancier than serving plain rice or plain risotto.

If you’re afraid of risotto, don’t be. It’s really hard to mess it up. You just gradually keep adding liquid until you get to the texture you want. It’s very forgiving. If you add too much liquid, just cook it a little longer.

This recipe is a good thing!

In the special Holiday Season’s Eatings issue (p.77), Martha has a recipe for risotto with shrimp and green peas. This sounded like a great weekday meal, so I gave it a try. It seemed very Martha to make something that sounds so elegant and restaurant worthy. I am a fan of risotto. Risotto is arborio … Read more

I’ve decided to give some candy as gifts this year. I’m using some of Martha’s recipes for this endeavor.

On page 226 of December Living is a recipe for Penuche Fudge. I had never heard of this fudge, but it sounded good.

This was a very easy recipe. I boiled evaporated milk, brown sugar, white sugar, butter and salt. It has to get to 236 degrees on a candy thermometer. Fortunately, I have one. I’ve even made candy before, so I wasn’t as terrified as I might have been if this was all new to me.

I always forget how long it takes for candy to reach the right temp. You can be cruising right along up to 200 degrees and then it will take what seem like an hour to crawl up to that soft ball stage.

Fudge mix

Fudge mix

Once the candy reached the right temp, you mix in powdered sugar for about 4 minutes until it is smooth. Then you add vanilla and nuts (I used pecan instead of walnuts) and pour into a loaf pan.

Very simple, very nice. The candy tastes good. It’s got a caramel flavor and because it is fudge, it is not hard to chew. I would say it is good, but not great.

Cooling

Cooling

If you want a fab candy, I’ve got an amazing one for you. The December issue of Paula Deen’s mag has a recipe for a Kit Kat bar that is awesome! It’s made with crackers and is really simple.

I want candy...

I want candy...

I’ve decided to give some candy as gifts this year. I’m using some of Martha’s recipes for this endeavor. On page 226 of December Living is a recipe for Penuche Fudge. I had never heard of this fudge, but it sounded good. This was a very easy recipe. I boiled evaporated milk, brown sugar, white … Read more

On the latest cooking school, Martha and Sarah made a jellyroll, also called a genoise. I’ve heard of both of these terms, but didn’t really know what they meant. This is, essentially, a very thin cake that is rolled with filling inside it.

Now, before we dive in here, if I could take a moment to vent. Are there not more important skills one needs to know as a cook? I’m not sure this cake that no one has heard of would go to the top of my list. My other vent: It’s DECEMBER. Everyone is inundated with holiday cookies and candy. Who on earth wants to focus on learning a dessert that is not holiday related right now? Maybe a lesson on gravy or seafood would be helpful right now.

That being said, I geared up to make my first jellyroll. The key to this cake, says Martha, is the eggs. There is no other leavening, so you have to rely on the eggs to puff your cake.
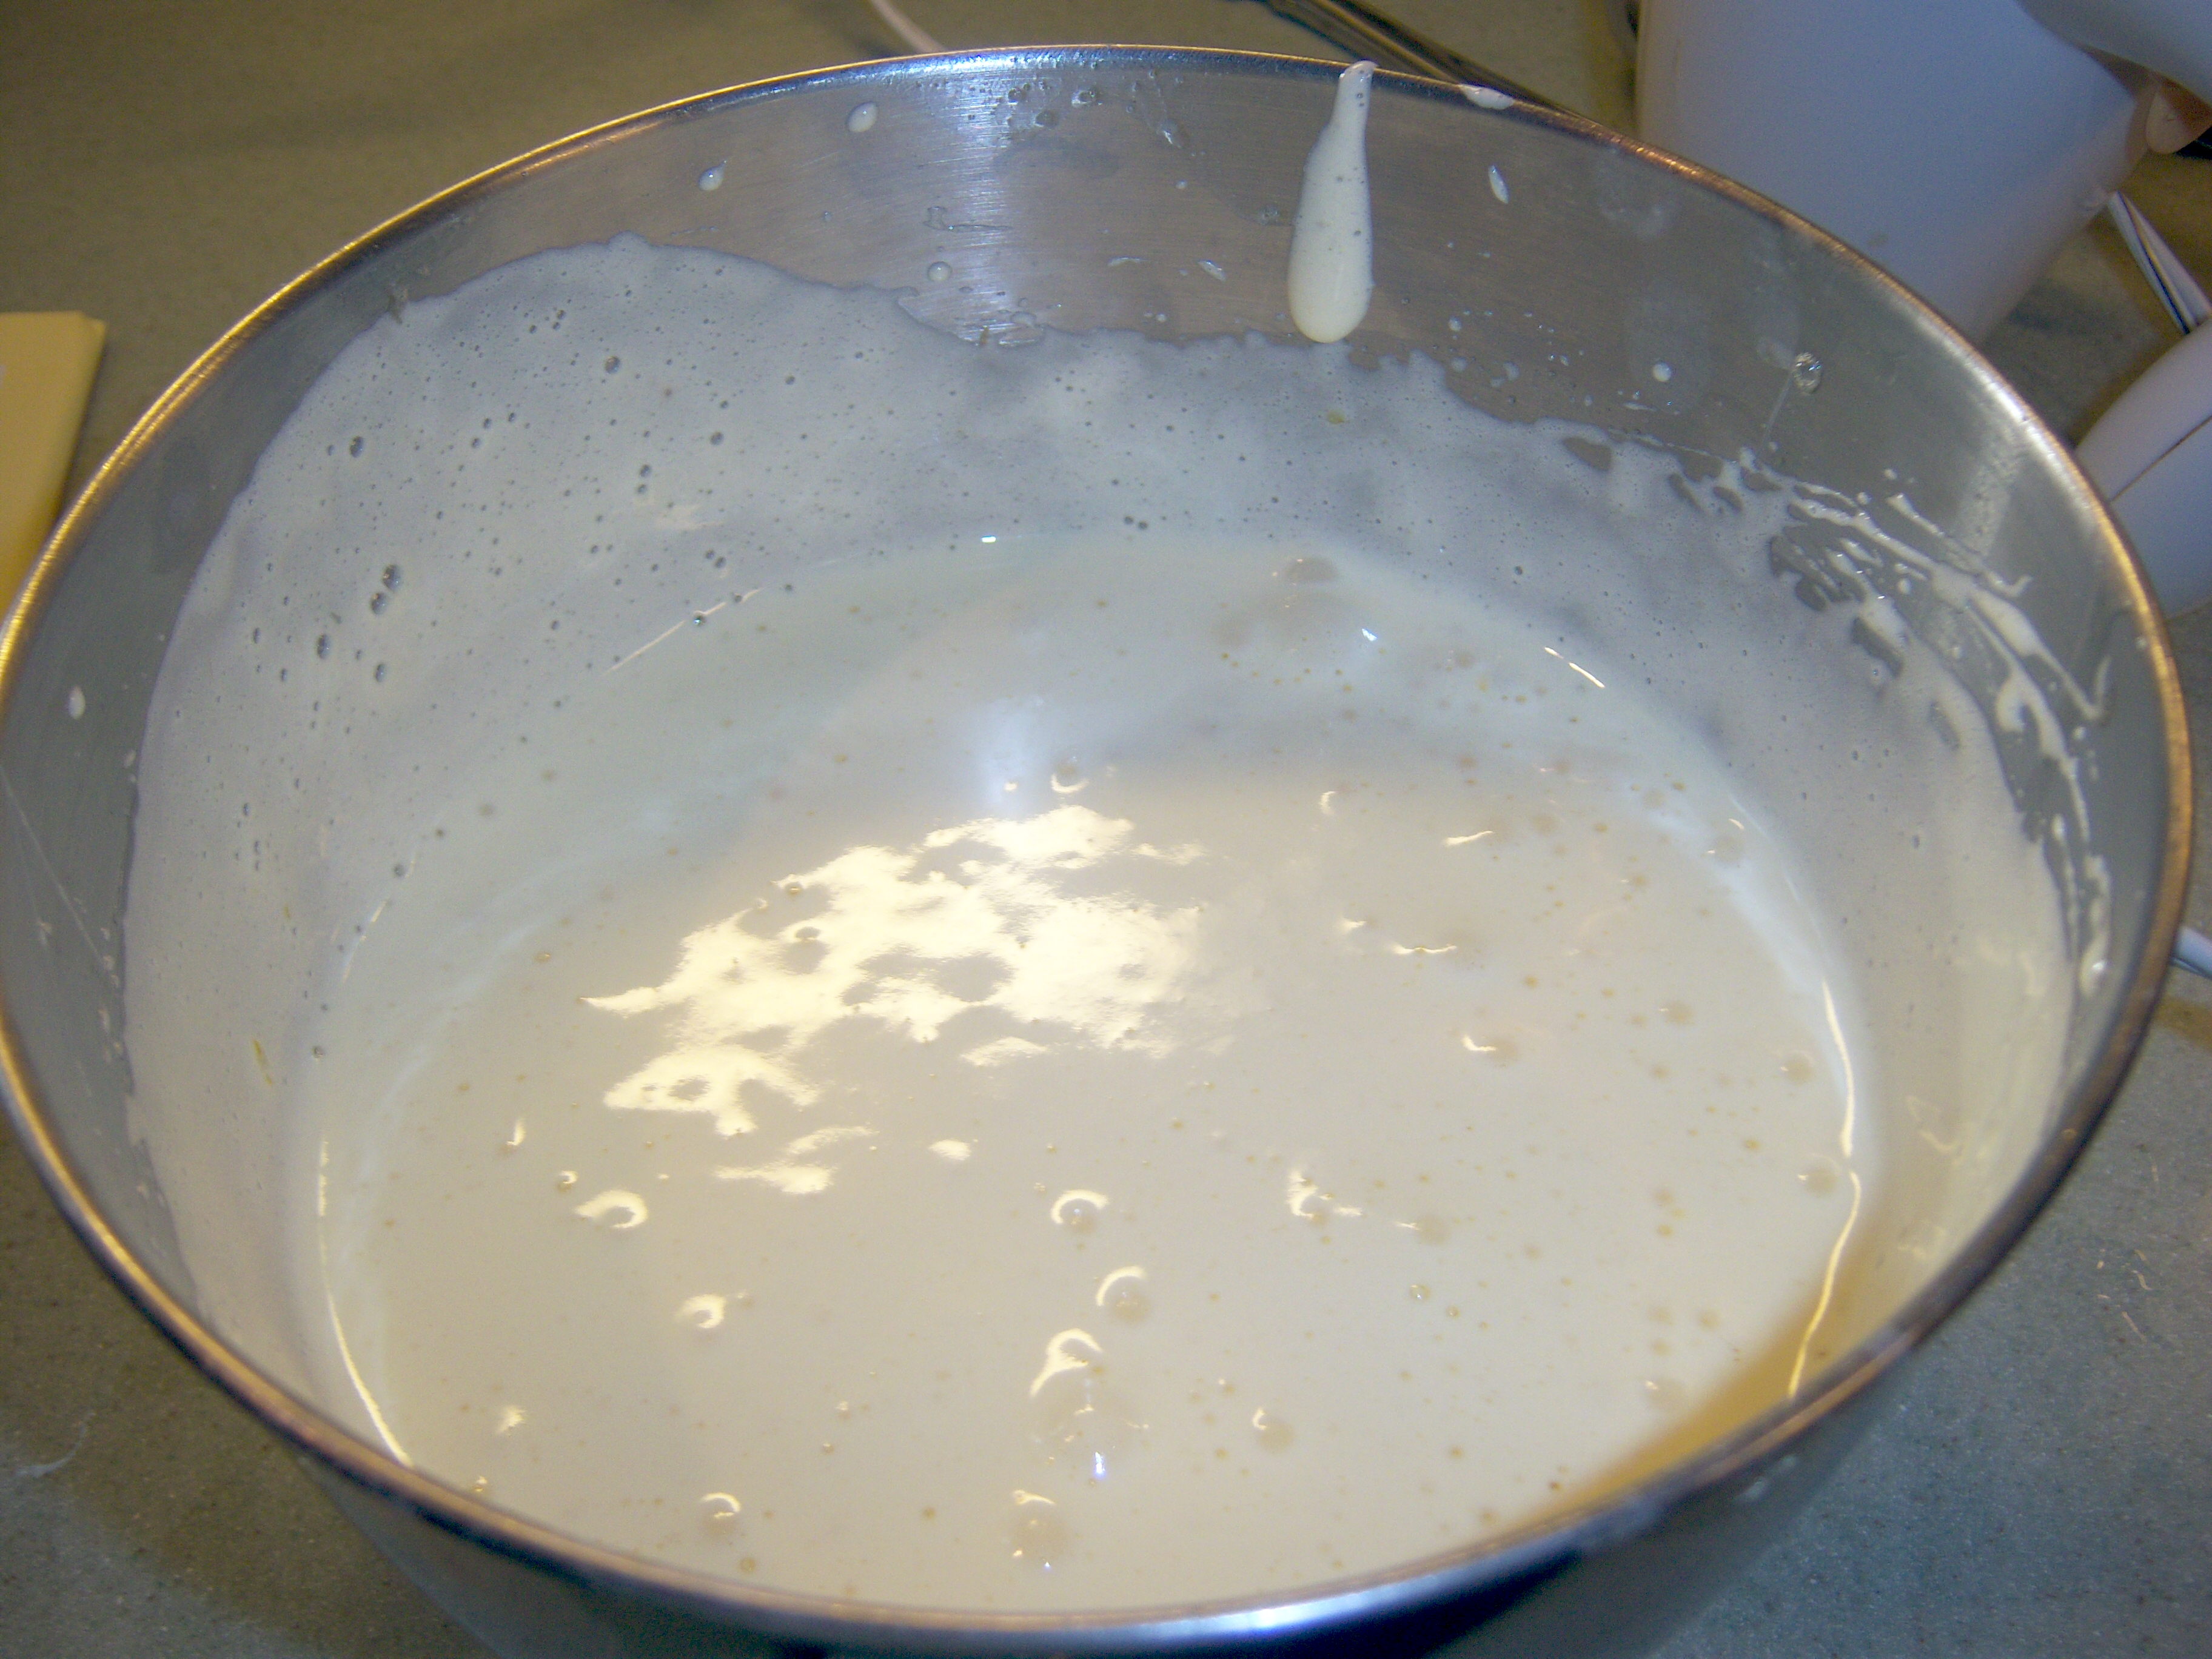
Beaten eggs

Beaten eggs

The first step is to cook the eggs and sugar over hot water until the sugar dissolves and the mixture is warm. I whisked it and it quickly came up to temperature. Next step, you beat the heck out of the eggs. It takes a few minutes but they turn almost white and increase in volume. They get very thick, like cake batter. It was actually an interesting transformation to watch.

After you’ve got your eggs ready, you sift in the dry ingredients. This cake

Dry ingredients sifted in

Dry ingredients sifted in

actually has almost nothing in it – eggs, sugar, flour, butter,  and cocoa powder (I was making the chocolate).  Once they’re in the bowl, you fold them in carefully. The trick is to keep your eggs inflated. I was a little worried here – my batter did deflate significantly once I

Completely folded

Completely folded

had it all folded in.  Once you’ve got it folded, you drizzle your melted butter down the sides of the bowl and fold that in too.

Then you pour your batter into a baking sheet that has parchment paper (sprinkled with cocoa powder) in it. I had some trouble getting the batter to spread. It was rubbery and didn’t want to smooth out. Finally I had it ready for the oven. this cooks

Ready for the oven

Ready for the oven

very, very quickly – 6 minutes in a 450 degree oven.

Once it’s done, you let it cool slightly in the pan.  While it’s still warm, you upend it onto a towel that is coated with cocoa powder. This seemed very, very weird to do (put a cake on a towel), but I did it.

My towel at the ready

My towel at the ready

Once you’ve got it on the towel, you cover it with parchment and roll it up. Martha says this will give the cake some memory of the rolling, so it will be easier to roll with the filling. You let it sit, rolled up, until it is cool. I was afraid rolling it was going to be hard, but it wasn’t.

The rolled jellyroll

The rolled jellyroll

The next step is to unroll it once it’s cool. I did this and discovered the end of my jellyroll had broken right off. Eek!

Jellyroll SOS

Jellyroll SOS

I forged ahead though. First I put strawberry jam on the roll. Martha says to put a rum mixture on the chocolate jellyroll, but I’m not into rum.  The recipe for the white jellyroll uses jam, so that’s what I did.  My jam had big hunks of strawberry in it. I think I would pick those out next time – the lumps didn’t work out so well. Next I made whipped cream and smoothed that on.

Sarah Carey cautions to keep your filling 1/4 of an inch away from the sides. Good advice, I think. Otherwise it will all smoosh out the sides.

The filling

The filling

The next step is to roll it back up. I tucked the broken edge into the inside. It rolled up pretty easily. Some whipped cream did smoosh out at the very end. Martha says to wrap it back up in your towel and clip it so it will stay tight. You refrigerate this for half an hour to three hours. I recommend going closer to three hours to really get it set nicely. I was afraid it was all going to unroll when I took it out, but it didn’t.

I really recommend you trim the ends of the roll before serving. As you can see in the photo, it looks a little messy and not so pretty on the ends.

I was worried that it would be hard to slice – that it would smoosh all over when you cut it. No problems there either. The slices came off very nicely. The roll is very firm and simple to slice.

Plate o' happiness

Plate o' happiness

What a pretty dessert this is! I loved the pink jam next to the white cream. It looked like a Ho-Ho. How’d it taste? Yummy! I thought it was going to be dry – the cake did seem a little dry when I was rolling it. The jam and cream really soak in and soften it. You get a wonderful mouthful of chocolate, cream and jam and my, oh, my it was heavenly. It feels very light, so you don’t feel like you just ate a big, heavy piece of cake.

Martha – I am sorry I doubted you on this! Why don’t more people make this dessert? It’s wonderful. It wasn’t really all that hard to make at all. Getting the eggs right was intimidating, but I really think anyone can do it.

If Martha had provided instructions on how to make this into a buche de noel, I would have done that (and that would have been seasonal), but she didn’t. It’s just as well – fooling with meringue would have sent me over the top.

The finished roll

The finished roll

On the latest cooking school, Martha and Sarah made a jellyroll, also called a genoise. I’ve heard of both of these terms, but didn’t really know what they meant. This is, essentially, a very thin cake that is rolled with filling inside it. Now, before we dive in here, if I could take a moment … Read more

This month’s cookie from Living is a Chocolate Peppermint cookie. These looked gorgeous in the mag – covered in white chocolate and sprinkled with crumbled peppermint candy.

The Dough

The Dough

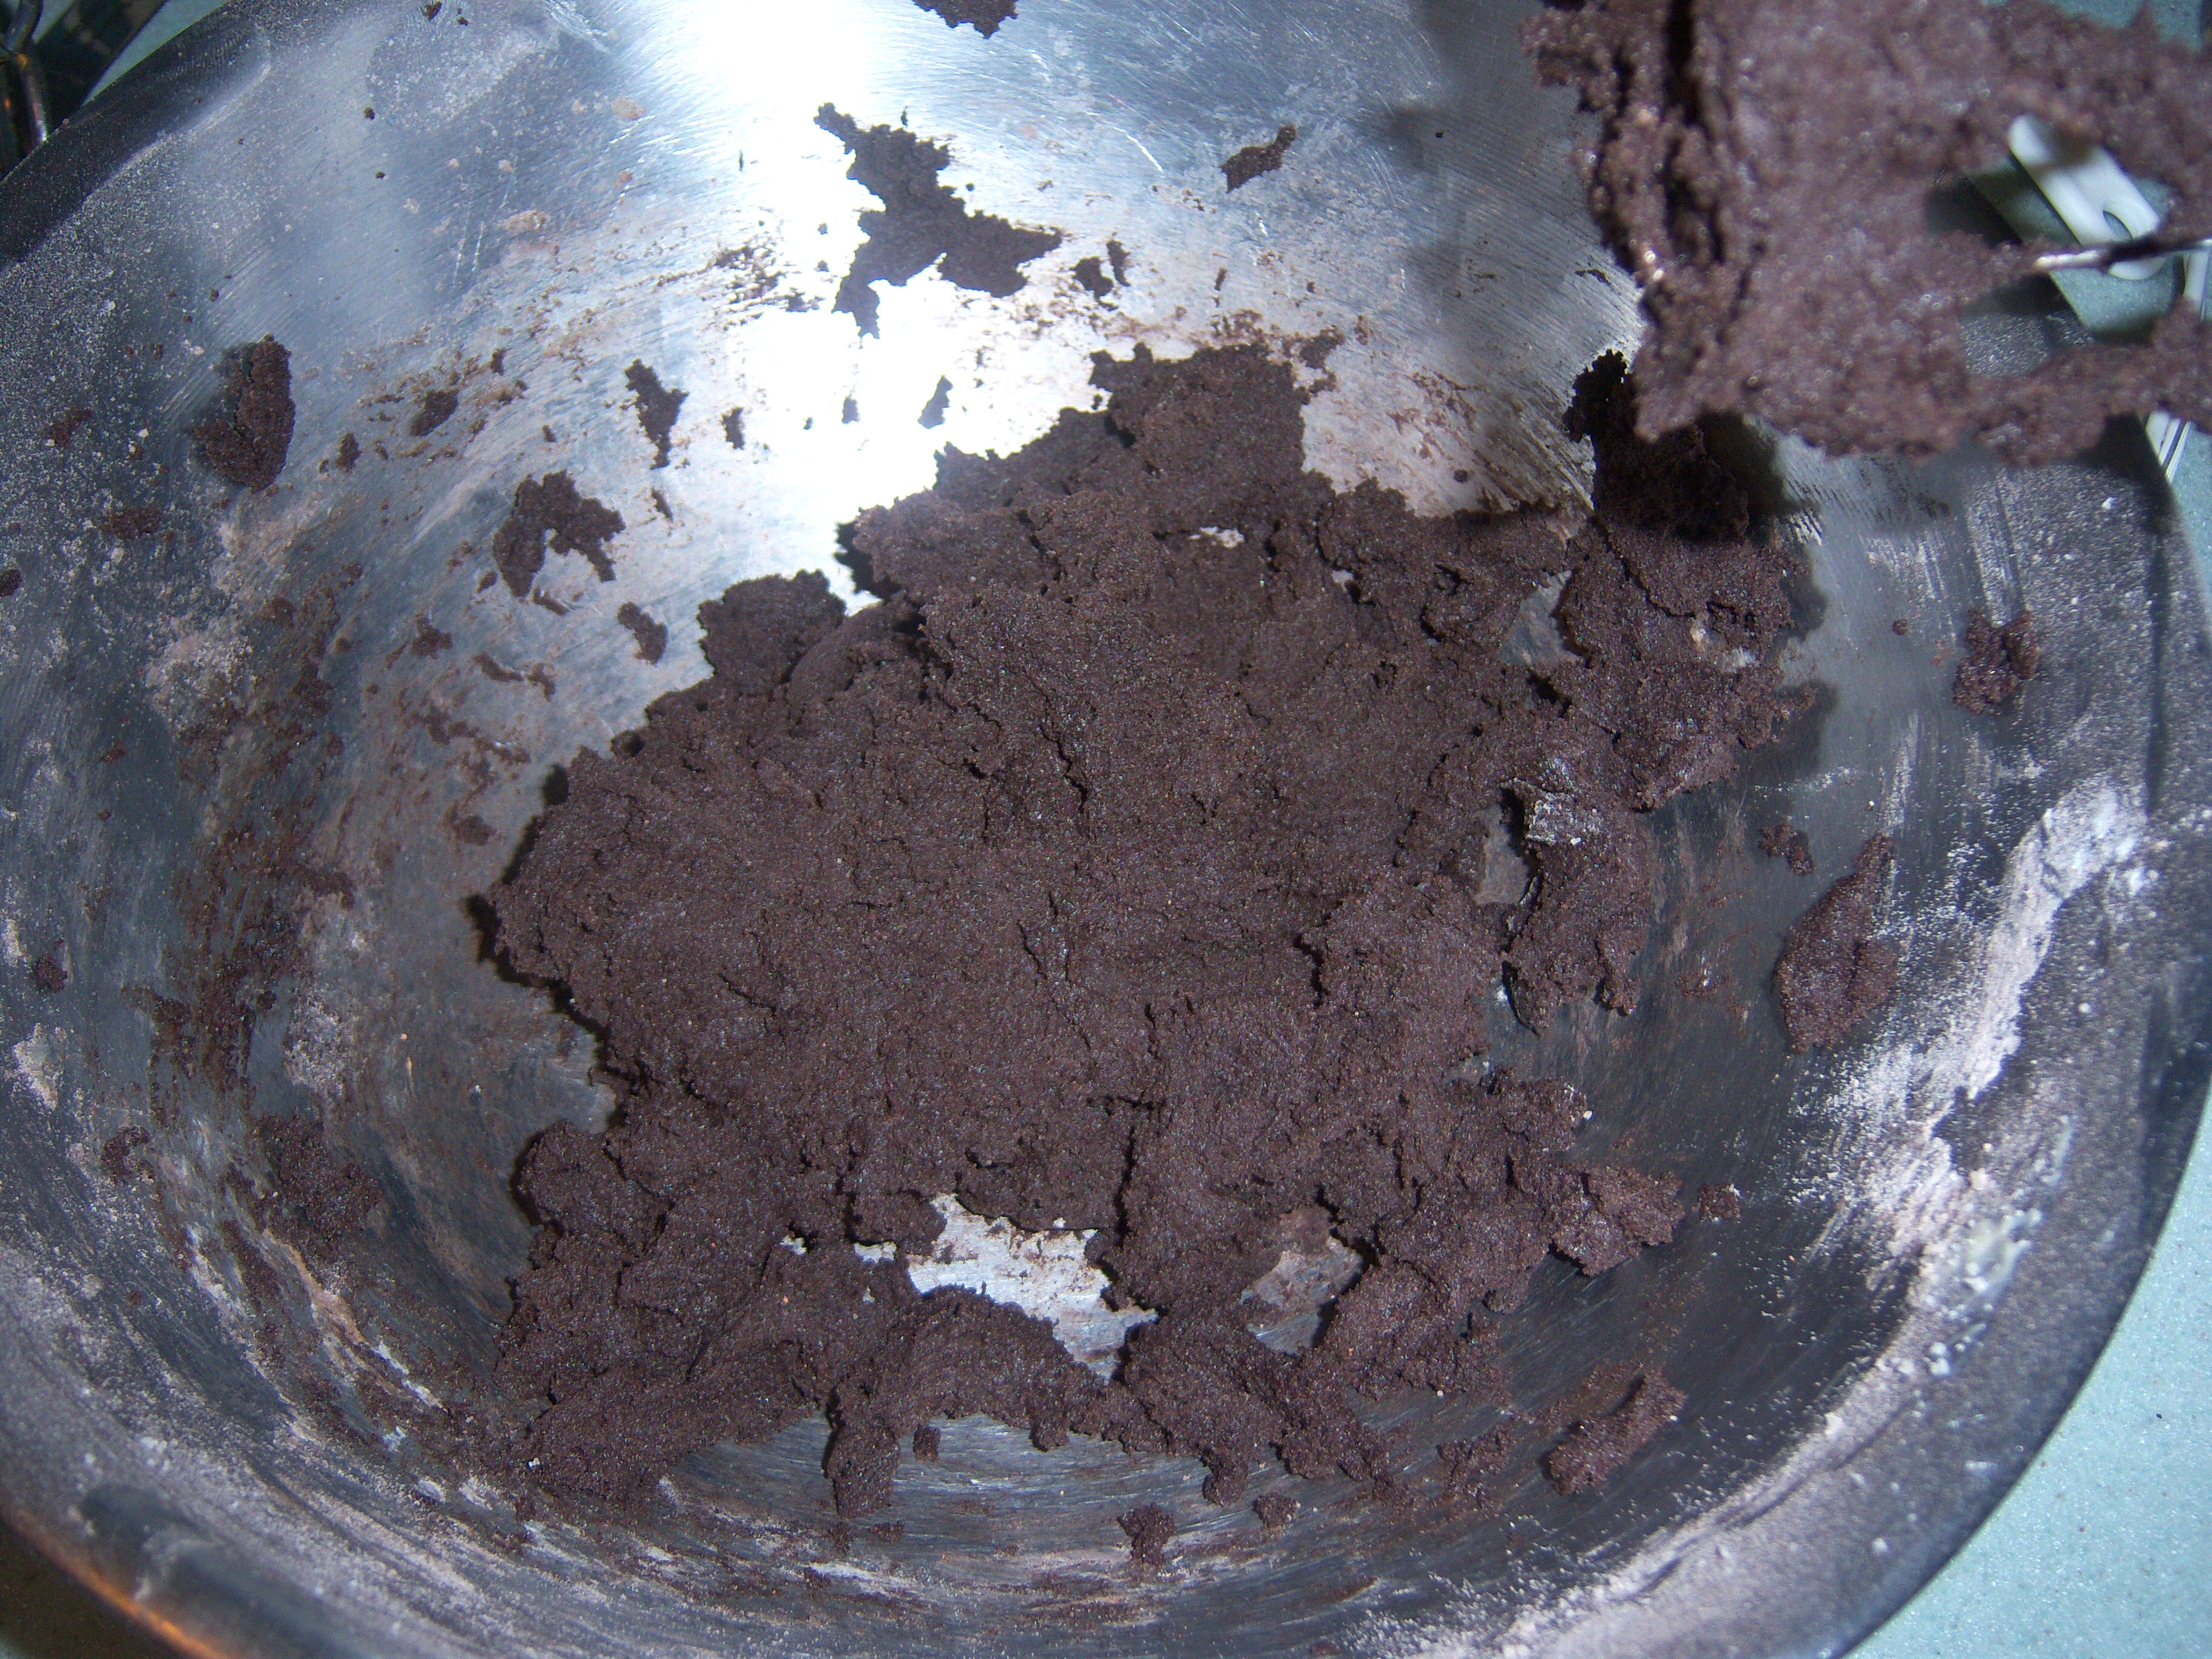
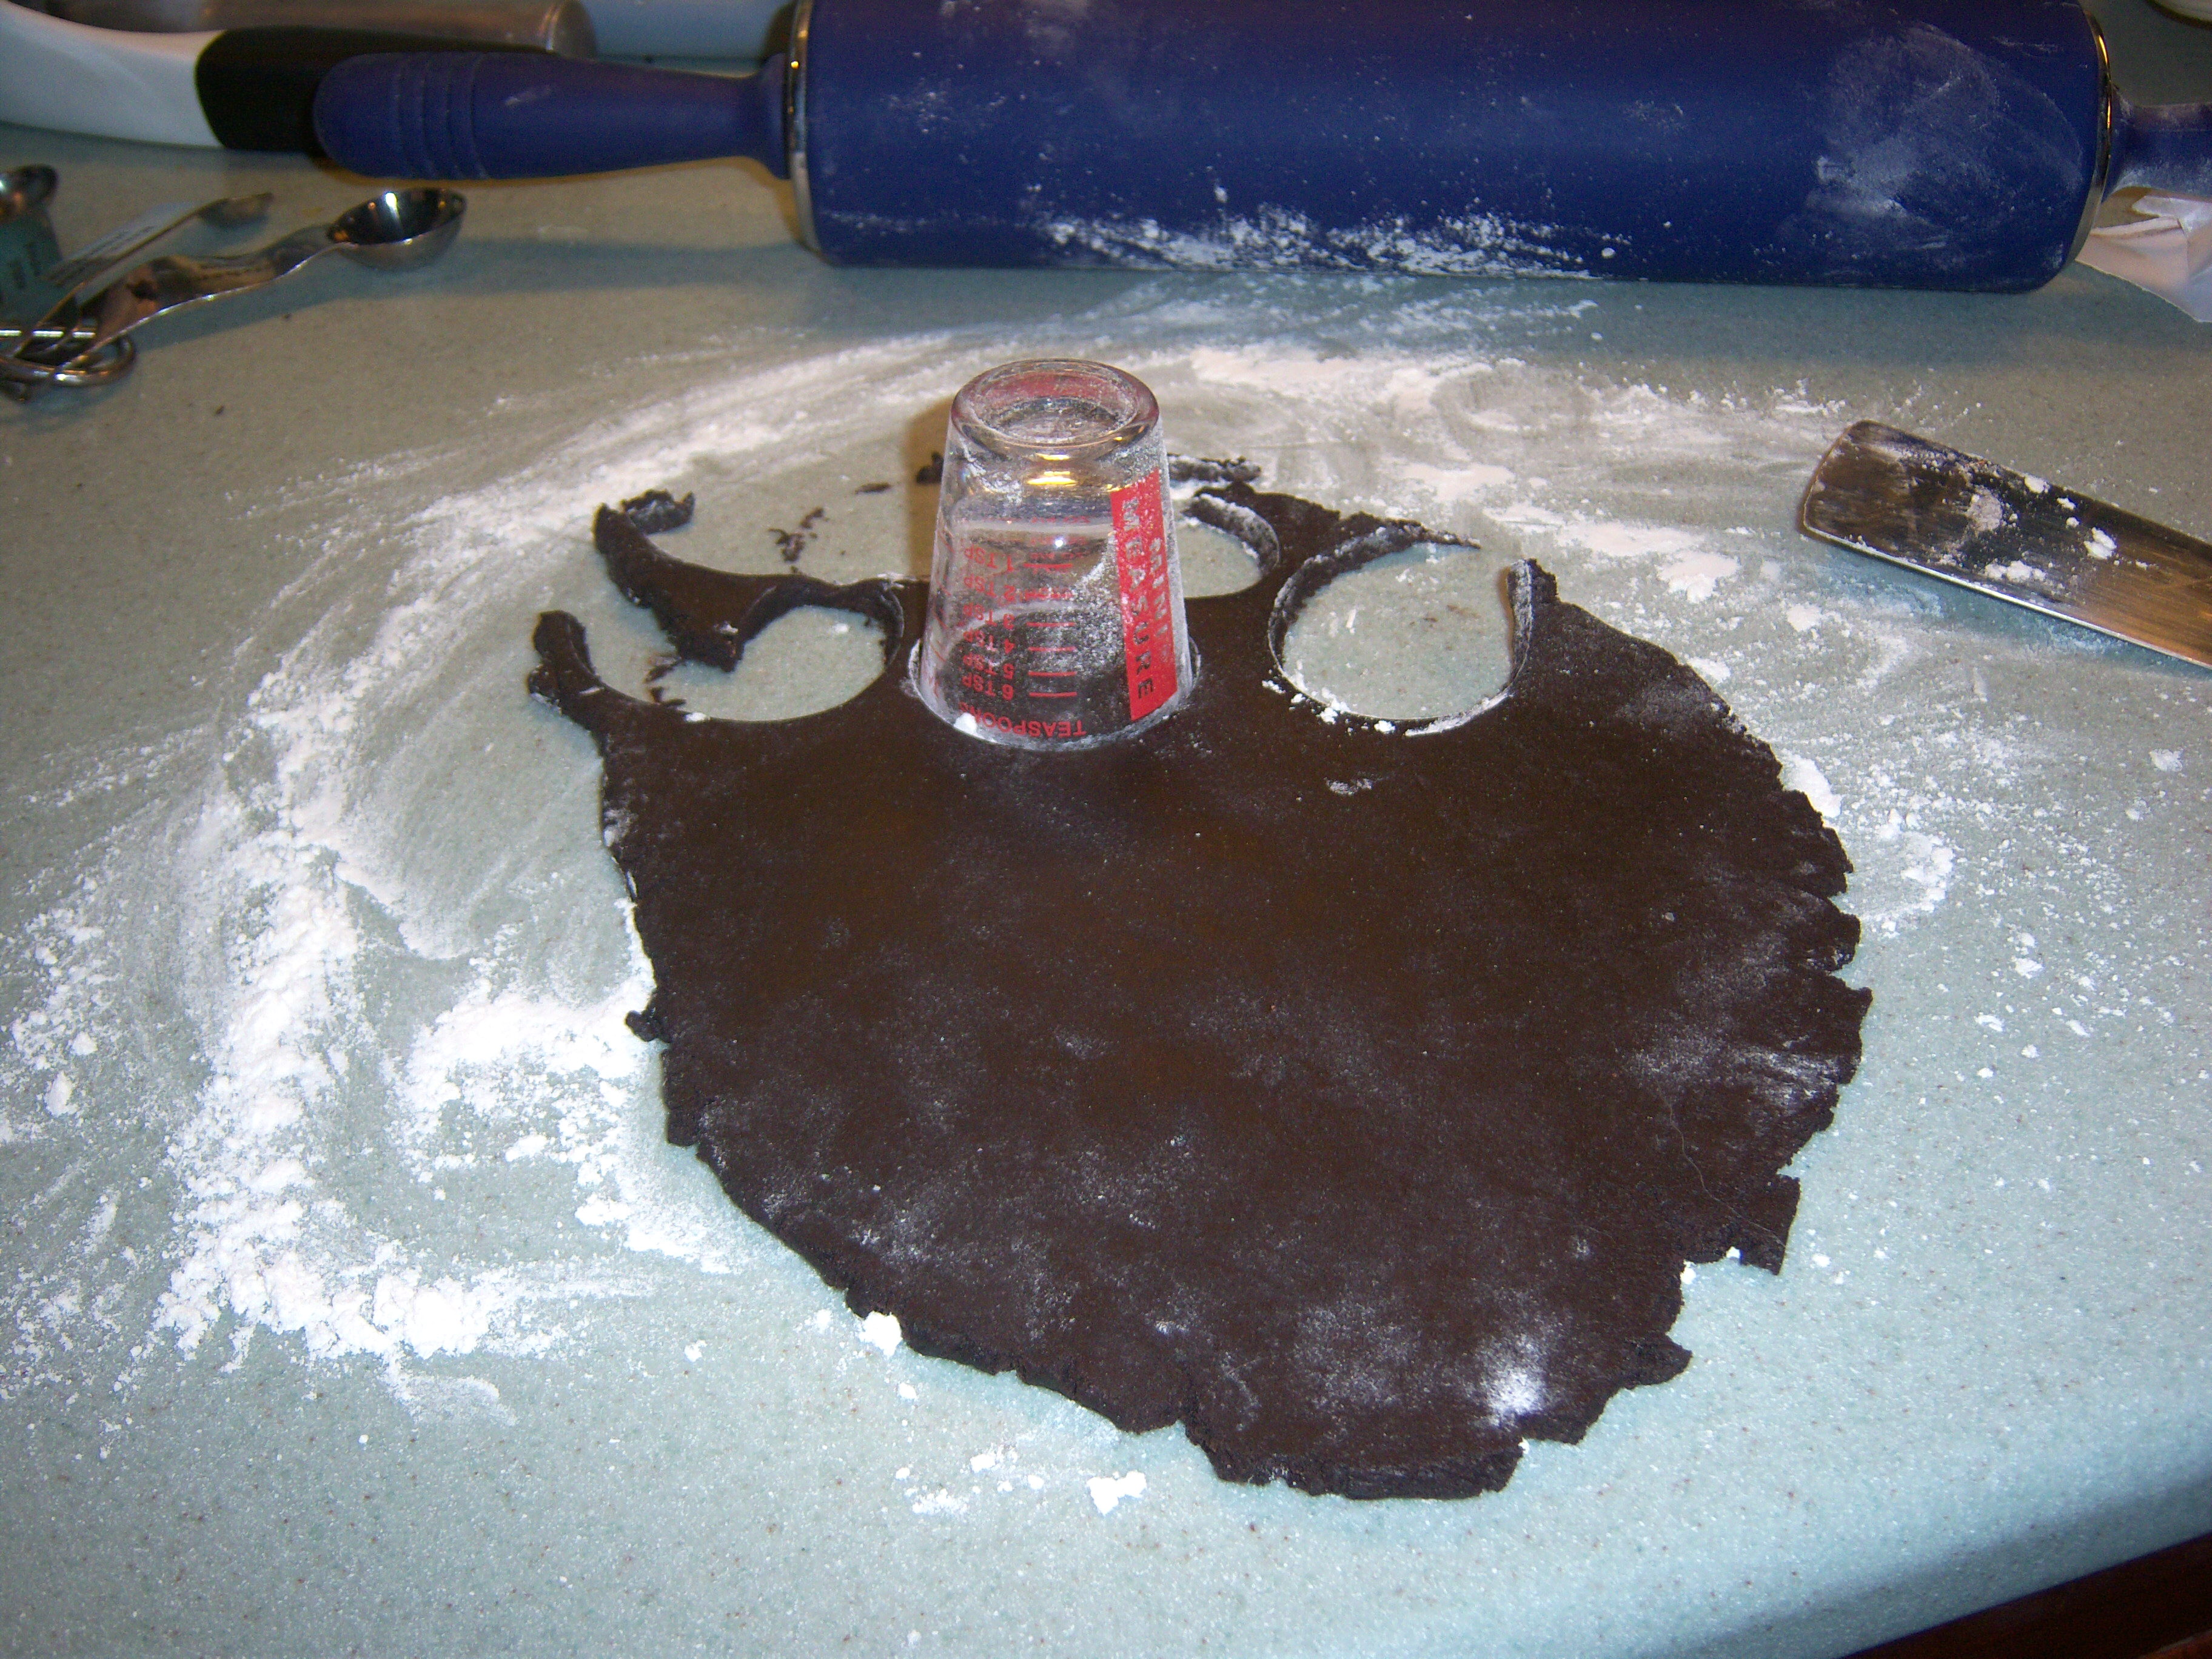
I got started making these and realized I didn’t see I needed peppermint extract, so off to the store went Mr. MarthaAndMe (good thing I could bribe him with the white chocolate). The dough was simple to make – butter, sugar, egg, peppermint, flour, cocoa, baking powder, baking soda and salt. The recipe said to make it into two disks and refrigerate. I did so and rolled it out. Then it said to

Cutting out circles

Cutting out circles

freeze it before cutting it out. Bah. I skipped that step since it was quite firm and went right to the cutting out.

Martha says to use a 2 inch circle cookie cutter. Well, I don’t have that but I had a little glass measuring cup – until I dropped it on the floor about halfway through and it shattered! Clean up aisle 4, Mr. MarthaAndMe. I then used a spice jar lid for the rest and that worked quite well.

OUt of the oven

OUt of the oven

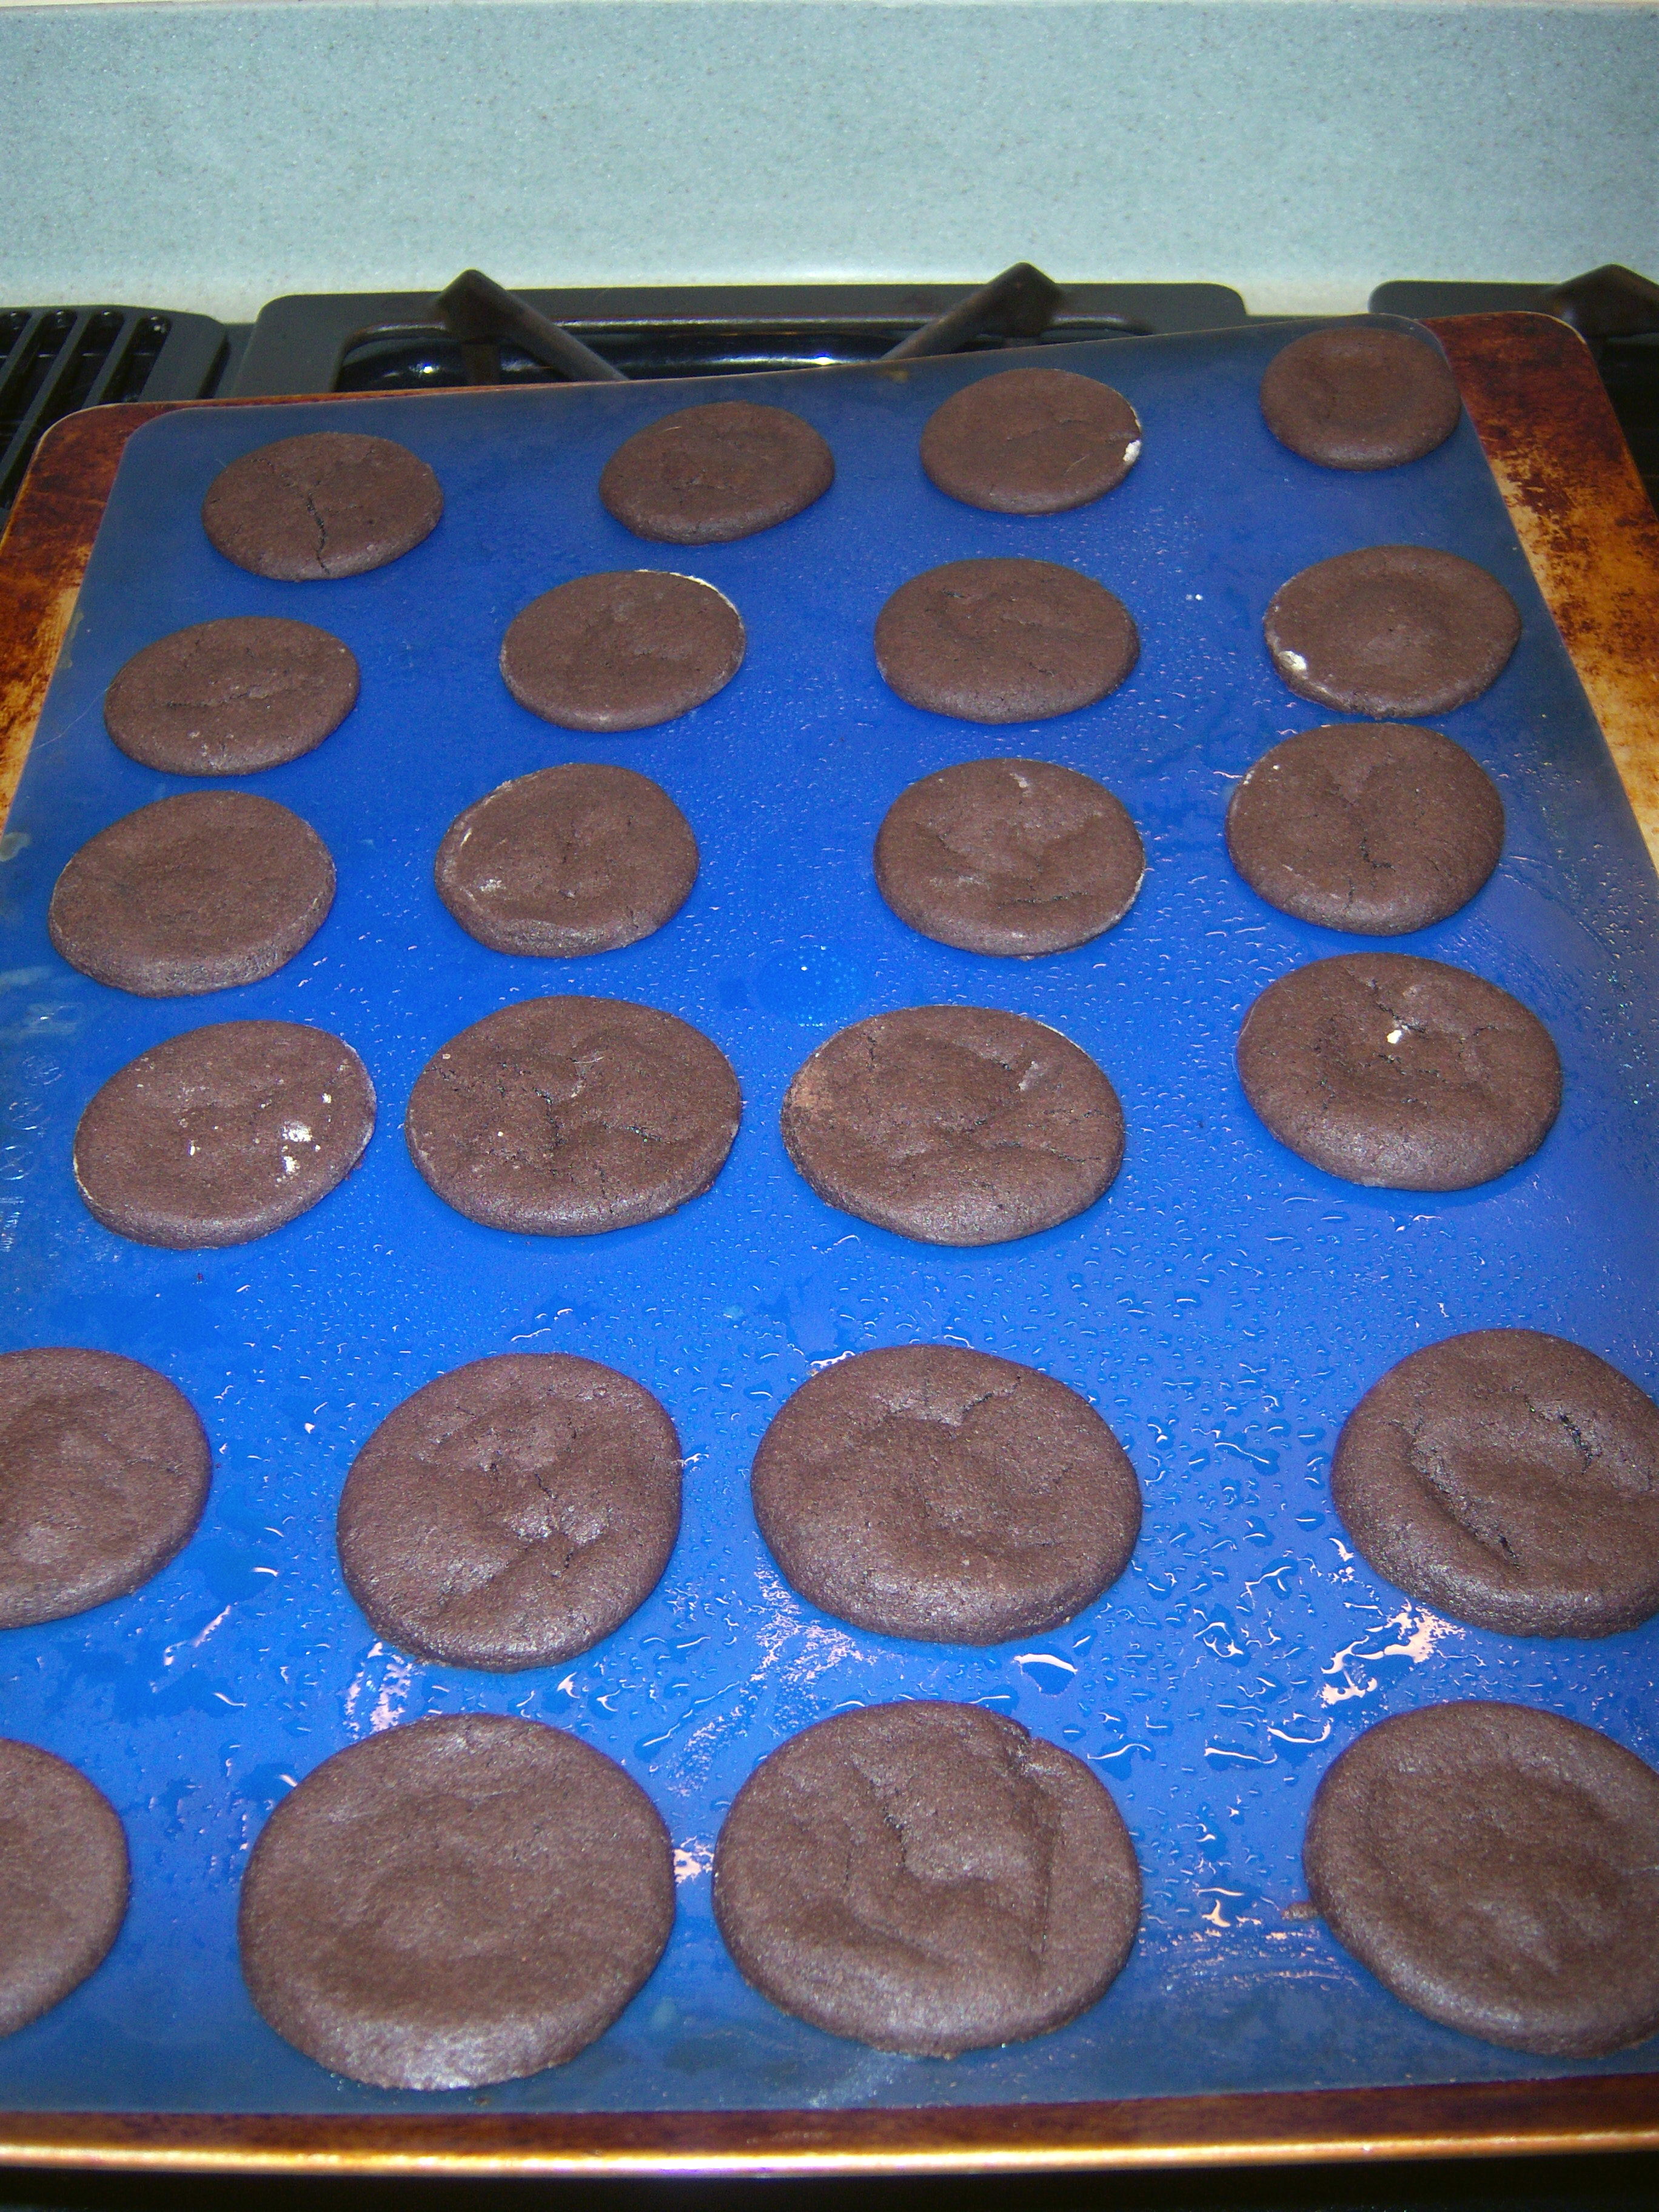
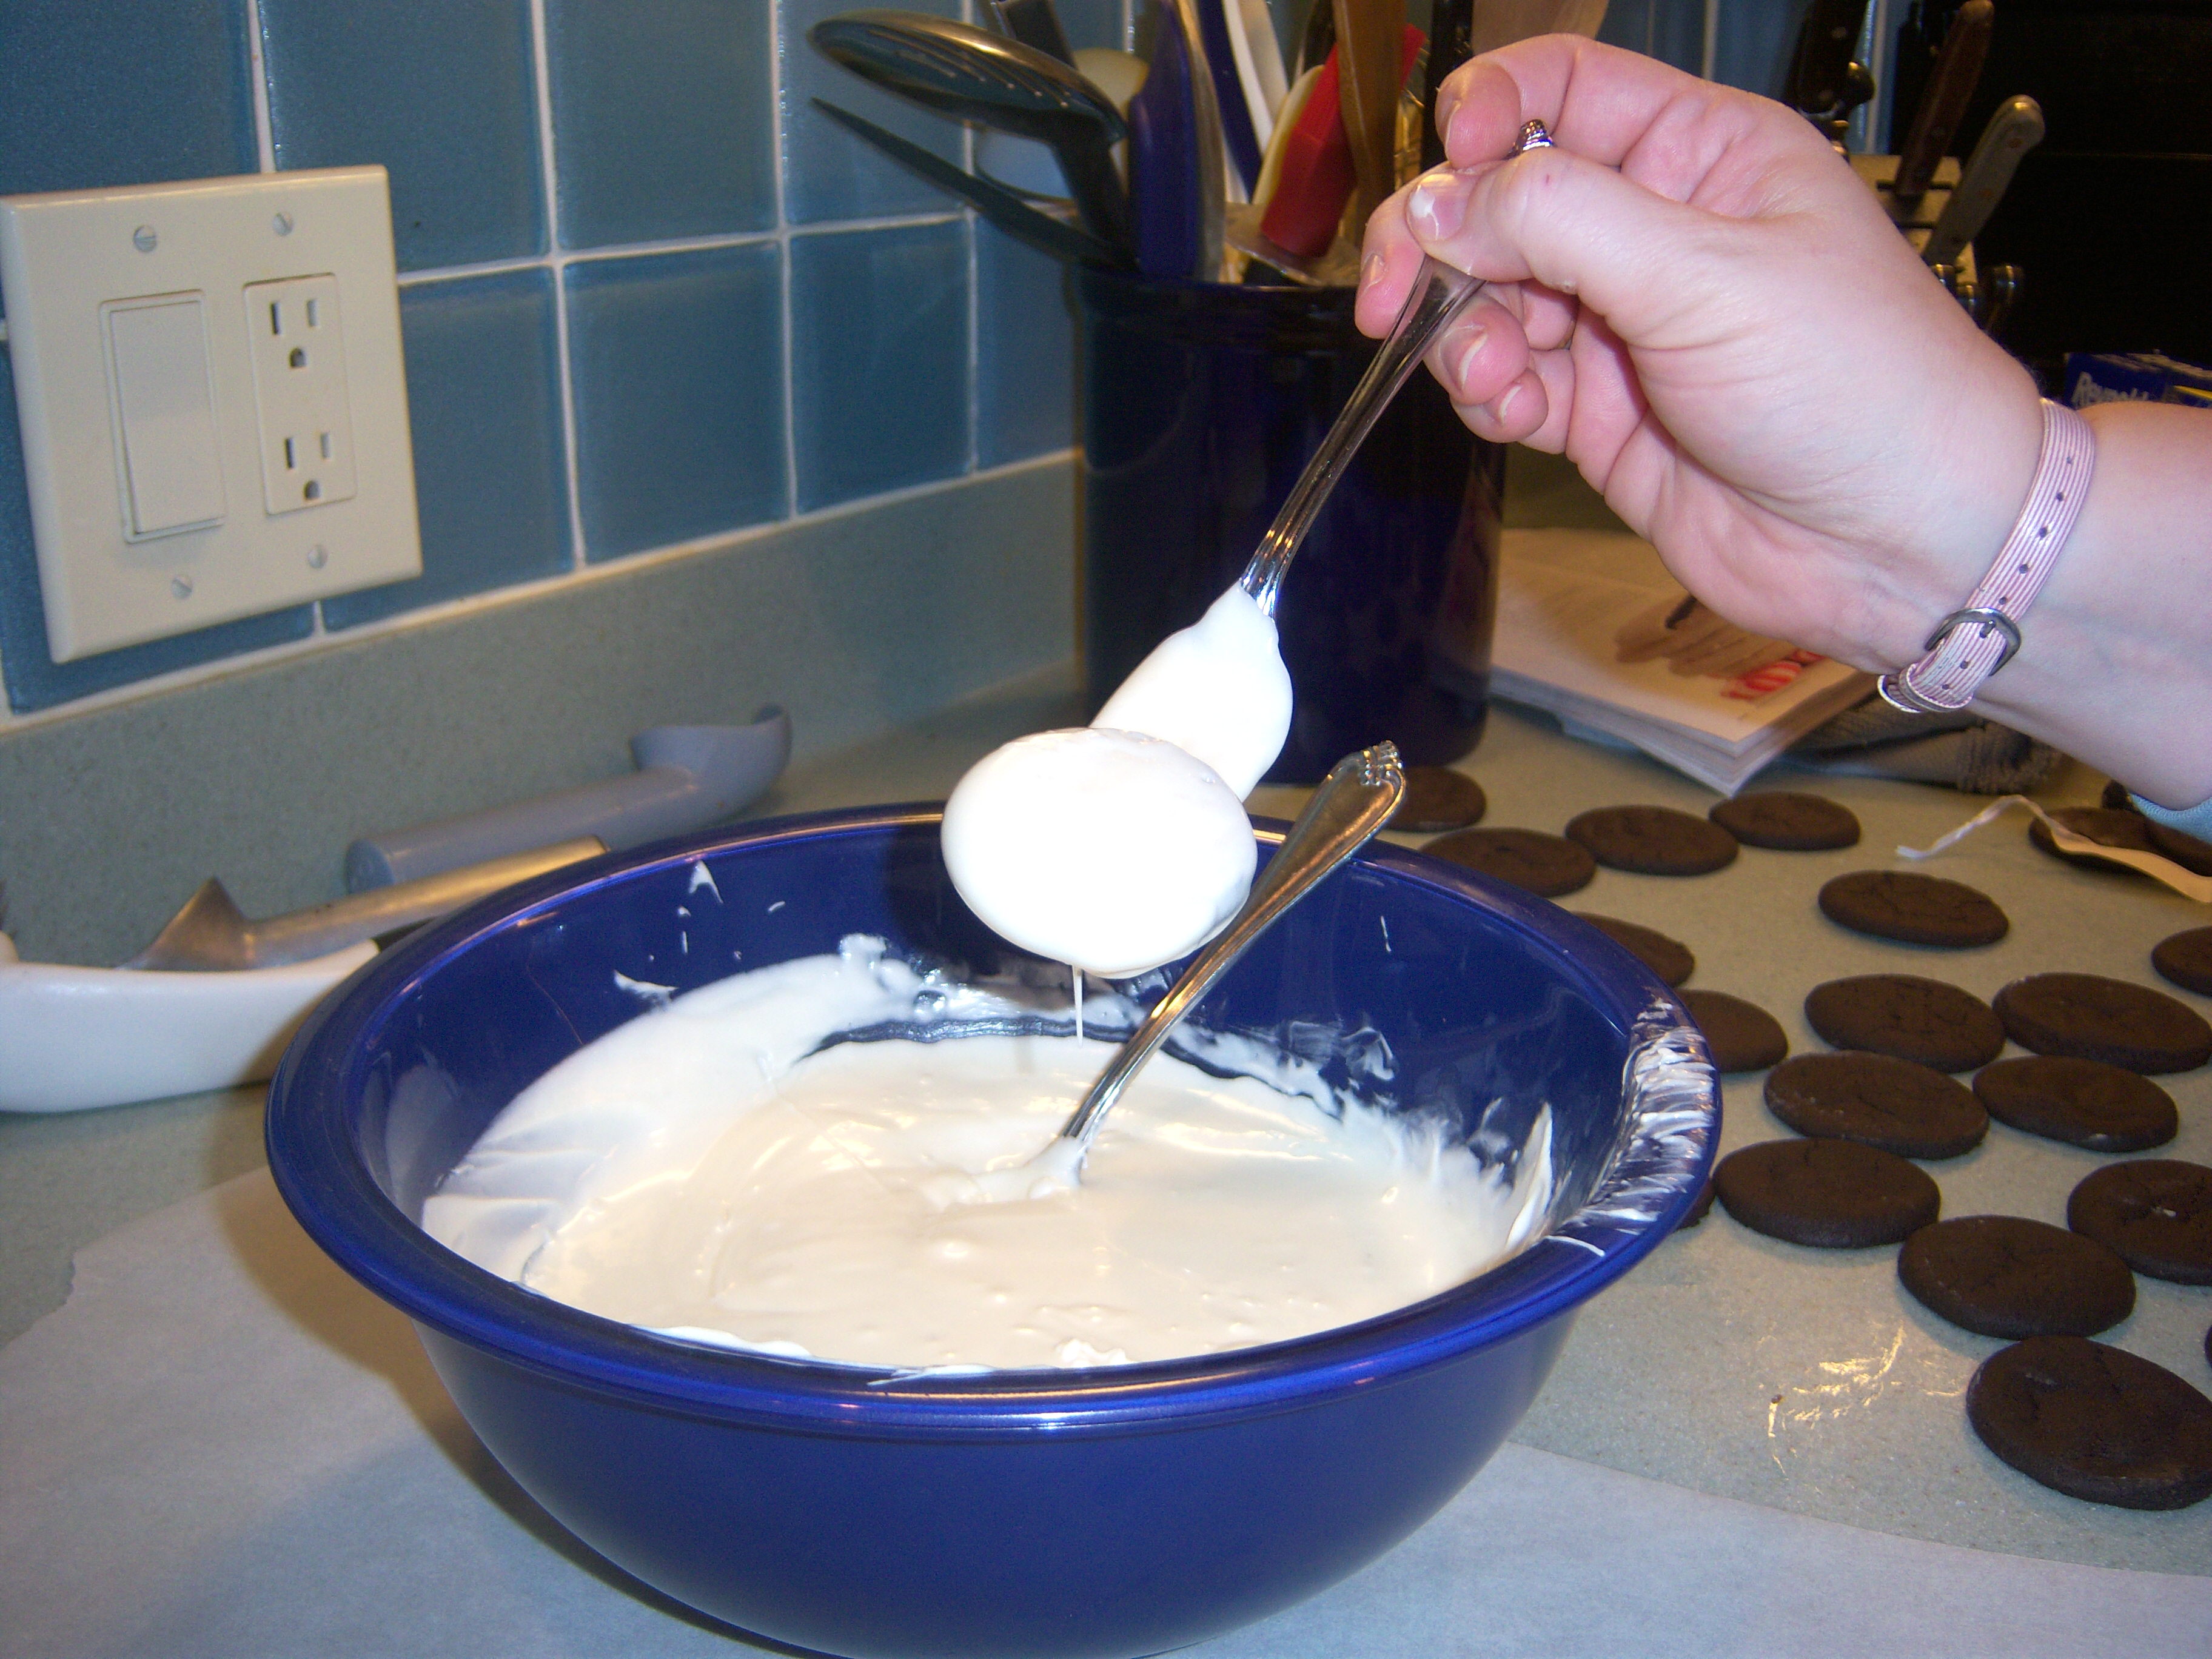
After cutting them out, you bake them for about 12 min. Easy. They came out looking very nice. Once they cool, you dip them in white chocolate. I melted my chocolate in the microwave – Martha says to do it over hot water. Bah.

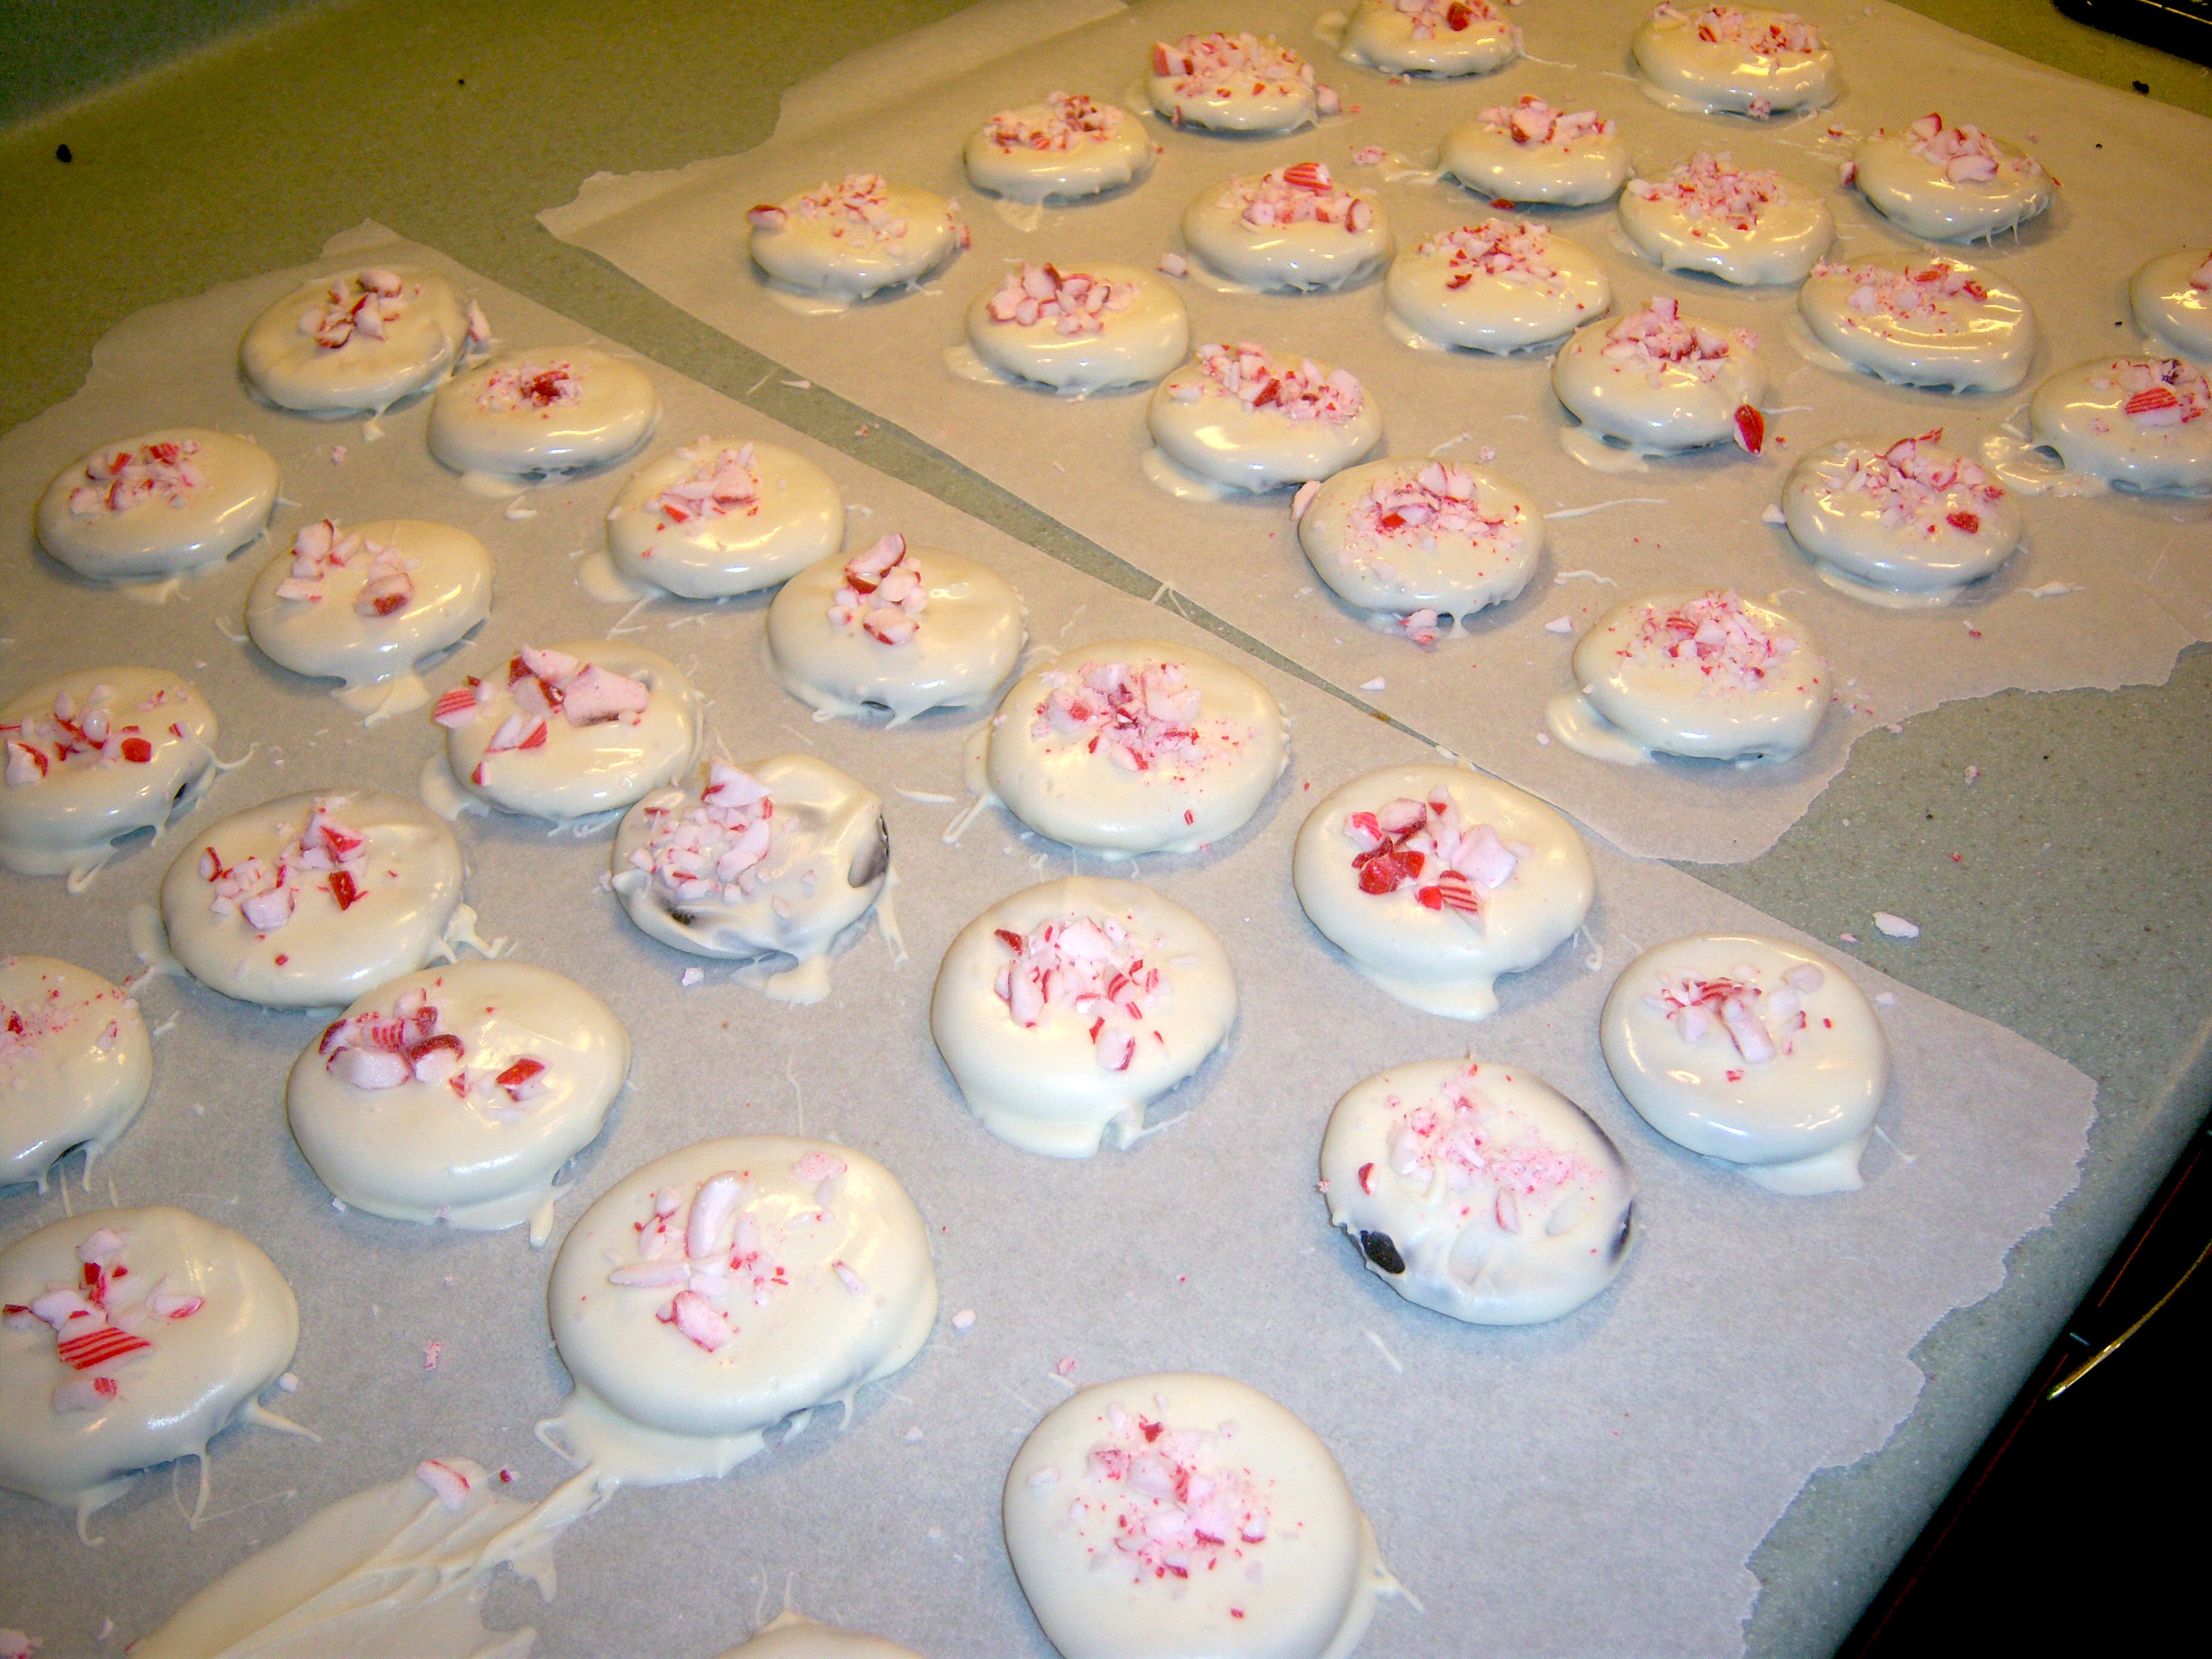
Dipping the cookies in was a little messy. It’s hard to drain the chocolate off them before setting them back down. Half the time I dropped them back in the chocolate by mistake. I had plenty of chocolate though. Mini-Martha sprinkled on the crushed peppermint (which he also had the job of crushing – the perfect task for a 10 yr old boy). I let them dry and they look terrific.

Now, as to who will eat them. We have conflicts! Mini-Martha and I don’t like

Dipping

Dipping

white chocolate, so we ate some plain cookies. They were really good, very similar to Girl Scout Thin Mints (I might try this again and dip them in dark chocolate to make them just like those). Mr. MarthaAndMe loves white chocolate, but regular chocolate makes him break out. He did sample one and gave it a total thumbs up. That leaves only the teen daughter who with the perpetual diet will likely not eat many. Looks like another batch to give away.

The Finished Product

The Finished Product

I recommend this cookie though – very pretty, not to complicated, tasty and also very Christmassy. A good thing.

This month’s cookie from Living is a Chocolate Peppermint cookie. These looked gorgeous in the mag – covered in white chocolate and sprinkled with crumbled peppermint candy. I got started making these and realized I didn’t see I needed peppermint extract, so off to the store went Mr. MarthaAndMe (good thing I could bribe him … Read more

On the day after Thanksgiving, Martha made a Turkey Cobb Sandwich on her show. The recipe is also in the November Living on page 68 (although this did not jump out at me until I saw her make it on tv). I love a good Cobb salad (although I pick out the olives), so this sounded pretty good. I’m definitely tiring of turkey at this point, so this seemed like a good (and fast) way to disguise some for a weeknight meal.

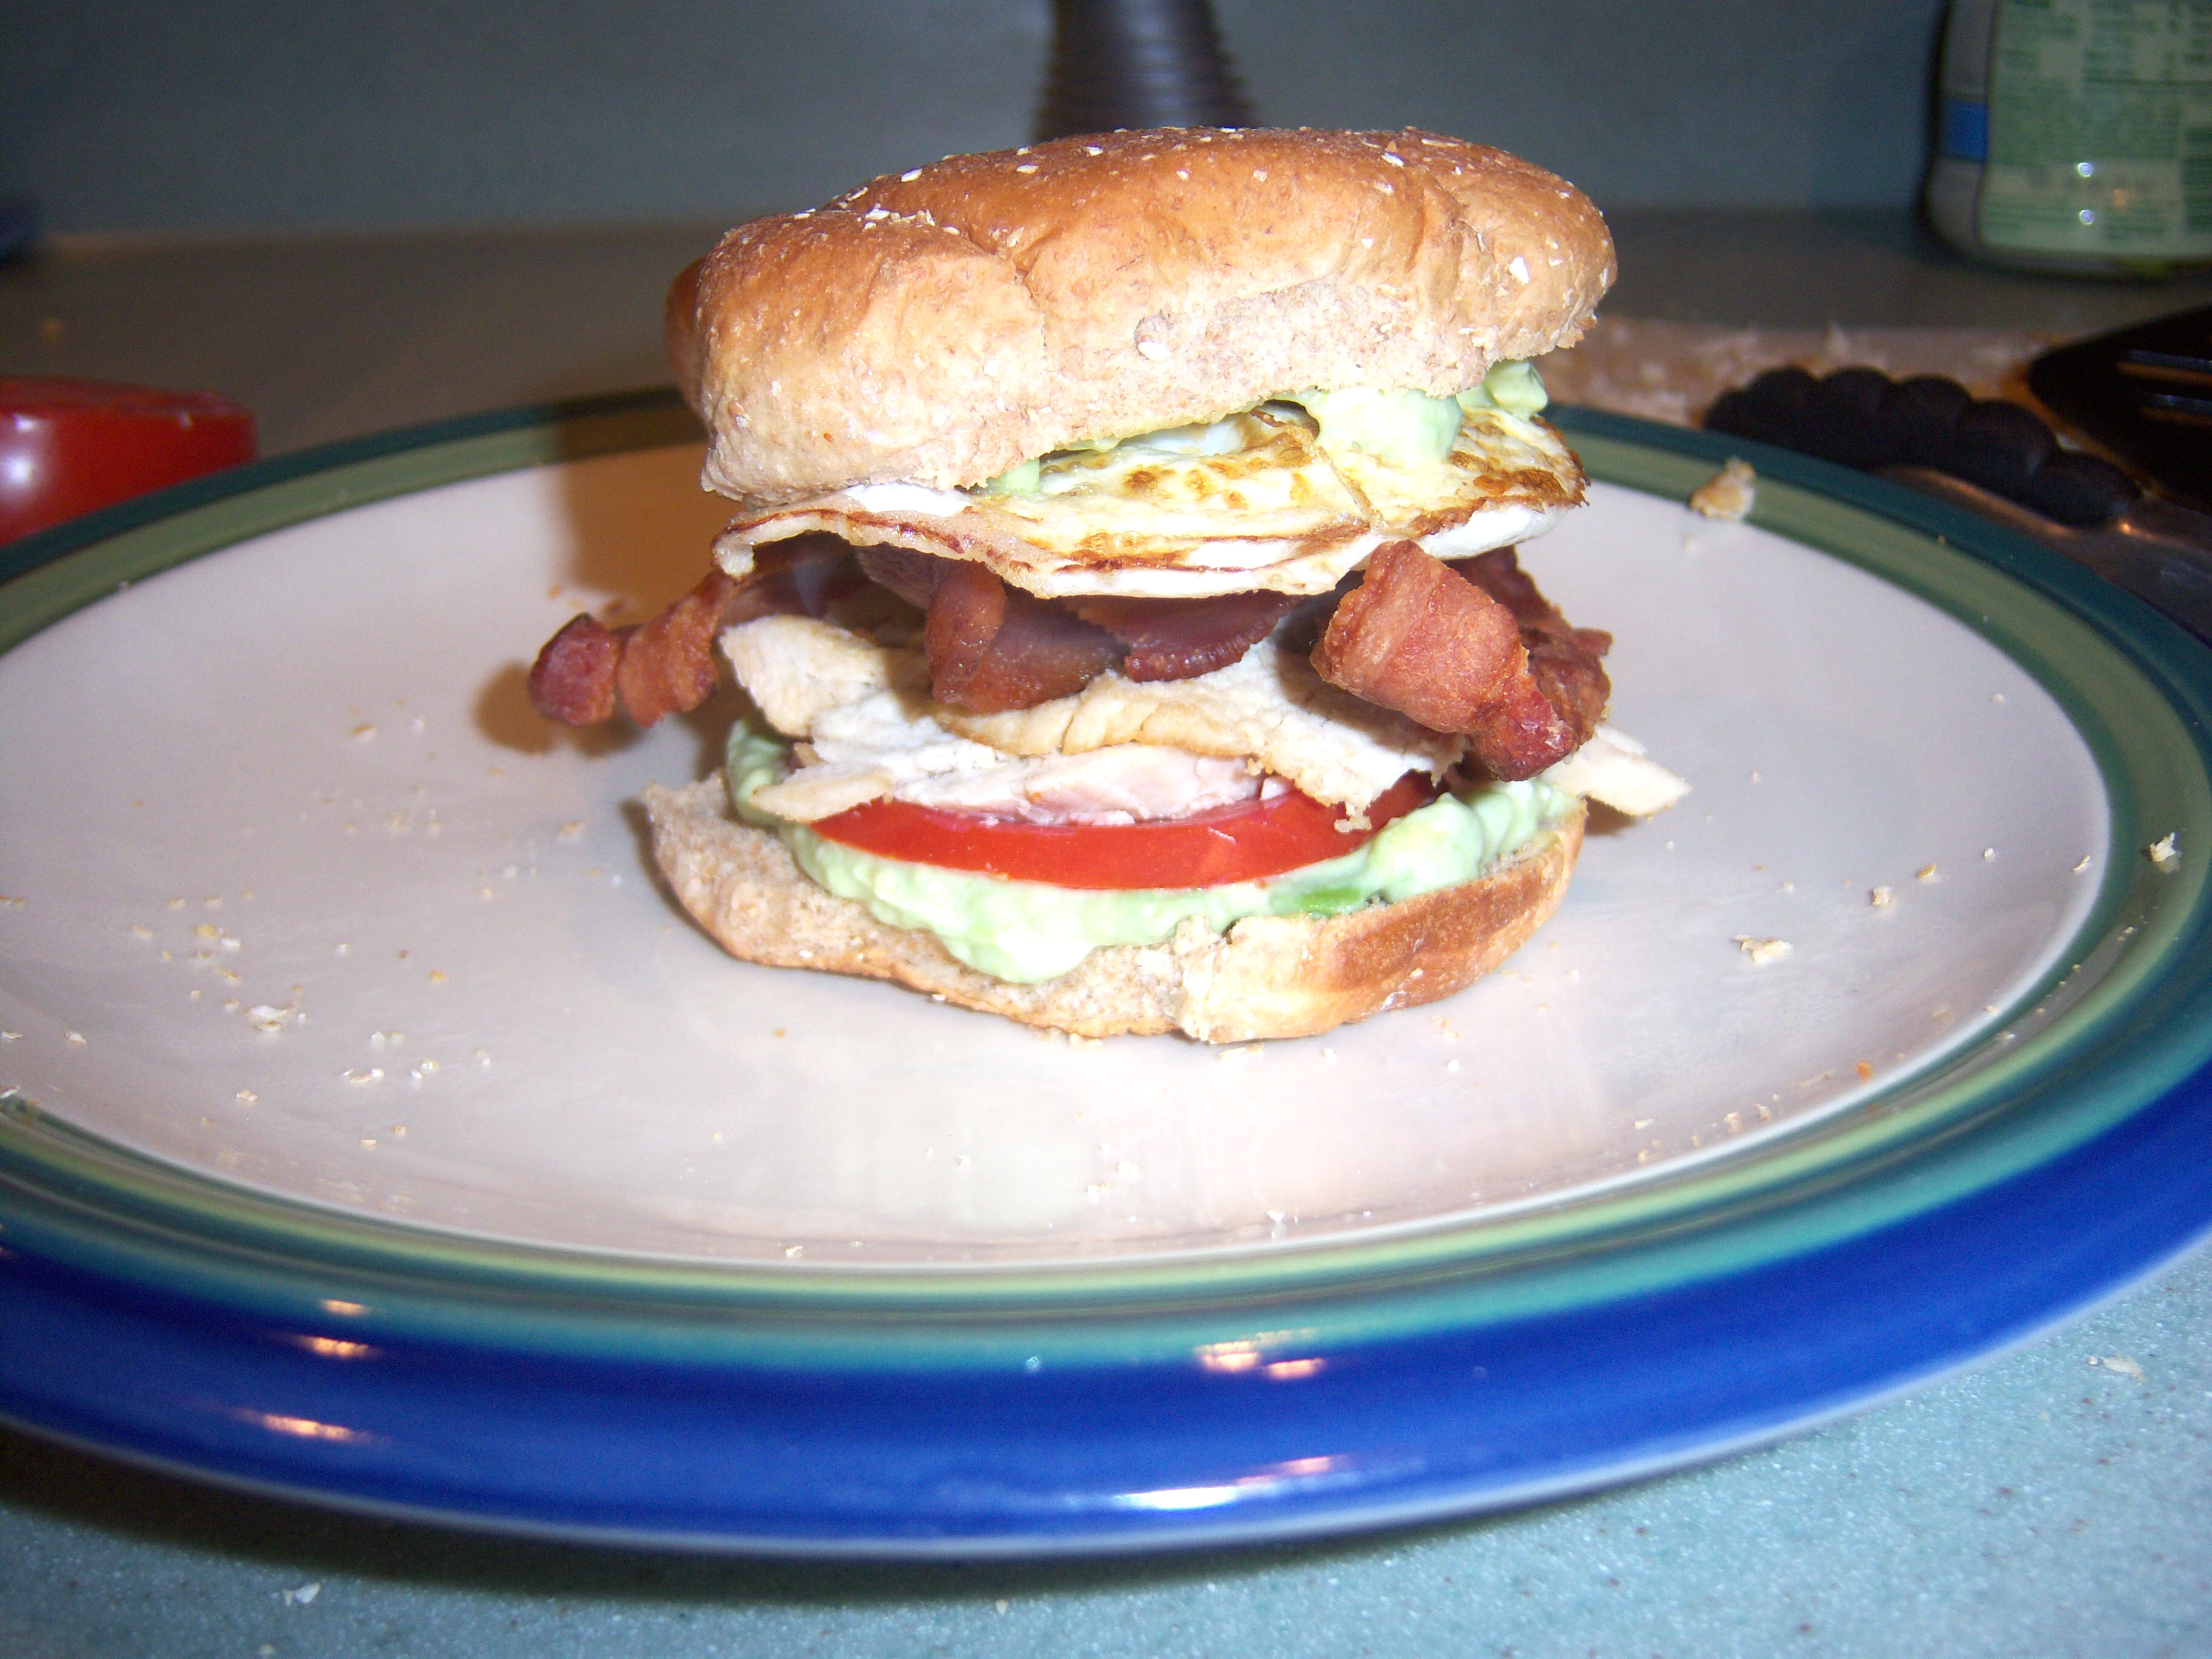
First, I cooked the bacon. While that was cooking I smushed up avocado with bleu cheese and sliced tomato and turkey. I quickly heated up turkey and then cooked the egg over easy. While all that was happening, I toasted the bun. I put it all together and it was quite a sandwich! I was afraid it was going to slip and slide all over the place and fall apart, but it didn’t. I’ve got one trick to share that I think helped. When I put tomato slices on sandwiches, I pick out the gooey seed part then I set the slices on a paper towel for a few minutes. It really helps dry them off so they don’t slide all over.

Turkey Cobb Sandwich

Turkey Cobb Sandwich

This was a great sandwich (although I don’t think I want to know how much fat and calories is in it!!). I would definitely make this one again. I served it with fresh fruit and it was a nice light (well, it felt light, ok, even if it did have egg, bacon and avocado in it!) fast meal. A good thing!

On the day after Thanksgiving, Martha made a Turkey Cobb Sandwich on her show. The recipe is also in the November Living on page 68 (although this did not jump out at me until I saw her make it on tv). I love a good Cobb salad (although I pick out the olives), so this … Read more

no