I know the holidays are over for most people, but in my family we are still struggling through it! I was assigned to bring dessert for 12 to a family holiday party last night. I decided to make Martha’s Triple Chocolate Peppermint Trifle from Season’s Eatings, page 114.

I decided I wanted to make it in 12 individual bowls rather than one big trifle bowl. A big trifle bowl looks pretty, but when you serve it, it looks like a pile of mush (which in my opinion is not all that appetizing). So I needed 12 bowls. I have a set of 12 pink goblets that was perfect, but Mr. MarthaandMe felt that there was no way we could safely transport those. I have a set of 8 cute little glass dessert bowls, but I need 12. Off we went to Bed, Bath and Beyond where I bought 12 individual trifle bowls for $30 (the things I do for Martha).

The cake

The cake

I started cooking this yesterday afternoon. First I made the cake, which was pretty simple. Next I made the syrup. Martha says to mix water and sugar and add chocolate liqueur. I don’t have any liqueur so I cheated and mixed cocoa powder and some cocoa mix with water till it was dark and thick.

Next I made the mousse. You cook cream and melt white chocolate in it.

The syrup

The syrup

Then you cool it in an ice bath. Next you fold in whipped cream. At the end you add crushed candy canes.

After that I made the pudding, which was pretty basic, but also requires an ice bath (just call me the ice queen).

All of this needed to chill for at least 4 hours.  This was New Year’s Day and I was tired to the bone from our New Year’s Eve

The mousse

The mousse

extravaganza. By the time everything was chilled, I was so tired I almost could not keep my eyes open to fill the bowls.

First I had to wash the bowls. And of course I managed to chip one. Sigh.

This dessert has a back breaking 9 layers:

– mousse

– cake

– syrup

The pudding

The pudding

– pudding

-mousse

– cake

– syrup

-pudding

-mousse

It all fit perfectly in the little trifle bowls, although it took a long time to assemble. If you made this in one

Assembly

Assembly

big bowl, it would go much more quickly.

Once it’s in the bowls, it needs to set for at least 12 hours.

Transporting this to our destination was a challenge. Mr. MarthaAndMe put them all in a big cardboard box with bubble wrap between the bowls and we got them there without incident.

Before serving, I made whipped cream and put that on top and then

Ready to serve

Ready to serve

sprinkled with more crushed peppermint. I put the trifle bowls on a dessert plate and stuck one of my Chocolate Peppermint cookies (Dec. Living Cookie of the Month – had exactly 12 left so that worked out perfectly) on the top. They looked very pretty.

As for the taste test? Well, this was a very rich dessert and most people at the table did not finish it. It needs a lot more peppermint than it had. I think I might add some peppermint extract to the cake or the mousse. It just tasted like a mouthful of chocolate and cream and was a bit overwhelming I thought.

On the table

On the table

I don’t think I would make this dessert again. It was very time-consuming. It’s festive and pretty, but I’d rather eat something else.

This is my last offiicial holiday 2008 post! Tomorrow we’re moving on to January Living. It feels like a breath of fresh air after all the candies, decorations, and desserts December was filled with. I can hardly wait to focus on weight loss, healthy eating, home organizing and simplification. I am soooo holiday’ed out at this point – but we have one more party tonight to get through!

I know the holidays are over for most people, but in my family we are still struggling through it! I was assigned to bring dessert for 12 to a family holiday party last night. I decided to make Martha’s Triple Chocolate Peppermint Trifle from Season’s Eatings, page 114. I decided I wanted to make it … Read more

It is a tradition at our house to have fondue on New Year’s Eve. It used to be just us and the kids, but over the years, more and more people have joined us. Our dining room table was at capacity this year and the two fondue pots I had going were barely enough. Next year, I think we’ll have to expand to another room and add a pot.

The table

The table

First, the table.  New Year’s started out as a simple thing and has gradually become more complicated. This year we ended up with 9 people (one unexpectedly showed up at the last minute and we had to scramble to add a seat). It’s hard to see in the photo, but I took curling ribbon, curled it,  and ran it the length of the table. Then I made shorter strands and laid them the opposite way along it. In between each place setting, I put another squiggle of curled ribbon. We also have some crazy new year hats and crowns that the guests amuse themselves with before dinner.

Cheese fondue

Cheese fondue

This year I used Martha’s fondue recipes. First, the cheese fondue. Let me say here that cheese fondue and I have a long and troubled history. The first few years it went beautifully. Then we entered a period where the fondue did not combine well for a few years – it would be stringy or separate. Last year I cheated and bought some already made, which I just heated. This year I put my trust in Martha. It was touch and go. I had the wine heated and started slowly adding cheese. All it did was clump up in the bottom of the pan. I kept stirring and stirring and slowly adding cheese, with no change. After half an hour, I reached the panic stage and Mr. MarthaAndMe was sent to look online for help while I called my mother. No help from either place. I kept stirring and finally added the cornstarch and lemon juice and POOF it suddenly came together. Miraculous.

Cheese fondue service

Cheese fondue service

With the cheese fondue I served:

– squares of ham

– slices of Italian chicken sausage

-cherry tomatoes

– slices of pear

– chunks of French bread

– chunks of pumpernickel rye bread

– pieces of hot pretzels (a total hit with the guests)

– broccoli

– cauliflower

– zucchini

I also served a honey mustard sauce and a creamy dill sauce. Also on the table was the carmelized onion dip (see yesterday’s post). Martha’s fondue was excellent. It had a nice mix of cheeses which gave it a nice depth of flavor. As always, you’ve got to keep an eye on you fondue pots. If it gets too hot, it starts to overcook. If you cool it too much, it gets clumpy.

Next up was the chocolate fondue. This is easy to make since you just melt chocolate in cream. I used a mix of dark and semi-sweet chocolate. It was fabulous. I also used the same recipe and substituted some white chocolate to make a white chocolate fondue.

Chocolate fondue service

Chocolate fondue service

With the fondue I served:

– strawberries

– pineapple

– marshmallows

– chocolate chip cookies

– fortune cookies

– chunks of rice krispie treats

– blueberries

– raspberries

– banana

– biscotti

– pound cake

I also served a bowl of chopped peanuts and a bowl of flake coconut (to roll things in after they are dipped in the chocolate). The chocolate fondue is always a big hit and so delicious.

We had a great time, but this party just about kills me every year! It takes so long to chop and prepare the many foods in advance and then there are so many plates, forks, and serving dishes to wash afterwards! Our party is dinner only – guests go elsewhere for the ball drop, so we were in bed by 10:30 and sound asleep from exhaustion.

It is a tradition at our house to have fondue on New Year’s Eve. It used to be just us and the kids, but over the years, more and more people have joined us. Our dining room table was at capacity this year and the two fondue pots I had going were barely enough. Next … Read more

This recipe is from Season’s Eatings. My issue mysteriously disappeared, so please thank my friend Andrew Ritchie for sending it to me by visiting his amazing site, Martha Moments. I think Andrew knows more about Martha Stewart Living than anyone else (and his attempts to replicate Martha are always stunningly beautiful).

I decided to make this for our annual New Year’s Eve party. I always make fondue (which I will post about tomorrow), but I decided to add this to my repertoire as well. Here’s the link to the recipe.


Browning the onions

Browning the onions


First you slice and brown onions. Then you cover them and let them cook on low for 40 minutes. This went smoothly. The onions browned nicely. Once they are done, you add salt, thyme, and vinegar and uncover them and cook until the liquid is gone. I did this. Next you’re supposed to chop the onions and mix cream cheese and sour cream with a mixer. Instead, I dumped the onions in the food processor and chopped them in there and threw in the cream cheese and sour cream and whizzed it there. This was easy.

I tasted the dip at this point and was not thrilled. It had a strong vinegar taste. I added a little sugar, more salt and some pepper. It still tasted like vinegar to me but I didn’t have time to do anything else. I put it in the fridge and moved on to other things.

Next, I made the fingerling potatoes to dip in it. I cooked these in the oven with a little olive oil. They came out nicely.


Half-eaten

Half-eaten


When I served the dip, the vinegar flavor had disappeared, so I think it just needed to sit a while.

The dip recipe made tons and tons. I’ve got so much left over, I’m taking it to another party Friday. I’ll have to make more potatoes though since those are all gone. Thumbs up on this dish. It had a nice, rich,  sweet flavor and the potatoes were a great thing to dip in it. I would make this again. Our guests scarfed it down quickly and it was a hit.

This recipe is from Season’s Eatings. My issue mysteriously disappeared, so please thank my friend Andrew Ritchie for sending it to me by visiting his amazing site, Martha Moments. I think Andrew knows more about Martha Stewart Living than anyone else (and his attempts to replicate Martha are always stunningly beautiful). I decided to make … Read more

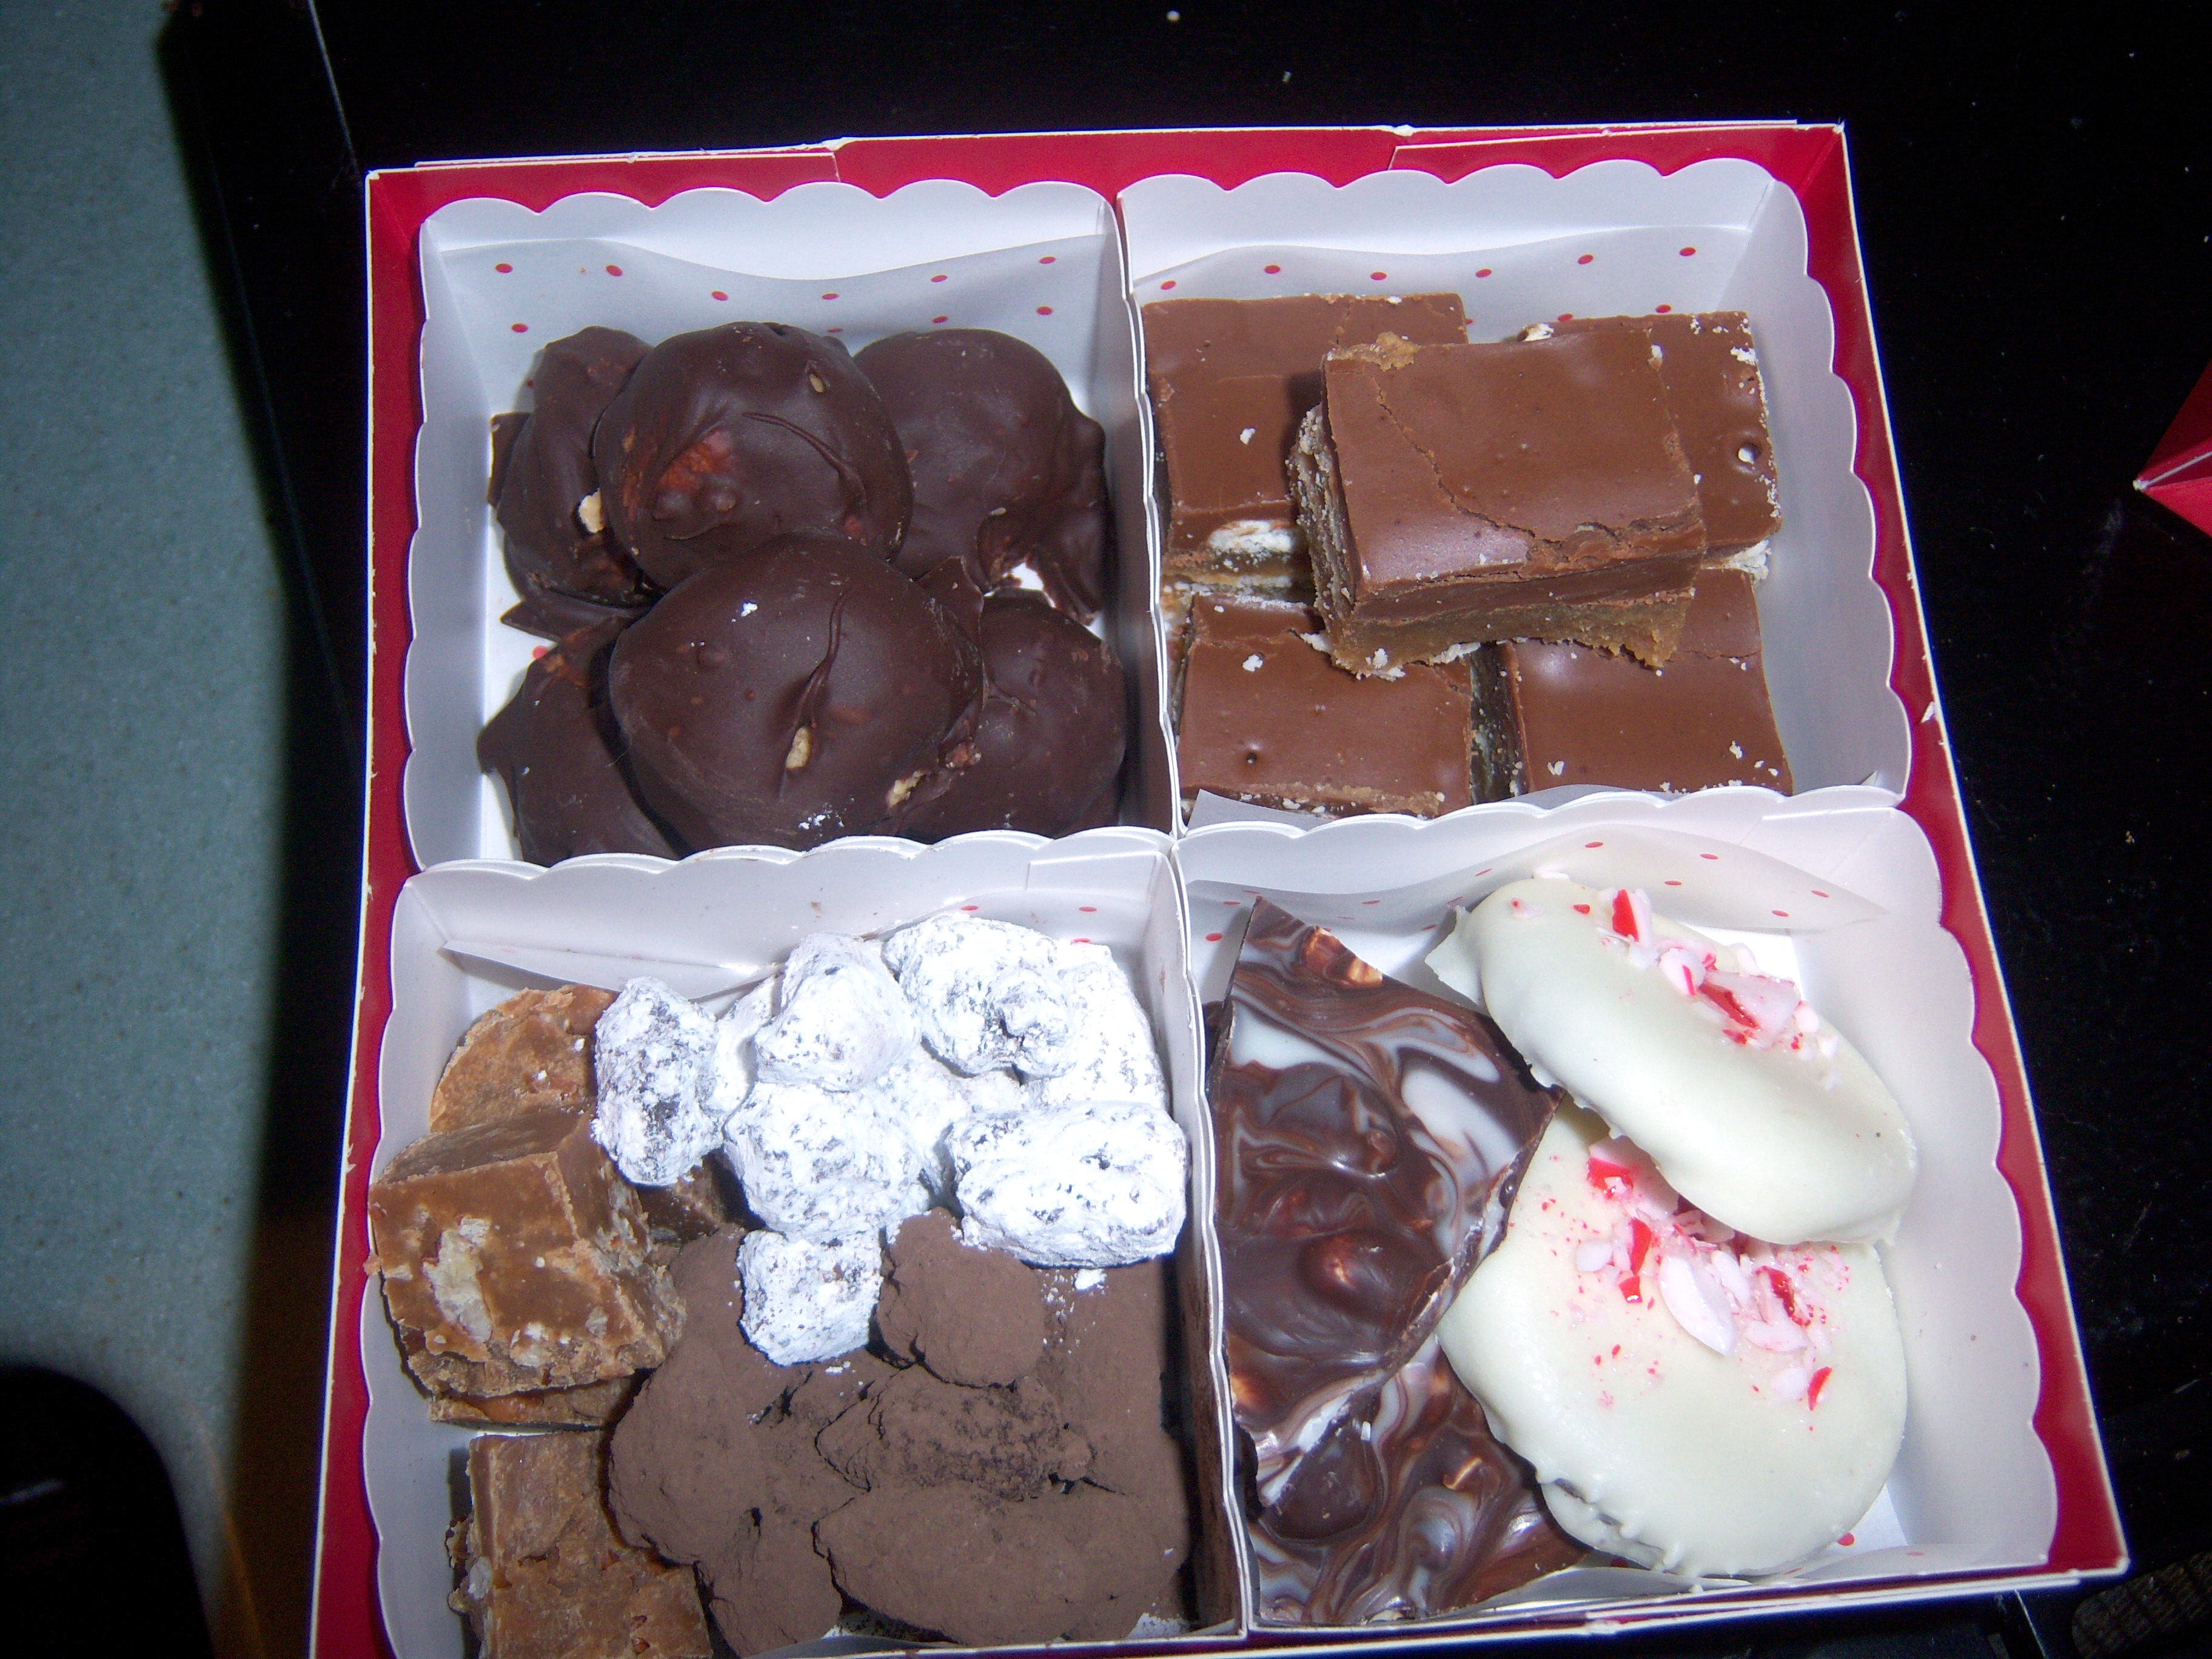
box-candyHere is one of the boxes of Martha’s candy I’m giving away this season. I’m using Martha’s boxes, which I found at Walmart. I think I got the last package the store had, back in early December and I’ve never seen them again, so I think they sold like hot cakes.
Here is one of the boxes of Martha’s candy I’m giving away this season. I’m using Martha’s boxes, which I found at Walmart. I think I got the last package the store had, back in early December and I’ve never seen them again, so I think they sold like hot cakes.

On page 74 of December Living, Lucinda Scala Quinn has a wonderful looking meal. Since I’m not hosting any holiday events, I won’t have a chance to make the main course, but I decided to give one of the sides a try. The roasted brussels sprouts (I don’t know about you, but I’ve called these “brussel sprouts” not “brussels sprouts”) with parsnips sounded yummy.

I must confess I am the only person in my house who liked brussel sprouts. Mr. MarthaAndMe will choke some down if necessary, but only under duress. The kids won’t touch them. I also like parsnips, but I usually roast them with carrots and rutabagas, so this was a new one for me.

I do like roasting winter vegetables. I think it gives it a nice flavor and sometimes I get so sick of boiling vegetables. I usually add balsamic vinegar when I roast them, although this recipe only called for oil and salt and pepper, so I followed the instructions.

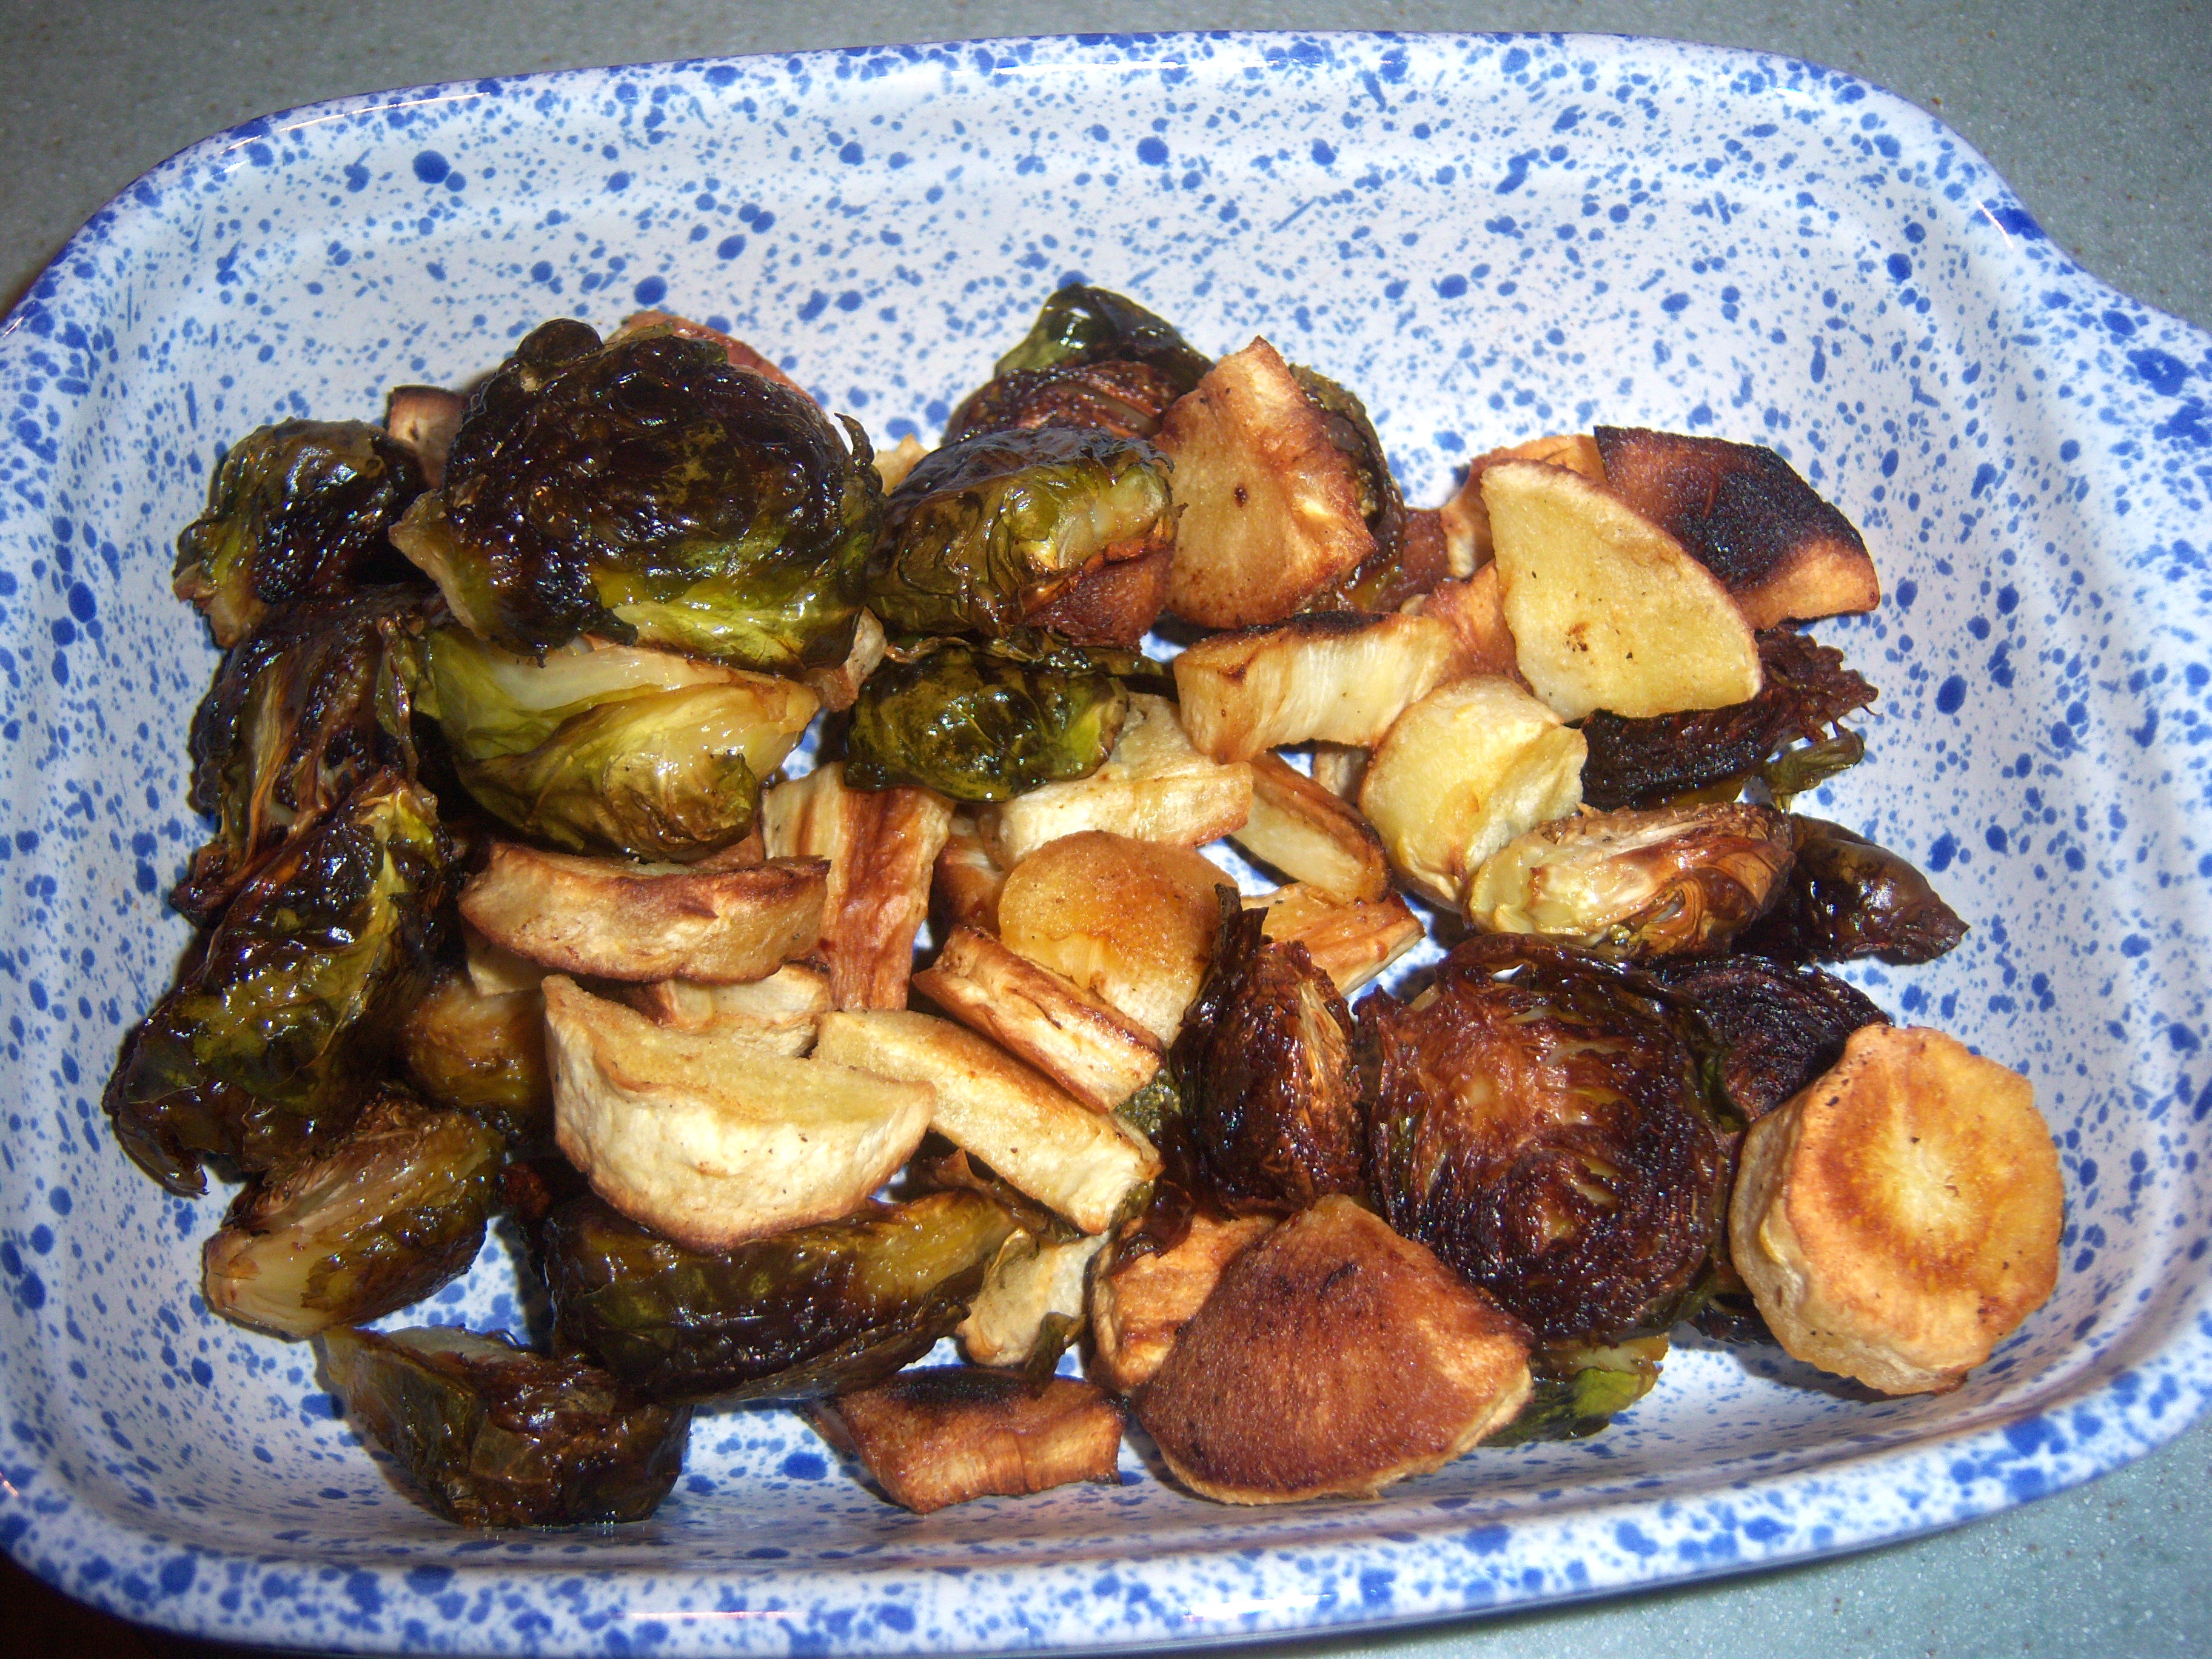
brus-parsThis cooked quite quickly since you cook it at 450 degrees (which always poses the danger of burning it). It had a nice taste. I forgot to add the pecans, but didn’t miss them. I will definitely roast brussel sprouts again.

On page 74 of December Living, Lucinda Scala Quinn has a wonderful looking meal. Since I’m not hosting any holiday events, I won’t have a chance to make the main course, but I decided to give one of the sides a try. The roasted brussels sprouts (I don’t know about you, but I’ve called these … Read more

Batter

Batter

Yesterday I made the batter for the Meyer Lemon Lace Tuiles (page 32 of December Living). It was easy – lemon and orange juice, butter, flour, sugar, and lemon and orange zest (the recipe calls for Meyer lemon juice and zest – not attainable in my neck of the woods, so I just used regular). The recipe says to refrigerate overnight. Check.

Today I got it out and put the batter on the baking sheets as directed – 3 inch circles, 2 inches apart. No problem. I was really excited

Ready to bake

Ready to bake

about this recipe. You bake the batter then you take each cookie and wrap it around the handle of a spoon to make a tube shape. They looked crunchy and wonderful in the photos.

This recipe seemed really simple and I wasn’t worried about it turning out at all.

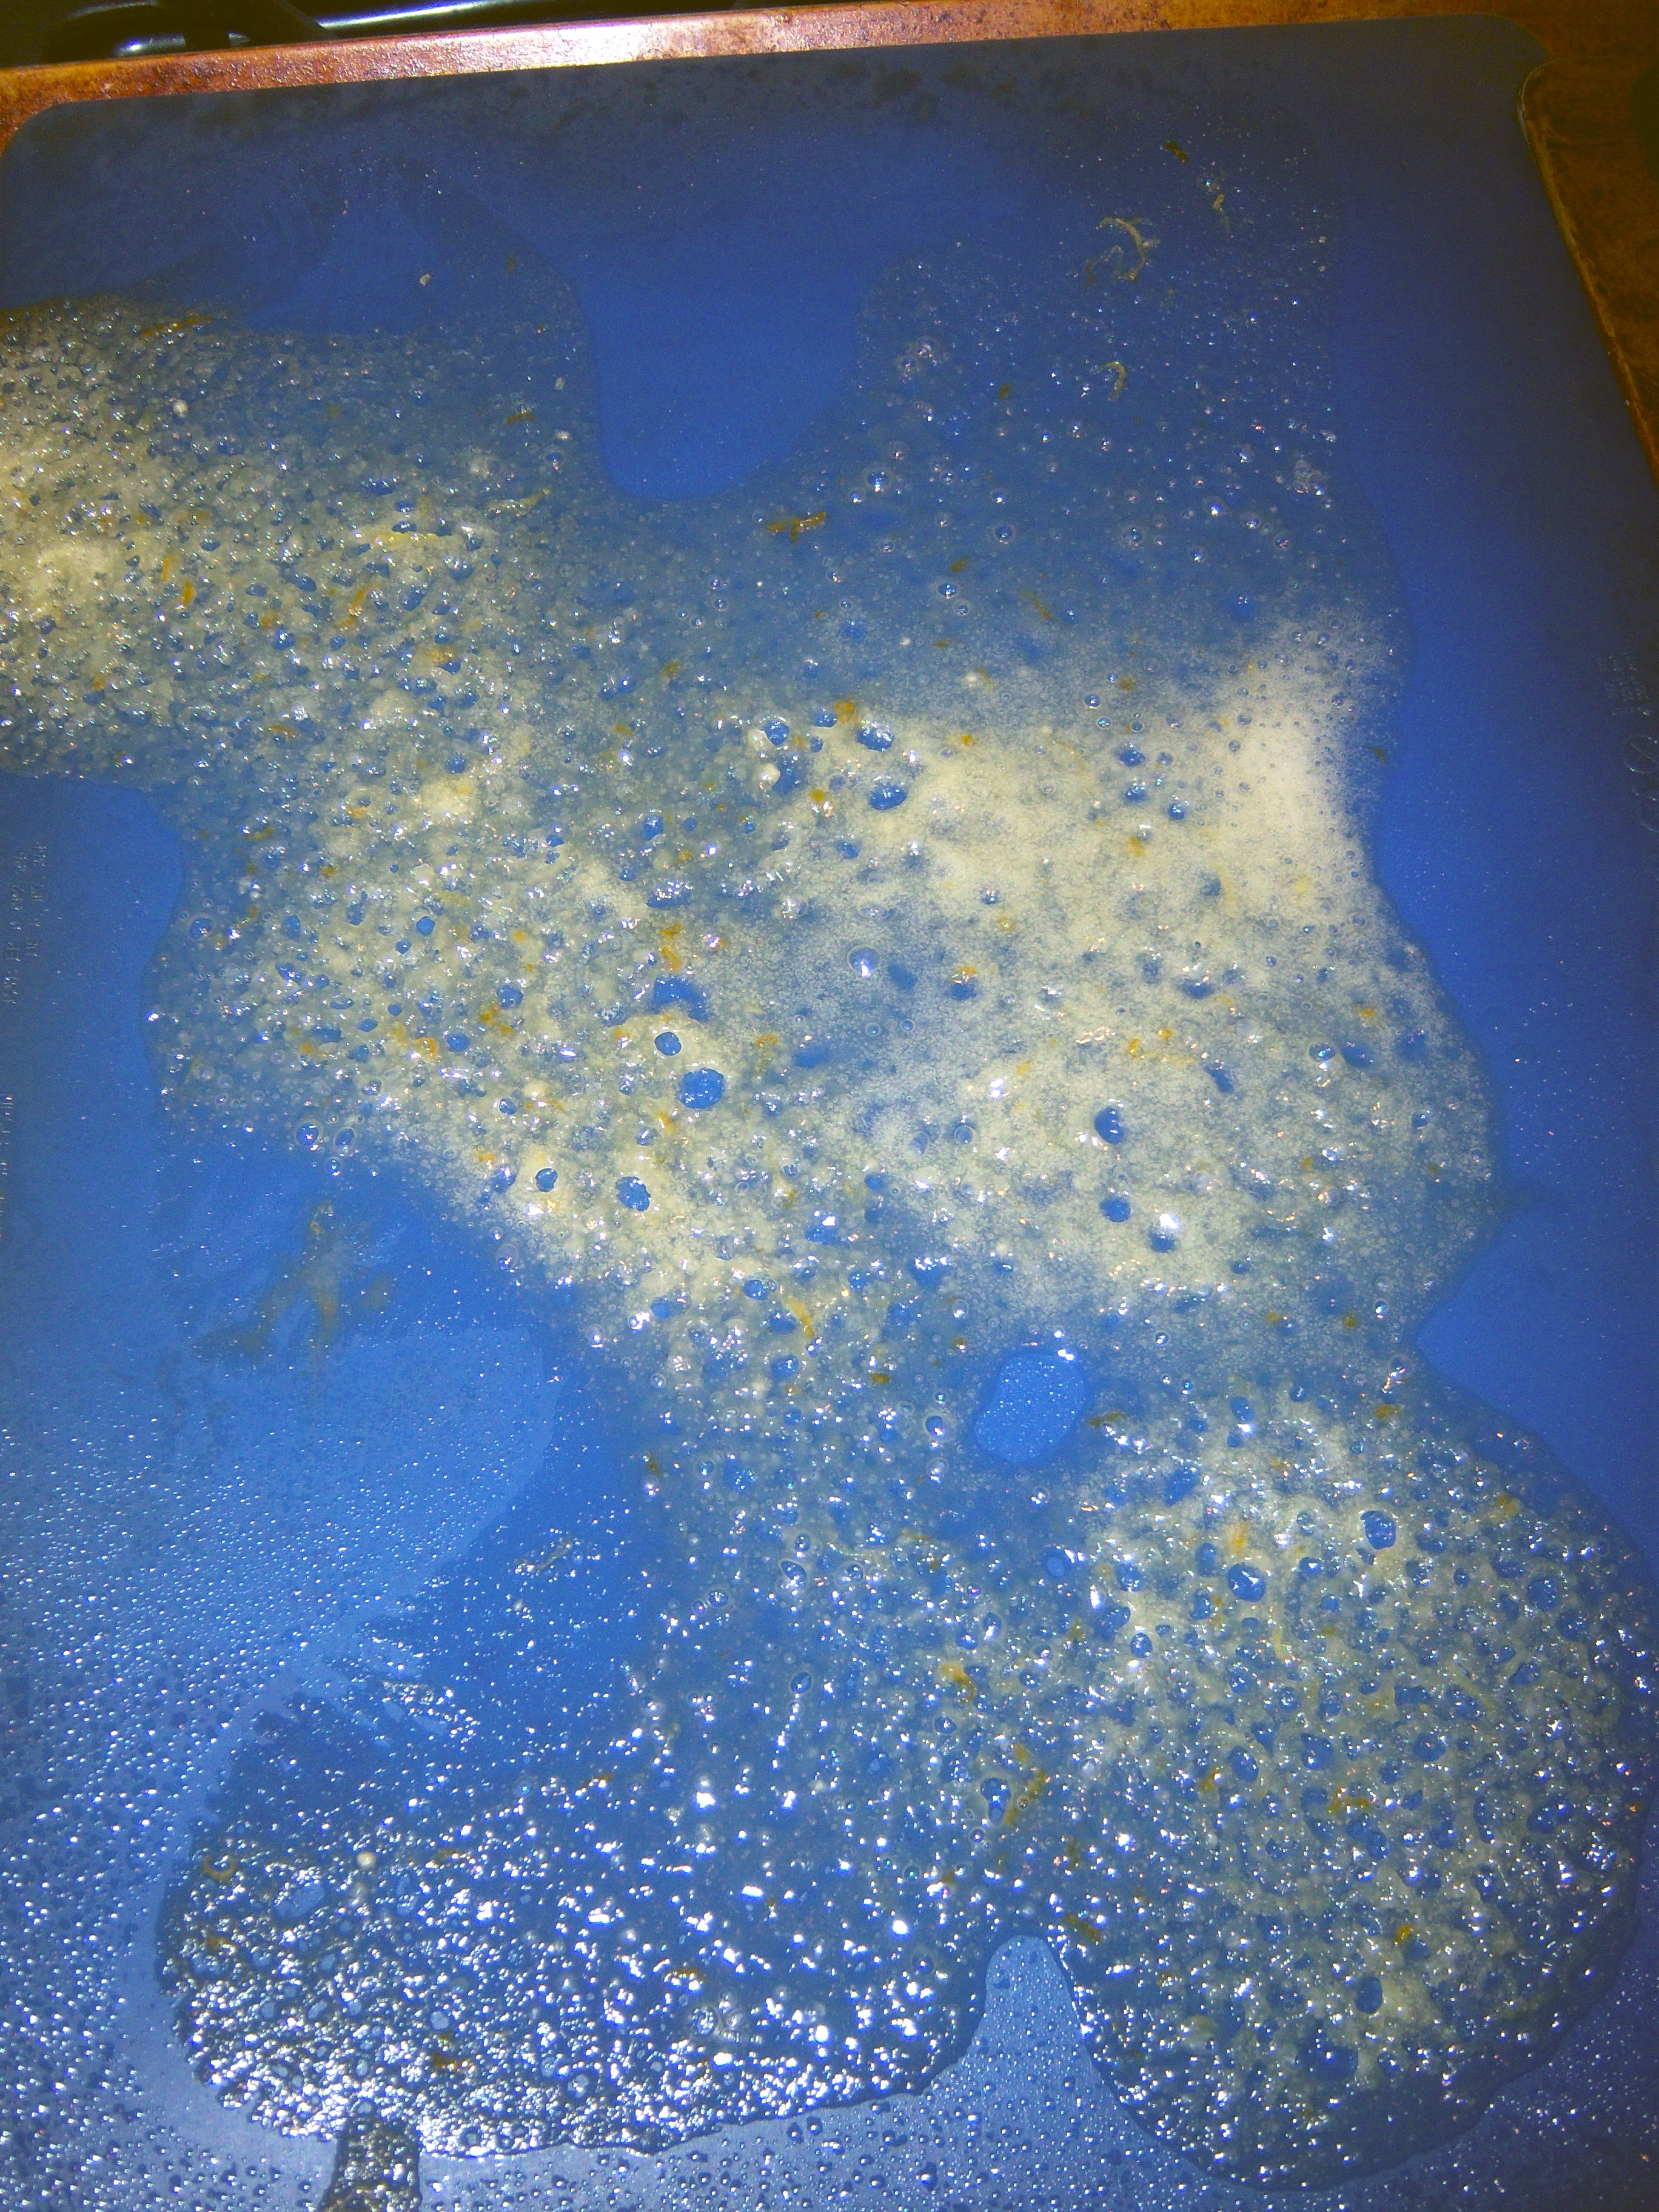
Silly me. Here is what I took out of the oven:

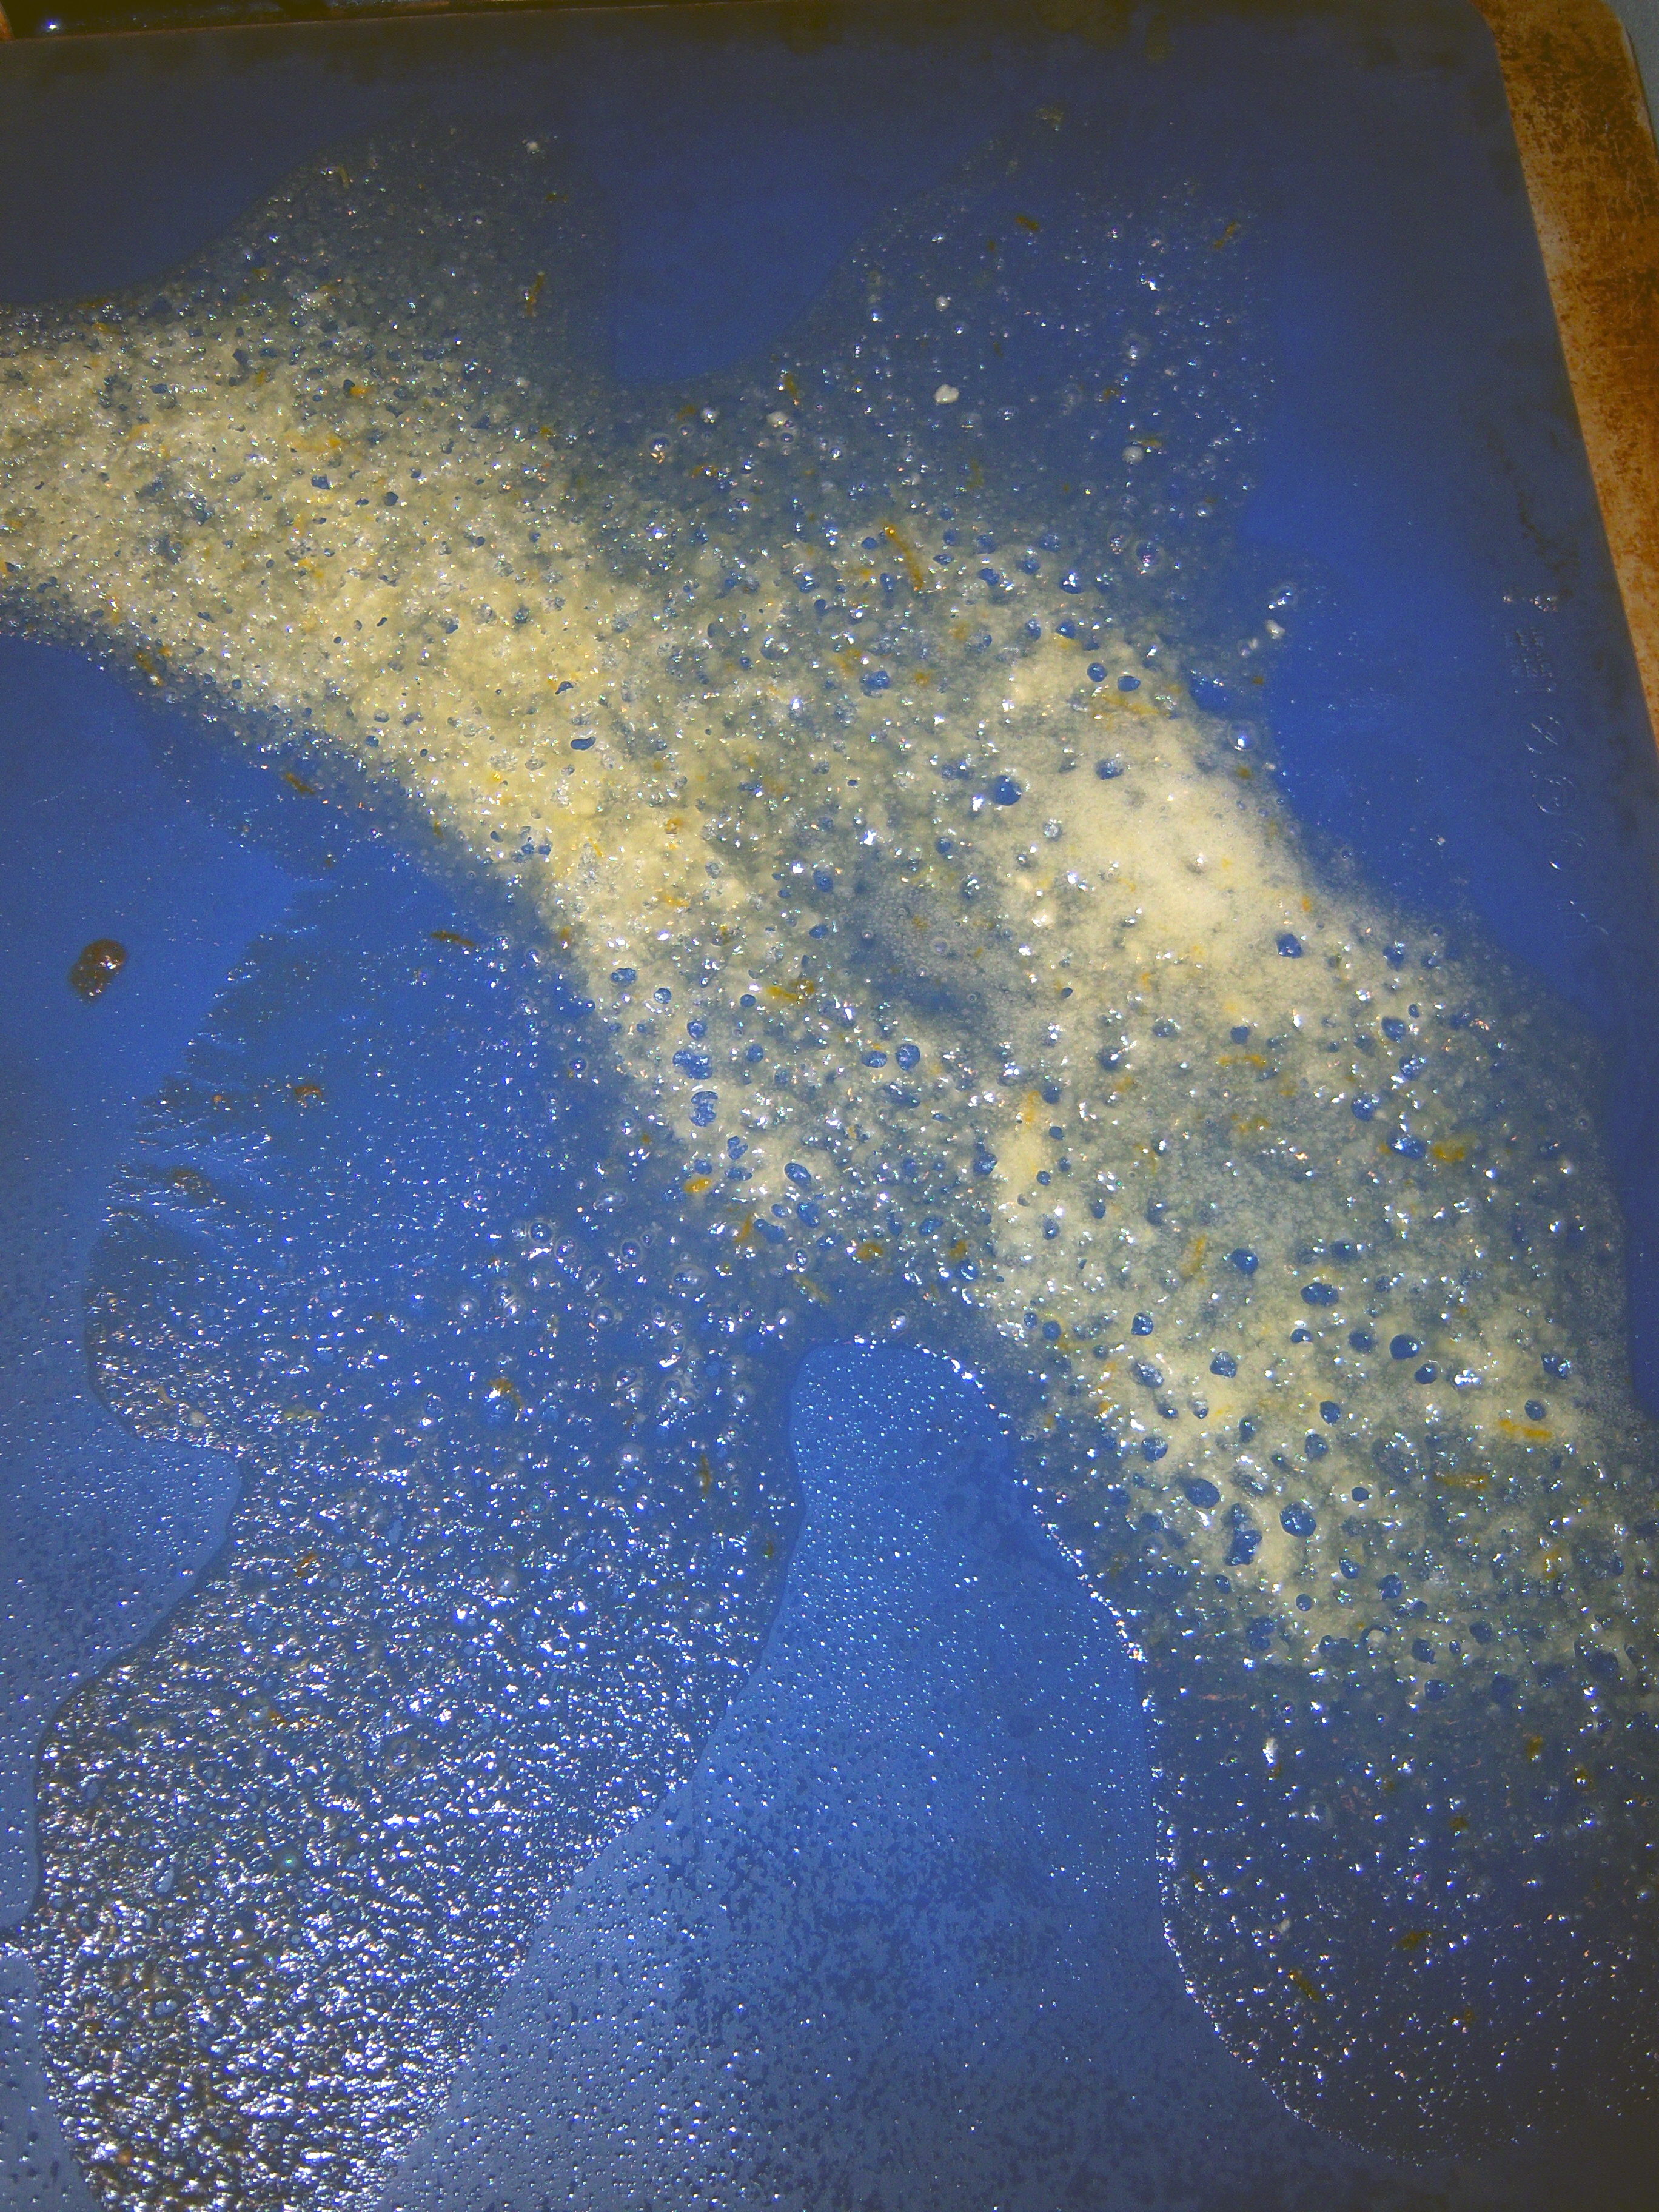
tuiles3

tuiles4

A total unmitigated disaster. There is nothing here that is usable.  It all ran into each other and did not maintain any shape at all. I threw it all in the trash.

What makes me even more upset is that this is the second batch of lemon cookies I’ve made this year that are worthless. The first ones were from a recipe I ripped out of a magazine in a Land o’ Lakes butter add for Lemon Meltaways. There was clearly a mistake in that recipe because the batter tasted like cornstarch and it cooked into piles of crumbs.

So I am 0 for 2 on my lemon cookie attempt this year. Really, this is why you should just stick with your tried and true family recipes. And from now I will.

Thumbs down on this Martha, very, very disappointing.

Yesterday I made the batter for the Meyer Lemon Lace Tuiles (page 32 of December Living). It was easy – lemon and orange juice, butter, flour, sugar, and lemon and orange zest (the recipe calls for Meyer lemon juice and zest – not attainable in my neck of the woods, so I just used regular). … Read more

On page 118 of the Handmade for the Holidays special issue, Martha has a recipe for granola. This seemed like it would make a great gift. I ran around buying all the ingredients and began what was a simple process.

The liquid mixture

The liquid mixture

First you melt butter and stir in brown sugar, honey, salt, water, vanilla, and cinnamon. Then you stir in rolled oats, oat bran, wheat germ, raw cashews and raw almonds. You spread the mixture on two baking sheets and bake for an hour and a half. The granola looked great – golden and shiny. It stuck together just enough. You’re then supposed to mix it with dried cherries, coconut and golden raisins. Before I did that, I tasted it.

Fresh from the oven

Fresh from the oven

Oh boy. Thumbs down. It was very salty and not very sweet. It needed a lot more cinnamon and sugar and maybe something else (not sure what!). It was pretty bland, although the nuts tasted good. It did have a nice crunchy texture. The verdict was that I would not give this to anyone without some major doctoring. I’m considering trying to mix it with more sugar and cinnamon to see if I can make it edible, but as of right now, this is off the gift-giving list. Thumbs down on this, Martha.

During this whole process, my Handmade for the Holidays magazine fell into a sink full of water. I think it’s probably not salvageable (although I am trying to dry it), so this might be my last project from that issue!

On page 118 of the Handmade for the Holidays special issue, Martha has a recipe for granola. This seemed like it would make a great gift. I ran around buying all the ingredients and began what was a simple process. First you melt butter and stir in brown sugar, honey, salt, water, vanilla, and cinnamon. … Read more

In December Living, page 208, the “What’s for Dinner” section this month is far too complicated. Cioppino? Really? For a busy weeknight in December? Not on your life. It’s just not happening. With all the expenses December brings, I cannot bring myself to buy mussels and clams for a weeknight meal. And I do not have time to try something totally out of my league like this.

Hearty and yummy

Hearty and yummy

I was, however, enticed by the bread accompanying it – Baguette with Parmesan and Roasted Garlic. Martha says to roast some garlic, then spread it on the bread and top with some shaved Parmesan. Oh, yummy! We did sprinkle a little olive oil on the bread as well. This was easy and tasty. To roast the garlic, I just dumped some olive oil over the garlic head, put it in a small glass pan and covered with foil then cooked the heck out of it.  It tastes fab, but be prepared to have garlic breath for the rest of the night.

In December Living, page 208, the “What’s for Dinner” section this month is far too complicated. Cioppino? Really? For a busy weeknight in December? Not on your life. It’s just not happening. With all the expenses December brings, I cannot bring myself to buy mussels and clams for a weeknight meal. And I do not … Read more

As the candymaking cavalcade continues, I decided to make the Cocoa and Sugar Dusted Chocolate Almonds from page 109 of the Handmade Holidays special issue. This sounded very simple (always the curse of death).

Almonds after cooking

Almonds after cooking

The first step is to cook the almonds with sugar, water and cinnamon in a pot on the stove. Then pour it onto baking sheets and stick it in the freezer. So far, so good. Getting it off the baking sheet was another story. I had it on waxed paper, which kept ripping as I tried to get the nuts off.

The next step is to melt semi-sweet chocolate and stir the nuts into it. Martha says to then put the almonds on a wire rack. Now, picture how small an almond is. Then picture the racks you own. Would an almond not fall through that? Definitely. Mr. MarthaAndMe came up with a solution – he

Mr MarthaAndMe's Solution

Mr MarthaAndMe's Solution

wrapped fishing line around and around a wire rack. He is oh-so-clever.

Once we had this in place, I mixed the almonds with the chocolate. Not so great. The chocolate sort of solidified and got all chunky. When I put the almonds on the rack, they looked like nasty pieces of something unpleasant

Unsightly mess

Unsightly mess

I will not name here. Not to mention, I did not need the stupid wire rack thing – setting them on waxed paper worked just as well since they were not drippy.

Because the chocolate was not nicely coating the almonds, I first stuck it in the microwave to try to soften it a bit, but that did not seem to help (and I was worried about the sugar coating dissolving). Then I put it over a pot of boiling water. This helped a little. I ended up rolling each almond by hand to smooth out the layer of chocolate on it. This was a major pain and I admit it made me complete cranky.

Next you cool the almonds and then roll half of them in cocoa powder and half in powdered sugar. This was easy.

The results

The results

The taste test? Well, I think the almonds needed to cook longer in the sugar mixture because they were not as crunchy as I would have liked.  I’m not sure using raw almonds was the way to go here, Martha. I think regular almonds might have worked out better. I was thoroughly disgusted by this entire project by the end. What should have been simple took forever and did not turn out as I envisioned.

As the candymaking cavalcade continues, I decided to make the Cocoa and Sugar Dusted Chocolate Almonds from page 109 of the Handmade Holidays special issue. This sounded very simple (always the curse of death). The first step is to cook the almonds with sugar, water and cinnamon in a pot on the stove. Then pour … Read more

no