As part of my Superbowl snack-food-a-palooza, I made Martha’s Chocolate Chip Cupcakes with Chocolate Chip Frosting (p. 152 Martha Stewart Living February).

The Batter

The Batter

These cupcakes are a little more complicated than your basic cupcake. First of all, you need cake flour. This meant a trip to the store for me (if I could count the number of trips to the store Martha has resulted in for me…). You make your batter with butter and sugar, milk, vanilla, cake flour, salt and baking powder. Then you beat some egg whites until they have stiff peaks and fold that into the batter. Then you fold in chocolate chips. The batter tasted *really* good. Light and fluffy and wonderful.

I poured it into my cupcake pans. The recipe says it makes 30. Please raise your hand if you normally make cupcakes using two pans. I know I do. Who has 3? I made 24 and they were fine.

While they were baking, I made the frosting, which is buttercream with chocolate chips. I cut the recipe for this in half since it said it made 4 cups which seemed like a lot to me.

Mayhem slightly repaired

Mayhem slightly repaired

The cupcakes came out nicely. Frosting them was a bit of a situation though. It did not go well.  Mayhem might be the word. The cupcakes simply shredded when I spread the frosting on using my offset spatula. The tops were ripping off, the sides were collapsing. It was not a good situation. It took a lot of work and care to spread the frosting and repair the rips that happened. I gave up on several and did not even try to get the frosting all the way to the edges.

The Playing Field

The Playing Field

Now for the taste test. The cupcakes were pretty good. This is really a very good concept. My son asked me how they are different from chocolate chip muffins and they are softer and lighter than that. The finished cupcake did not taste as good as the batter did though! It was a little dry I thought.  It was tasty, however.

There was one major flaw with this recipe. All of the chocolate chips sunk to the bottom of the cupcakes! This is not a good situation.

The Sinking Chips

The Sinking Chips

My other problem is the frosting. I just didn’t like it. It was too sweet. Just grossly sweet. And somehow full sized chocolate chips seemed too big in the frosting. These almost don’t need any frosting at all in my opinion. So this one is kind of a mixed bag – good, not great.

As part of my Superbowl snack-food-a-palooza, I made Martha’s Chocolate Chip Cupcakes with Chocolate Chip Frosting (p. 152 Martha Stewart Living February). These cupcakes are a little more complicated than your basic cupcake. First of all, you need cake flour. This meant a trip to the store for me (if I could count the number … Read more

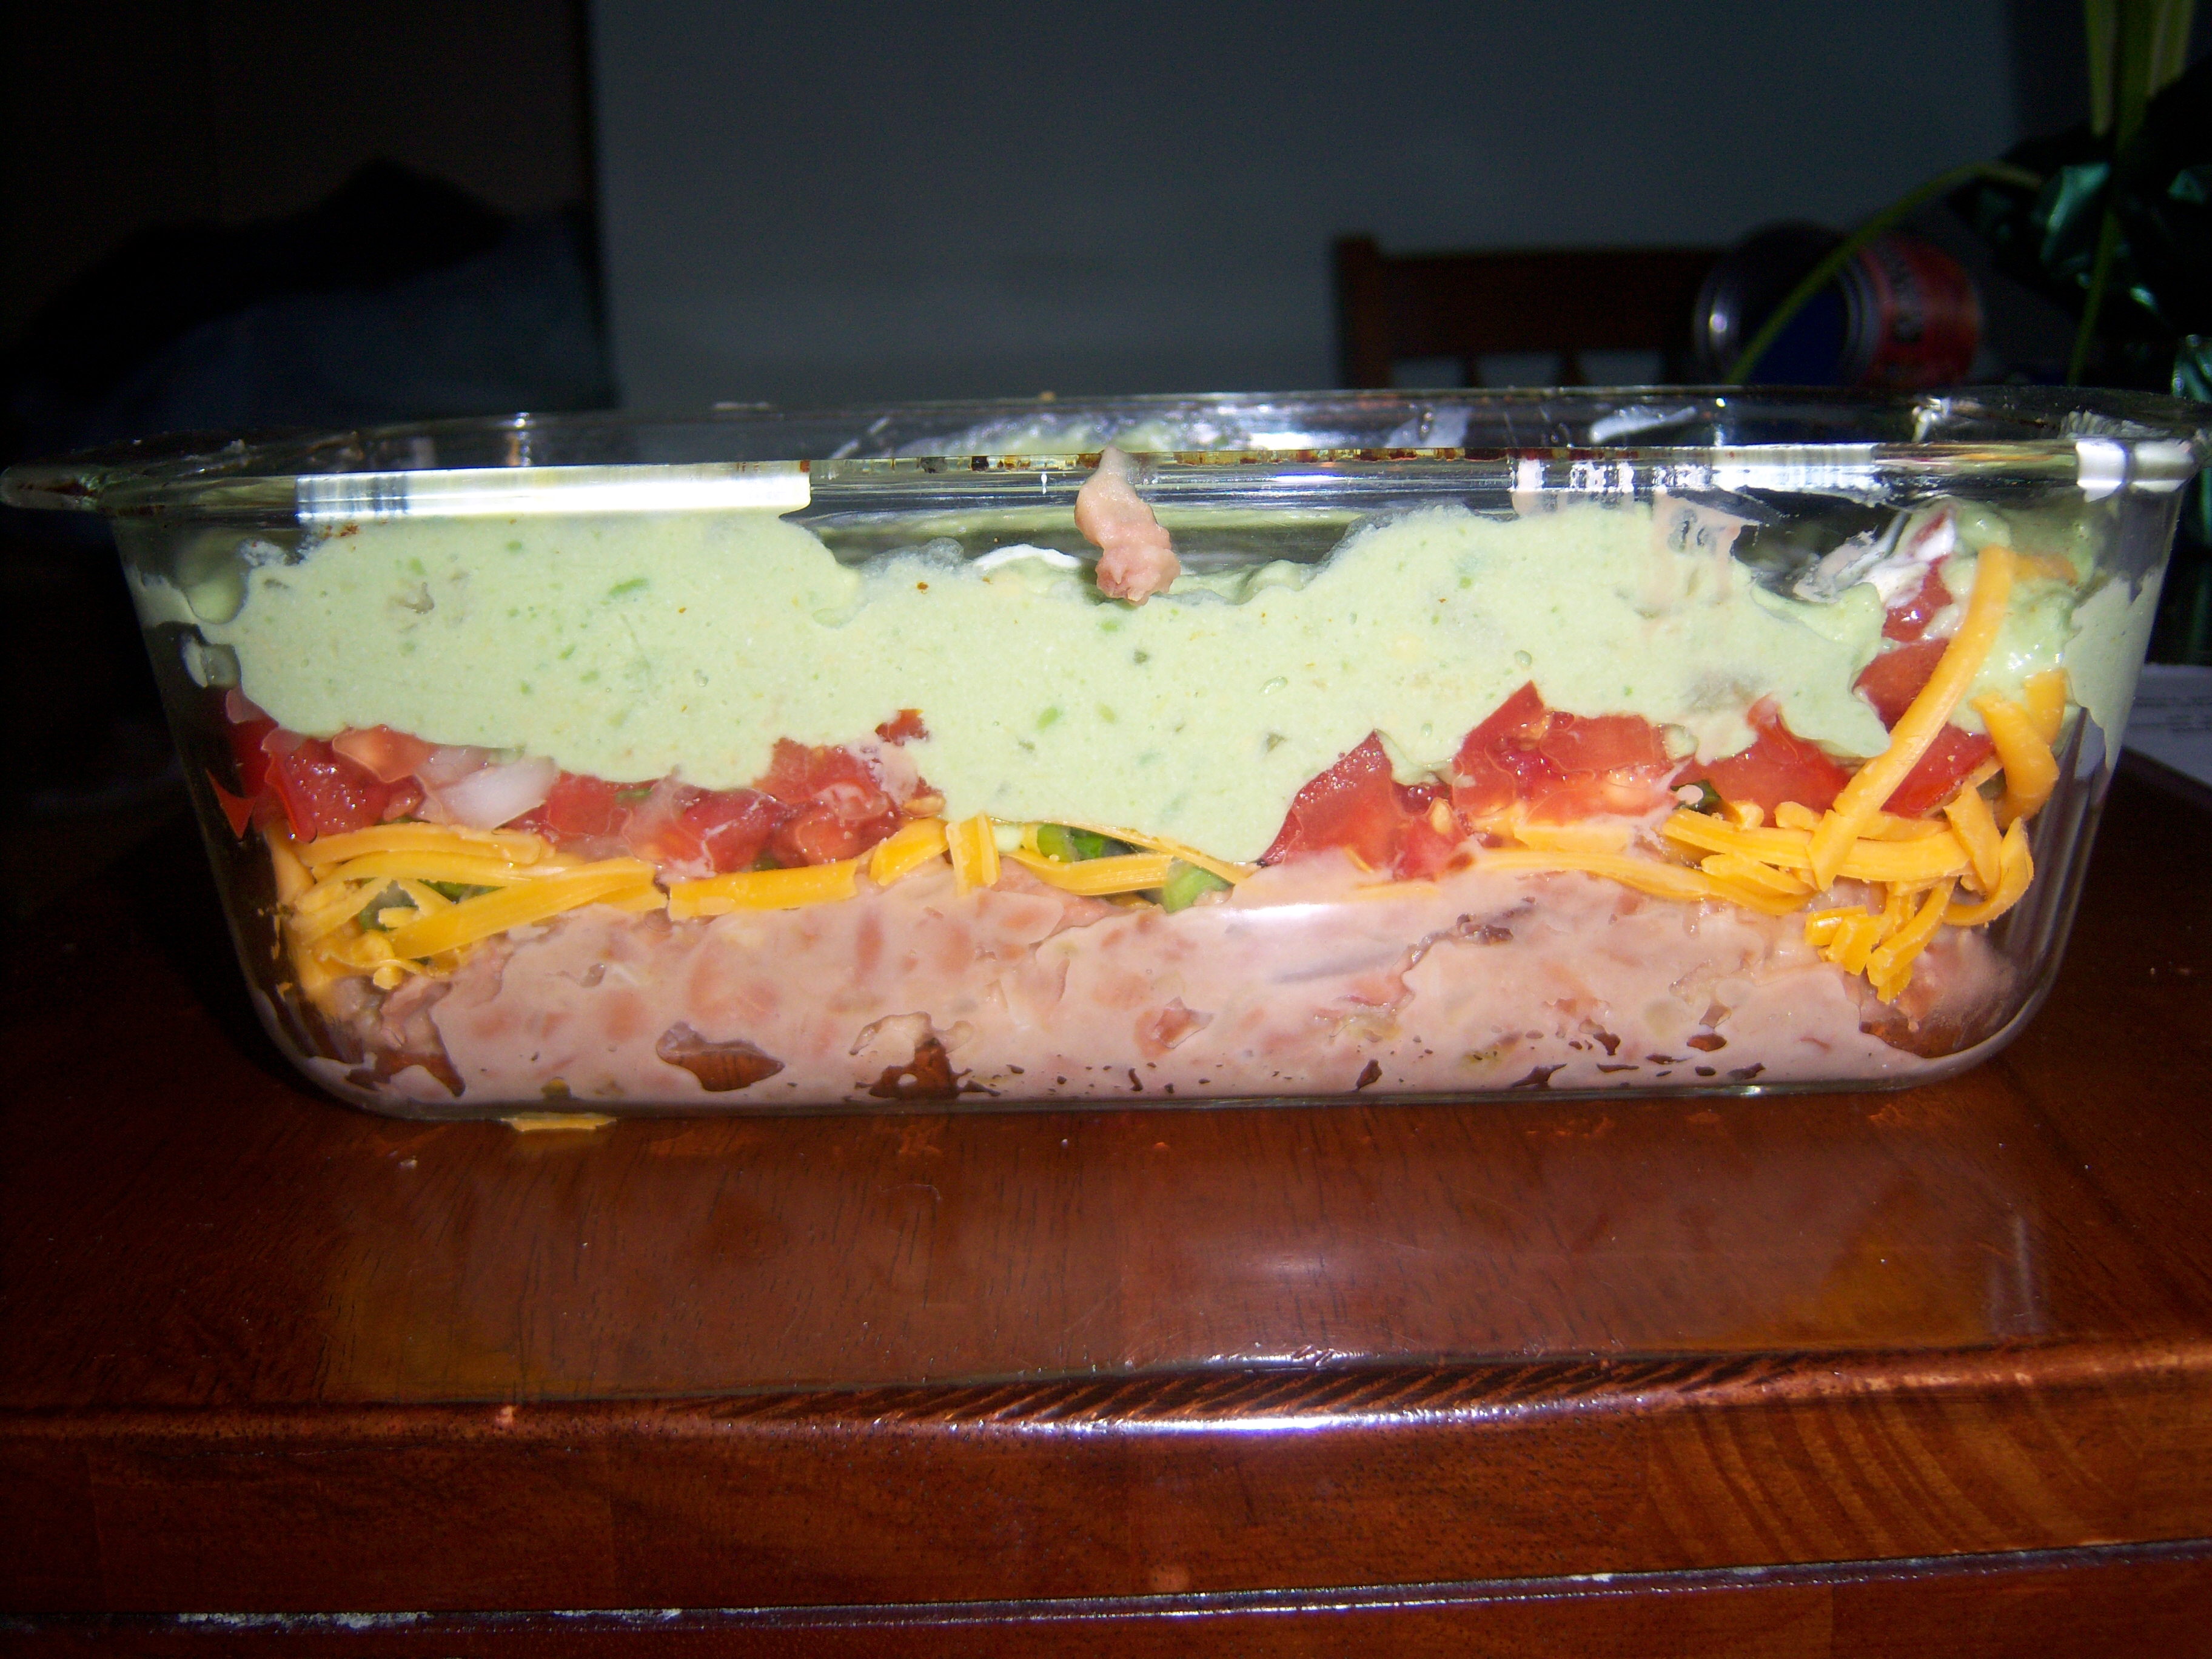
I do not associate Martha with the Super Bowl, but she was there apparently, and has been there the past four years. She says she used to have parties for it before that. So, I invited Martha (ok, just her recipe) along to our little party.  I made Martha’s Seven-Layer Bean Dip (Martha Stewart Living January page 39) yesterday.

bean-dip1This was very simple to put together, even though 7 layers sound intimidating. You cook onions and garlic and then add beans. You smoosh the beans. That becomes your first layer. The next layers are cheese, scallions, tomato/onion, avocado/chile, sour cream and olives. I didn’t include the olives.
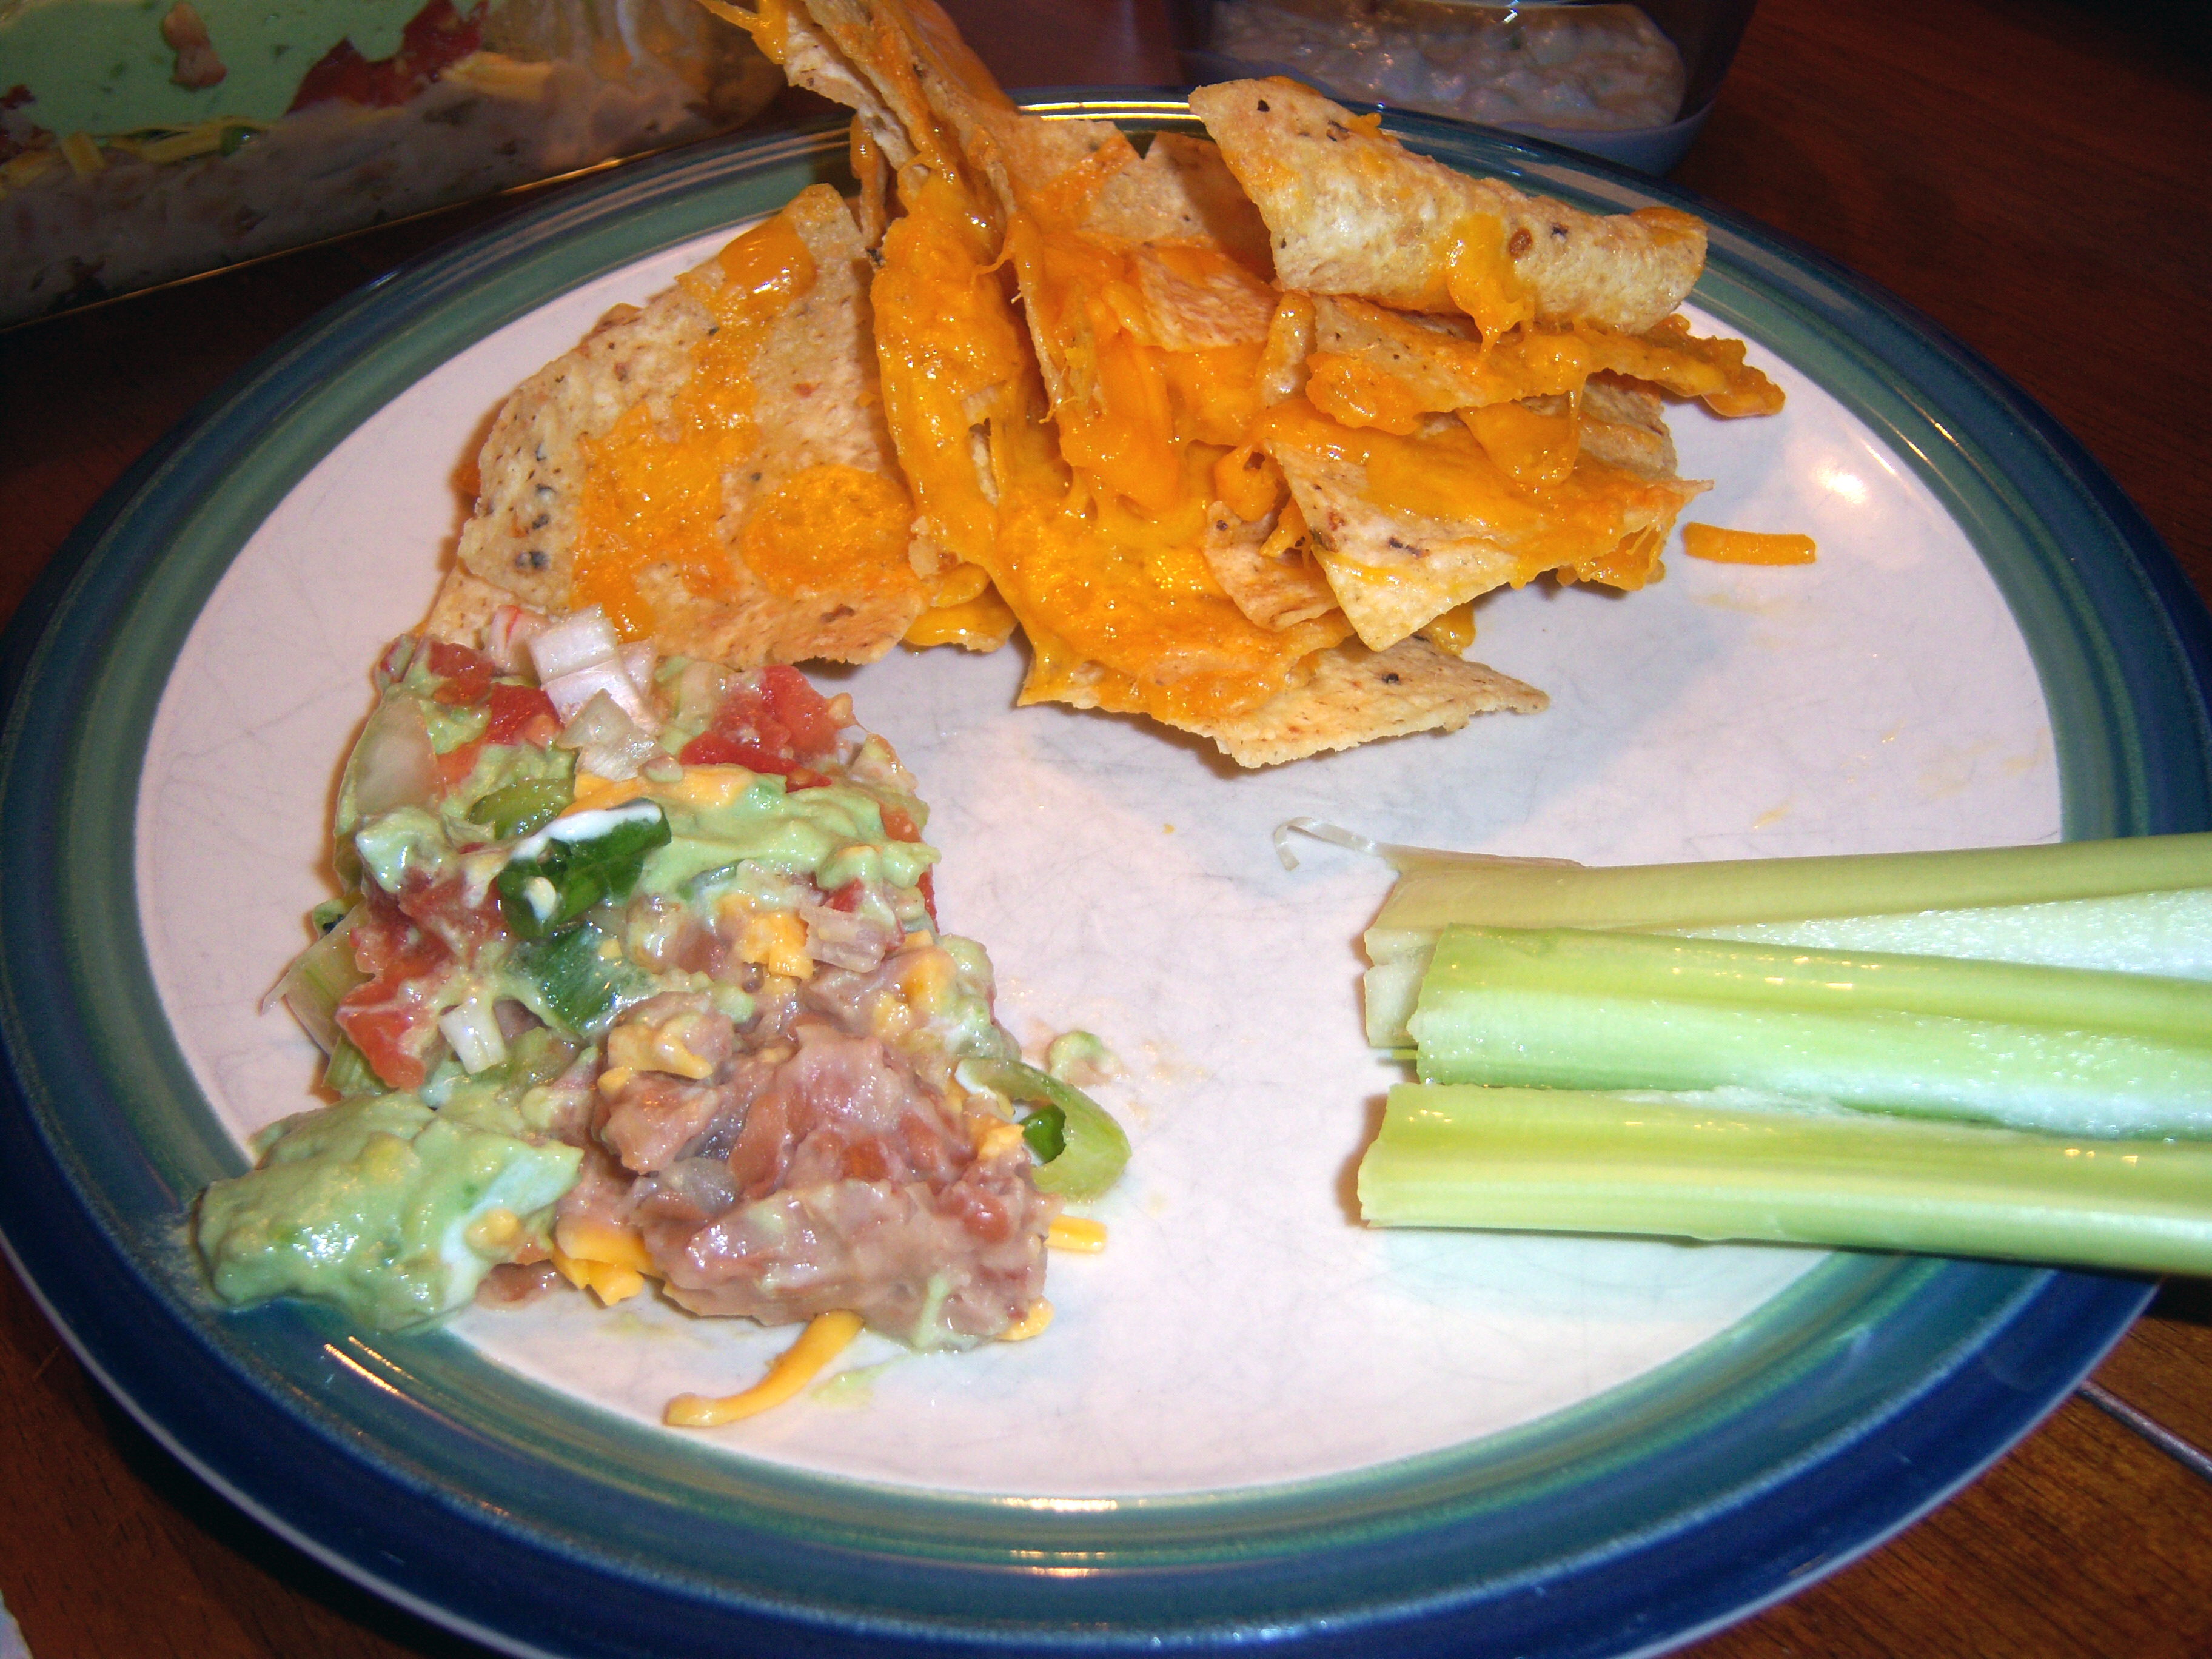
Martha says to make several small jars of this to place around the party. I cut the recipe in half and make just one since there was only three of us (and we have a lot leftover). I served it with nachos. I also made my regular guacamole dip that is traditional for us. And I cut up some fresh veggies.bean-dip2

I liked the bean dip. It was very easy to make and I liked how you just throw it together and put it on the table – no refrigerating, no heating it up. The beans are still warm when you eat it which is nice. I loved, loved, loved the crunch of the scallions and the onion taste in the tomatoes. I did think it was a little bland. It needed some more heat. That’s my only criticism. I am an avocado freak, so I loved that part of it also.  It was pretty to see the layers and it felt very festive. Nice play, Martha.

I do not associate Martha with the Super Bowl, but she was there apparently, and has been there the past four years. She says she used to have parties for it before that. So, I invited Martha (ok, just her recipe) along to our little party.  I made Martha’s Seven-Layer Bean Dip (Martha Stewart Living … Read more

Martha made these on her show back on January 15, and it’s in the Feb issue of Martha Stewart Living, so I was ready to give Spinach-Gruyere Gateau de Crepes a try. Last night was the big night (you know you’re getting old when a “big night” is staying home and making crepes).

I started by making the crepe batter first thing in the morning and sticking it in the fridge. I started cooking around 4:45 and we didn’t eat until 6:15 so that gives you an idea of how long this takes.

Making the crepes

Making the crepes

I was a little apprehensive about making the crepes. I’ve made them once before and wasn’t thrilled with the results. I’m happy to report that Martha’s recipe was easy and they turned out quite nicely. The recipe made more than 12 – I think I would have gotten 18 if I had kept going, but I used the leftovers to make one big thick crepe for our son to eat with powdered sugar on it.

Crepe in the pan

Crepe in the pan

These are not hard to make but it is time consuming.  Now it’s time for my crepe story. When I was a kid in the 70s, I remember my parents (true gourmets in a 70s way) had an electric crepe maker. It was this convex surface with a handle that plugged in – almost like a saute pan but no edges and it was rounded on the top. It came with a special bowl. You mixed up the crepes in the bowl and then just dipped the heated surface in it to get the batter on it. Why this was necessary, I have no idea. Cooking it in a pan was pretty simple it seemed to me. Anyway, I remember it being used only once or twice when they had a crepe night. I also recall there being a dacquiri night where they made all different varieties and became completely sloshed.

Bearnaise Sauce

Bearnaise Sauce

Moving on with Martha’s creation — while the crepes were endlessly cooking, I mixed up the bearnaise sauce – very simple. Then I cooked some spinach (I used frozen that I squeezed dry – shhhh) with garlic and added salt and pepper, nutmeg and some lemon juice. This then gets added to the bearnaise.

Once all the crepes were done (days later it seemed), I was ready to assemble. You spread bearnaise/spinach mix on each crepe and layer another crepe on top, etc. Once you reach the top, you add some plain bearnaise which you reserved (no spinach) and sprinkle cheese on top.

Ready for the Oven

Ready for the Oven

Finally it was ready for the oven. I left it in the prescribed amount of time, but it needed longer. It was not piping hot all the way through.

It looked ok coming out of the oven, but some of the sauce had oozed out.  It was easy to cut into slices (I was sure it was going to be a mess!).

Fresh from the Oven

Fresh from the Oven

I served this with some grilled salmon and peas.  It tasted good, but I felt as though it was a little bland. We put a lot of salt and pepper on and that helped.

I actually ate  a small piece for breakfast this morning (it was similar to an omelet in my mind) and it tasted better today than it did last night.  I don’t think I would make this again, although there was nothing horrible about it. It was just a lot of work for something that didn’t really excite me.  They tried this recipe over at the  Good Things blog and their result looked a little different than mine. It was definitely fun to try (which is part of why I’m in this Martha experience).

On the Plate

On the Plate

Martha made these on her show back on January 15, and it’s in the Feb issue of Martha Stewart Living, so I was ready to give Spinach-Gruyere Gateau de Crepes a try. Last night was the big night (you know you’re getting old when a “big night” is staying home and making crepes). I started … Read more

I decided to make Brown Sugar Pound Cupcakes With Brown Butter Glaze to send into school for my son’s birthday.  These cupcakes were easy to make – nothing wild and crazy about them at all. The glaze requires you to brown some butter before mixing the frosting up. Very easy.

So, there I am with the cupcake batter mixed and the cupcake pans out and I realize I have no cupcake liners. I ripped the pantry apart – there are none. Now, when sending cupcakes to school you’ve really got to have them in wrappers, or else you need to send in paper plates, which I didn’t have either.

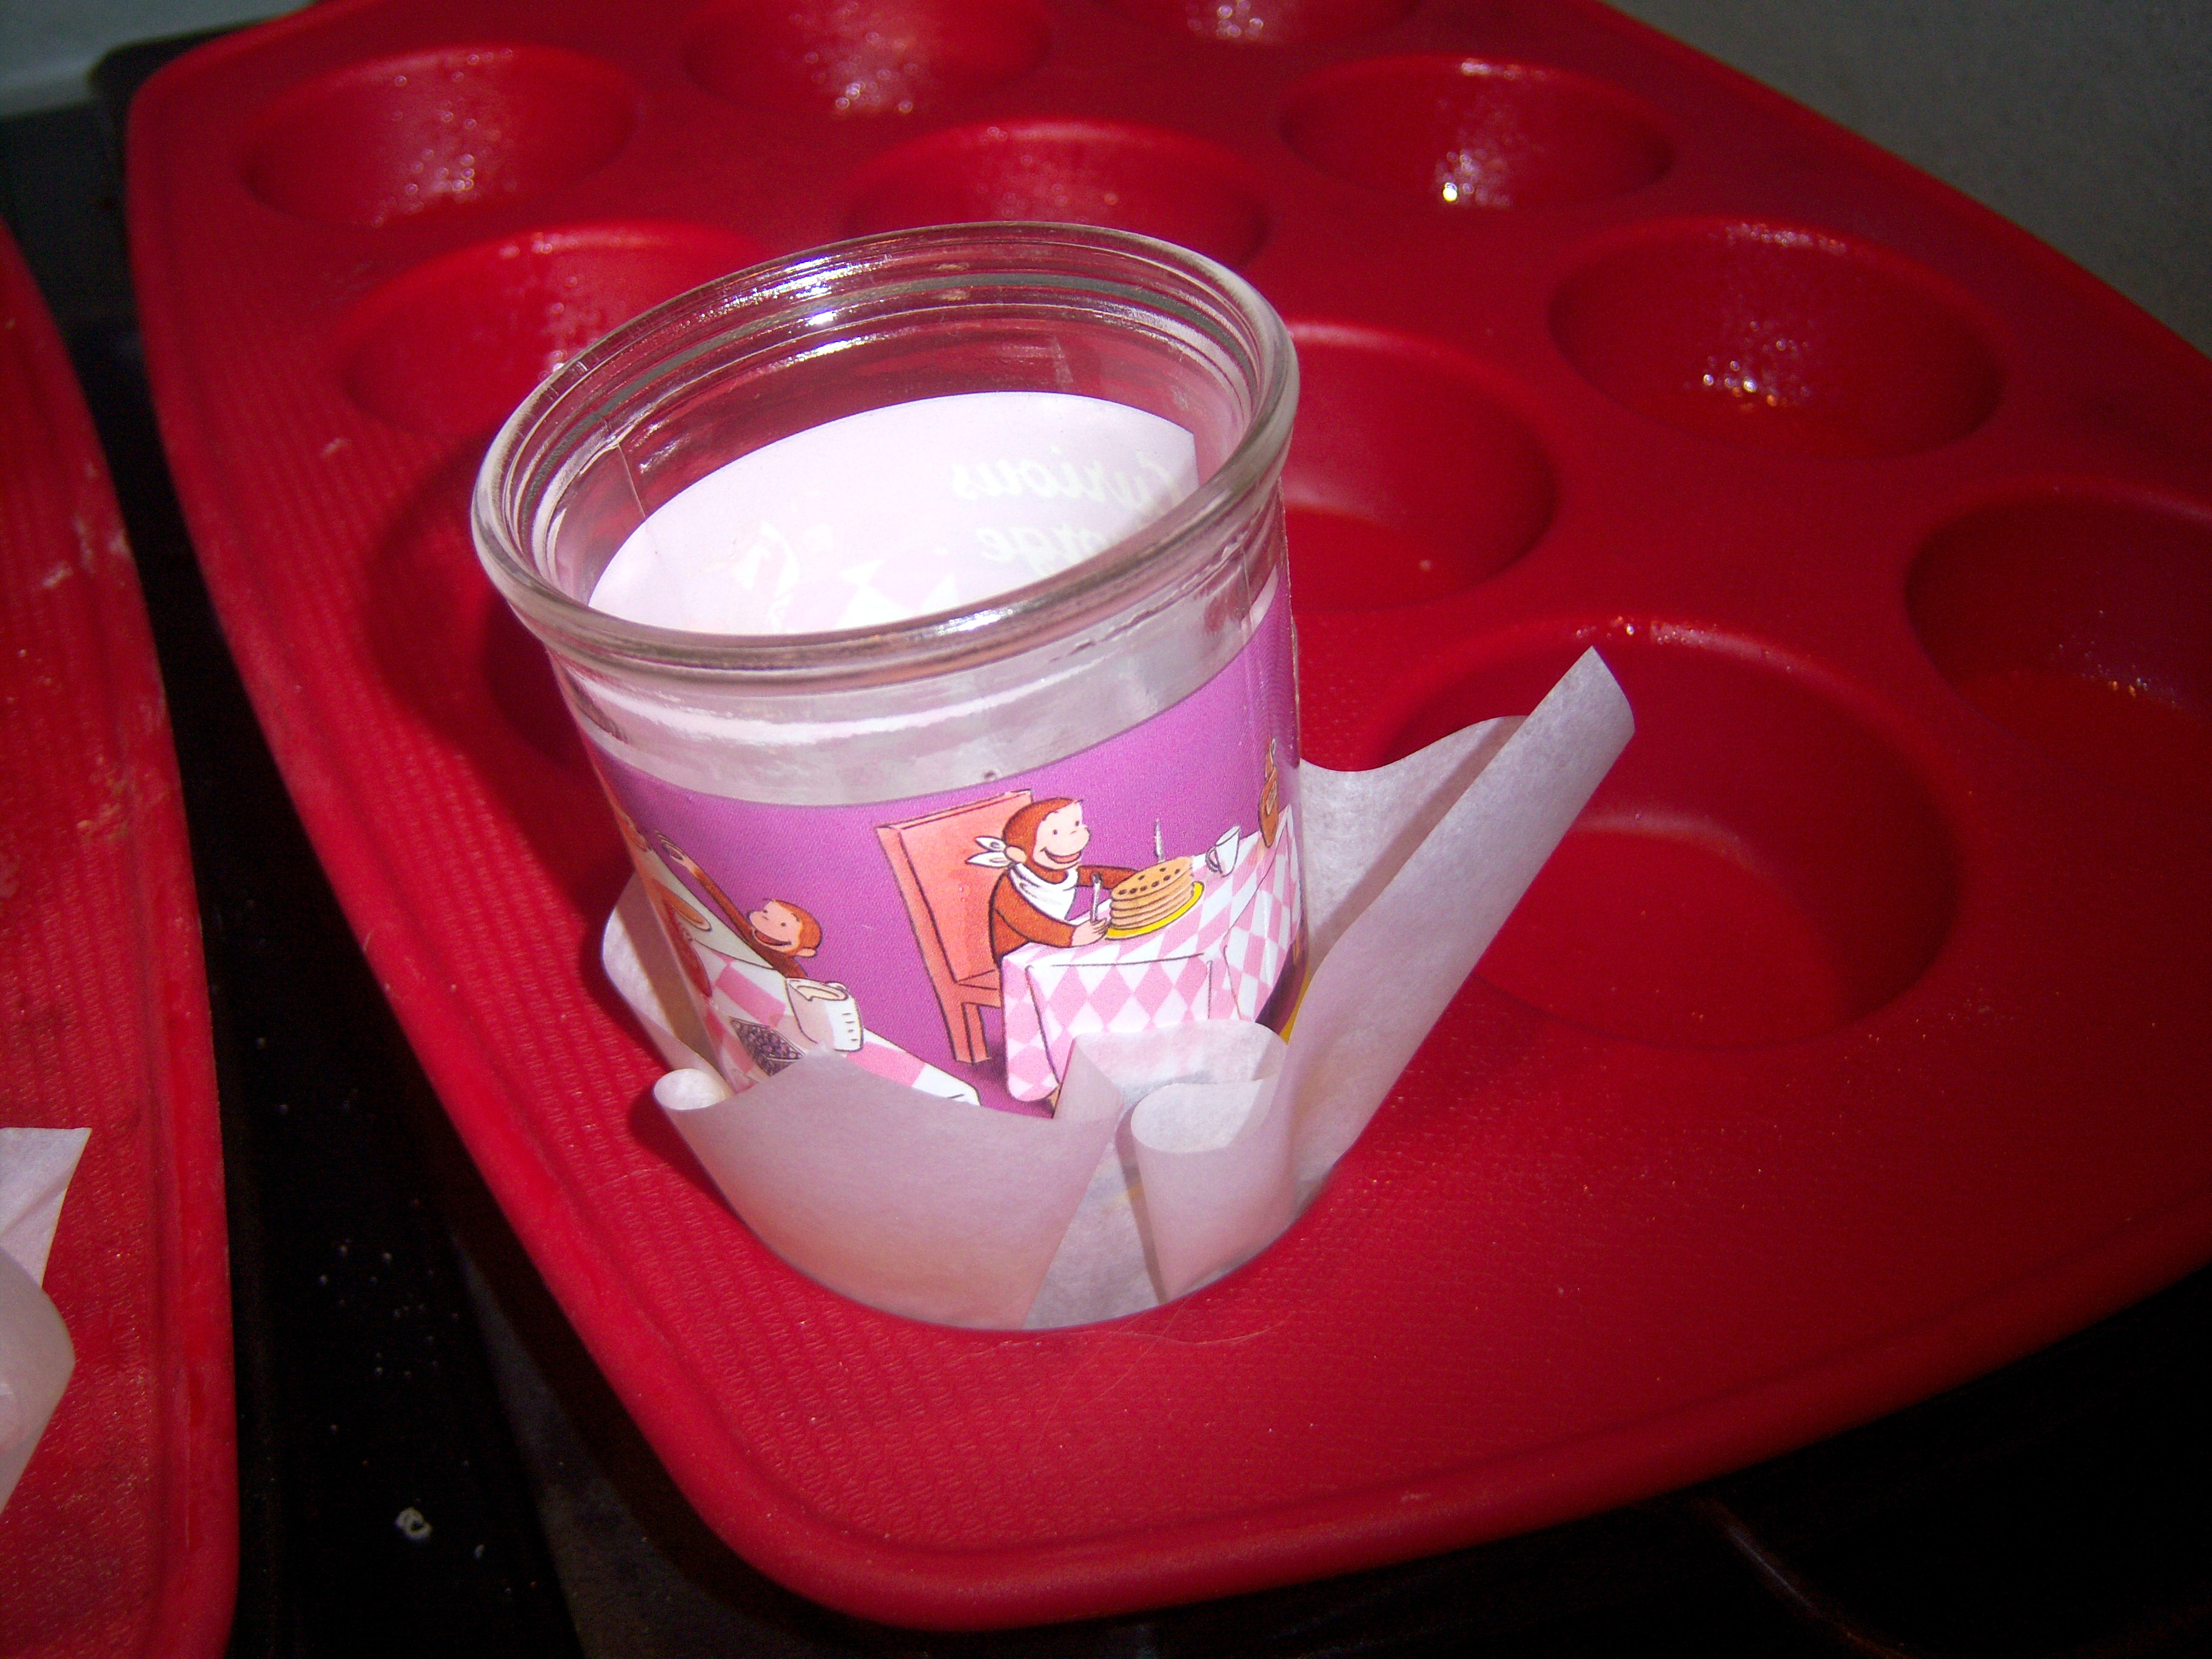
I was just about to go to the store, when I remembered Martha’s cupcake show and the kooky woman from Pure who lines her cupcakes with parchment paper. Now she used a beige color, but I had a roll of just plain white for lining baking sheets. So I cut it out into squares. On the show, the Pure lady said she smooshes it into the tins with a glass. Here is what happened:

cupcake1I smooshed it in with the glass and thought, wow! This is cool.
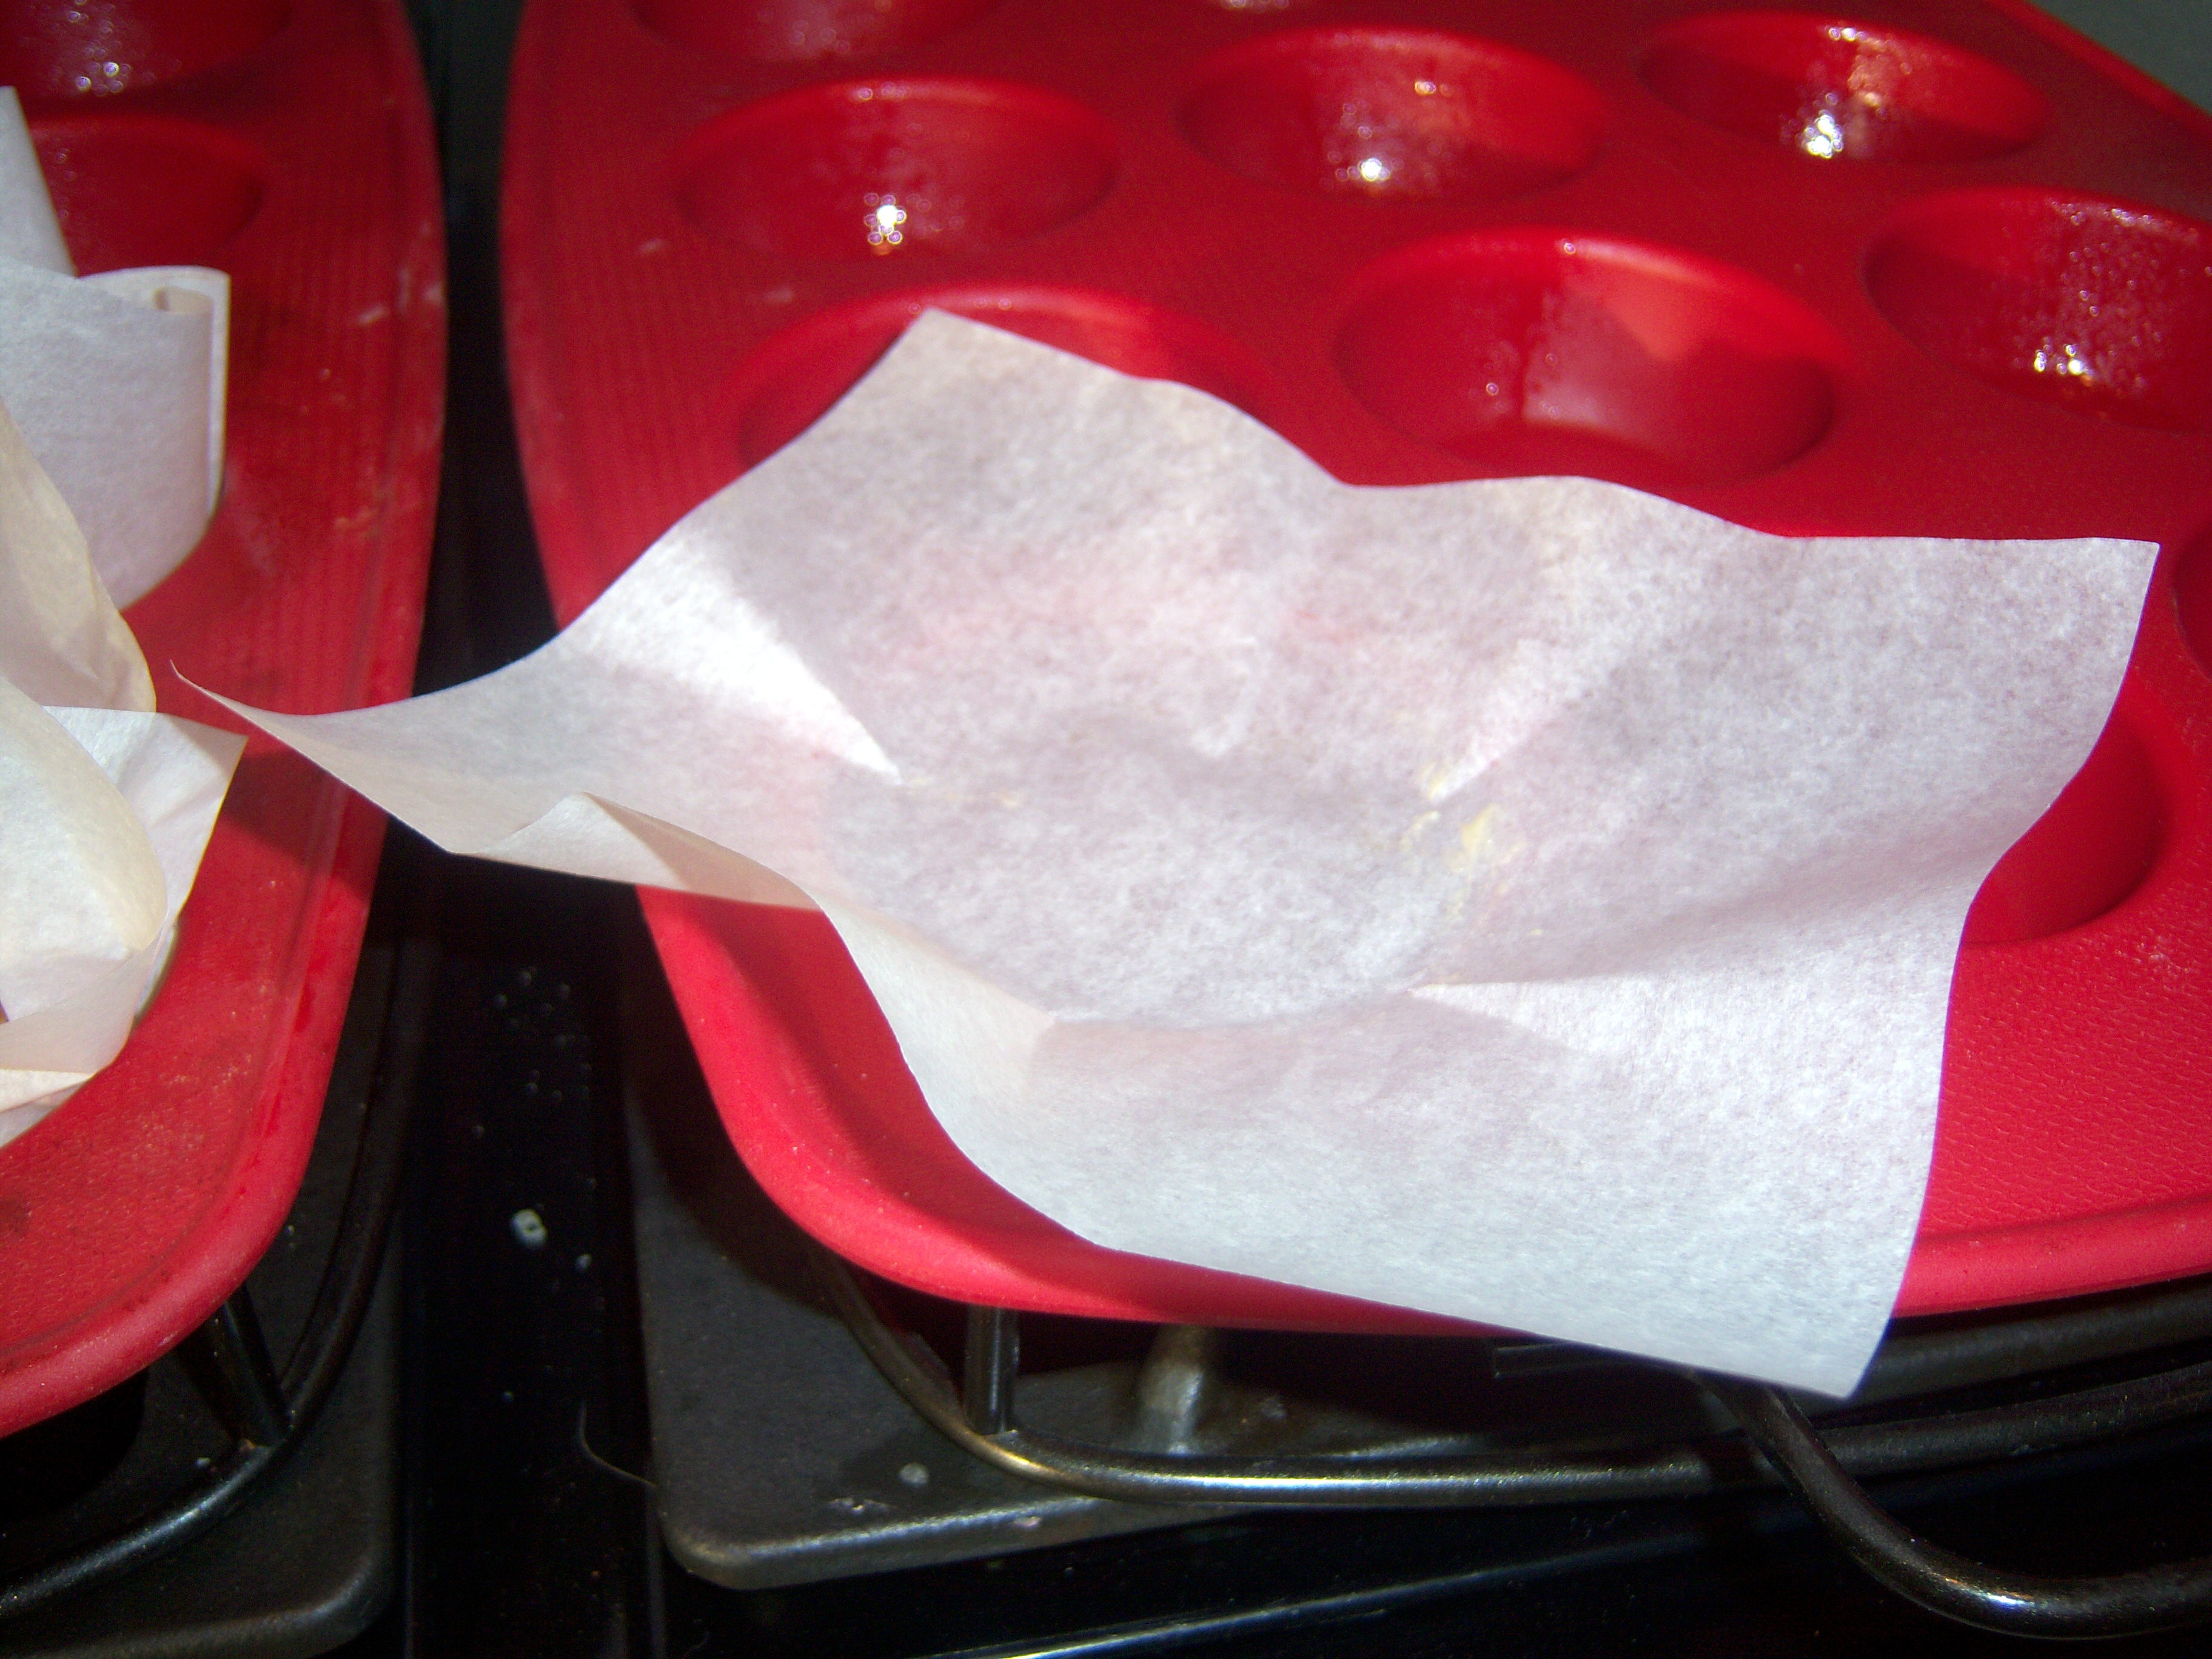
cupcake2But then I took the glass out and the paper just popped out! I ended up scooping the batter onto the paper and kind of pressing it down to get it sit in the tin. It’s not really a very effective or easy method. The batter got on some of the edges of the paper and I didn’t really like how that looked.
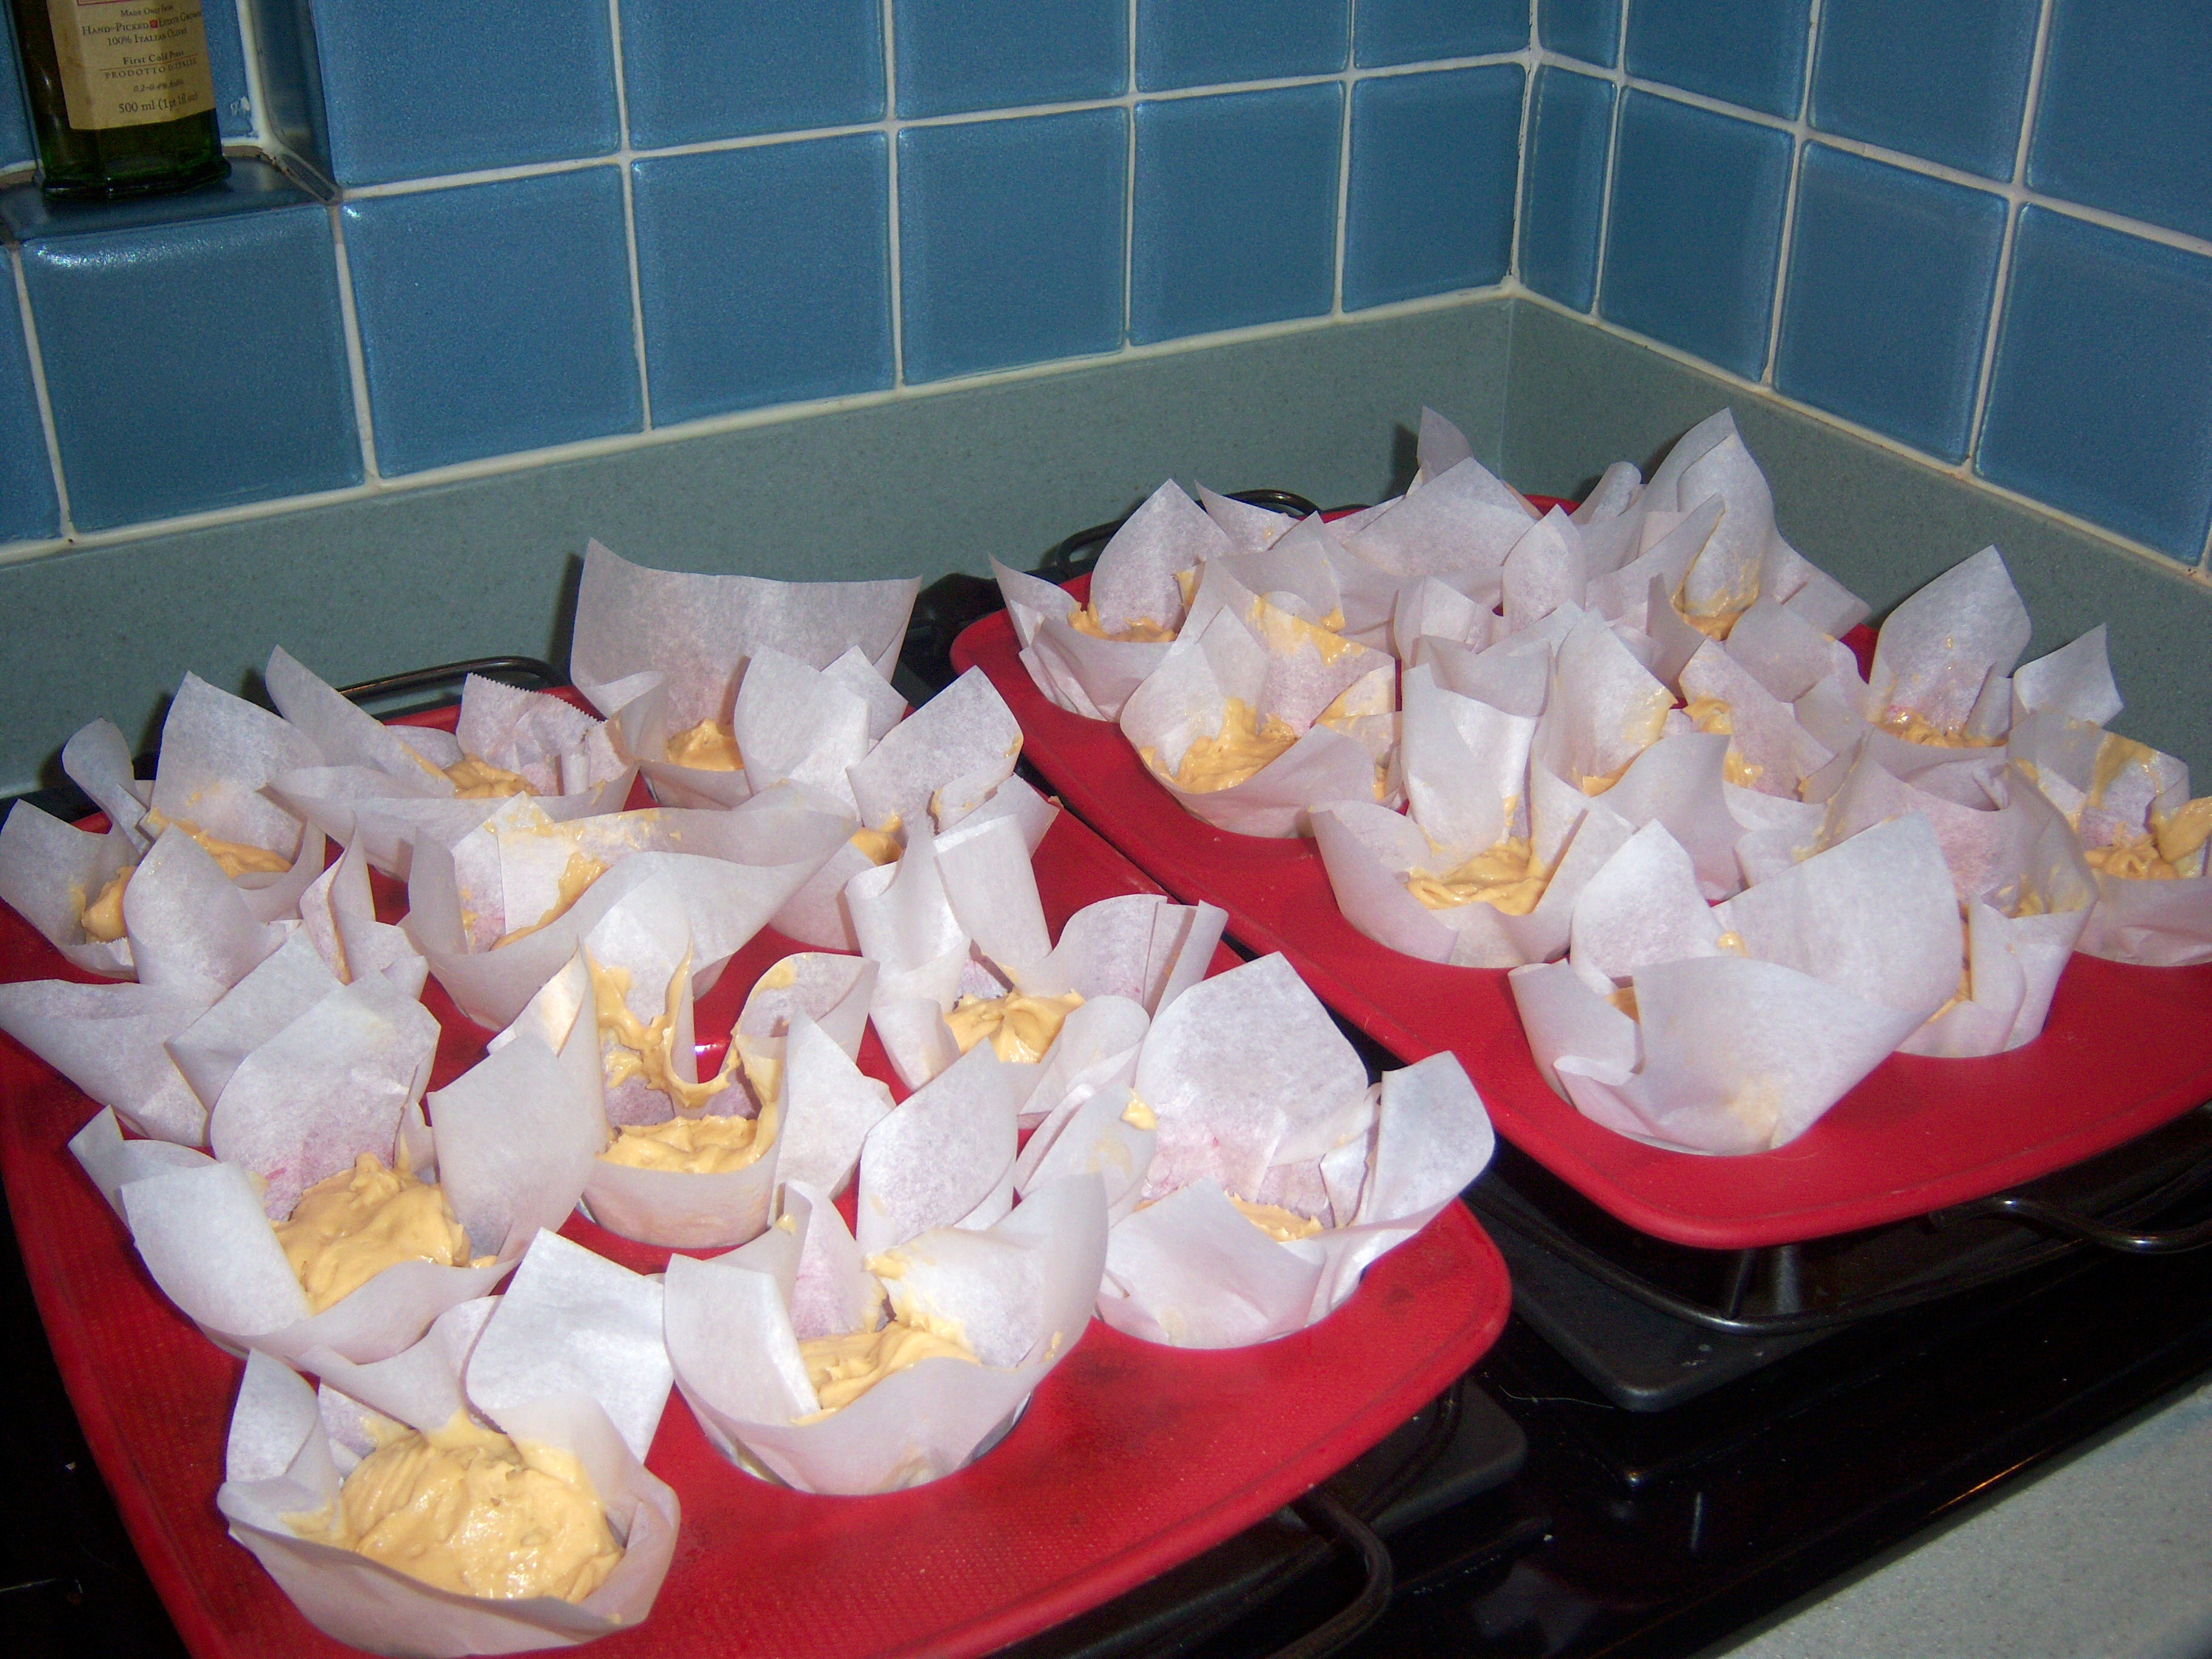
The cupcakes baked up nicely though and the batter tasted yummy. They did take a little longer than the recipe said.

cupcake3Doesn’t the paper look pretty? It does make it look more exciting than just a plain cupcake, for sure.
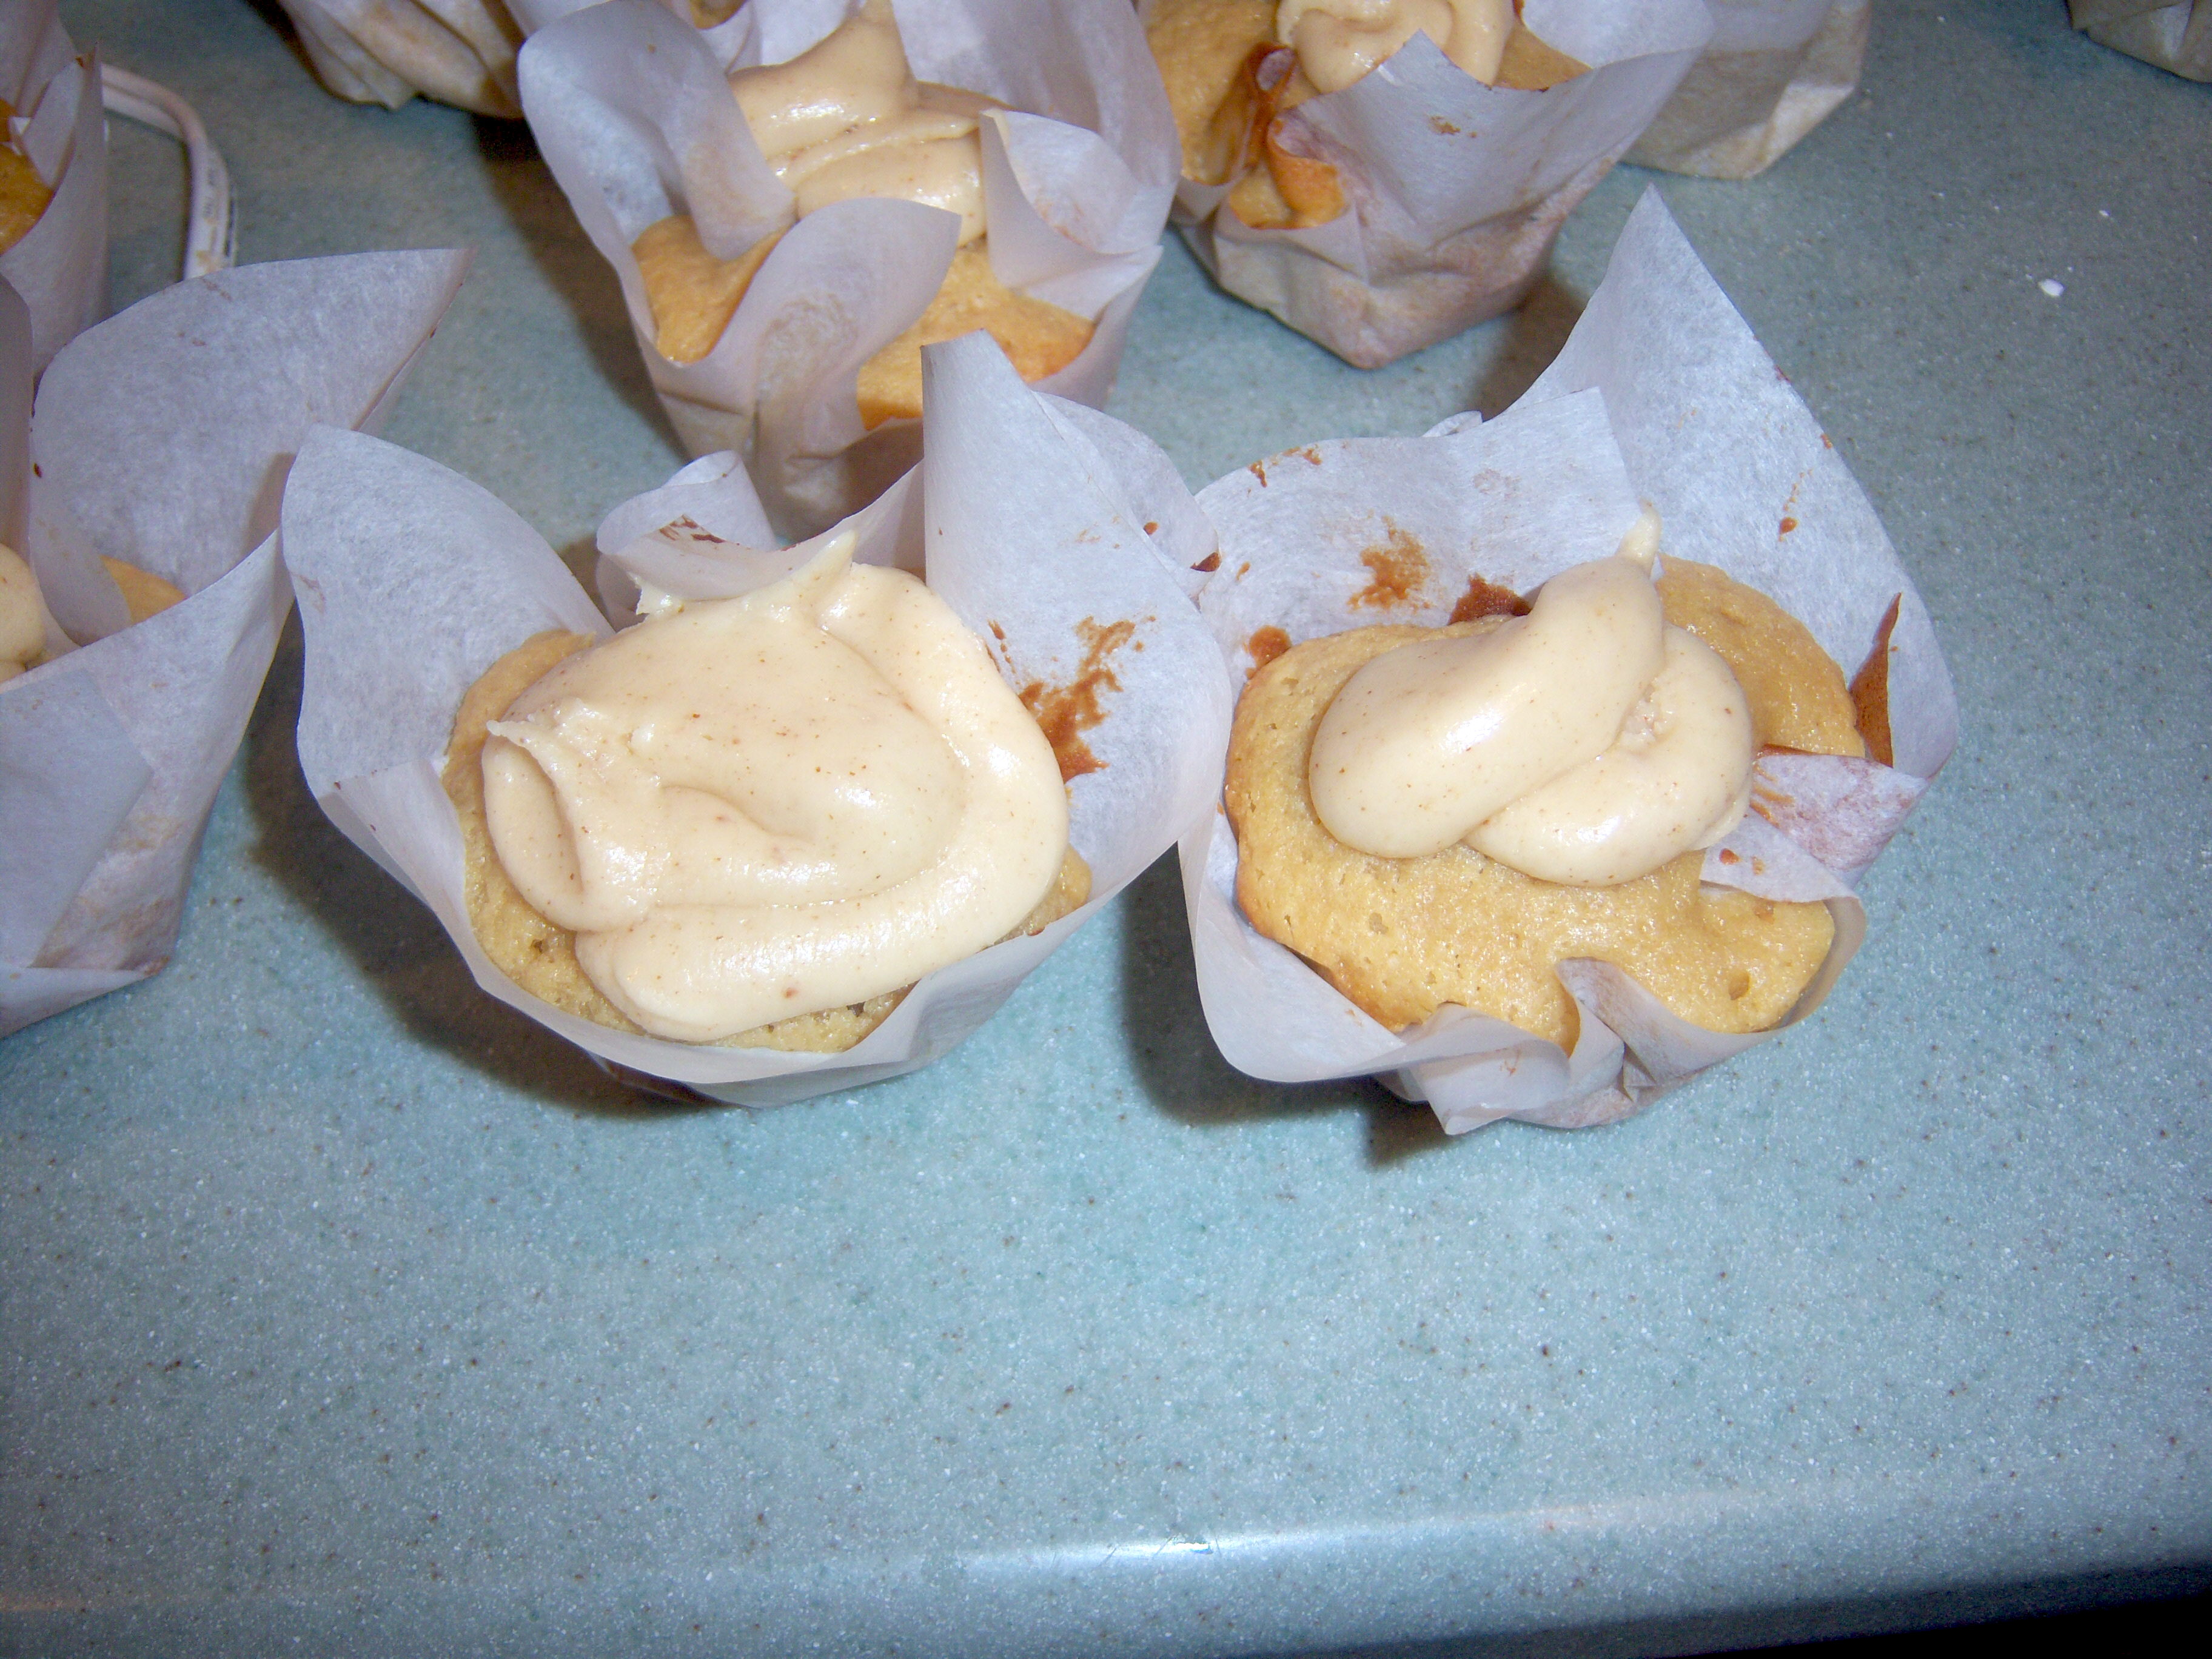
The next challenge was the frosting. You cannot frost these in a normal way because you can’t reach the cupcake. You do need to use a pastry bag to get the frosting into the paper.

Confession time. I could not face trying to dig out my pastry bag and tips. I do have a set …….somewhere! So instead, I used the ziploc bag with a corner cut off method.

cupcake4I should have doubled the frosting recipe. The Pure woman loaded the tops of her cupcakes with frosting and to make it look pretty, you really do need a lot, so you can completely cover the top of the cupcake.
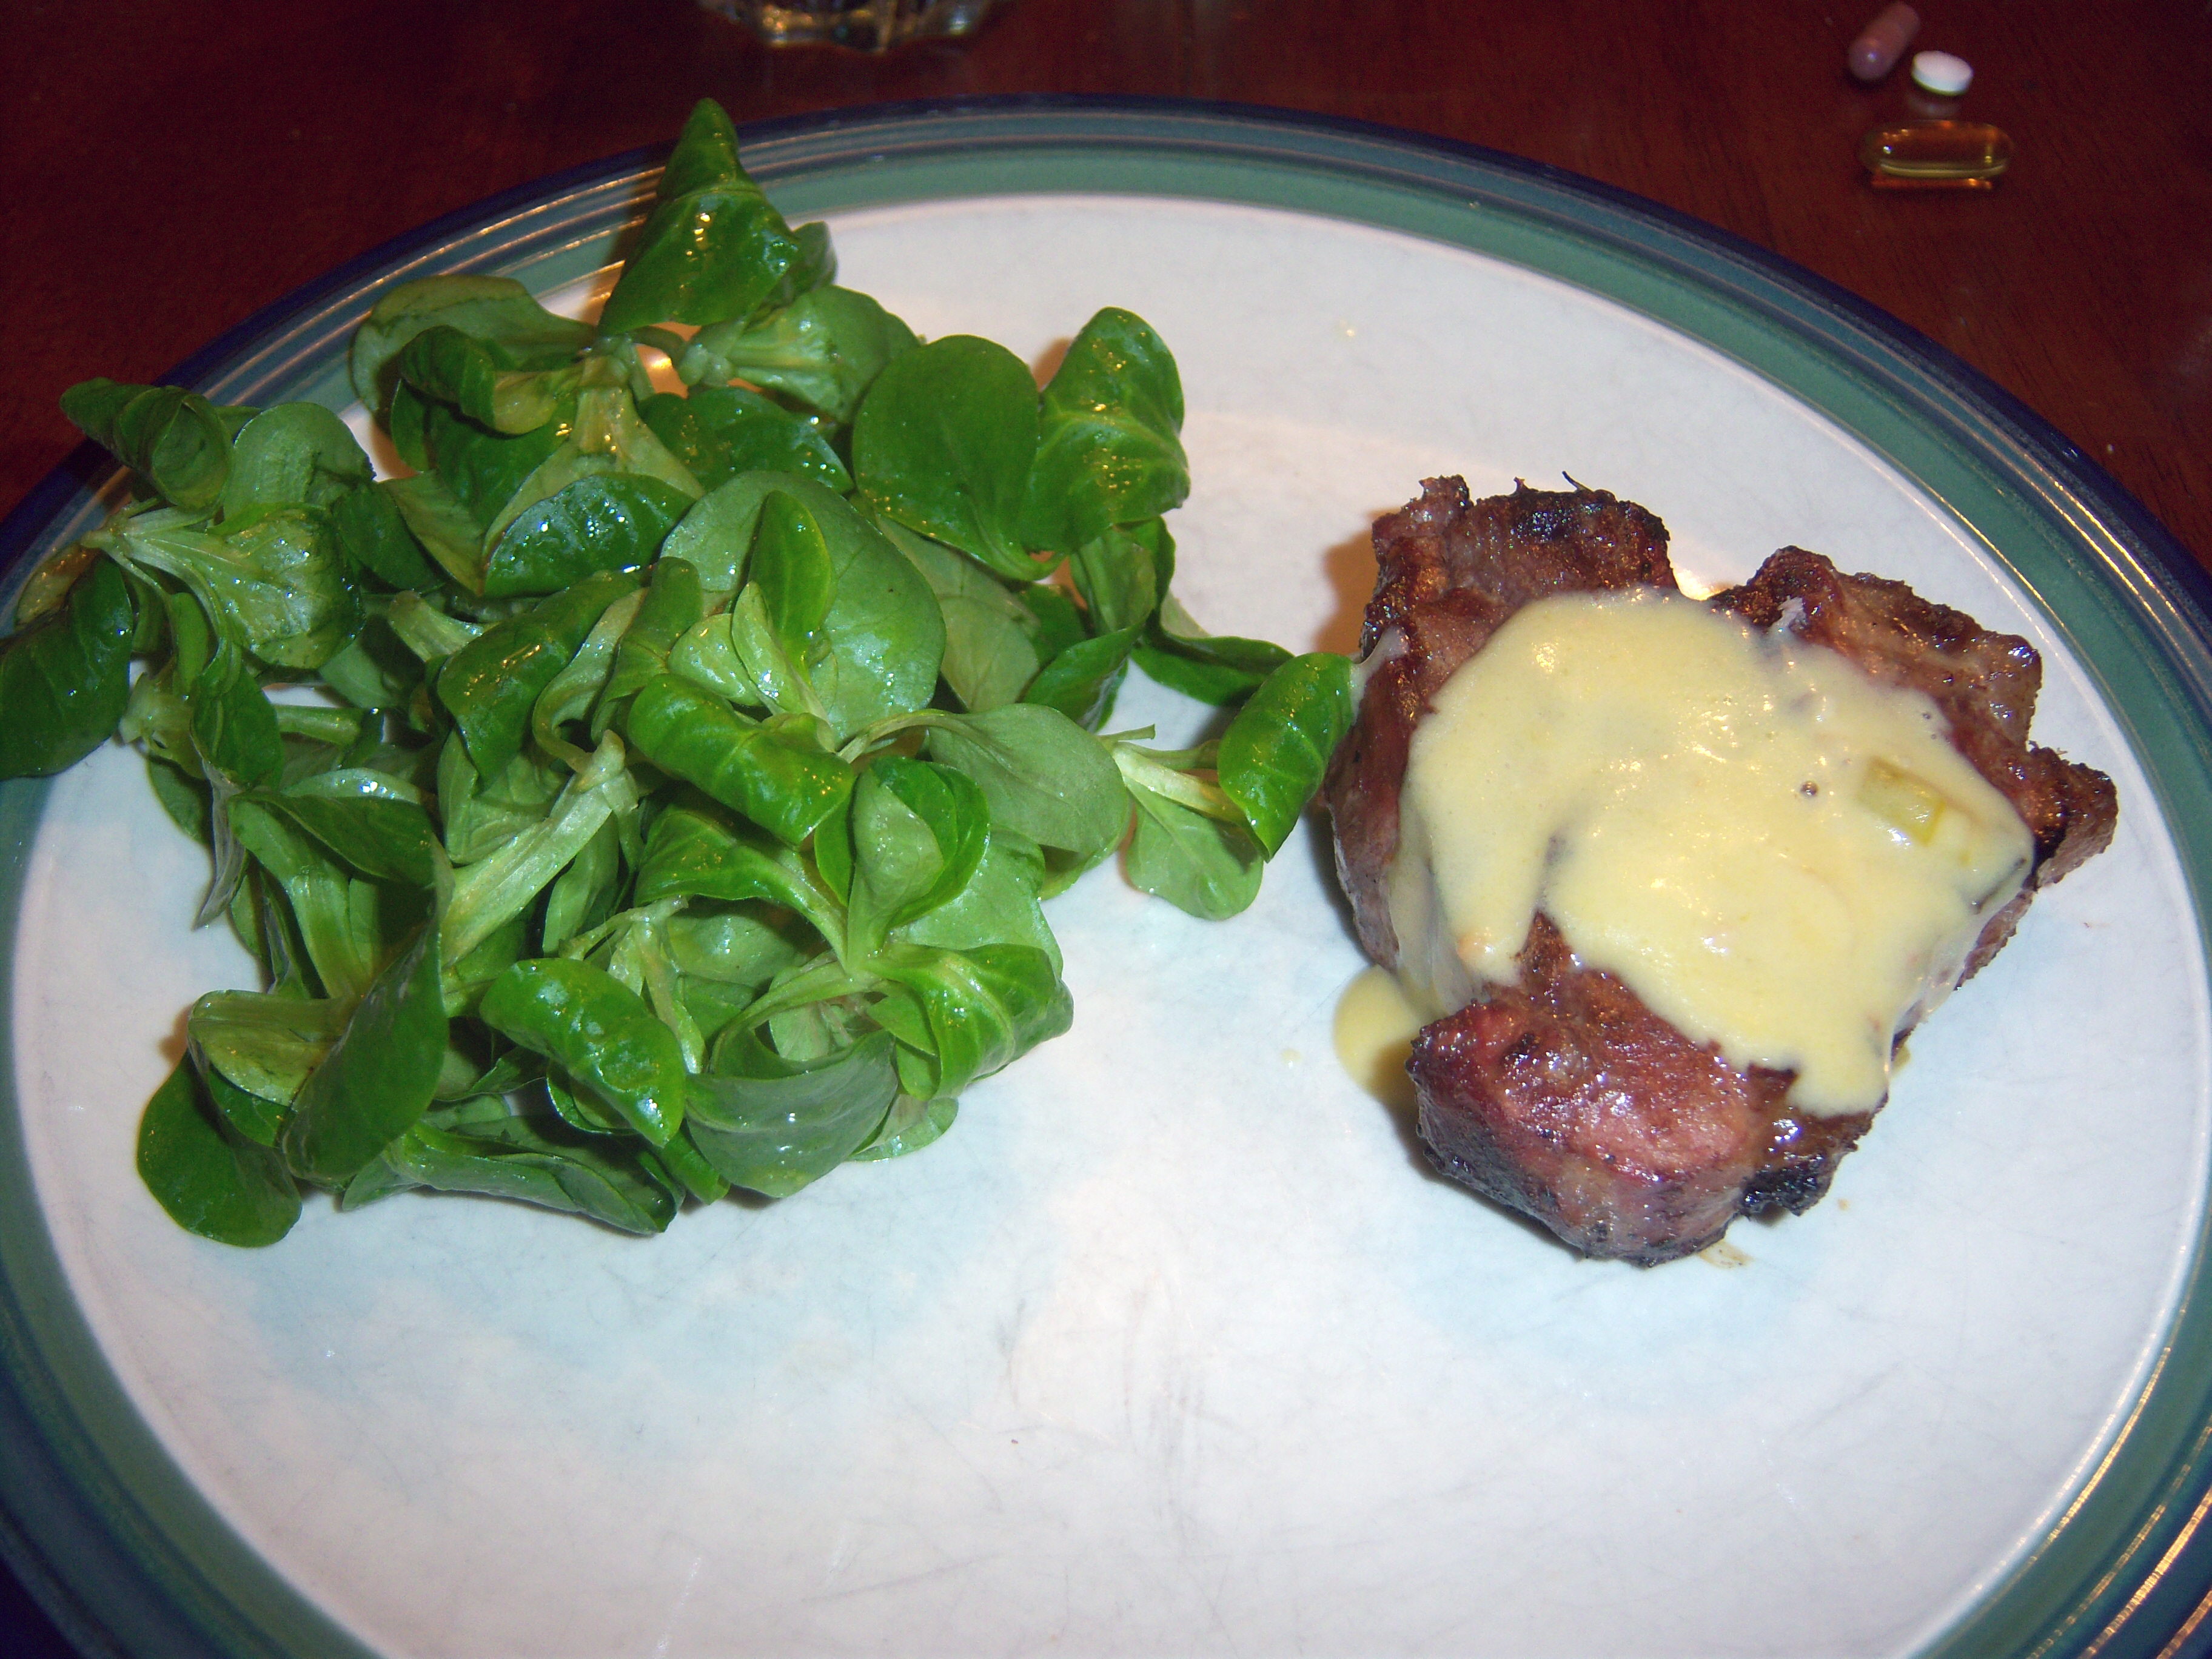
They turned out ok though I think. As for the taste test, I can’t give a lot of firsthand info. I had 24 cupcakes, which needed to feed 23 kids plus a teacher, so there wasn’t even one available to sample! The batter tasted great and so did the little crumbs I managed to find. The frosting had a great taste too. The kids ate every single one and the word is they  liked them a lot – and thought they looked exciting too.

I decided to make Brown Sugar Pound Cupcakes With Brown Butter Glaze to send into school for my son’s birthday.  These cupcakes were easy to make – nothing wild and crazy about them at all. The glaze requires you to brown some butter before mixing the frosting up. Very easy. So, there I am with … Read more

I loved the idea of Martha’s Lamb Chops with Citrus Sauce and Baby Mache Salad (p. 132 January Martha Stewart Living). I’ve been experimenting with different fruity sauces lately – I did a pomegranate reduction over pork tenderloin and a mango sauce with fish.

First of all, I grilled my lamb. I would much rather have grilled meat than broiled meat.  So, that was simple. The next issue was the citrus sauce. Martha says to use Cara Cara oranges, a pummelo and Oroblancos. Yeah, right. Look folks, I just used orange juice. First you cook up garlic and shallots then you add the juice and some sugar. You cook it down then add crame fraiche (I used plain yogurt instead). Then you cook it down again. This made a WONDERFUL sauce. It was so creamy, rich, and flavorful, I could not believe it! It thickened so nicely. You have GOT to try it. It’s so simple and so good.

Martha says to serve the lamb with a baby mache salad. I love mache, but I was not wild about her dressing for it – just oil, orange juice, and salt and pepper. Pretty bland.

lamb-macheThis made a very pretty plate. The lamb was so good, I ate it cold the next day with the sauce also cold!

I loved the idea of Martha’s Lamb Chops with Citrus Sauce and Baby Mache Salad (p. 132 January Martha Stewart Living). I’ve been experimenting with different fruity sauces lately – I did a pomegranate reduction over pork tenderloin and a mango sauce with fish. First of all, I grilled my lamb. I would much rather … Read more

Martha made Moroccan-Spiced Chicken with Olive, Apricot, and Pistachio Couscous on her show, on Thursday (Jan 22). These recipes are also the February What’s for Dinner in Martha Stewart Living, along with Minted Carrots.

I’ve made Moroccan chicken in the past (slightly different) and have always served it with a yogurt sauce, so this was a slight departure. We had Moroccan chicken at Epcot and also something very similar at an Afghani restaurant in NYC (which may have been the best chicken I’ve ever eaten).

Cutting up the chicken

Cutting up the chicken

First of all, we cut up the chicken the way Martha did on the show. Mr. MarthaAndMe went in boldly with the kitchen shears and I have to say, Martha’s method was a lot easier than the method they showed when they did the cooking school episode about this. The shears are an easy way to go and I would definitely use this method again to cut up a whole chicken. It was not nearly as unpleasant as the other method.

Next I mixed up the spices and oil and got the oven and pan hot. I spread it over the chicken, popped it in the oven and got going with everything else.

The carrots get roasted in the oven also. I have to say that roasting vegetables is my new favorite method and this was easy to do. While that was cooking, I started the couscous. On the show, Martha made her couscous plain and added the additional ingredients after it was cooked, so I did it that way too, even though the recipe says to add the apricots to the couscous while it is cooking (mini-Martha likes his couscous plain, so I wanted to have some plain for him).

Now, as I am cooking all of this, the kitchen is filling with smoke. It is just pouring out of the closed oven. The chicken is supposed to cook at 425 for 30-35 minutes. I was at about 40 minutes and it wasn’t done, but my kitchen had become a danger zone. I had had on the exhaust fan the entire time, but it wasn’t doing the trick. I opened every single window in the kitchen, the back door and the window in the attached bath, as well as cracking the sliding glass door in the dining room. It was still horrendously smoky – and we were freezing since it was about 19 degrees outside. I was just about at the point where I was going to have to take it out no matter what when finally, it was done and I let it rest.

I turned off the oven and the smoke started to clear out, but slowly. This was seriously a pretty dangerous situation. Maybe in Martha’s test kitchens they have heavy duty exhaust fans, but I really don’t recommend cooking this at this temperature in a home.

Minted Carrots

Minted Carrots

Now for the results. The carrots were great. They are just roasted with some olive oil and sprinkled with salt and pepper. When you dish them up, you add some thinly sliced mint.  Total thumbs up on this dish. I loved the mint.

Next up, the couscous. I am a fan of couscous, so I was excited about this. I did not add the olives, since no one in my house

Couscous

Couscous

will eat them. I did like the apricots and pistachios in the dish. I felt the pistachios were not a very strong flavor though and hard to detect. Like an idiot, I forgot to add the lemon juice to this and that would have really given it a little kick which it needed, because it was kind of dry and flavorless.

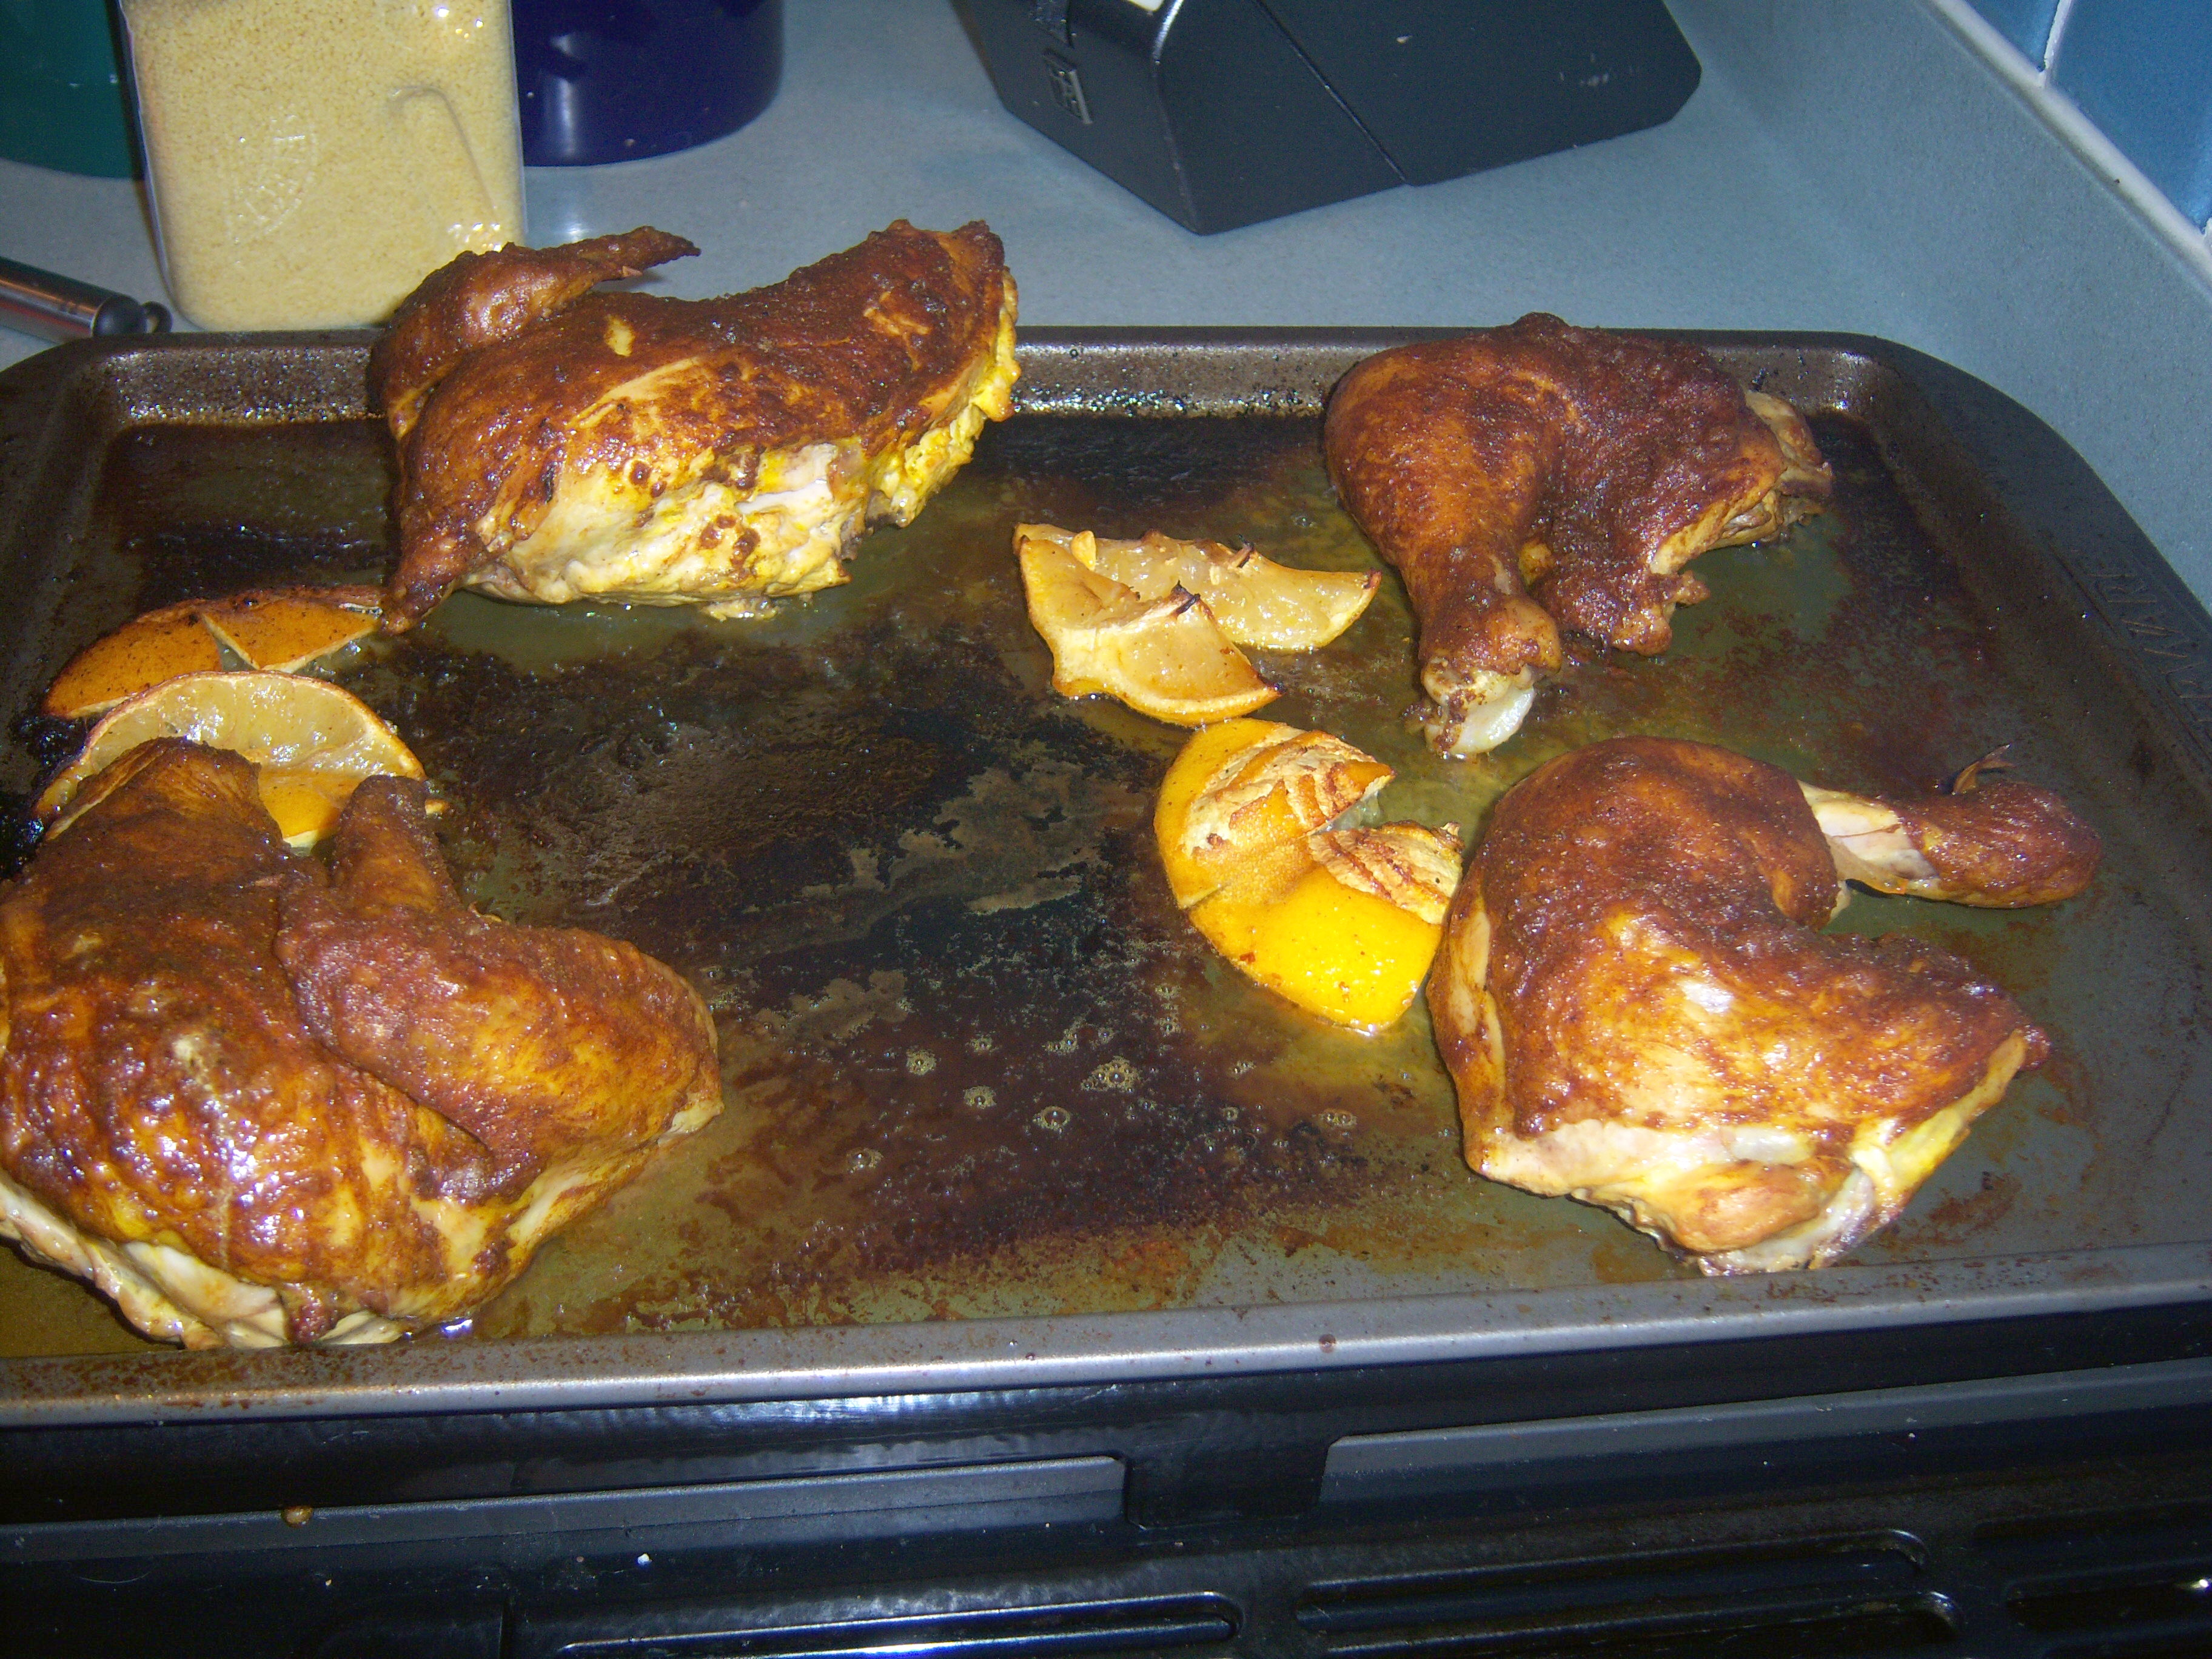
Moroccan Chicken

Moroccan Chicken

Now for the chicken. It came out of the oven looking great, don’t you think? Very brown and lovely. I threw lemons on the baking sheet with it and they cooked up well too. As for taste – sigh. It didn’t wow me. Here’s the thing – I do not like fatty, mushy chicken skin. I love chicken skin if it is crisp and does not have nasty fat all over the back of it, so I removed the skin from my piece since it wasn’t anything resembling crisp. The chicken underneath tasted like, well like chicken. Not a lot of flavor there. I was taking my bite size pieces of chicken and rubbing them over the skin to pick up the spices, and also rubbing them over the roasted lemons to get some flavor. That did help and the spice combination was a nice one, as was the lemon flavor. The best way to eat this is with chicken and couscous on your fork together. I think I should have followed my first instinct, which was to use boneless, skinless breasts and cover them with the seasoning and cook them in the oven. Less smoke, more flavor and just easier.

If I made this again, I would marinate the chicken in the oil and spices for quite a while – maybe overnight. The flavors did not soak into the chicken at all and it really needed to. If they had, this might have been fantastic.

Martha made Moroccan-Spiced Chicken with Olive, Apricot, and Pistachio Couscous on her show, on Thursday (Jan 22). These recipes are also the February What’s for Dinner in Martha Stewart Living, along with Minted Carrots. I’ve made Moroccan chicken in the past (slightly different) and have always served it with a yogurt sauce, so this was … Read more

Mini-Martha is having a birthday next week. To celebrate, he had some friends over last night. I approached the cake topic cautiously. I have made lots of crazy things for my kids’ birthdays – a brownie pizza, a spaghetti and meatballs cake (for an April Fool’s Day theme), pumpkin pie, strawberry pie, a bowling pins and bowling ball shaped group of cakes, red velvet cake – you name it. I have also purchased grocery store cakes (I know! The sheer horror of it). I wasn’t sure what he wanted this time around. I suggested baked Alaska and once I showed him the photo in Martha Stewart Living (January issue) he was hooked!

I made baked Alaska once many moons ago when Mr. MarthaAndMe were dating. Clearly it convinced him to marry me. When I made it before, I am pretty sure I made one big one. Martha advocates small individual Alaskas.

Now, what kind of a fool am I to think I should make baked Alaska for a group of 10 and 11 year old boys, to be served after an excursion to Dave and Buster’s (gaming place)? A big silly one I guess.


Cake ready for the oven

Cake ready for the oven


I made the cake the day before. What a strange cake this was – you beat egg yolks with sugar then add chocolate. Separately you beat 12 egg whites with sugar till they make peaks.  Then you fold it all together. There is no flour, but you absolutely would never guess that when you taste it. You cut out circles from the cake. There is a LOT left over and you can’t really do much with it since it is scraps.

You coat small bowls with plastic wrap then layer strawberry and vanilla ice cream into them. You place a cake circle on top. The recipe does not say this, but you really have to press that cake circle down into the ice cream so it will adhere.  I had a couple where I did not press hard enough and it did not attach. You then wrap it up and freeze it. I


Cutting out the circles

Cutting out the circles


did all this the day before.

The night of the party (after returning from the headache inducing Dave and Busters at 9 pm) I made the meringue. You beat egg whites then add a syrup you cooked using a candy thermometer. The egg whites turn a pale caramel color once you add the syrup. The recipe says to add the syrup slowly, but I would say to be careful not to add it too slowly – I had some syrup crystallizing on the side of the


Ice cream molds

Ice cream molds


bowl and I had to pick it out.

Ok, so once the meringue is ready, you’re supposed to pop the desserts out of their molds. The recipe says to let them sit for a few minutes and then they will come right out. Yeah, right. We ended up dipping the bottoms of the molds into hot water to get them to loosen. Once we did that, they did pop right out and you could easily peel the plastic wrap off.

Then I spread the meringue over them. This is where things started to get


Ready to freeze

Ready to freeze


loony, in more ways than one. As I am frantically trying to get this together and into the oven before it melts, it is announced that one of the party guests is having an allergy attack and needs meds. I am not about to hand out Zyrtec without parental permission, so Mr. MarthaAndMe had to make the call to get clearance while I worked on dessert.

There was definitely not enough meringue. Double the meringue recipe for this if you make this. I had ice cream peeking out and meringue that was too thin. You really want a nice thick layer of meringue in my opinion.

The recipe says to preheat the oven to 500 degrees and put the desserts in for 2 minutes (you can also use a blow torch, but oddly enough, I just don’t have one laying around).  This oven setting was not a good idea.


Making the meringue

Making the meringue


Everything started to melt and the meringue was not cooking. Disaster in the making! I quickly switched over to broil and that did the trick. So, my recommendation is to broil not bake!

Despite the melting situation, these turned out pretty well. The meringue was SO good, even if it did kind of slide off some of the desserts. It was crunchy, sweet and delicious and in nice contrast to the ice cream. Most of the ice cream was intact and the cake on the bottom was good. I served this with chocolate sauce, which really added to it, so I highly


Ready for the oven

Ready for the oven


recommend that.

I mentioned to some people that I was making this and they asked if it was going to be flaming. Apparently, they serve this on cruise ships and set it on fire (they must put alcohol on it to do this, I imagine). So, no, there was nothing flaming at this party, but I think it was a hit. Everyone scraped their plates clean and I think I got points for the novelty factor. And really, you can’t go wrong with cake and ice cream, which is what this basically is.


Results

Results


More results

More results


alaskalast1

Mini-Martha is having a birthday next week. To celebrate, he had some friends over last night. I approached the cake topic cautiously. I have made lots of crazy things for my kids’ birthdays – a brownie pizza, a spaghetti and meatballs cake (for an April Fool’s Day theme), pumpkin pie, strawberry pie, a bowling pins … Read more

Didn’t you just love the cupcake show Martha did on Wednesday this week? OMG, cupcakes are so cute and so good. I have been to Magnolia (the famous cupcake shop in NYC Martha mentioned) and I have to be honest – I thought their cupcakes were kind of dry. They did not wow me at all.

I loved the parchment paper wrapper idea that one of the chefs showed. So cute!

In addition to bringing on two NYC cupcake chefs, Martha made Boston Cream Pie Cupcakes, which is in the February issue of Martha Stewart Living (pp. 149-150). I imagine this is also in the soon to be released cupcake book.

We were having a dinner guest last night, so I decided to give these cupcakes a shot. Prepare yourself my friends – this is another one of Martha’s all day recipes.

The Batter

The Batter

Things started off well enough with the batter for the cupcakes. You essentially beat the cr** out of the eggs until they are light and poufy. No problem. Martha said to fill the cupcake tins only half full. I would ignore this advice next time – I felt my cupcakes were too short.

Next I baked the cupcakes. They needed a little less time than the recipe

The Cupcakes

The Cupcakes

says. They turned out nicely – soft and spongy. They were easy to cut in half.

Next, I moved on to the vanilla cream, which is the pudding-type filling for the cupcakes.  I followed the instructions on this to the letter. I cooked it and refrigerated it, and when I took it out, I had a bowl of runny glop. It was far too thin – and it was somehow thinner than it was when I first stuck it in the fridge. I was in a total panic, because I

The Too Thin Filling

The Too Thin Filling

needed to get these assembled in time for dinner. I dumped it back in a pot and heated it up again, but it did not thicken. Finally I added some more cornstarch and it immediately came together. I refrigerated it again and when it came out, it was too thick! Aaaahhh!!! Now, in the rational light of day, I think I should have probably just whisked in a little milk to thin it, but I didn’t think of that. I used it as it was and actually, you really couldn’t tell when you ate the cupcake that it was too thick (and it had the added effect of not running out the sides at all). If you make this recipe, I would recommend doubling the amount of cream. I didn’t have enough to fill all the cupcakes (I ended up with 24 cupcakes).

The Final Product

The Final Product

The final step is to melt some chocolate with cream and corn syrup to make the ganache glaze. This was easy. It melted nicely and I spooned it over the cupcakes. It did need a little help to drip down the edges, but once I got it to run, it looked great.

These tasted great. We ate them with a fork, but you could definitely just pick them up like a regular cupcake. This is a fun twist on cupcakes, which sometimes can be sort of boring, no matter how pretty they are.

Didn’t you just love the cupcake show Martha did on Wednesday this week? OMG, cupcakes are so cute and so good. I have been to Magnolia (the famous cupcake shop in NYC Martha mentioned) and I have to be honest – I thought their cupcakes were kind of dry. They did not wow me at … Read more

Pizza is a big favorite in our house, so I was excited to give Martha’s pizza crust a try (Everyday Food, January issue). The magazine touts it as an easy pizza crust.

It was easy to throw together, but what pizza crust isn’t? It’s essentially flour, water, yeast, oil, sugar and salt. Not so complicated. Her recipe uses half wheat and half white flour, which gets the thumbs up from me.

The dough

The dough

I made this dough in my breadmaker – something that really makes it easy to make.

I wasn’t so thrilled when I took the dough out. The recipe says it makes enough for 2 large pizzas. You can get 2 large pizzas from this if you like your crust very, very thin. I’m from Buffalo – between NYC and Chicago and our pizza crusts are also between NY style and Chicago deep dish. Not thin, but not deep dish either.  This was too thin for me.

The Crusts

The Crusts

I made one large pizza and two smalls. Pizza is incredibly complicated in this house. The kids like it with just cheese. One likes a lot of cheese and one likes a little cheese and a lot of sauce, so I made the large pizza with a lot of cheese on one half and not much on the other.

I like my pizza loaded with veggies – spinach, mushroom, broccoli, and tomato. Mr. MarthaAndMe will eat a veggie pizza if forced, but much prefers meat – anchovies, sausage, and pepperoni.

The 3 Bears of Pizzas

The 3 Bears of Pizzas

Therefore, I make several pizzas to keep everyone happy (God help us if we order pizza for takeout – it is very difficult to place the order!)! The crust had a nice taste to it. If I made this again, I would have to probably double the recipe to get the thickness we like. Other than though, I thought it was good.

Pizza is a big favorite in our house, so I was excited to give Martha’s pizza crust a try (Everyday Food, January issue). The magazine touts it as an easy pizza crust. It was easy to throw together, but what pizza crust isn’t? It’s essentially flour, water, yeast, oil, sugar and salt. Not so complicated. … Read more

On Monday, Martha displayed dishes from the Inaugural luncheon menu (below the menu there is a link to the recipes if you want to see them), spoke with the head chef, and made the duck breast and whipped sweet potatoes on her show. I was excited about the Inauguration and decided to make some of the luncheon menu for dinner last night. It was fun to share in the festivities. I don’t know how the luncheon guests managed to eat that many courses for lunch!

I made the seafood stew, molasses whipped sweet potatoes, asparagus and apple cinnamon sponge cake. This was plenty for dinner.

Apple filling

Apple filling

However, I spent most of the day in the kitchen to get it done! First I made the apple filling for the dessert. This entailed chopping up apples, caramelizing them and then adding some water and cooking them down. Once they’ve cooked down, you add nutmeg, applesauce, sugar, salt and lemon zest. I added some cinnamon as well.  I sliced bread (I used challah) and cut it out in circles to fit the ramekins.

Then I cooked the seafood in water, removed it, added vegetables, and then cooked the remaining broth down. This took a loooong time. Once it was cooked down, I added cream and white wine and had to cook it down again.  I cut up the seafood and prepared the ramekins (which I had to go out and buy for this since I didn’t have any!).

I baked the yams (no sweet potatoes to be found at my store) and mashed them with molasses, maple syrup, butter, cumin, and salt and pepper.

I prepared the asparagus for steaming.

I had to get everything assembled before blowing out the door for hockey practice, so I assembled both the seafood and dessert dishes (which meant dipping the bread in butter for the dessert and cutting out the puff pastry circles for the seafood stew) and left detailed instructions with my teenager about when to put them in the oven.

Our Inaugural Plate

Our Inaugural Plate

Everything turned out really well. The seafood stew was fabulous – no doubt because it took so much time and care to make. It was really wonderful. I would have preferred the cream sauce to be just a bit thicker. I confess I did add a little Wondra to mine and next time would add more. The molasses whipped sweet potatoes were good. The asparagus was regular asparagus – no big deal there. The dessert was good, but I felt as though the slices of bread were too thick and too buttery. I would slice them thinner and use less butter and

The Sweet Taste of a New Era

The Sweet Taste of a New Era

more apple filling. The caramel sauce that went on top was delicious (as you will see if you read the recipes in the link I provided, that at least was easy to make!).

It was exciting to feel as though we were participating in this historical event in a small way, and it was a very tasty meal. Cheers to the new president!

On Monday, Martha displayed dishes from the Inaugural luncheon menu (below the menu there is a link to the recipes if you want to see them), spoke with the head chef, and made the duck breast and whipped sweet potatoes on her show. I was excited about the Inauguration and decided to make some of … Read more

no