It was time to buckle down and do some crafting with Martha. I decided to make the oak-leaf bowl from p. 95-96 of Nov. Living, which Martha also made on the show. It looked not too complicated.
First off, I hit the craft store. This was actually a cheap project for me. I bought a piece of felt for 79 cents and got a remnant of some tweed for $2.17. The fusing material was $3.99 (I think there are 3 or 5 in the bag and I used only one).
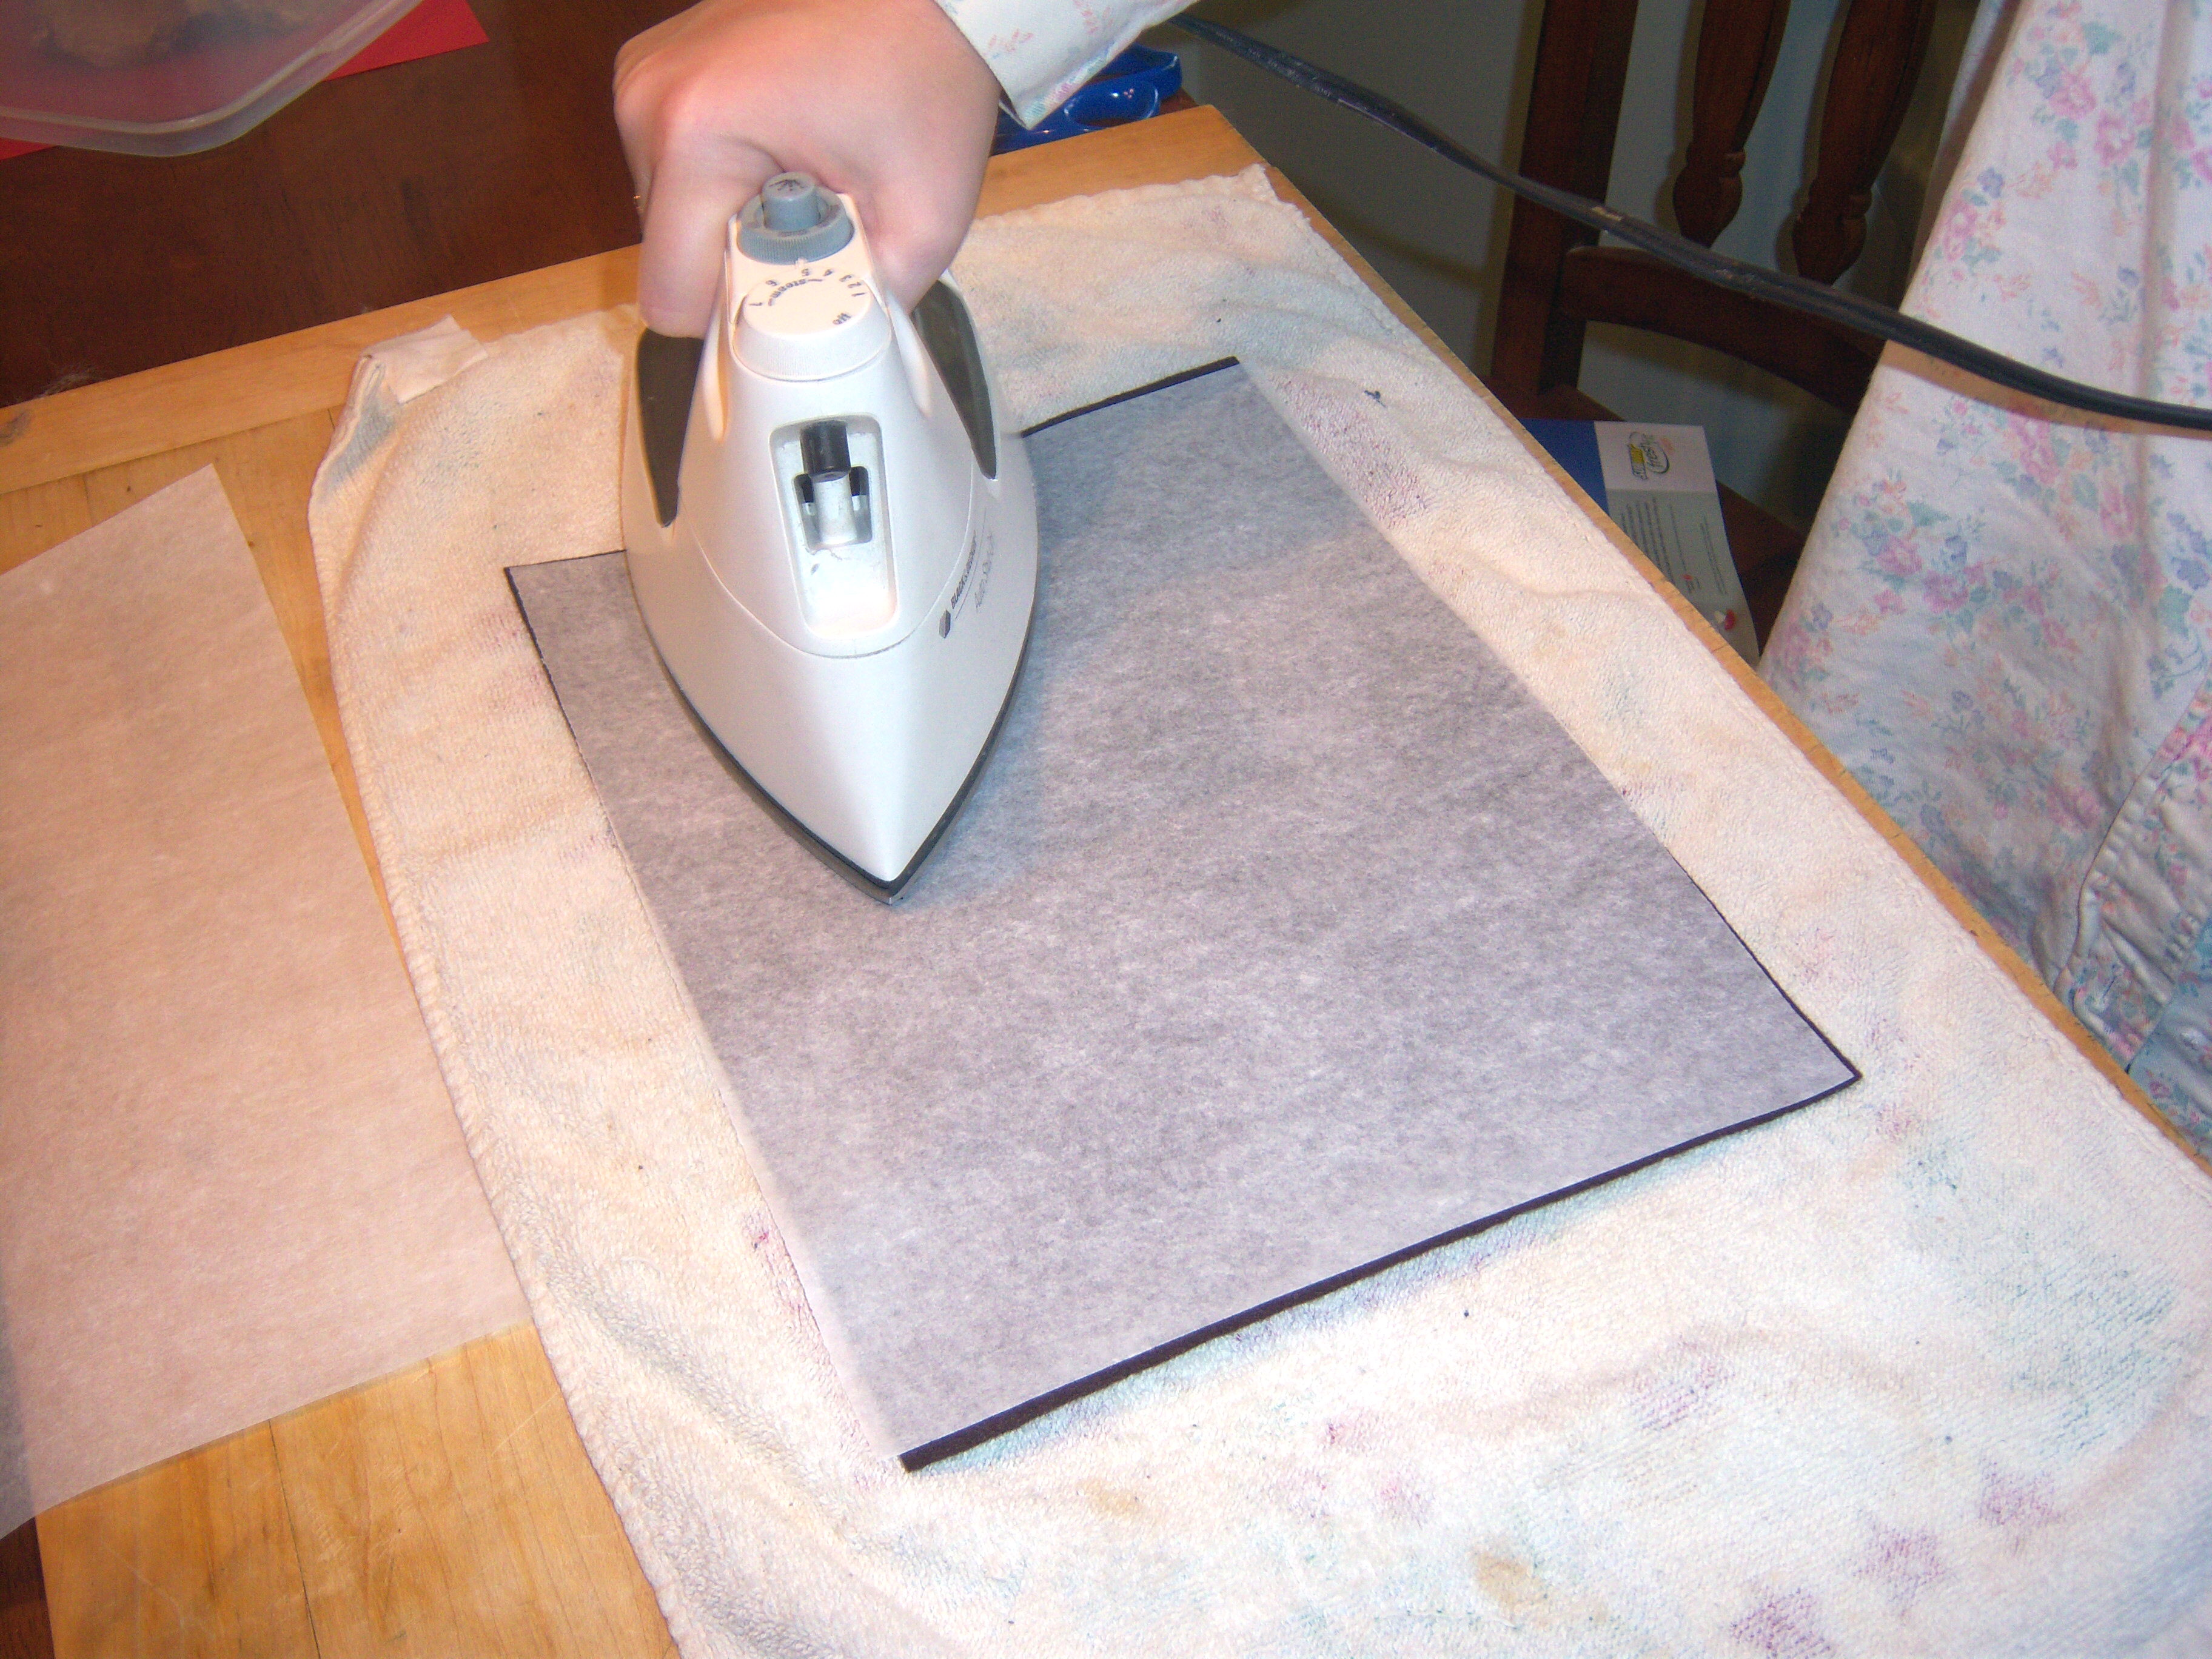
Come fuse with me
Ok, so I started off
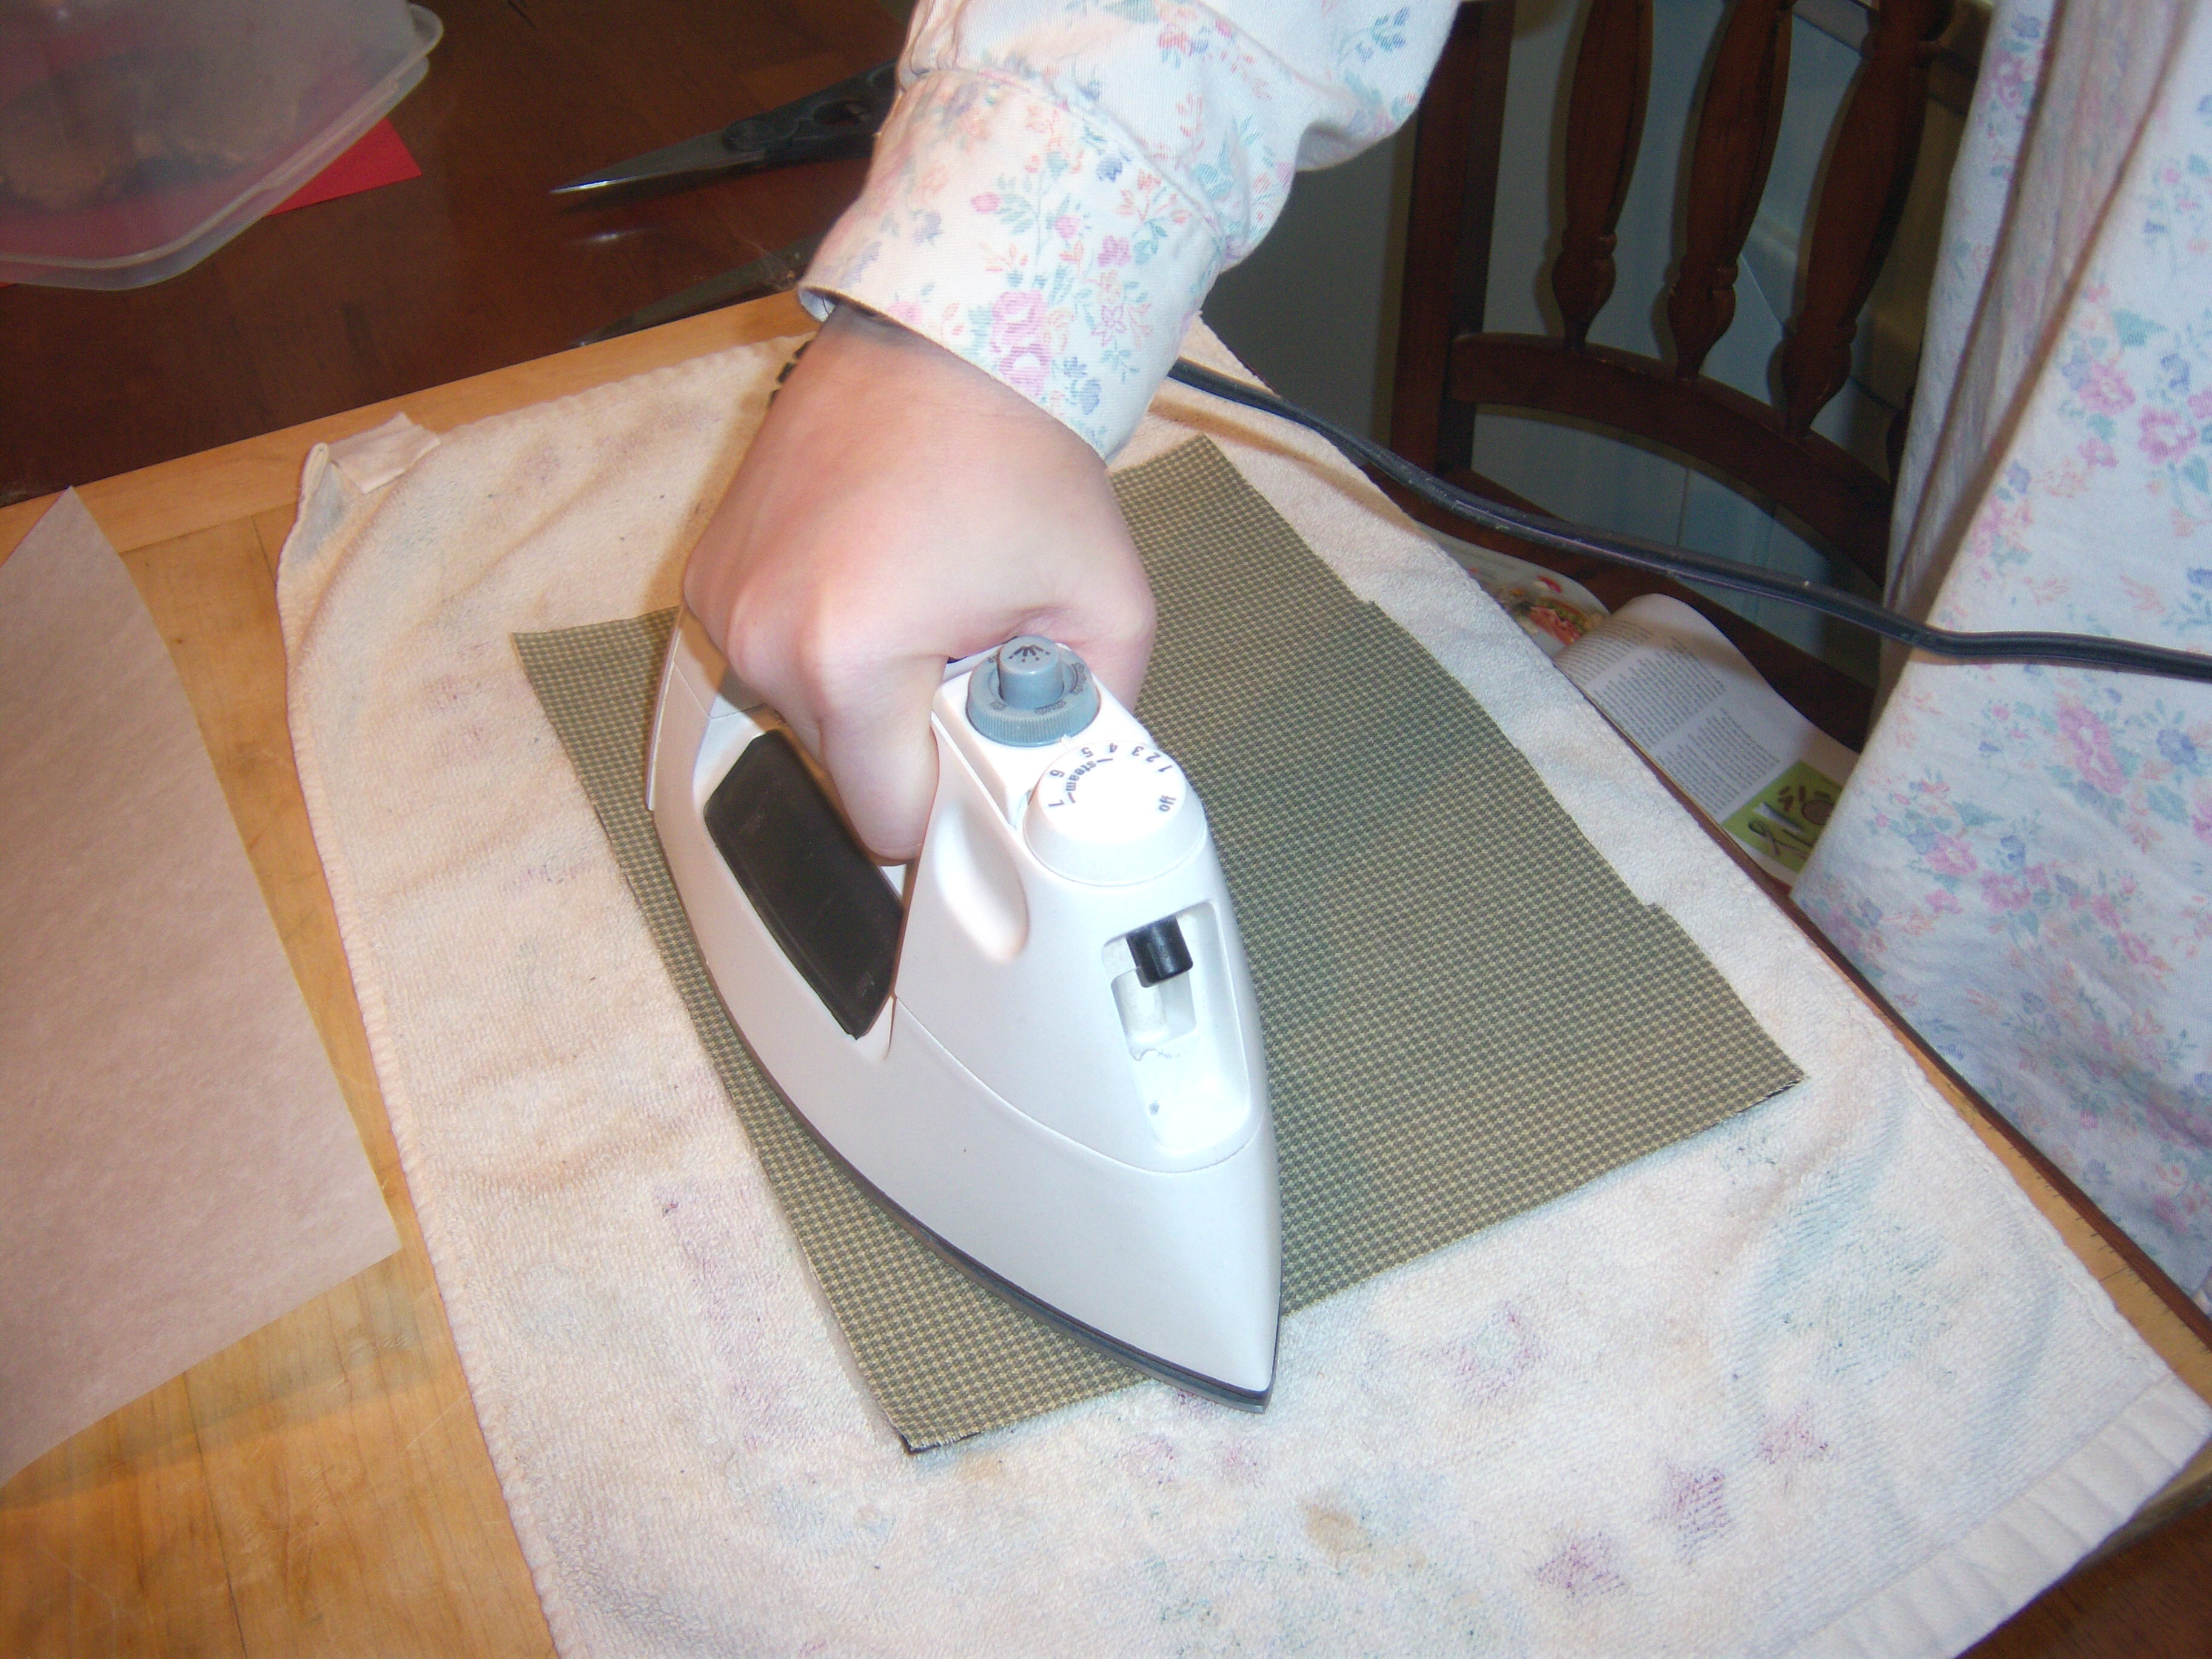
Totally fusionary
fusing the two fabrics together. This was easy. The hardest part was finding the iron! We never use it and it was stuffed away somewhere.
Next I cut out the leaf template that Mr. MarthaAndMe brilliantly enlarged for me on the computer. I’m not sure who has a copier at home that will enlarge things, but I sure don’t have one. Martha was pretty casual about this – “Now just blow it up on your printer or copier”. Umm, ok.
Martha says to trace the template on the material using a disappearing ink pen. I don’t have one of those (or if I did, it must have disappeared). Mr. MarthaAndMe suggested I trace it with chalk. He’s just as cute
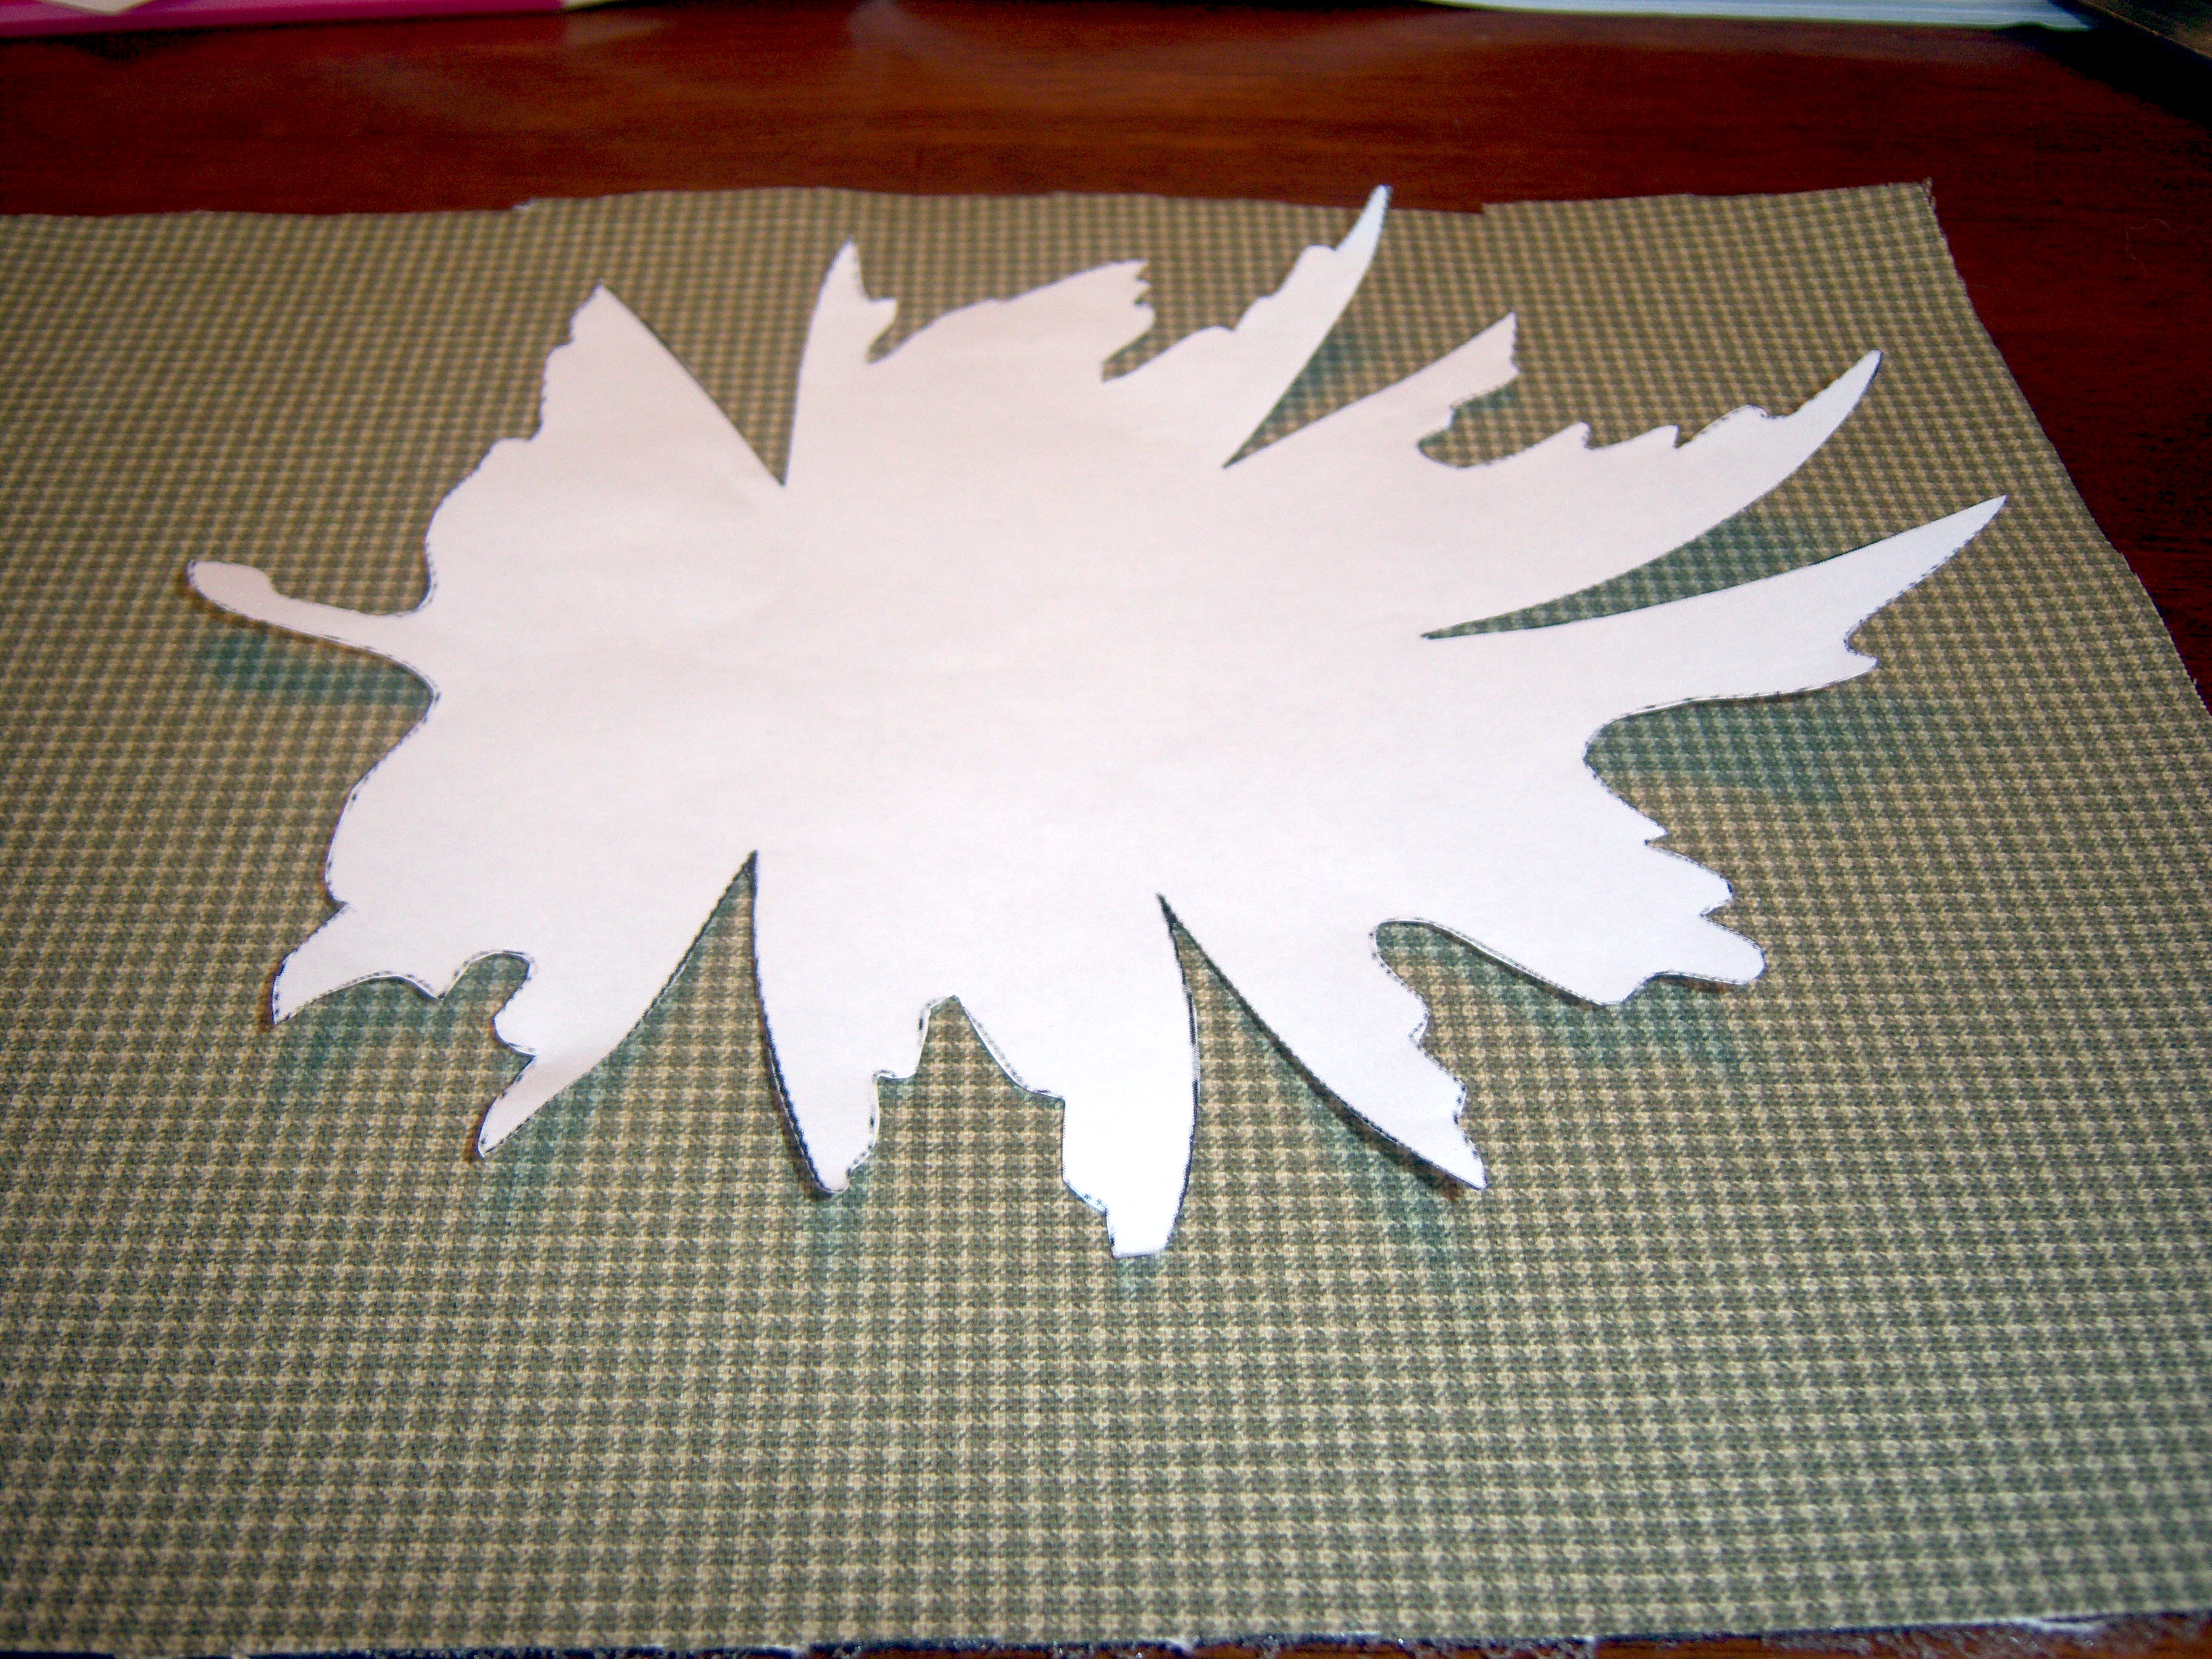
Template time
as he is smart, folks! This worked well. Next, I cut out the material. This was hard on the hands, but doable.
Martha then wanted me to “create darts” by sewing closed the V-shaped notches on the fabric with a “zigzag stitch”. First problem, I don’t have a sewing machine. Second problem, I really am not sure what a dart is. Third problem – no clue what a zigzag stitch is. Those are some big problems, gang.
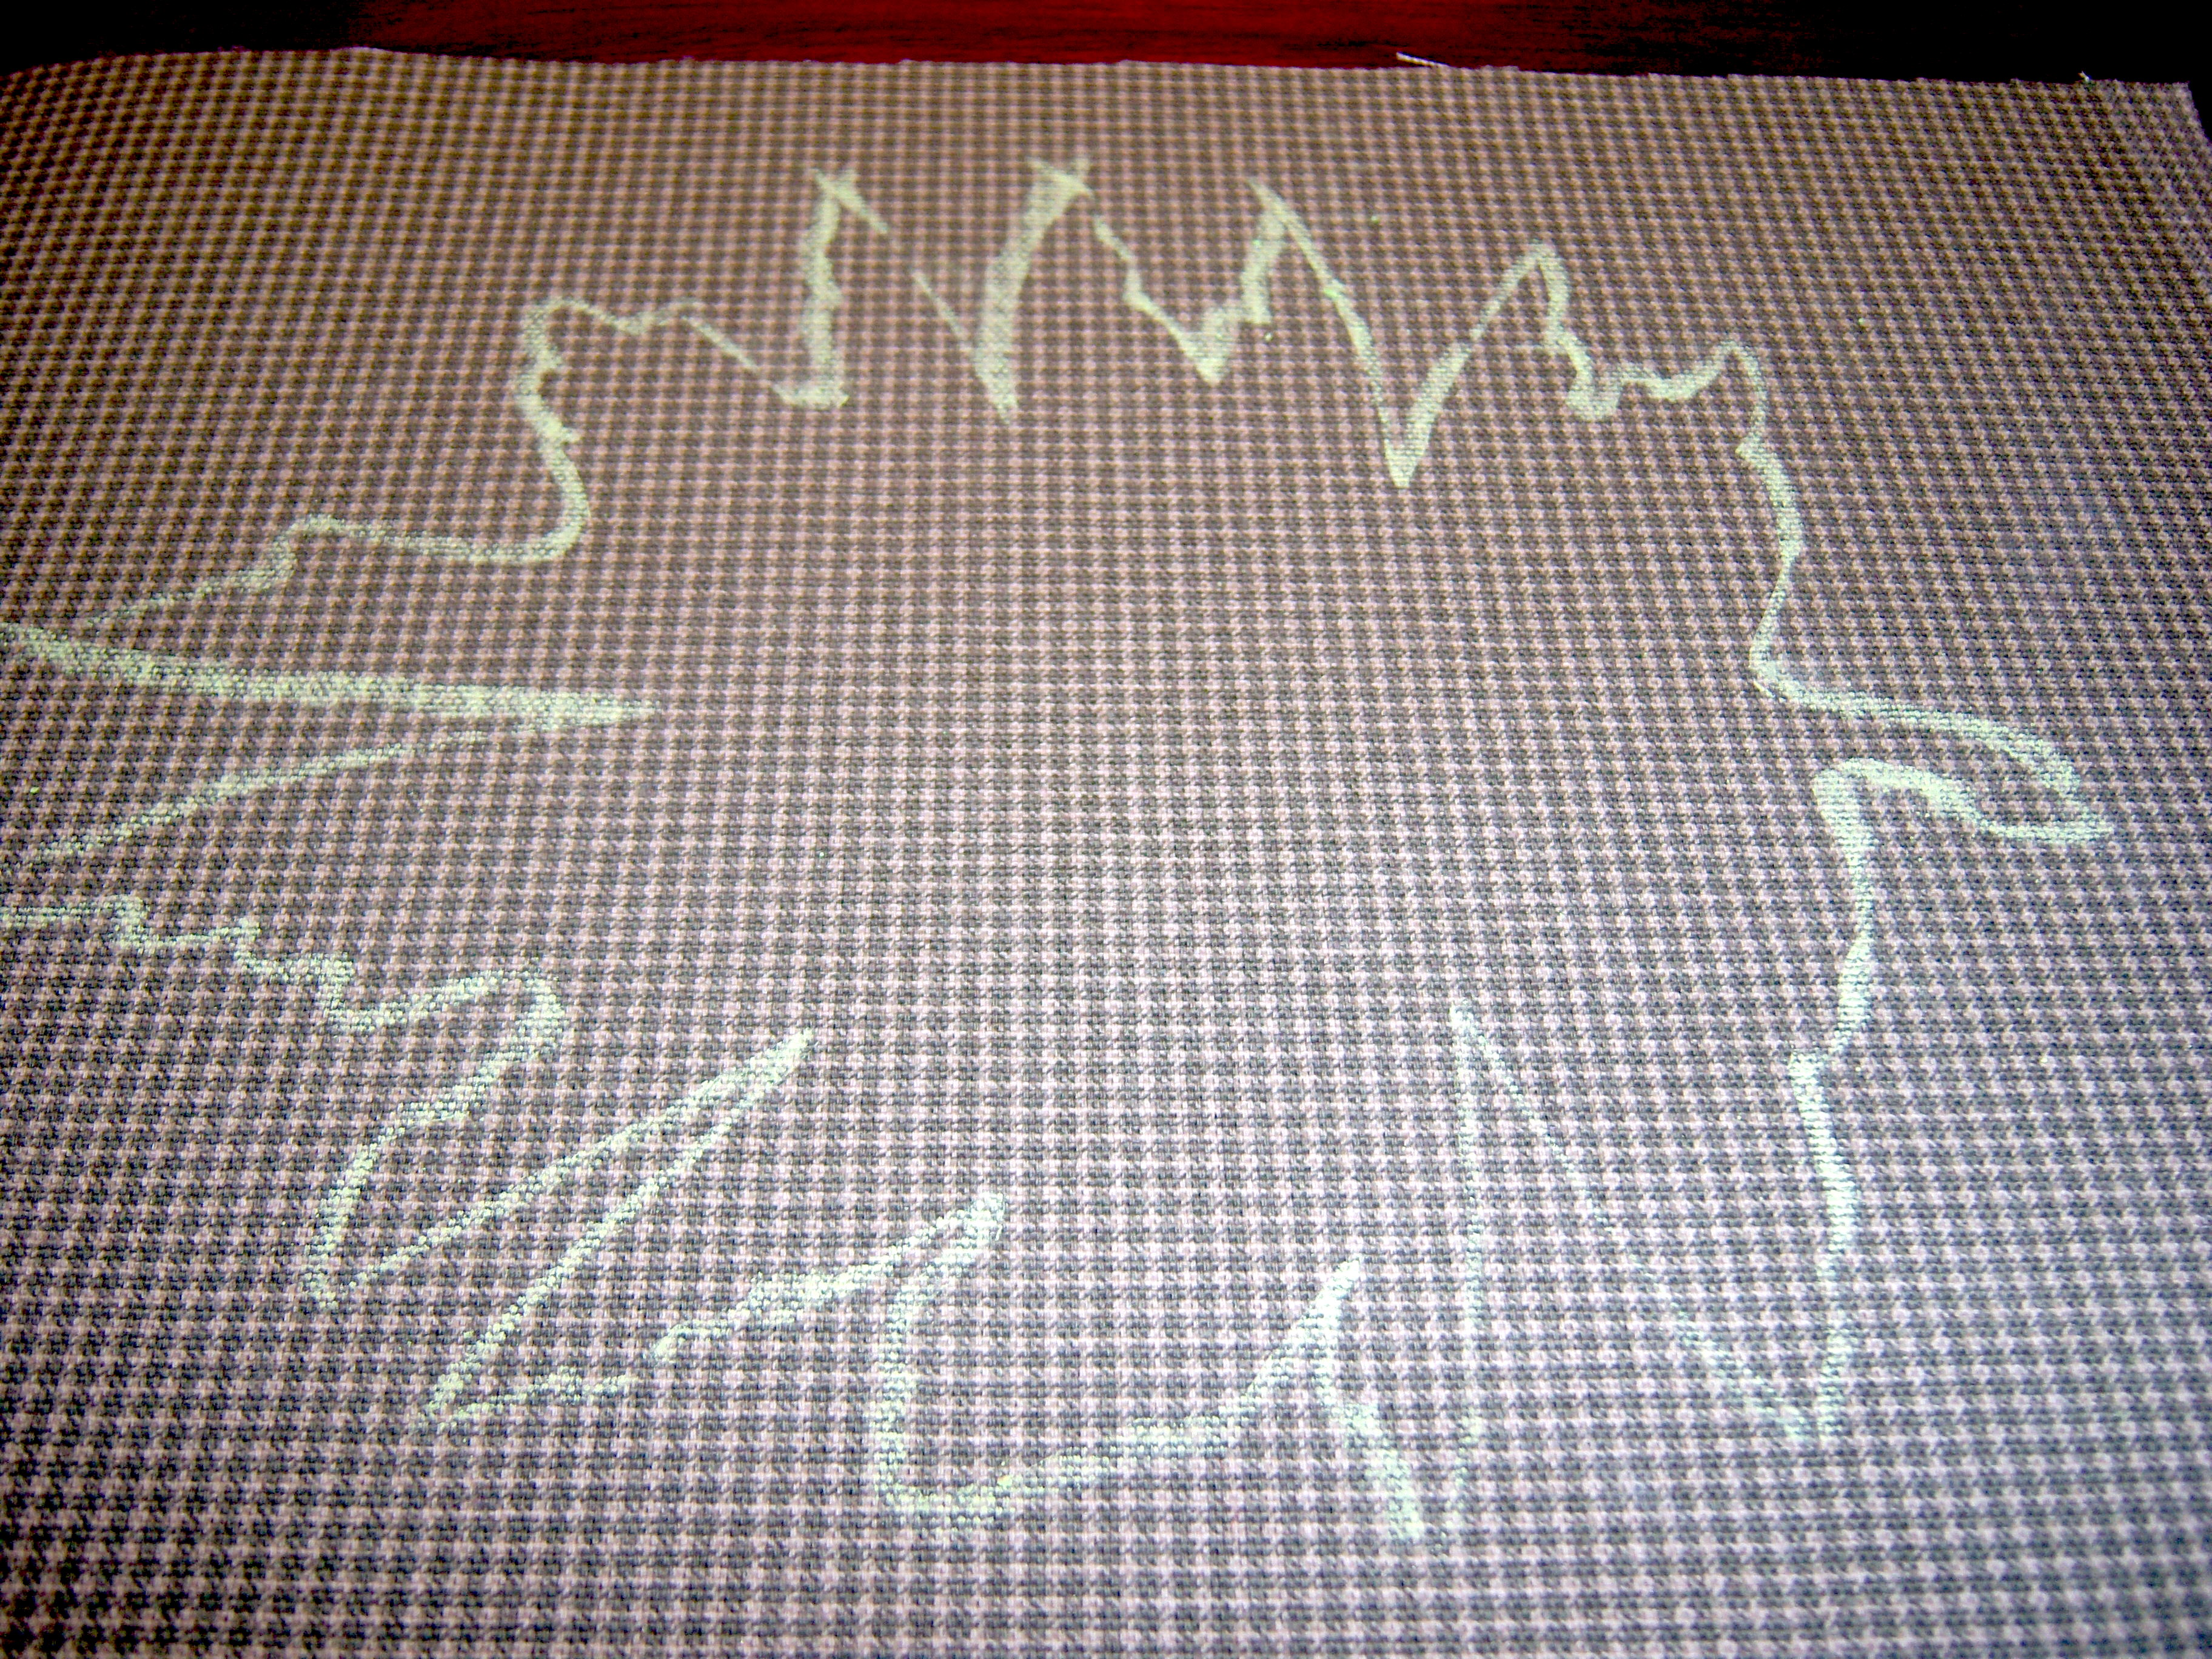
Chalk it up
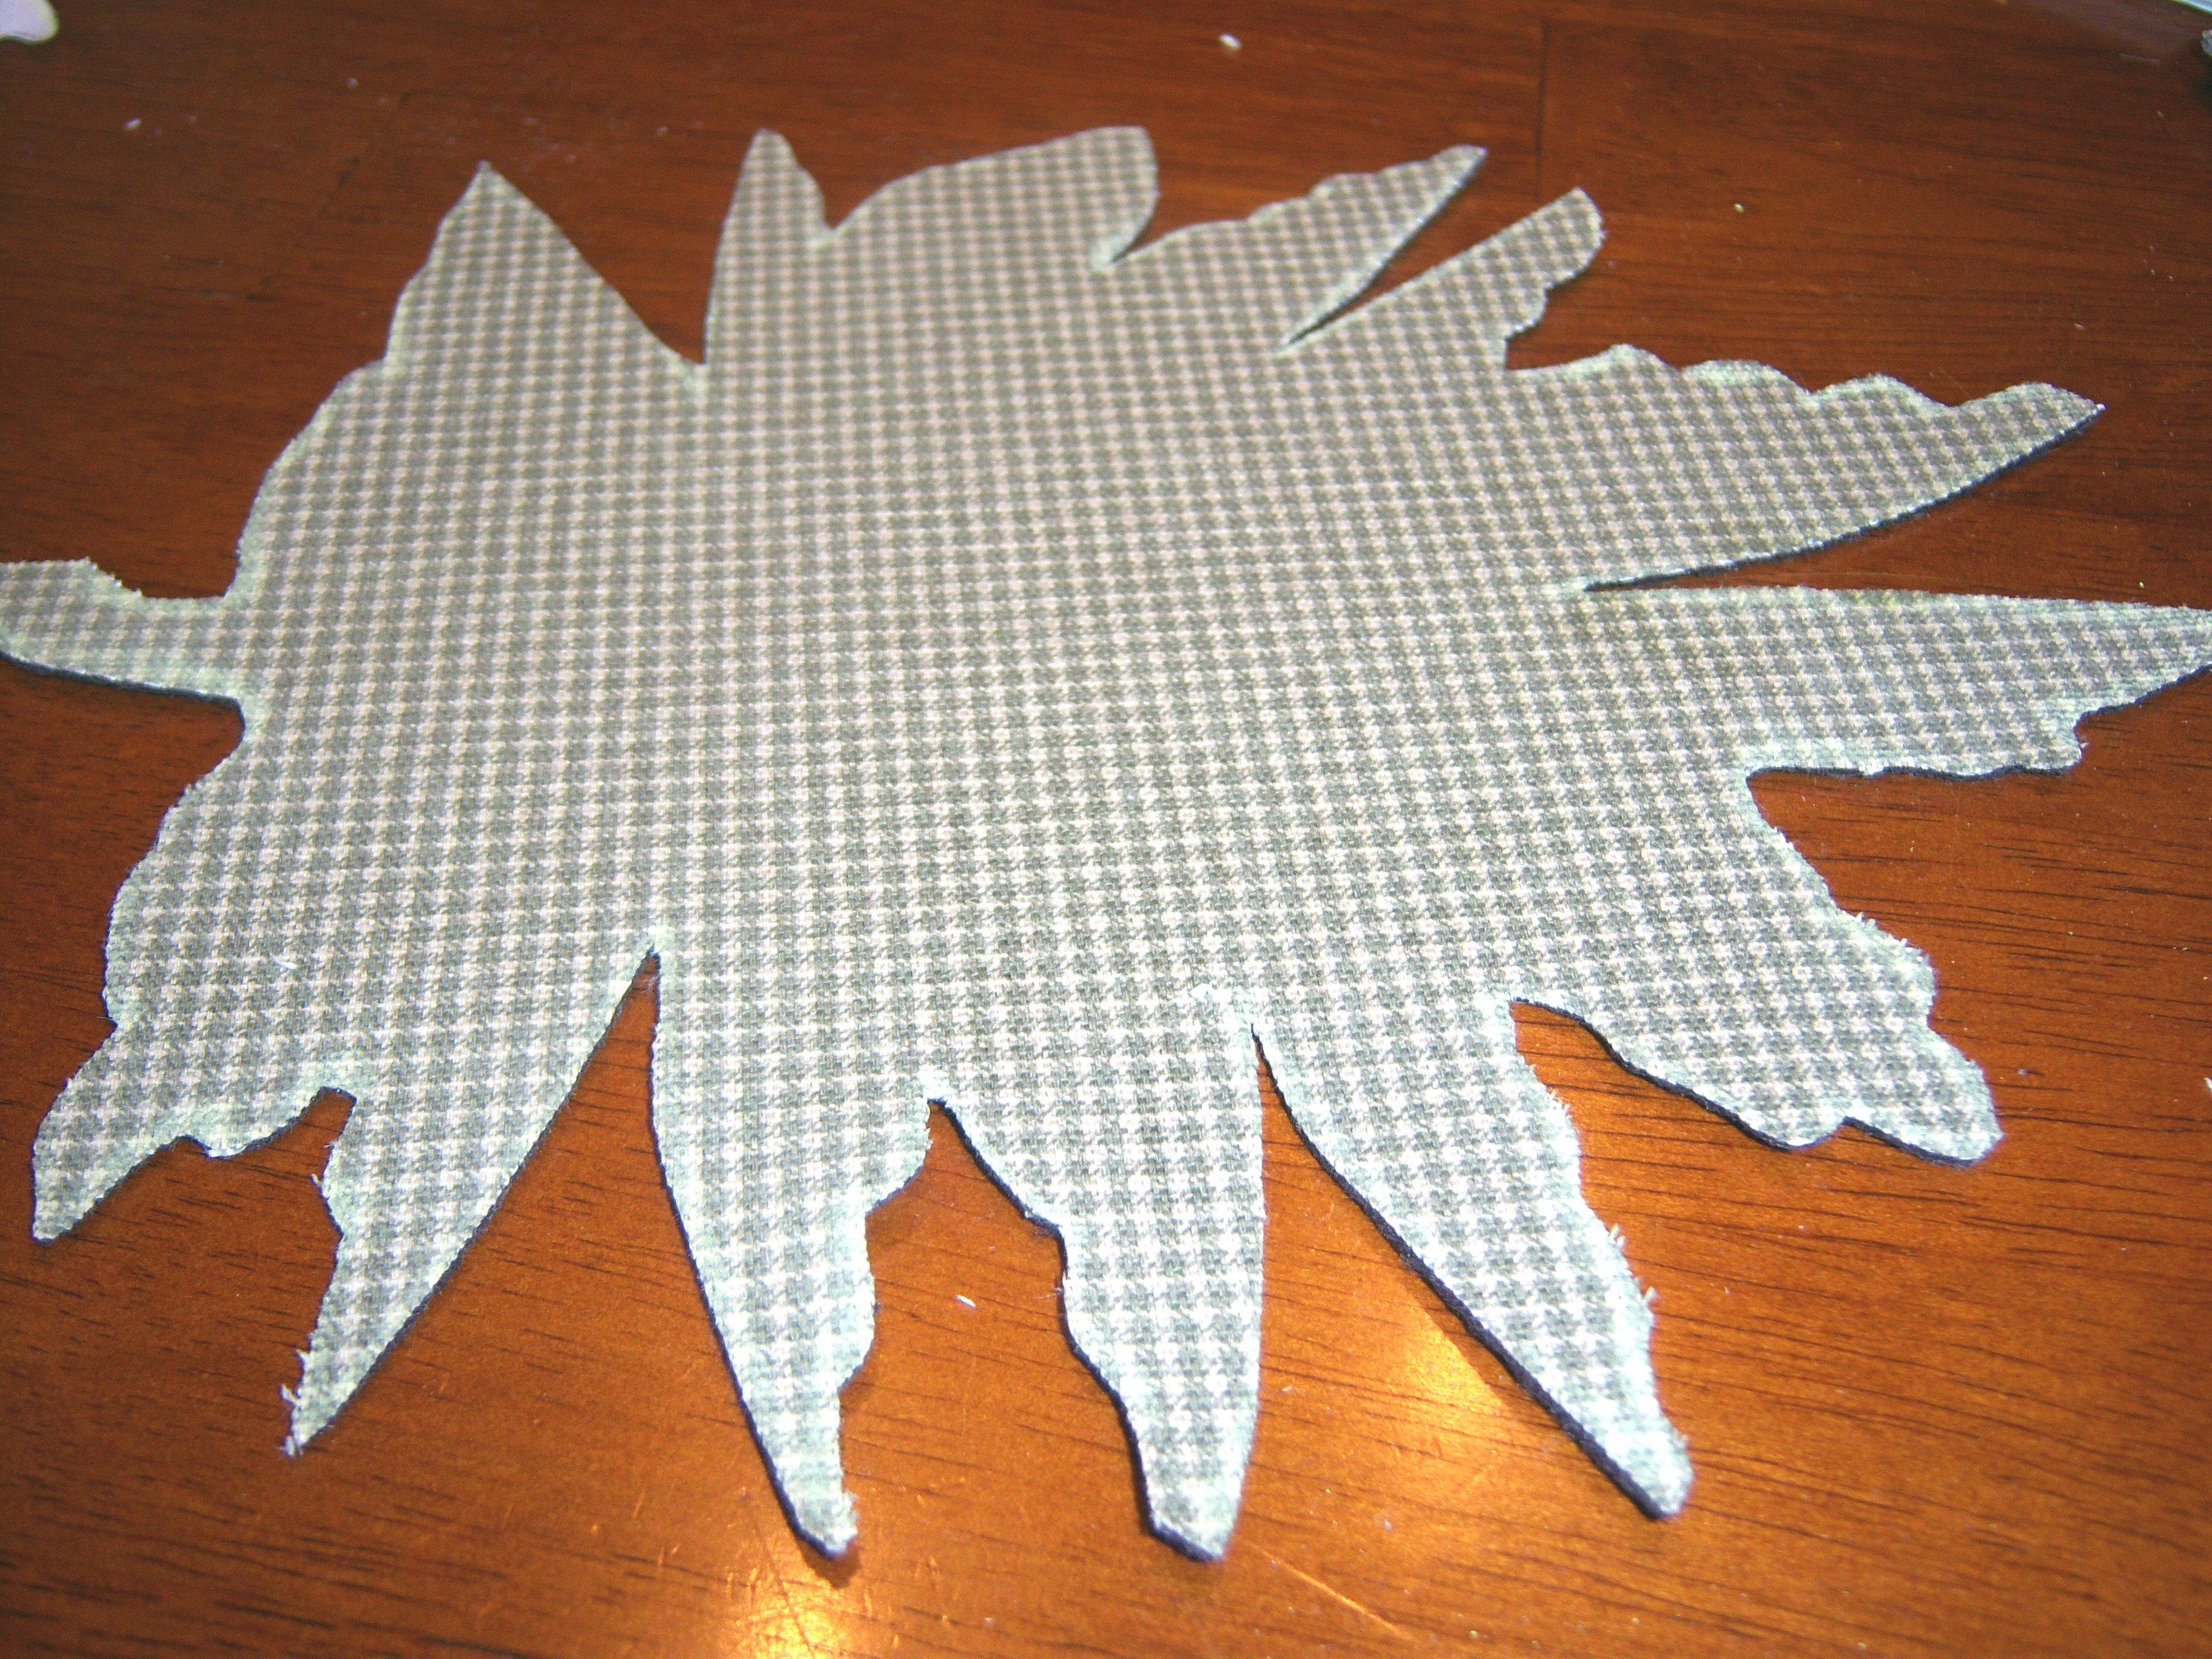
The cut out
I hand sewed this and did it so that I stuck the needle in one side and pulled it out the other. Instead of making it go back in the side it just came out of, I looped it over the top of the seam so it went back in the first side (I’m you sewing geniuses know what this is called, but I don’t). This kind of covered up the bare edges of the fabric. It took a while and my fingers are pretty mangled.
Once it was done, I was pretty impressed by it. It really looks like a leaf. Not sure what I would put in it though. And I’m not really a big lover of fall type colors. Mr. MarthaAndMe suggested I give it as a gift and maybe I’ll end up doing that. I’m not sure it’s exactly perfect enough to do that with though (some of the edges are a tiny bit frayed).
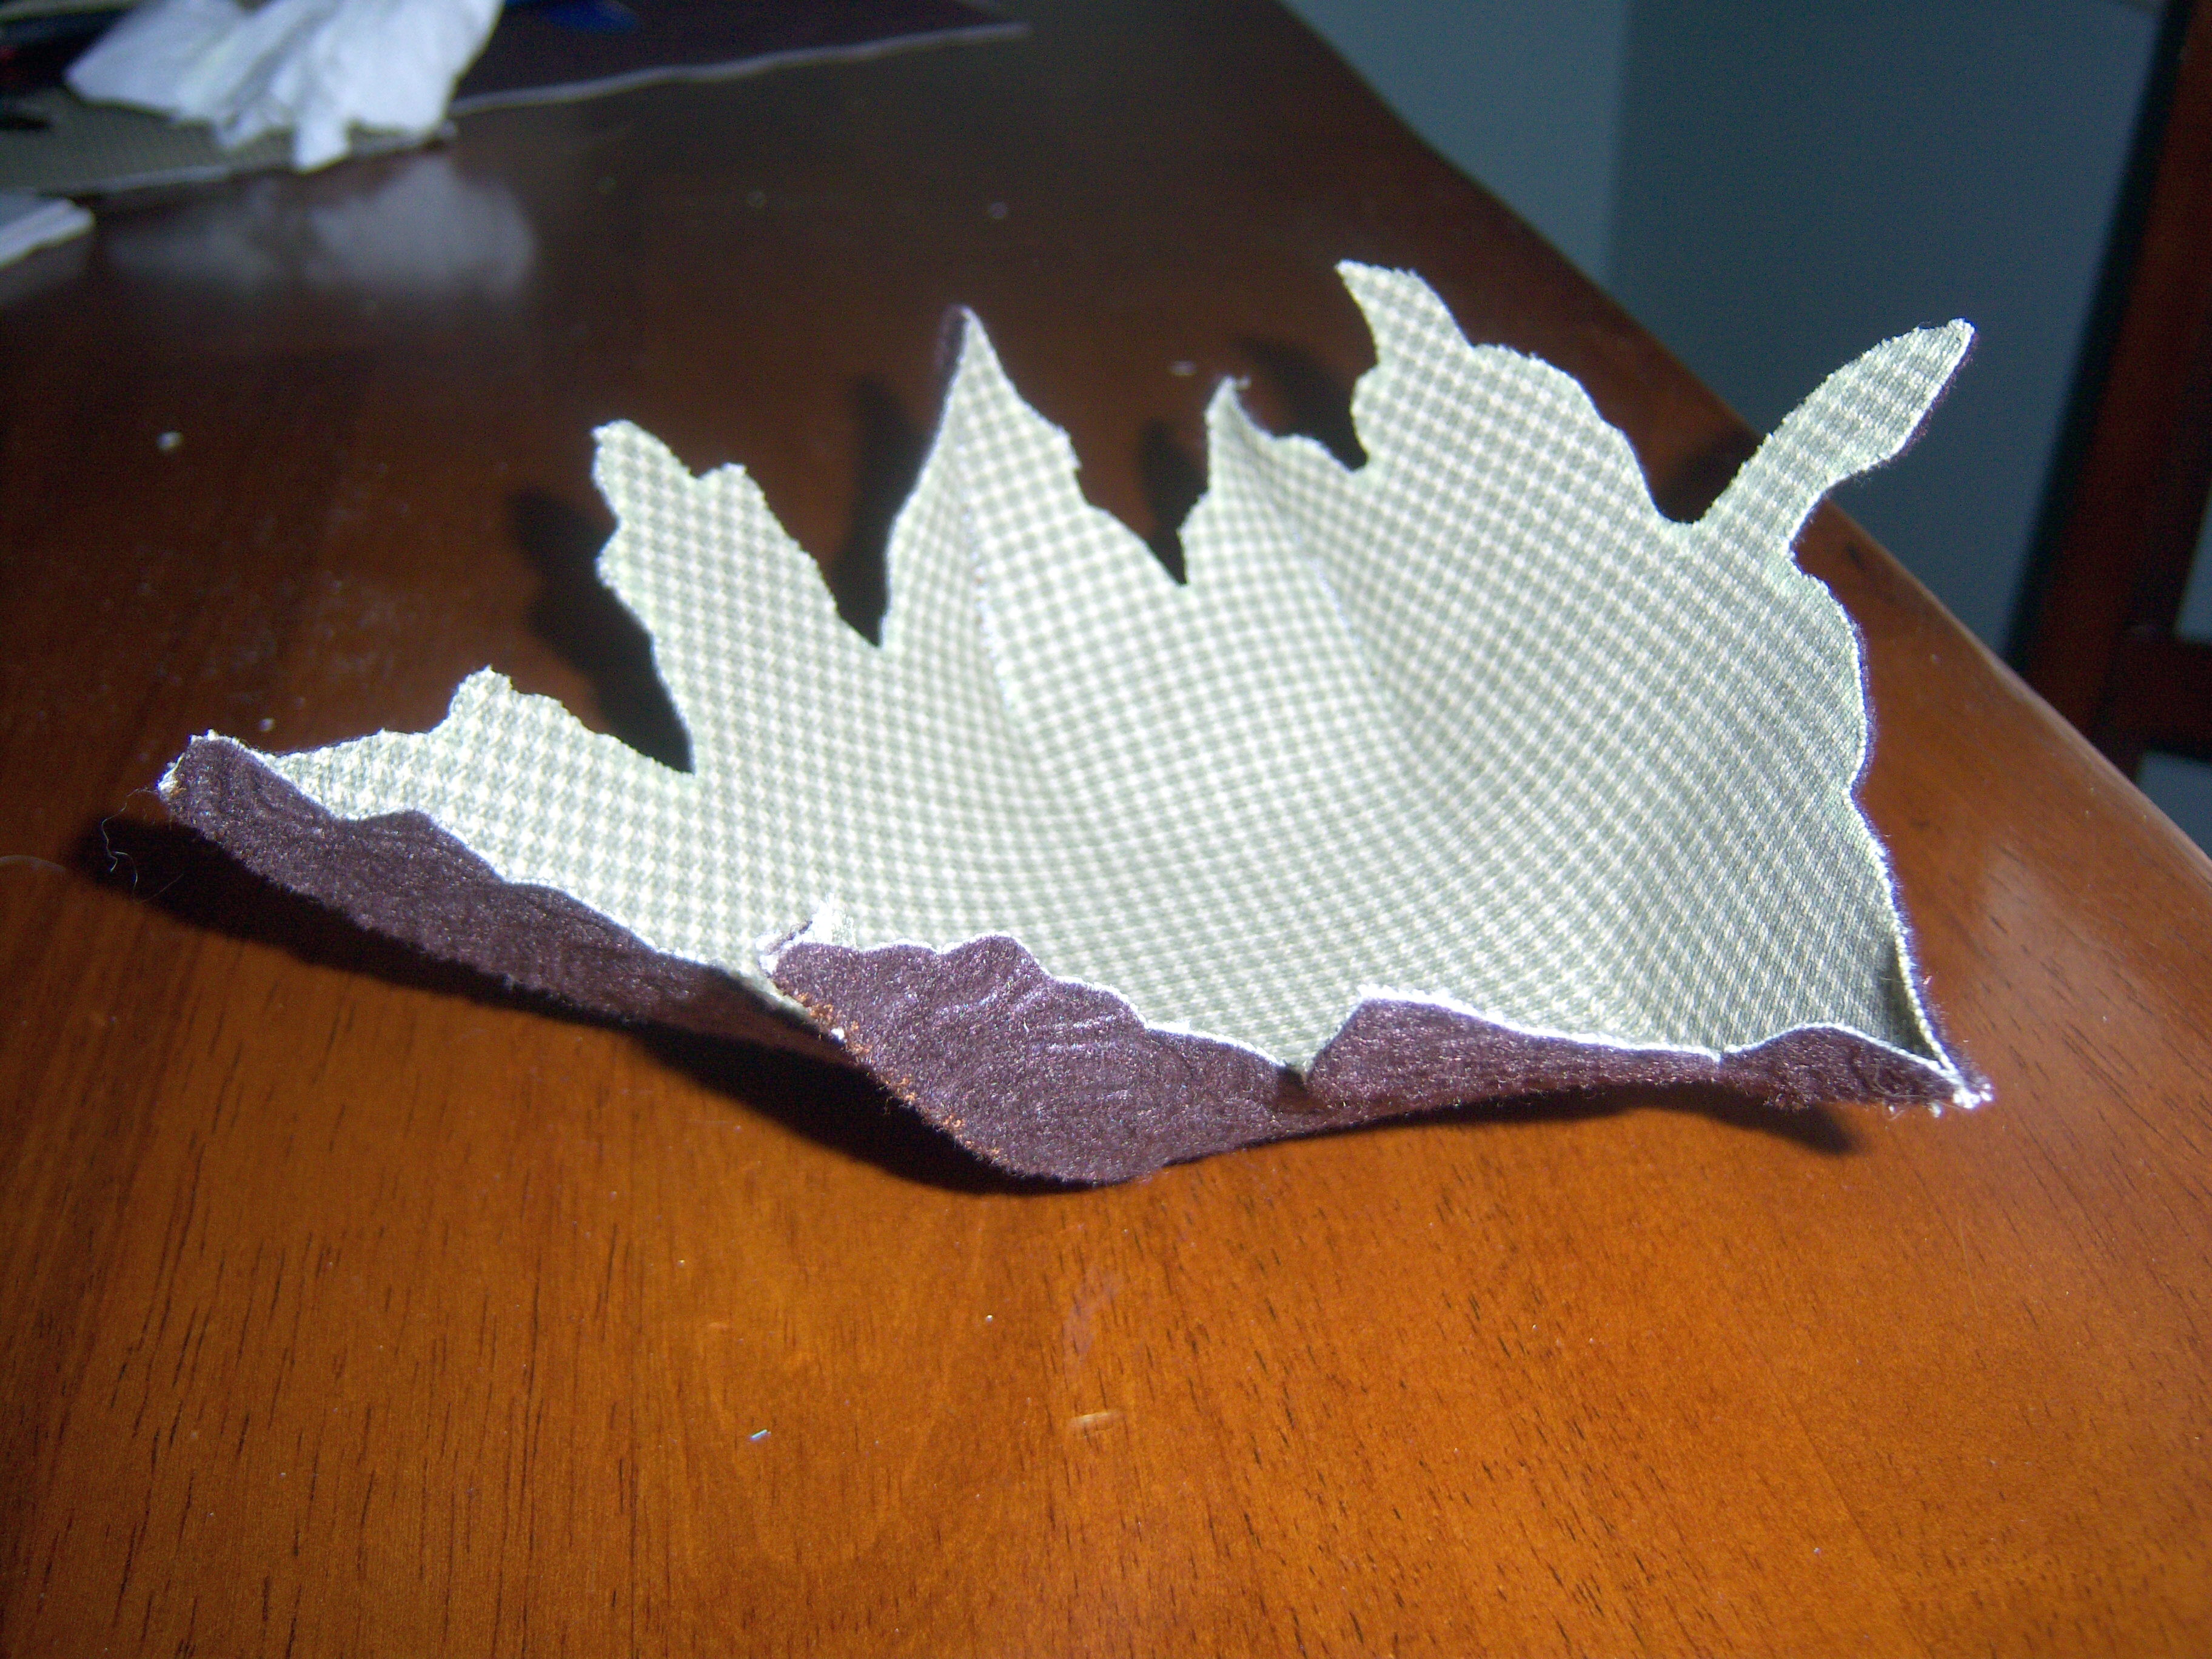
Ta-dah!
So now for the deeper questions. How did this project make me feel? I have to say that I have always somewhat enjoyed hand sewing. I once hand sewed a cushioned seat and back for a child’s rocking chair and I also hand sewed some doll house things – curtains, tablecloths, sheets, blankets, and pillows. I’m not too bad at mending holes and I can sew a button on, so I’m not a total loser. There is something very relaxing about sitting still and doing something like this with your hands. It’s a nice brain-free activity – something that does not require higher thought. I don’t like messing things up though and get frustrated when the needle goes the wrong way, the thread gets knotted or I sew it crooked. This one was pretty idiot proof though I have to say, if I was able to make it turn out looking this good.
This project took me a couple of hours. I don’t know if the time put into it equals the result. I know it is supposed to be about the process and the joy of creating something with your own hands. I get that, but I think I might rather go shopping and buy something I like that is really well-made.
It was time to buckle down and do some crafting with Martha. I decided to make the oak-leaf bowl from p. 95-96 of Nov. Living, which Martha also made on the show. It looked not too complicated. First off, I hit the craft store. This was actually a cheap project for me. I bought a … Read more →
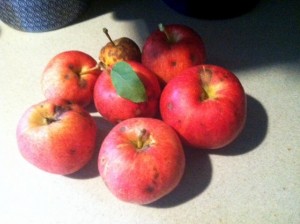 We planted two apple trees in our yard last fall. They bloomed in the spring. Only one grew apples, but we were happy! I watched them growing all summer, as did one of our dogs. He spent a lot of time under that tree, gazing upward thinking “How can I get those?” Yesterday we picked some of the apples. We left 3-4 on the tree since they may get a bit riper. We did nothing to this tree other than water it – no sprays, no chemicals, nothing. I was expecting nothing and instead we got a nice little bunch of very usable apples.
