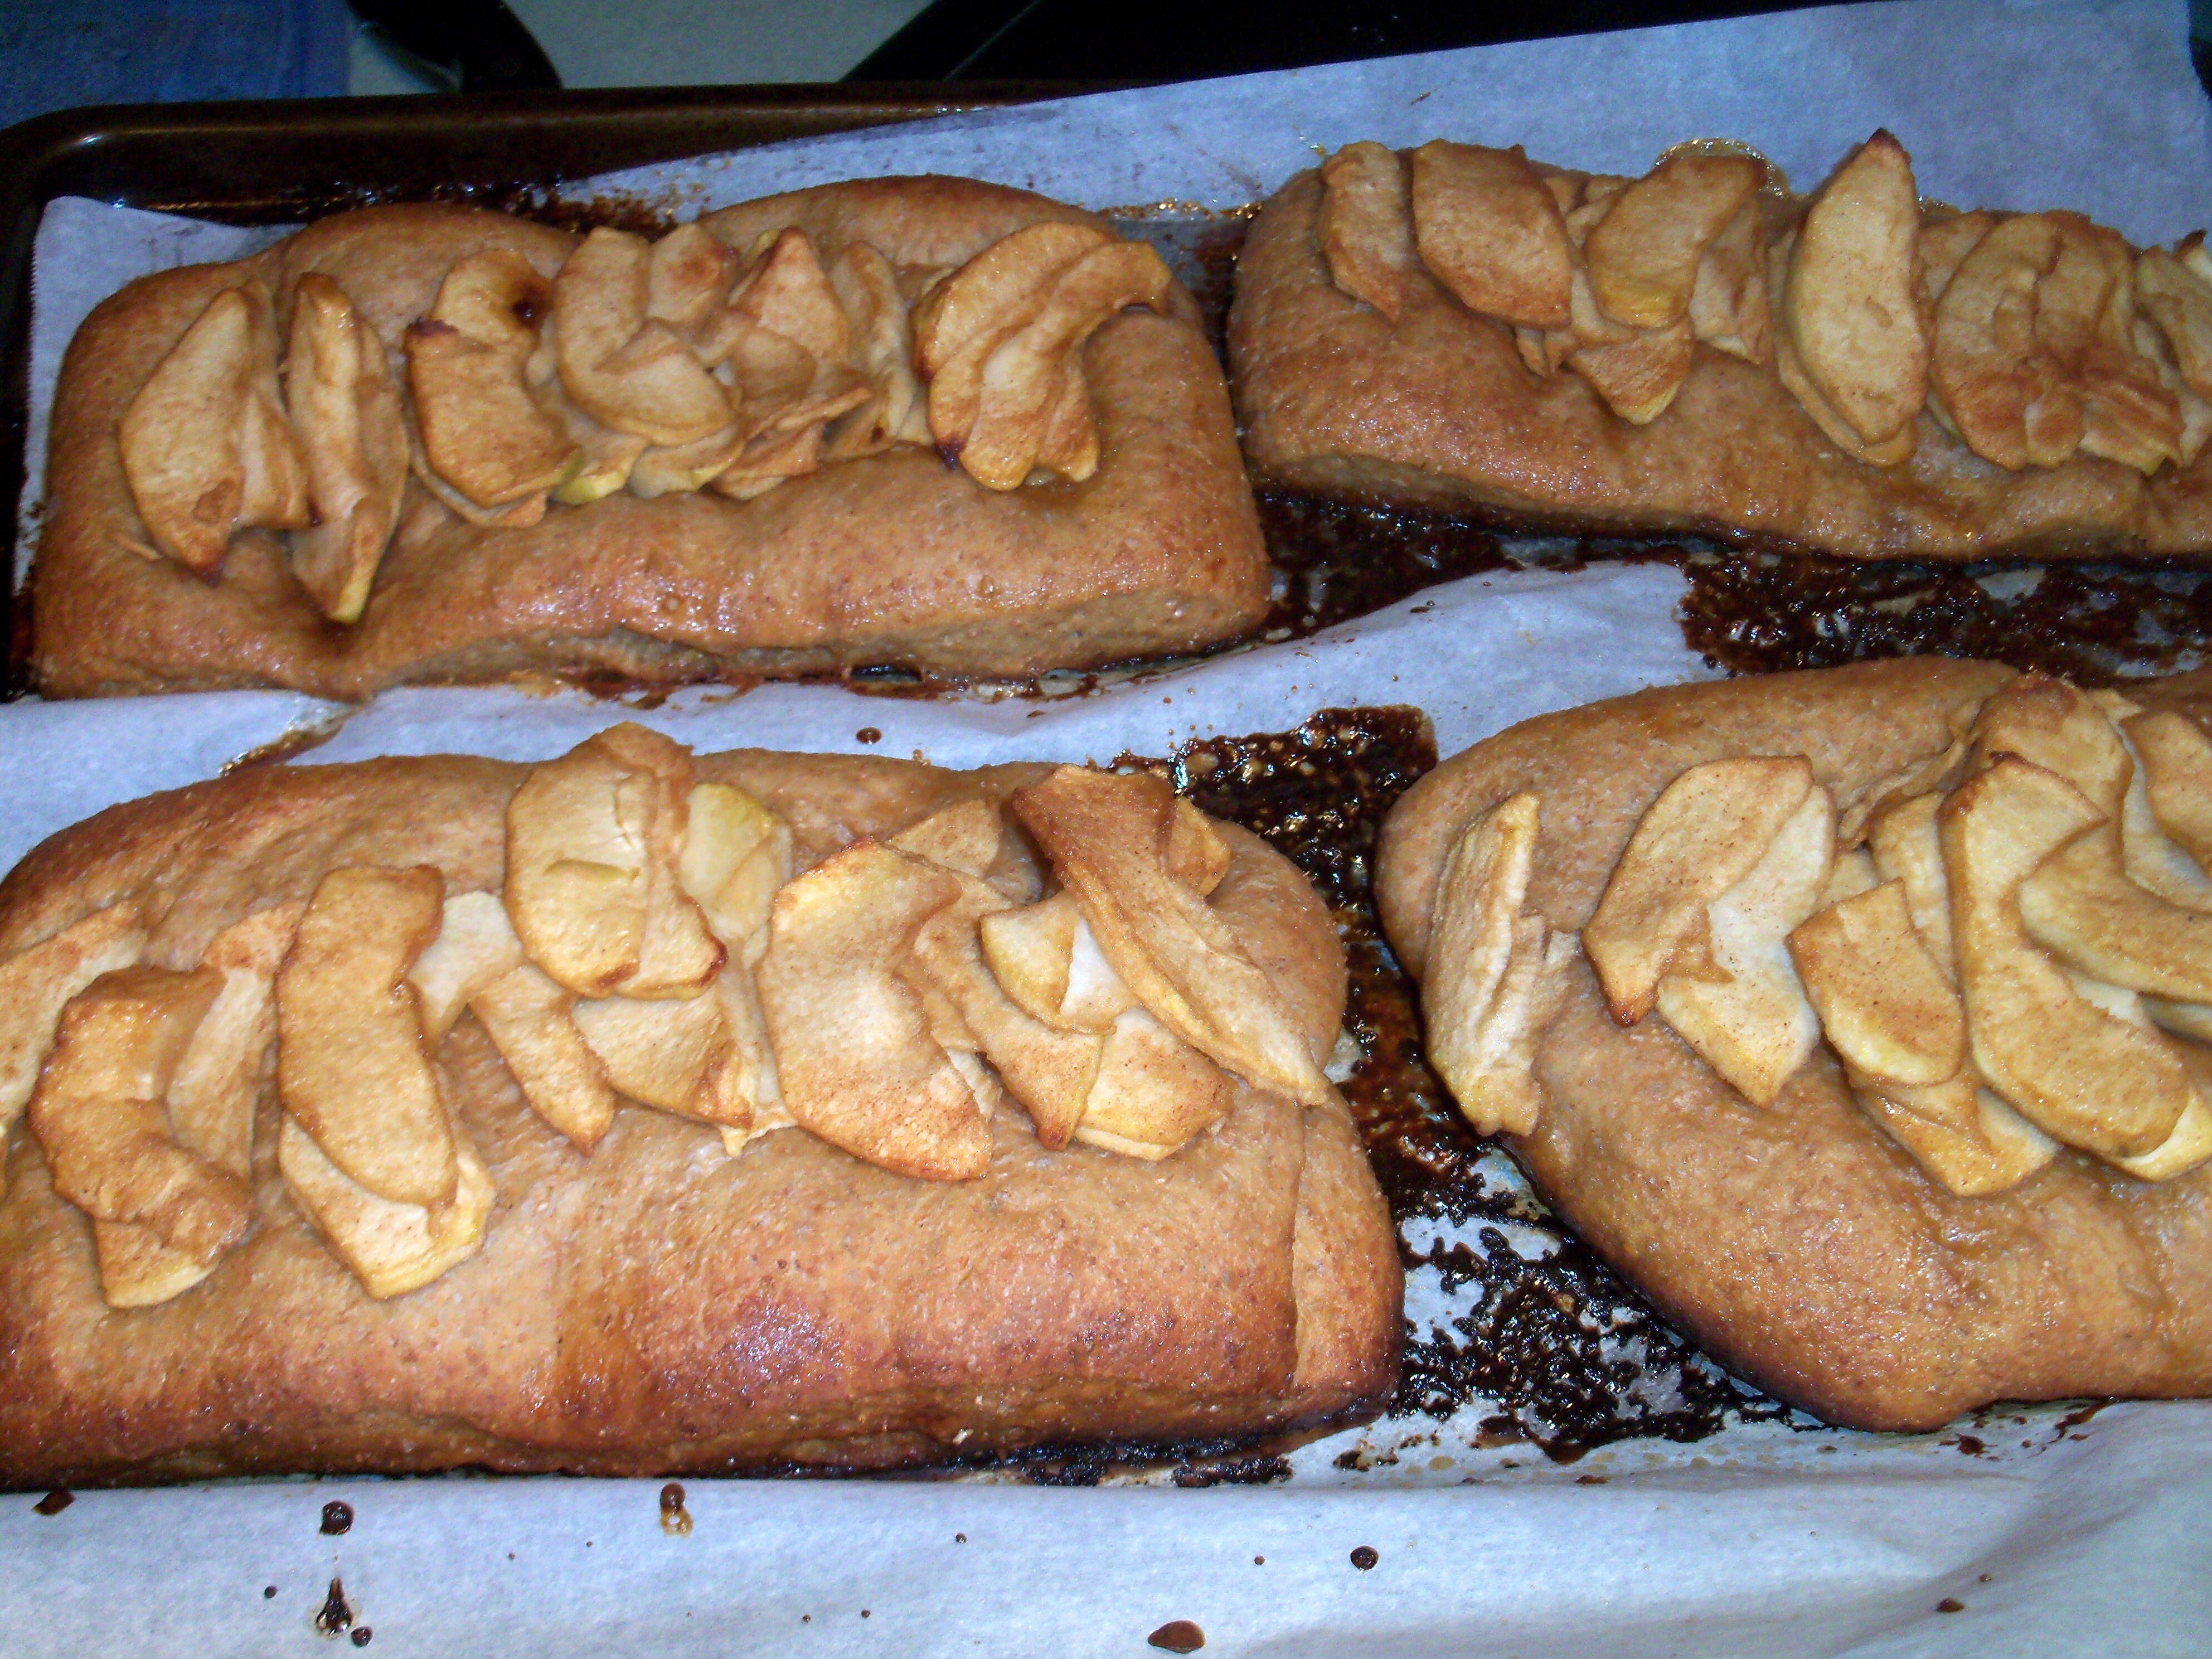
Pizza dough take two. Following yesterday’s post about using pizza dough to make cinnamon rolls, today’s post is about the recipe in March Everyday Food using pizza dough to make apple cinnamon tarts. I used pre-made dough for this. You roll it out, dot with butter, roll again and refrigerate. Then cut into 4 rectangles and arrange apple slices that have been mixed with cinnamon and sugar. Brush the edges of the dough with an egg wash then cinnamon and sugar.

These turned out really thick. Too thick. It needed to be a lot thinner to even approximate a tart. Not to mention the pieces were just huge. We each ate half of a piece and it was a lot. The apples did cook nicely and the top was pretty and crunchy on the edges. The flavor was good, it was just too much dough.  This was not a success in my opinion.

Pizza dough take two. Following yesterday’s post about using pizza dough to make cinnamon rolls, today’s post is about the recipe in March Everyday Food using pizza dough to make apple cinnamon tarts. I used pre-made dough for this. You roll it out, dot with butter, roll again and refrigerate. Then cut into 4 rectangles … Read more

Thanks to Sara at Sassy Suppers, the project for next Monday is an organizing one. On page 48 of March Martha Stewart Living, Martha suggests using a painter’s watercolor palette (the thing you put the paint on in the different little compartments) to organize jewelry. The magazine says to use a ceramic one, but an inexpensive plastic one would work just as well.

Thanks to Sara at Sassy Suppers, the project for next Monday is an organizing one. On page 48 of March Martha Stewart Living, Martha suggests using a painter’s watercolor palette (the thing you put the paint on in the different little compartments) to organize jewelry. The magazine says to use a ceramic one, but an … Read more

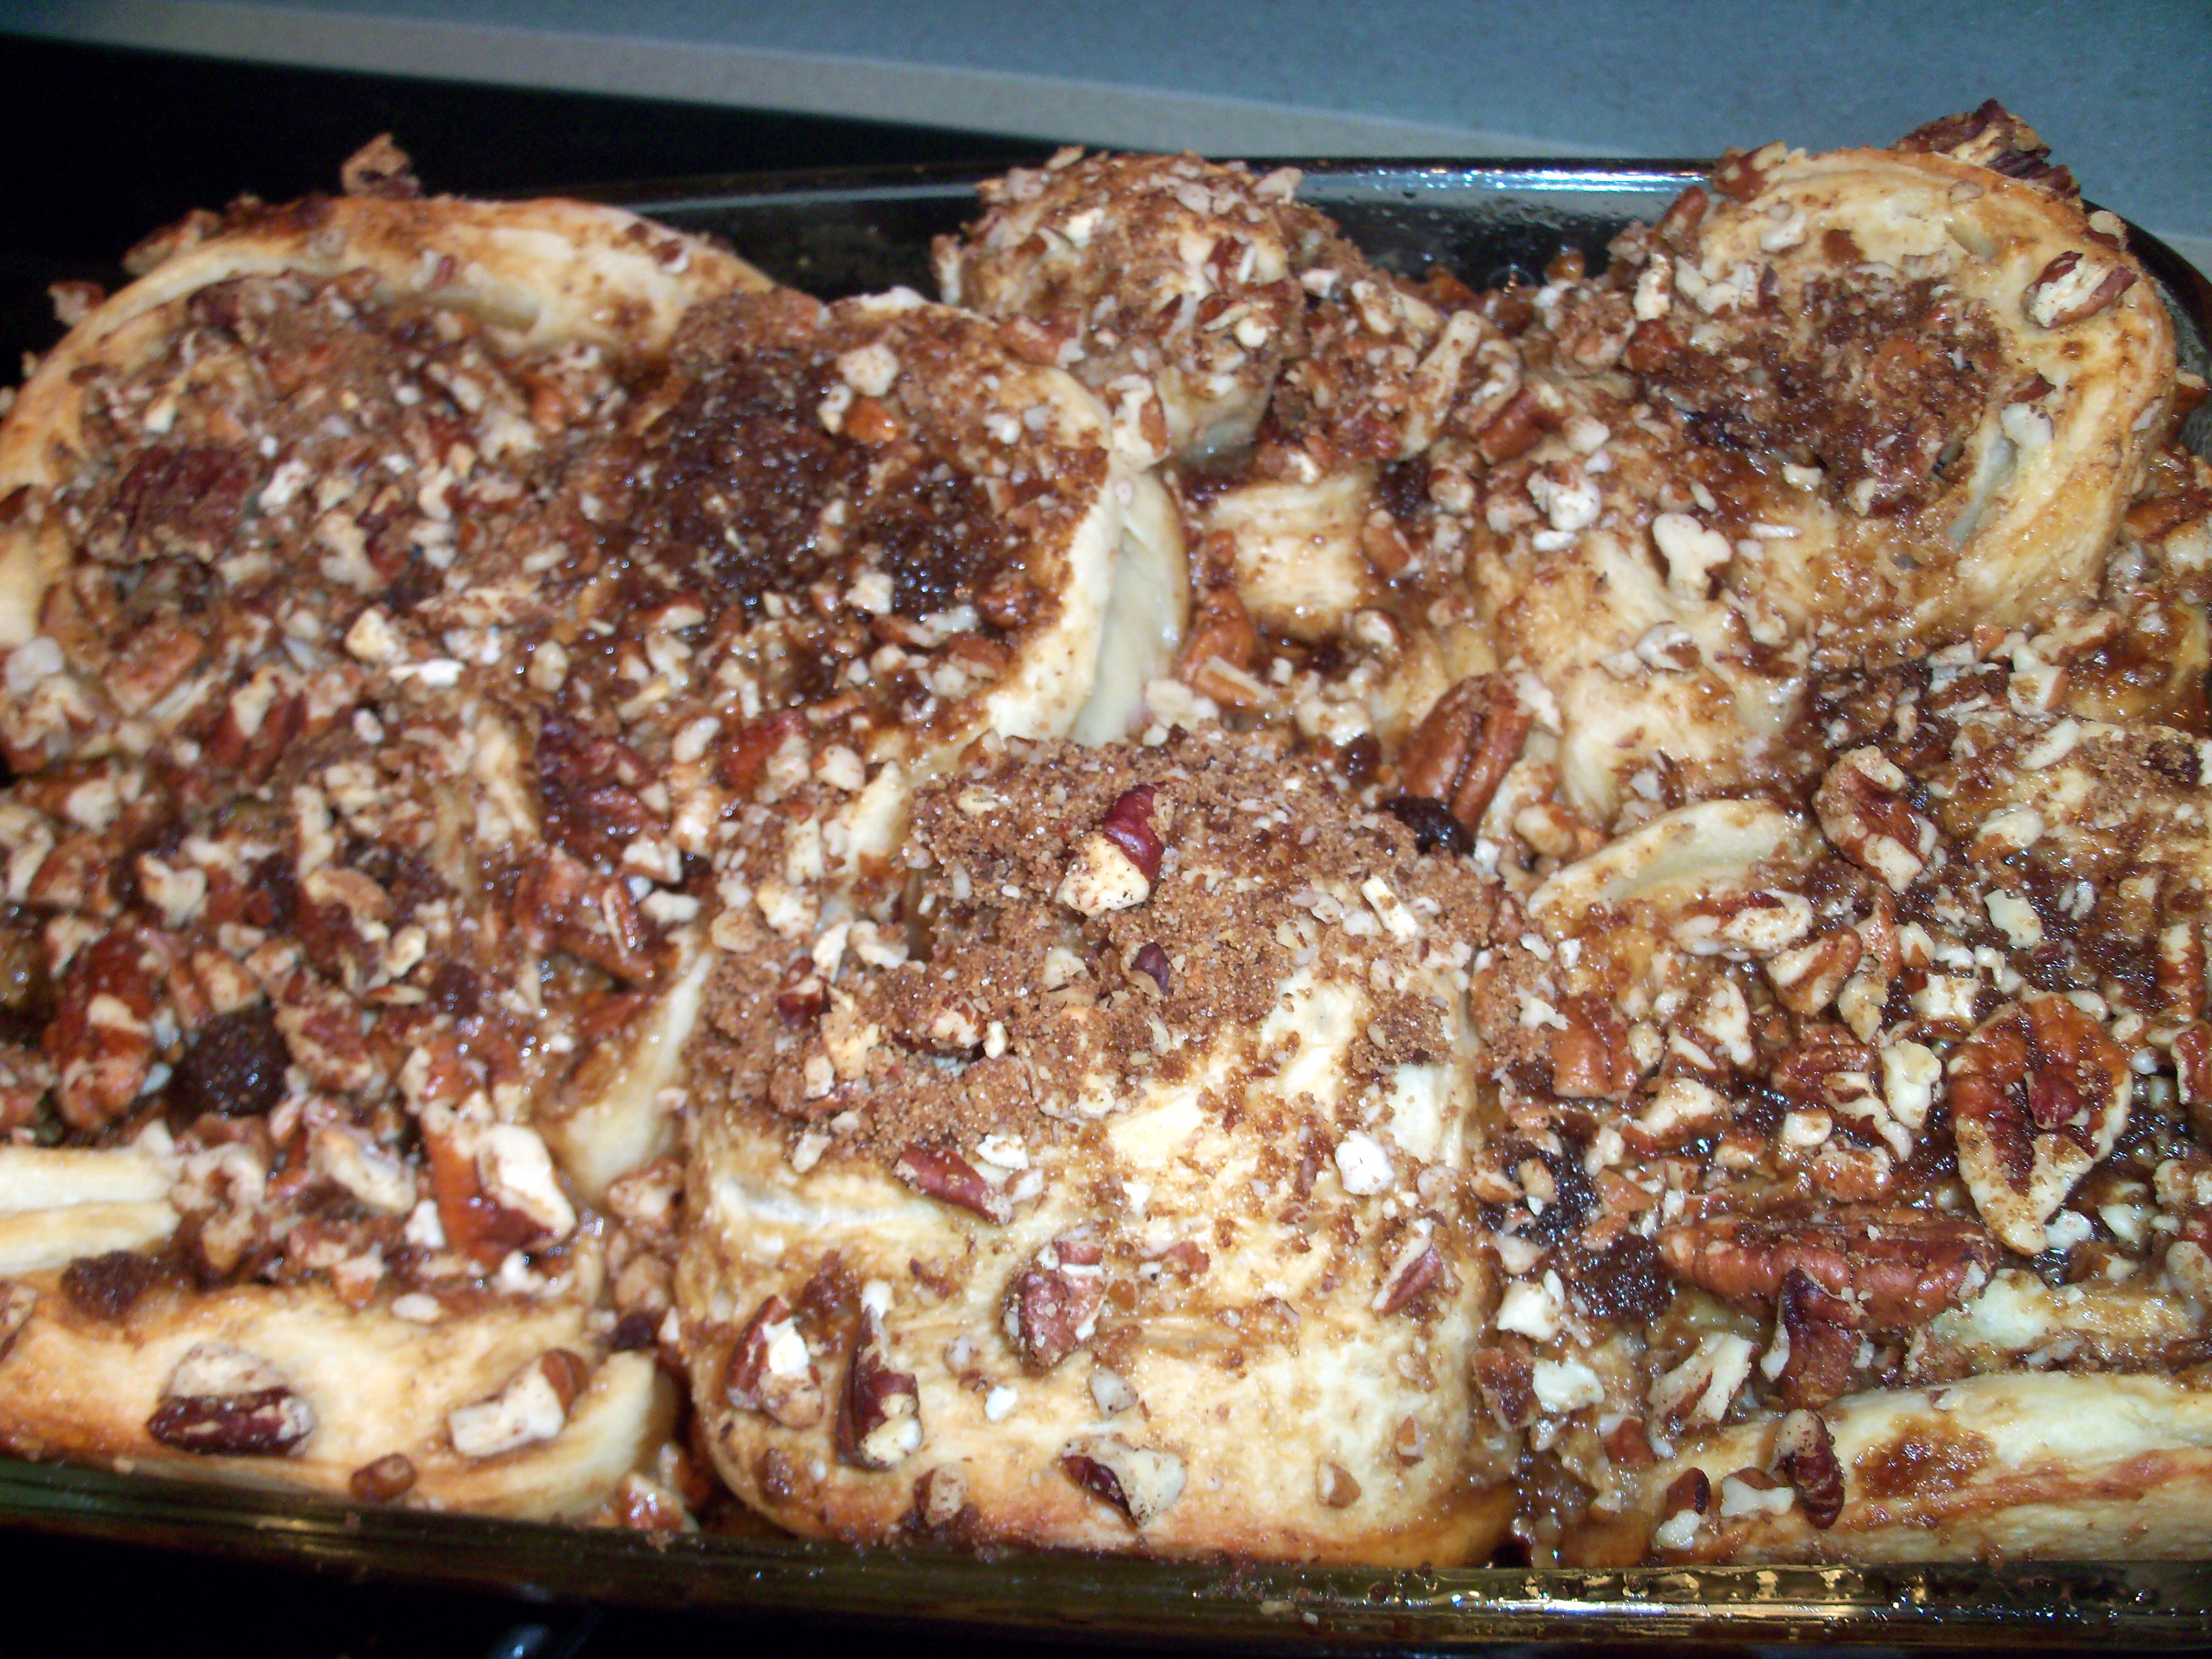
I love new uses for old things. In March Everyday Food, Martha is re-purposing pizza dough. I had some dough in the freezer I wanted to use up (no, I didn’t make it myself!). Cinnamon rolls are just decadent, so I was interested to see if you can really make them from pizza dough. First you roll the dough out (hard to do with elastic pizza dough) then dot with butter and fold into thirds and roll back to the original shape. Martha says to refrigerate for an hour then dot again with butter and sprinkle with a brown sugar, pecans, cinnamon and salt mix. Roll it up, slice it and bake.

These turned out quite well, although I couldn’t quite get past the taste and texture of pizza dough. It wasn’t as tender as cinnamon dough normally is. The family, however, enjoyed this one very much. All it’s done for me is make me crave real cinnamon rolls! And a tip – if you make this, I really recommend making some icing to pour over it. I think it would help it immensely.

Bookmark and Share

I love new uses for old things. In March Everyday Food, Martha is re-purposing pizza dough. I had some dough in the freezer I wanted to use up (no, I didn’t make it myself!). Cinnamon rolls are just decadent, so I was interested to see if you can really make them from pizza dough. First … Read more

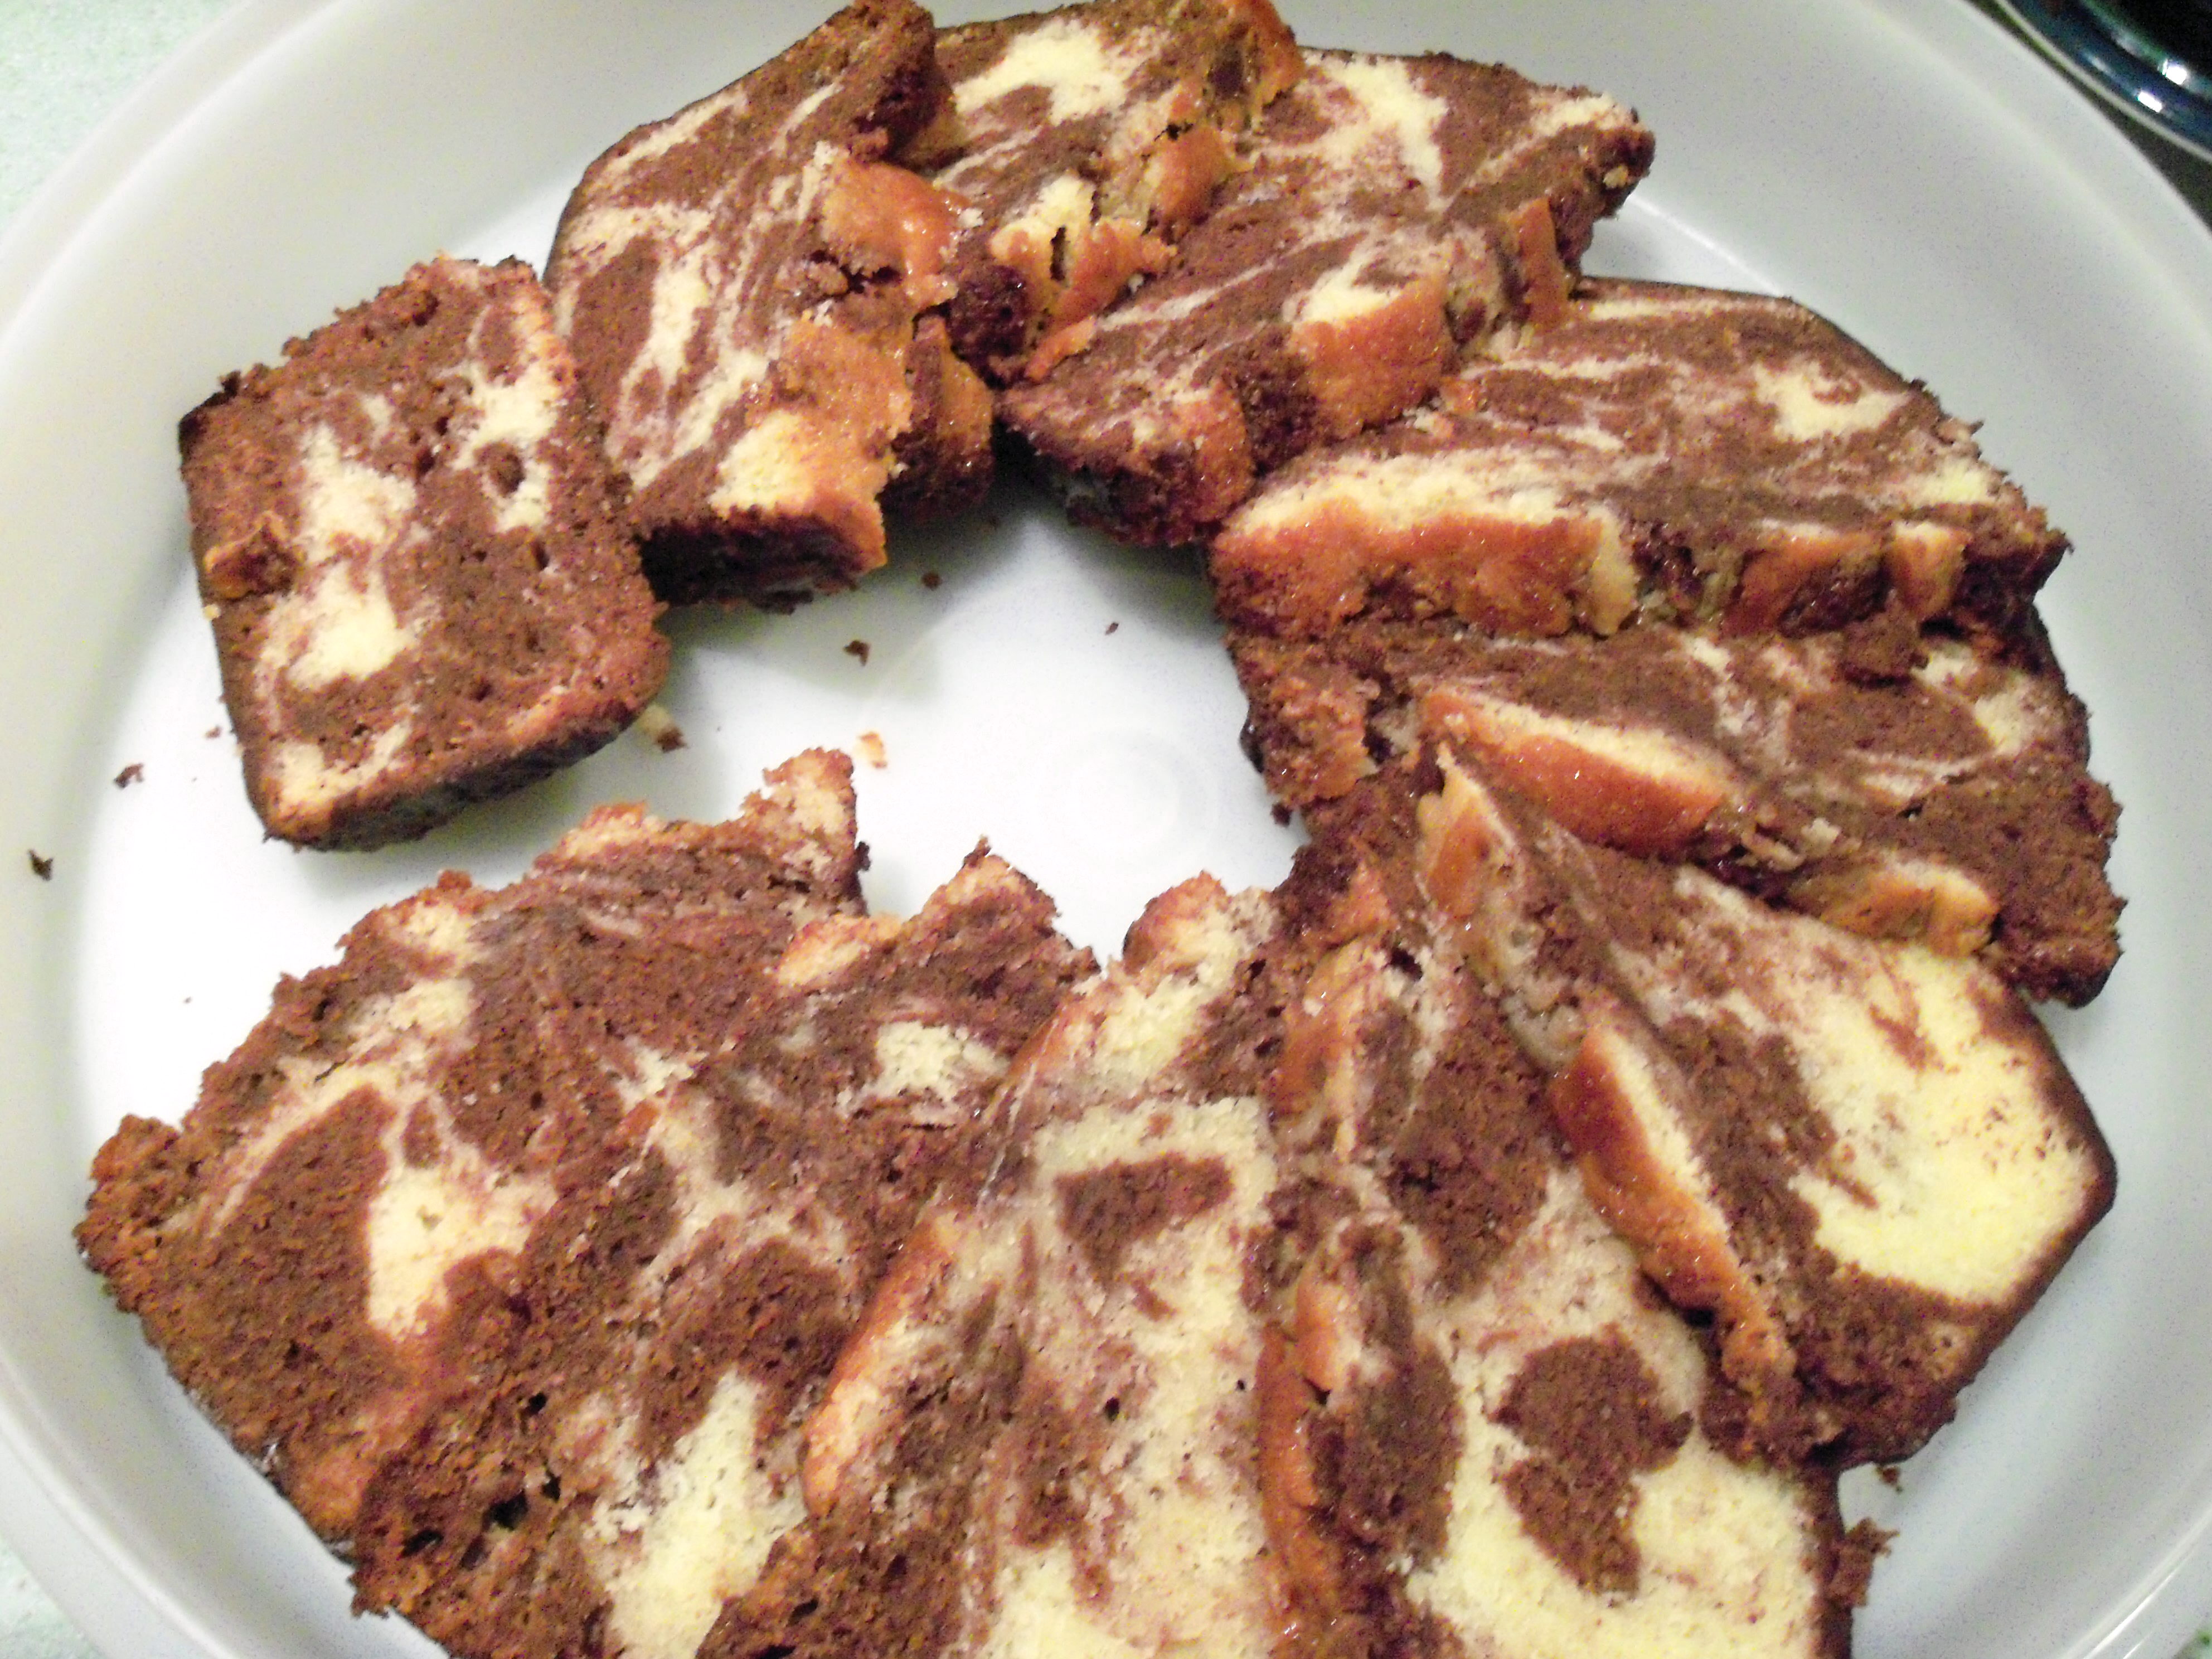
Today’s Martha Mondays is Chocolate Marble Quick Bread with Ganache. Well, this one sounded really good. Thanks to Megan at Megan’s Cookin’ for the pick.

I must confess to a tiny goof on this recipe! I used only 3 oz of chocolate in the bread instead of 5. I just read the recipe wrong. It came out looking gorgeous. It tasted good and the ganache was yummy. But I would rather have real chocolate cake than quick bread any day think. If I wasn’t trying to lose weight, I could see having this with a cup of tea in the afternoon and it would be lovely, but if I have to pick and choose my calories, I’ll pick cake – or ice cream – or pie – or cookies over this I think. I’m not a fan of the texture of it somehow – too grainy or not quite moist enough. Maybe I’m just craving cake! Anyway, it was good and very pretty. What did everyone else think?

Bookmark and Share

Today’s Martha Mondays is Chocolate Marble Quick Bread with Ganache. Well, this one sounded really good. Thanks to Megan at Megan’s Cookin’ for the pick. I must confess to a tiny goof on this recipe! I used only 3 oz of chocolate in the bread instead of 5. I just read the recipe wrong. It … Read more

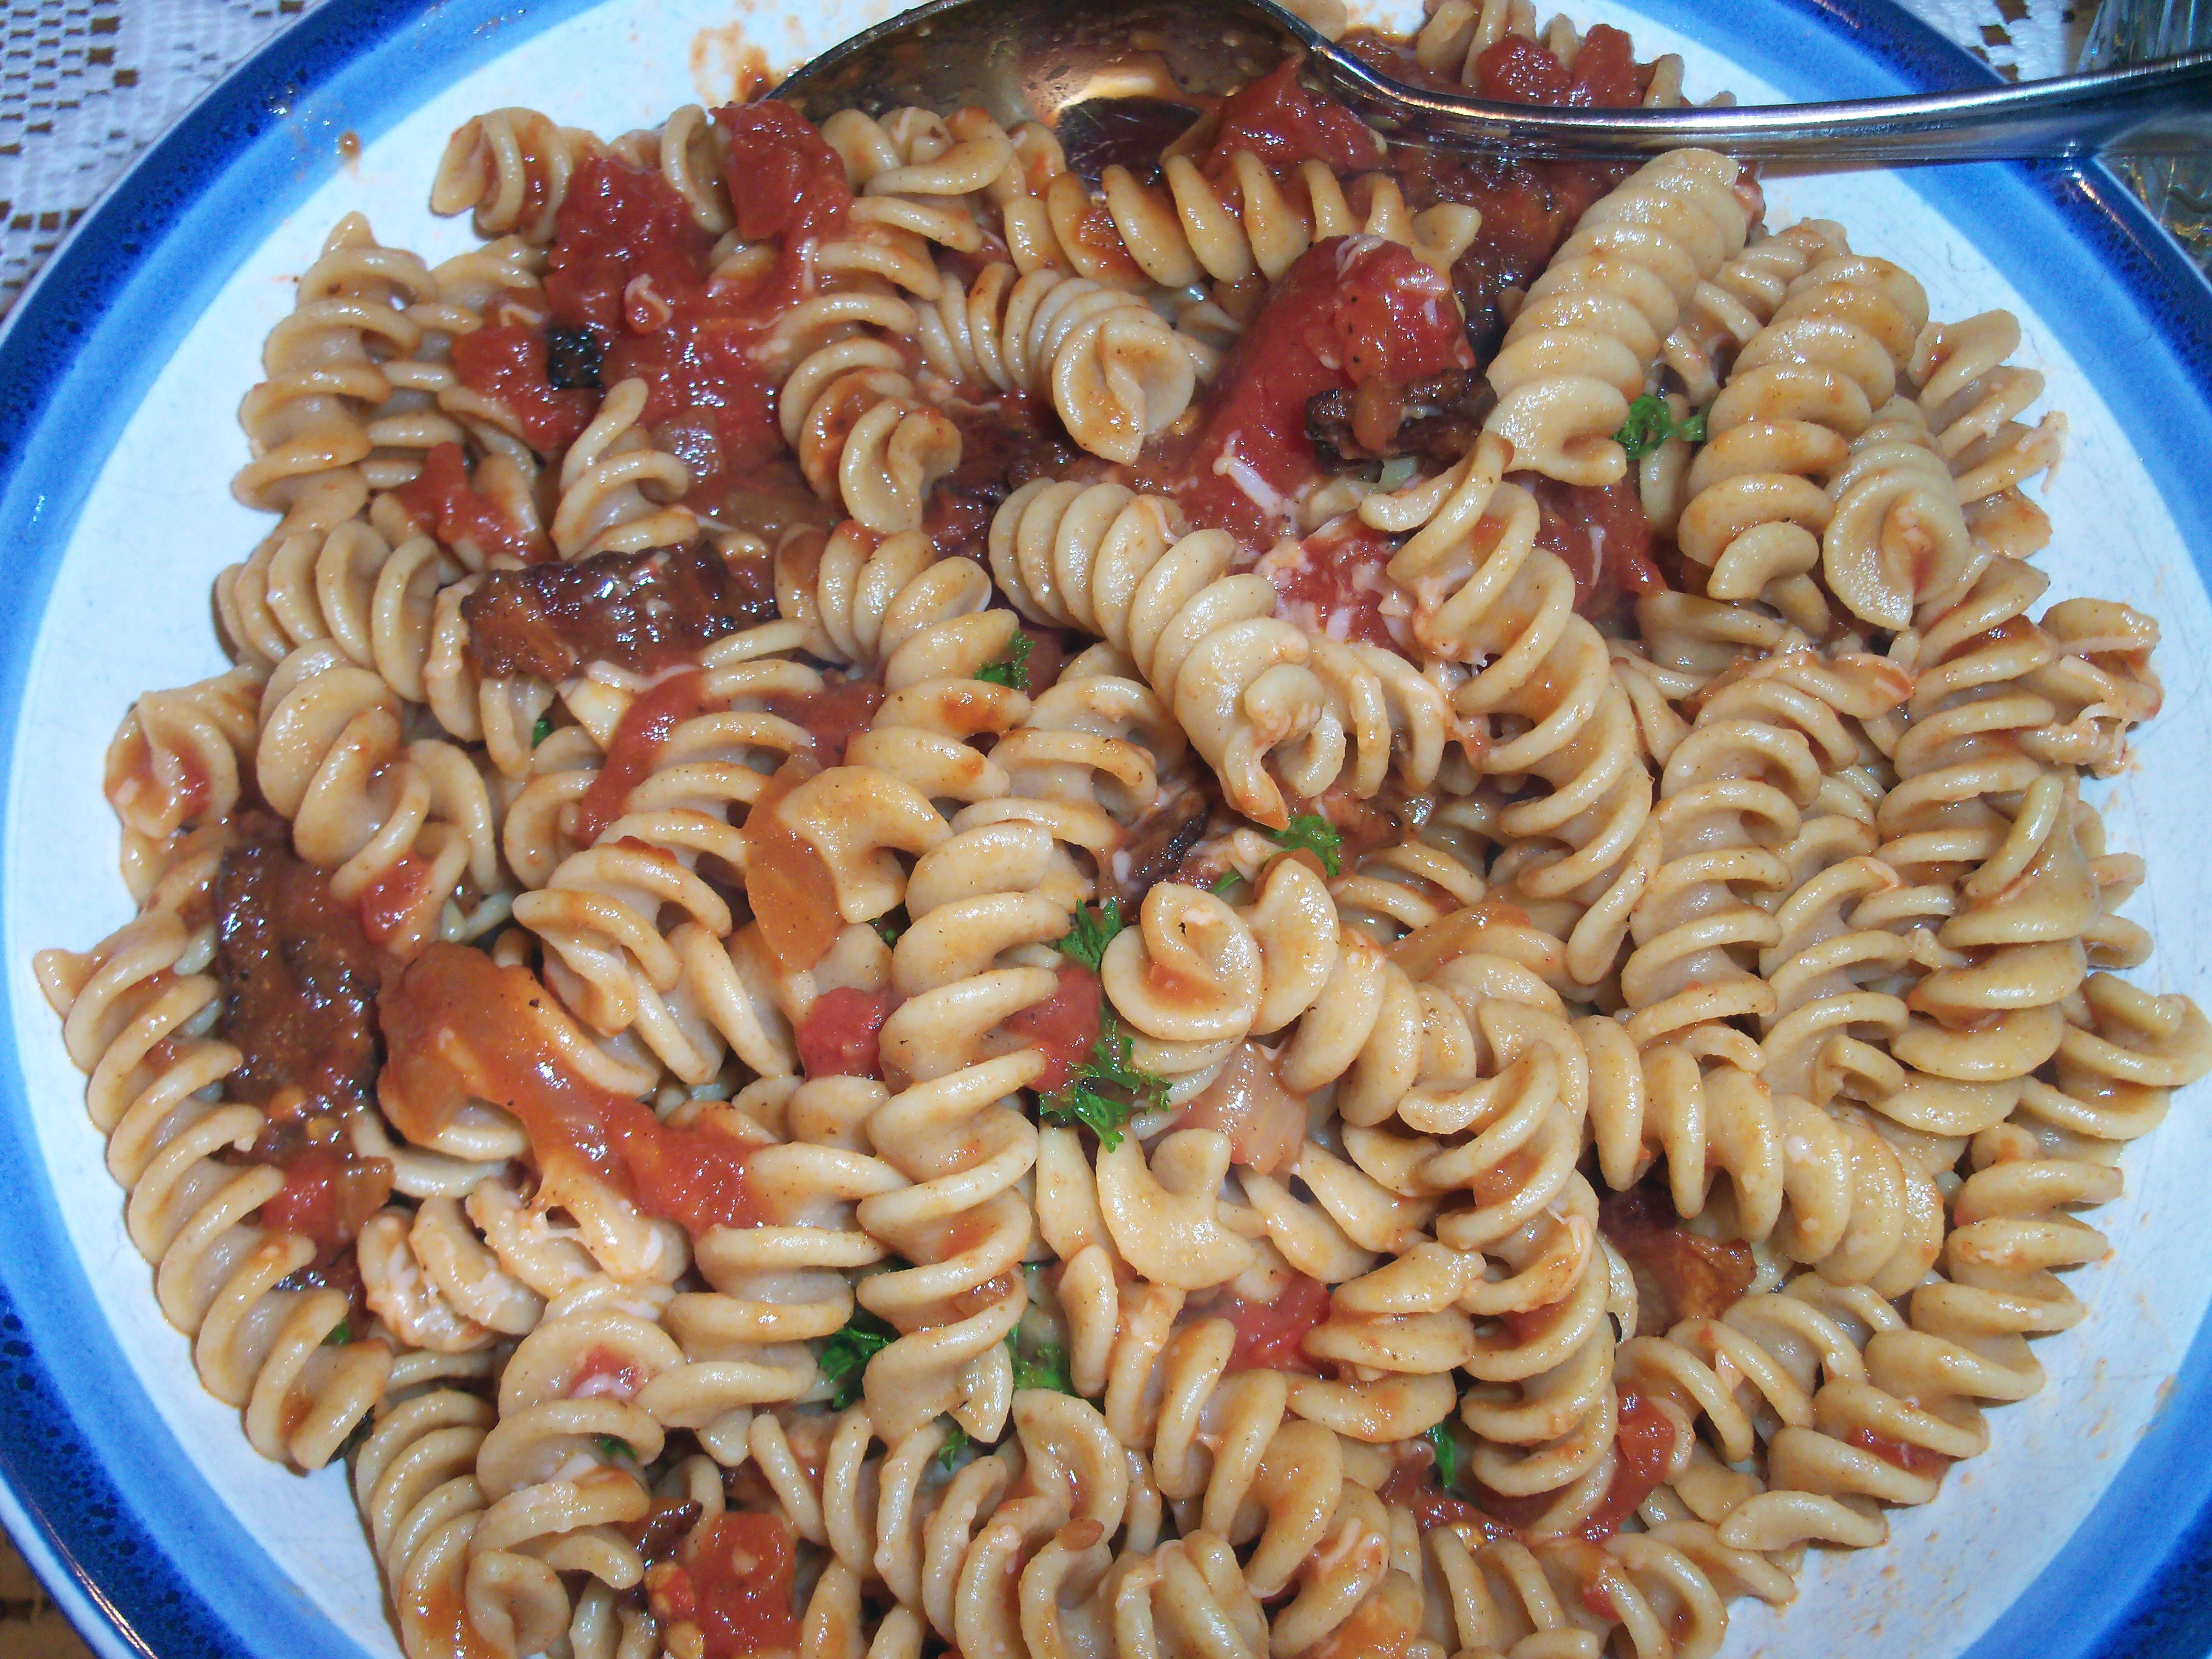
I wasn’t excited by this recipe when I saw it in the magazine, but when Martha and Anna L. made it on tv, it got me interested. It doesn’t sound like anything special when you read the recipe – a tomato sauce and some bacon on pasta. I was surprised at how wonderful the flavor was.

I used rotini but that was the only substitution I made. The tomato sauce was quick to whip up, but I found I needed to get a fork in there and physically pull the tomatoes apart. I also had to add more tomato juice to it because it was too dry.

I really, really liked this dish! The bacon gave it a nice smoky flavor and the tomato and onion had a nice sweetness. It really tasted like something that had cooked for hours. Thumbs up on this one Martha!

Bookmark and Share

I wasn’t excited by this recipe when I saw it in the magazine, but when Martha and Anna L. made it on tv, it got me interested. It doesn’t sound like anything special when you read the recipe – a tomato sauce and some bacon on pasta. I was surprised at how wonderful the flavor … Read more

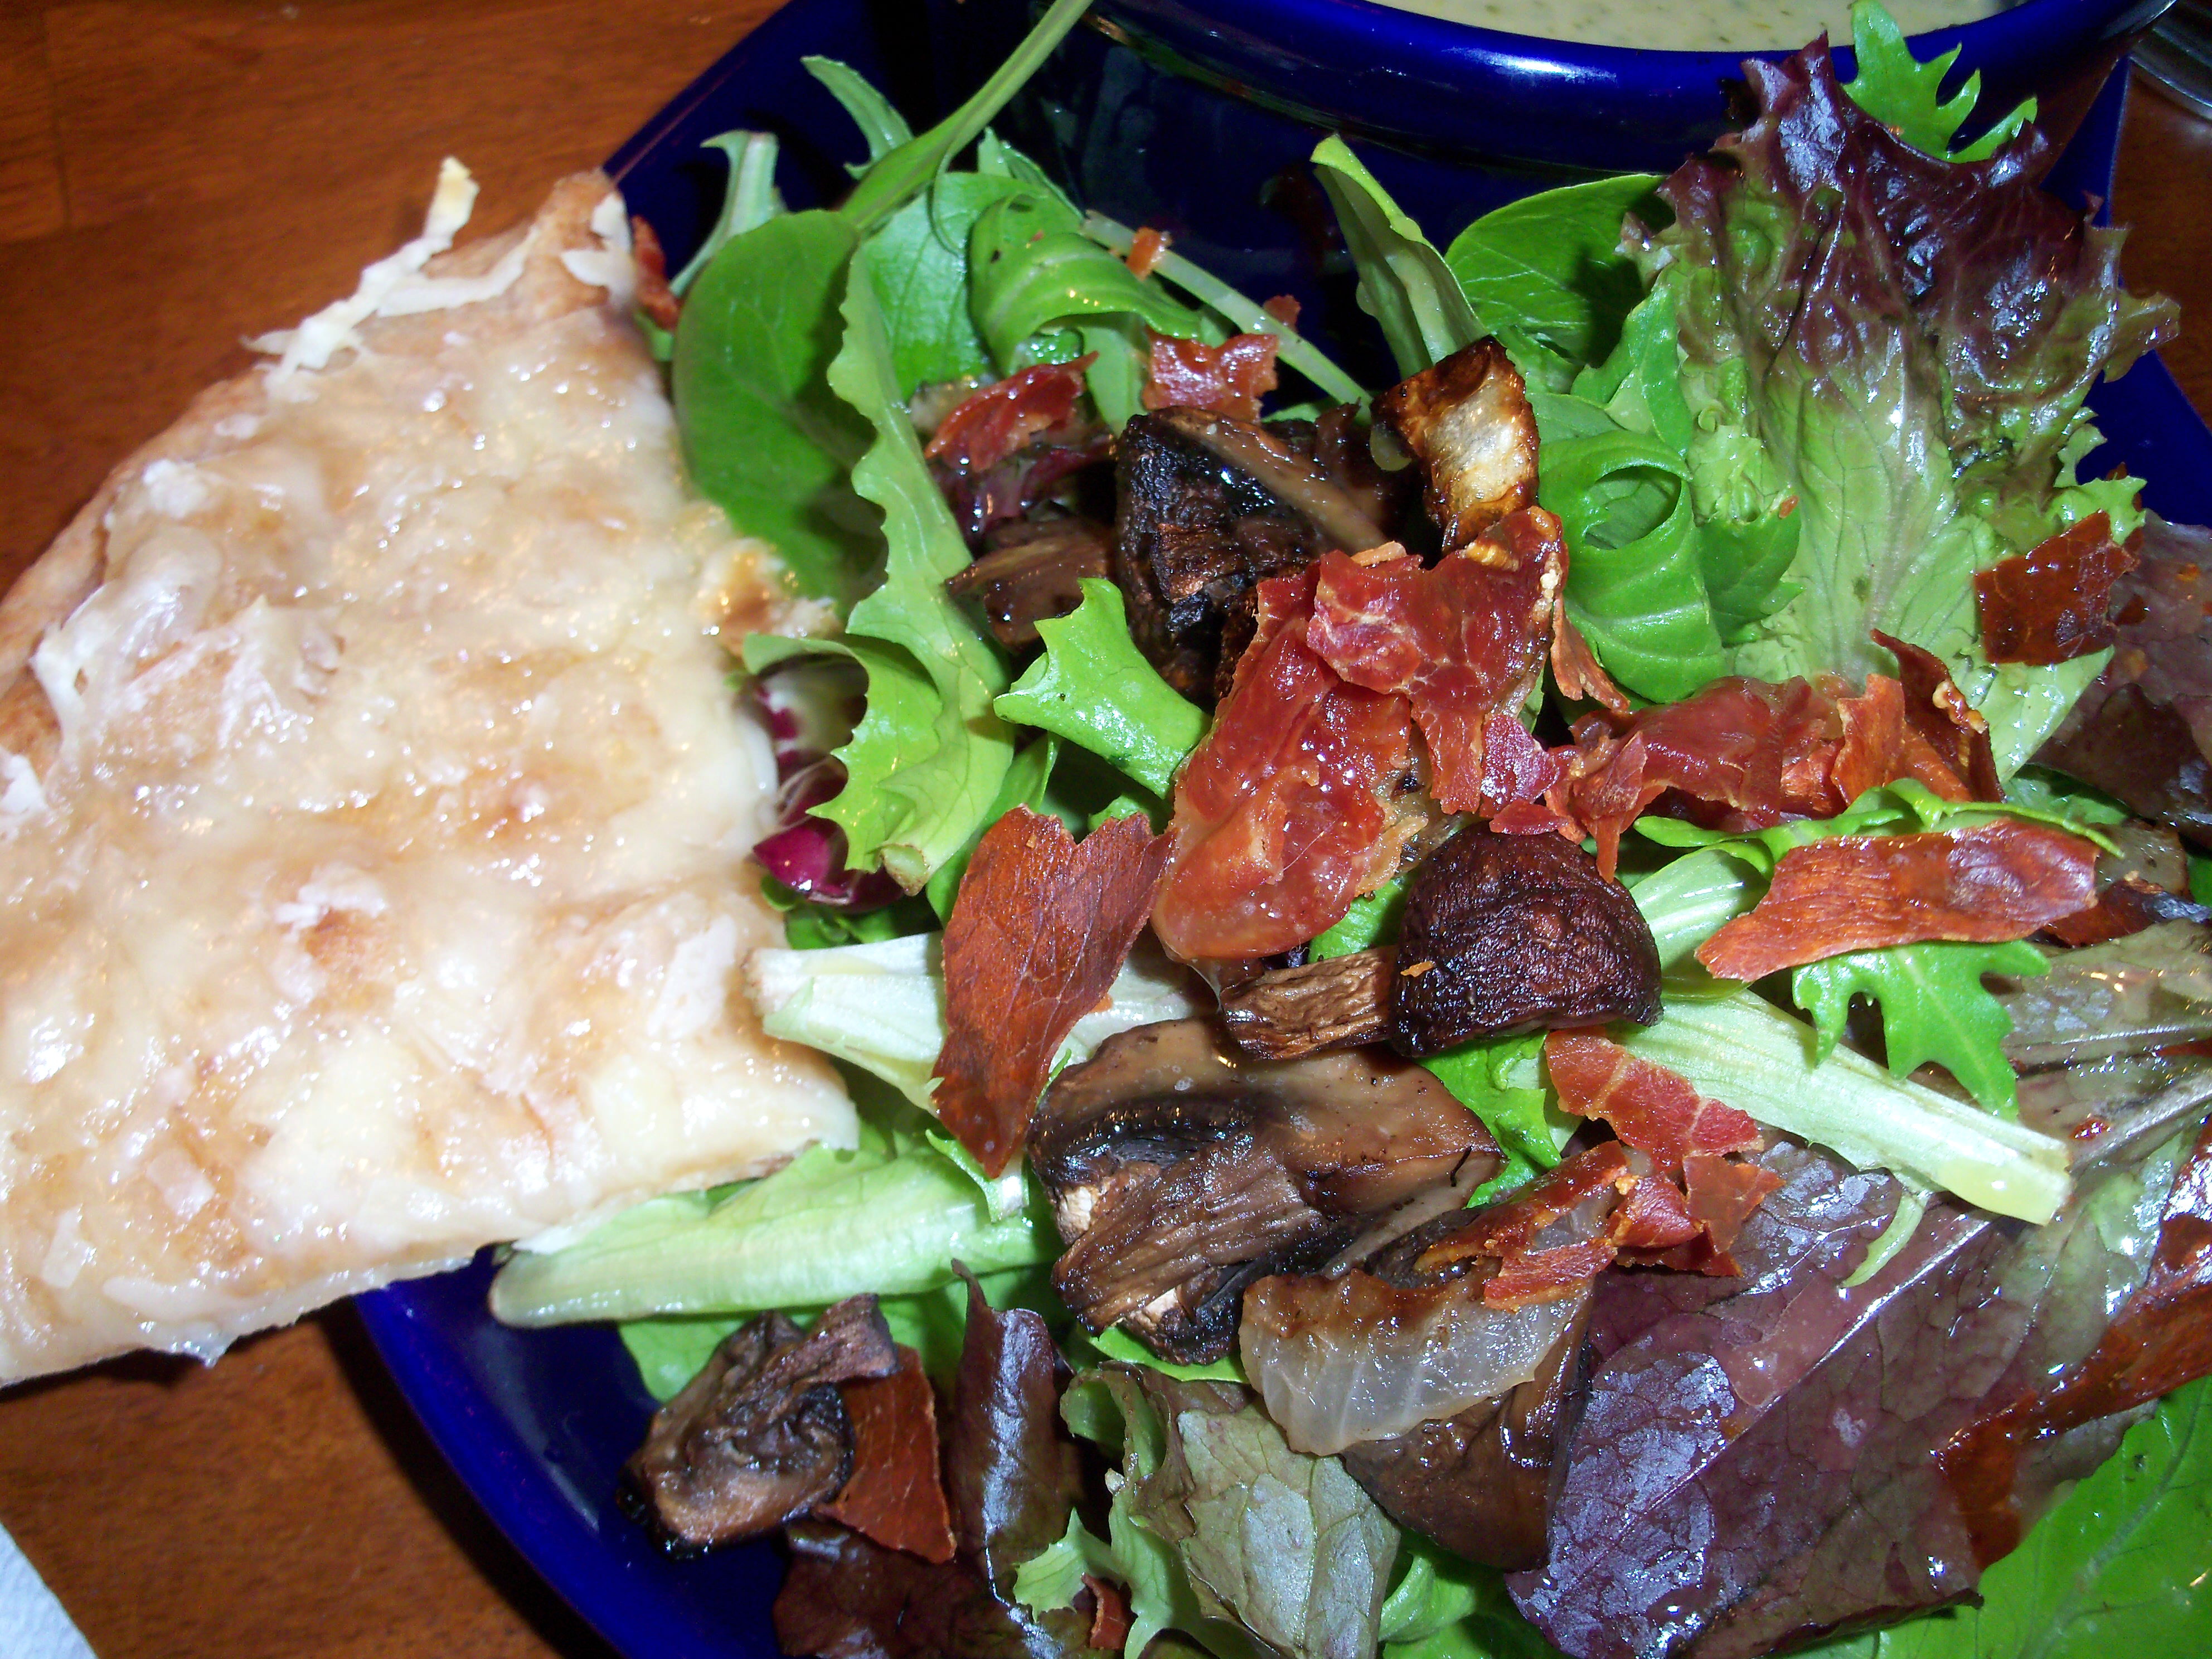
I find the name of this salad to be a bit misleading. The recipe is in March Everyday Food. I thought I would be roasting all sorts of different veggies. Not so. You roast mushrooms, onion and garlic. That’s it! You add the mushrooms and onions to a green salad and use the roasted garlic to make a dressing. That dressing was rather unsuccessful for me by the way – my garlic did not mash up. I even used my handheld blender to whiz it up and the garlic remained in a smushy piece, floating around the dressing.

In addition to the vegetables, Martha has you roast some prosciutto. Lay the piece on parchment and stick it in the 400 degree oven for about 10 minutes. The prosciutto gets nice and crisp and darkens in color. It crumbles nicely into the salad.

The recipe also calls for a side of lavash bread, with melted gruyere cheese on it as an accompaniment. I couldn’t find lavash, but I did find some naan and let me tell you, it was fabulous! I served this with cream of broccoli soup (Martha’s recipe from the Cooking School cookbook) and it was a lovely, light dinner. I liked the roasted mushrooms a lot, but then I am always a big fan of mushrooms! The proscuitto was good too, but a bit salty.

Bookmark and Share

I find the name of this salad to be a bit misleading. The recipe is in March Everyday Food. I thought I would be roasting all sorts of different veggies. Not so. You roast mushrooms, onion and garlic. That’s it! You add the mushrooms and onions to a green salad and use the roasted garlic … Read more

Martha’s recipe

In the March issue of Everyday Food, Martha has a recipe for sticky chicken wings. As you may or may not know, we live in Buffalo. So we know a thing or two about wings. I was interested to try Martha’s take on it, which is actually pretty similar to a recipe I use. I’ll share both here with you.

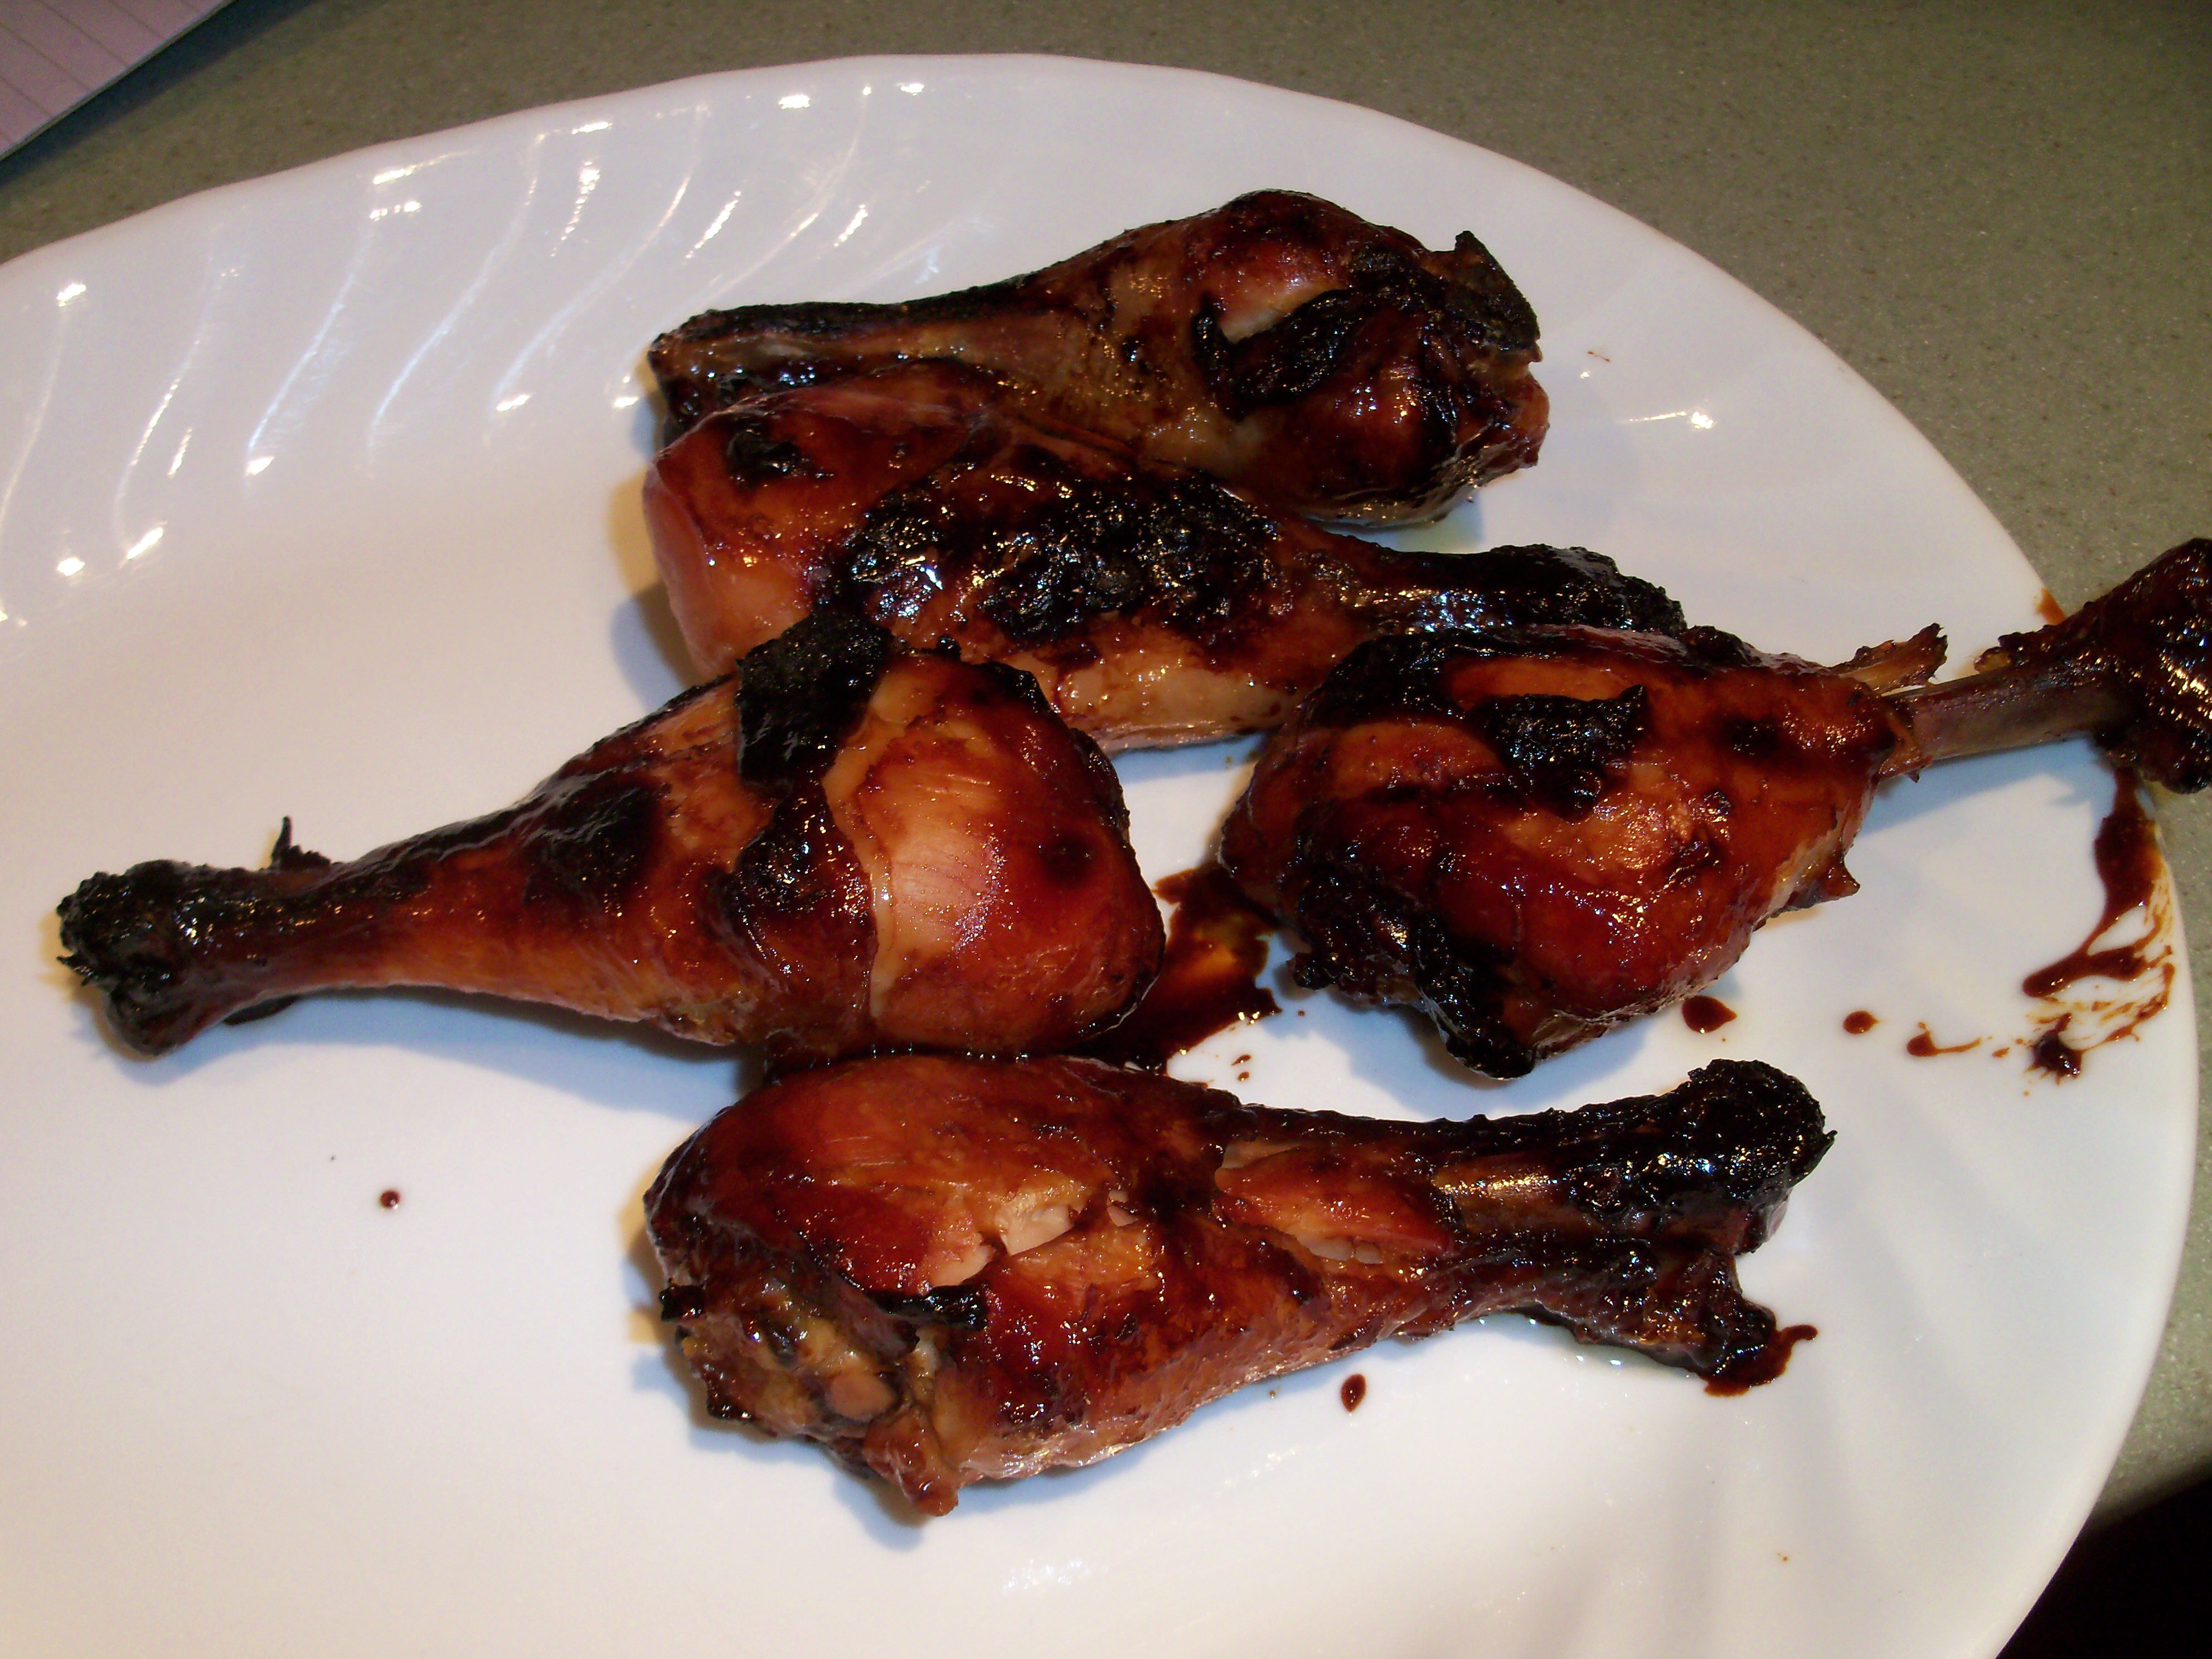
First up – Martha. I used chicken legs to make this recipe because I can find organic chicken legs but I can’t find organic chicken wings in our stores at this point. I actually think chicken legs are a nice alternative – they are less fatty and more meaty and you can still get that nice crunchy skin on the outside of it.

Martha’s recipe includes these ingredients:

3/4 cup brown sugar

1/4 cup fish sauce

1/4 cup lemon juice

2 tbsp soy sauce

a 1 inch piece of ginger, peeled and smashed

1 serrano chile

2 lbs chicken wings

Martha says to mix everything but the wings in a baking dish, add the wings, toss to coat, and bake at 300 for an hour, then increase the temp to 450 for 30 minutes. Martha says to serve with the sliced chile. I skipped that part.

This recipe was pretty good. The legs came out nice and brown and the sauce had a good flavor. It made one hell of a mess in the baking dish though- all the additional sauce burned. I’m actually still scrubbing and soaking it. I’m not wild about fish sauce in general, but it did add a nice note to this sauce.

Now onto to my recipe. This is an adaptation of a recipe in Buffalo Spree magazine.

5 lbs wings, tips discarded, cut into two sections

2 cups honey

1 cup tamari (gluten free)

2 tbsp ketchup

2 tbsp vegetable oil

1 tsp garlic salt

Spray a roasting pan with cooking spray and preheat oven to 375. Arrange the wings and pour the sauce over them, turning to coat completely. Bake for one hour.  Turn the wings and continue to bake for 10 to 30 minutes. The time differential depends on how you like your wings. I like mine very dark, but not burned.  I also find that it will depend on your oven and how well you turn your roasting pan to take advantage of the hot spots in your oven.  If you like your wings spicy, add some hot sauce to the mixture. If you’re interested, traditional Buffalo wings are covered in nothing more than butter and hot sauce and taste best deep fried, but you can replicate it by roasting the wings completely plain and then tossing in the butter and hot sauce mix at the very end. I find that for baking wings you have more success with a sauce like my recipe. You can make my recipe with chicken legs if you prefer.

Bookmark and Share

In the March issue of Everyday Food, Martha has a recipe for sticky chicken wings. As you may or may not know, we live in Buffalo. So we know a thing or two about wings. I was interested to try Martha’s take on it, which is actually pretty similar to a recipe I use. I’ll … Read more

Loosen those belts – the pick for next week’s Martha Mondays, chosen by Megan at Megan’s Cookin’ is Chocolate Marble Quick Bread with Ganache.

Loosen those belts – the pick for next week’s Martha Mondays, chosen by Megan at Megan’s Cookin’ is Chocolate Marble Quick Bread with Ganache.

I’m working on a book called Cookie: A History: From Animal Crackers to Zwieback which will be published later this year by University Press of FL. An important part of the book is the chocolate chip cookie, which was invented by Ruth Wakefield of Toll House Inn fame. As part of my research, I read Ruth’s book with her original recipe (different than the “original” one you get on the Nestle chocolate chip bag). One interesting thing about the recipe is that it says to refrigerate the dough overnight.

A recent NY Times article discussed this method as the secret to making the ultimate chocolate chip cookie. I decided to try it and see what happened. I made the traditional Nestle recipe from the back of the bag, however I don’t use Nestle chips  – I use Ghirardelli chips. I made the dough in secret. If anyone else in this house knew there was chocolate chip cookie dough in the house that wasn’t baked there would a) be a riot and b) be none left to bake once they got their paws on it.  I let my dough sit in the refrigerator 36 hours – the optimum time suggested in the Times piece.

Let me just say that I find chocolate chip cookies to be pretty darn perfect to begin with, so it was really hard to imagine that refrigerating the dough could make them any better. But it was. These were the BEST chocolate chip cookies I’ve ever had. The cookie attained the the three rings described in the Times piece. The outer ring of the cookie was very crisp. Then there was a ring that was almost toffee-flavored, slightly crunchy and slightly soft. The inner ring was soft. The cookies baked up to a beautiful toffee color.

I’m quite stunned at the how good these were. This method is worth its weight in gold. The only problem, of course, is that chocolate chip cookies are often an impulse bake in this house – someone gets a craving and we make a batch. It would be hard to decide you wanted them, then wait 36 hours! I can definitely do this when I do holiday baking, though.

Next on my list of experiments is to try different flours. When Wakefield was baking, flour had a different protein level and it is believed that influenced the cookie in a big way.

I’m working on a book called Cookie: A History: From Animal Crackers to Zwieback which will be published later this year by University Press of FL. An important part of the book is the chocolate chip cookie, which was invented by Ruth Wakefield of Toll House Inn fame. As part of my research, I read … Read more

Thanks to Robyn at Robyn’s Nest for today’s pick, healthy mac and cheese.  I was intrigued by this recipe and as soon as I read it, I knew that my friend Ward at Sensei Cooks would love it. Ward has a 6 yr old son named Dylan who loves mac and cheese and Ward routinely sneaks things into it. So this would be perfect for you, Ward!

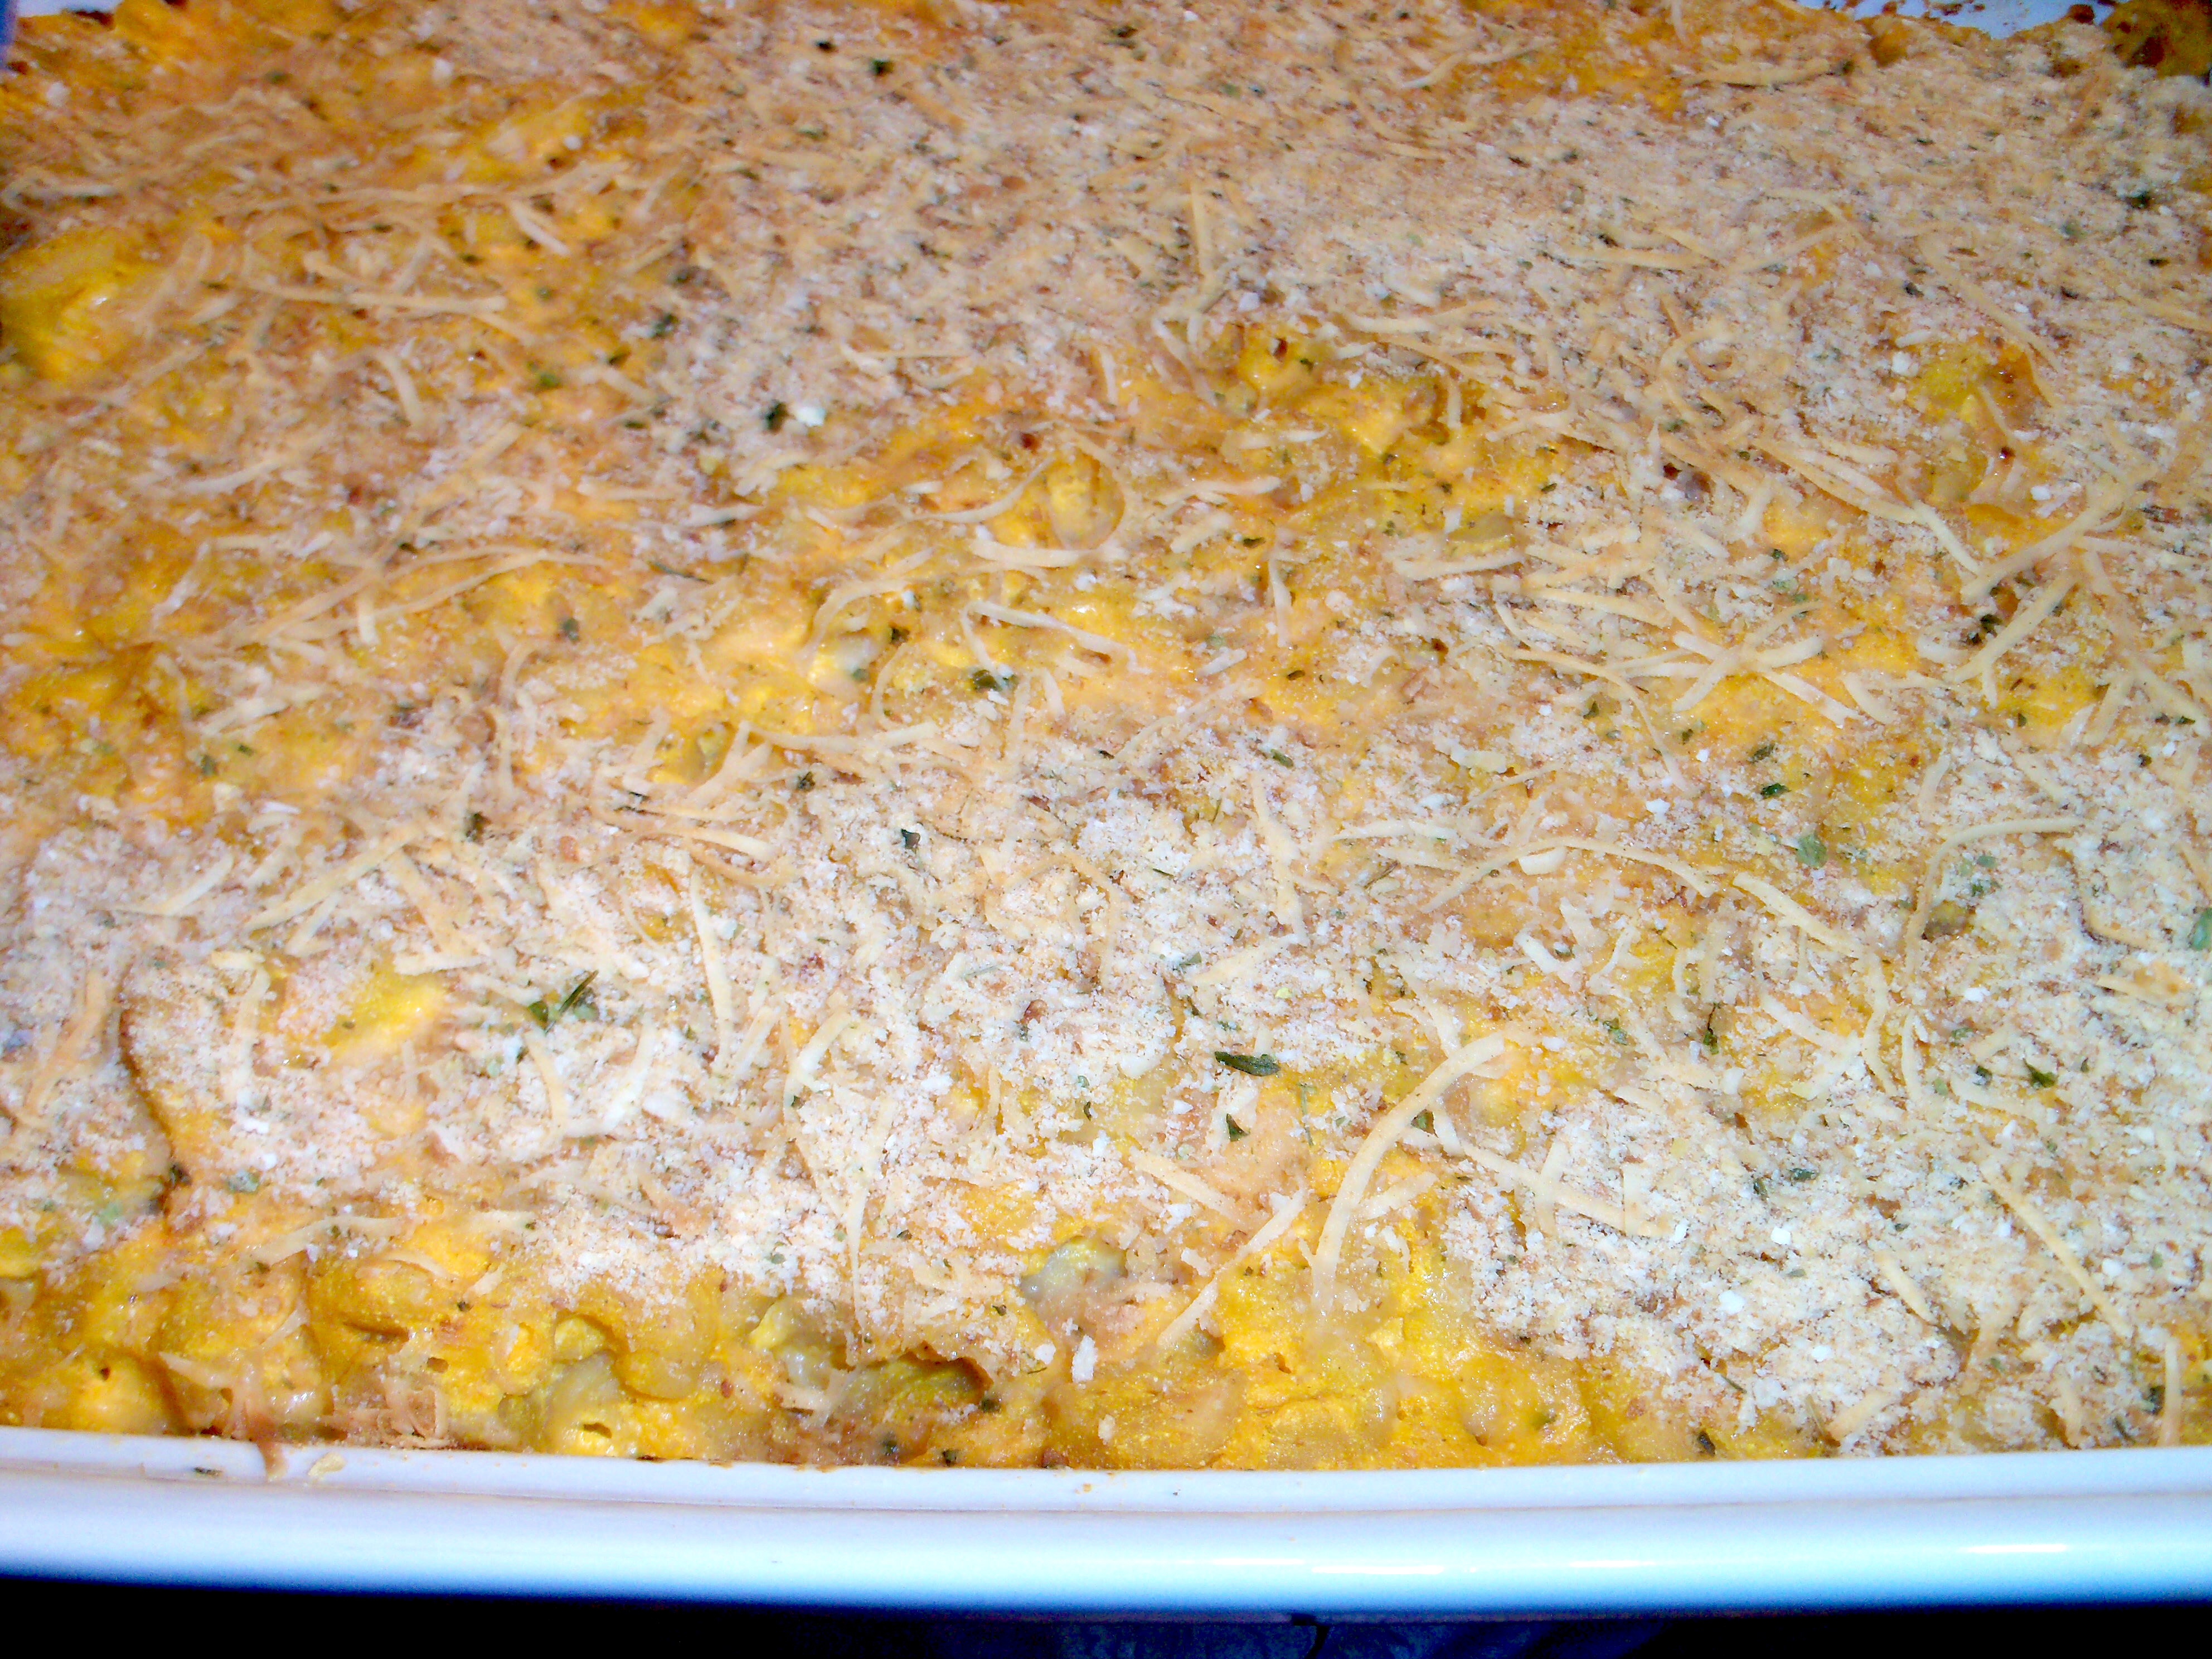
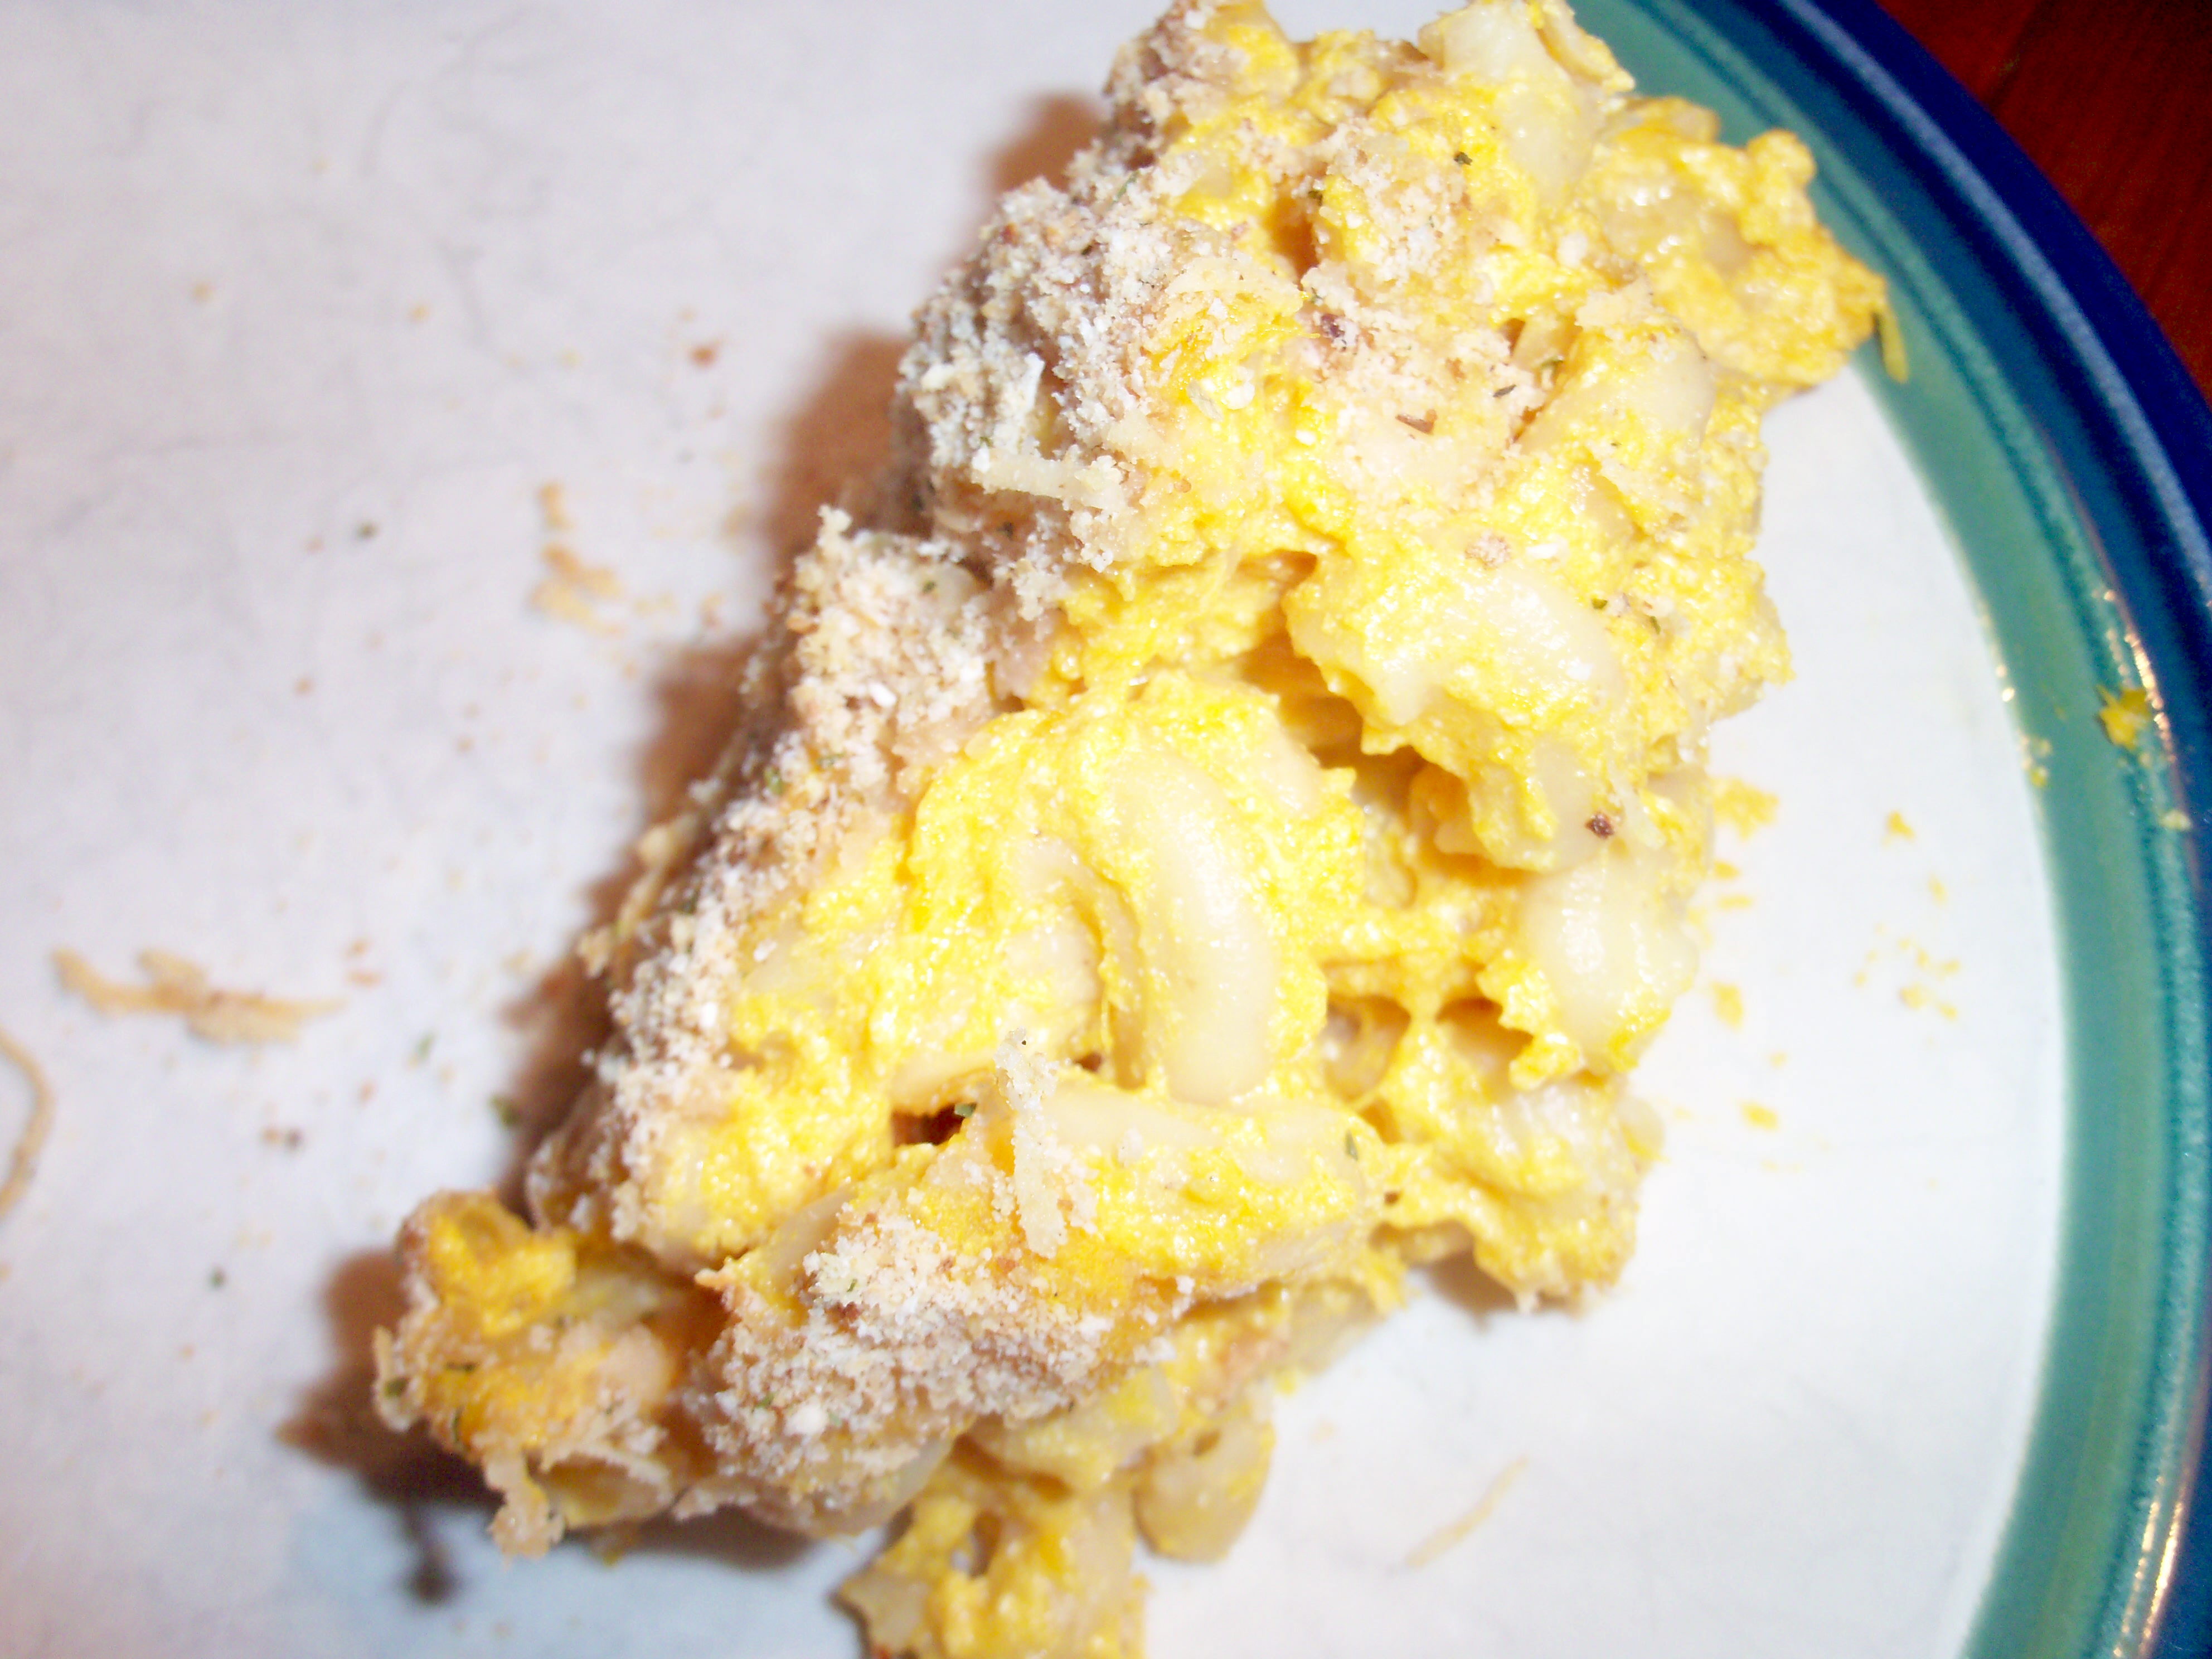
To make this recipe, you cook butternut squash in milk and chicken broth and then mash it. Boil your noodles and mix the mashed squash, cheddar cheese, parmesan cheese, ricotta, nutmeg, salt, and pepper into it. Top with bread crumbs and cheese and bake.

It looks like mac and cheese but doesn’t taste the same. It’s not very cheesy at all and the squash flavor dominates. I did not tell the family what this was – just that it was mac and cheese. Mr. MarthaAndMe said he liked it. Dude Martha said it was ok. Teen Martha said “this is weird” and knew something was up. She is the family mac and cheese connossieur. Once I fessed up what was in it, she pushed it away and wanted no part of it. The other two family members weren’t horrifed.

This recipe made a LOT. So I’m freezing a bunch and hoping it reheats ok. As for me, I thought it was ok, but it wasn’t mac and cheese. It was a squash/pasta dish. I don’t think I would make this again, although we will definitely eat up the leftovers. And I might cheat and put a little more cheese on it when I heat it up!

Bookmark and Share

Thanks to Robyn at Robyn’s Nest for today’s pick, healthy mac and cheese.  I was intrigued by this recipe and as soon as I read it, I knew that my friend Ward at Sensei Cooks would love it. Ward has a 6 yr old son named Dylan who loves mac and cheese and Ward routinely … Read more

no