As part of Kevin Sharkey’s kitchen remodel IRS write-off (am I cynical? Why, yes!) several months ago, Living did a big feature on his kitchen and how “Martha” (meaning MSLO I think) helped him redo it. Included in this was a list of kitchen essentials. I went through that list on my blog and a lot of you commented about your own kitchen essentials. Someone is snoozing in editorial at Living because April’s issue includes yet another shorter list of 10 kitchen essentials. So just for kicks, I thought I would go through this one as well.

– Measuring cups and spoons. Duh.

– Asian strainer. I do like mine, but I think a slotted spoon is almost as good.

– High-heat rubber spatula. Yes, definitely.

– Vegetable peeler. They say they like Y shaped peelers. I am fond of my Oxo peeler with the rubber handle.

– Flour-sack towels. Personally, I prefer a terry towel since it absorbs more.

– Maple cutting boards. I use plastic only. I agree that wood is nicer, but I think plastic is safer.

– Mini kitchen torch. I don’t have one and have had success just using my broiler when needed.

– Pump-style salad spinner. I had one and chucked it when we moved 10 years ago. It just took up too much room. I also hated washing it. So now I soak my greens in a colander in the sink, then let them sit in the colander over the open sink to drain and pat them dry with a towel.

– Mandoline. I don’t have one and toy with buying one. I am afraid I’ll slice off some bodily appendages with it. I do have a slicing attachment for my Cuisinart which I use for large amounts of slicing.

All right readers, what are your thoughts on this list? My personal list of top ten essentials would be: plastic cutting boards, chef knife, small paring knife, rubber scraper, handheld cheese grater, tongs, silpats, nonstick pans, Oxo veg peeler, and measuring spoons/cups, including glass liquid measuring cups which I use to boil water in the microwave.

As part of Kevin Sharkey’s kitchen remodel IRS write-off (am I cynical? Why, yes!) several months ago, Living did a big feature on his kitchen and how “Martha” (meaning MSLO I think) helped him redo it. Included in this was a list of kitchen essentials. I went through that list on my blog and a … Read more

Thanks to Teresa at Homemade Iowa Life for picking this project – the assignment was to make Easter eggs from the selection on Martha’s site. I made the silk tie dyed eggs last year (#12 in that slide show if this link does’t take you directly there) and my only regret is that I used hard boiled eggs, so all my hard work was thrown out! They were gorgeous and a great project – I highly recommend them. This year I decided it was time to try blowing out eggs. The first

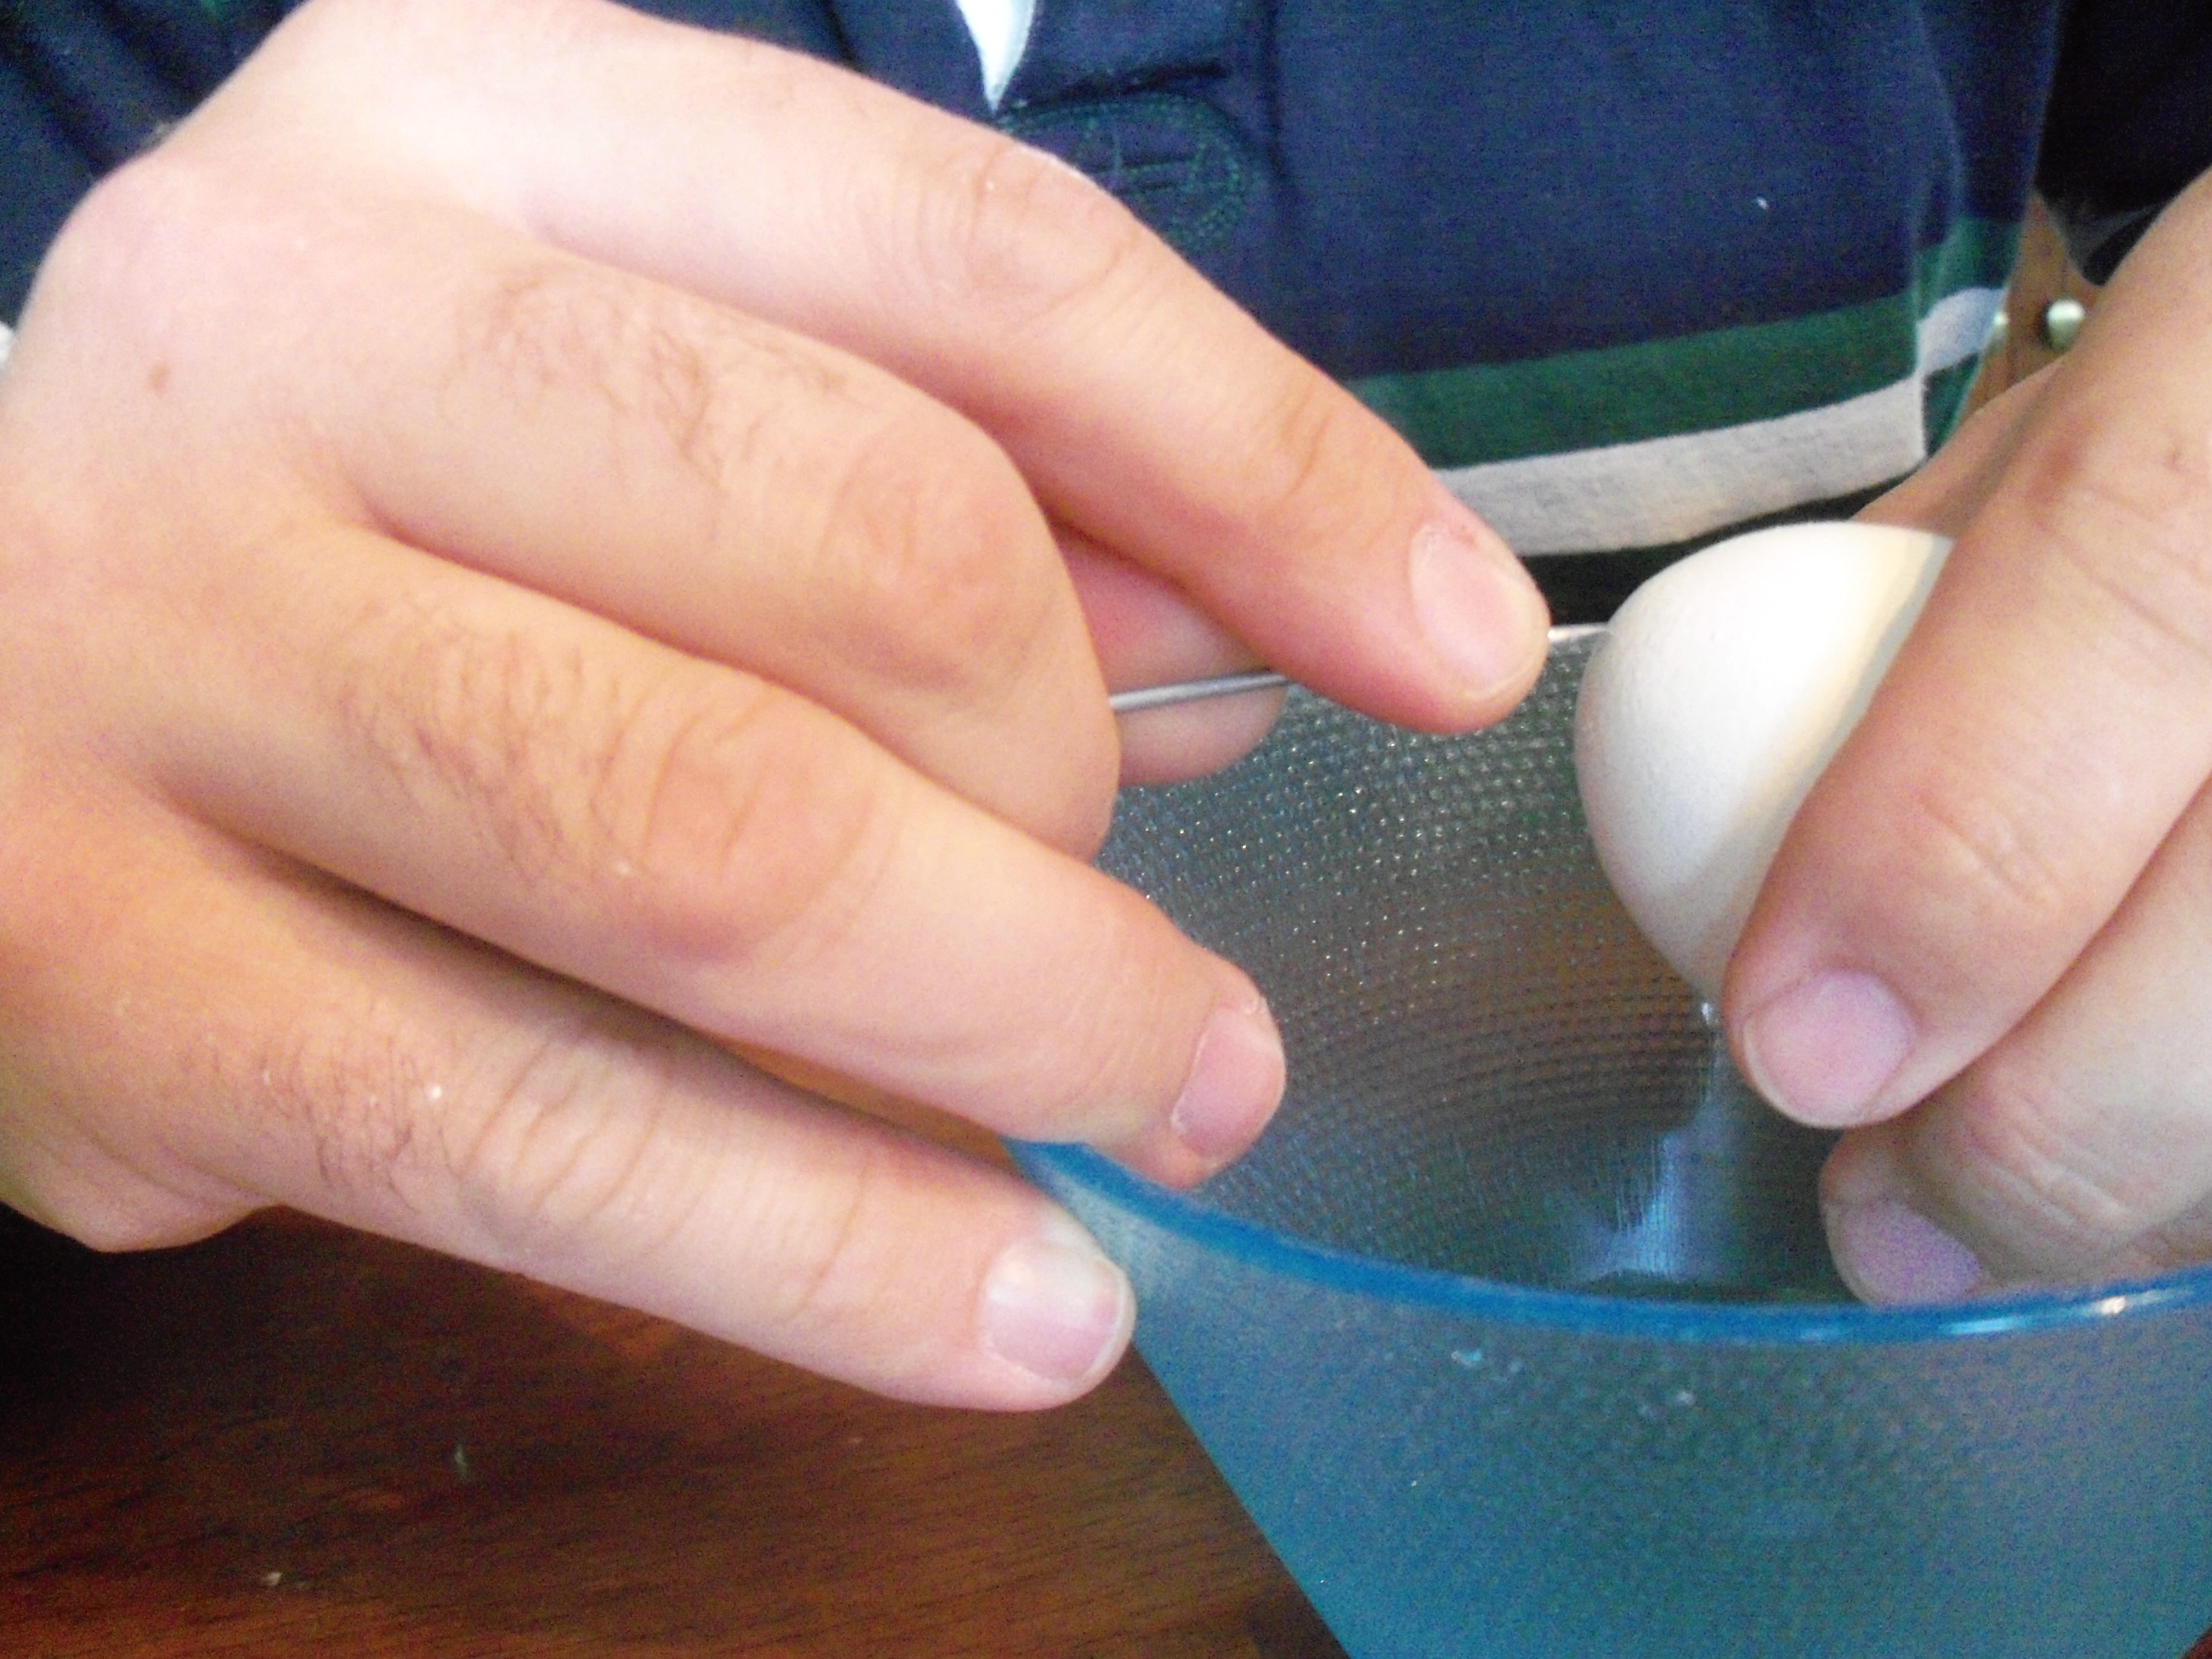
Making the hole

challenge was the eggs. I only buy organic, and they only come in brown, so we ended up buying regular eggs and dumping the contents (wasteful, and I am ashamed).

I read Martha’s instructions for this and her method is to go buy a egg blowing contraption. I decided I didn’t want to invest in that so we decided to do it the old fashioned way. I read some other online

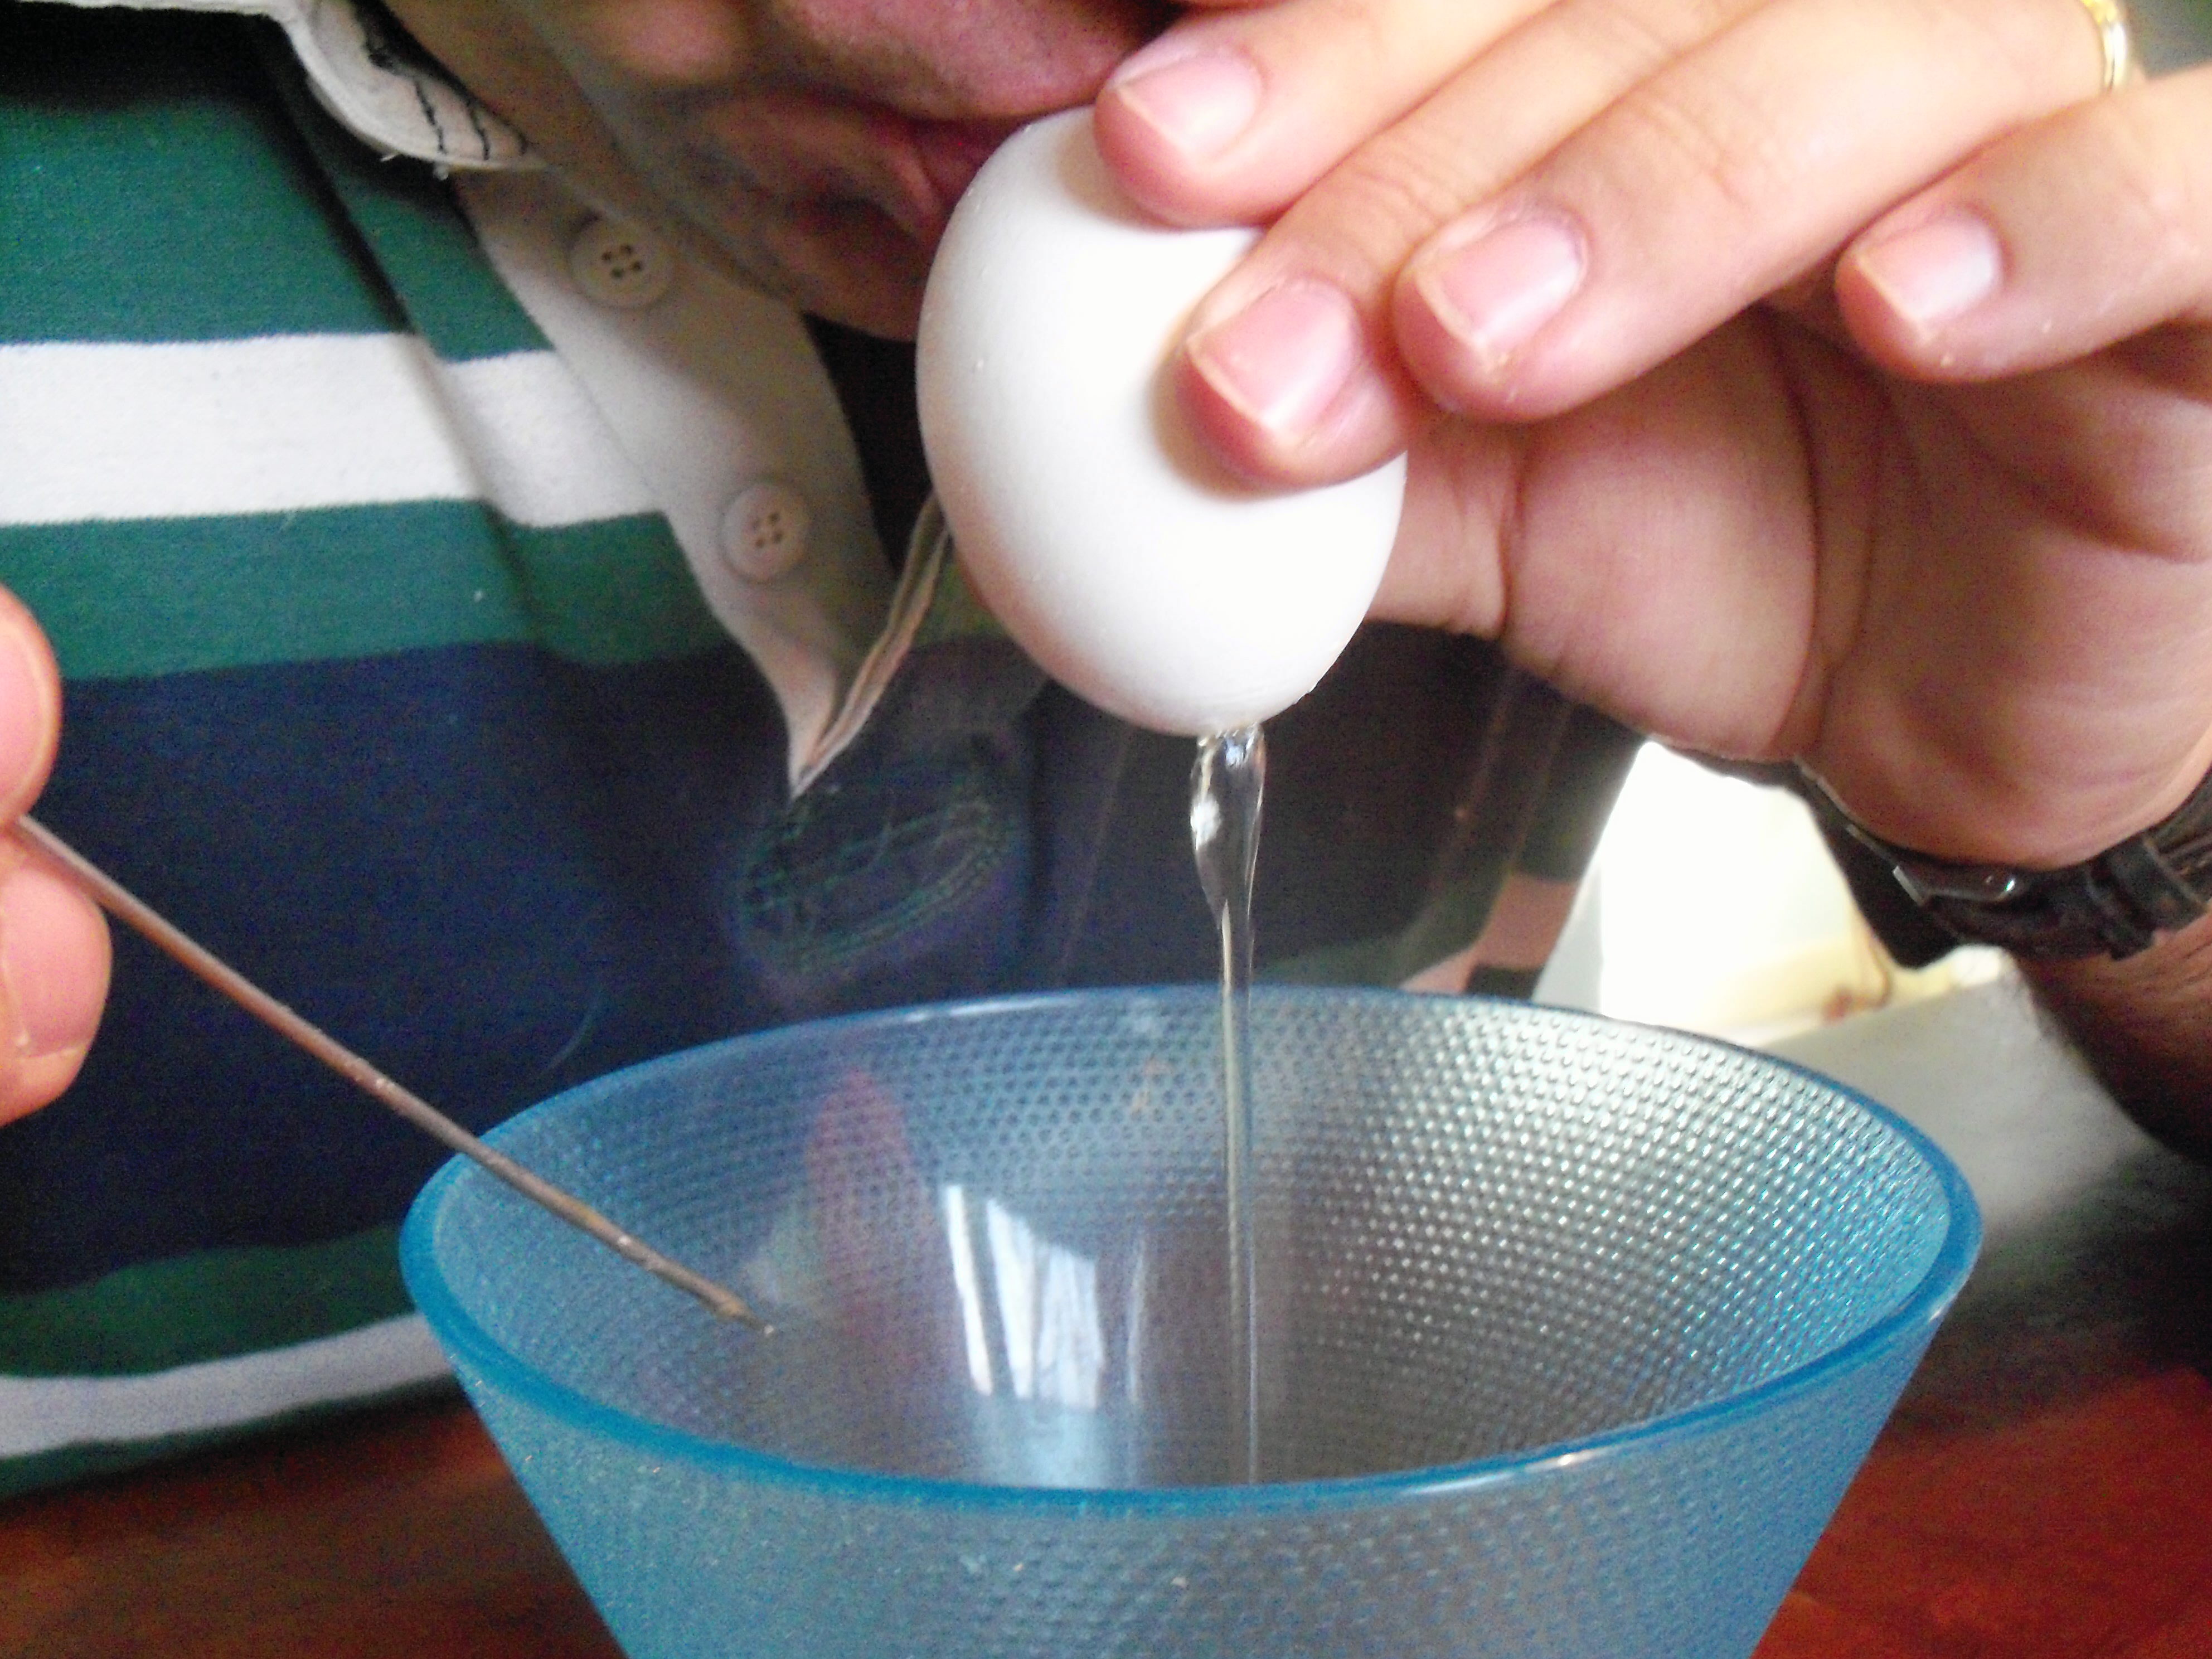
Blowing the egg

instructions about how to do this yourself and we got started. Mr. MarthaAndMe went first since his hands actually do what his brain tells them to do. He used a cake tester and scratched and scratched and scratched at one end until he had a hole. He did the same on the other end and moved the cake tester around to make the hole bigger.  Then you swirl the cake tester around inside to break up the yolk.

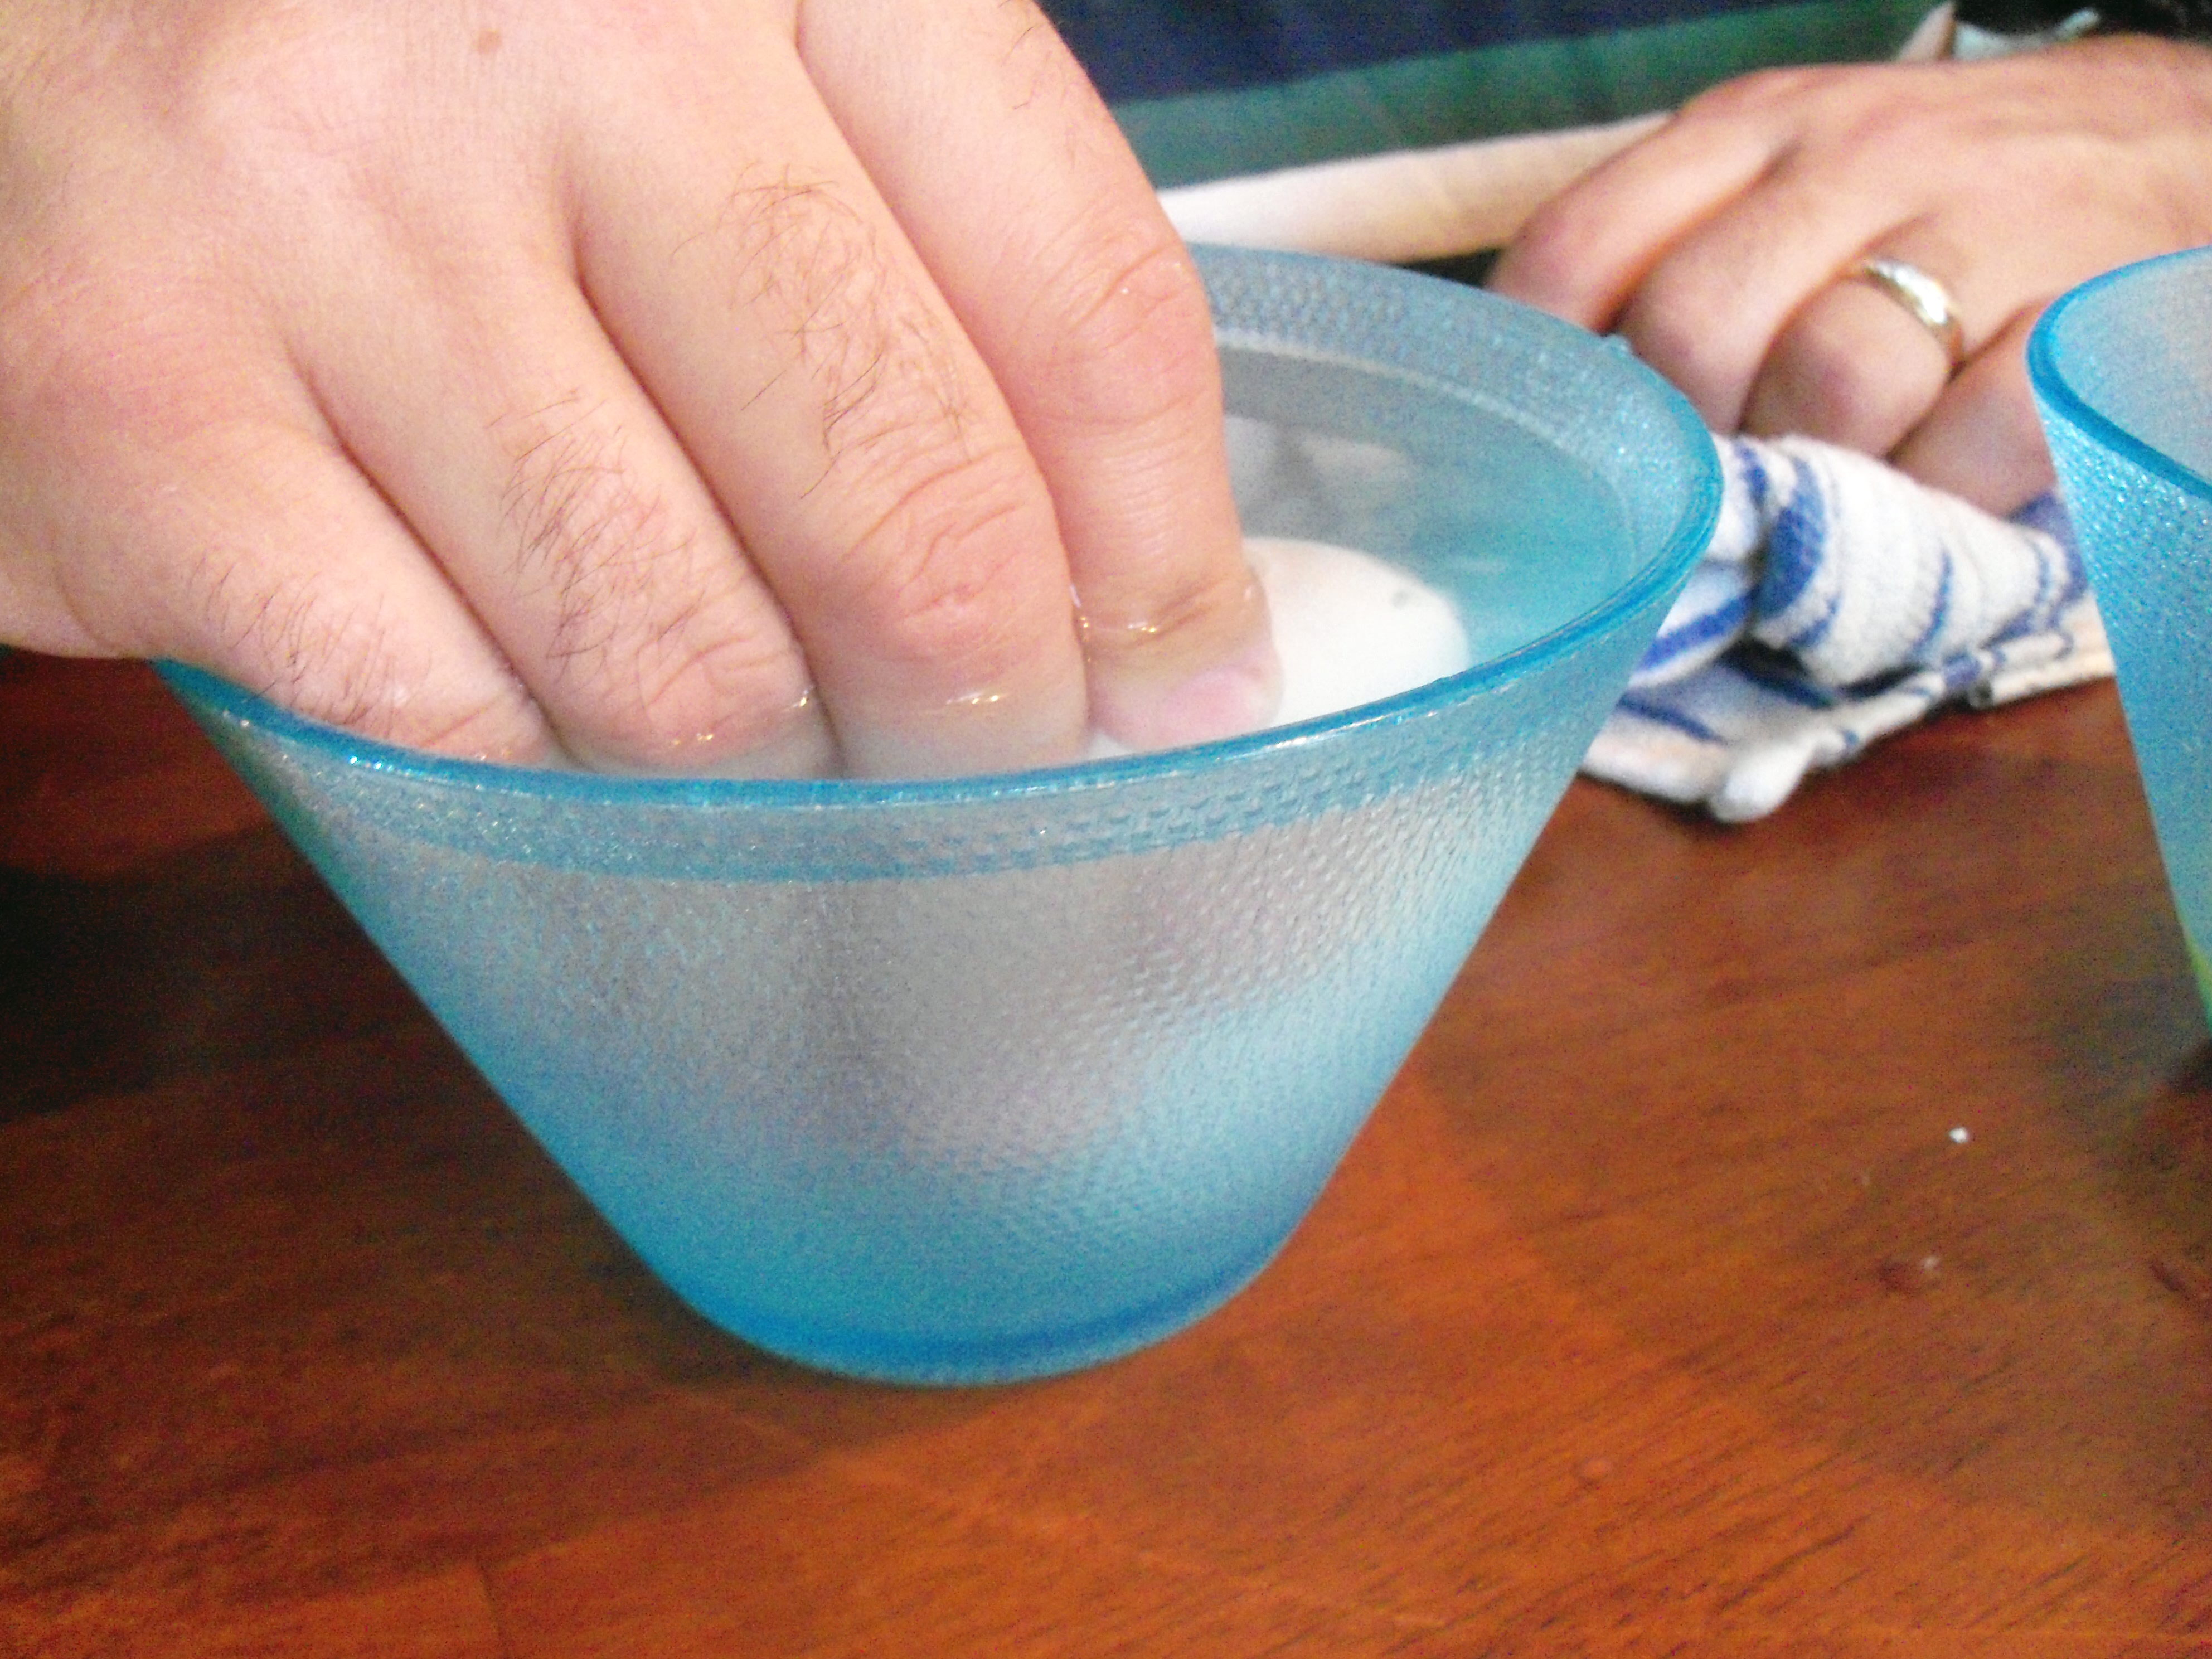
Washing the egg

Hold the egg over a bowl, big hole down and blow through the small hole. Success! Next, submerge the egg in a bowl of water and keep blowing water out until it runs clear. Set it back in the egg carton to completely dry.

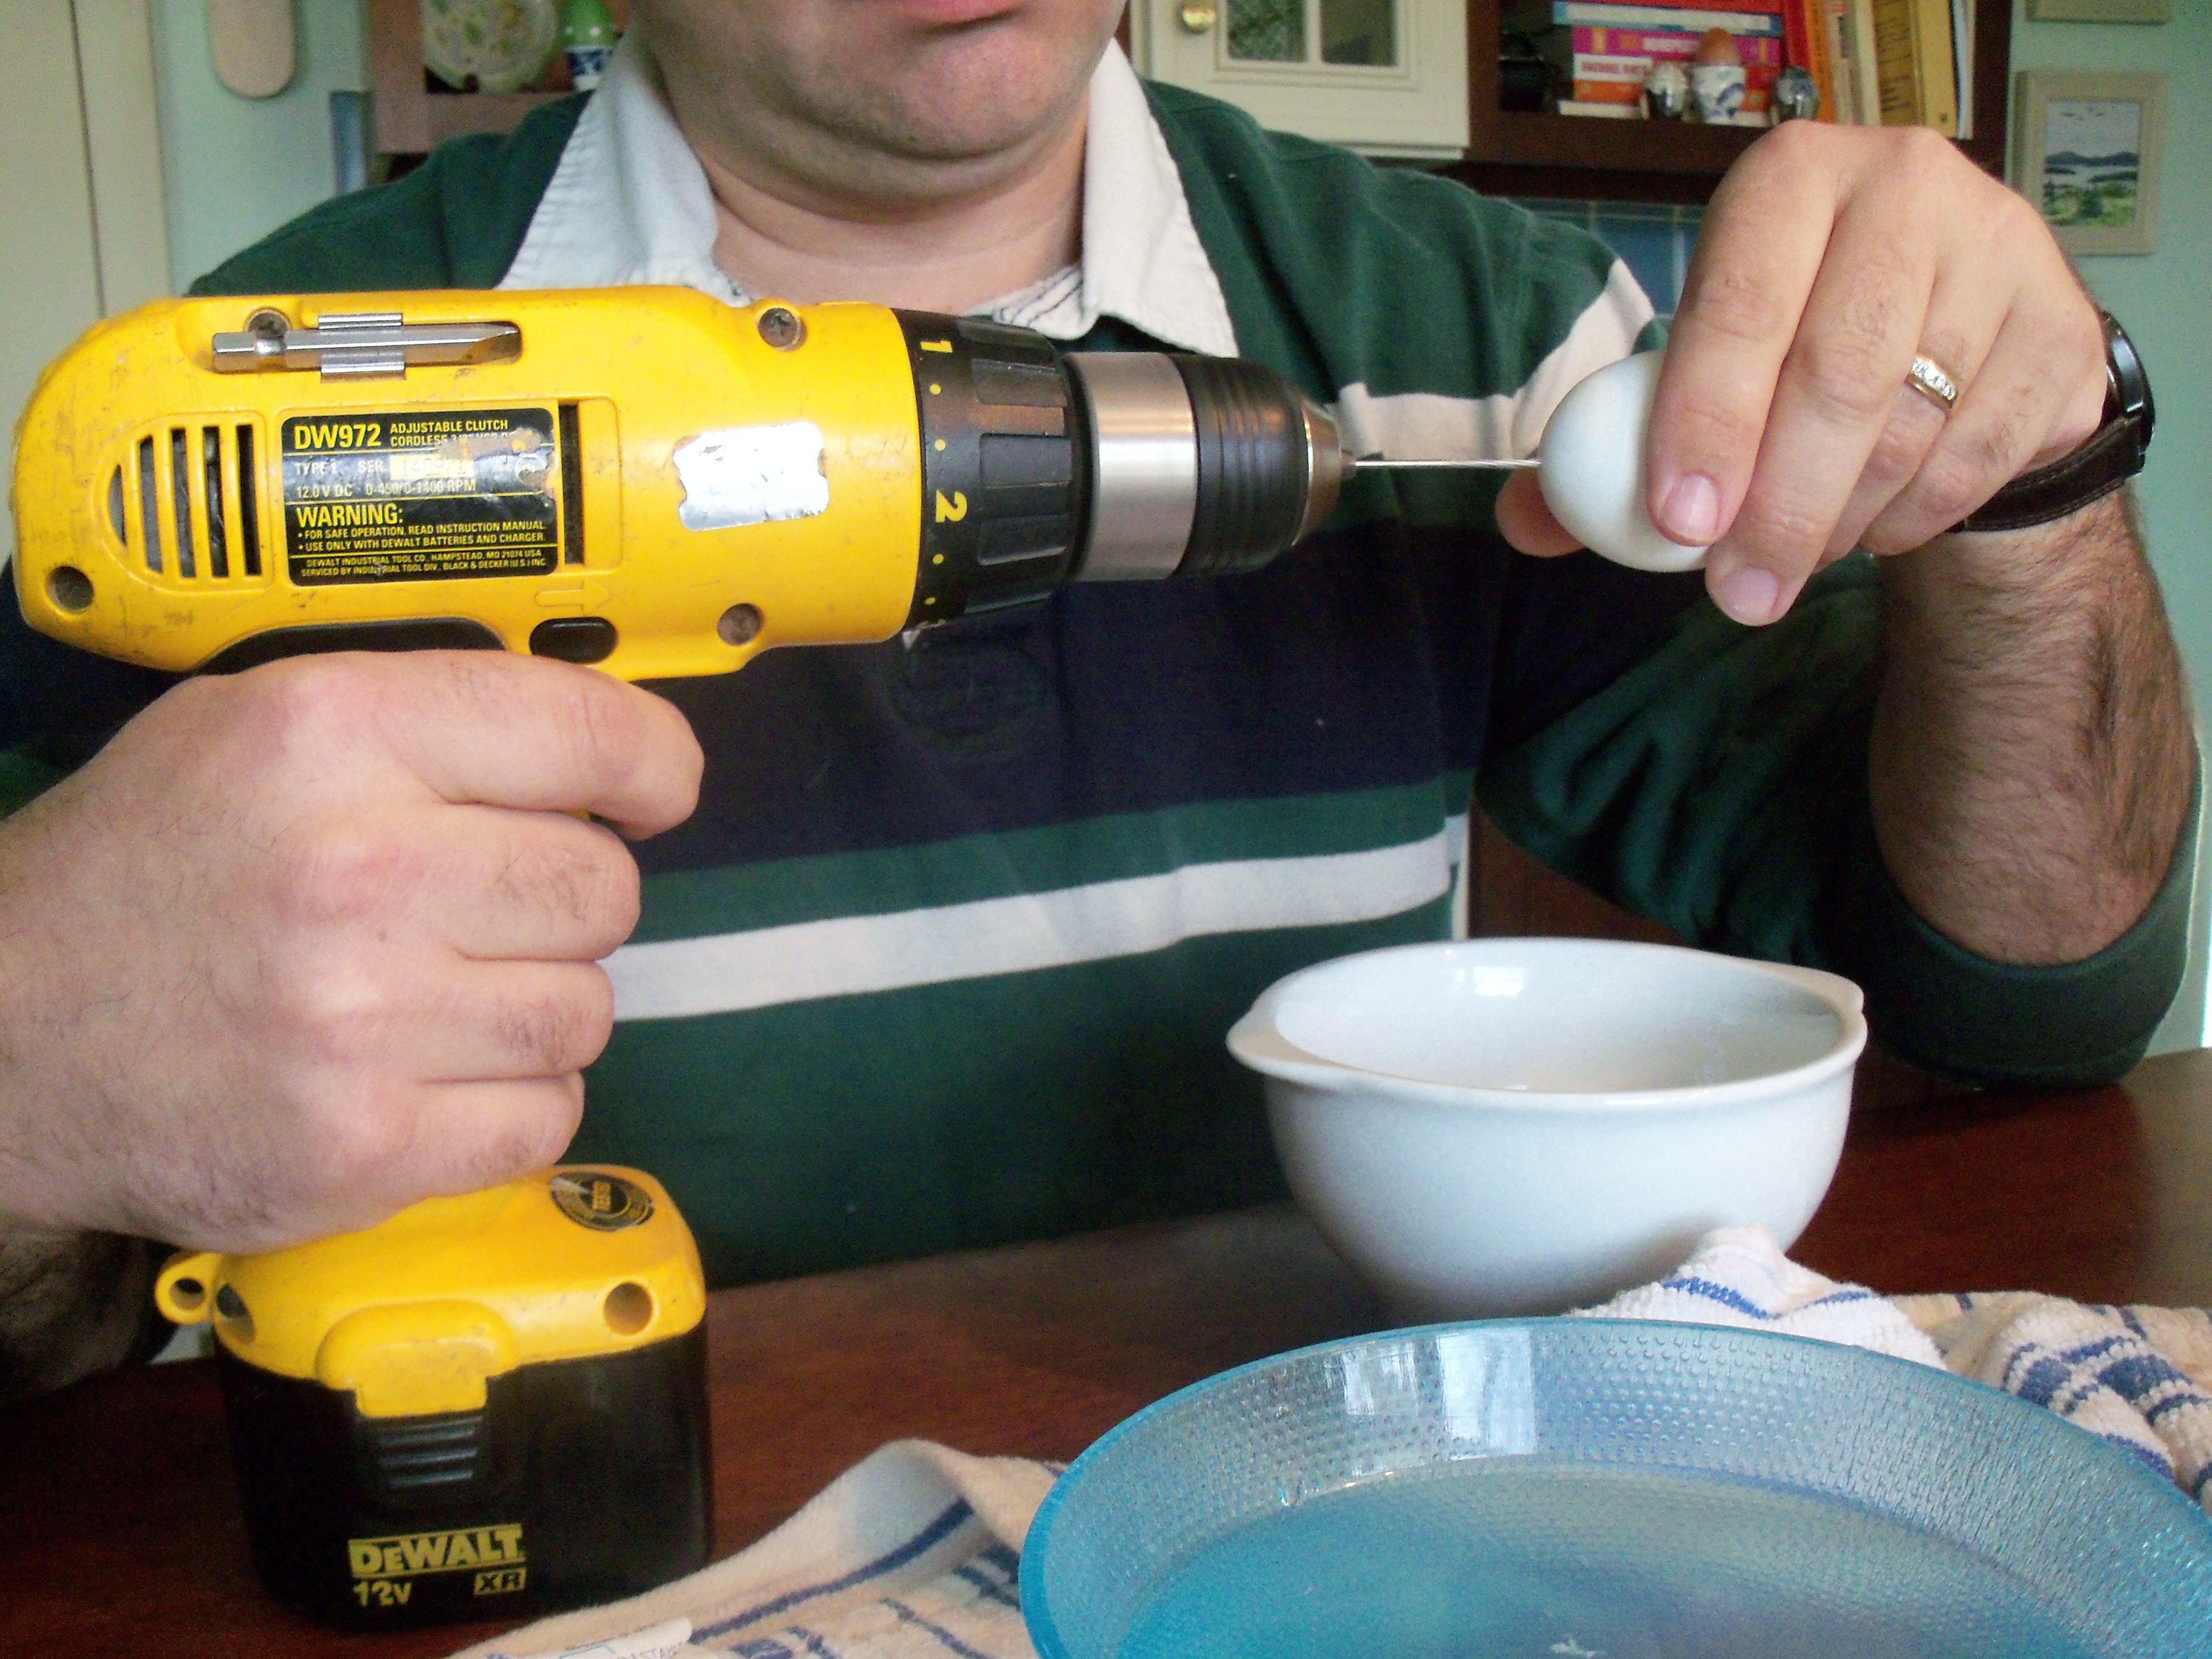
When I tried it, I couldn’t get the egg to come out. When Dude Martha tried it, his holes ended up uneven and shattered looking. Mr. MarthaAndMe decided that there had to be an easier way. He’s a man, so that meant power tools. He came back with his drill and used a small bit for the small hole and a slightly bigger one for the bigger hole. He stood the drill up

Here come the power tools

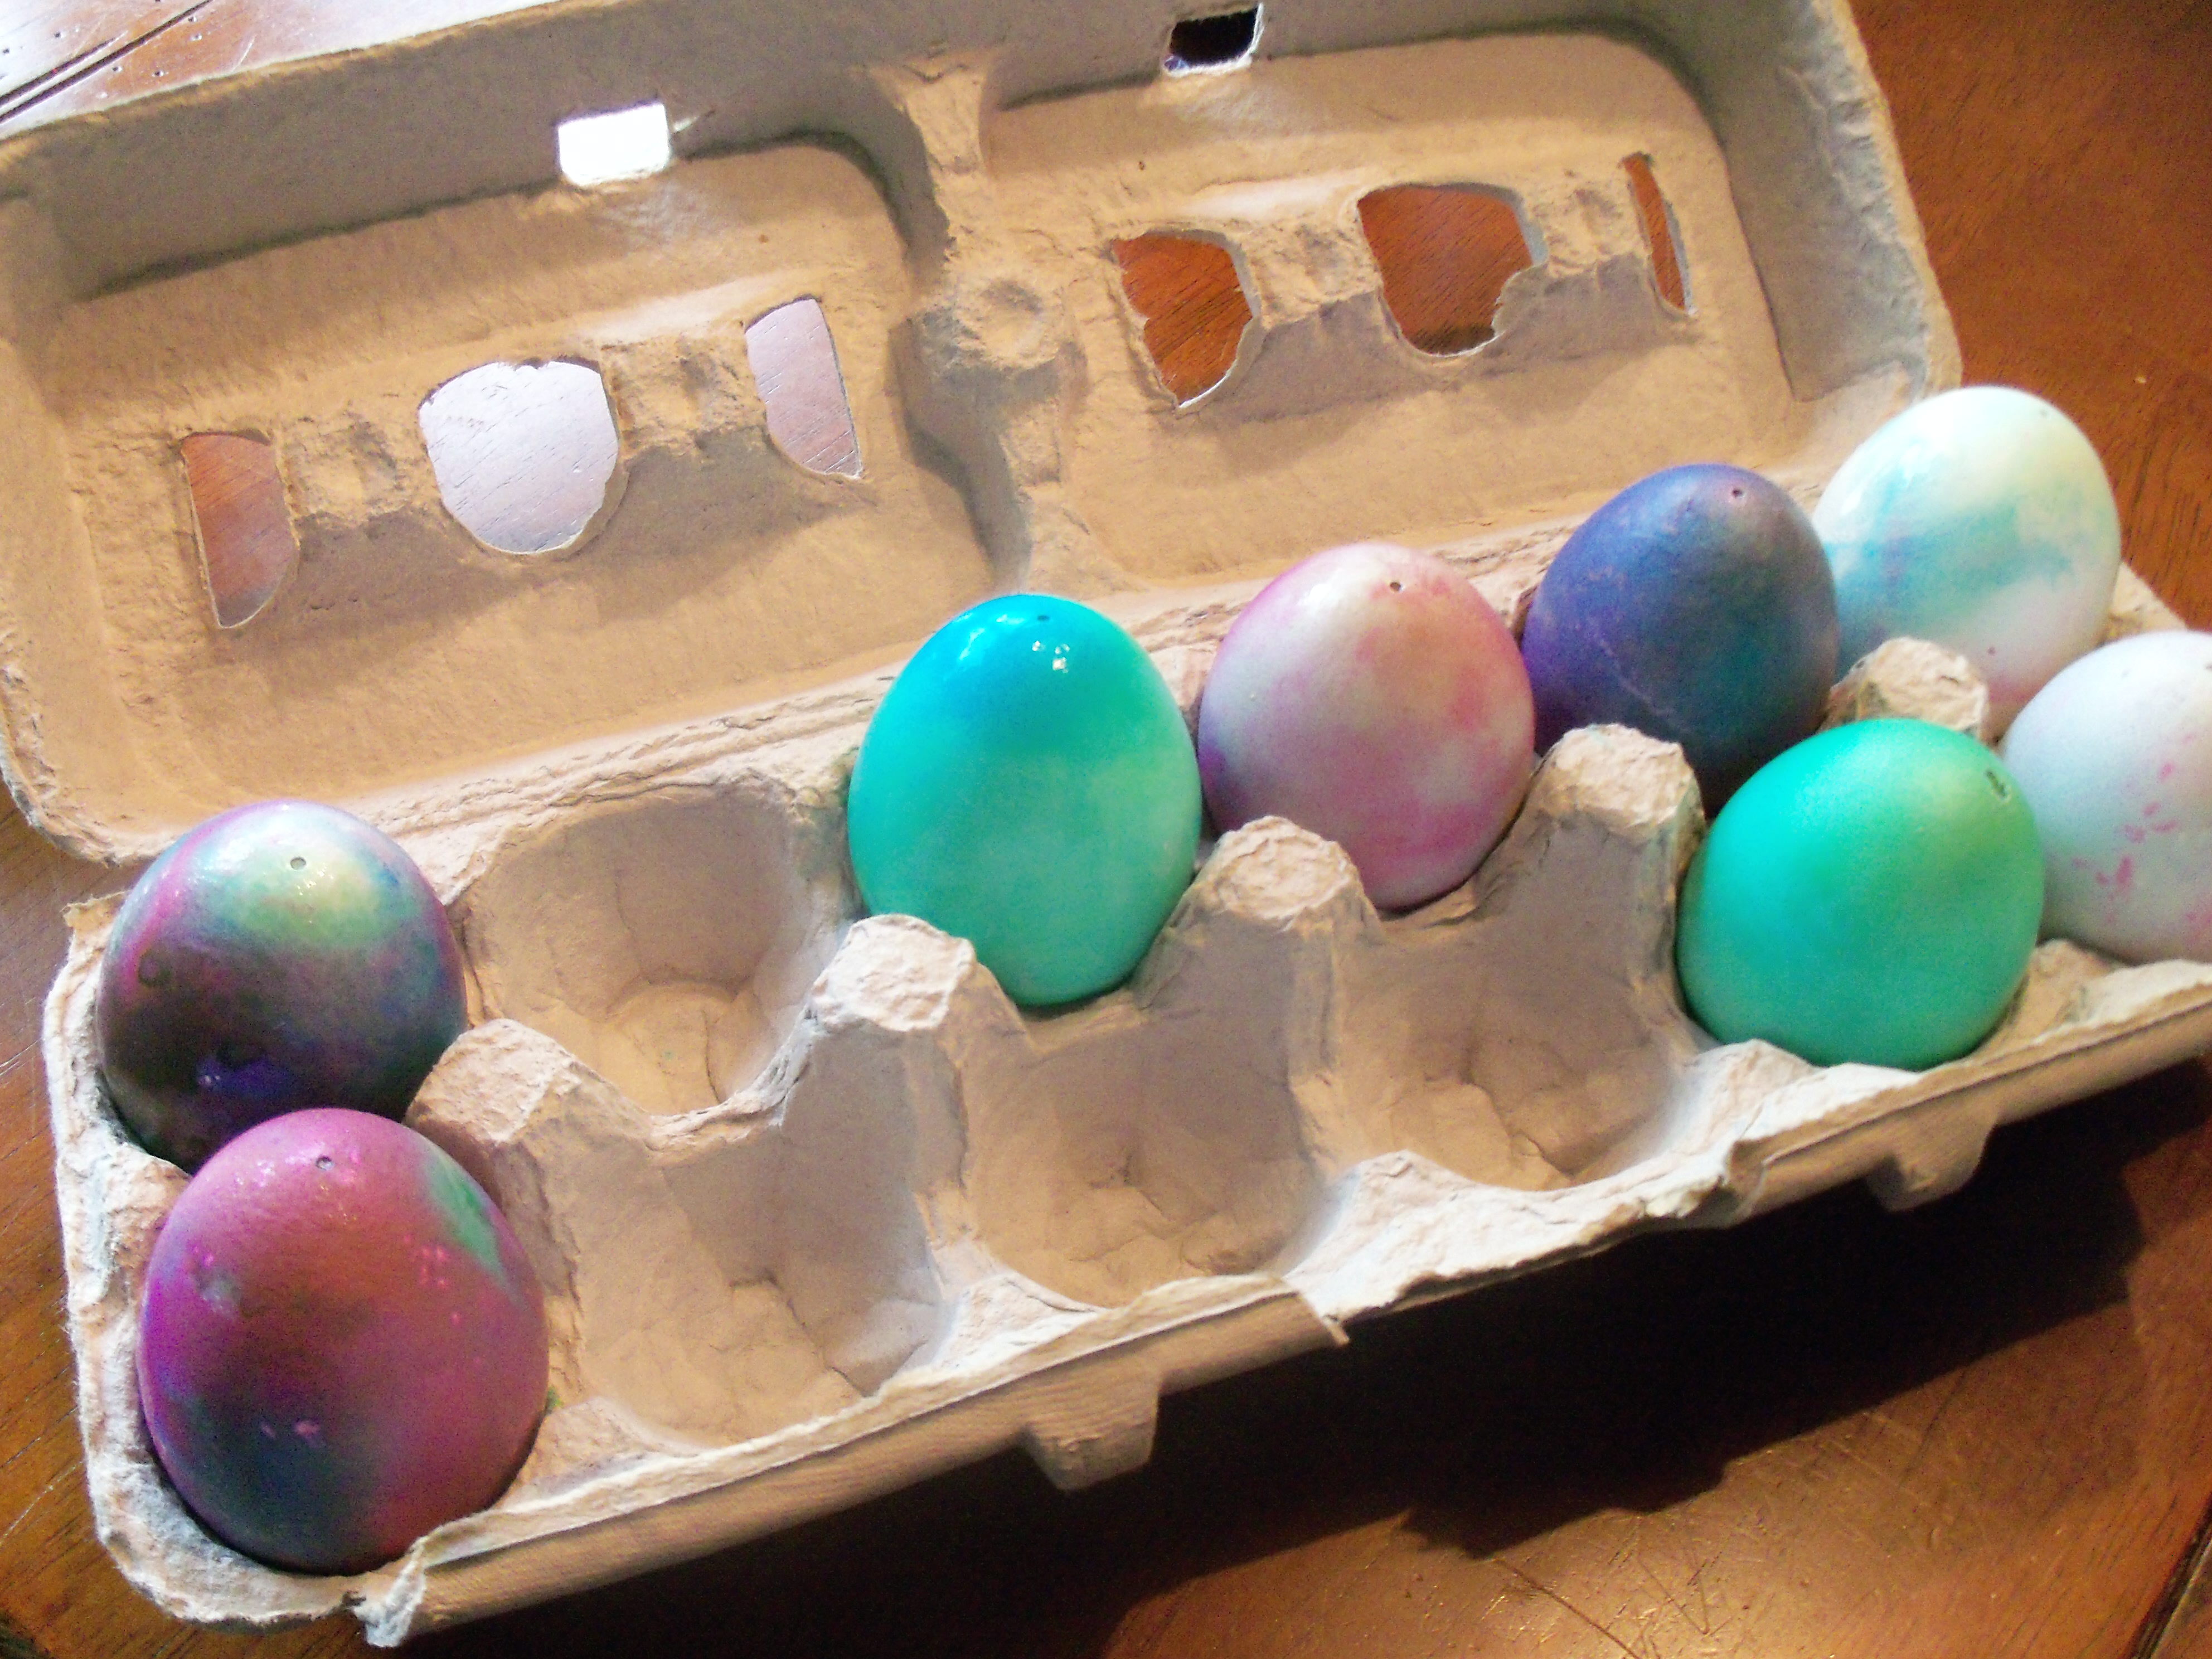
and held it stationary and then moved the egg towards the drill bit so he could control it. This worked well the first time. The next few broke, but then he got back on track. Some eggs broke as they were being blown. Out of a dozen eggs, we ended up with 8, 3 of which had nicely shaped holes. Not such a great ratio. It was fun to try this though since I had always wondered how hard it was (pretty hard). I also enjoyed making comments about Mr. MarthaAndMe sucking eggs which made him almost choke as he was trying to blow one out, so that was a highlight as well.

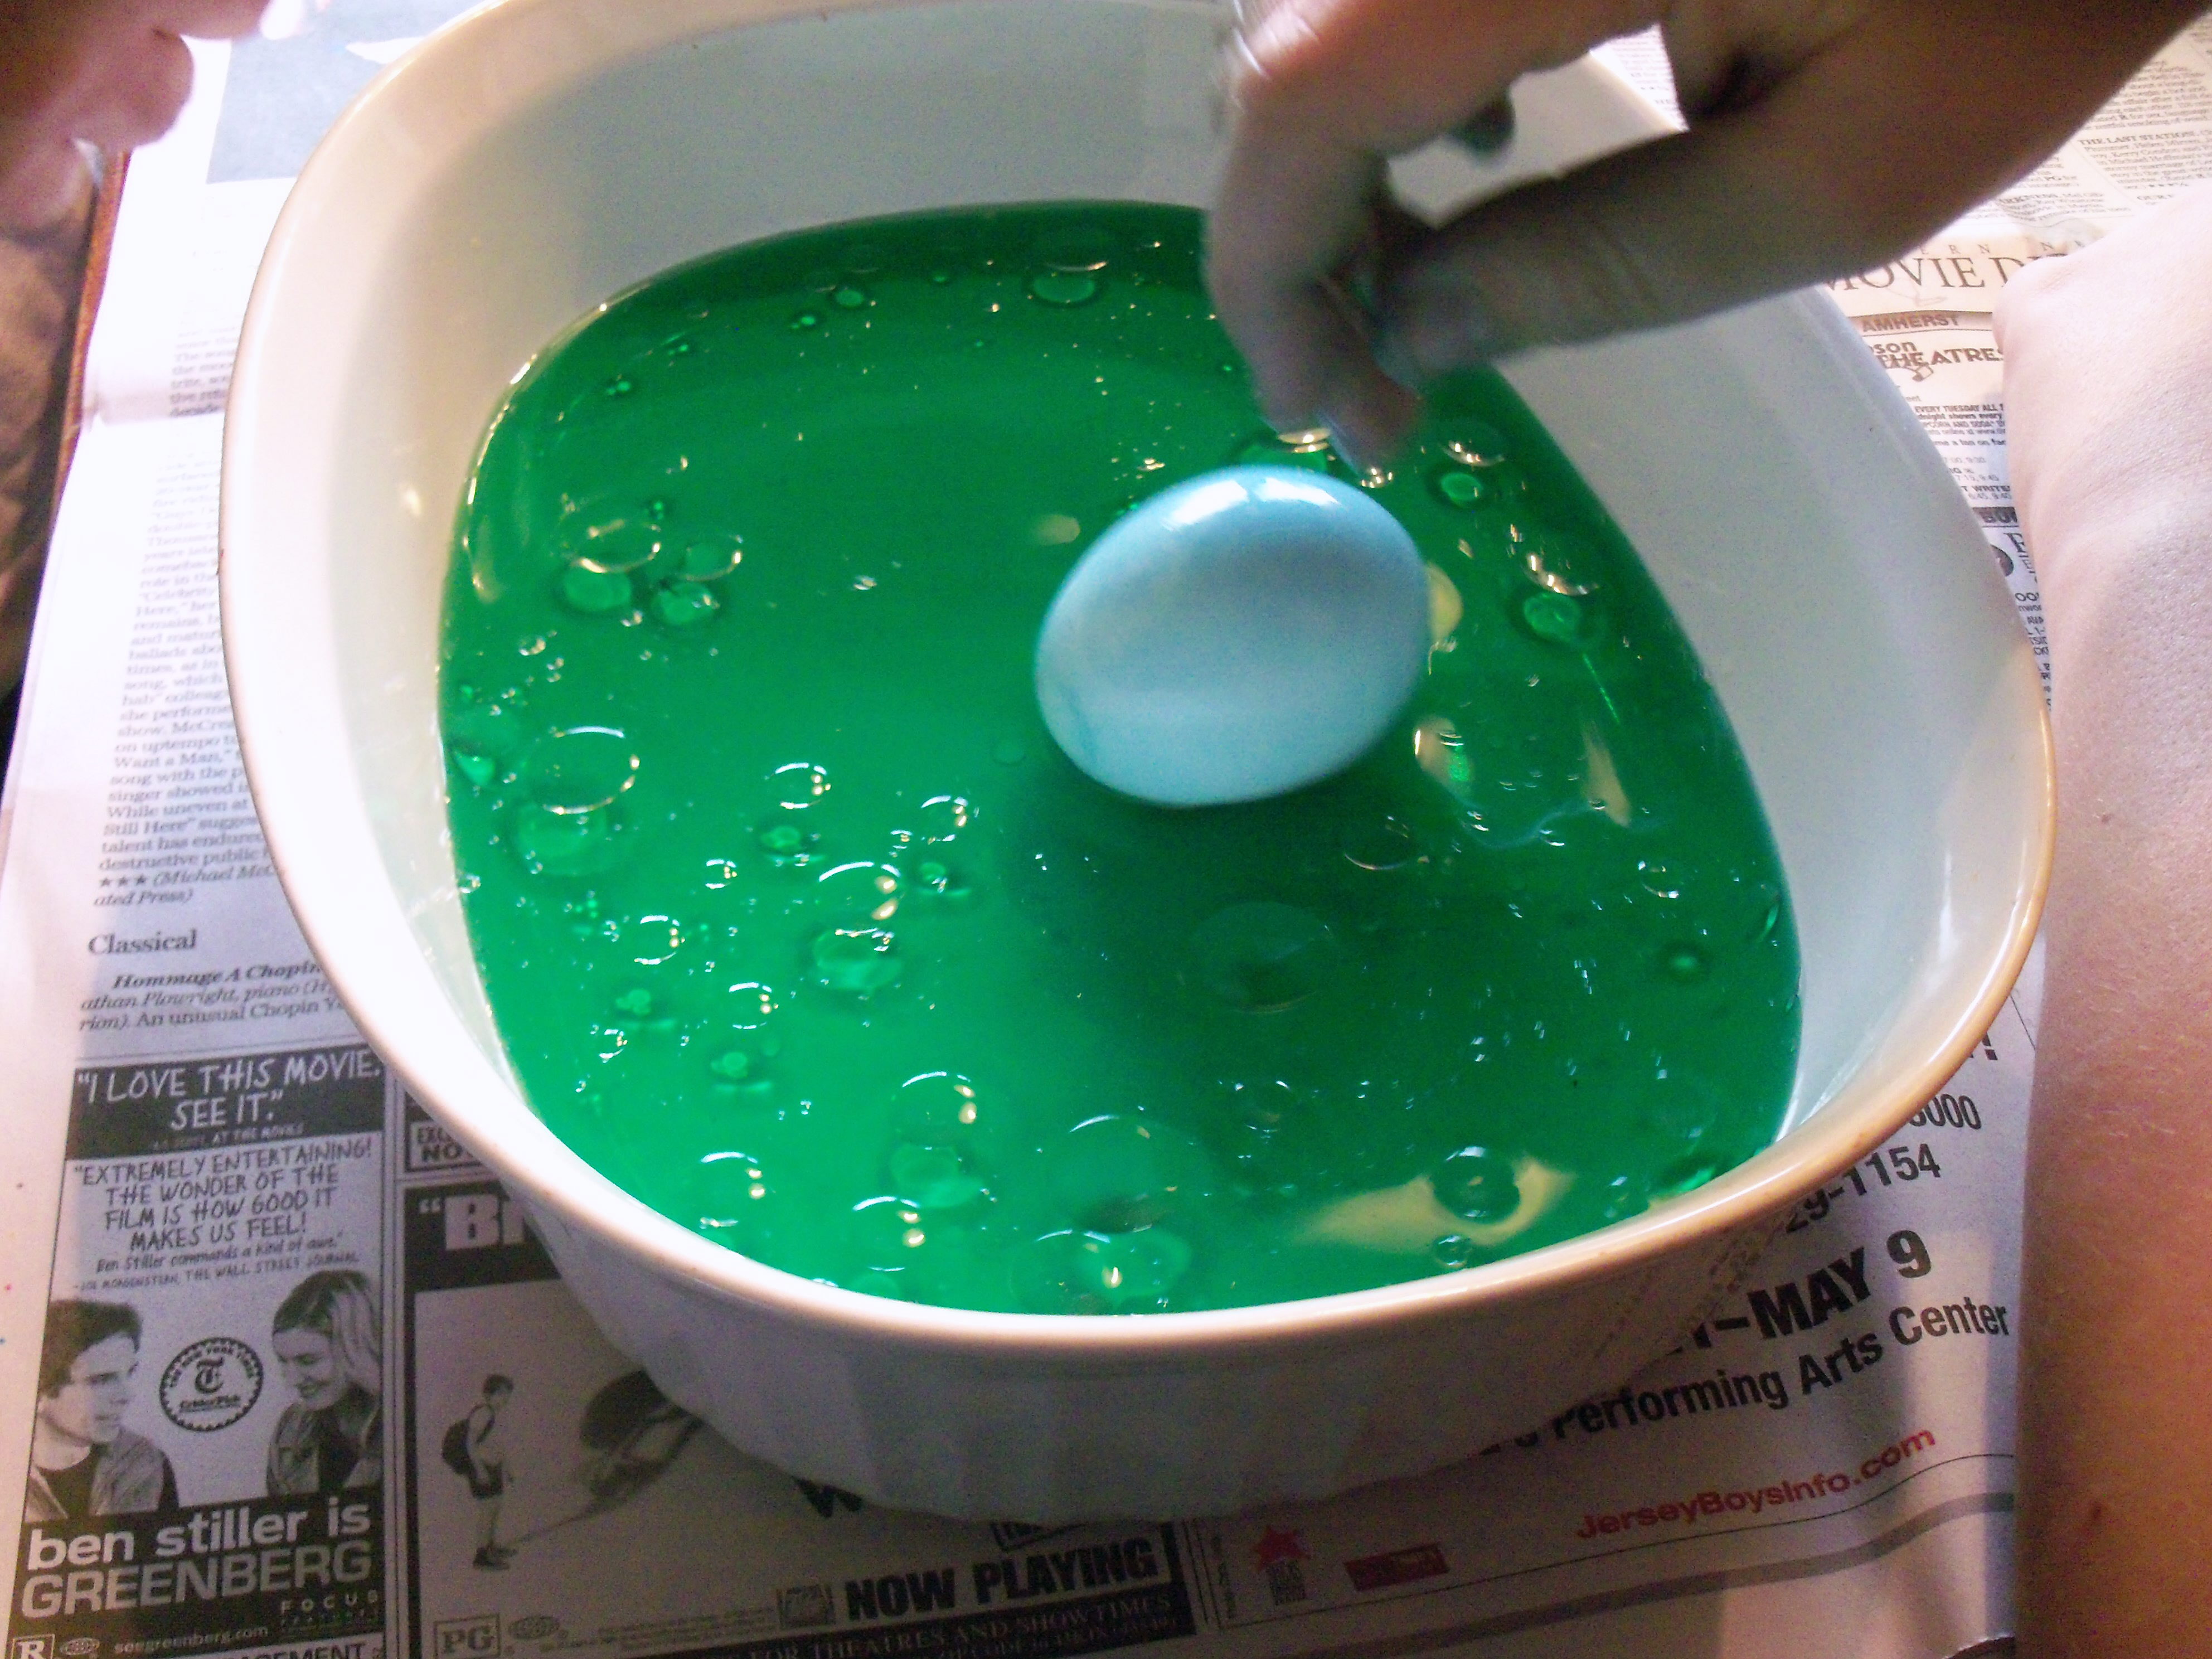
The next day we colored the eggs. I decided to try Marbelizing Eggs. The Attempting to marbelizedirections say to color the egg first in one bowl then in another bowl, mix up the dye and add oil. Swirl the oil and roll the egg through it to get the marbelized effect. Total disaster. No marbelizing happened at all. None. We tried adding more dye, more oil, etc and nothing working. So Dude Martha and Mr. MarthaAndMe then began to experiment (shudder). Mr. MarthaAndMe has memories of making these kinds of eggs as a kid and tried to recreate it by

Marbelized result - not so marbelized

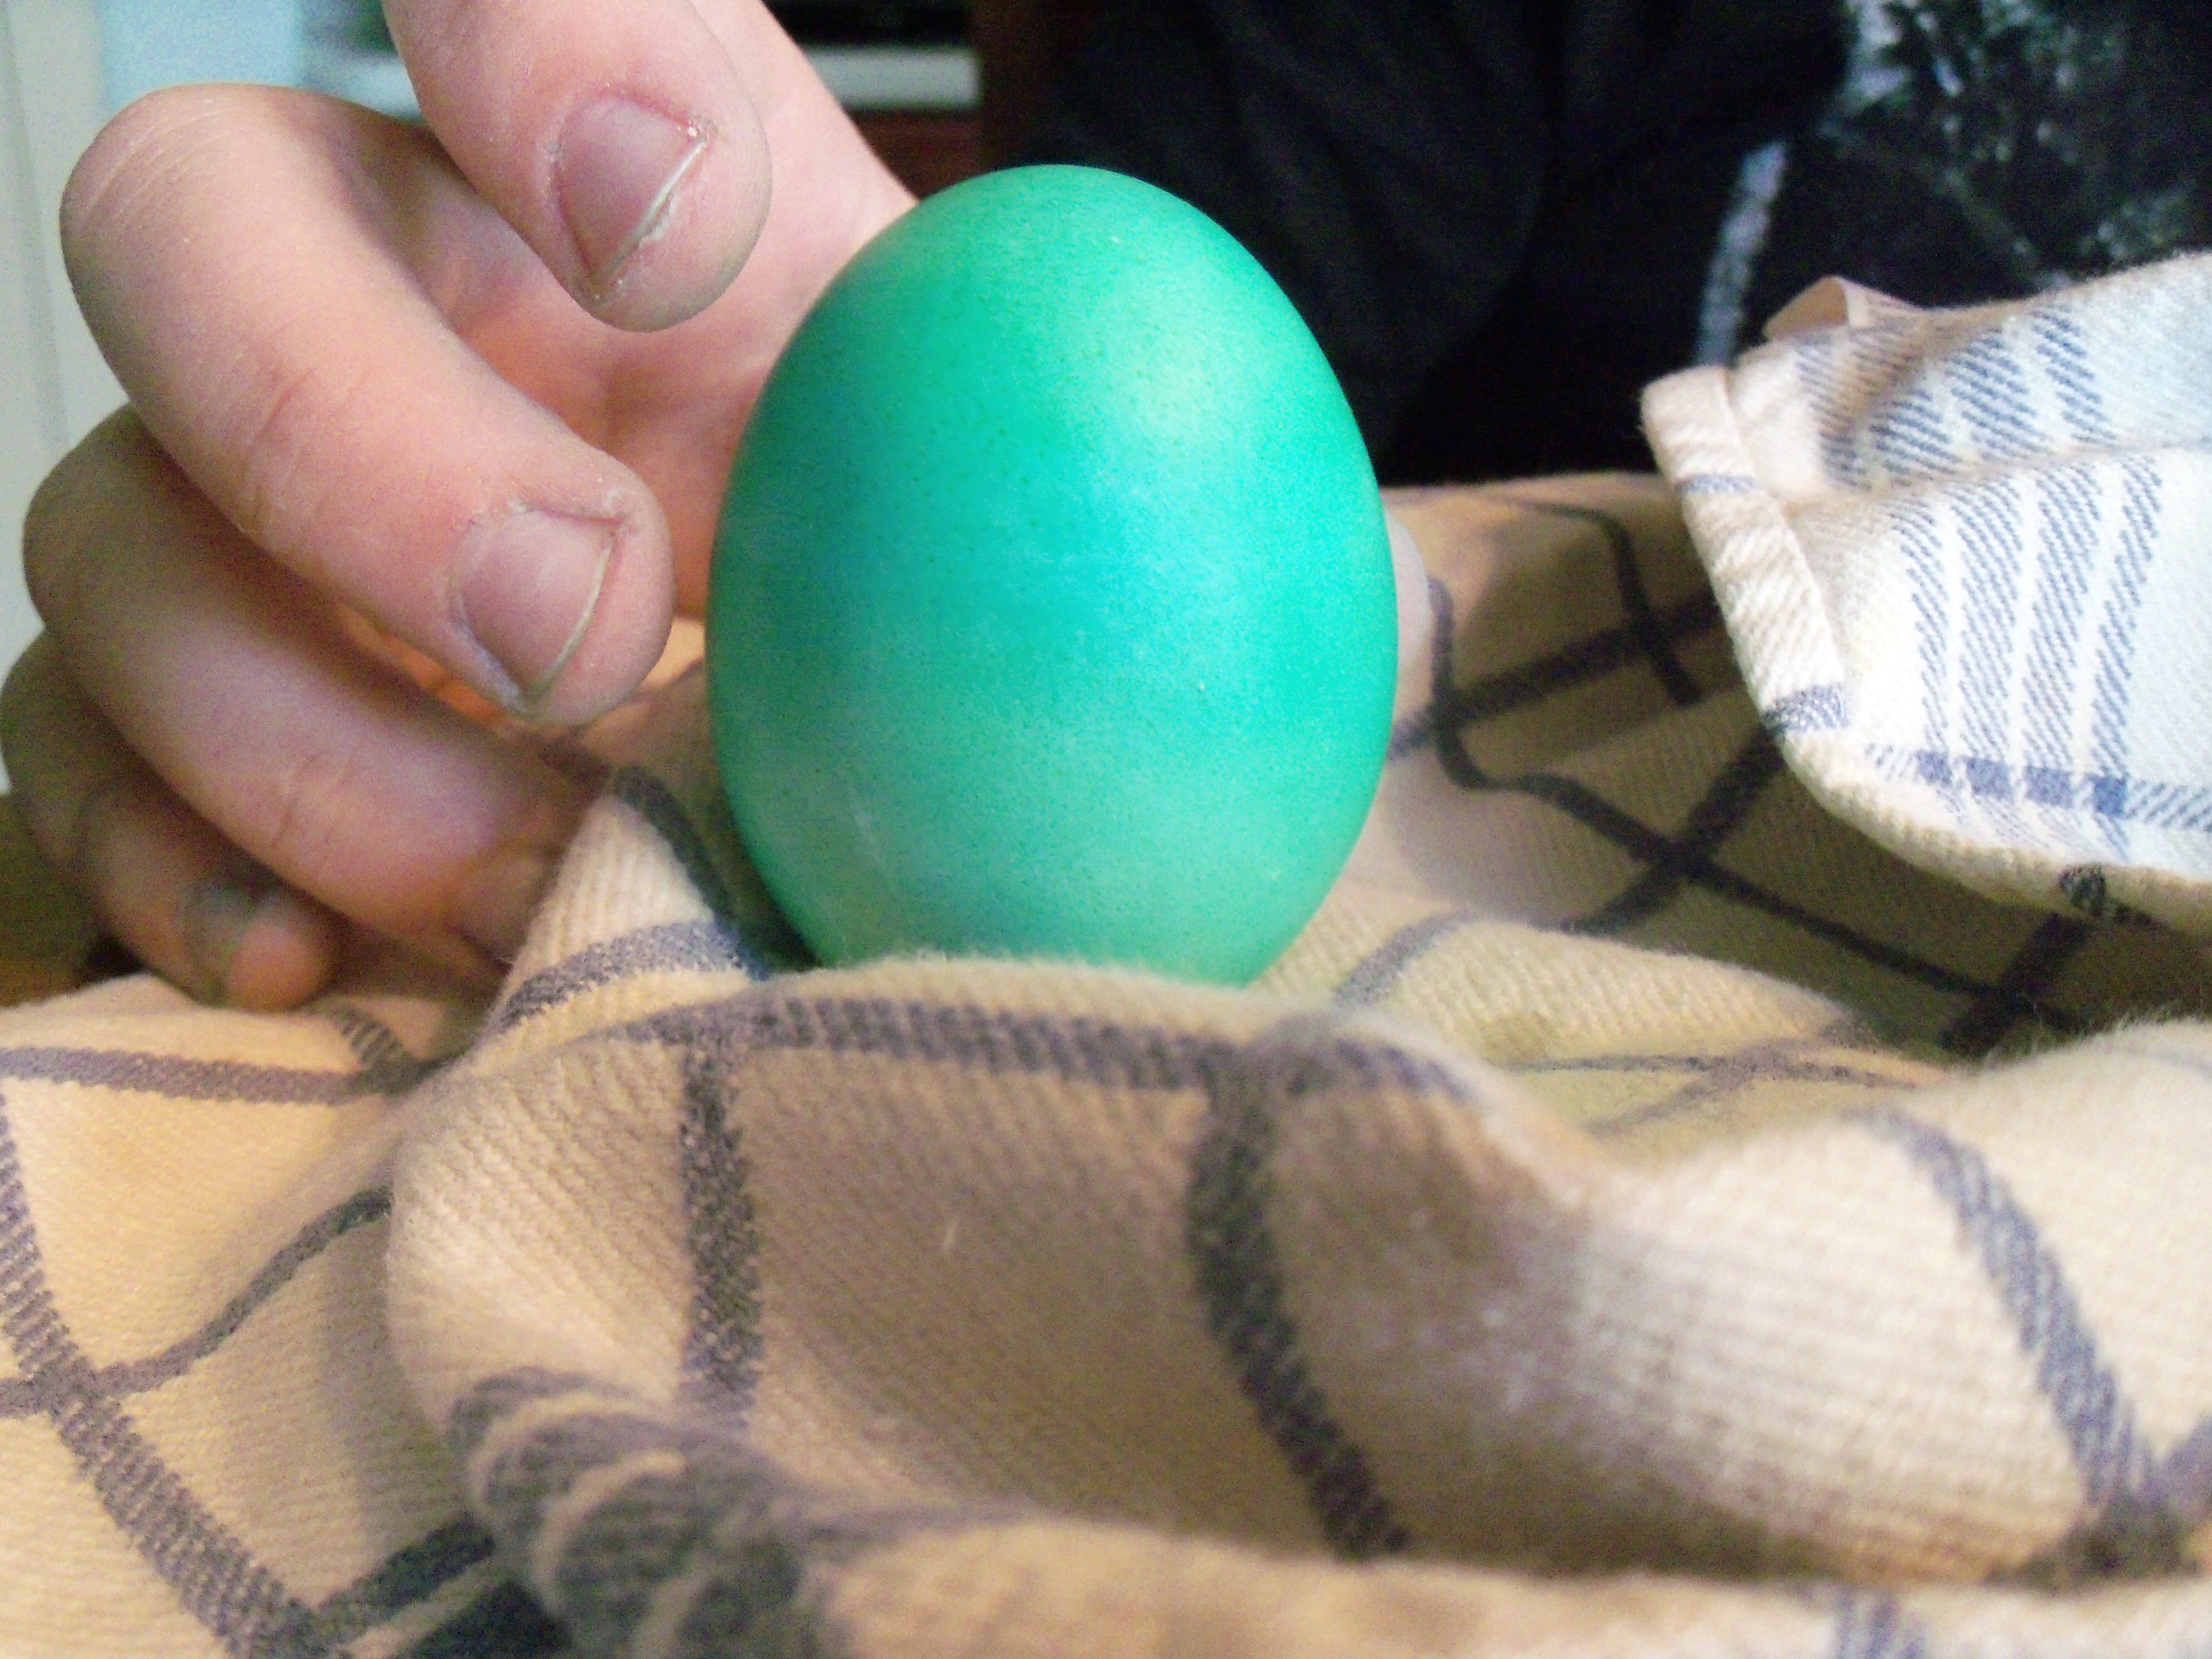
adding drops of food coloring to vinegar and water, not mixing it, and quickly rolling the egg through it. It sort of worked. Then he started dripping food coloring directly on the egg and rolling it in the water. That worked the best and resulted in the more brightly colored eggs. Dude Martha did the same thing and the eggs really did turn out quite vibrant and interesting.

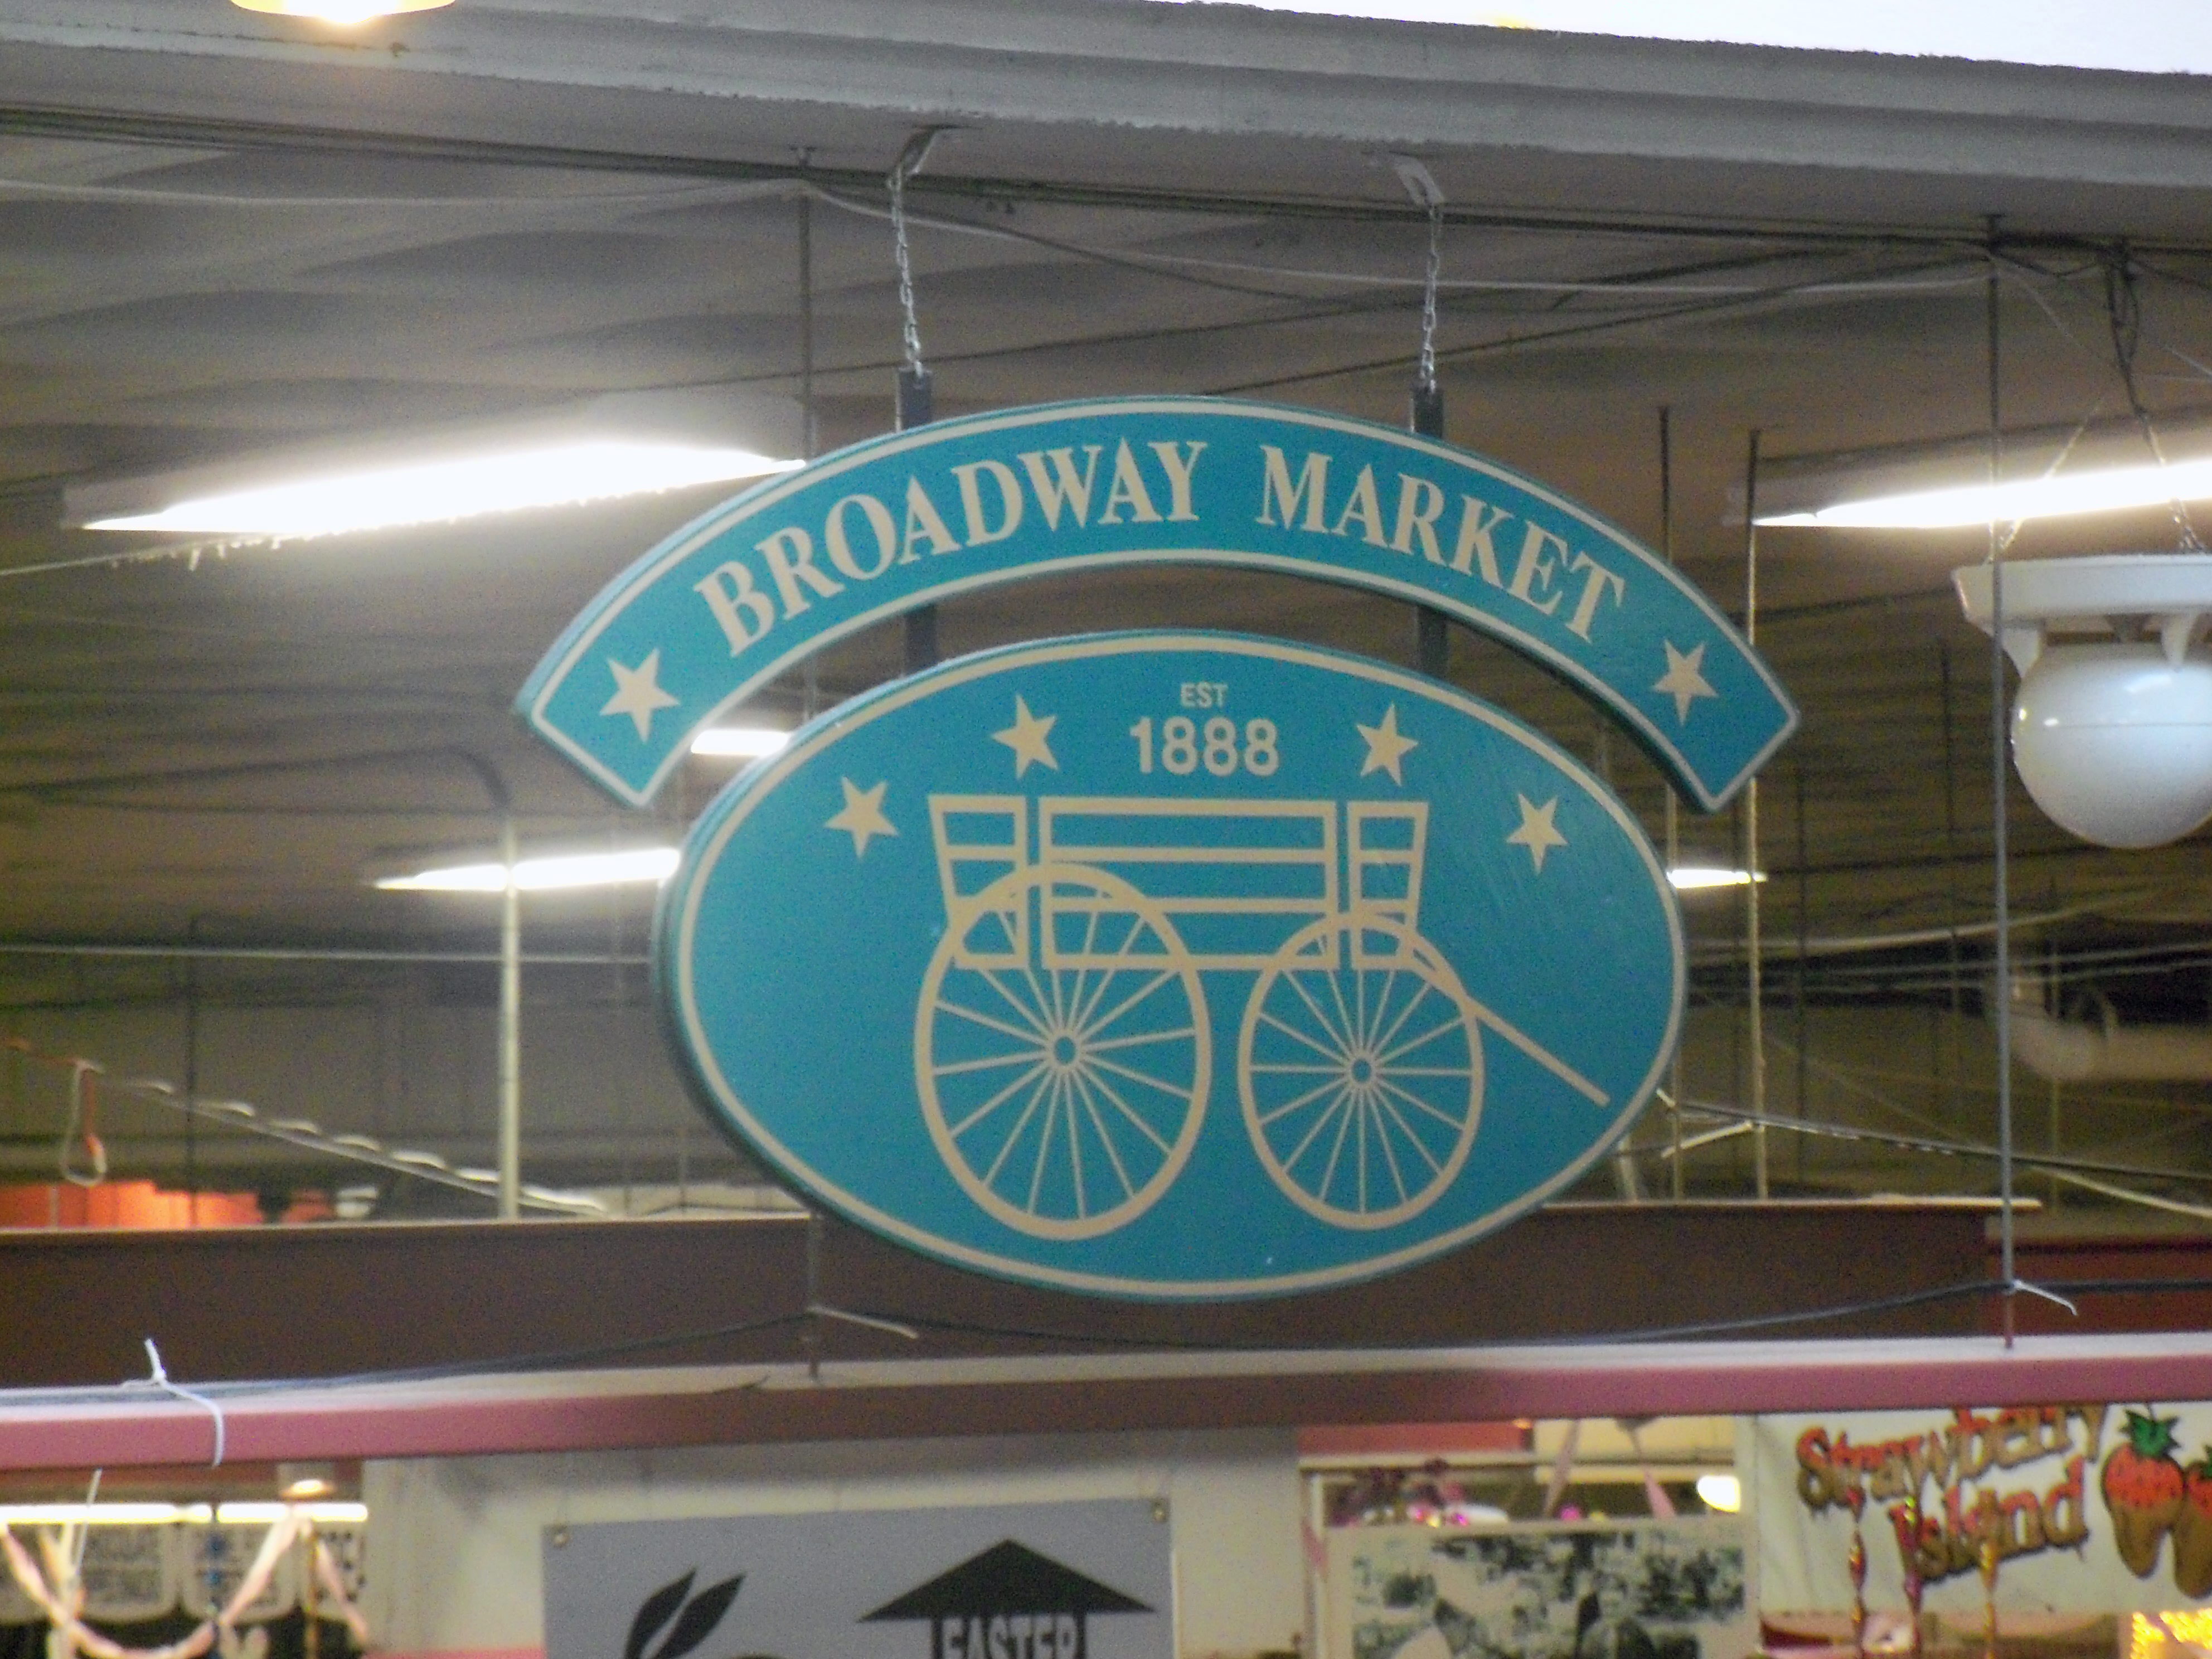
This was fun, but was not as successful as I’d hoped. I do like having blown out eggs to work with so that if you’re lucky enough to create something beautiful, you can keep it. That being said, I think I’ll go back to the Broadway Market next year (see yesterday’s post) and buy some more professionally made eggs for $10!

Bookmark and Share

Thanks to Teresa at Homemade Iowa Life for picking this project – the assignment was to make Easter eggs from the selection on Martha’s site. I made the silk tie dyed eggs last year (#12 in that slide show if this link does’t take you directly there) and my only regret is that I used … Read more

We made an excursion to The Broadway Market, a market in downtown Buffalo that is a traditional place to visit during the Easter season. It struck me as something Martha would enjoy, so I snapped some photos and thought I would share the experience. The market is open year round, but the Easter and Christmas seasons are when it is in full swing. In fact, the market makes all of its money during those seasons and is in danger of closing because no one comes to it at other times of the year (organizers are trying to revitalize it and I hope they are able to since this is a tradition everyone who lives in Buffalo knows and loves).

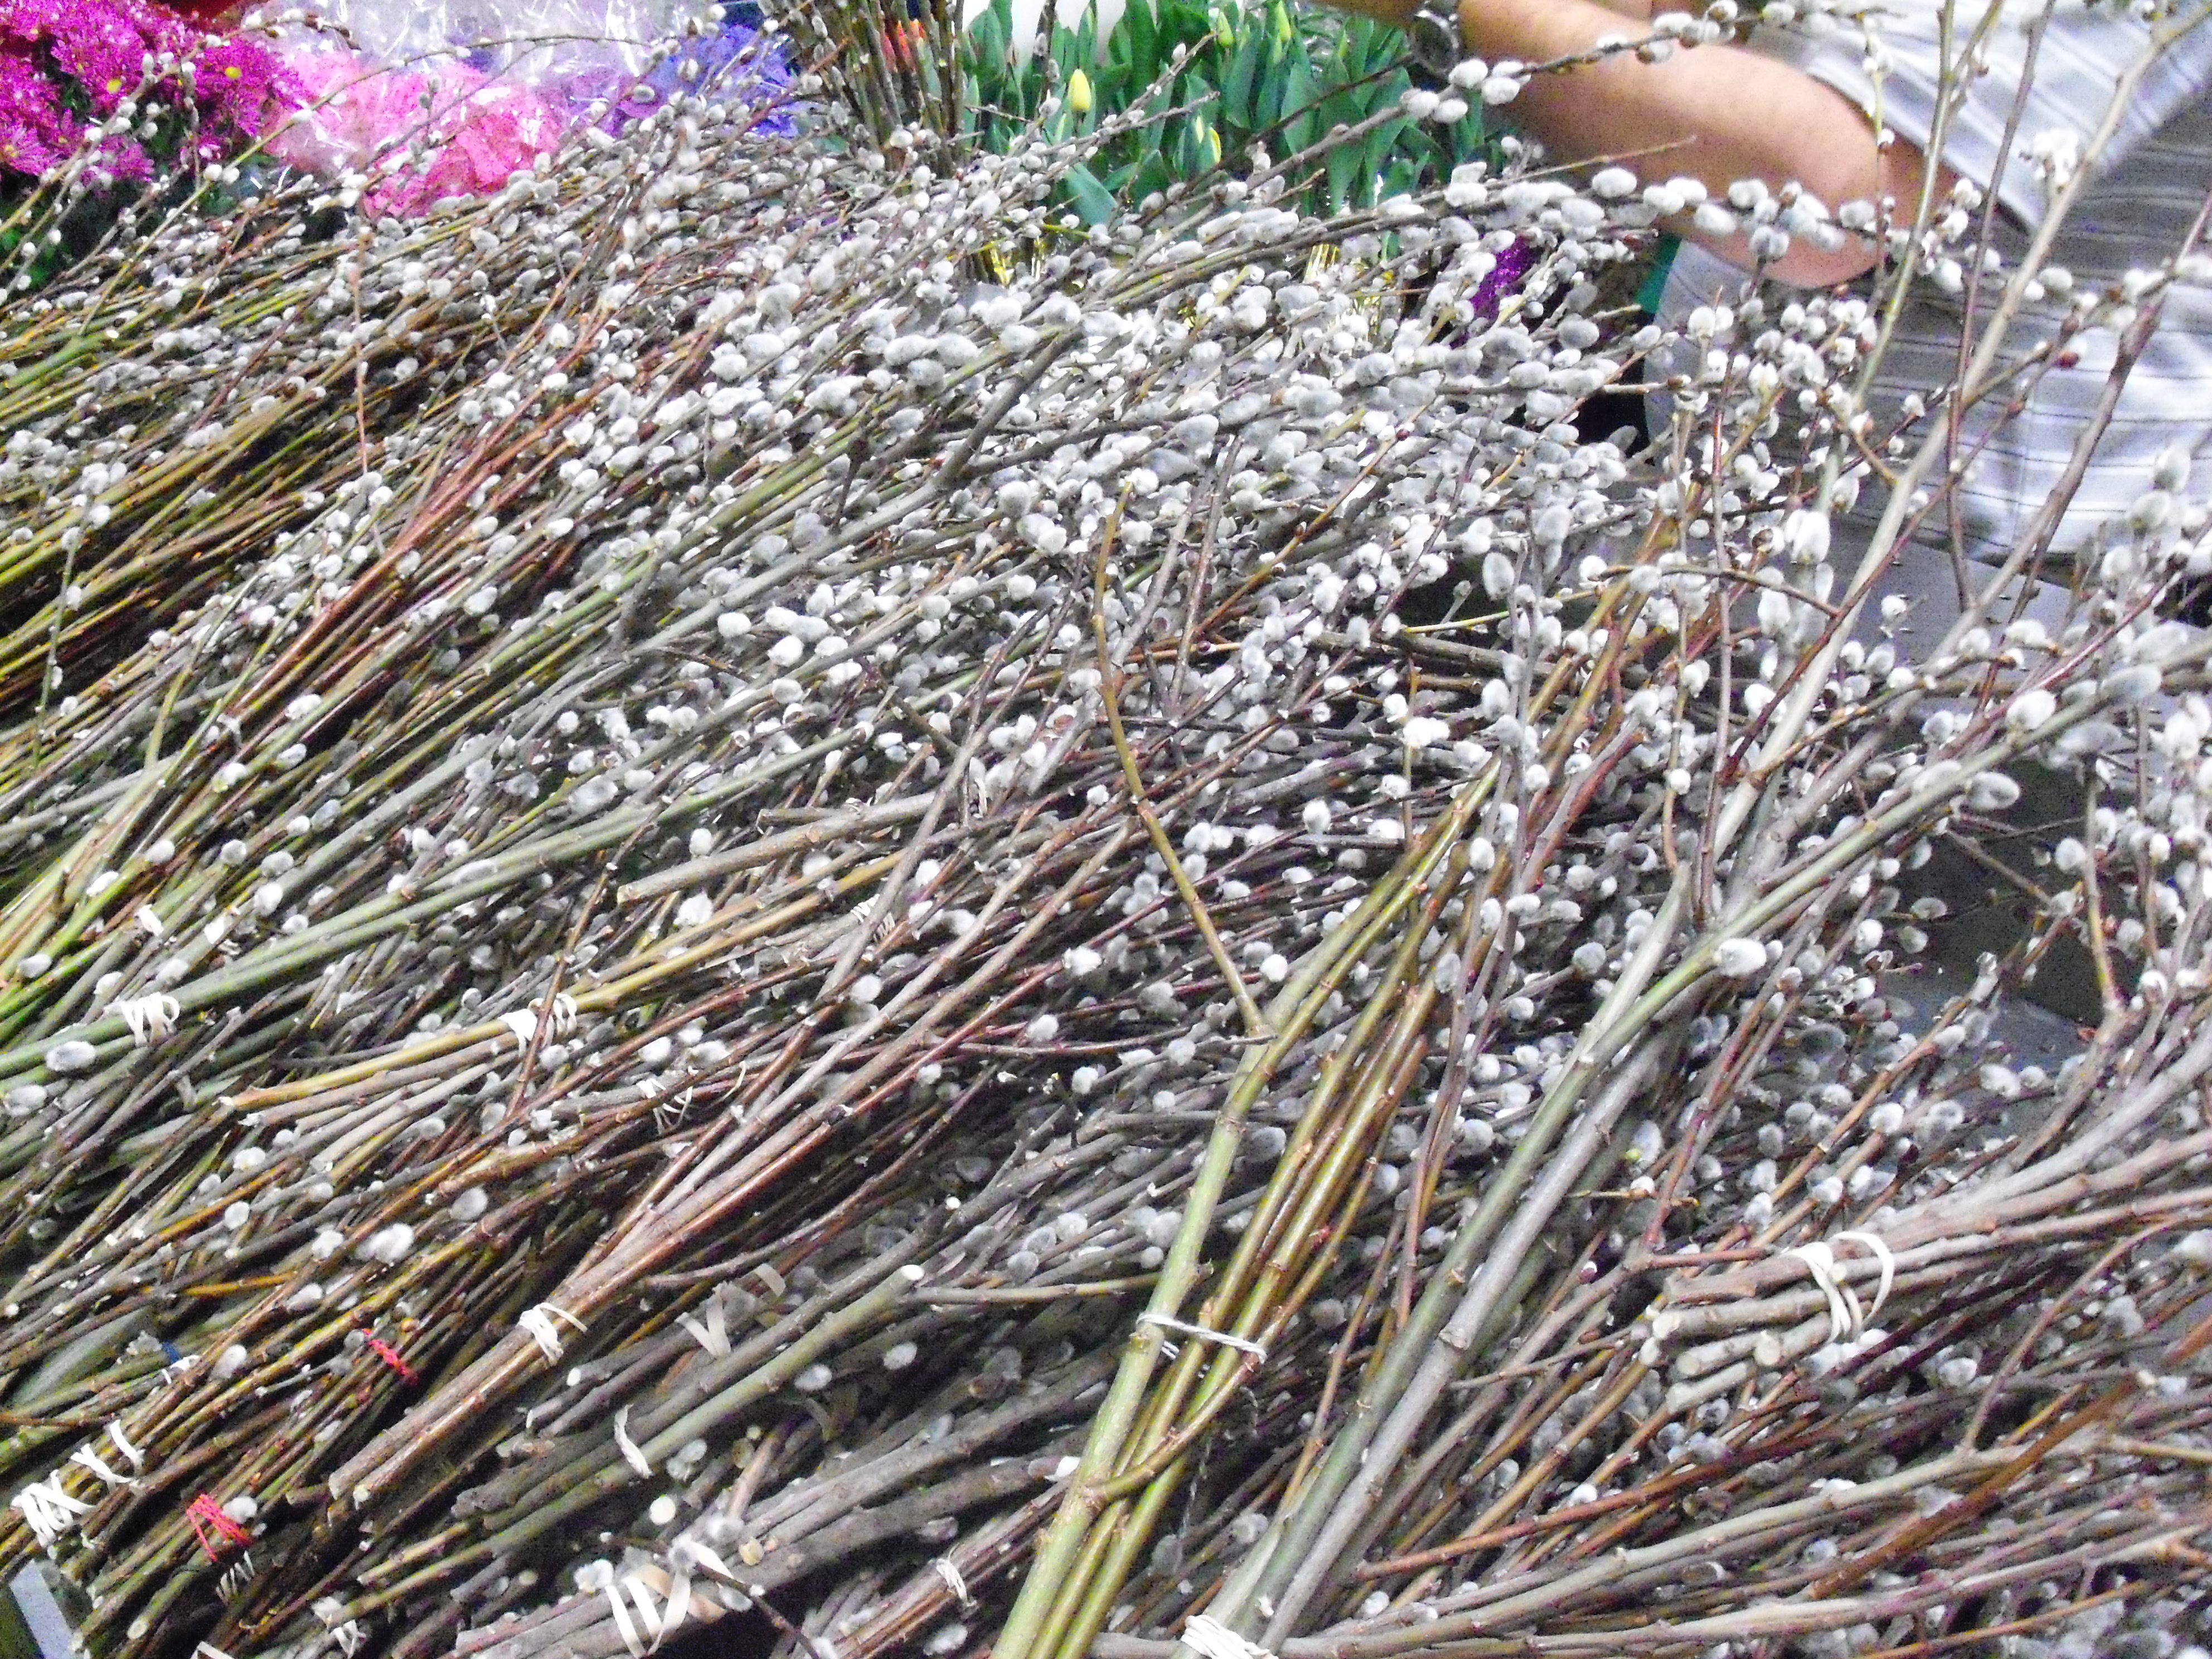
Pussy willows

At this time of year, there are many traditional items at the market that people come from miles around to buy. Pussy willows are always for sale and people take bunches of them home. Horseradish is another popular item – whole or ground.

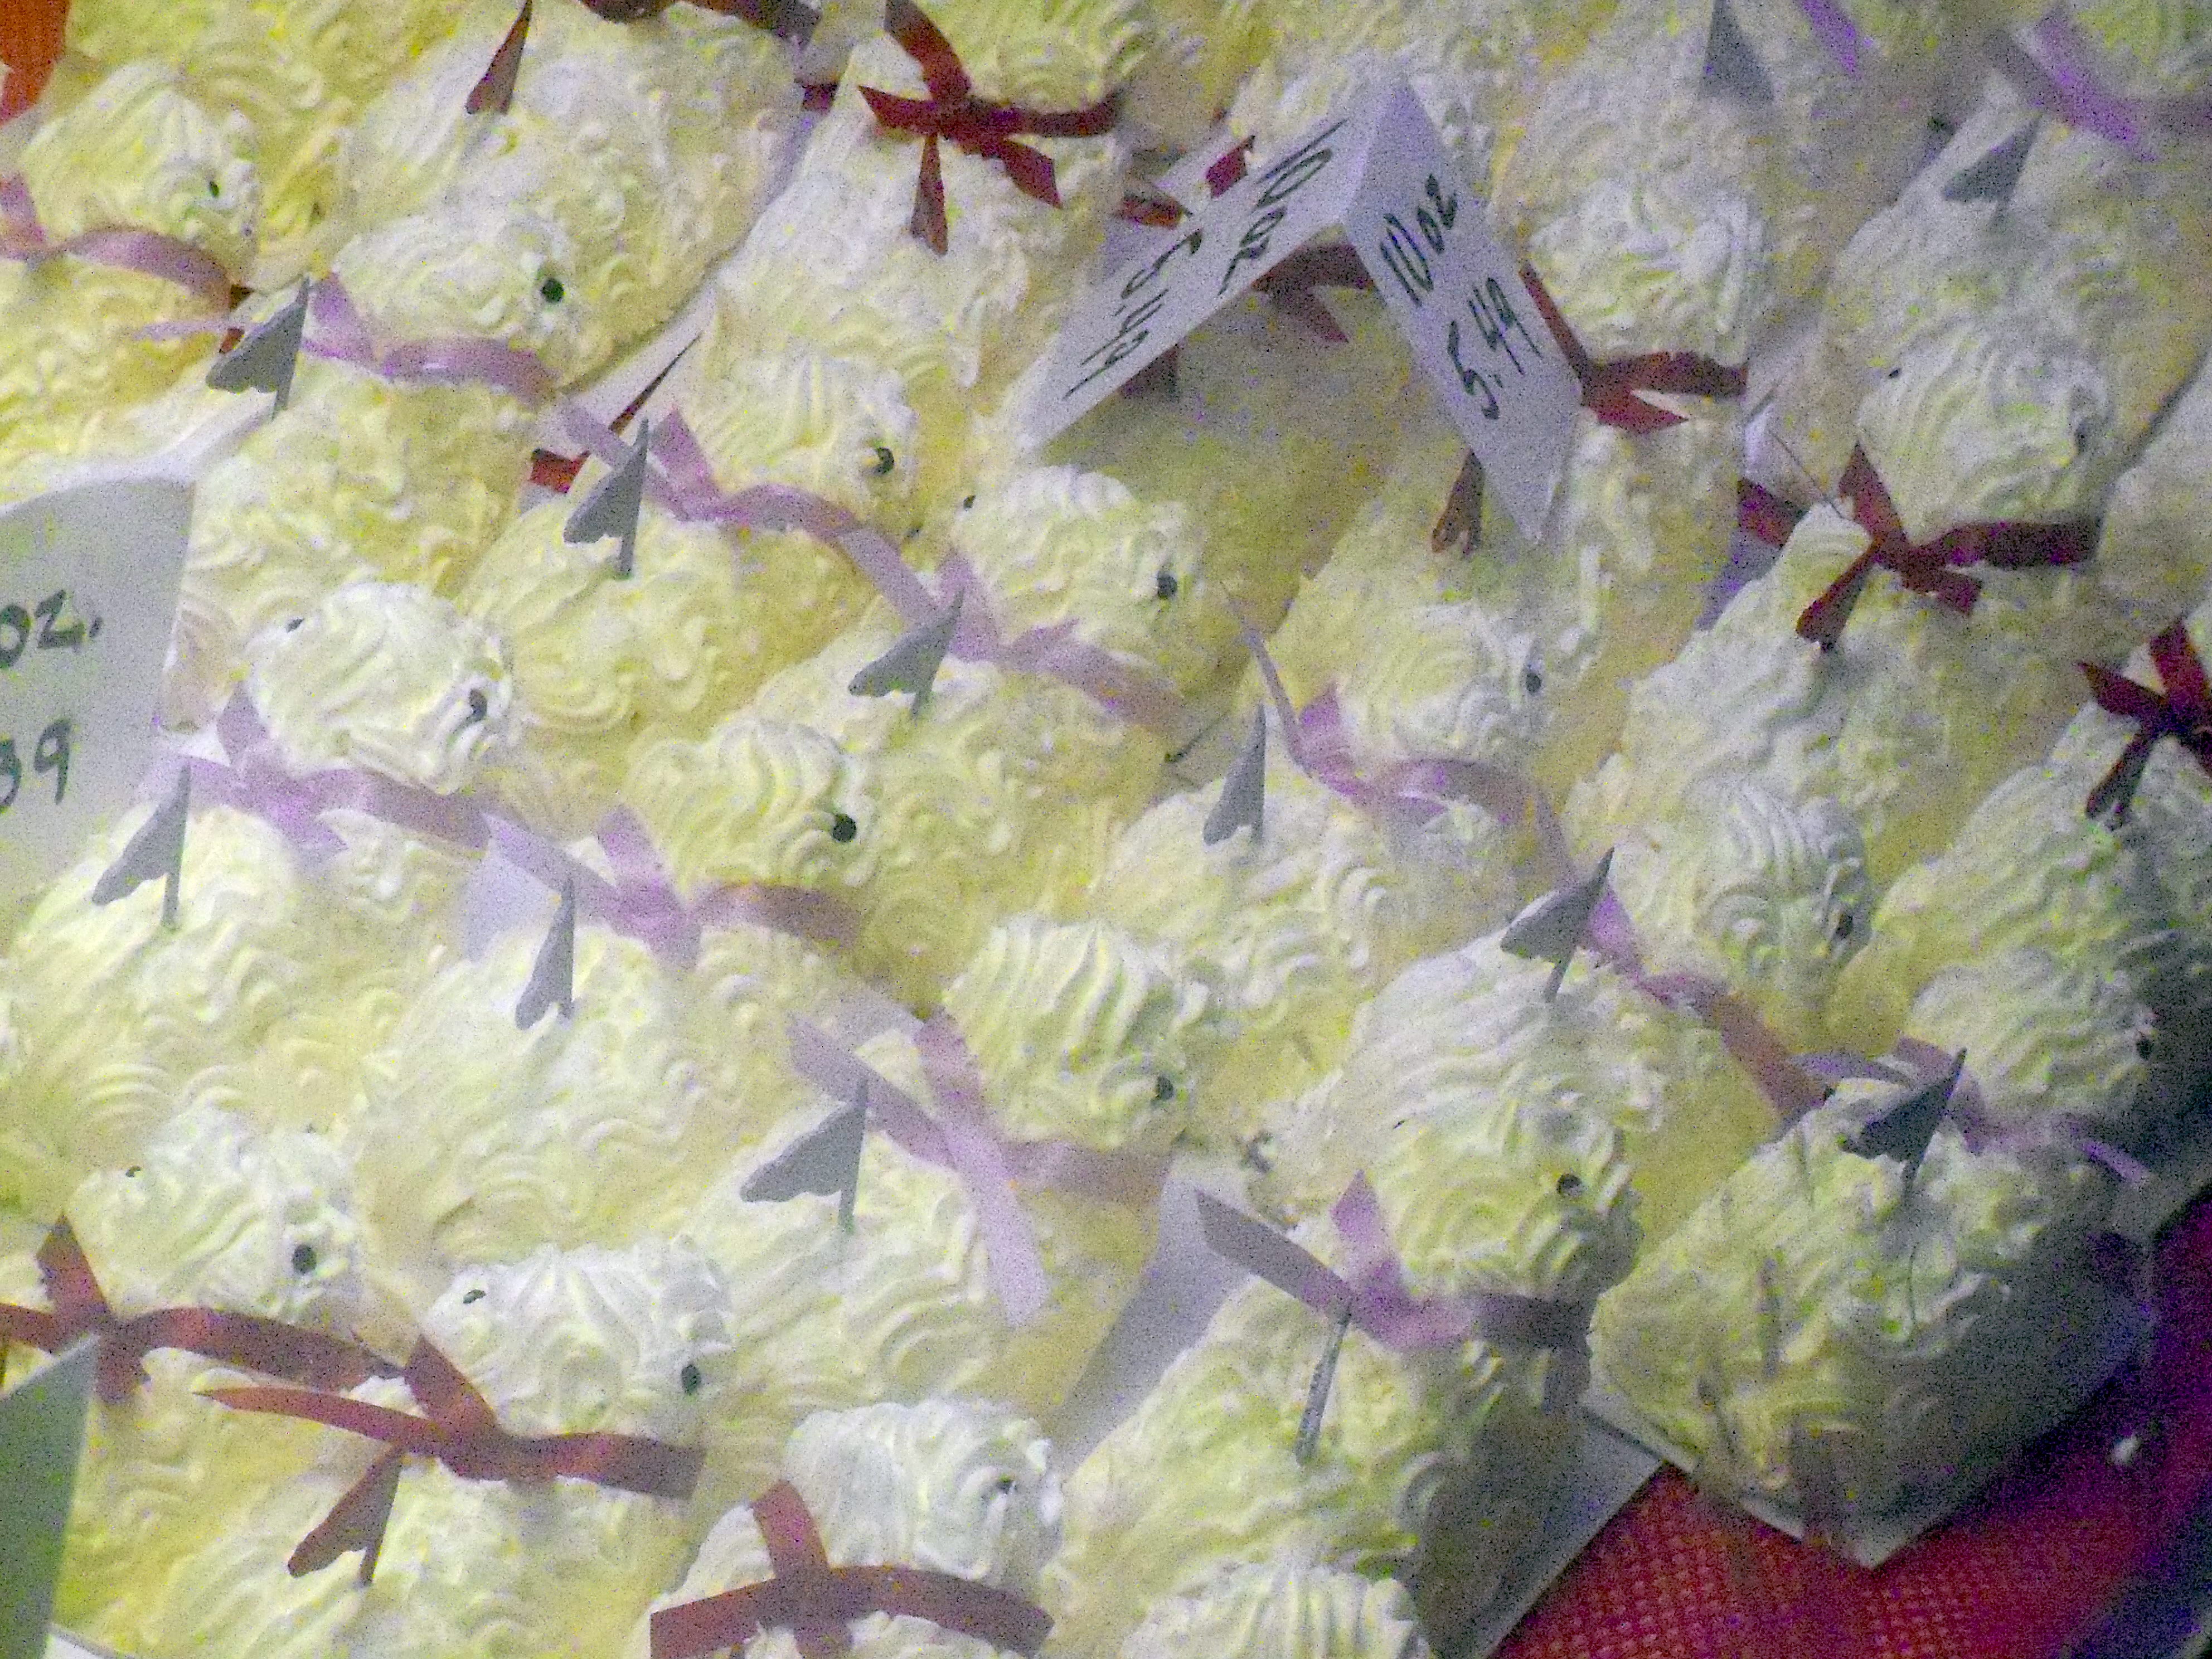
Butter lambs

Butter lambs are a beautiful addition to an Easter table and I buy one every year.

The market is also home to many Polish baked good specialties. This year I

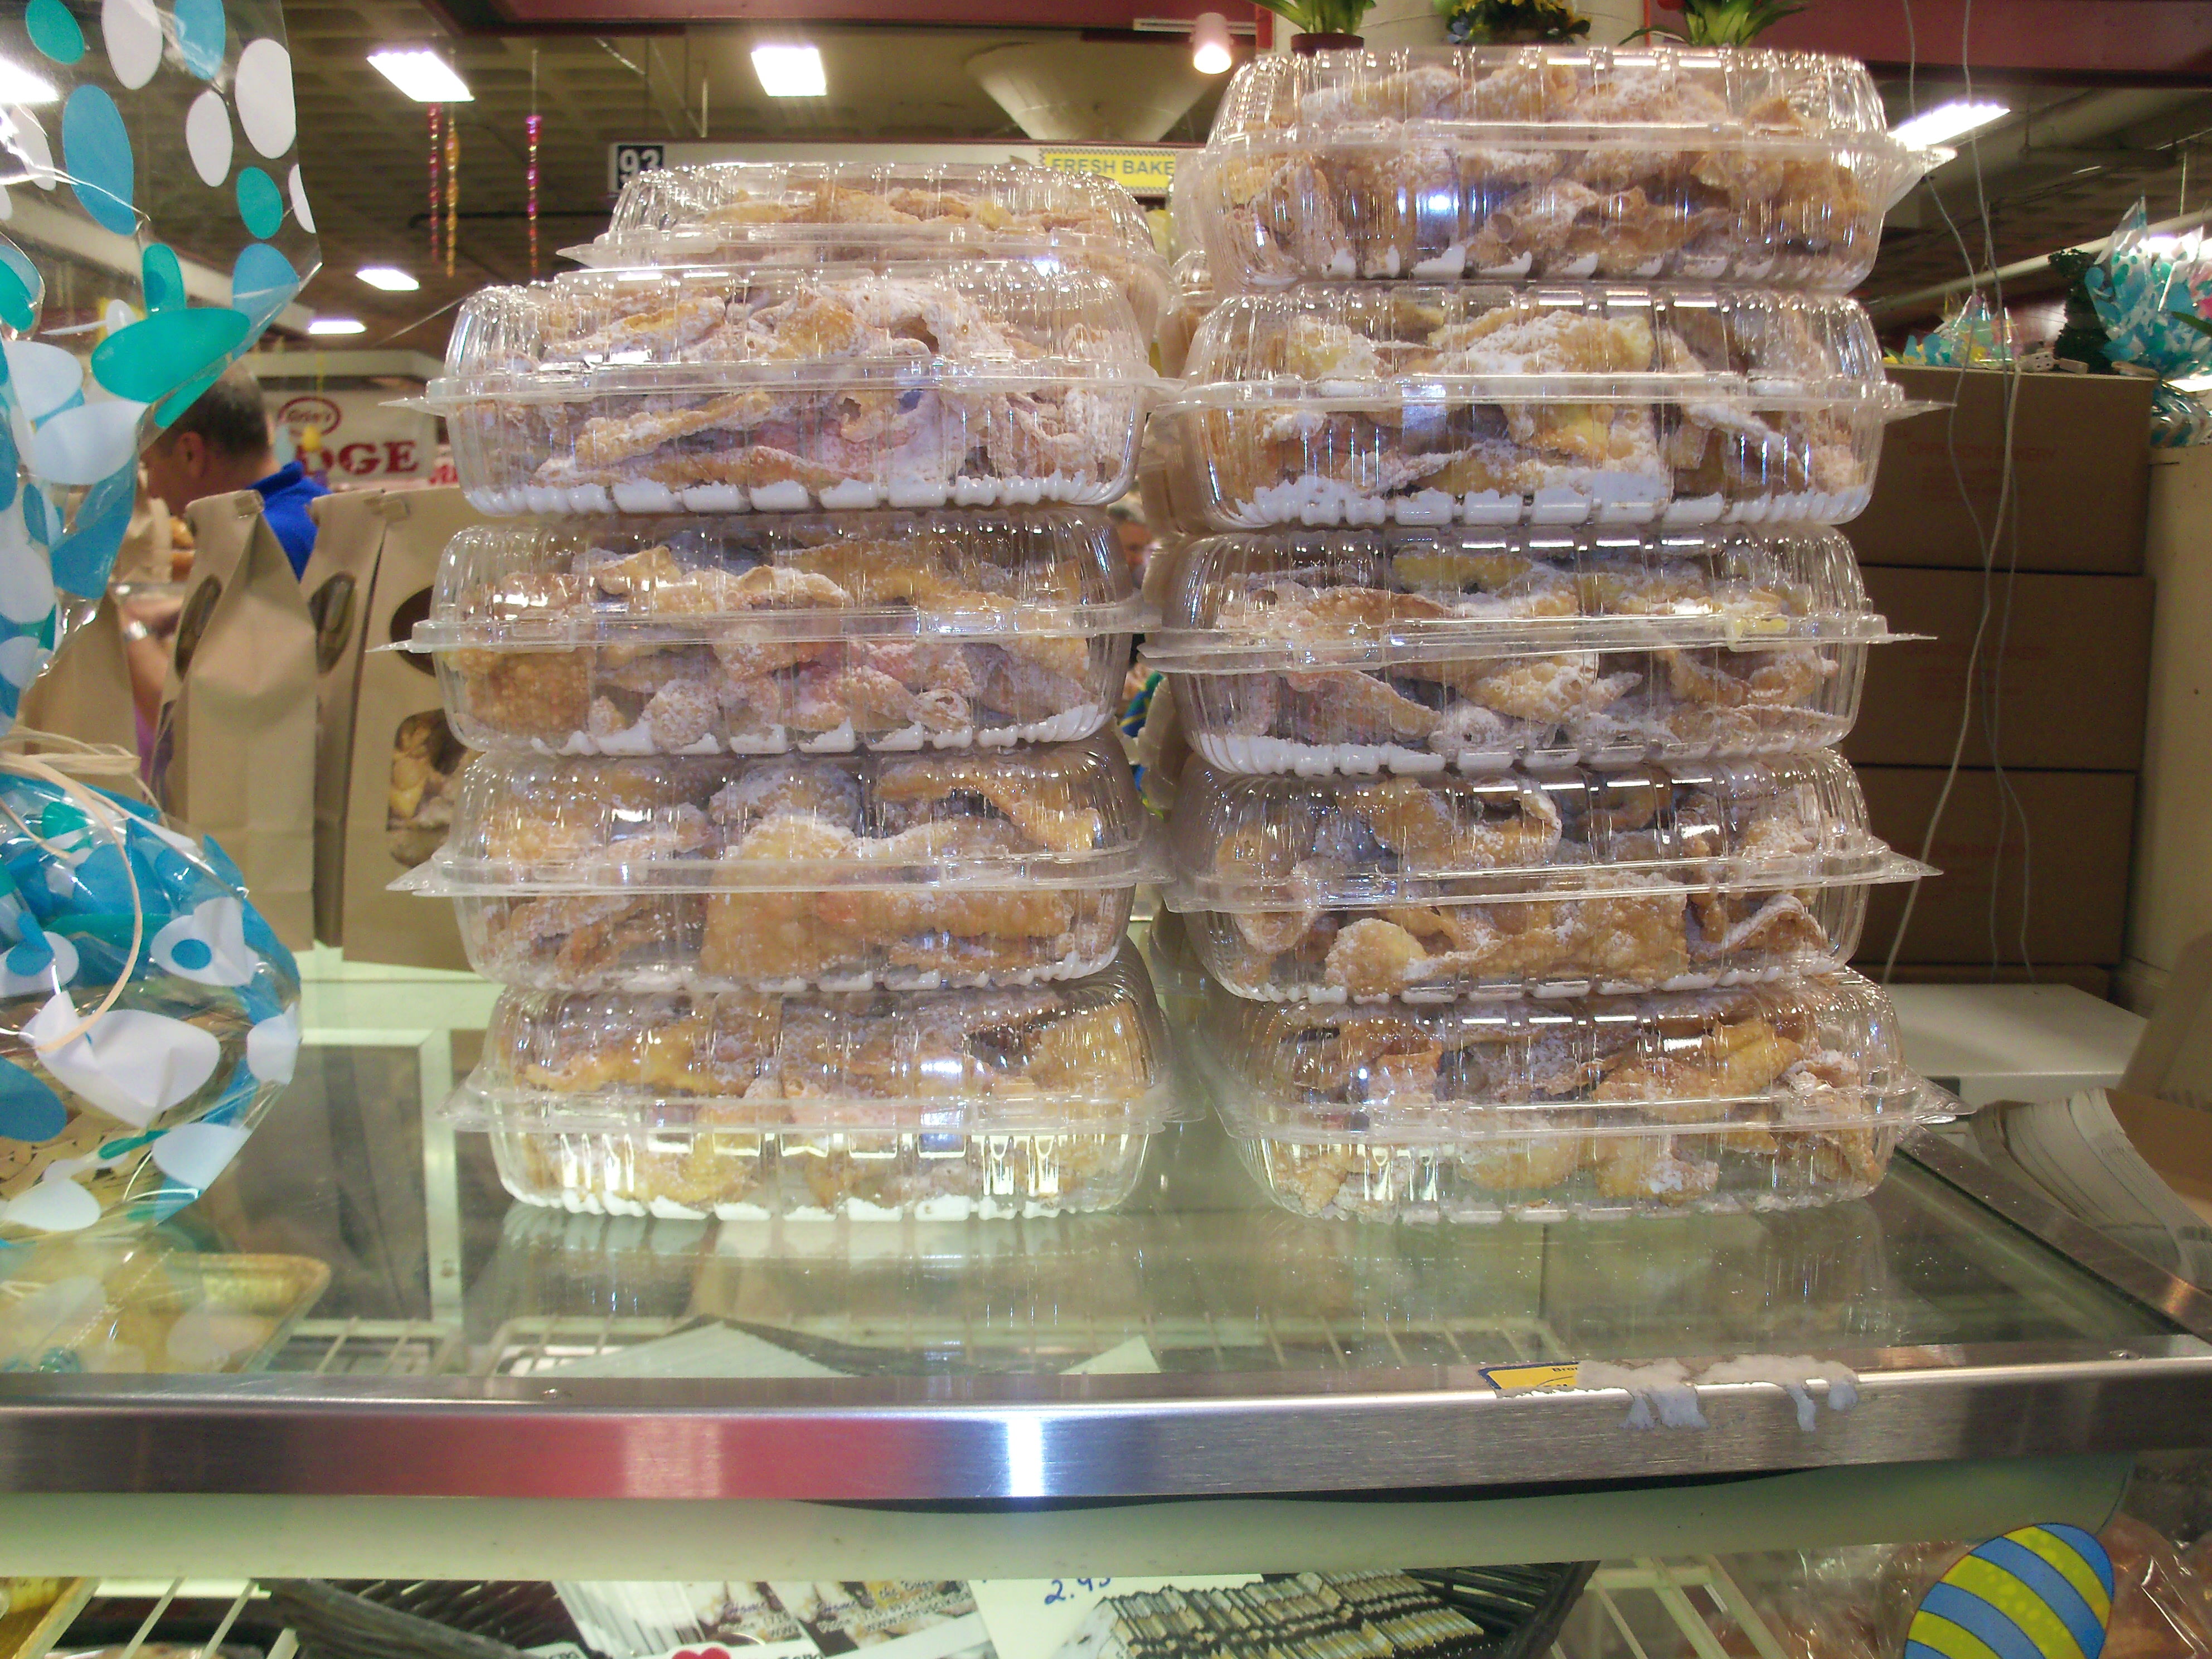
Chrusciki

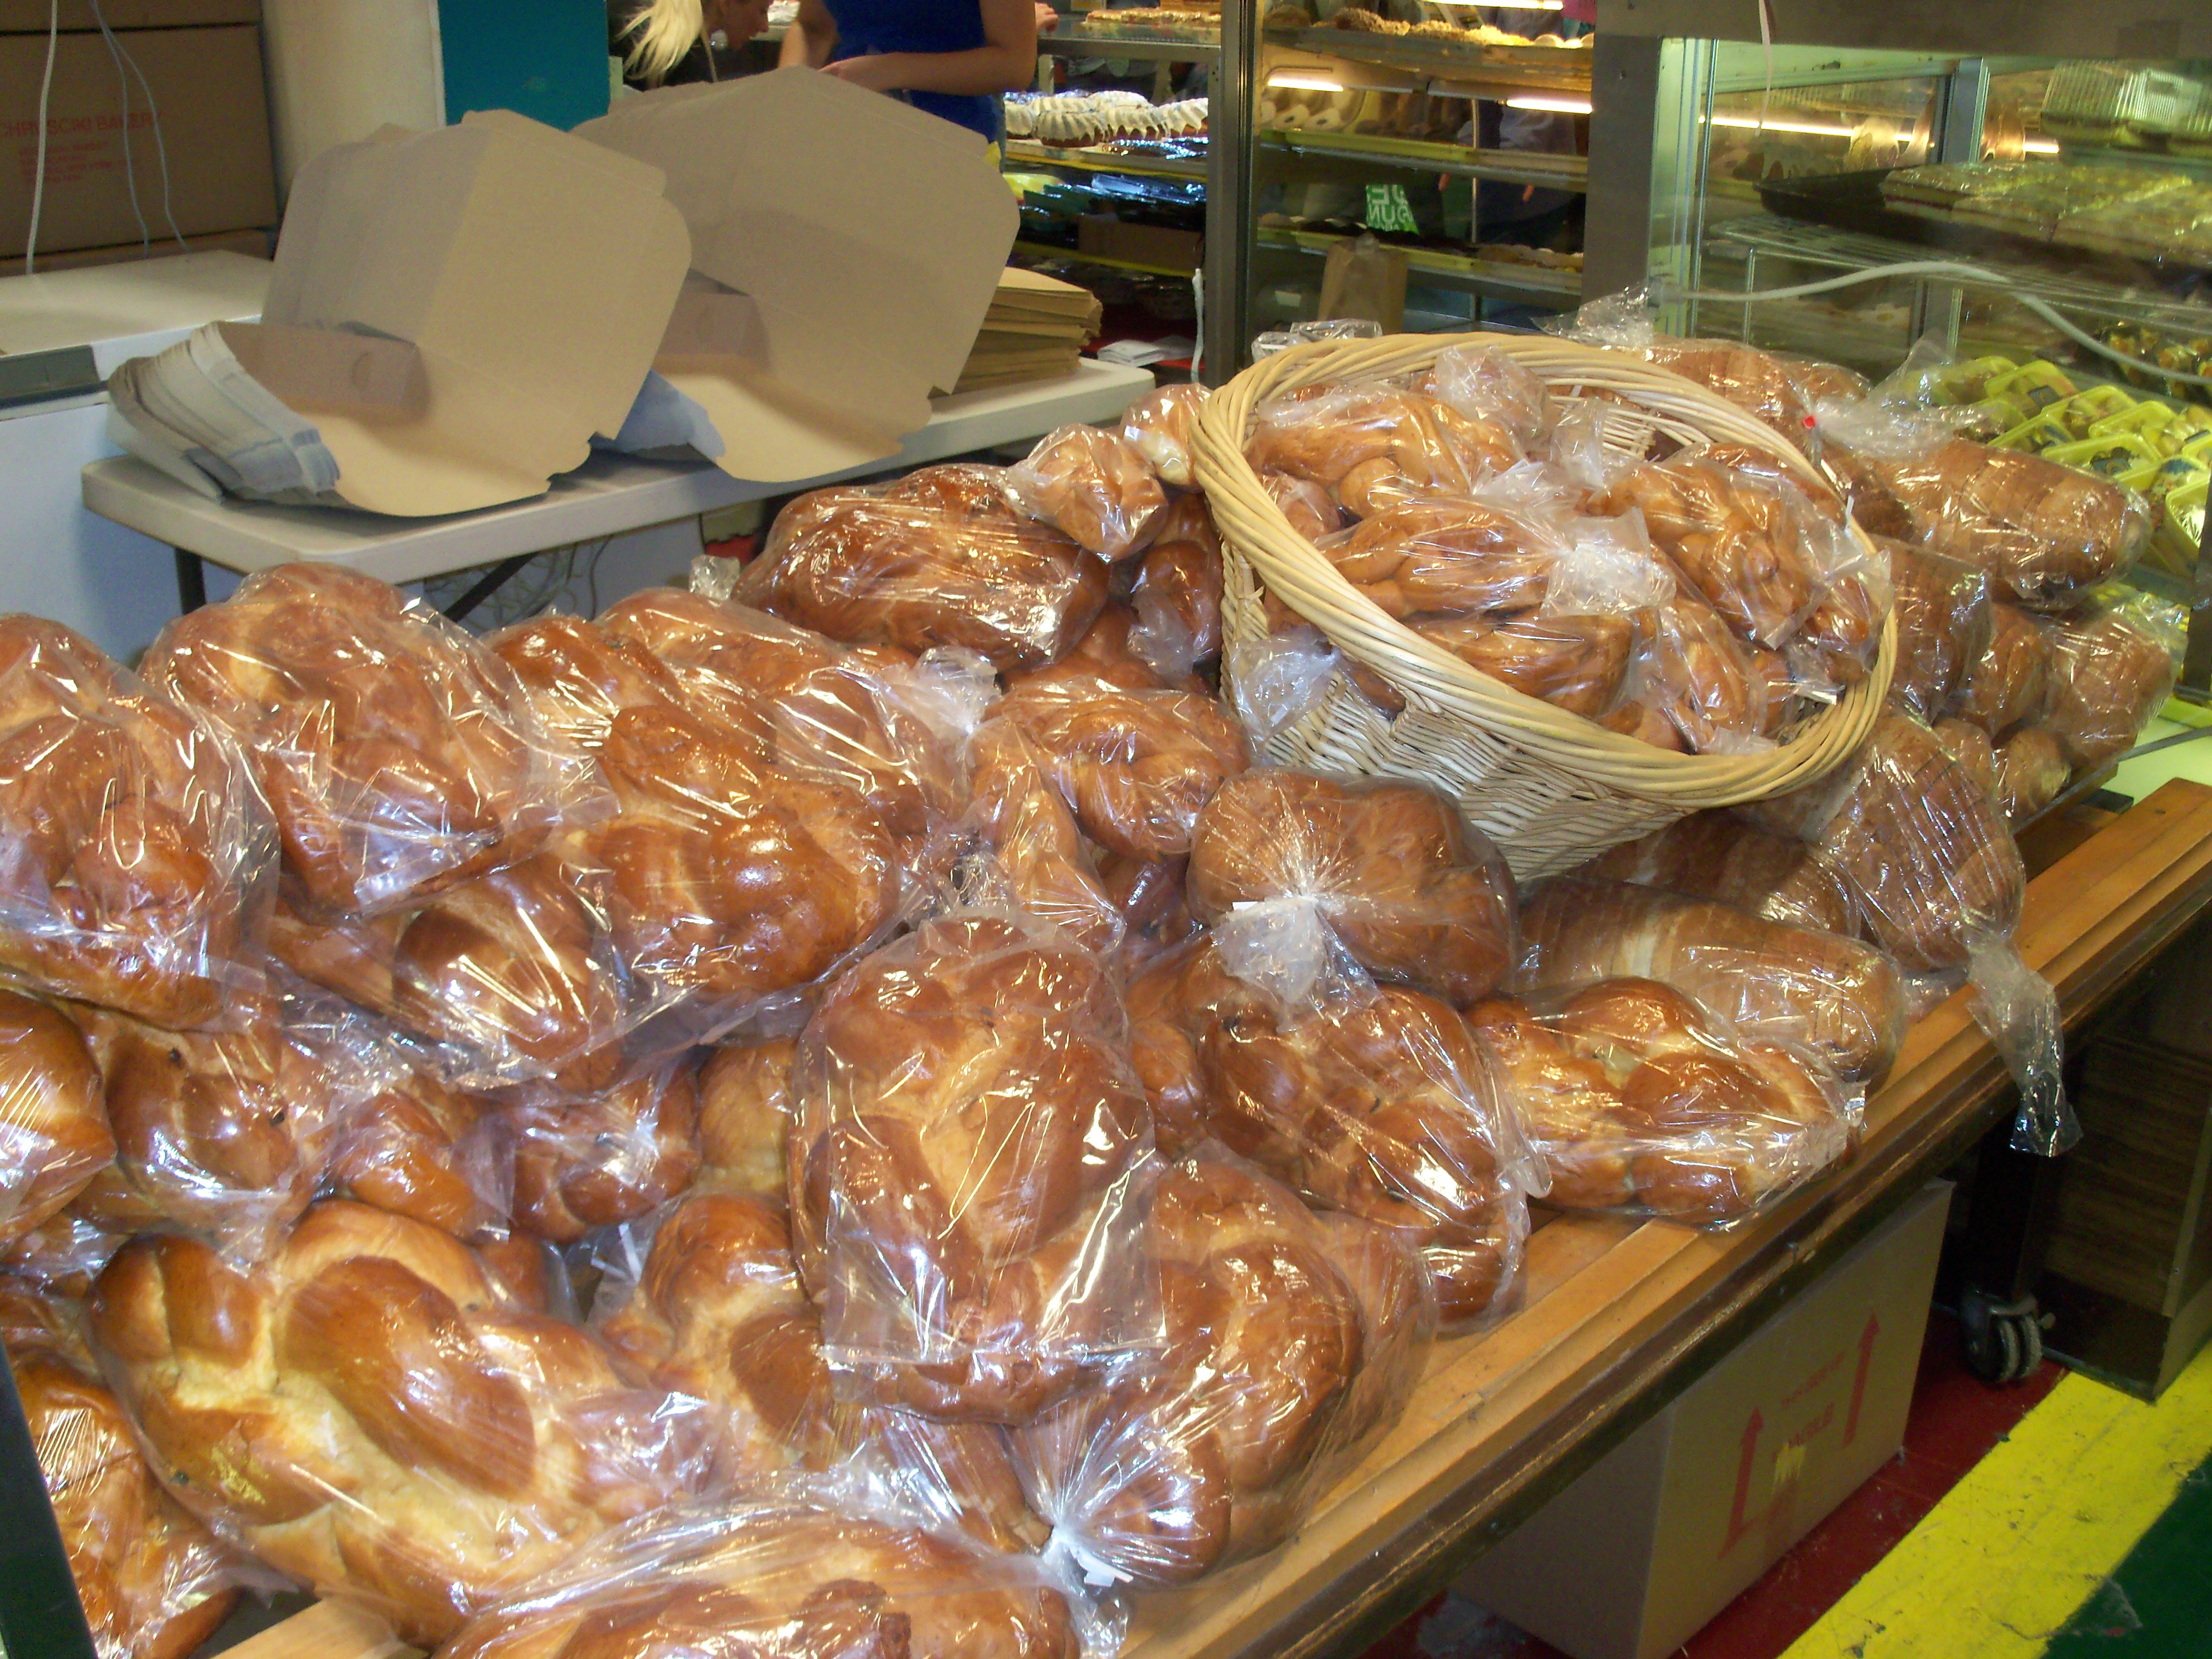
bought some chrusciki – a deep fried dough covered in powdered sugar. There are lots of breads and pastries for sale as well, but it’s hard to maneuver with the lines and crowds of people to get to the counter and place your order.Breads

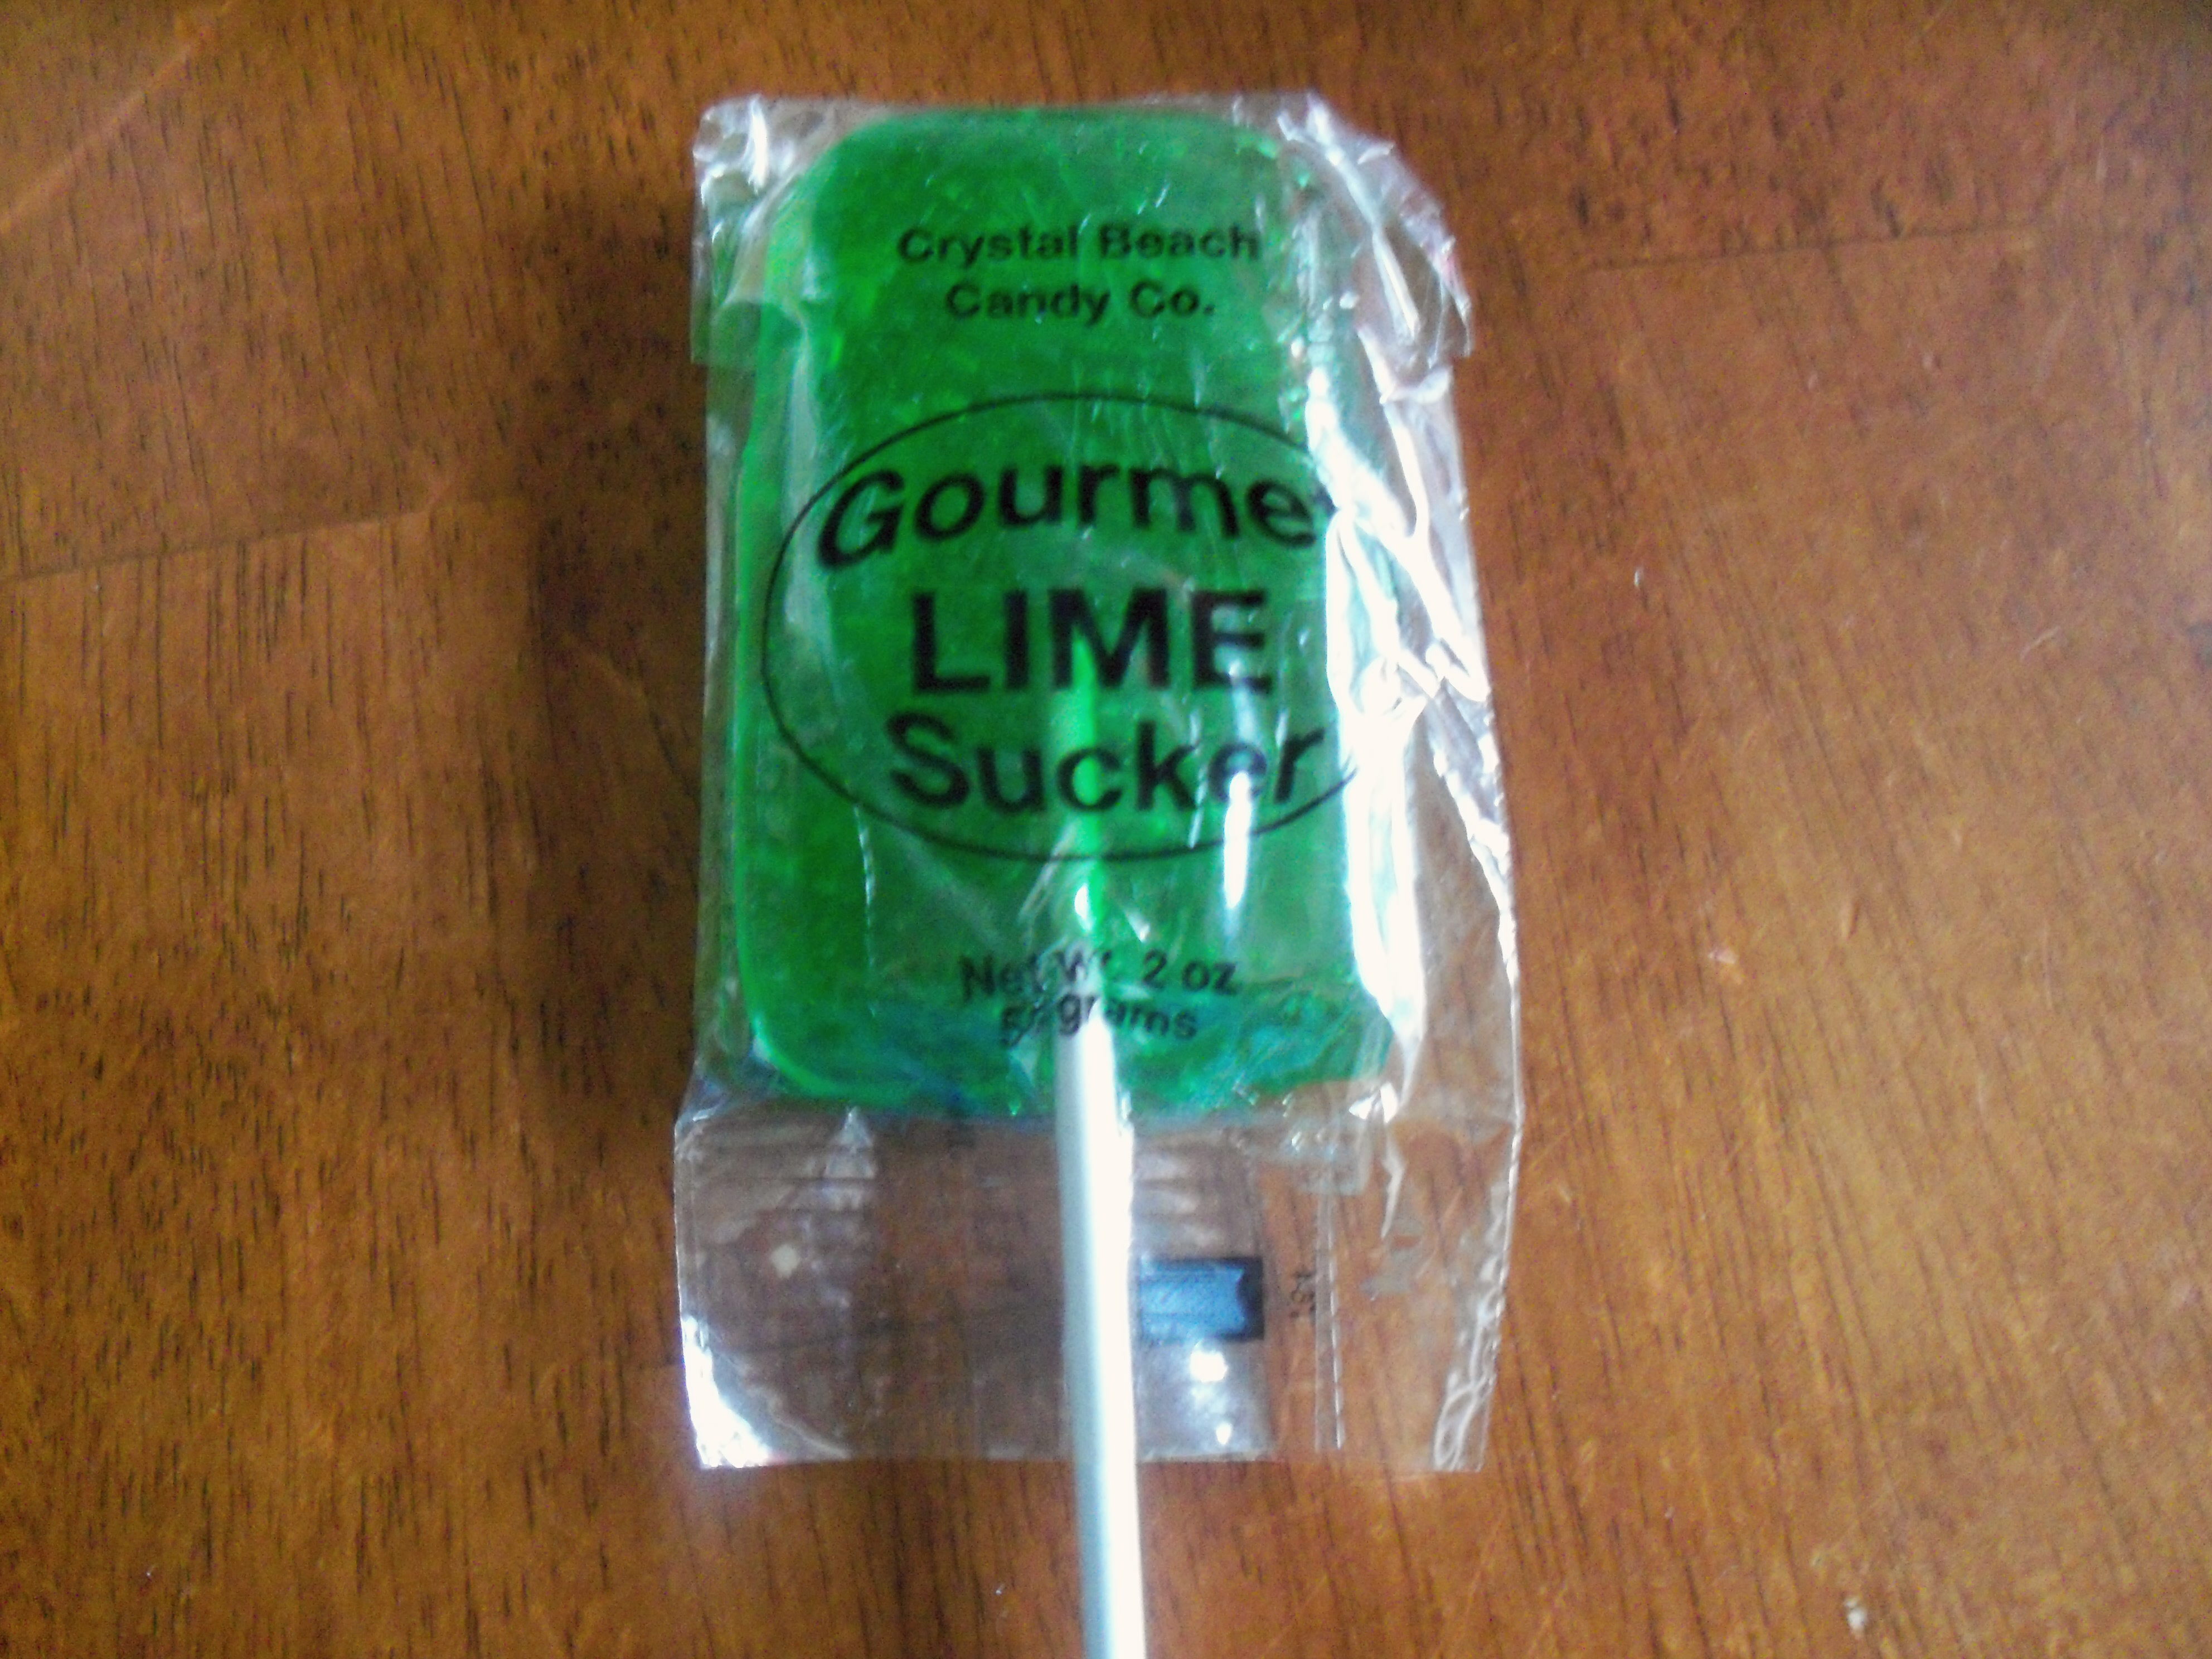
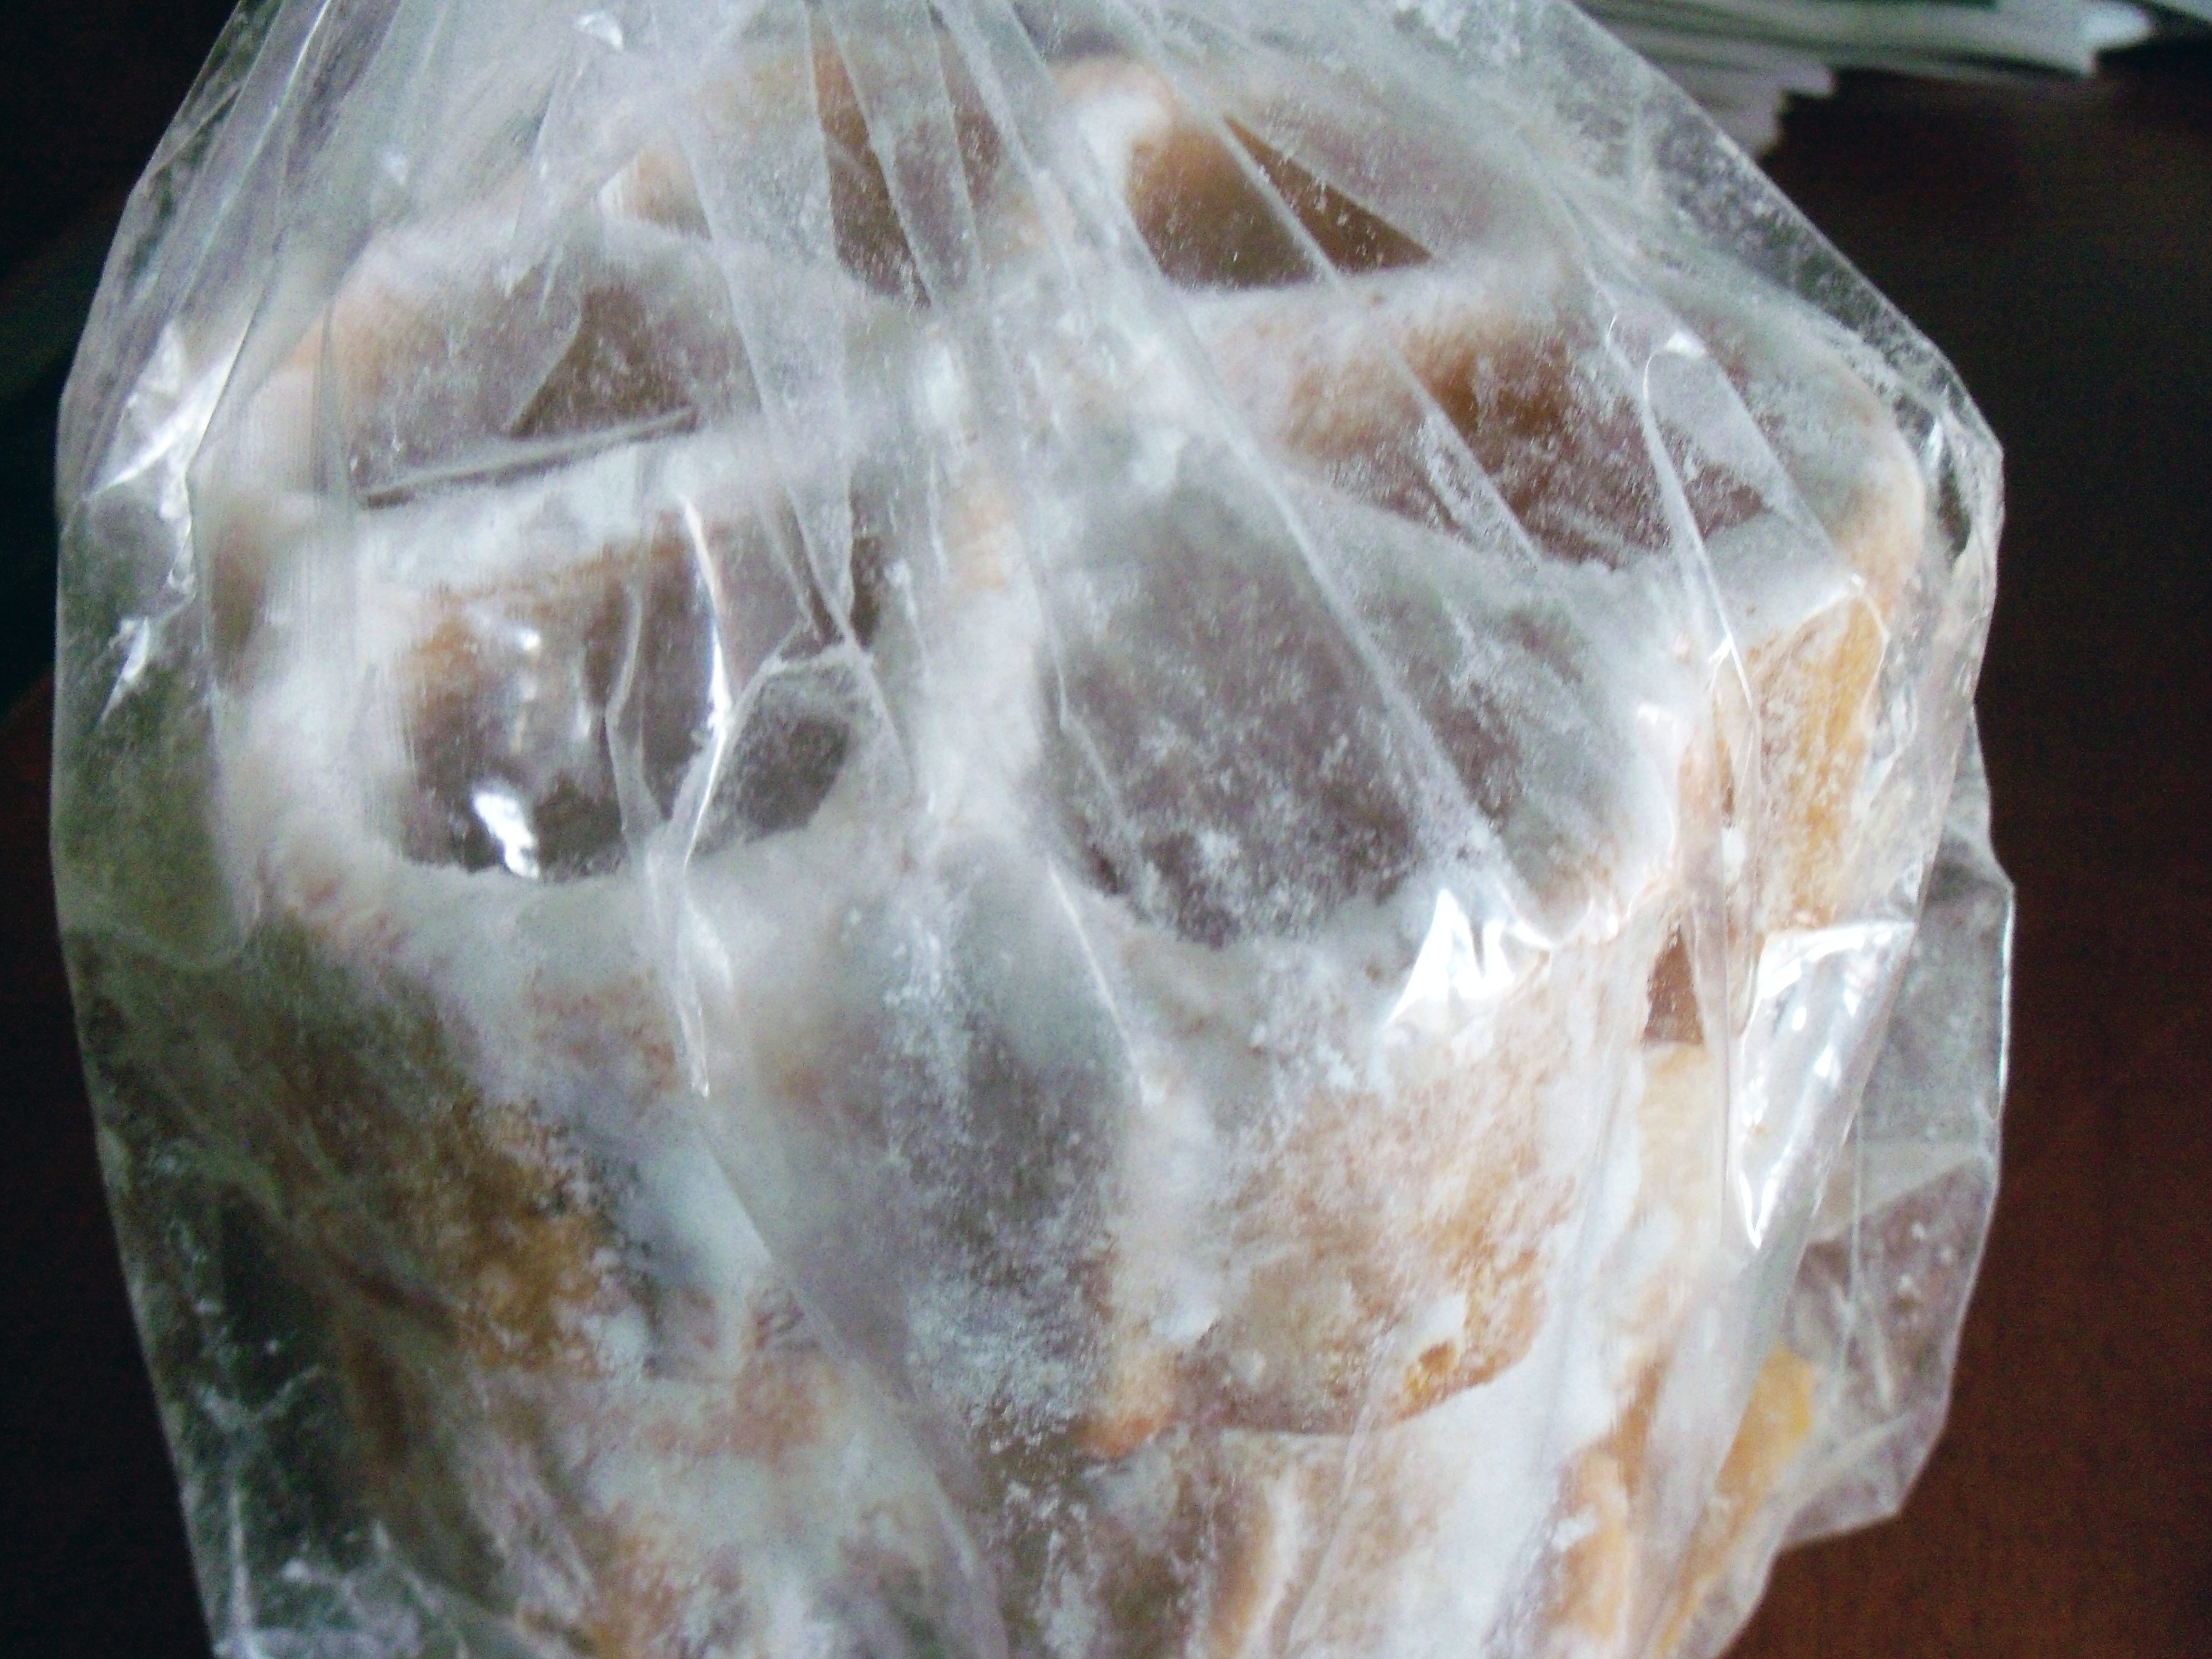
We also usually buy some local specialties, such as Crystal Beach sugar

Crystal Beach sucker

waffles and suckers. Crystal Beach was an amusement park across the border in Canada (now closed) and my dad’s family spent summers there and most people of his age have fond memories of it.  They were also famous for their loganberry drink.

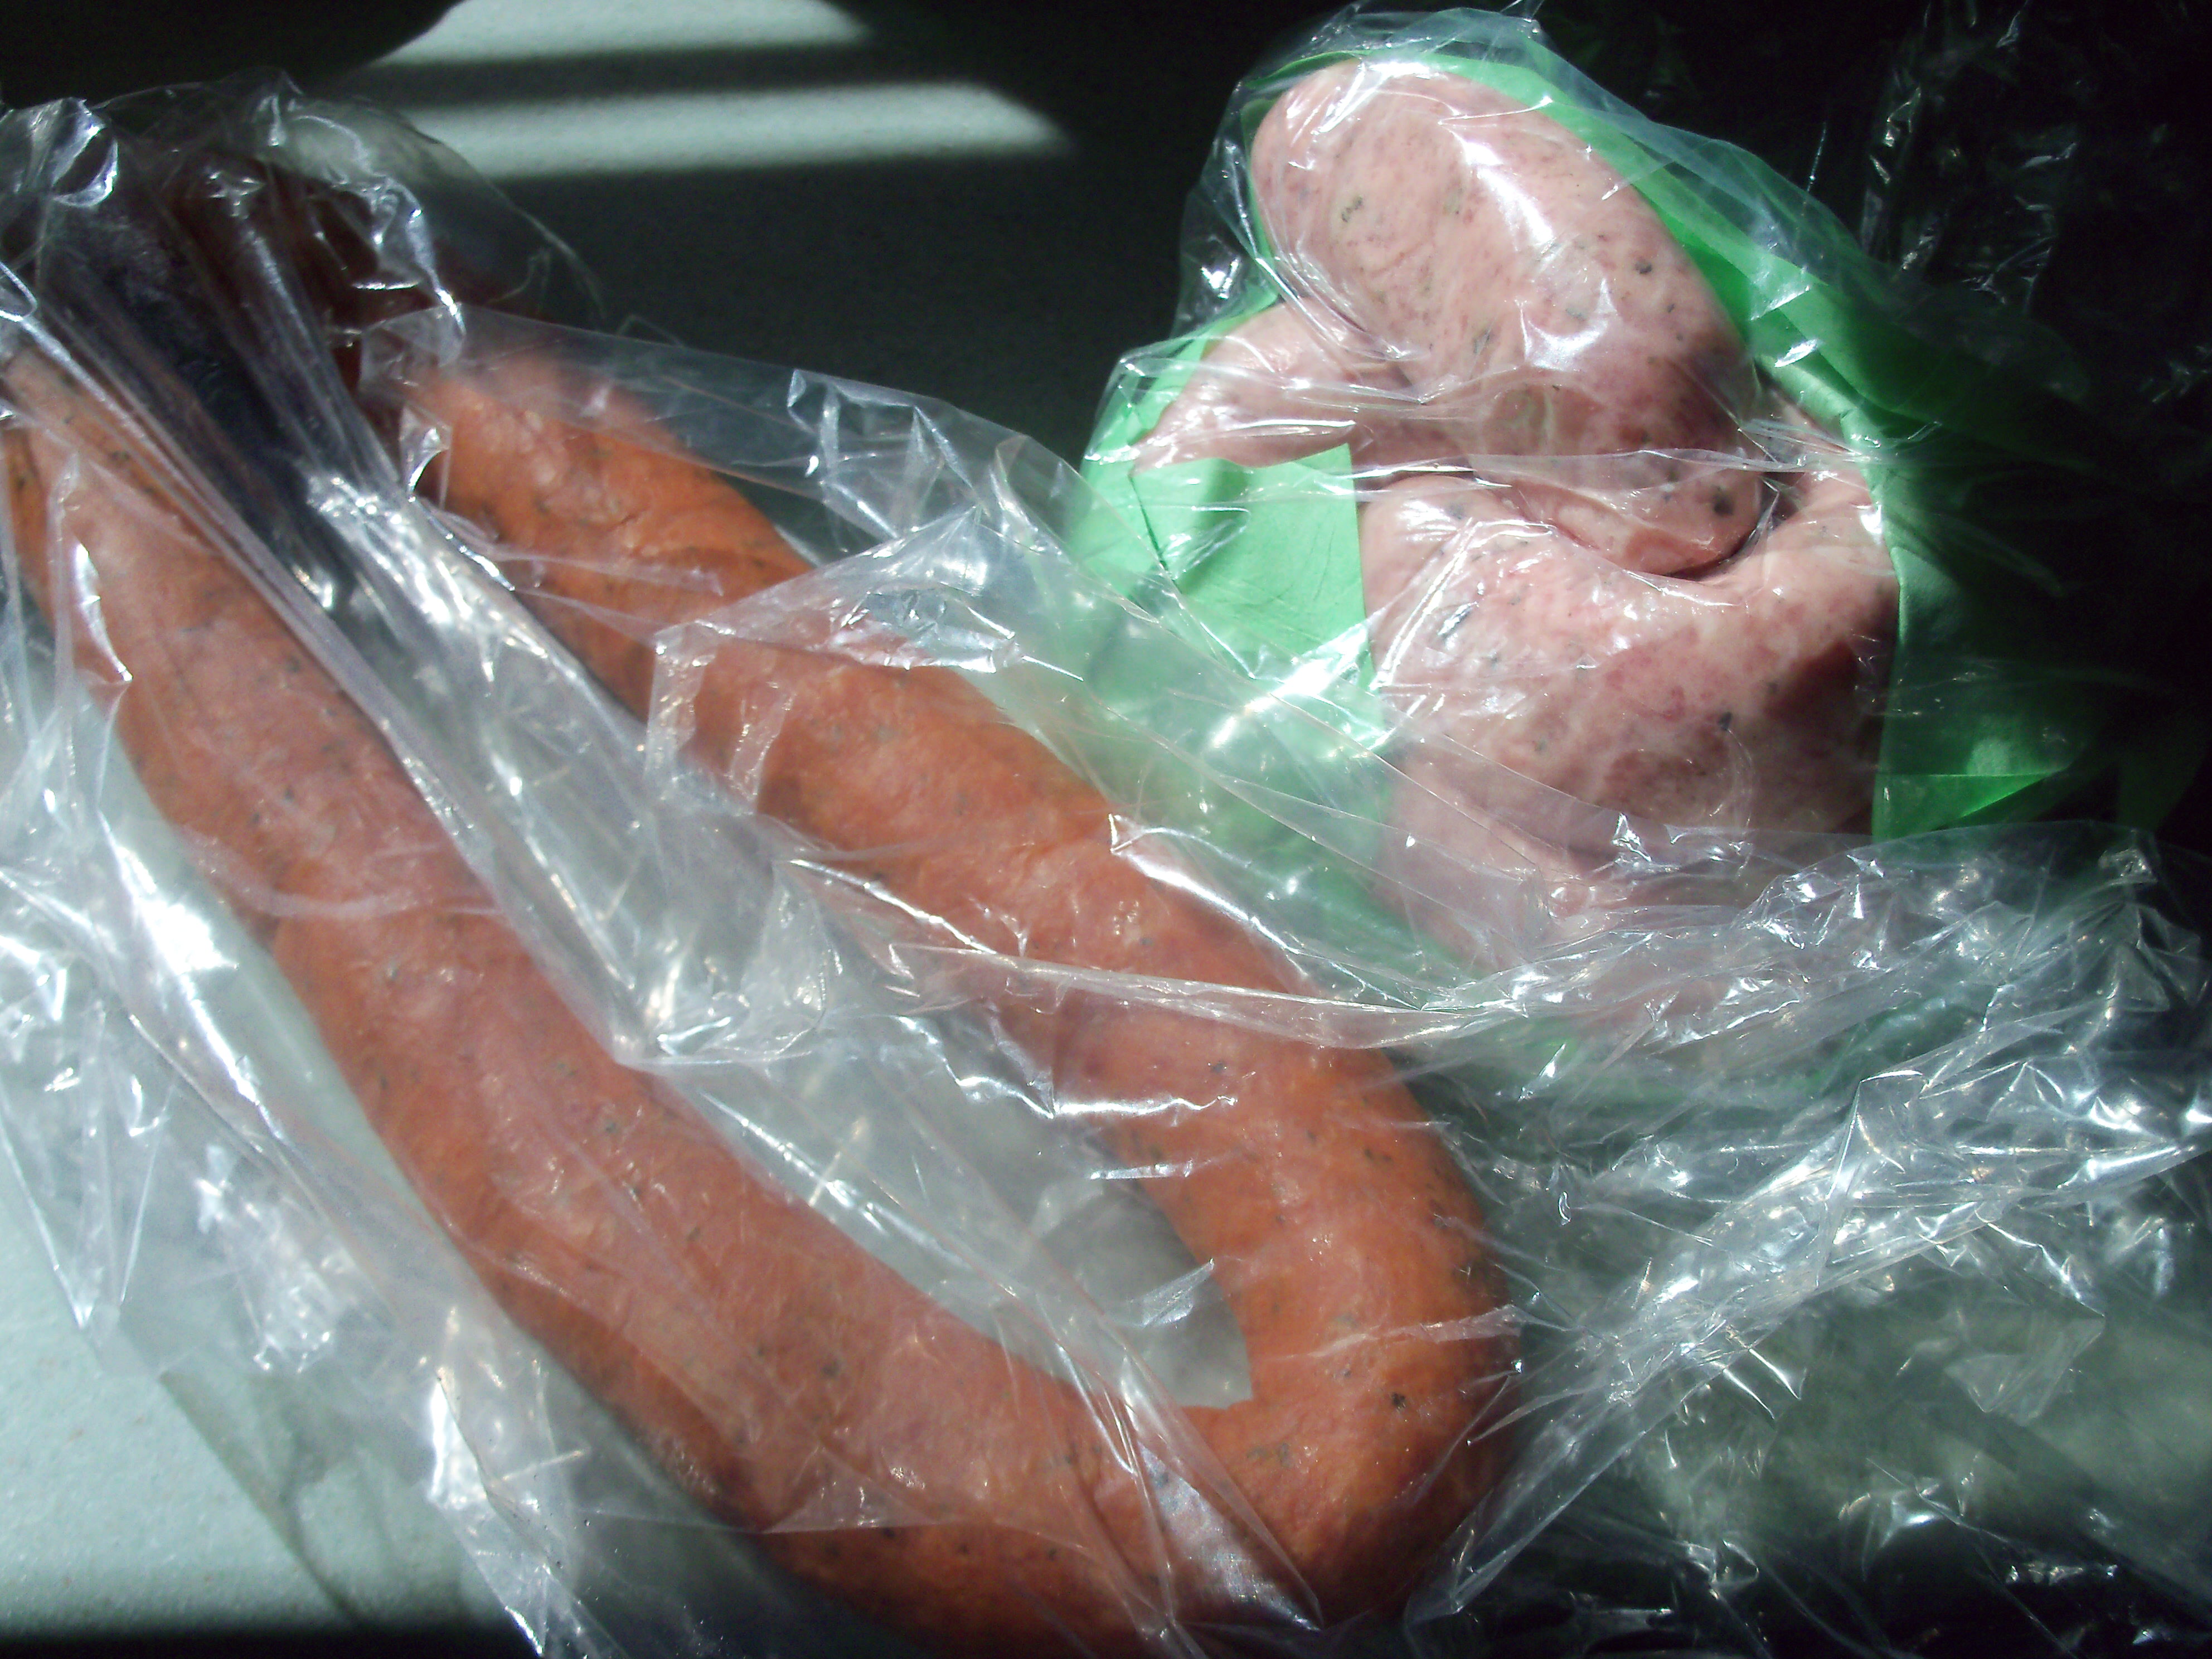
Crystal Beach sugar wafflesThe market is also famous for its holiday meats. Polish sausage is a popular item, as well as hams. Another food you can find everywhere is pierogis – dumplings stuffed with potato, cheese, onion, or other combinations. I have to admit I’m not a fan of the pierogi, mostly because I find it weird to have a dumpling filled with potato ( I don’t like knishes for the same reason).

Smoked and regular Polish sausage

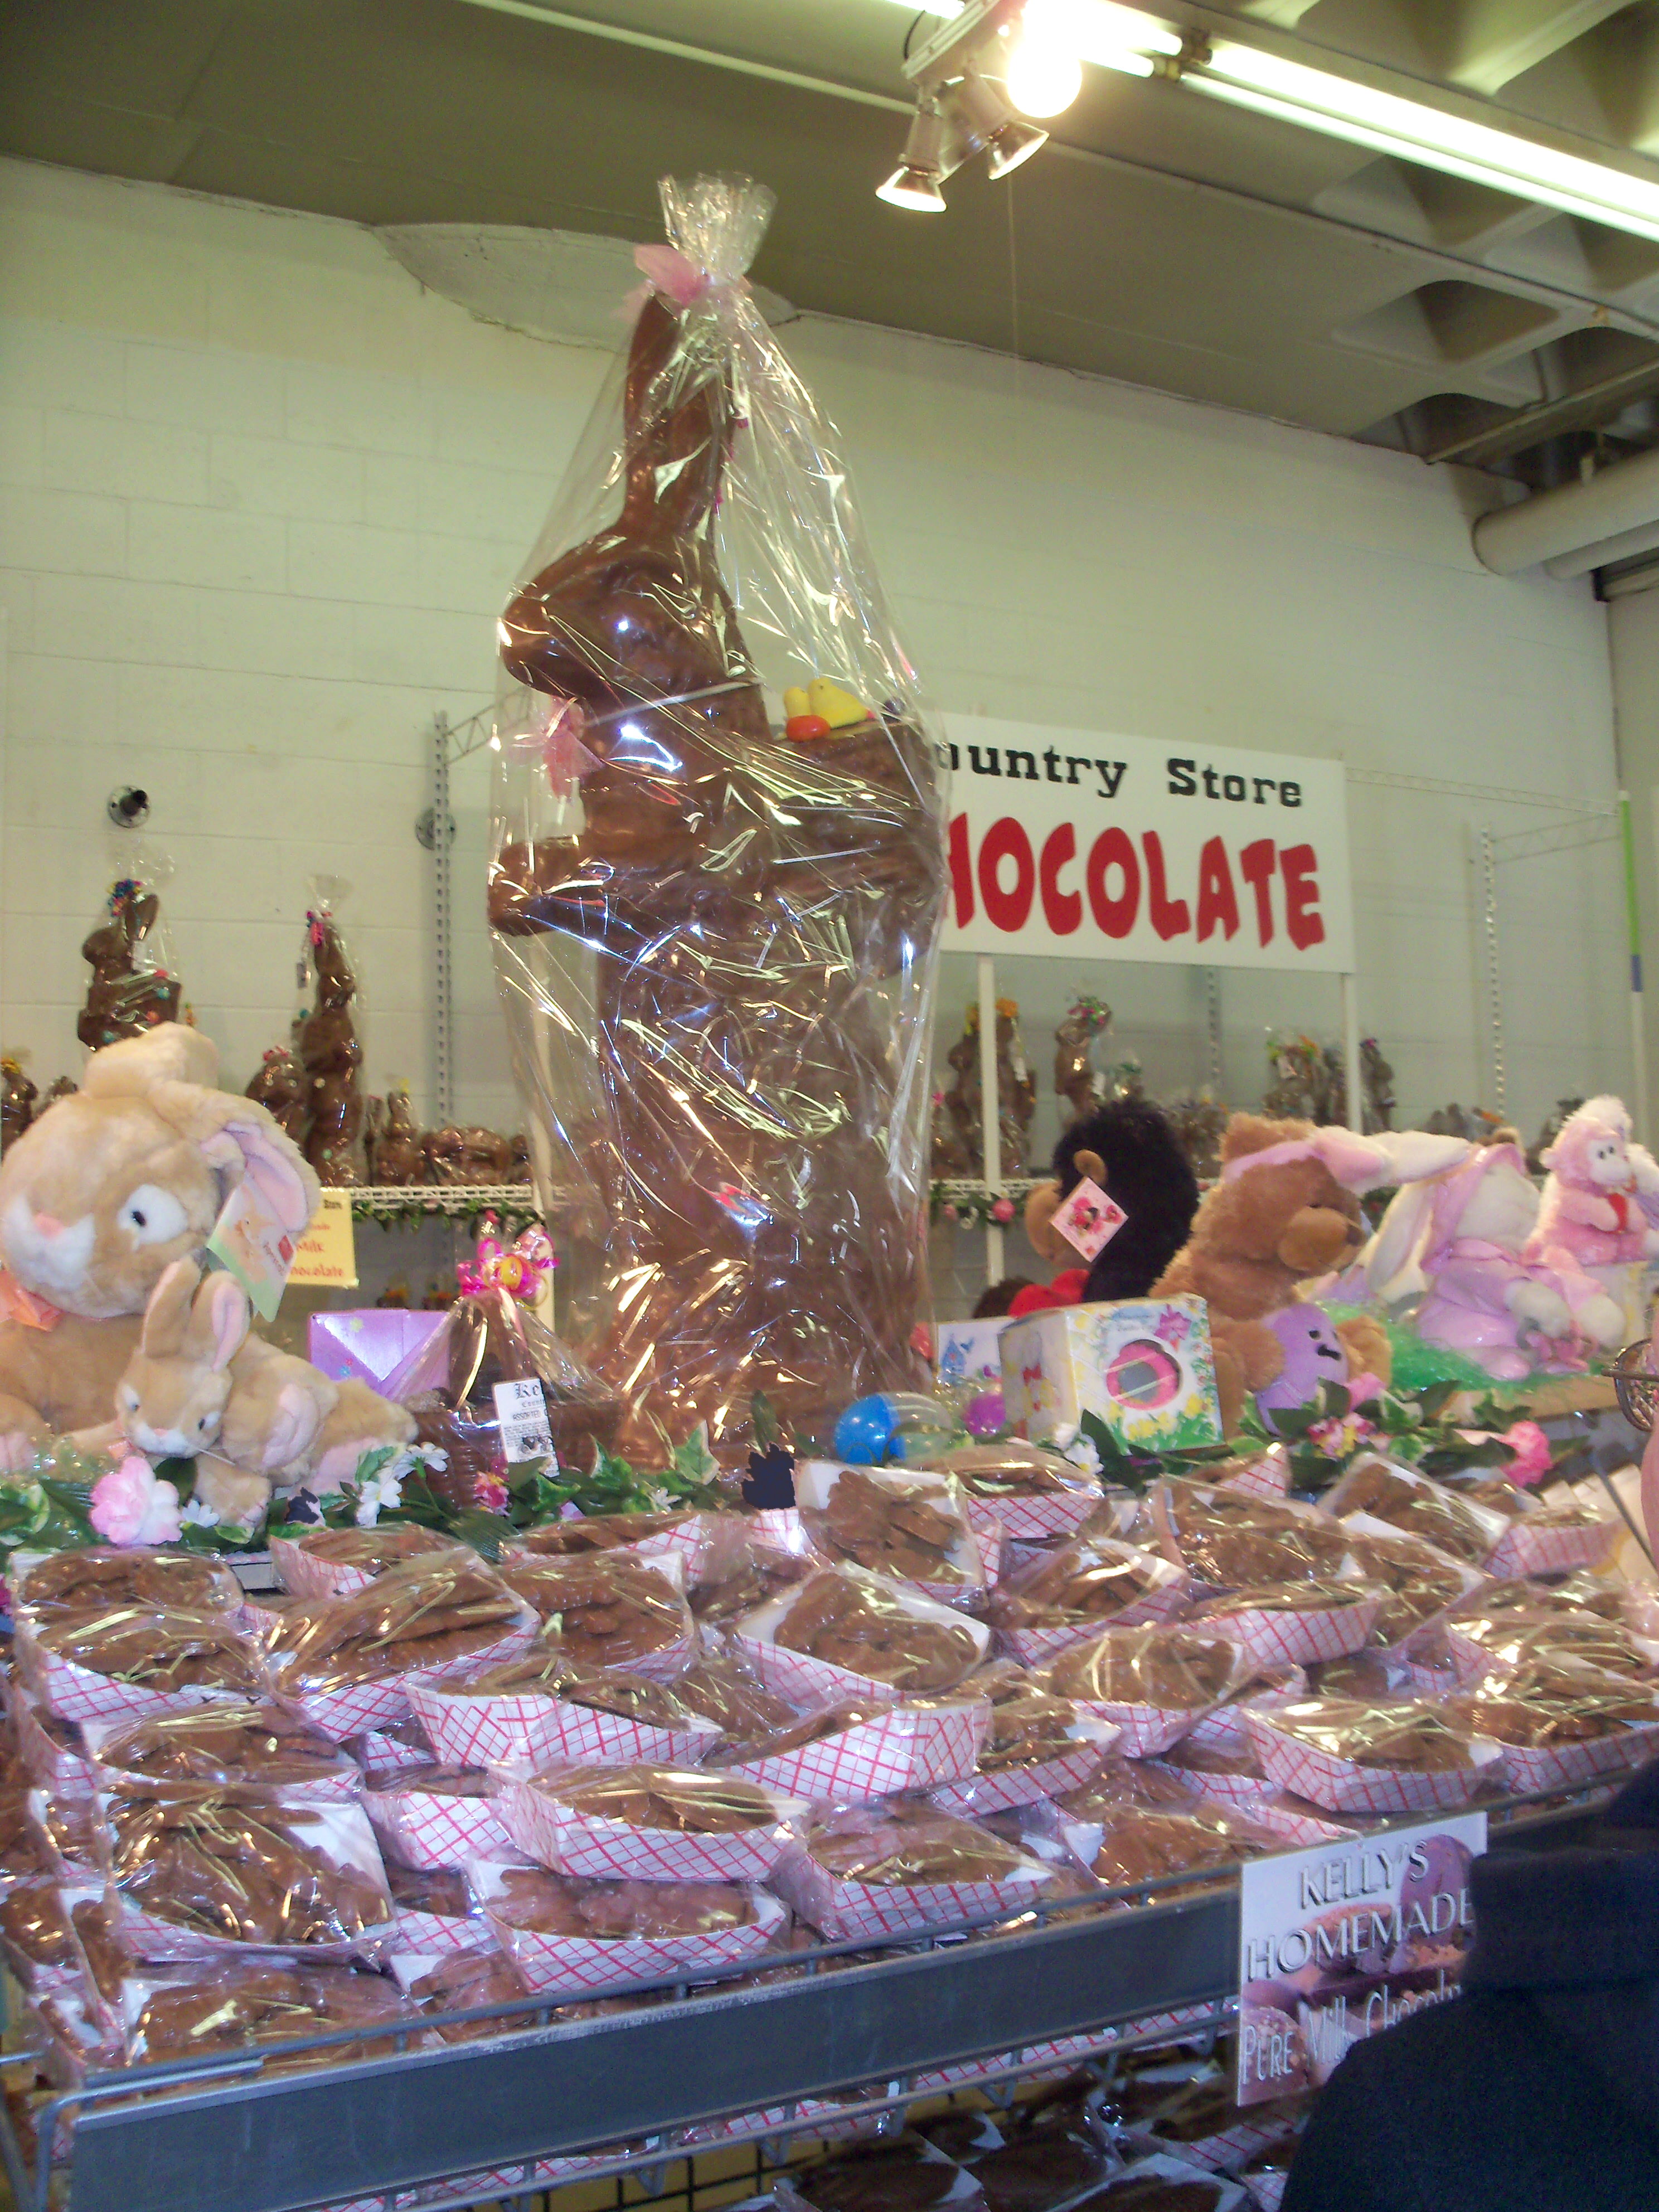
It wouldn’t be Easter without candy, so there are lots of candy bunnies for sale, as well as jelly beans, chocolate bark, chocolate covered apples, and more.

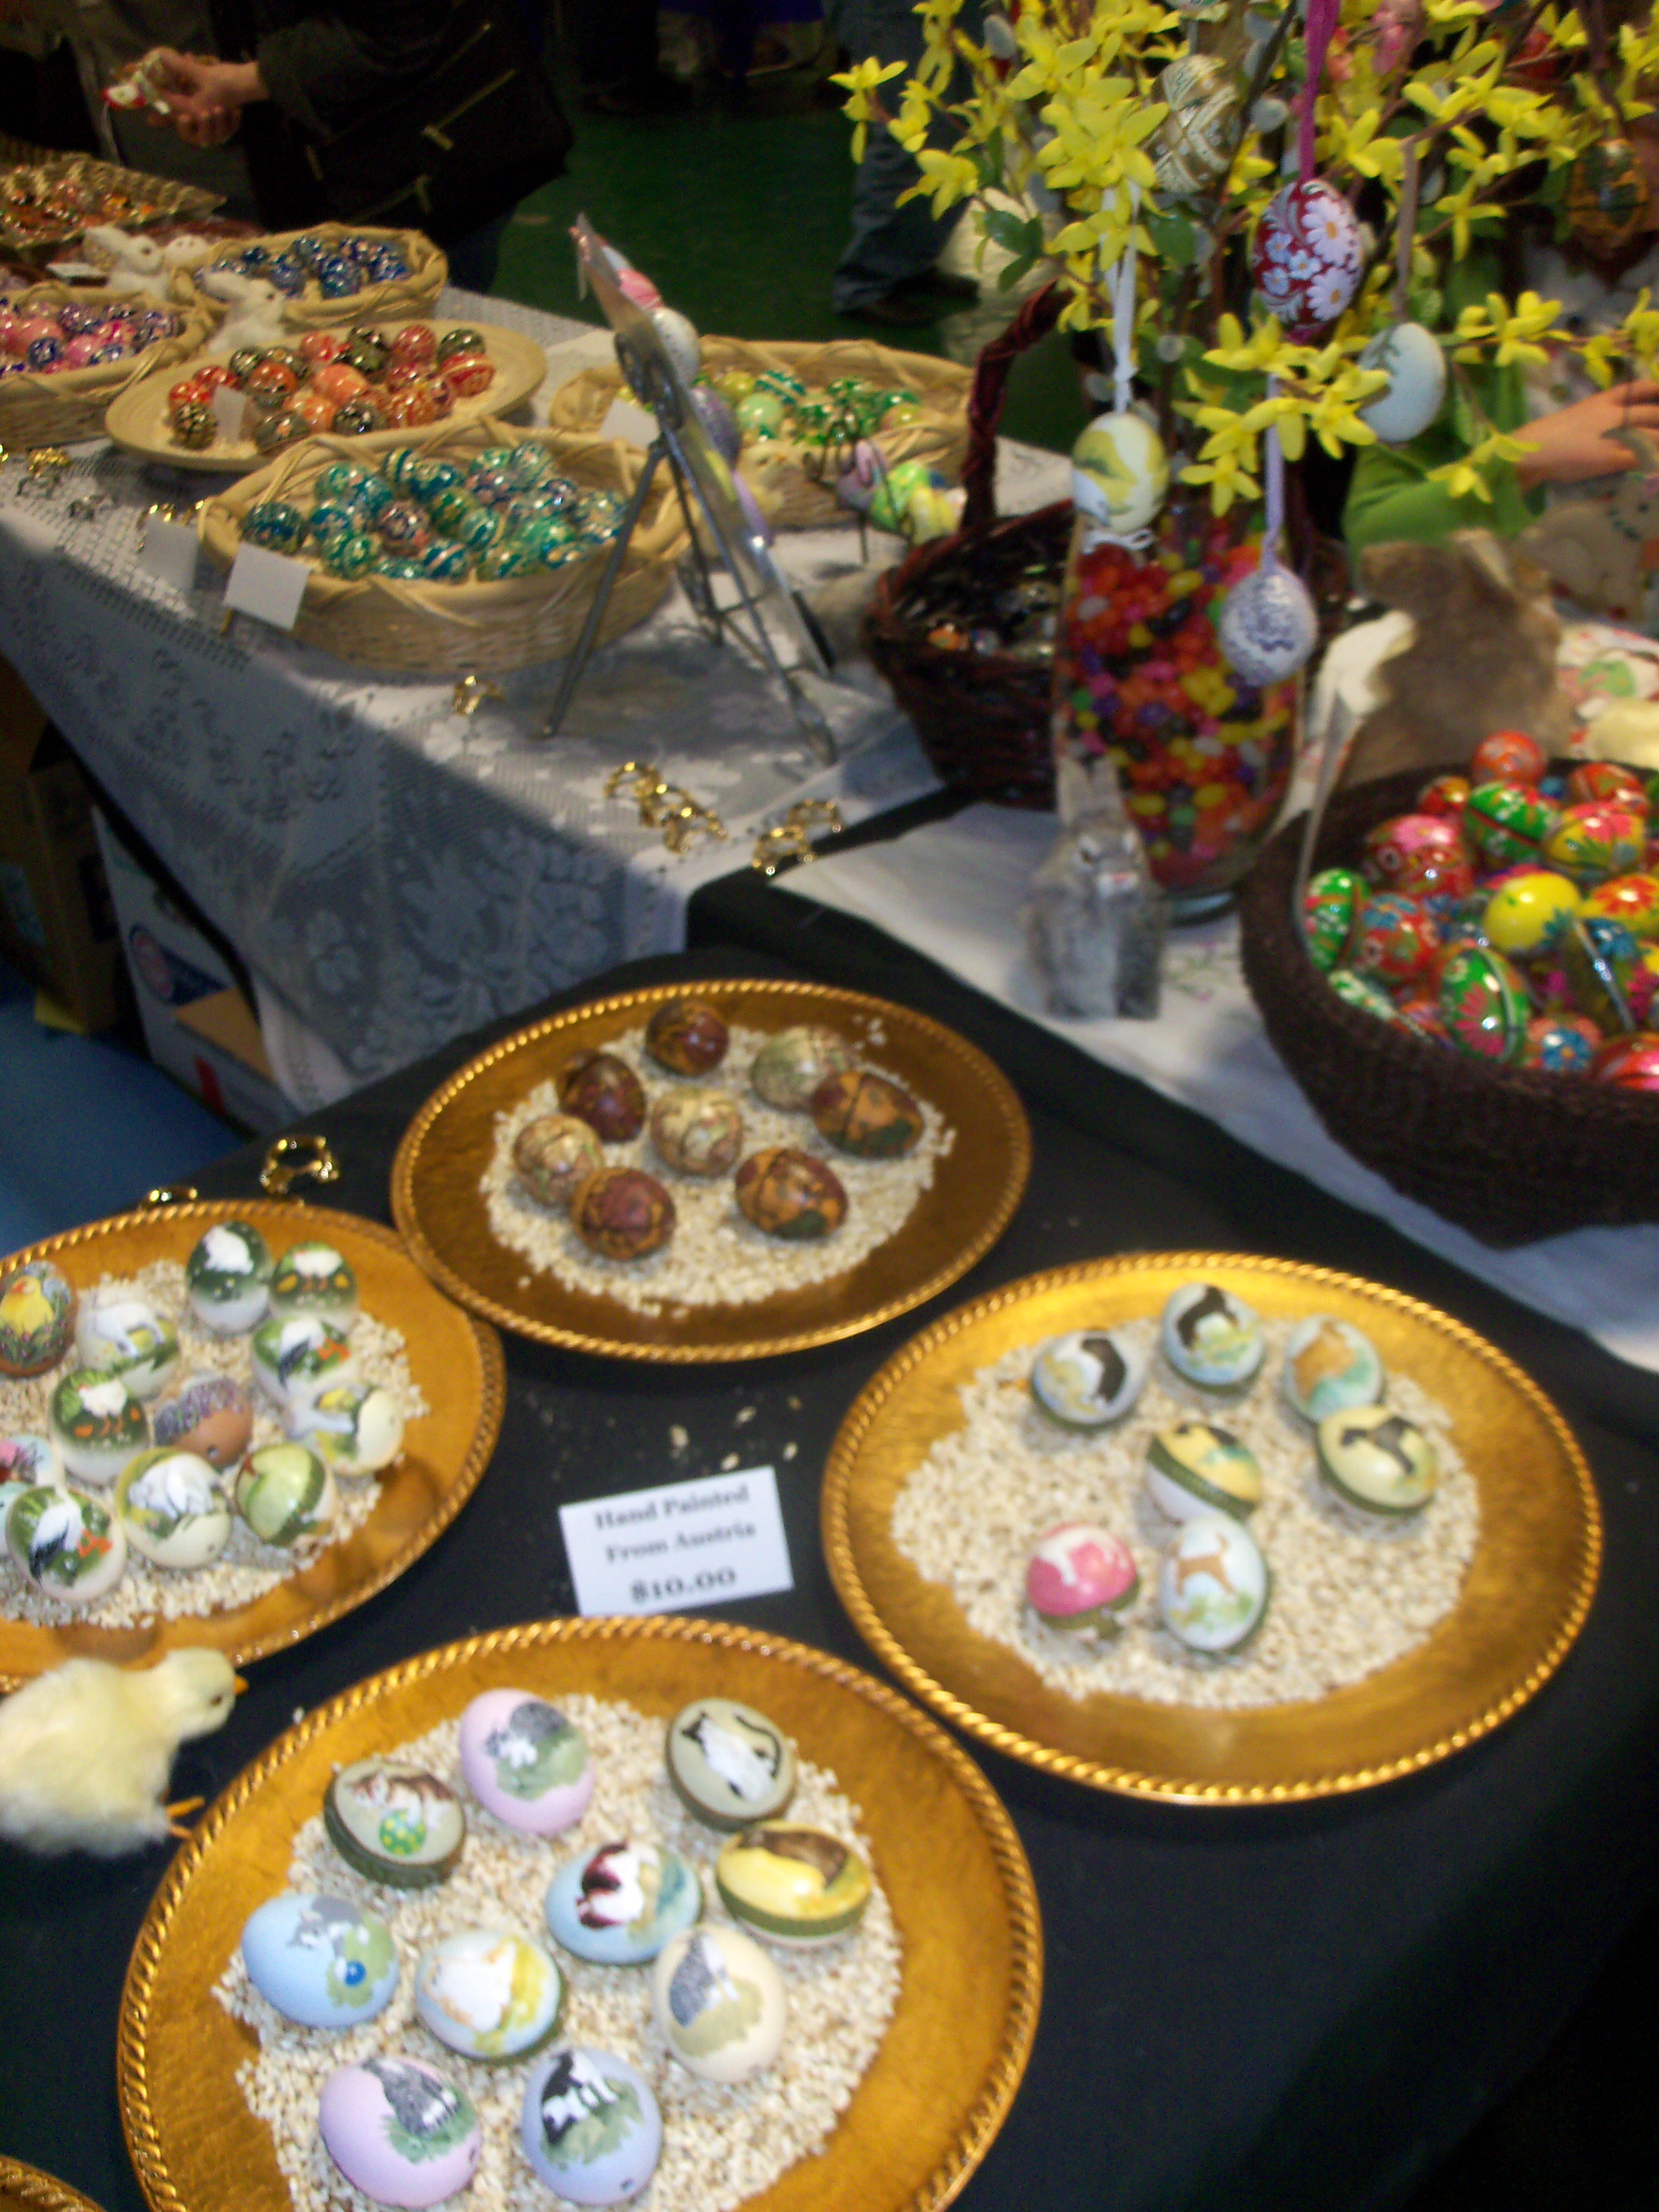
While the food that is available is pretty amazing, the market also has lots of Easter eggs for sale, many made in Poland, Russian, or Austria. They come in every design imaginable, as well as every color. For about $10 each, they are a nice souvenir to take home. If you’re ever in Buffalo at Easter, I urge you to visit this landmark market.

Candy

Easter eggs

Bookmark and Share

We made an excursion to The Broadway Market, a market in downtown Buffalo that is a traditional place to visit during the Easter season. It struck me as something Martha would enjoy, so I snapped some photos and thought I would share the experience. The market is open year round, but the Easter and Christmas … Read more

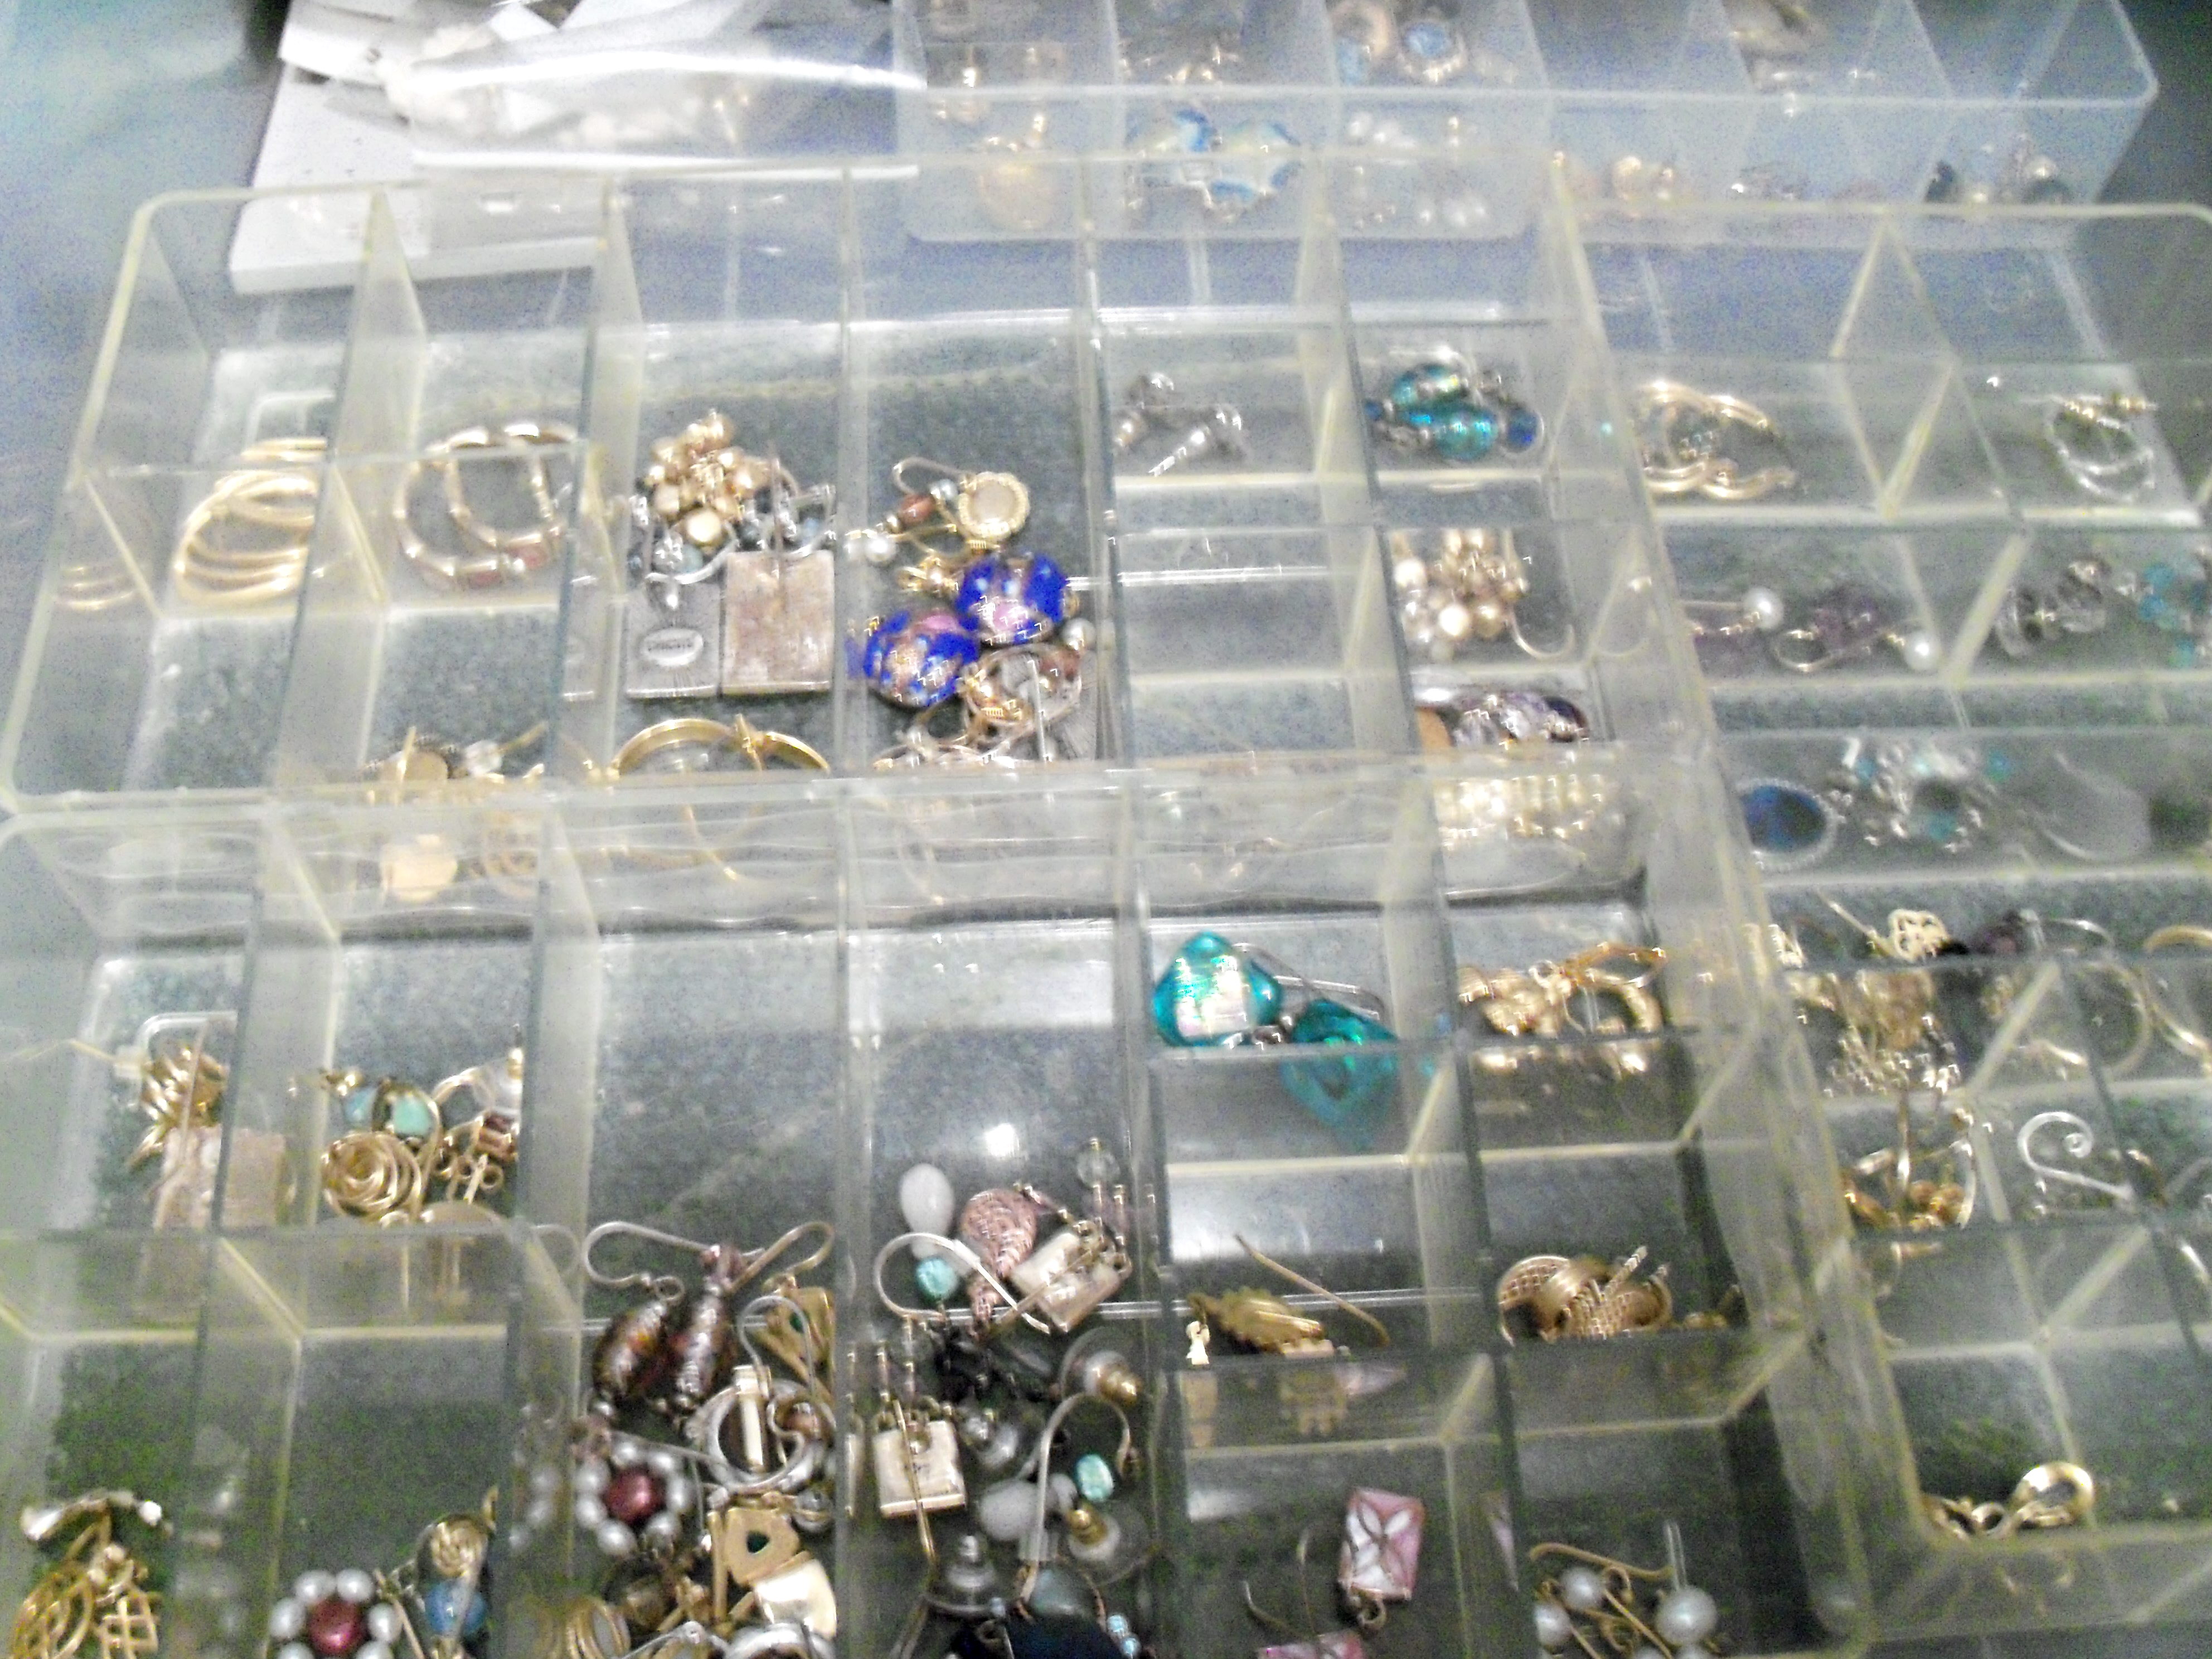
Thanks to Sara at Sassy Suppers for choosing this week’s project – earring storage in a paint palette from March Martha Stewart Living (pg 48). I thought I had a paint palette my kids used to use for painting, but I couldn’t find it, so I thought I would show you how I store my earrings. I have plastic cases with little cube dividers like you might find for fishing tackle or for hardware like nails or screws. I put one or two pairs in each space and this keeps them together and makes it easy to find them. If I were more organized, I would arrange them by color, but I’m not!

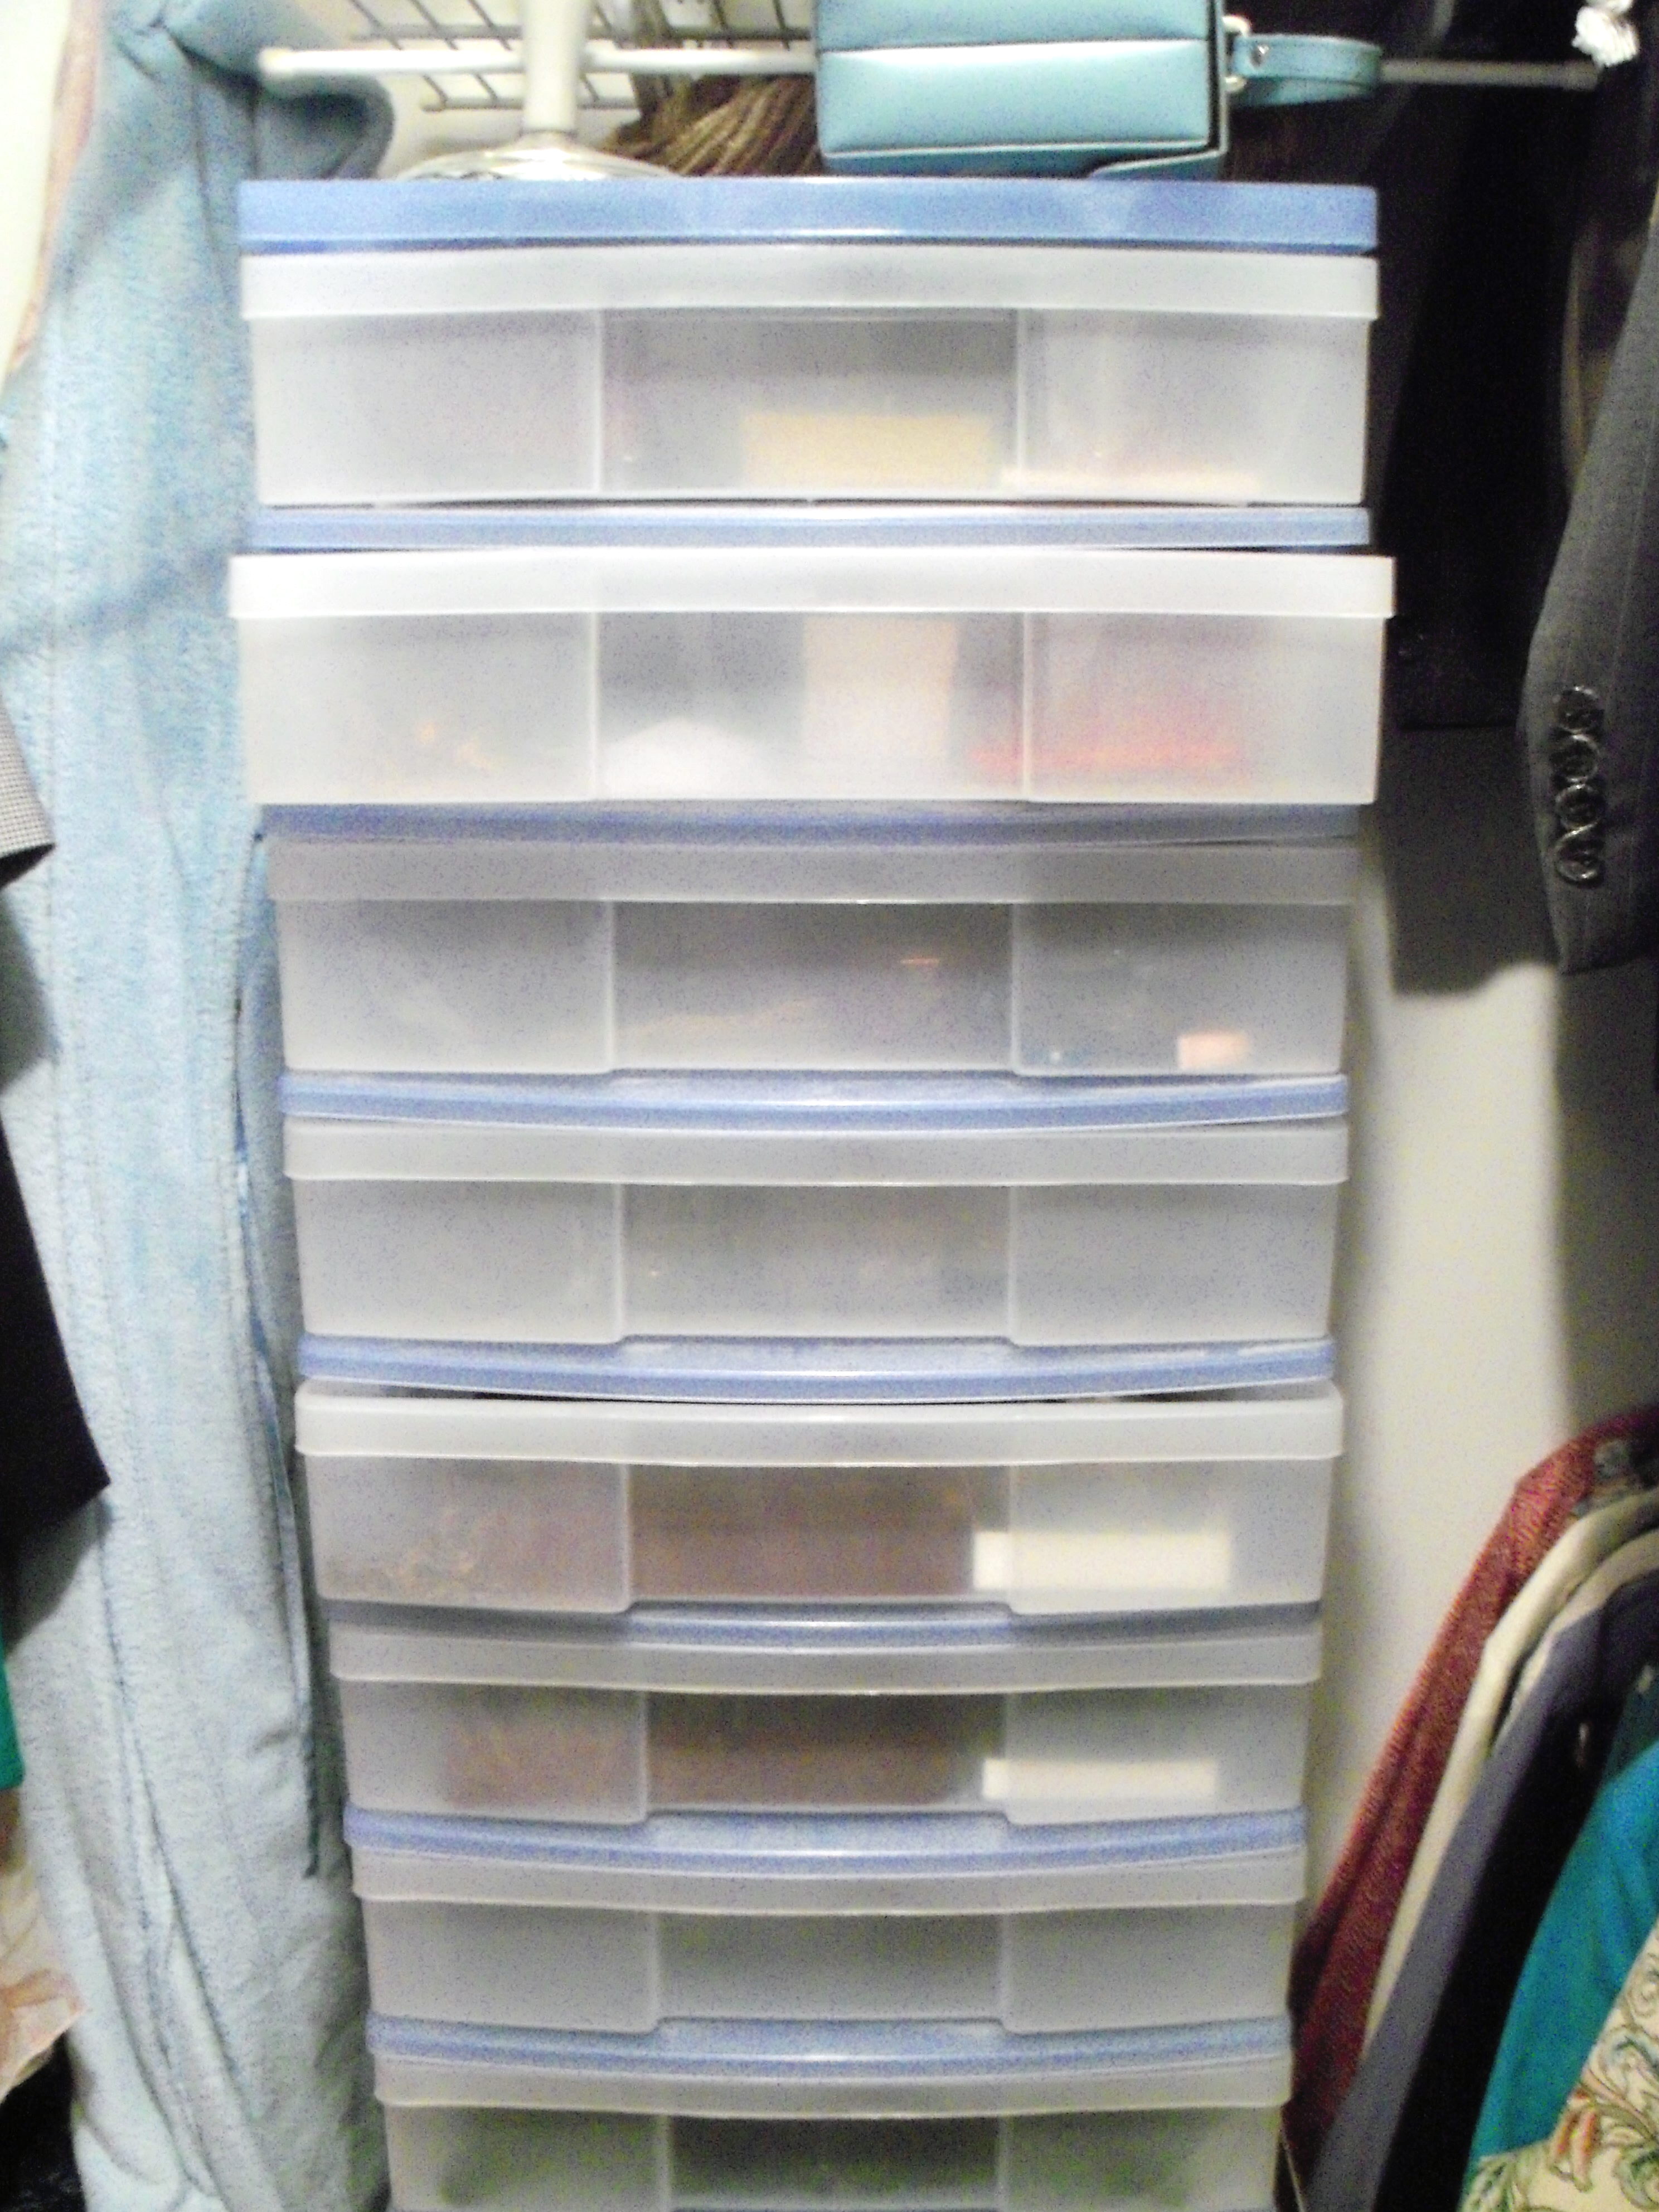
The plastic cases are inside a big 8-10 drawer plastic unit that sits on a low shelf in my closet. I have a different drawer for each type of jewelry and also keep my shawls and scarves in it.

Bookmark and Share

Thanks to Sara at Sassy Suppers for choosing this week’s project – earring storage in a paint palette from March Martha Stewart Living (pg 48). I thought I had a paint palette my kids used to use for painting, but I couldn’t find it, so I thought I would show you how I store my … Read more

I always found Valentine’s Day vaguely disappointing as a kid. Sure, there was a party at school and the little classroom cards (which were disappointing in and of themselves!), but it was always somehow lacking. Some years my grandmother would send me a gift in the mail and that always added some fun.

Once I had kids, I tried to think of ways to make Valentine’s Day fun for them. This evolved into a family tradition we call the Valentine’s Day Mystery Hunt. I buy the kids some small gifts for Valentine’s Day and hide them. Then I write rhyming clues on the backs of extra classroom Valentine cards, which lead them from place to place. They they pick up a new clue at each location and end up going all over the house to find them. The last clue leads them to their gifts. The clues are easy to hide since they are small pieces of paper, so they can be hidden in drawers, under cushions, and even inside cups or socks.  The kids take turns reading each clue out loud and collaborate together to try to decipher where it is sending them next. I always make the clues rhyme, just to make it more fun (and to make them harder to write too I guess!).

Last year I was very busy with work and thought that since they were then 16 and 11 maybe they didn’t want to do it, so I didn’t put together the rhymes and just gave them their gifts. You should have heard the complaining! I guess it’s something they’re quite attached to! So this Valentine’s Day, my kids will be following the rhyming clues again.

Bookmark and Share

I always found Valentine’s Day vaguely disappointing as a kid. Sure, there was a party at school and the little classroom cards (which were disappointing in and of themselves!), but it was always somehow lacking. Some years my grandmother would send me a gift in the mail and that always added some fun. Once I … Read more

Today’s Martha Monday’s project was chosen by Lyndsey at Tiny Skillet. The project is crayon hearts and it’s perfect for a Valentine’s Day craft to do with your kids.

You take a piece of waxed paper and fold it in half lengthwise, then open it up and place crayon shavings on half of it. Making all those crayon shavings took forever! They kept jamming up the pencil sharpener I was using. I tried using a vegetable peeler but that didn’t make the nice curly shavings.

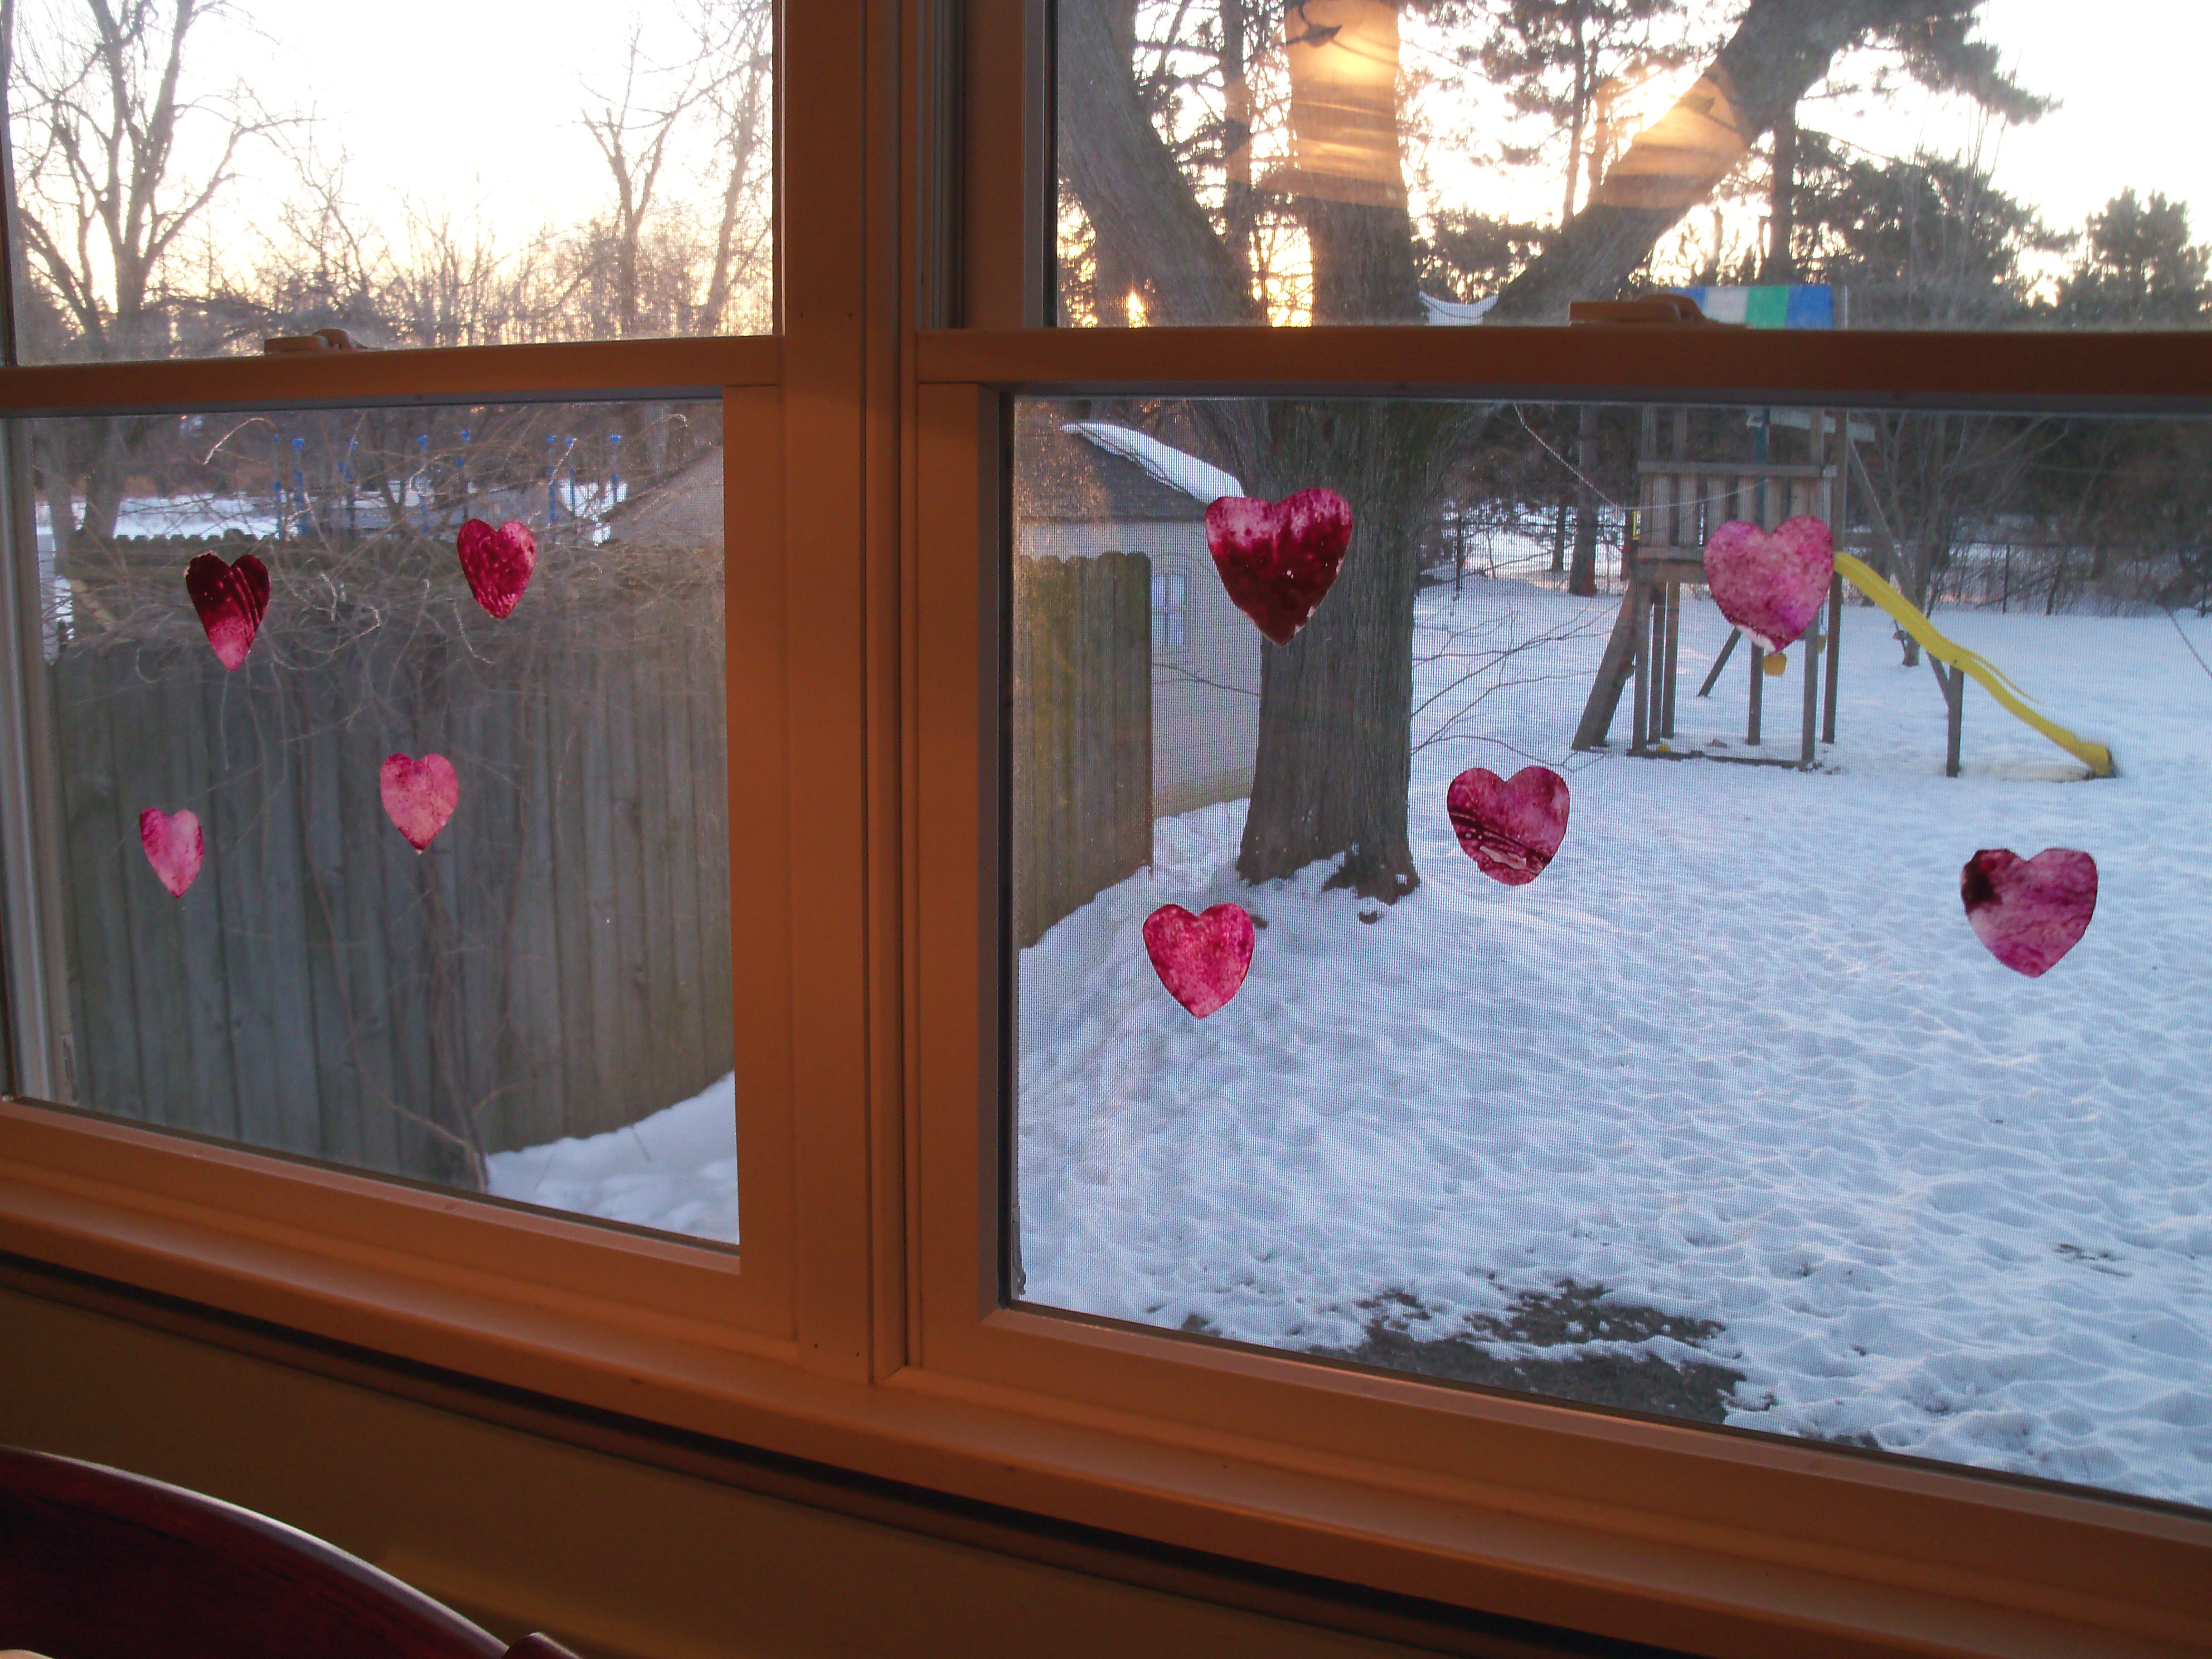
Once you have enough, you fold the paper back up, and fold the edges to hold it in. Iron it between sheets of craft paper (I used parchment). Let it cool, then cut out heart shapes from it. Martha says to hang them using thread, but we just used tiny dabs of museum gel to stick them to the kitchen windows. They really are pretty and look like suncatchers. The key is to use lots of different shades of pink and red crayons. Spread the shavings out in a very thin layer. In places where mine were thick, the hearts did not cut out well, and the waxed paper peeled off a little.

This is easy and very family-friendly and is a cute project to make for Valentine’s Day.

Bookmark and Share

Today’s Martha Monday’s project was chosen by Lyndsey at Tiny Skillet. The project is crayon hearts and it’s perfect for a Valentine’s Day craft to do with your kids. You take a piece of waxed paper and fold it in half lengthwise, then open it up and place crayon shavings on half of it. Making … Read more

I used to love to send postcards when I was a kid. I always sent them to my grandmother, who stuck them into random pages of her cookbooks. She always said she liked to happen upon them in the future. When she died, we found lots of them in her cookbooks.

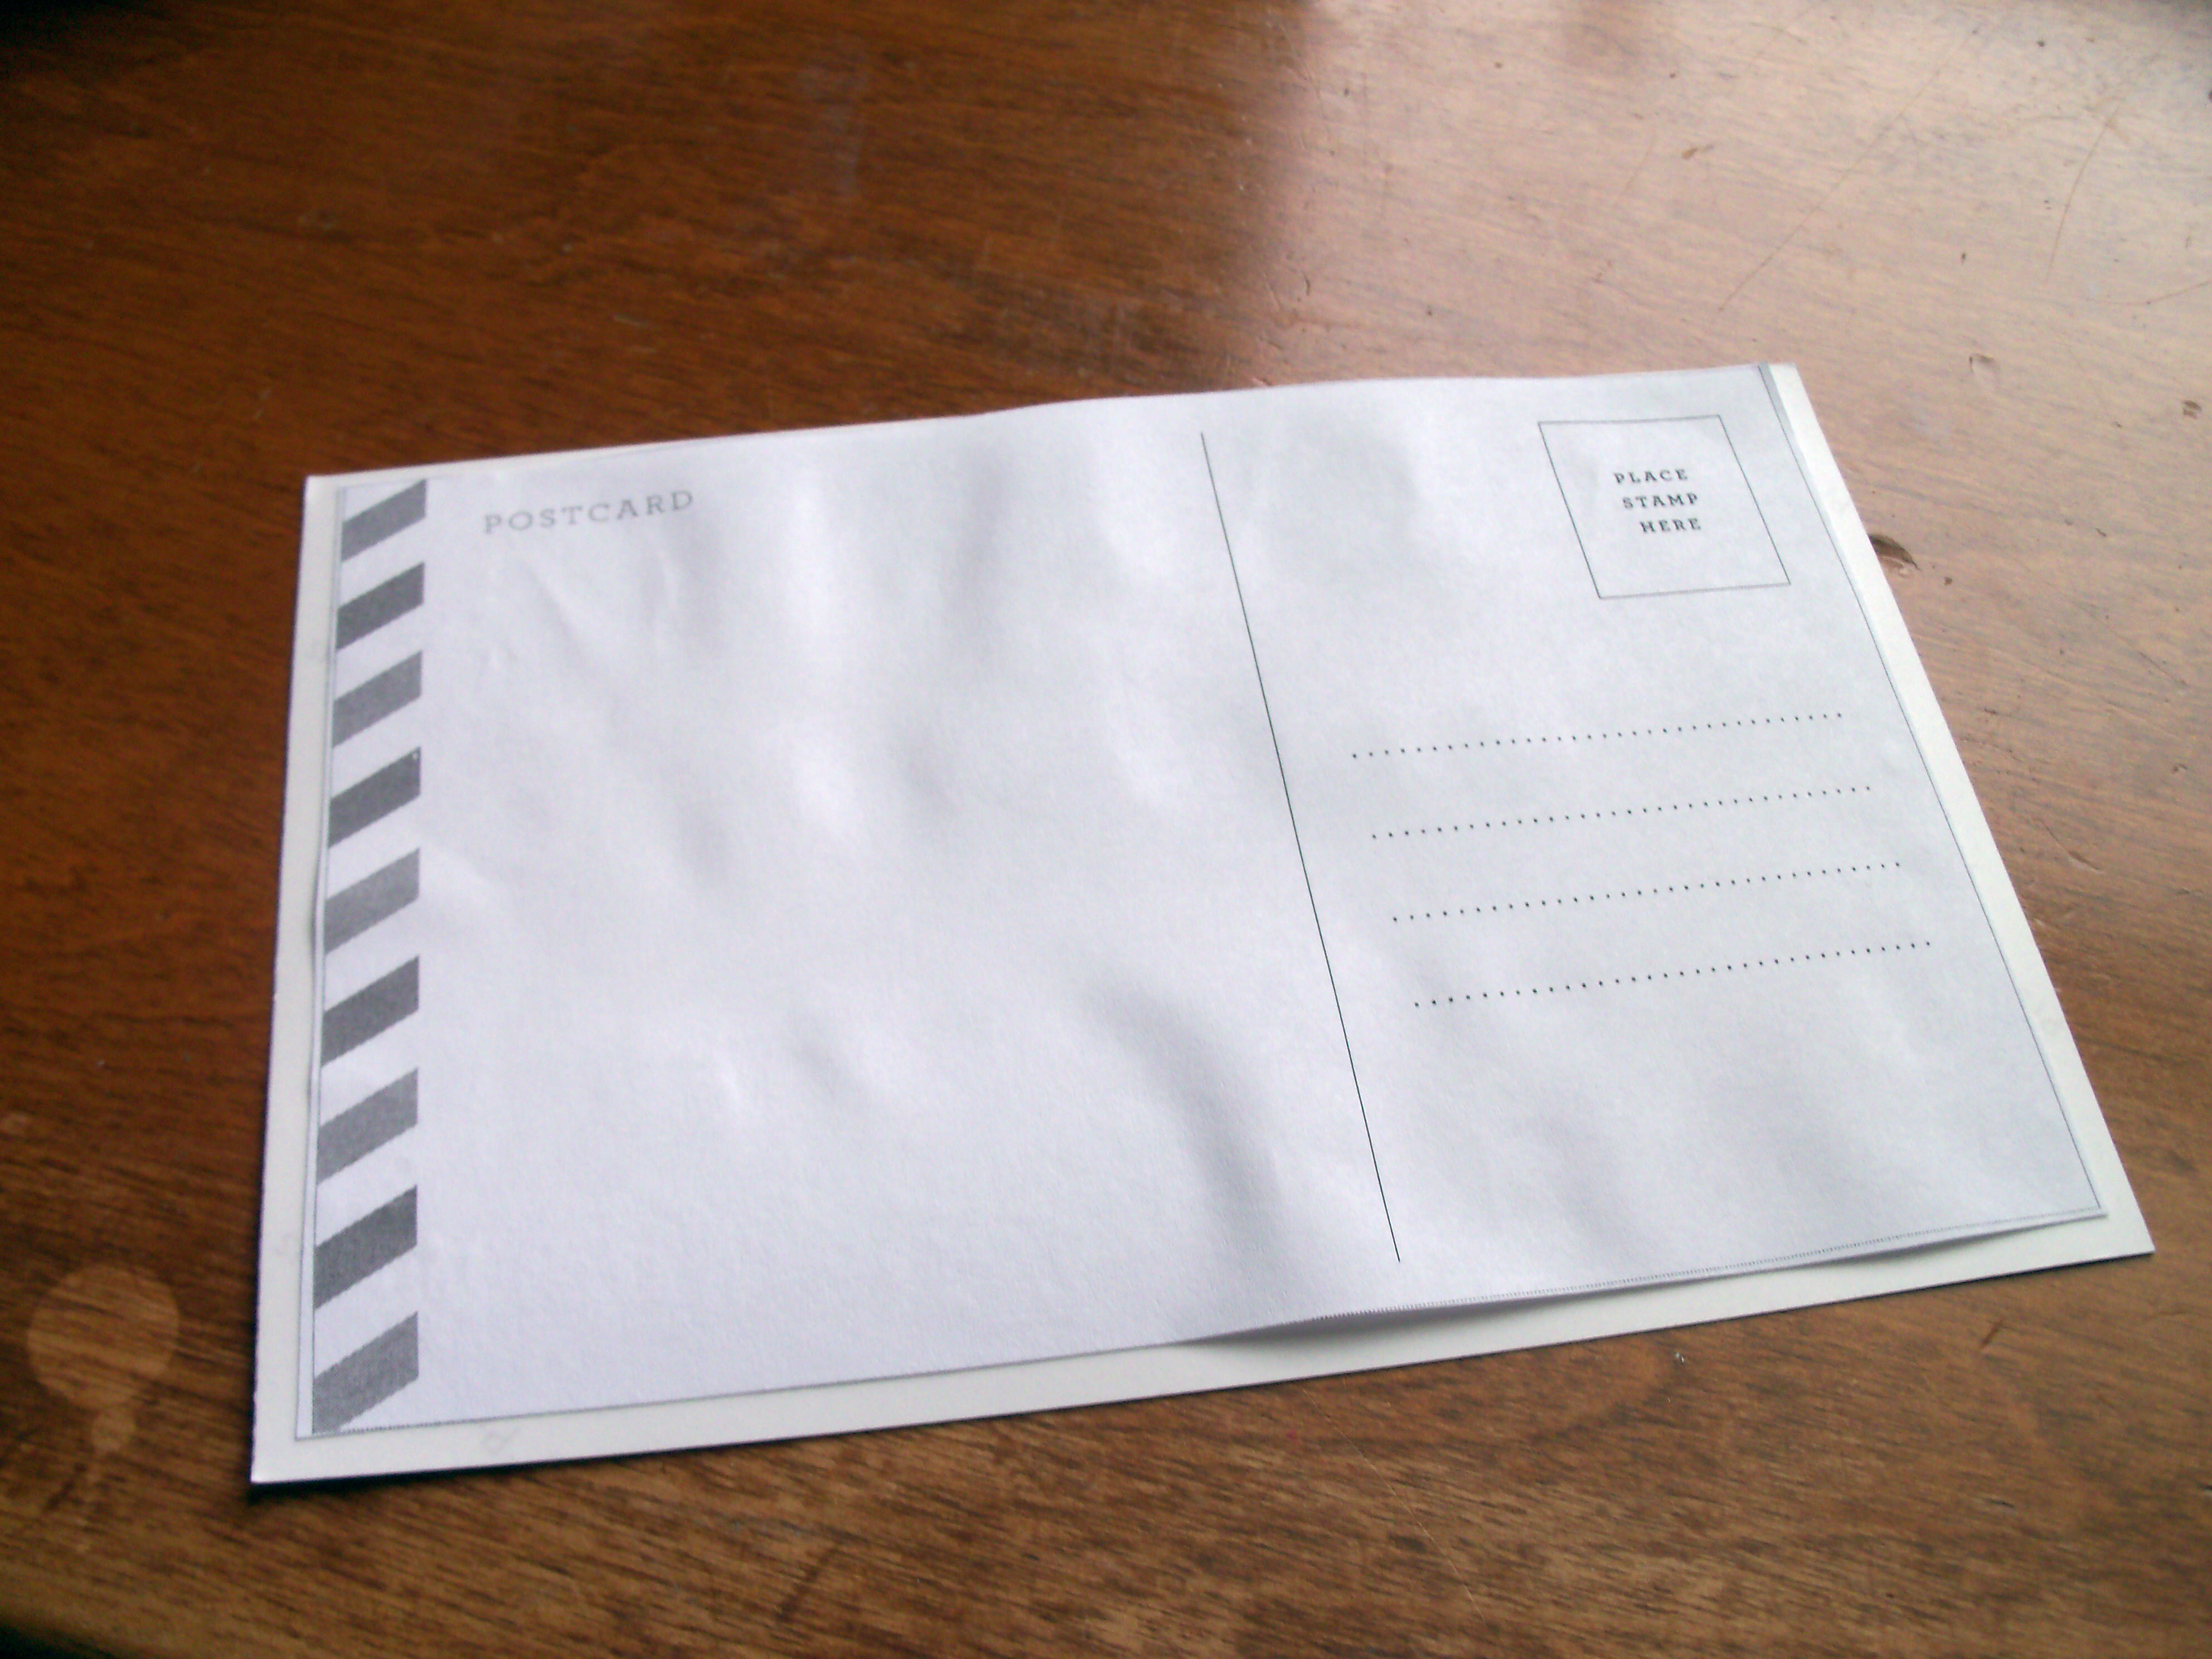
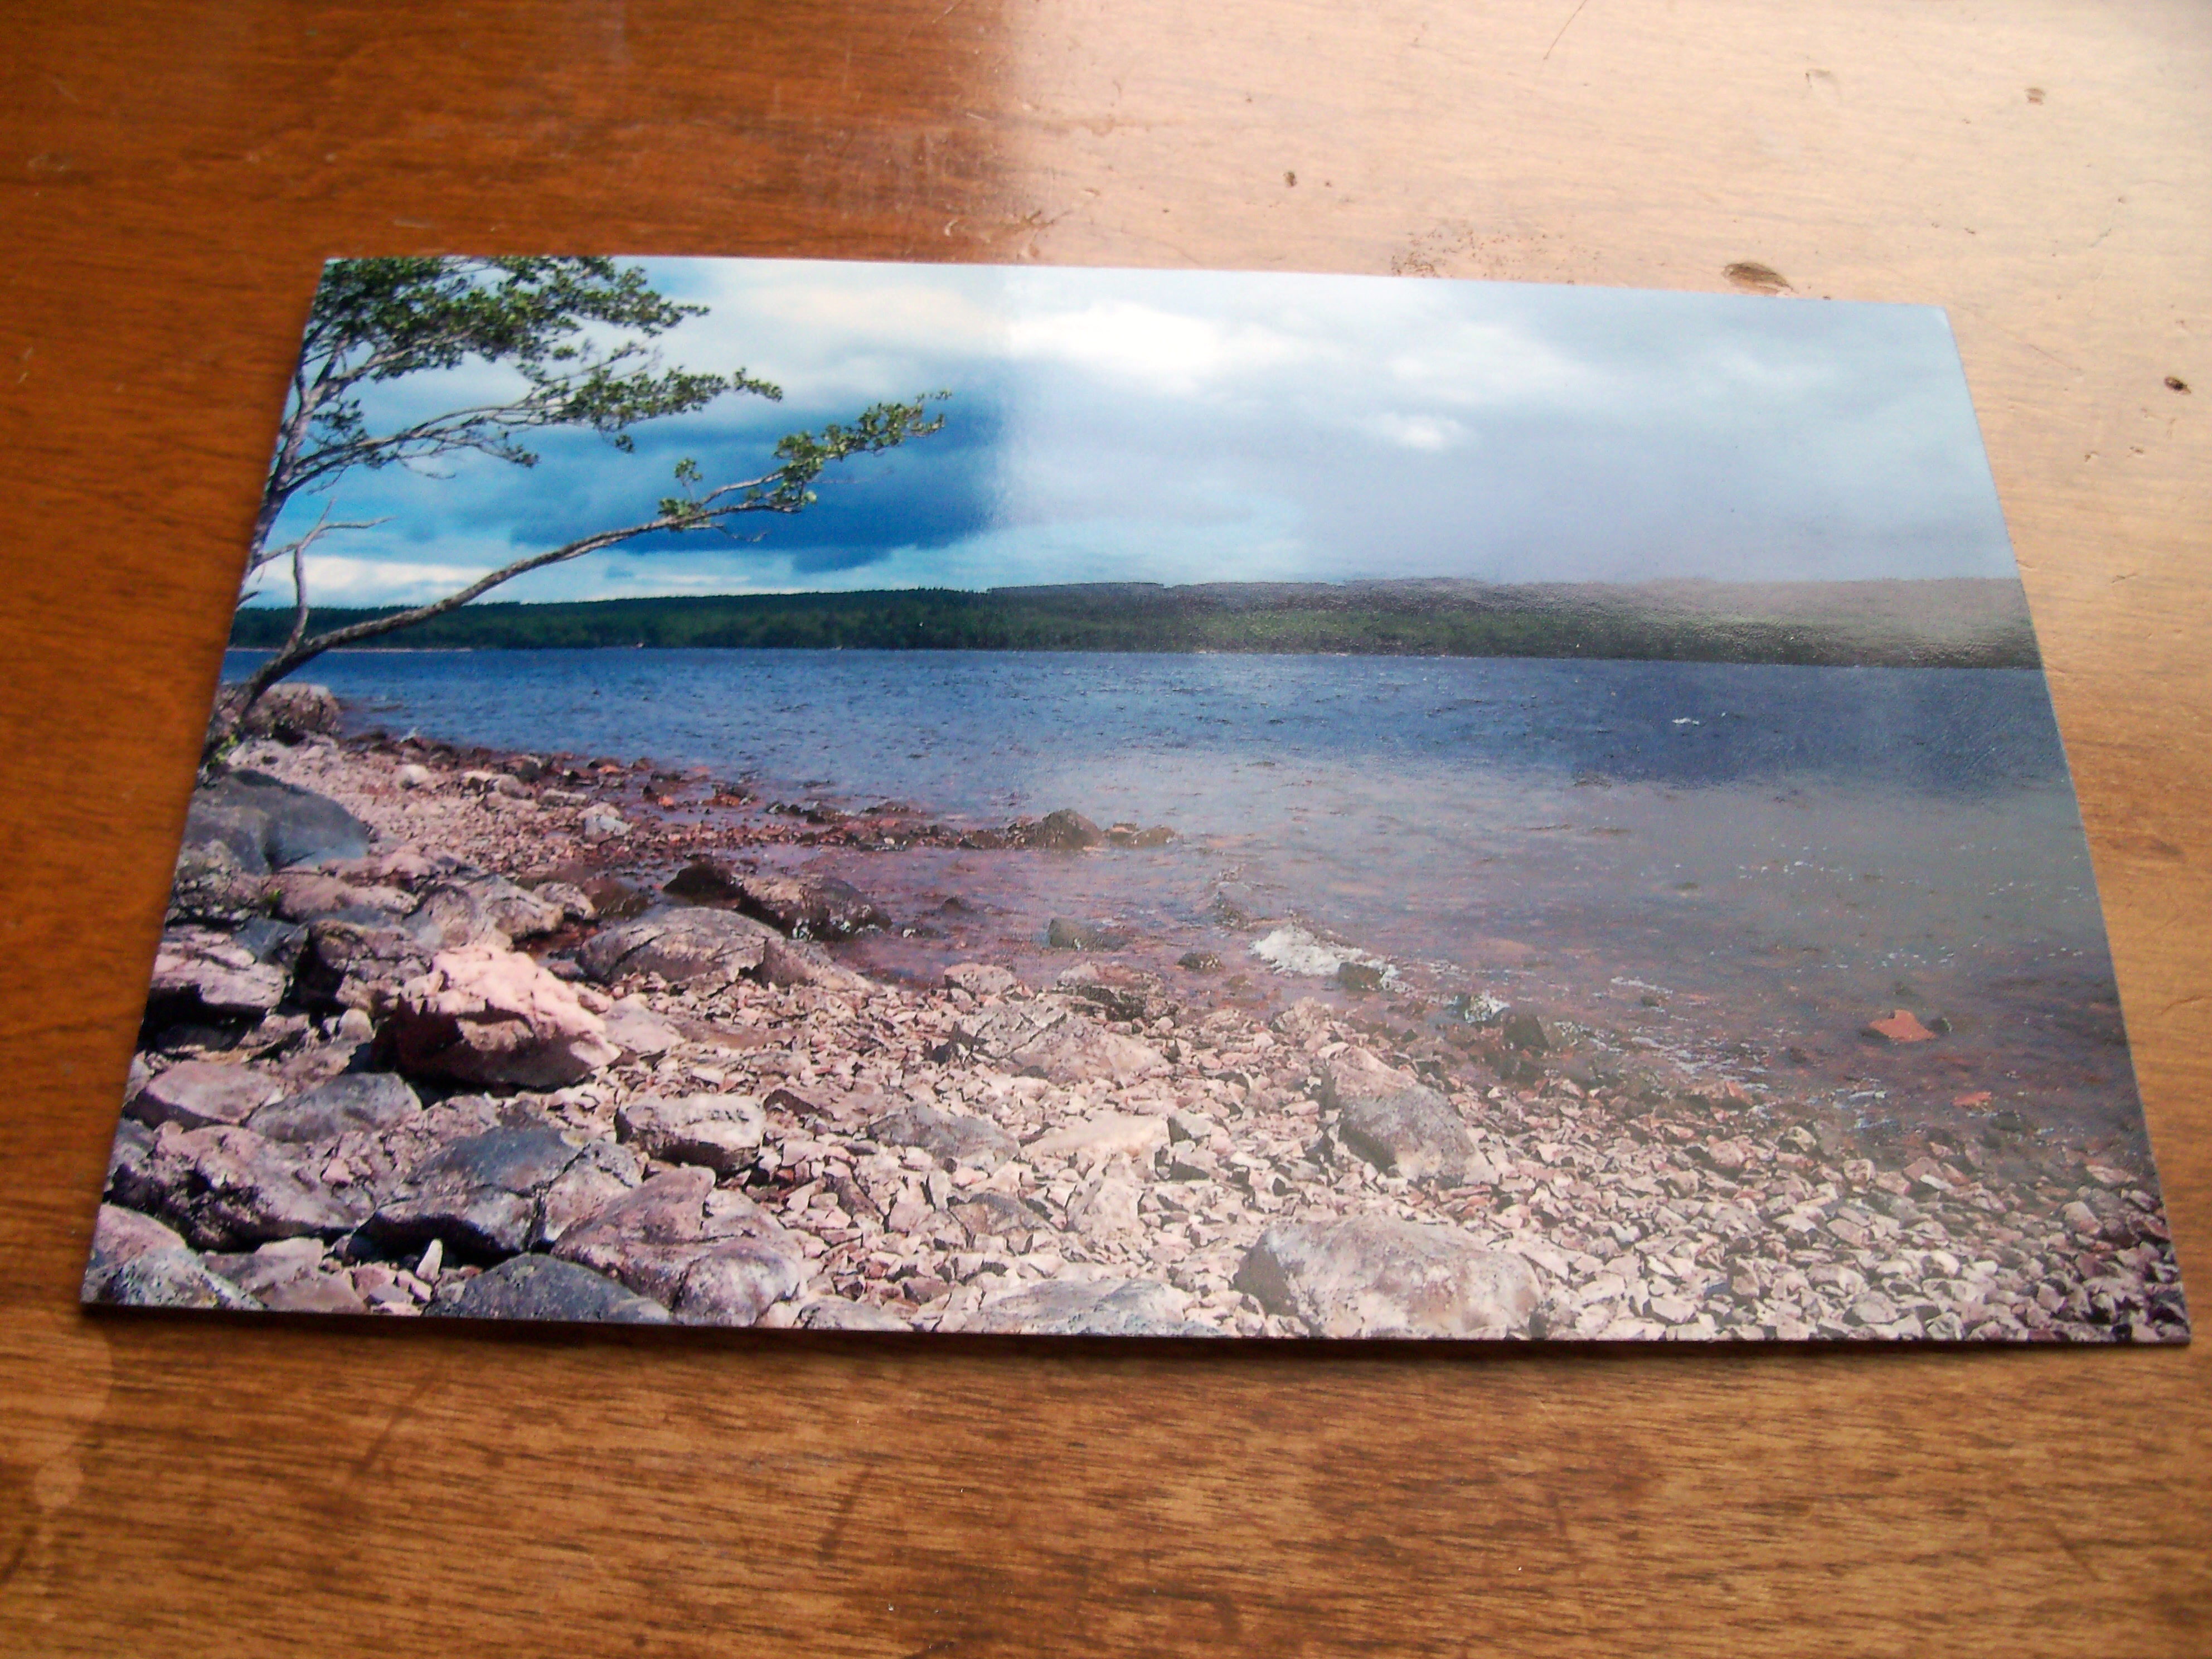
This week’s Martha Mondays project, chosen by  Sarah at Mum in Bloom, is to make your own postcards. The project is very simple. Print out the template for the back of the postcard and glue it onto the back of a 4×6 photo. The photo I used is one we took on the shores of Loch Ness this past summer.

Here’s a little secret. You don’t even really need to print out the template. You can simply mail a photo if you write the address on the right hand side and leave a place for the stamp. In fact, you can mail all sorts of weird things. There’s a whole little business surrounding this in Florida, where we go every spring. We have mailed a whole coconut (no packaging, just a label), a flip flop (again, just a label) and a plastic bottle with a note in it (label glued on the outside), all sold in gift shops down there.

My aunt, who was postmaster of her town, used to mail her own photos as postcards often (without any backing glued on) while on vacation.  If you’ve got a printer with you, this is a great way to send personalized postcards for very little cost. I have to say I always do like to look through postcards though wherever we are. I like to see what photos are being used. I have some blank postcards I bought as a child and now have all the ones  I sent my grandmother and they are interesting to look through.

Bookmark and Share

I used to love to send postcards when I was a kid. I always sent them to my grandmother, who stuck them into random pages of her cookbooks. She always said she liked to happen upon them in the future. When she died, we found lots of them in her cookbooks. This week’s Martha Mondays … Read more

Spray on glue

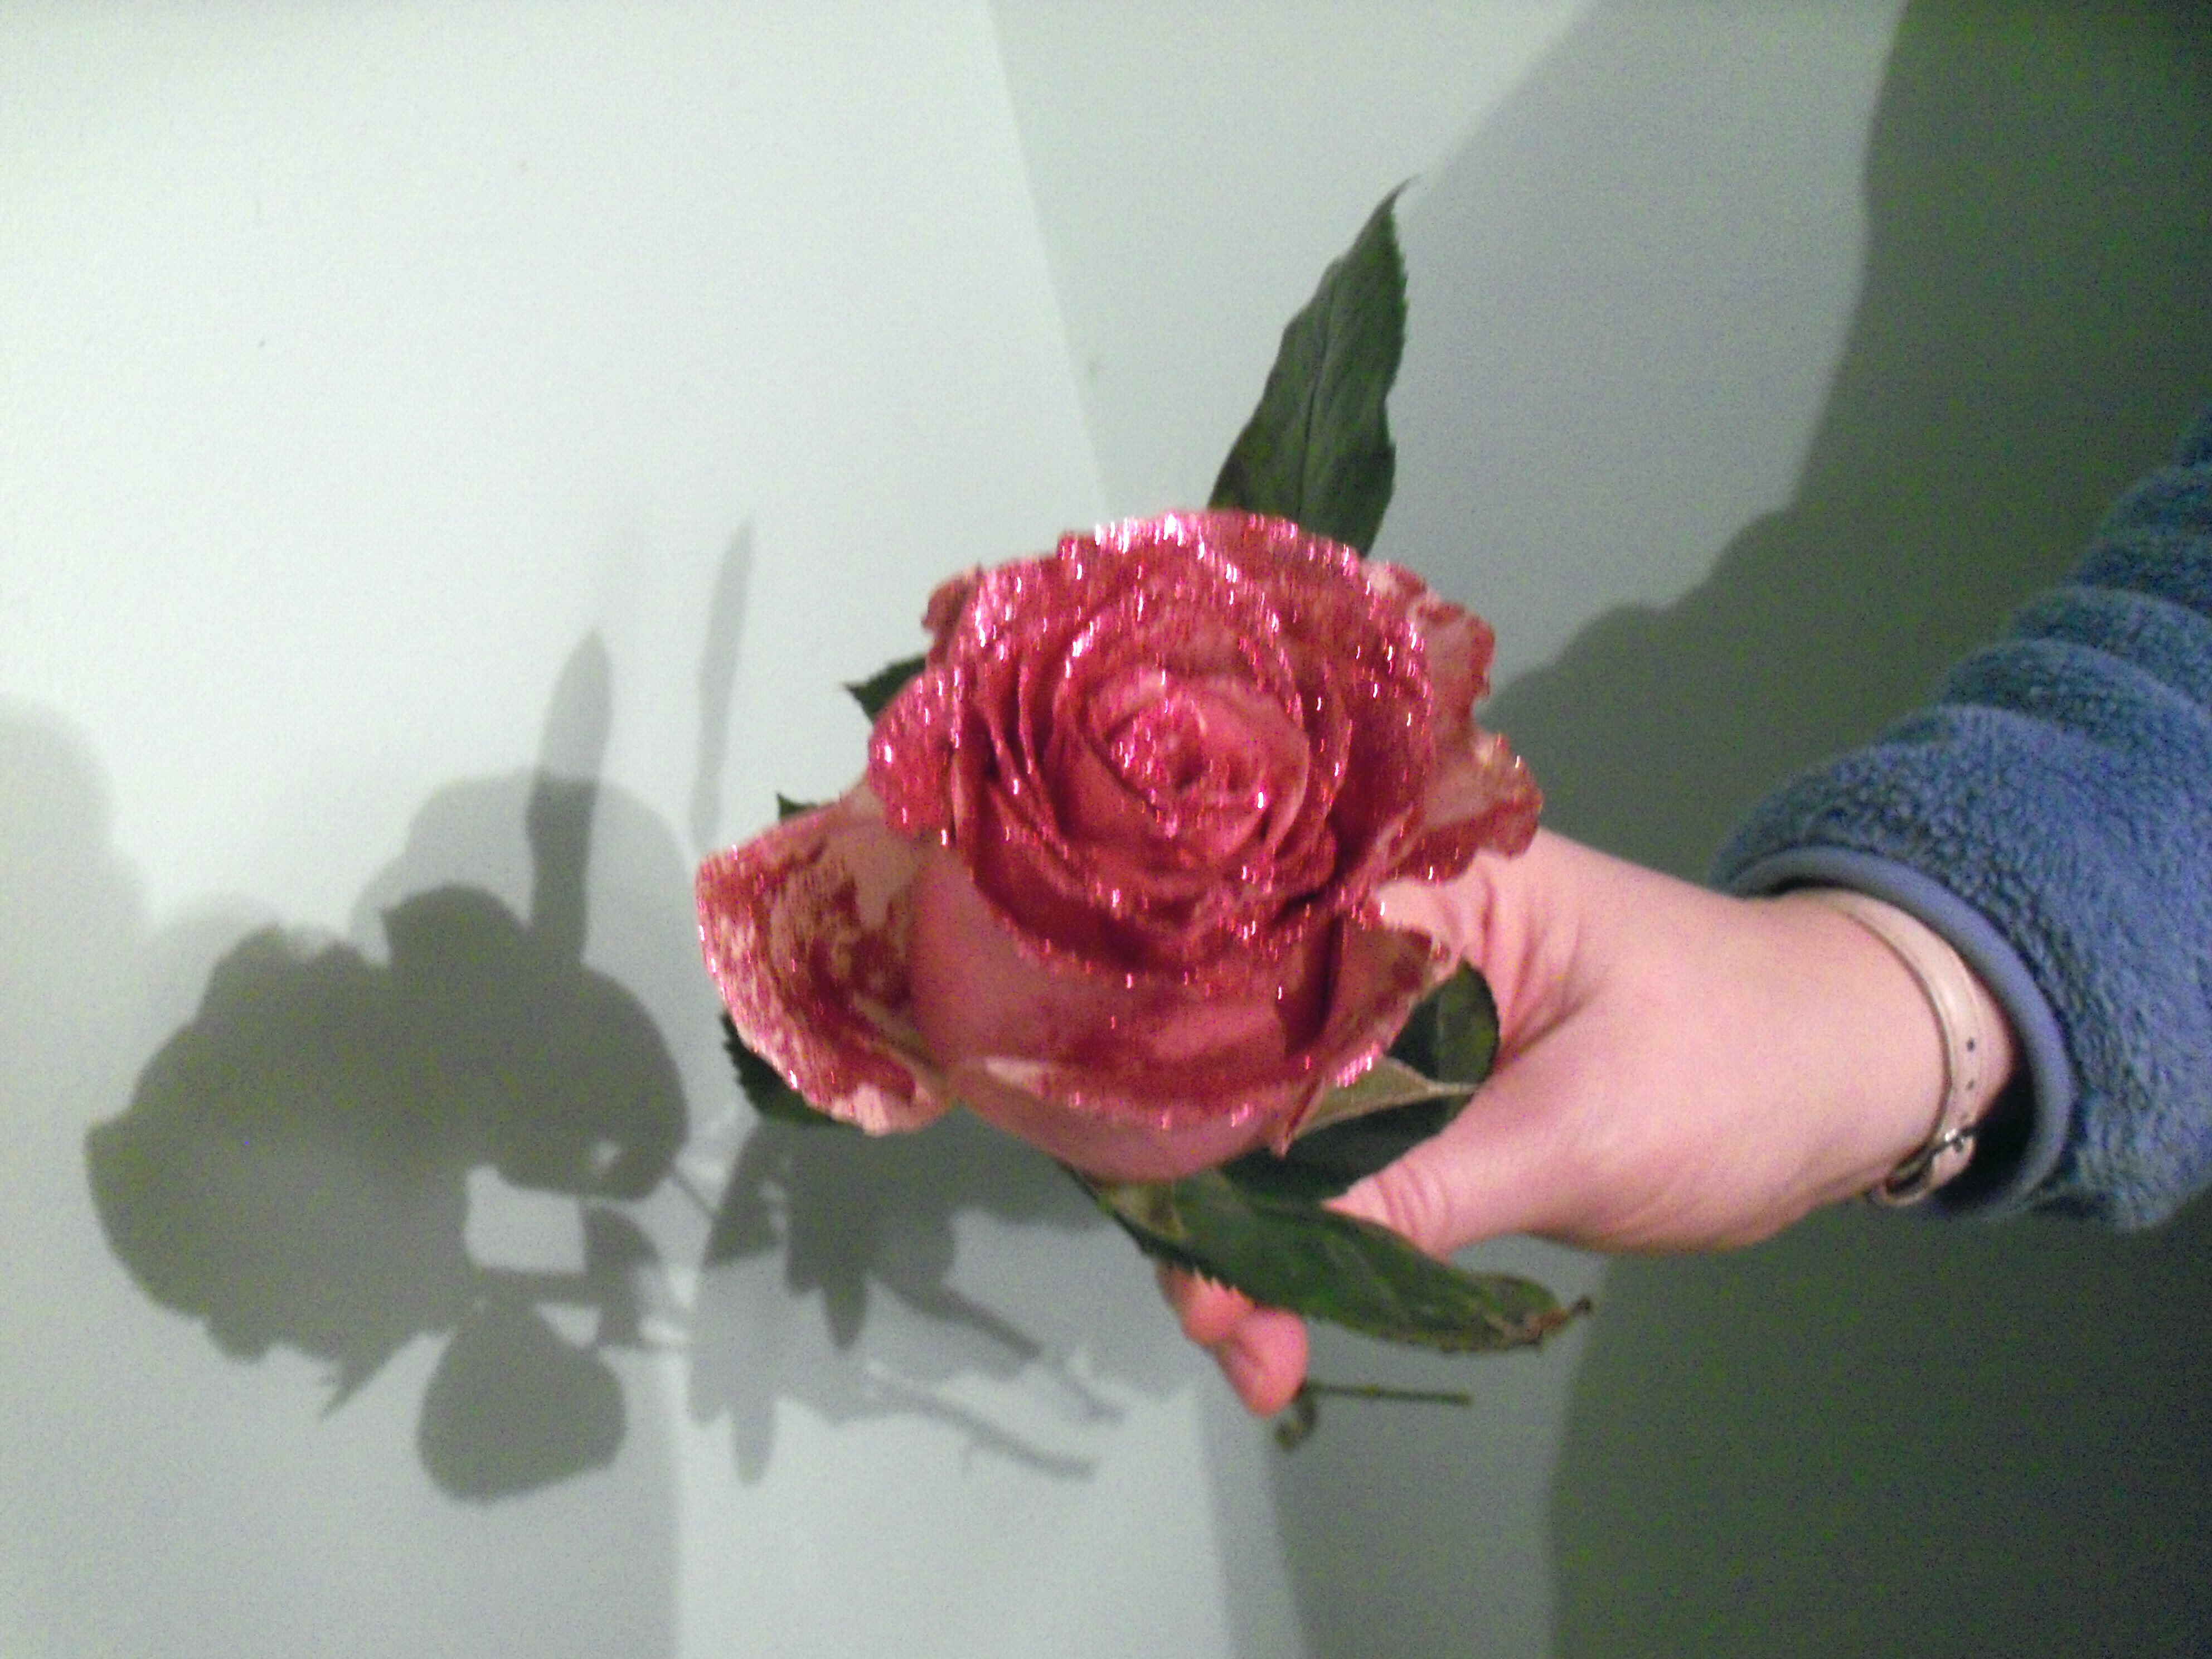
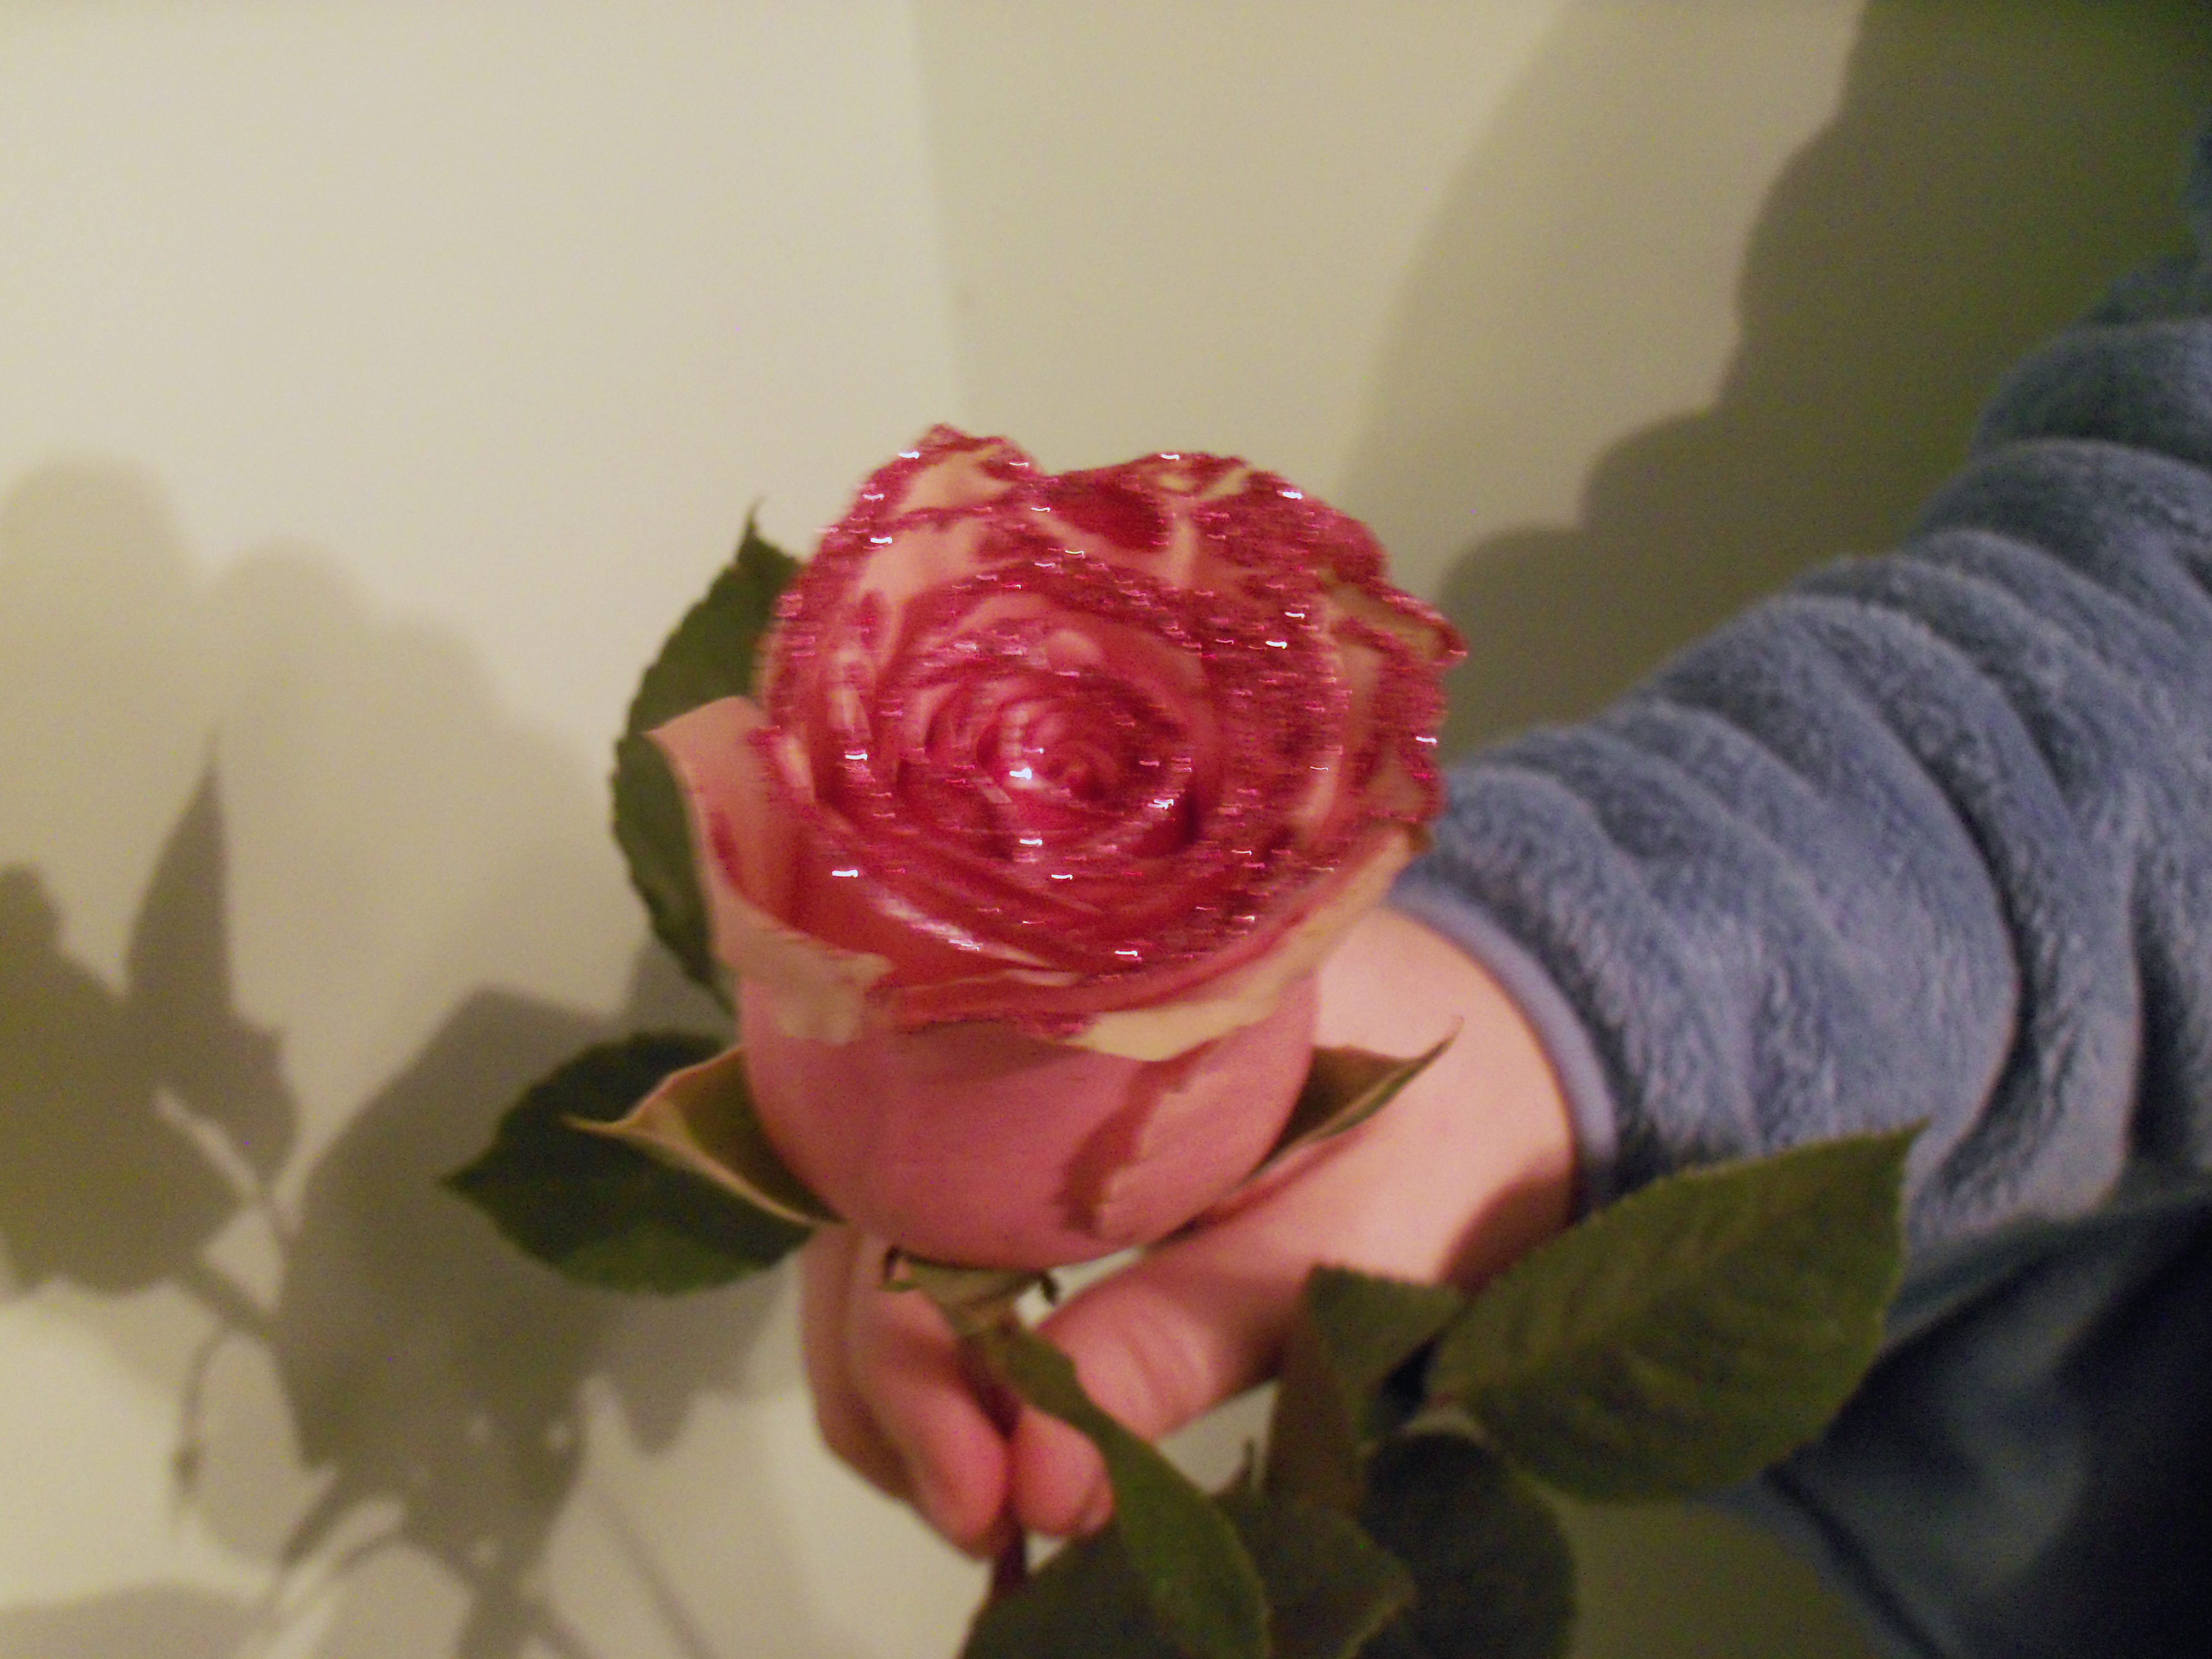
Woot-woot! I did a Martha craft and it went really well!! Ok, here’s the scoop. In March Living, Martha suggests embellishing roses with glitter. She shows two methods. In method one, you mix 3 oz of water with 4-5 squirts of craft glue. Mix it up and spray it on a rose from 8 inches away. Sprinkle glitter over the rose and shake it off. This went well for me. The only tip I would offer is to use roses are not tightly closed. It’s hard to get glitter down in it if it is.

Method number two involves using glue that has an applicator tip. You’re supposed to trace glue around the edges of the petals. Well, I didn’t have an

Directly applied glue

applicator tip. My glue had a brush in it (just like the rubber cement we used to in art class – that took me back!) so I brushed it on gently and then sprinkled the glitter.

It really worked! I was tickled pink (get it?). Now, the question is would I really ever do this? Um, no, probably not. I think roses are beautiful by themselves and adding glitter is sort of tacky. I did say to Mr. MarthaAndMe that this might be something sort of fun to do for a centerpiece for a party if you wanted something a little glitzy and exciting, so I can see doing it in that setting. Maybe white roses with silver glitter for New Year’s Eve.

You can see I used pink roses. That’s a rule in our house. I don’t do red. Period. So Mr. MarthaAndMe has been trained to only bring home pink roses for Valentine’s Day.

Bookmark and Share

Woot-woot! I did a Martha craft and it went really well!! Ok, here’s the scoop. In March Living, Martha suggests embellishing roses with glitter. She shows two methods. In method one, you mix 3 oz of water with 4-5 squirts of craft glue. Mix it up and spray it on a rose from 8 inches … Read more

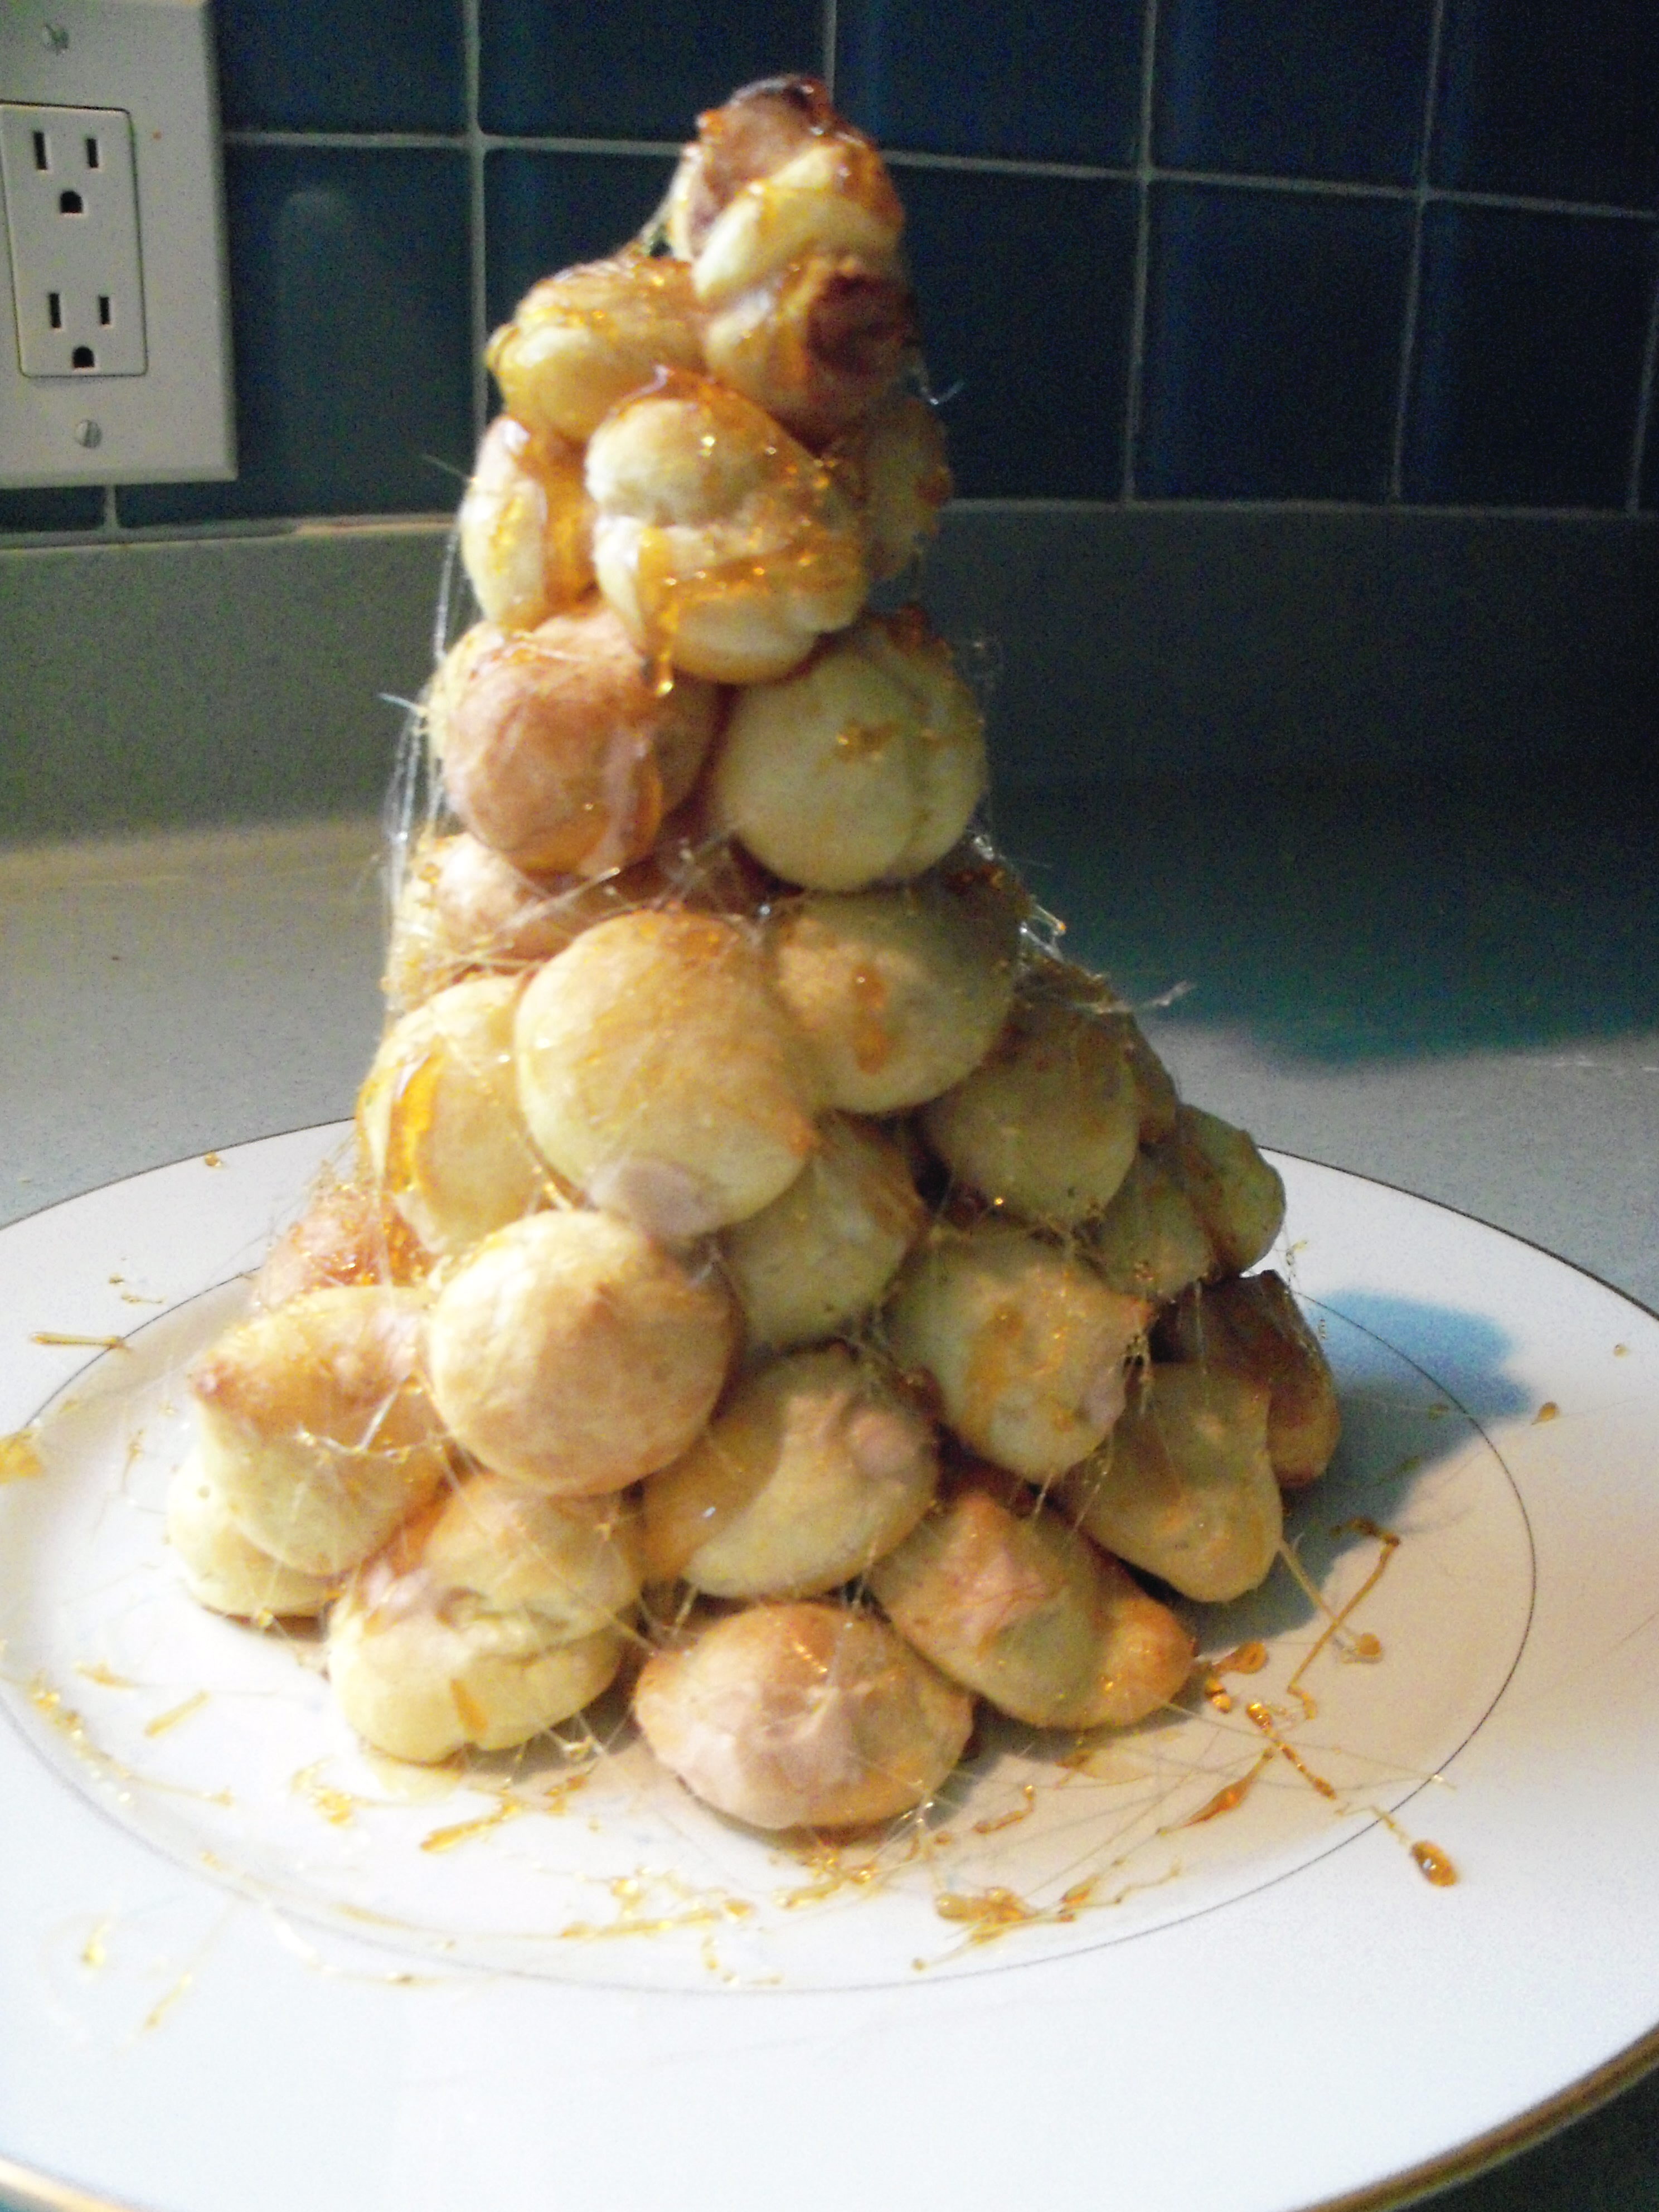
One of the only Martha goals I had for this holiday season was to make the croquembouche in December Living. To me, the croquembouche is somehow quintessential Martha. I think I must have seen her make it years ago on her tv show and it stuck in my brain as the most Martha thing, ever. It is pretty over the top.

I had planned to make it for Christmas Eve, but was waylayed by a terrible abdominal muscle pull that made it impossible to do anything. Any movement was torture. I’m actually still working through the tail end of it, but am pushing through it to do the things I want to get done.

We had two remaining holiday parties this past weekend and I decided the croquembouche was definitely going to go to one of them. I decided to make it for my in-laws, since she asked me to bring dessert.

I read and re-read the instructions several times, gearing up for what felt like my Martha Olympic event. There were three components – the round cream puffs, the caramel cream to fill them with, and the caramel sugar to glue them together with and to use as spun sugar (not part of the recipe, but I’ve seen Martha do it before). I made the caramel cream the day before and kept it refrigerated. That went quite smoothly.

The cream puffs were pretty basic to make – the same as other cream puffs I’ve made in the past. I didn’t find Martha’s instructions too helpful. She said to make them the size of quarters, but didn’t indicate how tall. It took some experimenting to get that right. Whenever I’ve made cream puffs before, I’ve just used a spoon, but this required a pastry bag. Eek. I hate pastry bags. Not only do I have a mental block about where to put the plastic cuff and the tip, but they always squirt out the back or explode out the side. Mr. MarthaAndMe has no pastry bag fear though, so he stepped in and manned this one quite well.

Once those were made and baked, I finished the caramel cream by folding in the whipped cream. Mr. MarthaAndMe filled the puffs using the pastry bag. He got the job done, but it was a huge mess. Cream was spurting out the end of the bag and all over the place. It was dripping off his hands and he ended up standing over the sink to fill the cream puffs since it was like a creature from the black lagoon.

Next, I made the caramel used to stick them together. Mr. MarthaAndMe almost immediately burned himself dipping the puffs in the caramel. From that point on we used tongs. The caramel was a little hard to work with. I had to keep heating it back up. There might have been a little cursing throughout this process.

Putting the actual tree together was a challenge. Again, I found Martha’s instructions lacking. I didn’t know how many puffs to use to form the base and was worried about running out or having too many leftover. Some more detail about this part would have been helpful. At one point it looked like a bush (croquem-bush as I called it) but Mr. MarthaAndMe kept adding more and showing me where to put more and we got it to come out resembling a tree, albeit a kind of lopsided tree.

I didn’t make the sugar cookies to attach, and instead spun some sugar around it (I just used the caramel and used a fork to sort of whip it around the tree). I have to say that spinning sugar like this made me feel like a total Martha.

I think it turned out pretty nicely. We put it directly on a plate, even though Martha says to put it on parchment. We cut this recipe in half and it sounded like it should be enough – it says the full recipe feeds 30 people.

I held this on my lap for a treacherous half hour drive through snow to my in-laws’ house. It made it safely. Whew. I did keep this refrigerated at home and once we arrived, even though Martha says to keep at room temp. The caramel cream was a bit thin and I was worried about it running.

Everyone enjoyed this – it tasted great. The cream puffs were light and the caramel cream was deep and rich. The caramel used to stick it together and which I spun the sugar out of was a deep brown and really good.  It was a bit challenging to remove cream puffs to eat. They stuck together and broke when you tried to remove them. I’m not sure what Martha thinks you’re supposed to do. I think the cream puffs should have been a bit larger – they were kind of small and didn’t hold a lot of cream. We served this with a tray of cookies and some ice cream, but by itself it would not have been enough for the 6 people we had for dinner.

Now that I know how to make this, I wouldn’t be afraid to try it again.  The most challenging part was controlling the pastry bag and using the caramel sauce without serious injury. I wish I had the skills to make the tree form correctly, but I’m just not talented when it comes to spatial things! My little lopsided tree doesn’t really compare to what Martha produces. Yes, she has food designers, but I’ve seen her construct this with her own hands on tv and she can make it turn out perfectly shaped. Sigh. I know I’ll never be Martha, but sometimes it is frustrating! I am, however, proud that I accomplished this, something I’ve always wanted to try!

Bookmark and Share

One of the only Martha goals I had for this holiday season was to make the croquembouche in December Living. To me, the croquembouche is somehow quintessential Martha. I think I must have seen her make it years ago on her tv show and it stuck in my brain as the most Martha thing, ever. … Read more

no