Win Martha’s products, each Friday from now to the end of the year. I’m entering. I really want one of the lamps! What do you want to win?

Happy Thanksgiving! Check back to see how Martha’s dry brined turkey and pumpkin pie turned out!

Win Martha’s products, each Friday from now to the end of the year. I’m entering. I really want one of the lamps! What do you want to win? Happy Thanksgiving! Check back to see how Martha’s dry brined turkey and pumpkin pie turned out!

I must confess that since we usually stay home for Thanksgiving, I don’t go nuts (ha! You’ll get the joke later in the blog) with table decorations. I use the good china, but generally stick with everyday silverware. Cloth napkins, maybe. This year, in my ongoing Martha makeover, I knew I had to kick it up a notch or two.

Candy Caper

First, I printed out the turkey candy bar wrapper template from Martha’s site that is shown on page 110 of the November issue of Living. I thought this was going to be slam dunk easy. Silly me. On 3 different trips to the store, I bought three different candy bars. None were the right size for this. The directions say to buy a 3 by 6 inch candy bar. Apparently all my efforts to estimate this size did not work! I have no idea why this was so complicated. The only way to make this one work is to take the wrapper to the store and find a candy bar that fits it. I gave up finally. No candy bars on my table. Sorry, Martha.

Going Nuts

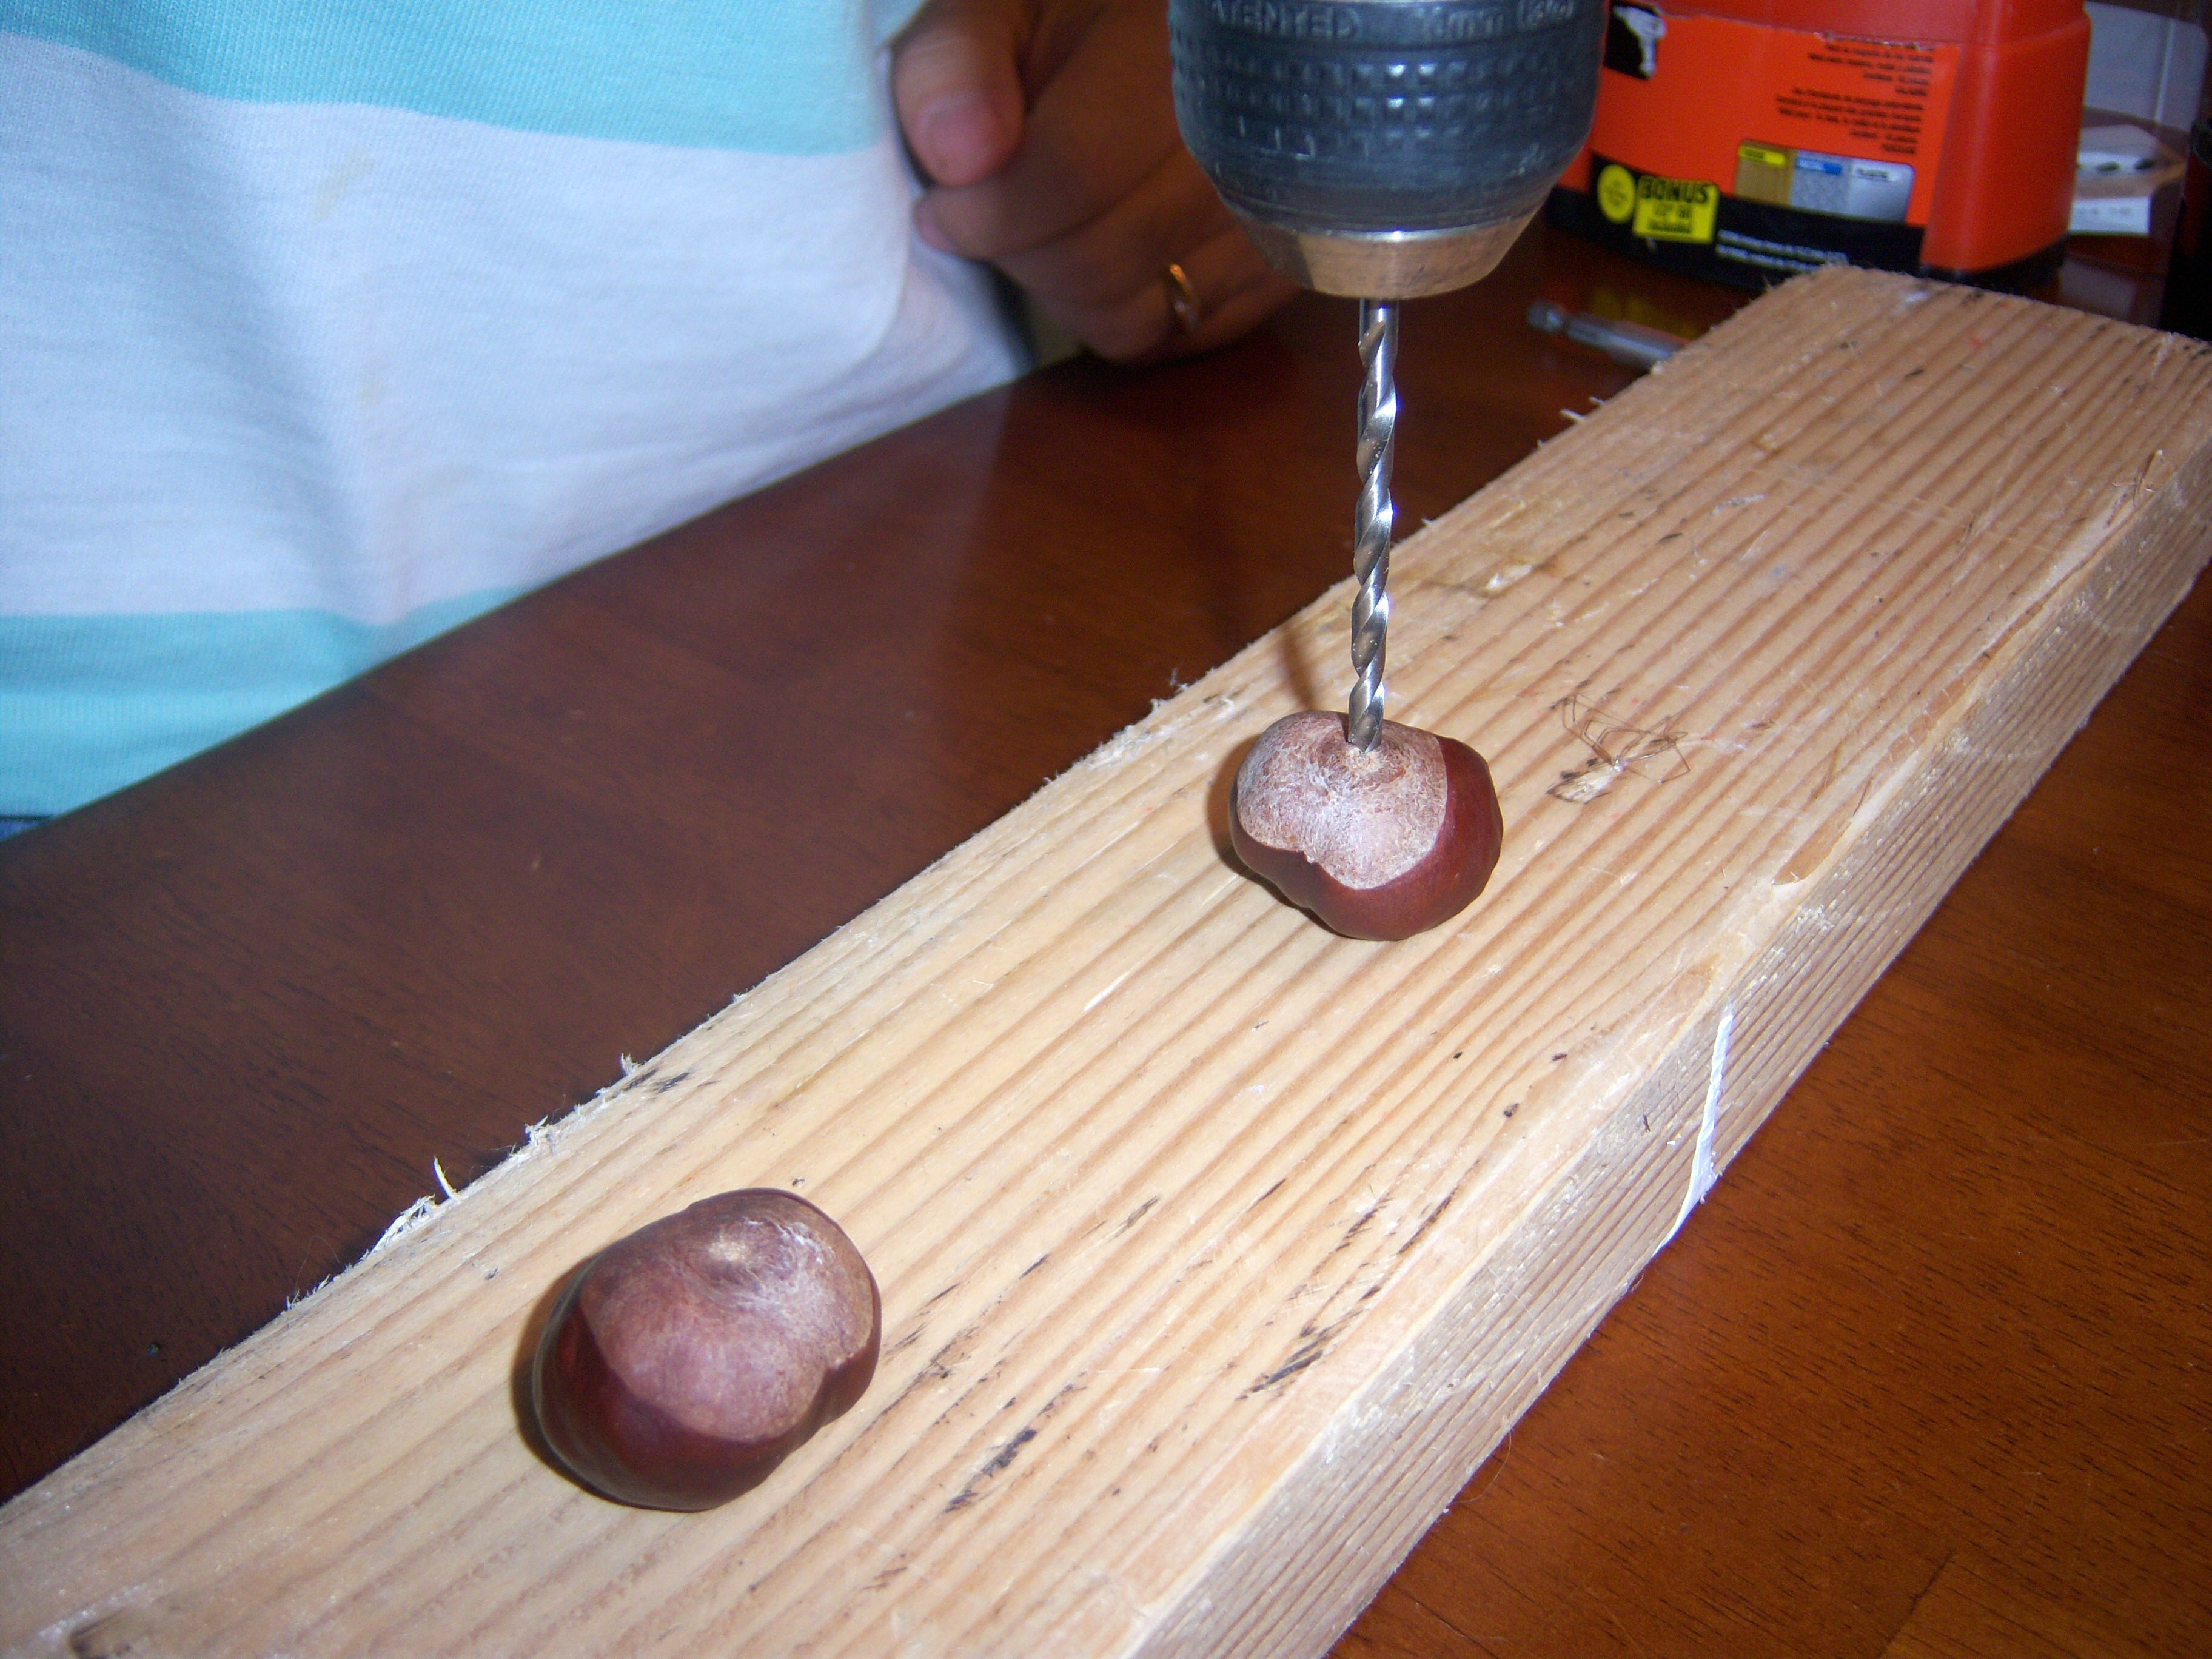
Next I decided I wanted to make the cute acorn napkin decoration from page 54 of November Living. I couldn’t find any faux acorns, and we don’t have any real ones around here. Instead, I decided to use chestnuts! My mom always used to take me to pick them up when I was kid and she would tell me to put one in my pocket for luck. Once I had kids, she would take them to pick up chestnuts too. I have a basket of chestnuts in the family room that comes out with the fall decorations, so I just stole a few from it to do this.

Drill in action

Drill in action

Mr. MarthaAndMe got

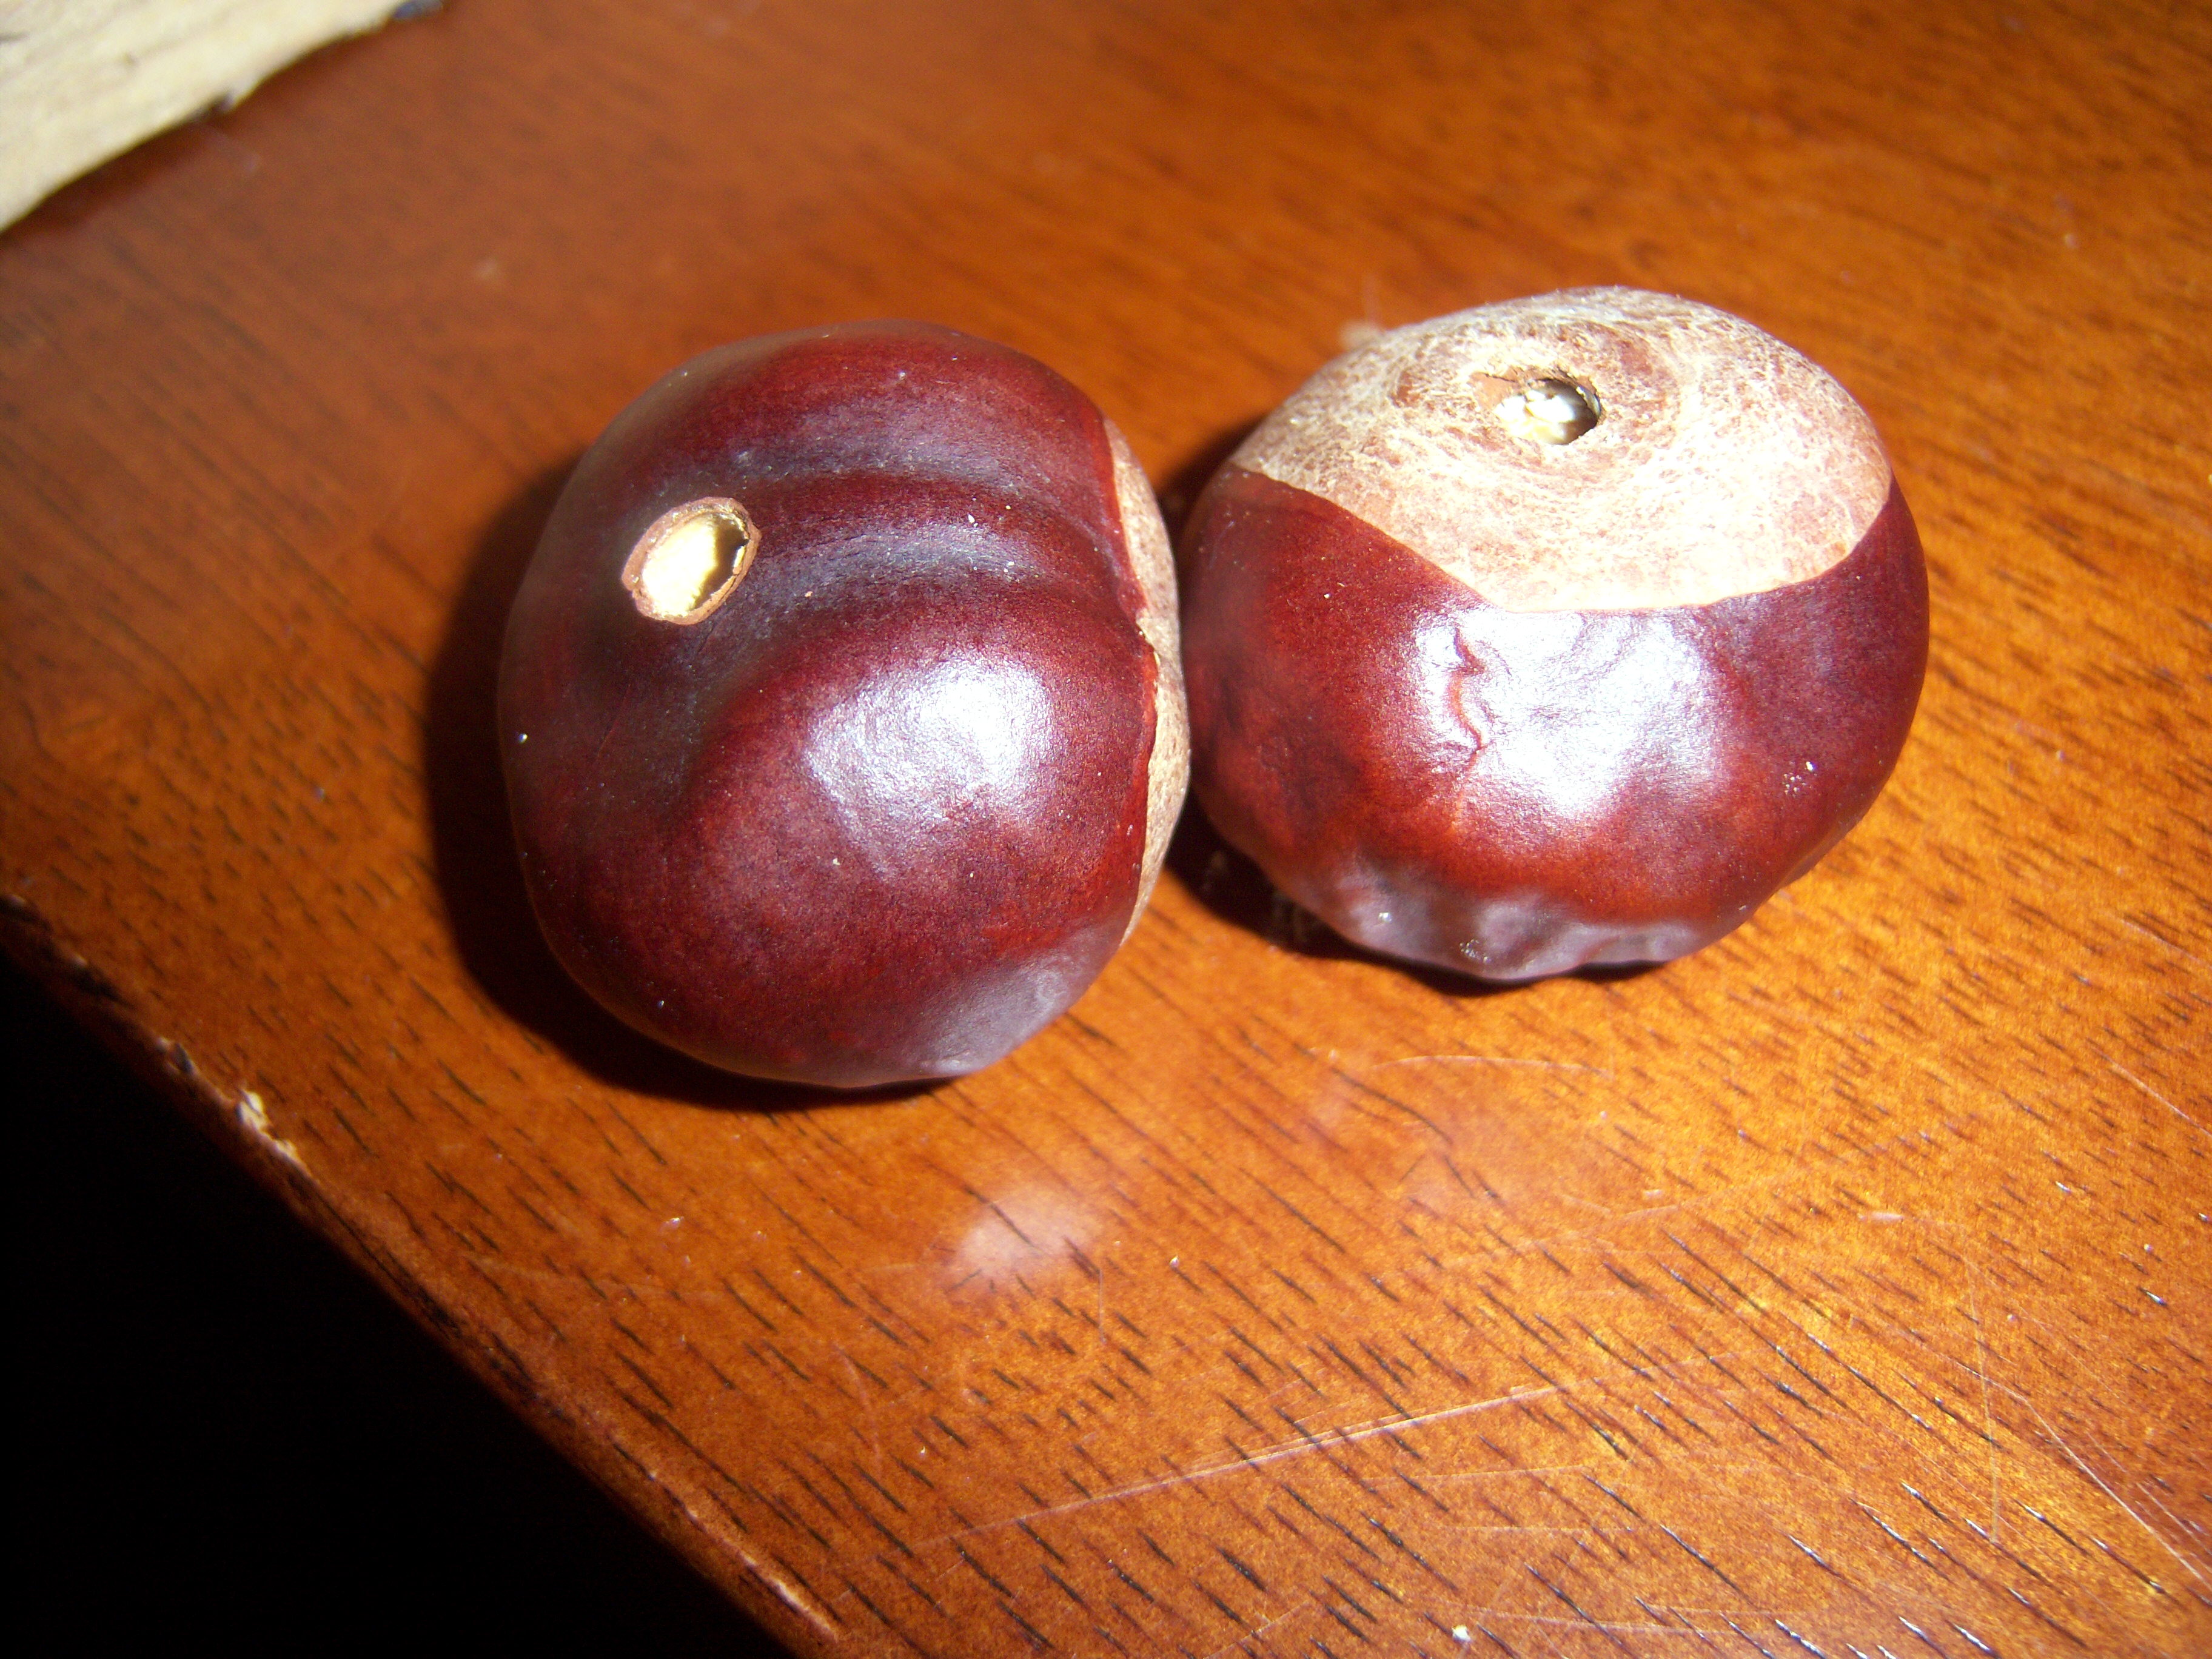
Ready to use

Ready to use

out the drill and we drilled a hole in each chestnut. It wasn’t too hard to do at all! Then I pushed ribbon through (I used the end of a paper clip to shove it through) and tied a knot under each chestnut. Next, I just wrapped the ribbon around the napkin and tied it into a knot.

I think these are adorable and the added bonus is that they would work for a woodsy kind of Christmas setting too. This was so easy! I am proud of myself for attempting and succeeding at another craft (ok, so it was a minor one!).

Getting Centered

Martha had a “Good Things to Save Money” tip on her show recommending you just fill a bowl with apples for your Thanksgiving centerpiece. There’s also a section in the Nov. Living about making centerpieces from cabbages (trust me here, the cabbages in my grocery store do not look like the pretty ones Martha used).

I have a really cute faux pumpkin with flowers in it that I actually bought at the grocery store, which is my fall centerpiece. But to please Martha, I attempted to make my own from apples and pears. It looks kind of lame I think.

Placecards

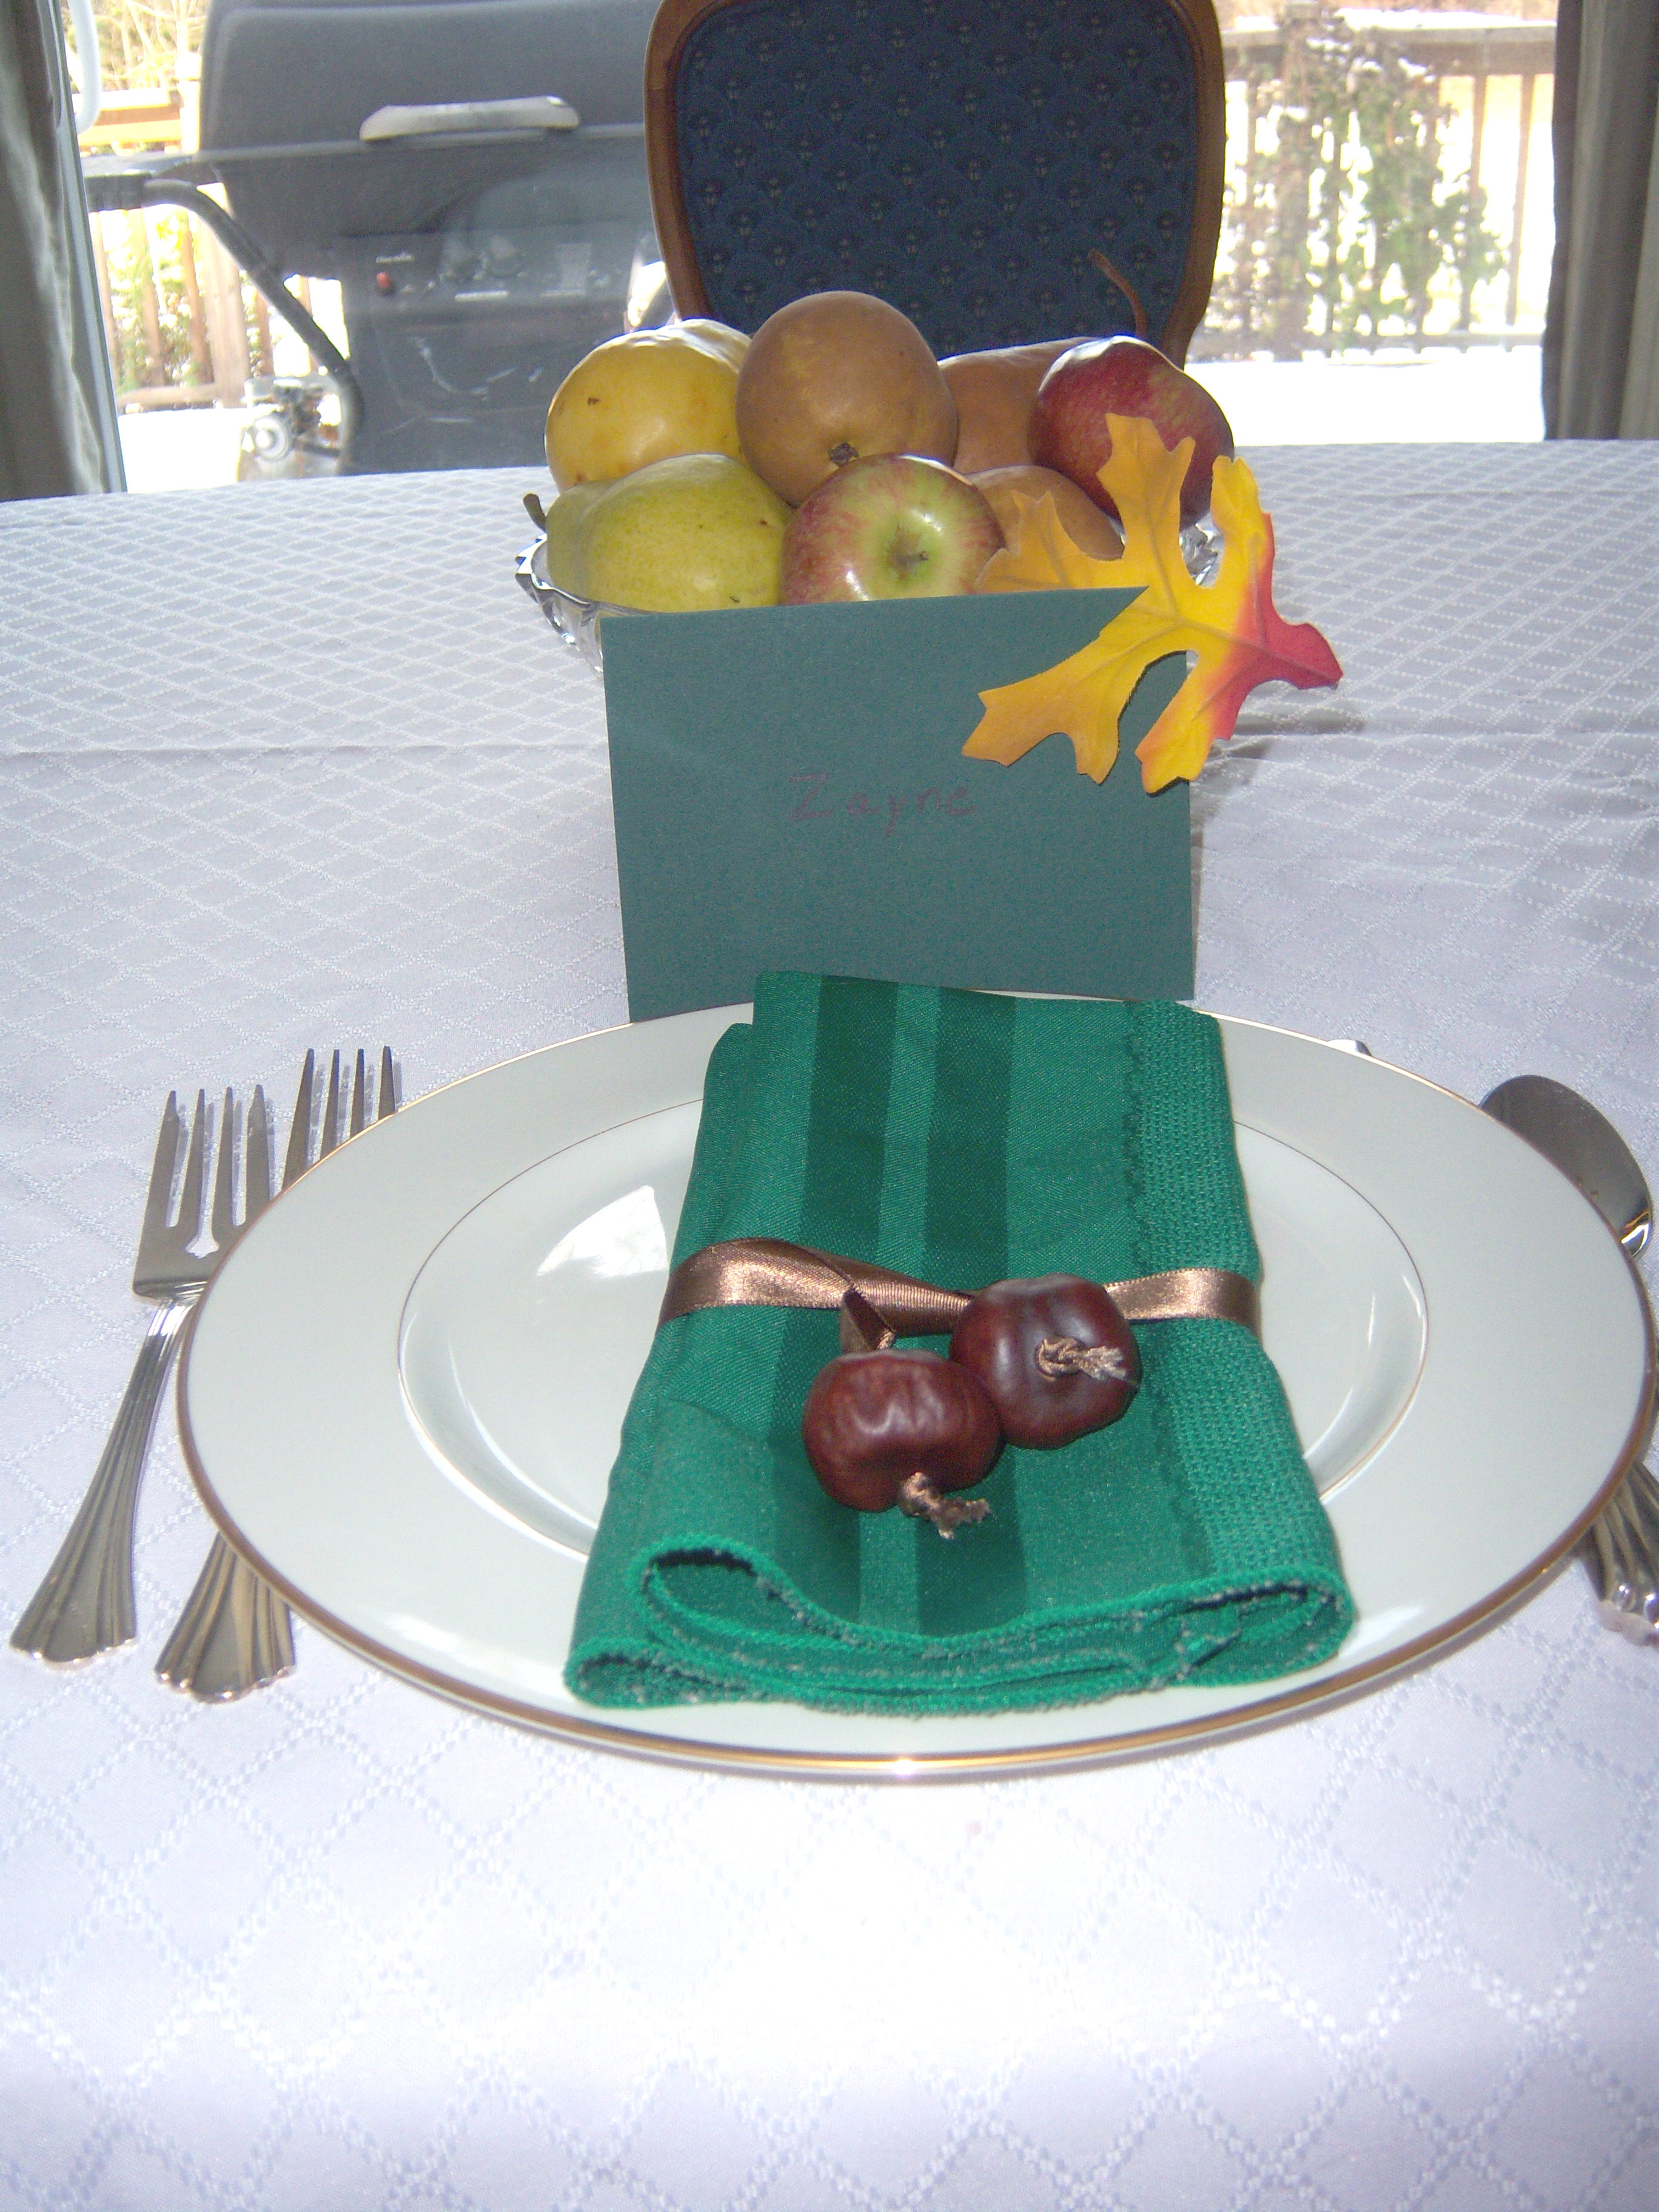
Table setting a la Martha

Table setting a la Martha

On Page 54 of November Living, Martha also has leaf placecards. You take a plain card (she used black but I chose green) and cut a diagonal slit in one corner and insert a leaf there. Great, except all of our leaves have turned brown, crumpled into nothing, and been covered with snow by now. So I used a faux leaf instead. I think it’s actually kind of cute.

I must confess that since we usually stay home for Thanksgiving, I don’t go nuts (ha! You’ll get the joke later in the blog) with table decorations. I use the good china, but generally stick with everyday silverware. Cloth napkins, maybe. This year, in my ongoing Martha makeover, I knew I had to kick it … Read more

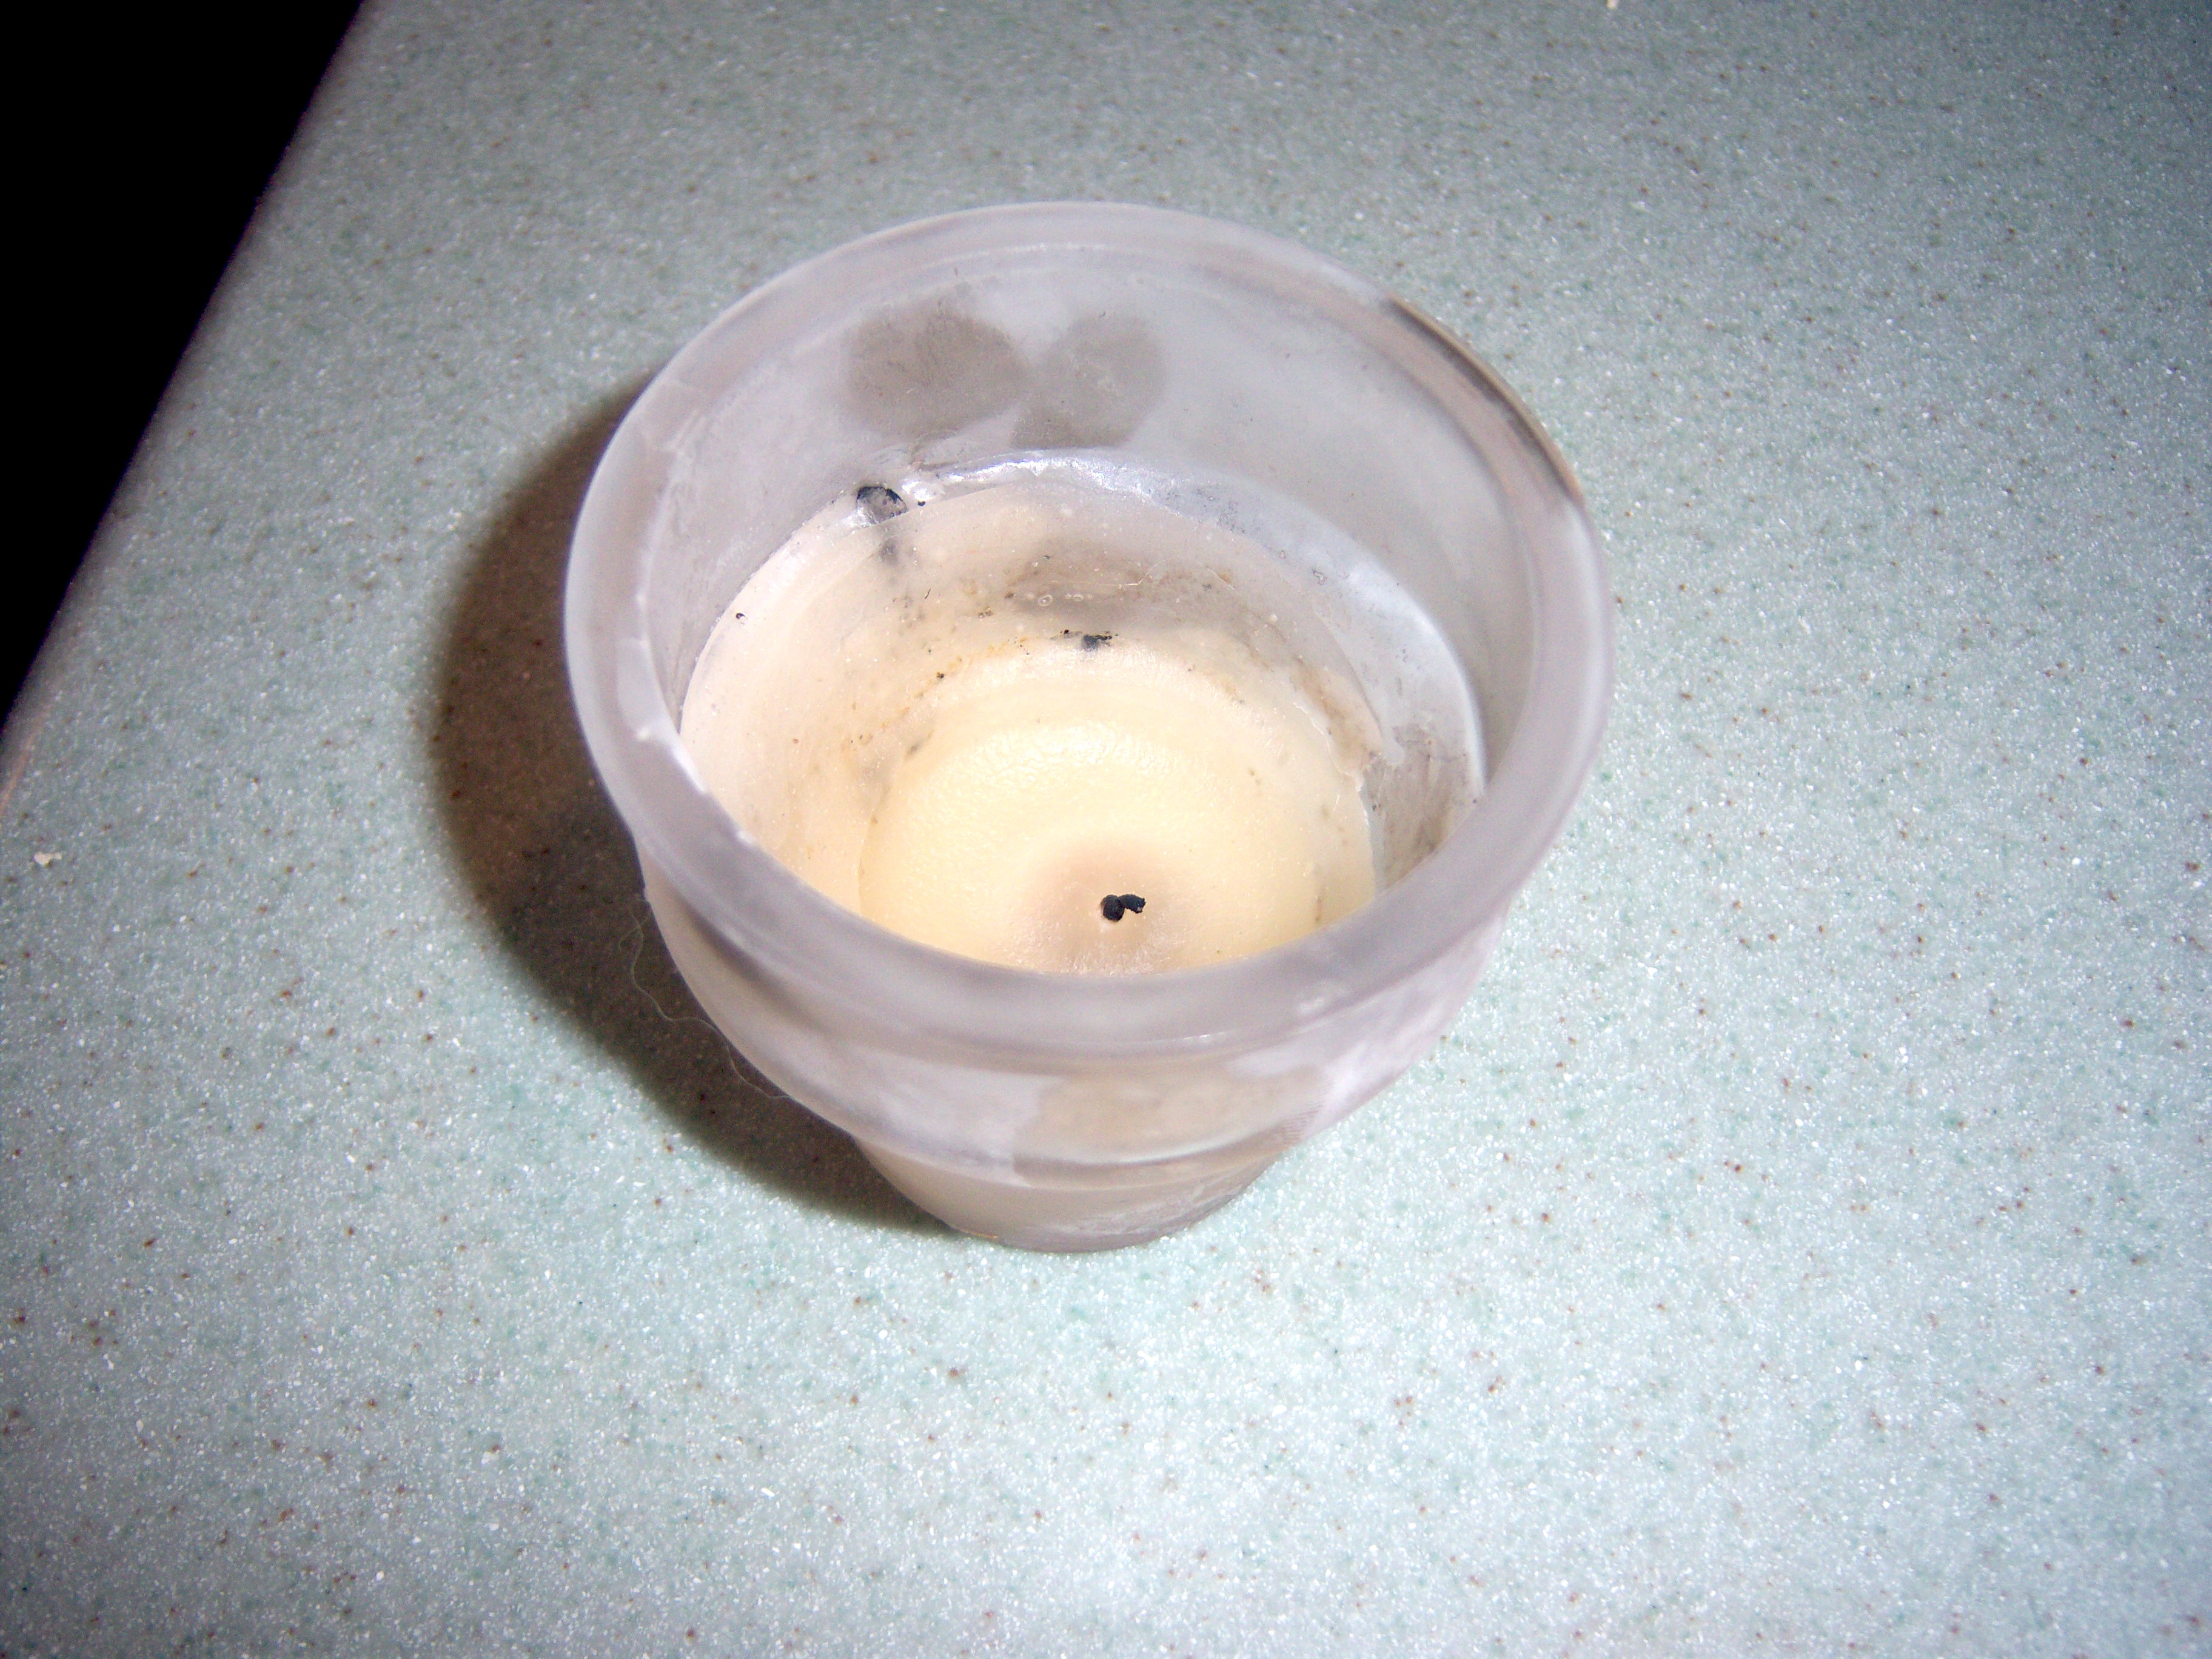
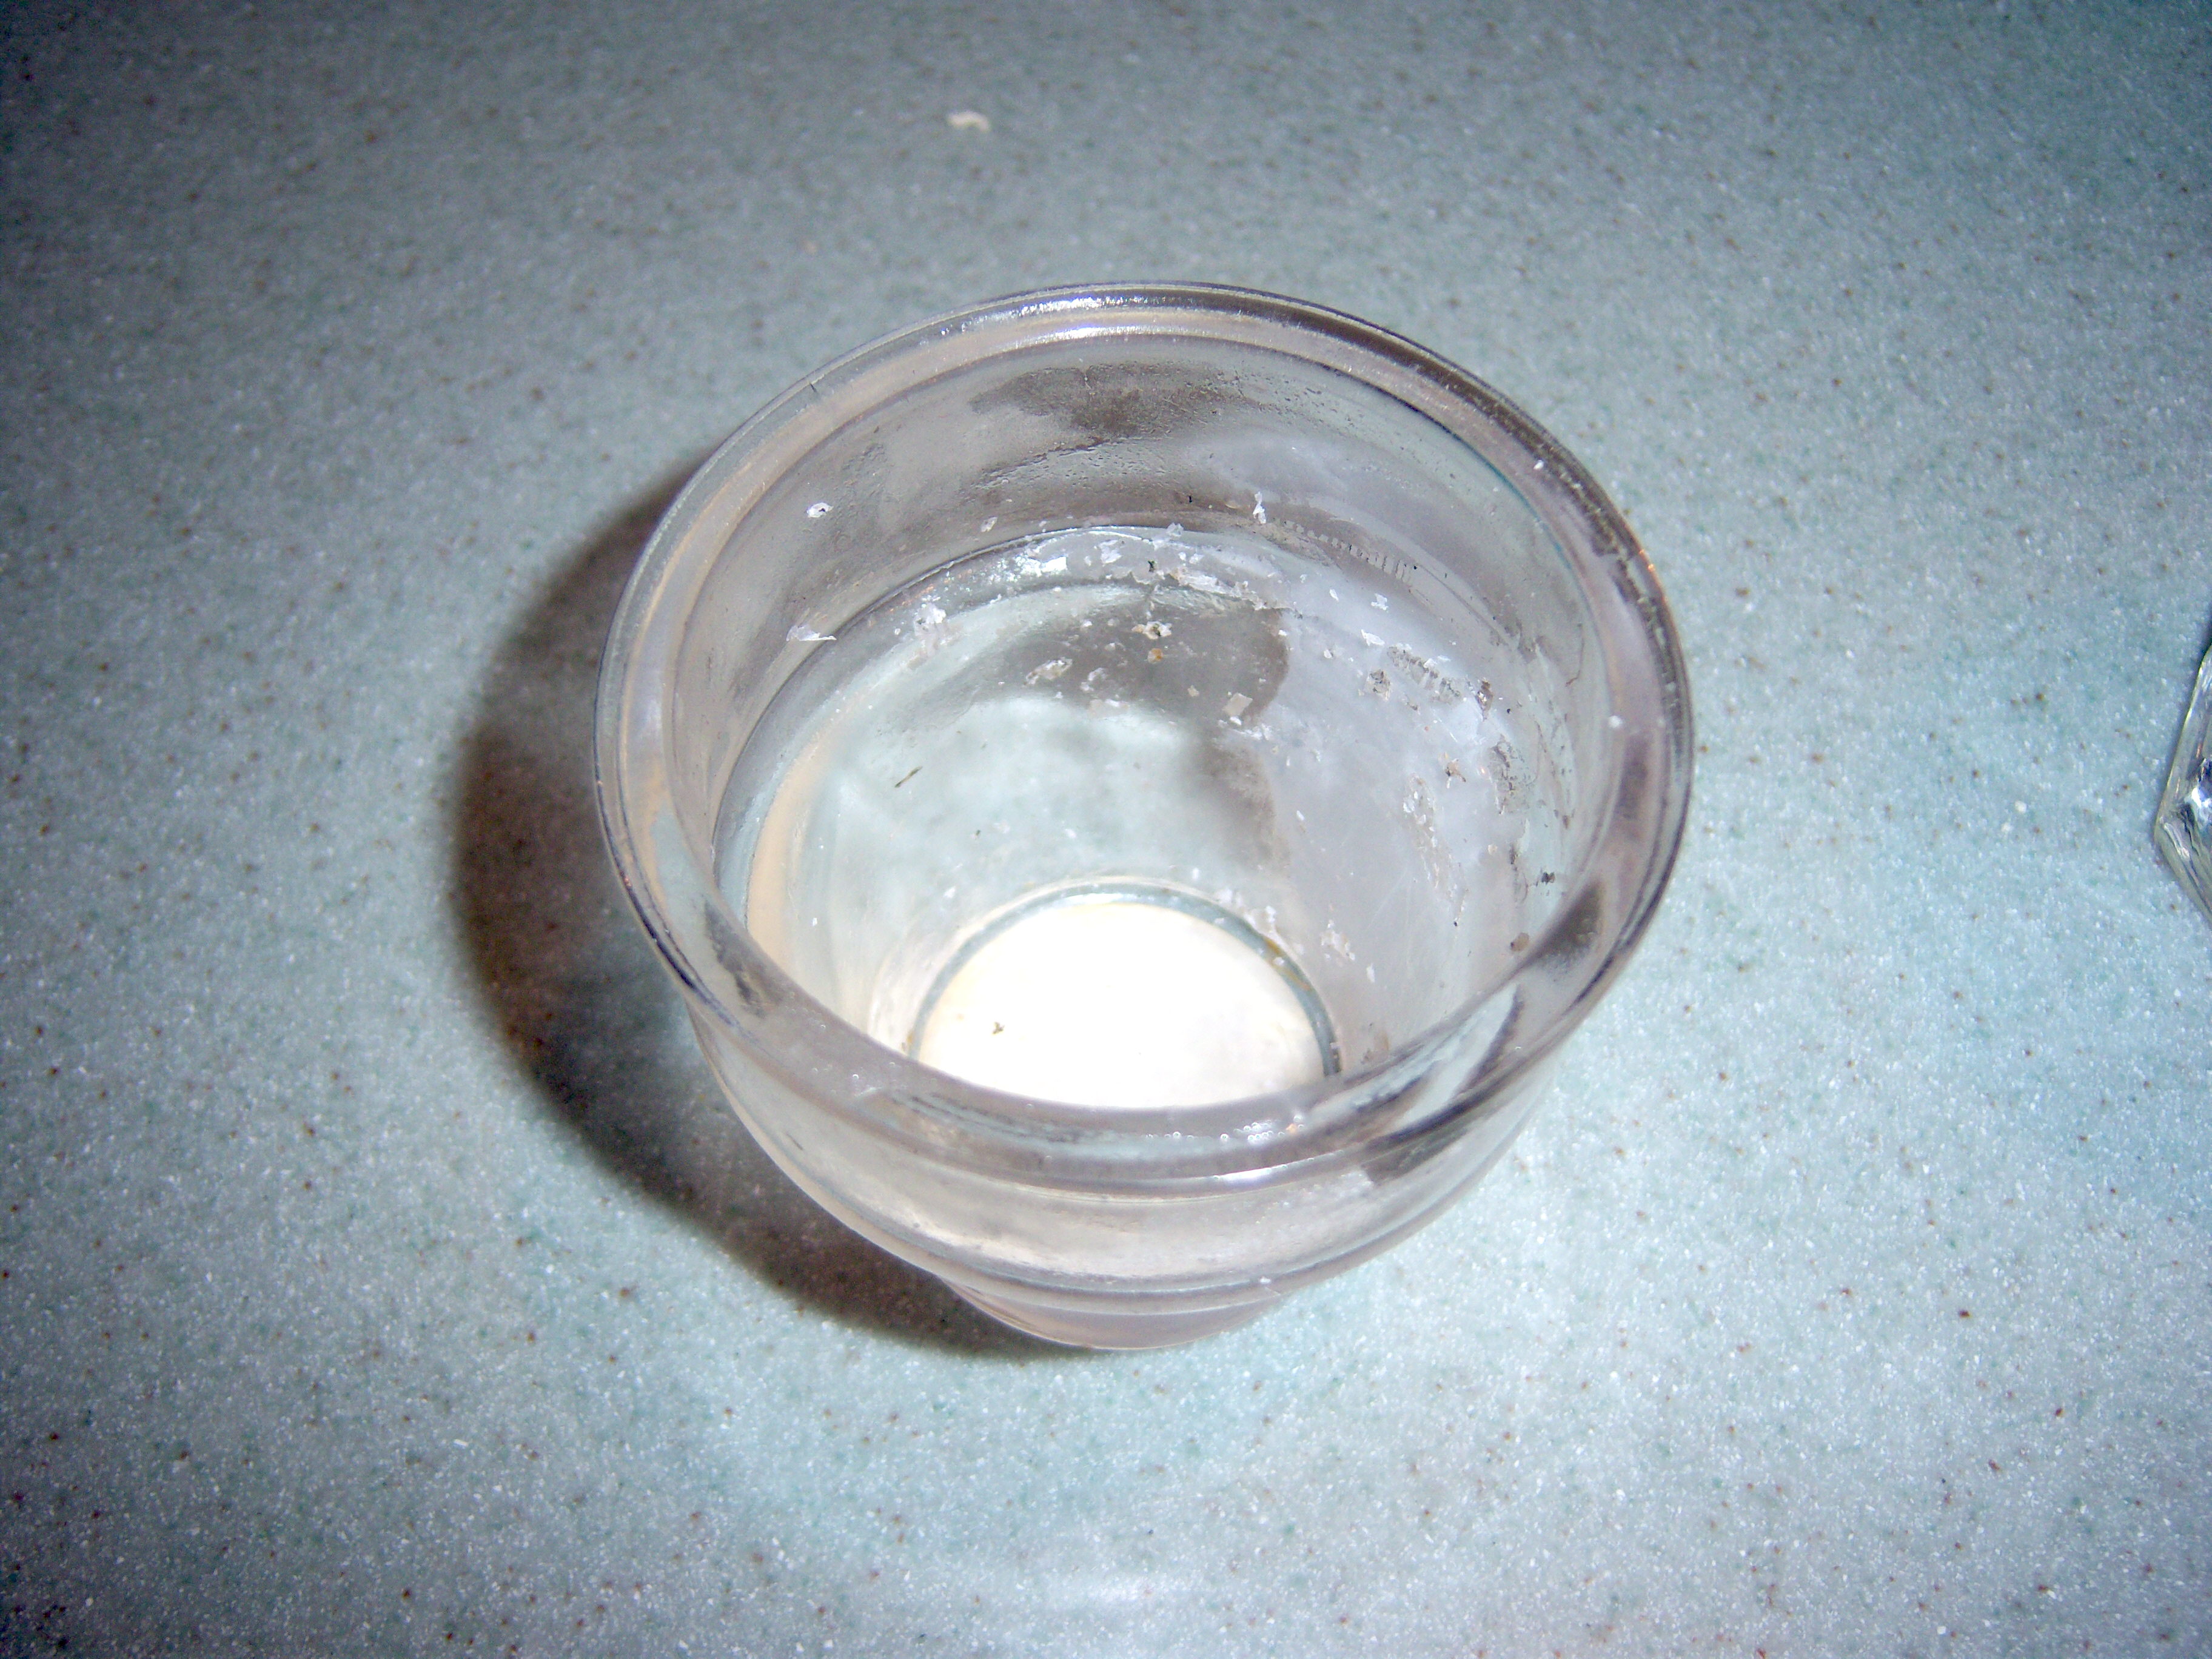
I’ve poured over the November Ask Martha in Living and have come away with some tidbits. Firstly, I really appreciated the answer about removing wax from votives. I had not clue how to do this. Martha suggests popping the votive in the freezer and then removing the wax. This totally worked for me! Here are my before and after photos (the after one still needs some cleaning up, but the huge glob of candle wax is completely gone):

Before

Before

And after

And after

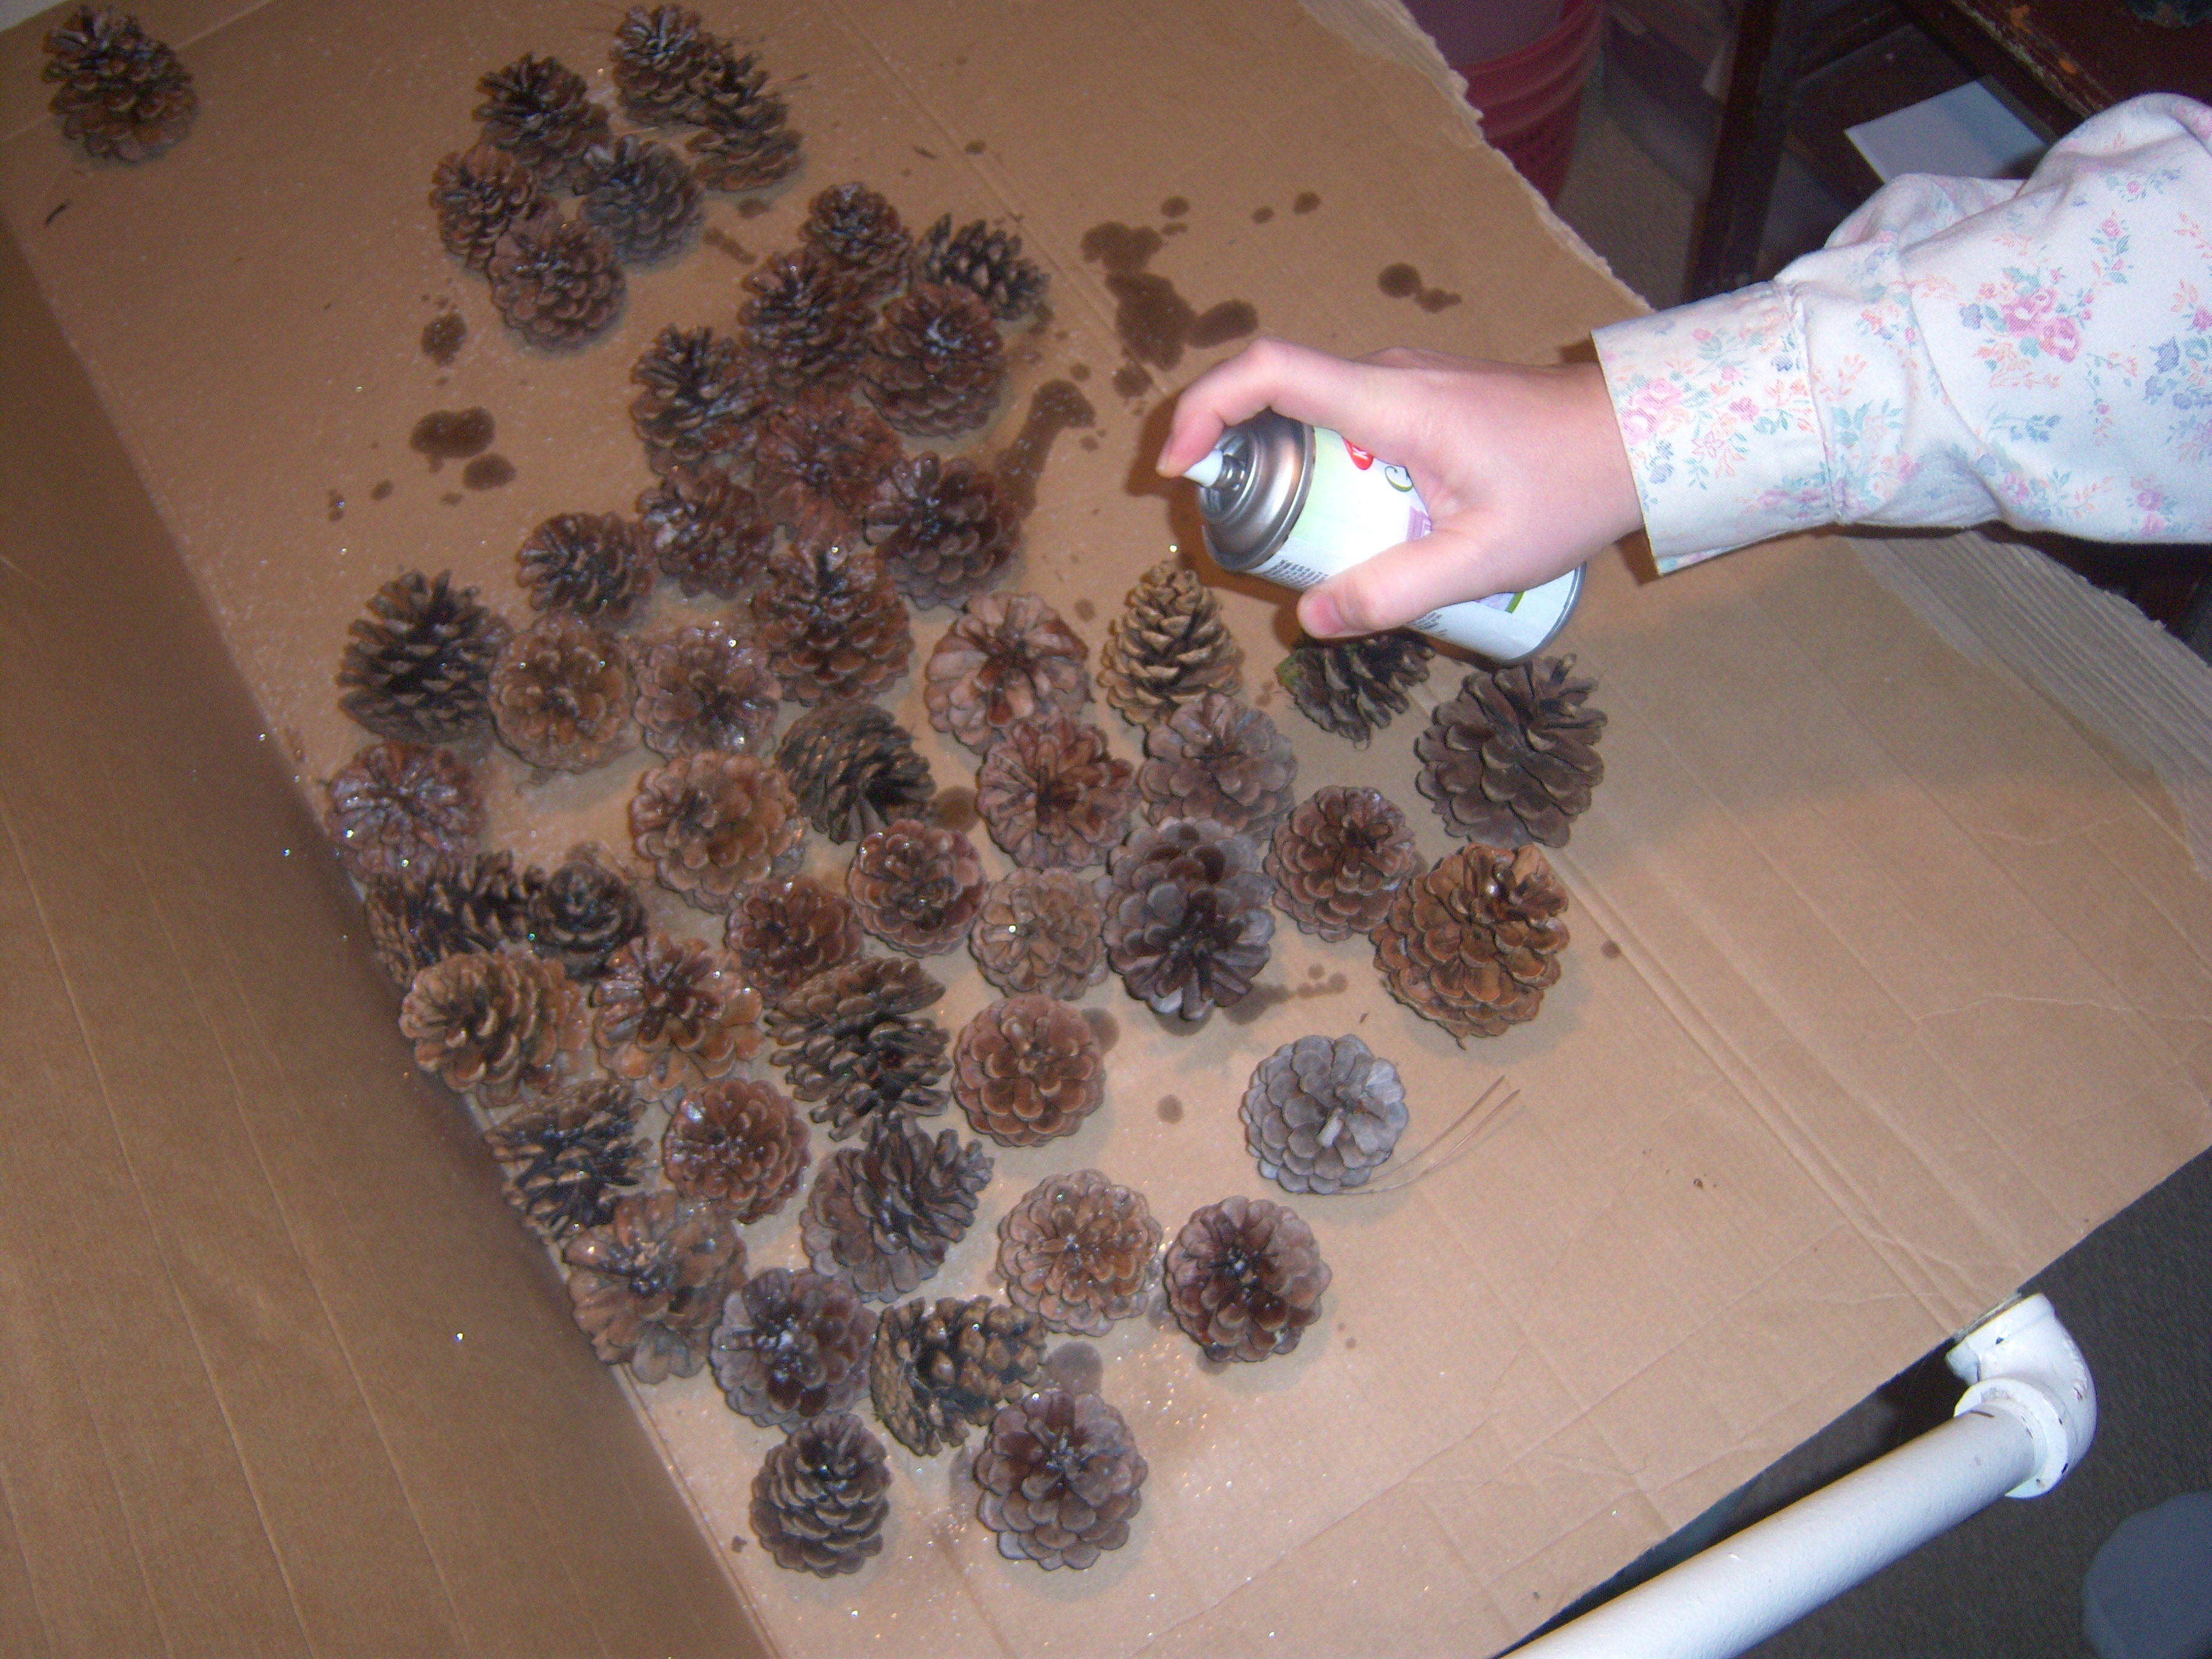
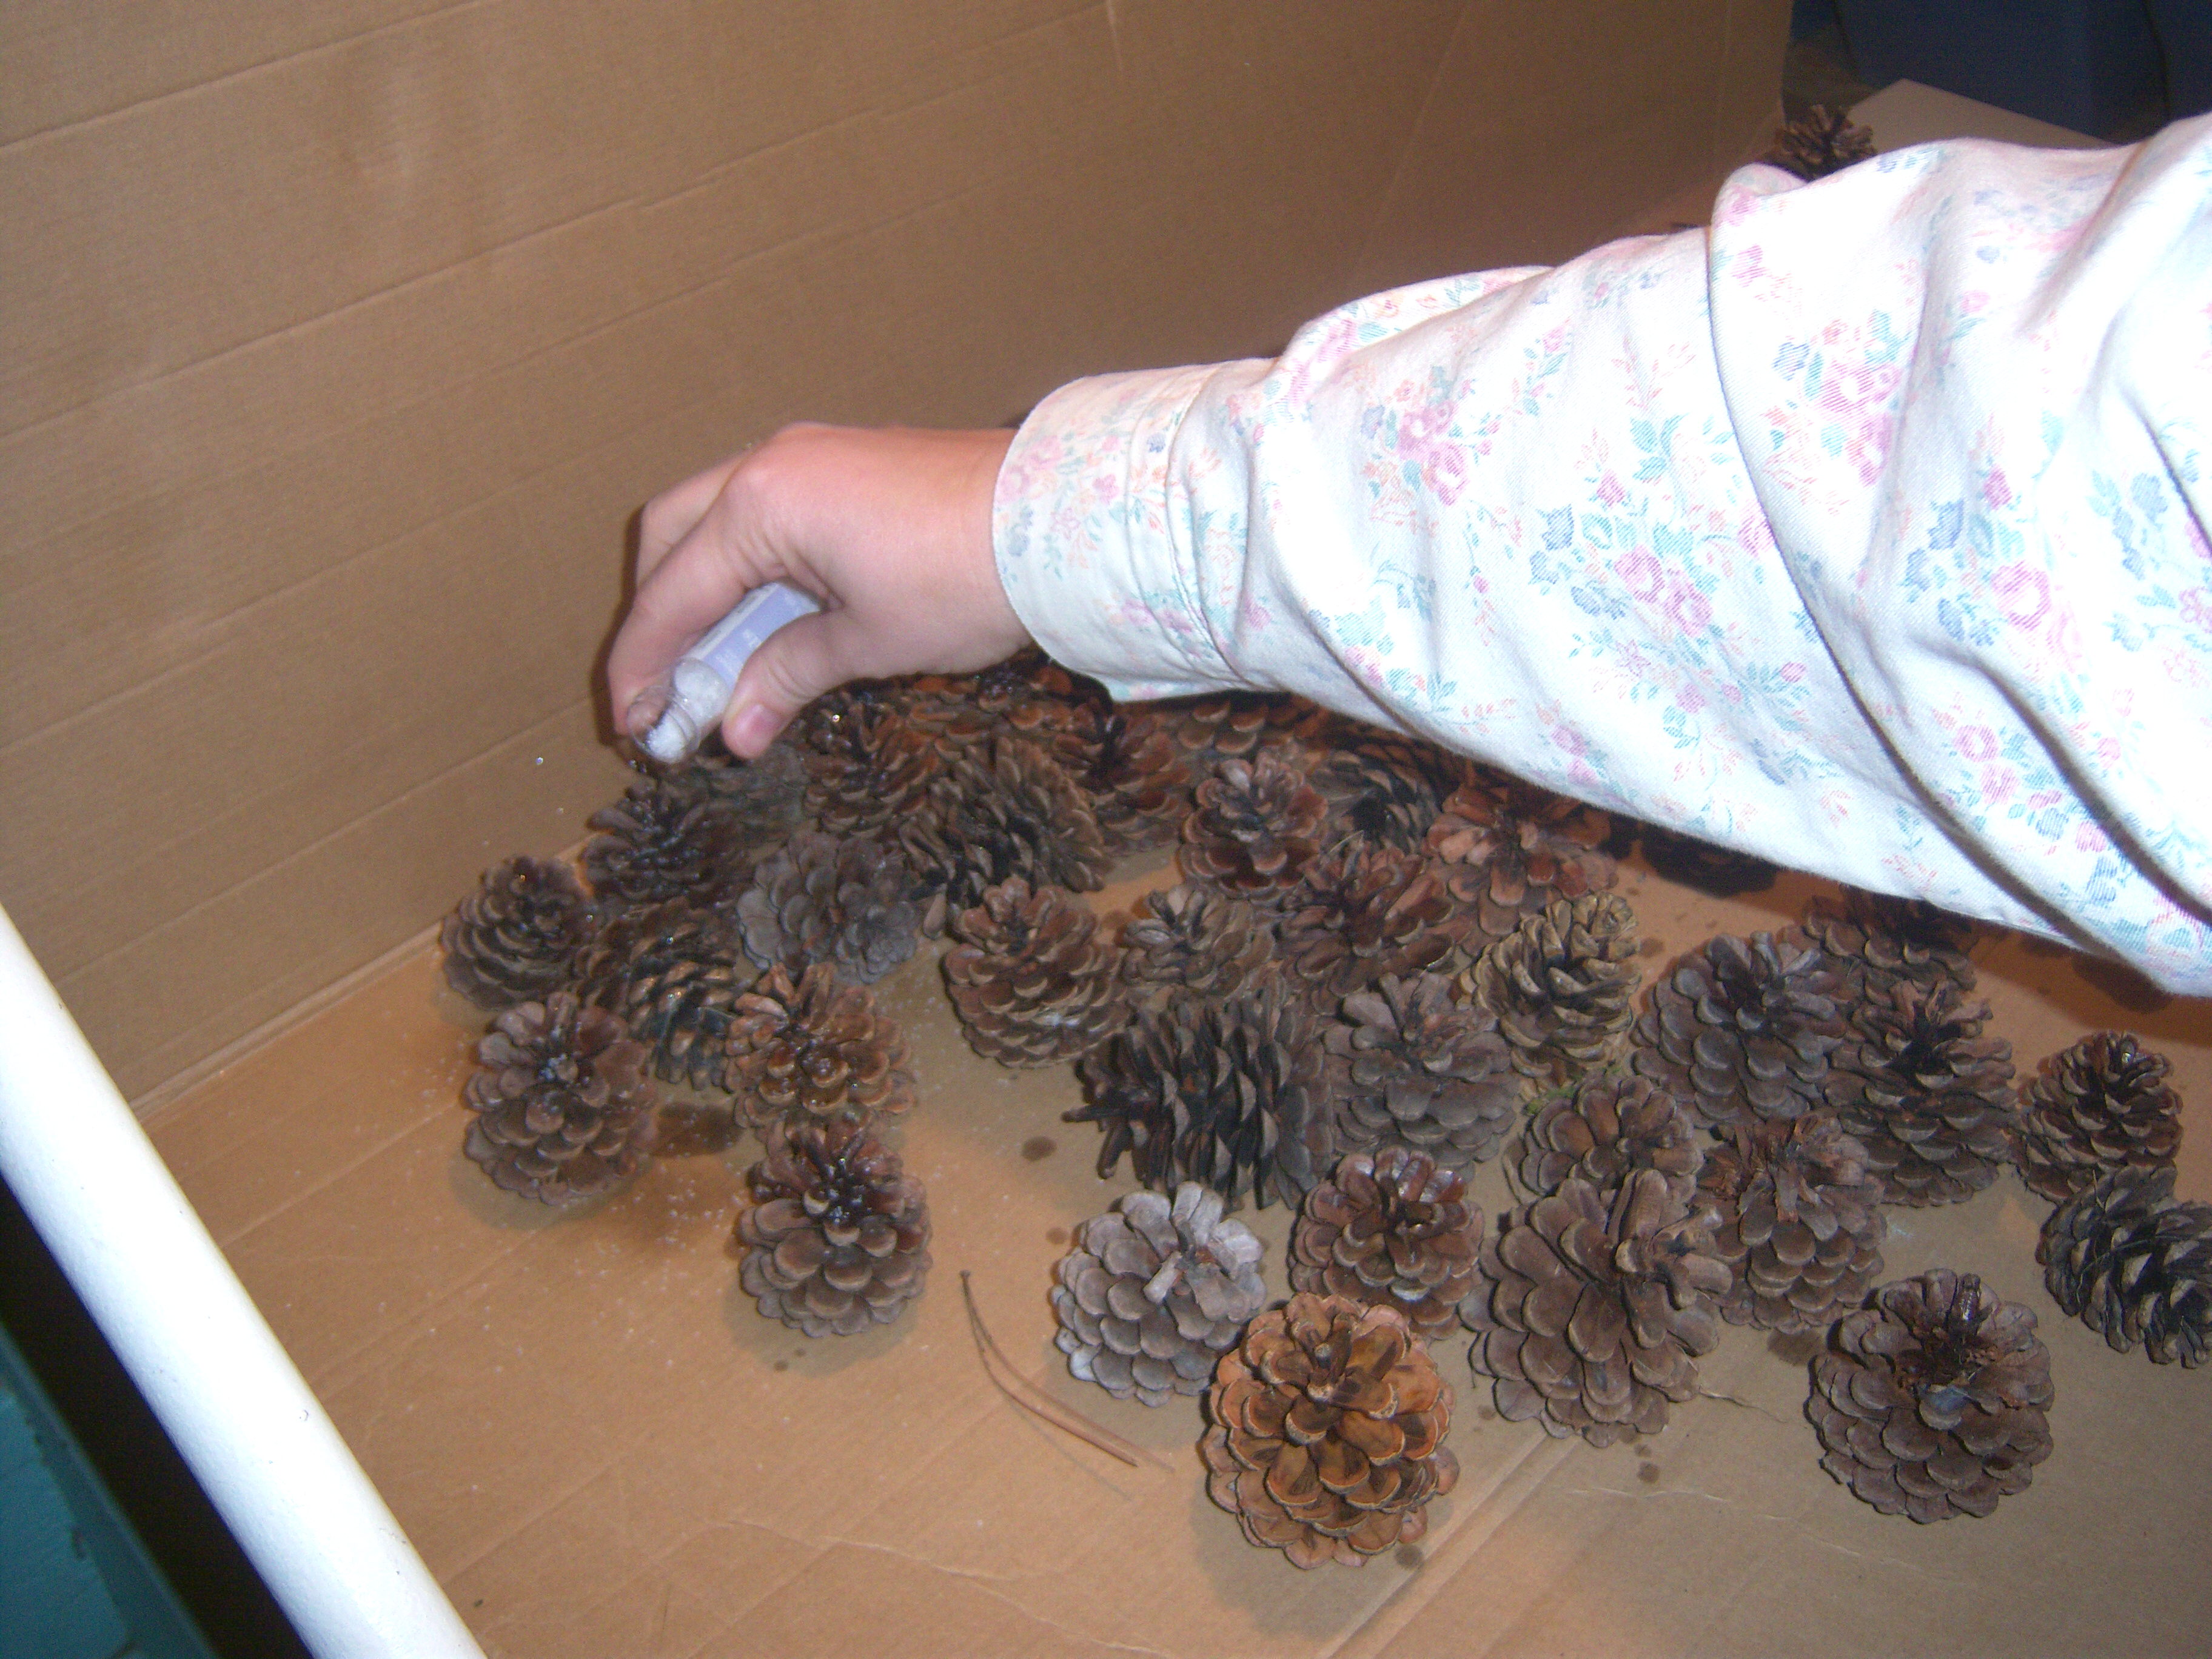
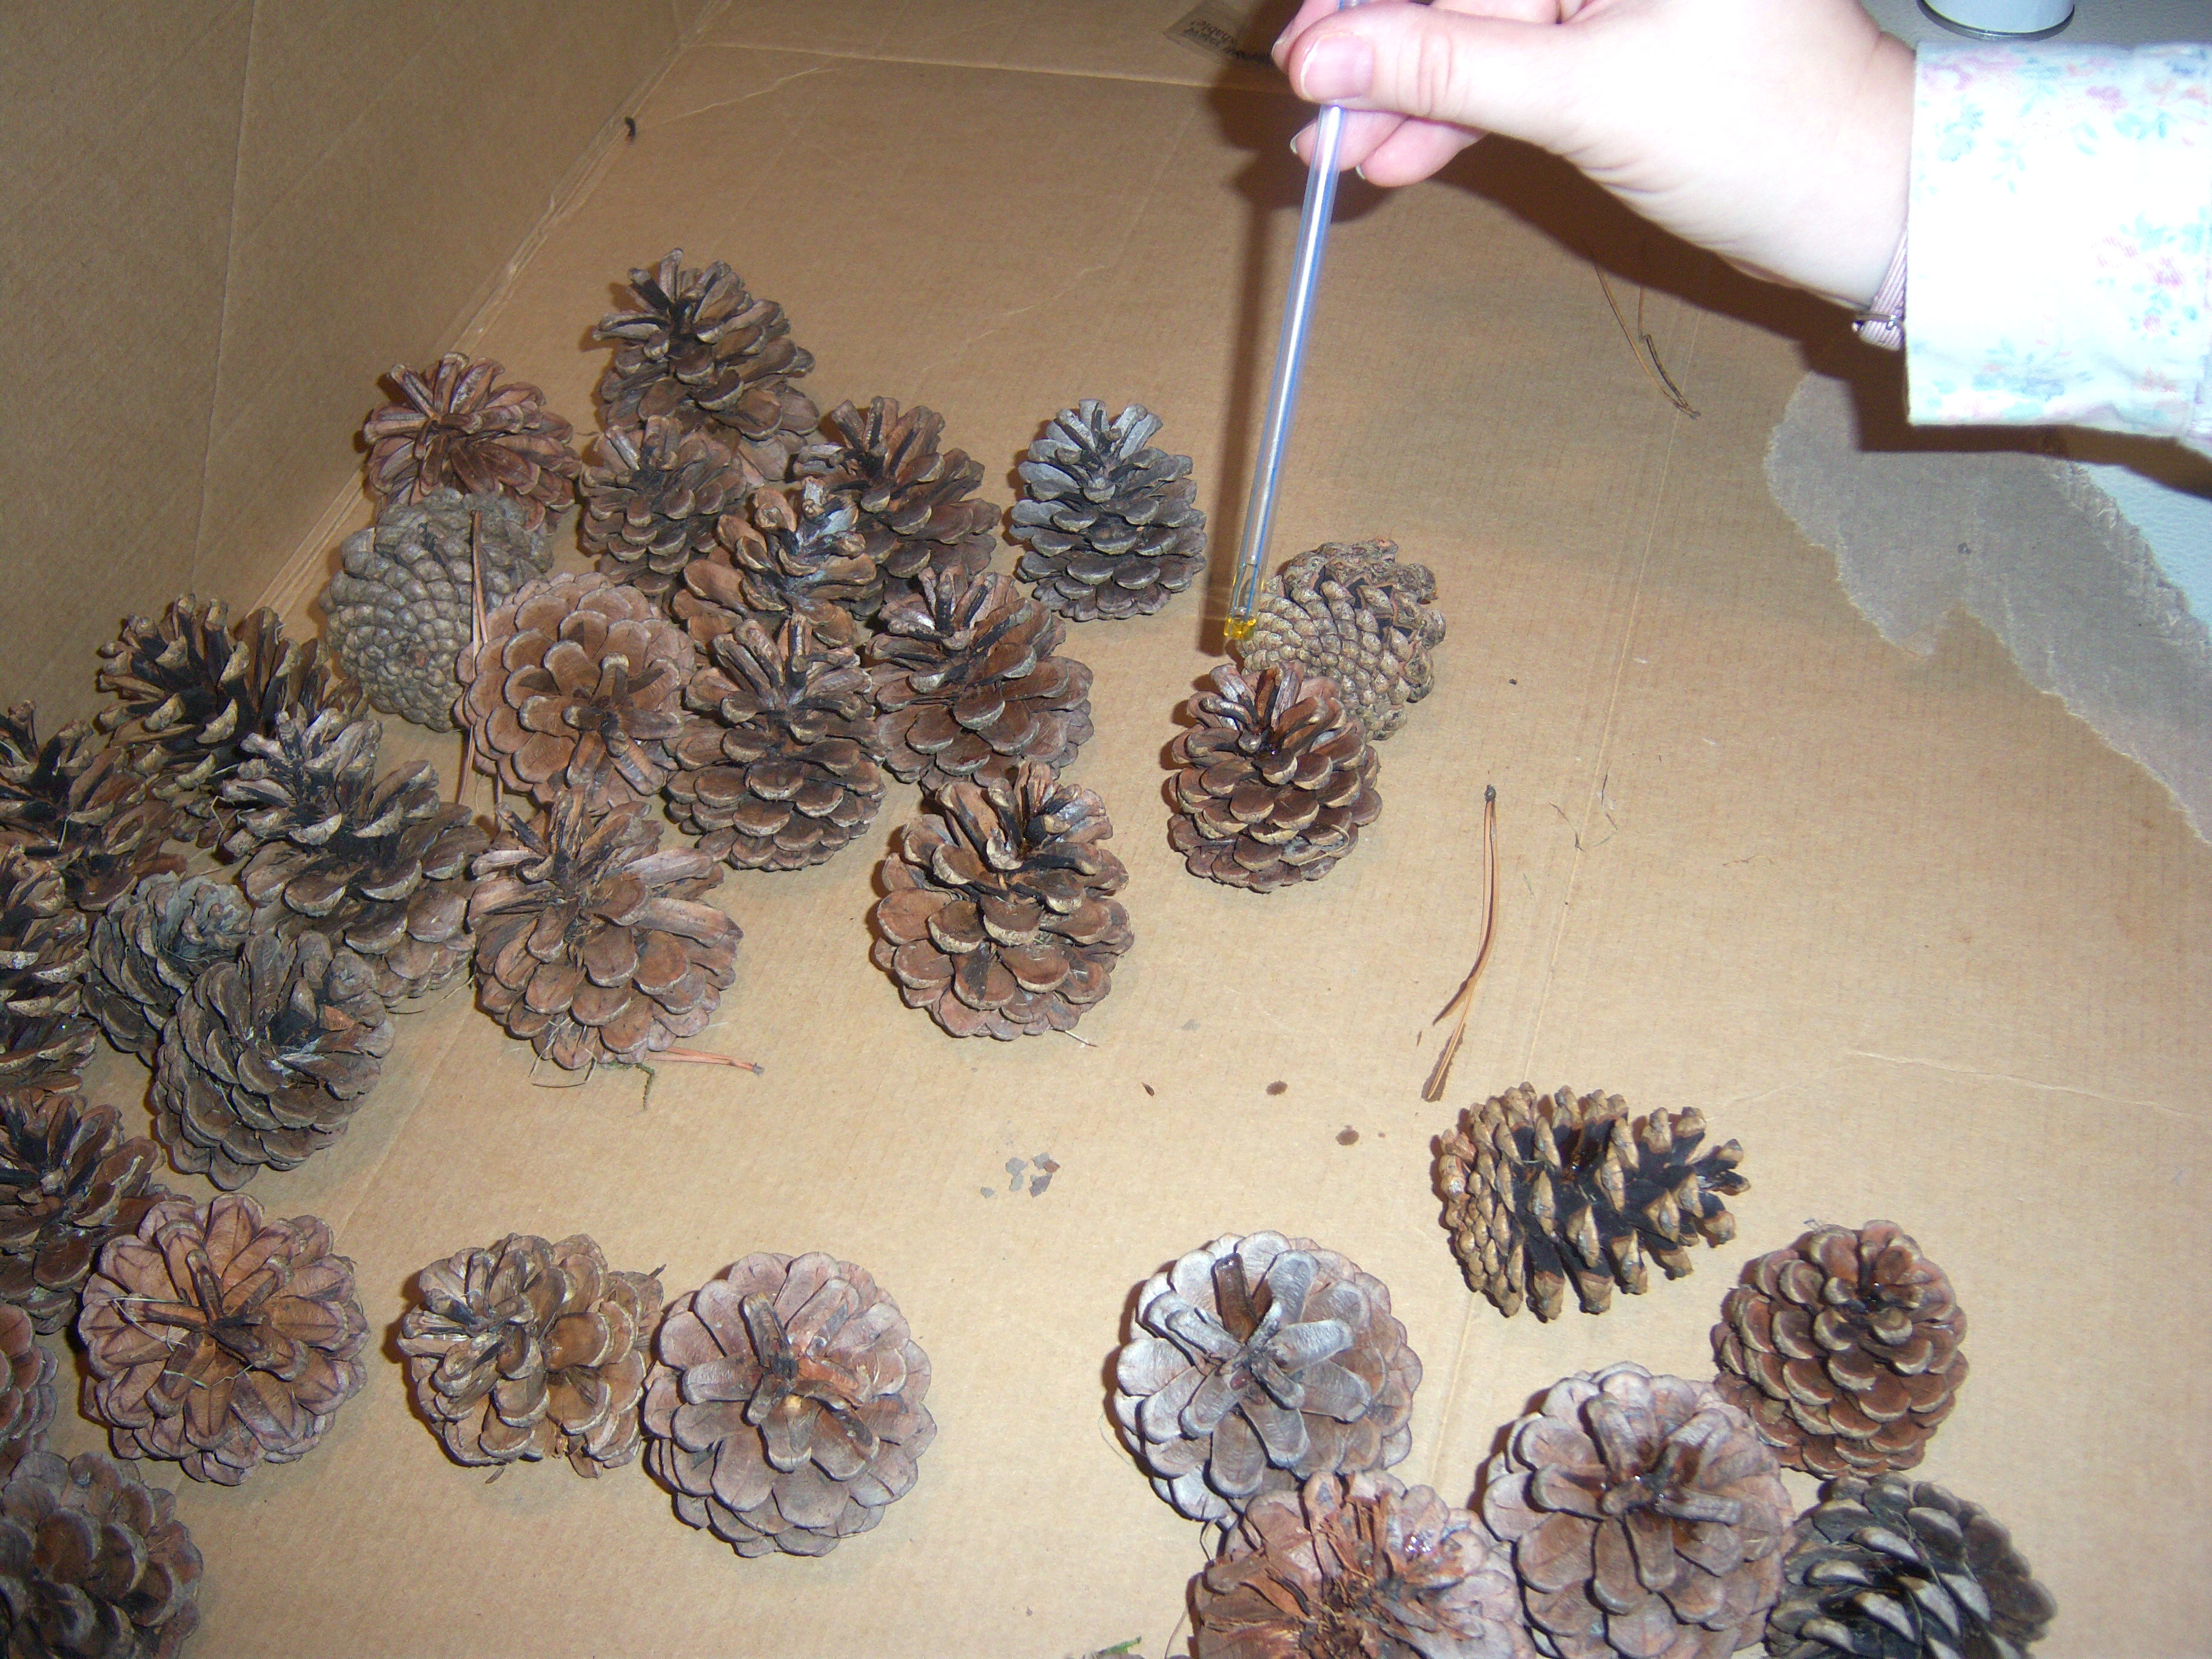
The other question I enjoyed was the one about adding fragrance to wood-burning fireplaces. One of Martha’s suggestions was to dry and then scent pinecones. I sent Mini-Martha to the backyard to pick up pinecones. I dried them in the oven at 200 degrees for about 45 minutes. Then I spread them out and sprayed them with a glittery spray. It didn’t turn out too glittery, so I sprayed it again and while still wet, shook on some white glitter. Gorgeous! Next I dropped on some scented oil. Martha says to keep the scented pinecones in a plastic ziploc, which I will do, but my plan is to give this as a gift, so I’m going to put them in a basket once we’re closer to Christmas.

Spraying

Spraying

Glittering

Glittering

Scenting

Scenting

I’ve poured over the November Ask Martha in Living and have come away with some tidbits. Firstly, I really appreciated the answer about removing wax from votives. I had not clue how to do this. Martha suggests popping the votive in the freezer and then removing the wax. This totally worked for me! Here are … Read more

On Friday, Nov 14, Martha made mushroom prints with Seal. Wow! I thought they were amazing and was excited to do with it with mini-Martha. I even thought we might be able to frame them and give them as a gift.

First stop  – the store. I bought two pieces of 12×12 cardstock for 50 cents each at Joanns. They had never heard of spray fixative and acted like I was a lunatic (don’t you hate that? Are they there to serve the customer or what?). I found that at Michael’s for $6.49. Then off to the grocery store where we bought portabellas for $2.07 and shitakes for 67 cents.

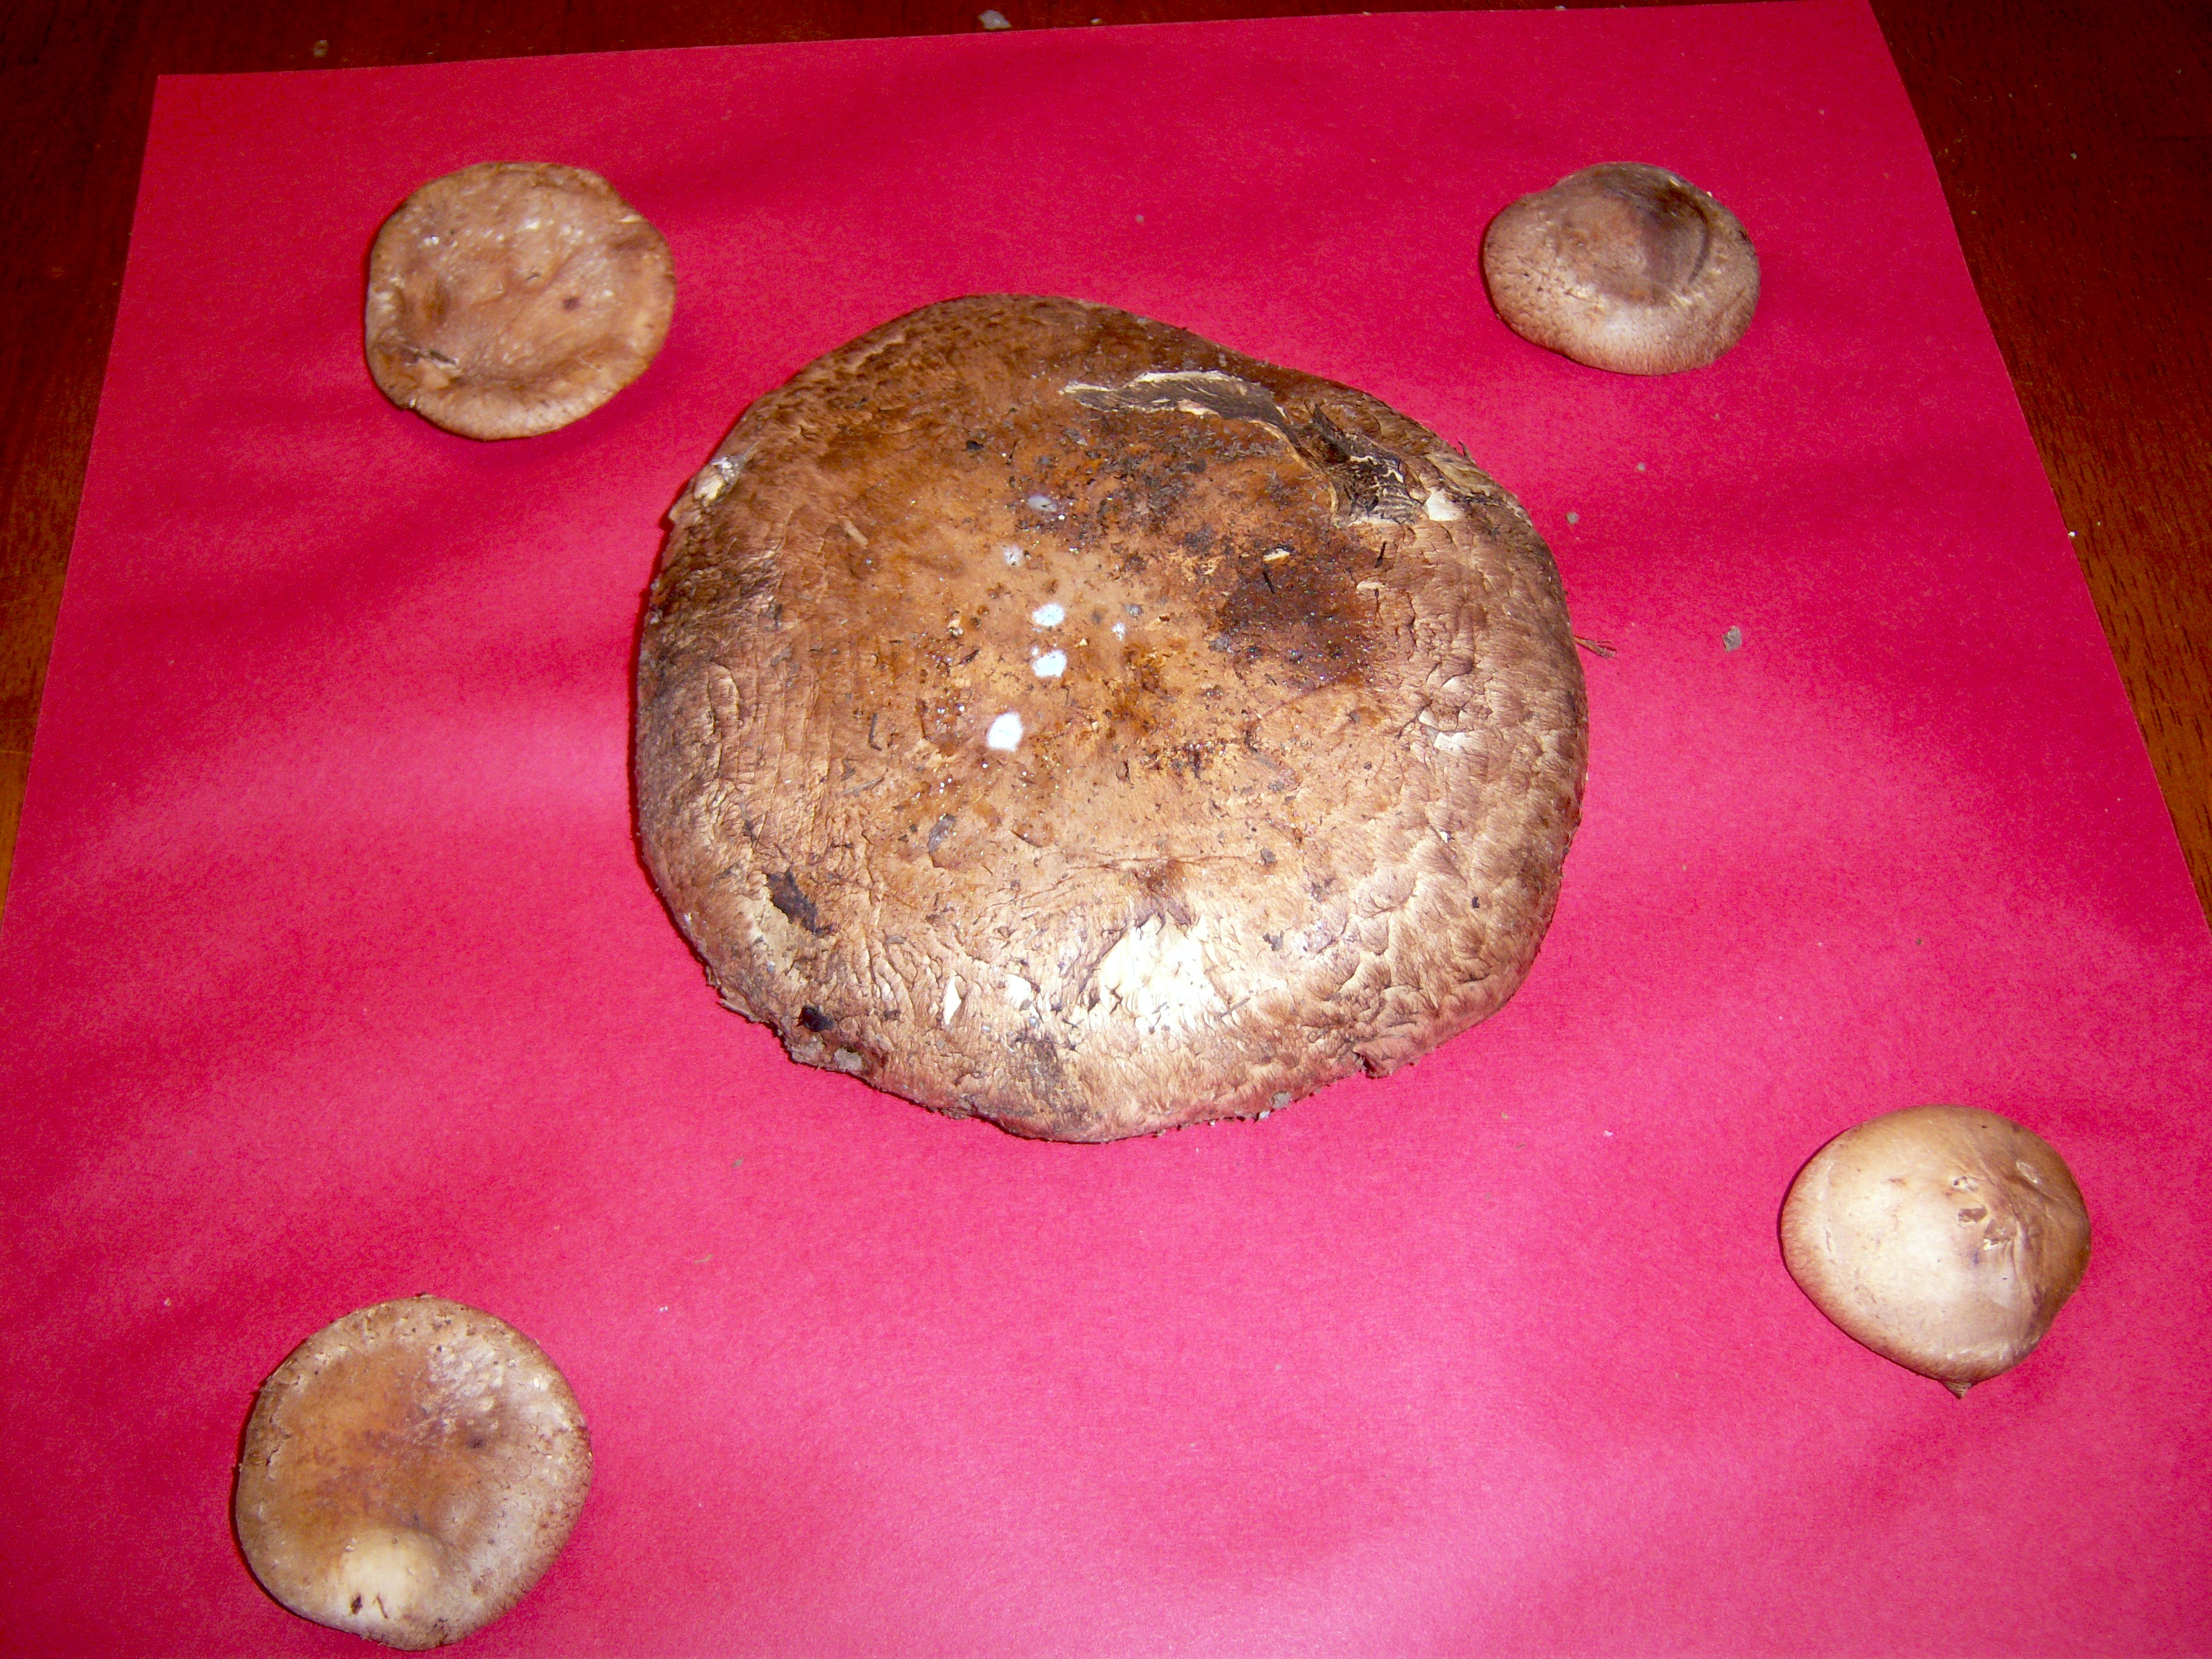
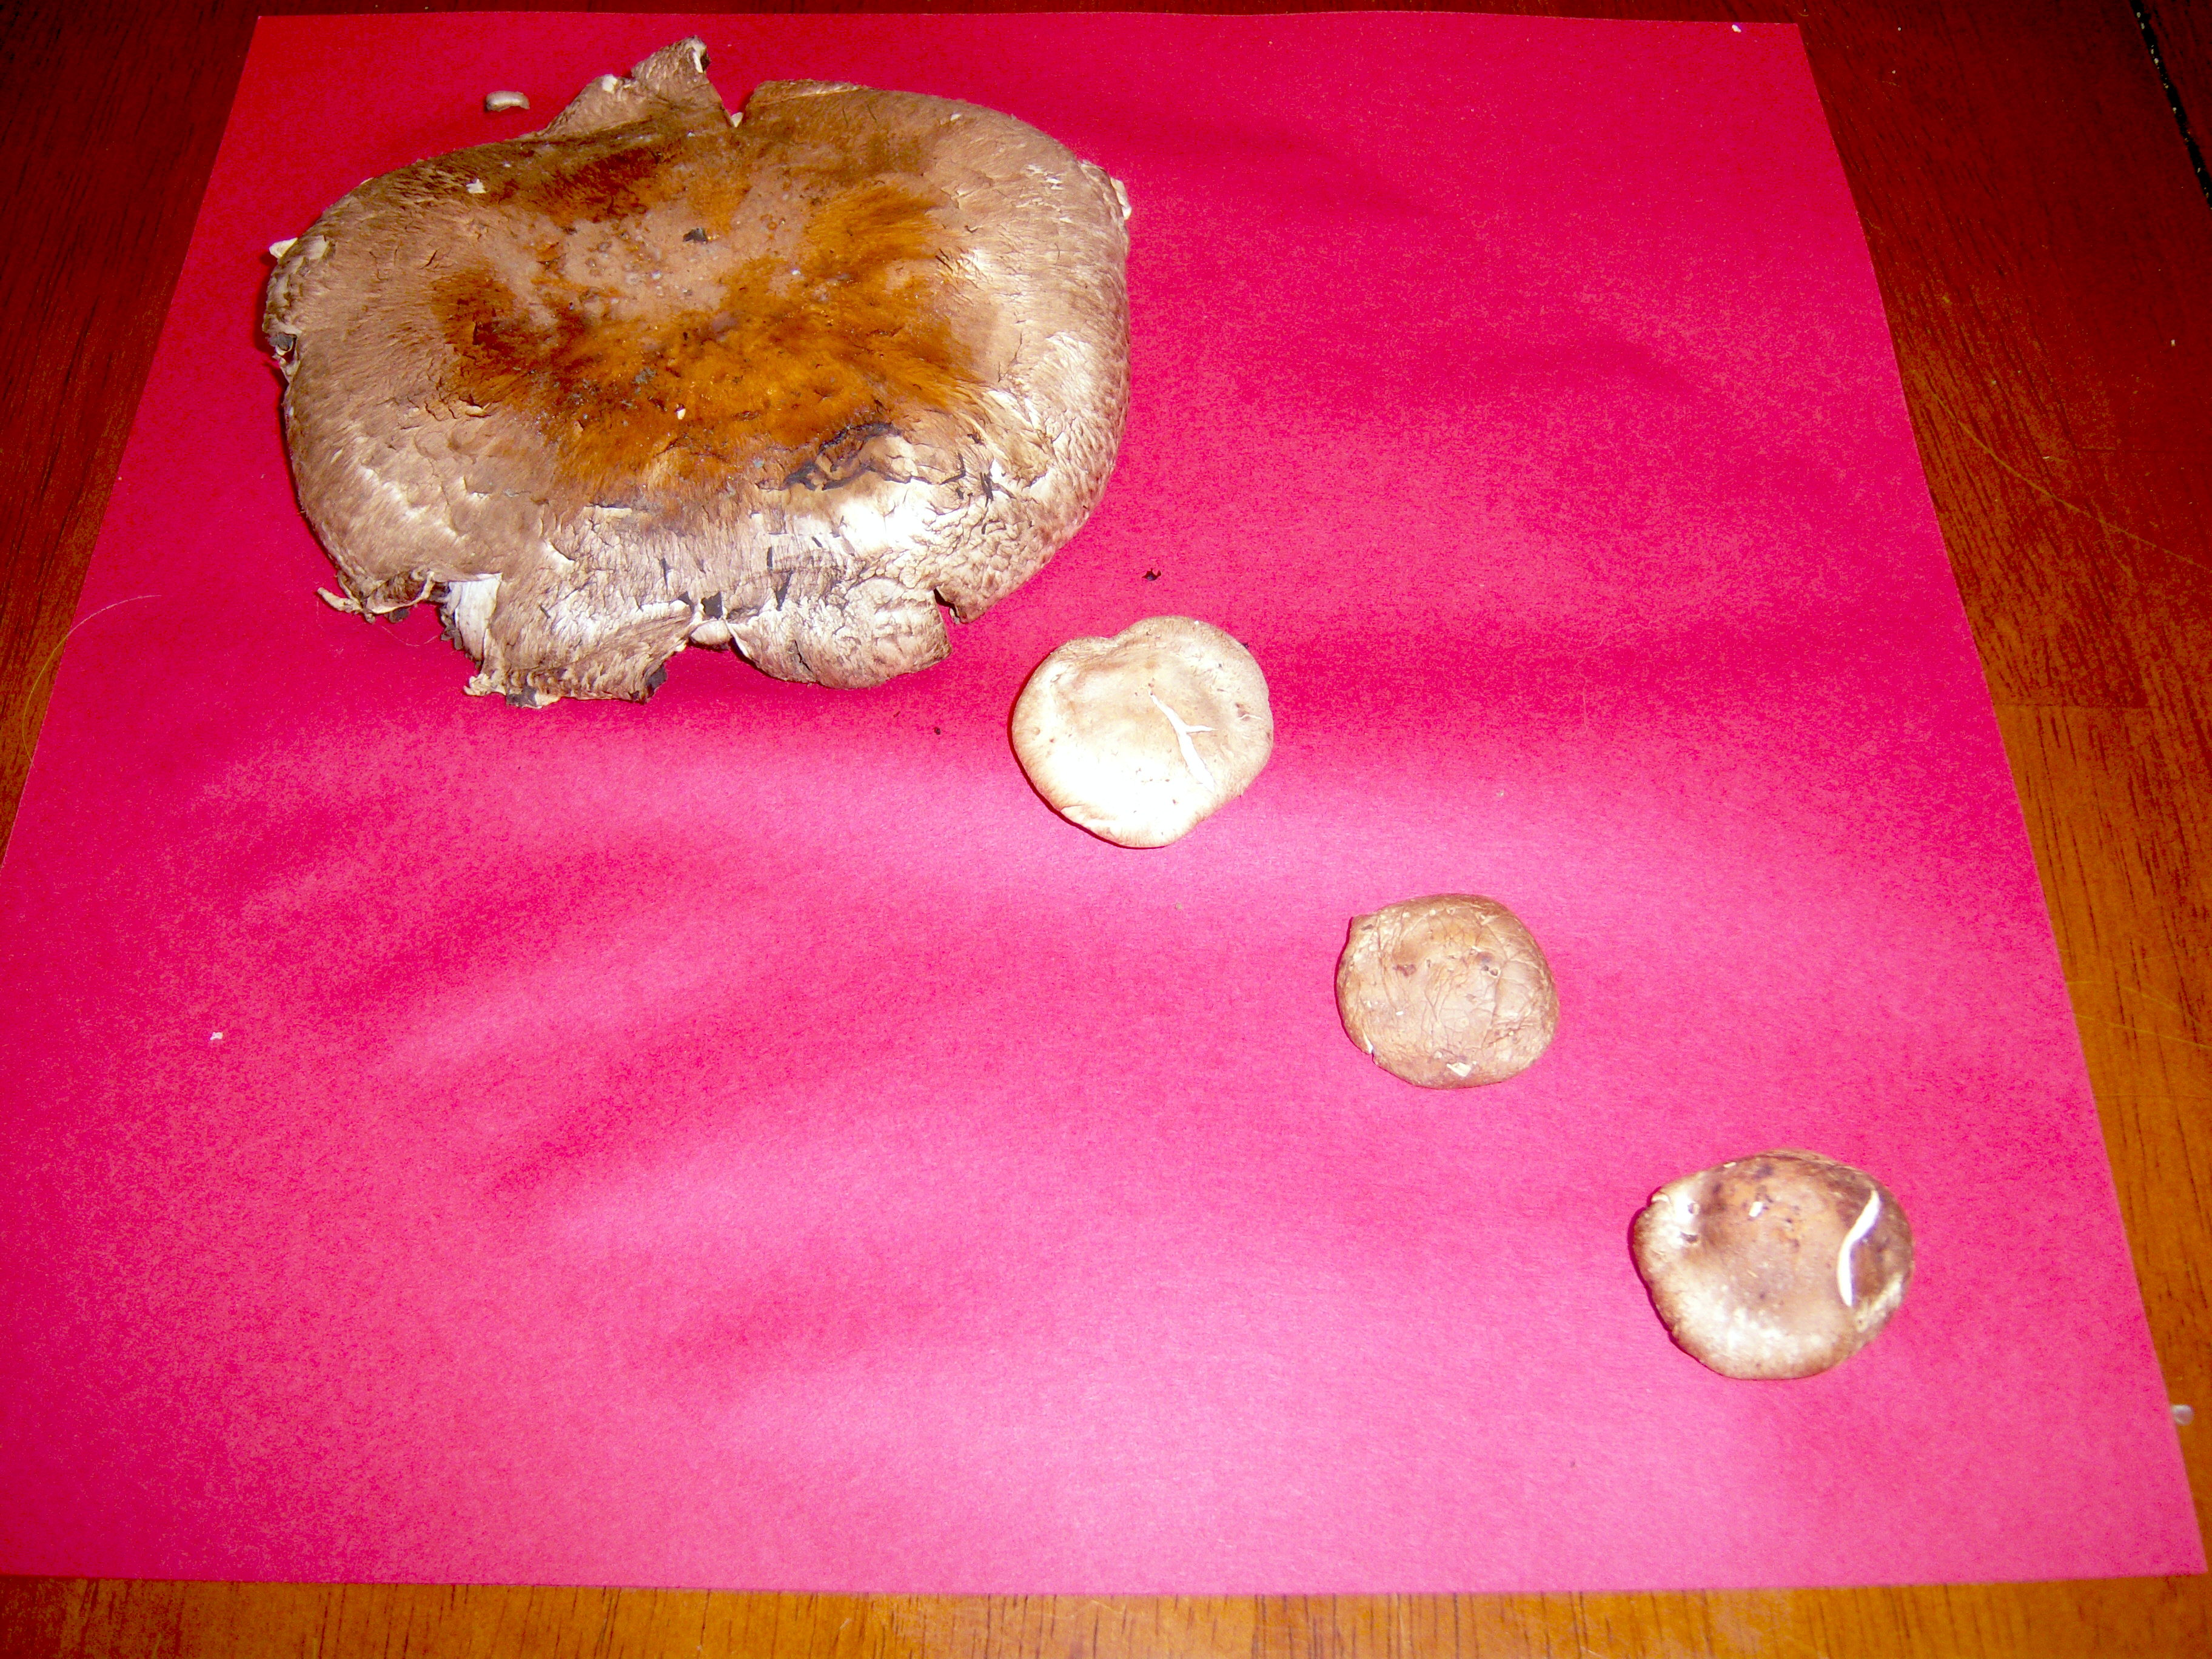
We came home and removed the stems.  Mini-Martha placed the mushrooms on the papers. We covered them with bowls for 24 hours.

Number 1

Number 1

Number 2

Number 2

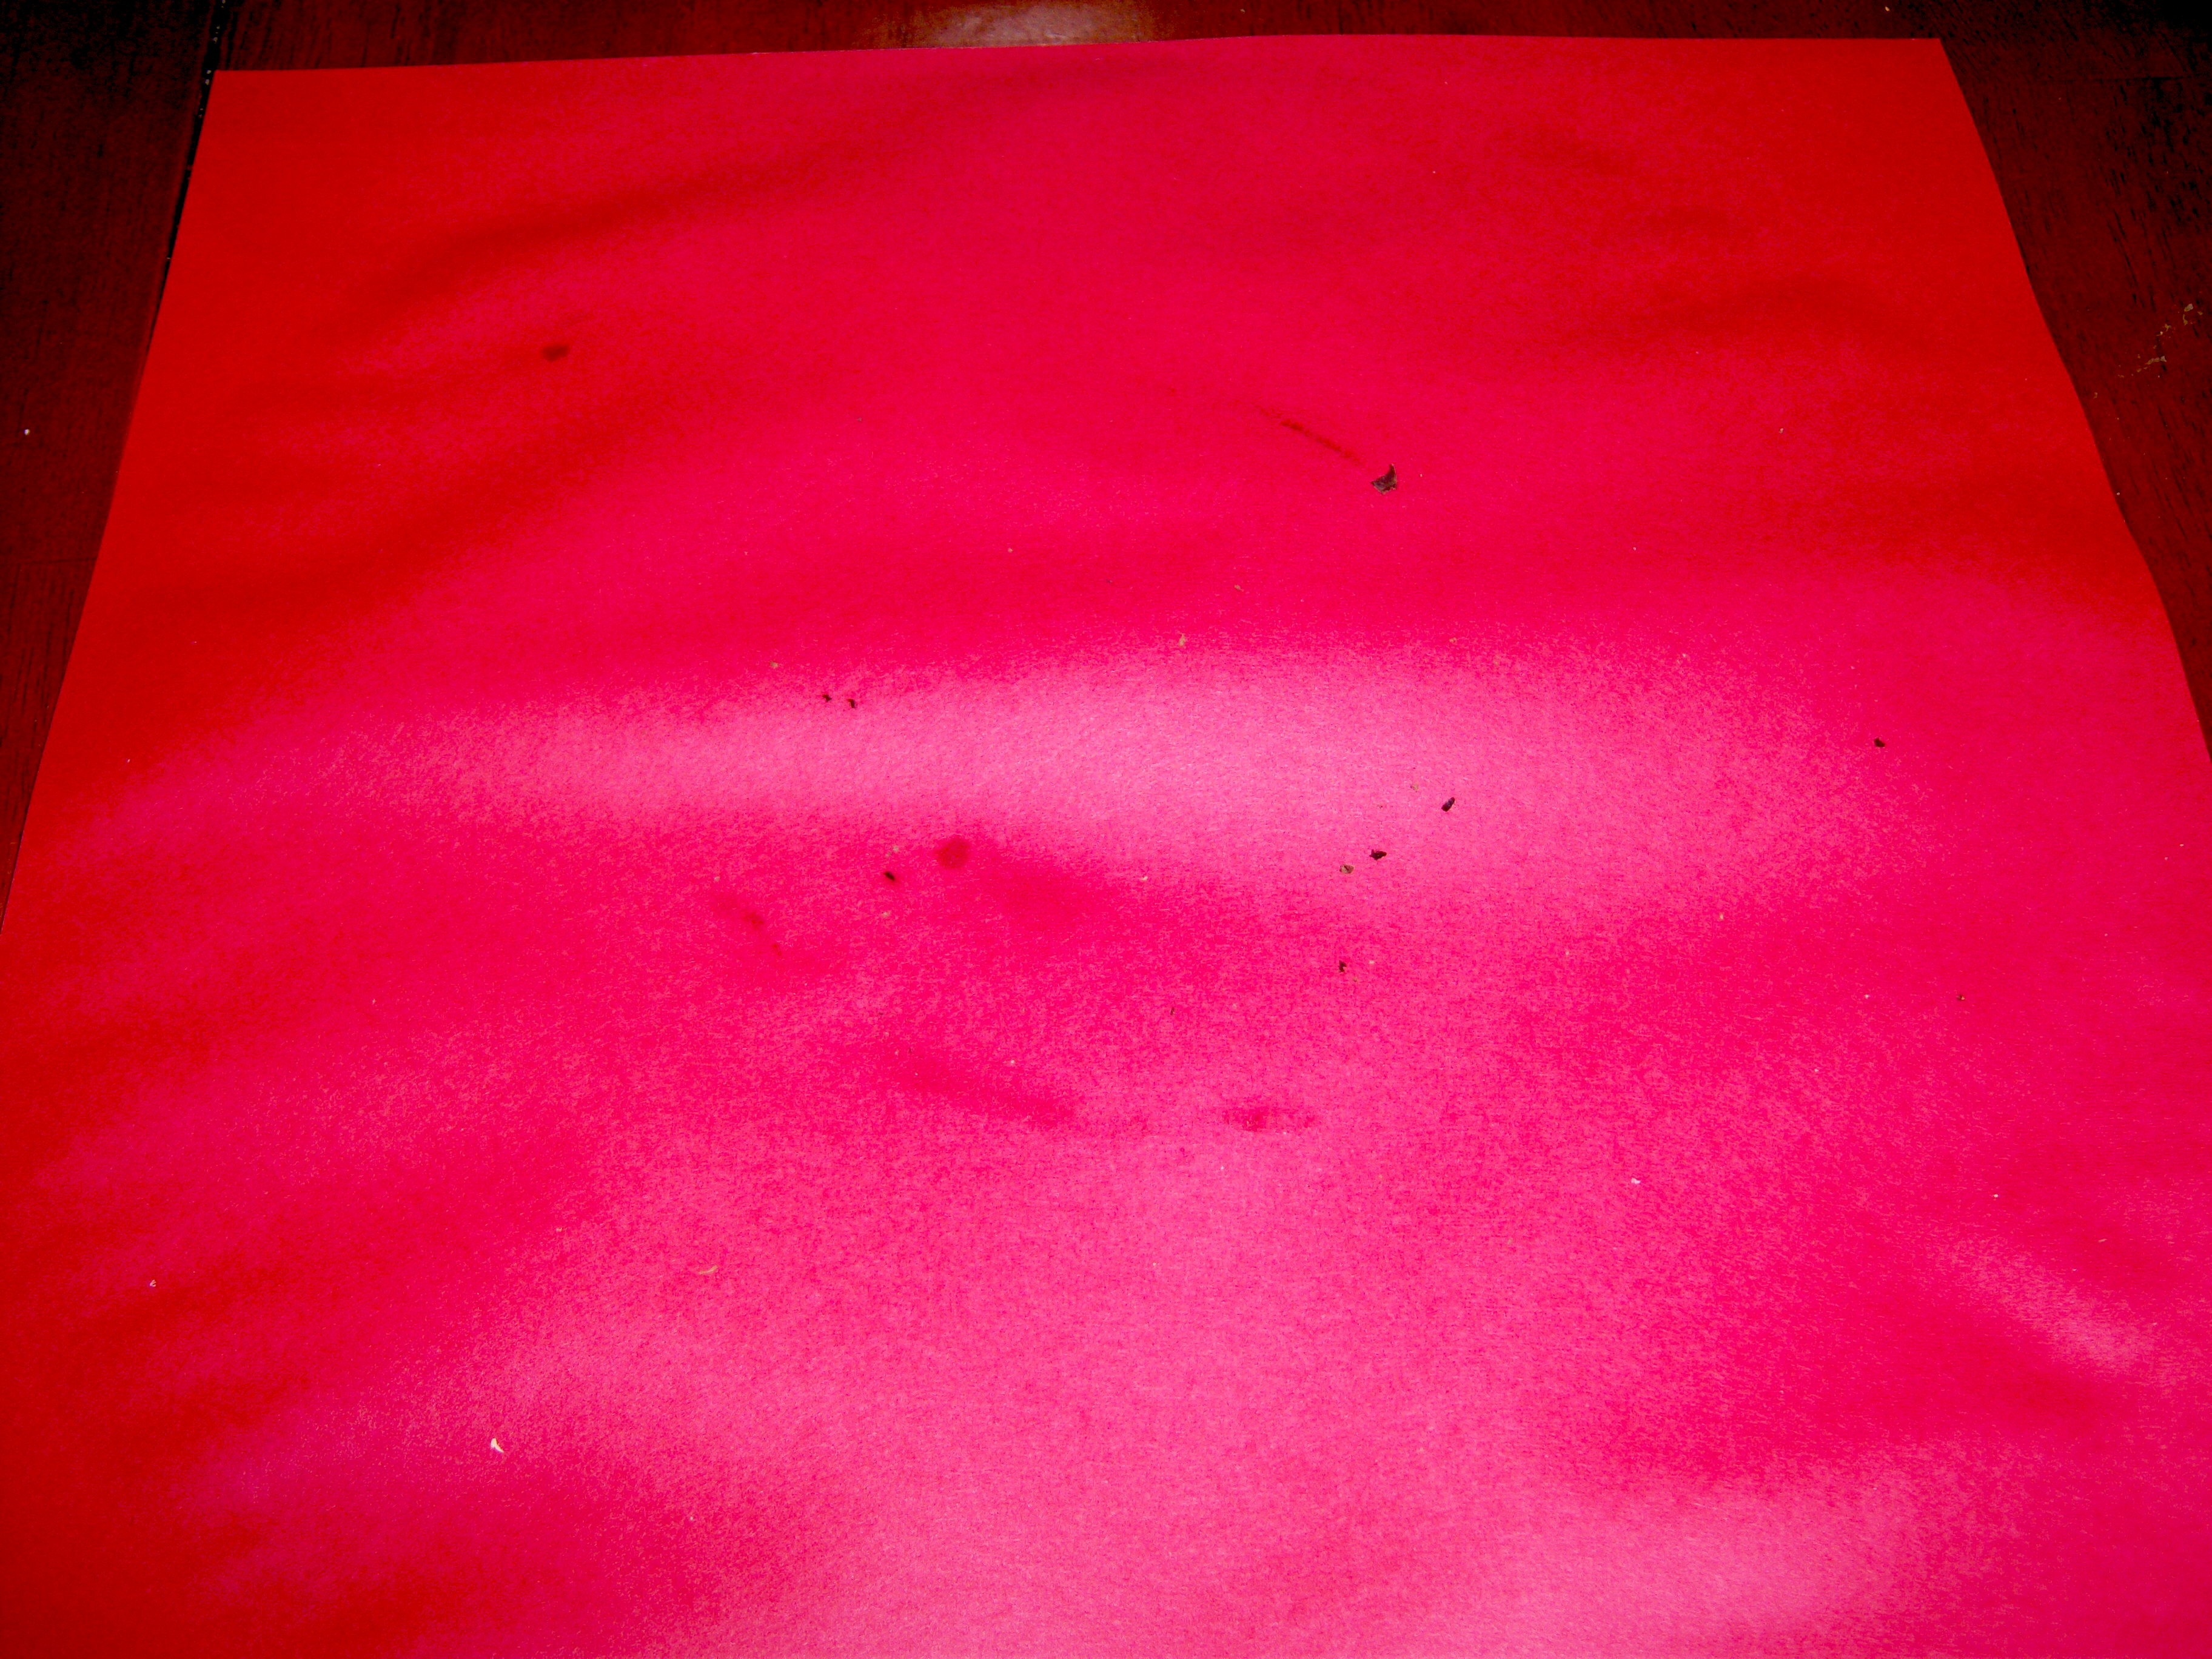
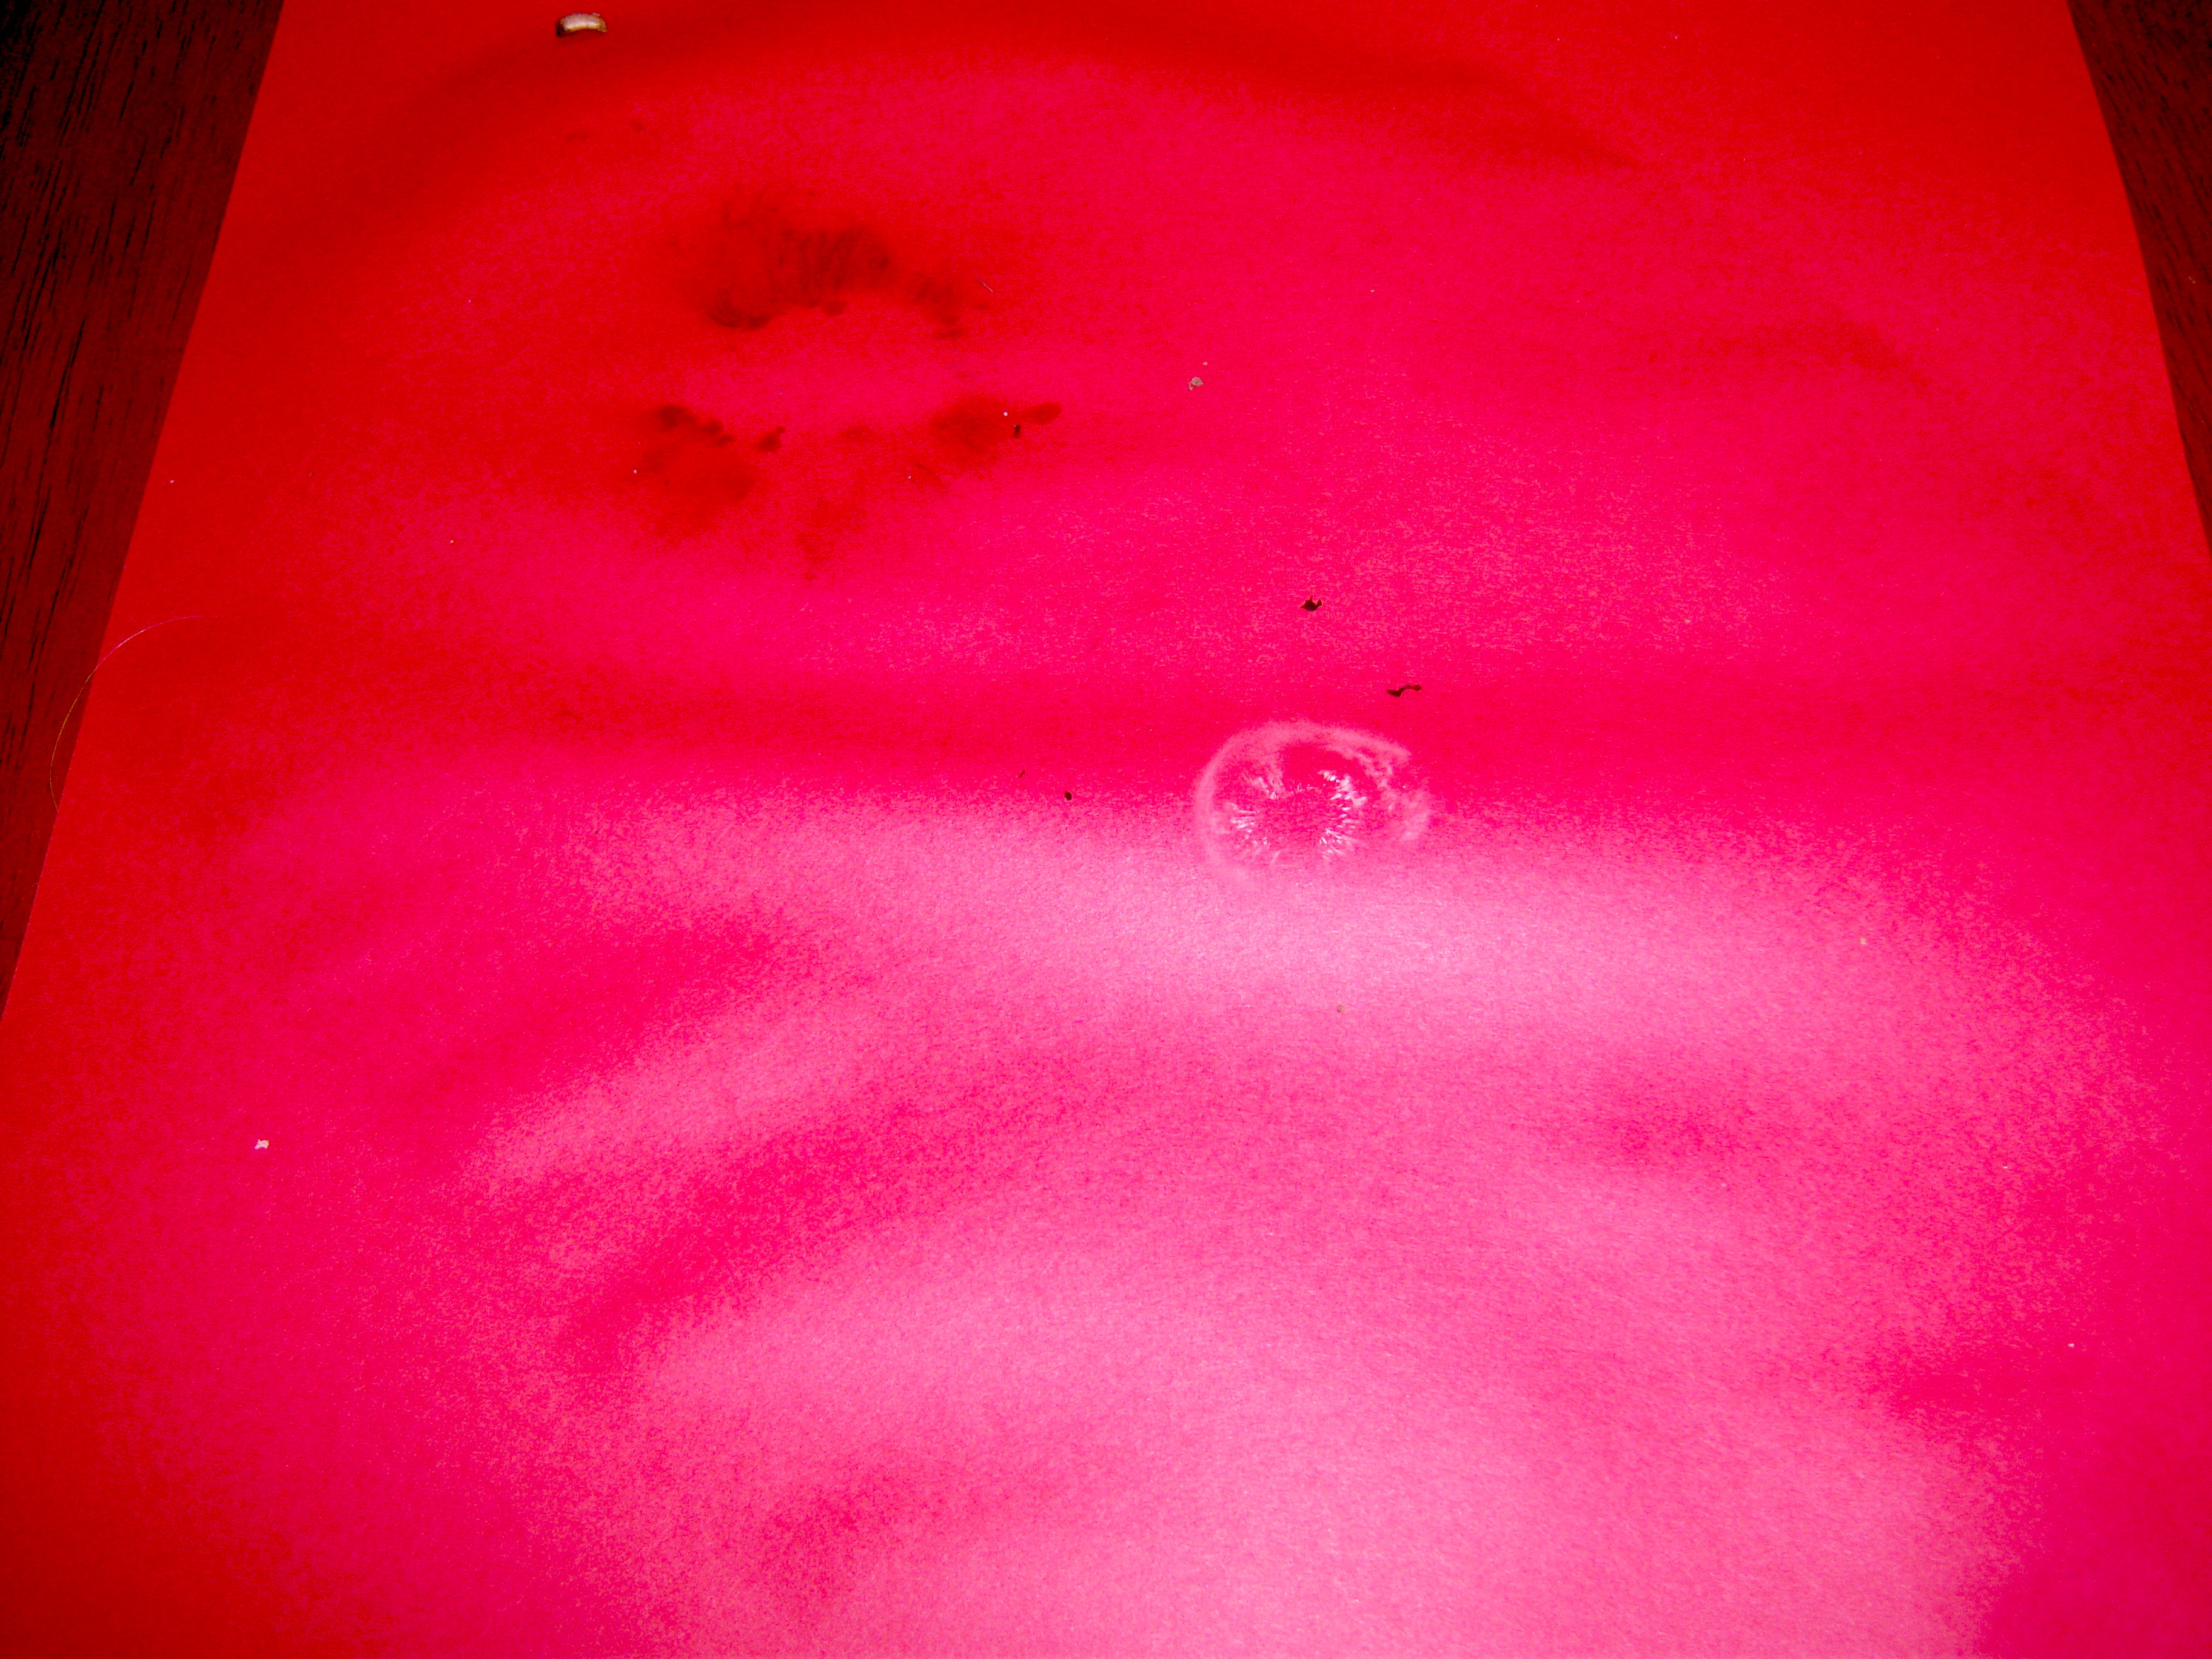
The result? NOTHING. One portabella made a little bit of a mark. One shitake left a white mark. That’s it. Total dud.

Now, Martha probably had her mushrooms brought in that day from her own private mushroom patch, so I wonder if this craft depends on having absolutely fresh mushrooms. If so, it would have been nice to be told that (no idea how one would find those in November when there are no farmers markets open here in upstate NY). I’m really, really disappointed in this and so is mini-Martha. Thumbs down, Martha.

The other thing I have to say is Martha said you should save the mushrooms and eat them after the craft. Mine had started to mold! Yuck!

Number 1 completed

Number 1 completed

Number 2 completed

Number 2 completed

On Friday, Nov 14, Martha made mushroom prints with Seal. Wow! I thought they were amazing and was excited to do with it with mini-Martha. I even thought we might be able to frame them and give them as a gift. First stop  – the store. I bought two pieces of 12×12 cardstock for 50 … Read more

I signed up for Martha’s Thanksgiving Workshop email program. The idea is she will send me an email once a week to help me get ready for Thanksgiving. Ok, that’s clever, although I am not really feeling overwhelmed about Thanksgiving. Unlike Christmas, it’s just a dinner.

Week 1

The first email arrived the first week in November. She suggested that I:

– Choose a menu. This was easy since we tend to be traditional. I’m going with her classic menu.

– Create a guest list. Easy – it’s just the 4 of us. No guests.

– Order the turkey. I’m going to call the butcher today. I always get a fresh turkey.

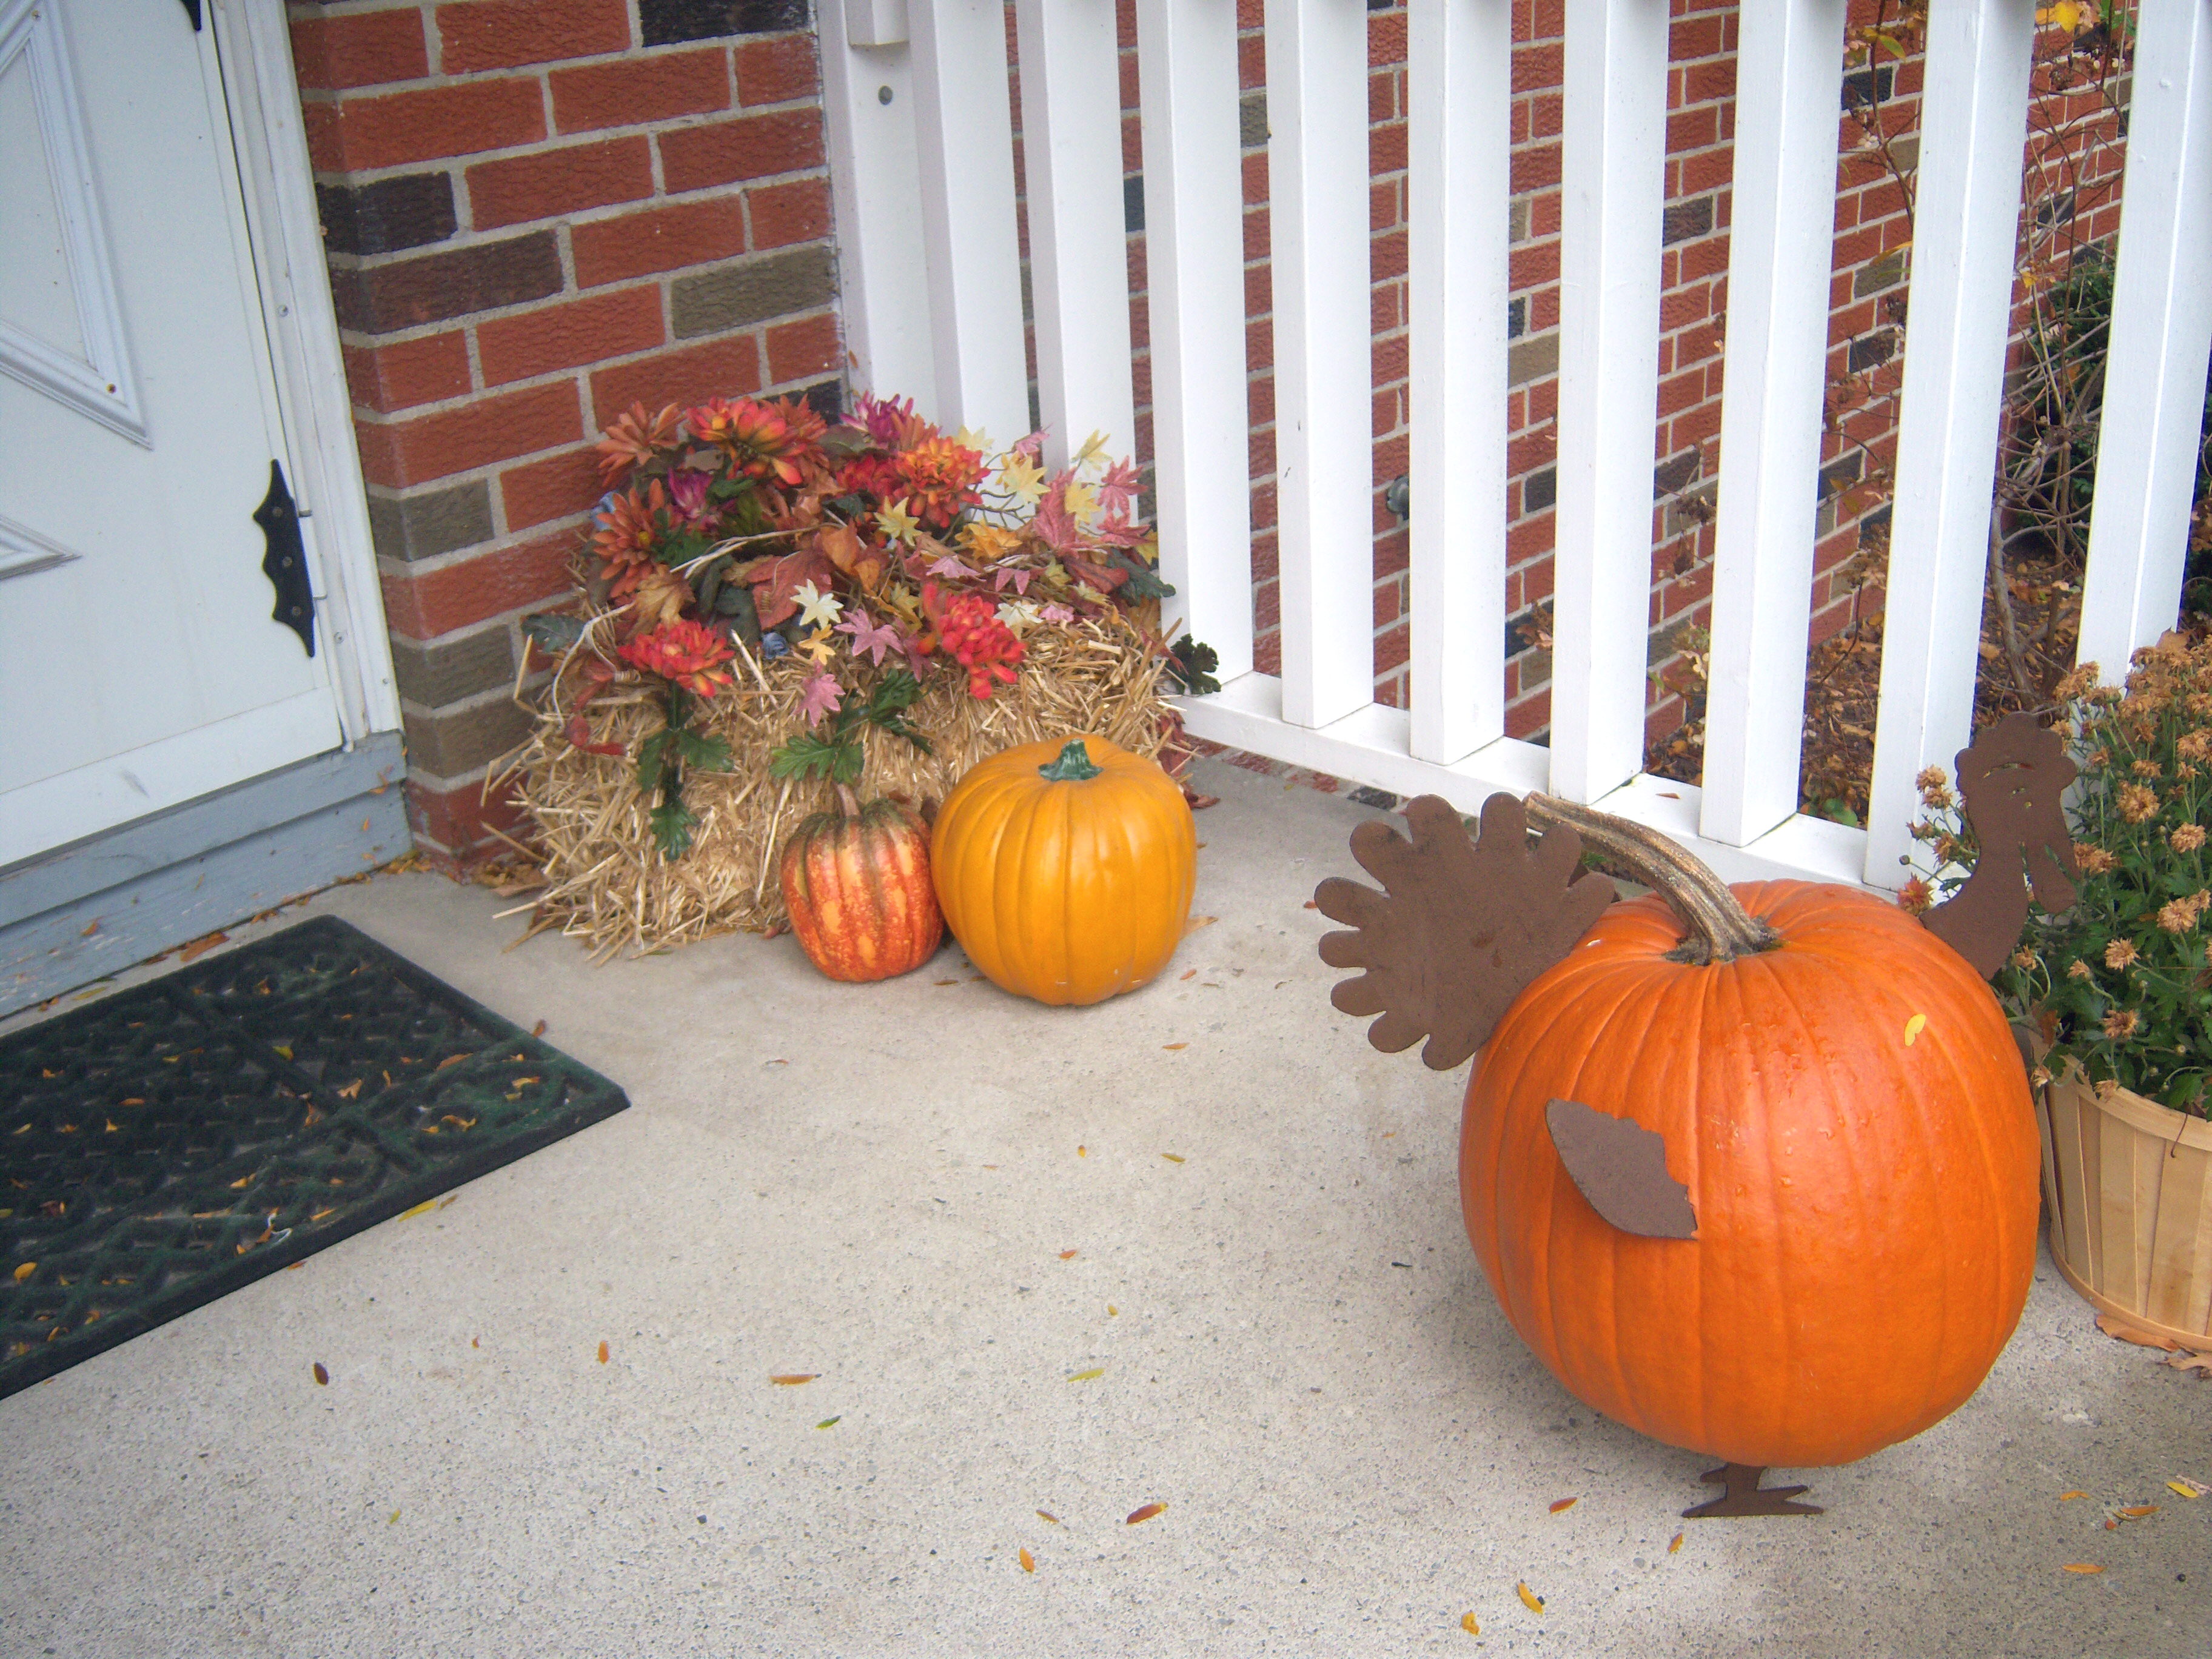
– Create some decorations. Martha has big ideas about buying a cornucopia and then wrapping it in burlap and raffia. Sounds nuts to me. I have two that I filled with artificial fruits and vegetables and I think they are great. The one in my living room is crystal and has some gilded things in it. The family one is more casual. She also wants me to fill an urn with fresh produce for my porch. Instead, I have an arrangement of artificial flowers and pumpkins on my porch which will last longer than Martha’s. Do you see our “purkey”? Or “tumpkin”? We have these metal turkey pieces you insert into a pumpkin and it makes this cute turkey.

These are the kinds of things where Martha has great ideas, but I don’t know how anyone can have the time and money to do them all. Instead, I’m taking my inspiration from her and doing things in a less expensive and less over the top manner.
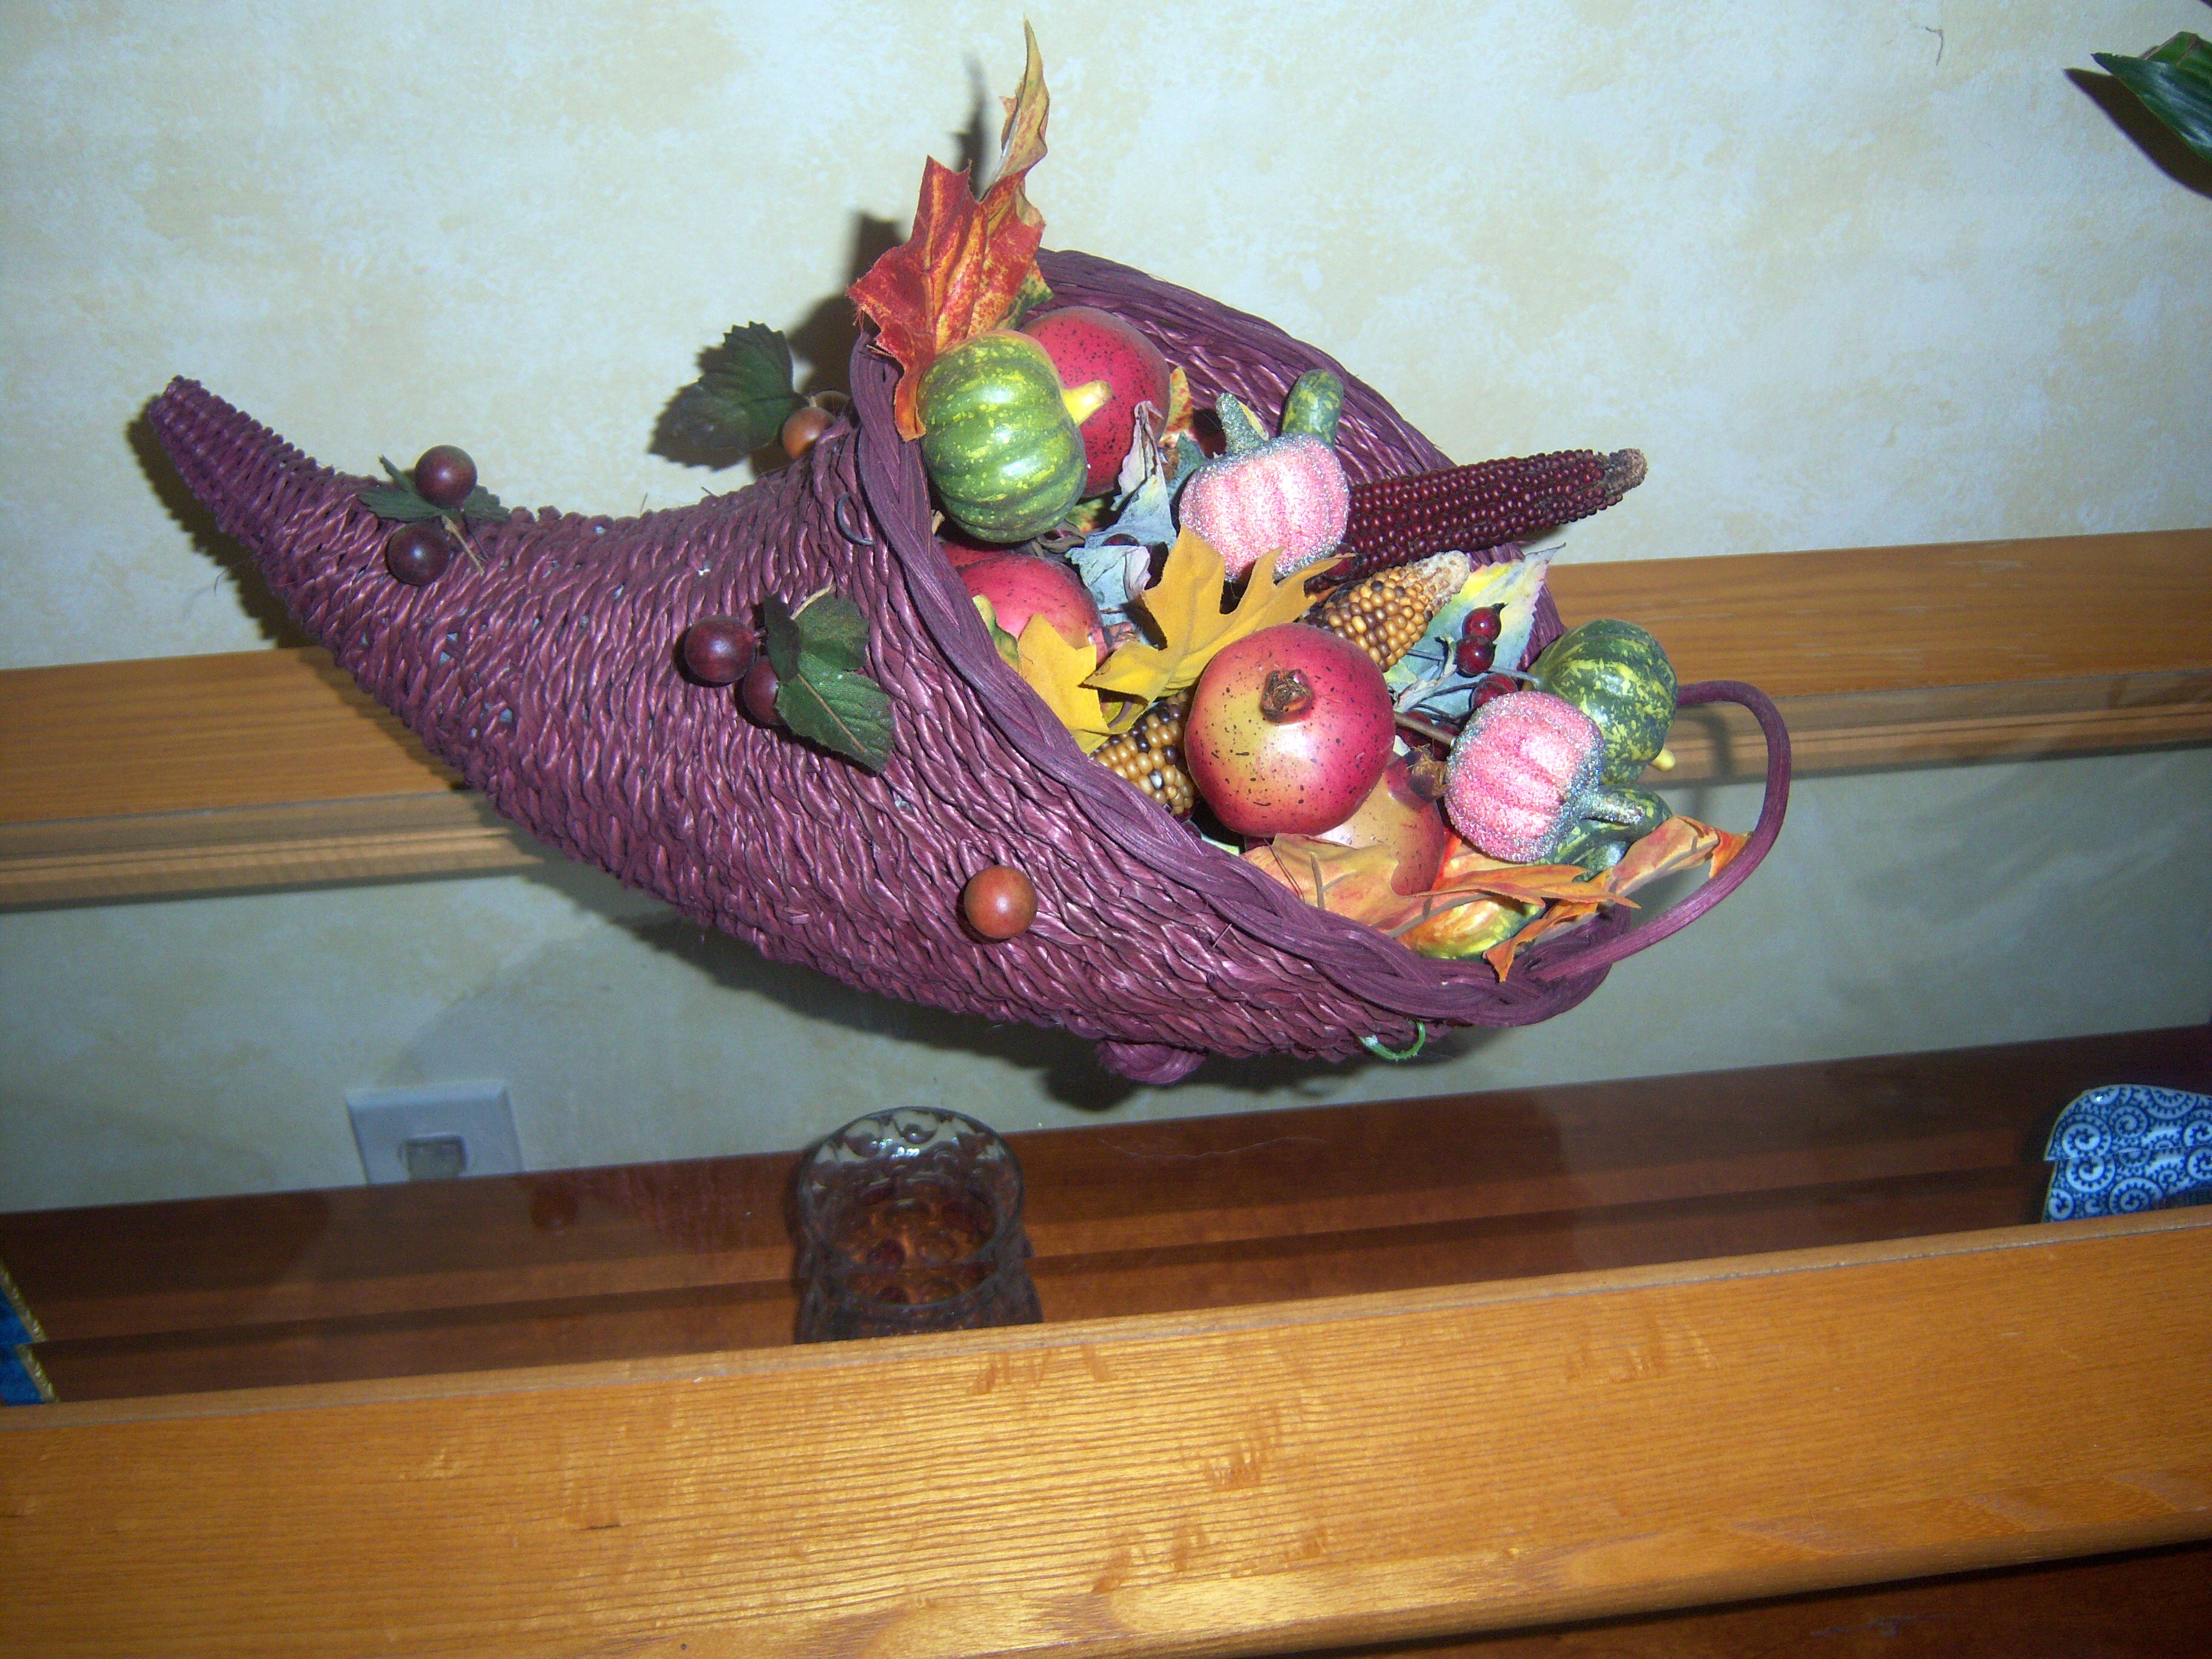
Family room cornucopia
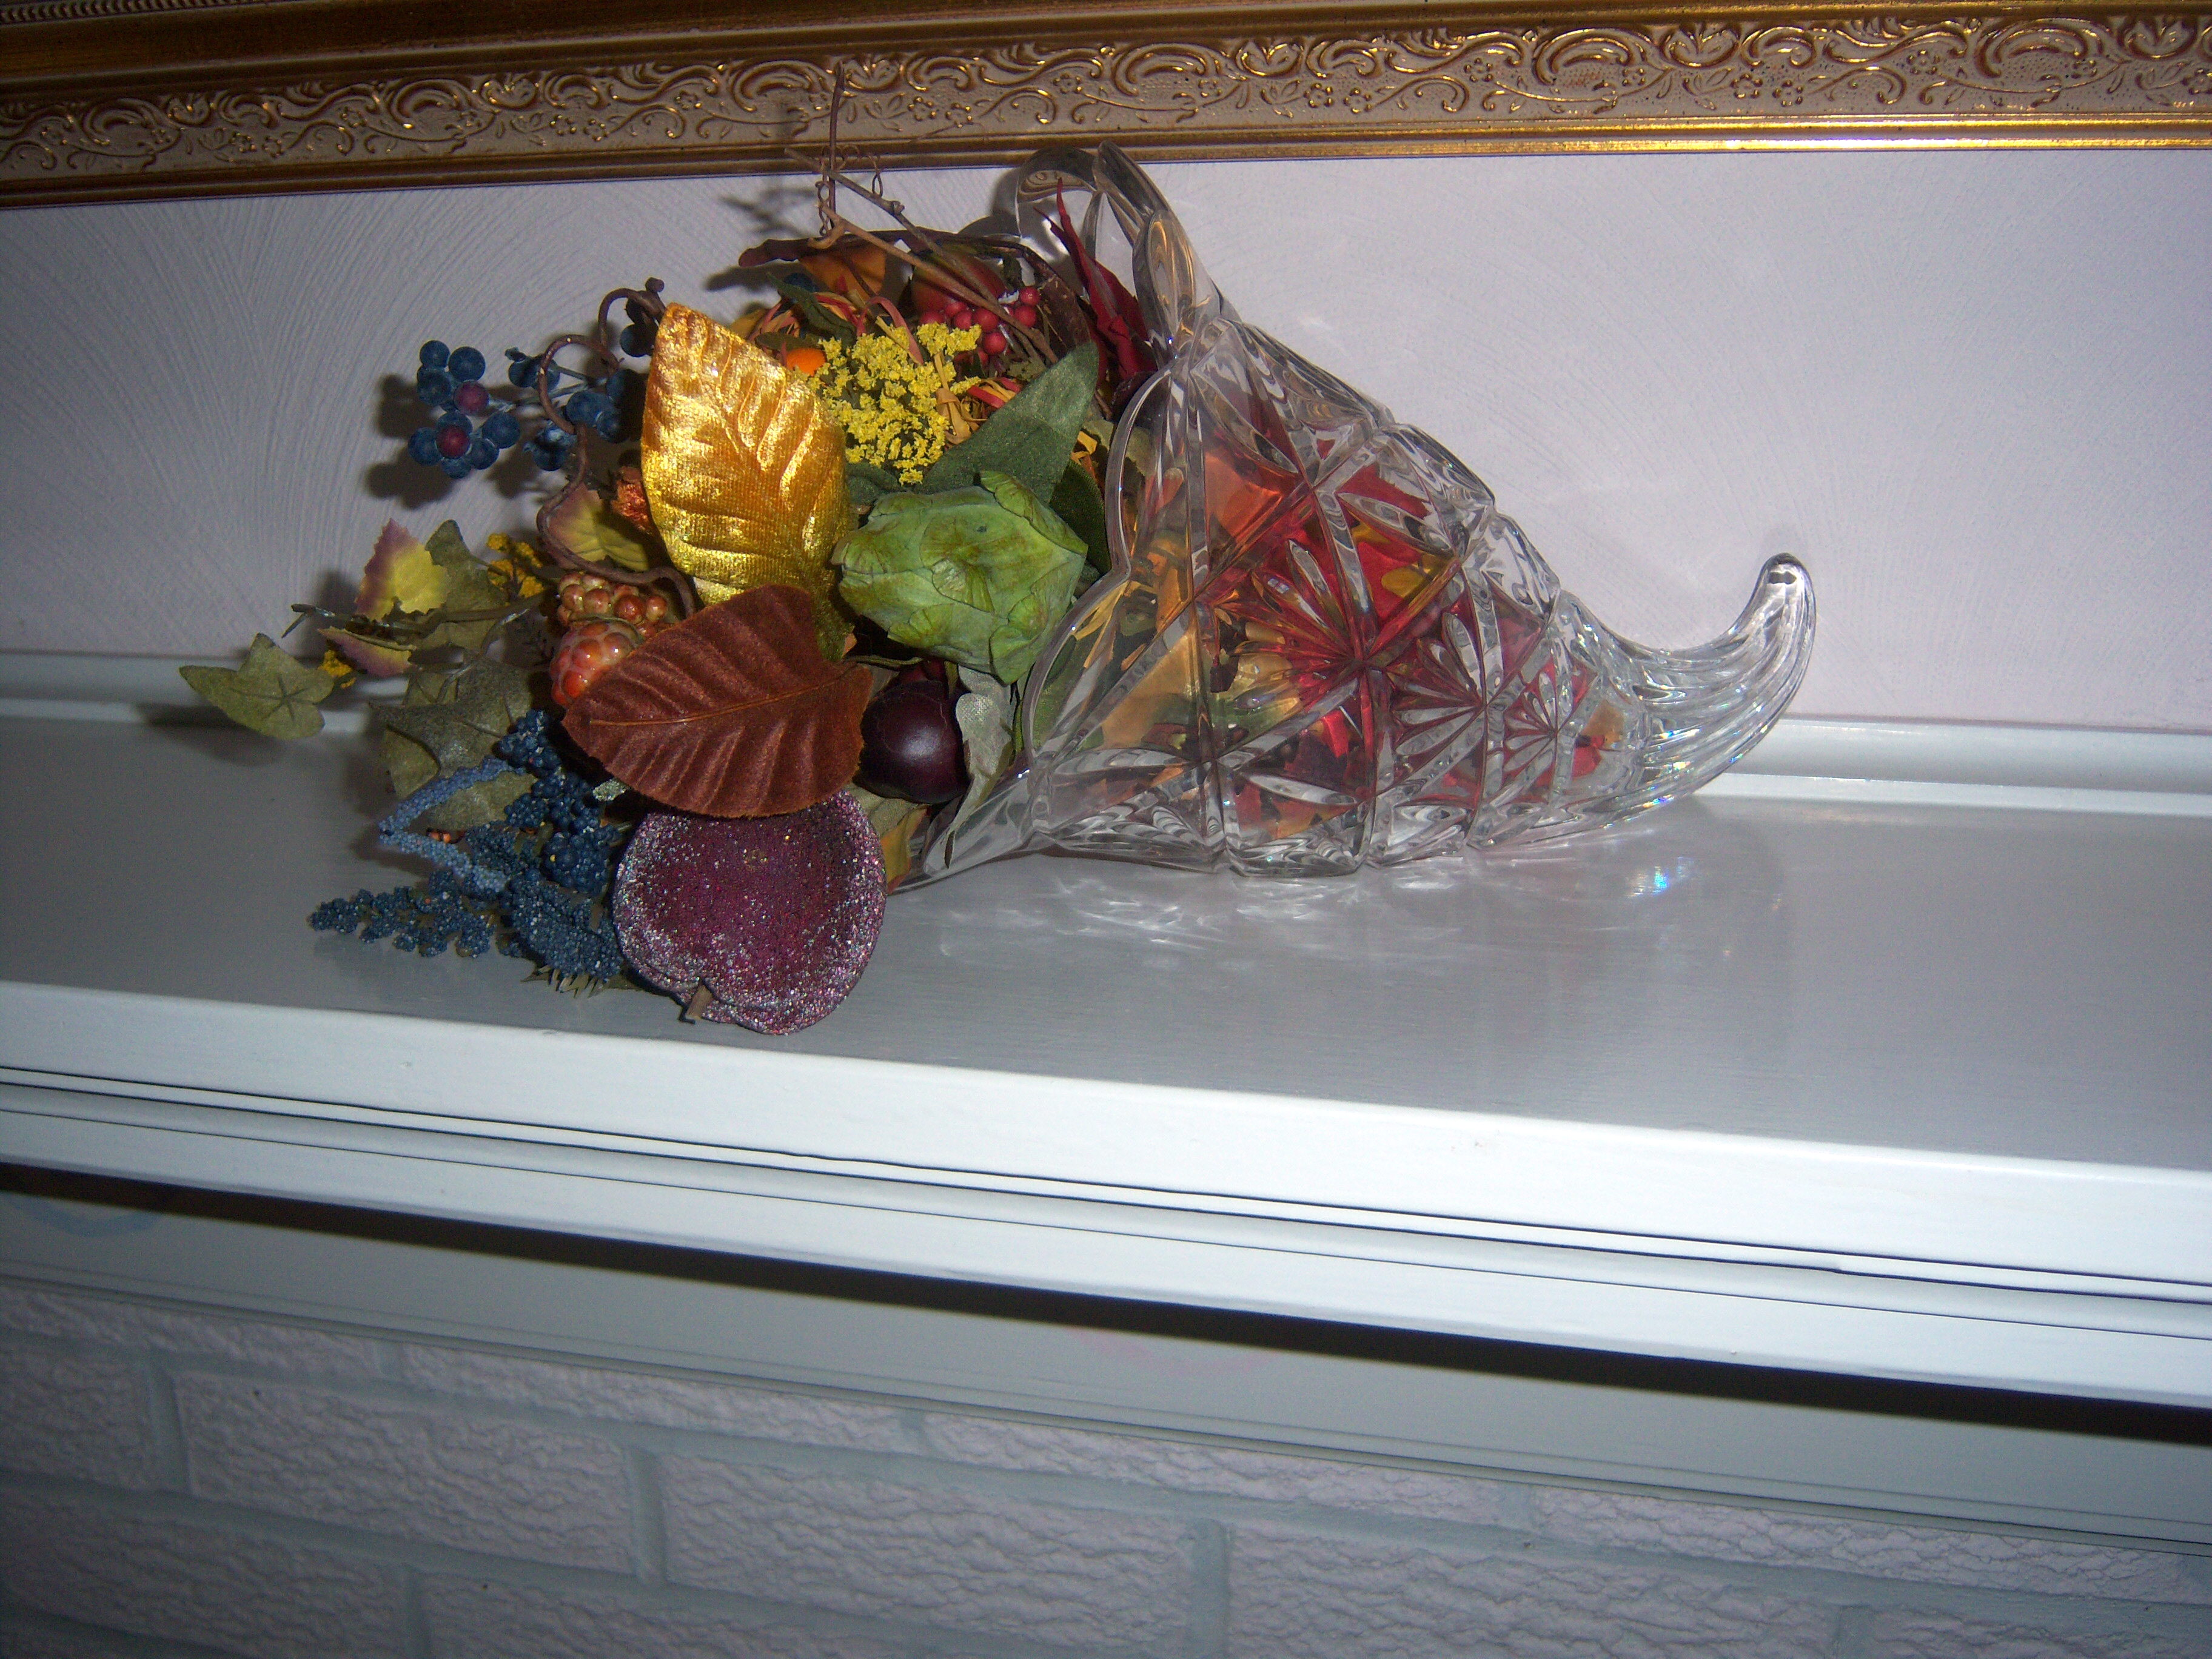
Family room cornucopia

Living room cornucopia
Living room cornucopia

Front porch

Front porch

Week 2

Update on week 1 responsibilities:

– I tried to order my turkey, I really did. My grocery store had a page in their ad showing that they have organic free range turkeys. Perfect, I thought! I went to the counter to order it and they told me they don’t take orders! They told me when they get deliveries and suggested I come in on those days! I could also call them and ask them to pull one out and hold it for me. Gee, how convenient.

– I took the quiz What Thanksgiving Side Dish Are You? Martha says I am mashed potatoes and gravy, which is totally accurate! I love mashies so, so, so much. It is a childhood deprivation issue (I’m throwing my mom under the bus again!). My mom usually had Thanksgiving when I was a kid and she doesn’t like mashed potatoes (which is why I can’t get enough of them). In fact, she doesn’t like much about a traditional Thanksgiving. We never had pumpkin pie either (although I believe there was pumpkin soup) and there were various frightening stuffing experiments that still give me the chills! I’ve never once seen a green bean casserole and she always made her own cranberry sauce with fresh cranberries and oranges.

– I have a table-setting ready to go (I’ll be posting photos soon)

– I am supposed to practice my side dishes. Well I made Big Martha’s mashed potatoes and the acorn squash with rosemary from the Nov. issue of Living this week, so that counts

– I am also supposed to bone up on my basic cooking techniques. I think I’m good with that, Martha. I’ve cooked many a Thanksgiving meal and I’m also following along with cooking school, so I think all is well.

Here’s a side note. I’m two weeks into the Thanksgiving workshop and I just got an email from Martha about the Christmas workshop. OMG. I haven’t even finished the table-settings for Thanksgiving. I just about died when I followed the link in the email. There is a TEN PAGE shopping list. 10 pages!!! I have never seen anything like this in my life! Now, I am sort of excited about it because Christmas does bring out my inner crafter, however this is way over the top. I’m SO scared. I’m going to have to attempt at least some of these crafts. Michaels just sent me a 50% any item coupon, so I guess I’ll put that to good use!

I signed up for Martha’s Thanksgiving Workshop email program. The idea is she will send me an email once a week to help me get ready for Thanksgiving. Ok, that’s clever, although I am not really feeling overwhelmed about Thanksgiving. Unlike Christmas, it’s just a dinner. Week 1 The first email arrived the first week … Read more

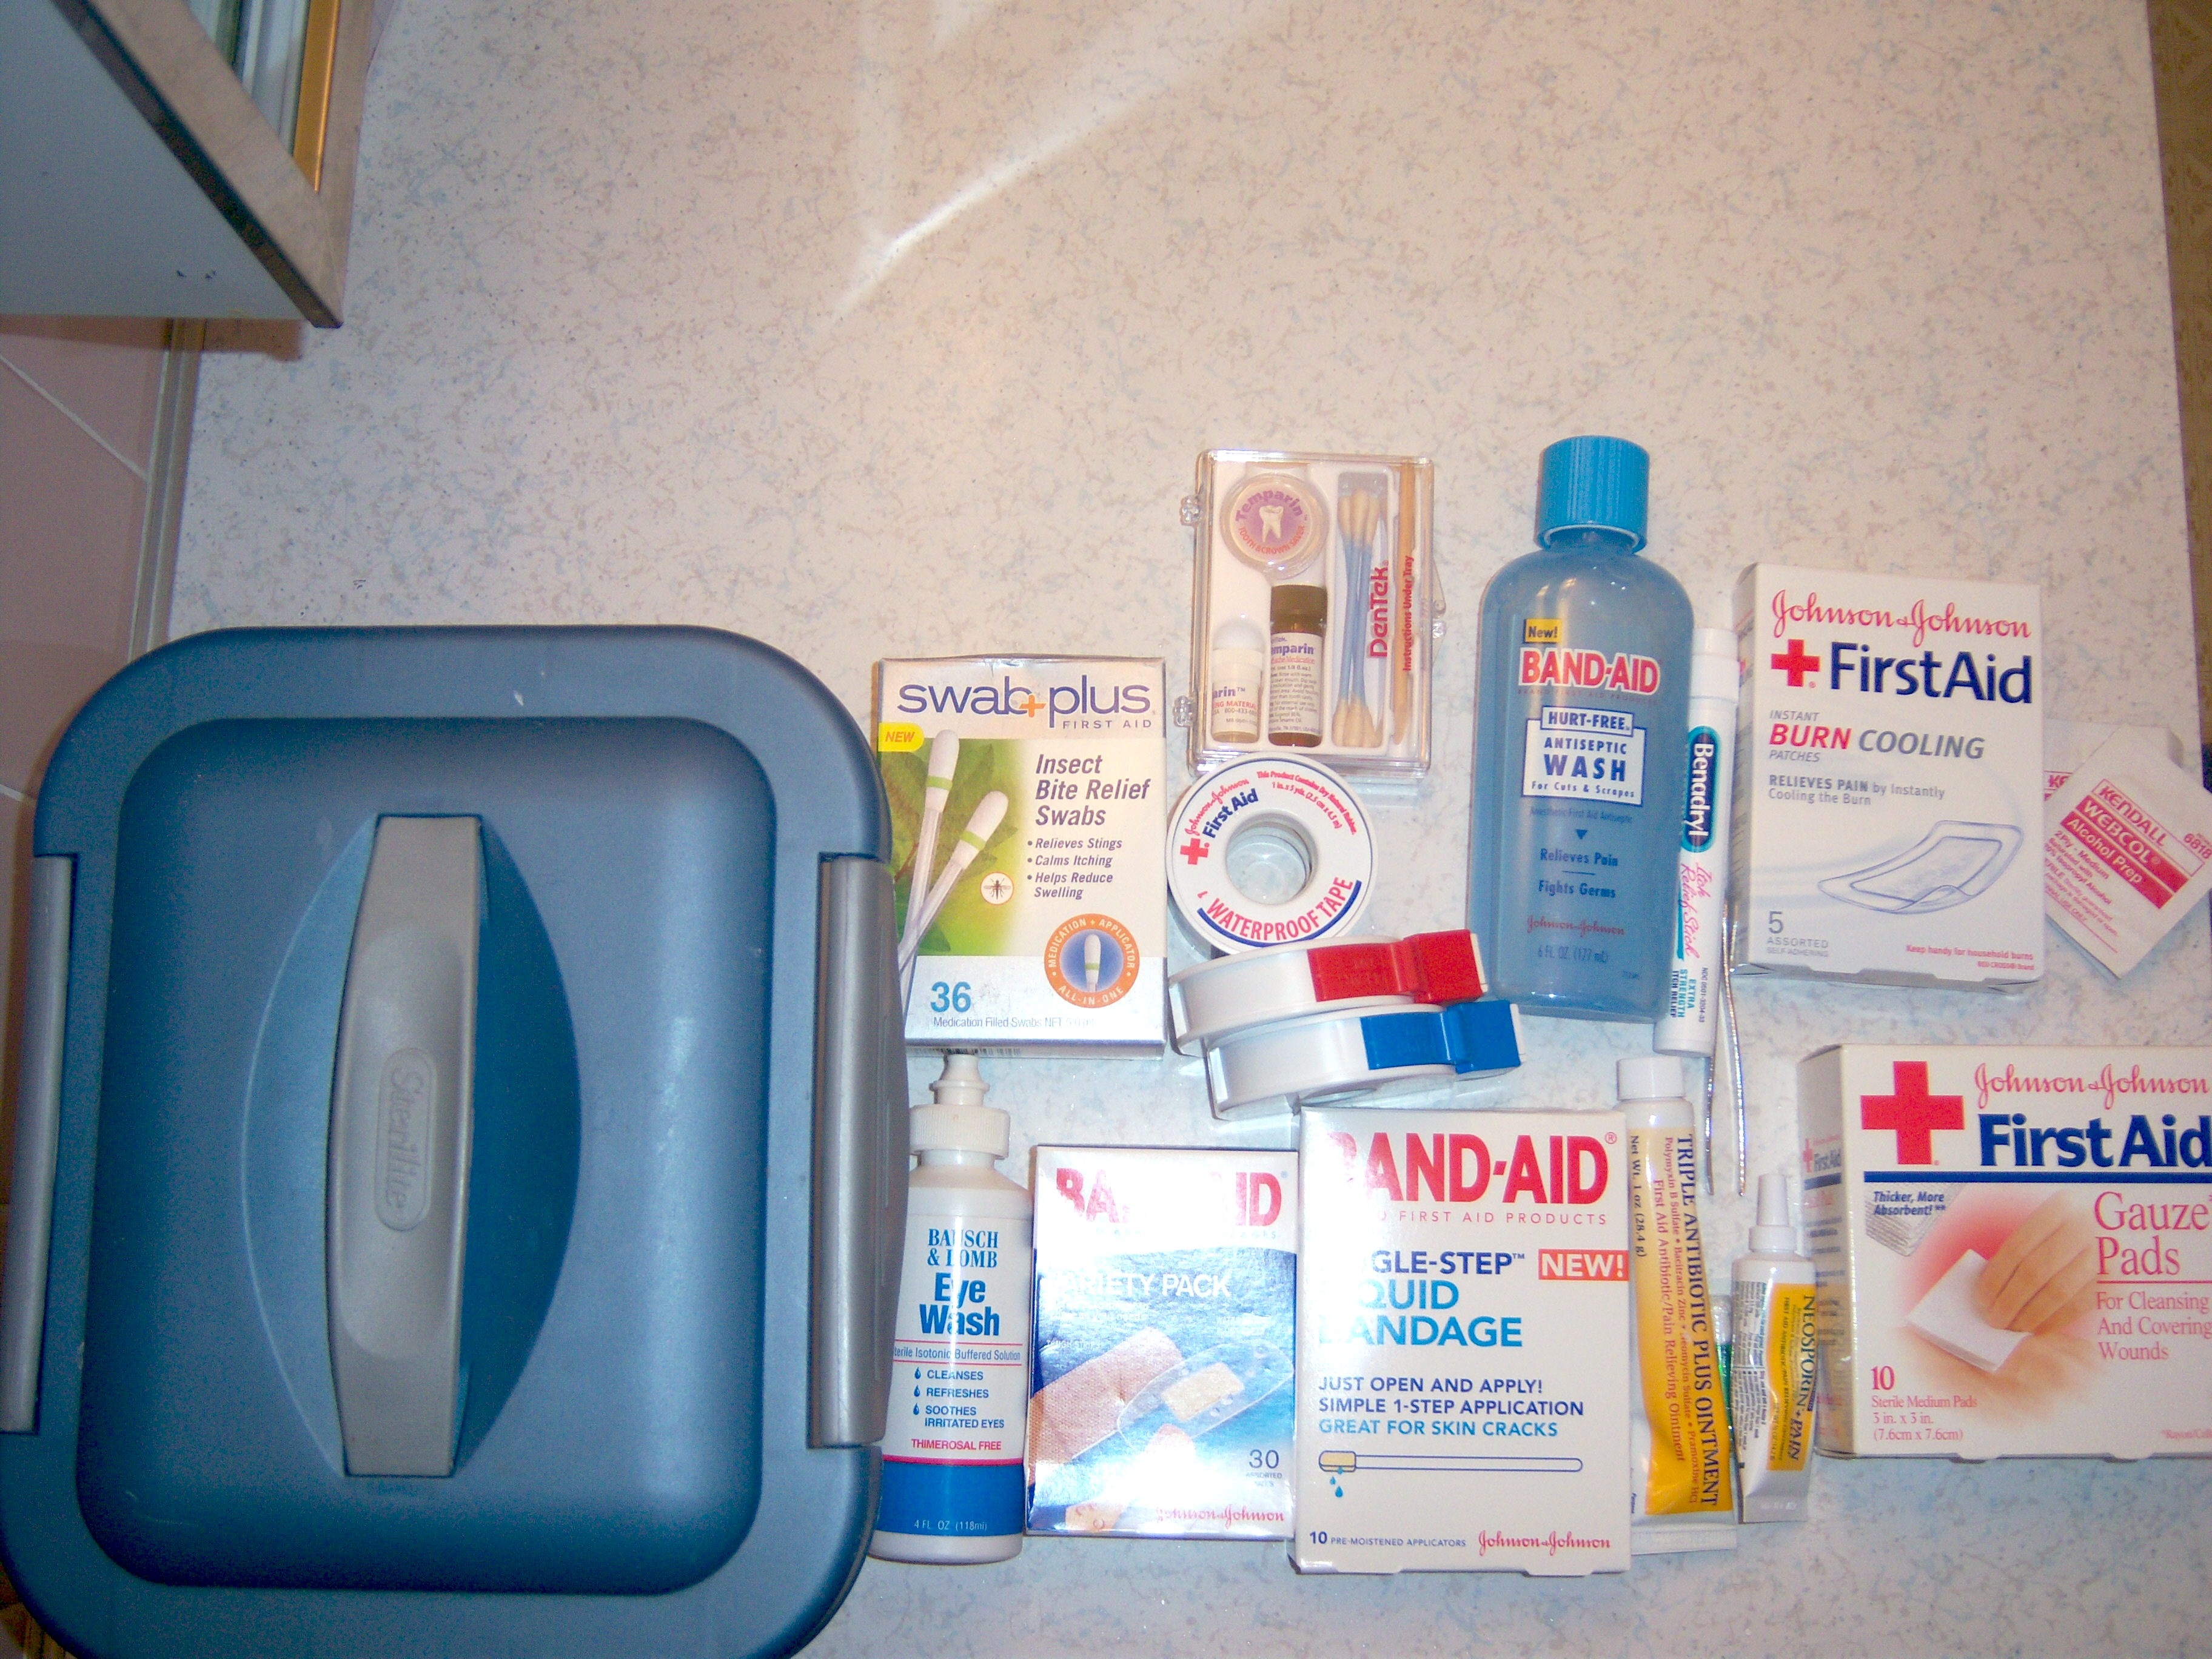
Martha sent me an organizing tip of day about first aid kits. We have a first aid kit and I can’t tell you how many times it has saved the day. Not only do we have one in the bathroom, but I also keep a small one in each car. When we travel, I take along another small one. I find that Band-aids at least are an essential when traveling and I like to be prepared for other emergencies. When you stay in a hotel, it’s not as big a concern, but we often rent condos and there is no one to help you nearby, so you’d better be prepared.

Contents of our kit

Contents of our kit

Our first aid kit is kept in a plastic box with a handle (being able to grab it and go has really made things easy when it is needed). Here are the items I include (my list is more extensive than Martha’s- who would have thought I could be more anal than Martha!):

– band-aids

– Band-Aid brand hurt free antiseptic wash

– gauze

– tape

– triple antibiotic cream

– Neosporin

– bee sting remedy

– temporary dental filling kit

– eye wash

– special burn bandages (these are gel bandages that cover a burn and hydrate it – they are excellent!)

– insect bite remedy

– tweezers

– alcohol wipes

Now, when I read this email from Martha I thought “HA! I’m all set on this one” Think again. When I went to get the kit out, it was a total mess.  I felt totally like a bad mother (an occurrence I experience at least once a week I’d say!). The lid was off, things were out of their boxes and some things were on the shelf next to it. If someone was hurt, I would have had to scramble around to get out what I needed. Martha’s email resulted in me cleaning the mess up, getting it organized, and tossing out some out of date items. Martha would probably have on her calendar to restock this every few months (since I do not have a calendar of when household tasks should be done  – who does other than Martha?). As for me, I’m going to make an effort to keep it together and organized from now on. This was a useful tip from Martha. Knowing this kit is my cupboard, ready to go, gives me a safe feeling. Even a small task like this is definitely a way to bring a tiny bit of improvement to your life.

Martha sent me an organizing tip of day about first aid kits. We have a first aid kit and I can’t tell you how many times it has saved the day. Not only do we have one in the bathroom, but I also keep a small one in each car. When we travel, I take … Read more


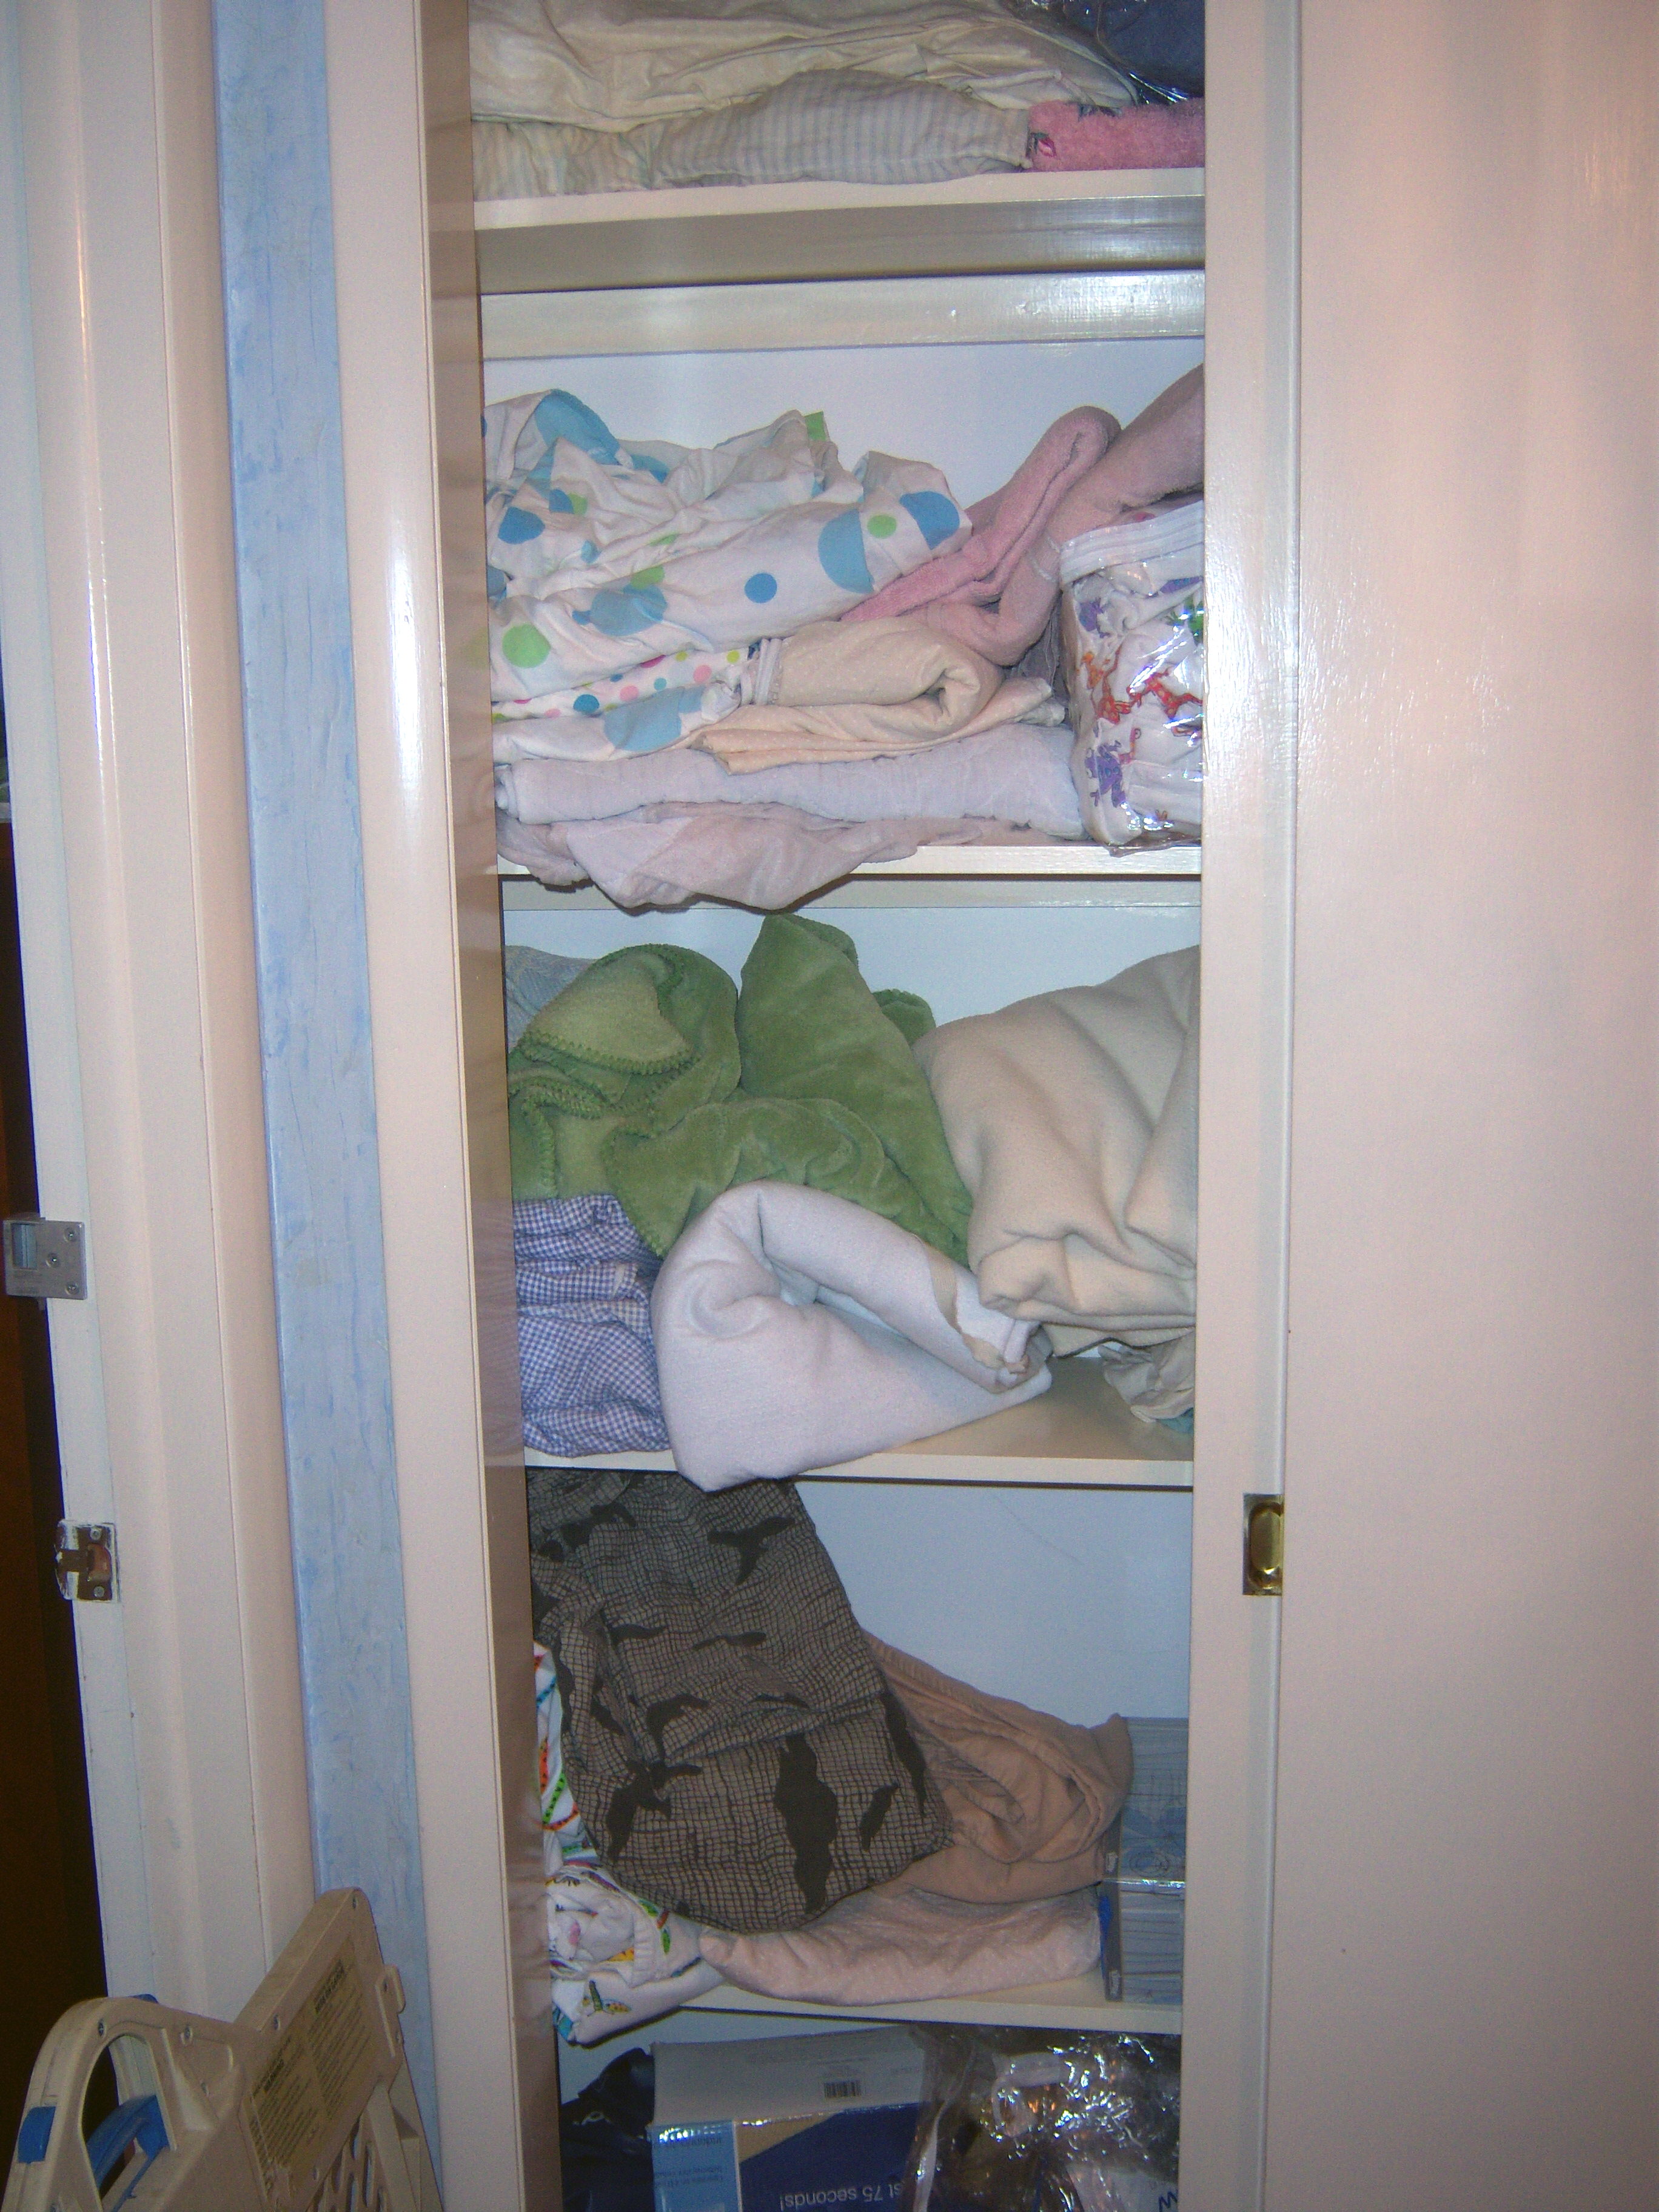
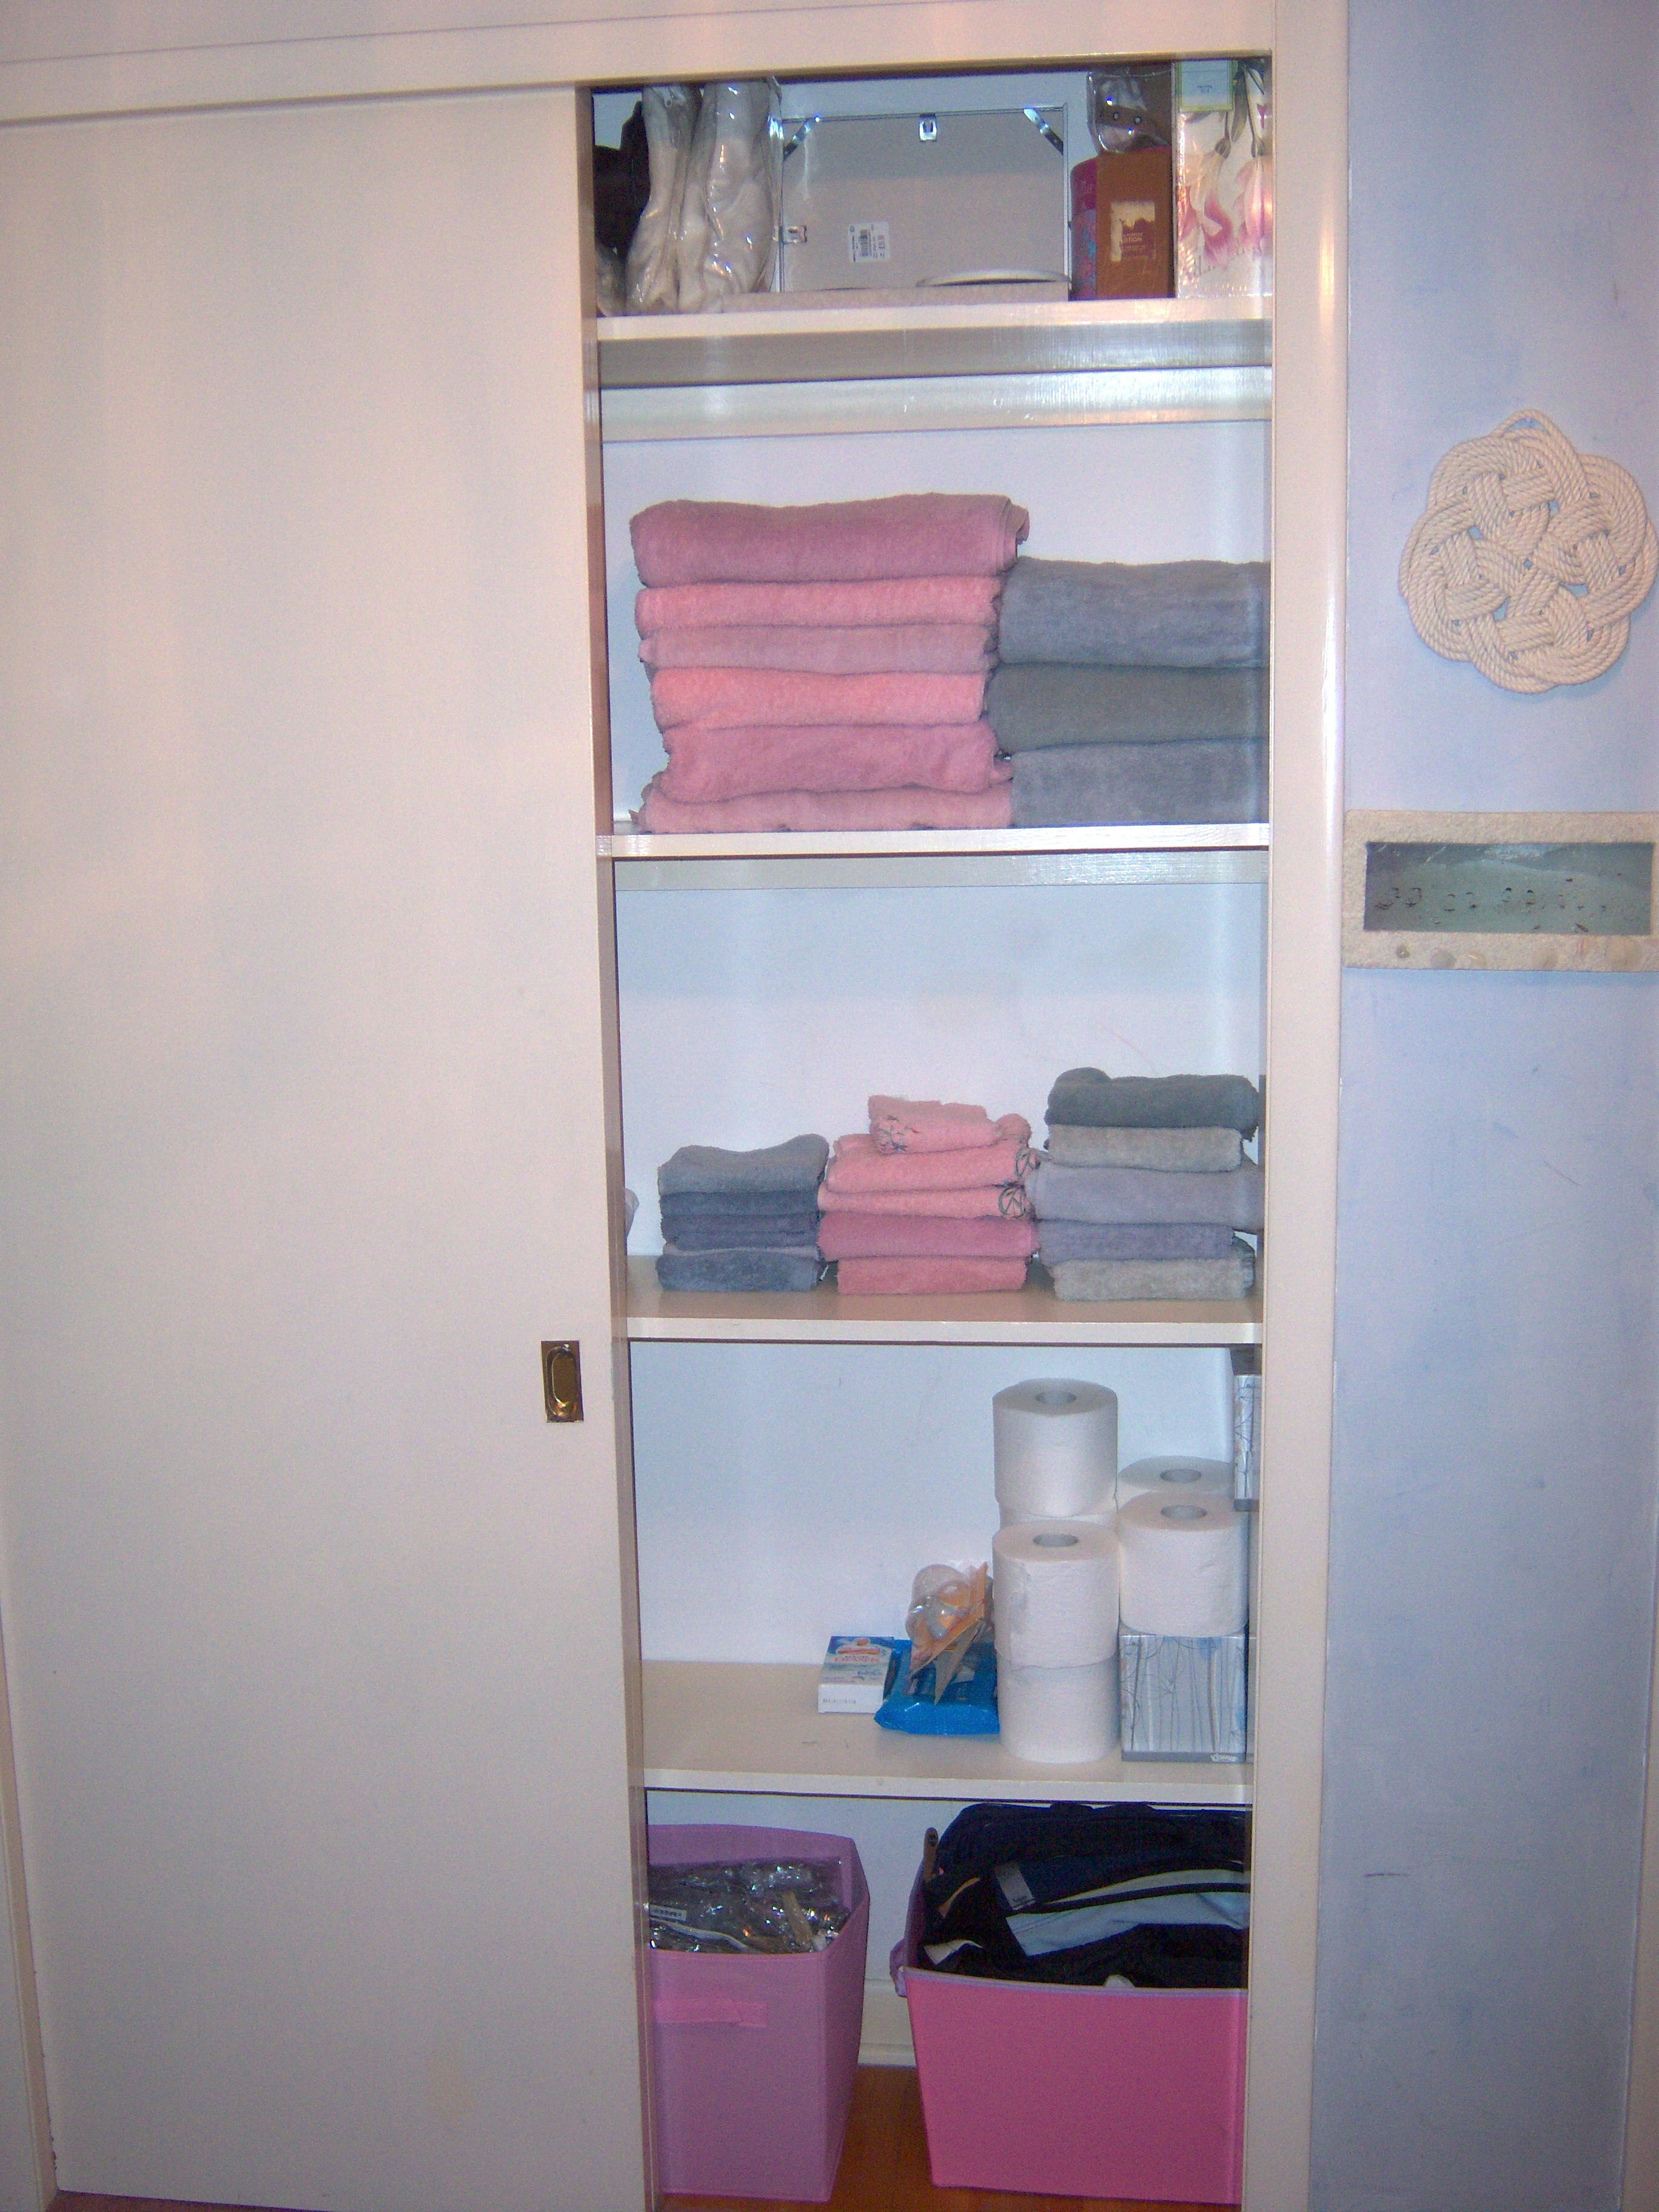
Martha decided it was time to organize my linen closet. She was right. As you can see below, it was pretty messy. I sat down and read all her advice about linen closets on the web site. Some was simply not practical. If I had as much money as Martha does, I could probably install drawers in my linen closet (I am totally serious – that is her ultimate solution), but since I wasn’t up for breaking the bank I went for a simple reorganization. Martha’s other organizational solution is to buy shelf brackets and install them on the top of the shelf upside down and use them as dividers (follow the link above and you’ll see how she does it). This is an inexpensive solution, sort of. They aren’t that expensive, but it feels like too much of a commitment to me to nail those in. I’m stuck with those sizes and shapes on the shelves then. Not to mention – you can’t just nail them in – you would have to paint them and wait for the paint to dry. Ugh. Not happening. This was to be a one afternoon project.

Martha also recommends you label the shelves – “full sheets” or “bath towels”, etc. That seems a little nutty to me. I know what’s what and I don’t need to label it.

The Depths of the Closet

Left Side of Closet

Left Side of Closet

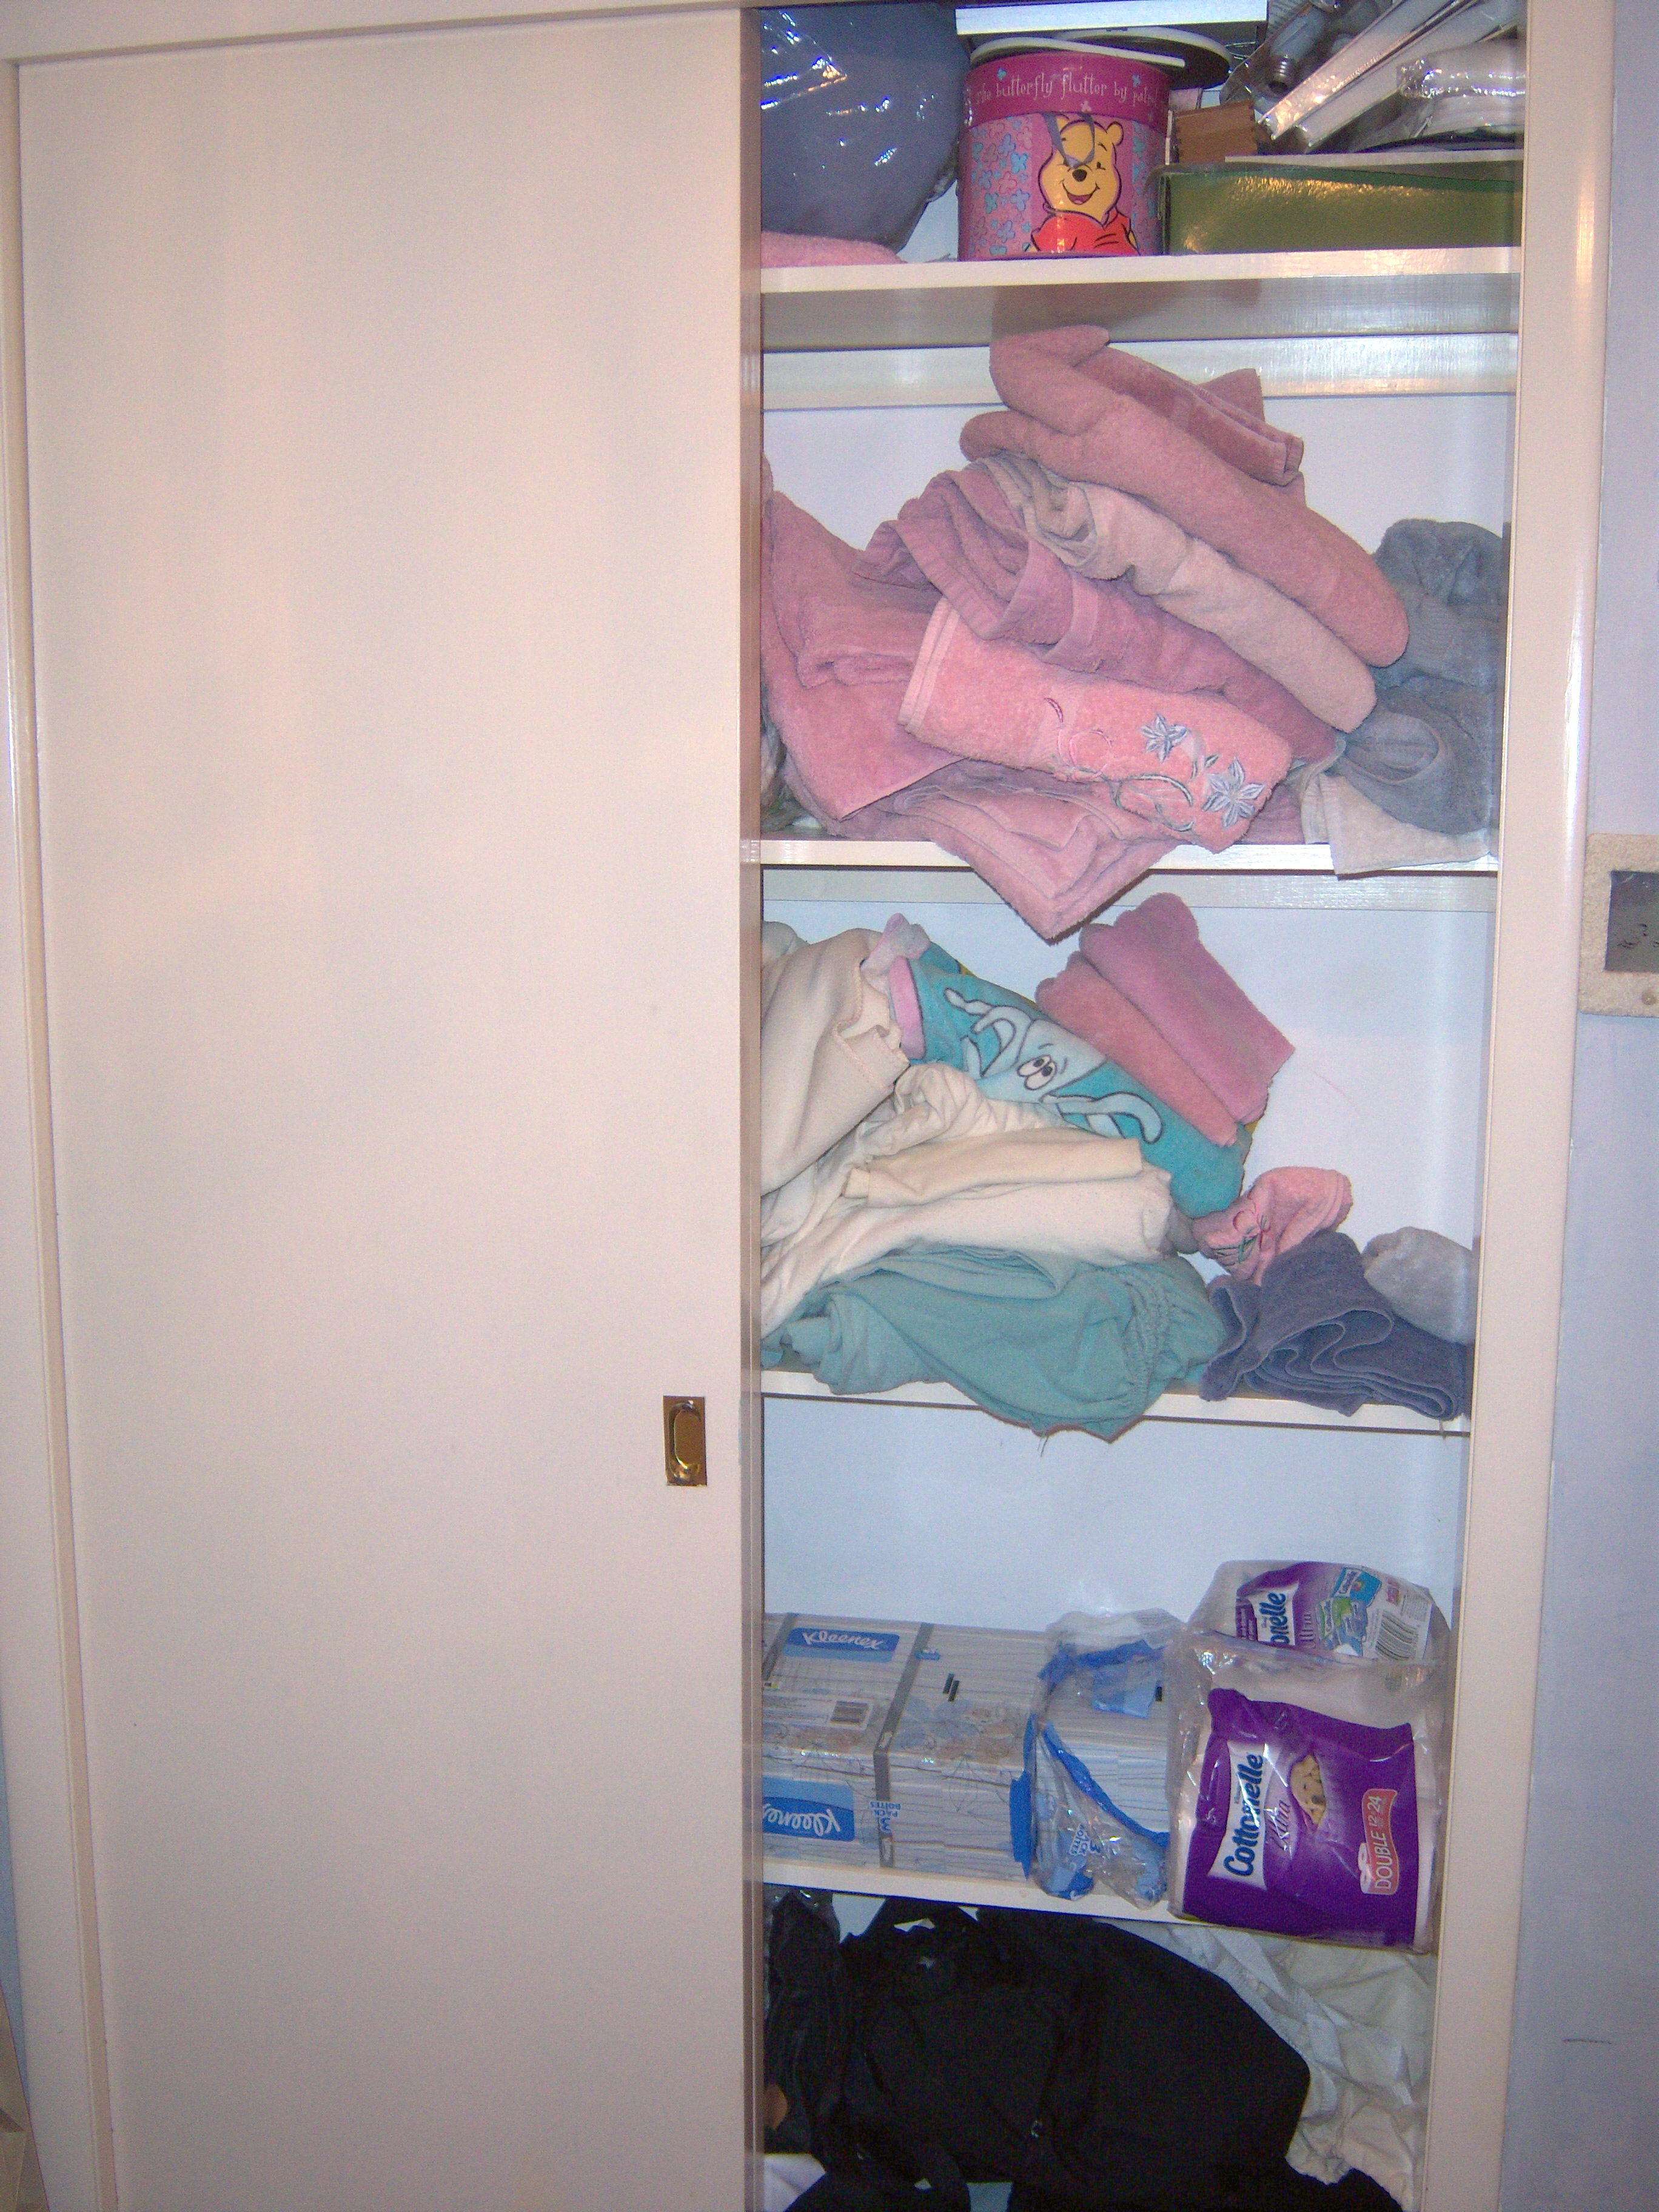
Right side of closet

Right side of closet

This closet holds linens for the kids’ beds (as well as some for twin beds which we no longer have!) as well as towels (many of which are old and yucky) and supplies for their bathroom. The top shelf is filled with odds and ends (including my Brownie uniform!). The floor of the closet holds our collection of tote and duffel bags, an air mattress and a pile of those plastic zip bags that sheets and blankets come in when you buy them. Our closet has sliding doors that never open and shut properly because something is always getting stuck. In short, it really needed help.

We Began
Mr. MarthaandMe assisted me with this project and we started by taking everything out. Eek. There sure was a lot in there. Then we started with the sheets. We read how Martha recommends you fold a fitted sheet. We even left the instructions up on my monitor while we tried to do it and it never really worked. It always ended up somewhat bumpy and uneven. Have you tried this? If you can make it work, please let me know! There was a lot of under the breath cursing during this phase of the project, I must admit!

Martha did have one idea that I really liked. She suggested taking a set of sheets and stacking them, then wrapping one of the pillow cases around them all. This really did manage to create a cute little package, although I recommend you put the crease side, where the ends of the pillow case meet, down, facing the shelf so it stays together better.

Moving Along
Next we took sheets that we don’t use and put them in some of those plastic zip bags I had. Onward to the towels. I went through them and pulled out some that are now going to be rags. Then we folded them all neatly. Our linen closet shelves are not very deep and the bath towels always catch on the doors. Mr. MarthaandMe suggested folding the bath towels in thirds. He’s a genius! They fit on the shelves then and look very neat. Now he’s channeling Martha!

Our last step was to buy some boxes for the bottom of the closet. This required a trip to my favorite store – Target! I threw out a bunch of duffel bags with broken zippers (some from Mr. MarthaandMe’s elementary school days!) and some ancient stained tote bags. The rest I put in a cute pink canvas box. The air mattress fit into a plastic box with a lid. The plastic zippy bags fit into another canvas box. Voila!

Results

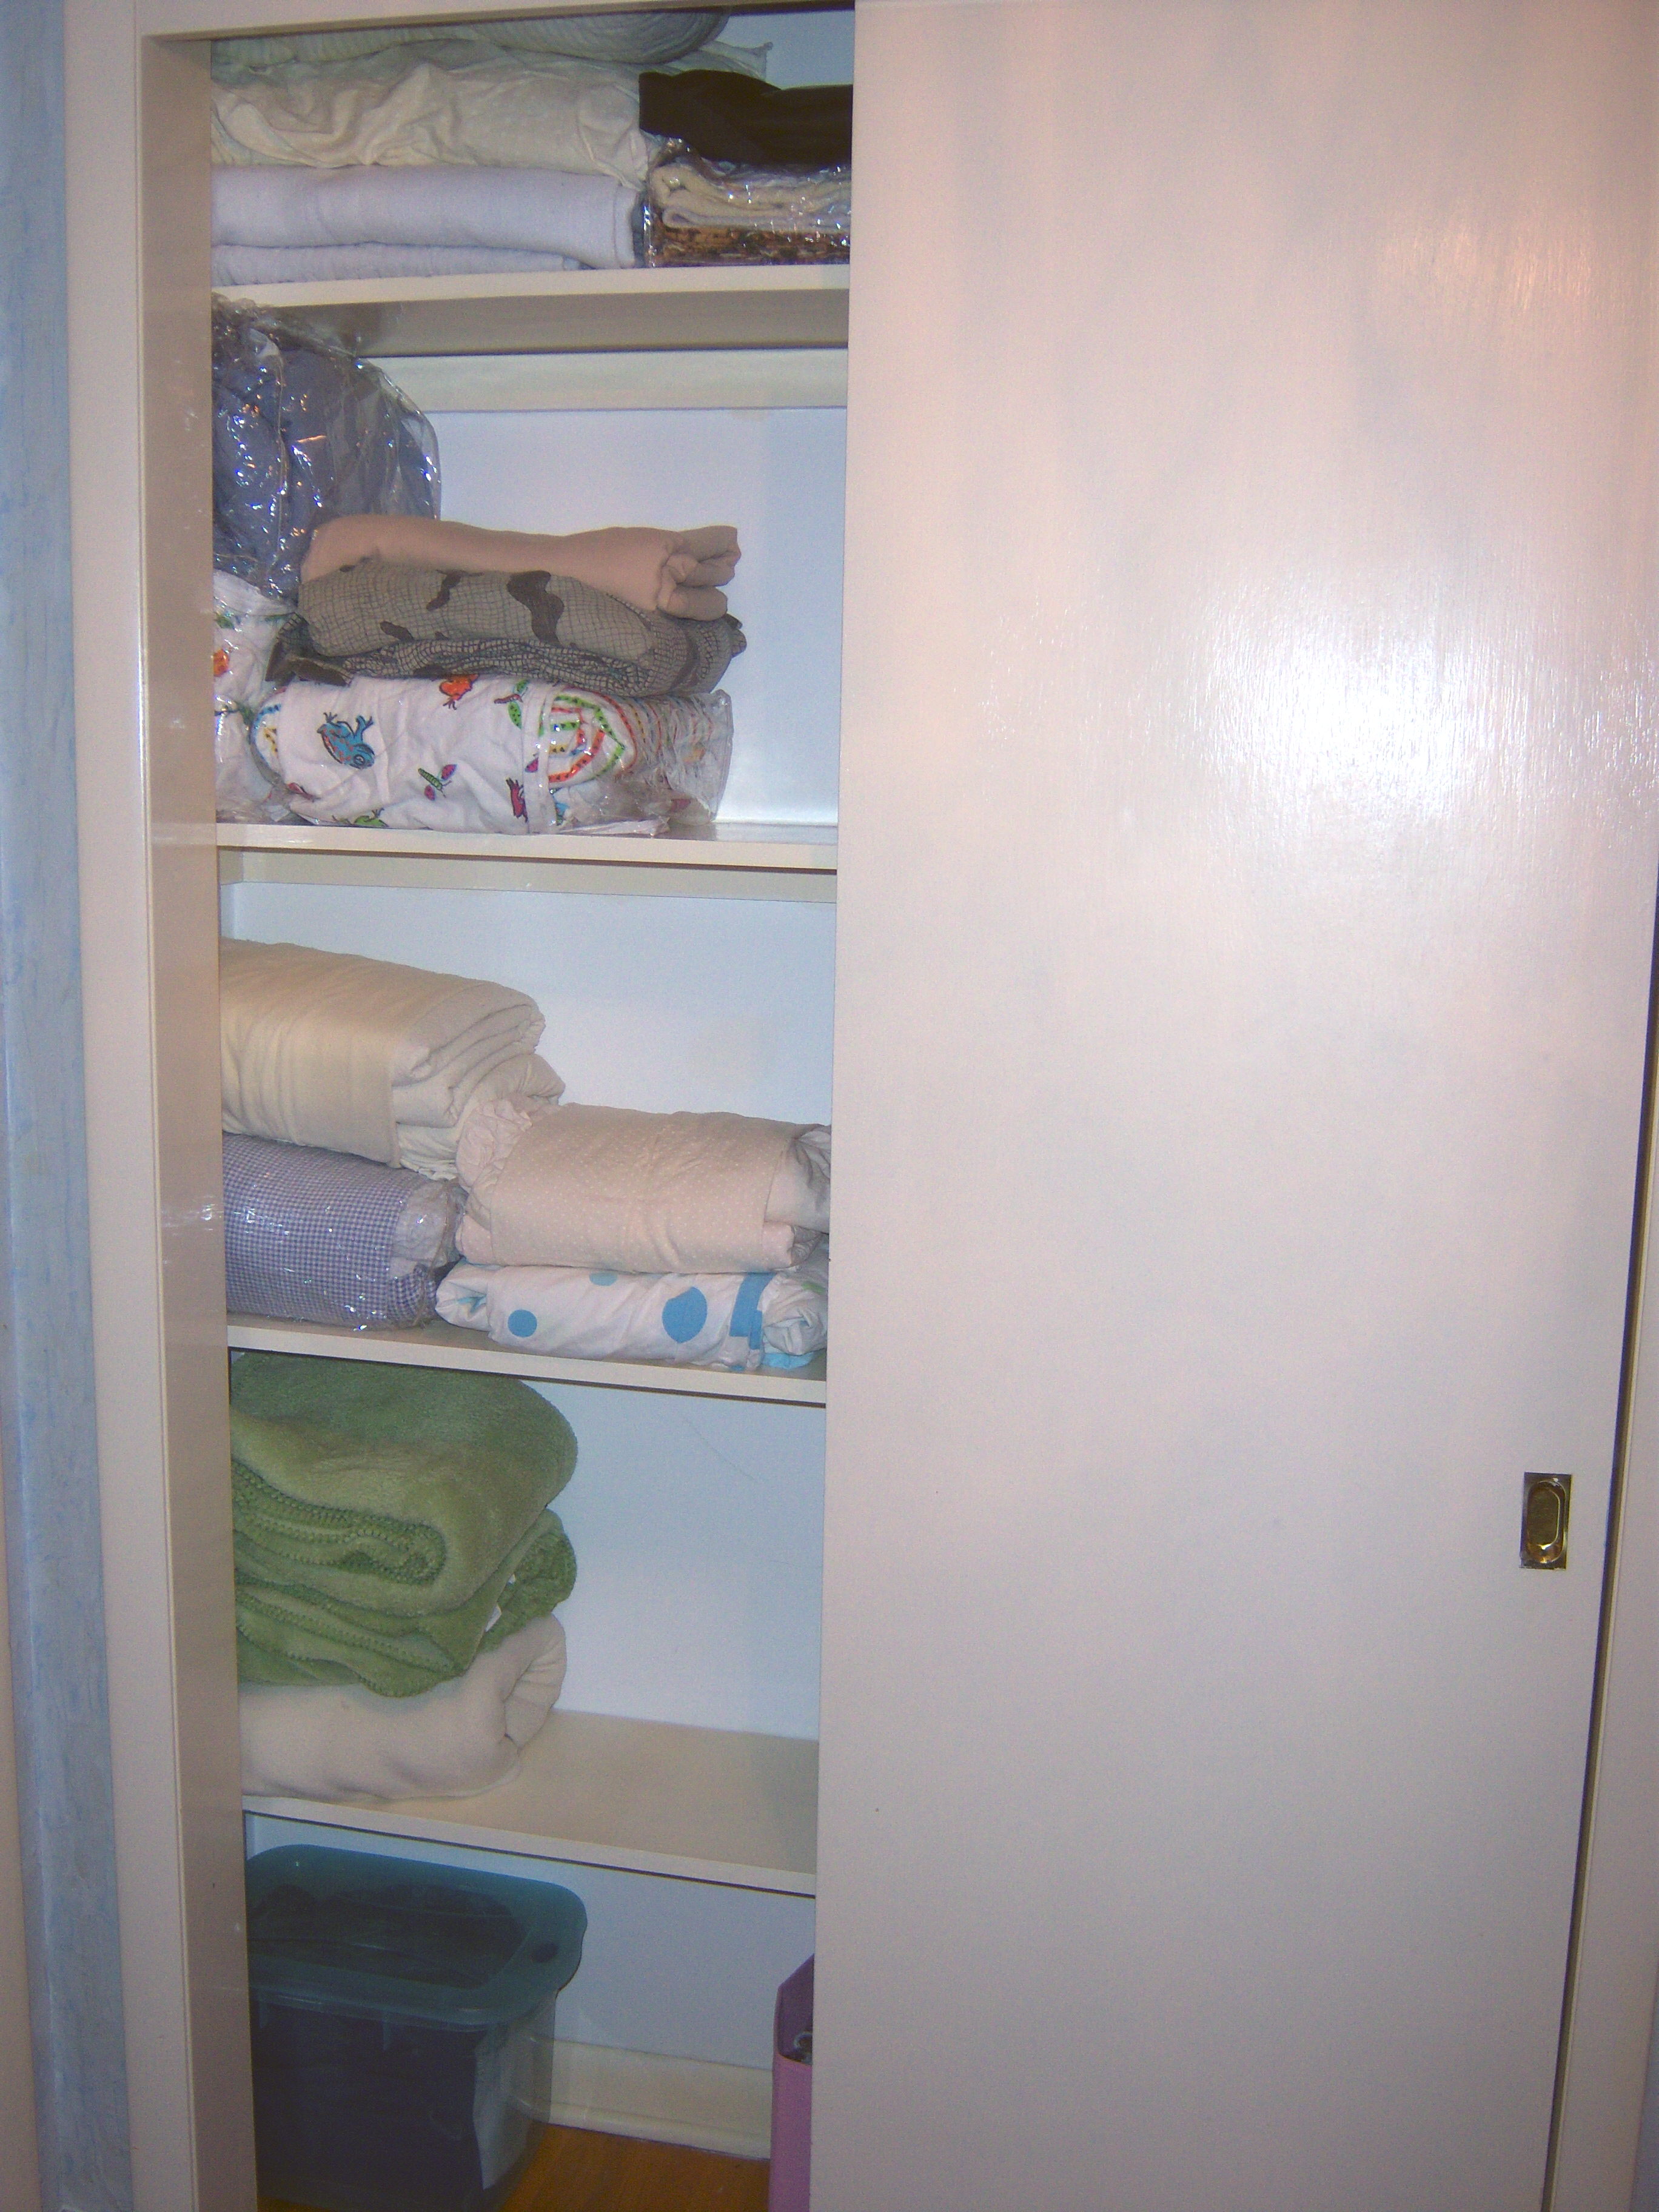
Left Side Completed

Left Side Completed

I have to say, I was rolling my eyes at the thought of this project going in, but now I love how the closet looks. There’s so much more space! The problem is going to be keeping it that way. Martha doesn’t have a teenager and a 10 year old stuffing things in her closets and knocking over her nicely folded piles. I’m going to try to keep it this way though because it’s easier to find things and put them away. It just feels much more luxurious to have it looking so pretty. This project took us about an hour. It was all the refolding of the darn sheets that took so much time.

Right side completed

Right side completed

So the bottom line was that I’m glad we did this. I have to admit I even went and opened the closet later in the day just to see how cute it all looked. Martha – I’m with you on this. It’s a good thing.

  Martha decided it was time to organize my linen closet. She was right. As you can see below, it was pretty messy. I sat down and read all her advice about linen closets on the web site. Some was simply not practical. If I had as much money as Martha does, I could probably … Read more

In my quest for all things Martha (which is now constantly on my mind), I sought out two Halloween festivities over the weekend that are definitely something Martha would approve of.

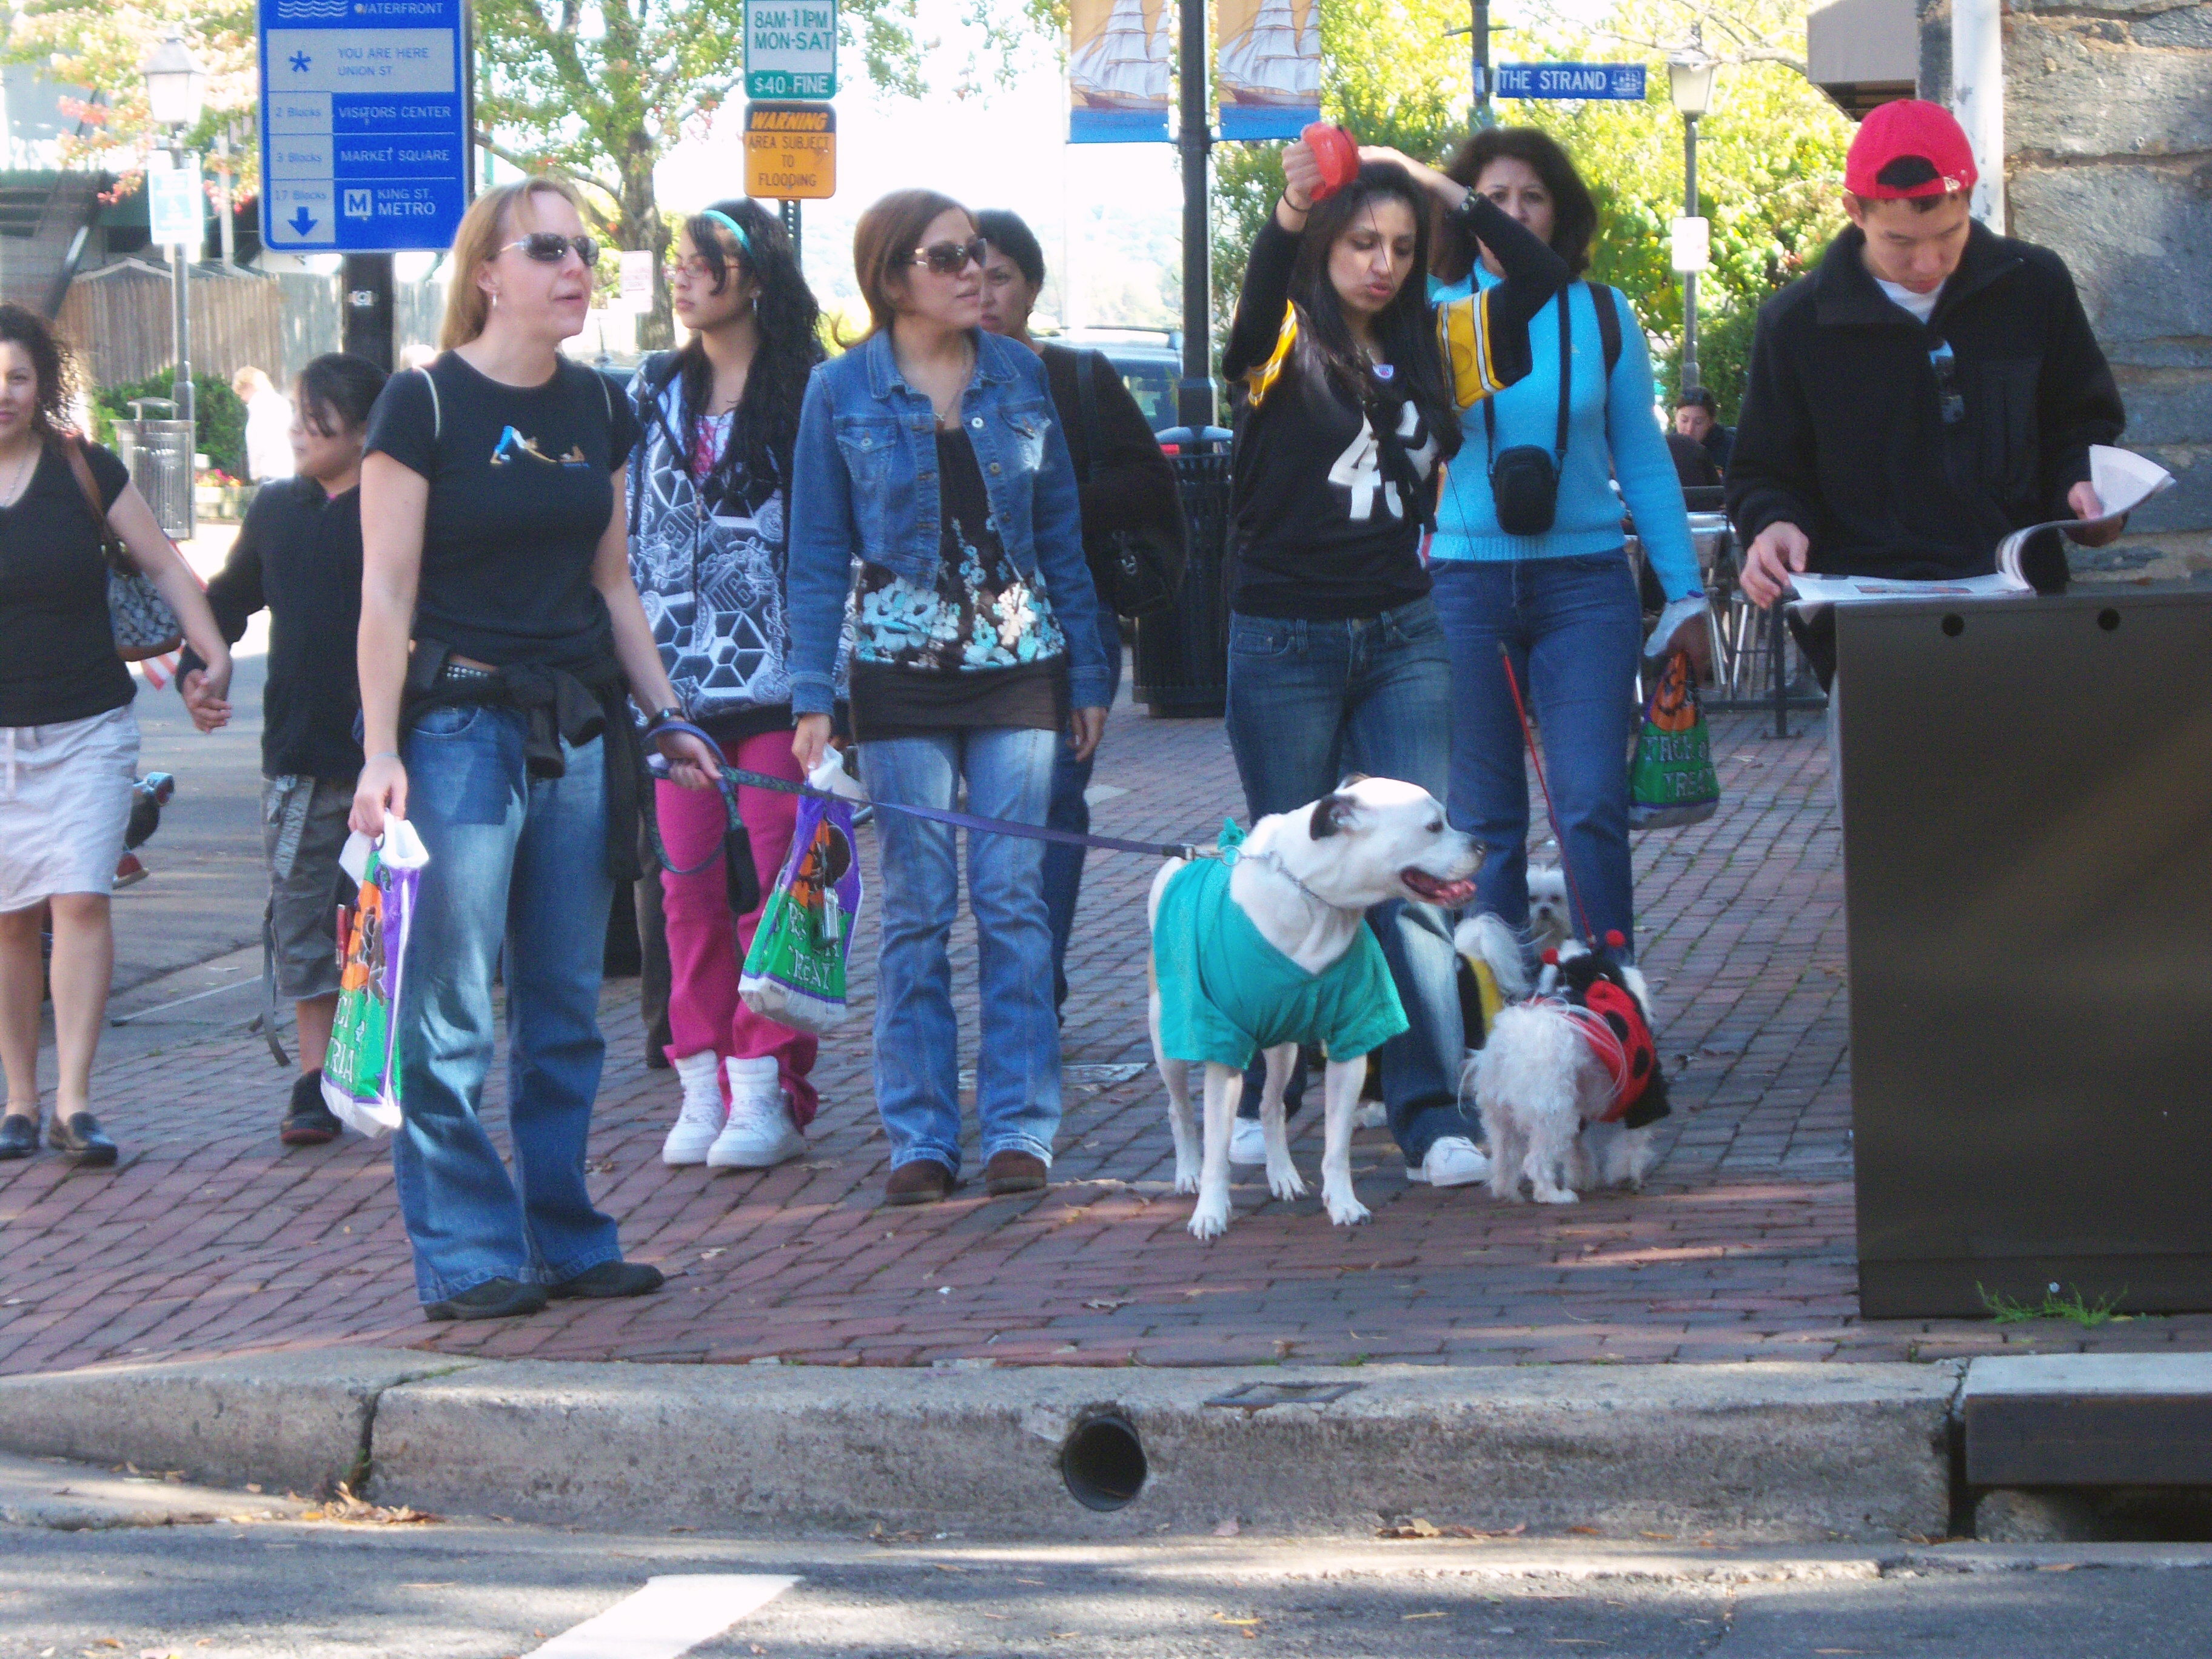
Dogs hitting the pavement

Dogs hitting the pavement

Old Town Alexandria, Virginia has dog trick or treating the week before Halloween. What a sight! Dogs of every kind in every imaginable type of costume were on the streets. The dogs didn’t seem to be too excited about the costumes but they were happy to get the treats.

The whole town turns into Martha for this event, with pet owners brainstorming terrific costumes. We saw a bumble bee, a race car, witches, an inmate, clowns, a cowboy and many more.

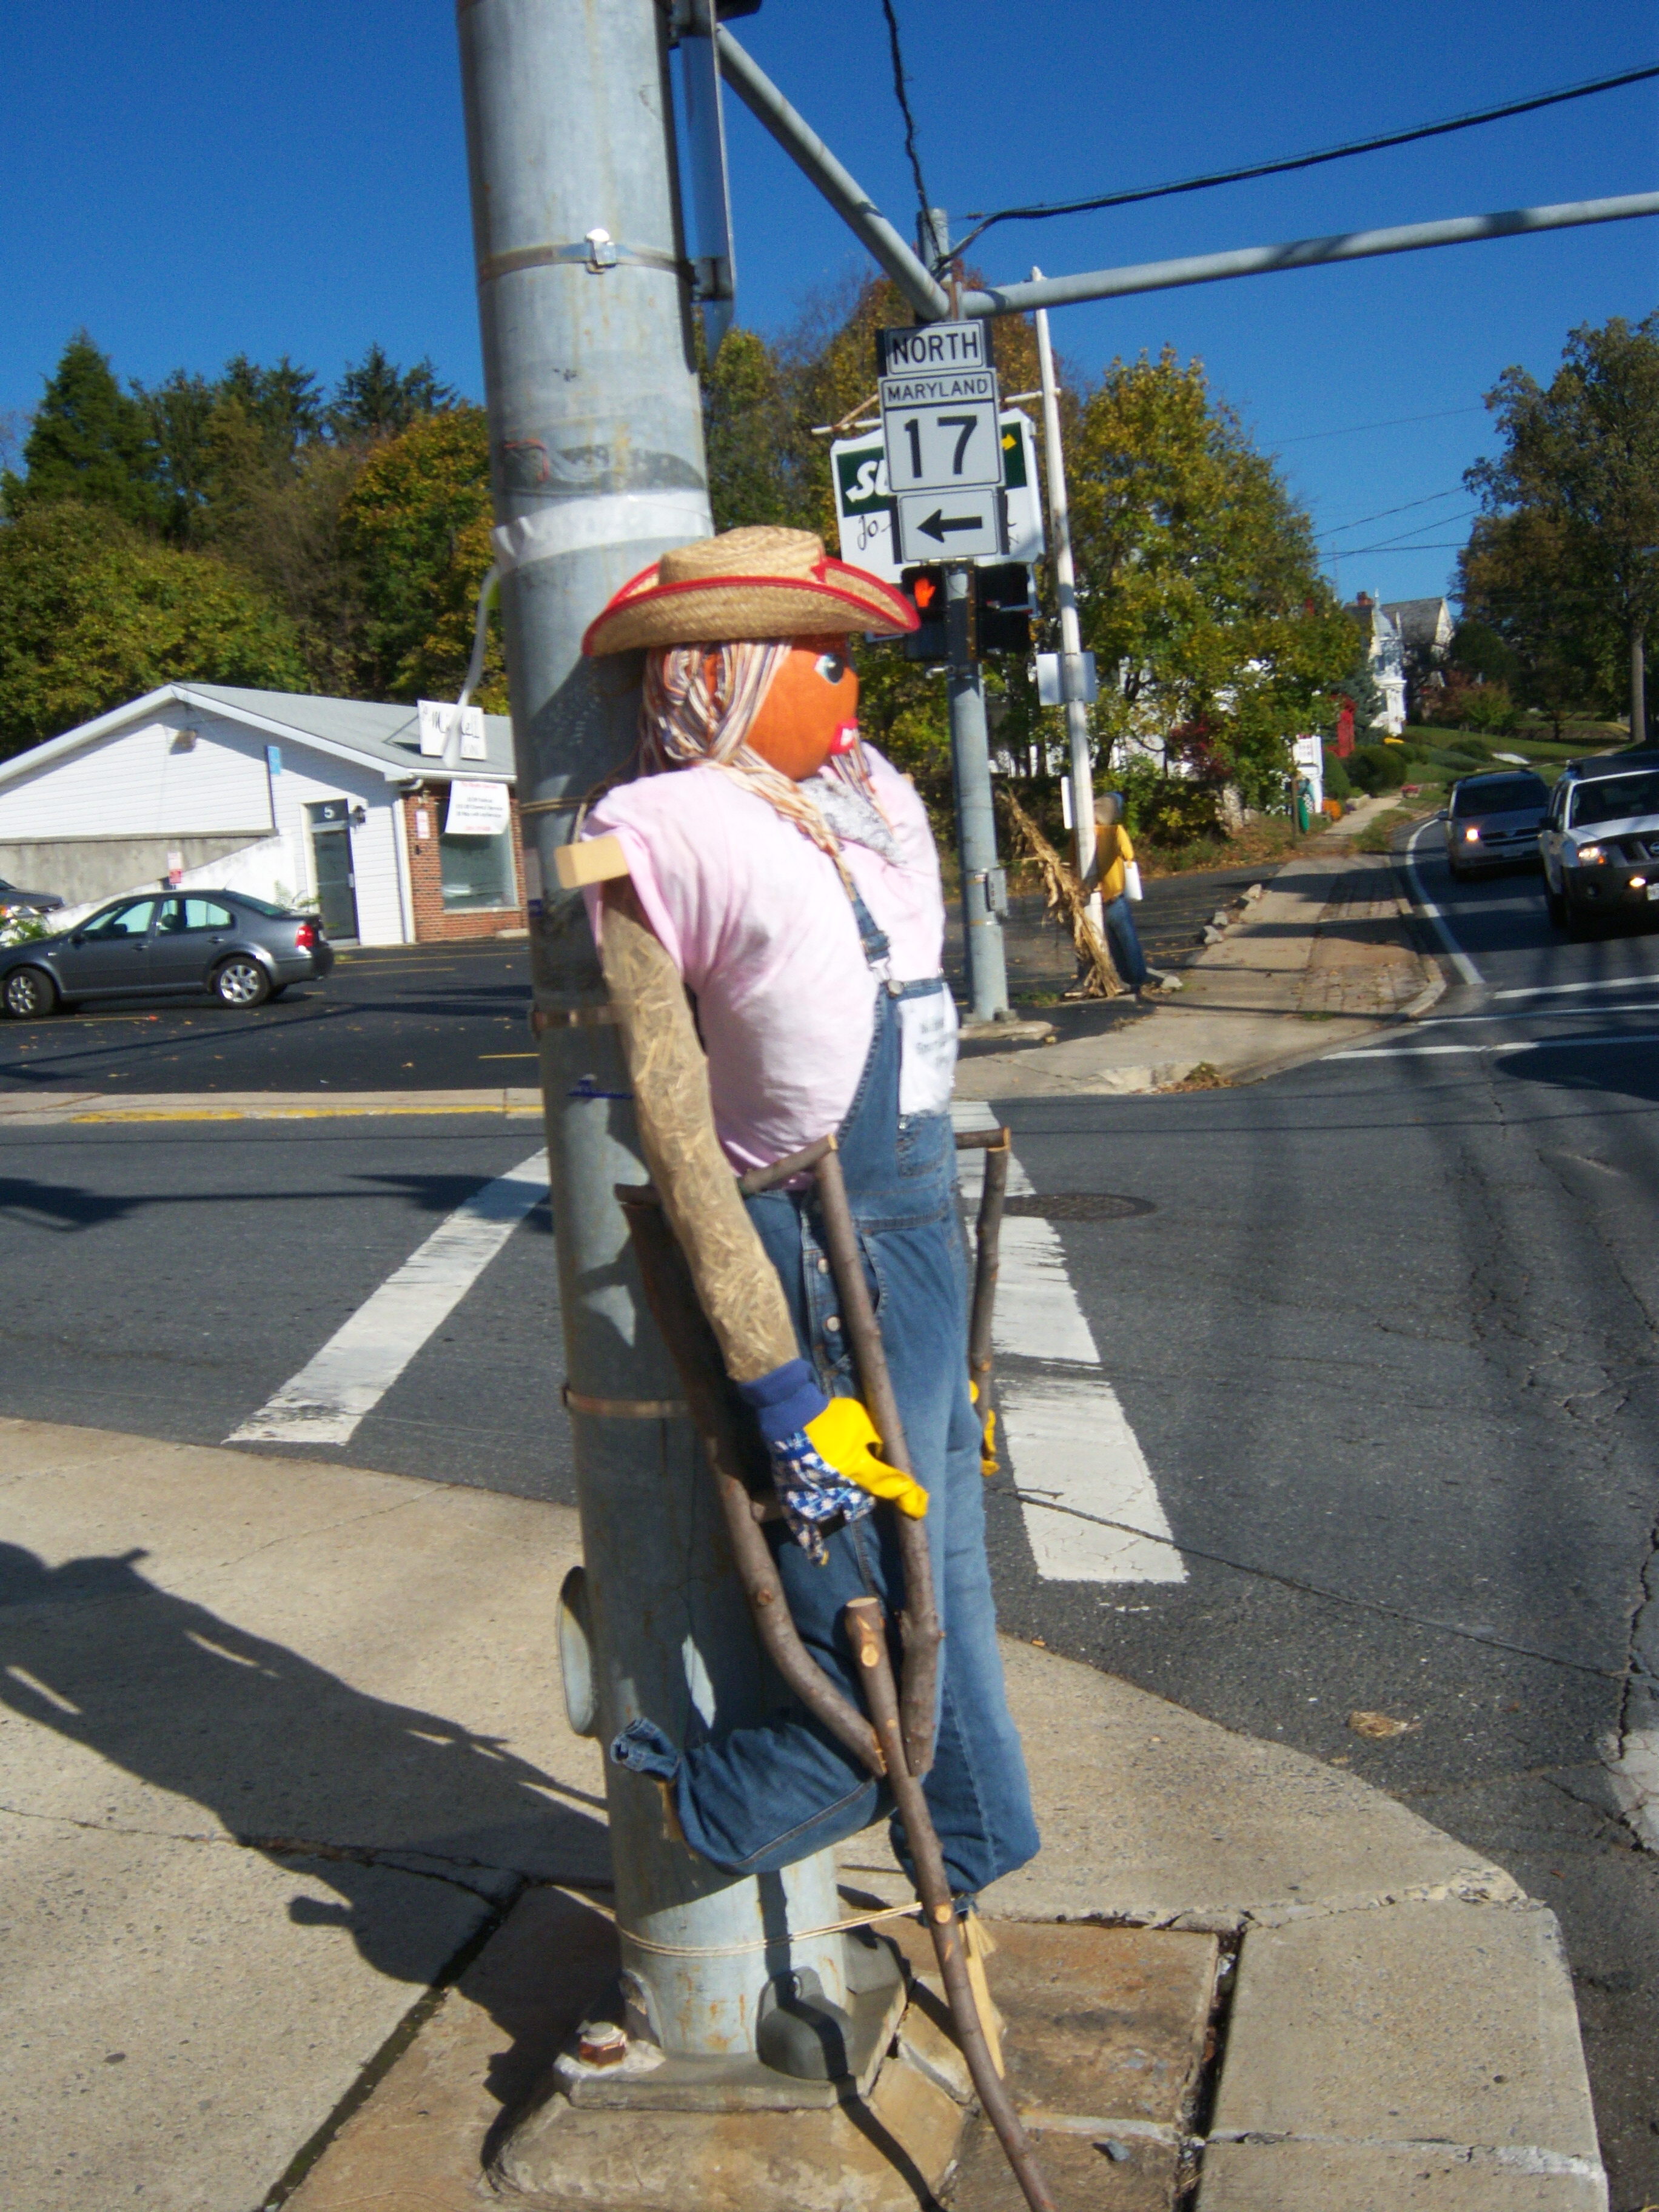
Sponsor a scarecrow

Sponsor a scarecrow

Also in the spirit of the season, we saw this amazing display in Middleton, Maryland. The town attaches scarecrows to signposts throughout the main section of town. Businesses can sponsor a scarecrow. Each business gets to select the design and the name of the business is pinned to the scarecrow’s chest. Very festive! Martha would definitely approve.

In my quest for all things Martha (which is now constantly on my mind), I sought out two Halloween festivities over the weekend that are definitely something Martha would approve of. Old Town Alexandria, Virginia has dog trick or treating the week before Halloween. What a sight! Dogs of every kind in every imaginable type … Read more

no