Please welcome my guest blogger today, Kristen Gough from MyKidsEatSquid.

Whenever I’m starved for dinner ideas, I pull up Marthaandme for a little inspiration. My kids (three girls!) are creative eaters by habit—we love to try new flavors and recipes. I’m thrilled that while Marthaandme takes a much-deserved vacation, I can offer a recipe of my own to get you by until she returns.

Grilled cheese usually induces yawns from my kids. But it’s so quick to put together that sometimes when I have a busy night or we’ve spent the better part of the day at the pool I make them by the stack.

See grilled cheese doesn’t have to be boring—and it doesn’t have to be the soggy, limp tasteless variety I sometimes pass off as dinner. We’ve reinvented grilled cheese around our house, with more than a little help from an arsenal of cheeses. These aren’t hard-to-find cheeses, but a combination of a few favorites and a couple special finds. My mouth-watering combo is sharp cheddar, deli American, Havarti dill and fontina. You can mix and match four (or three) of your favorites but the there is a method to my mix—cheddar for flavor, but it doesn’t melt well so then comes the American followed by Fontina, which melts beautifully and has more of a kick than its milder mozzarella cousin, and Havarti dill for a hint of herby flavor and creaminess. I used several thin slices of each cheese for the sandwiches. I add a kick of flavor to the sandwiches with a few chopped green chiles, but you don’t have to (there are few sandwiches where I don’t toss in at least a few mild green chiles). I also add a thick slice of tomato right after the sandwiches get off the griddle and before the cheese sets.

Don’t put all those cheeses on just any bread! I look for a hearty, rustic loaf then use a thin slather of real butter to coat the outside. If that’s not enough flavor to boost grilled cheese from a dinner disappointment to something special, I usually serve it with a bit of chipotle-spiked mayo to the side.

For the complete recipe keep reading.

Recipe for Four Cheese, Grilled Cheese with Chipotle-Spiked Mayo

Serves: 4-5

Sandwich ingredients

1 loaf hearty, rustic bread

8 ounces sharp cheddar cheese

5-10 slices deli American cheese

2 ounces Havarti dill

4 ounces Fontina cheese

Butter

Sauce ingredients

½ cup mayonnaise

½ teaspoon chipotle in adobo sauce (you can find 12-ounce cans in your grocers ethnic foods aisle)

salt and pepper to taste

Directions:

Heat a large griddle to medium-high heat. Cut the bread into thin slices (depending on your family’s preferences). Lightly butter the outside of each piece. Separate the bread pieces equally into tops and bottoms of your sandwiches.

Cut thin slices of all of your cheeses (again, depending on your family’s preferences, my husband likes thick slices, I prefer thin).

Place the bottom bread pieces onto your griddle. Quickly add pieces of cheddar, American, Fontina and Havarti dill to each one. Add green chiles between the American and Fontina, if you’re using them. Once the cheese begins to melt (about one minute) add the sandwich tops. Let the sandwiches cook for about 3 to 4 minutes on both sides or until golden.

Let the sandwiches cool off the griddle for a few minutes while you mix up the mayo. At this point you can also add a slice of tomato to the sandwich.

For the sauce, simply whisk the chipotle sauce into the mayo. Add salt and pepper to taste.

Cut the sandwiches and serve with a little mayo for dipping.

As a mom, freelance writer & foodie blogger, Kristen J. Gough spends her days crafting stories when she’s not dreaming up new food combos to try out with her kids.

Bookmark and Share

Please welcome my guest blogger today, Kristen Gough from MyKidsEatSquid. Whenever I’m starved for dinner ideas, I pull up Marthaandme for a little inspiration. My kids (three girls!) are creative eaters by habit—we love to try new flavors and recipes. I’m thrilled that while Marthaandme takes a much-deserved vacation, I can offer a recipe of … Read more

Please welcome my guest blogger today, Jennifer Margulis:

Jennifer with 3 of her 4 children

Have you ever heard of agave?

No, not the hip new Mexican restaurant that opened down the street.

Agave is a plant that grows in Mexico and out of which tequila is made. But agave nectar, which comes from the sap of the plant, is a natural sweetener that tastes a lot like honey but is healthier for you.

Since your body digests it slowly, it doesn’t cause low blood sugar, it’s low on the glycemic index (though this varies by processing method, etc.), and is becoming increasingly popular among diabetics.

It’s also great for baking.To read much more on agave, read Sweet Savvy’s post here.

So what does this have to do with making cakes?

I know your taste buds believe otherwise but humans don’t need refined sugar of any kind. Ever. Neither do kids (of any age, though it gets harder to have your say as they get older and obsessed with candy, gum, lollipops, chocolate … you get the idea.)

No sugar, then how do you bake a cake? Make this healthy agave-sweetened carrot cake recipe, adapted from one by Andrew Weil, and dive into it without the guilt or the blood sugar crash after you eat!

Ingredients
2 cups firmly packed finely grated carrots (do this with the S-shaped blade in the cuisinart and it’s ready in seconds)
Juice of 1 large orange
2 teaspoons vanilla extract
1/4 cup olive oil
1 cup agave nectar (found in the bulk section of most natural food stores, near the maple syrup)
1 Tablespoon Brewer’s Yeast + 2 Tablespoons of bran + enough unbleached white flour to make one cup
1 1/2 cups whole-wheat pastry flour
1 teaspoon baking soda
1 teaspoon baking powder
1 teaspoon salt (optional)
2 teaspoons cinnamon
1/2 teaspoon ginger

Instructions
1. Preheat oven to 350°F.

2. Combine the carrots, orange juice, vanilla, olive oil, and agave.

3. In another bowl or big measuring cup, stir together all the dry ingredients.

4. Add the dry ingredients to the carrot mixture, stirring until just mixed. Do not overstir.

5. Pour the batter into a greased 8-inch-square baking pan and bake at 350 for 45+ minutes until a knife inserted in the center comes out clean.

Jennifer Margulis is a travel, culture, and parenting writer whose articles have been published in the New York Times, the Washington Post, and Smithsonian Magazine. A contributing editor at Mothering magazine, she writes a popular blog called “Mothering Outside the Lines,” updated three times a week. She lives in southern Oregon with her husband and four children. Read more about her books and articles at her Website: www.jennifermargulis.net. Follow her on Twitter @jennifermarguli

Please welcome my guest blogger today, Jennifer Margulis: Have you ever heard of agave? No, not the hip new Mexican restaurant that opened down the street. Agave is a plant that grows in Mexico and out of which tequila is made. But agave nectar, which comes from the sap of the plant, is a natural … Read more

Chicken paillards are right up my alley. We eat a lot of chicken breasts and one is too much for one person (I think), so the idea of cutting them in half horizontally and then pounding them a bit (they cook faster when thinned out a little) works for me. This recipe is from Aug Living. It’s very simple to make.

Make the paillards and put a sage leaf on each one and grill or pan saute. I grilled and did not have any fresh sage, so I used dried. Cook some green beans. Our beans were very special – grown by my dad and picked by Dude Martha who went over there and worked to earn money to buy an iPod, so there was a lot of family sweat equity in them! While the chicken is cooking, put a little olive oil in a pan and cook 4 oz dry cured ham (I used prosciutto). Cook for 3 min then add 1/2 sliced red onion and cook until soft about 3 min. Add 1 tbsp red wine vinegar and stir in the beans. Toss this with 3 cups of lettuce and serve it all on top of the paillards.

I really liked this a lot and enjoyed the beans, ham, and lettuce with the chicken. Not a lot of work, but it has interesting textures and flavors. Definitely a nice quick dinner.

Bookmark and Share

Chicken paillards are right up my alley. We eat a lot of chicken breasts and one is too much for one person (I think), so the idea of cutting them in half horizontally and then pounding them a bit (they cook faster when thinned out a little) works for me. This recipe is from Aug … Read more

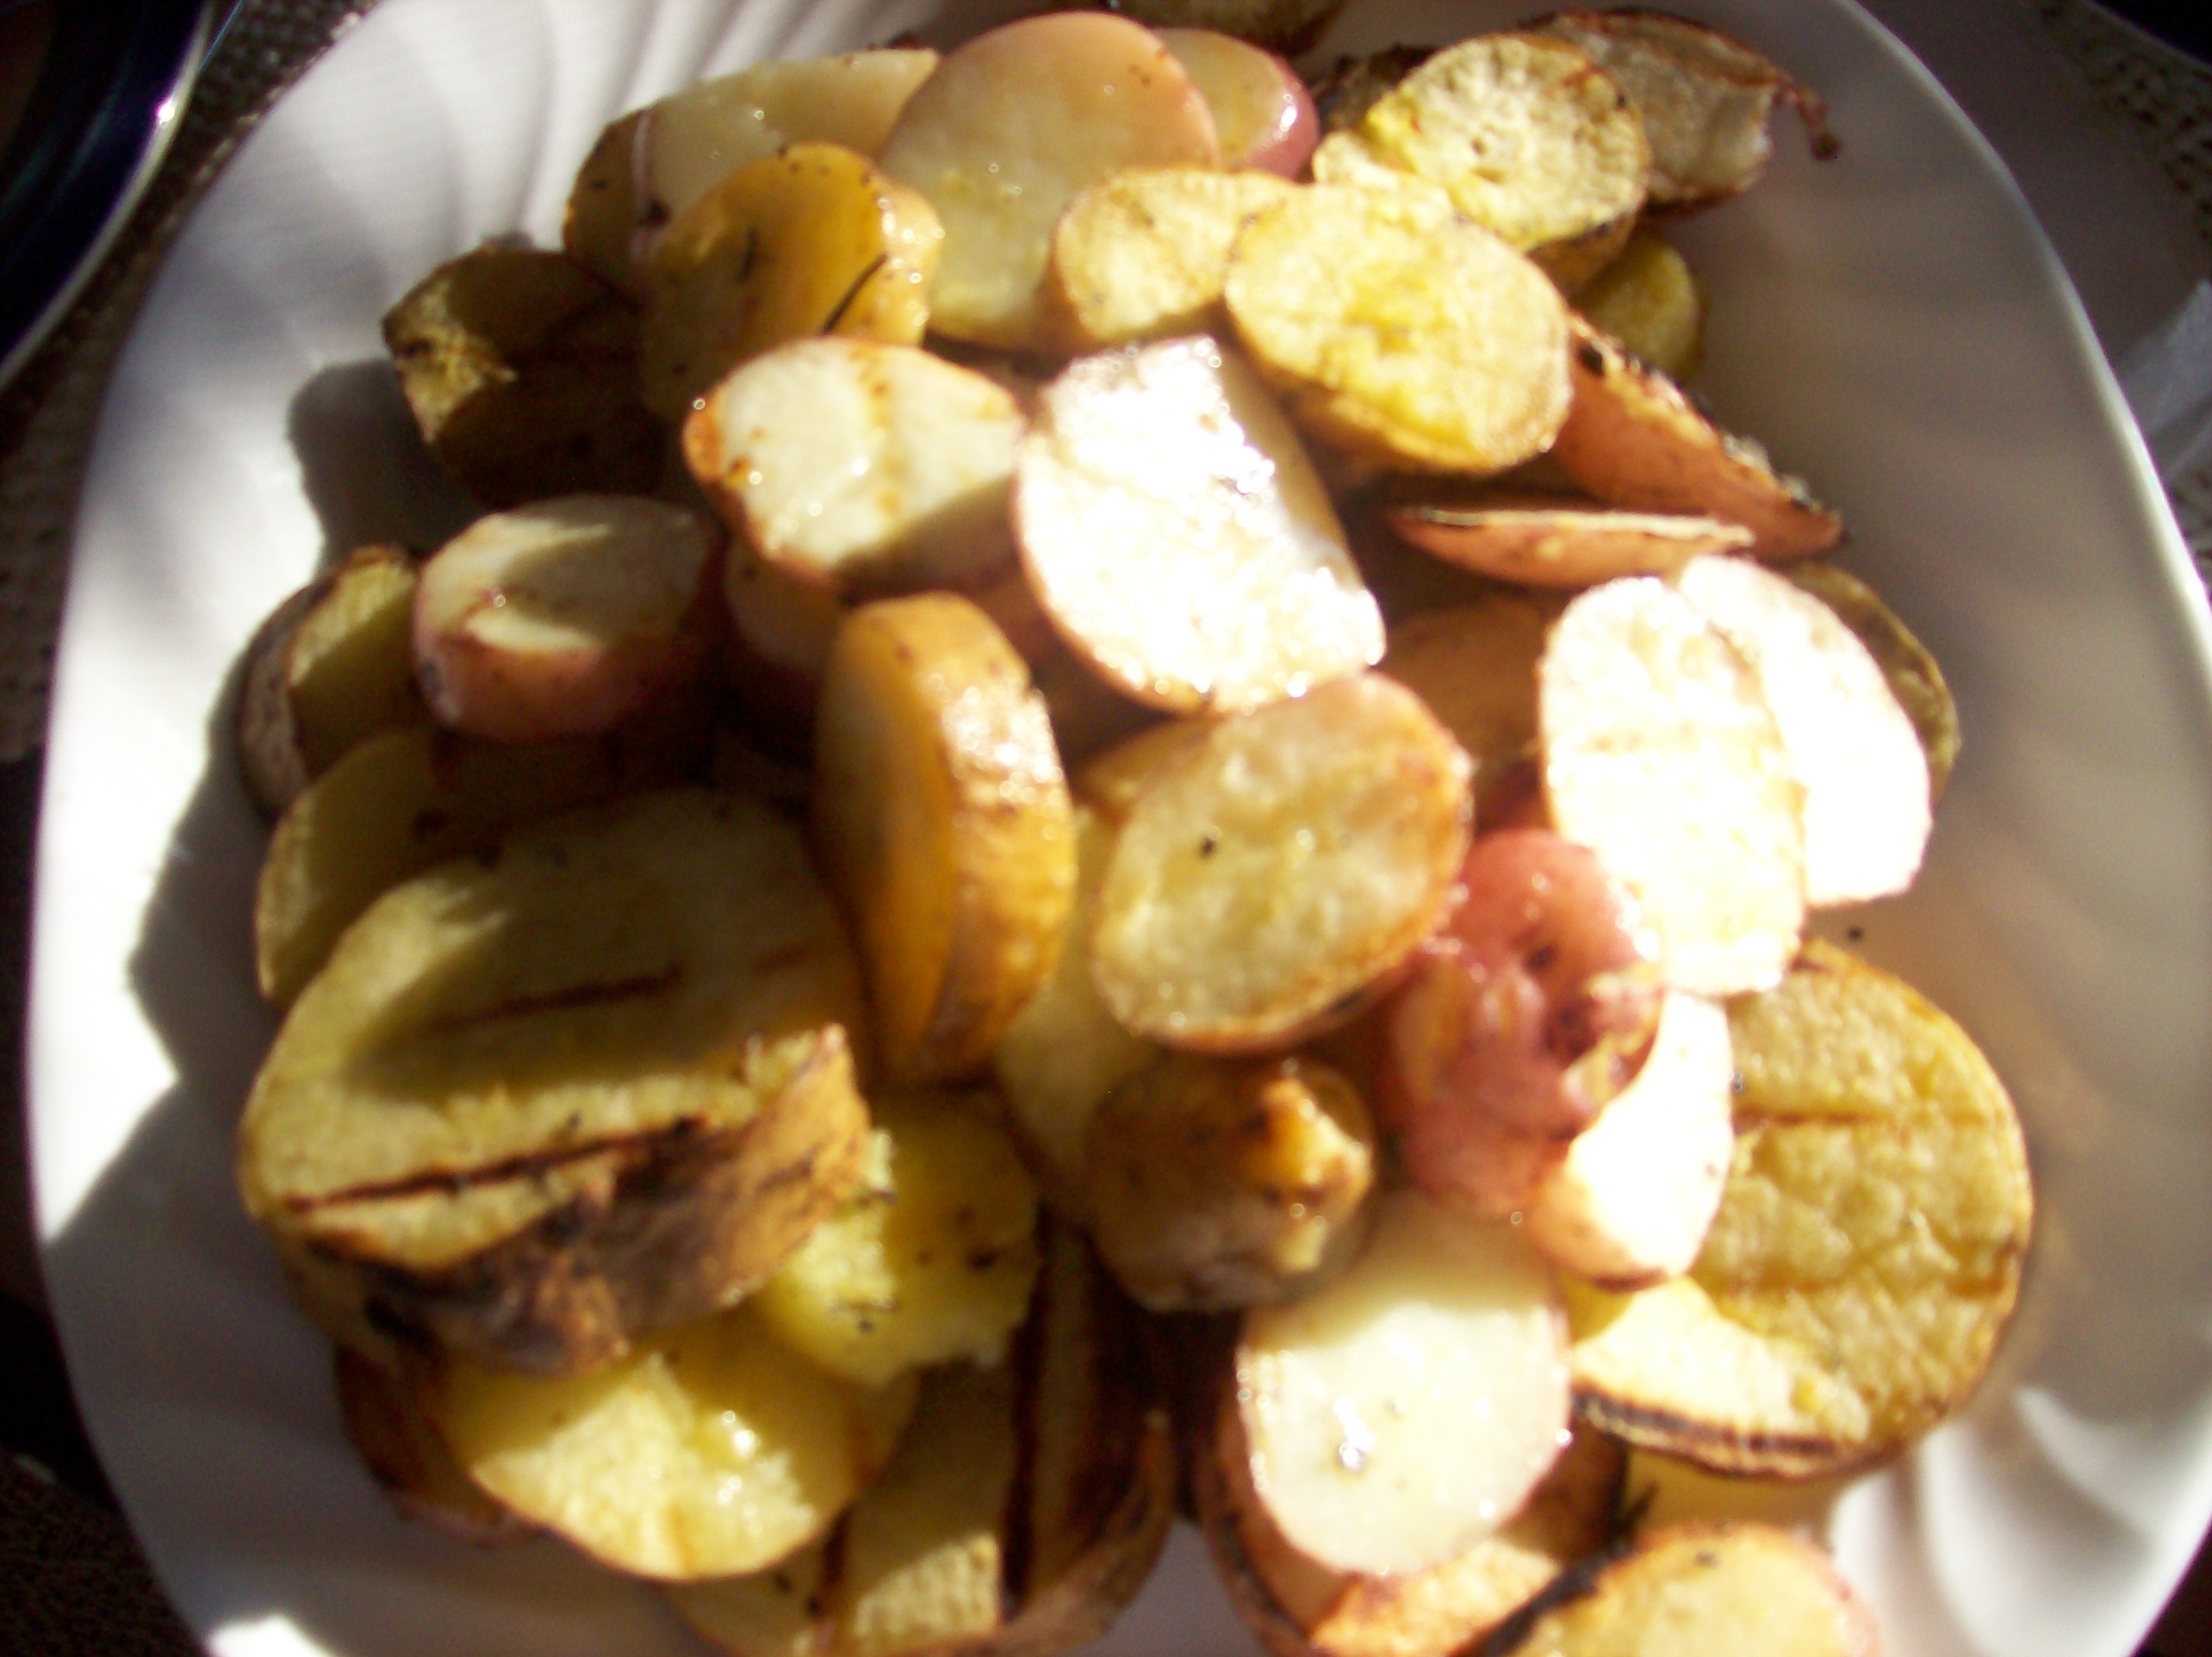
More grilling? Yep, another recipe from Aug Living. I’ve never grilled potatoes. I’ve had potatoes you wrap in foil and stick in a campfire, but never potatoes on the grill. Here’s the deal. Martha says to get 1 1/2 lbs each of red potatoes and sweet potatoes and slice them 1/3 inch thin. Then boil some salted water and drop in the red ones. Cook until almost tender (7 min). Remove those and add the sweet potatoes and do the same thing. Then toss them together with 3/4 cup olive oil and 6 sprigs of rosemary (leaves pulled off and crushed). Let it sit for an hour then grill for about 8 min.

Mr. MarthaAndMe had a few choice words for Martha as the potatoes slipped through the grill. There was nothing special about these. They just tasted like plain potatoes. It definitely needed more flavor to bring it alive.

Bookmark and Share

More grilling? Yep, another recipe from Aug Living. I’ve never grilled potatoes. I’ve had potatoes you wrap in foil and stick in a campfire, but never potatoes on the grill. Here’s the deal. Martha says to get 1 1/2 lbs each of red potatoes and sweet potatoes and slice them 1/3 inch thin. Then boil … Read more

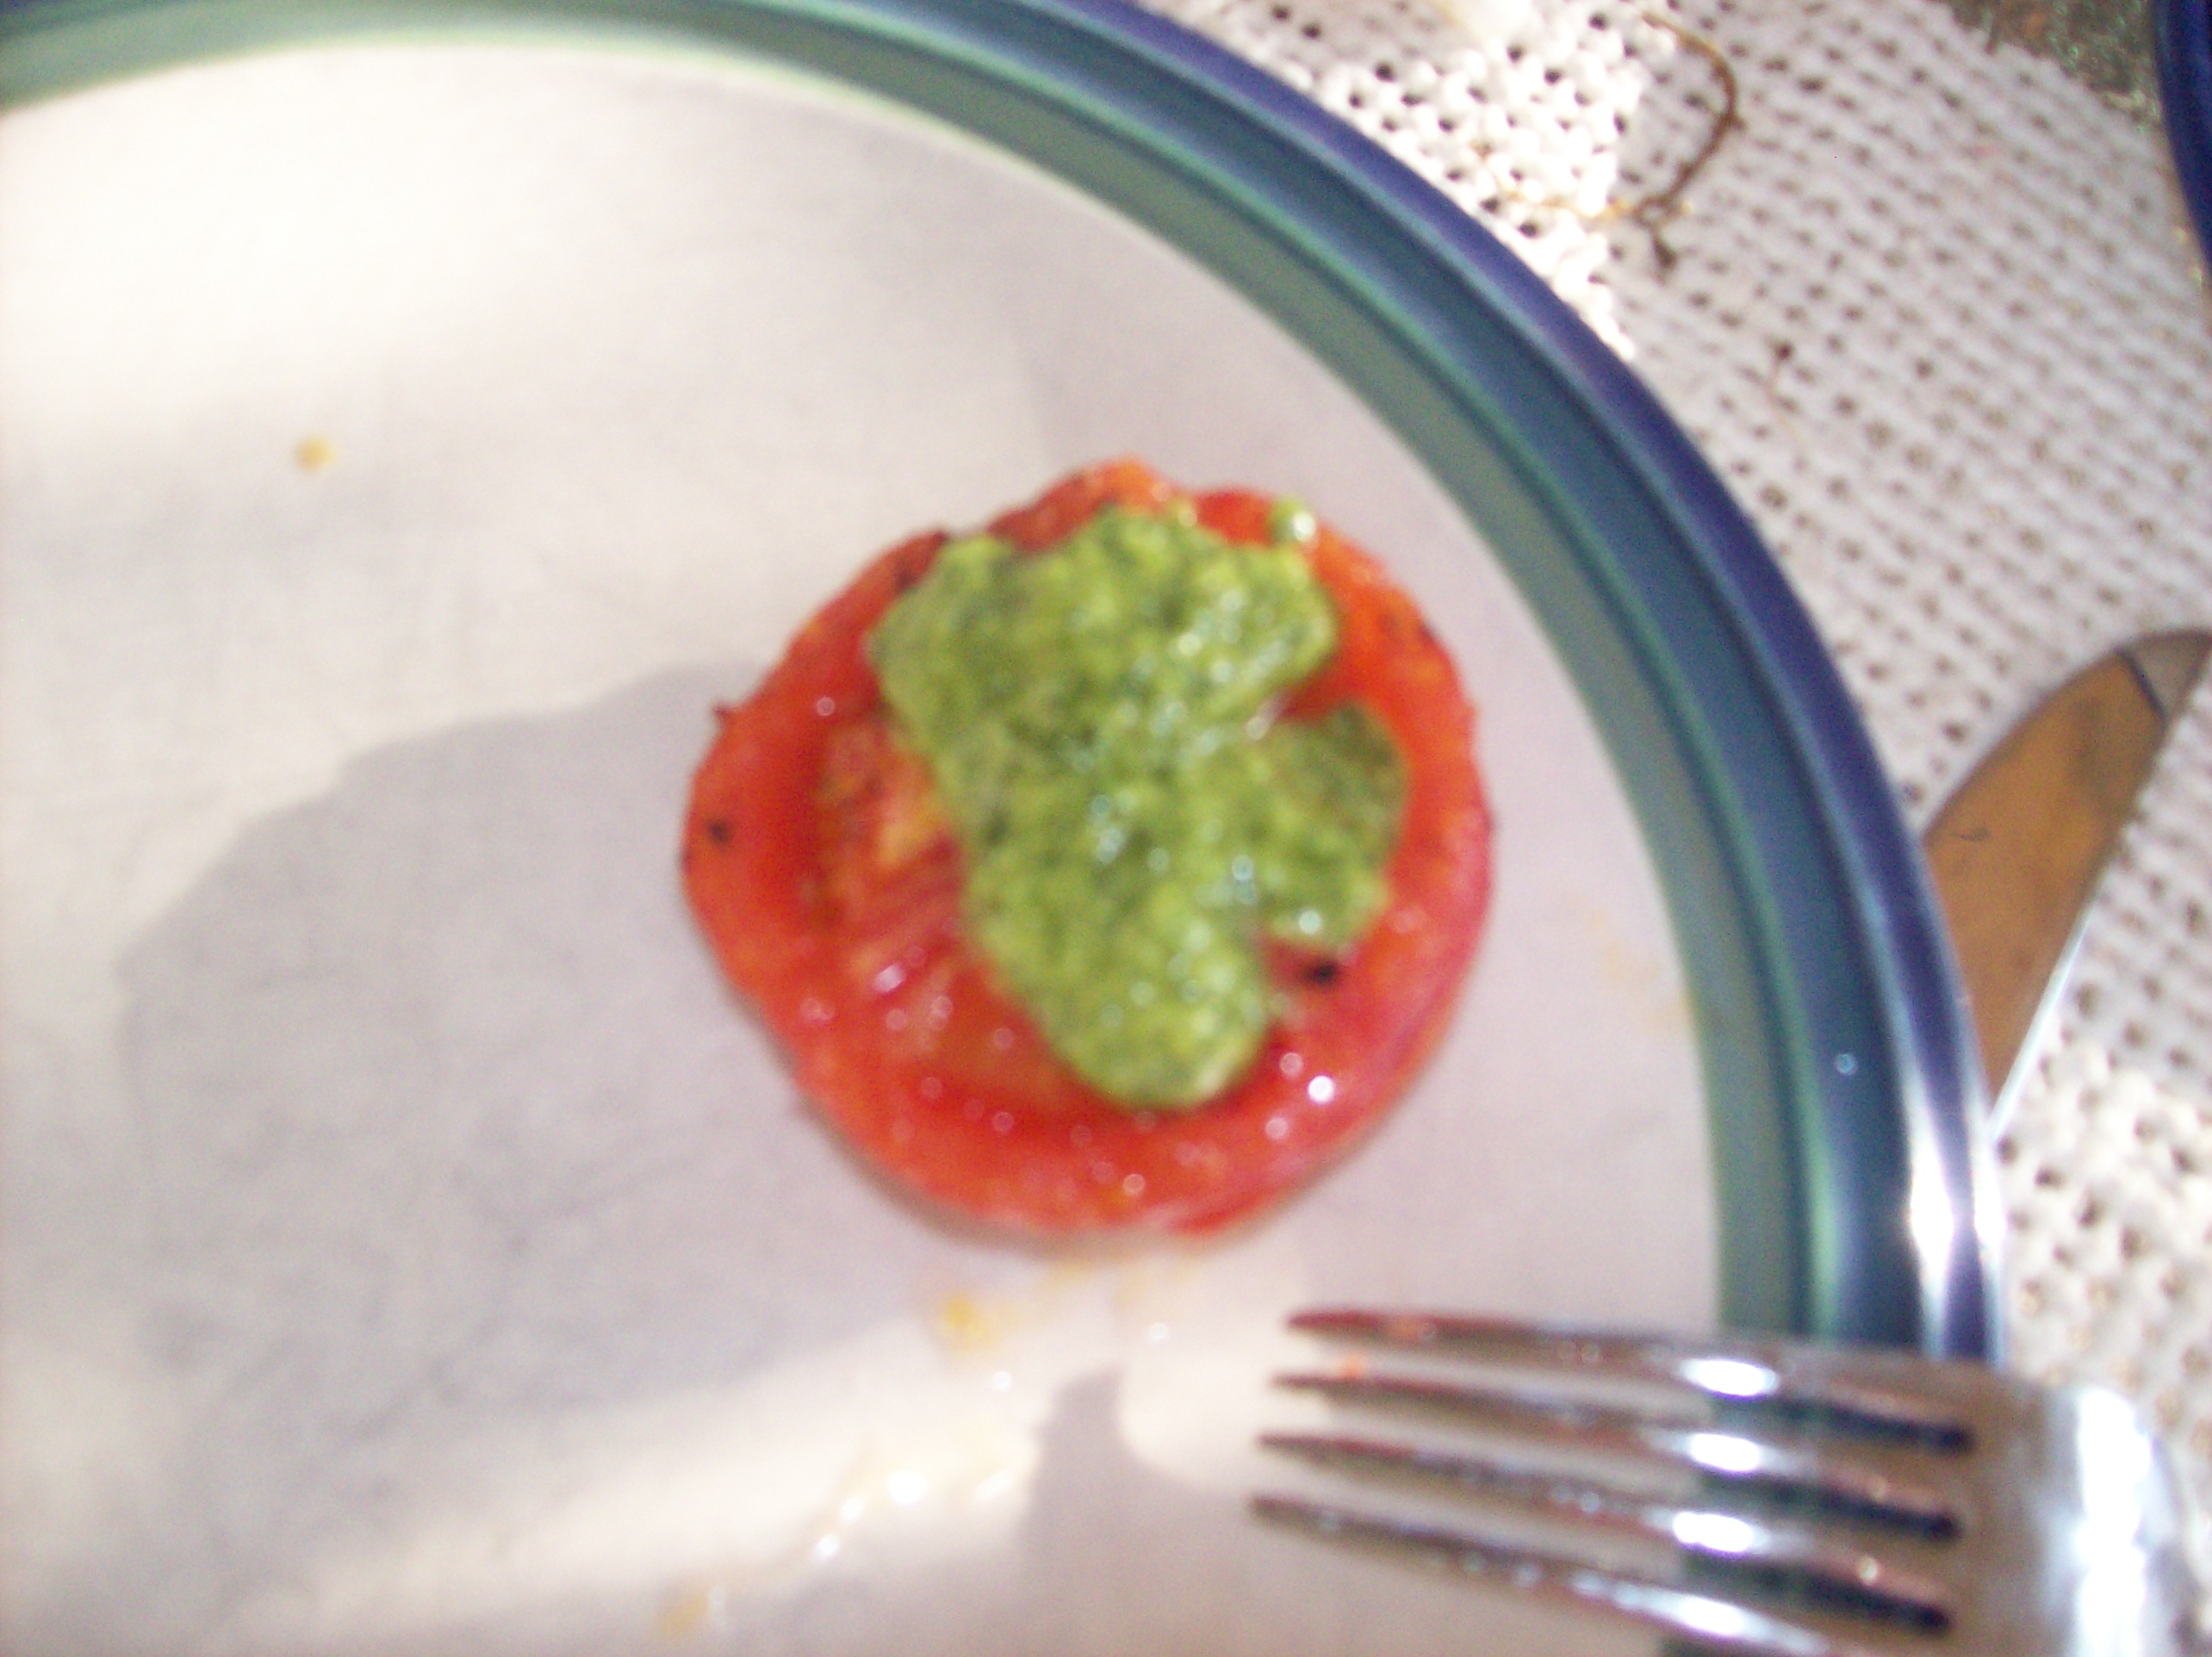
I love grilling veggies, but tomatoes were a new one for me (recipe from August Living). This was quick and easy. Cut your tomatoes in half, brush with olive oil, season with salt and pepper and grill cut side down for 8 min. That’s it. The magazine showed pebre with it – kind of like a chimichurri. This was easy to make as well. I used my mini-Cuisinart and dumped in 3/4 c olive oil, 1/2 cup fresh cilantro, 1/2 cup parsley, 3 tbsp red wine vinegar, 3 garlic cloves, 2 habanero chiles, and 1 small onion. Ok, actually I cheated and added a tiny amount of jalapeno from a jar. Then I whizzed it up. It was a lovely green, but too spicy for me to eat! I would make it without the peppers next time and less onion. The tiny bit I was able to taste on the tomato was good and it would also be nice on grilled meat or fish. I loved the contrast of the green with the red grilled tomato. I liked the tomato being grilled, so that is something I would try again.

Bookmark and Share

I love grilling veggies, but tomatoes were a new one for me (recipe from August Living). This was quick and easy. Cut your tomatoes in half, brush with olive oil, season with salt and pepper and grill cut side down for 8 min. That’s it. The magazine showed pebre with it – kind of like … Read more

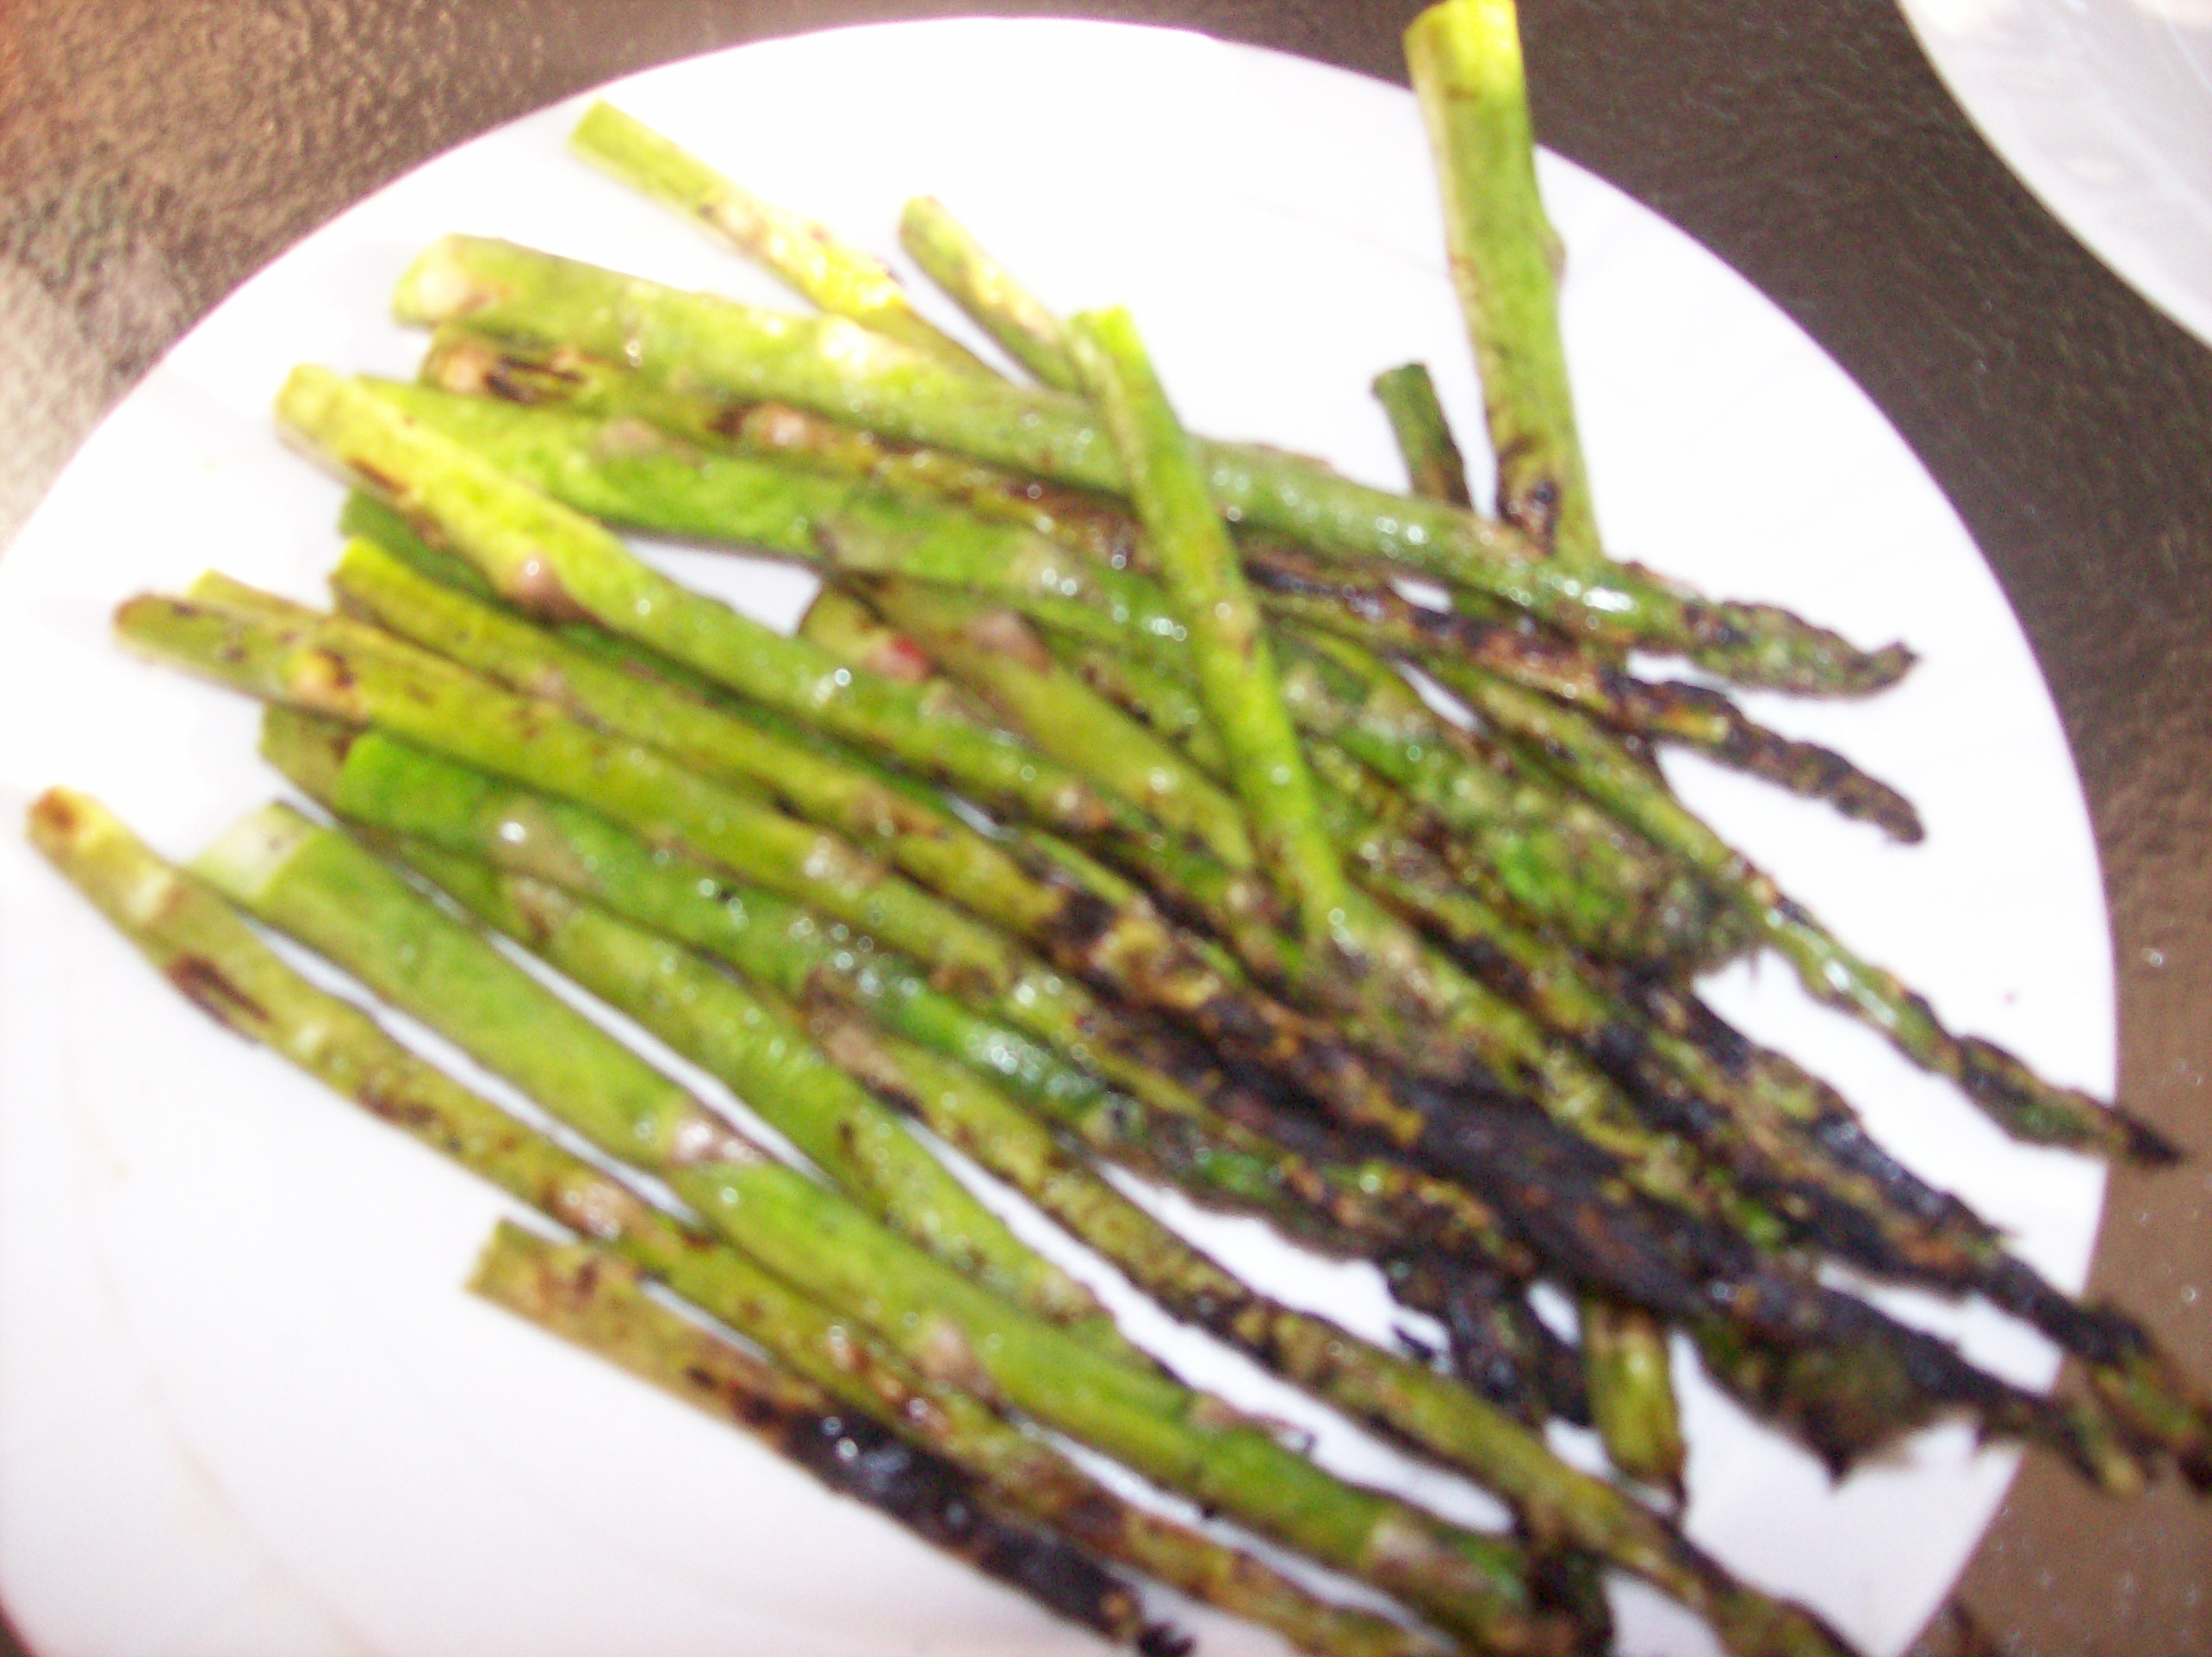
Martha is grill crazy in August Living. One of the recipes is grilled asparagus. I’ve actually made this before myself. You just rub some olive oil on asparagus spears and season with salt and pepper then grill over medium heat for about 8-10 min. The trick is to keep the spears in the right direction so they don’t fall through the grates! Overcook them and they get mushy and nasty. I like this method for asparagus a lot though even if it is a bit dicey on the timing.

Bookmark and Share

Martha is grill crazy in August Living. One of the recipes is grilled asparagus. I’ve actually made this before myself. You just rub some olive oil on asparagus spears and season with salt and pepper then grill over medium heat for about 8-10 min. The trick is to keep the spears in the right direction … Read more

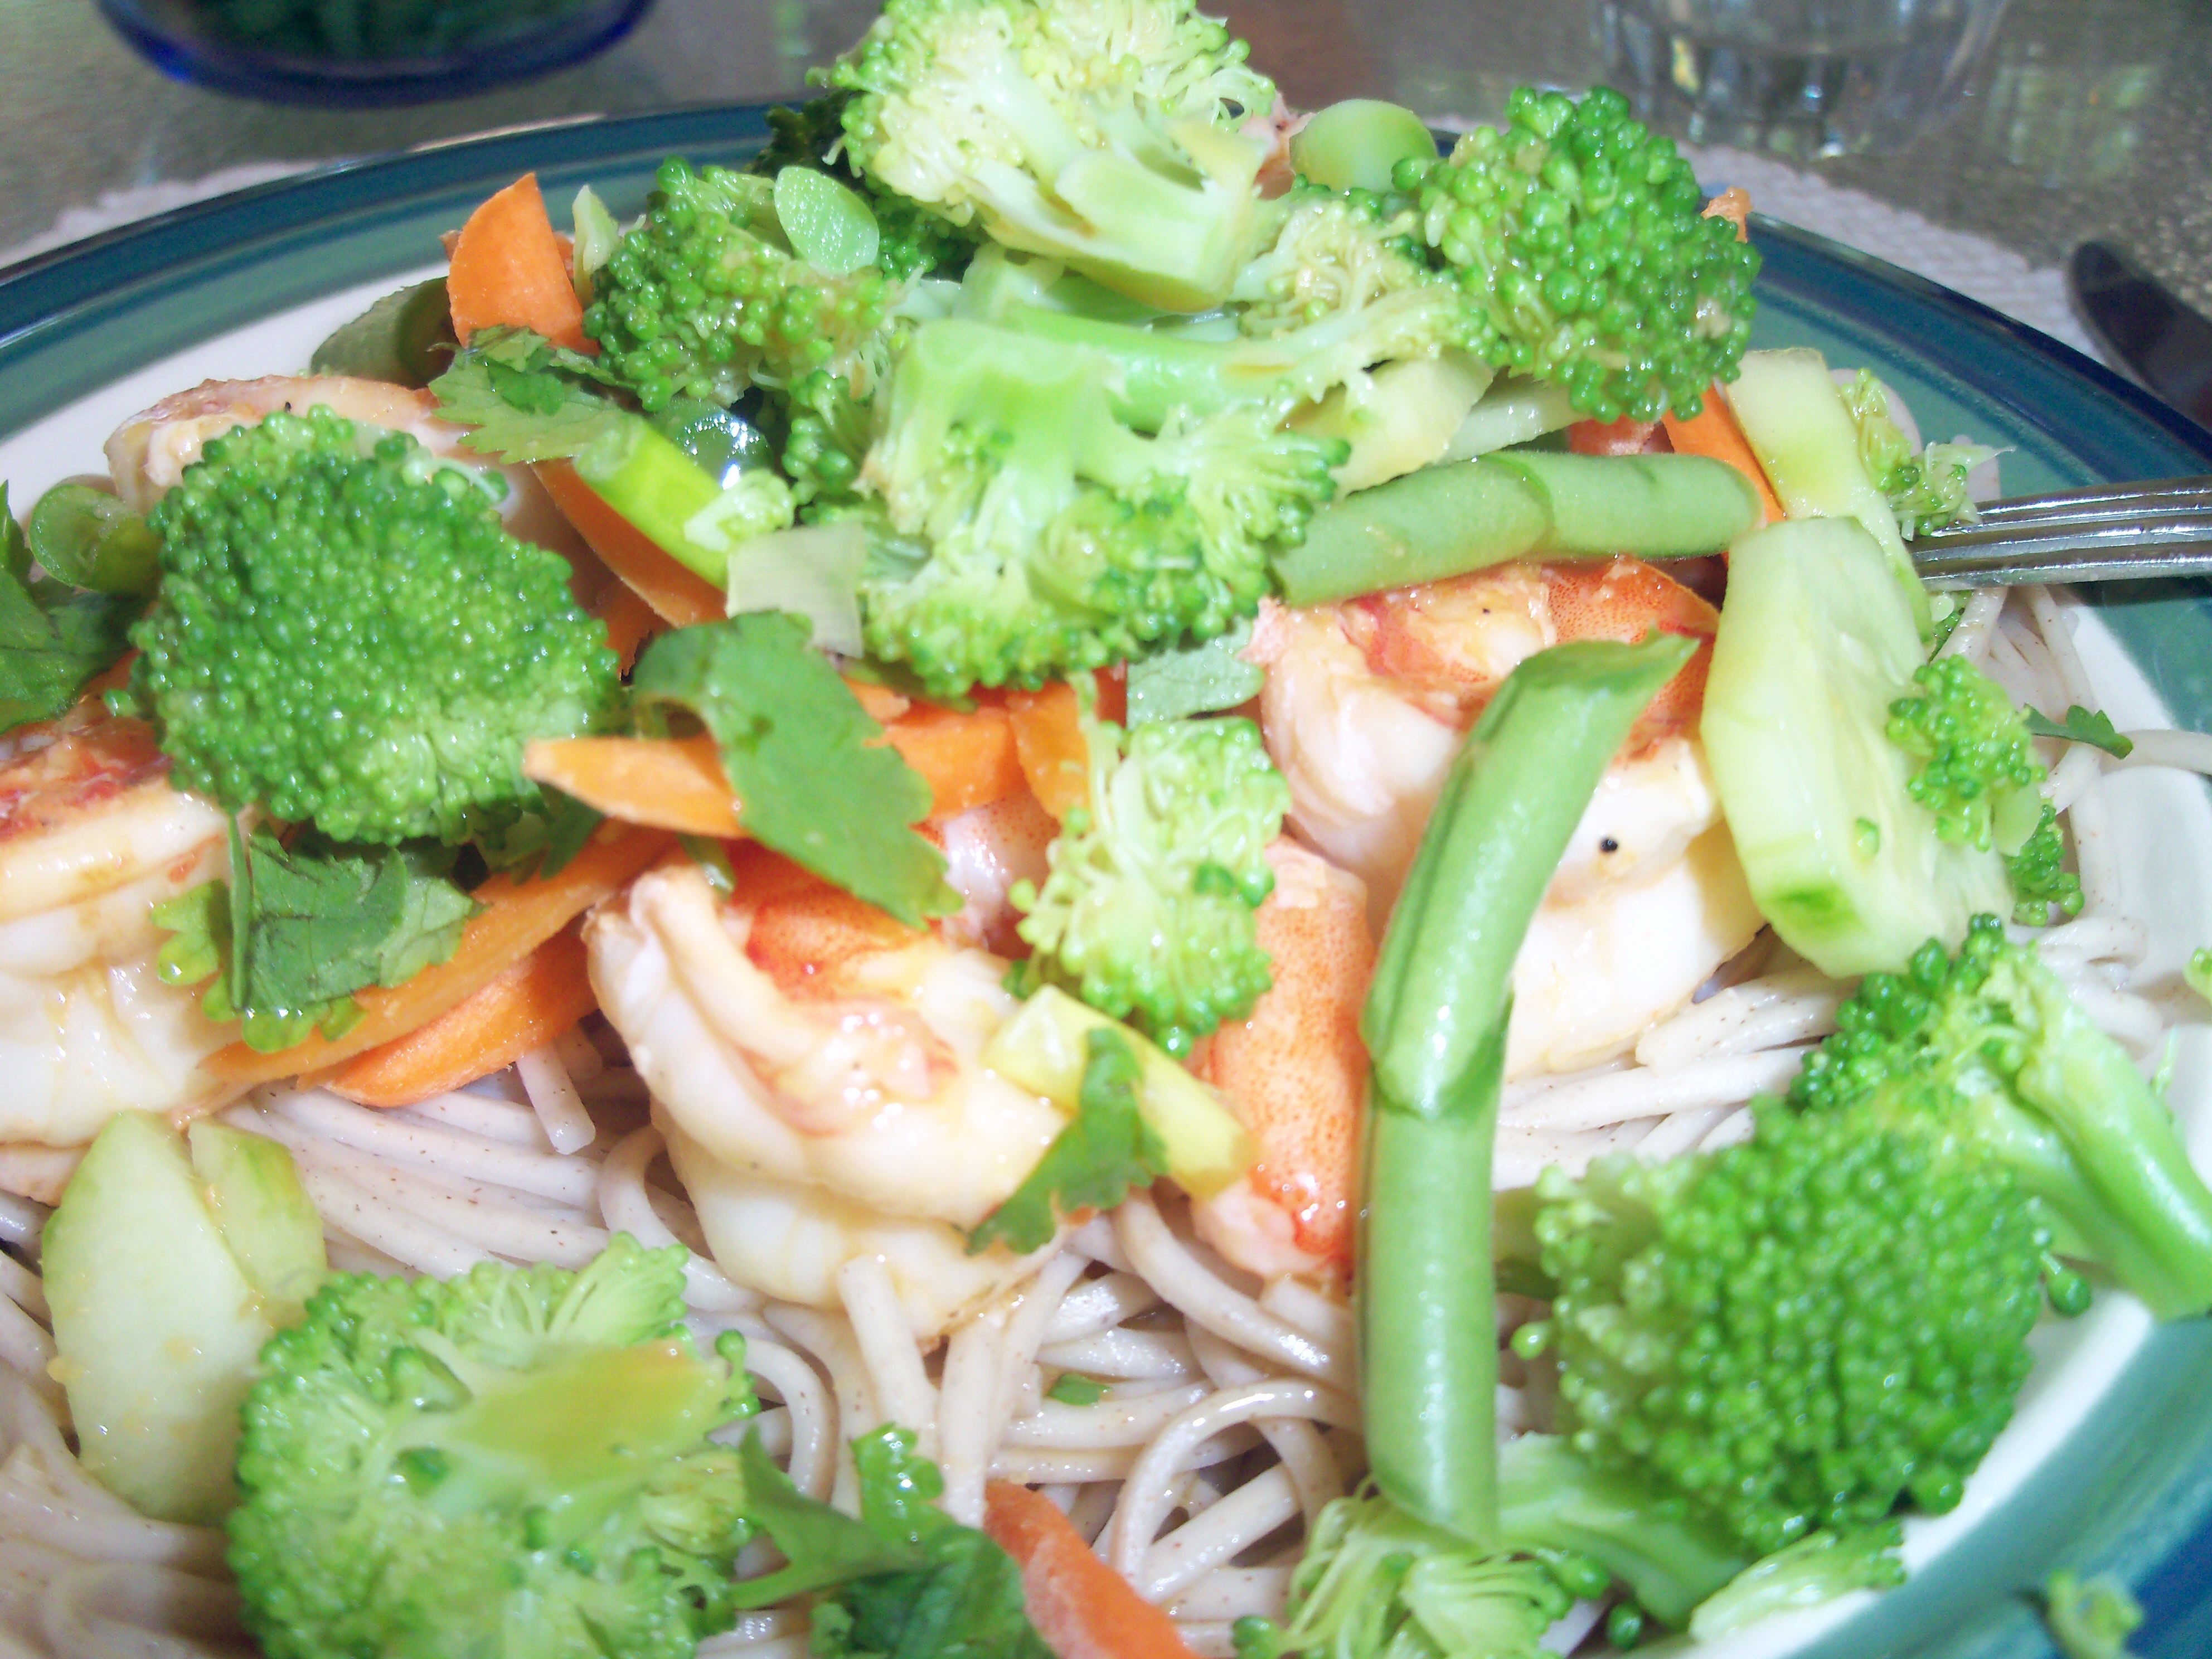
This is a dish I totally can appreciate from July/Aug Everyday food. Super simple, and perfect for a hot day. Cook some soba noodles and rinse with cold water. Mix together 1/4 c OJ, 2 tbsp mirin (I didn’t have this so I skipped it), 1 tsp rice vinegar, 1 1/2 tsp minced jalapeno (I skipped this), 1 1/2 tsp soy sauce, and 1/2 tsp grated ginger. Pour 3 tbsp of this over 1 1/2 lbs of peeled shrimp and let it sit for at least 10 min. Reserve remainder of sauce.

Grill the shrimp. Martha says to use skewers, but I used a seafood rack for the grill. Serve shrimp with noodles and reserved sauce and an assortment of toppings. I served sliced carrot, diced cucumber, diced scallion, parboiled broccoli, chopped fresh green beans, and chopped cilantro.

Martha says to use the sauce as a dipping sauce. That seemed silly to me – dipping noodles is hard to do. So we poured it over instead. We all agreed it needed more flavor so we added some soy sauce as well.

I really enjoyed this. I like eating noodle bowls for dinner and I enjoyed having a bunch of different veggies and flavors. The sauce is very light flavored but has a nice citrus taste to it.

Bookmark and Share

This is a dish I totally can appreciate from July/Aug Everyday food. Super simple, and perfect for a hot day. Cook some soba noodles and rinse with cold water. Mix together 1/4 c OJ, 2 tbsp mirin (I didn’t have this so I skipped it), 1 tsp rice vinegar, 1 1/2 tsp minced jalapeno (I … Read more

Couscous Salad

Posted by Brette in Food

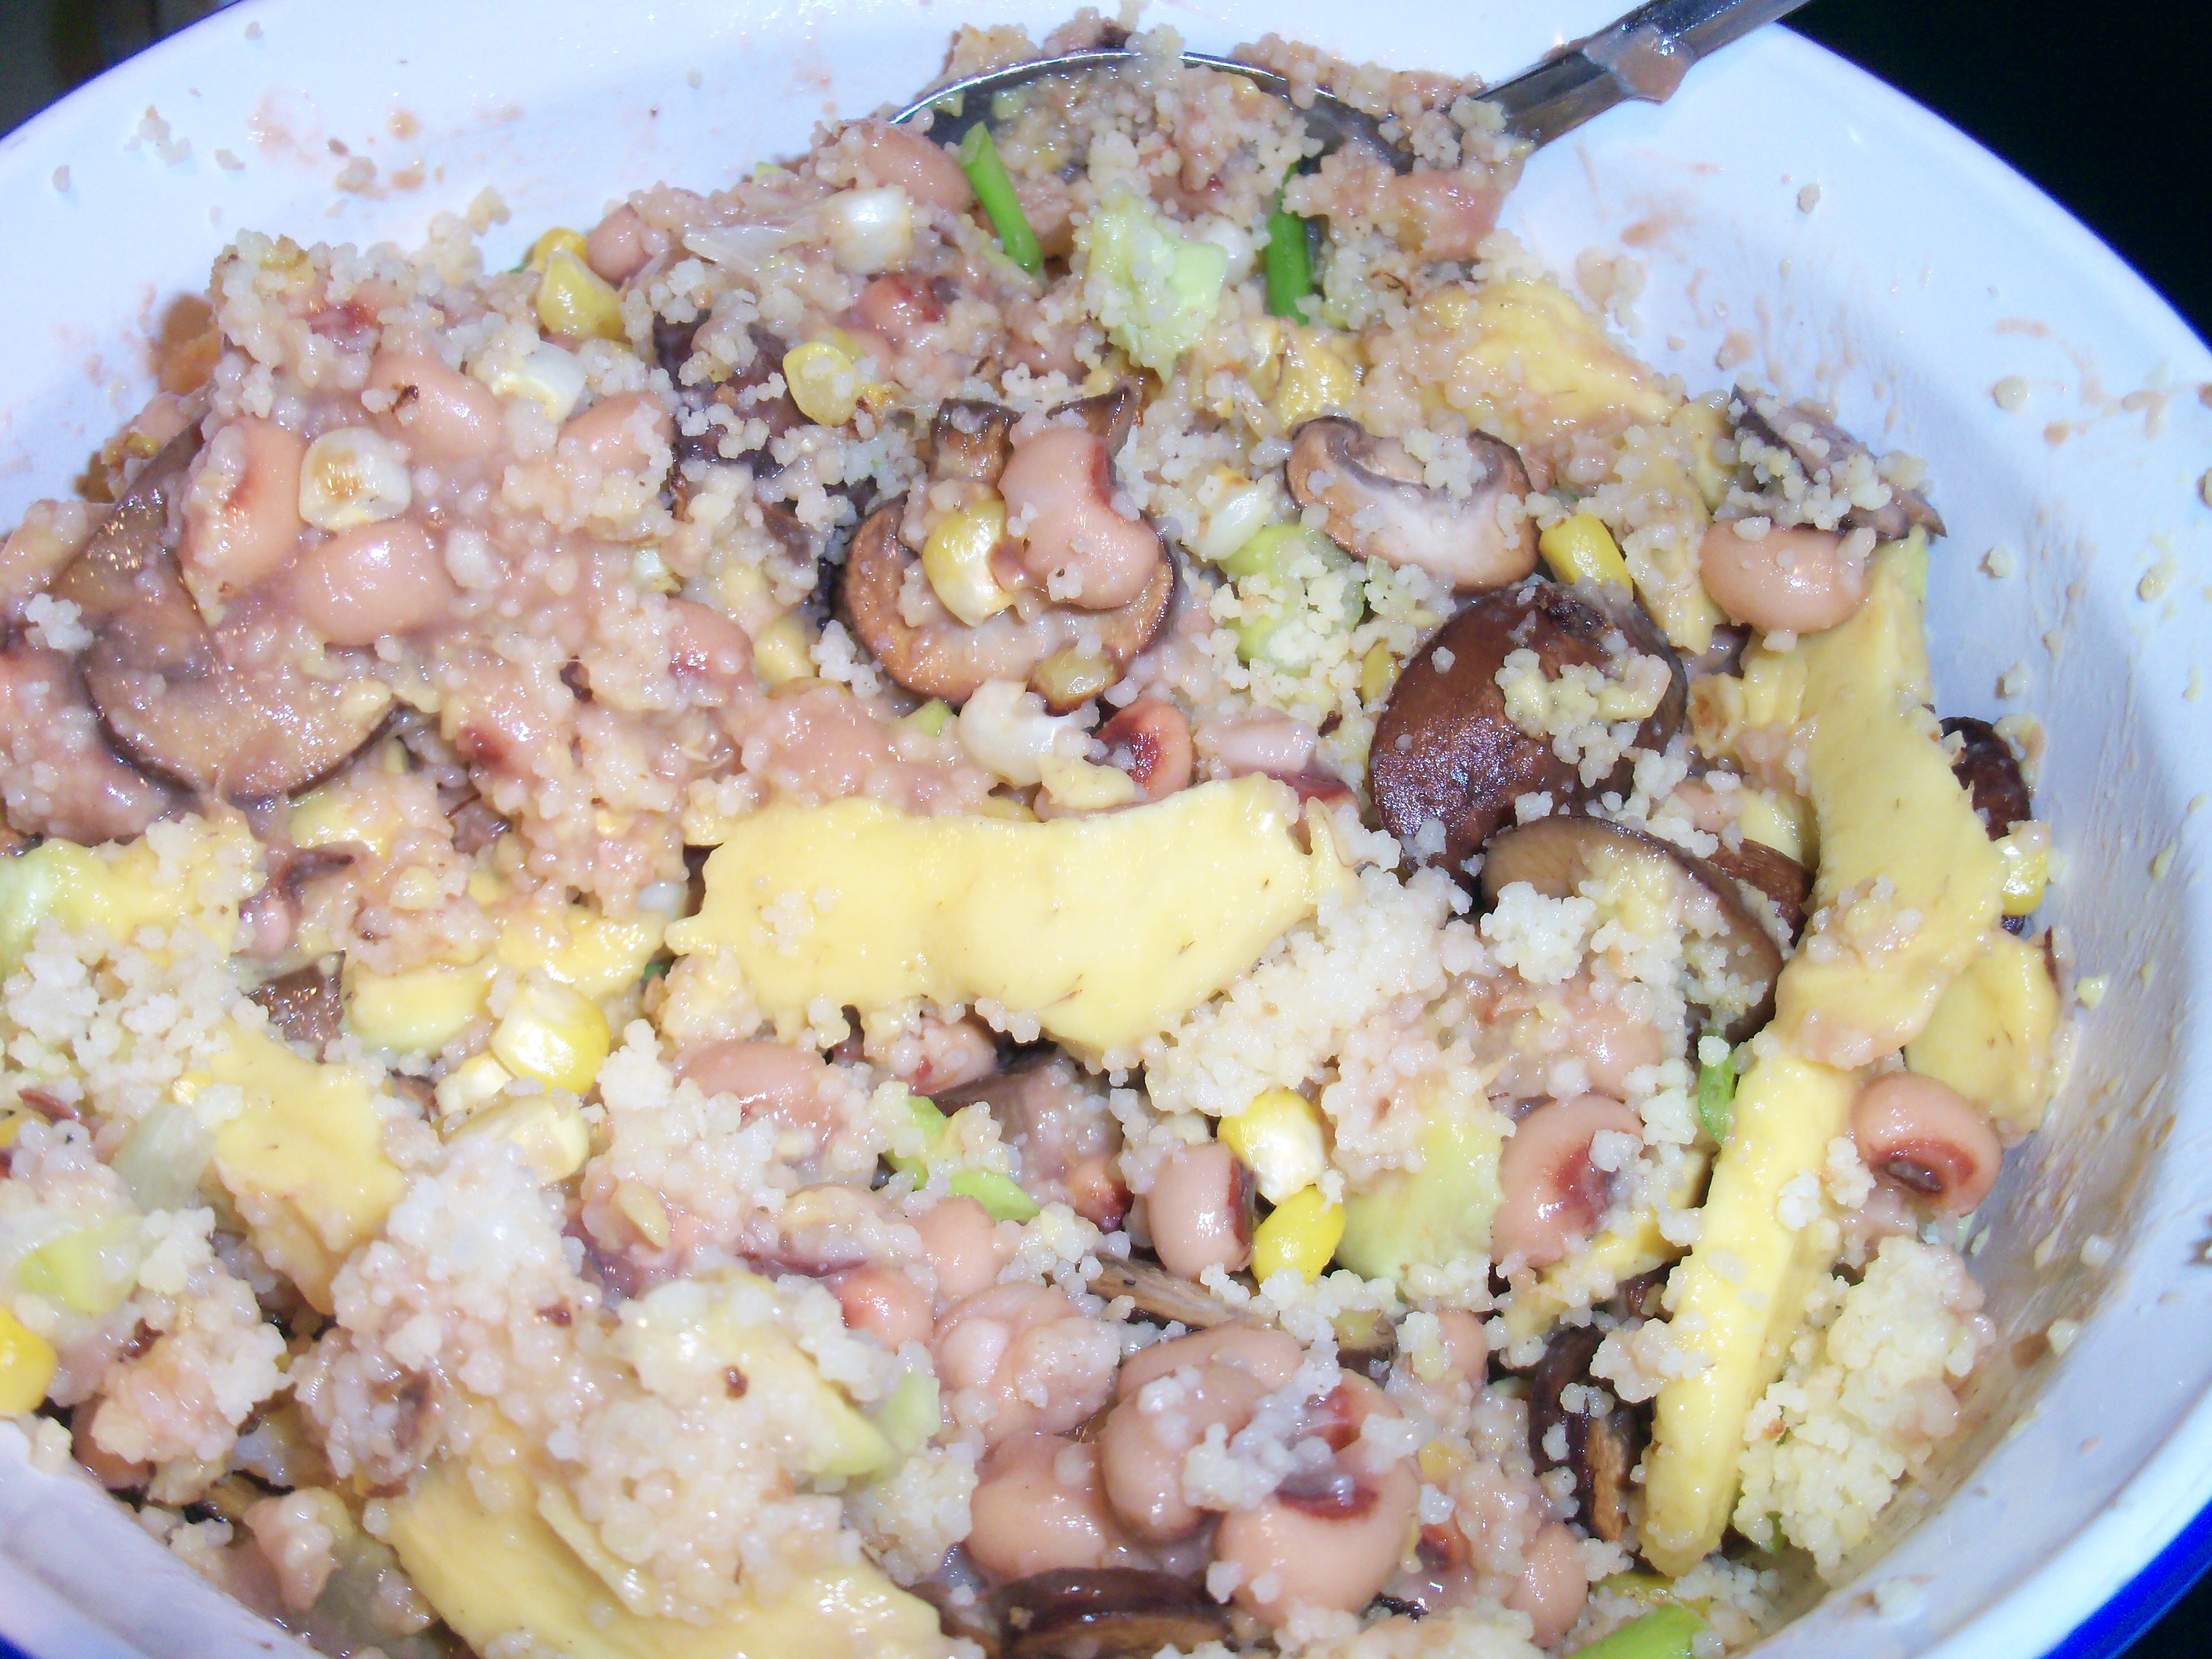
I tried the recipe Couscous Salad with Black Beans, Mushrooms, and Corn from July/Aug Everyday Food on a recent weeknight. There are seemingly a lot of ingredients in this, but it was pretty simple to make.
2 tbsp olive oil
1 cup Israeli couscous (I used regular)
salt and pepper
1/2 mushrooms
1 small bunch scallions, white and green parts separated and sliced thin
1 1/4 c corn kernels
1 can black beans, drained and rinsed
2 tbsp lime juice
1 jalapeno pepper, sliced
1 avocado, sliced

You cook the couscous first. I followed the instructions on the package for mine. Martha says to first cook the Israeli couscous in 1 tbsp oil until golden, then add 1 1/2 cups water, add salt and boil. Reduce the heat and cook 15 until absorbed. Since I used regular, mine cooked faster.

While that’s cooking, make the mushrooms with 2 tsp oil, cooking until golden about 5 minutes. Add salt and pepper. Remove from pan and cook scallion whites with corn and 1 tsp oil, about 5 min. Add this and the mushrooms to the couscous. Add the black beans (I didn’t have this and substituted black-eyed peas), lime juice and jalapeno (I skipped this since I don’t care for it) and toss. Add in the scallion greens and season with salt and pepper. Top with avocado. I tried a Florida avocado (“slimcado”) which has fewer calories than a regular avocado. I wouldn’t buy it again. It tasted like melon to me and didn’t have have that deep, rich avocado taste I love.

I enjoyed this salad a lot – it was refreshing and filling and perfect for a summer dinner on a hot weeknight when I didn’t feel like doing a lot of cooking. It would have looked prettier if I had had black beans – the black eyed peas didn’t really have an attractive color in this so I realize it doesn’t look so yummy in the photo!

Bookmark and Share

I tried the recipe Couscous Salad with Black Beans, Mushrooms, and Corn from July/Aug Everyday Food on a recent weeknight. There are seemingly a lot of ingredients in this, but it was pretty simple to make. 2 tbsp olive oil 1 cup Israeli couscous (I used regular) salt and pepper 1/2 mushrooms 1 small bunch … Read more

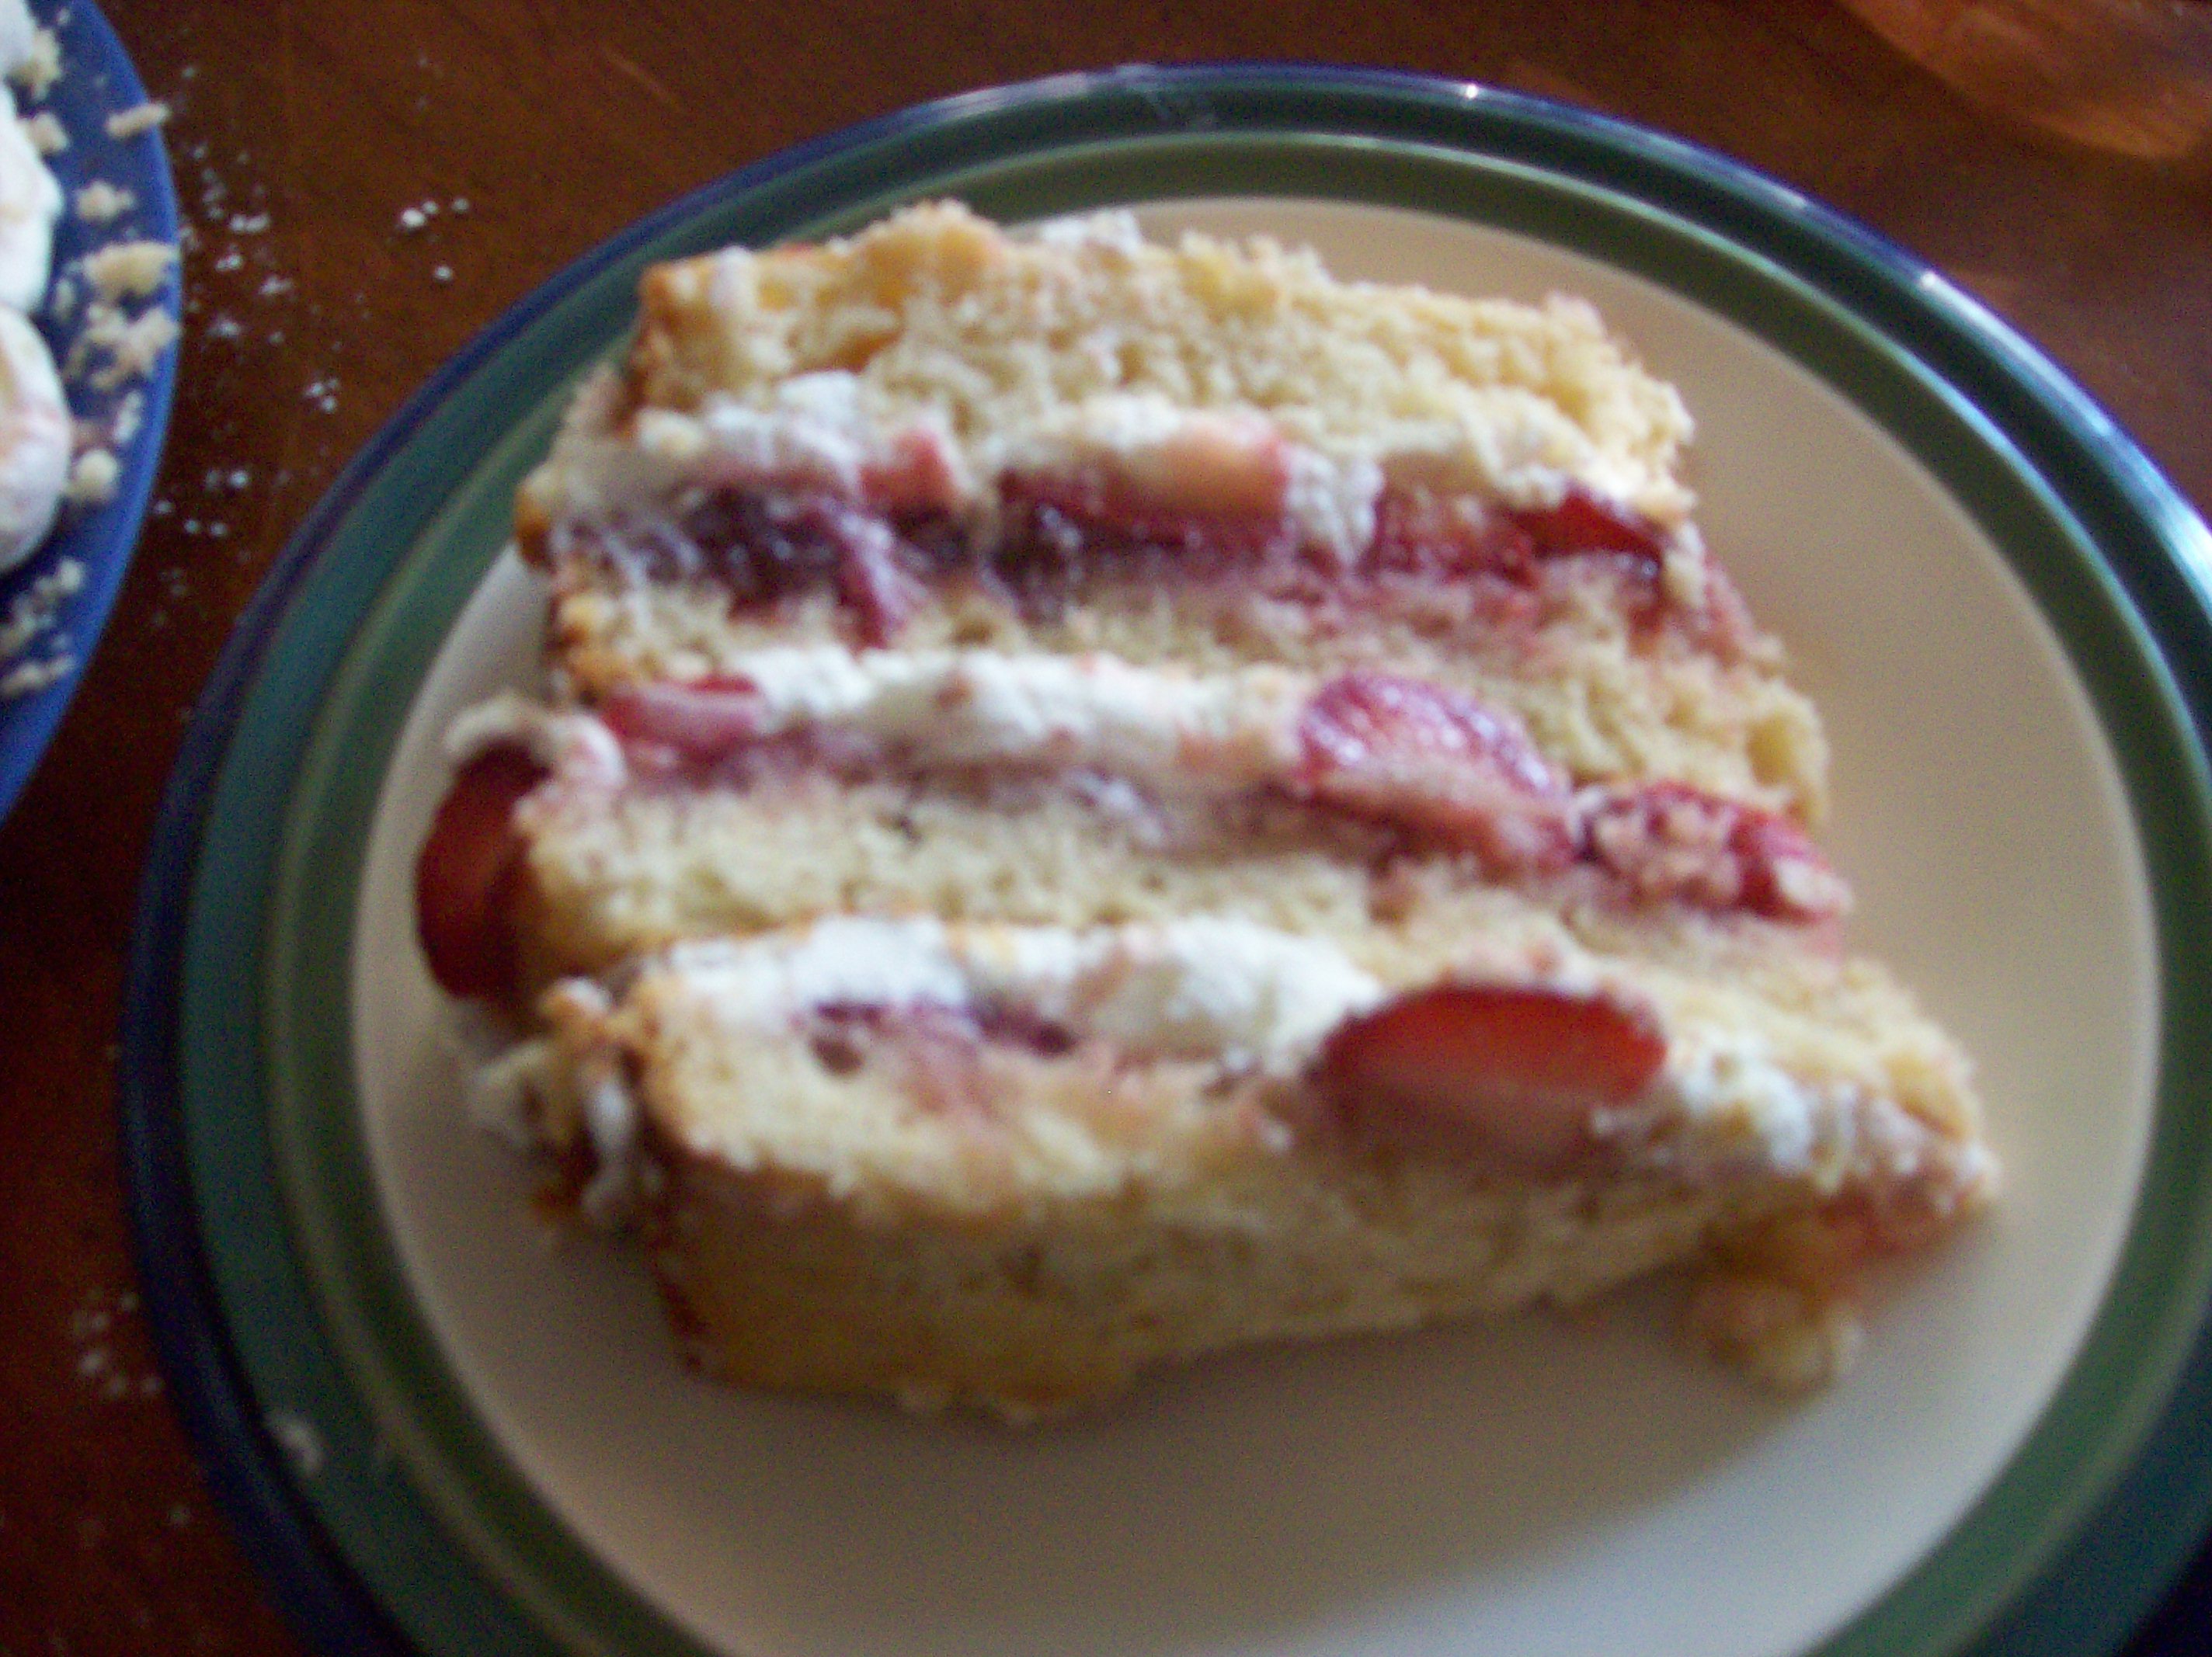
Did you drool over the strawberry layer cake in August Living like I did? What a gorgeous looking cake. I had the perfect excuse to make it – I needed to send something over to my sweet tooth uncle.

The layers were a basic cake but included buttermilk which added moistness. (beat 2 sticks butter with 1 3/4 cup sugar. Add 4 eggs. Alternate 1 1/3 c buttermilk with dry mixture of 3 cups flour, 2 1/4 tsp baking powder, 1/4 tsp baking soda, and 1 tsp salt. Then add 1 tbsp vanilla. Bake in 2 round cake pans in a 350 degree oven. Martha says to bake for 40 min but when I checked mine at 30 min they were a bit past done, so check them at 25 min).

Once you’ve baked the layers, you cut both in half horizontally. Now you take 2 lbs of strawberries and mix with 3/4 cup sugar, 1 tbsp lemon juice and a pinch of salt. Let that sit for half an hour and drain off the juice and reserve it.

Whip up 2 cups of heavy cream with 3 tbsp powdered sugar. Get 1 1/2 cups of rhubarb or strawberry jam ready (I used strawberry).

To assemble, brush 1/3 of the strawberry juice on, then 1/3 of the jam, then add 1/3 of the berries and 1/3 of the whipped cream. Put on the next layer and repeat. Then do the third layer the same way. Top with the 4th layer. Refrigerate for at least an hour. Dust the top with powdered sugar.

It did turn out to be a pretty cake but I have some issues. First of all, it didn’t knock my socks off with flavor. It was almost bland. The problem with this is you drain all the juice off the berries and you are left with mealy, tasteless berries. Not a good situation. The cake layers were moist and tasty, but just a plain white cake. I wouldn’t make this again. Sigh. At least it looked nice.

Bookmark and Share

Did you drool over the strawberry layer cake in August Living like I did? What a gorgeous looking cake. I had the perfect excuse to make it – I needed to send something over to my sweet tooth uncle. The layers were a basic cake but included buttermilk which added moistness. (beat 2 sticks butter … Read more

Here in Buffalo, fish fries are a big deal. Every Friday during Lent almost every restaurant offers fish fry on the menu and it is a tradition to order them. You often can’t get in the door at places offering the best fish fries during this time of year. Most fish fries here are beer battered haddock and they’re usually served with fries, and if you’re lucky, coleslaw and macaroni salad. Sometimes you’ll even get a cup of soup and some bread. They’re almost always priced under $10. When we went to London, we had our share of fish and chips, which is essentially the same thing. I’ve never made fried fish at home. My mom recently shared a recipe from the Food Network Magazine for baked fish and chips, so I gave it a try.

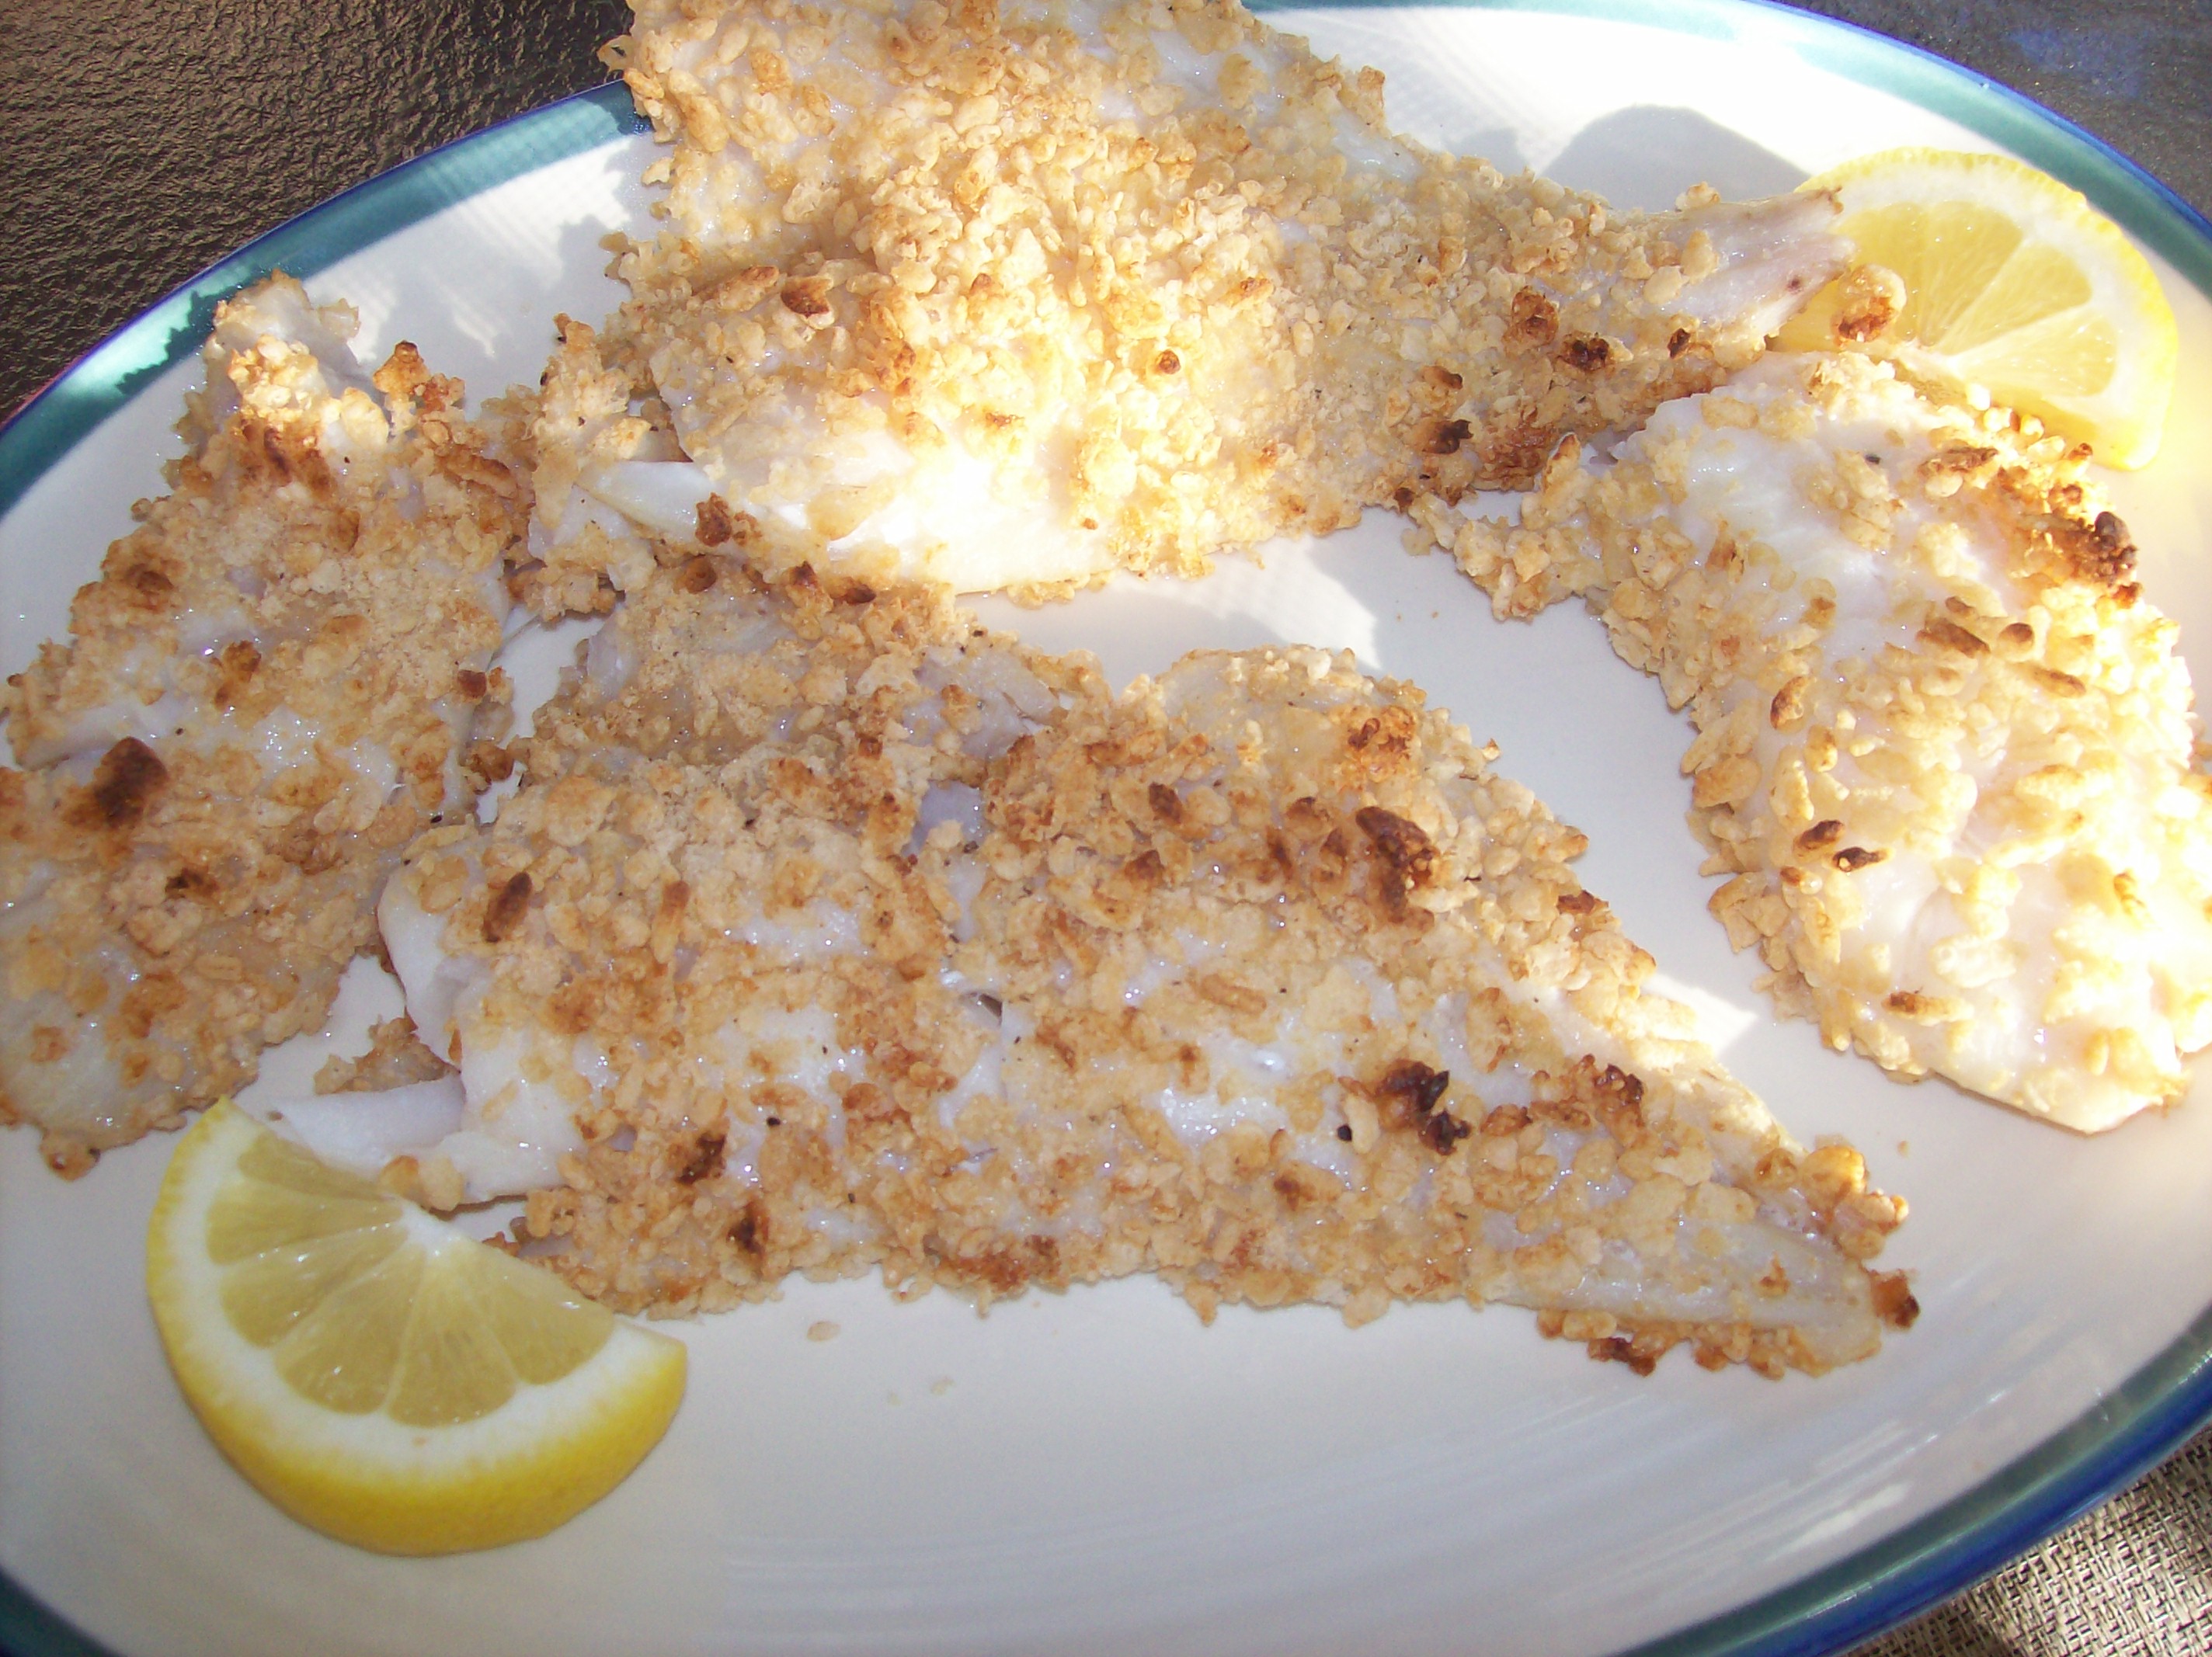
It’s very simple to make. Buy 1 and  1/2 lbs of haddock. Preheat the oven to 450. Whisk 3 egg whites until frothy and season with a pinch of salt. Use 2 and 3/4 cups crispy rice cereal and lightly crush it with your fingers in a bowl. Add some salt and pepper.  Place a rack on a baking sheet and spray with cooking spray. Dip the fish in the egg white, then in the cereal. Place on the rack, spray the fish with cooking spray, and bake for 12 minutes.

This turned out ok. The cereal was definitely crunchy, but we all agreed it was just lacking in flavor. I squeezed lemon juice on mine and that helped, but somehow it did not compare to beer battered fish! Dude Martha, who ate fish and chips at just about every single meal across the UK did not like at all (even after dumping ketchup on it). So I don’t think I would make this again.

Bookmark and Share

Here in Buffalo, fish fries are a big deal. Every Friday during Lent almost every restaurant offers fish fry on the menu and it is a tradition to order them. You often can’t get in the door at places offering the best fish fries during this time of year. Most fish fries here are beer … Read more

no