As some of you might recall, my 99 year old grandmother passed away at the beginning of May. I was very close to her and although her passing was not unexpected given her age, it was still hard.

My grandmother was a collector, but a selective and tasteful collector. In the past month or so I have been involved in sorting through her belongings and dividing them up. My grandmother had 2 children, 2 grandchildren and 4 great grandchildren, so it’s not a huge family. She had a LOT of things (almost 100 years worth of belongings) and so everyone is bringing home a lot.
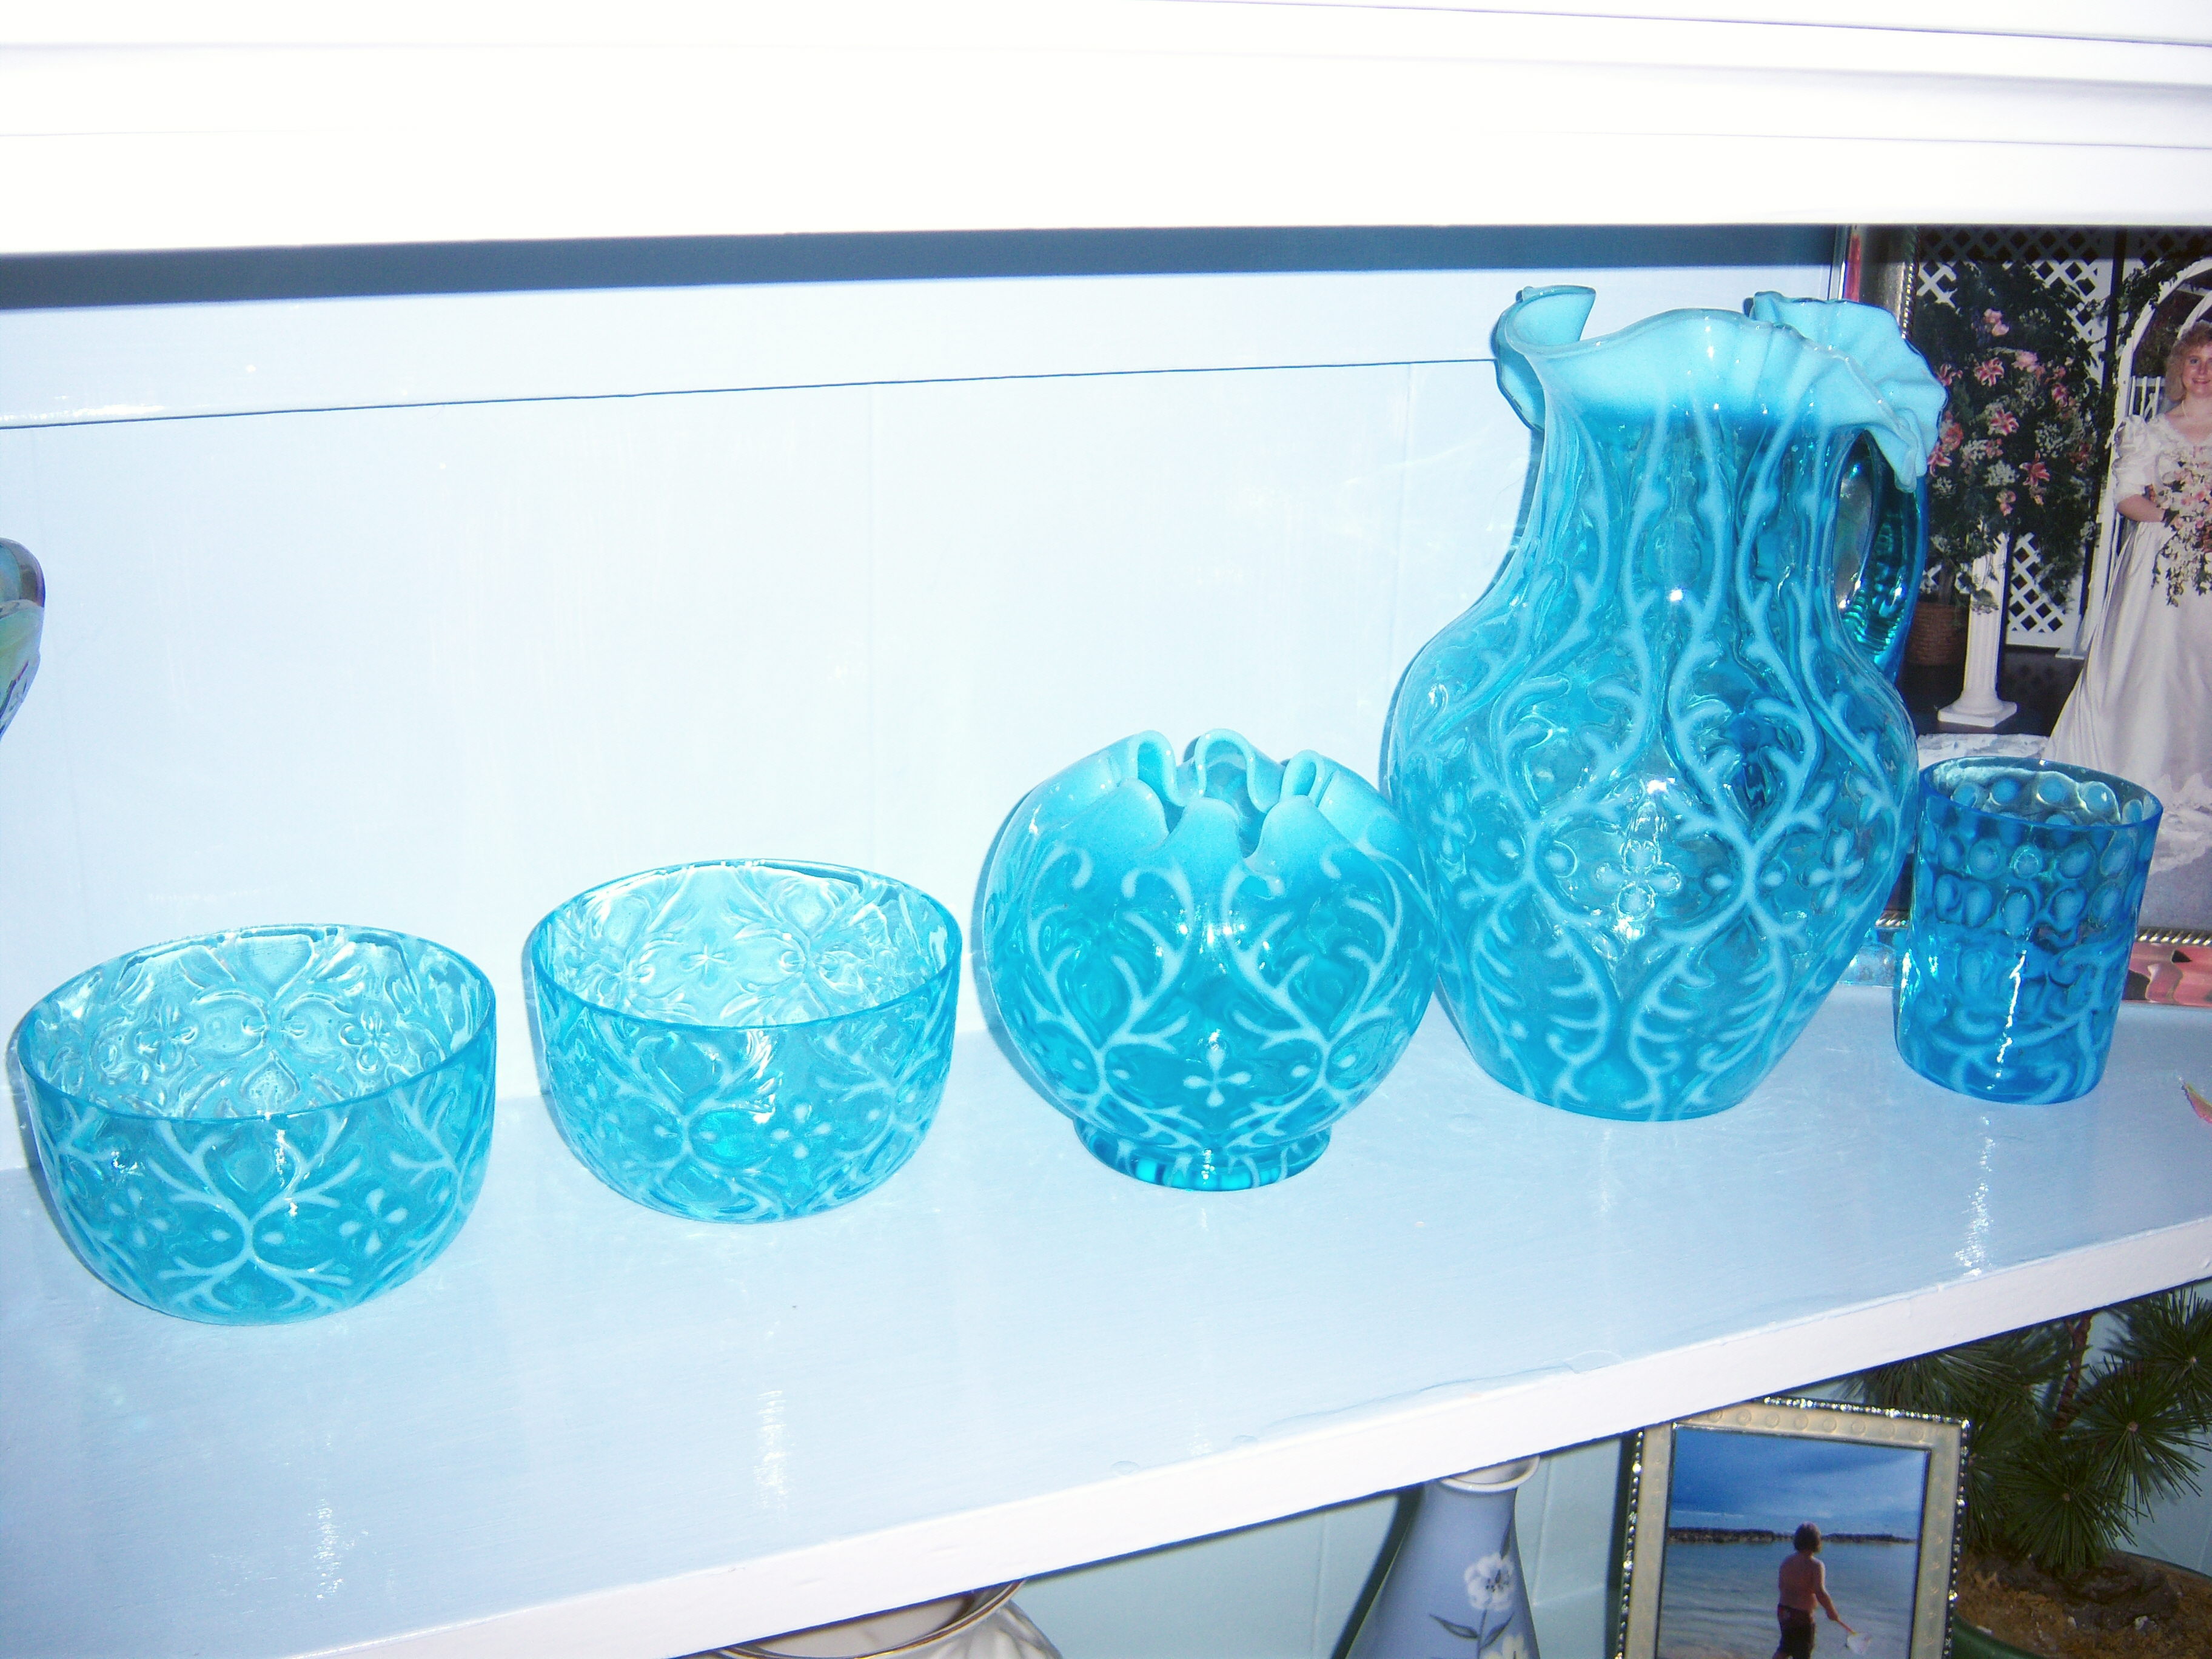
blueglass2Since Martha is a collector, I have been greatly influenced by her as I’ve gone through this process. I’ve inherited some beautiful Depression glass (and some much older) and have been relying on Martha’s principles when it comes to displaying it. The first thing I had to do was be selective. I ended up with boxes and boxes of glass, so I’ve chosen to display only those that are sets, similar in some way or which create pretty color combinations in ways I imagine Martha might do. I put away some amber colored pieces to display with my fall decorations. I would love to some day install some lit glass shelves to better display all of the items.

I’ve also hauled home boxes of very old household items – stoneware crocks, some interesting cake pans that have a bar that you spin to get the cake to come out, and an old hand held egg beater. I also have a set of round wooden crates that are called dry measure crates. My great grandfather used them at the market where he sold produce – they have his last name and initials on them. I also brought home a very old two-handled hinged picnic basket which unfortunately was painted yellow at some point. I may end up repainting it another color (tips on that are welcome!). In my mind’s eye I can just see Martha doing a segment on things like these. Each piece is unusual and beautiful.
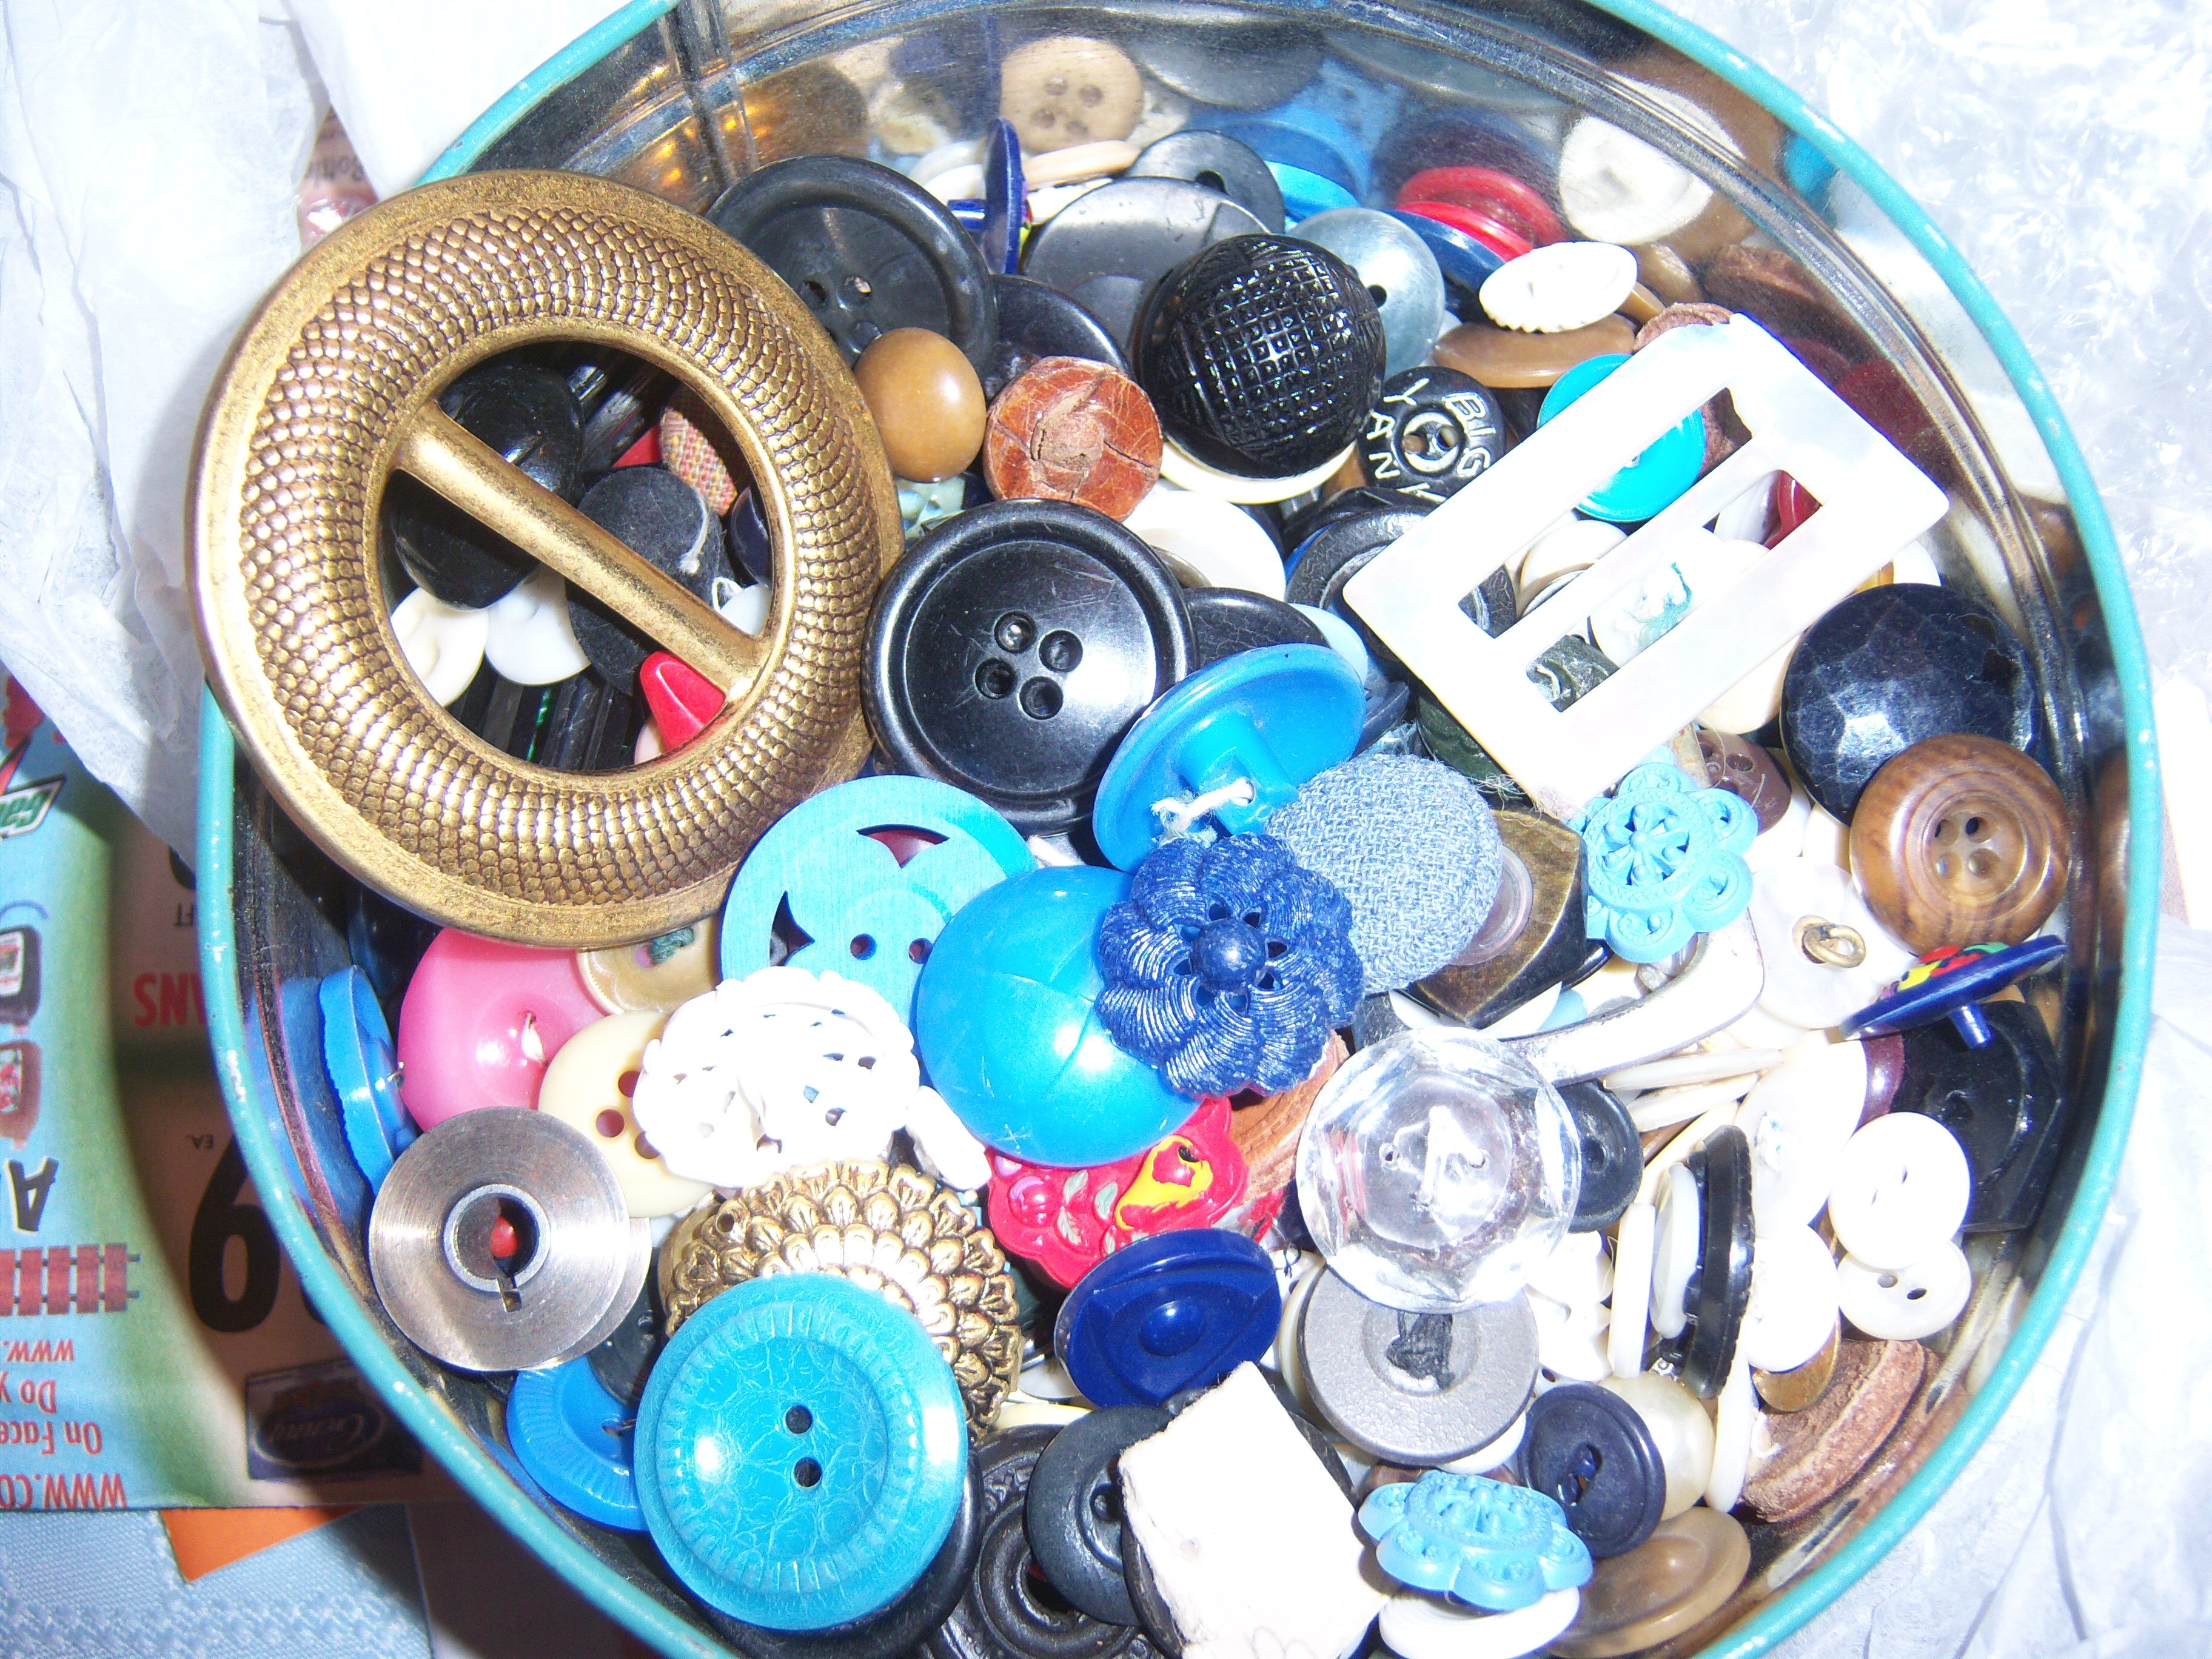
buttonsI’ve got a big tin of old buttons as well. I haven’t gone through it yet, but I’m thinking there must be a Martha craft that involves buttons I could do. Any suggestions?

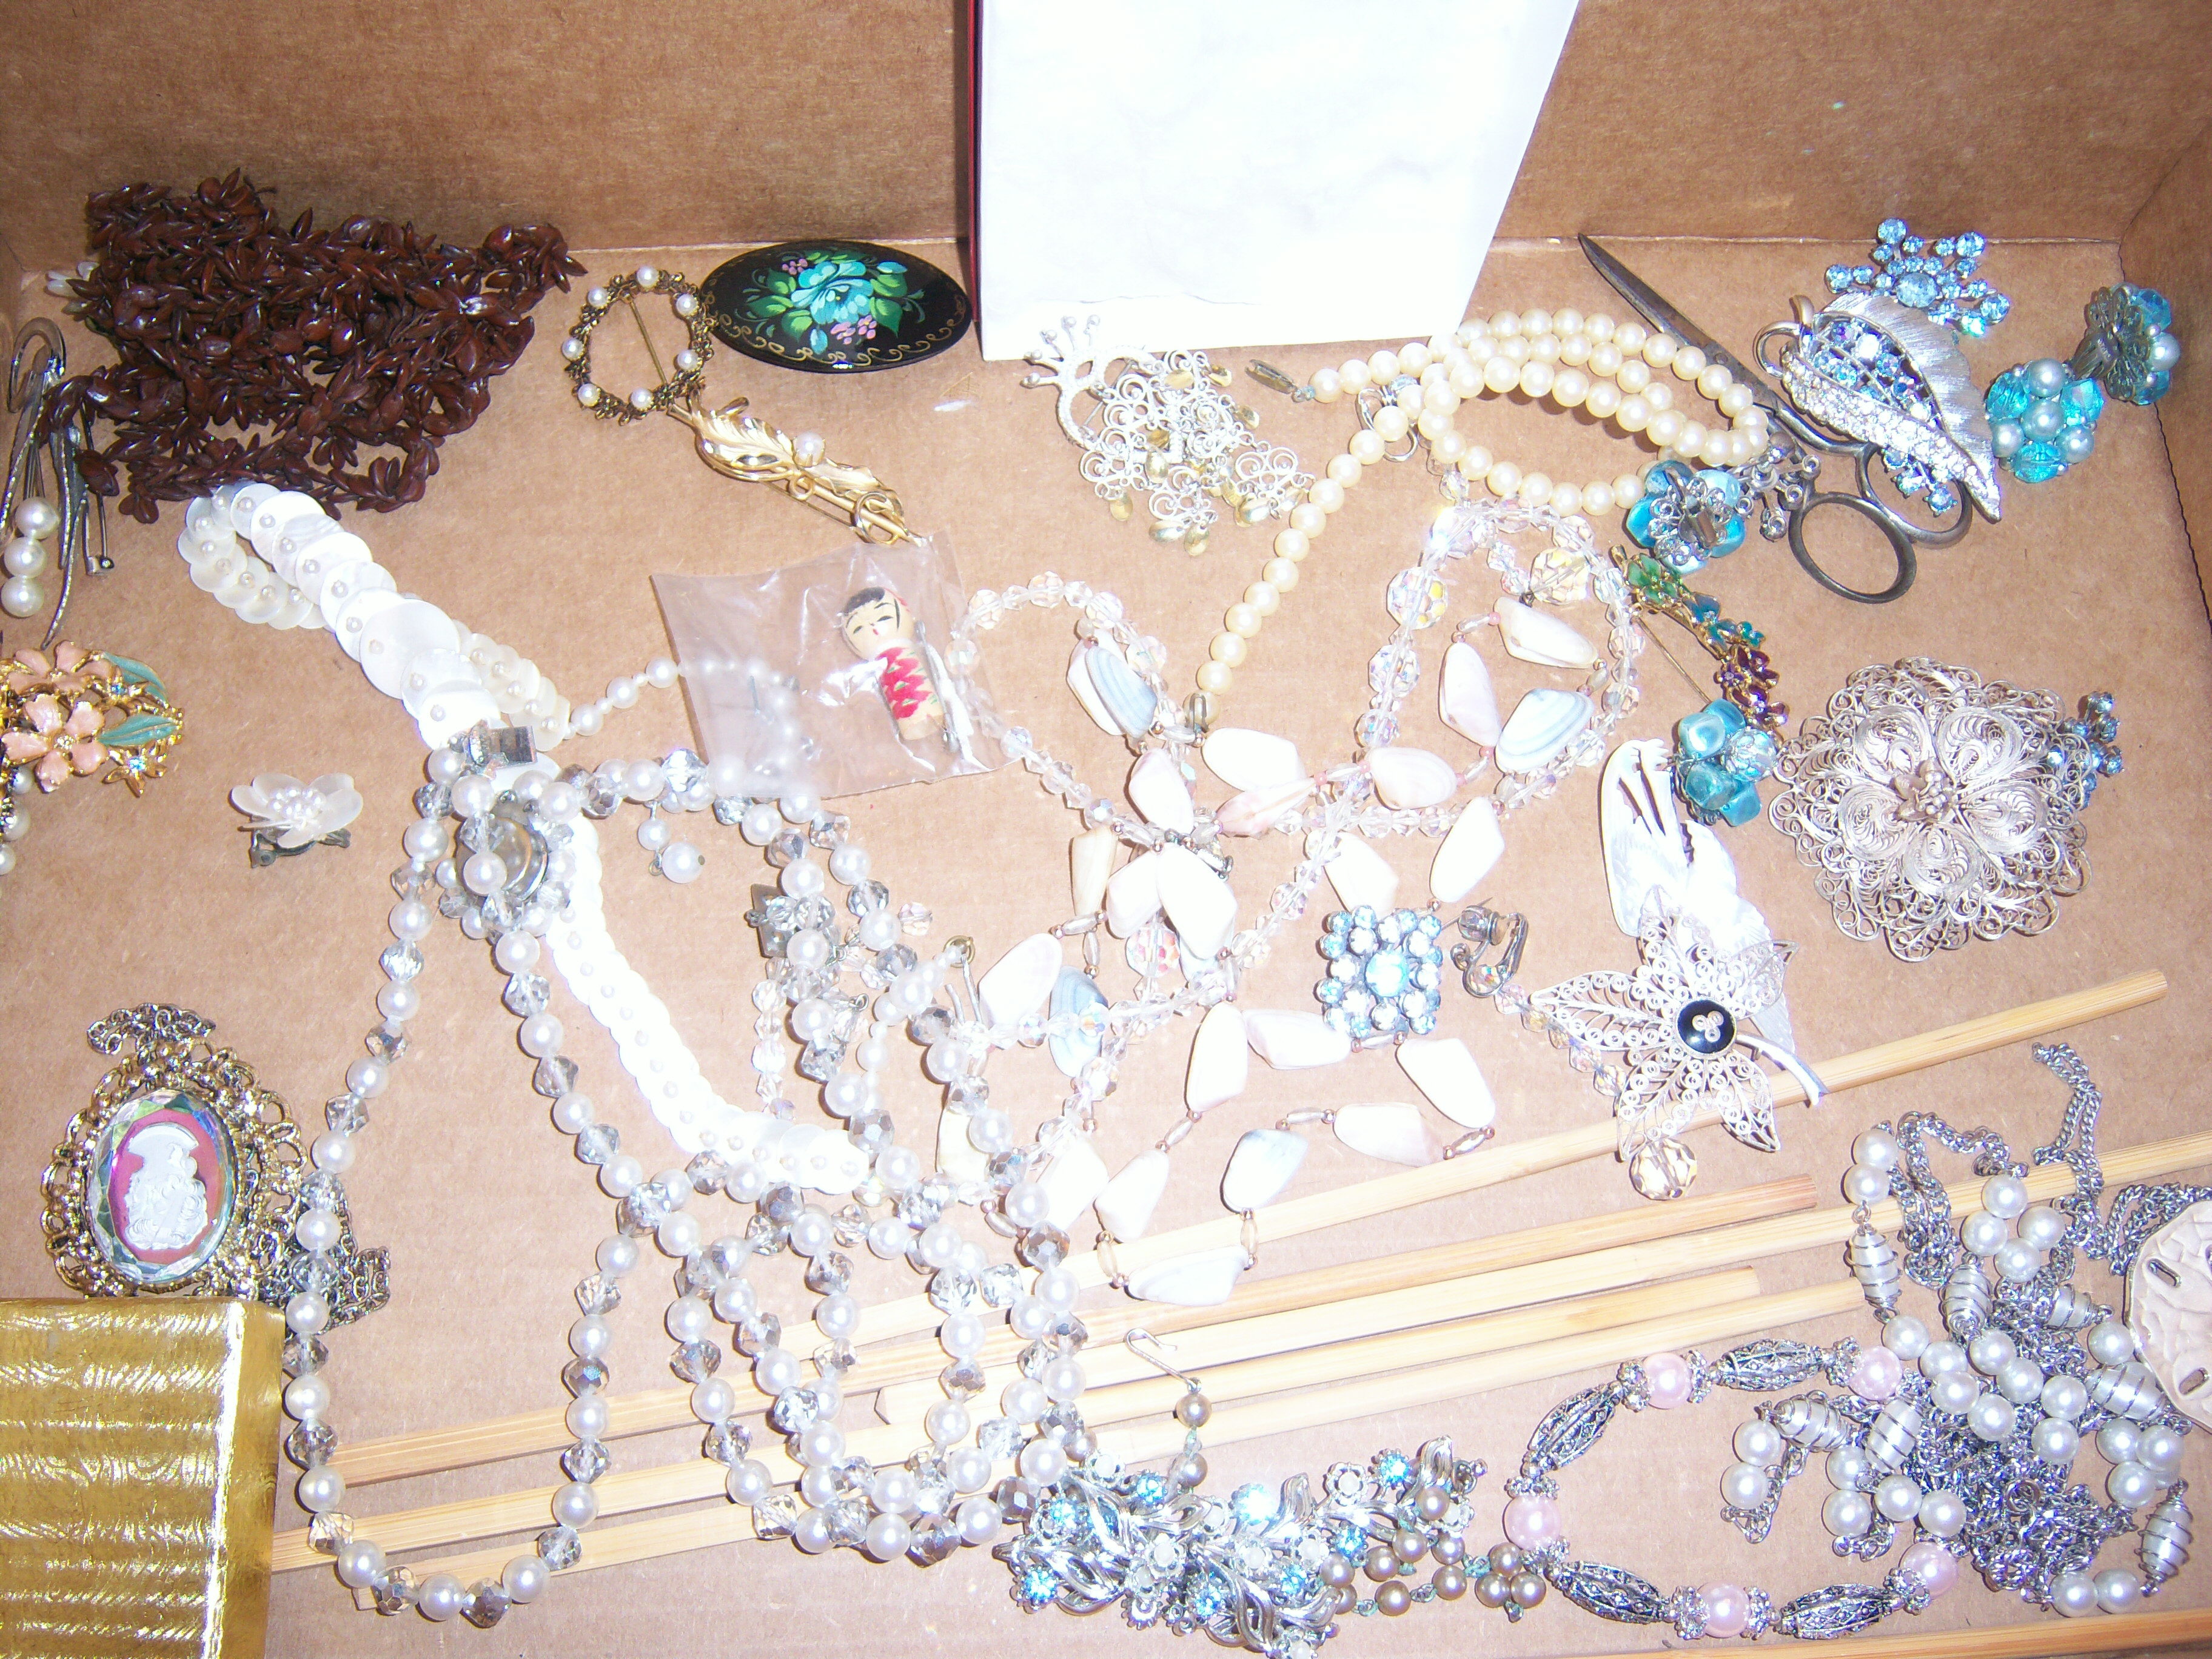
My grandmother had lots and lots of costume jewelry, some of it so gaudy it iscostume jewelry beautiful. I once heard Barbara Walters say she wears her mother’s old costume jewelry brooches and people think they are real and I might use some of the brooches in that way. Mostly, I was unable to imagine it all going to charity. I don’t quite know what to do with the many beaded necklaces and clip earrings though. Any suggestions are welcome for this as well!
Then there is the furniture. I brought home two end tables which desperately need refinishing. I know Martha would enthusiastically pop some gloves on and get to work, but I’m afraid to ruin them, so they will have to wait until we can pay someone to do it.

I also brought home two lamps which I am not sure what to do with. Neither one quite fits the style of my house. One is a reconditioned oil lamp and the other is milk glass. I couldn’t walk away from those either.

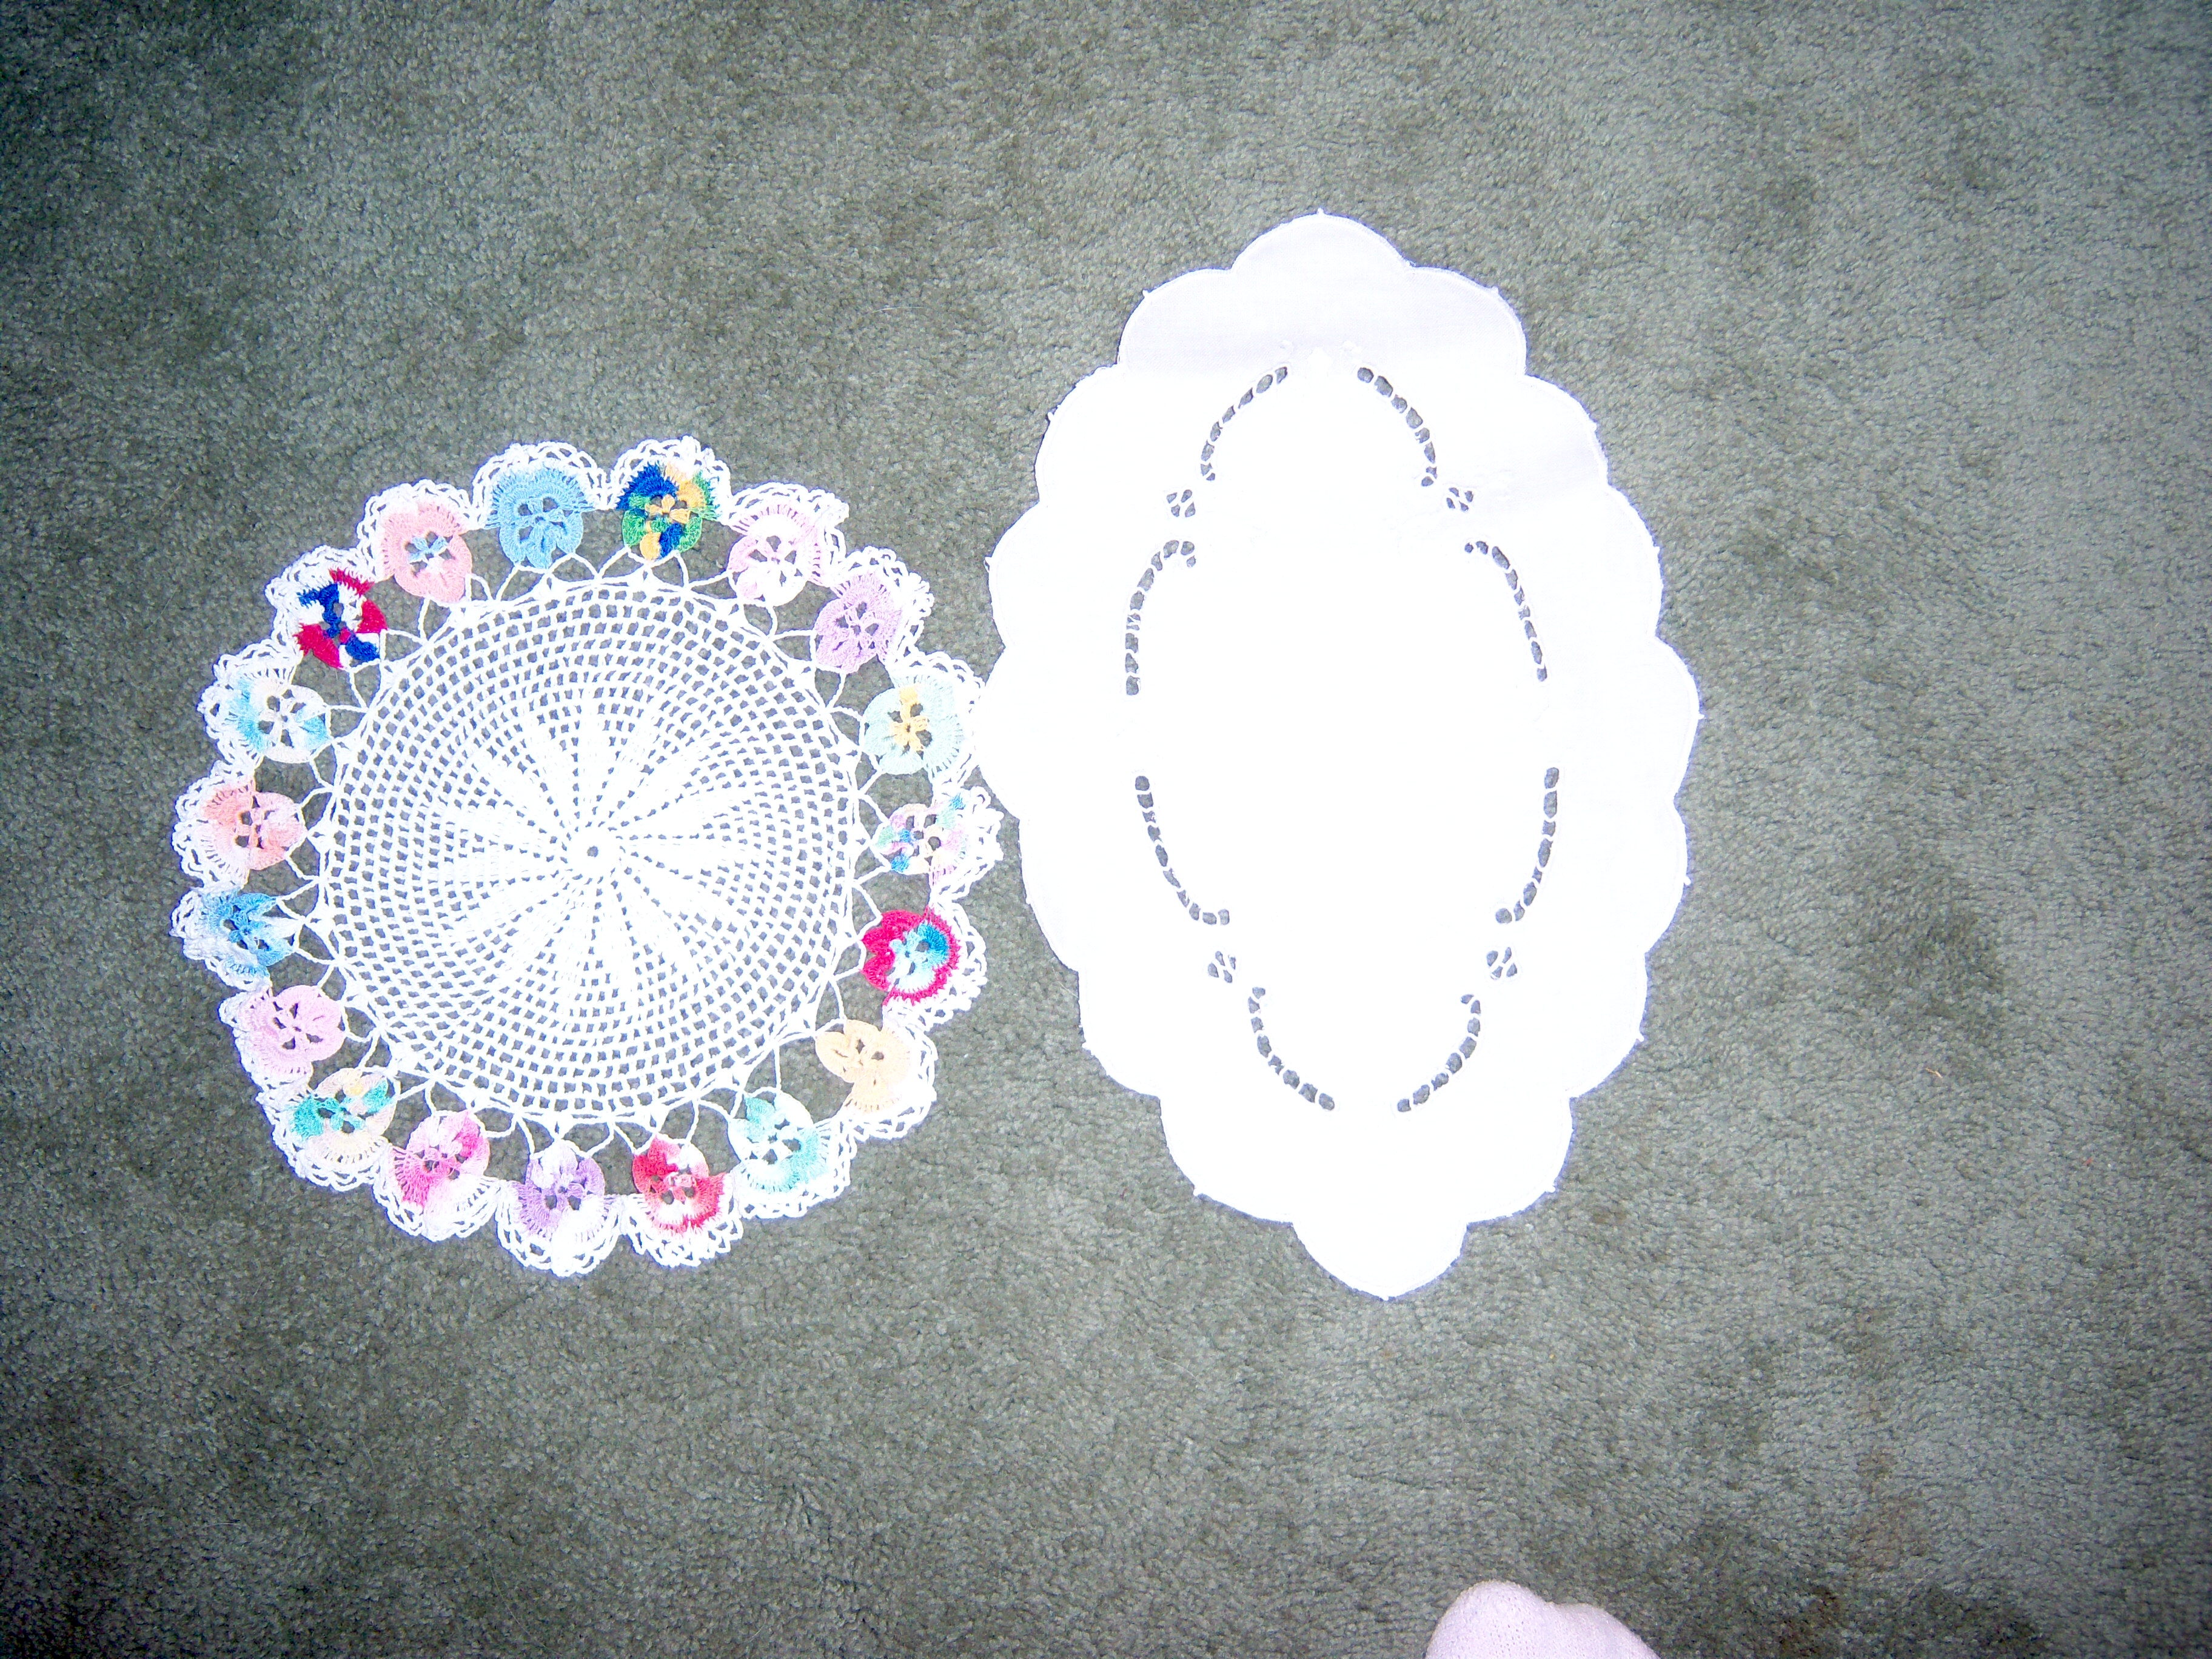
I am now the proud owner of many doilies and dresser scarves. I have no idea doilieswhat to do with them. Displaying them on tables is not my style. I am thinking some might be beautiful framed (another Martha inspired idea). We think my grandmother may have made some of them – unfortunately there is no way to know. I also now own two pretty aprons – again, I have no idea what to do with them.
I’ve discovered that my grandmother kept every note, card or postcard I ever wrote for her. Going through those brought back many memories.  She also had many mementoes from her travels. My grandparents traveled to every continent, except Antartica, and brought home many interesting items.  I have the world map that shows all of their trips (and am trying to figure out where to put that!).

One thing she collected on trips was dolls. I inherited the entire collection which looks like a little United Nations  – each doll in native dress. Many are in need of repair, so I’m going to have to find a doll hospital. Then I will need to determine how to display them (and where!).

One thing I have learned from all of this is that I need to take the time to document the things I own that are meaningful to me. A friend suggested I take photos and paste them into a Word doc and write a brief description. That way my children (or hopefully grandchildren) will know what it all is, where it came from and why I cared about it. So many of my grandmother’s things are beautiful and interesting, but no one knows where they came from.

As I work through the boxes of things and find ways to use them that are Martha-inspired I will post them.

Bookmark and Share

As some of you might recall, my 99 year old grandmother passed away at the beginning of May. I was very close to her and although her passing was not unexpected given her age, it was still hard. My grandmother was a collector, but a selective and tasteful collector. In the past month or so … Read more

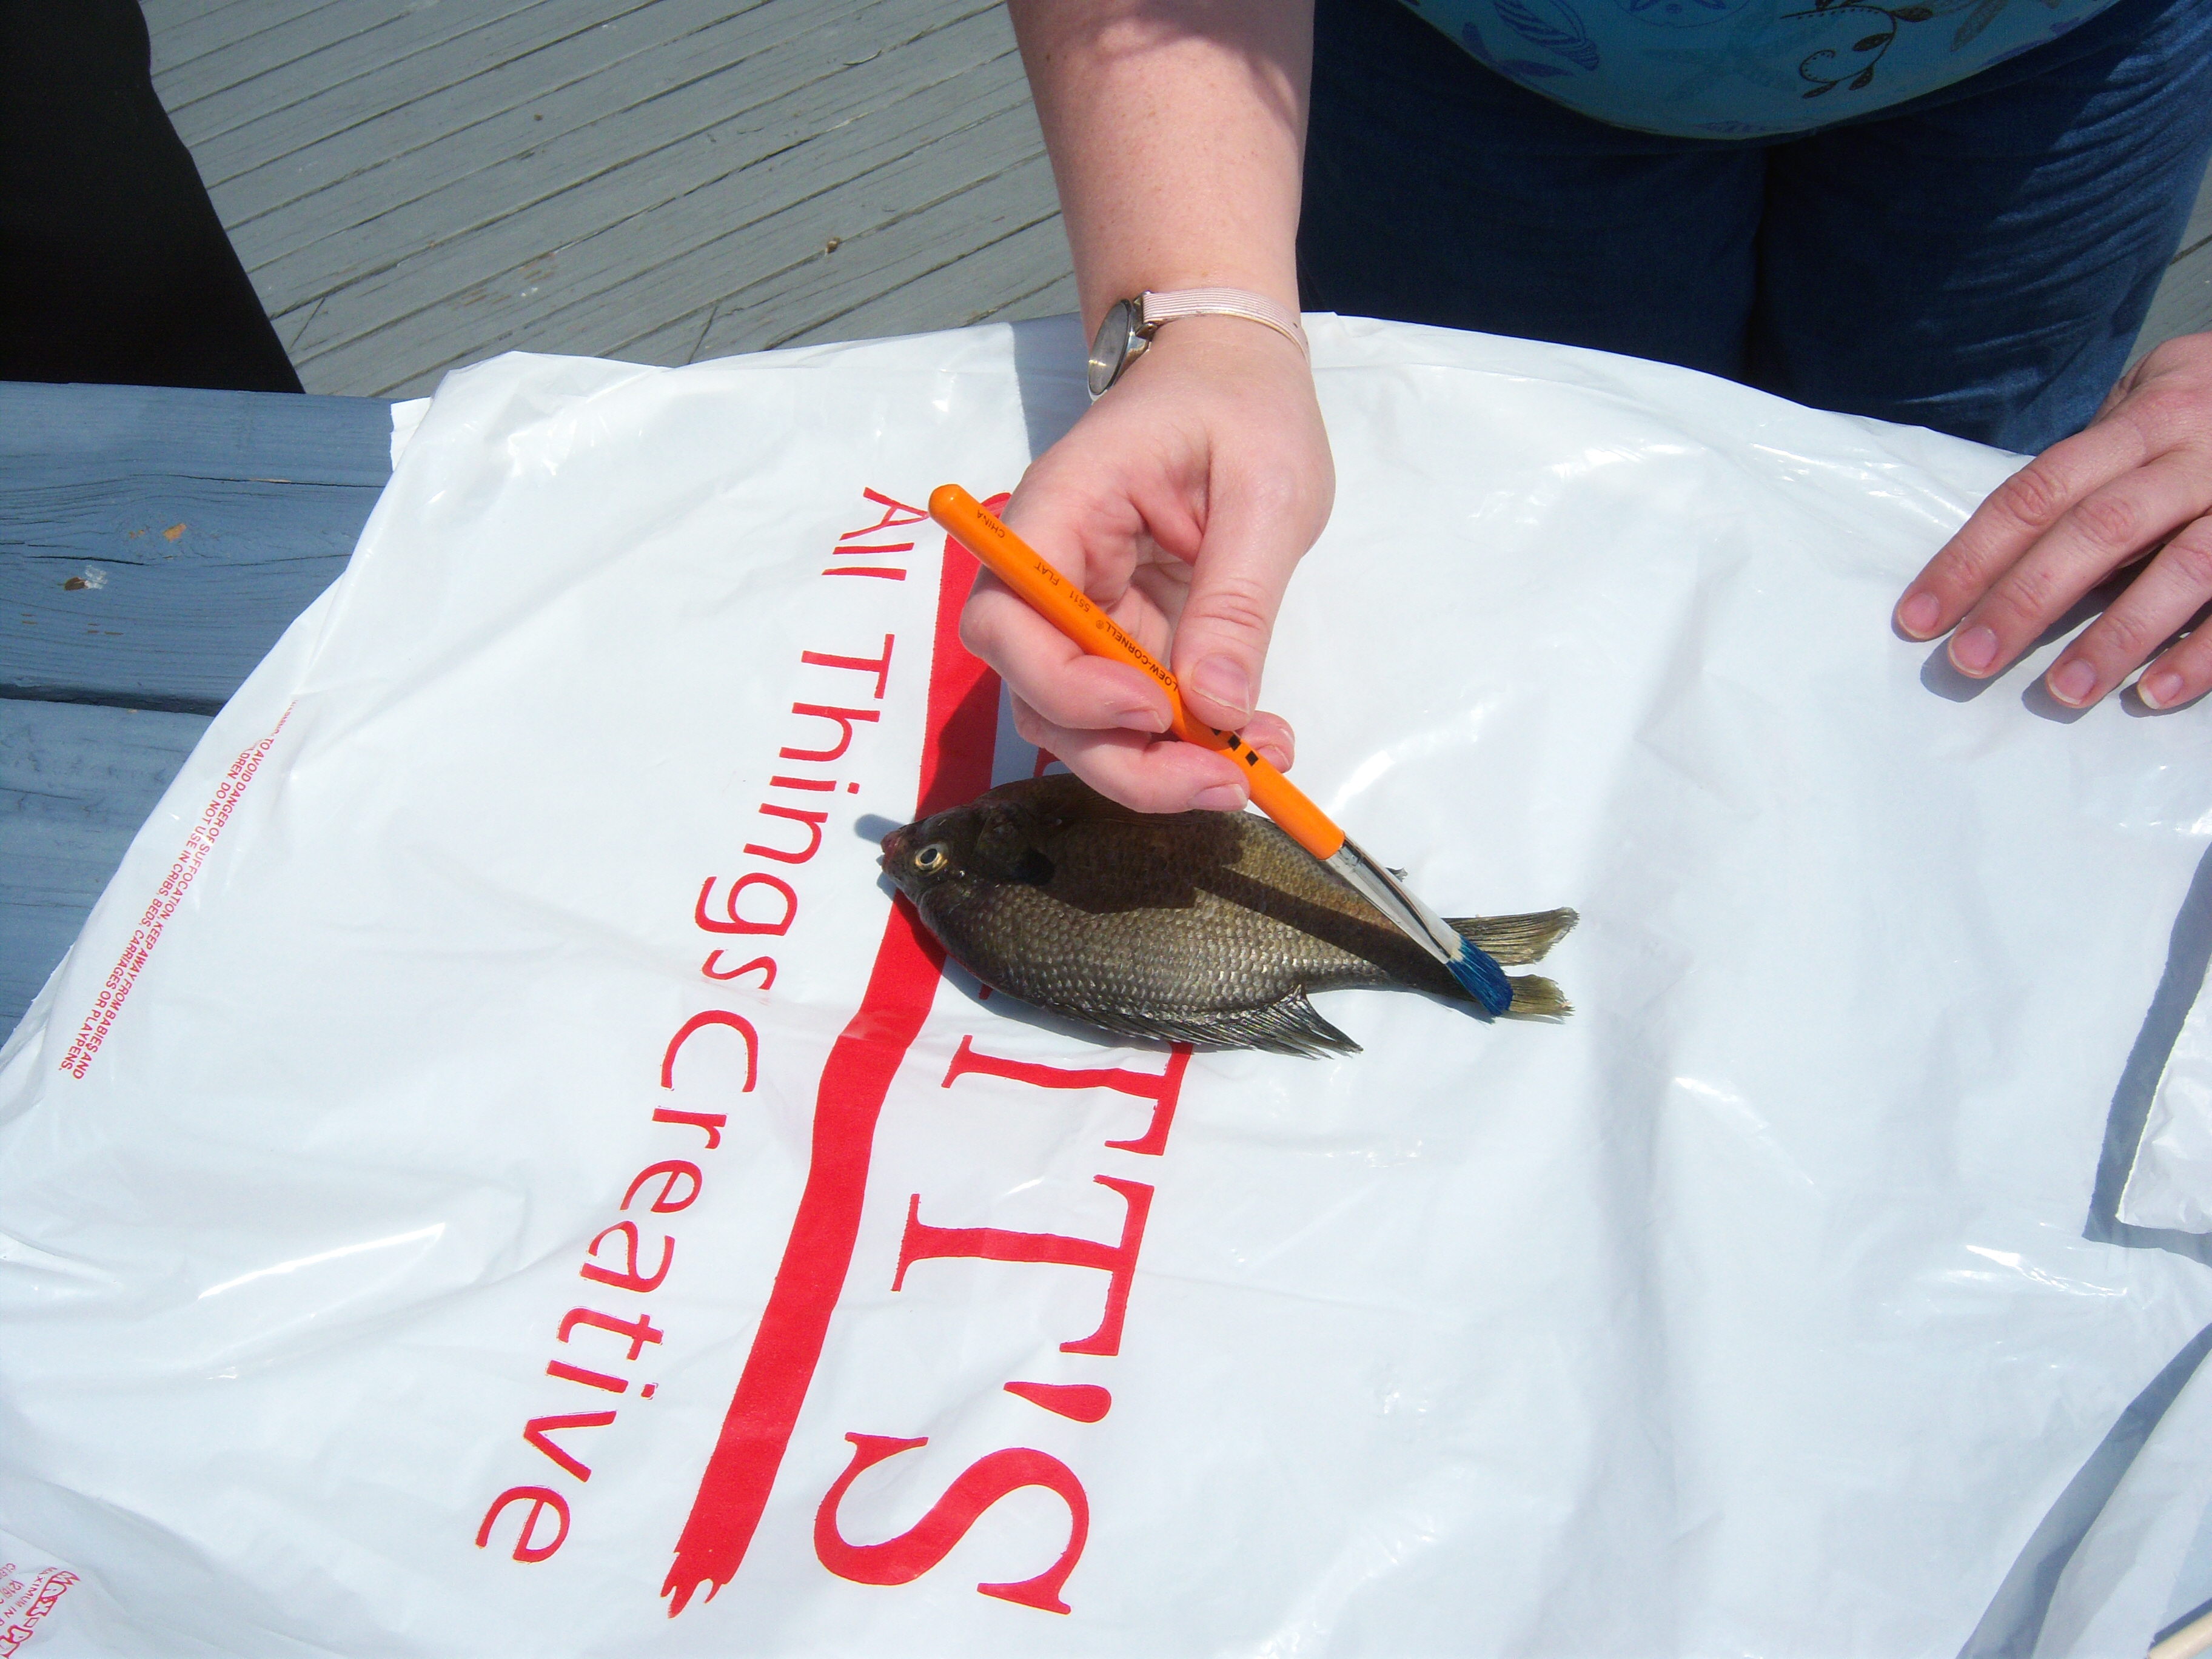
I am already a wild fan of fish prints. A few years ago we vacationed on Cape Cod and happened upon this fab little shop called Blue Water Fish Rubbings. They sell clothes, bags, and prints that are made by pressing real fish and sea creatures that have been inked onto fabric or paper. We bought a shirt while we were there and I love it.

Fast forward to June Martha Stewart Living, where Martha has several pages devoted to making fish prints, shell prints and other beach imprints. Martha uses a rubber fish for hers, but this weekend we visited my parents at their lake house, so I was determined to use a real fish.

fish print1I went to a craft store and bought ink and rice paper. I had a little brush already. I took it with us. We caught a lot of fish, but since bass season has not started yet, we couldn’t keep those big fish. We did catch a lot of little sunfish though and we kept some to eat for lunch. One of the fish we set aside for the print.
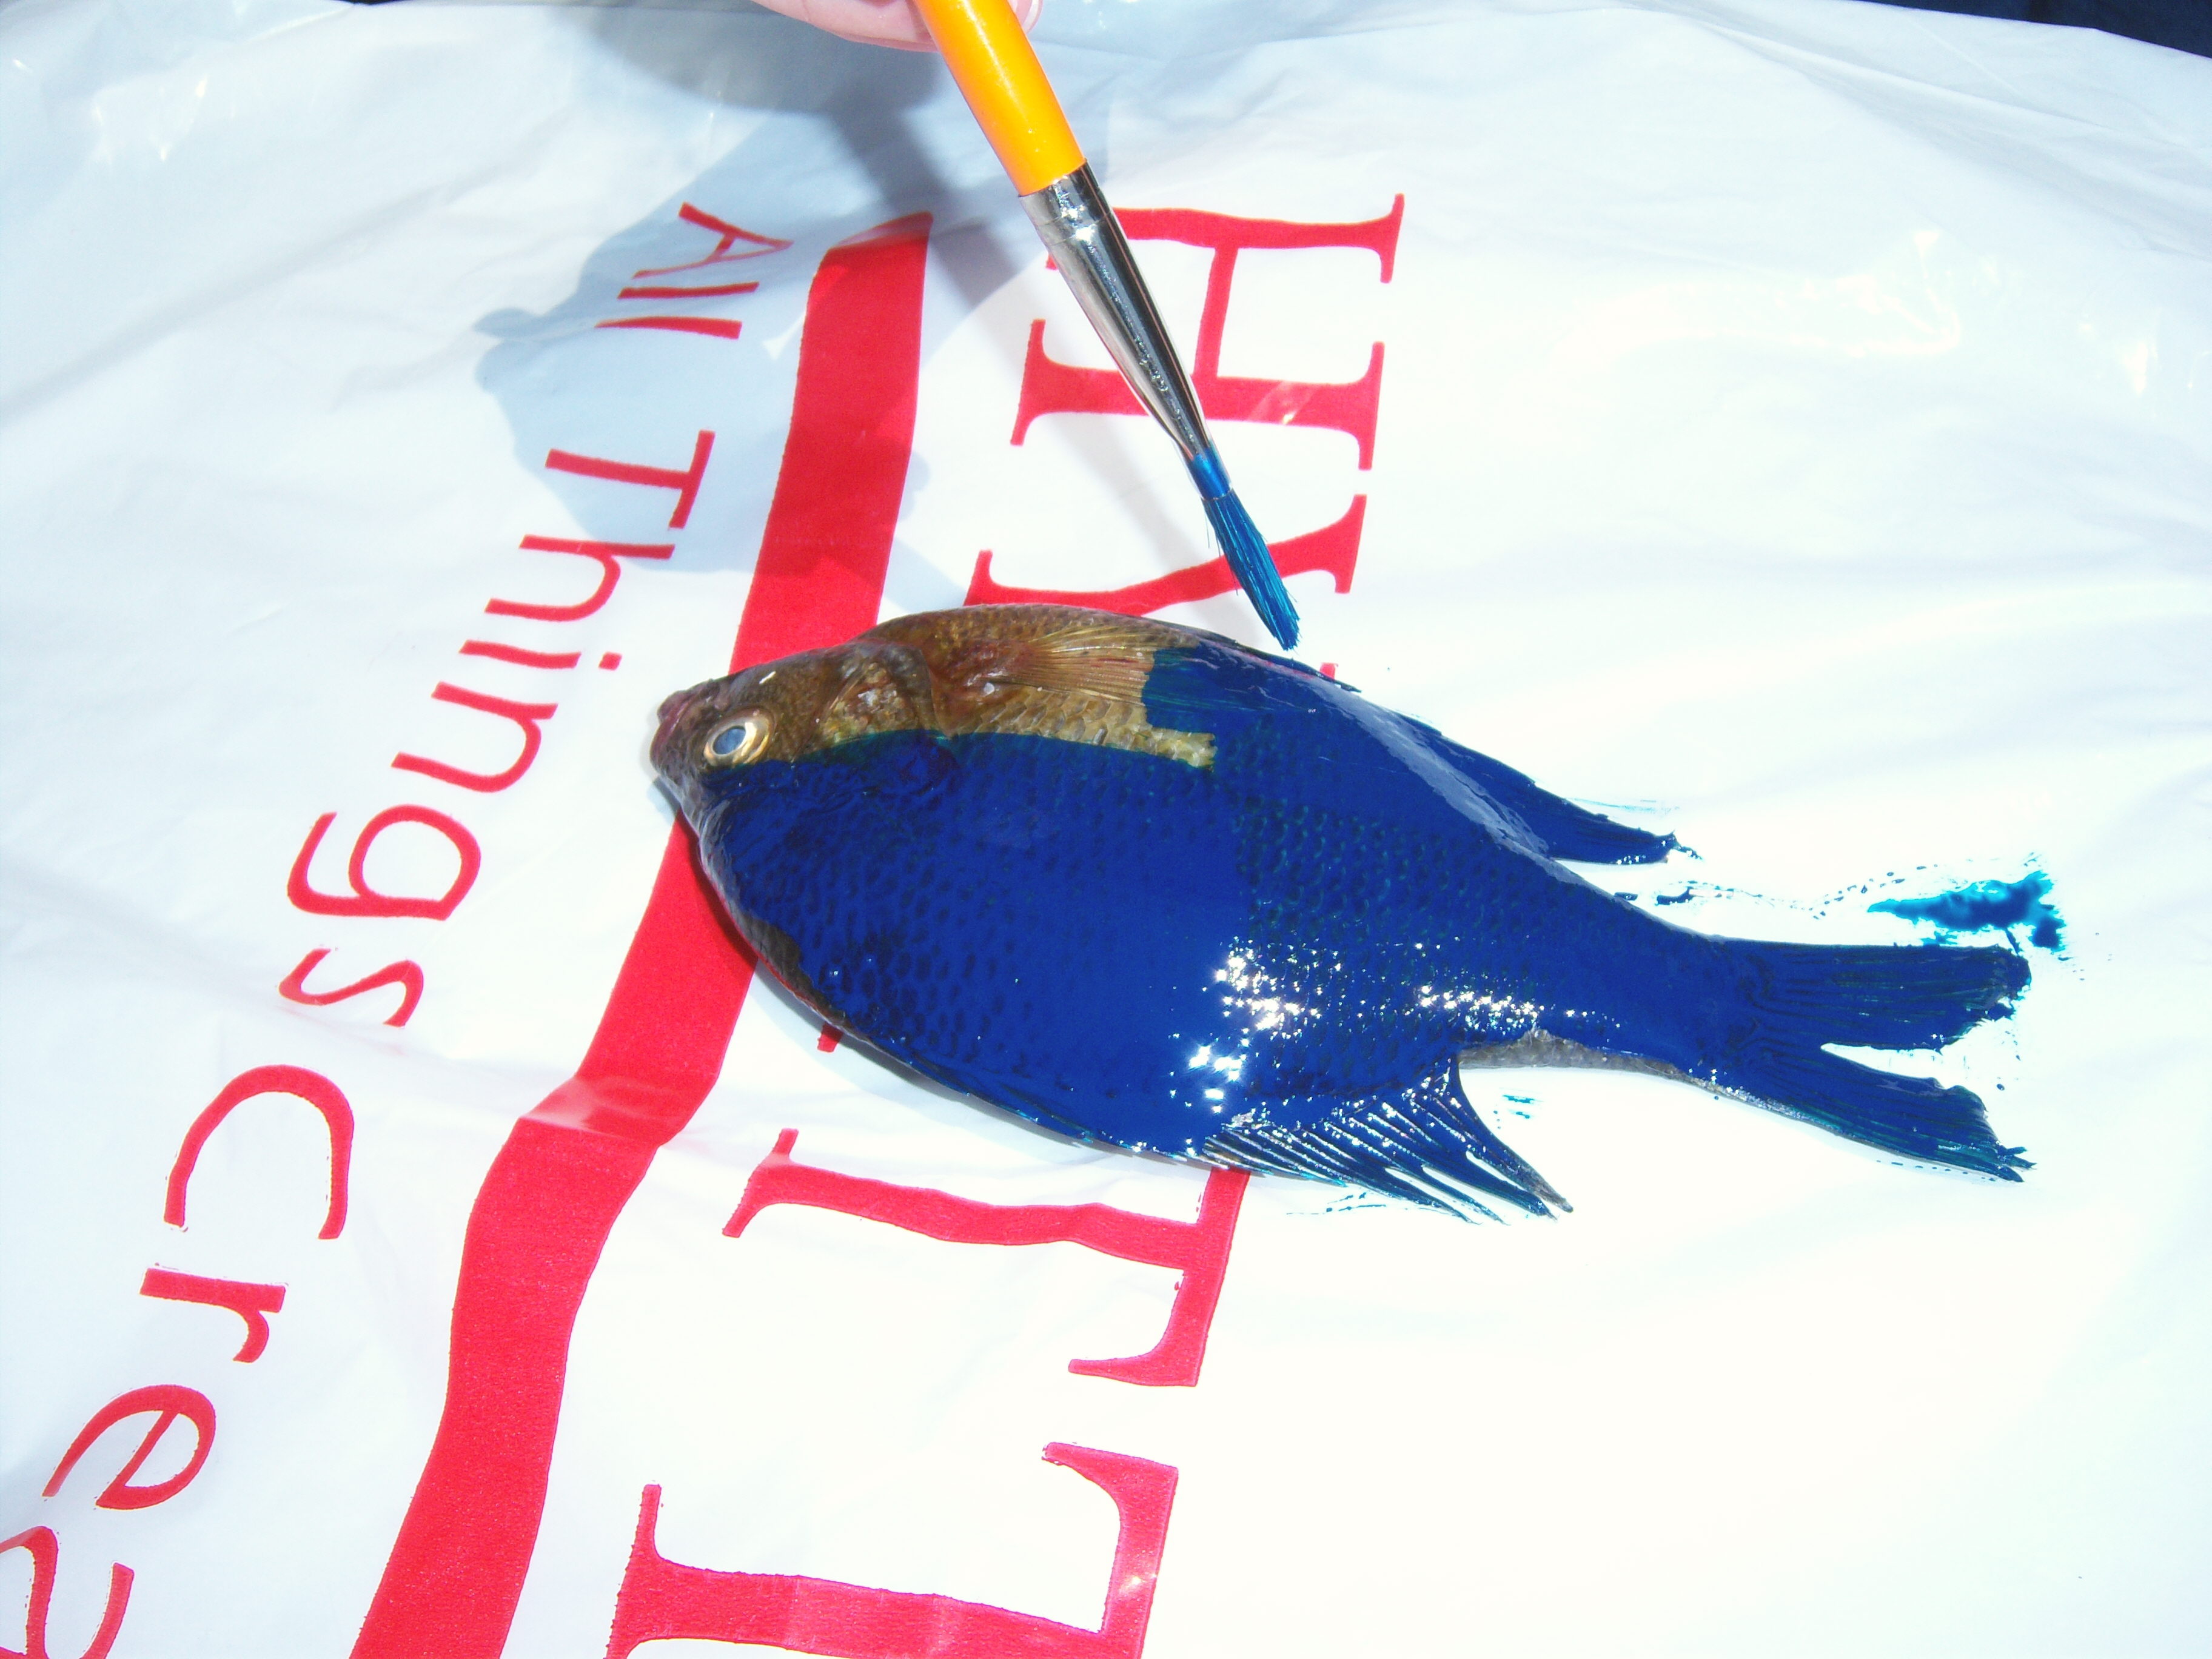
First I dried the fish off and let it sit in the sun to get really dry. I painted the fish print2ink on it and pressed the rough side of the rice paper onto it (hoping that was the right side!). The first one wasn’t great and I quickly learned to use a very light coating of ink. The next few turned out really well. I am definitely going to frame one and hang it up at the lake.
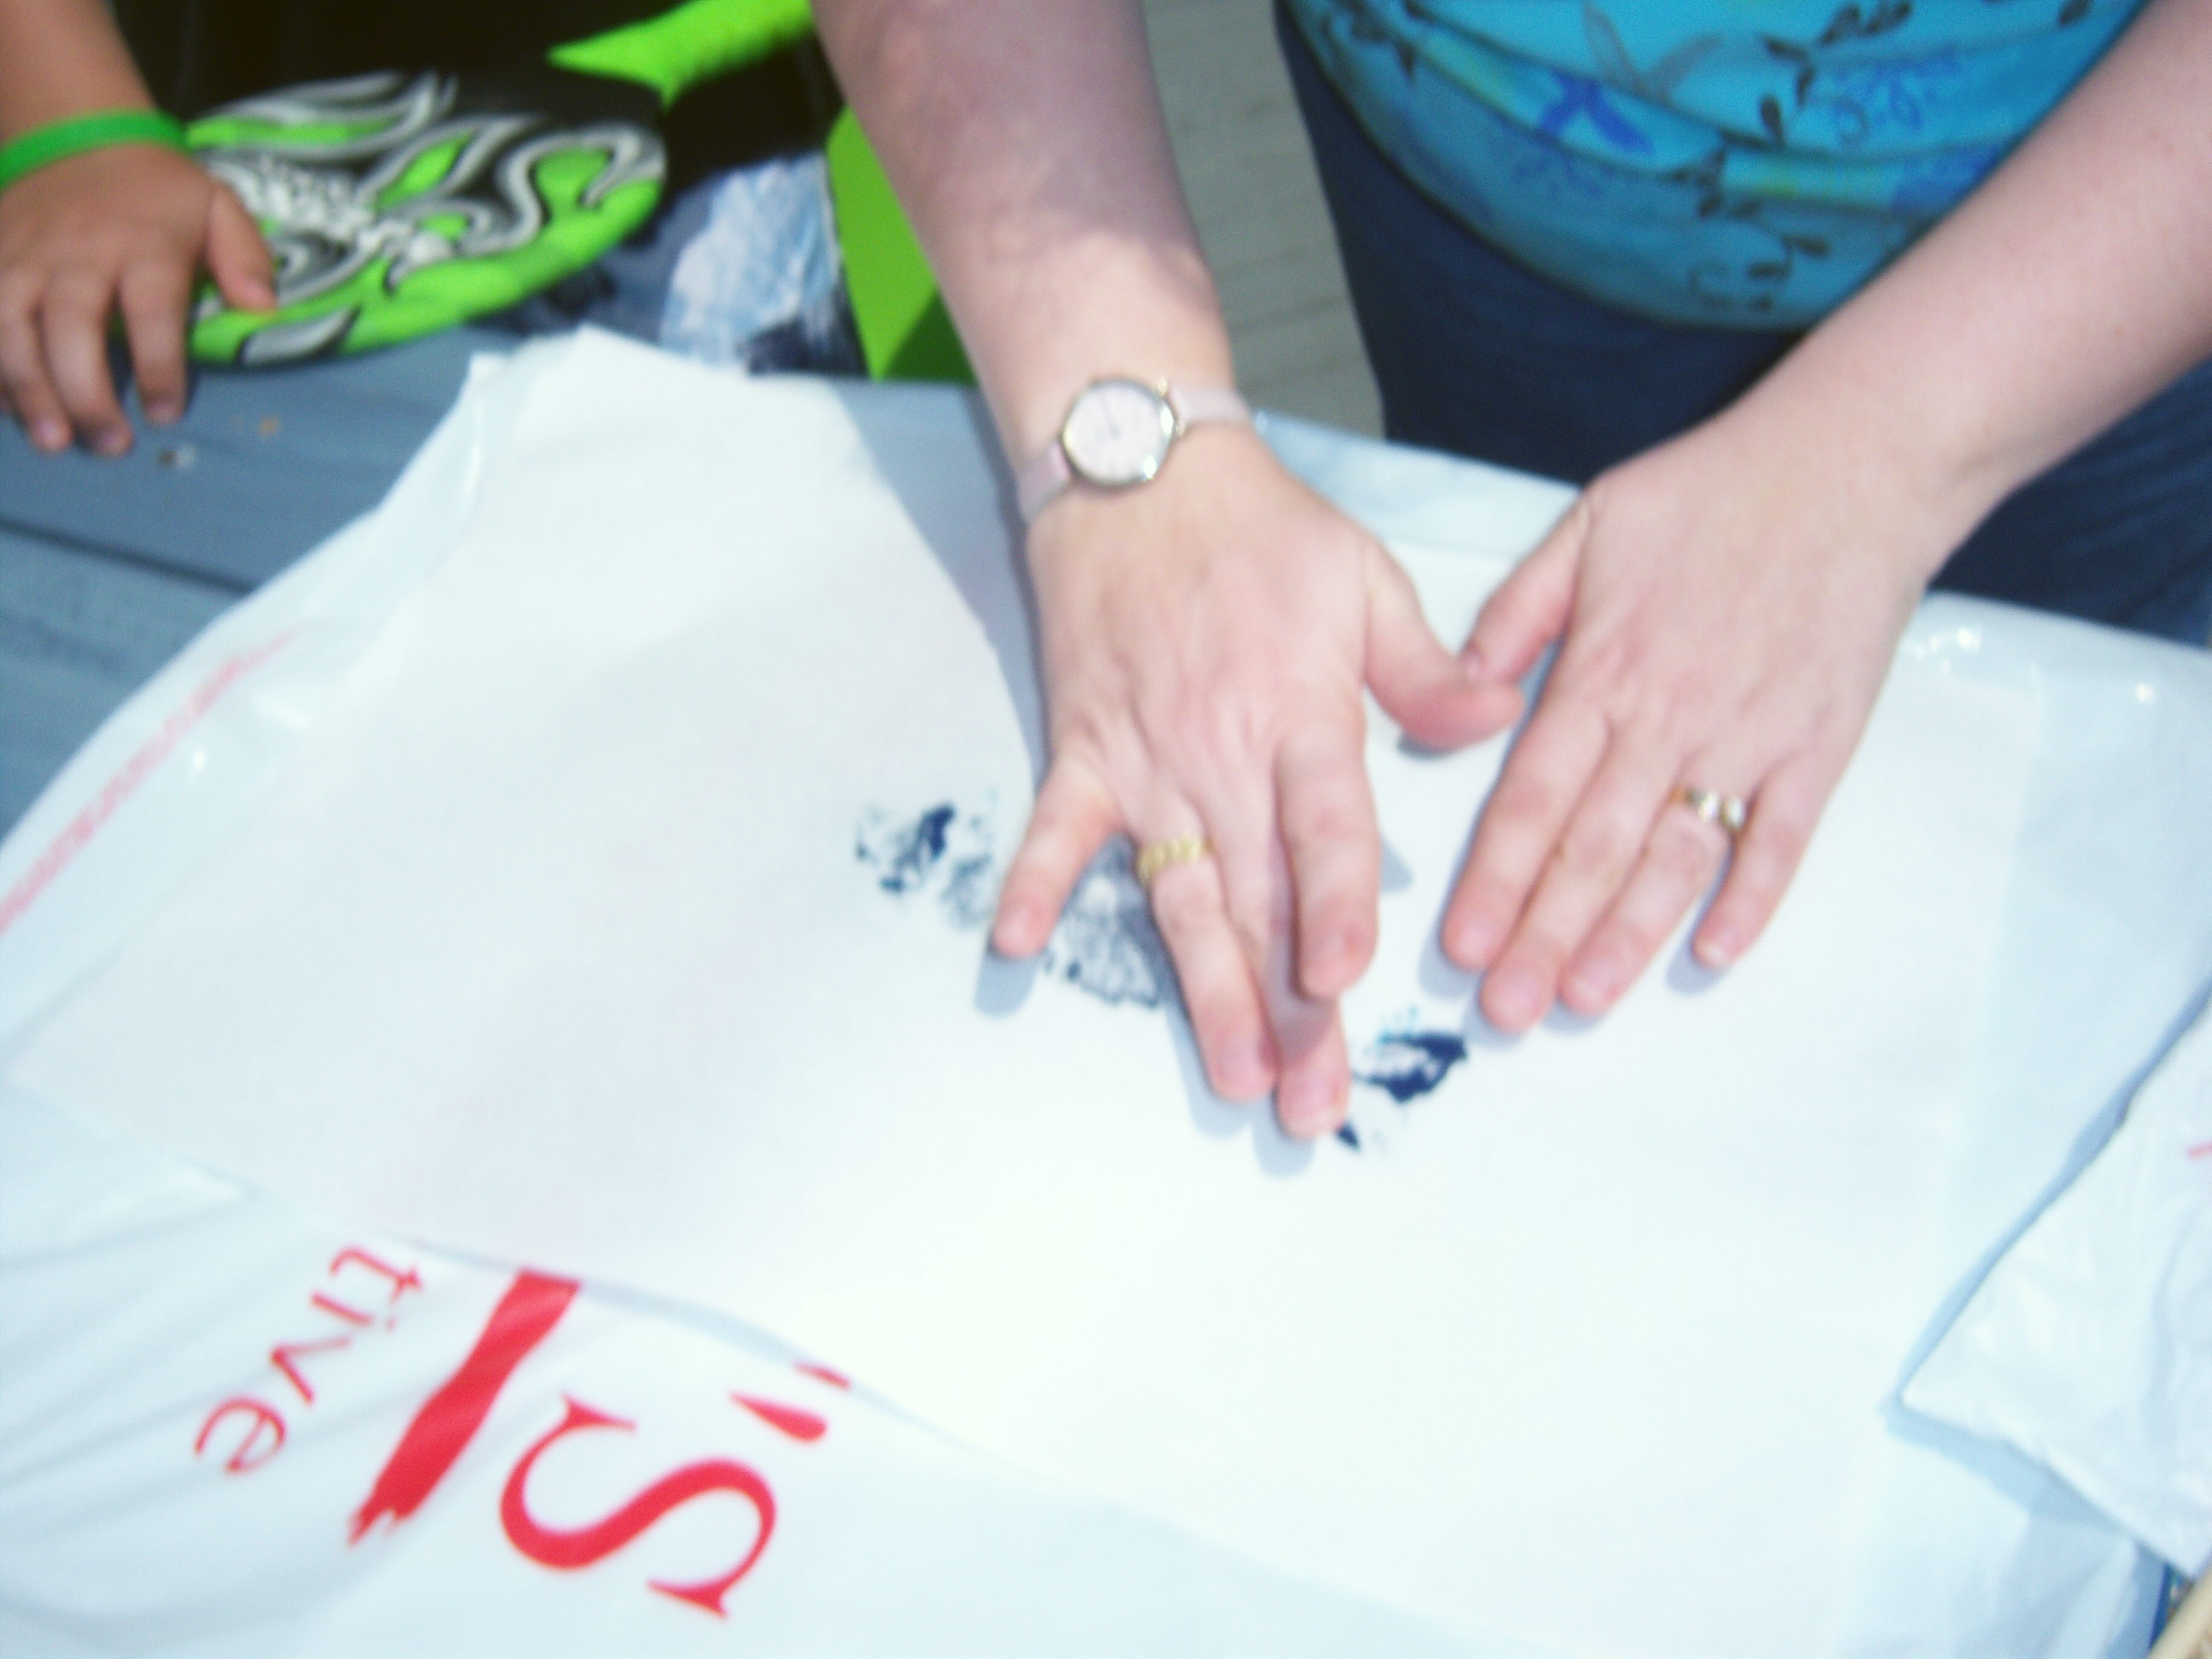
I ended up with ink all over my hands, but it all washed off. And don’t worry, we did eat the fish after we washed it, so this project was not wasteful.

fish print3I want to try this again with a really big fish once they are in season and we can keep them, so I left all the supplies at the lake. I’m going to buy some other colors of ink so that I can do a multi-colored print as well.
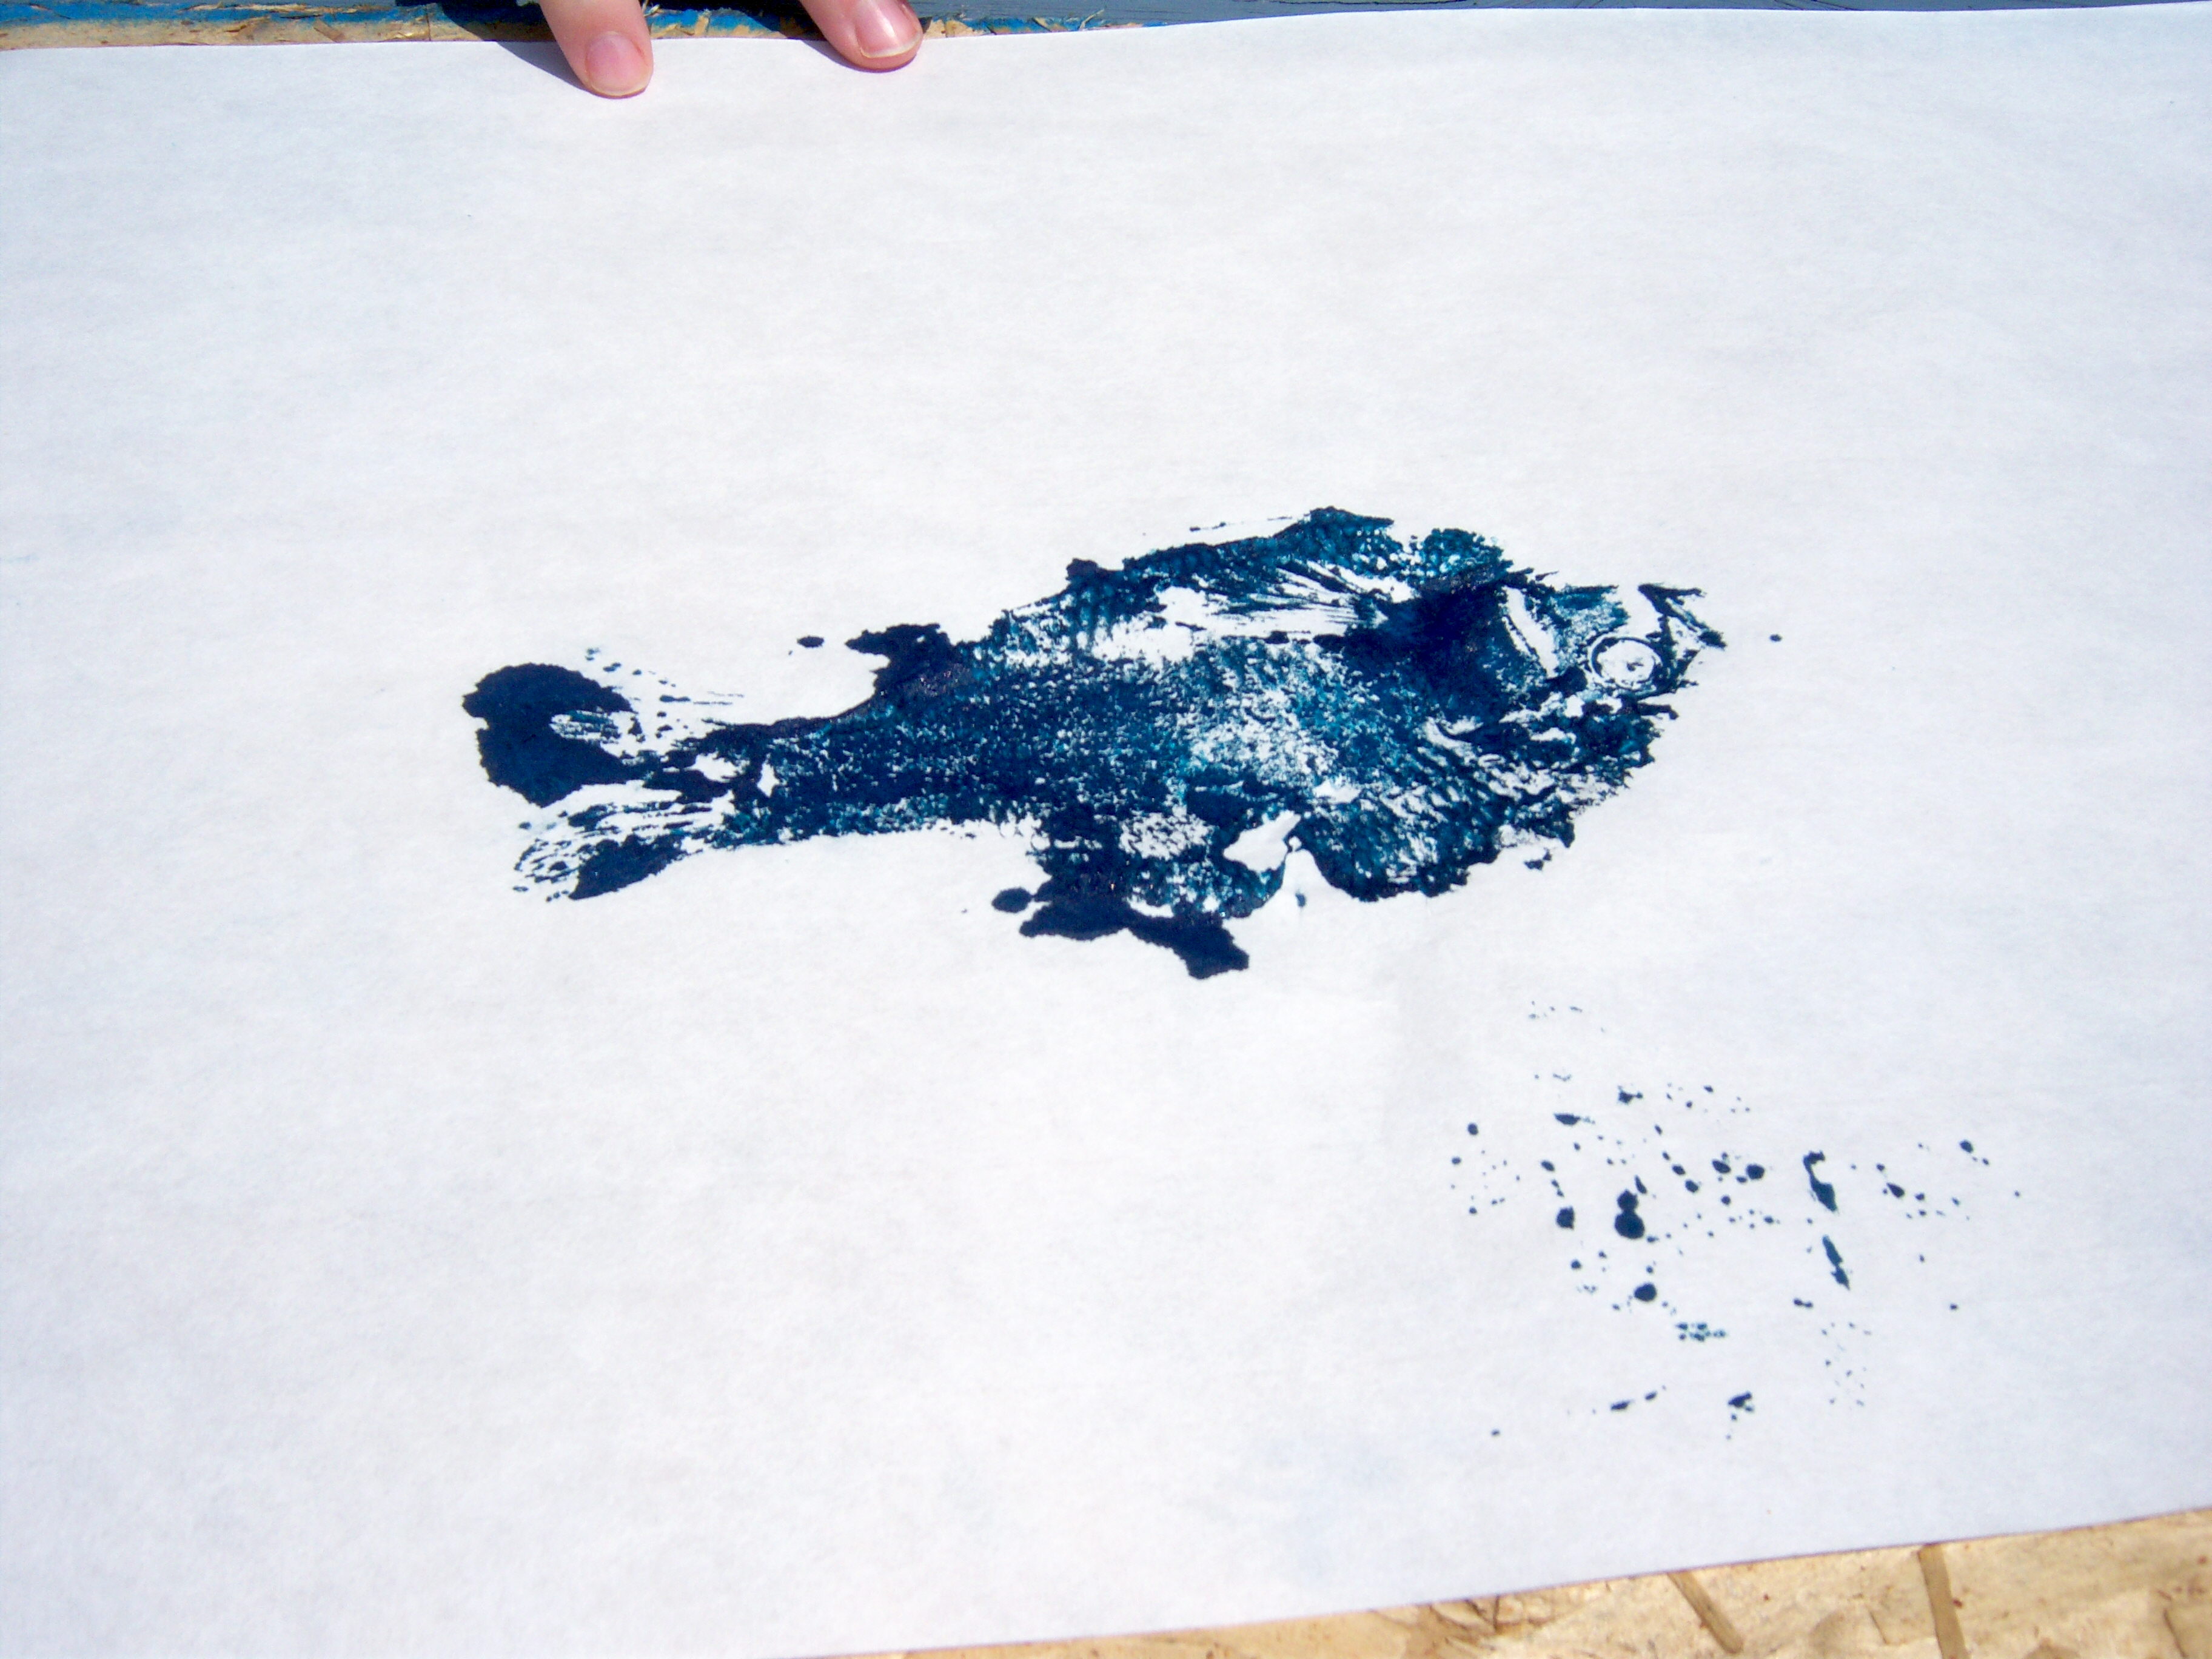
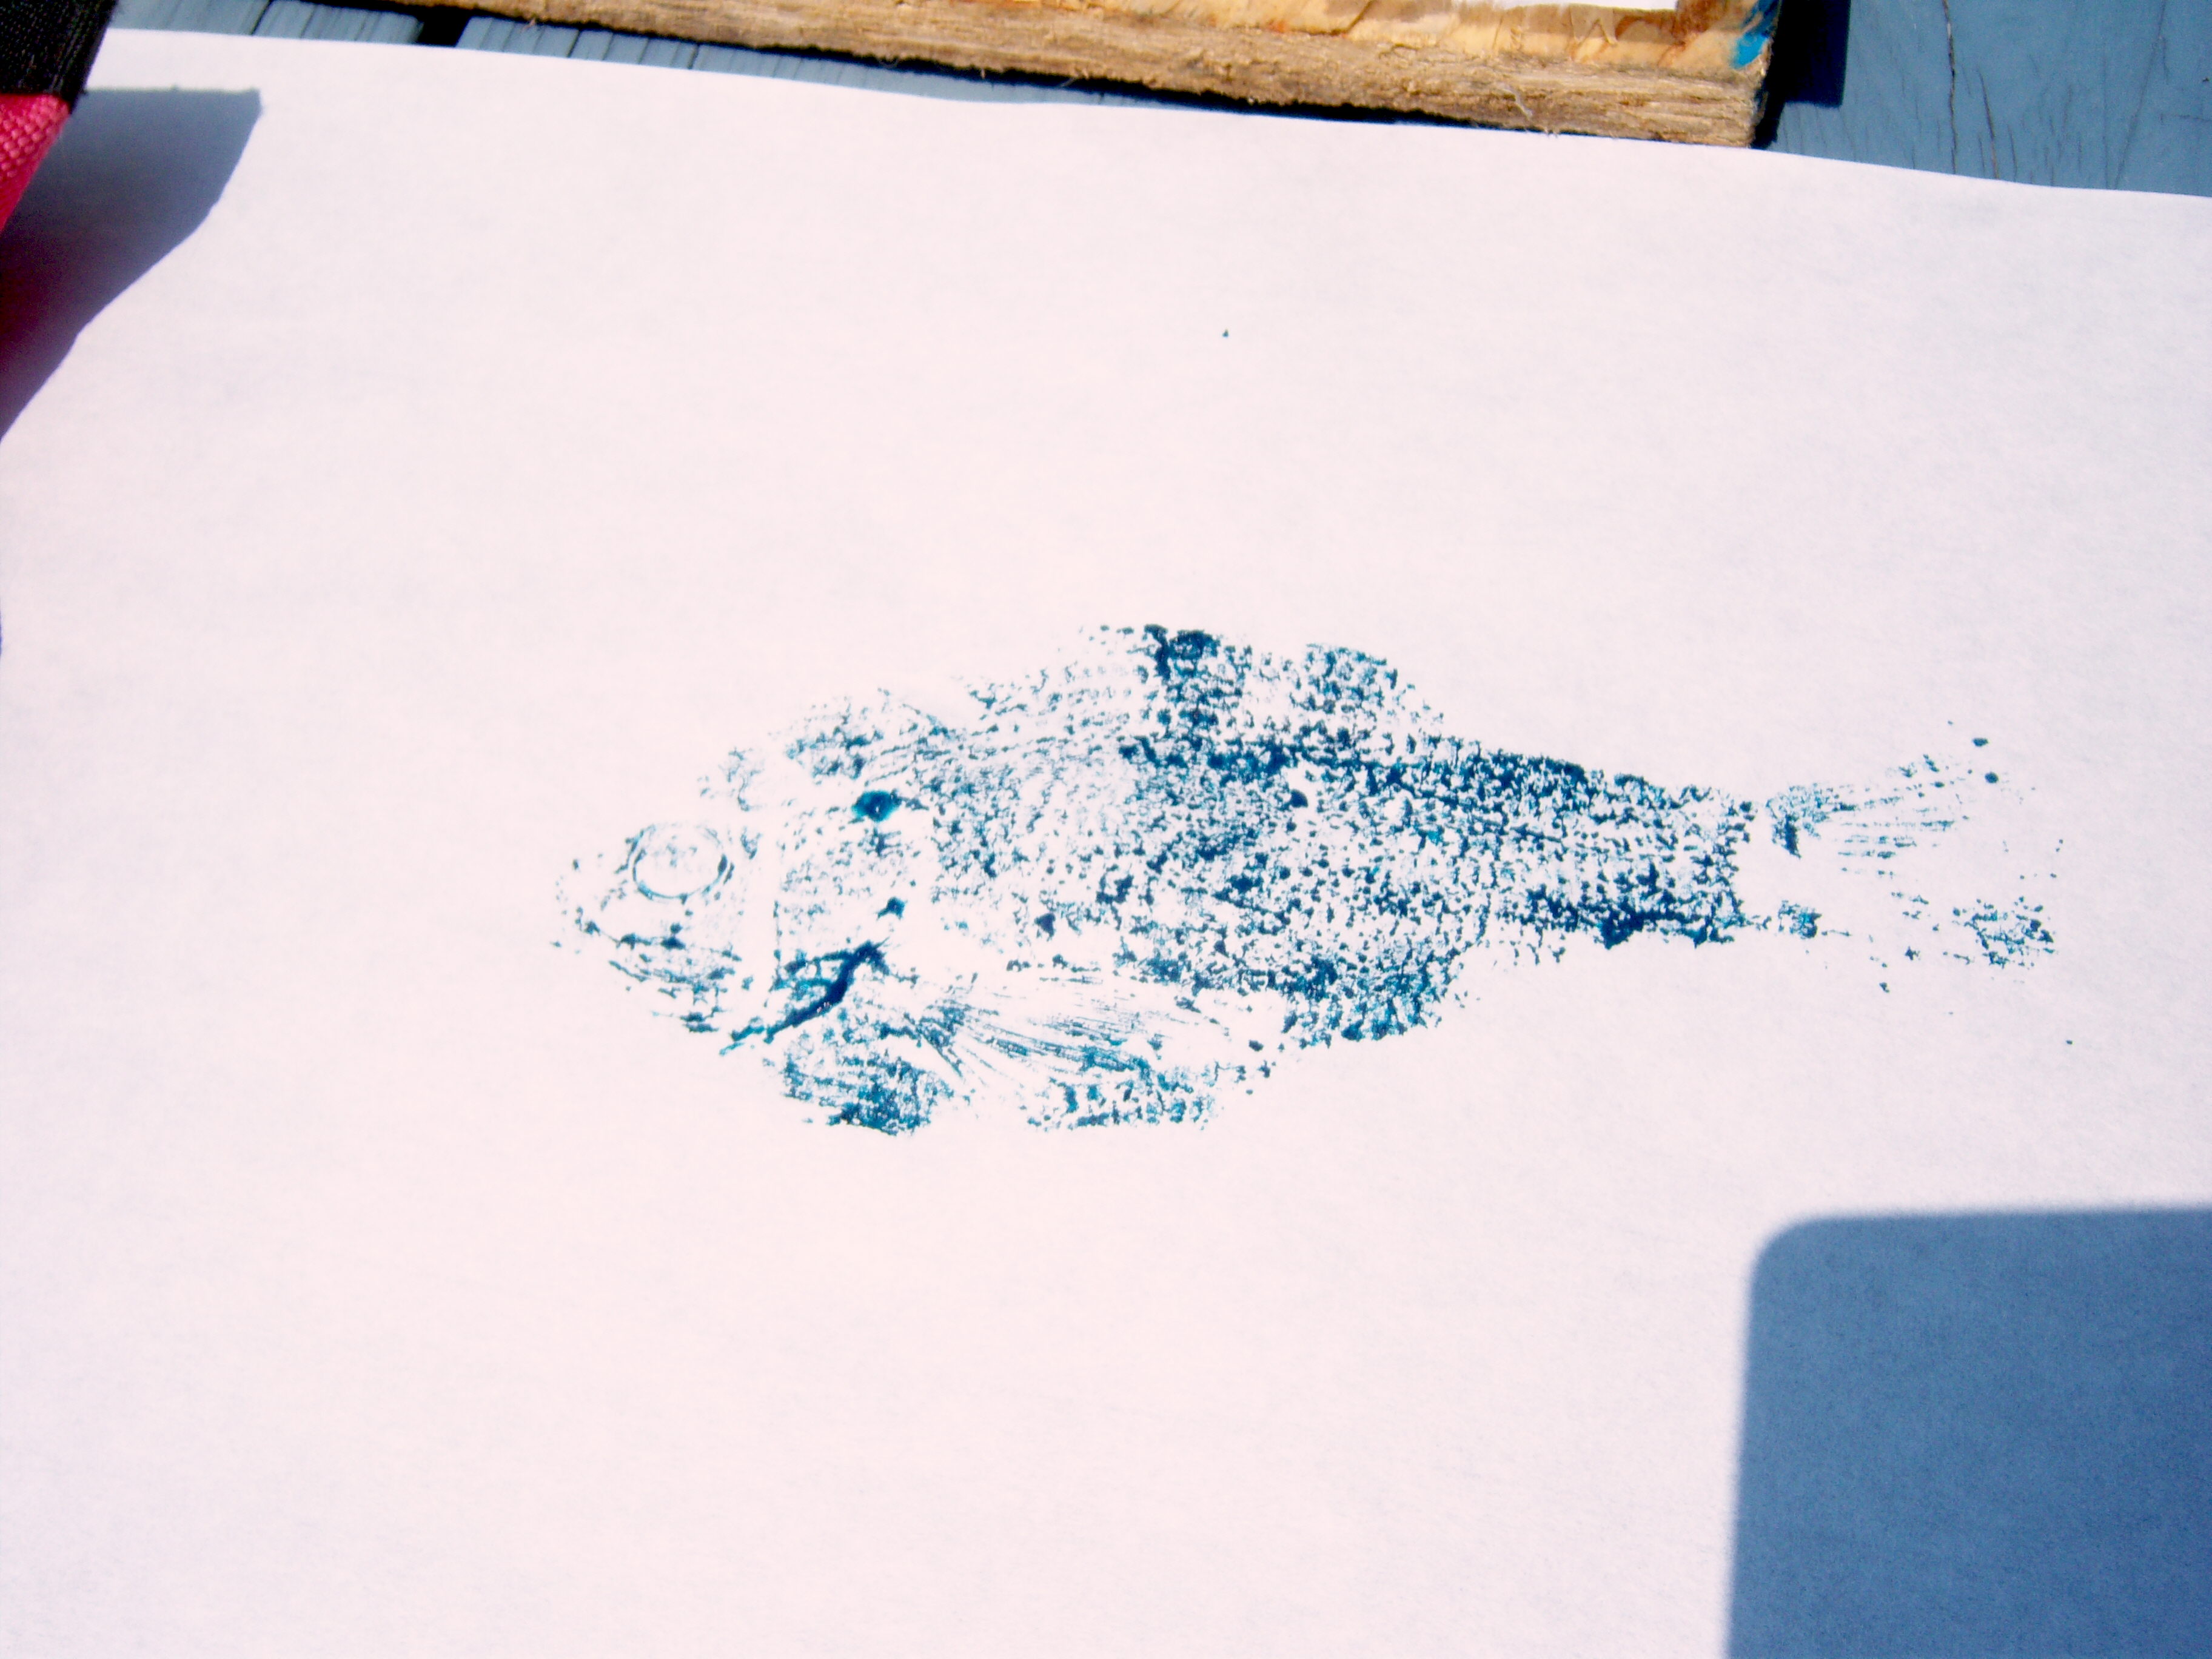
This project was really very easy. If I can do it, you can do it! I would love to try it with some shells and maybe some seaweed.fish print4

fish print5

Bookmark and Share

I am already a wild fan of fish prints. A few years ago we vacationed on Cape Cod and happened upon this fab little shop called Blue Water Fish Rubbings. They sell clothes, bags, and prints that are made by pressing real fish and sea creatures that have been inked onto fabric or paper. We … Read more

Pom-Poms

Posted by Brette in Crafts

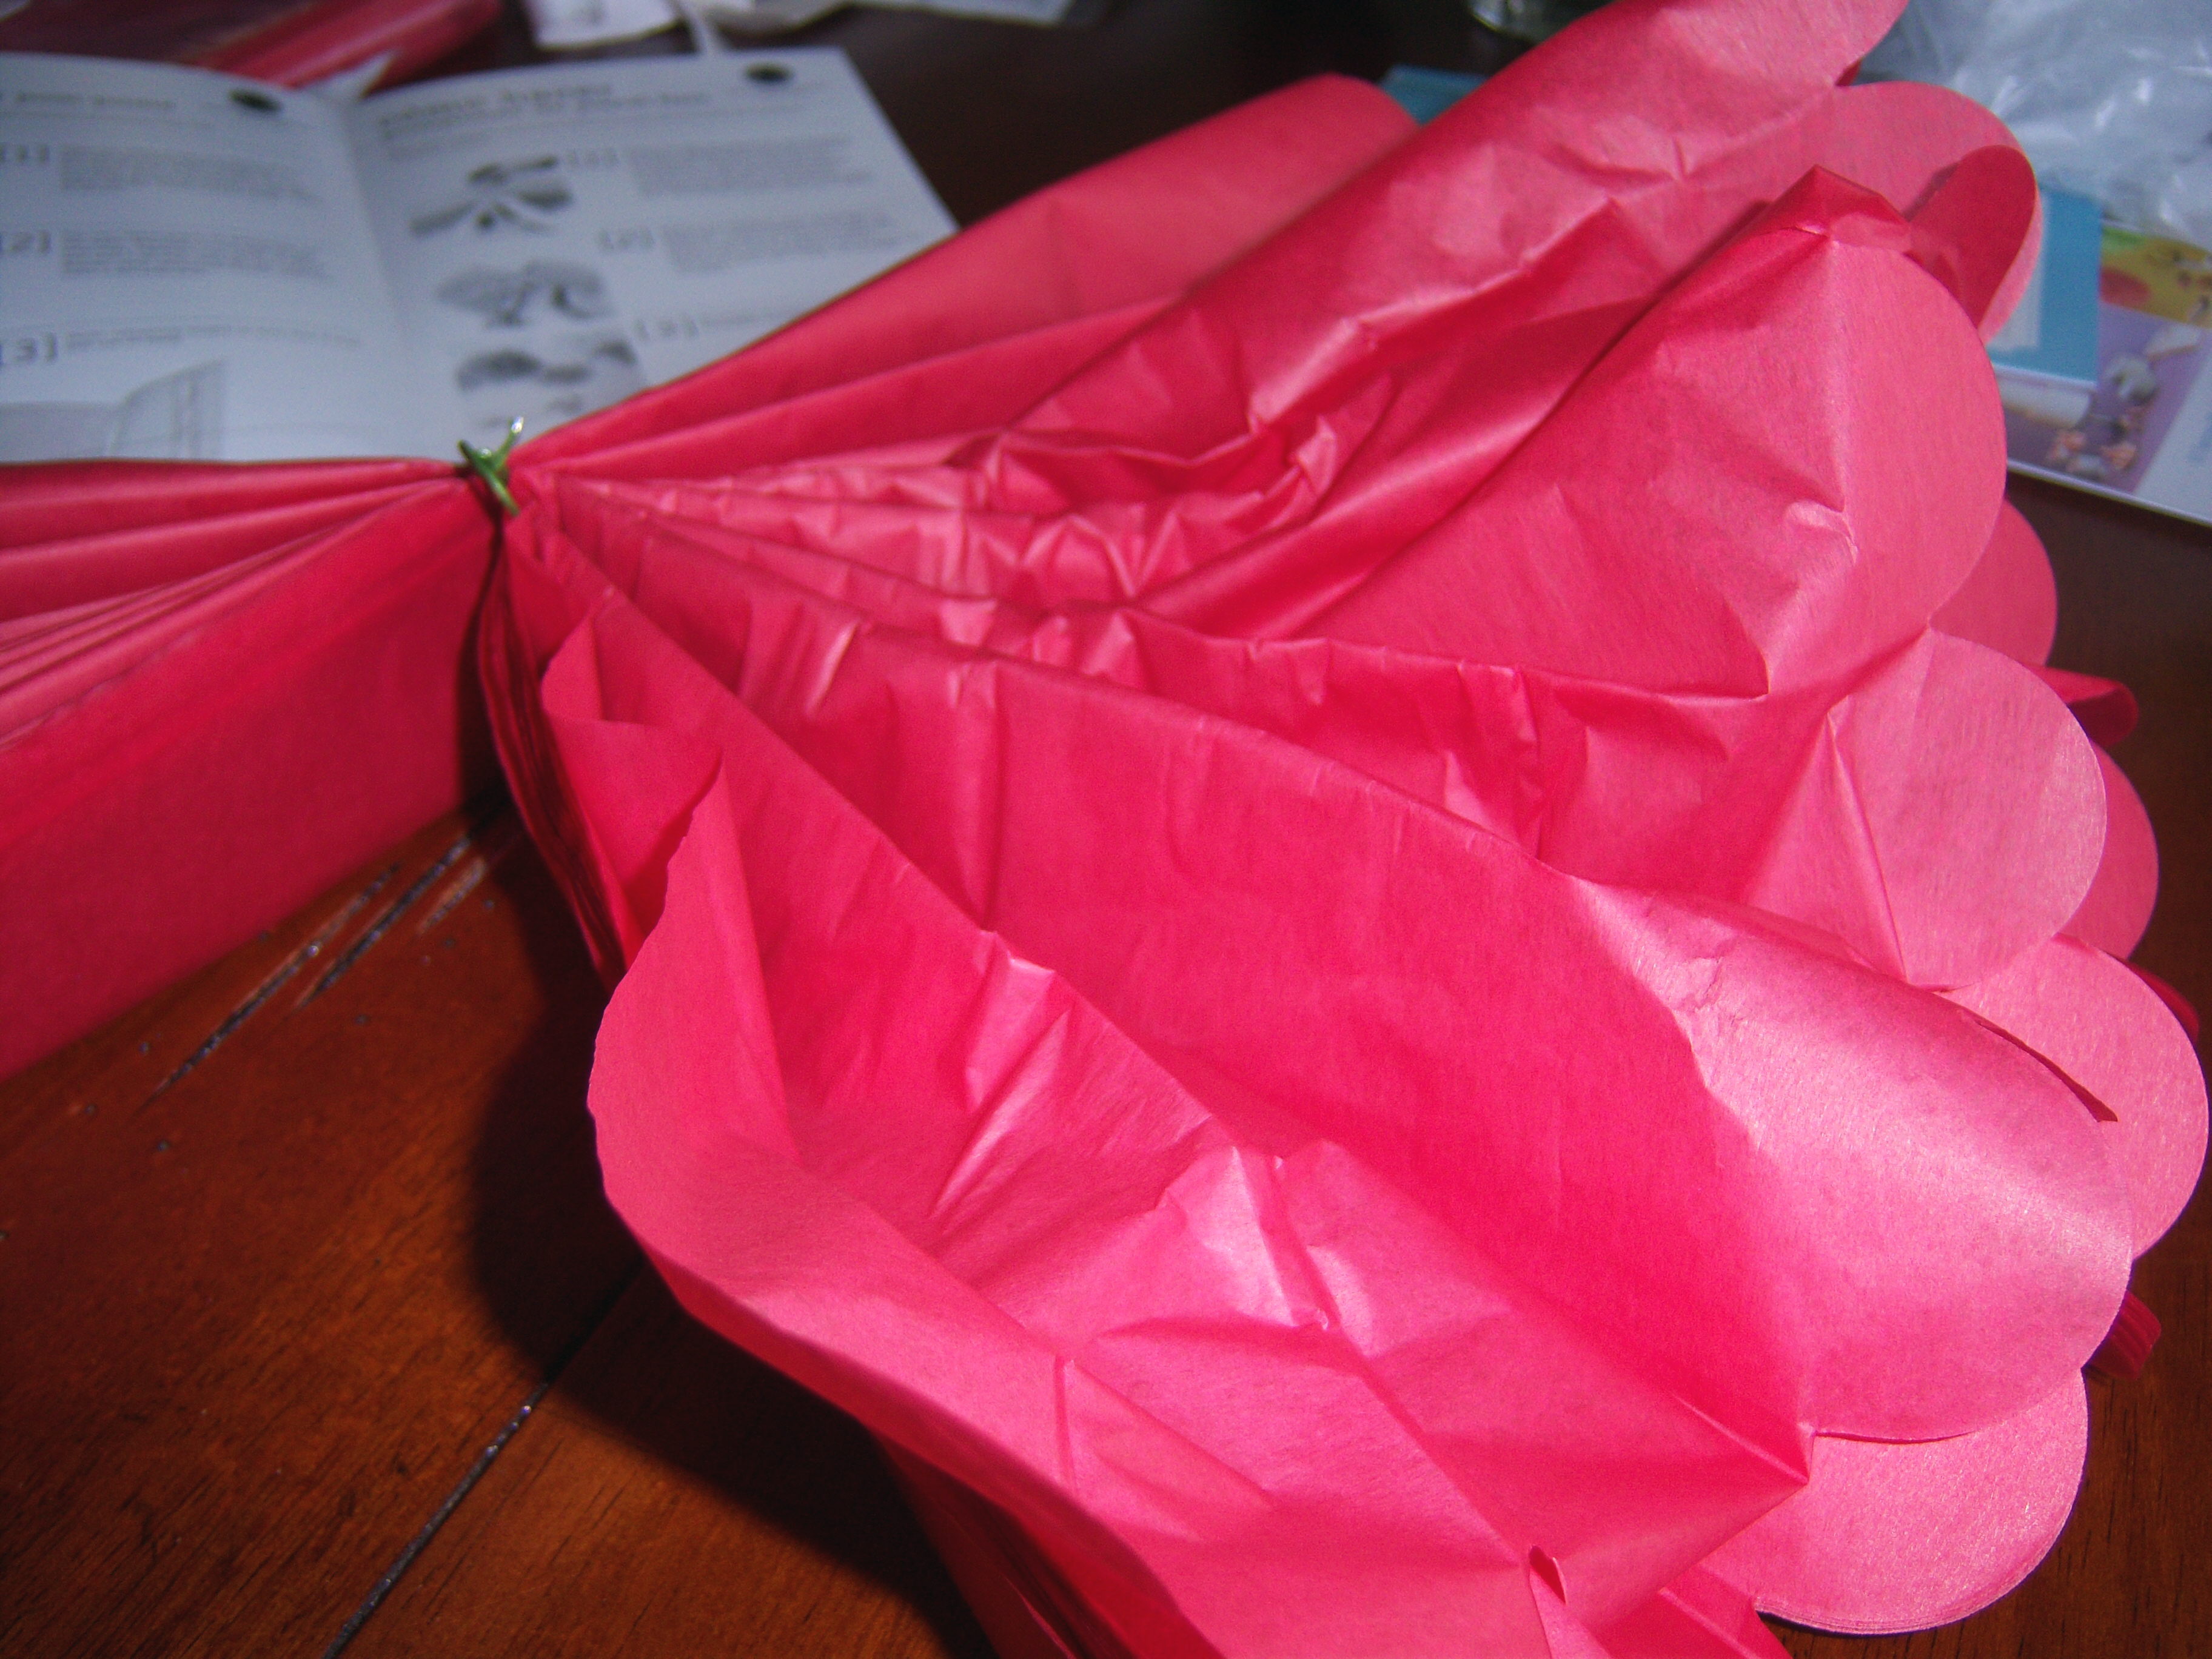
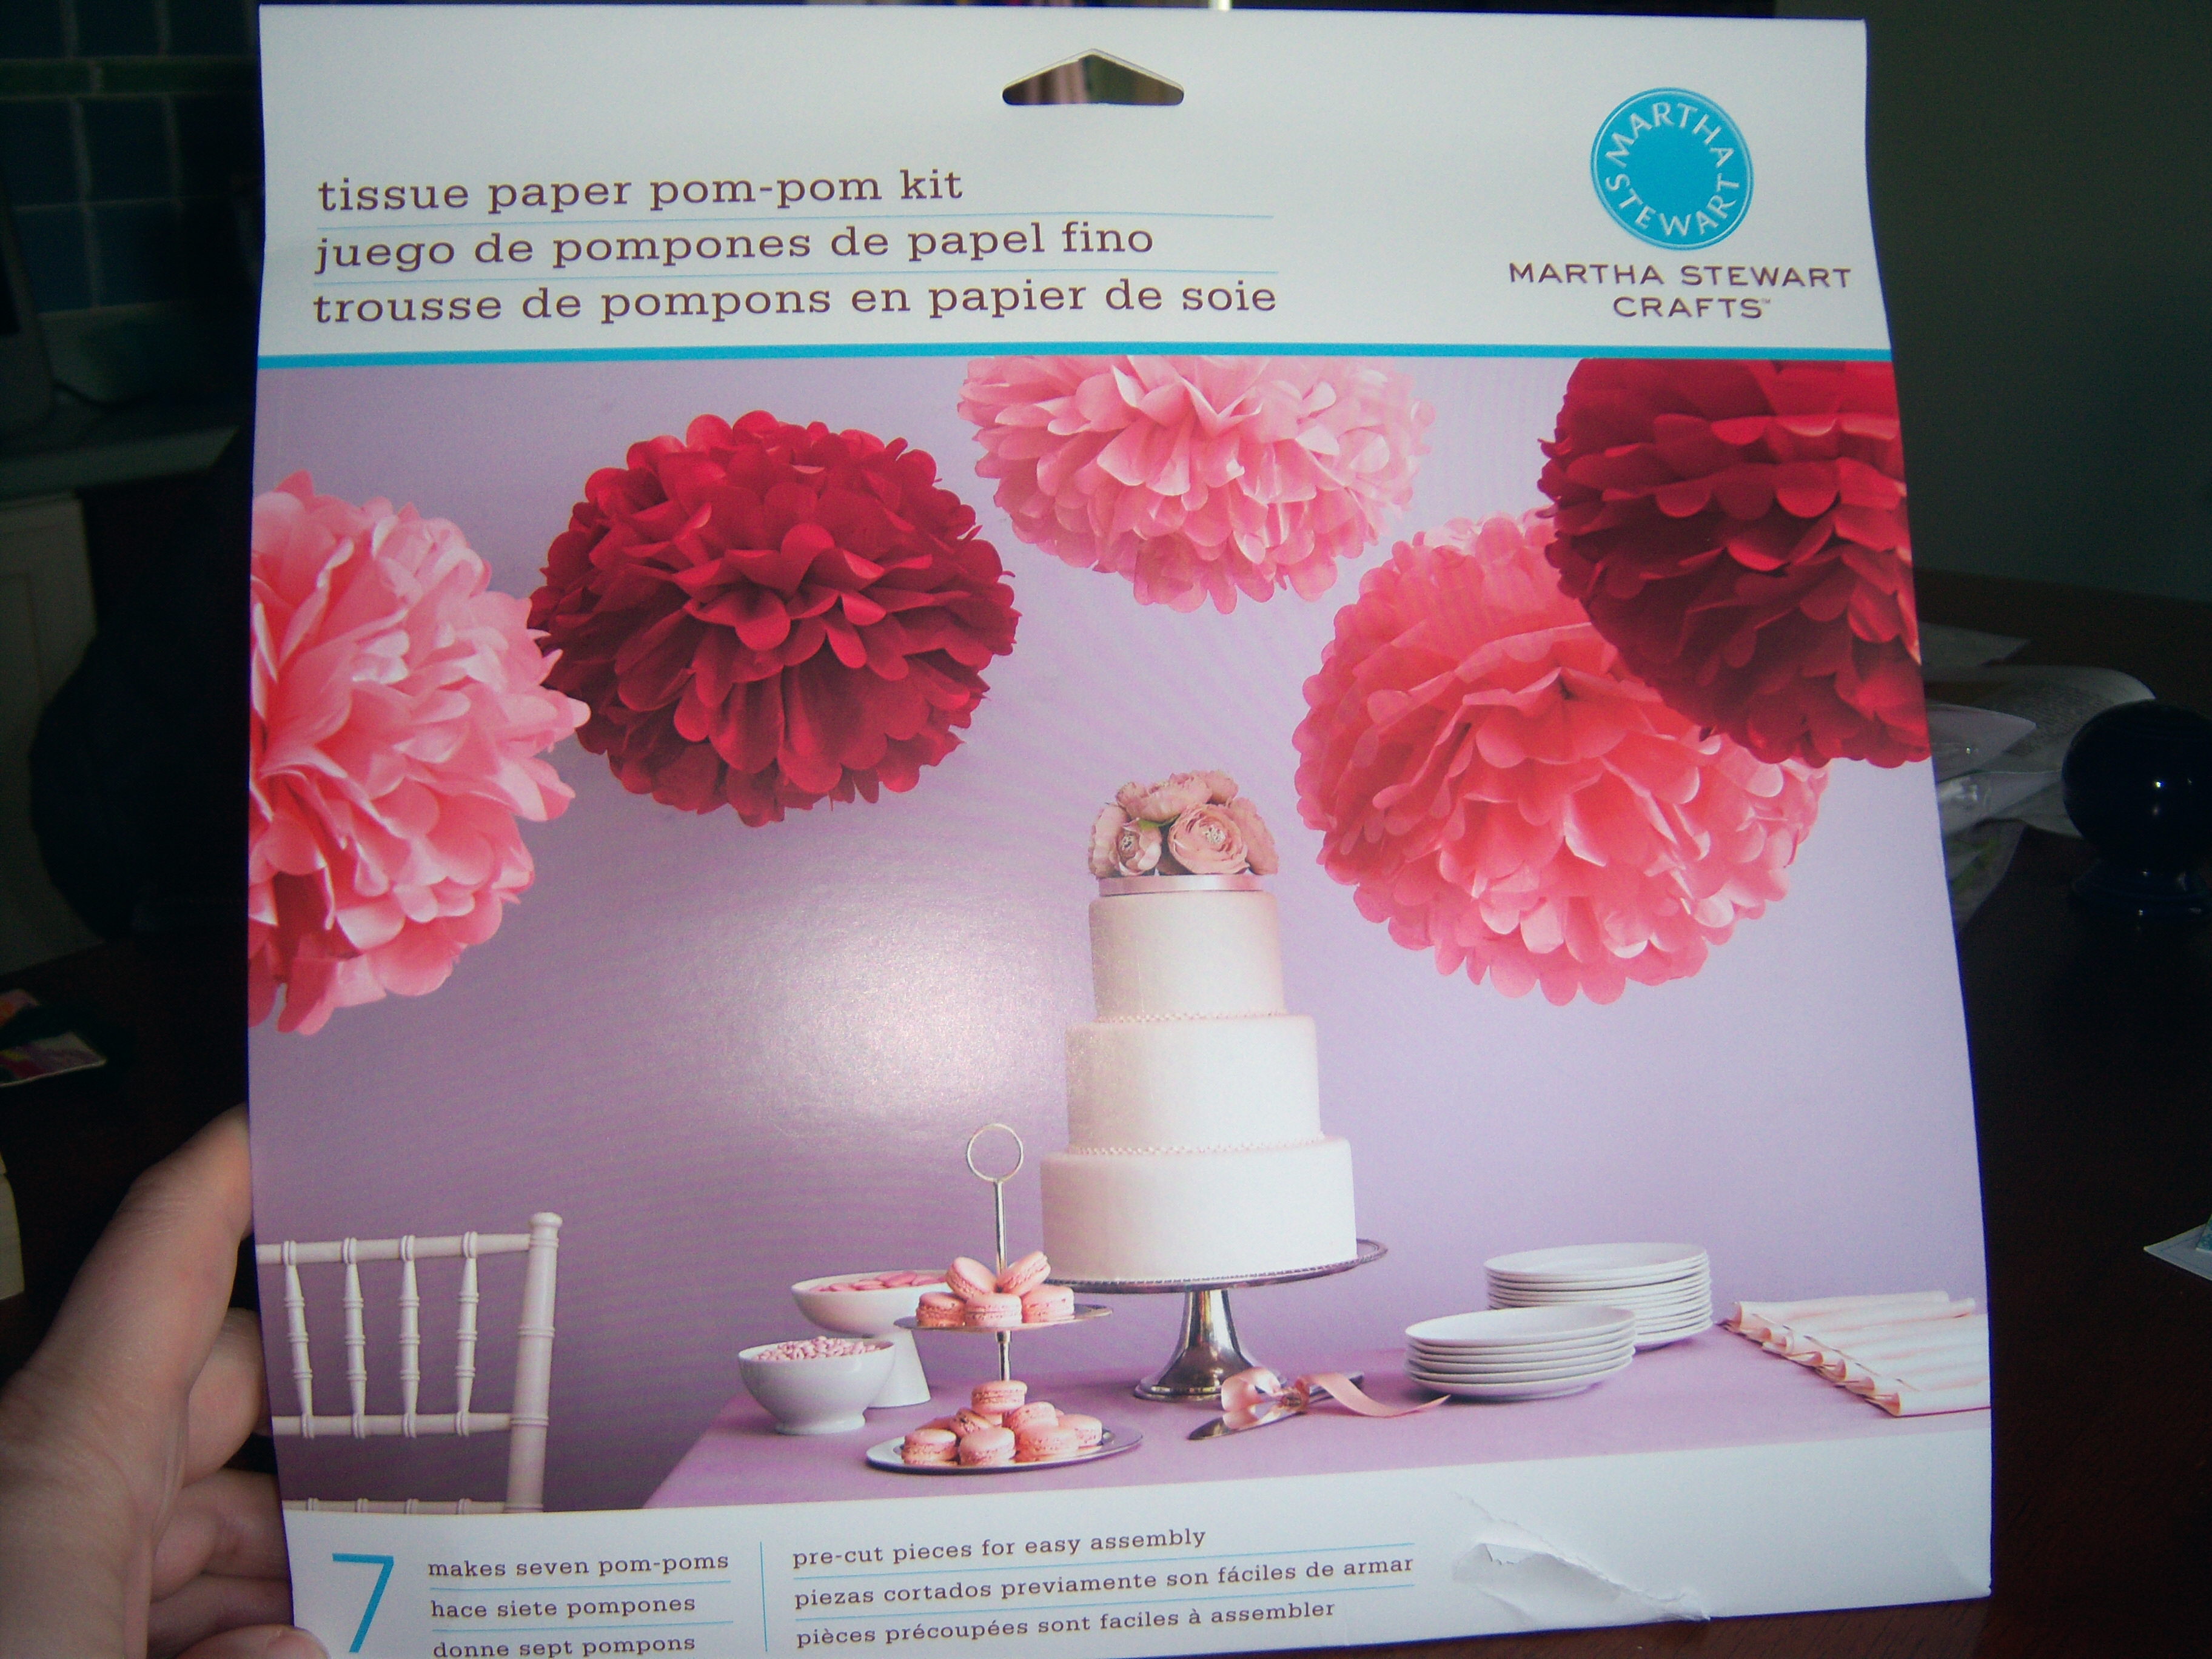
pompom1Martha was nice enough to send me some samples of the Tissue Paper Pom-Pom Kit from Martha Stewart Crafts ($19.99 at Michaels).  This is my first experience with one of Martha’s pre-made crafts. The only craft kits I’ve ever done in my life are the ones you get as a kid. And I managed to butcher those pretty well. I remember for my birthday in third grade I got a kit that supposedly showed you how to make flowers out of tissue paper. I went through the entire kit and did not get a single one to work for me!
I am not a fan of paper decorations in general.  They are mostly simply awful, but these looked like they might be pretty. I opened up the package. You get 3 large pom-poms and 4 small ones.

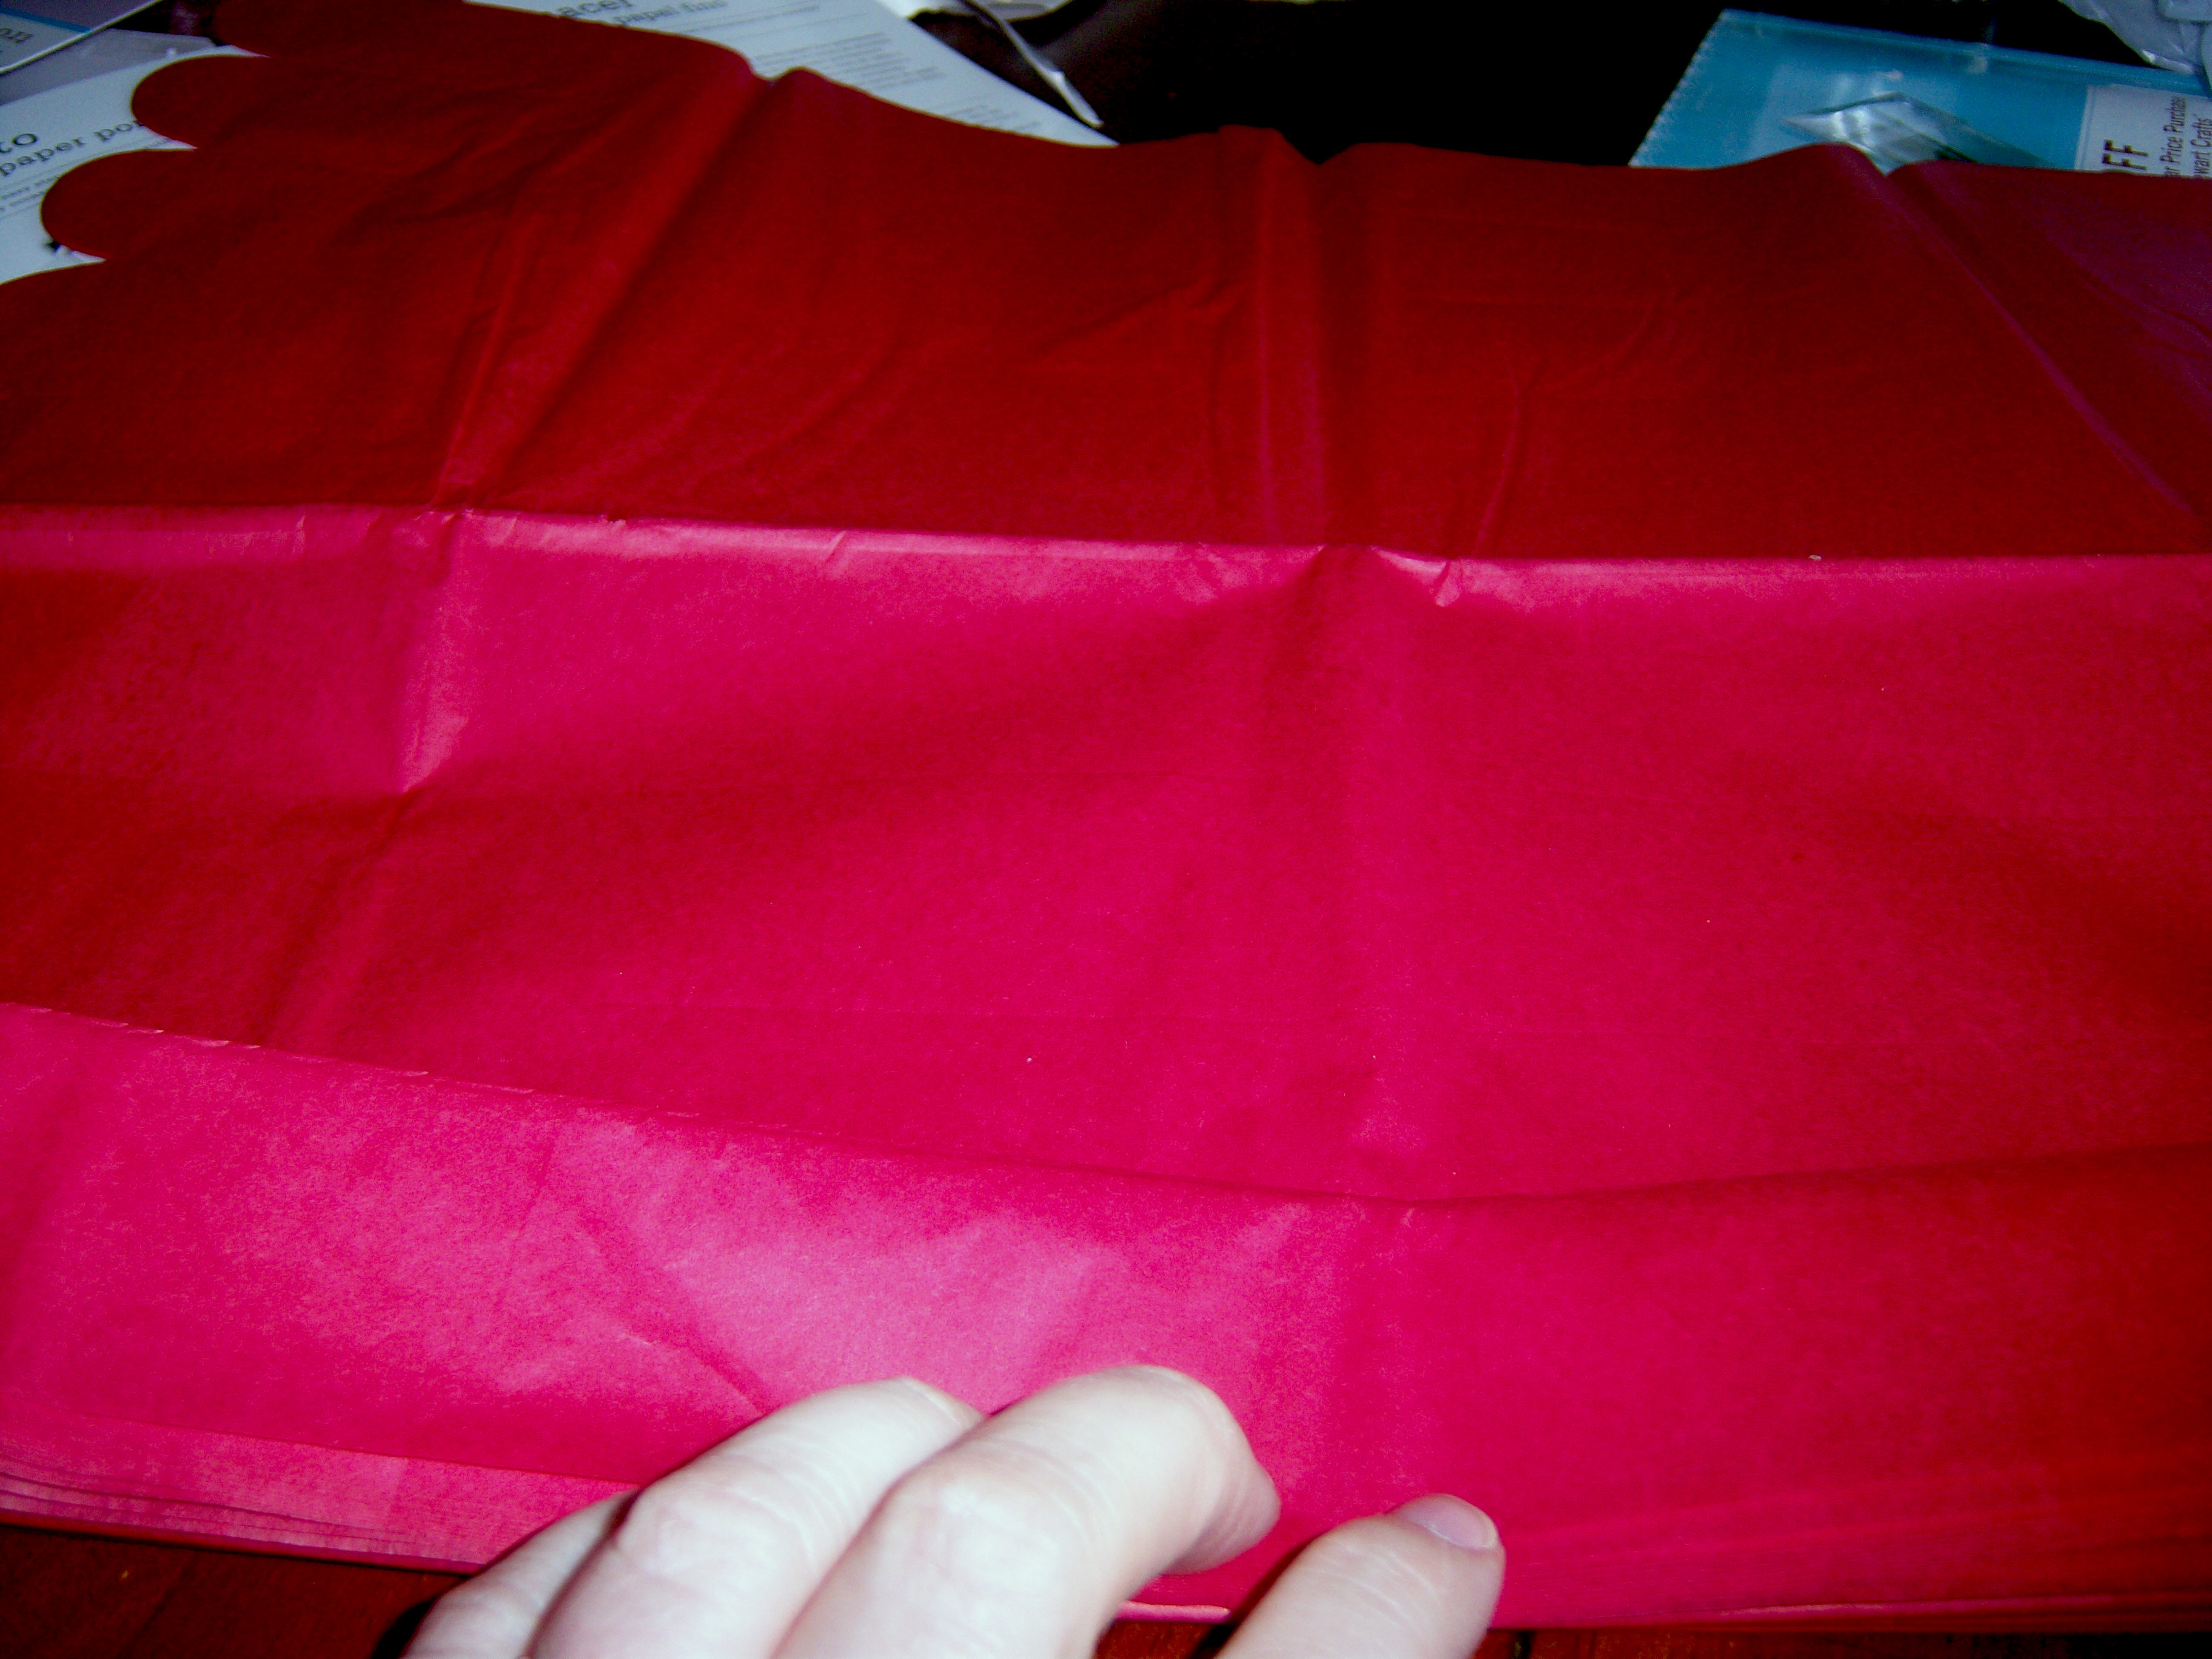
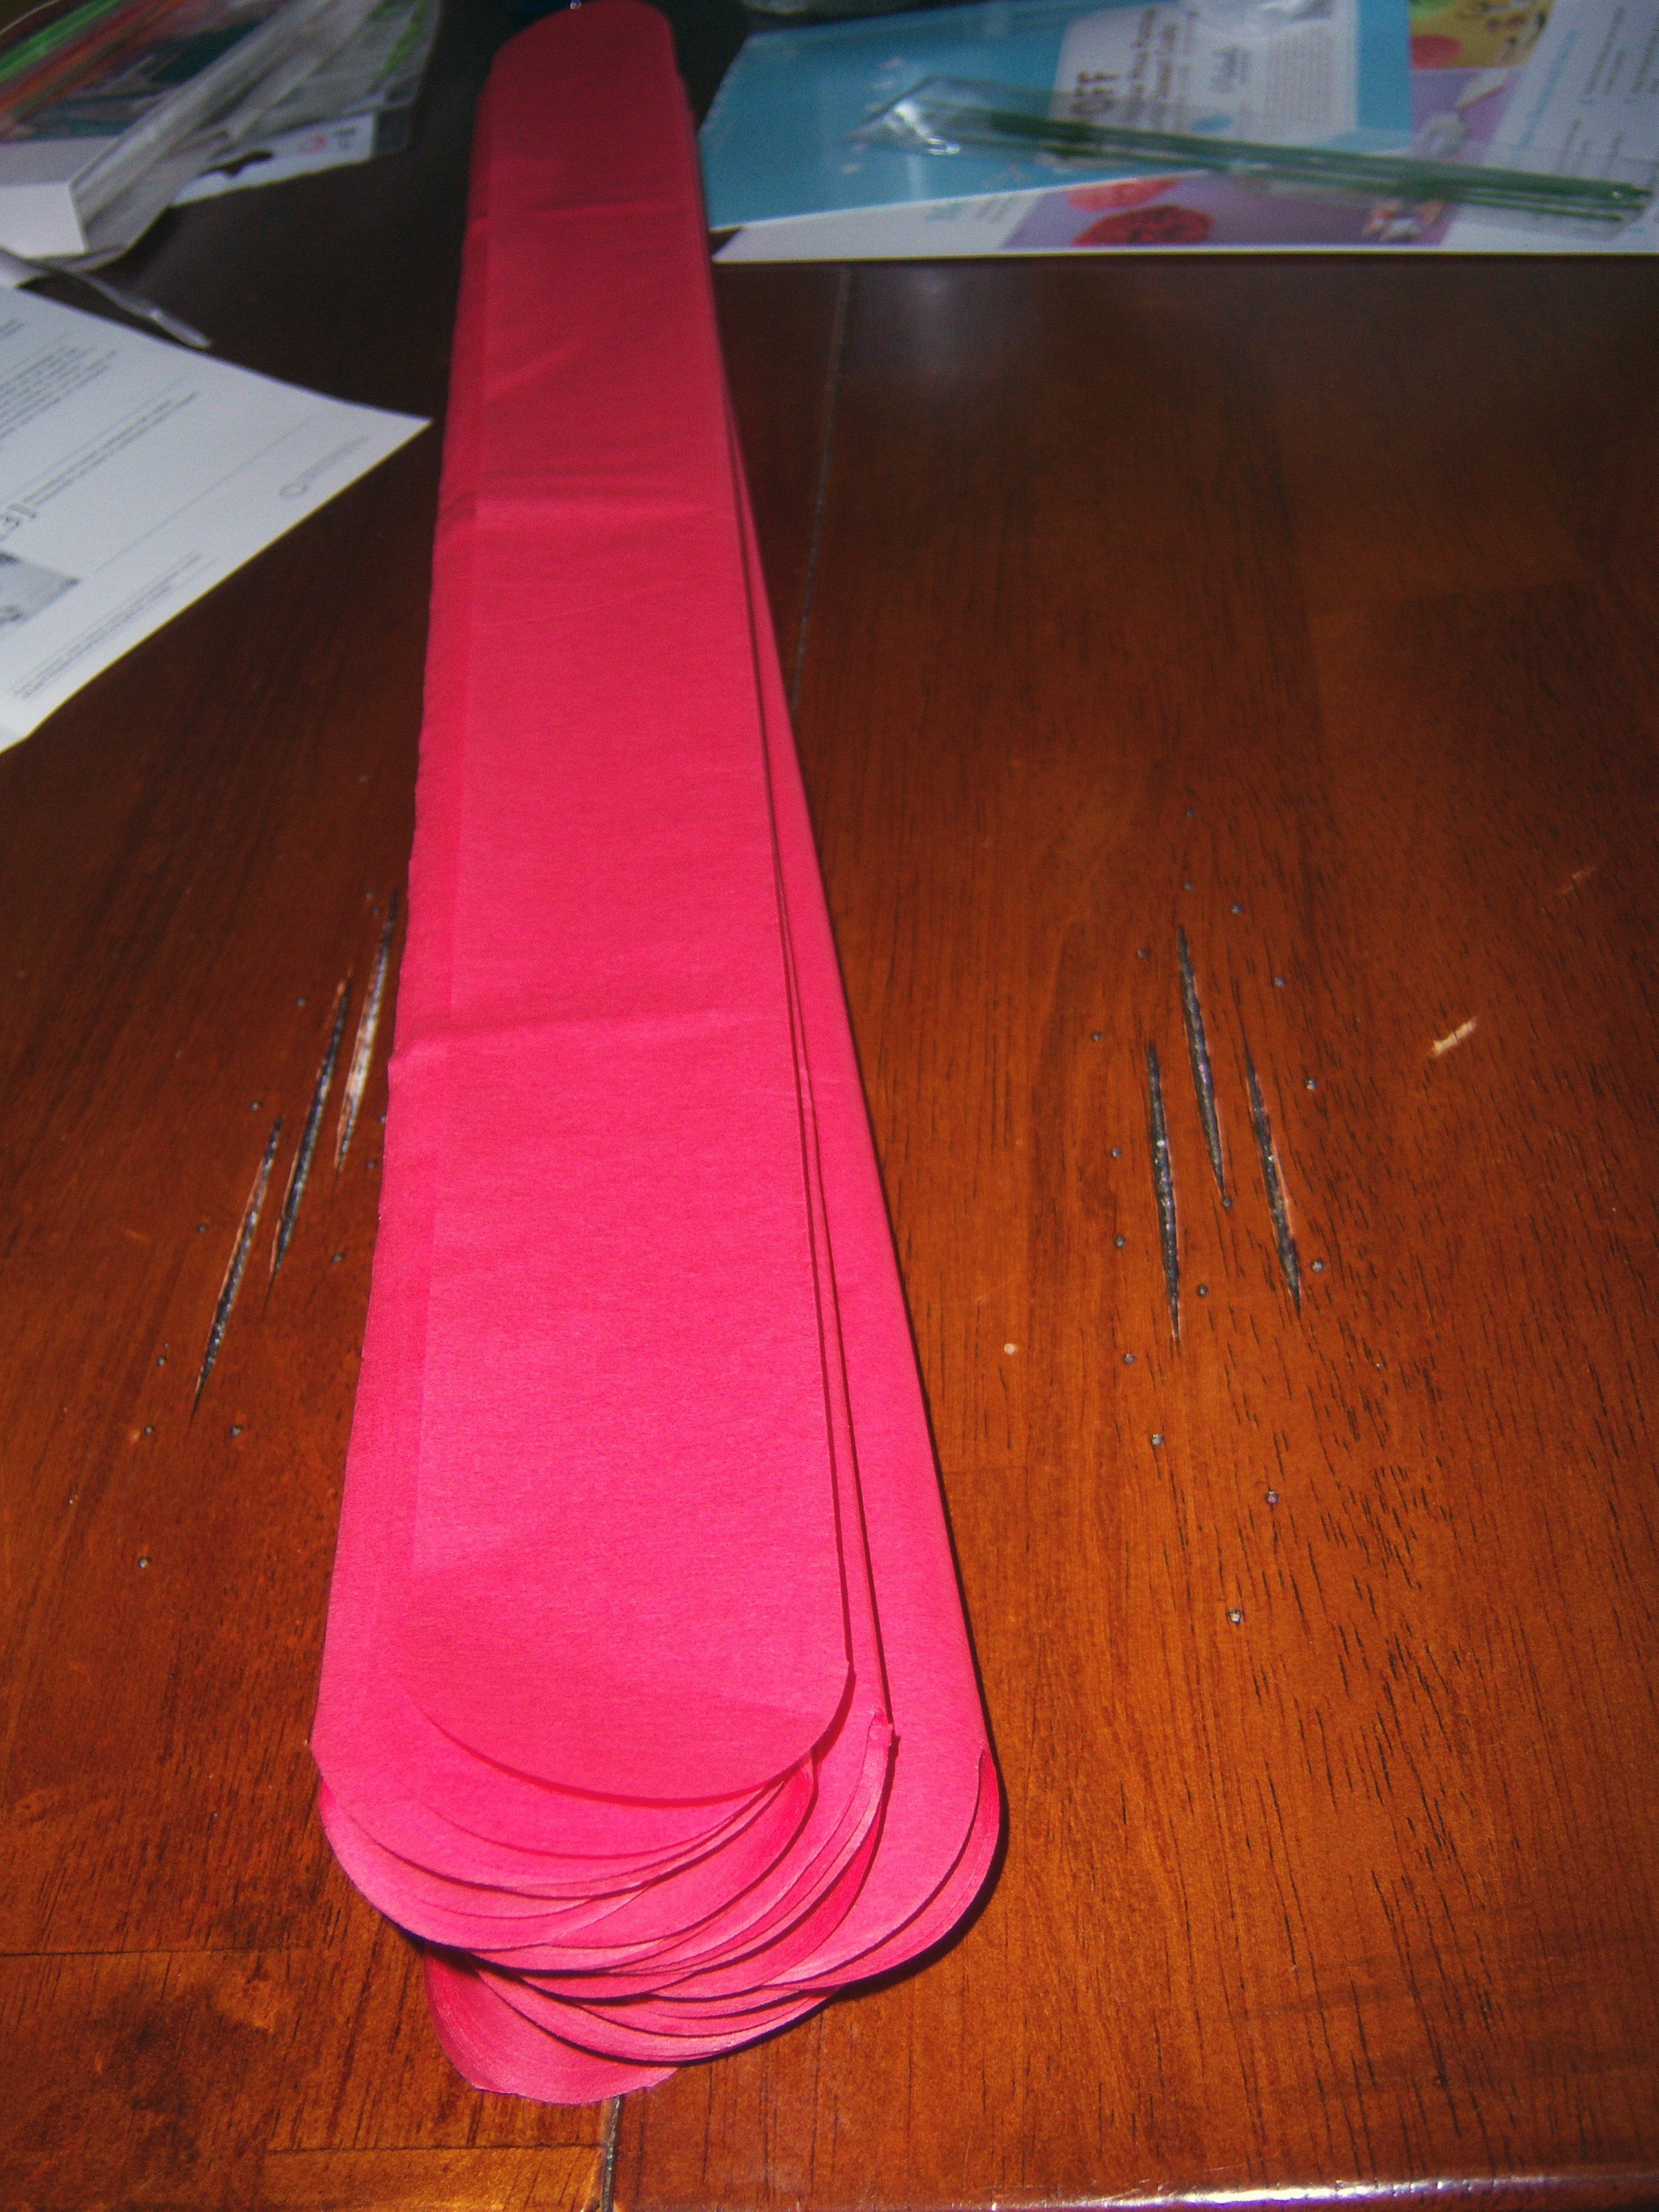
The instructions were pretty straight forward. You get a bunch of sheets of tissue paper that have been scalloped on the edges and stacked. You fold them like an accordion along premade fold lines. Even I could do this!pompom2

I got it folded sort of evenly. Then you take a wire that is included and fold it around the center of the tissue paper (the directions were unclear about this – they said to position it about 6 inches from the edge. I think it would be clearer to say to do it in the center.)

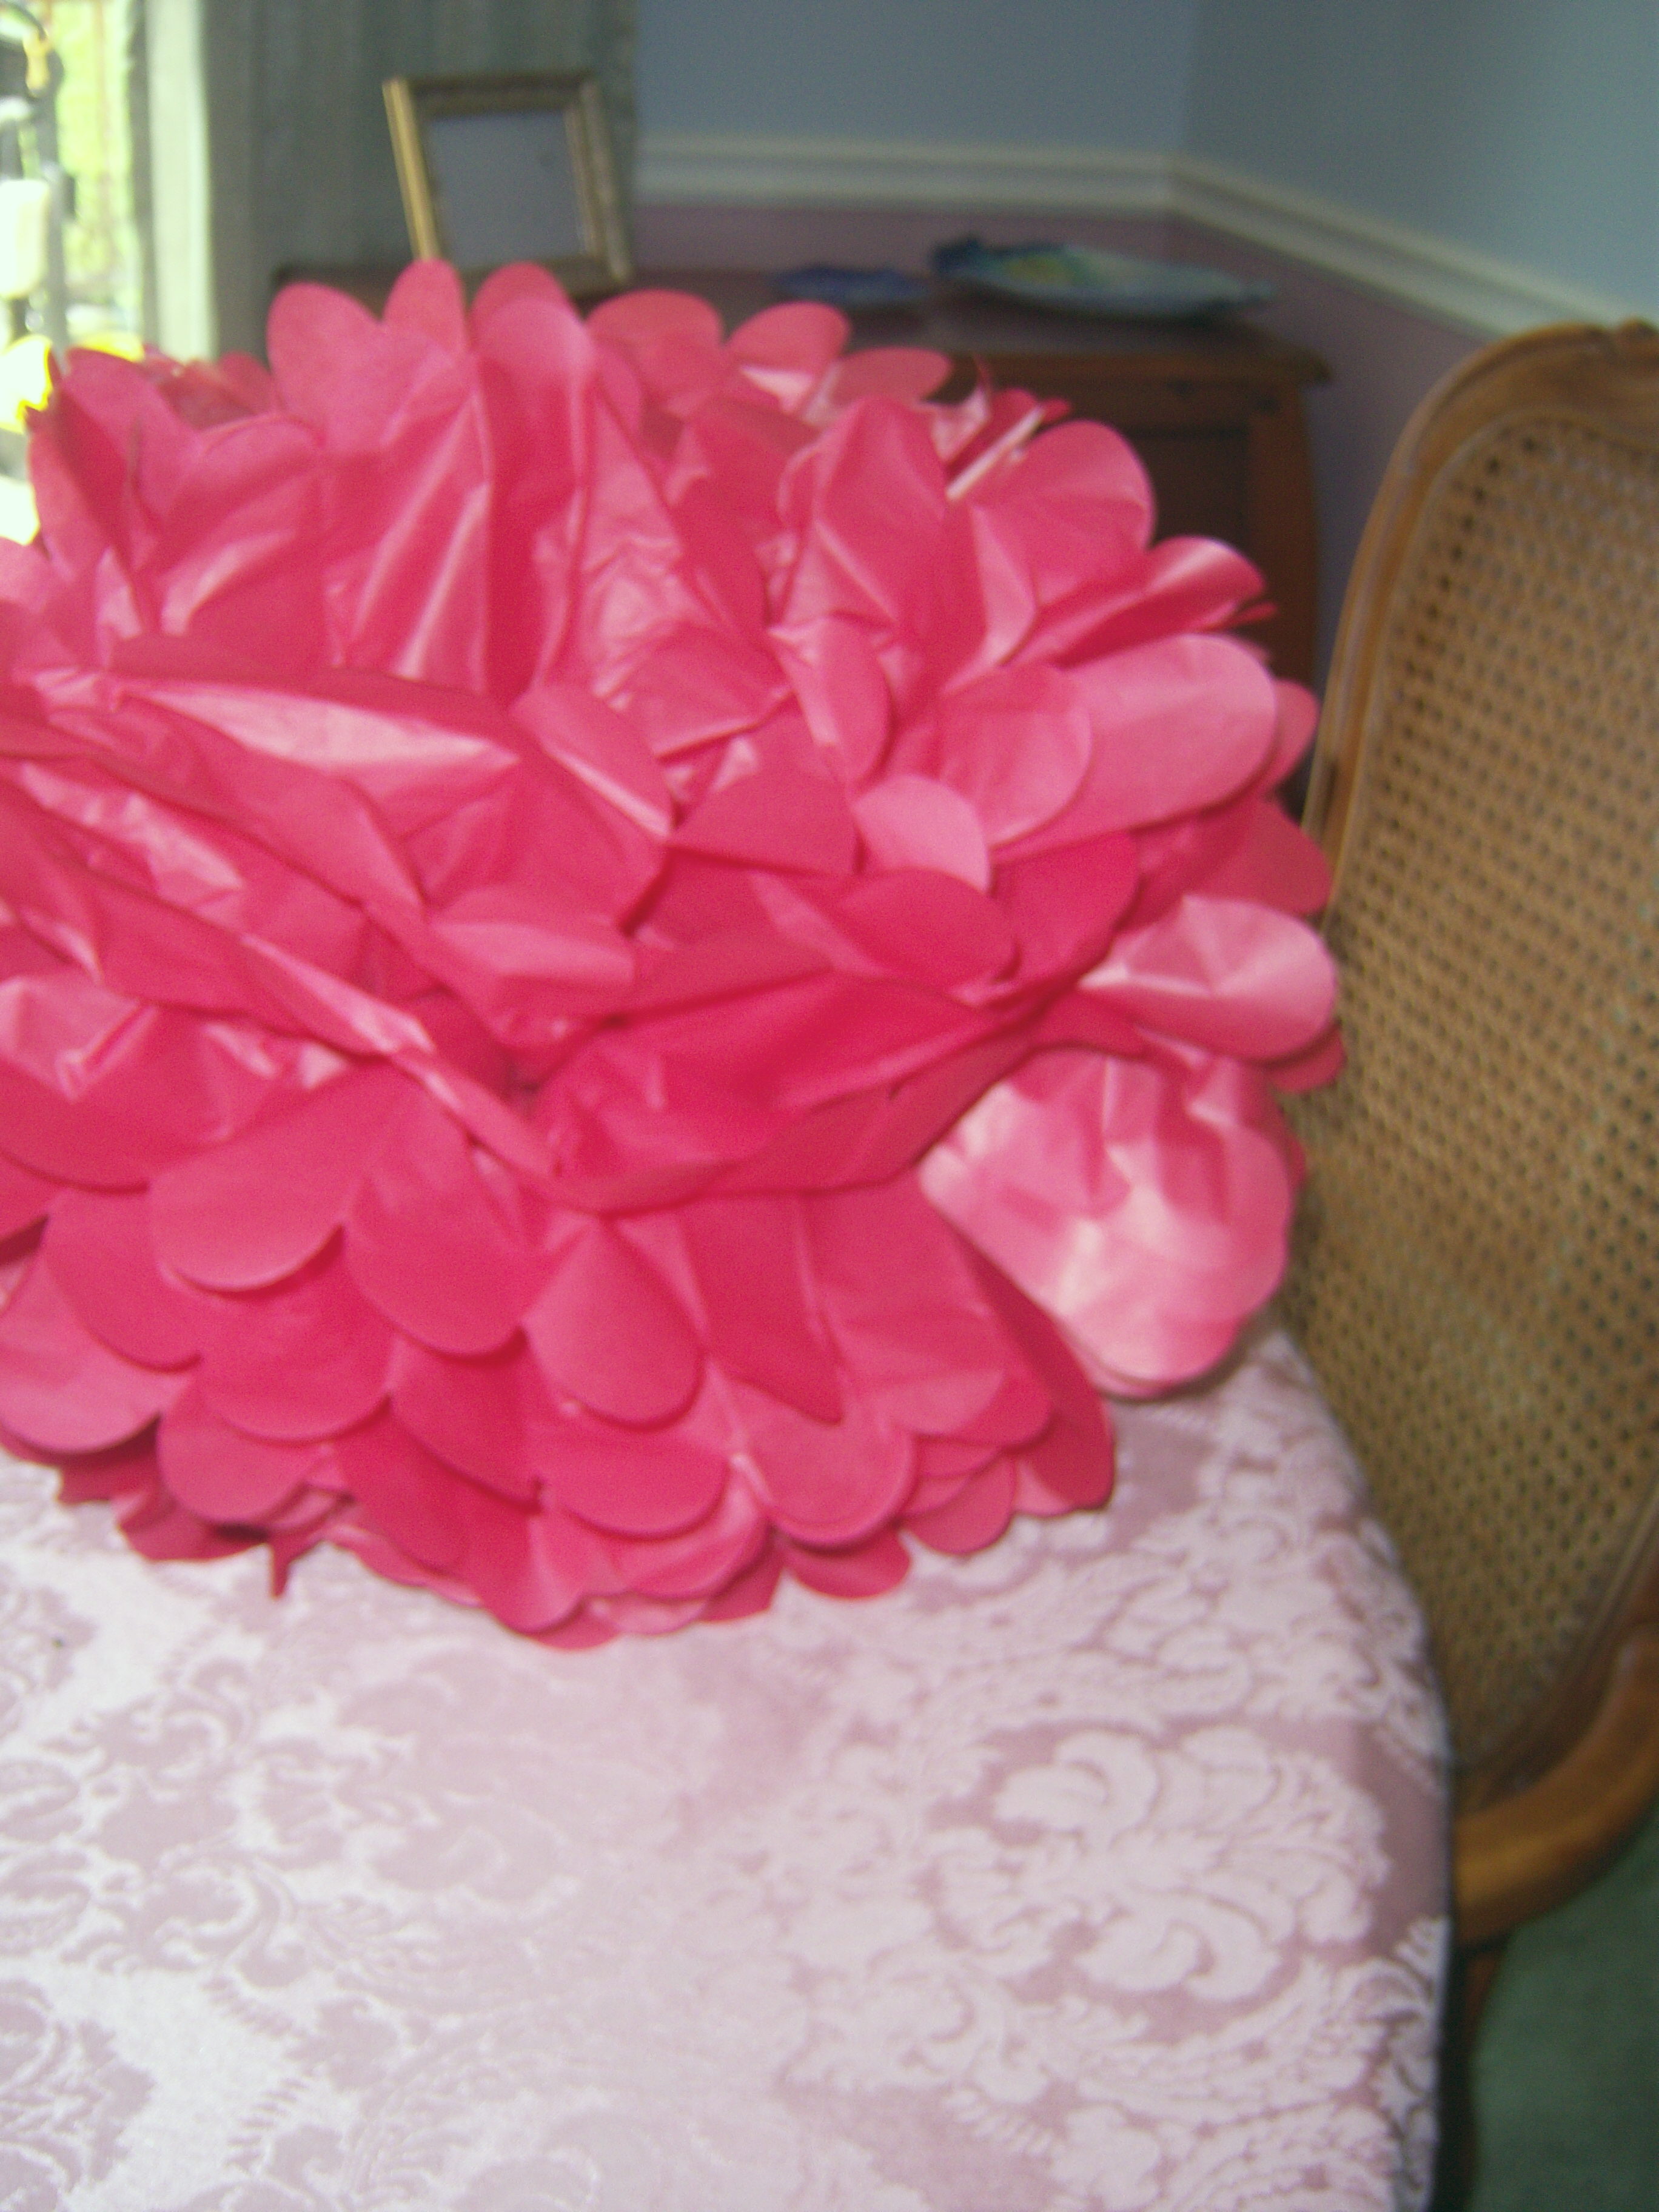
I got my wire wrapped and pompom3then started to loosen the tissue paper layers. I admit I ripped a few pieces a little bit. I got them all poofed up and it really did make a pom-pom.pompom4

A person who is more skilled at crafting could probably get it to fluff out more evenly than I did, but I have to say it didn’t look half bad. If you are craft-impaired and need to make paper pom-poms (I’m not sure WHO really NEEDS to make paper pom-poms, but whatever).

I still don’t feel compelled to make and hang paper decorations, but if I did,

these are quite nice. They look like flowers. Could you make this yourself without the kit? Definitely. All you would need to do is scallop the edges of a stack of tissue paper. You would fold it in the same way, and would just make sure that you that you did so evenly. Is $10 a lot for 7 paper pom-poms? Maybe, especially since if you have any craft skills at all, I think you could easily make this pompom5for much, much less.

It was fun to make a craft that was easy and turned out just like it should, so for that I will say it is a good thing.

Bookmark and Share

Martha was nice enough to send me some samples of the Tissue Paper Pom-Pom Kit from Martha Stewart Crafts ($19.99 at Michaels).  This is my first experience with one of Martha’s pre-made crafts. The only craft kits I’ve ever done in my life are the ones you get as a kid. And I managed to … Read more
Napkin Magic?

Posted by Brette in Crafts

On yesterday’s show, Martha kicked the show off by demonstrating a “good, green thing.” Martha says you can take old shirts and cut them up and use them as napkins. Hey, I thought, even I can do that! It looked so very easy! Martha said you just cut a square out of the back of a shirt then you can hem the edges or fray them. Basic, simple steps. I really was sure I could do this one! Martha said instructions would be on the site, but they weren’t – just the video of what she did on the show.

My lines

My lines

Off I went to Goodwill, since Mr. MarthaandMe has no shirts he is ready to part with. I bought 2 short sleeve dress shirts for $2 each. One is pink and is not a button down. The other is a blue striped button down. I thought they would look cute together, maybe on a white tablecloth.

I got them home and marked off a 12 inch square on each. Then I cut them out. Umm, Martha? How do you make straight cuts? Mine were all jagged and weird, no matter how hard I tried. They looked pretty awful. I tried to trim them once I saw the edges, but that just made it worse. I really, really wish Martha would take the

My cuts

My cuts

time to explain these kinds of things. I have no idea how to get it straight. There’s probably some expensive tool you’re supposed to have to do this (which really does not make this an affordable project if that is the case).

All right, I said to myself, maybe I’ll just fray it and you won’t notice. Right. That just resulted in an uneven frayed edge. So I tried to trim it again. No go.

Frayed

Frayed

Now, look, in these photos they don’t look too bad, but I know that if you took one of these and opened it up to use as a napkin you would clearly see how misshapen they are.

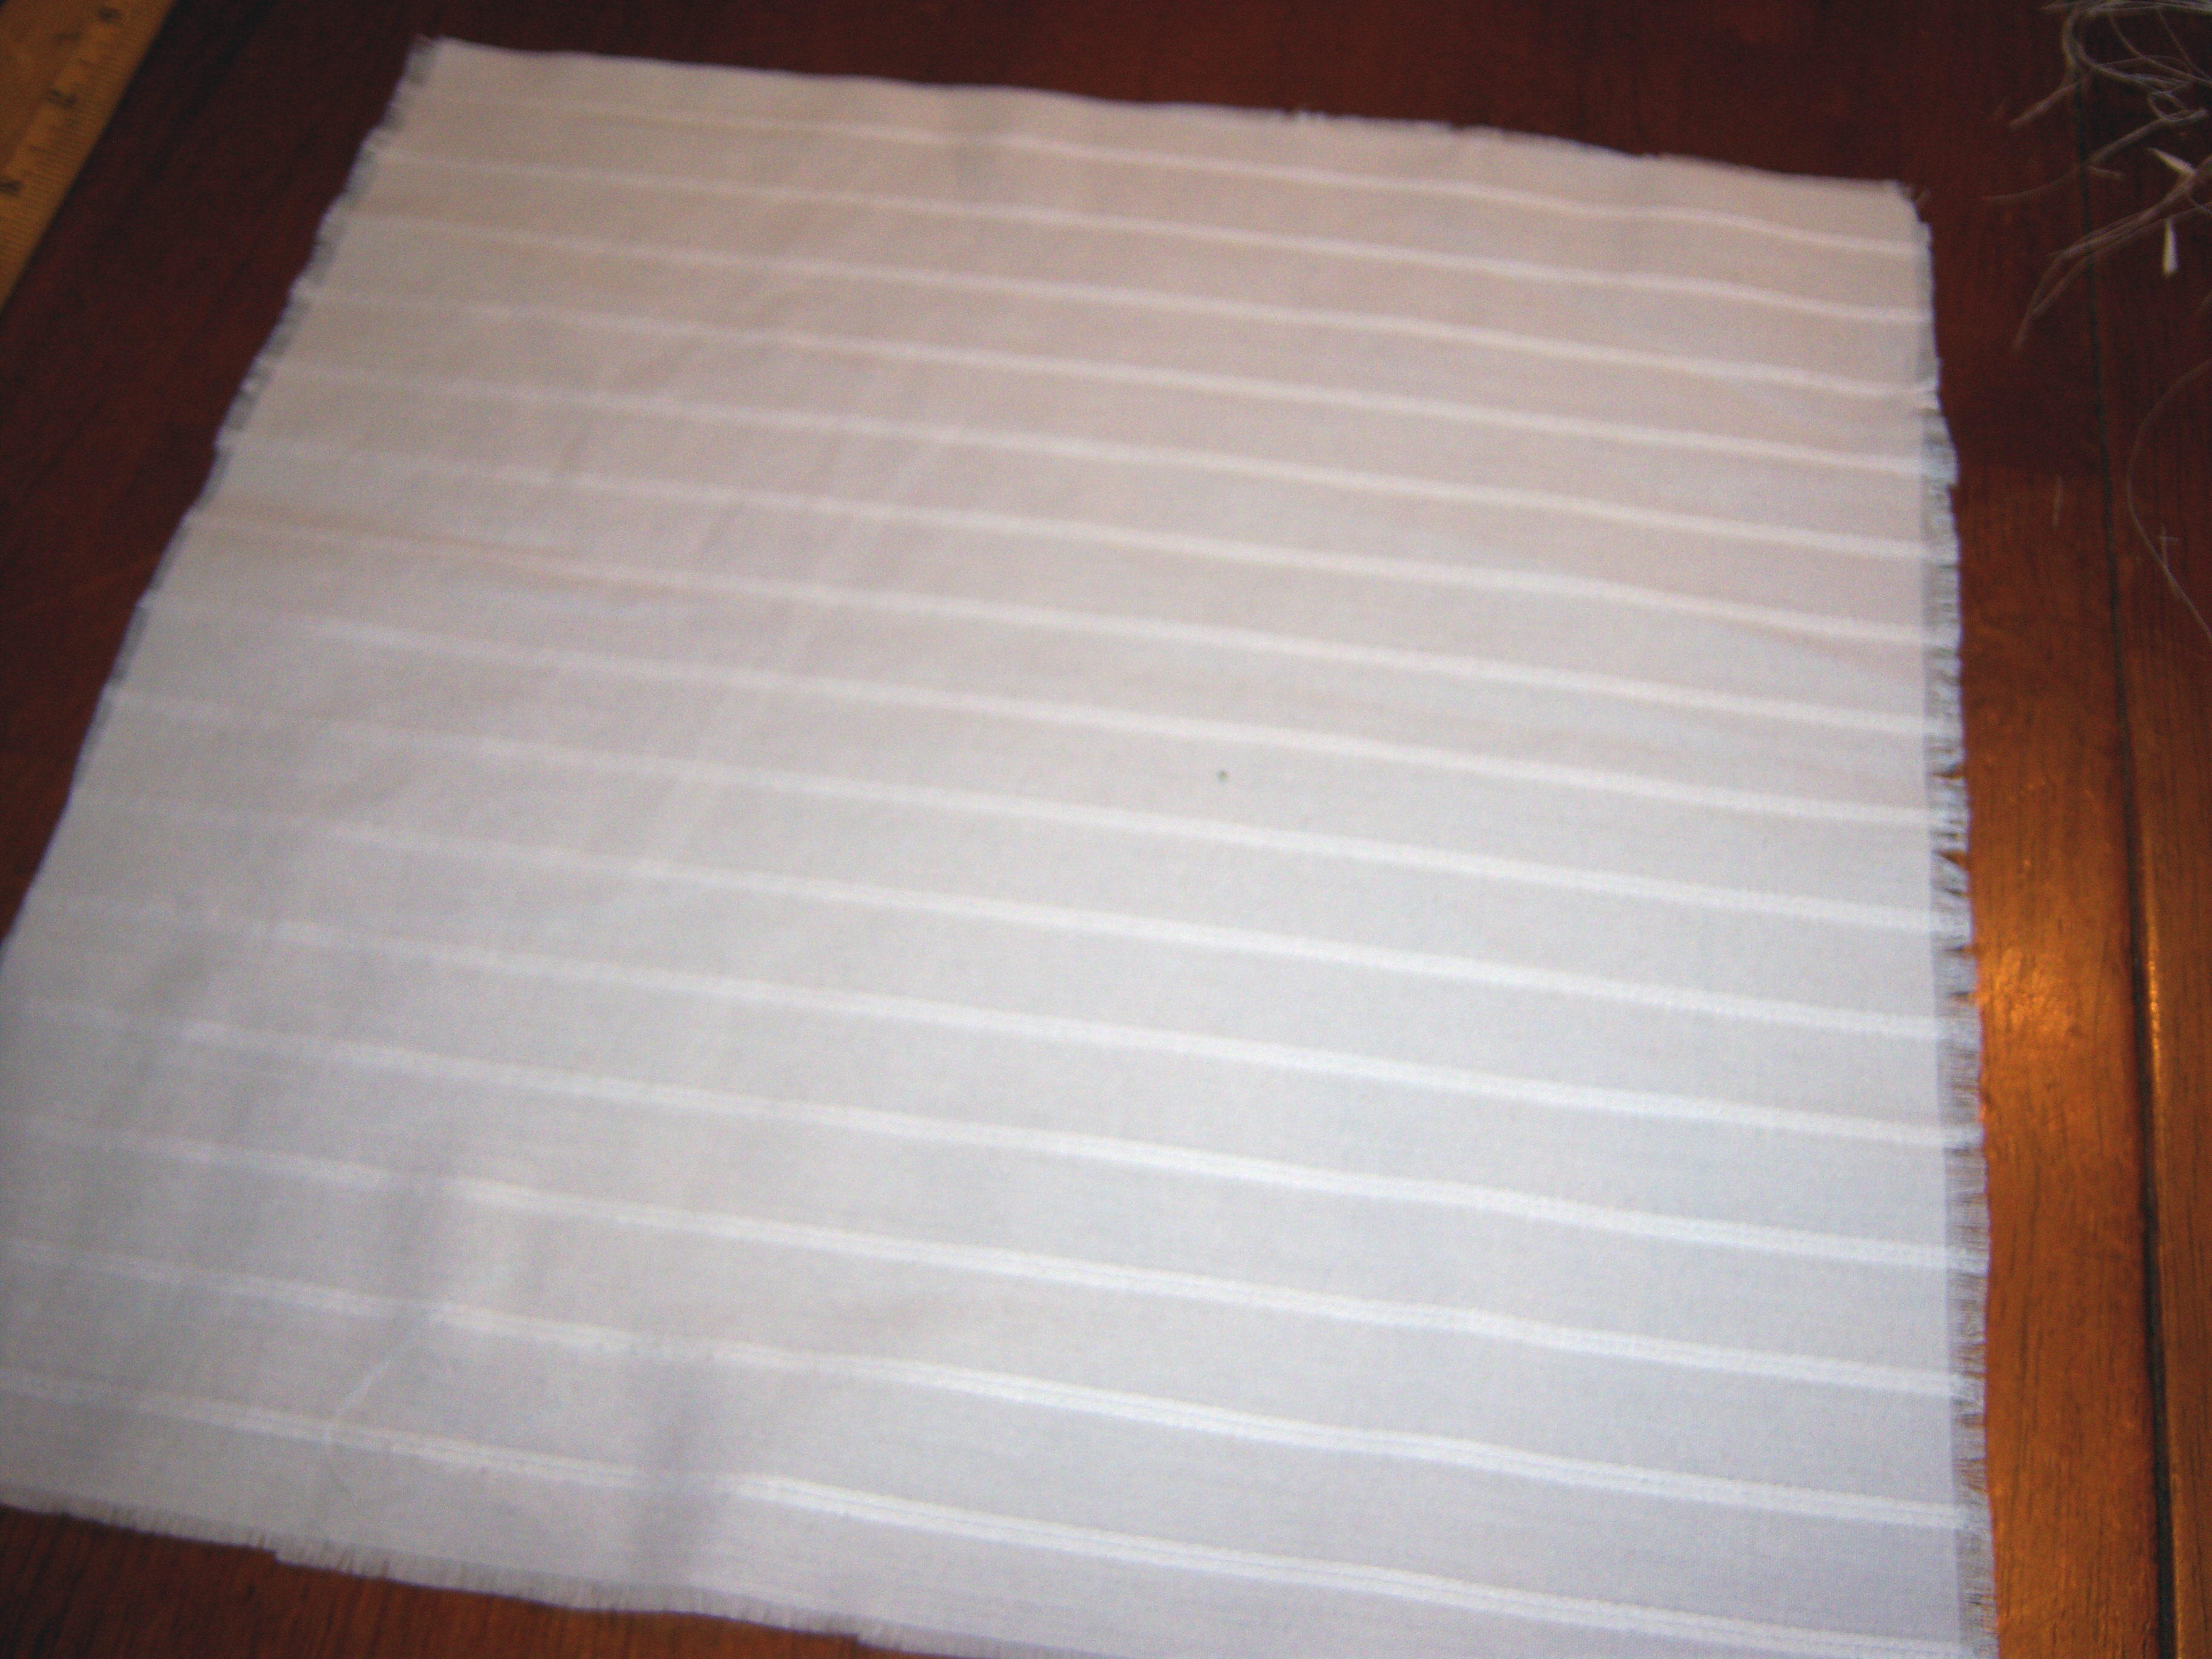
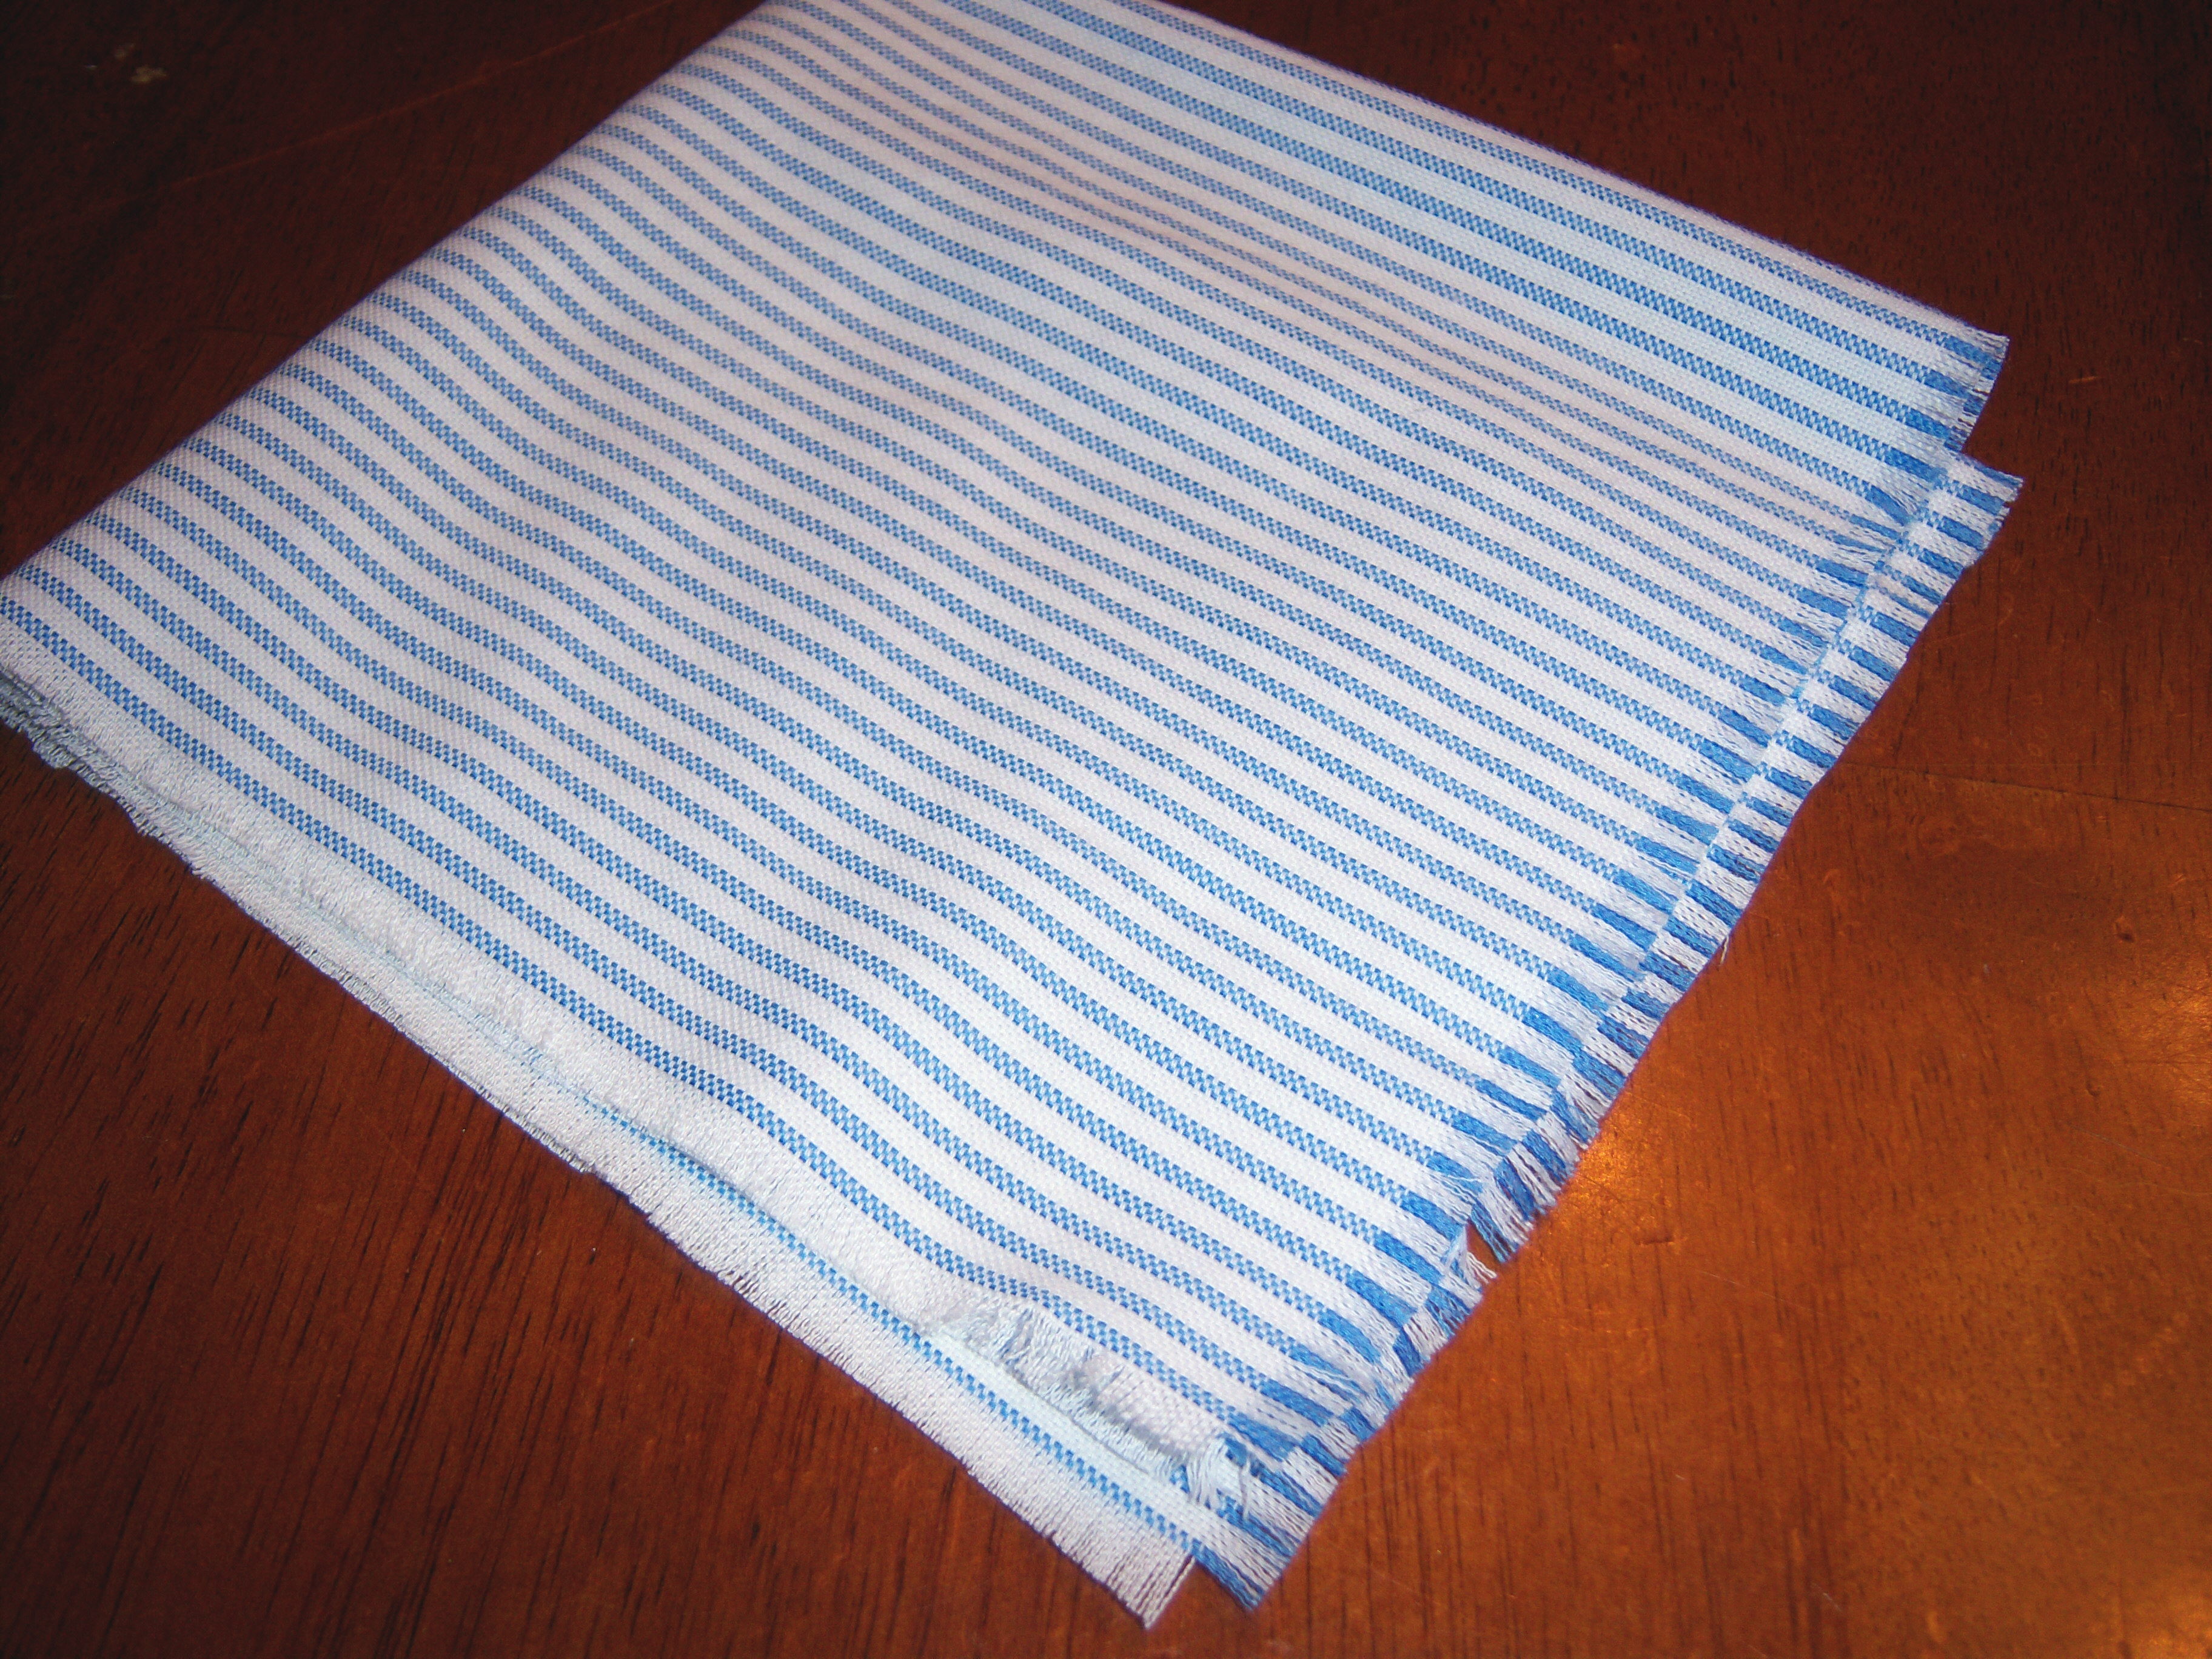
The pink dress shirt was probably a bad choice – too thin really to be a napkin. The blue striped button down is a heavier material and I could see using that, although it still does not feel like real napkin material to me. Yet again, I am vanquished by a Martha Stewart craft. Is there no hope for me?? I would have felt to frugal if this had worked.pink-shirt4

blue-shirt4

Bookmark and Share

On yesterday’s show, Martha kicked the show off by demonstrating a “good, green thing.” Martha says you can take old shirts and cut them up and use them as napkins. Hey, I thought, even I can do that! It looked so very easy! Martha said you just cut a square out of the back of … Read more

Easter eggs. Anyone can do that, right?  Well, that’s what I thought anyway. I decided to do some decoupage eggs as Martha shows in April Martha Stewart Living and also the glitter eggs that are mentioned at the front of the magazine as being online (and are also in the Craft Encyclopedia). This sounded like something I could manage.

The first step was getting the eggs. Blowing out eggs was way too much work for me. Martha says in the magazine you can find blown out eggs at “any craft store”. Ha! Neither Michael’s nor Joann had them. Joann had no eggs of any kind – nothing wooden, paper, etc (and snotty people working there who were not interested in helping me). What craft store has NO wooden or faux eggs available 2 weeks before Easter?

Michael’s had wooden eggs so I bought some of those. I also bought some Mod Podge glue. As for decoupage, I simply do not have the fine motor skills to cut out the shapes in the template in the magazine. Not a chance. So I thought I would be clever and buy some Easter stickers and some cute little confetti.

Sticker Shock

Sticker Shock

The first thing I did was to paint the eggs I was going to decoupage. The first problem was that that the price stickers would not come off!

I don’t know how you paint these without getting fingerprints all over them. I ended up doing several coats and got it all over my hands and the table. I kept dropping the eggs (good thing they weren’t real!).

Painting

Painting

Glue for Glitter

Glue for Glitter

While those dried, I attempted to do the glitter eggs. I read the instructions in the craft encyclopedia several times. It says to hold the egg and paint it with glue then set it in the glitter and cover it. If you hold the egg while putting glue on, the glue comes off on your hands and does not stick to the egg. When you pick the egg up out of the glitter, the glitter comes off on your hands. This is why my first egg ended up with bald spots! I tried to dab a little more glue on and put more glitter, but that was unsuccessful.

Bald Patch

Bald Patch

I was ready to toss the damn eggs out the window, when Mr. MarthaAndMe suggested sticking a nail in the bottom of each one so I could hold the nail. The man is a genius. This worked perfectly and I ended up with evenly glittered eggs that looked pretty darn nice. He made some holes in a piece of wood so we could just stick the nails in it and let the eggs dry. My father-

The Solution

The Solution

in-law says you can do anything if you have the right tools, and again he was proven correct. I think the instructions for this craft made it sound far too simple and did not offer enough guidance.

Next, onto the decoupage. I have never decoupaged, but after hearing Rosie O’Donnell rave about it for years, I thought, how hard could it be? I’ve seen her demonstrate it several times and it looked so easy.

Disaster

Disaster

Wrong. The problem probably lies in my materials and I am willing to admit that up front. The stickers did not work. First of all, they were too large and crumpled at the edges because the eggs are curved. Mr. MarthaAndMe said they were too thick to work and that somehow the adhesive on the stickers interfered with the glue.  Similar problem with the confetti – it would not stick. I was using Martha Stewart confetti and it was kind of stiff.

The Ones that Turned Out

The Ones that Turned Out

Again, I was ready to open the window and pitch the damn things out, but Mr. MarthaAndMe suggested we just hole punch some white paper and use the dots to make polka dots with decoupage. You can see why I married this man. This worked pretty well. I had some trouble with the glue making the paint moist and the paint smearing and coming off.  I was also able to use the tiny Easter egg stickers I had – some of them stuck and some of it didn’t.

Was this fun? Umm, no. It made me crazy. It made a mess. It was not cheap. I would rather buy some decorative eggs for display than monkey around with this and have it never be quite right.

I guess the Easter bunny will not be too happy with me this year.

Bookmark and Share

Easter eggs. Anyone can do that, right?  Well, that’s what I thought anyway. I decided to do some decoupage eggs as Martha shows in April Martha Stewart Living and also the glitter eggs that are mentioned at the front of the magazine as being online (and are also in the Craft Encyclopedia). This sounded like … Read more

The Yarn Show

Posted by Brette in Crafts

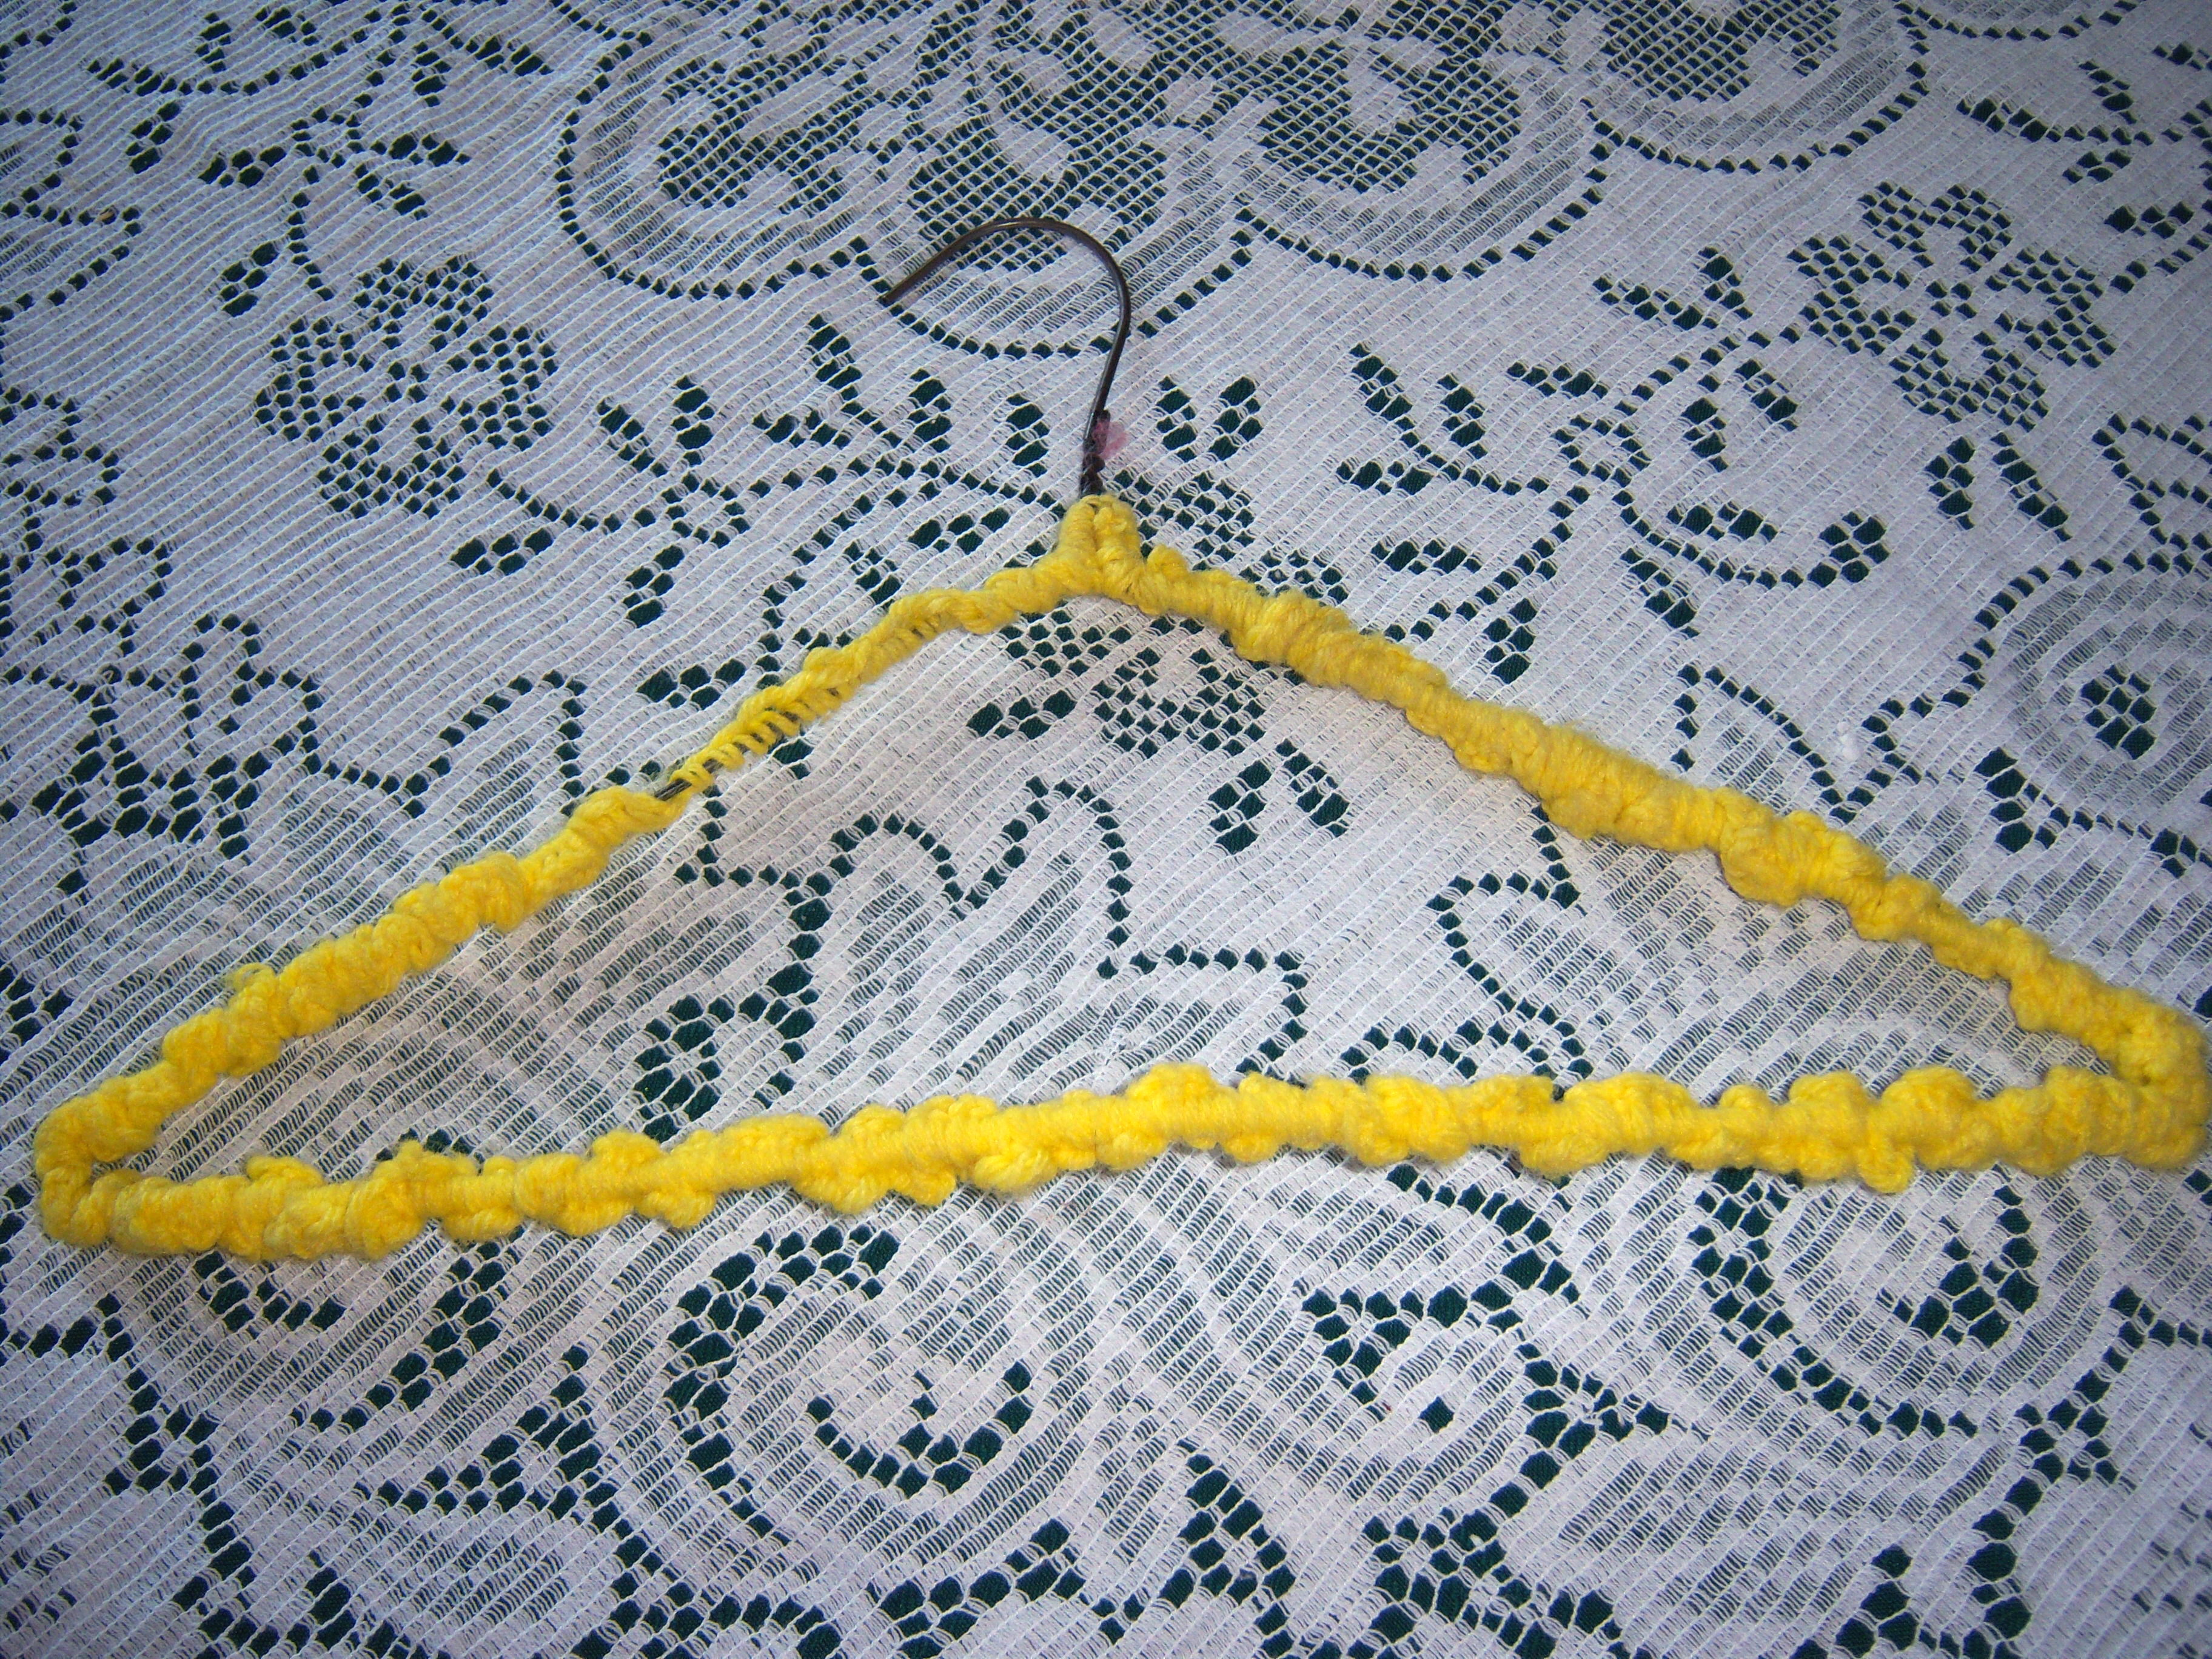
Yesterday on Martha, she had an entire show about yarn. I started to feel a little left out (not one of the cool kids!) since I don’t know how to knit, but then I remembered that I do know some basic crochet, which my grandmother taught me. When I was a child, I used to make crocheted padded hangers. I dug through my closets and found that I still have one! So this is my one and only item I can contribute to the yarn show!

hanger

Yesterday on Martha, she had an entire show about yarn. I started to feel a little left out (not one of the cool kids!) since I don’t know how to knit, but then I remembered that I do know some basic crochet, which my grandmother taught me. When I was a child, I used to … Read more

If you’ve been following along, you know that I’ve tried in the past to do some Martha crafts. You also know that I am basically hopeless.  That was proven yet again for those of us who weren’t positive. I decided to make the “Have a Heart” Good Things heart doily table decorations on page 51 of Martha Stewart Living (Feb). How hard could it be, right? This is a simple craft that just requires folding and cutting. Ha!

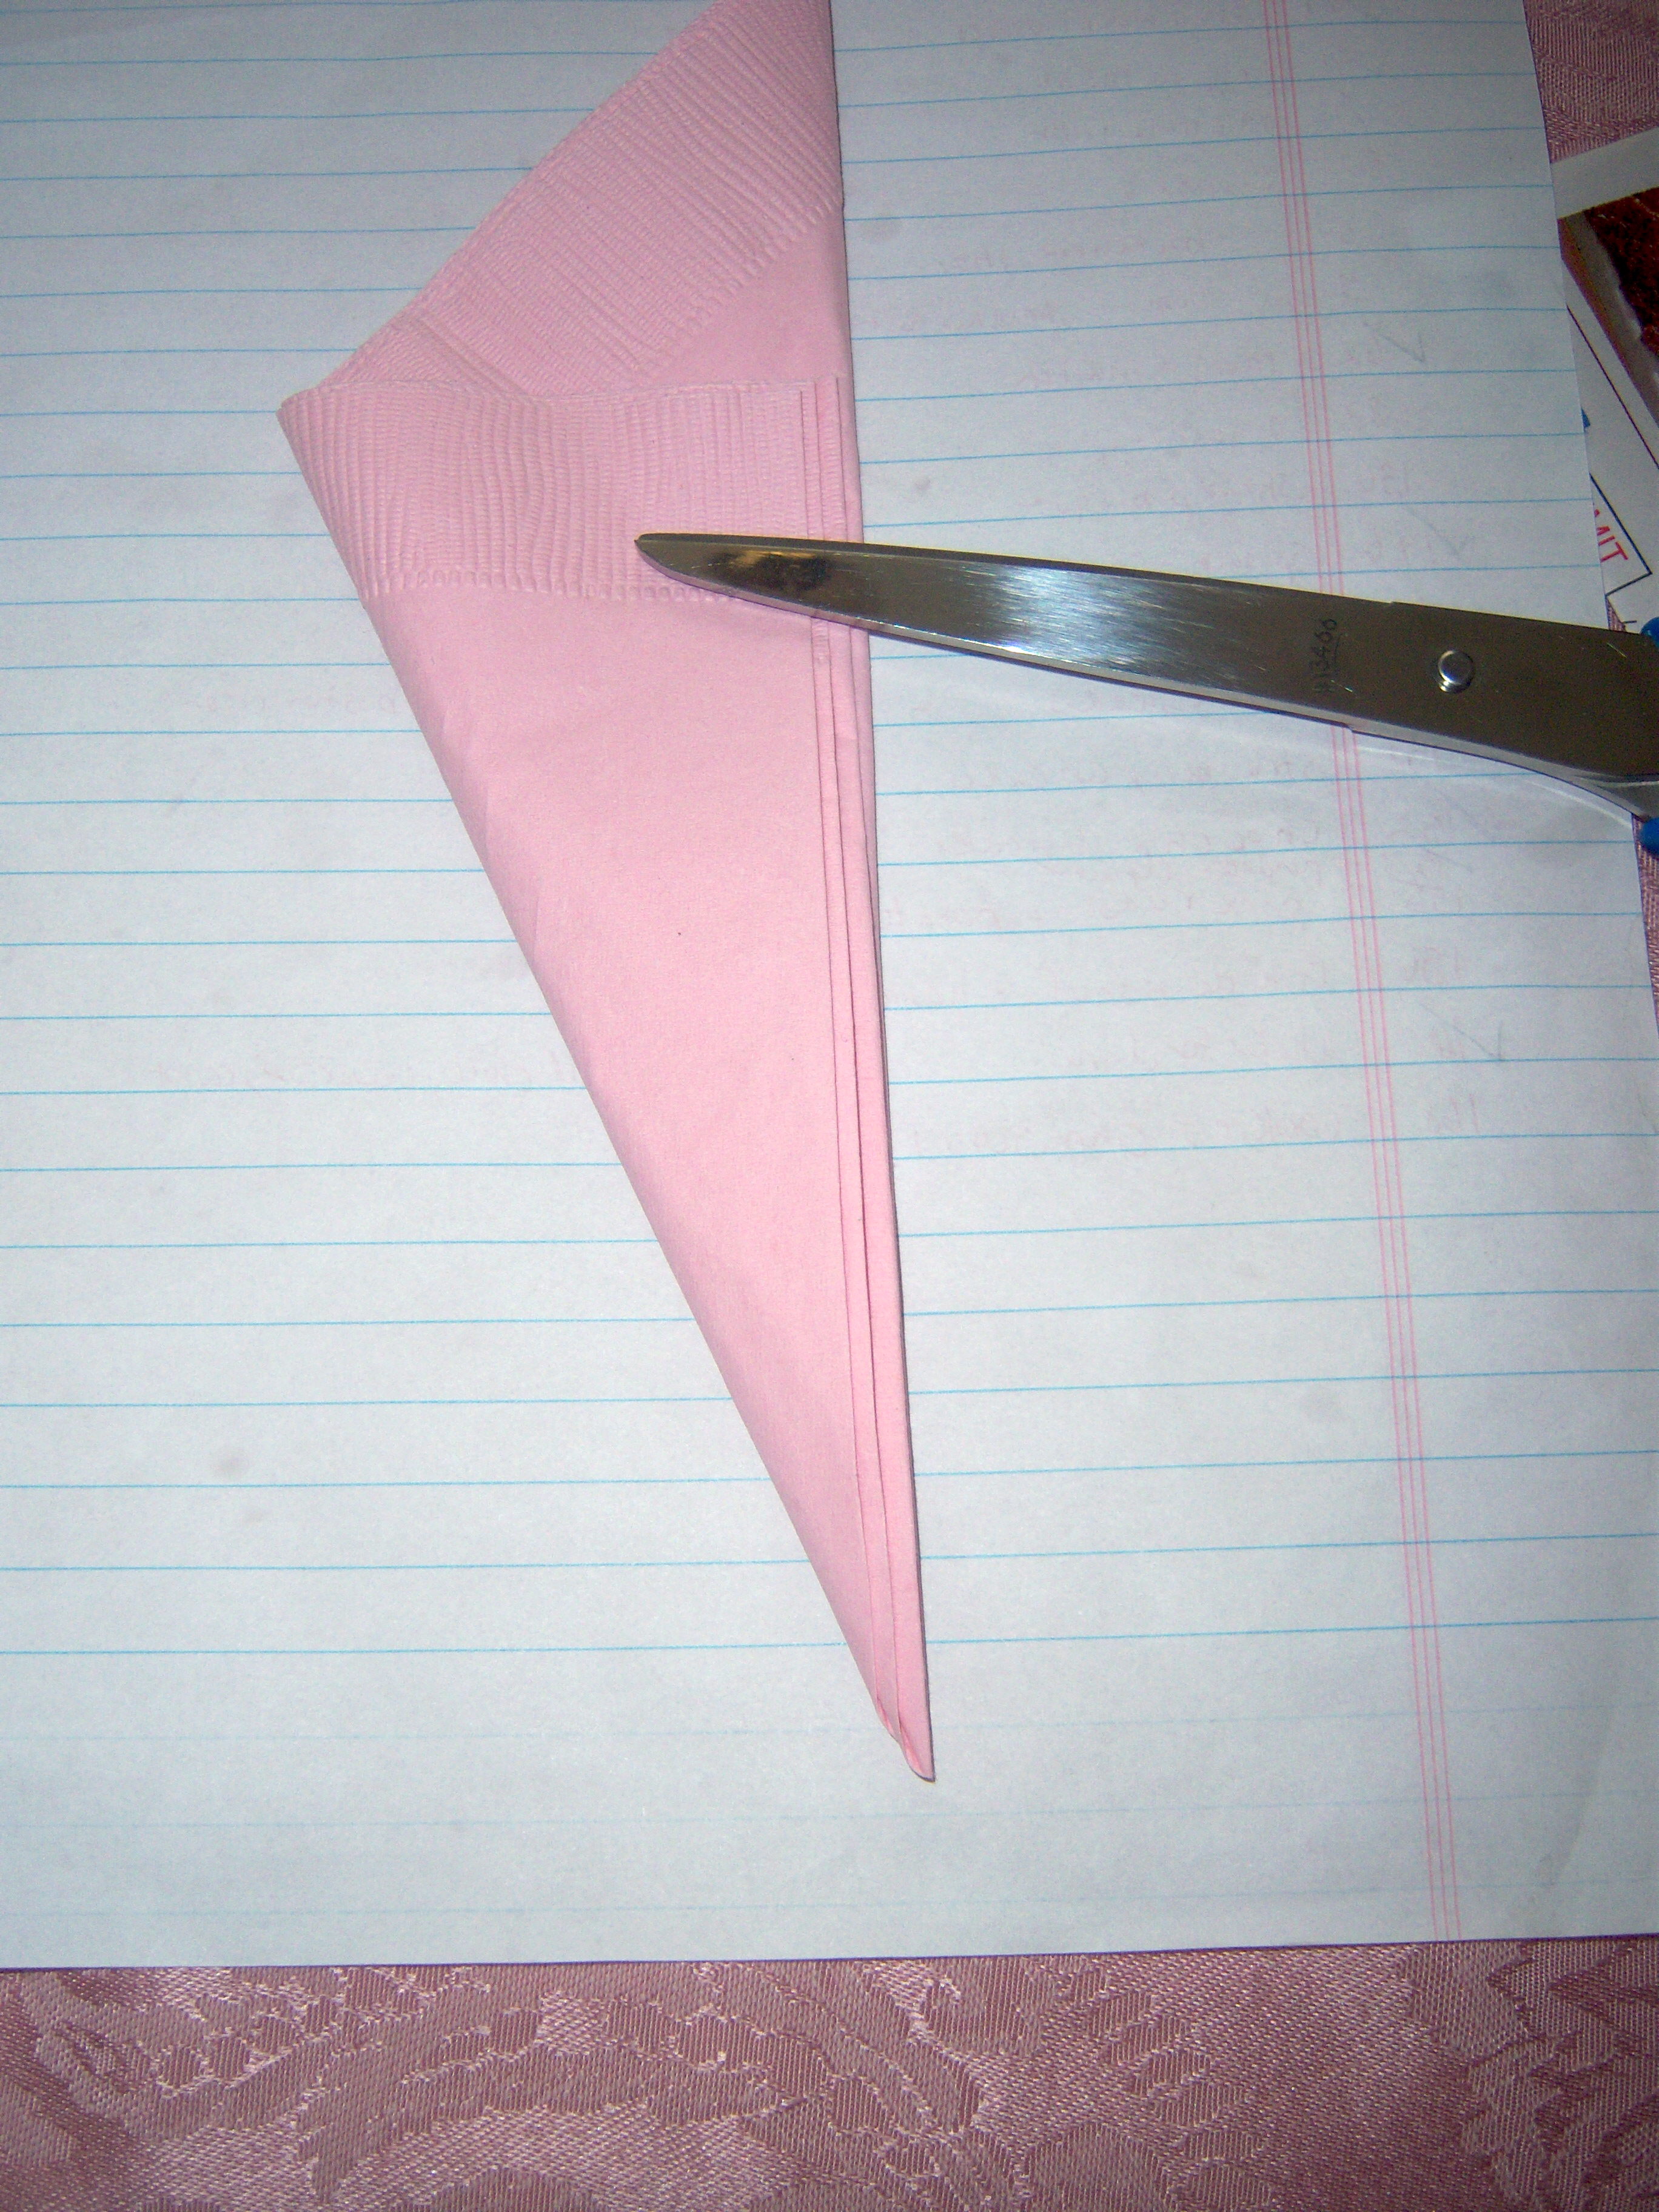
heart-doily1Basically you take a paper square dinner napkin (I even bought pink for this!) and fold it into a triangle. Then you fold the pointy side of the triangle back over. I did it! No problem! It helped that there were written directions and a photo in the mag to go by!

Ok, so next you cut from the left side and cut the top of one half of a heart. Then you cut the bottom of one half of a heart, leaving it all attached by at least 1/4 of inch on the right hand side. That sounded pretty simple. Silly me. You unfold it and voila, you should have a beautiful heart doily.

Attempt #1

Attempt #1

Attempt #2

Attempt #2

So lame, right? They sort of look like hearts, but all I can really see is the star shape in the center. As I am sitting there banging my head on the table, Mr. MarthaandMe comes along, picks up a napkin and scissors and snip, snip, snip in seconds has created the most perfect, magazine ready example.

Mr. MarthaandMe's perfection

Mr. MarthaandMe's perfection

Do we hate him? Oh yes we do. It’s not easy to be craft-impaired.

If you’ve been following along, you know that I’ve tried in the past to do some Martha crafts. You also know that I am basically hopeless.  That was proven yet again for those of us who weren’t positive. I decided to make the “Have a Heart” Good Things heart doily table decorations on page 51 … Read more

One of my brilliant Martha-esque ideas for Christmas was to make Mr. MarthaAndMe a framed map with thumbtacks in it to show all the places we’ve visited. I saw one in a catalog for about $180. I ordered a map of the US for $10 including shipping, then I bought a frame for 40% off at Michael’s for about $20 and a bottle of spray adhesive for $3. Then I bought a big piece of foamboard for $14. I was so proud of my thriftiness. Then I went to assemble it. The map was not the size promised! It was off by about an inch and didn’t fill the frame side to side.

I also was making one for my parents, but with a world map. That map perfectly fit the frame. I searched and searched for another US map the same size, but apparently there is only one company that makes a US map that is 24×36. I ended up giving it to Mr. MarthaAndMe in its slightly imperfect state. We decided to order a new map (the same one) and this time center it on a piece of foamboard that would fit the frame.

That was this morning’s project. Apparently this manufacturer has a little trouble making maps to size. Today’s map is about an inch off, but the other way – up and down! We made it work and had fun putting in all the thumbtacks. We decided to put them only where we have stayed overnight (even though we usually stay in one place and then drive all over hell in the area around it). It turned out pretty nicely and we’re both looking forward to adding more thumbtacks! We hung it over Mr. MarthaAndMe’s desk to inspire him while he is working.

The Final Product

The Final Product

One of my brilliant Martha-esque ideas for Christmas was to make Mr. MarthaAndMe a framed map with thumbtacks in it to show all the places we’ve visited. I saw one in a catalog for about $180. I ordered a map of the US for $10 including shipping, then I bought a frame for 40% off … Read more

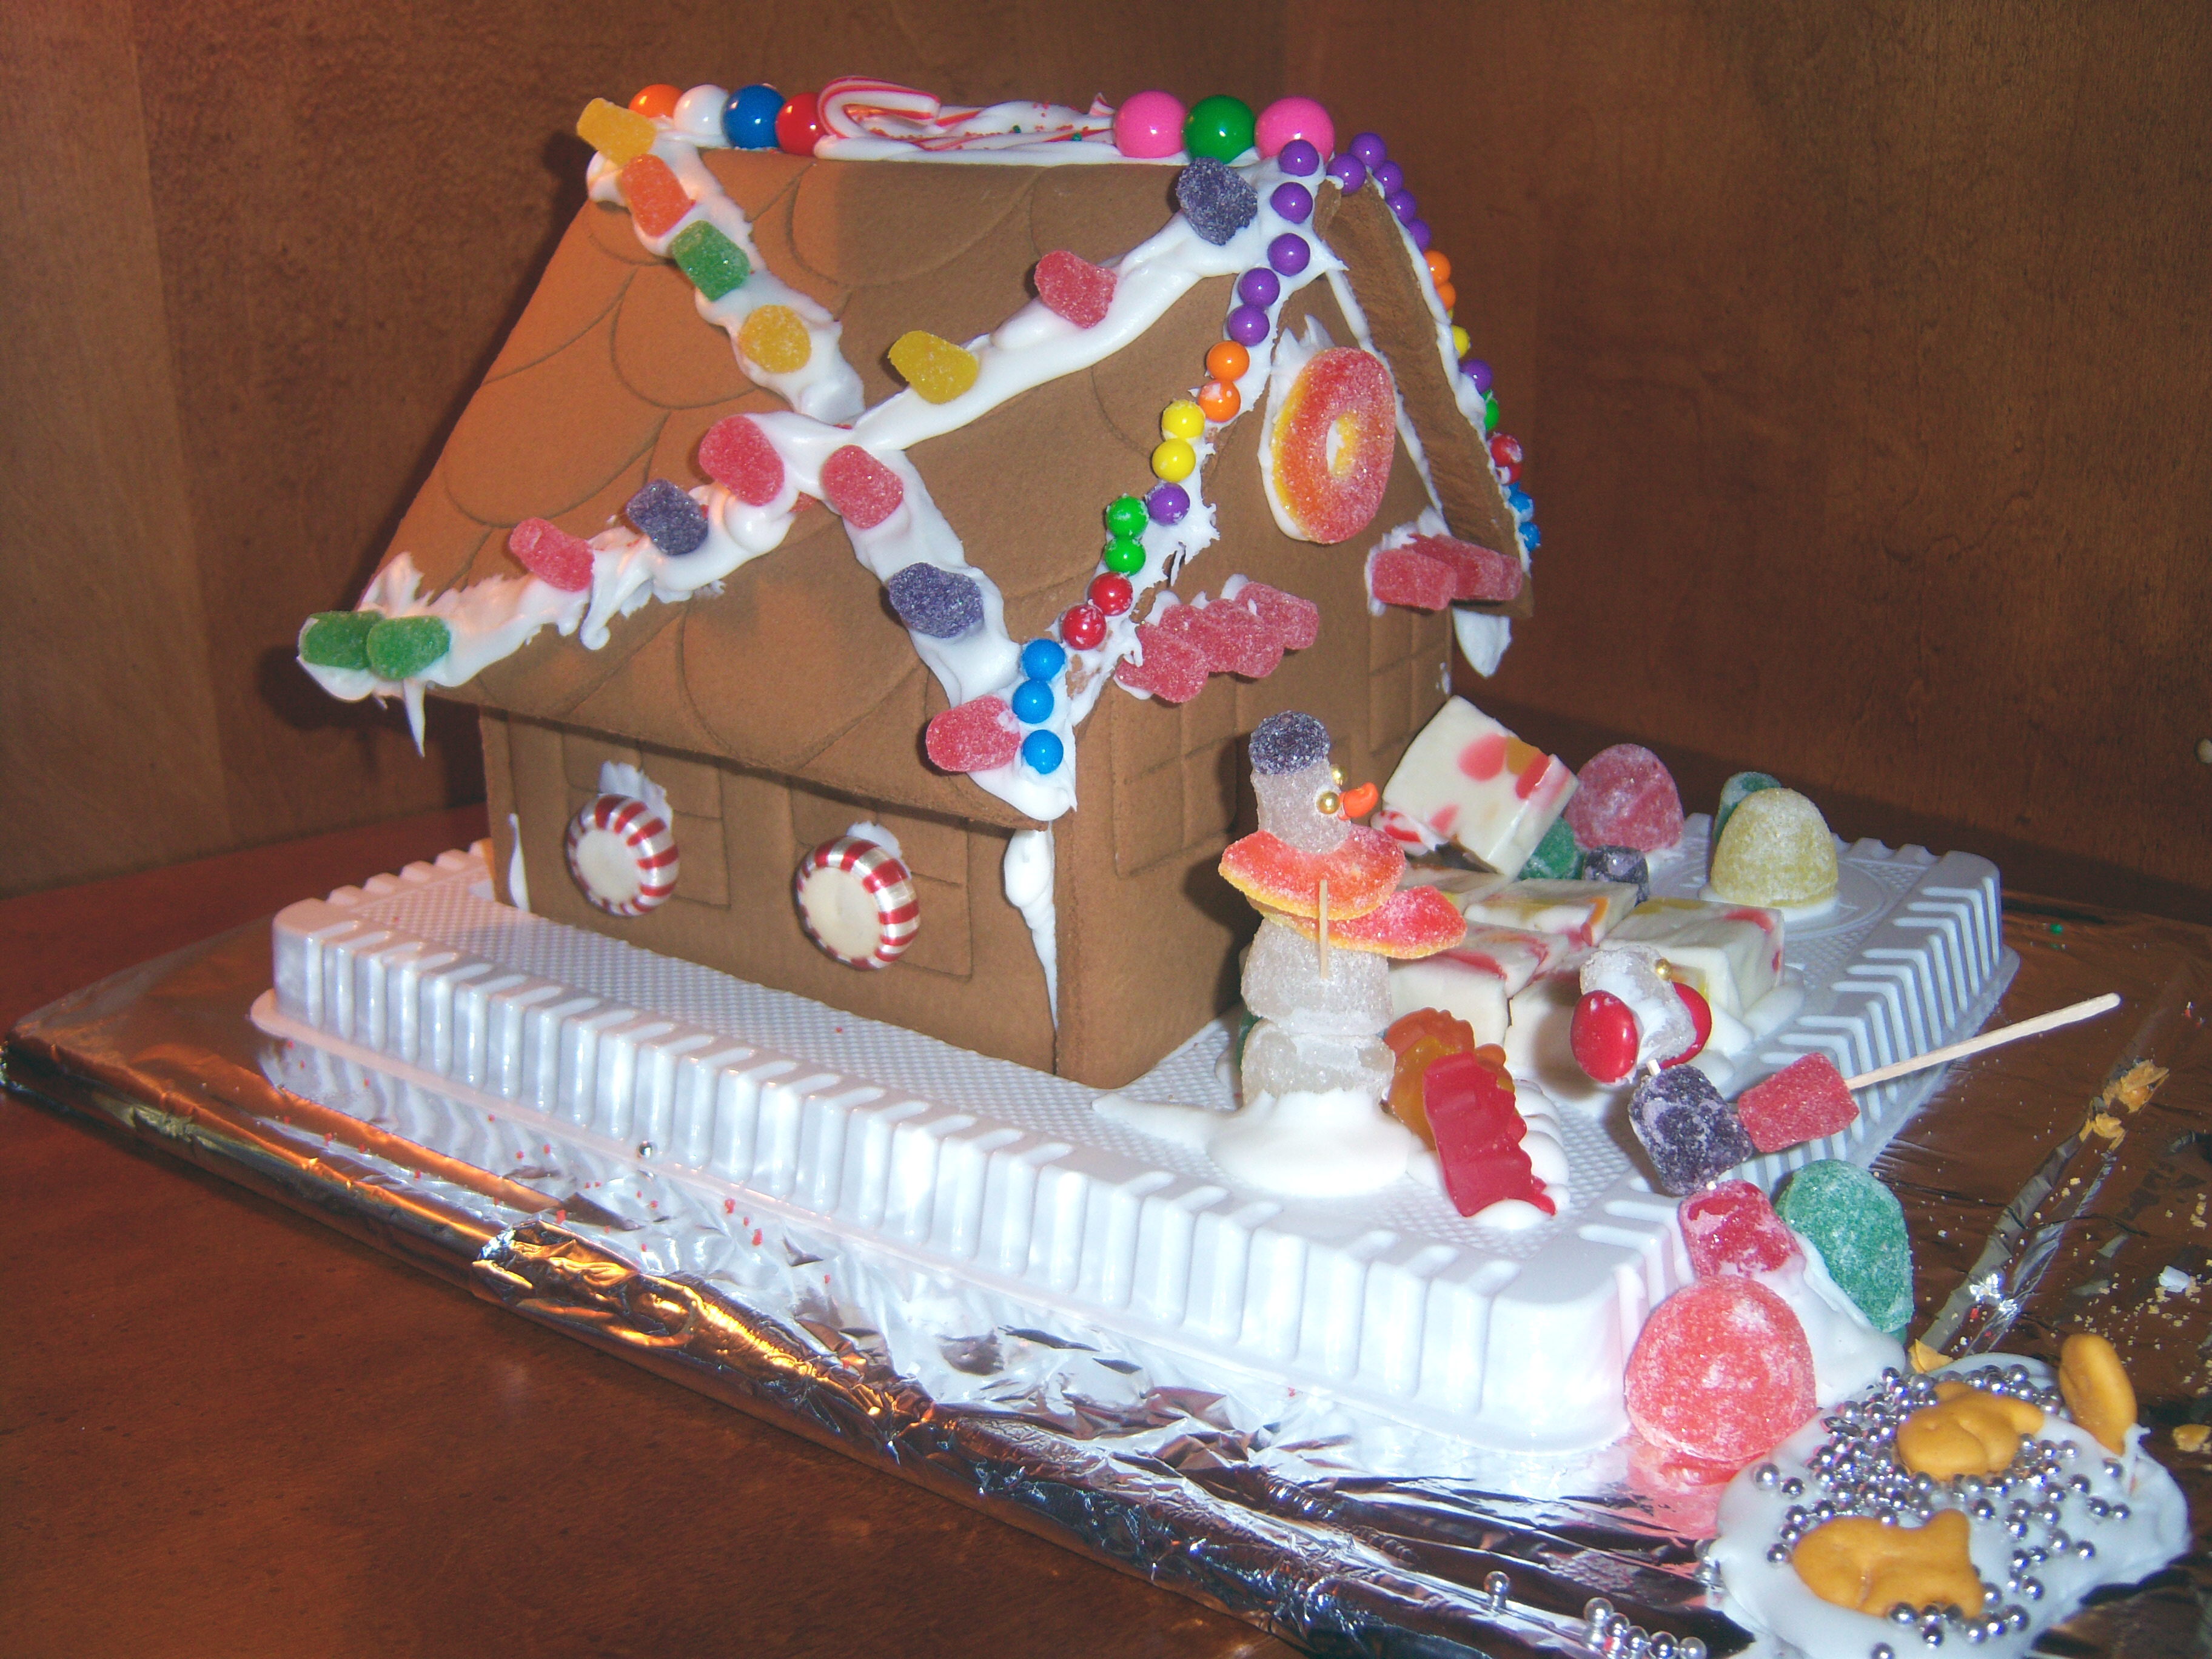
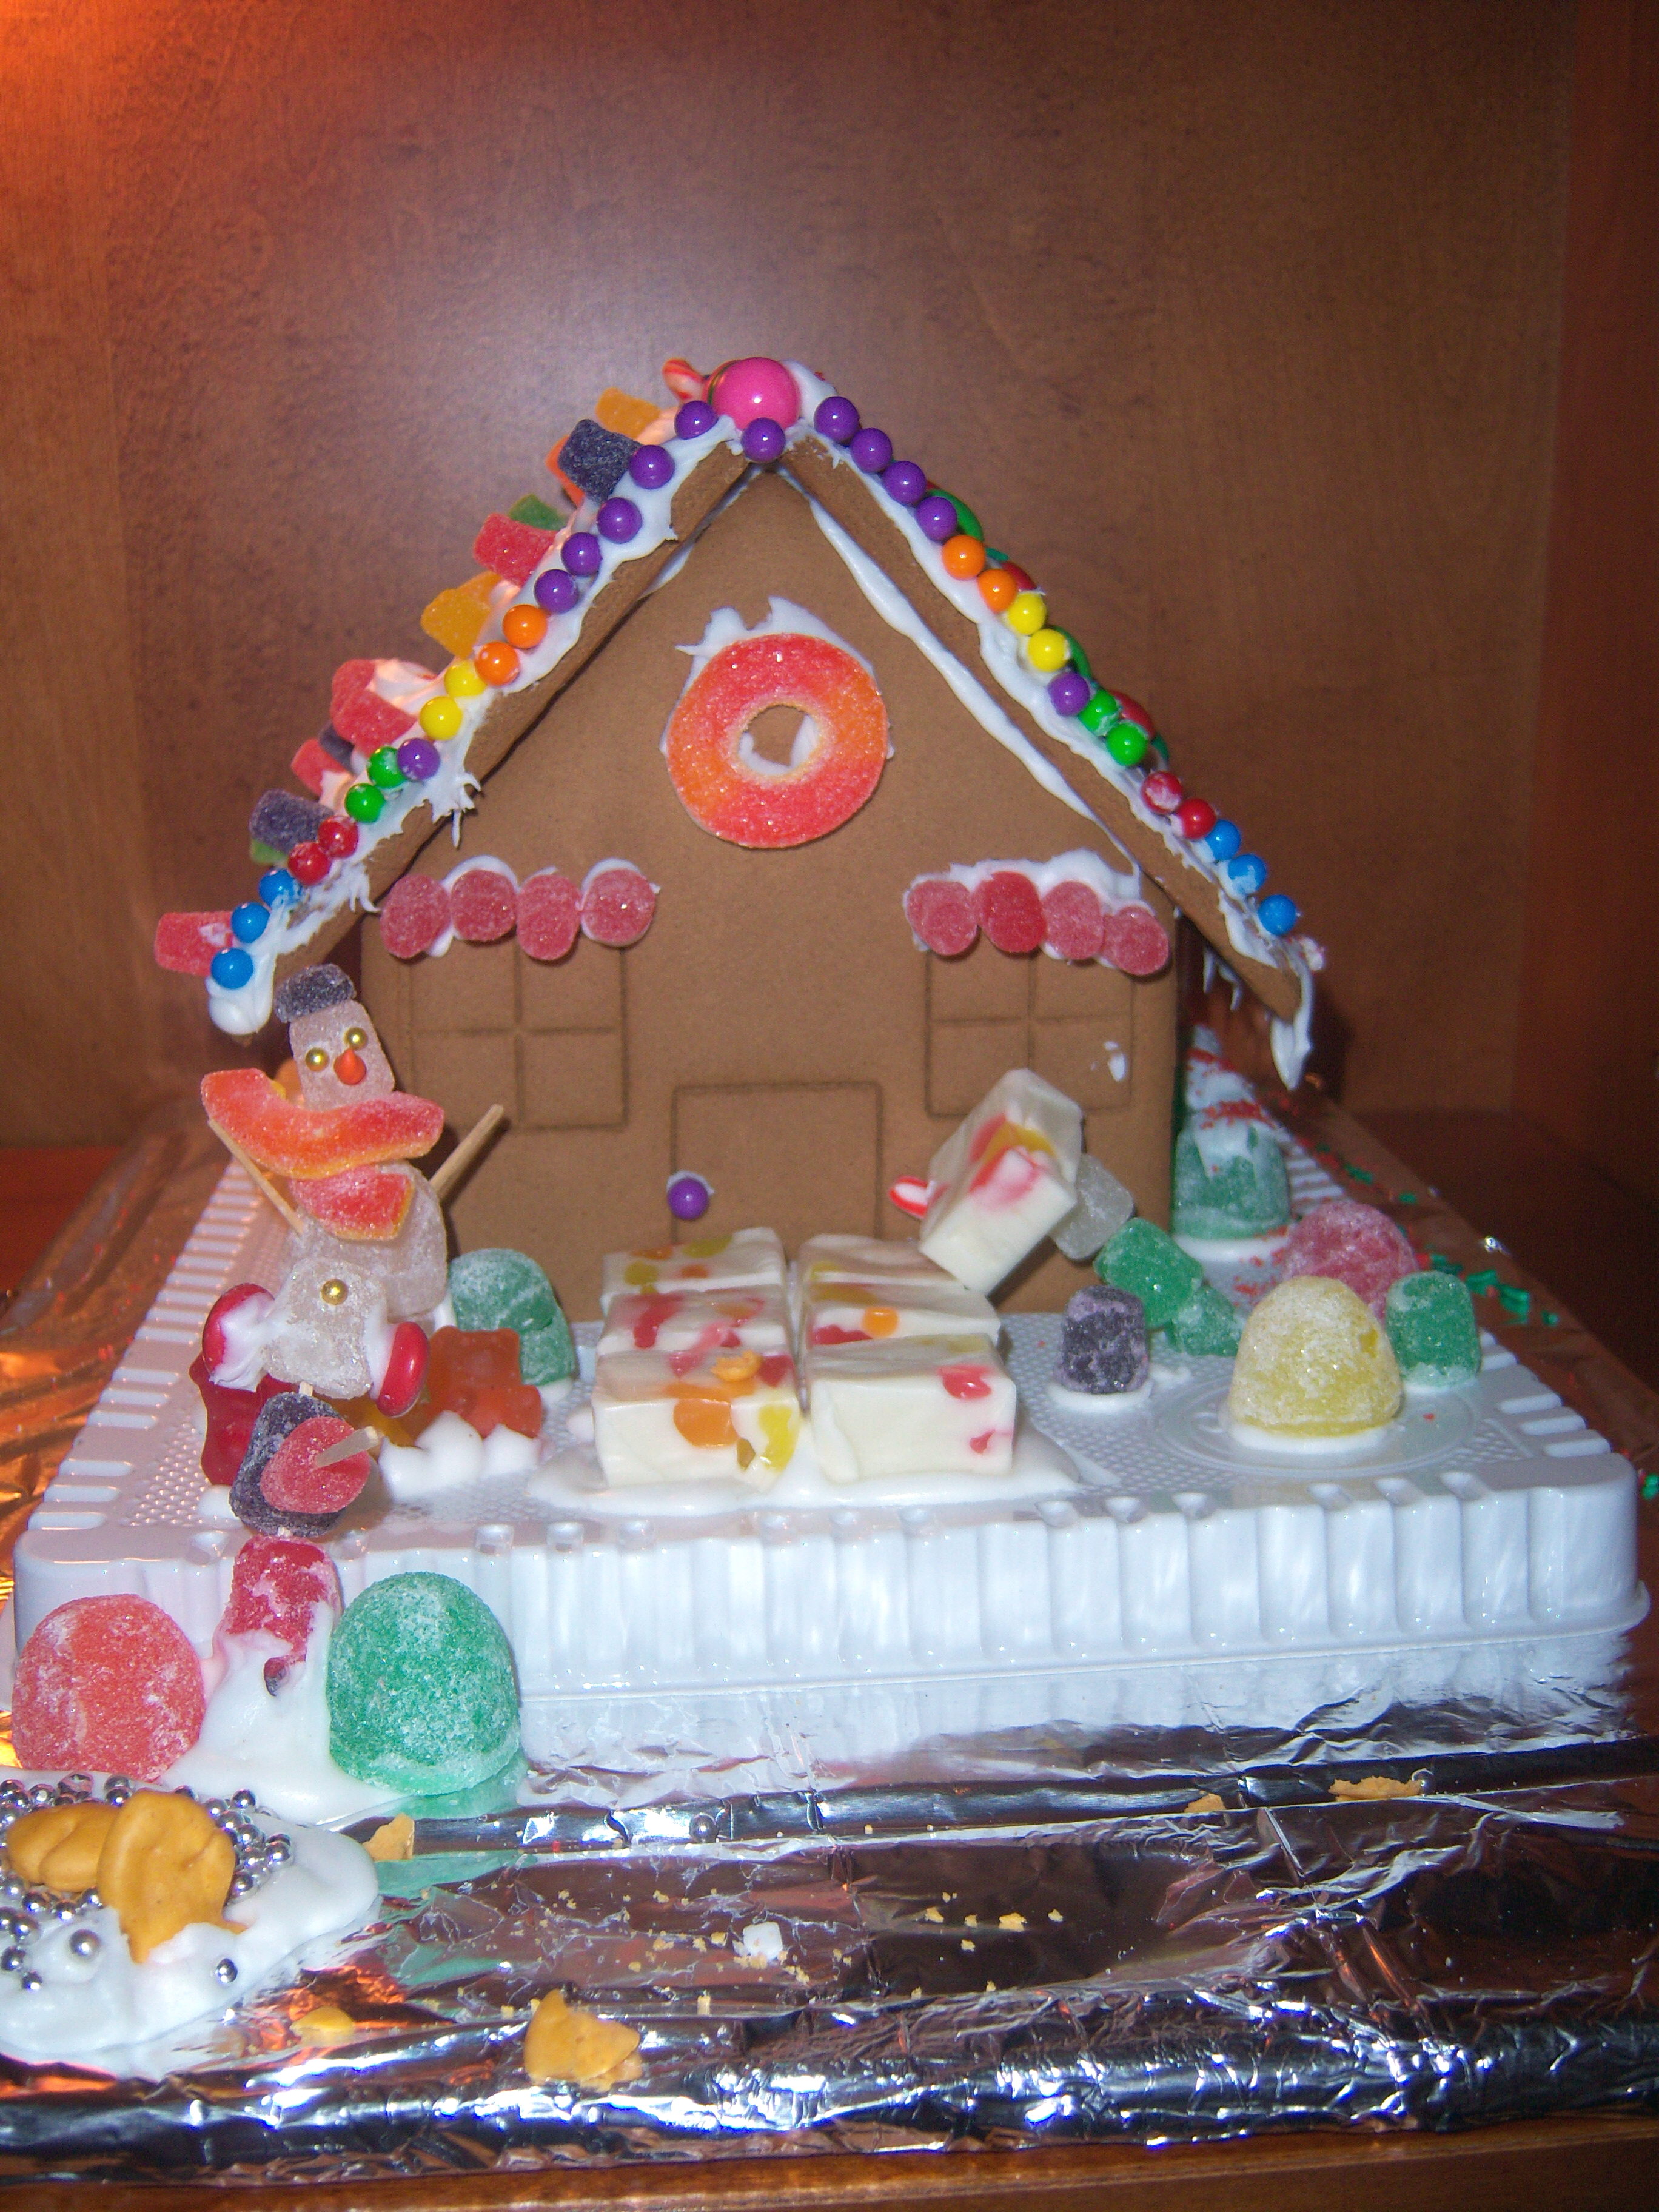
ging-houseEvery year I buy a gingerbread house kit and we decorate it (if you’re going to buy a kit, look for the ones that come with the plastic tray with the channels in it – this way you can assemble the house and decorate it right away since the channels keep the walls up). This year, I didn’t buy one, planning instead to make my own. That’s what Martha would do after all. Well, here we are just a few days before Christmas and I never got around to it. I did actually find and print out the recipe on Martha’s site, but I was discouraged by the fact that the template made 5 tiny gingerbread huts instead of one big house.ginghouseq
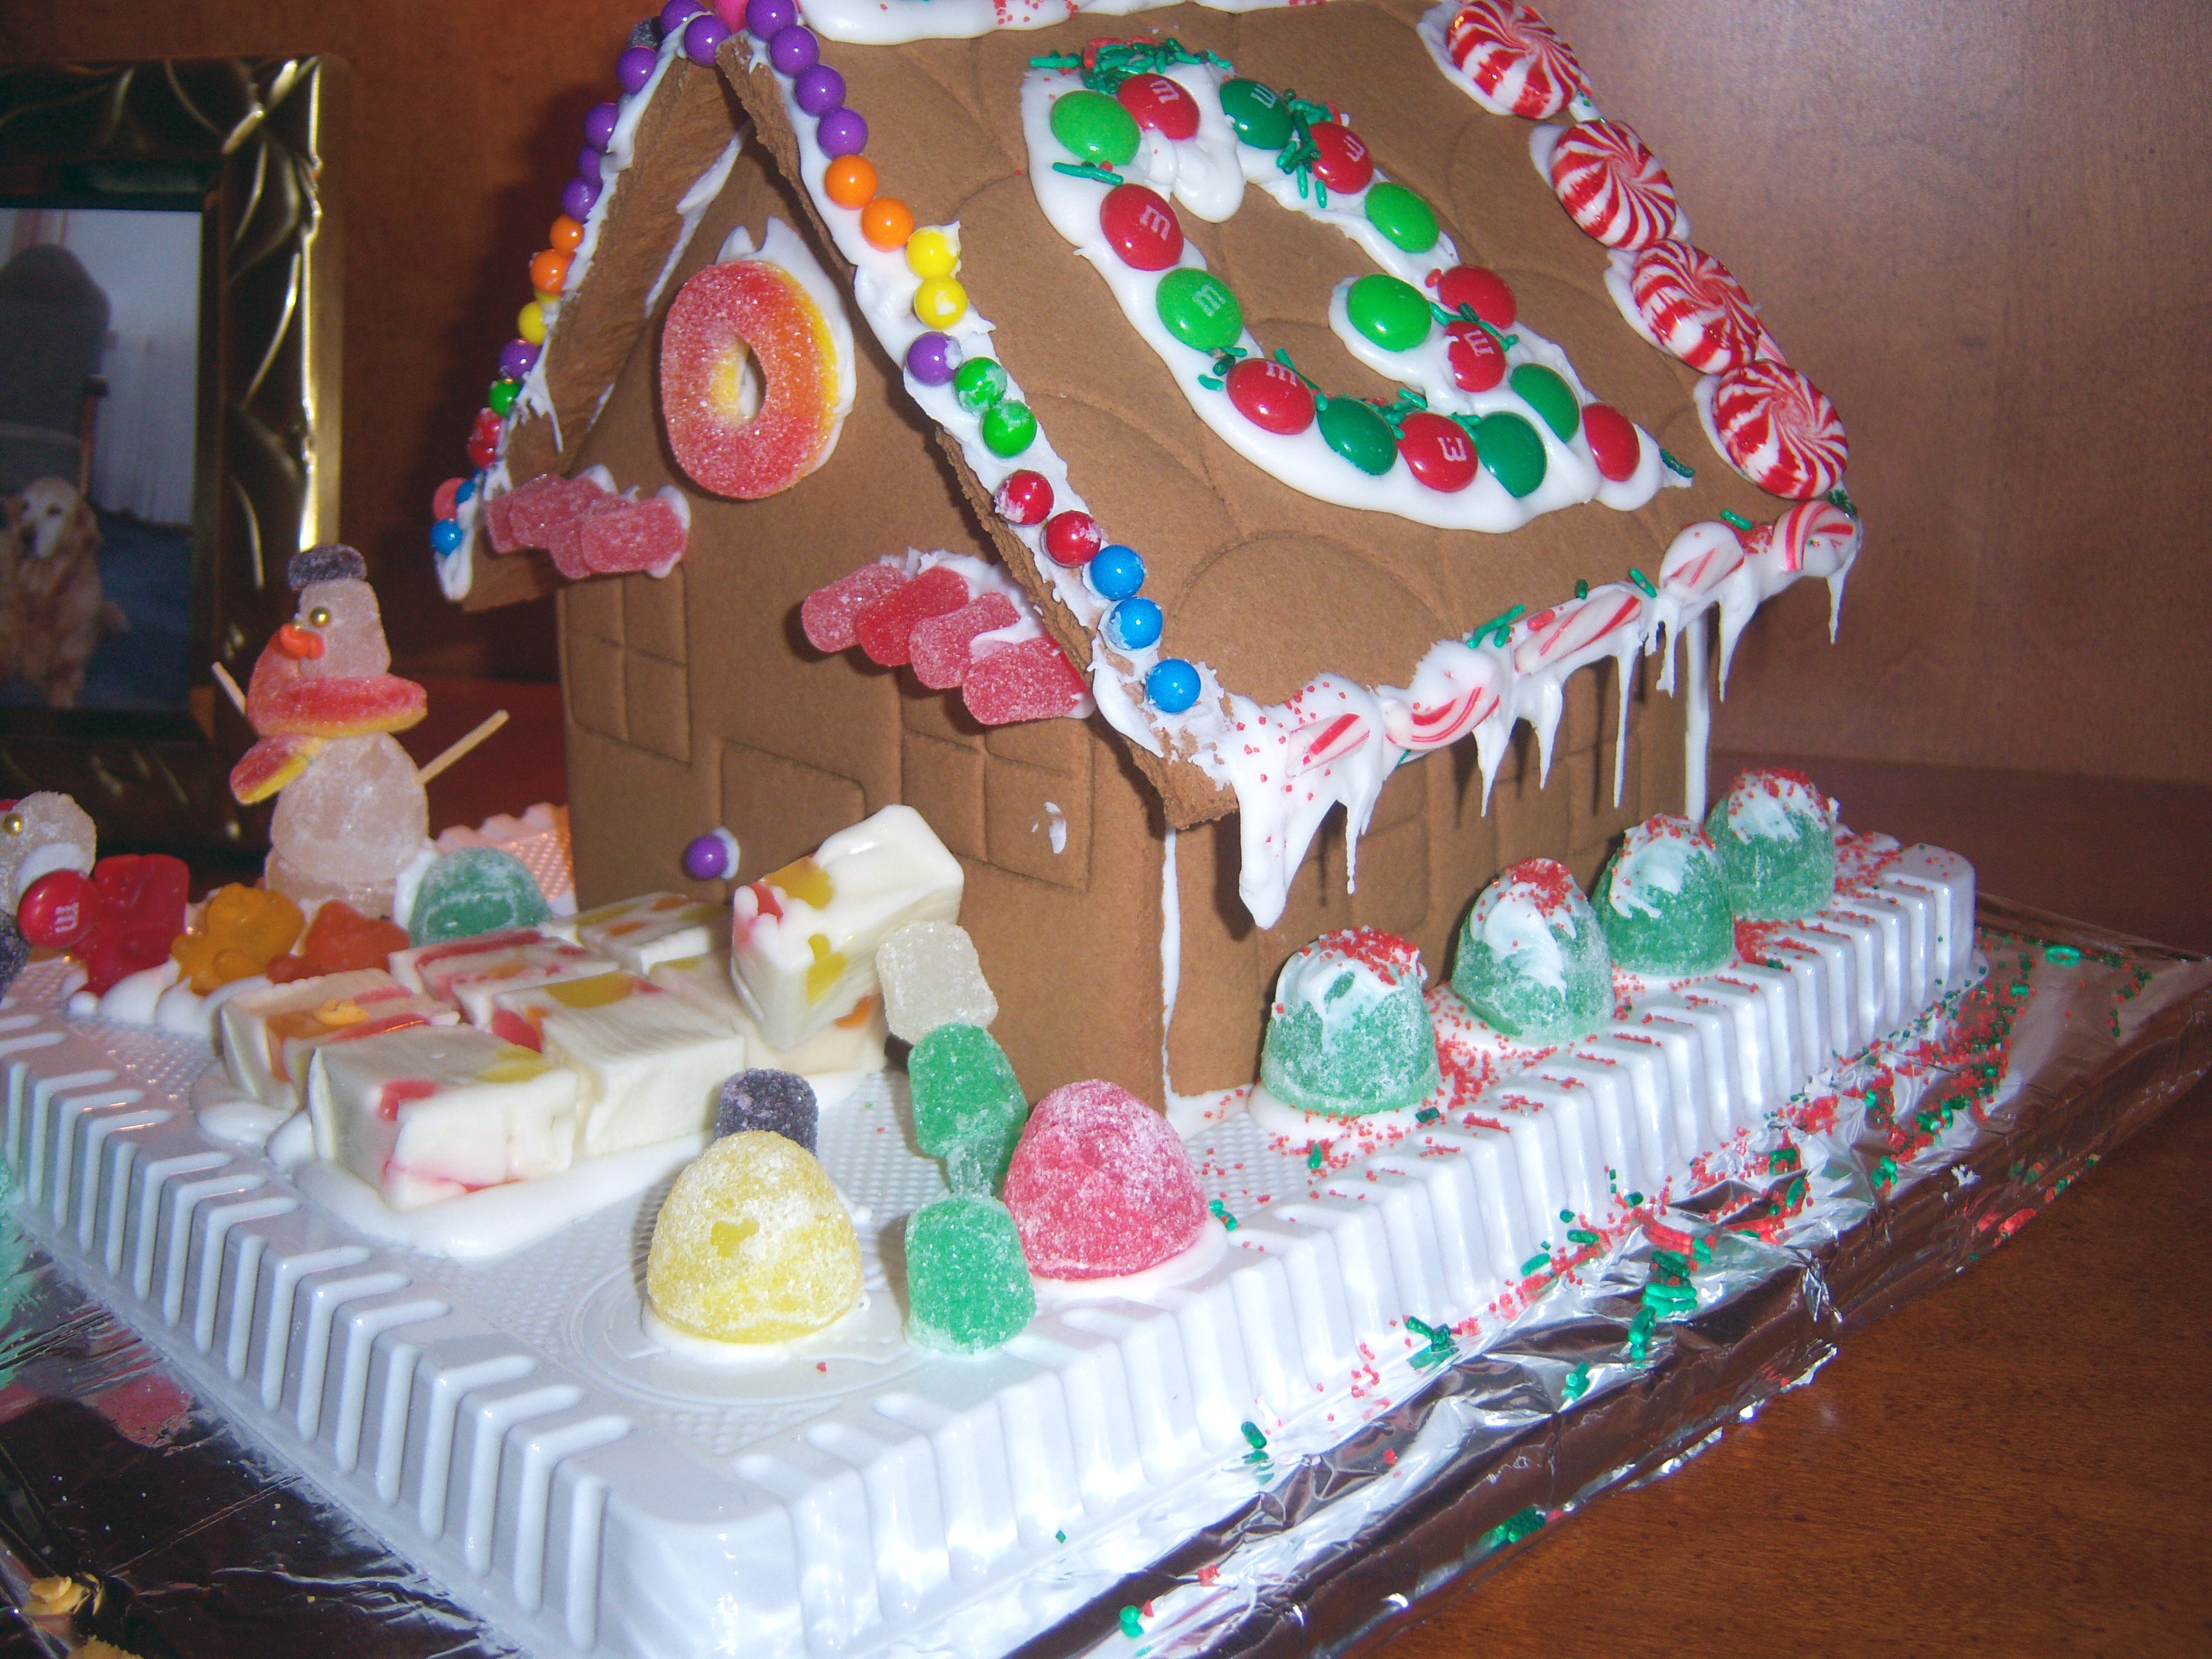
The great gingerbread debacle of ’08 came to a head the other night when the children complained about us not having one and how much they wanted to do it. Sigh. So Mr. MarthaAndMe made a quick stop at Bed, Bath and Beyond and grabbed a kit.

We assembled it as tradition dictates. Mr. MarthaAndMe does the actual construction. Each child gets to do a side to his or her specifications. I do some of the front and try to create some kind of uniformity. The dogs wait under the ginghouse2table for pieces of candy to drop.

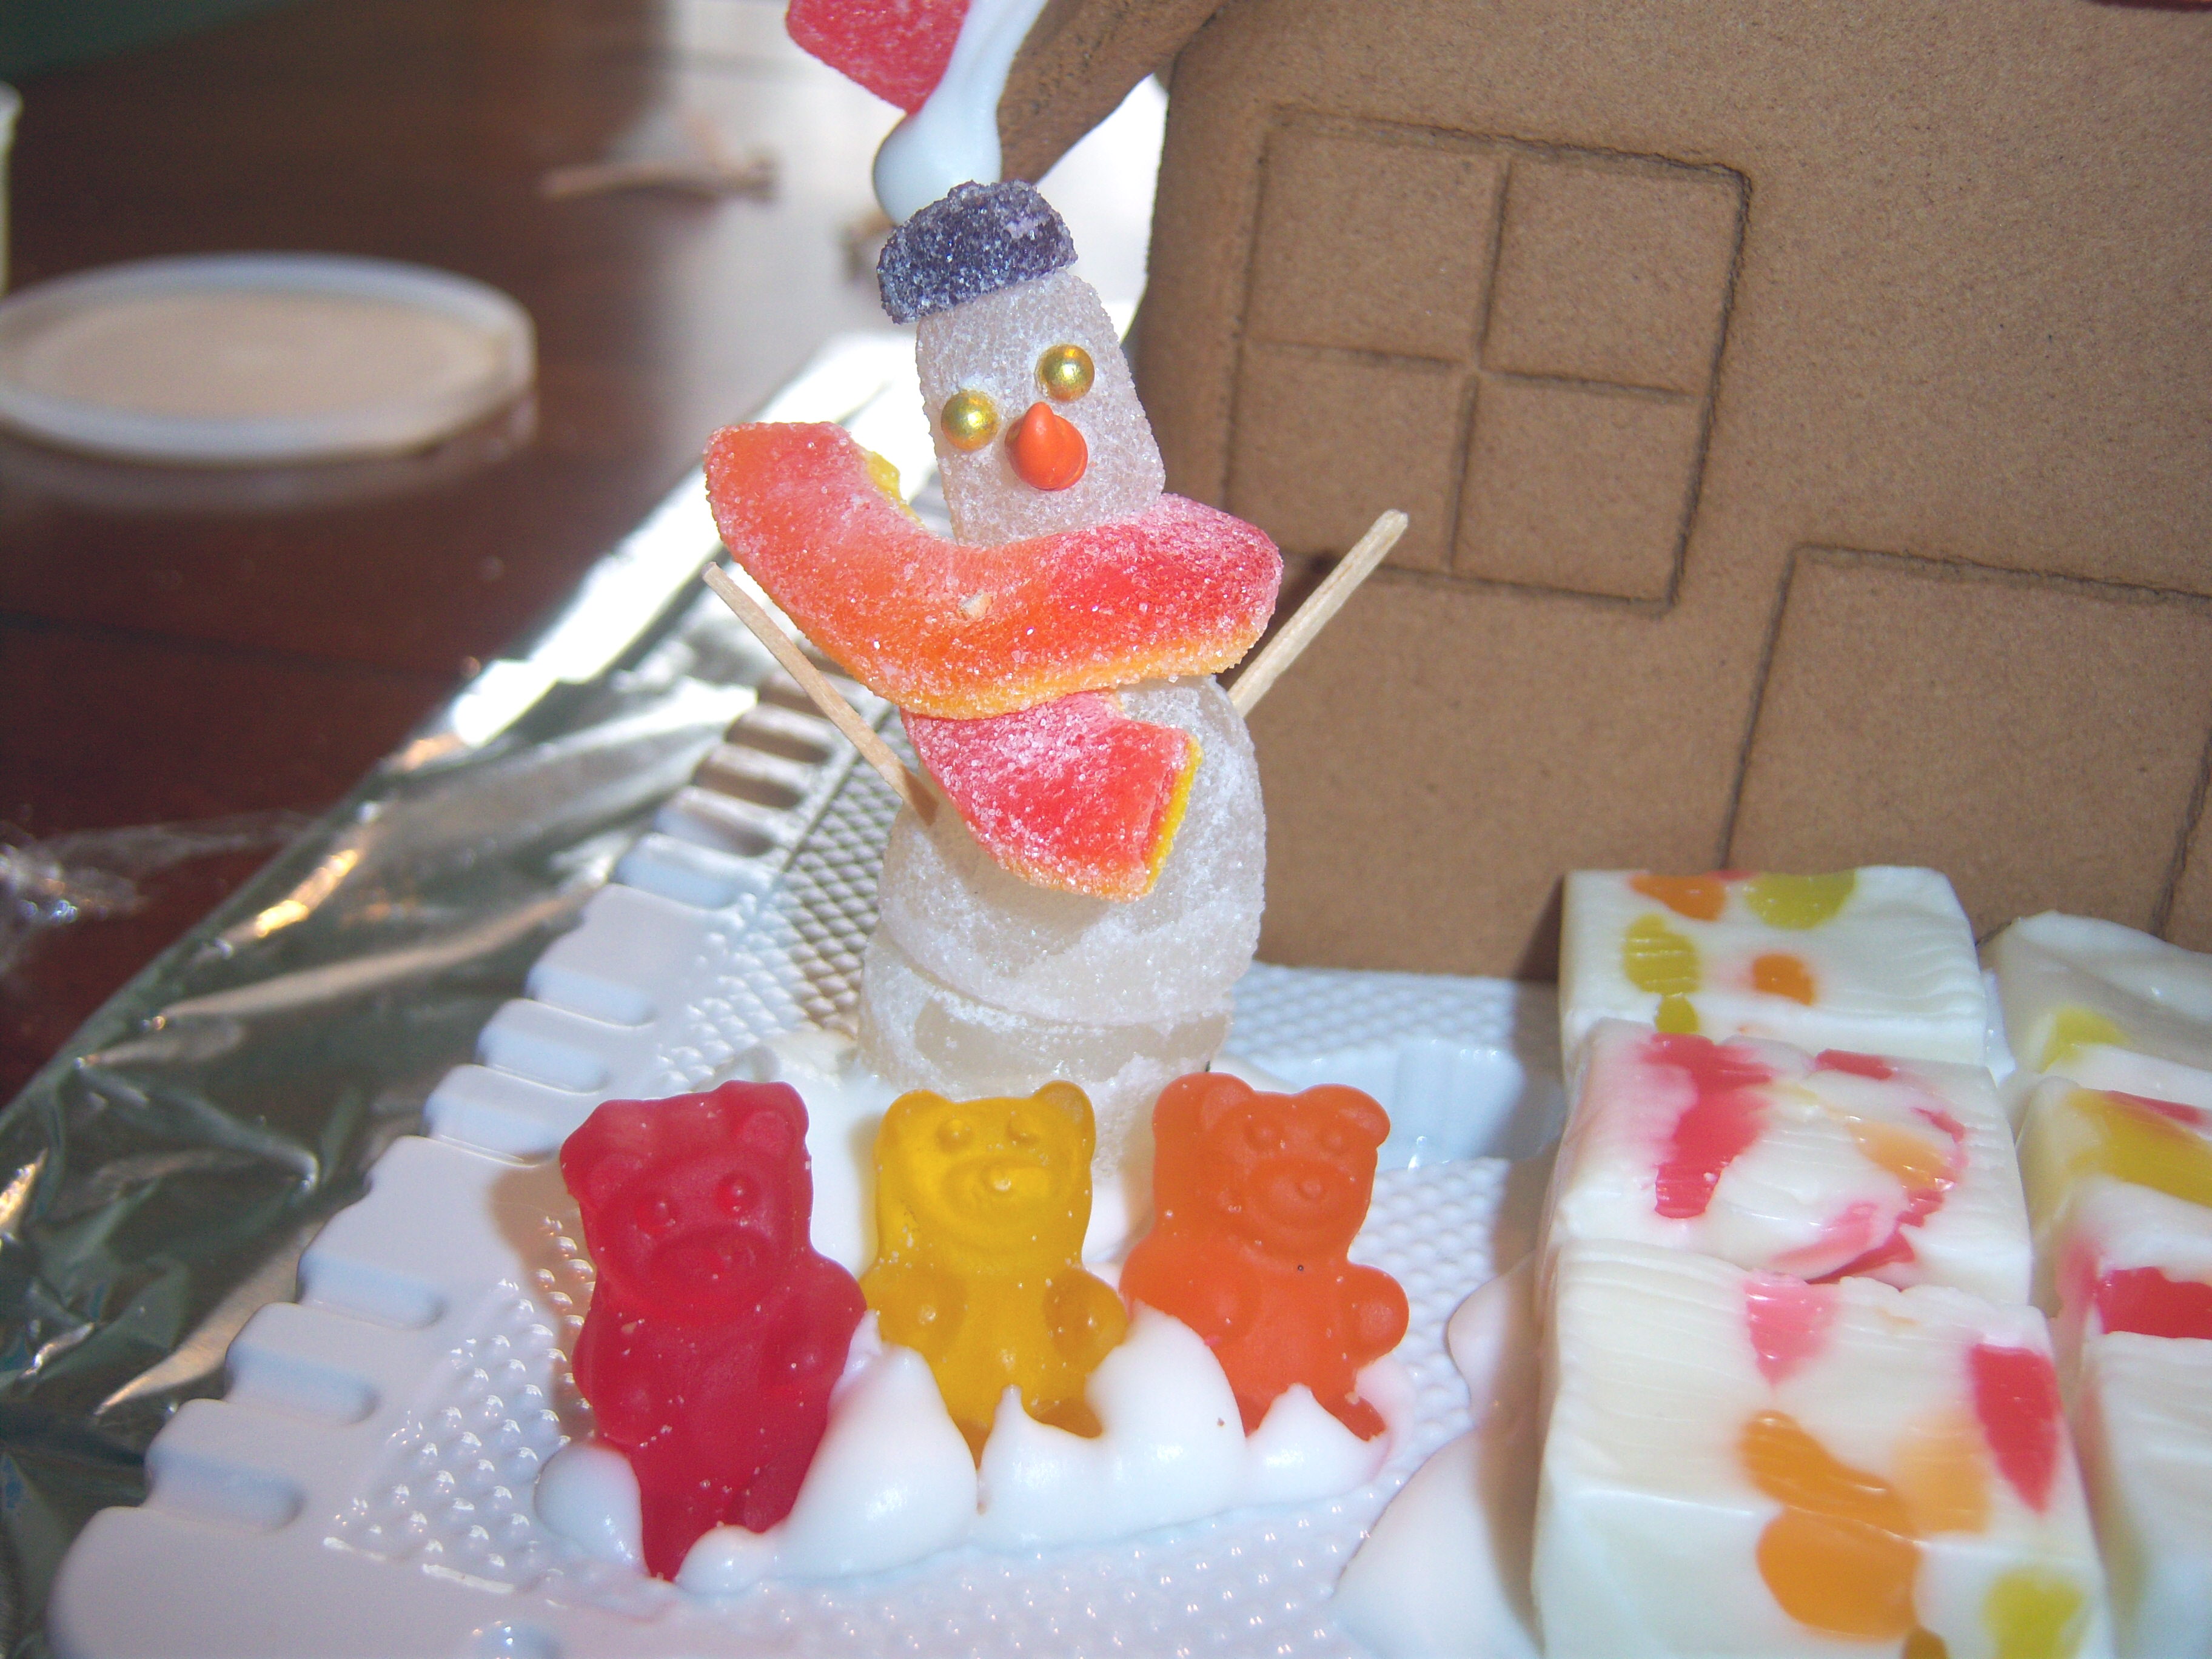
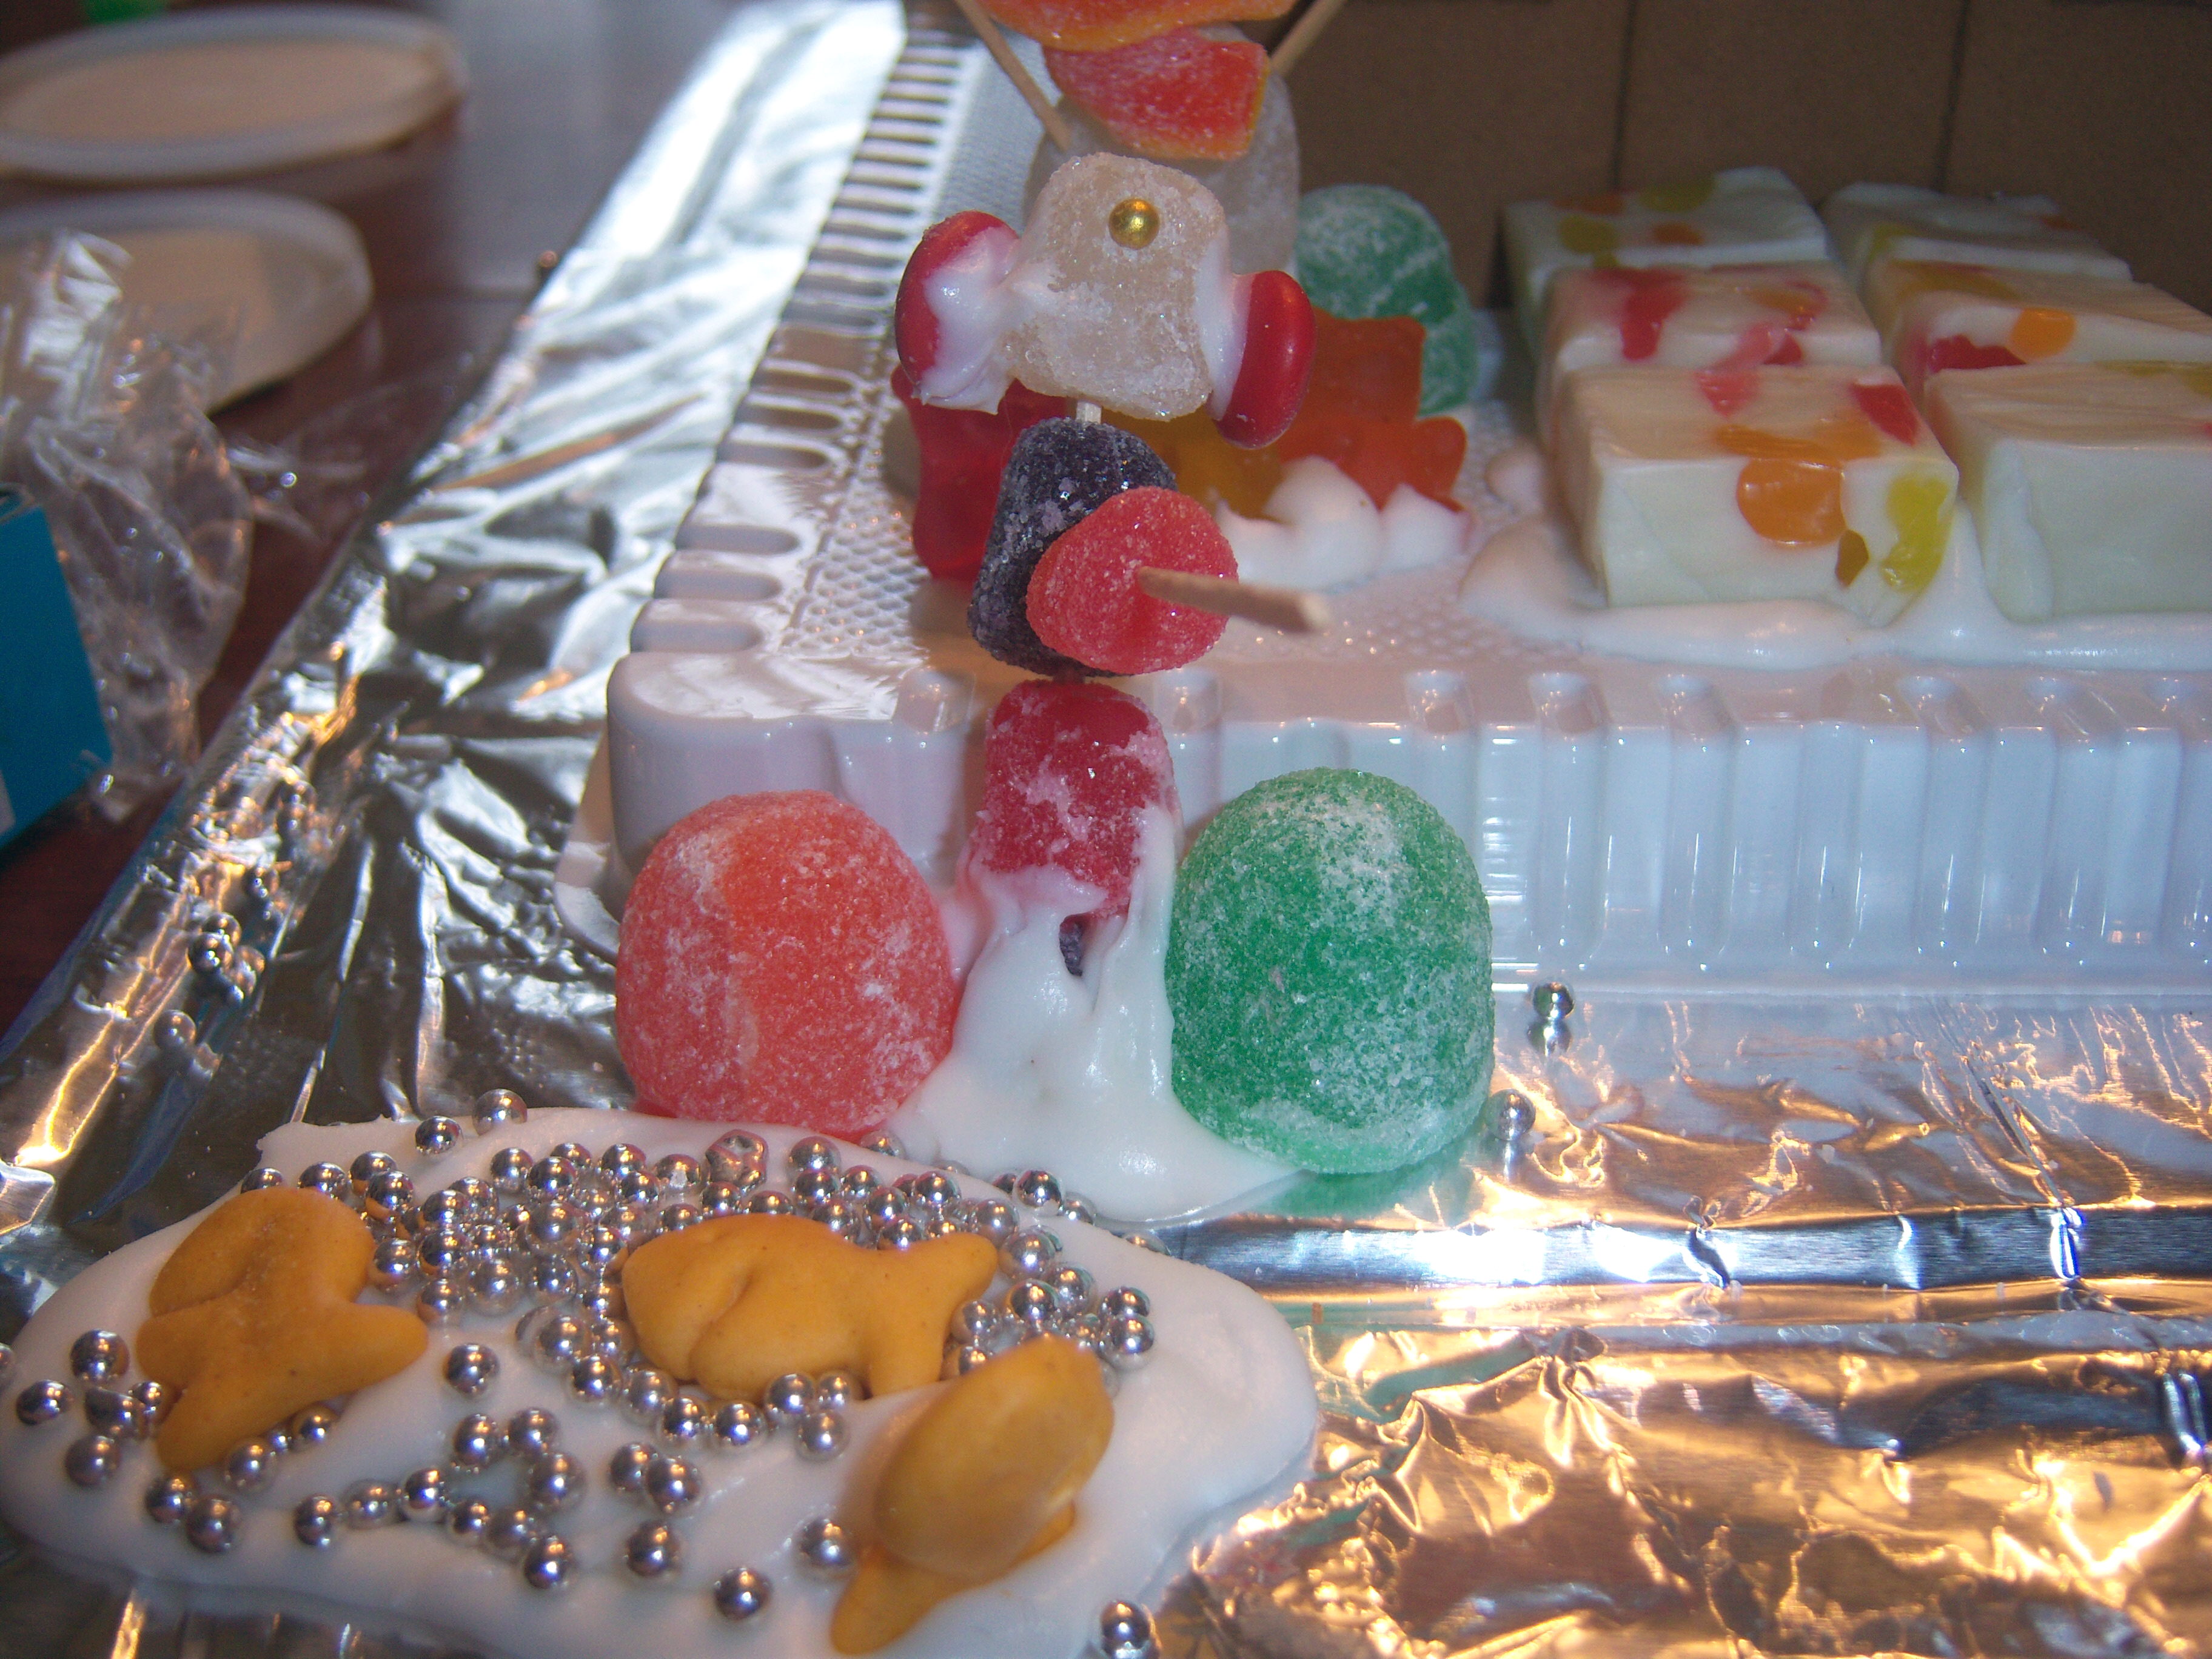
This year, I followed Martha’s lead and made gumdrop snowmen, like she has on page  53 of December Living. I’m rather proud of mine (Mr. MarthaAndMe says he appears to be French with a beret and scarf) and mini-Martha made a fishing Cyclops.

This gingerbread house isn’t nearly up to Martha’s standards (the kit didn’t come with very much frosting, so the house seems kind of bare to me), but we had fun making it.

My Snowman

My Snowman

Cyclops fisherman

Cyclops fisherman

Every year I buy a gingerbread house kit and we decorate it (if you’re going to buy a kit, look for the ones that come with the plastic tray with the channels in it – this way you can assemble the house and decorate it right away since the channels keep the walls up). This … Read more

This year Martha is all about “handmade, homemade” gifts and decorations. Very smart, for this economic climate. In her Handmade for the Holidays special issue (page 59), Martha has instructions and a template for making a stuffed pig out of an old sweater (yes, really). You can probably tell already there’s no way this could go well for me.

The day of the pig began with a shopping trip. I had to buy batting ($3.50)  to stuff said pig and then I had to make a trip to Goodwill to find a sweater. Here is probably where my first problem was. Martha says to use a “felted wool sweater”. I have no idea what that means. I am sure Martha’s closets are filled with lined and sacheted shelves containing a heavenly multitude of sweaters in every color and design. The selection at Goodwill is a bit more, shall we say, limited. I have to say I was pretty impressed with Goodwill though. Everything on the racks was in quite good condition and they had some decent looking things.

I ended up buying a purple acrylic sweater with white snowflakes on it ($4.49). I believe the acrylic may have been the problem. I also think now that Martha intended a sweater that was more tightly knit than the one I chose.

Templates

Templates

Mr. MarthaAndMe kindly blew up Martha’s template by scanning it, working some magic and printing it. I cut out the template and pinned it to the sweater. I cut out the shapes.

Martha says to sew the underside of the pig to the sides. I did ok with this, but the feet on the underside ended up smaller than the feet on the sides, so I had to be a little creative in getting it to go all together.

Once I started sewing, I started to realize why a more closely knit sweater would have been better. The sweater was unraveling at the cut edges, making it very difficult to sew it together.

I sewed the sides together. Then I attempted to make the tail. My first attempt was a disaster. I had to start over and cut a piece bigger than the template instructed. Somehow my sweater was very thick and once I sewed the original piece together, I could not get it to turn inside out – it was too thick.

Martha says to cut out a round piece of wool for the nose. Mine kept unraveling – it was just too small a piece. I improvised and instead sewed a button on for the pig’s nose.

I had some trouble with the ears  – again, I had to go and cut them out bigger than the template in order to get them to turn inside out.

Some repairs were necessary

Some repairs were necessary

I stuffed the pig with batting and finished sewing him up. At this point I realized I had some serious issues. The pig was pulling apart at the seams in many places – because the edges were so unraveled. So, I had to do some repair work on the spots. I found this great thread I have in my sewing box that is like fishing line – invisible. I used that and you can’t tell I had to patch things.

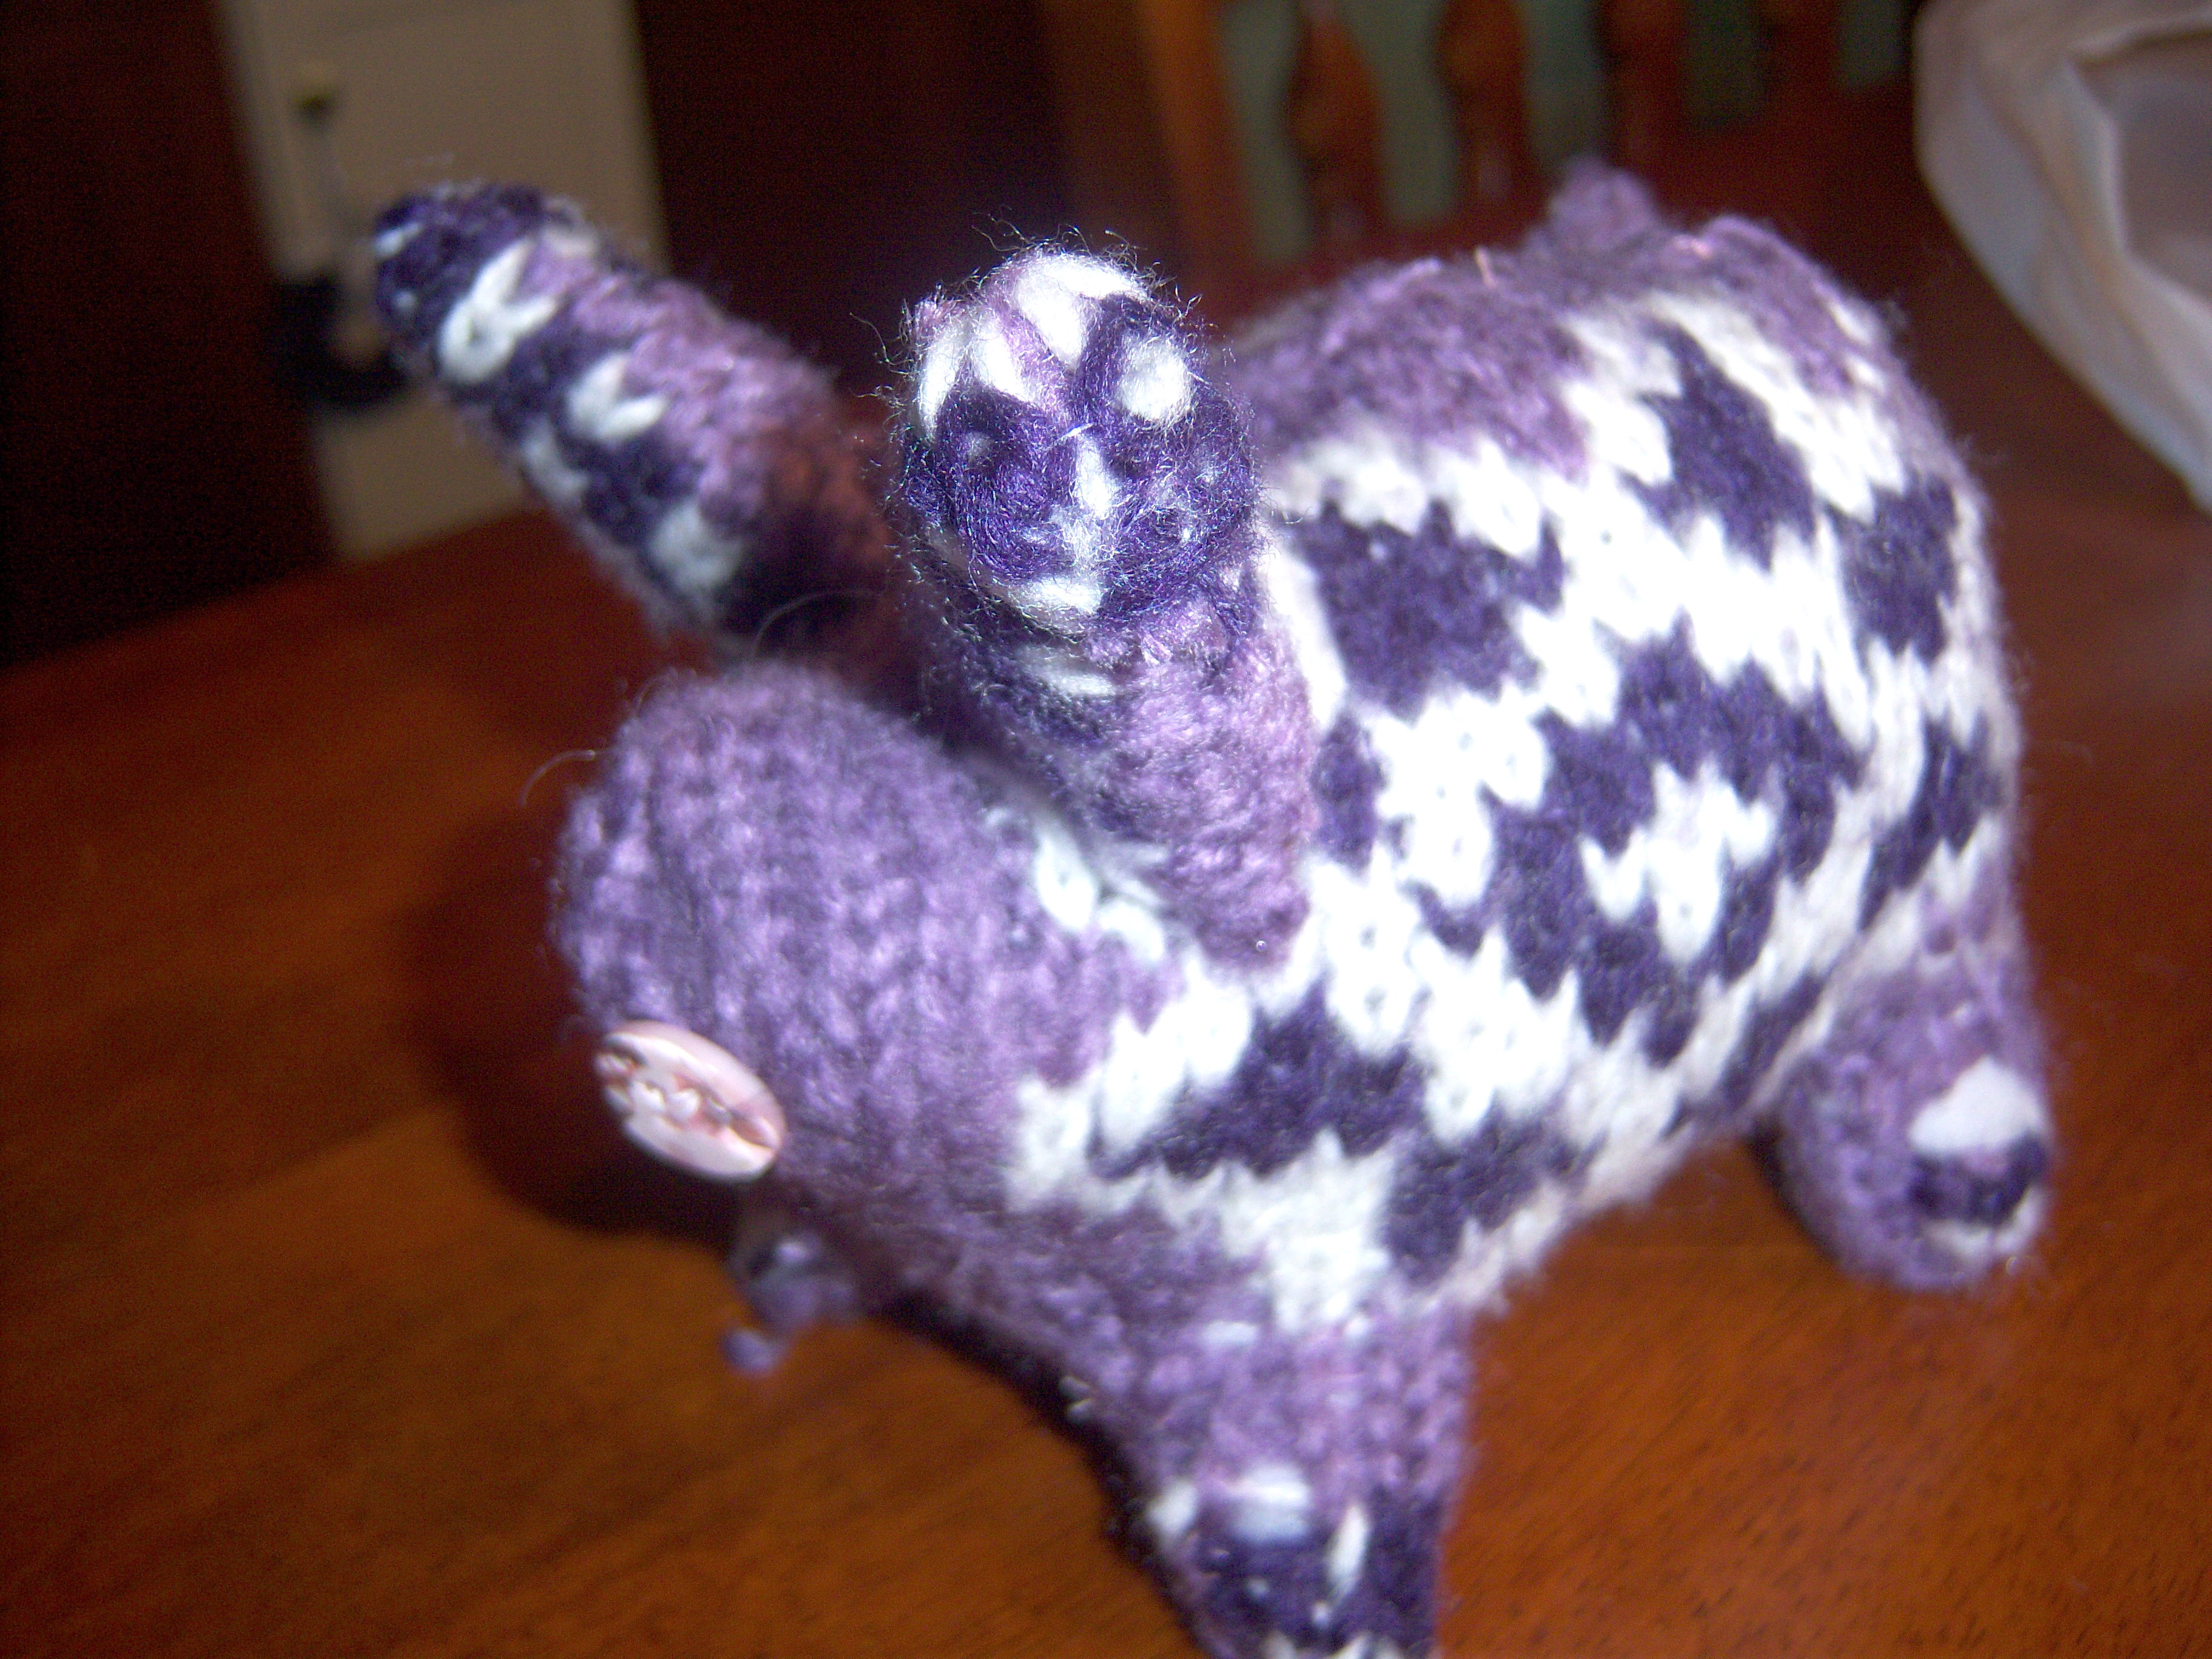
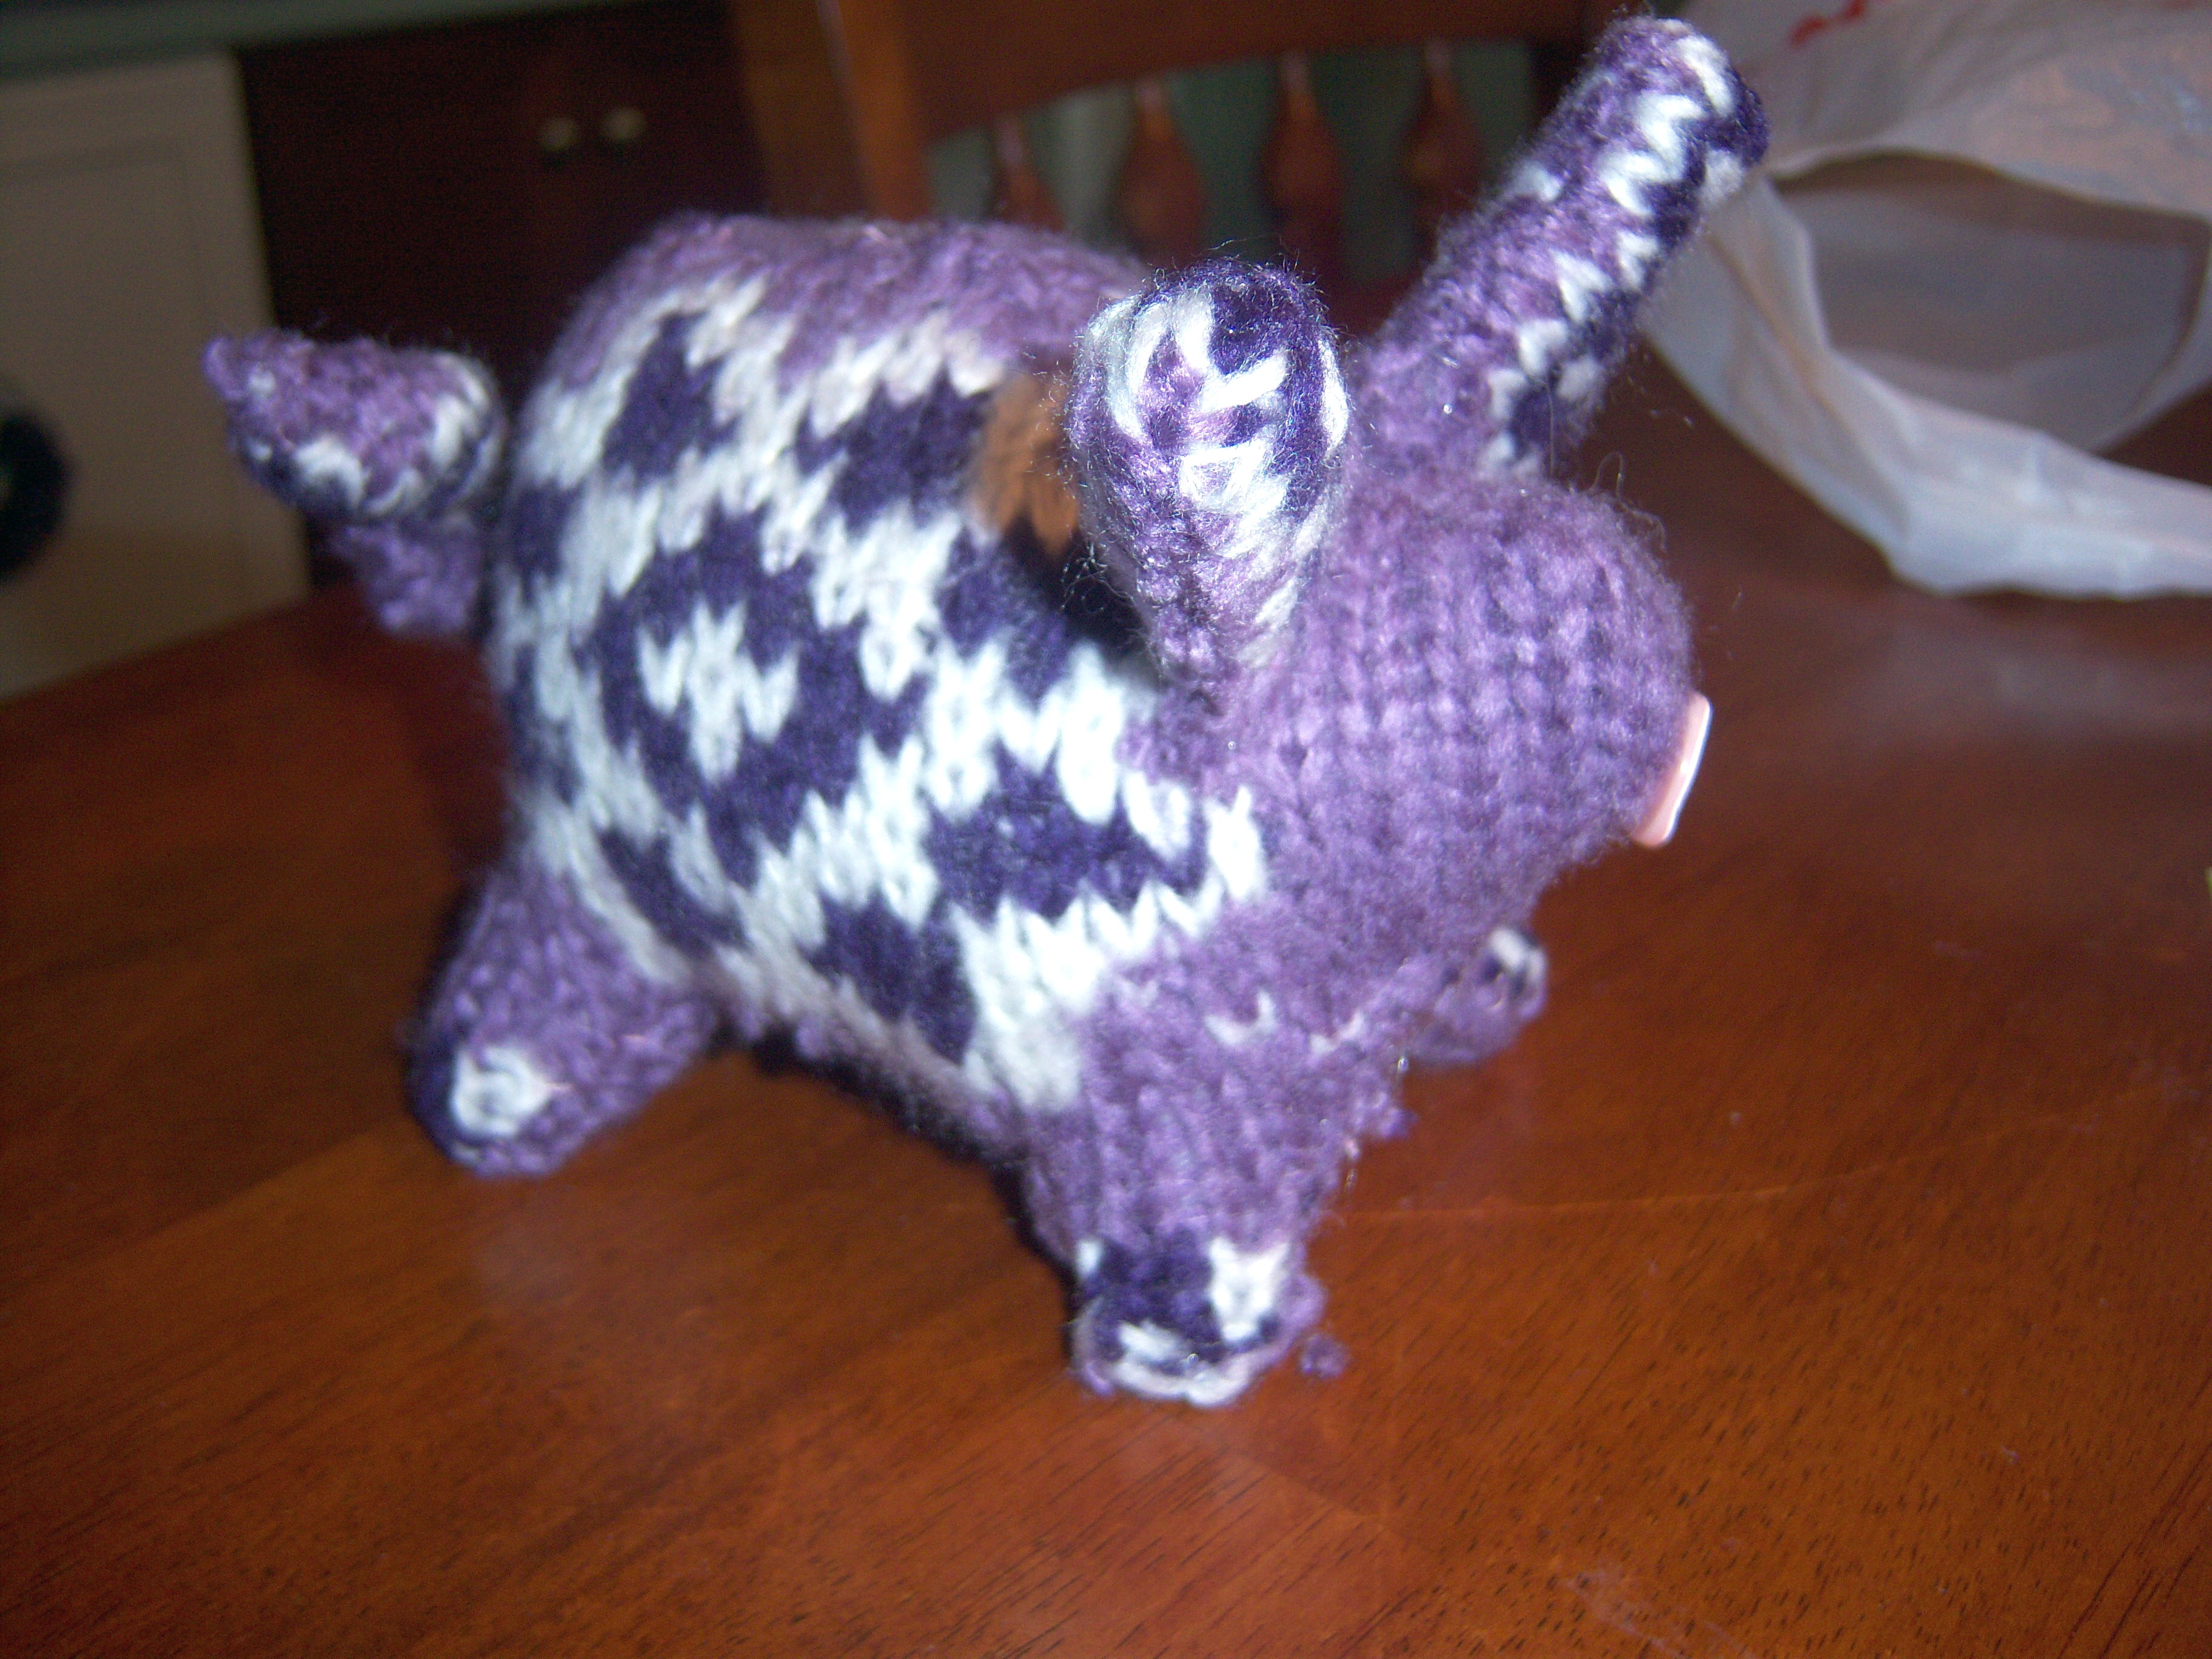
The end result? Well, let’s just say I would not actually give this to someone pig-final2as a gift. pig-final1This is not where my talent lies! The ears are too tall and they look like rabbit ears. The nose is not centered. The whole thing is just weird. Maybe some people are good at this, but well, I’m just not. It was sort of fun to do – although it would have been a lot more fun if the material hadn’t kept unraveling on me.

This year Martha is all about “handmade, homemade” gifts and decorations. Very smart, for this economic climate. In her Handmade for the Holidays special issue (page 59), Martha has instructions and a template for making a stuffed pig out of an old sweater (yes, really). You can probably tell already there’s no way this could … Read more

no