 For this week’s assignment, I chose pork and chive potstickers (Oct Everyday Food) and Luminarias (October Living) so folks could choose one they wanted to do.
Potstickers
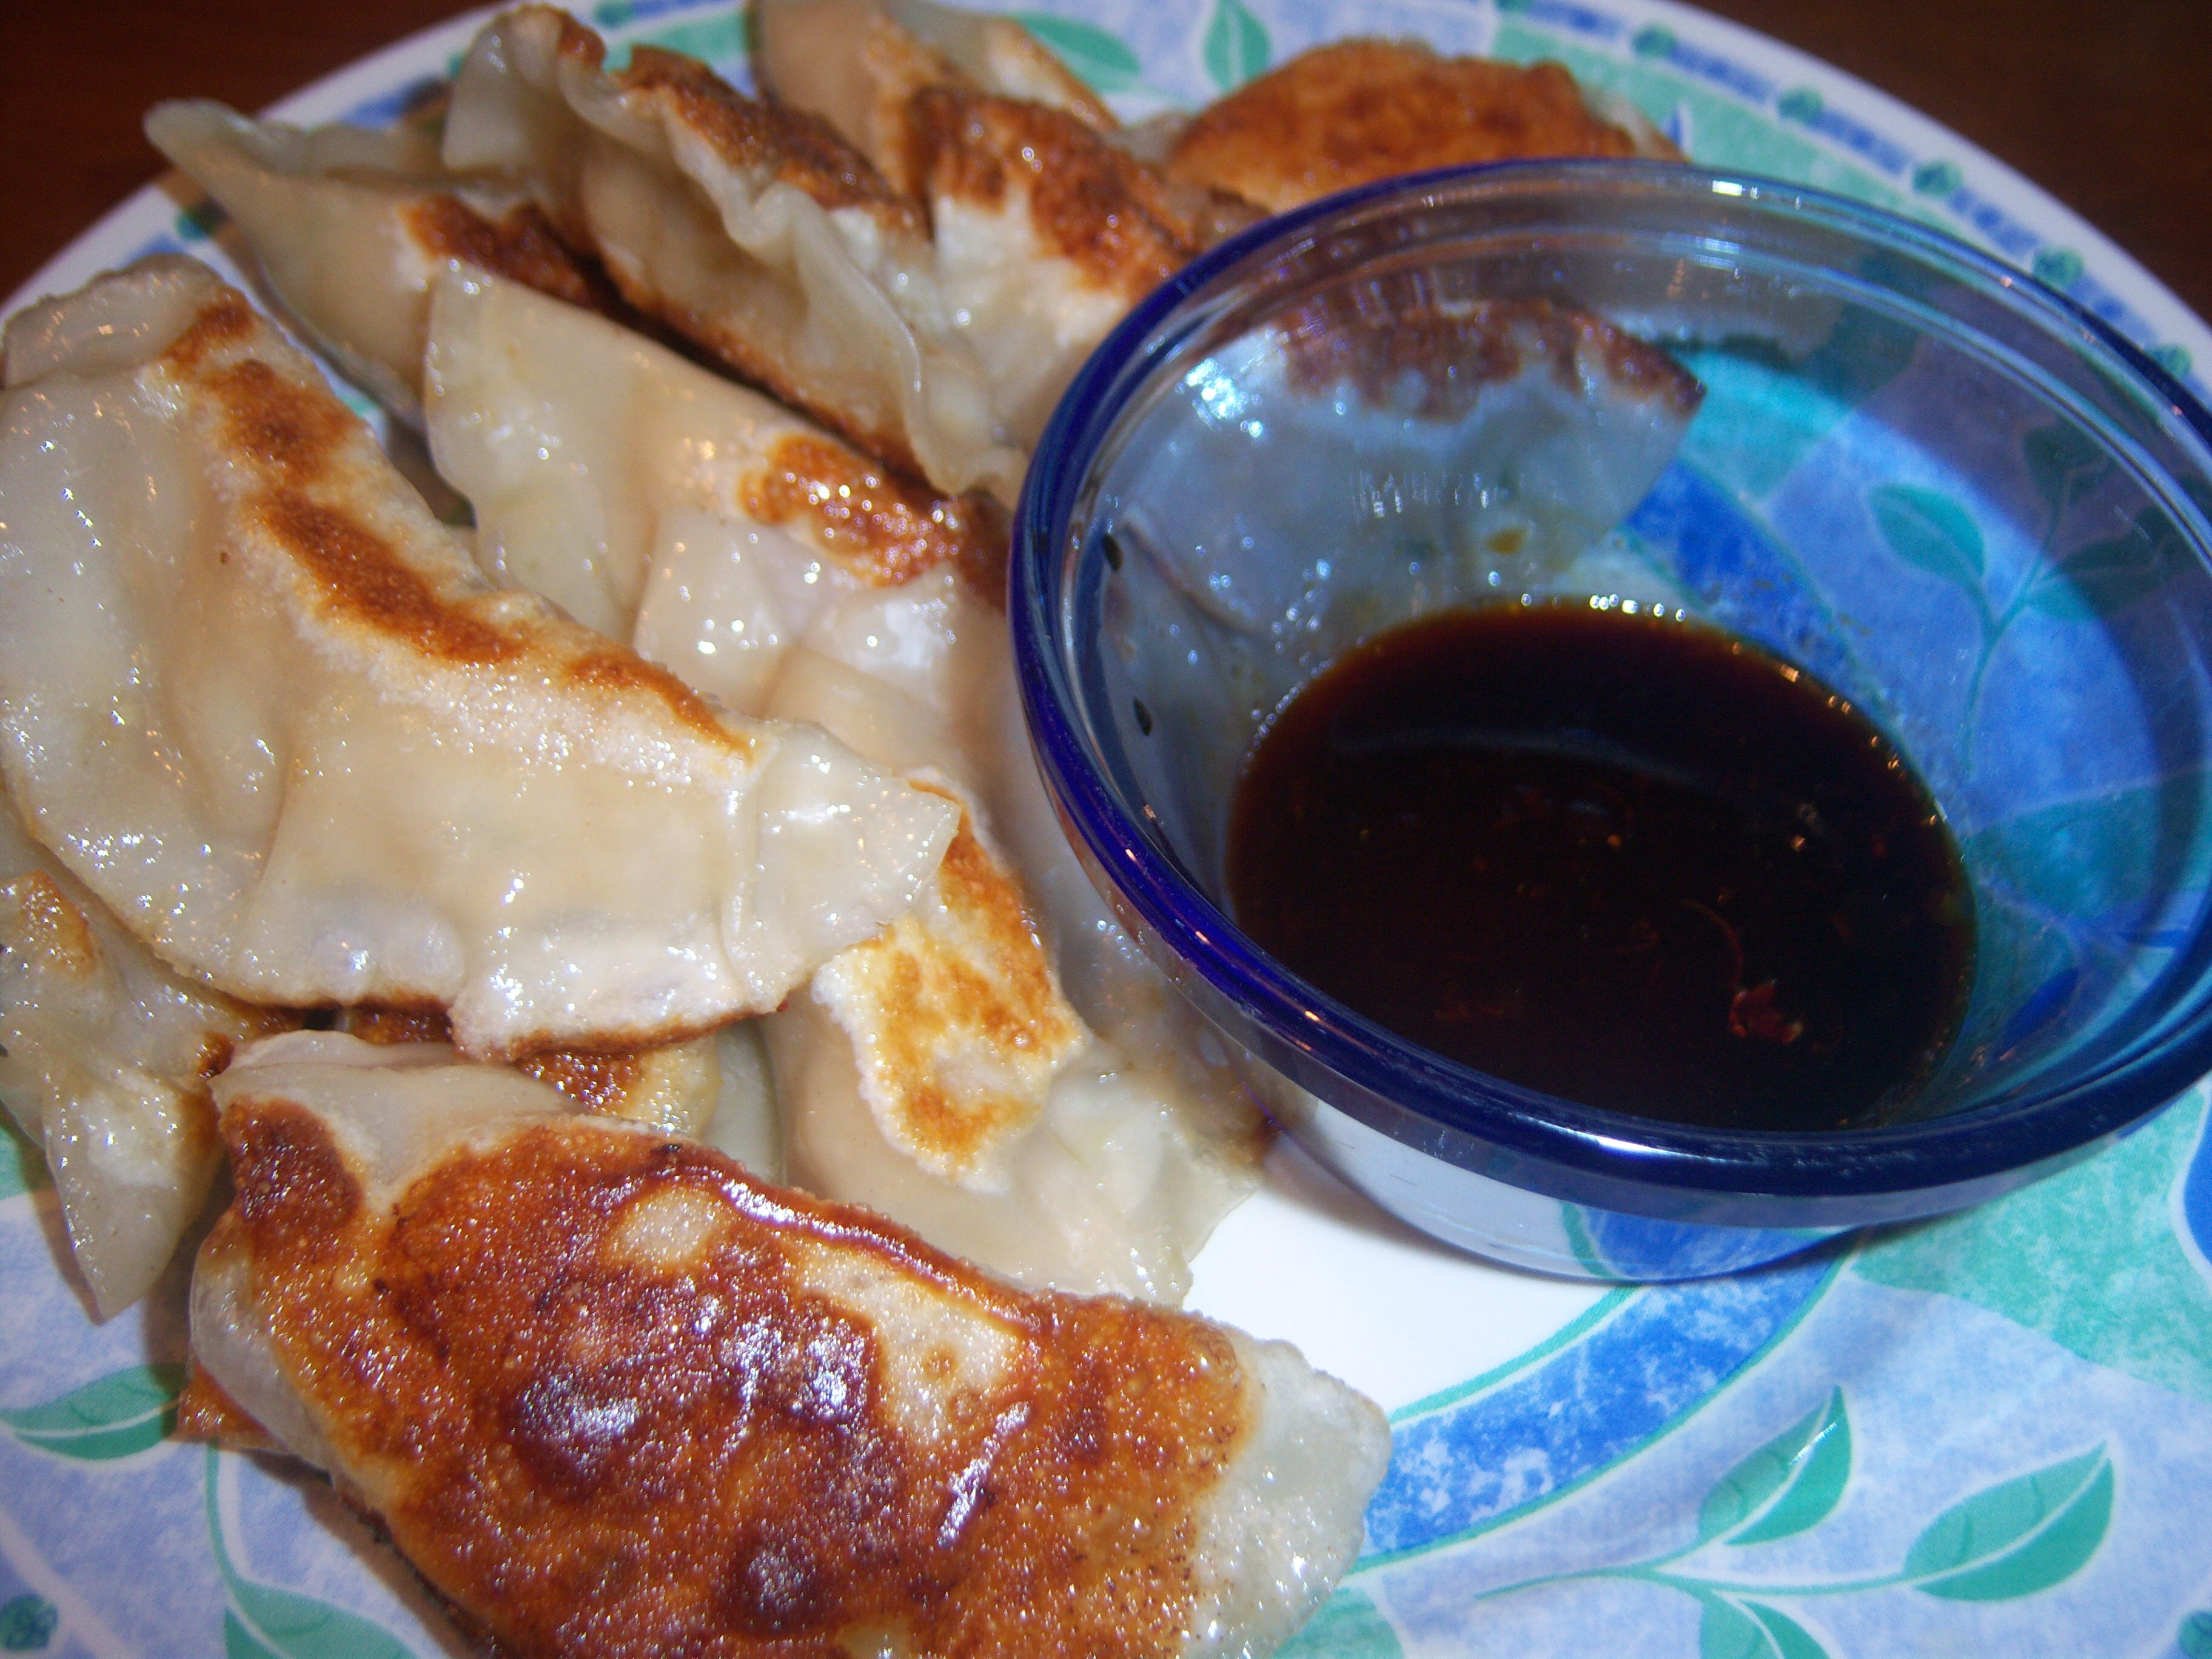 My family loves potstickers. I’ve bought them frozen and I’ve also made my own once or twice before, but I used wonton wrappers and ended up with little beggar’s purses. I was ready to make real potstickers. Lucinda Scala Quinn recently made this recipe on Martha’s show. The recipe is pretty easy, as far as prep goes. I used ground turkey instead of pork which I mixed with the chives, soy sauce, sherry, ginger, sesame oil and cornstarch. On tv, I noticed Lucinda added a little water, which is not in the recipe.
I sealed the mixture in the wrappers, which took a while, since I tripled this recipe. I tried to make pretty pleated edges, but mostly it bunched up. The recipe says to boil them for 4 minutes, then sear them in a pan. I was taught to make potstickers by heating a pan with oil, searing the potstickers then adding a little water and putting a lid on and steaming them and that’s how I always have made them in the past. I followed Lucinda’s instructions on this though. It required an extra pot and I had some trouble with the potstickers sticking together when I set them on a plate in between the two steps. It did allow me to sear them on both sides, when in the past I usually seared just the bottom.
The dipping sauce was nice – soy sauce, rice vinegar, sugar and sesame oil. I made about 1/3 of the potstickers (since I tripled the recipe) and froze the rest (which I admit will be very handy to have around, so thanks for suggesting it Lucinda). The family ate every single one and wanted more. I thought they were good, but next time I would add a little more flavor. Maybe it was because I used ground turkey, but I found them a little bland. I think they needed garlic. Other than that, they were quite good.
Luninarias

tracing the template
I was hesitant about this project. I’m always a little leery when something that looks so complicated is spelled out in three tiny little steps. The first problem was the materials. The instructions specifically say to buy a piece of 24×36 black paper. No one sells this. I went to Michael’s, Joann’s and a local art supply store. The art supply store had paper that was 22 x 30 so I ended up buying that and then it turned out it was more than big enough and regular poster size would have worked (grrrr). They did have vellum but I had no idea what weight I wanted. I had to buy one big piece of vellum and cut it down (would have been nice if the instructions said to buy four 8×11 pieces which is what I ended up needing). Sometimes I think that the MSLO folks who create these projects forget that the rest of us don’t live in NYC where you can buy absolutely anything.
Once I got through the craziness of trying to find the materials, this wasn’t

cutting out the vellum (see the price tag!)
that hard to do. Mr. MarthaAndMe helped out because I’m not so good with a craft knife. We printed out the template for the lantern and traced it on the black paper, then cut it out with the craft knife. Then we printed the witch template onto the pieces of vellum we had cut down to size. (Mr. MarthaAndMe was very upset about a price tag that would not come off and which had to go through the printer – we don’t understand who would sell a piece of paper meant for projects that has a price tag that won’t come off!).
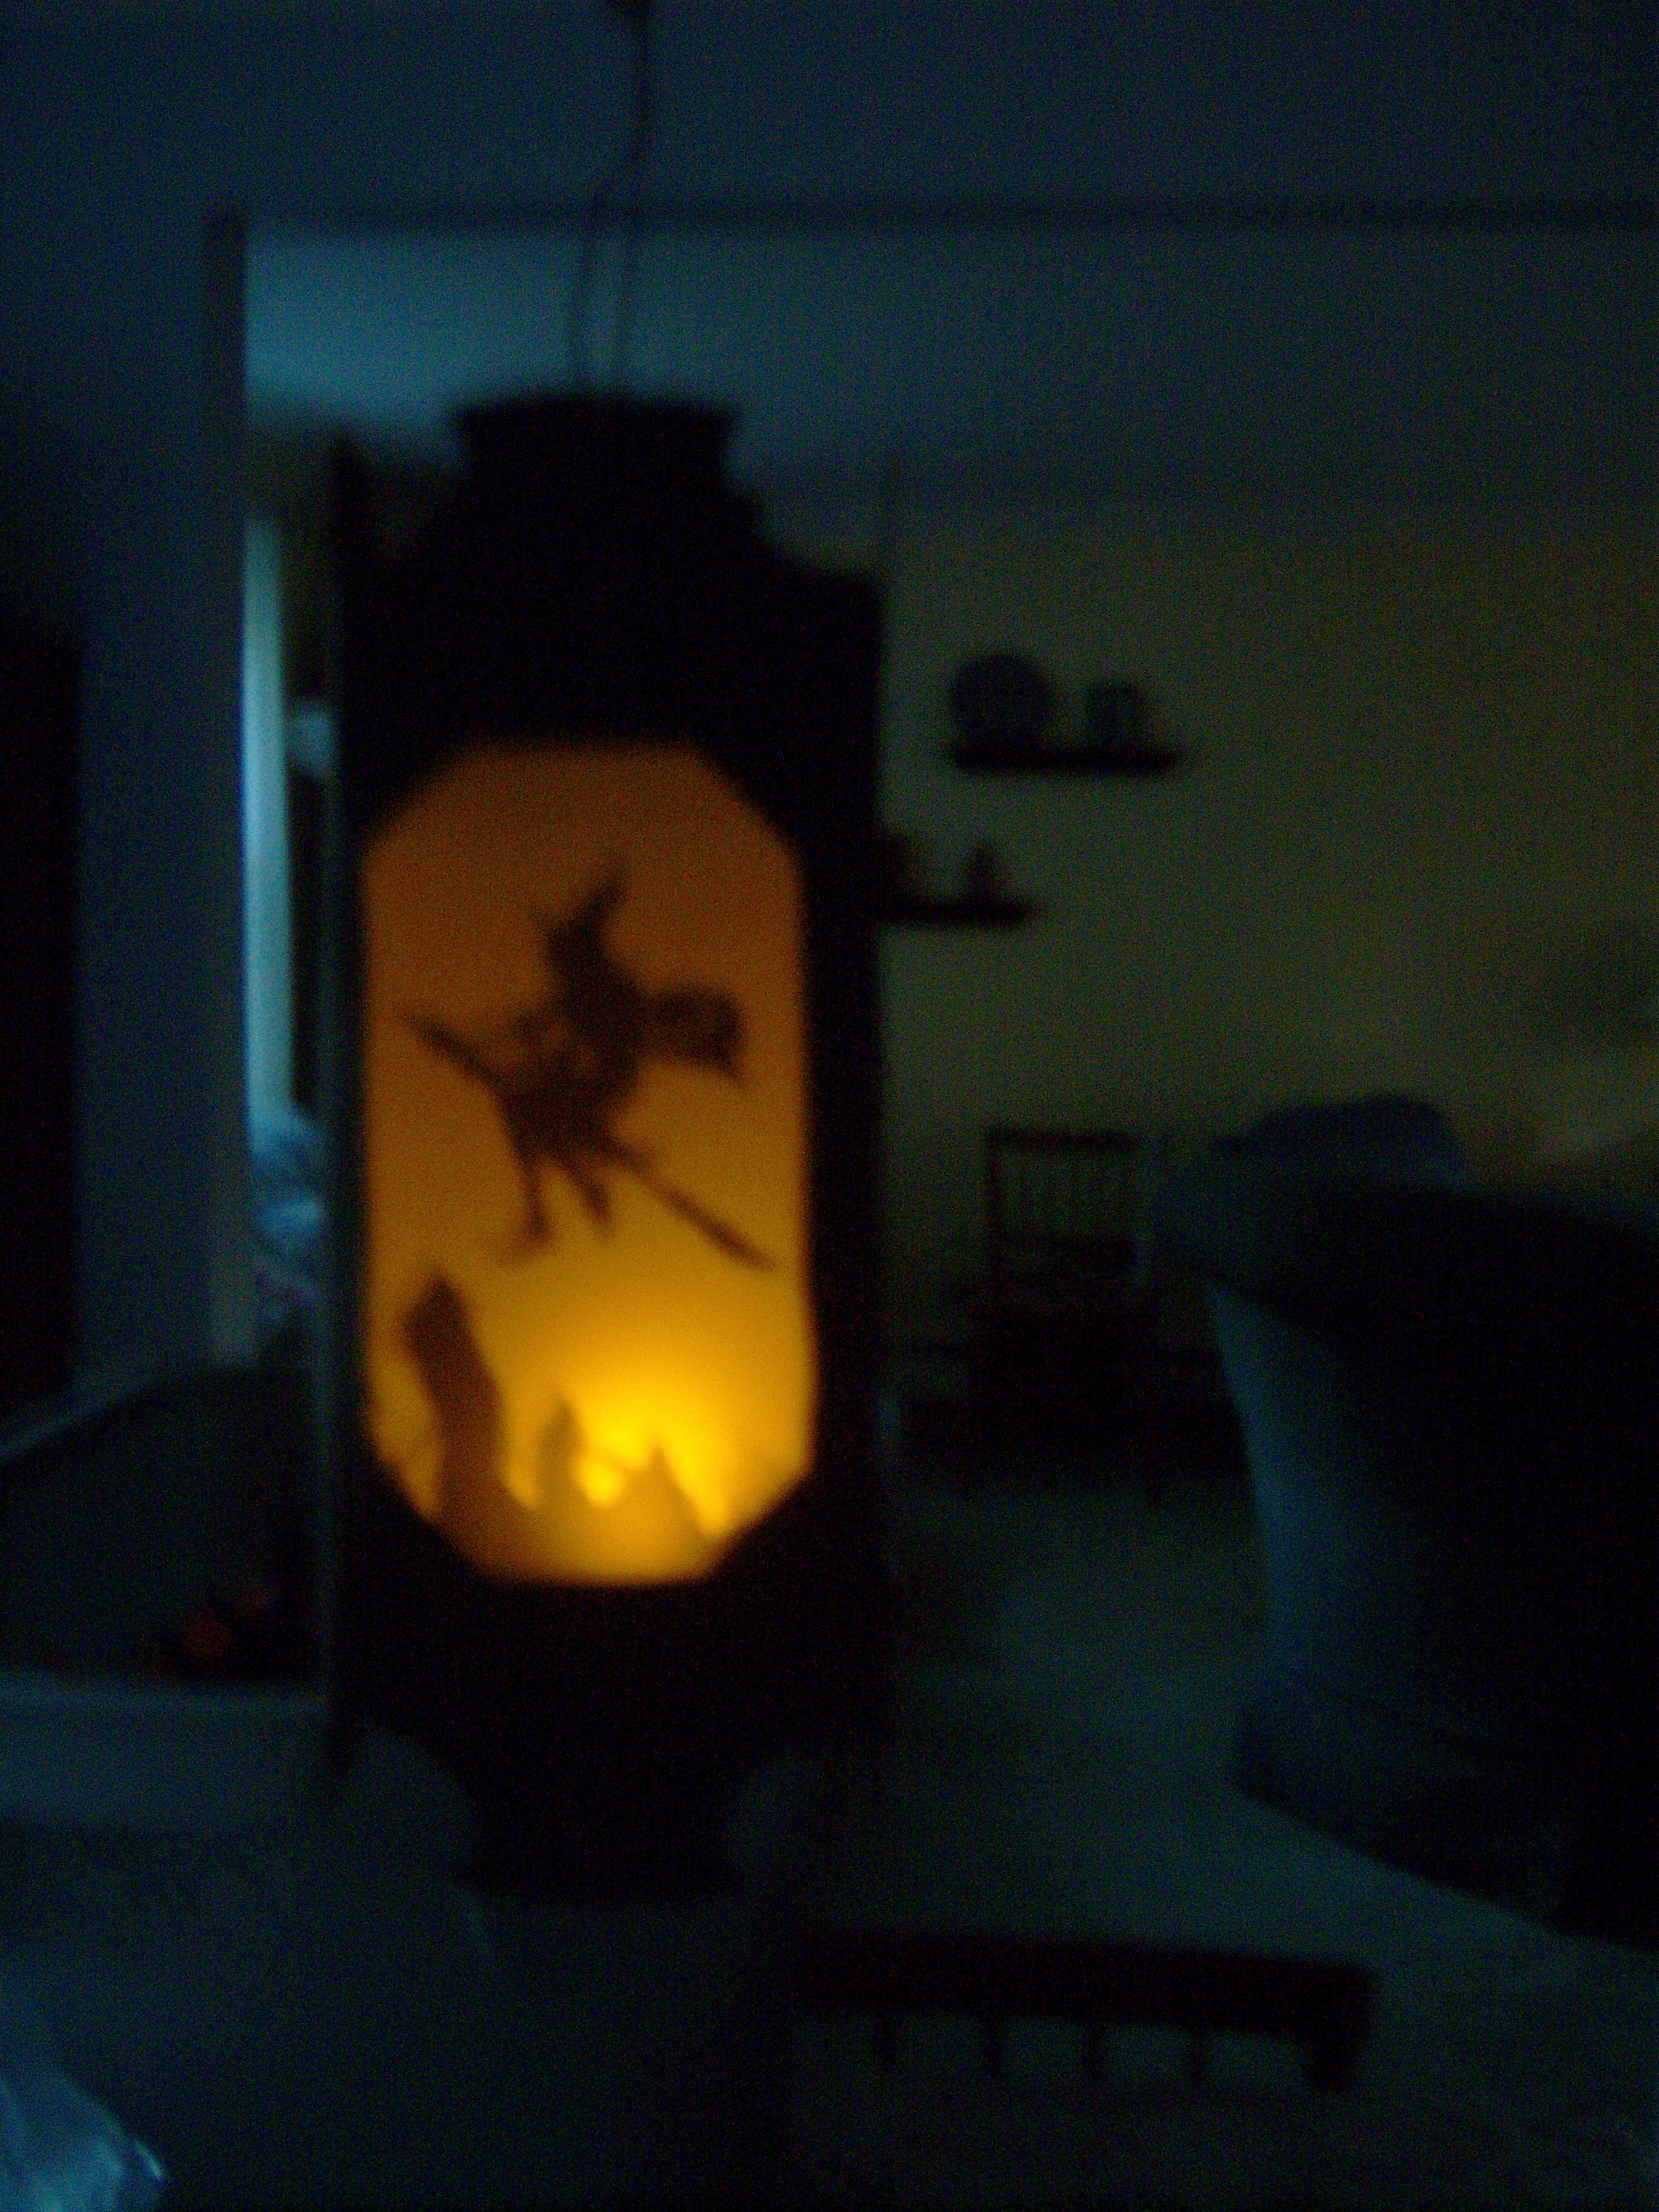 Then we used tape to attach the vellum to the lantern windows. We folded the lantern up (I don’t have a bone folder and we were fine without it). The tricky part was attaching wire and the hanging battery powered little light inside. Mr. MarthaAndMe had to handle that part.
This project took about an hour, not counting the shopping time. I was really quite pleased with the results. We hung it from our dining room chandelier, so that it will be over the table for the Halloween 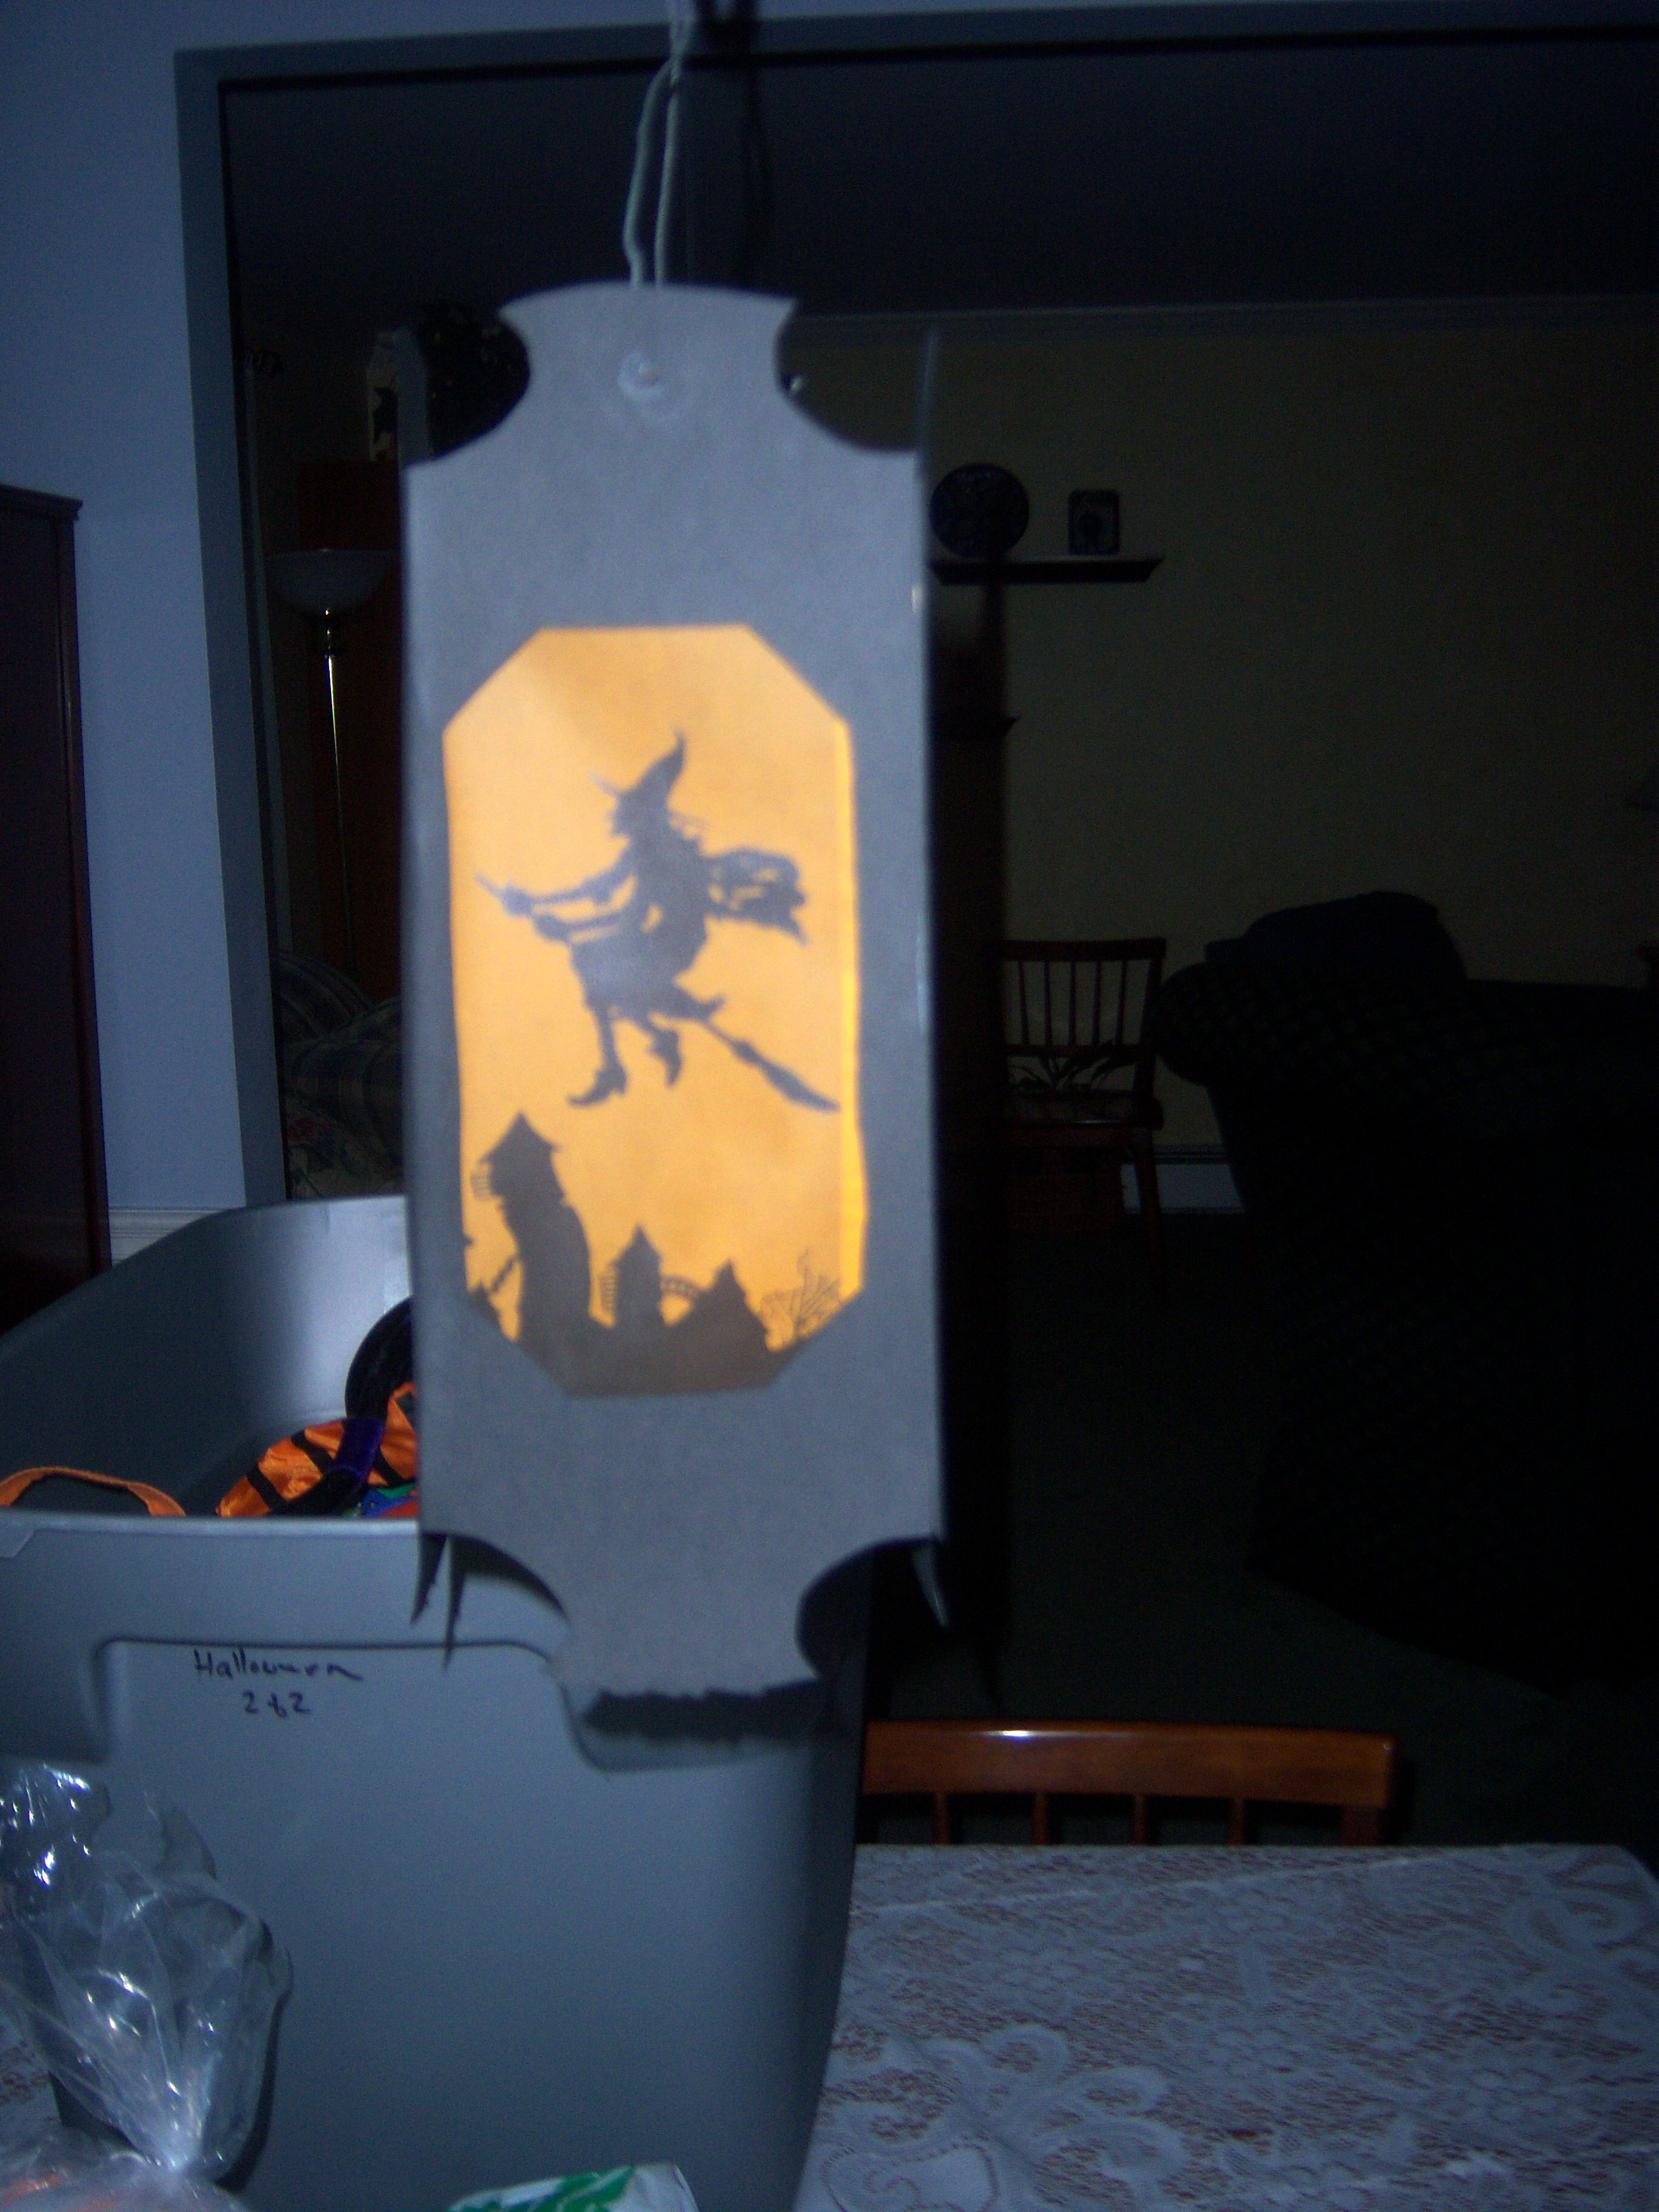 party.

For this week’s assignment, I chose pork and chive potstickers (Oct Everyday Food) and Luminarias (October Living) so folks could choose one they wanted to do. Potstickers My family loves potstickers. I’ve bought them frozen and I’ve also made my own once or twice before, but I used wonton wrappers and ended up with little … Read more →

 For this week’s assignment, I chose
 My family loves potstickers. I’ve bought them frozen and I’ve also made my own once or twice before, but I used wonton wrappers and ended up with little beggar’s purses. I was ready to make real potstickers. Lucinda Scala Quinn recently made

 Then we used tape to attach the vellum to the lantern windows. We folded the lantern up (I don’t have a bone folder and we were fine without it). The tricky part was attaching wire and the hanging battery powered little light inside. Mr. MarthaAndMe had to handle that part.
 party.
 First, I apologize to all Martha Mondays members because when it comes to crafts like these, I am just hopeless. I gave it my best shot, but I’m pretty much a total crafting loser.


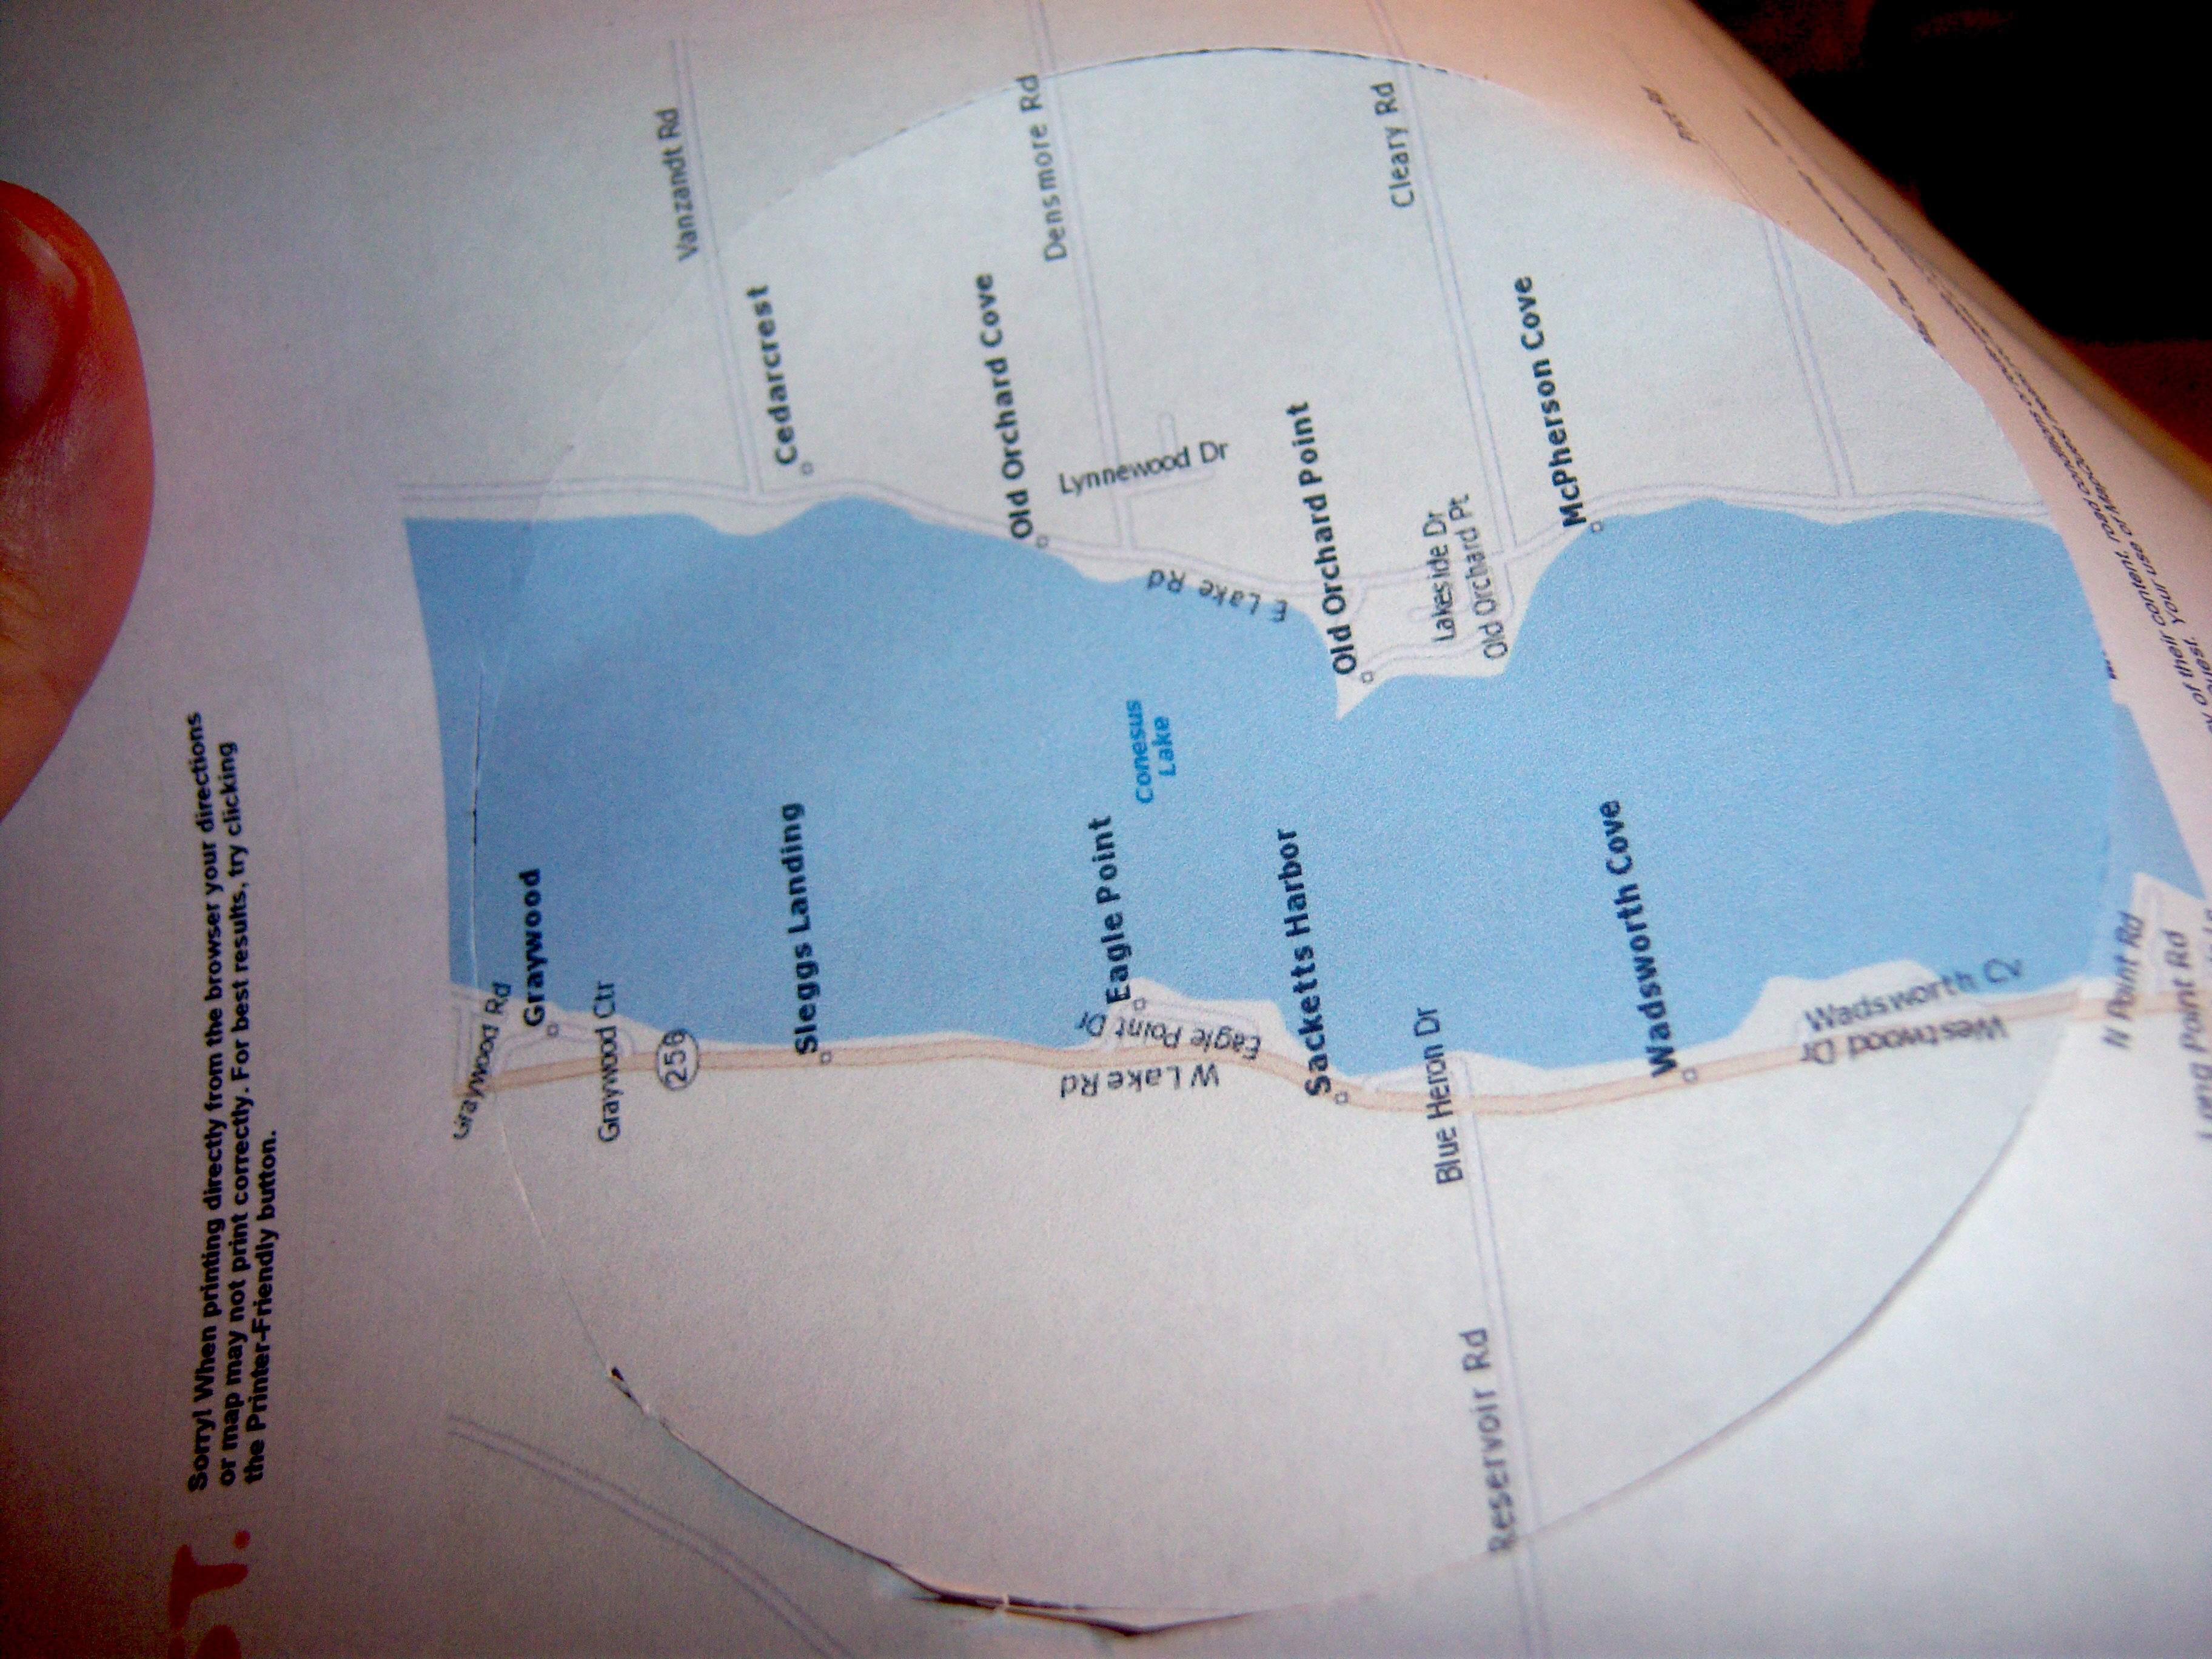 some trouble cutting the maps out. Martha says to use the knife to trace around the edge of the coaster. Mine didn’t come out perfectly even and in some places it was still attached to the paper, so I used scissors to cut it and trim it. They weren’t perfectly round. And once I even sliced away some of the cork! I am a menace with craft knife in hand.
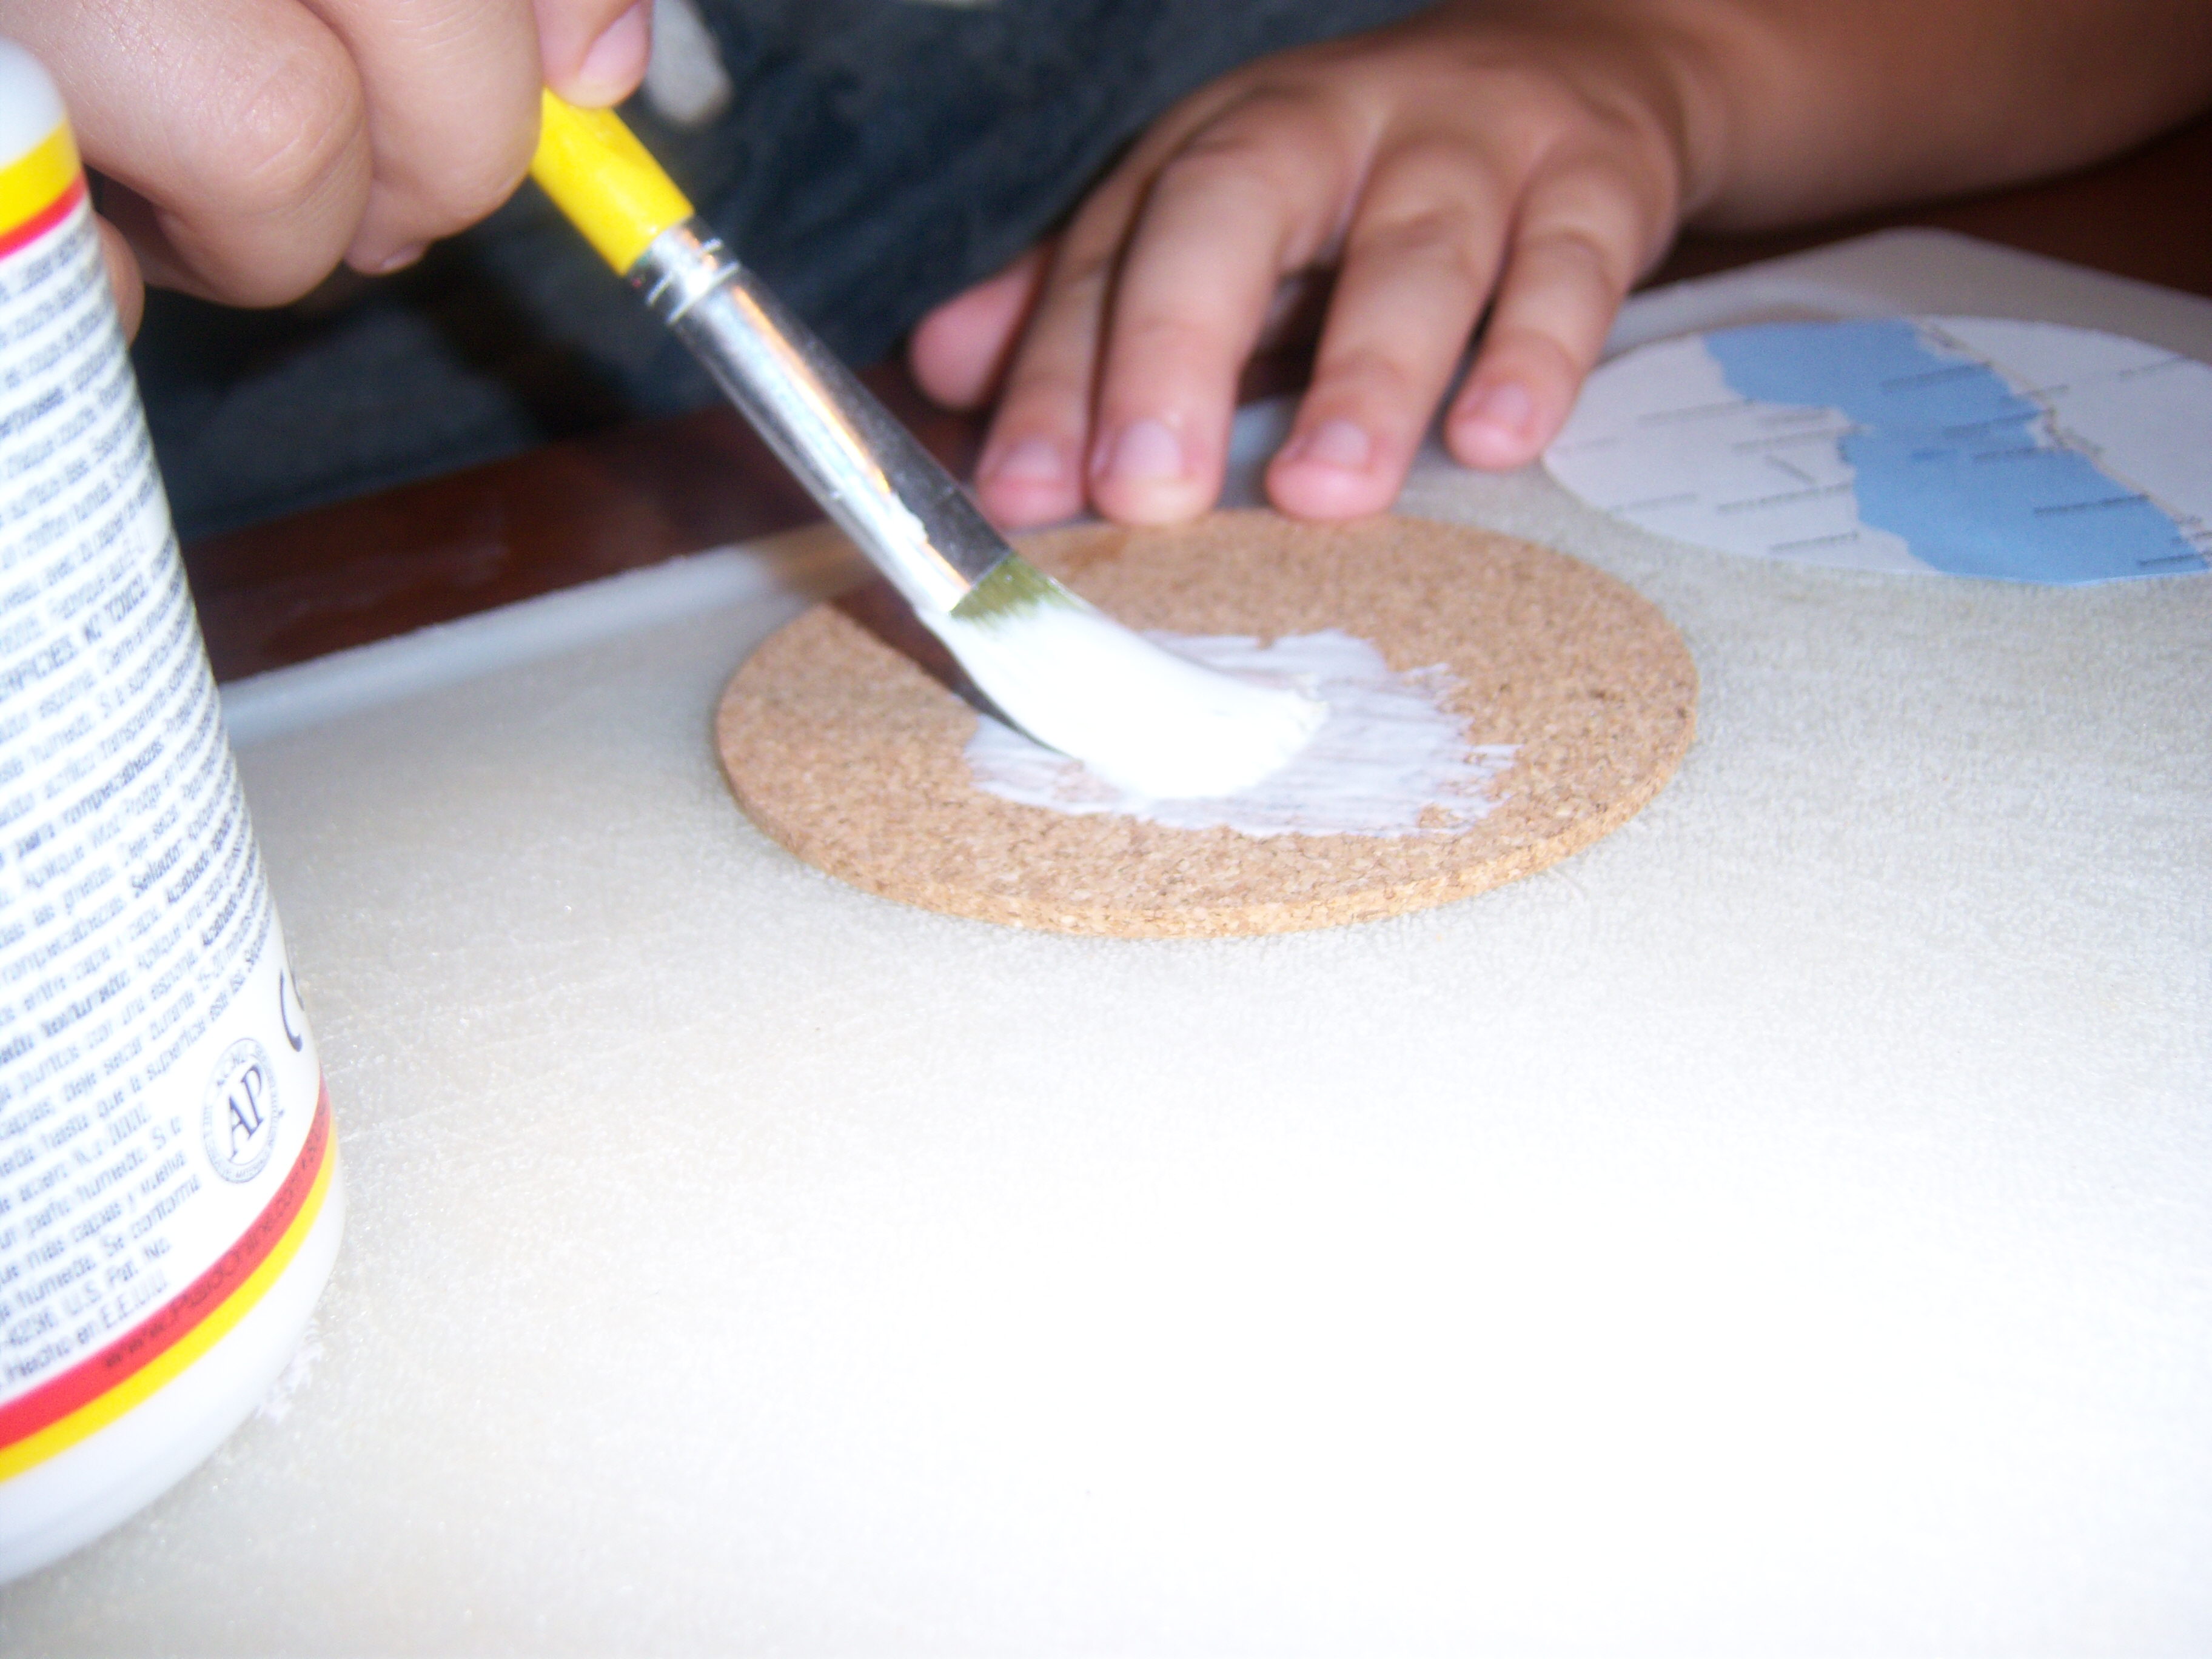 Dude Martha assisted on this project. We painted ModPodge on the coaster, placed the map on top and smoothed it out. Then we applied more ModPodge and also did the edges. We left them to dry.
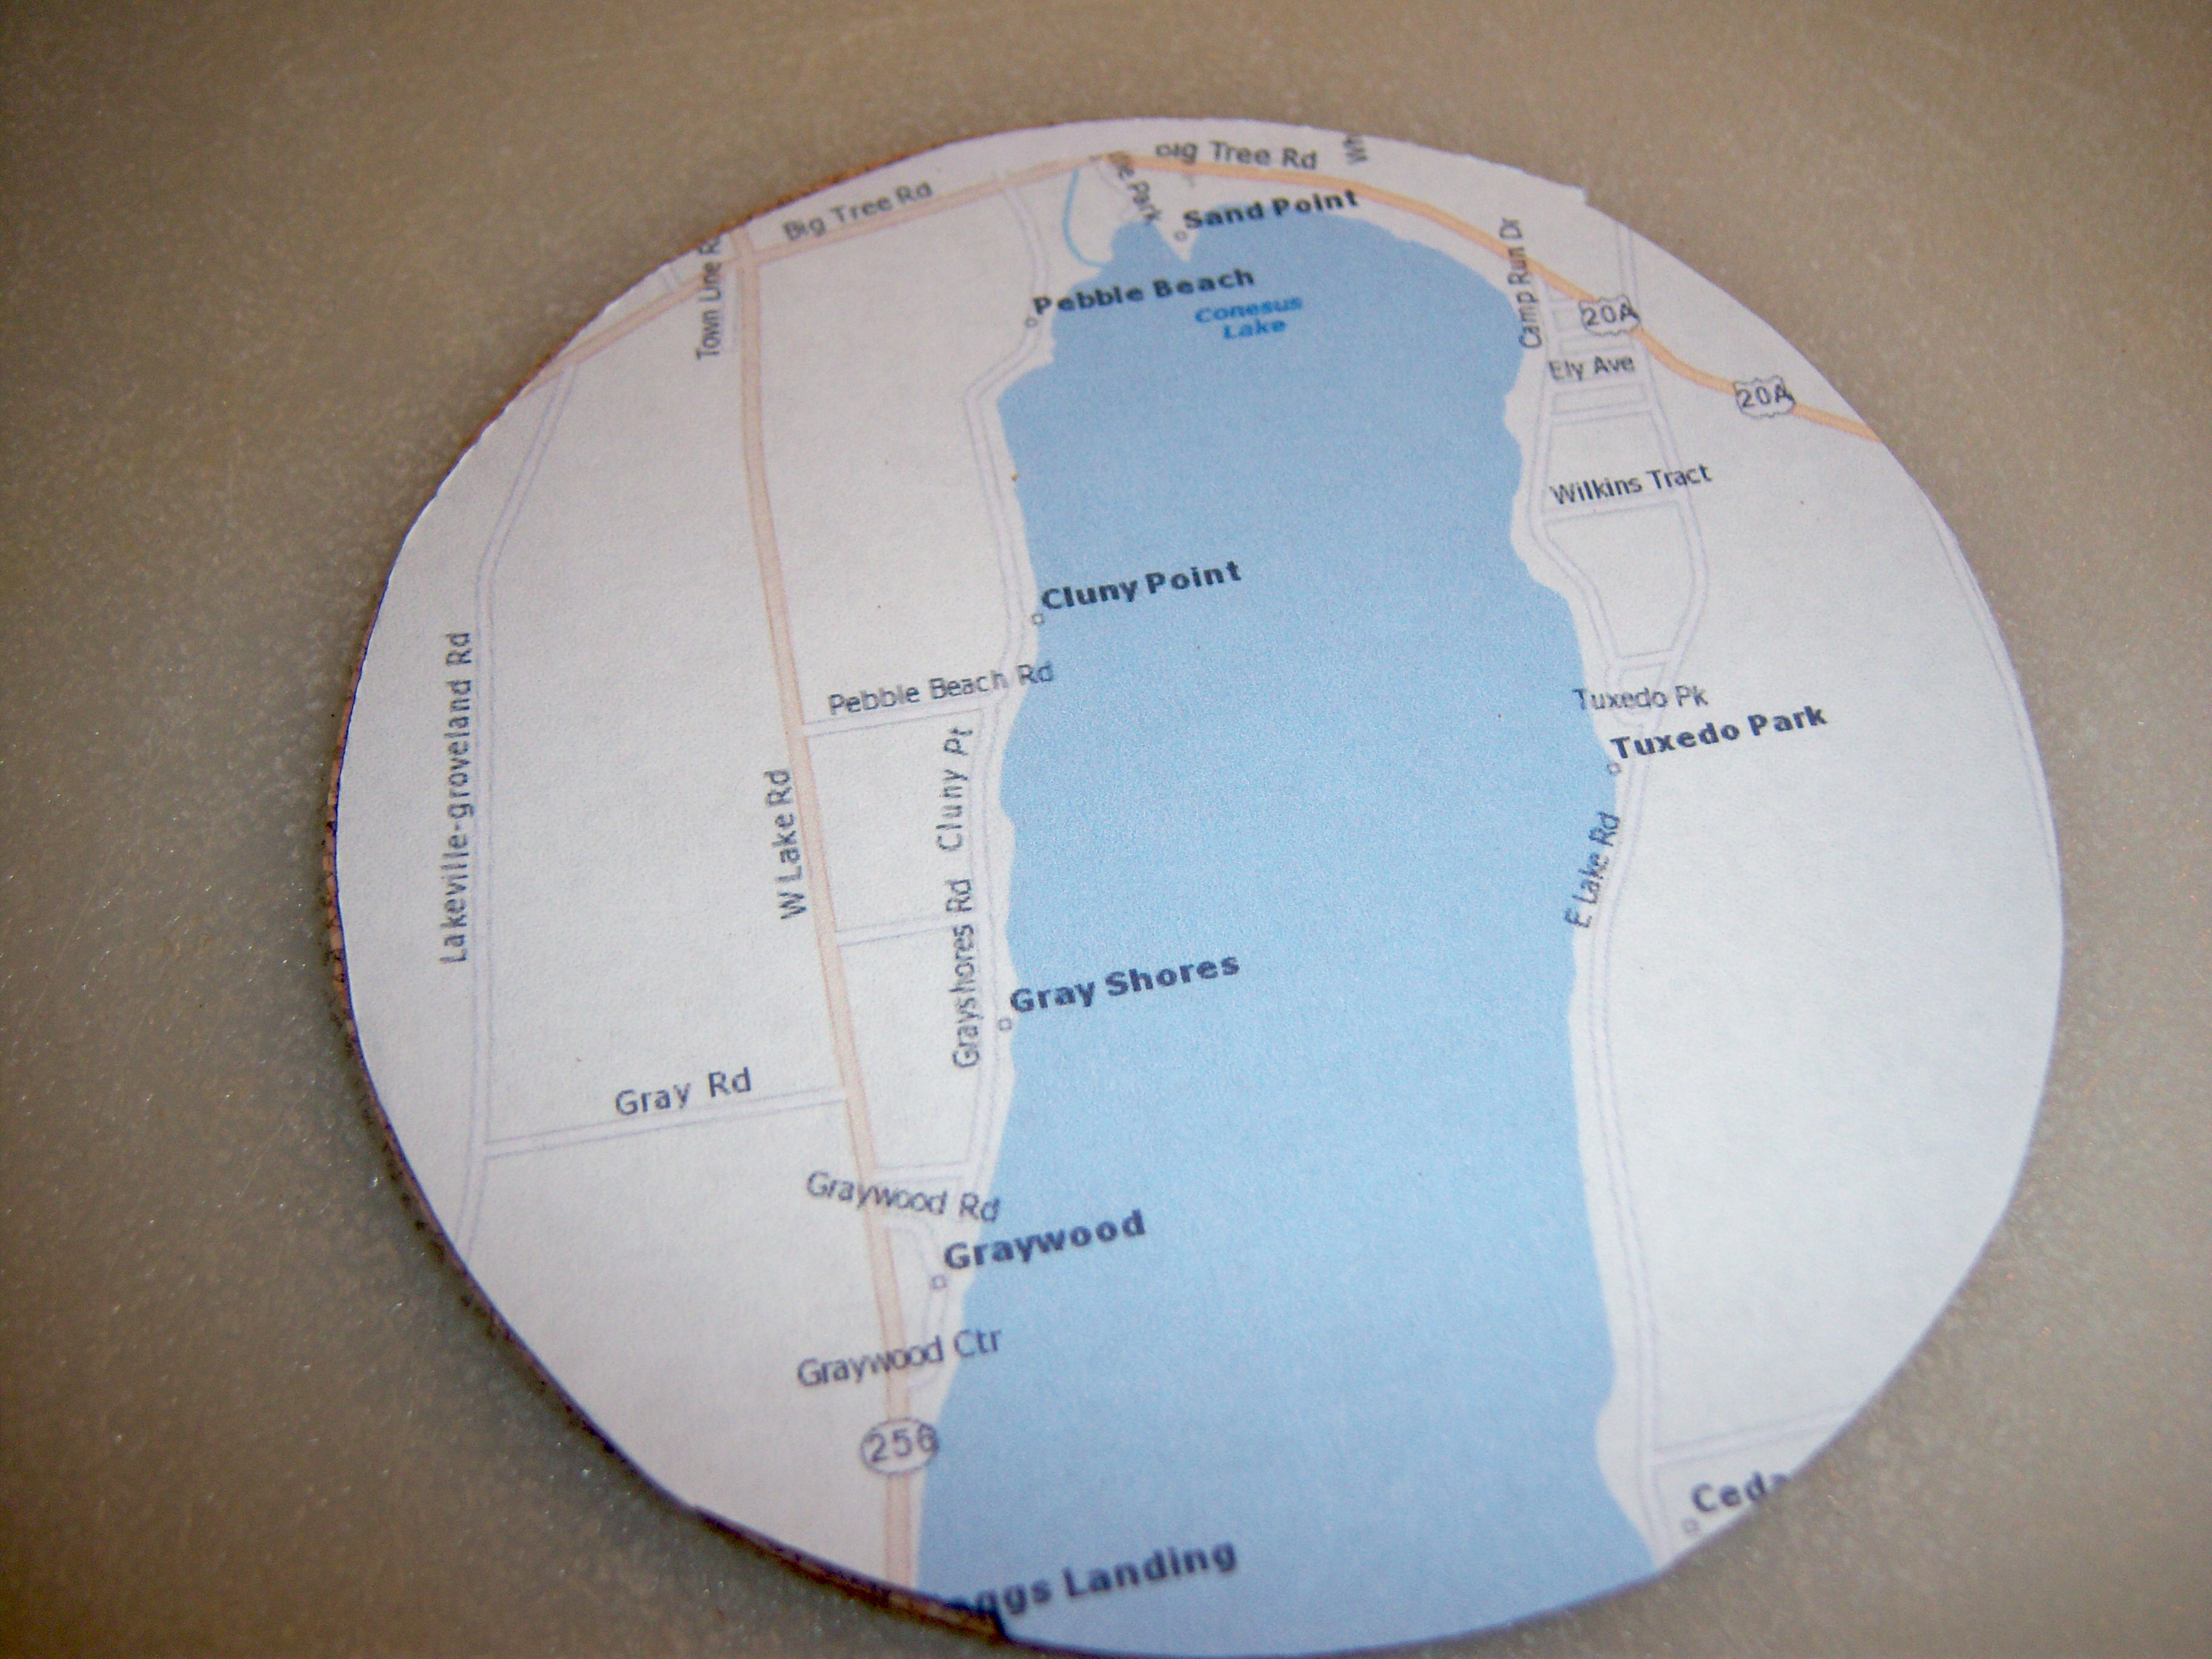 to the family lake house (since I used a map of the lake) and I think they will be a fun thing to have there. This project was easy (if *I* can get good results, it must be easy) and fun. You could do lots of other things other than maps with this. Photos, patterned paper, print outs of famous paintings, all sorts of neat things.
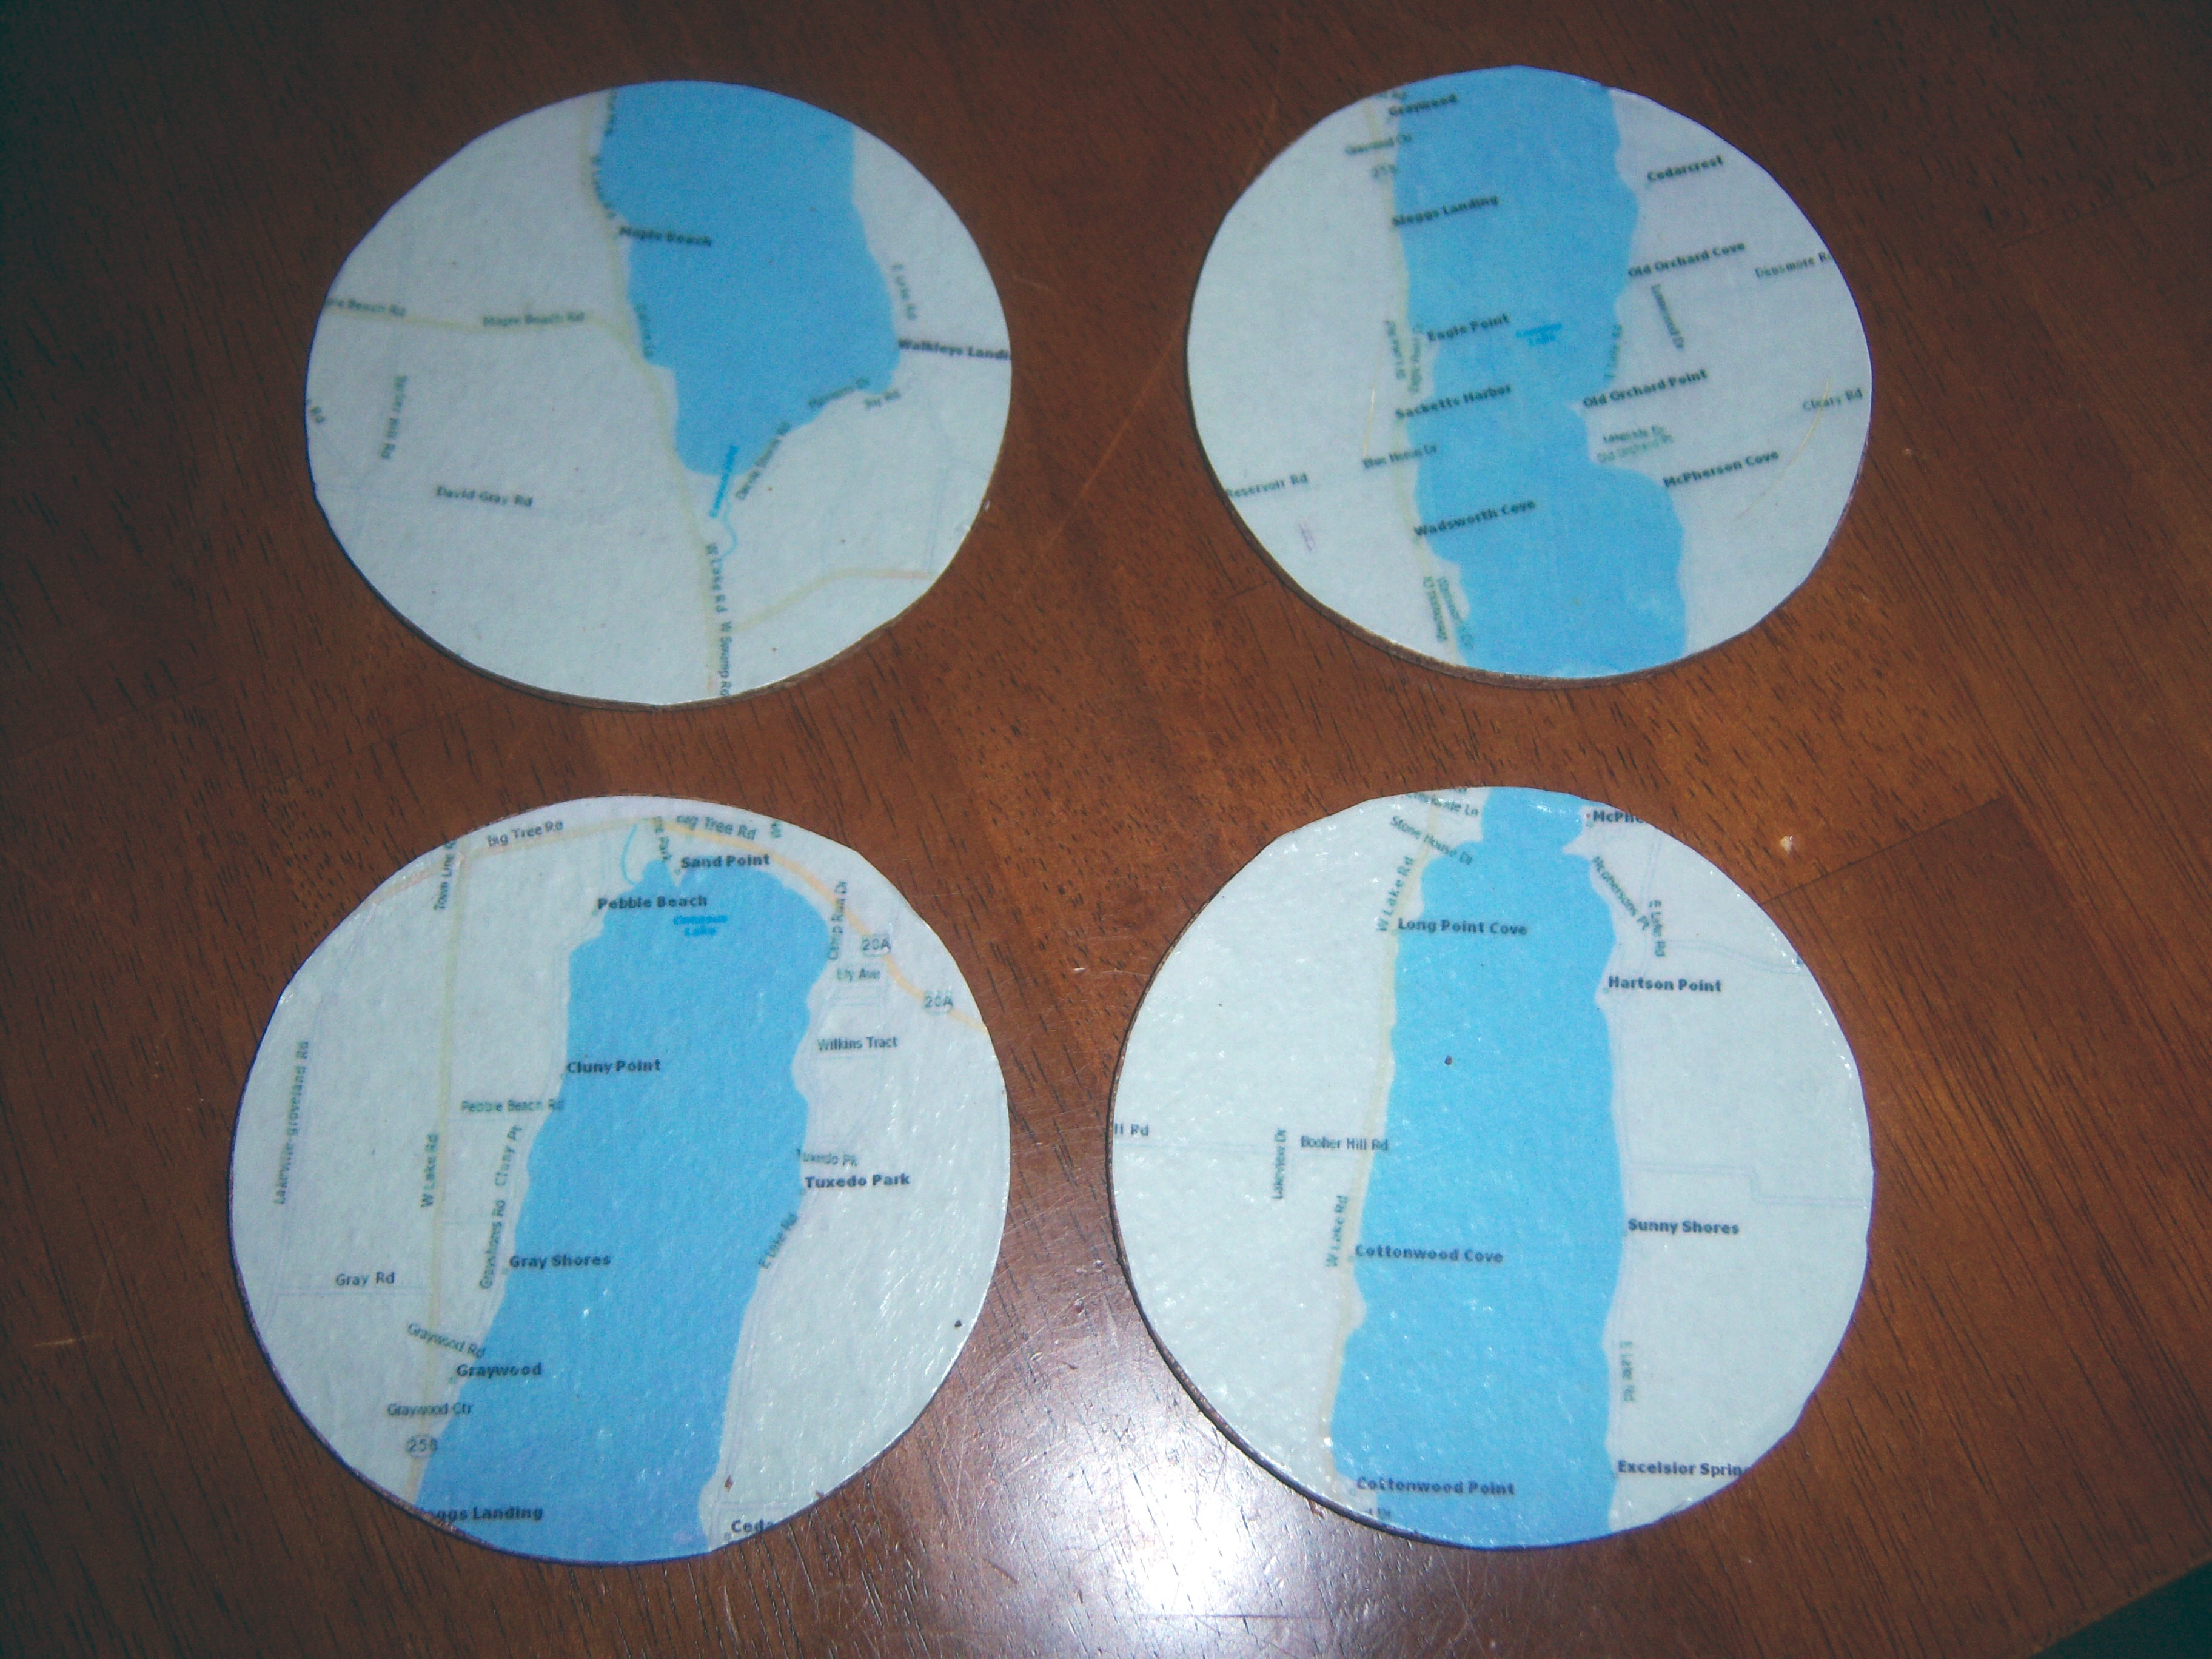 wait to see your results!!
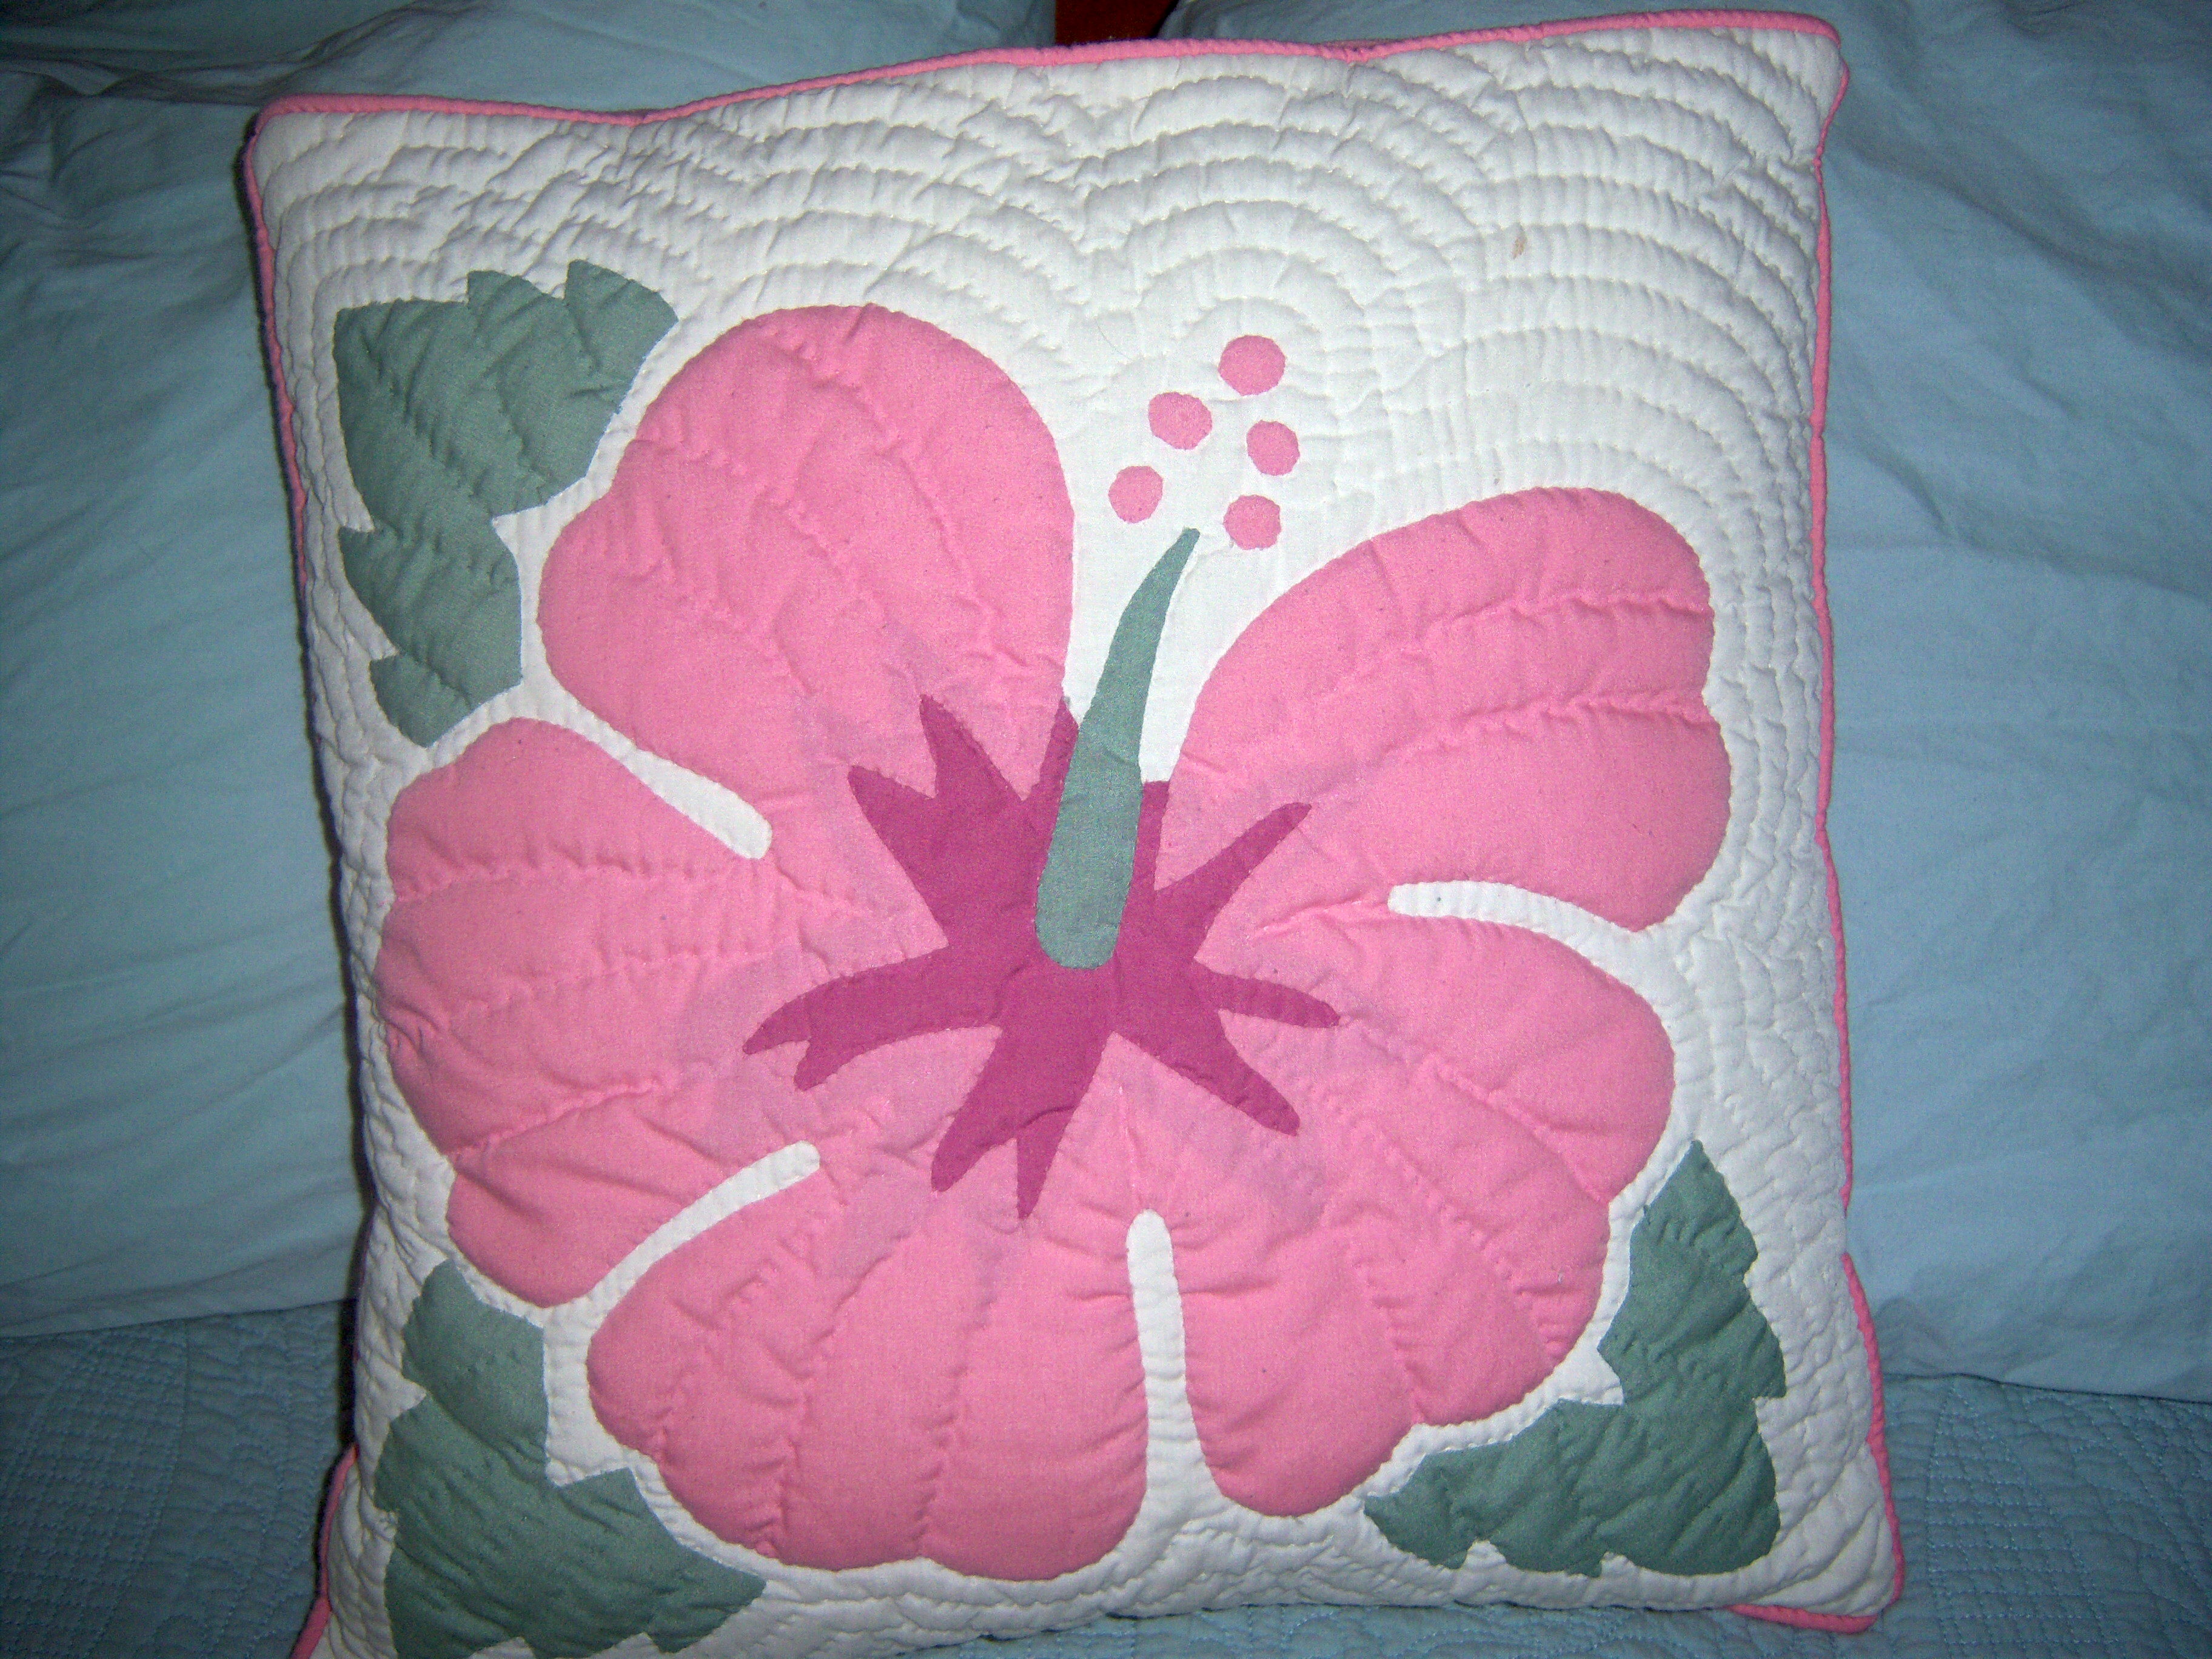
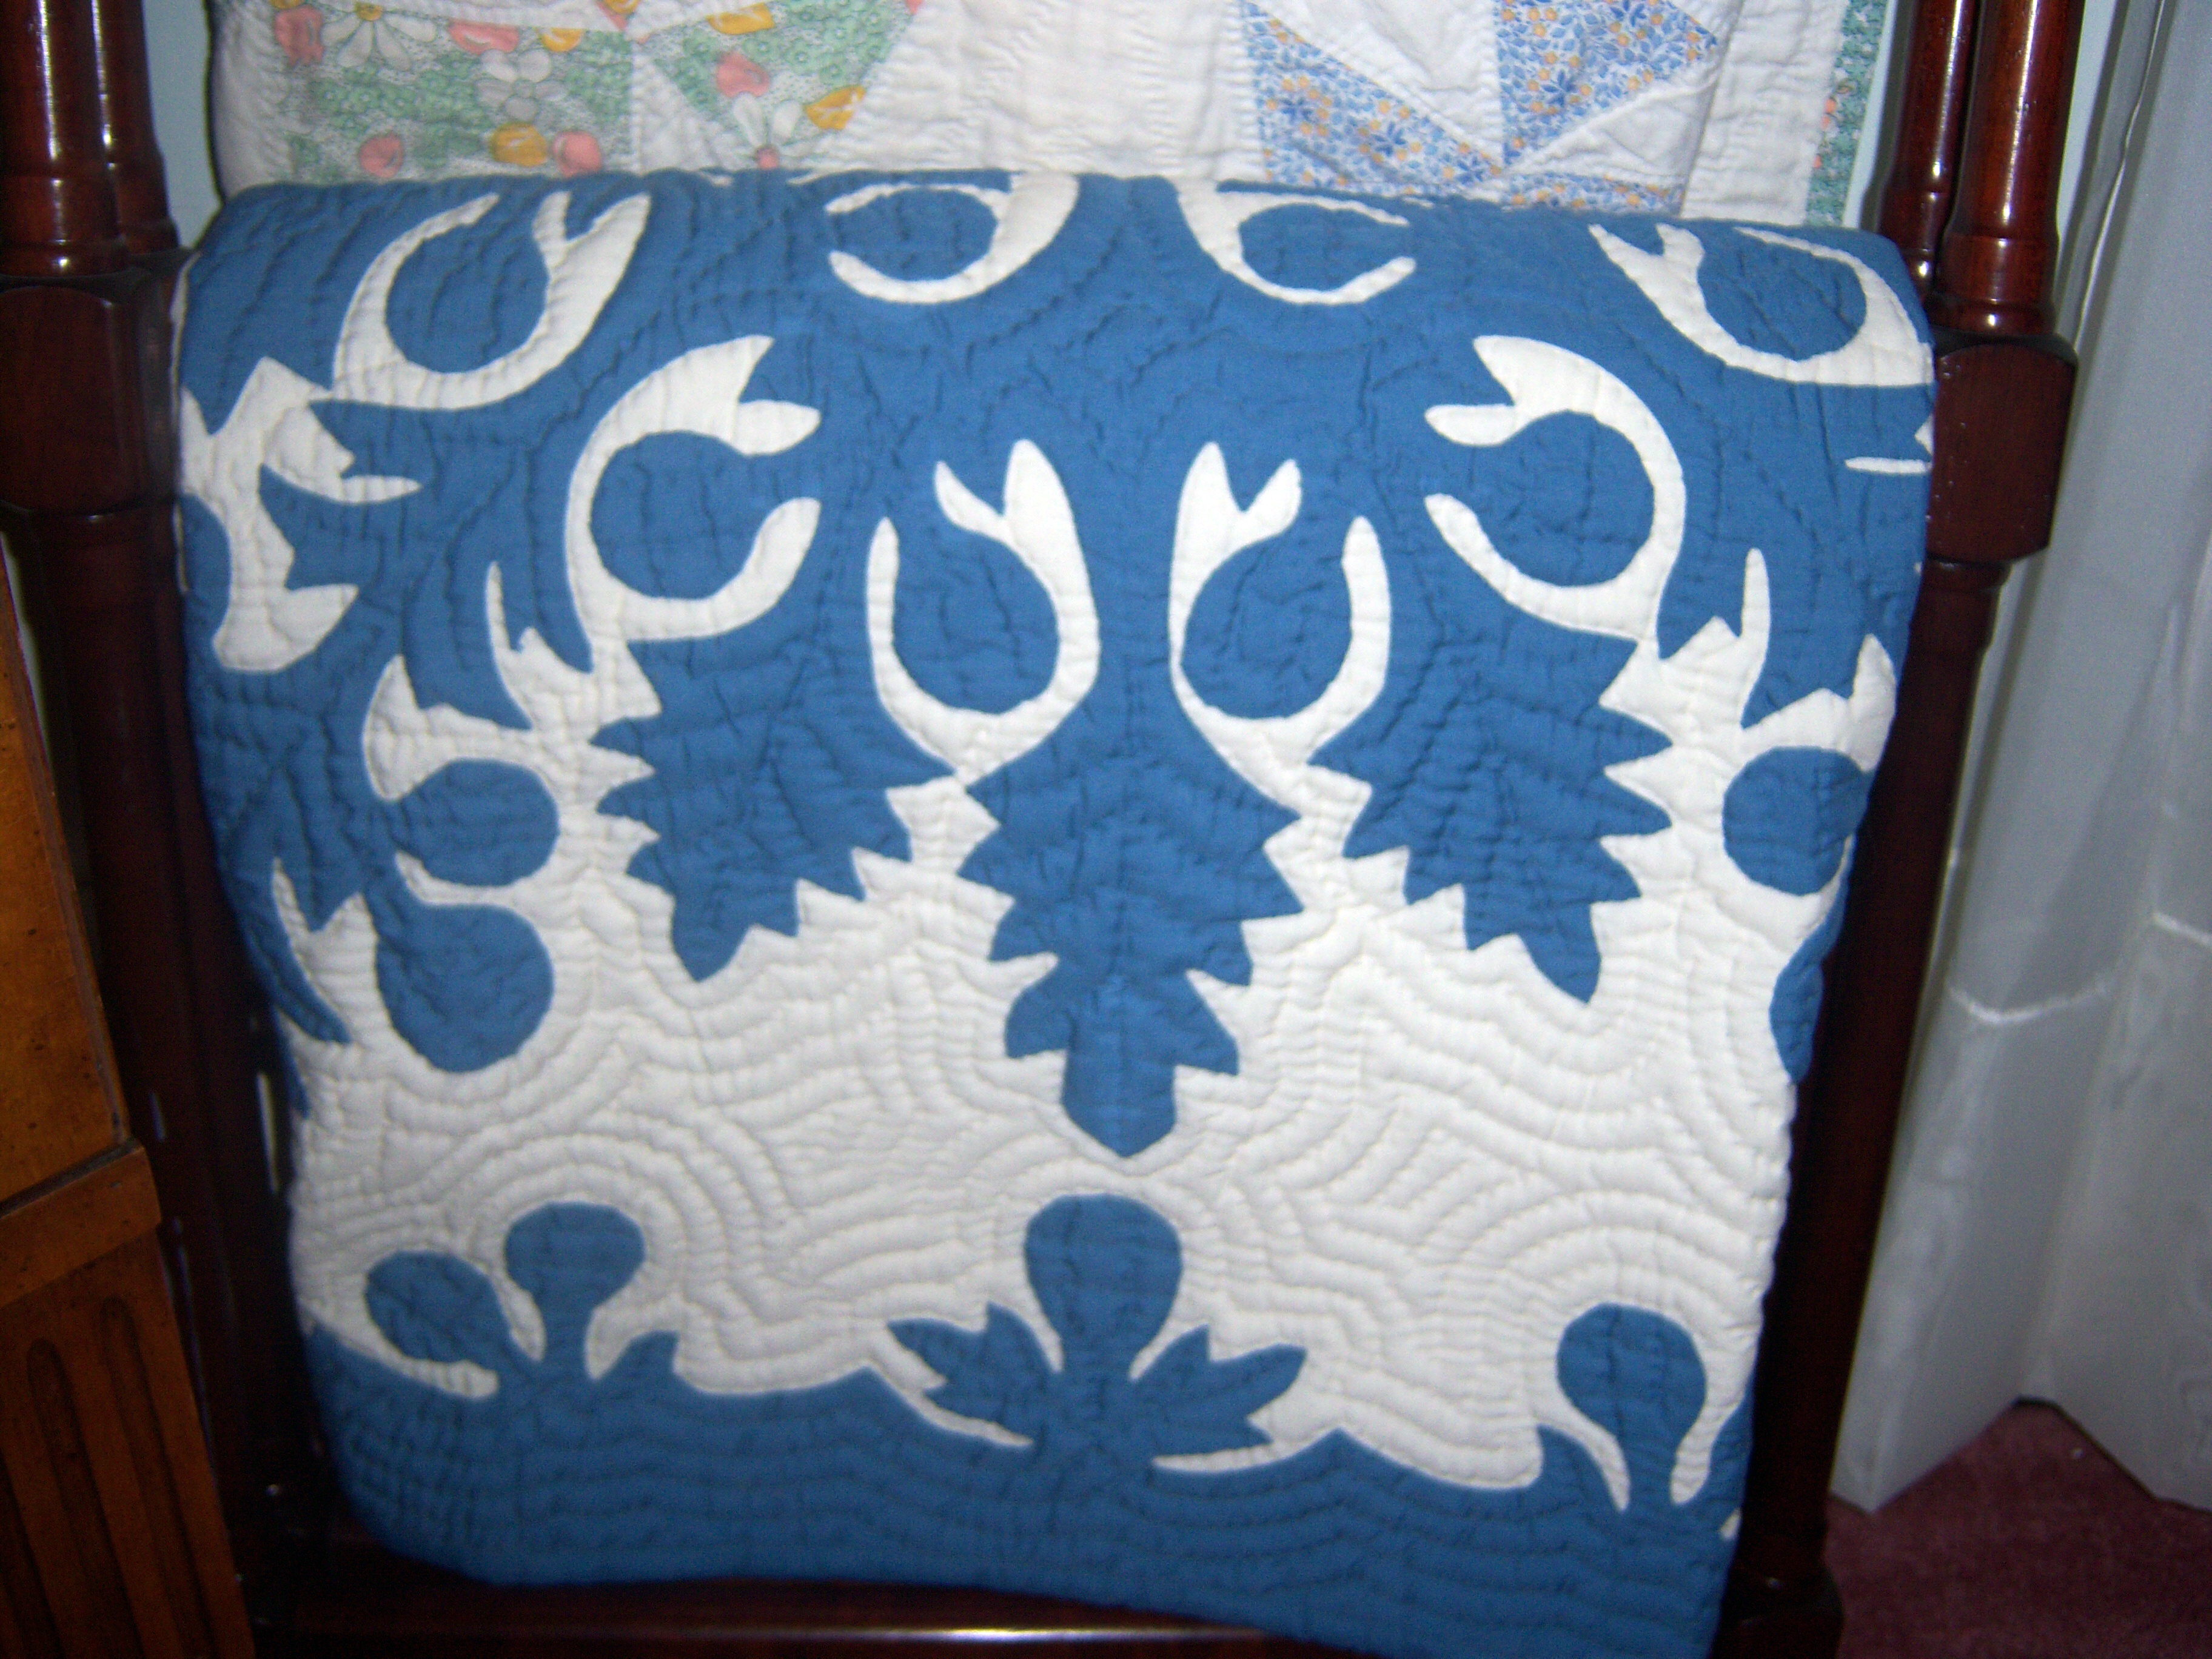 I love the piece in August Martha Stewart Living about Hawaiian quilt-inspired designs. We went to Hawaii last summer and I brought home a quilt and a quilted throw pillow cover. The quilt is the breadfruit pattern. It hangs on a quilt rack with a quilt from my grandmother. I bought it at an amazing little artisan shop in a village outside of Akaka Falls. The throw pillow usually sits on a chair in my bedroom. I bought the pillow at the
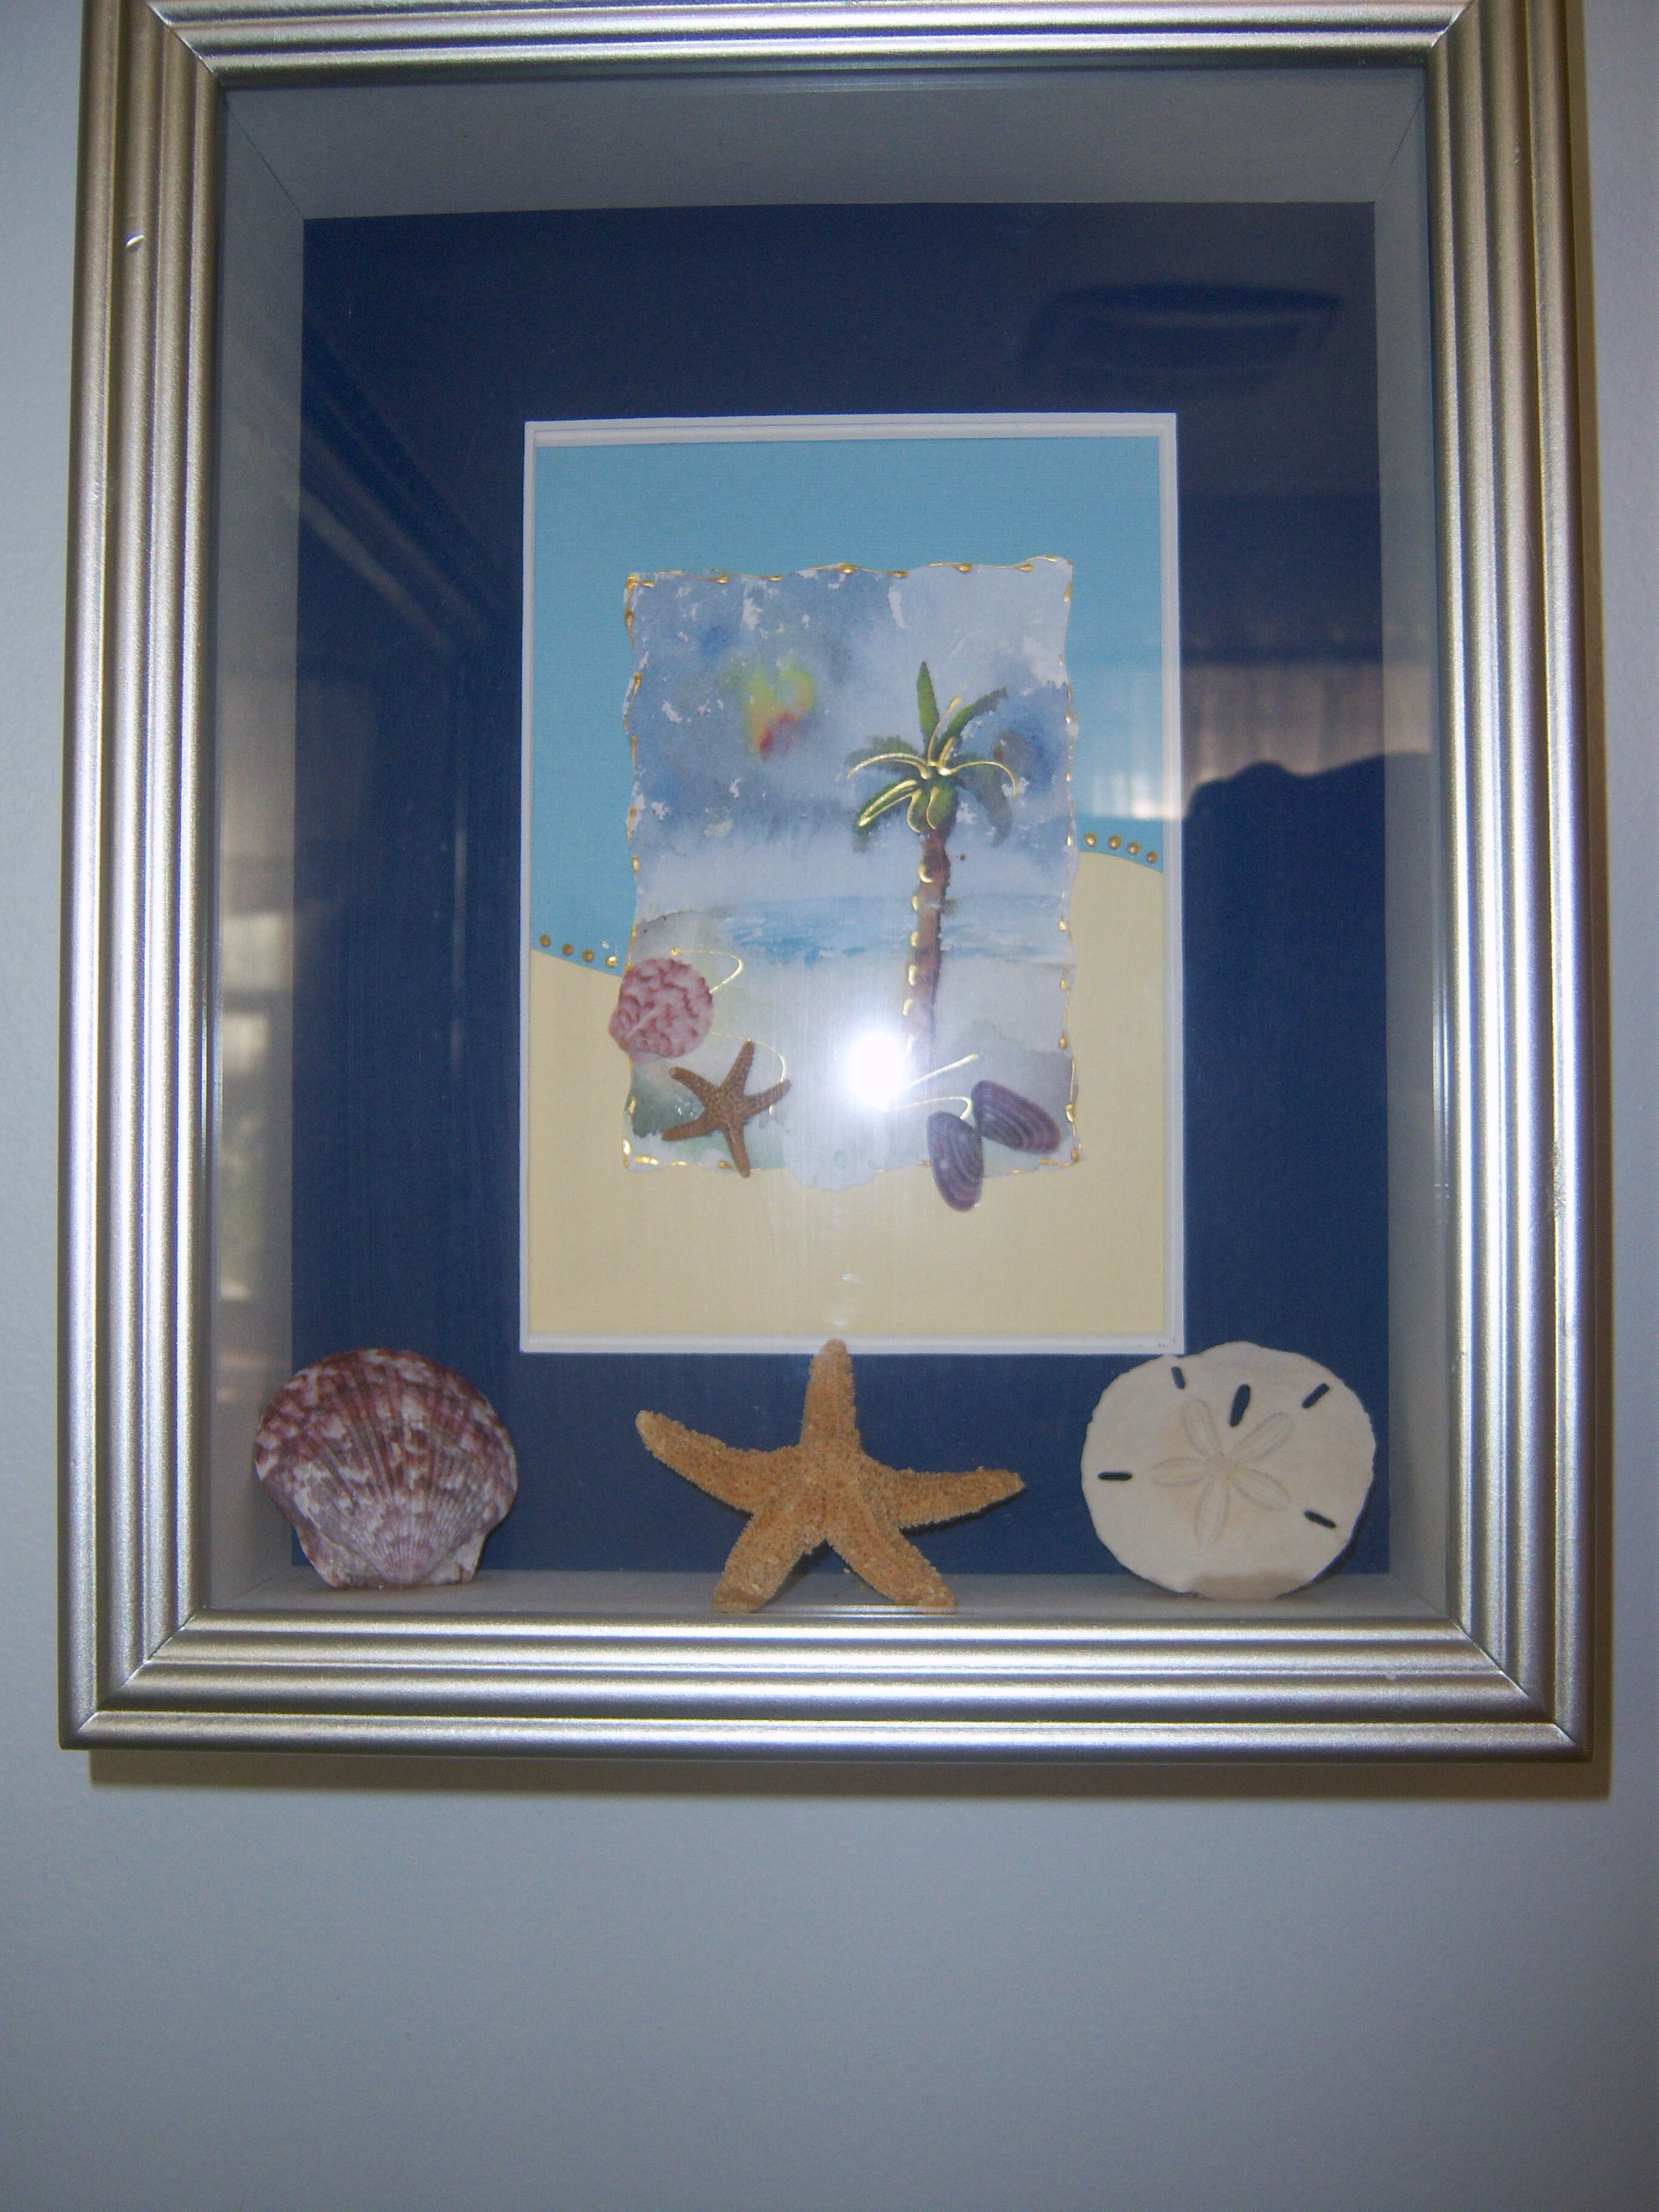 We recently redid our bathroom, which was a nightmare to live through, but I love the end result. I went with a blue and green color scheme – beachy colors.
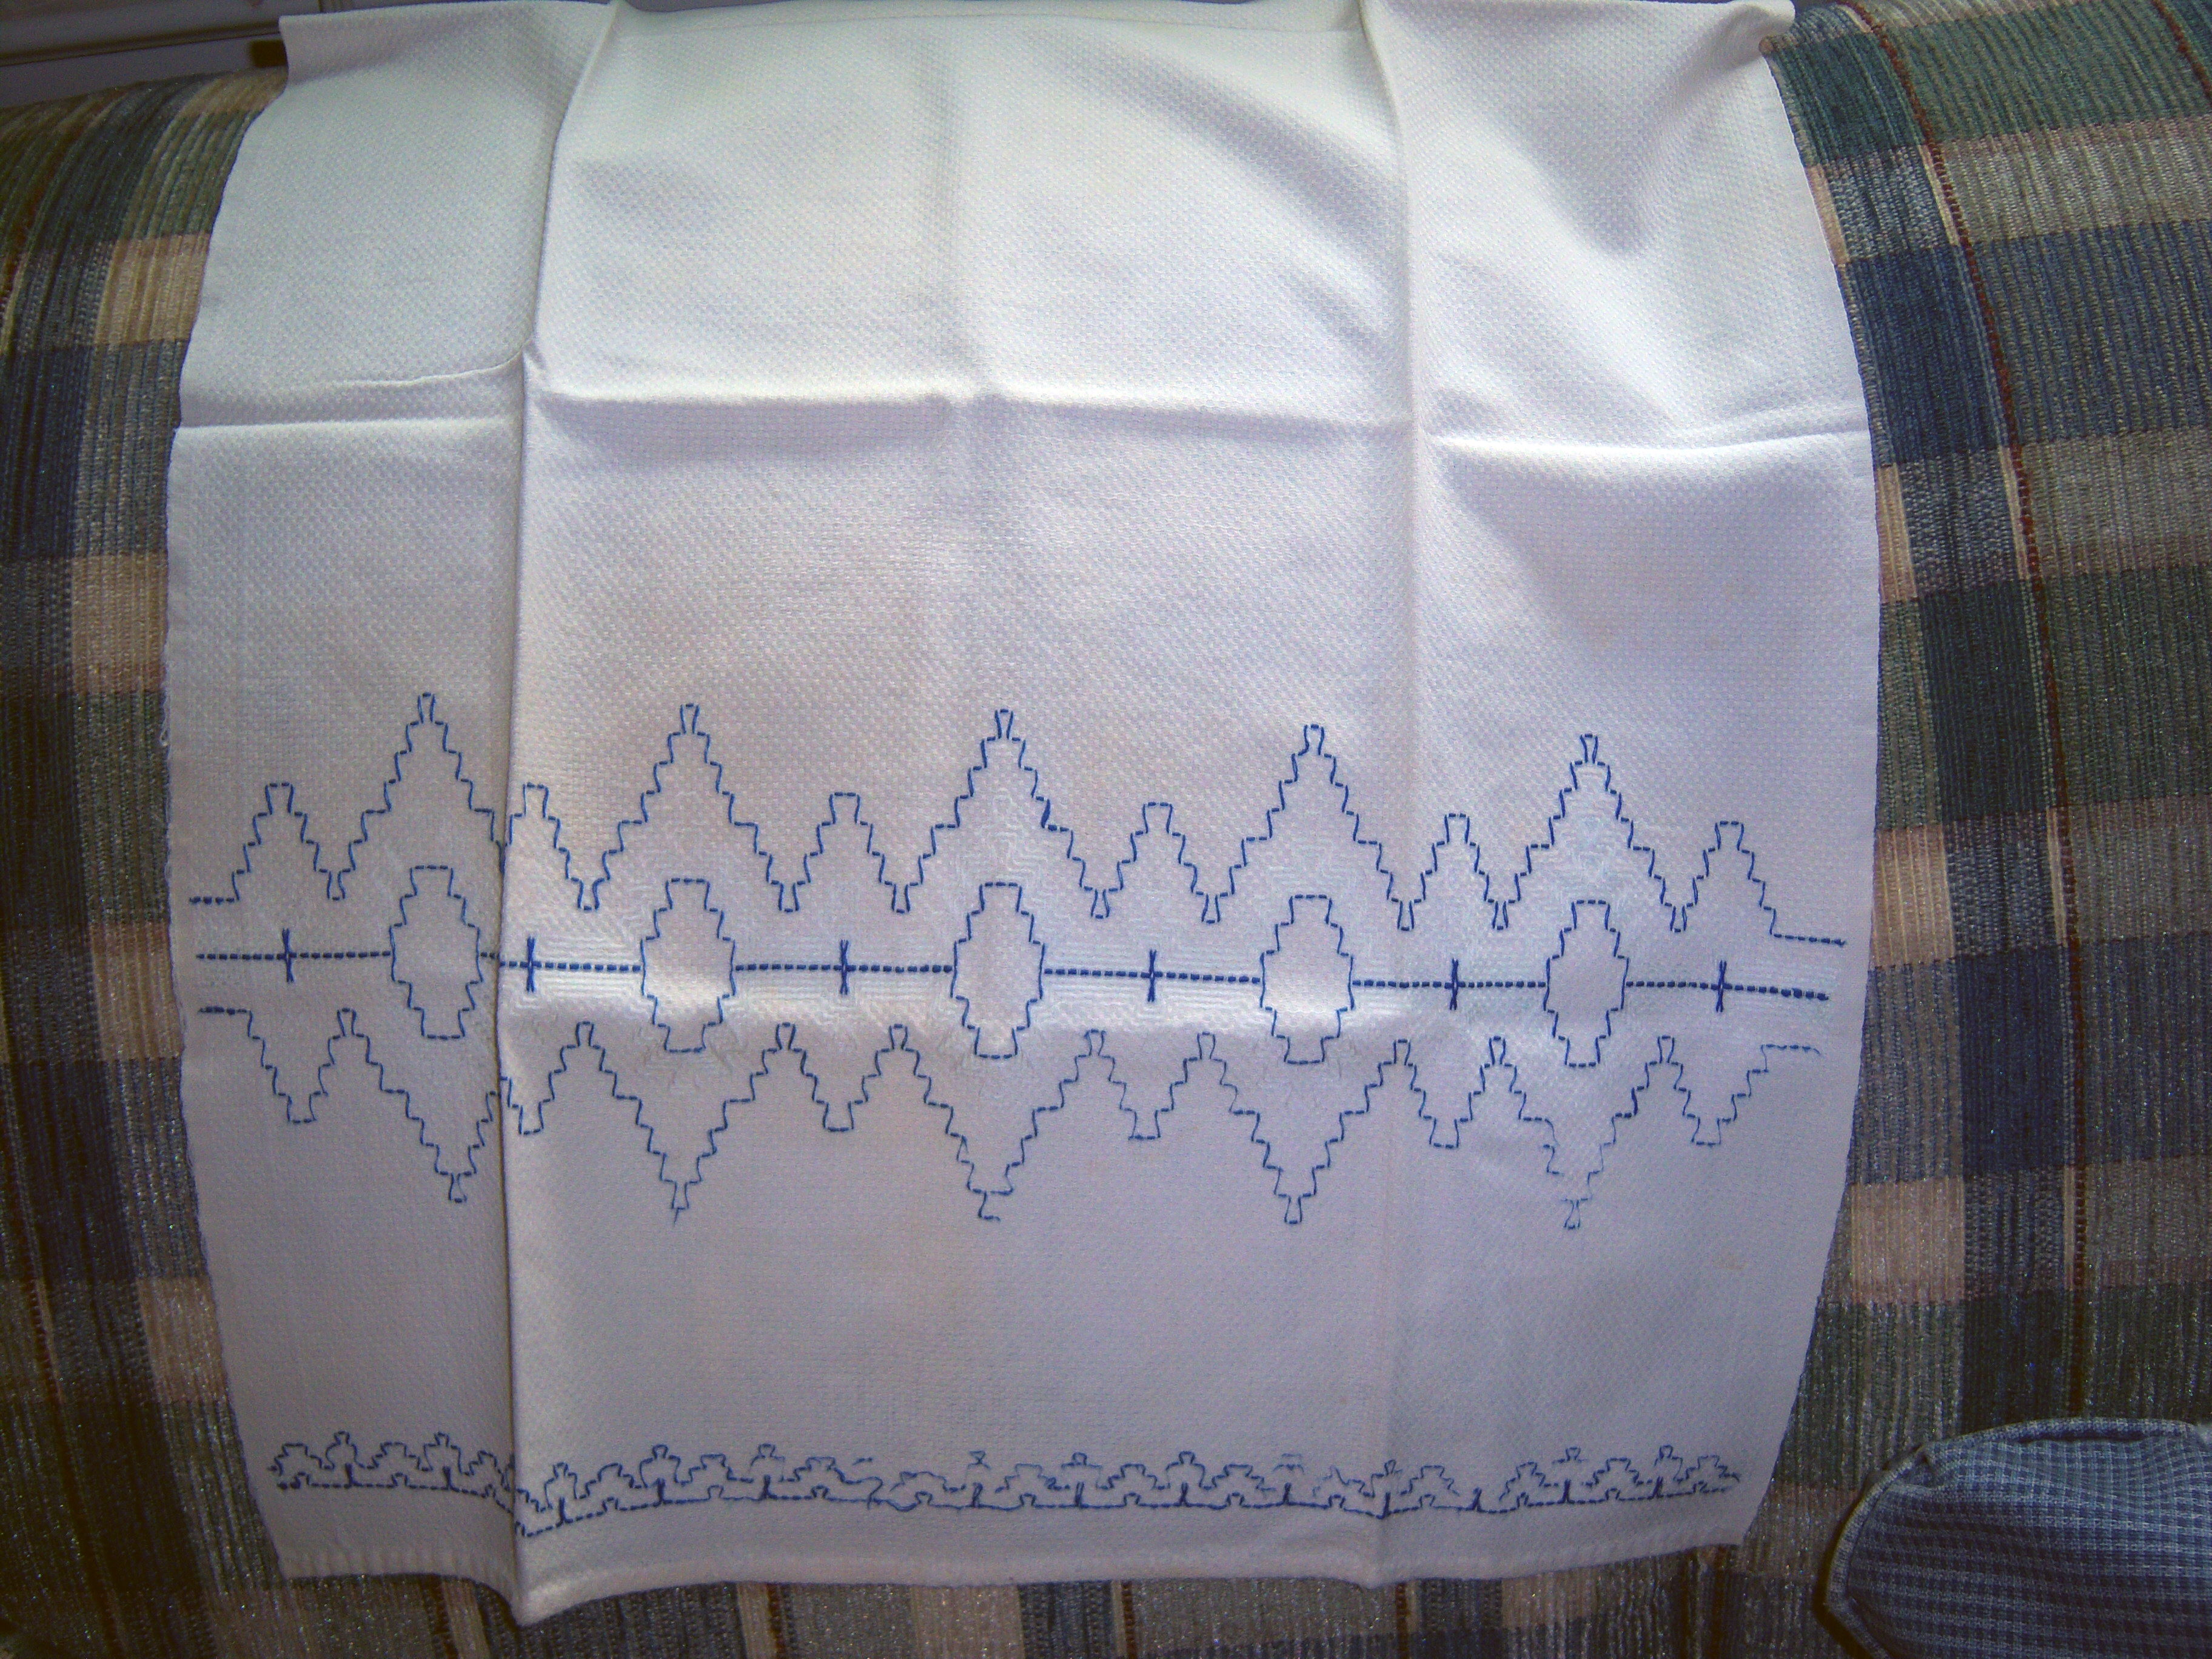 First up is this tea towel. It’s made of a very nicely textured linen and it is hand stitched. It’s likely my grandmother stitched it (or maybe her mother). It is slightly yellowed, but is generally in very good condition. I would never use it for dishes. It’s rather large to frame. Any ideas? The only thing I can come up with is to make it into a throw pillow, but I’m not sure where I would put it. What do you think Martha would do? I think it is beautiful and would like to find a way to use it.
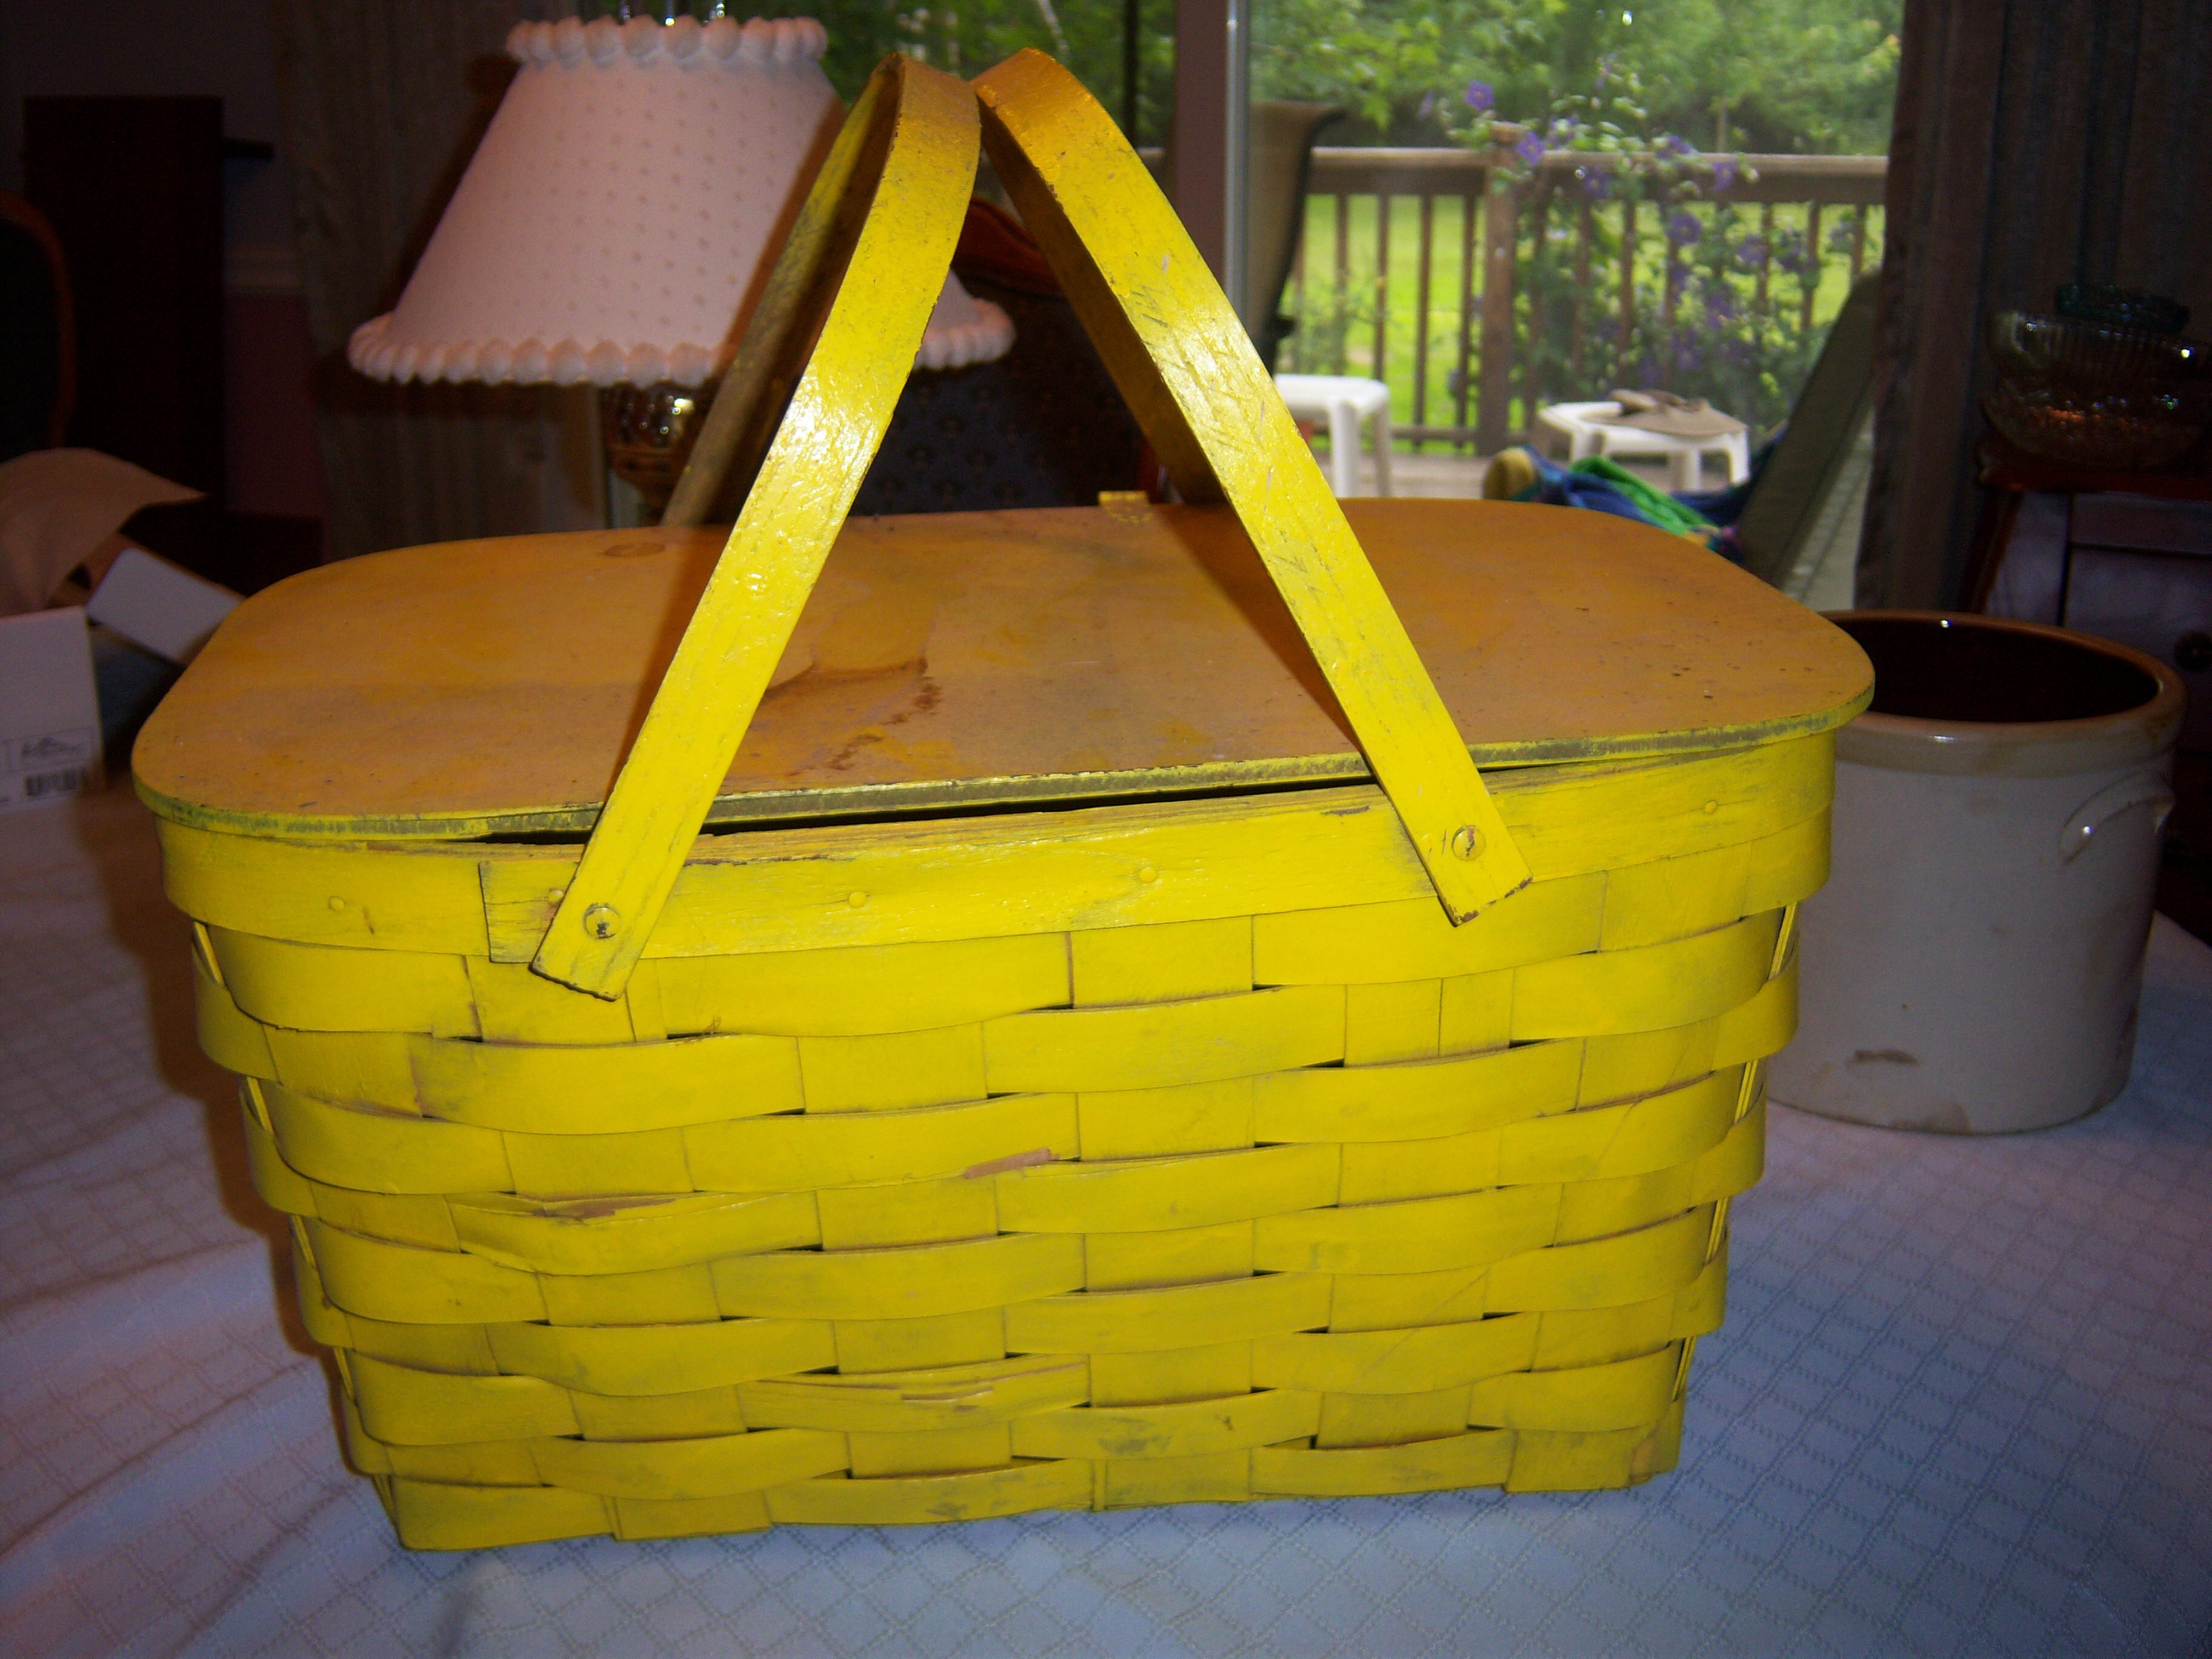 Next up is the picnic basket. It is a regrettably bright yellow color, but it’s very old, with a hinged top. My mom remembers my grandmother using it when she was a kid for family picnics. It seems to me that stripping this would be a Herculean task because of the woven wood. I don’t think you could ever get in between the strips of wood to clean it all off. So what would Martha do? Paint it another color (white? blue?)? And what would she do with it? I can see Martha placing this in a guest bathroom and filling it with towels and toiletries. That sounds great, but it won’t work in my house since we have one bath, the kids have a bath and there is a small half bath downstairs. Tell me what you think Martha would do!
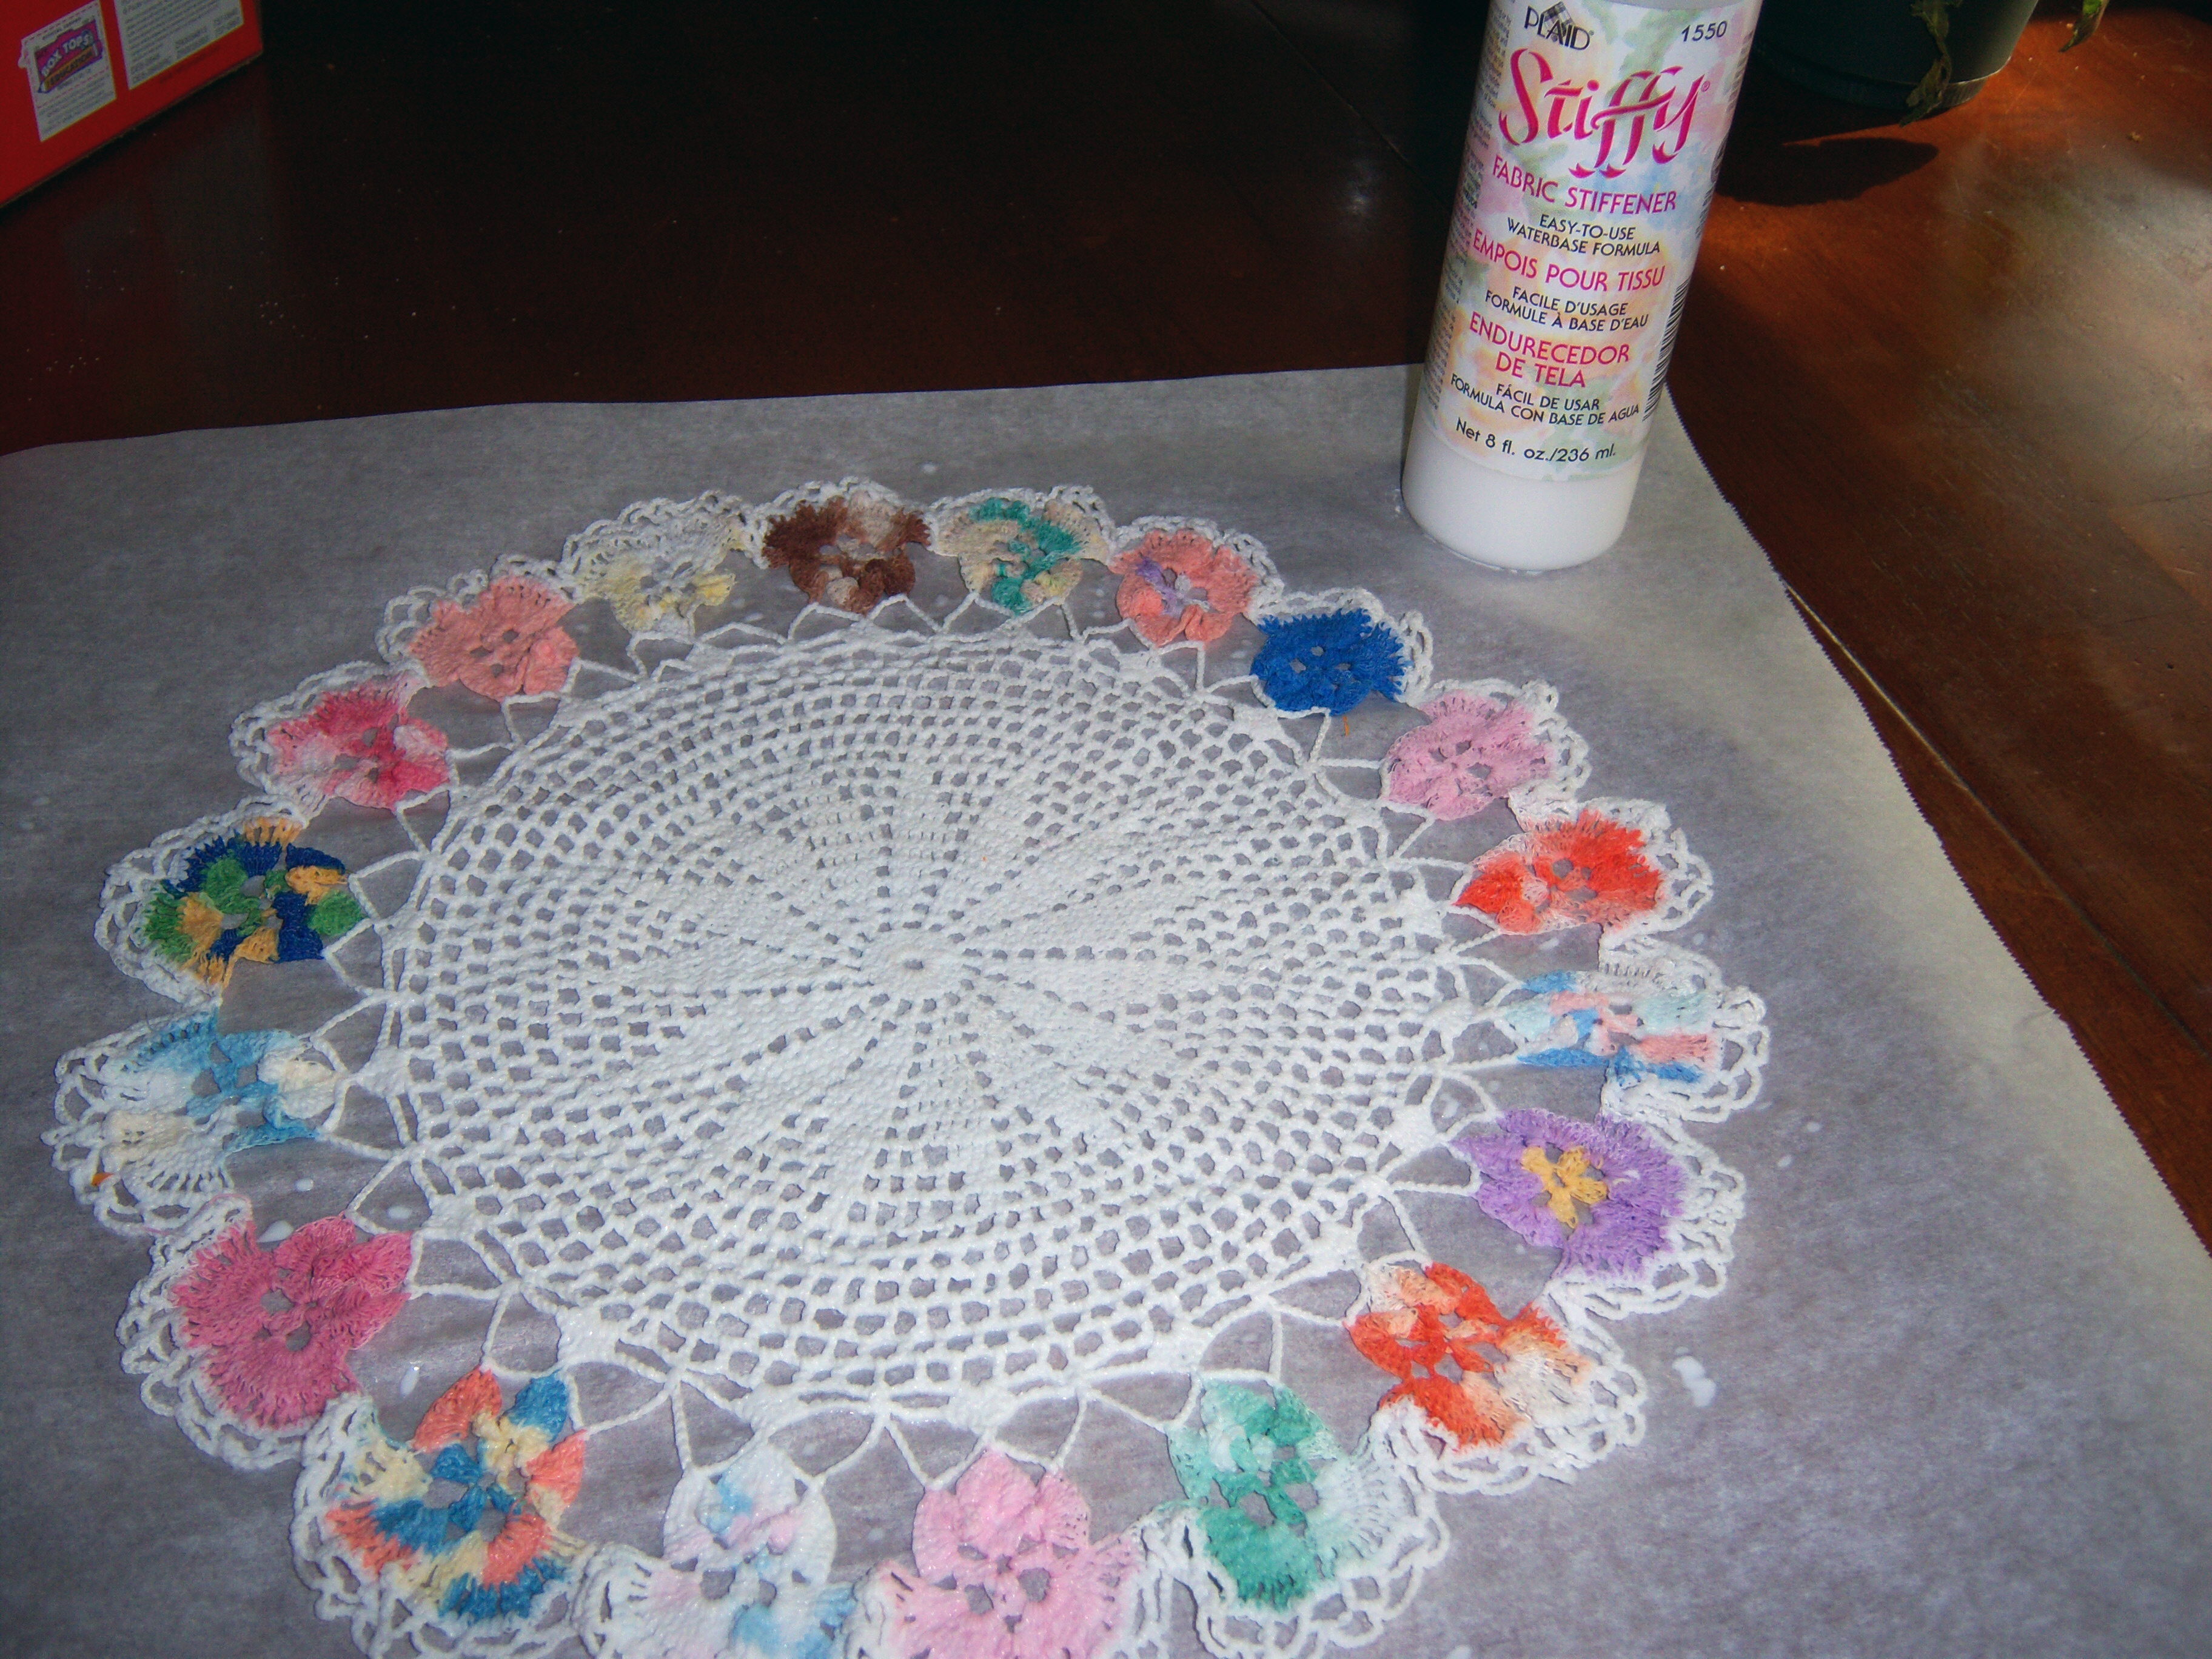 I have a big box of doilies and dresser scarves (many of which my grandmother made) which I’ve been pondering. I decided to search Martha’s site for inspiration. I found


