I made some side dishes of Martha’s from the Season’s Eatings holiday special issue and thought I would share how it went.

Twice Baked Potatoes

Twice baked potatoes are a favorite in our house. I learned my recipe from my mom. They are a great thing to make when just a plain baked potato seems too, well, plain.

Martha’s recipe calls for starting with baking the potatoes in the oven. Sometimes I cheat and microwave them, but this time I did it her way. I have to say, the way a baked potato smells when it is made in the oven can’t be beat. And it does seem to taste better when cooked in the oven.

Getting the scoop

Getting the scoop

Martha wants you to cool the potatoes and scoop out the inside. No problem. Then her recipe has you add cream, butter, 6 egg yolks (really), salt and pepper and Gruyere cheese. Then you bake it for about half an hour until it’s brown looking.

The verdict? Ok, not

Ready to bake

Ready to bake

great. All the egg in this makes it taste like Duchess potatoes and almost quiche-like. It wasn’t awful, just not what I’m used to. I didn’t care for the texture and it just didn’t have enough flavor for me. I also don’t love the Gruyere in this.

Now let me tell you how to make REALLY good twice baked potatoes (my version). Start the same way – bake the potatoes and scoop them out. Then you add butter (do not skimp!), chopped onion, sour cream(enough to make it creamy), salt and pepper, cheddar cheese (a good amount), parmesan cheese, and an herb mix I have called bouquet garnee (it’s thyme and rosemary and parsley I

Fresh from the oven

Fresh from the oven

think). Scoop it back in the shells and sprinkle the tops with paprika. This is how to make a twice baked potato!

I also always save the skins and made potato skins with cheese and bacon on them.

Gingered Carrots

For the past year or so, when I make carrots I usually boil them and finish them with butter, honey, salt and pepper and a little dill. Martha’s recipe wasn’t that different, except she has you slice some ginger into matchsticks and use that instead of the dill. This was a terrific side! I loved it. The ginger gave it a very nice flavor and it really complimented the honey. I’m going to make carrots this way from now on. A good thing!

I made some side dishes of Martha’s from the Season’s Eatings holiday special issue and thought I would share how it went. Twice Baked Potatoes Twice baked potatoes are a favorite in our house. I learned my recipe from my mom. They are a great thing to make when just a plain baked potato seems … Read more

Sides O'Martha

Posted by Brette in Food

I made some side dishes of Martha’s from the Season’s Eatings holiday special issue and thought I would share how it went.

Twice Baked Potatoes

Twice baked potatoes are a favorite in our house. I learned my recipe from my mom. They are a great thing to make when just a plain baked potato seems too, well, plain.

Martha’s recipe calls for starting with baking the potatoes in the oven. Sometimes I cheat and microwave them, but this time I did it her way. I have to say, the way a baked potato smells when it is made in the oven can’t be beat. And it does seem to taste better when cooked in the oven.

Getting the scoop

Getting the scoop

Martha wants you to cool the potatoes and scoop out the inside. No problem. Then her recipe has you add cream, butter, 6 egg yolks (really), salt and pepper and Gruyere cheese. Then you bake it for about half an hour until it’s brown looking.

The verdict? Ok, not

Ready to bake

Ready to bake

great. All the egg in this makes it taste like Duchess potatoes and almost quiche-like. It wasn’t awful, just not what I’m used to. I didn’t care for the texture and it just didn’t have enough flavor for me. I also don’t love the Gruyere in this.

Now let me tell you how to make REALLY good twice baked potatoes (my version). Start the same way – bake the potatoes and scoop them out. Then you add butter (do not skimp!), chopped onion, sour cream(enough to make it creamy), salt and pepper, cheddar cheese (a good amount), parmesan cheese, and an herb mix I have called bouquet garnee (it’s thyme and rosemary and parsley I

Fresh from the oven

Fresh from the oven

think). Scoop it back in the shells and sprinkle the tops with paprika. This is how to make a twice baked potato!

I also always save the skins and made potato skins with cheese and bacon on them.

Gingered Carrots

For the past year or so, when I make carrots I usually boil them and finish them with butter, honey, salt and pepper and a little dill. Martha’s recipe wasn’t that different, except she has you slice some ginger into matchsticks and use that instead of the dill. This was a terrific side! I loved it. The ginger gave it a very nice flavor and it really complimented the honey. I’m going to make carrots this way from now on. A good thing!

I made some side dishes of Martha’s from the Season’s Eatings holiday special issue and thought I would share how it went. Twice Baked Potatoes Twice baked potatoes are a favorite in our house. I learned my recipe from my mom. They are a great thing to make when just a plain baked potato seems … Read more

In the special Holiday Season’s Eatings issue (p.77), Martha has a recipe for risotto with shrimp and green peas. This sounded like a great weekday meal, so I gave it a try. It seemed very Martha to make something that sounds so elegant and restaurant worthy.

I am a fan of risotto. Risotto is arborio rice, a type of rice that absorbs liquid and becomes creamy. Some people think it is too time consuming, but I find it to be relaxing to make somehow. Usually I make mine plain (just cheese) or I make this absolutely fab butternut squash risotto (it starts with pancetta, then once you have the risotto made, you add roasted butternut squash and pieces of fontina cheese and thyme. OMG – it’s making me hungry to type this).

Garlic and leaks

Garlic and leaks

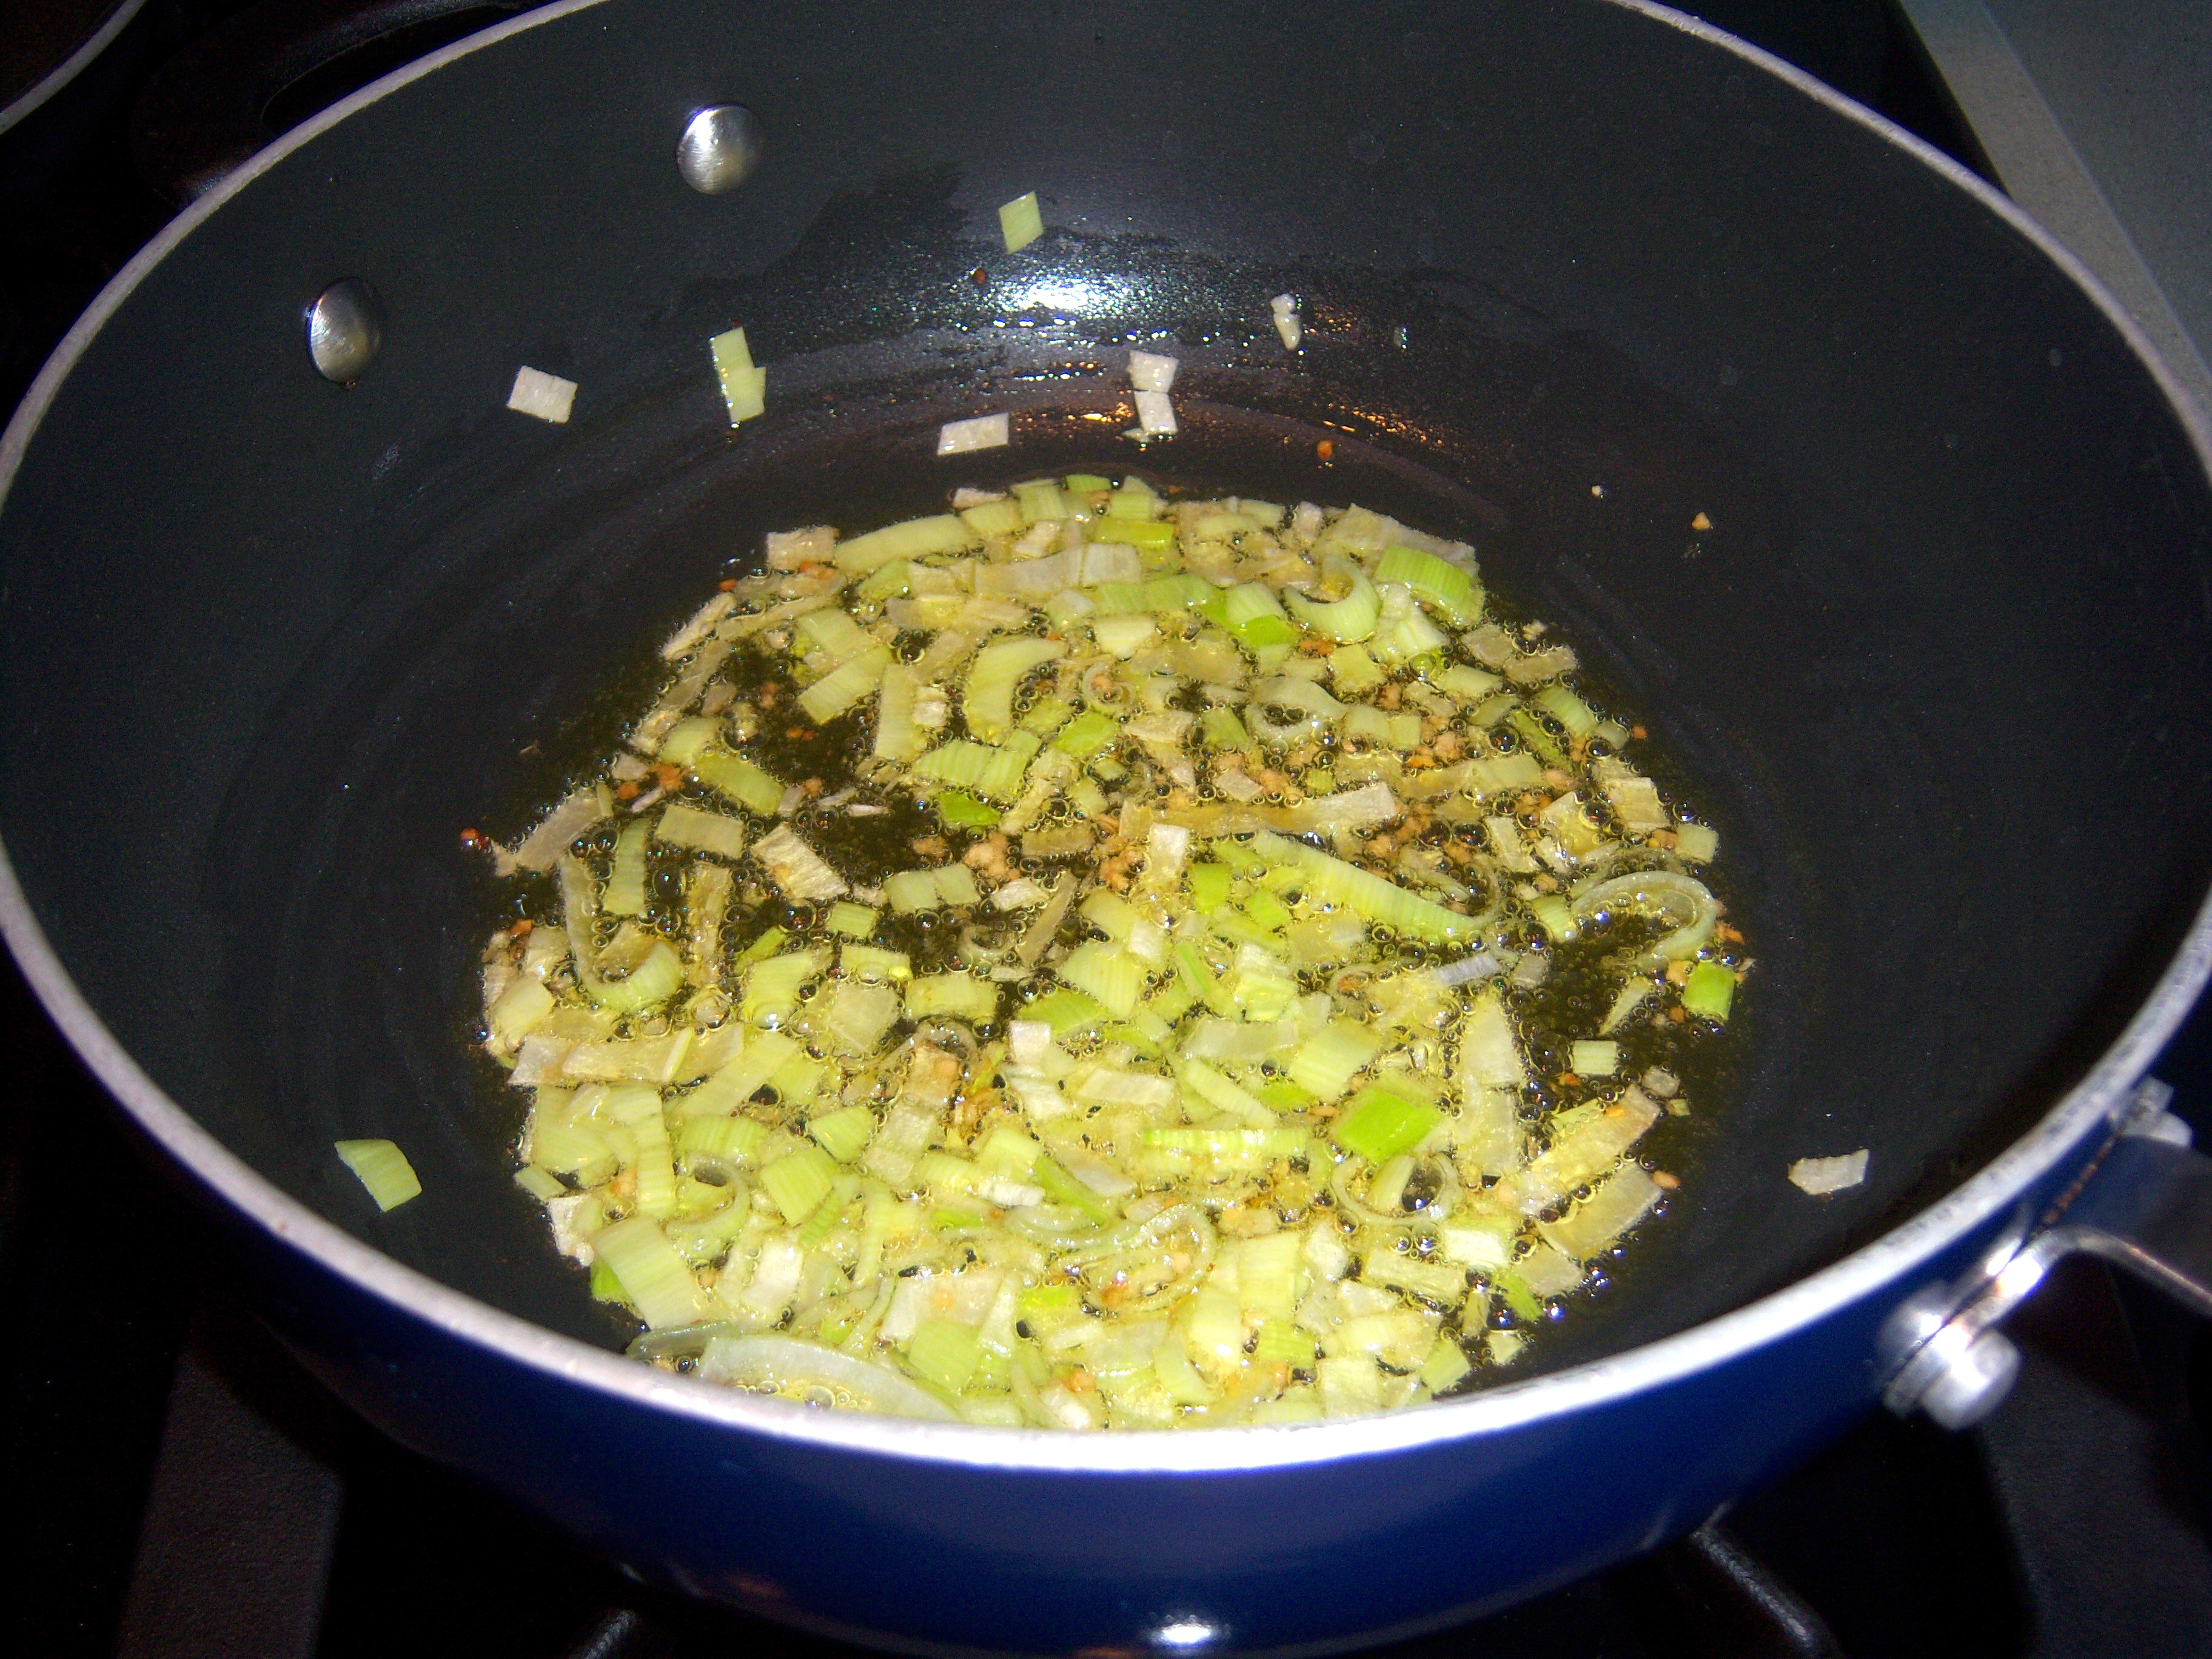
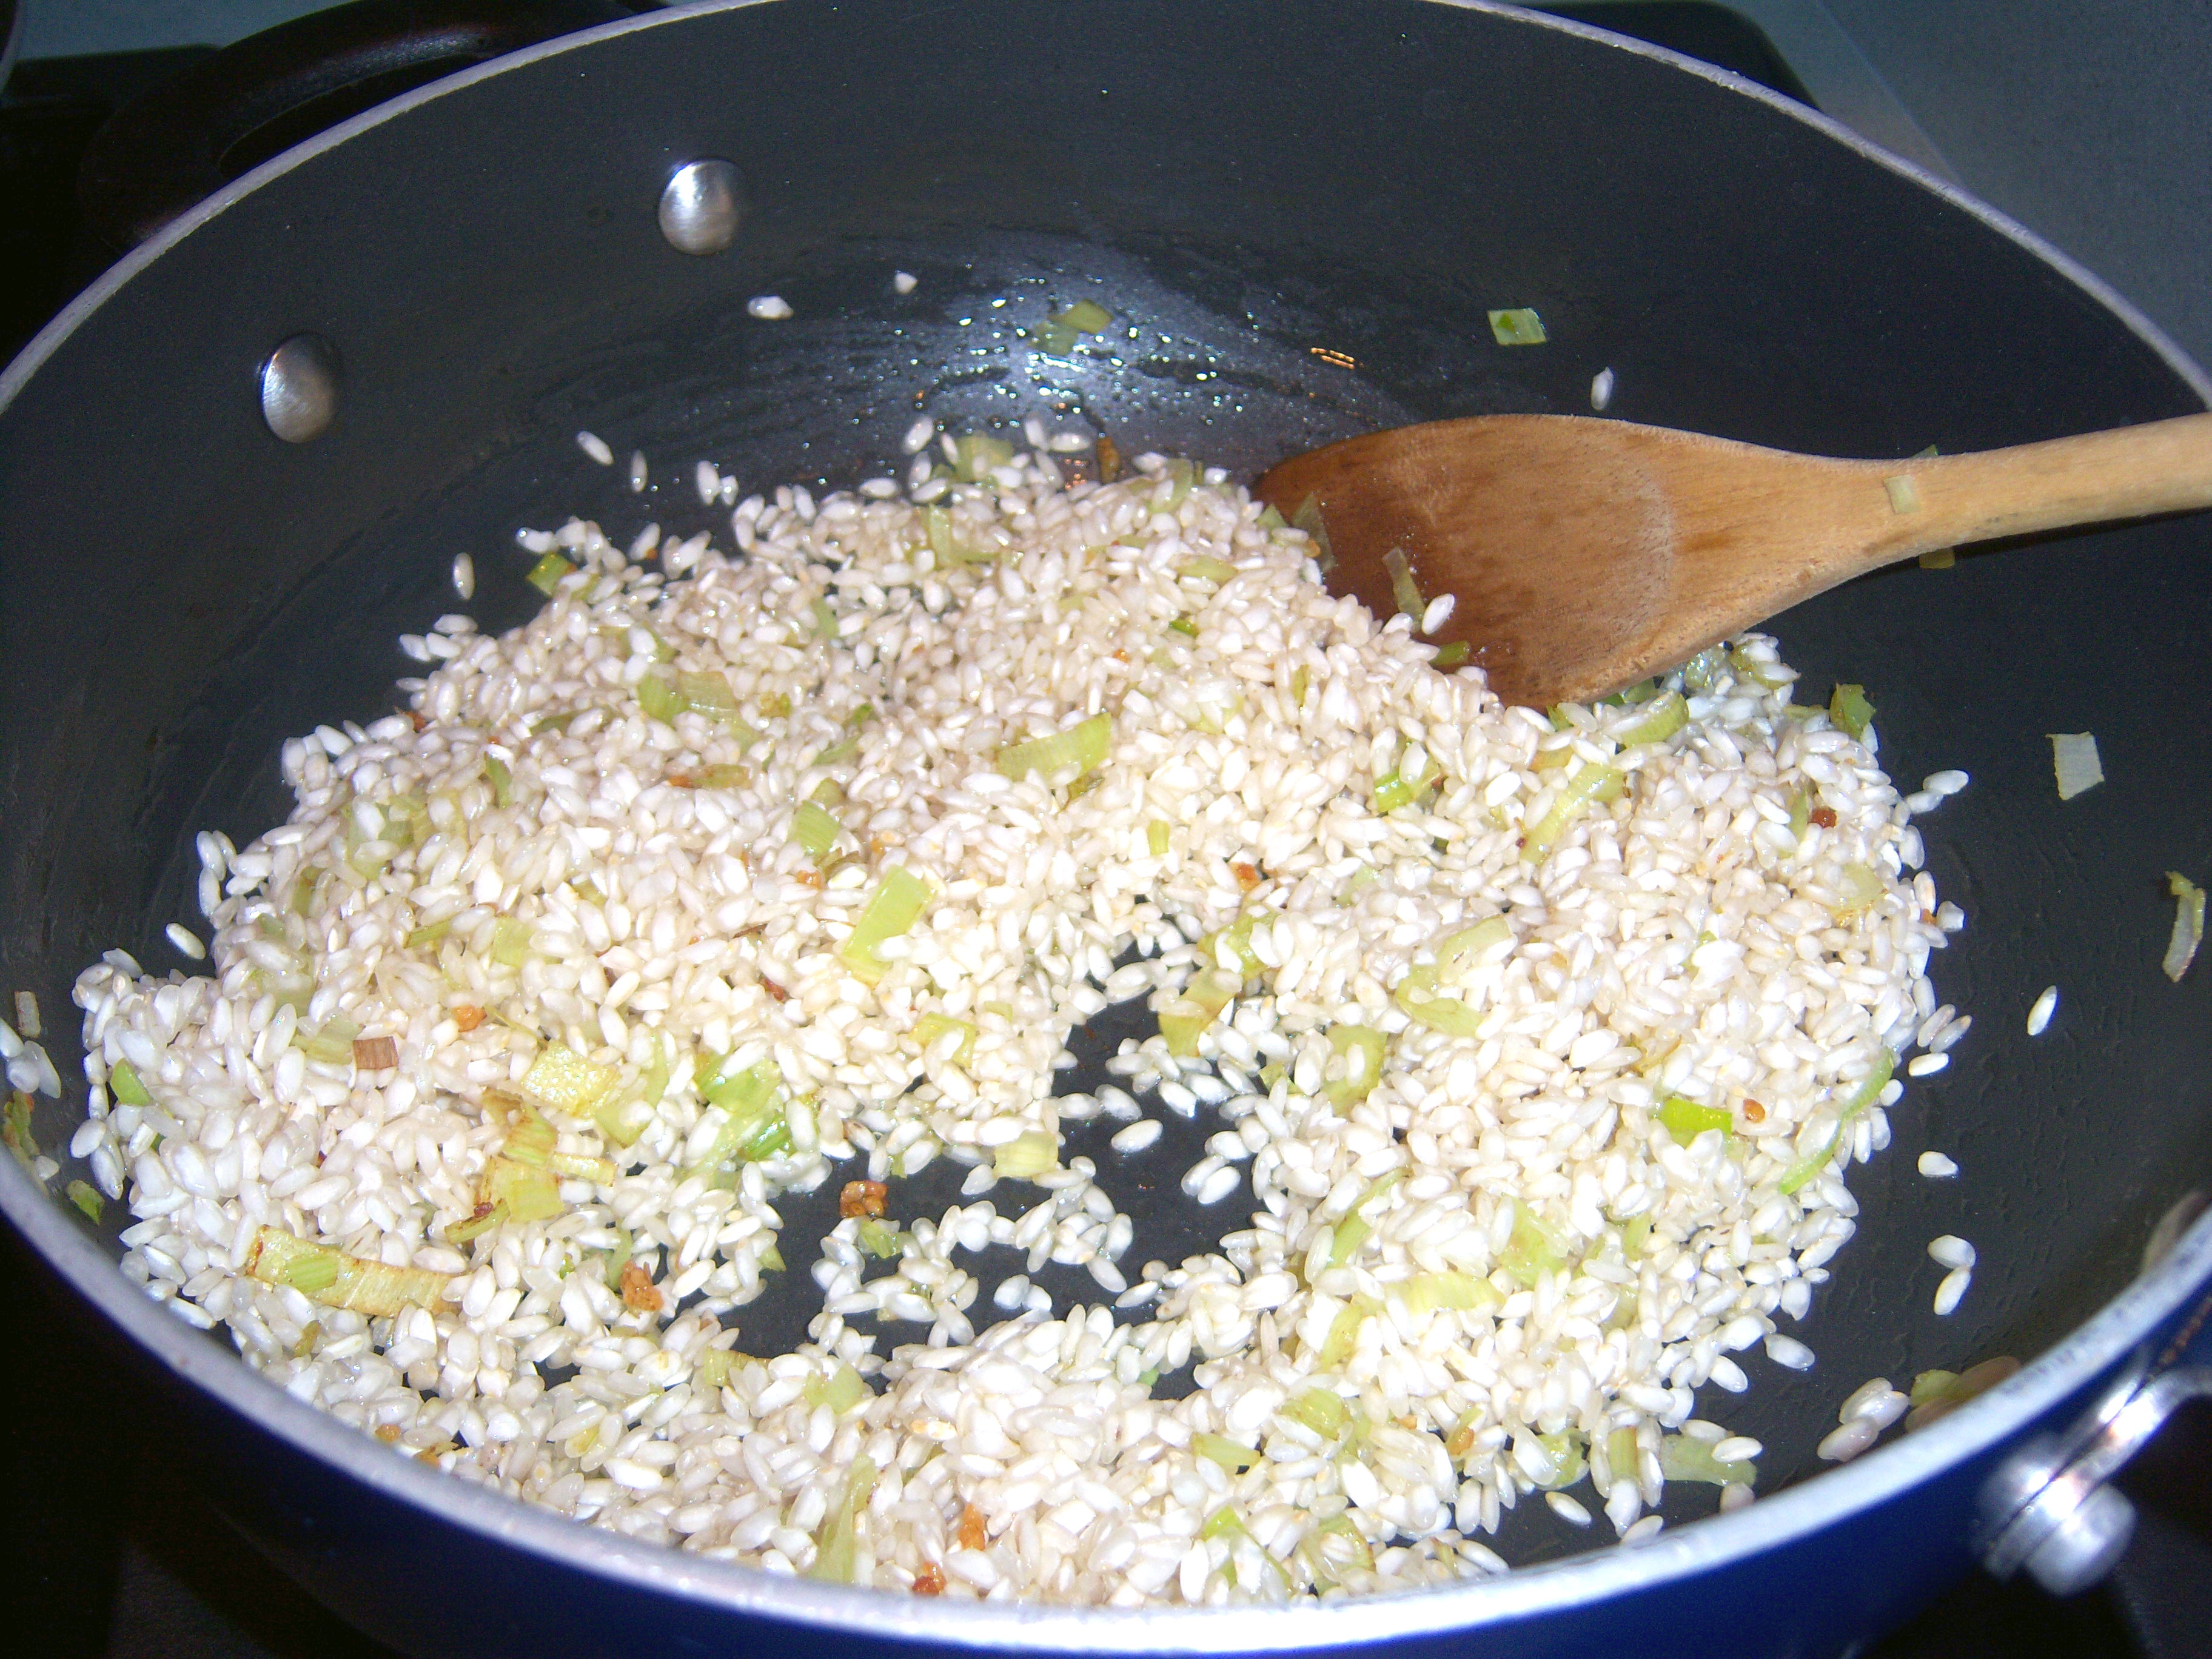
Martha’s risotto has you start off with oil and garlic, and then some chopped leeks. When I make risotto, I usually use chopped onion, no garlic. Next, you add your rice and get it coated in the oil (I know there is a reason for this, but I don’t know what it is).

Add the rice

Add the rice

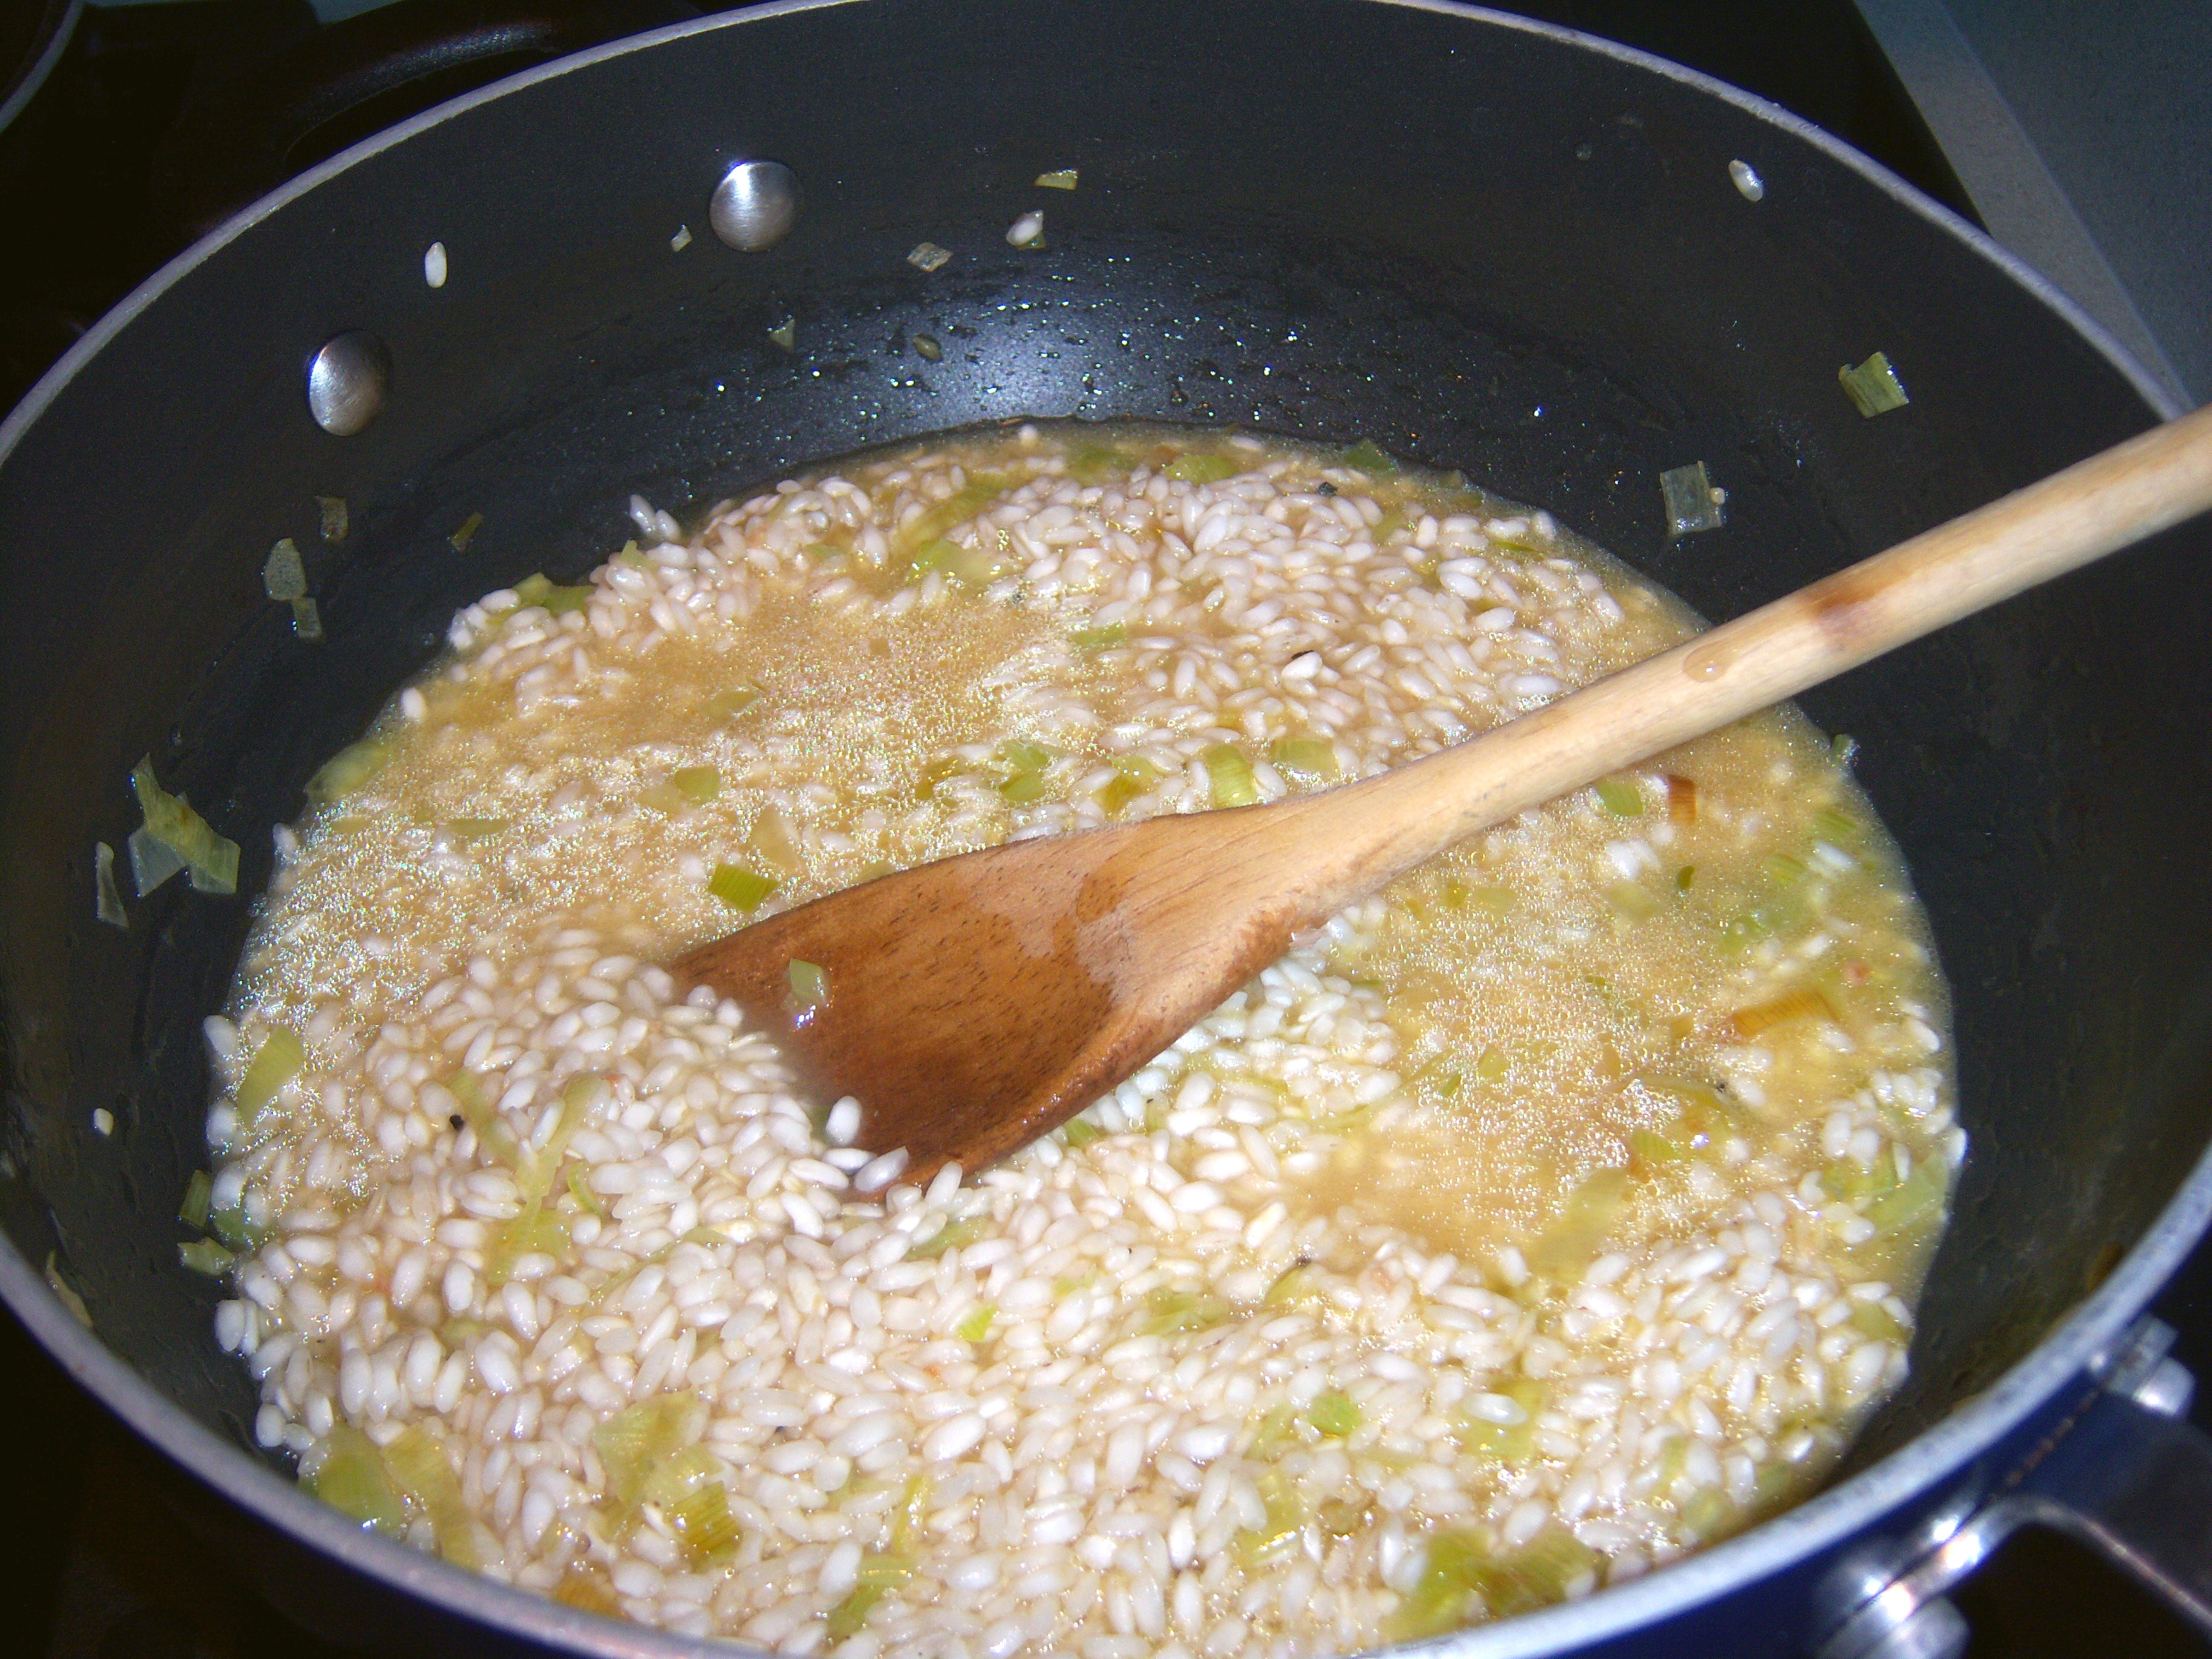
The thing about risotto is that it is like a needy child. You must be prepared to give it ongoing attention. You’ve got to on standby for when it needs you. You gradually add a little broth and stir and wait for it to be absorbed, then you add a little more. You go on this way for half an hour or 45 minutes.

Martha wanted me to use clam juice. I didn’t have any so I

The liquidity event

The liquidity event

went with chicken broth and water. I did add lemon juice as she directed.

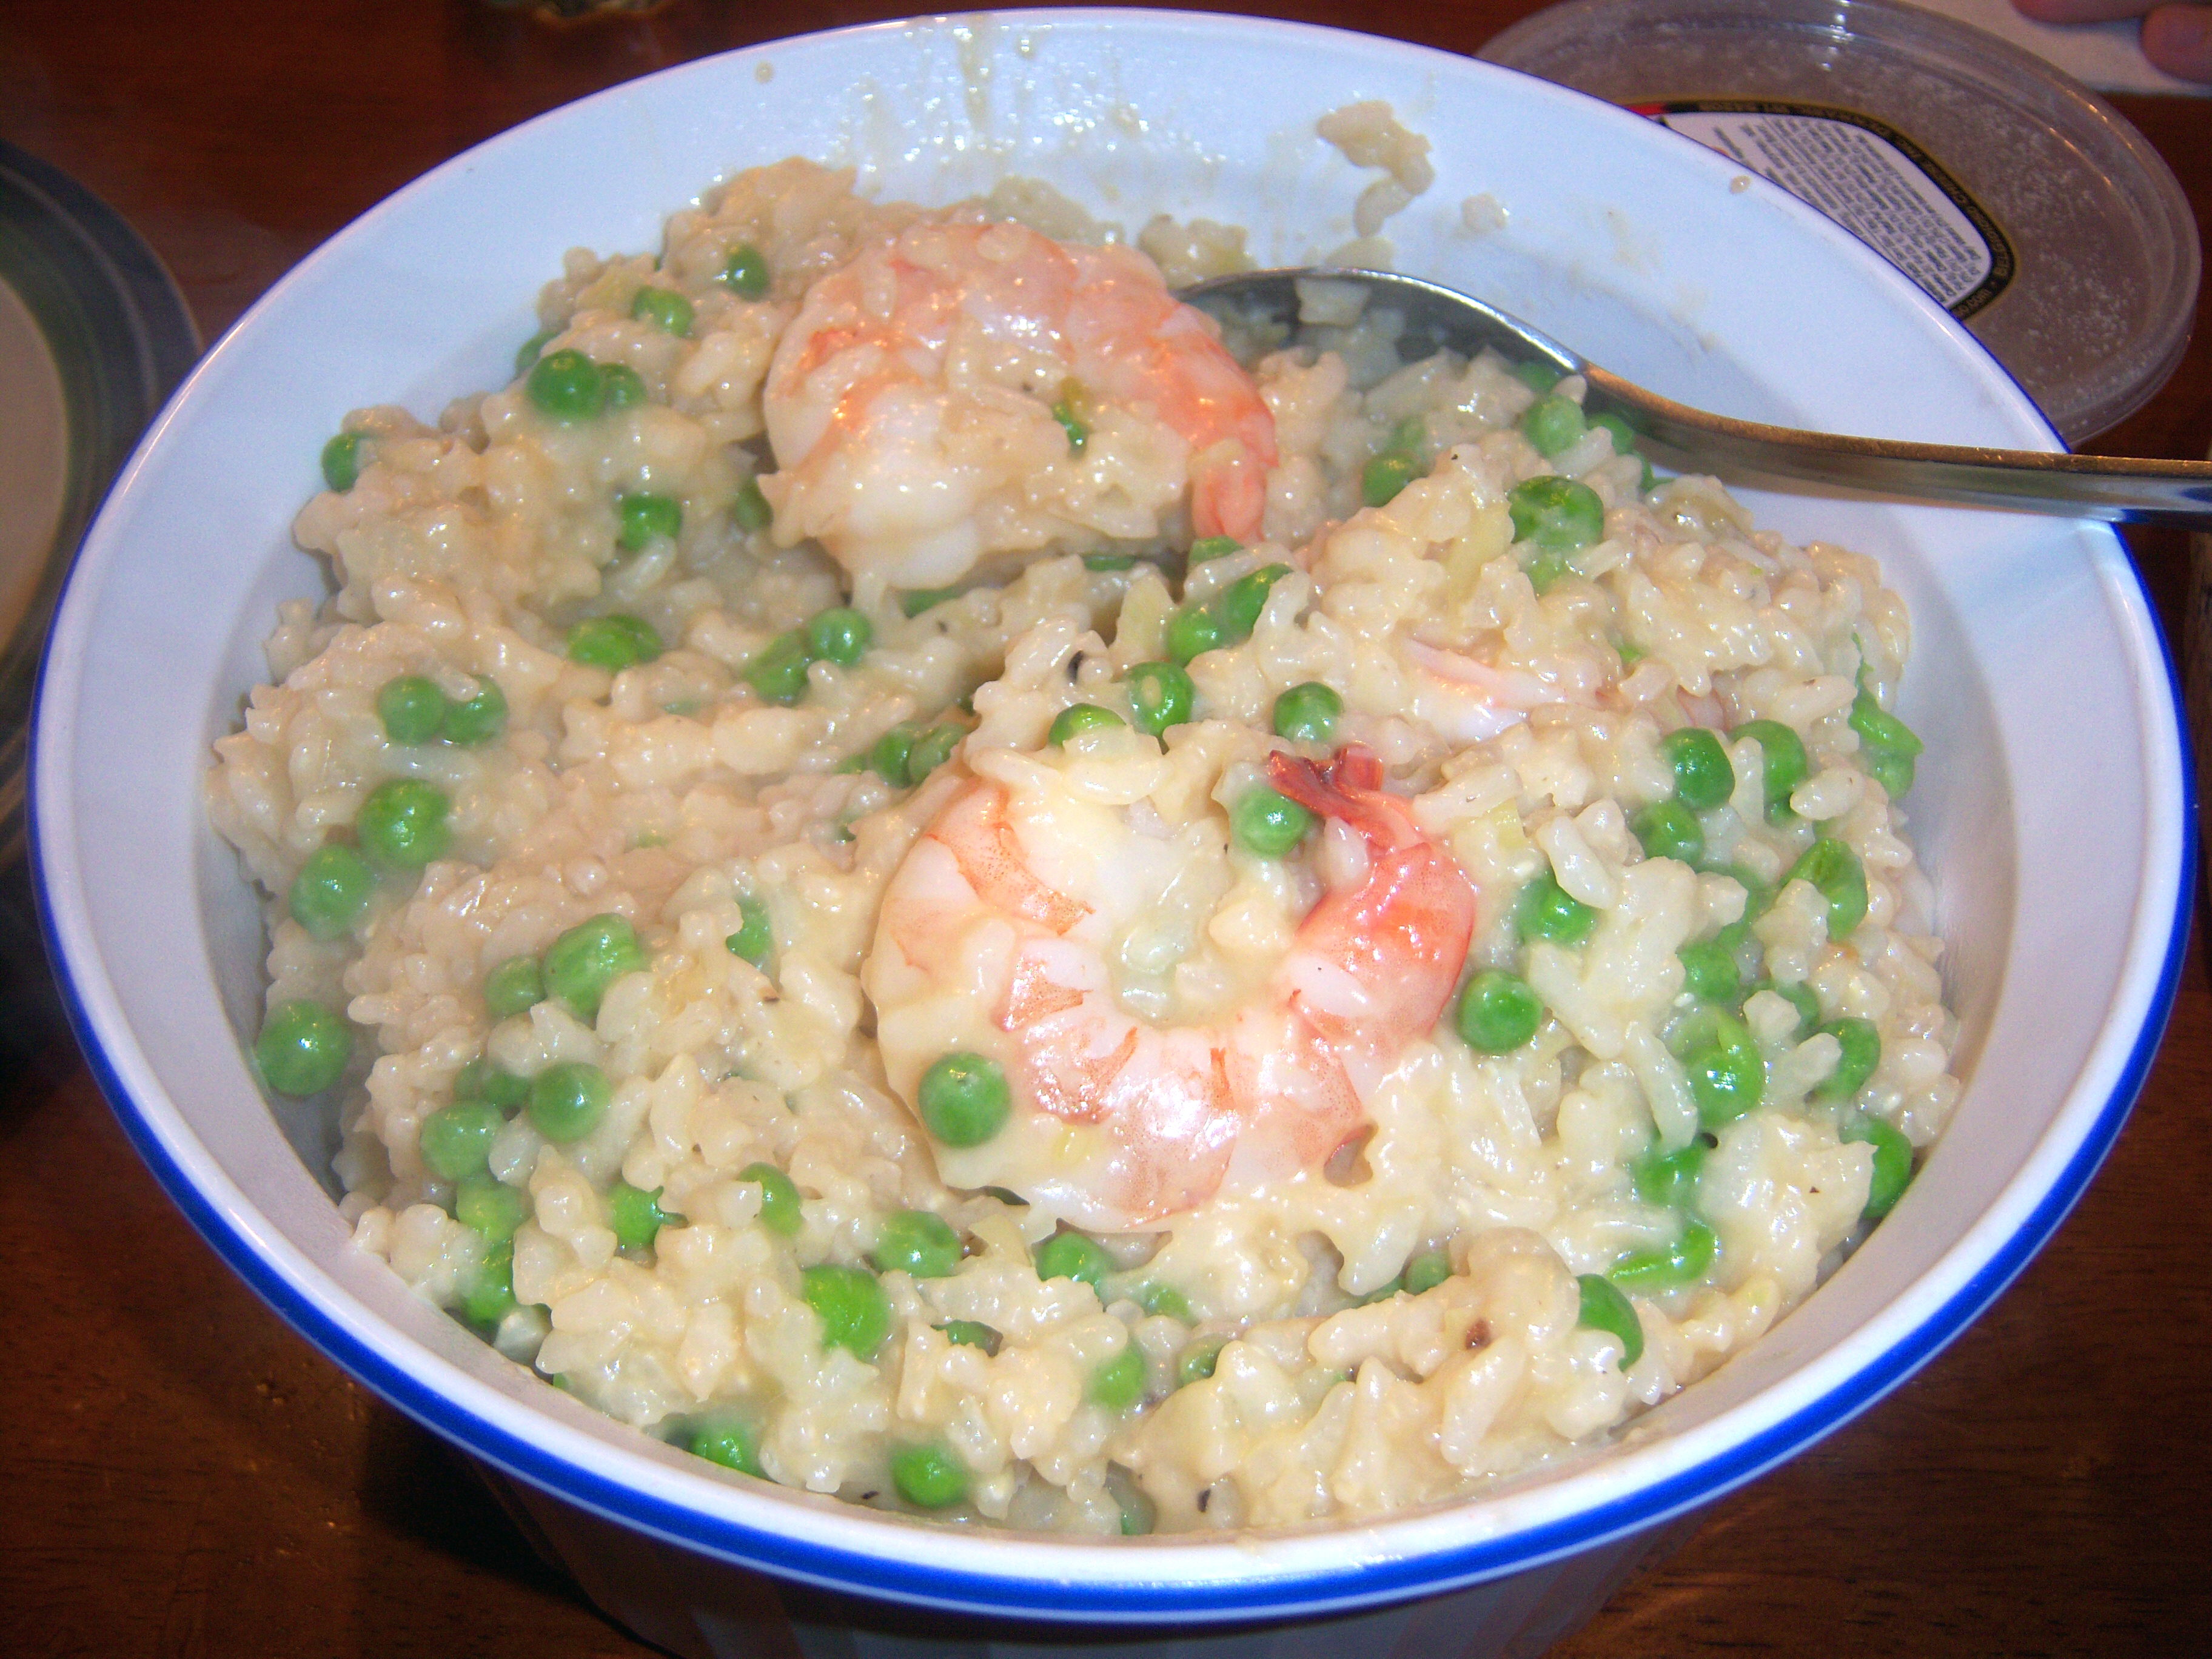
You just make this like a regular risotto until the end. Once you’ve got the rice to a nice texture – soft and creamy but not too gooey and all the liquid is absorbed, you toss in your shrimp and peas and stir it until they cook. The nice thing about shrimp and peas is that they cook very quickly.

I did add parmesan cheese (also known as nectar of the gods) to this.

Byoo-tee-full

Byoo-tee-full

Martha’s recipe didn’t have cheese and that is a crime against nature.

This dish turned out nicely. It was easy to make and does make a colorful, pretty dish. It’s definitely fancier than serving plain rice or plain risotto.

If you’re afraid of risotto, don’t be. It’s really hard to mess it up. You just gradually keep adding liquid until you get to the texture you want. It’s very forgiving. If you add too much liquid, just cook it a little longer.

This recipe is a good thing!

In the special Holiday Season’s Eatings issue (p.77), Martha has a recipe for risotto with shrimp and green peas. This sounded like a great weekday meal, so I gave it a try. It seemed very Martha to make something that sounds so elegant and restaurant worthy. I am a fan of risotto. Risotto is arborio … Read more

This month’s cookie from Living is a Chocolate Peppermint cookie. These looked gorgeous in the mag – covered in white chocolate and sprinkled with crumbled peppermint candy.

The Dough

The Dough

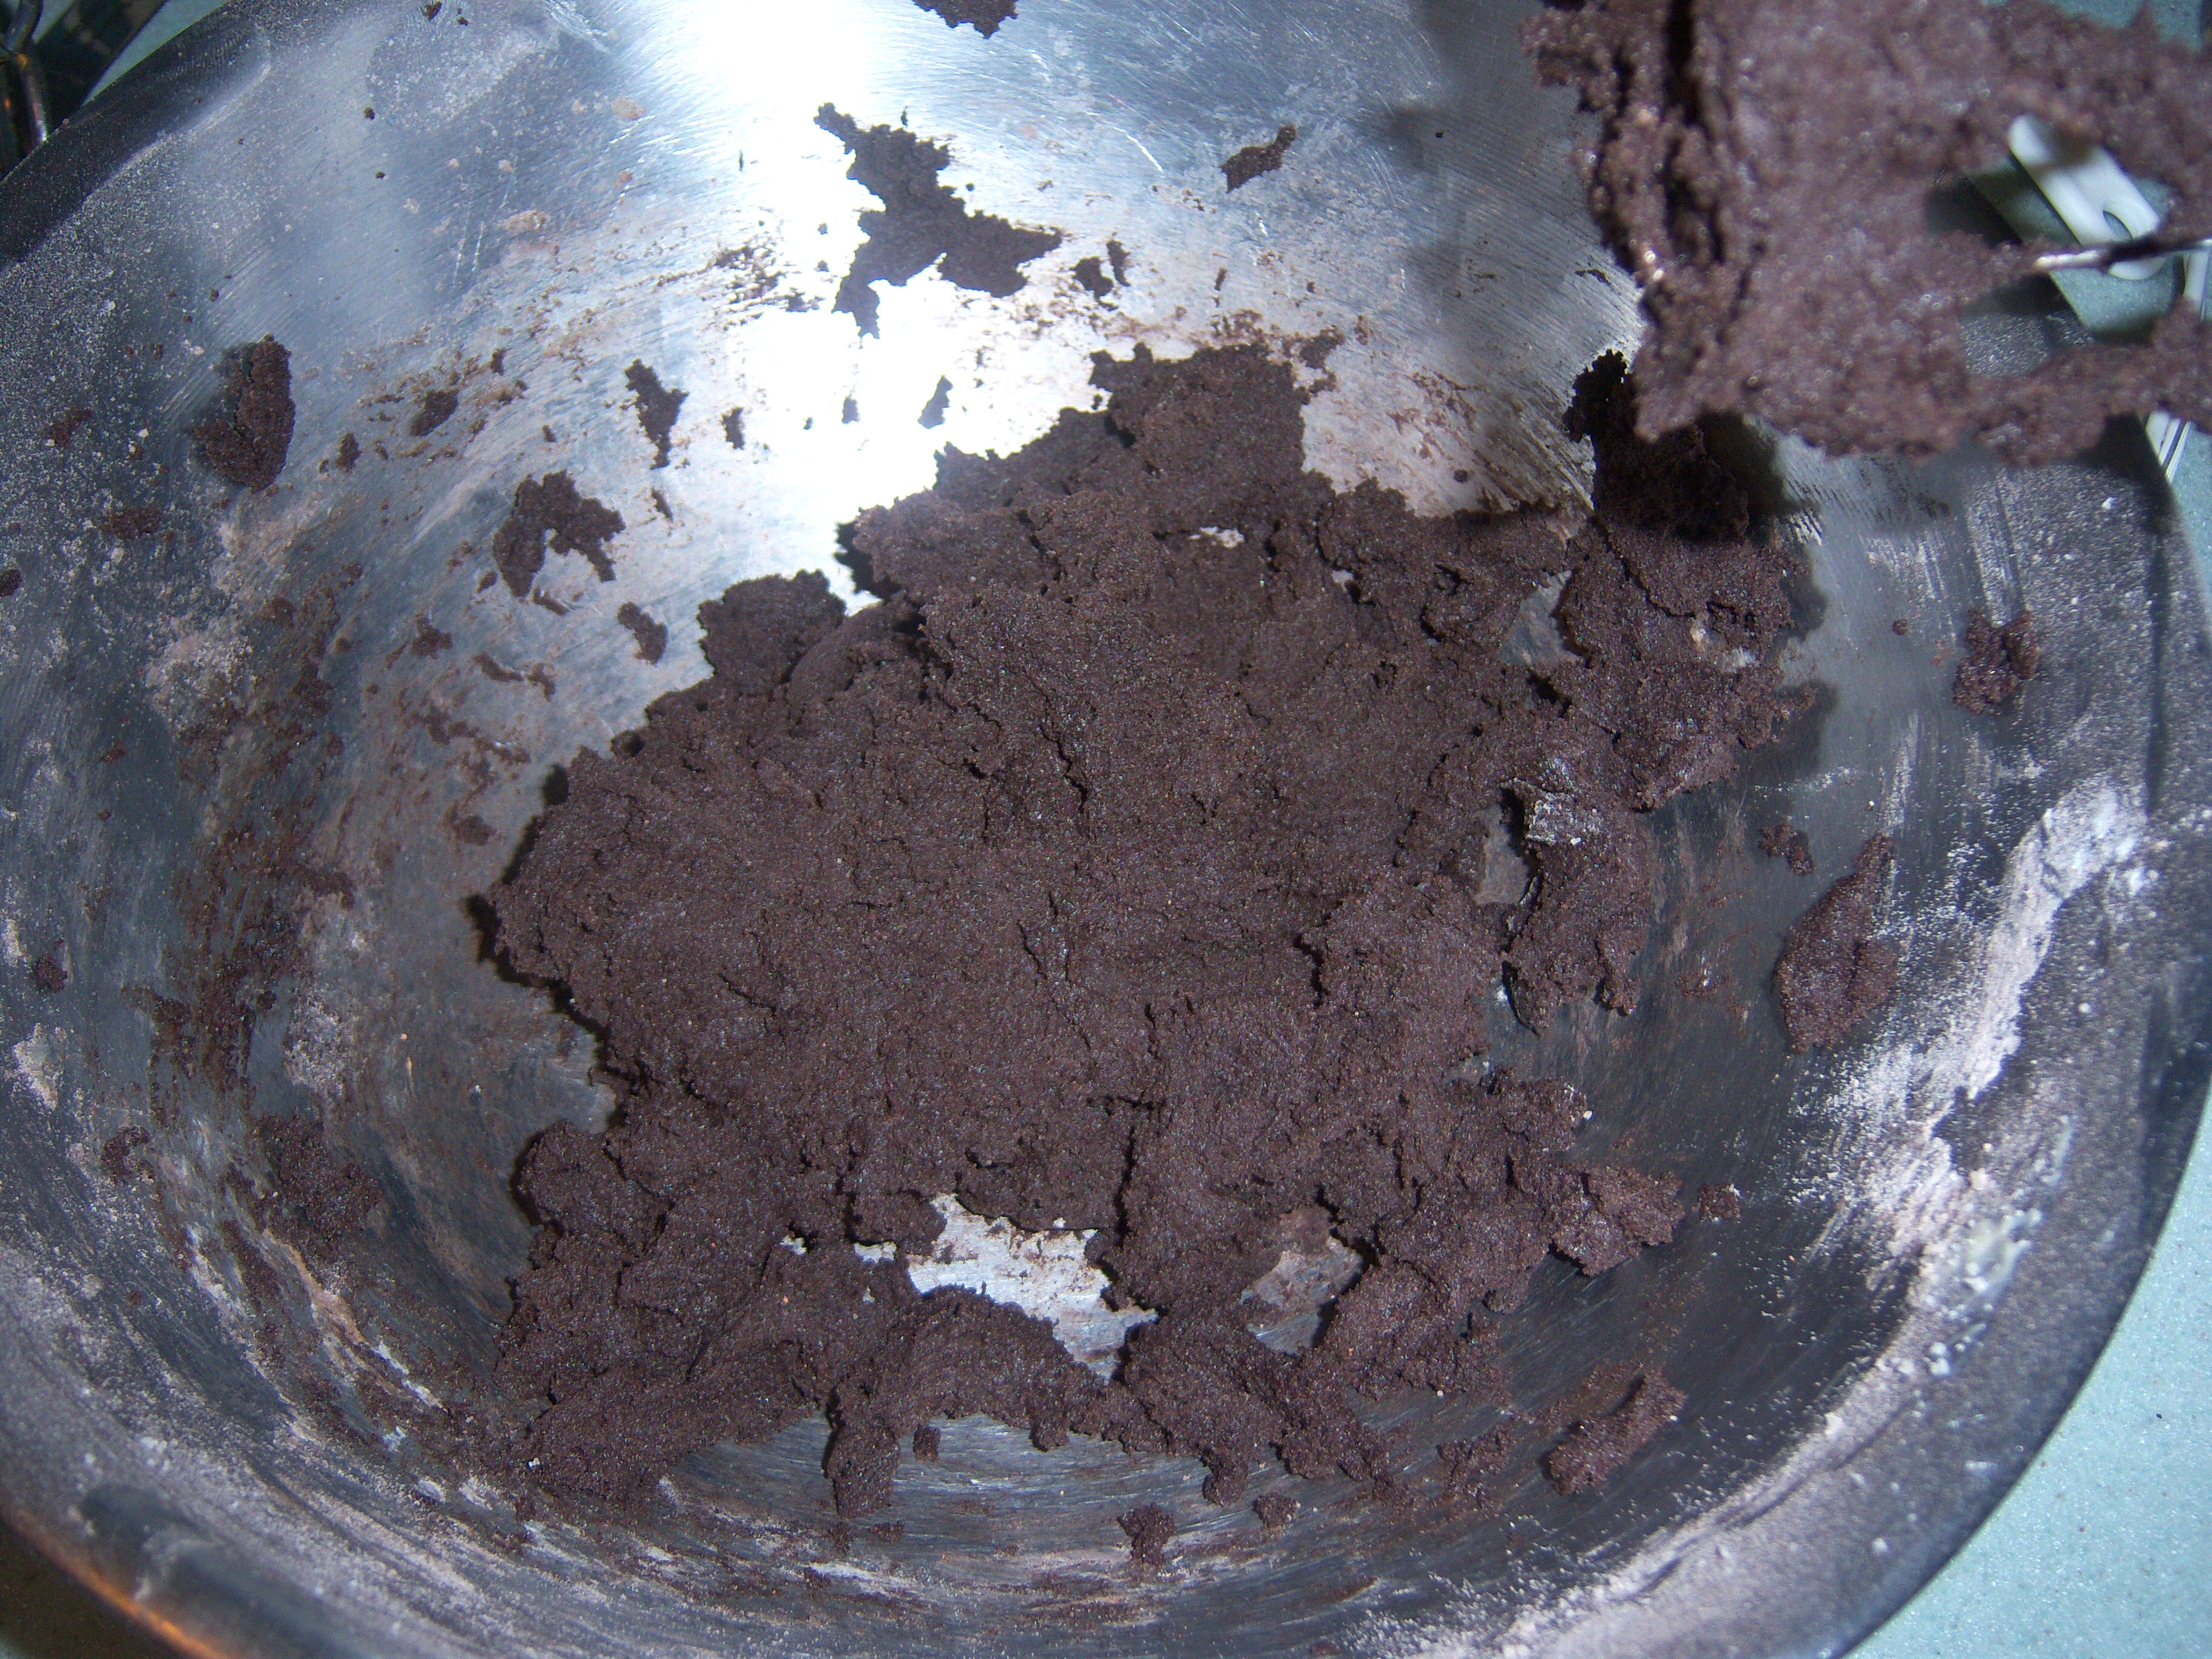
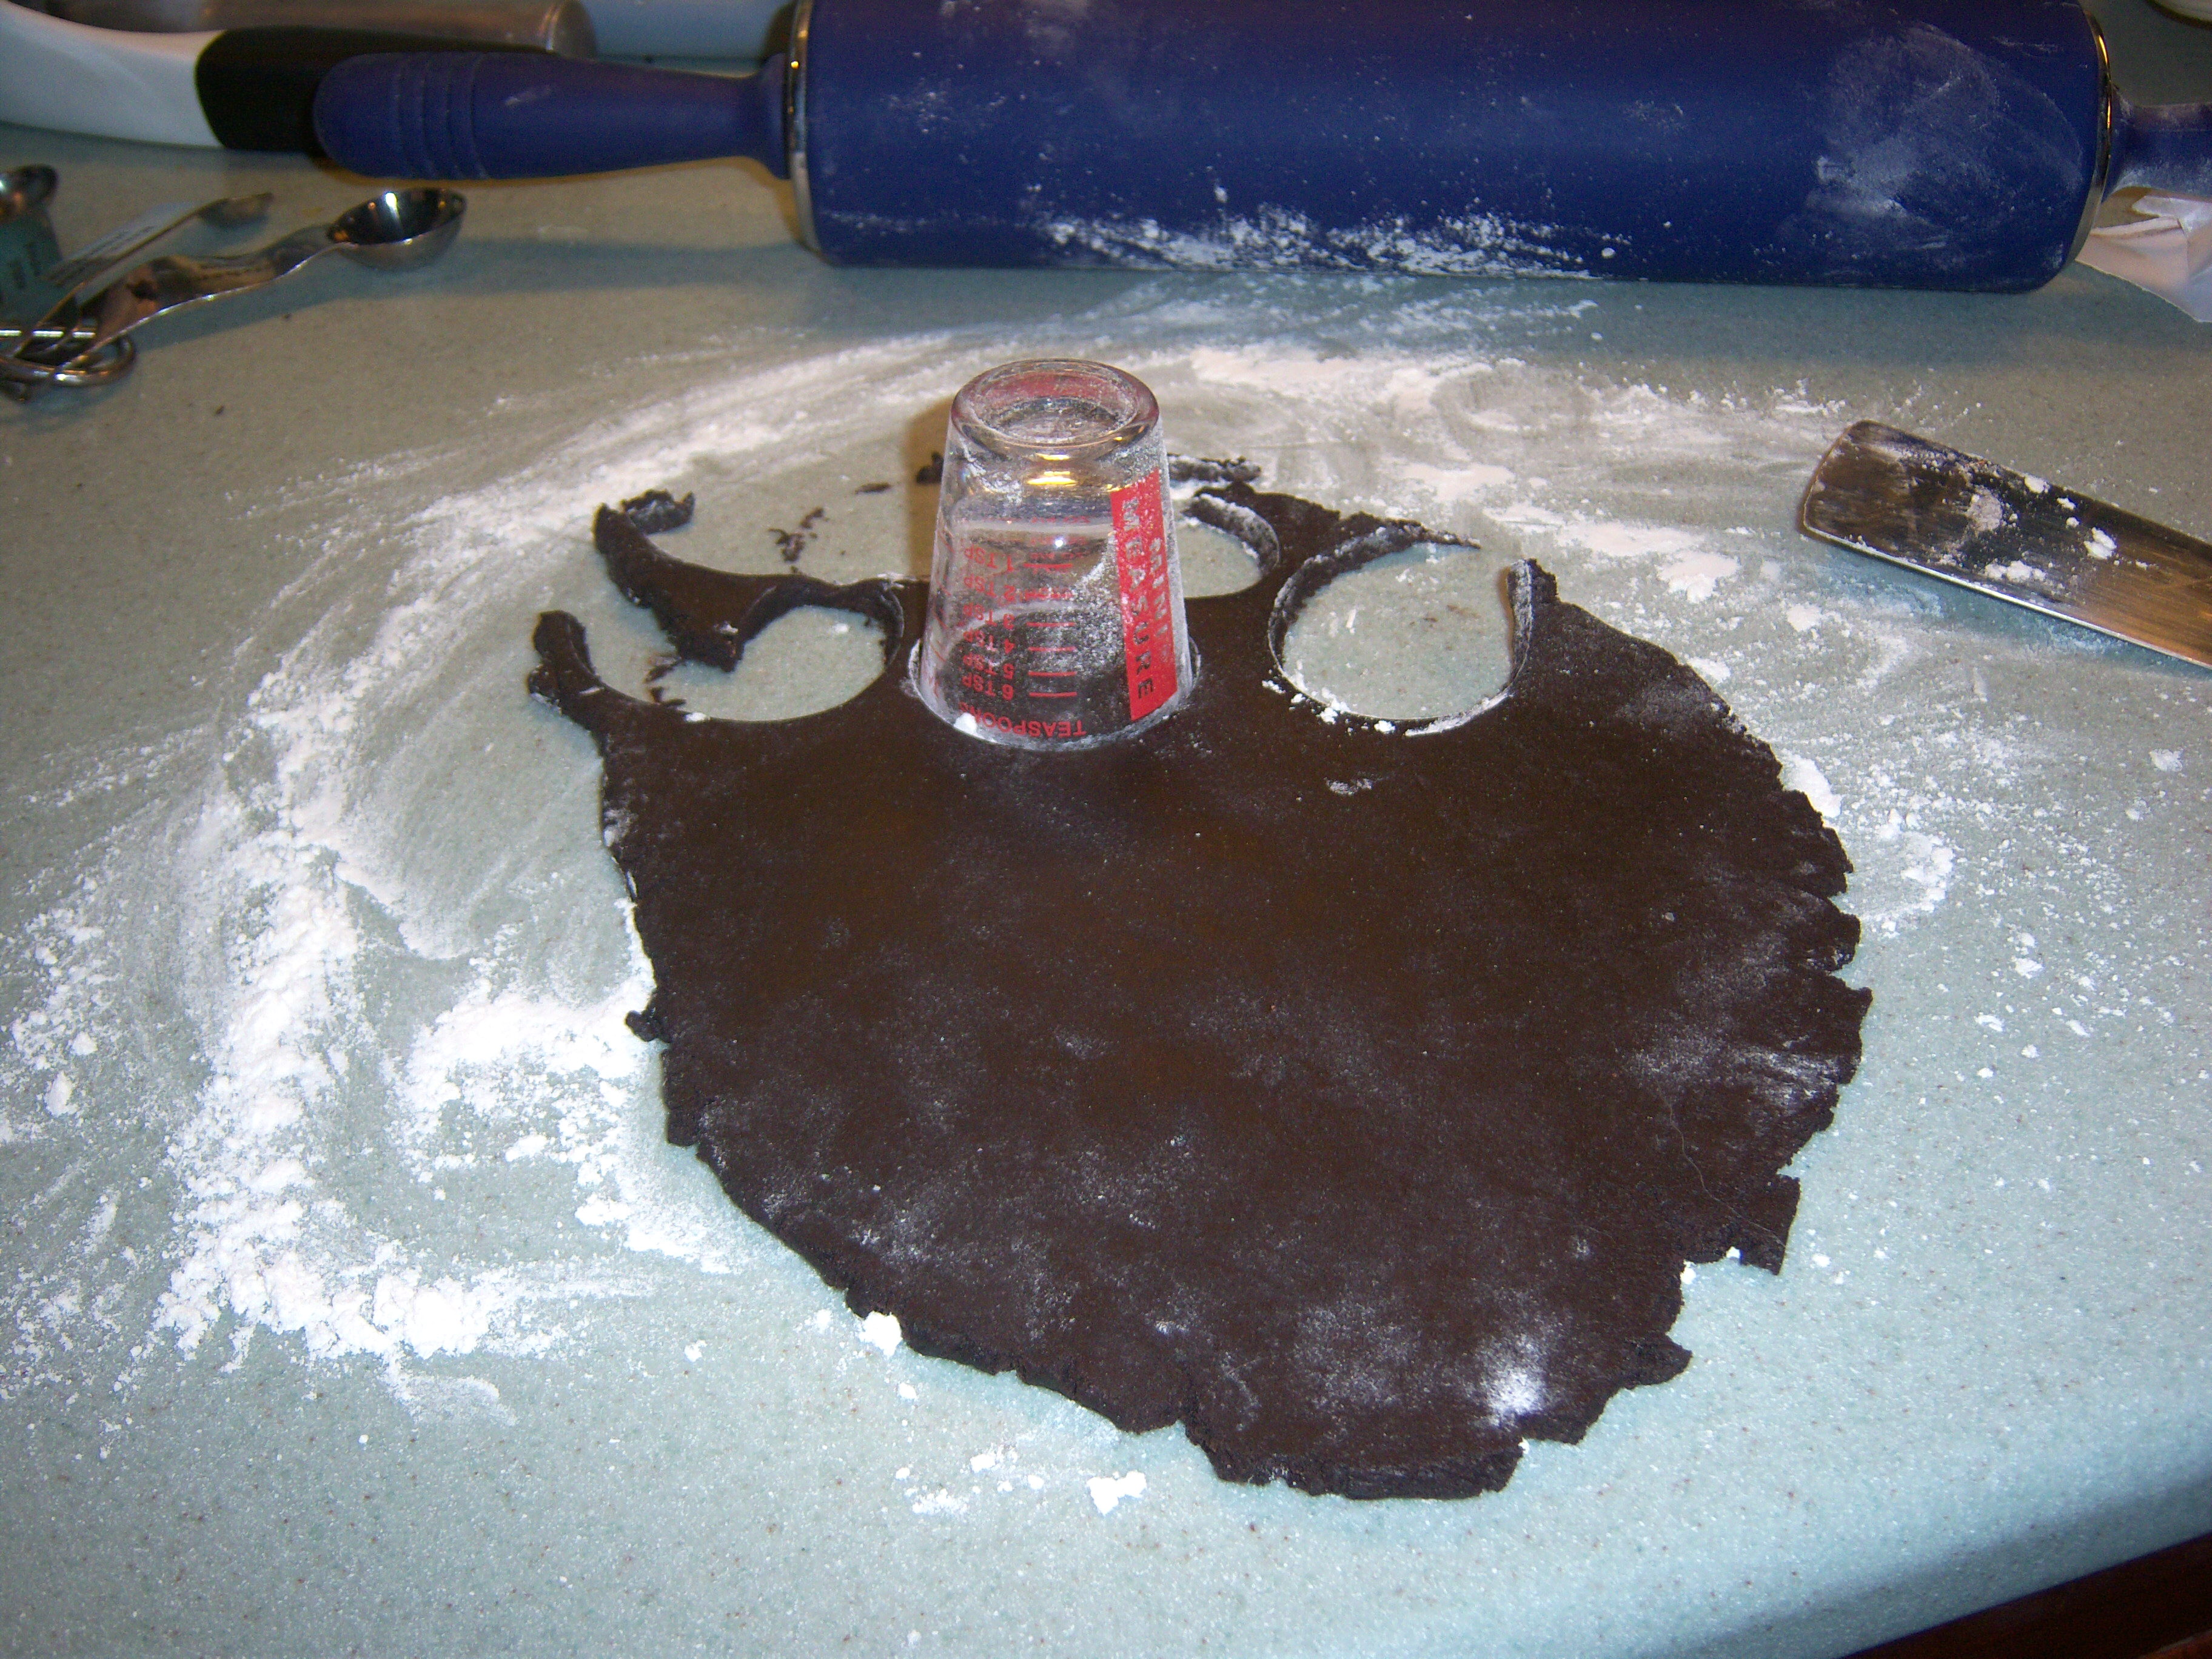
I got started making these and realized I didn’t see I needed peppermint extract, so off to the store went Mr. MarthaAndMe (good thing I could bribe him with the white chocolate). The dough was simple to make – butter, sugar, egg, peppermint, flour, cocoa, baking powder, baking soda and salt. The recipe said to make it into two disks and refrigerate. I did so and rolled it out. Then it said to

Cutting out circles

Cutting out circles

freeze it before cutting it out. Bah. I skipped that step since it was quite firm and went right to the cutting out.

Martha says to use a 2 inch circle cookie cutter. Well, I don’t have that but I had a little glass measuring cup – until I dropped it on the floor about halfway through and it shattered! Clean up aisle 4, Mr. MarthaAndMe. I then used a spice jar lid for the rest and that worked quite well.

OUt of the oven

OUt of the oven

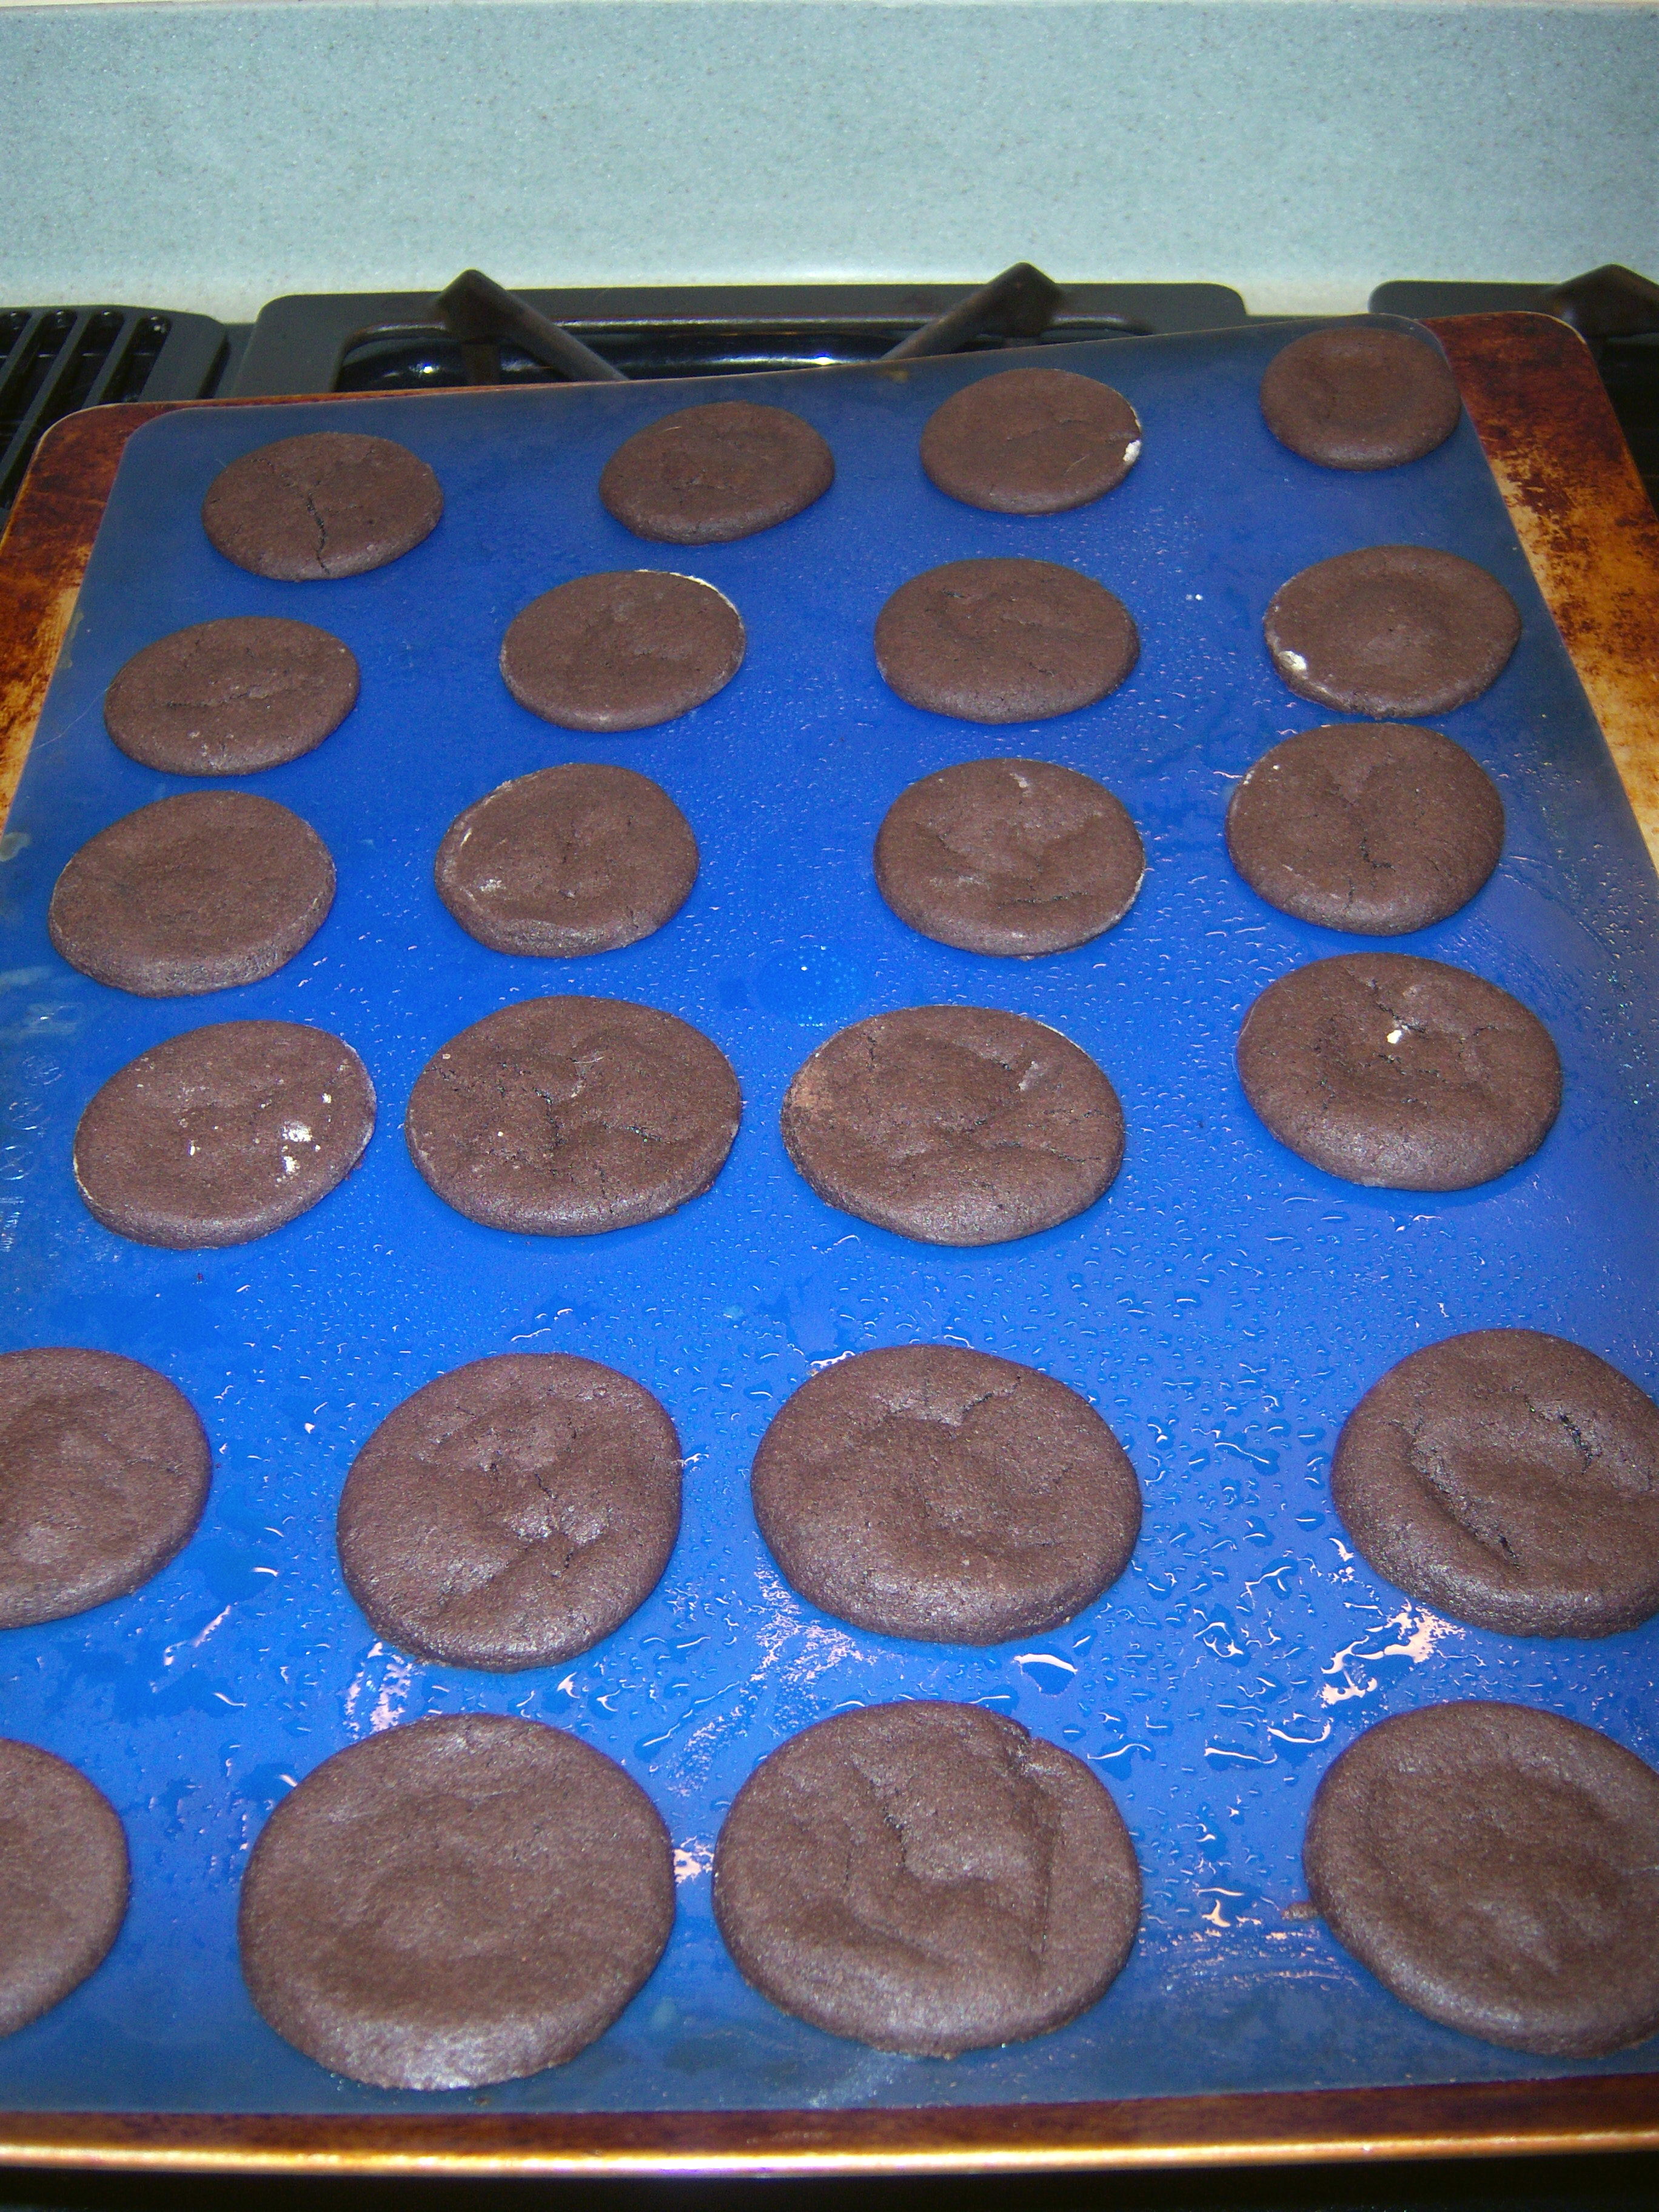
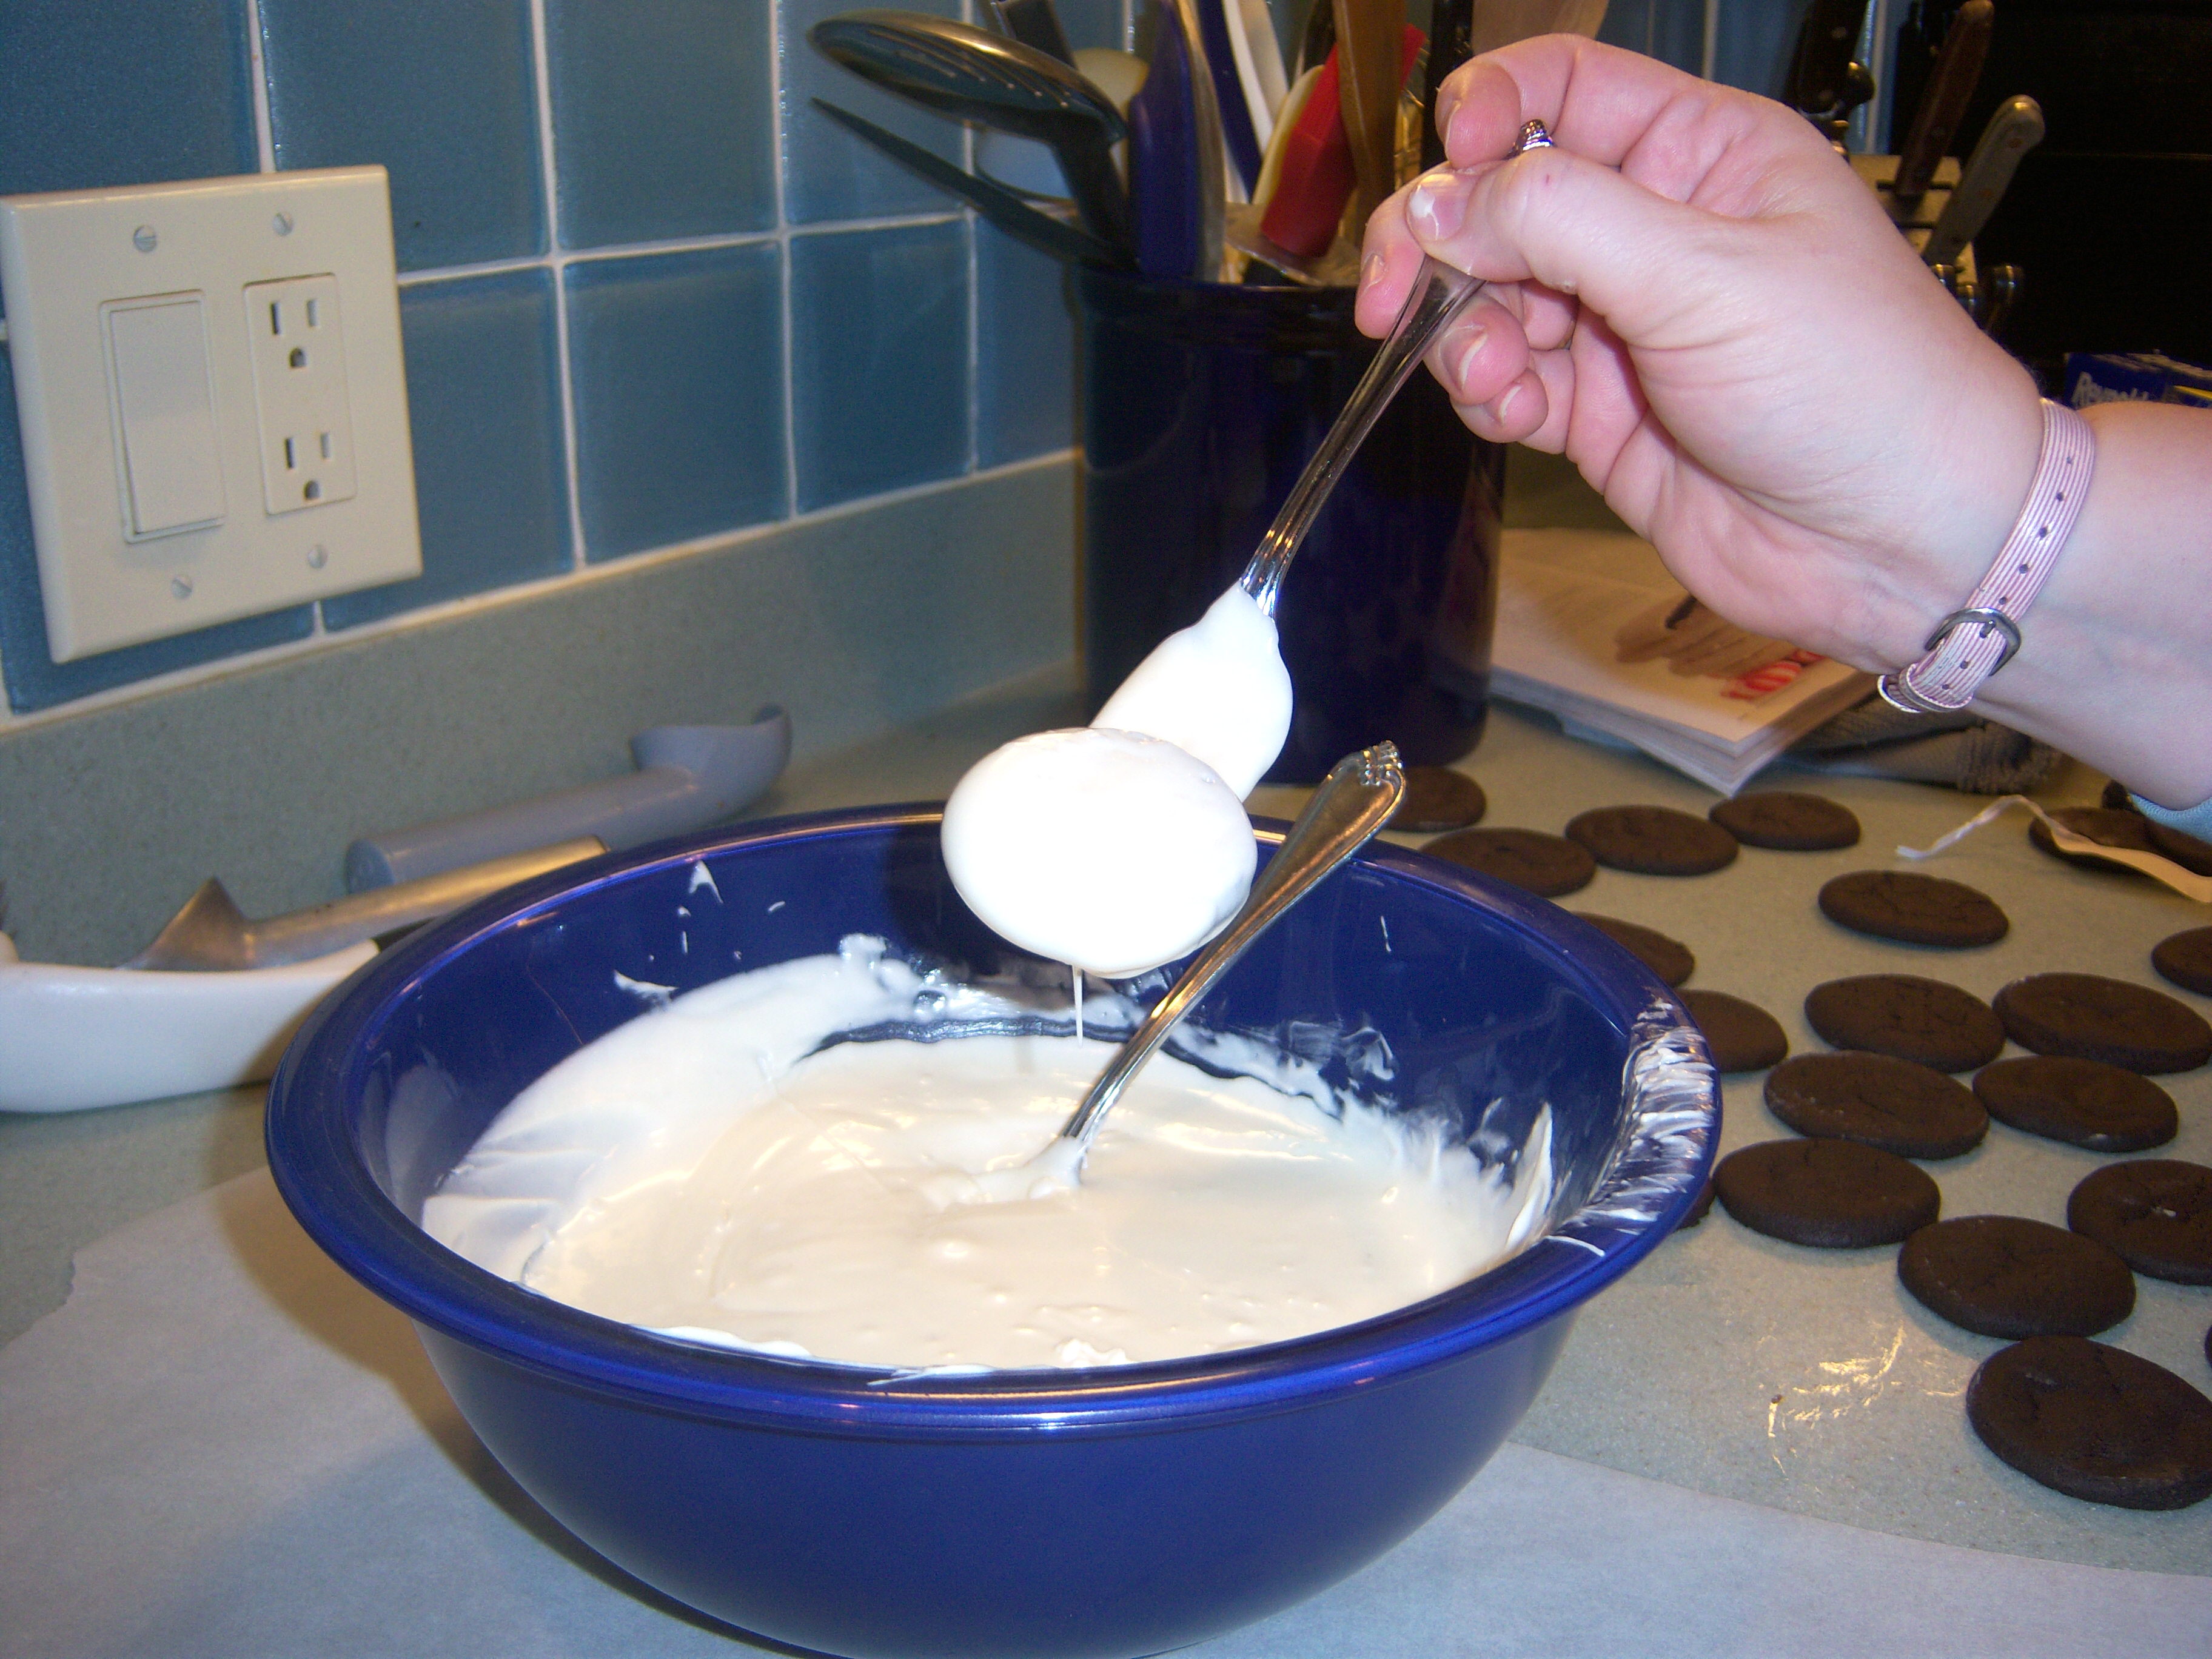
After cutting them out, you bake them for about 12 min. Easy. They came out looking very nice. Once they cool, you dip them in white chocolate. I melted my chocolate in the microwave – Martha says to do it over hot water. Bah.

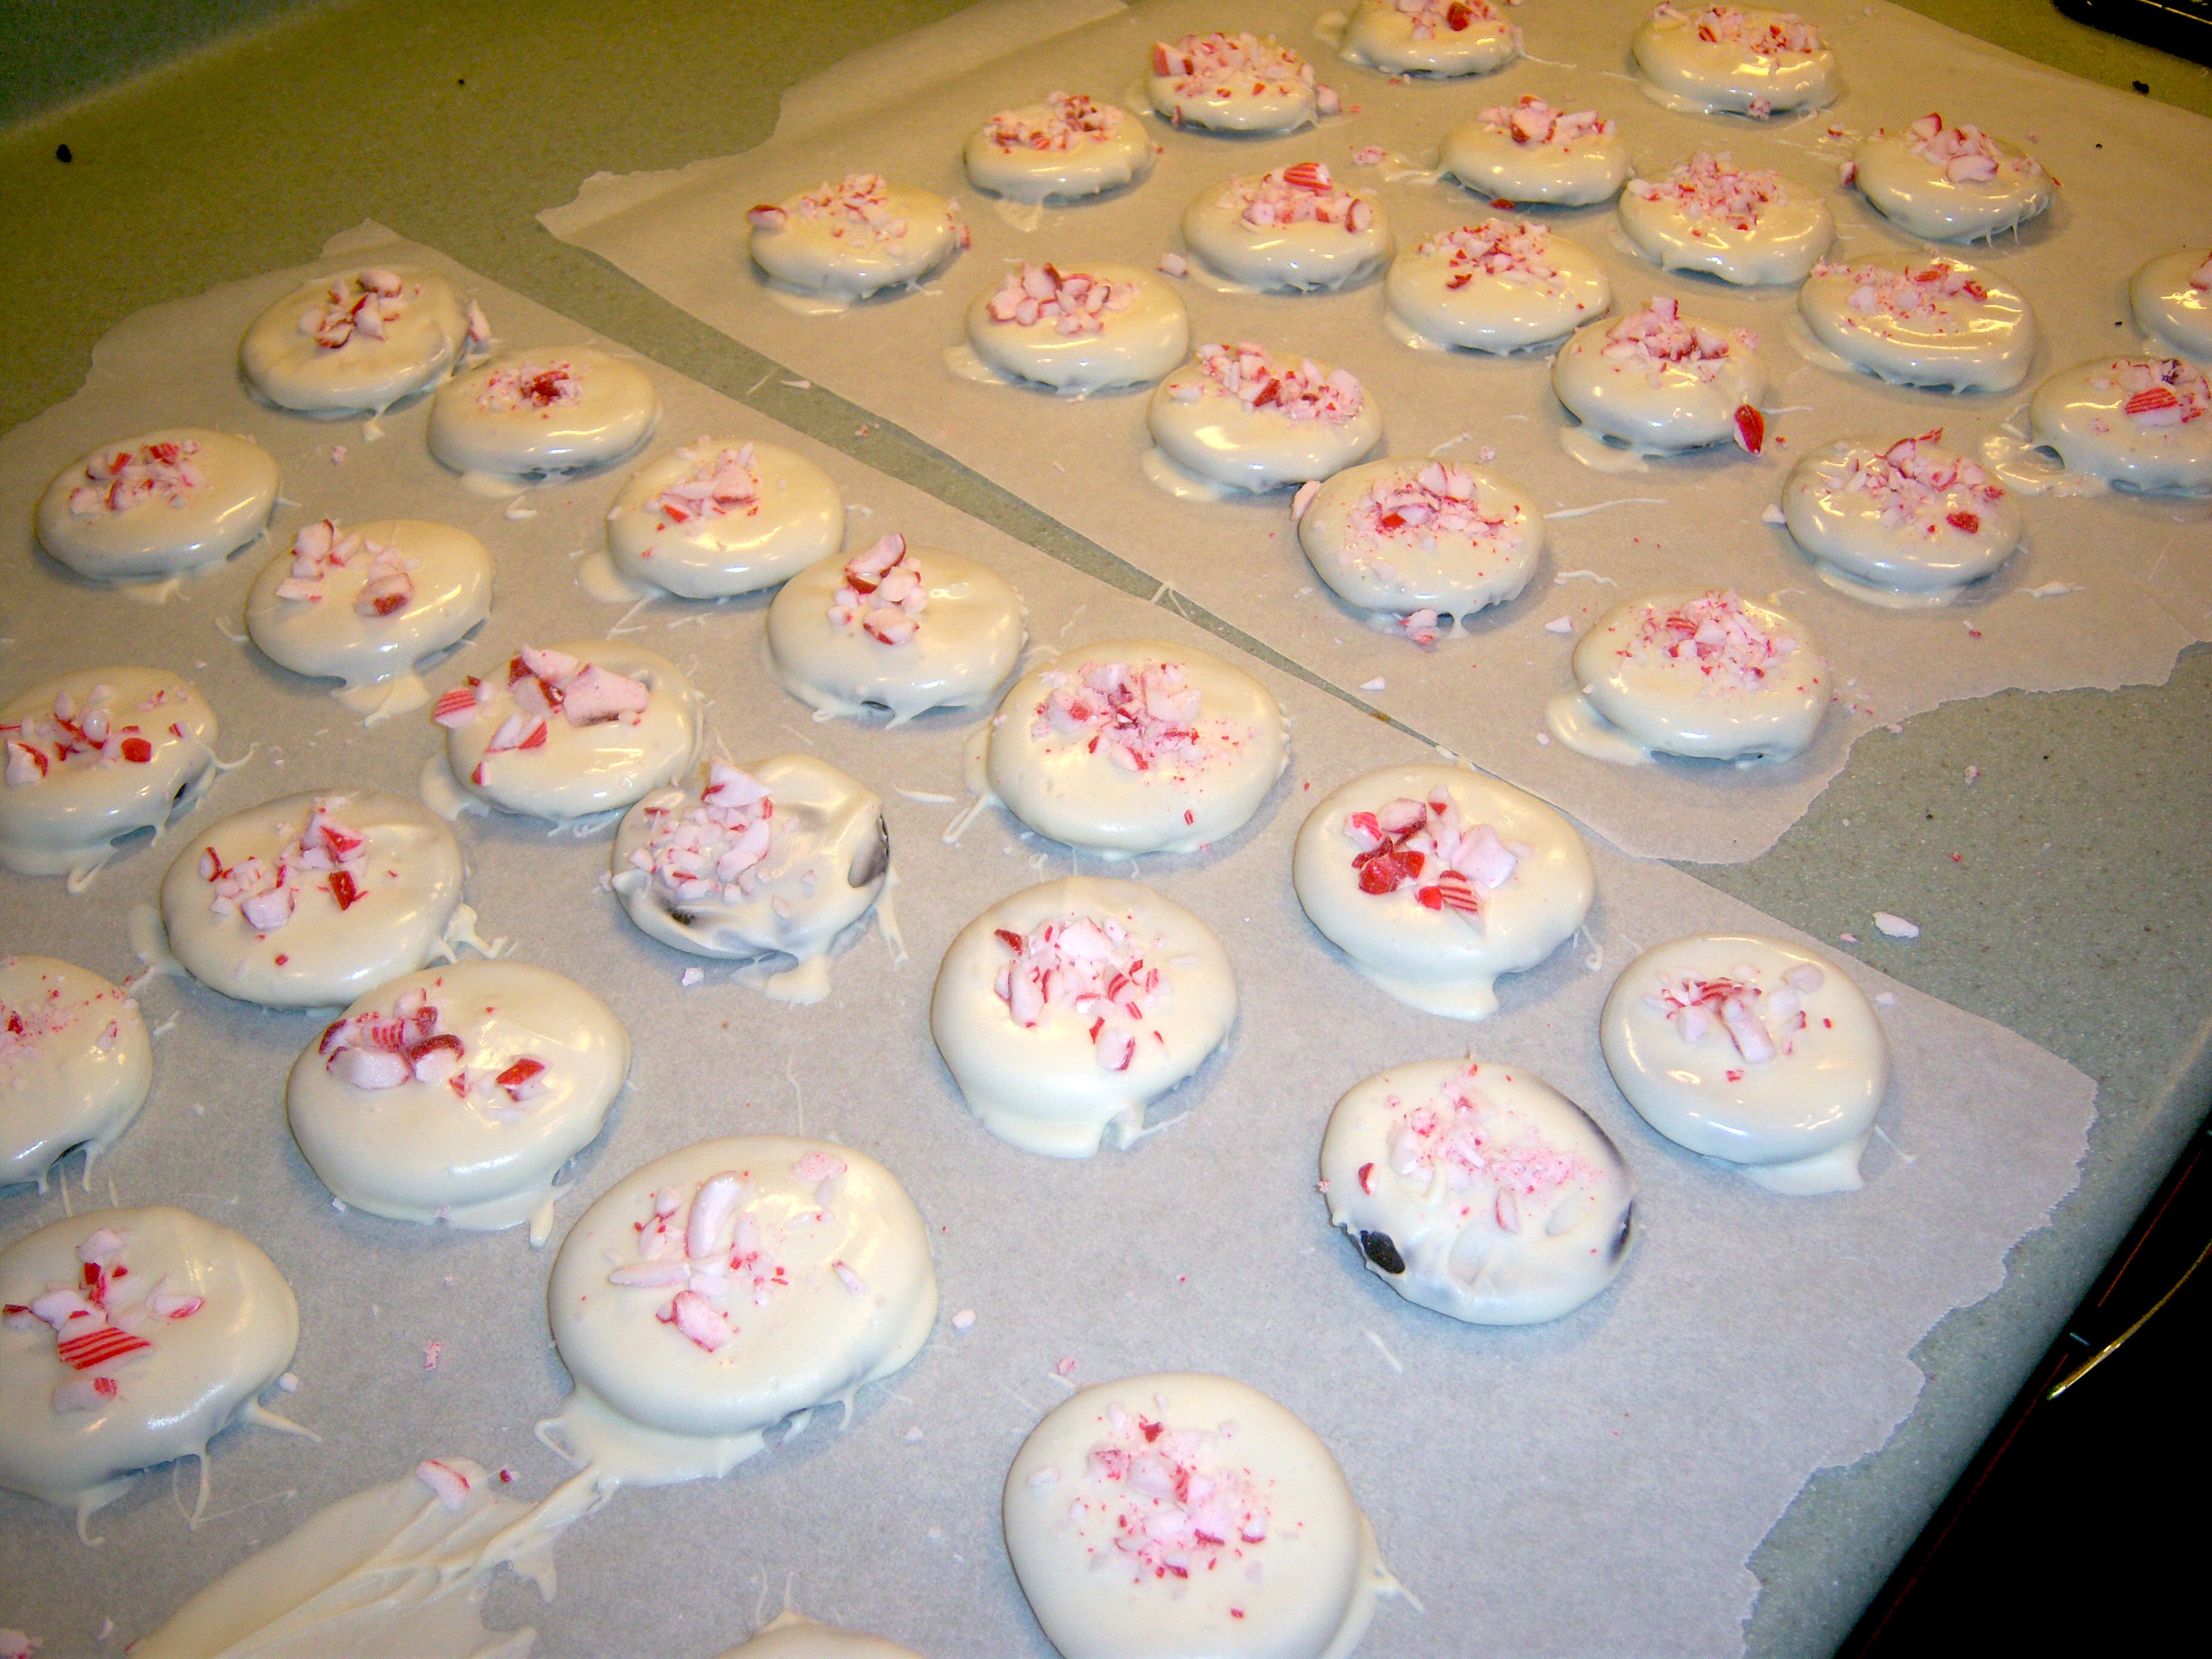
Dipping the cookies in was a little messy. It’s hard to drain the chocolate off them before setting them back down. Half the time I dropped them back in the chocolate by mistake. I had plenty of chocolate though. Mini-Martha sprinkled on the crushed peppermint (which he also had the job of crushing – the perfect task for a 10 yr old boy). I let them dry and they look terrific.

Now, as to who will eat them. We have conflicts! Mini-Martha and I don’t like

Dipping

Dipping

white chocolate, so we ate some plain cookies. They were really good, very similar to Girl Scout Thin Mints (I might try this again and dip them in dark chocolate to make them just like those). Mr. MarthaAndMe loves white chocolate, but regular chocolate makes him break out. He did sample one and gave it a total thumbs up. That leaves only the teen daughter who with the perpetual diet will likely not eat many. Looks like another batch to give away.

The Finished Product

The Finished Product

I recommend this cookie though – very pretty, not to complicated, tasty and also very Christmassy. A good thing.

This month’s cookie from Living is a Chocolate Peppermint cookie. These looked gorgeous in the mag – covered in white chocolate and sprinkled with crumbled peppermint candy. I got started making these and realized I didn’t see I needed peppermint extract, so off to the store went Mr. MarthaAndMe (good thing I could bribe him … Read more

Turkey Redux

Posted by Brette in Food

We have a lot of leftovers from our turkey. The day after Thanksgiving, we usually have turkey sandwiches for lunch. For dinner, I reheat the entire Thanksgiving meal. To reheat the turkey, I put some gravy in a pan and heat that, then add in some slices of turkey for just a few minutes until it is hot. That way the turkey doesn’t overcook and stays moist.

By the Saturday after Thanksgiving I am starting to tire of turkey. So I really appreciated the section in the November Living with all the great leftover idea. My first try was turkey croquettes (page 70).

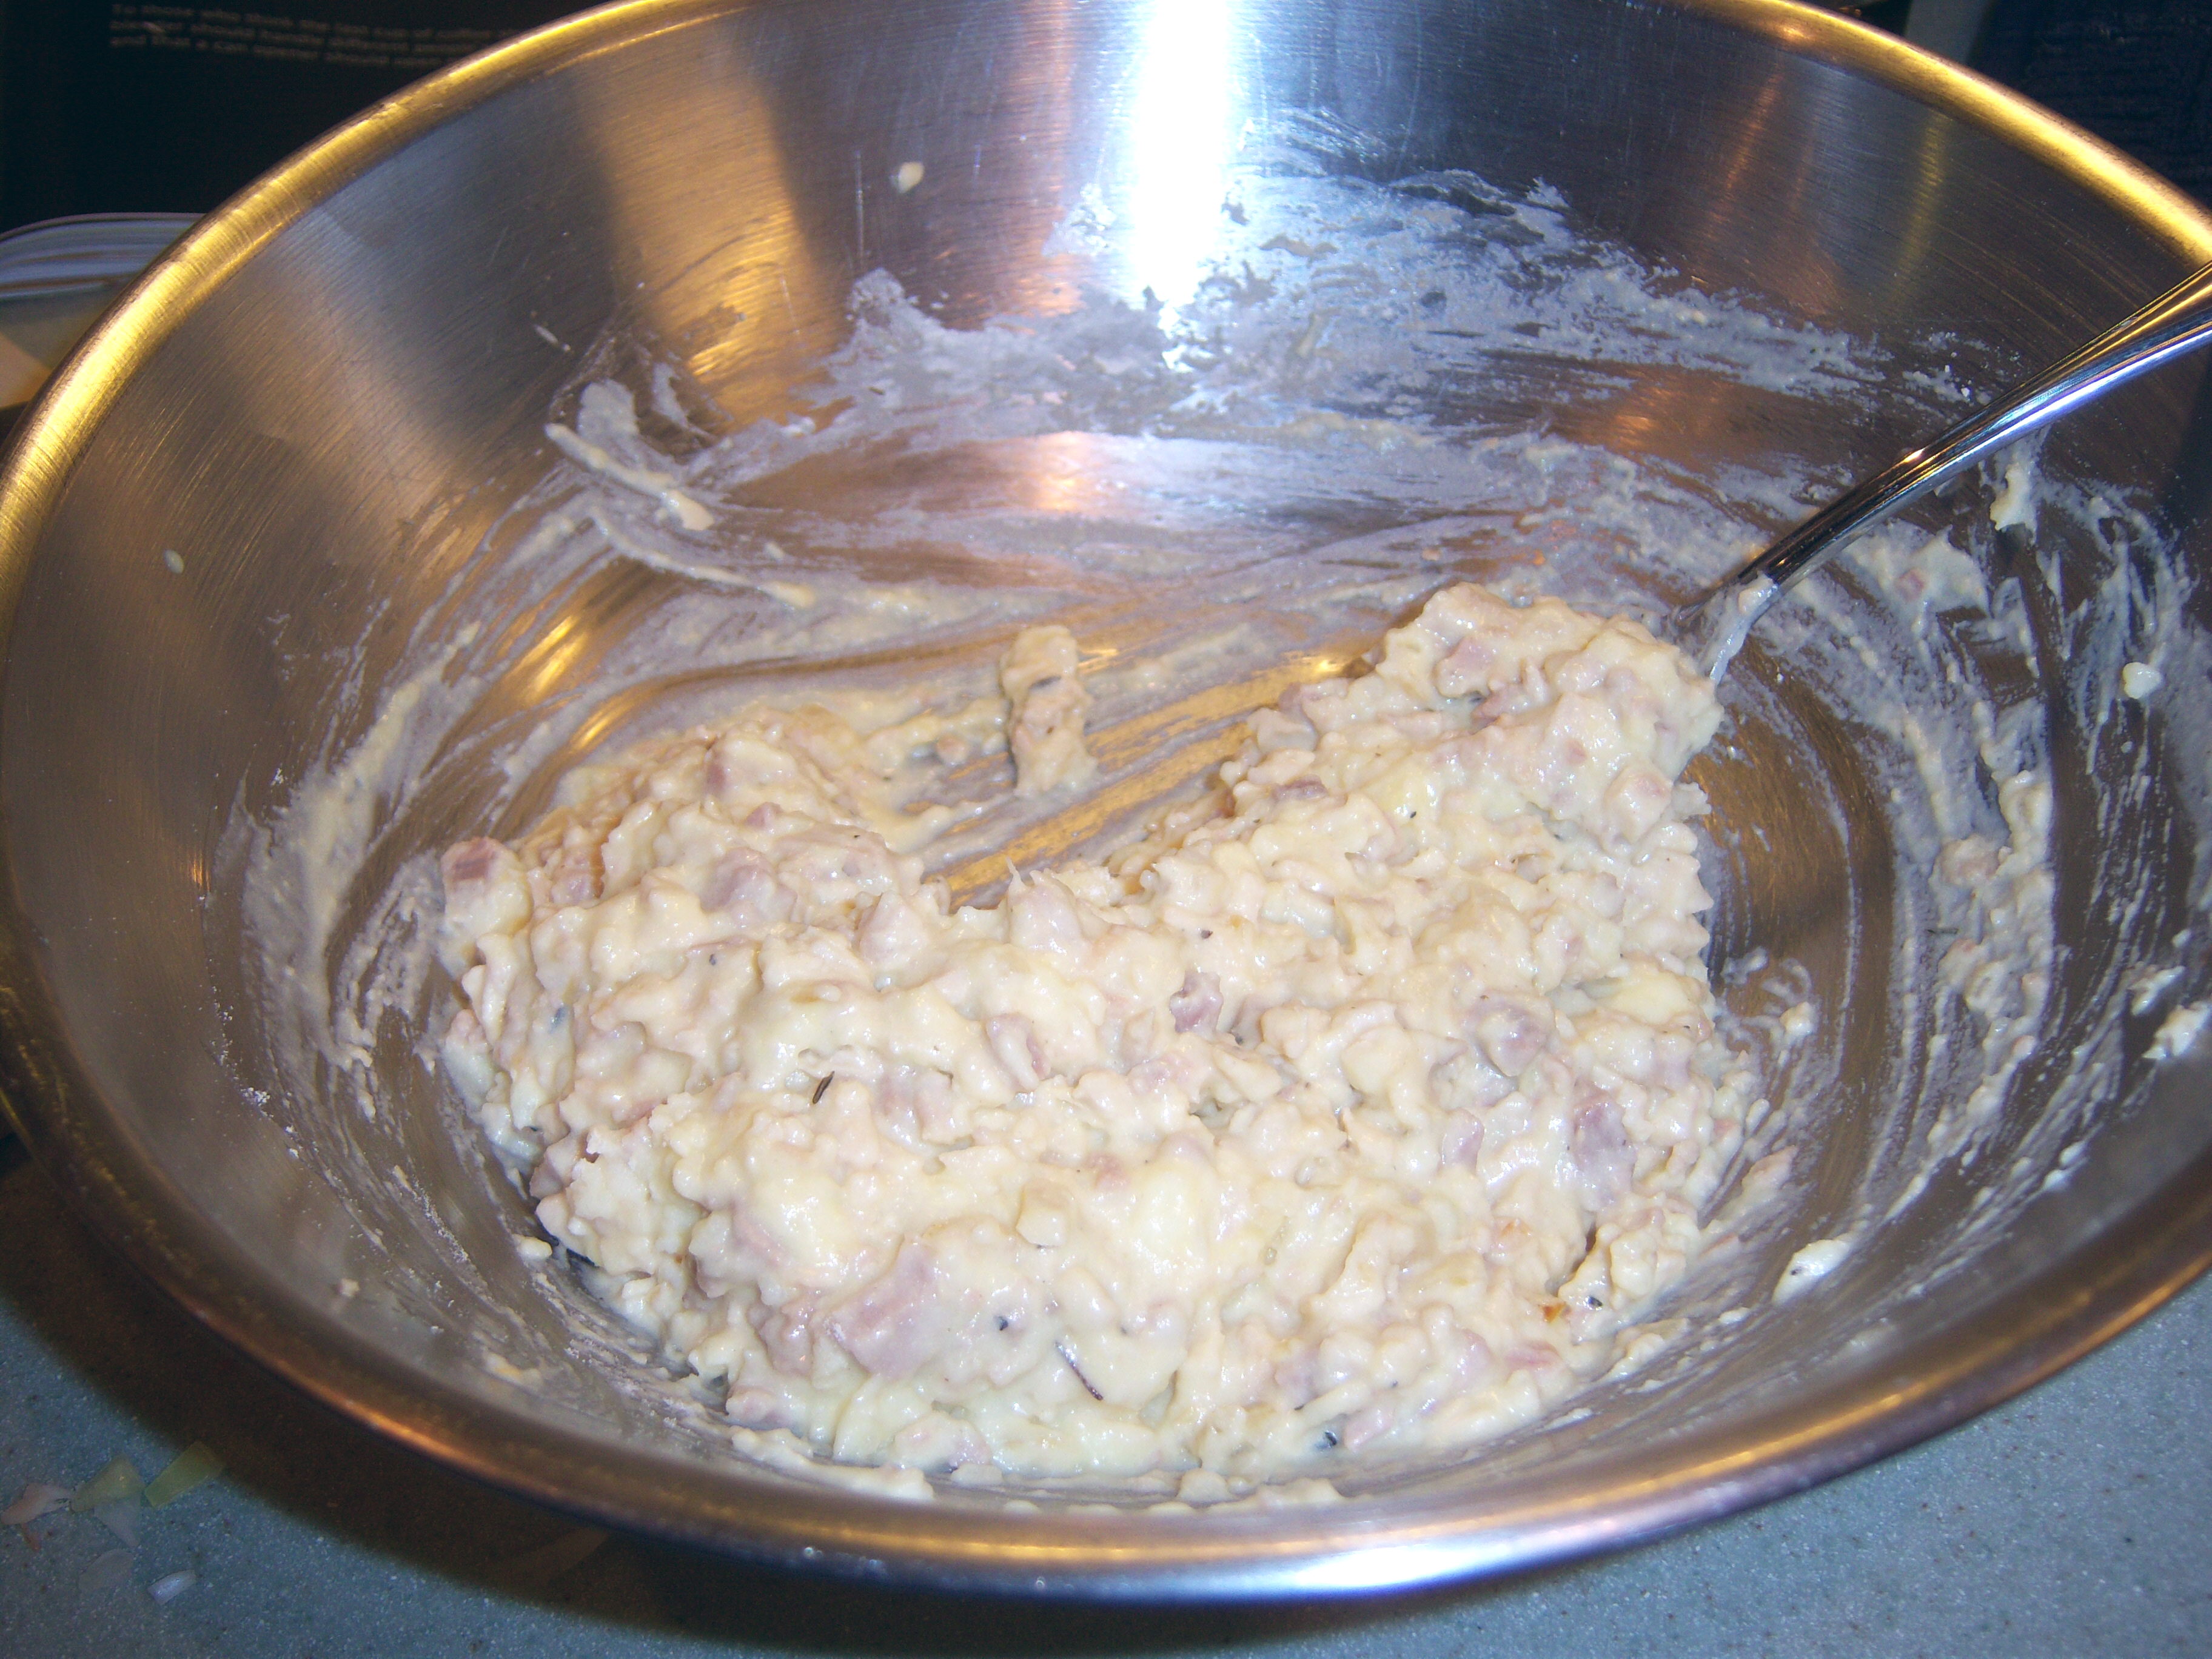
Croquette mixture

Croquette mixture

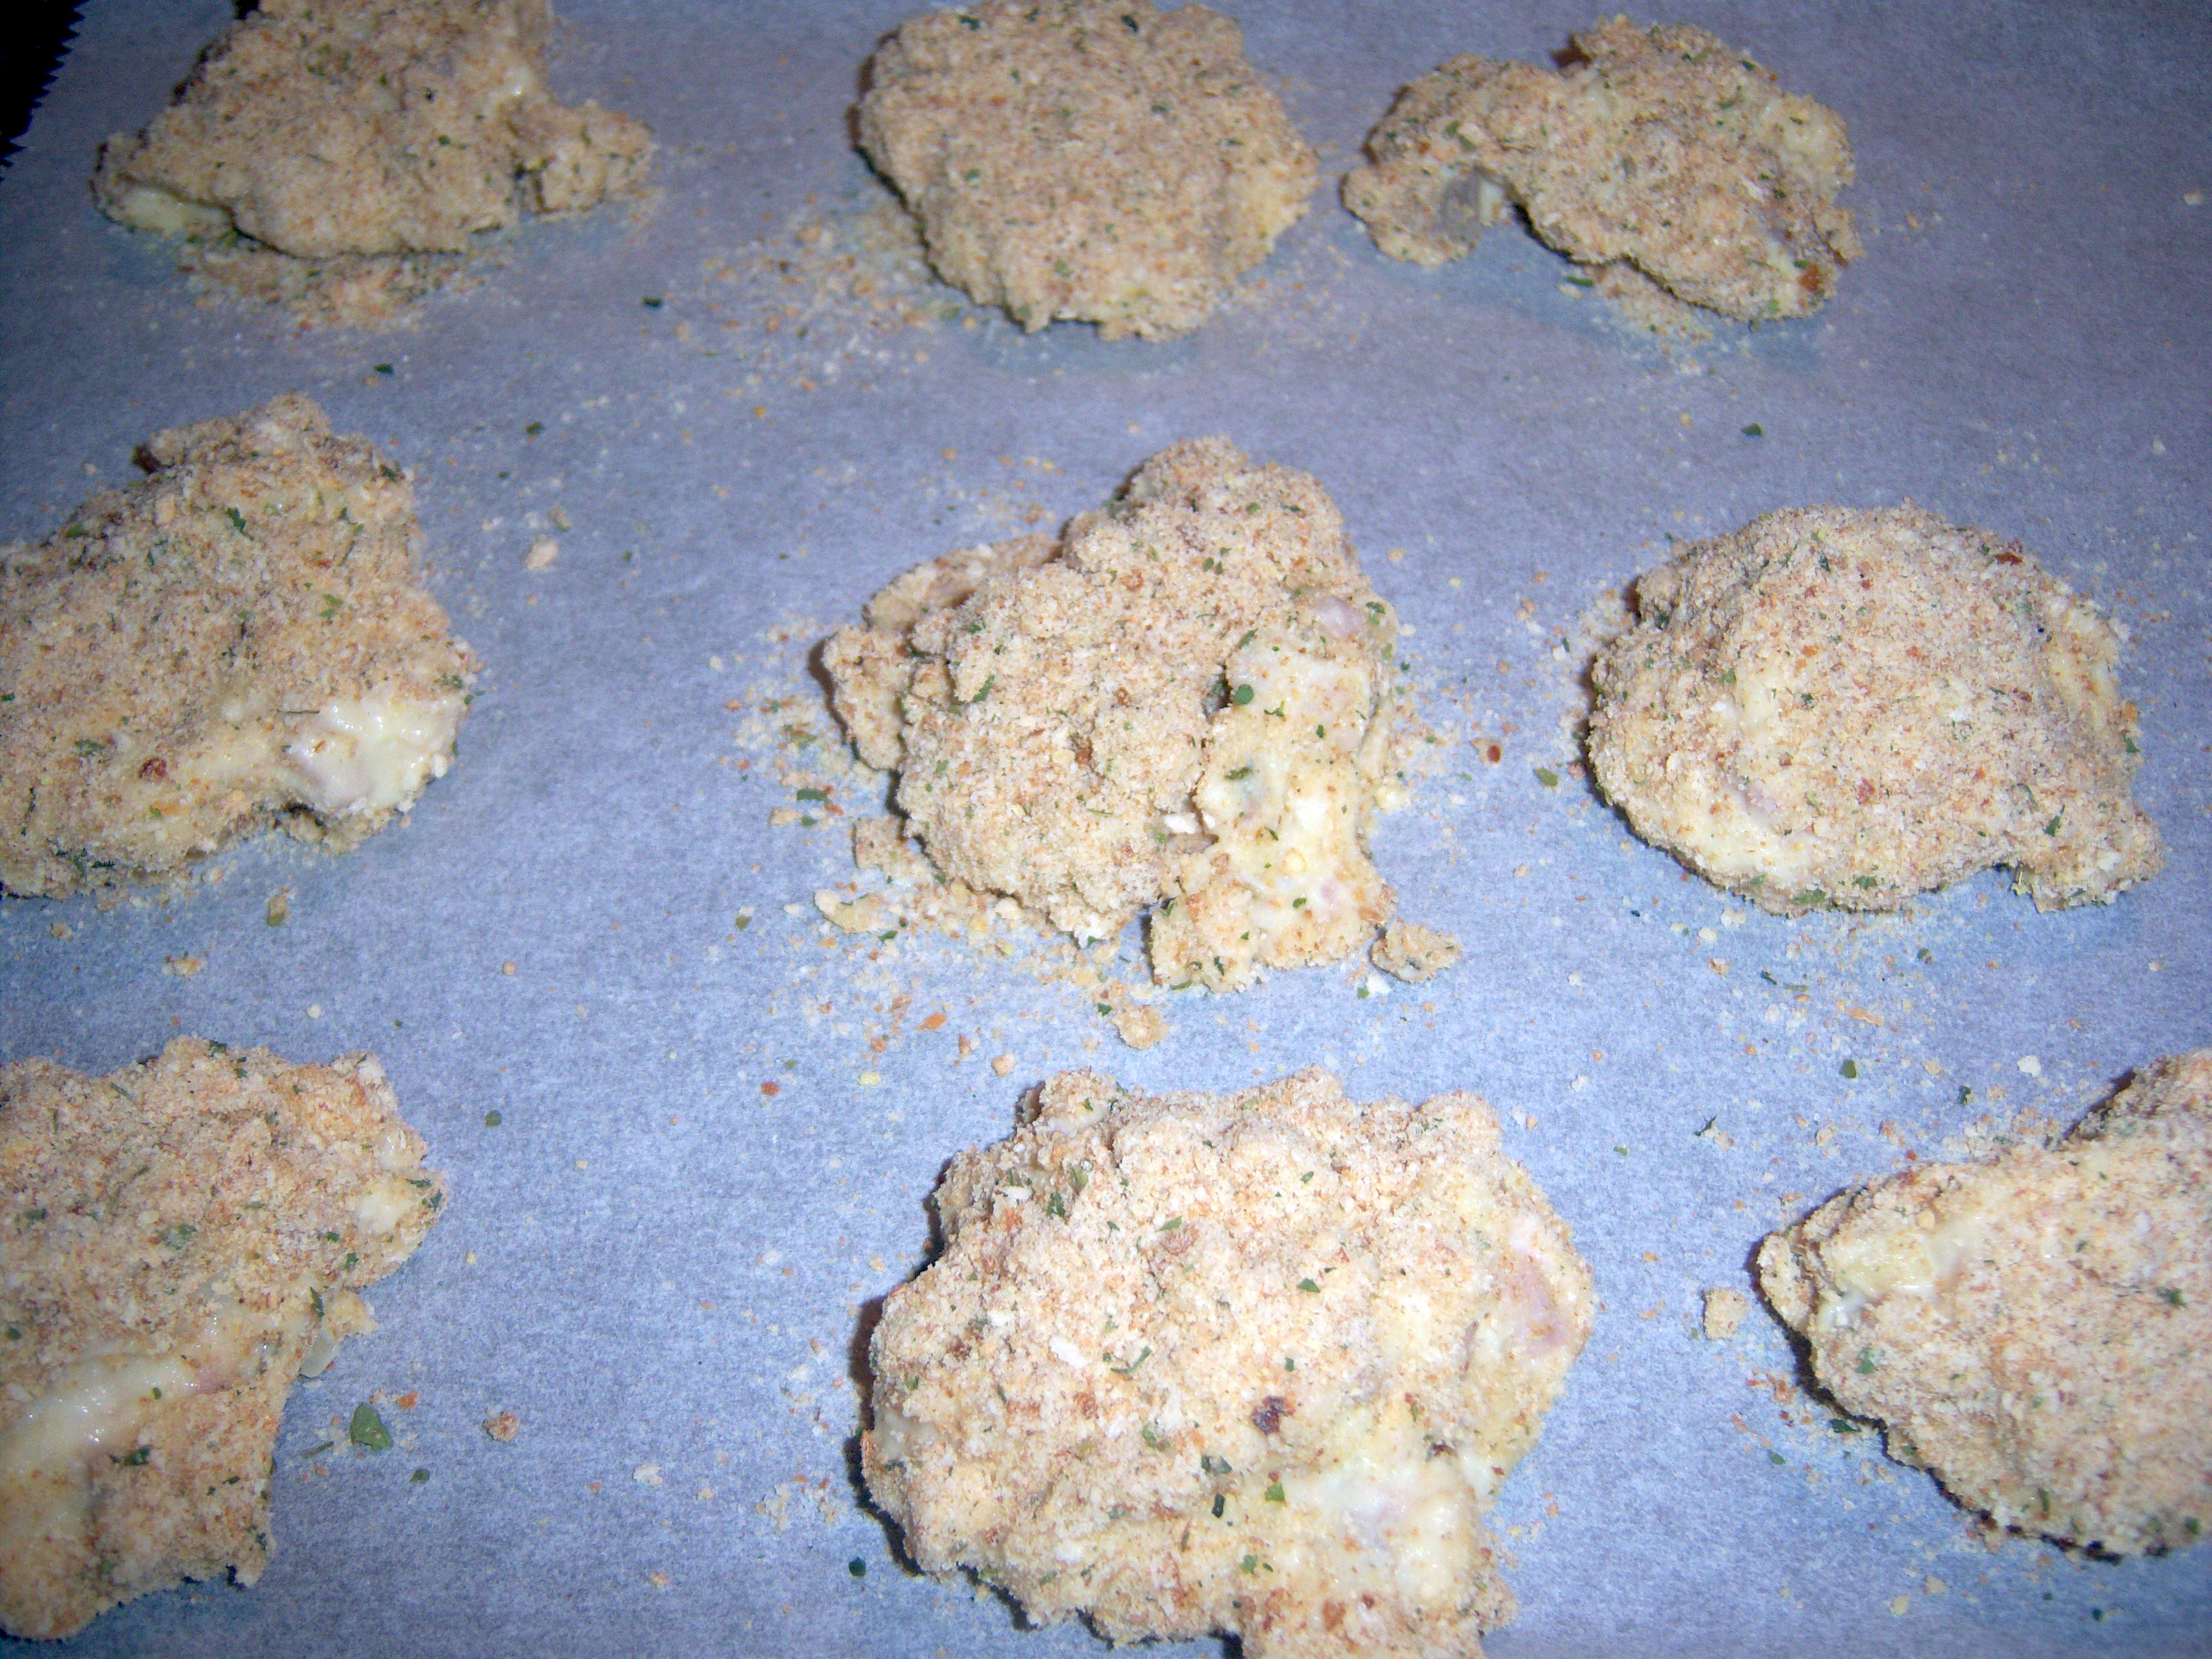
The recipe seemed pretty easy. You cook onion in a pan with oil then add thyme and sage. Next you add some chopped turkey and a little cream and cook until the cream is gone. You transfer it to a bowl and let it cool. Then add mashed potatoes, flour and egg. Mix it up and make little croquettes. Here’s where it got tricky. These croquettes were very, very mushy. Martha says to dip them in breadcrumbs, put them on a tray and freeze them for 15 min (a lot of Martha’s recipes

Ready to freeze

Ready to freeze

require a freezing step, I am finding). It was very hard to cover the mushy blobs in breadcrumbs and hard to transfer them to a tray. I muttered a bit at Martha under my breath. I think it might make sense to freeze the mixture for a few minutes first, then shape them into croquettes. They were really hard to work with.

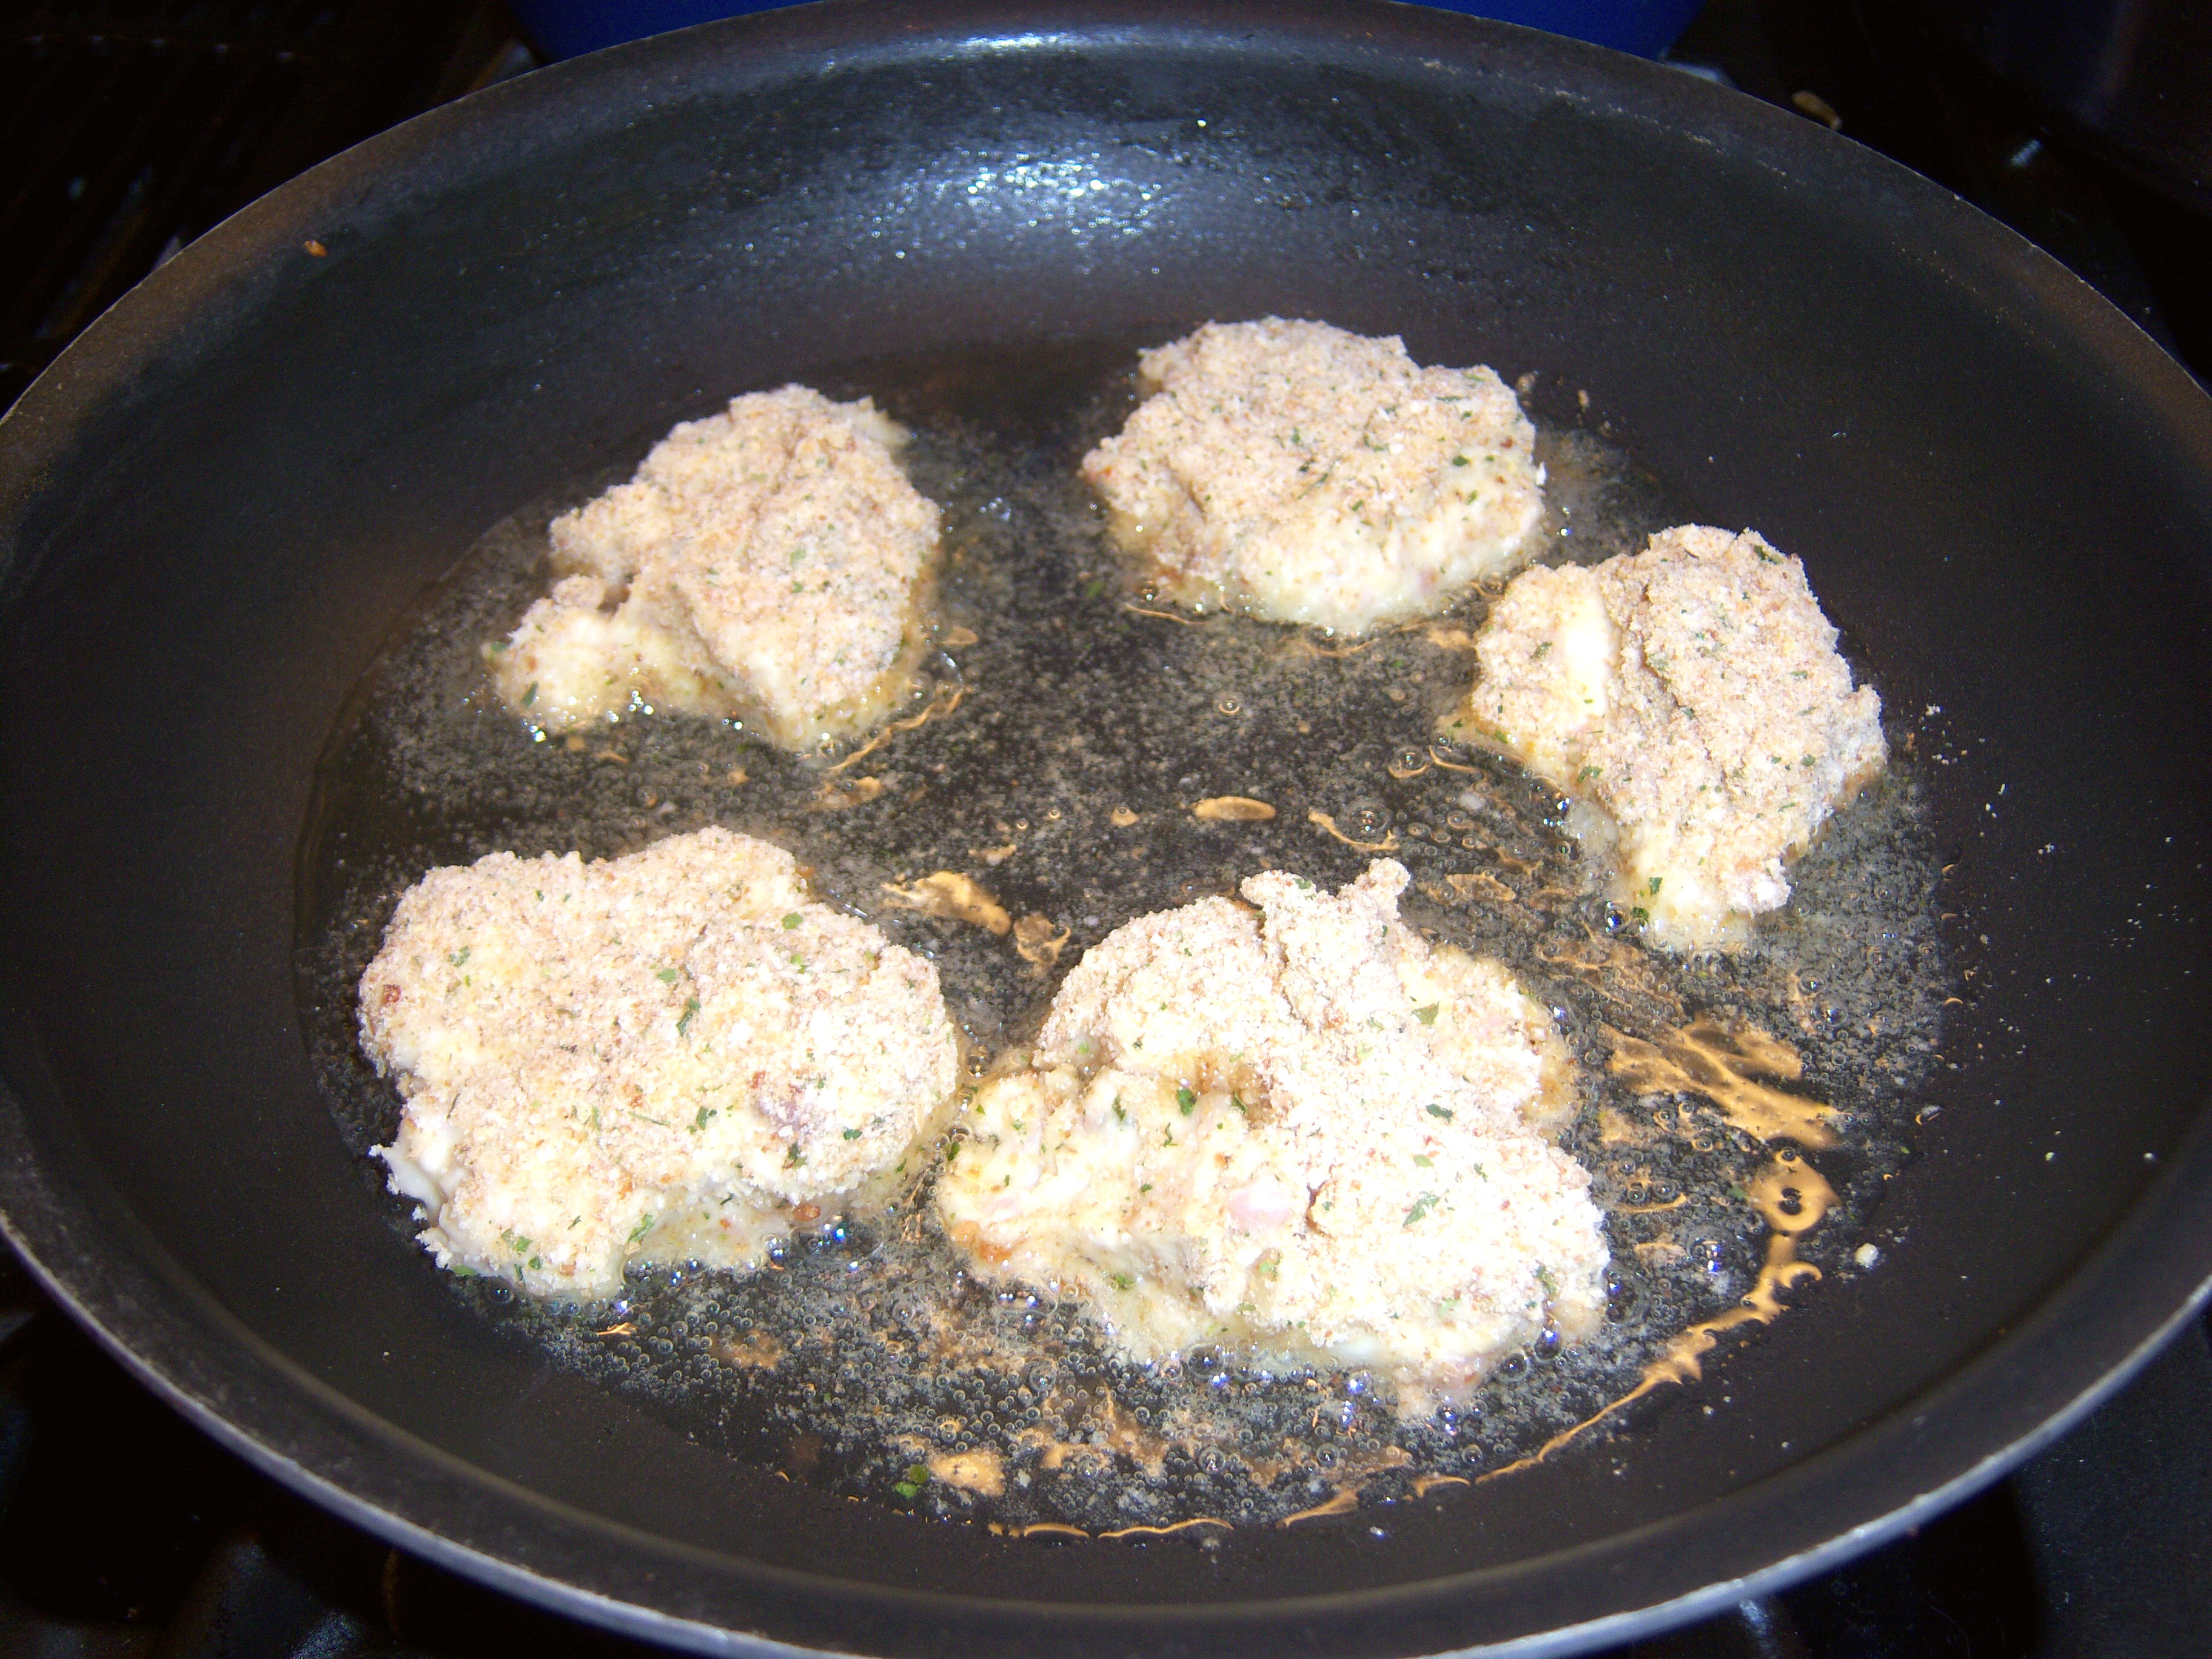
After I froze the breaded croquettes, them it was time to fry. The key here is make sure your oil is very hot. The first batch I did broke apart a little and didn’t cook

Fry it up in a pan

Fry it up in a pan

very evenly, but the second batch was perfect.

You serve them with cranberry sauce. They were tasty with a nice flavor. What was weird was you couldn’t really tell you were eating potato at all. They definitely need the cranberry sauce, so don’t leave that out. I would definitely make these

Fried to perfection

Fried to perfection

again next year. They’re a nice alternative to other turkey leftover dishes I think. A good thing.

We have a lot of leftovers from our turkey. The day after Thanksgiving, we usually have turkey sandwiches for lunch. For dinner, I reheat the entire Thanksgiving meal. To reheat the turkey, I put some gravy in a pan and heat that, then add in some slices of turkey for just a few minutes until … Read more

I’ve only completed half of this cooking school lesson so far. Martha and Sarah Carey made chicken piccata (to demonstrate sauteing) and then an Indian spice yogurt marinaded chicken that was pan-fried. I’ll get to the second one at a future date (or not since I’m not a big fan of spicy Indian food).

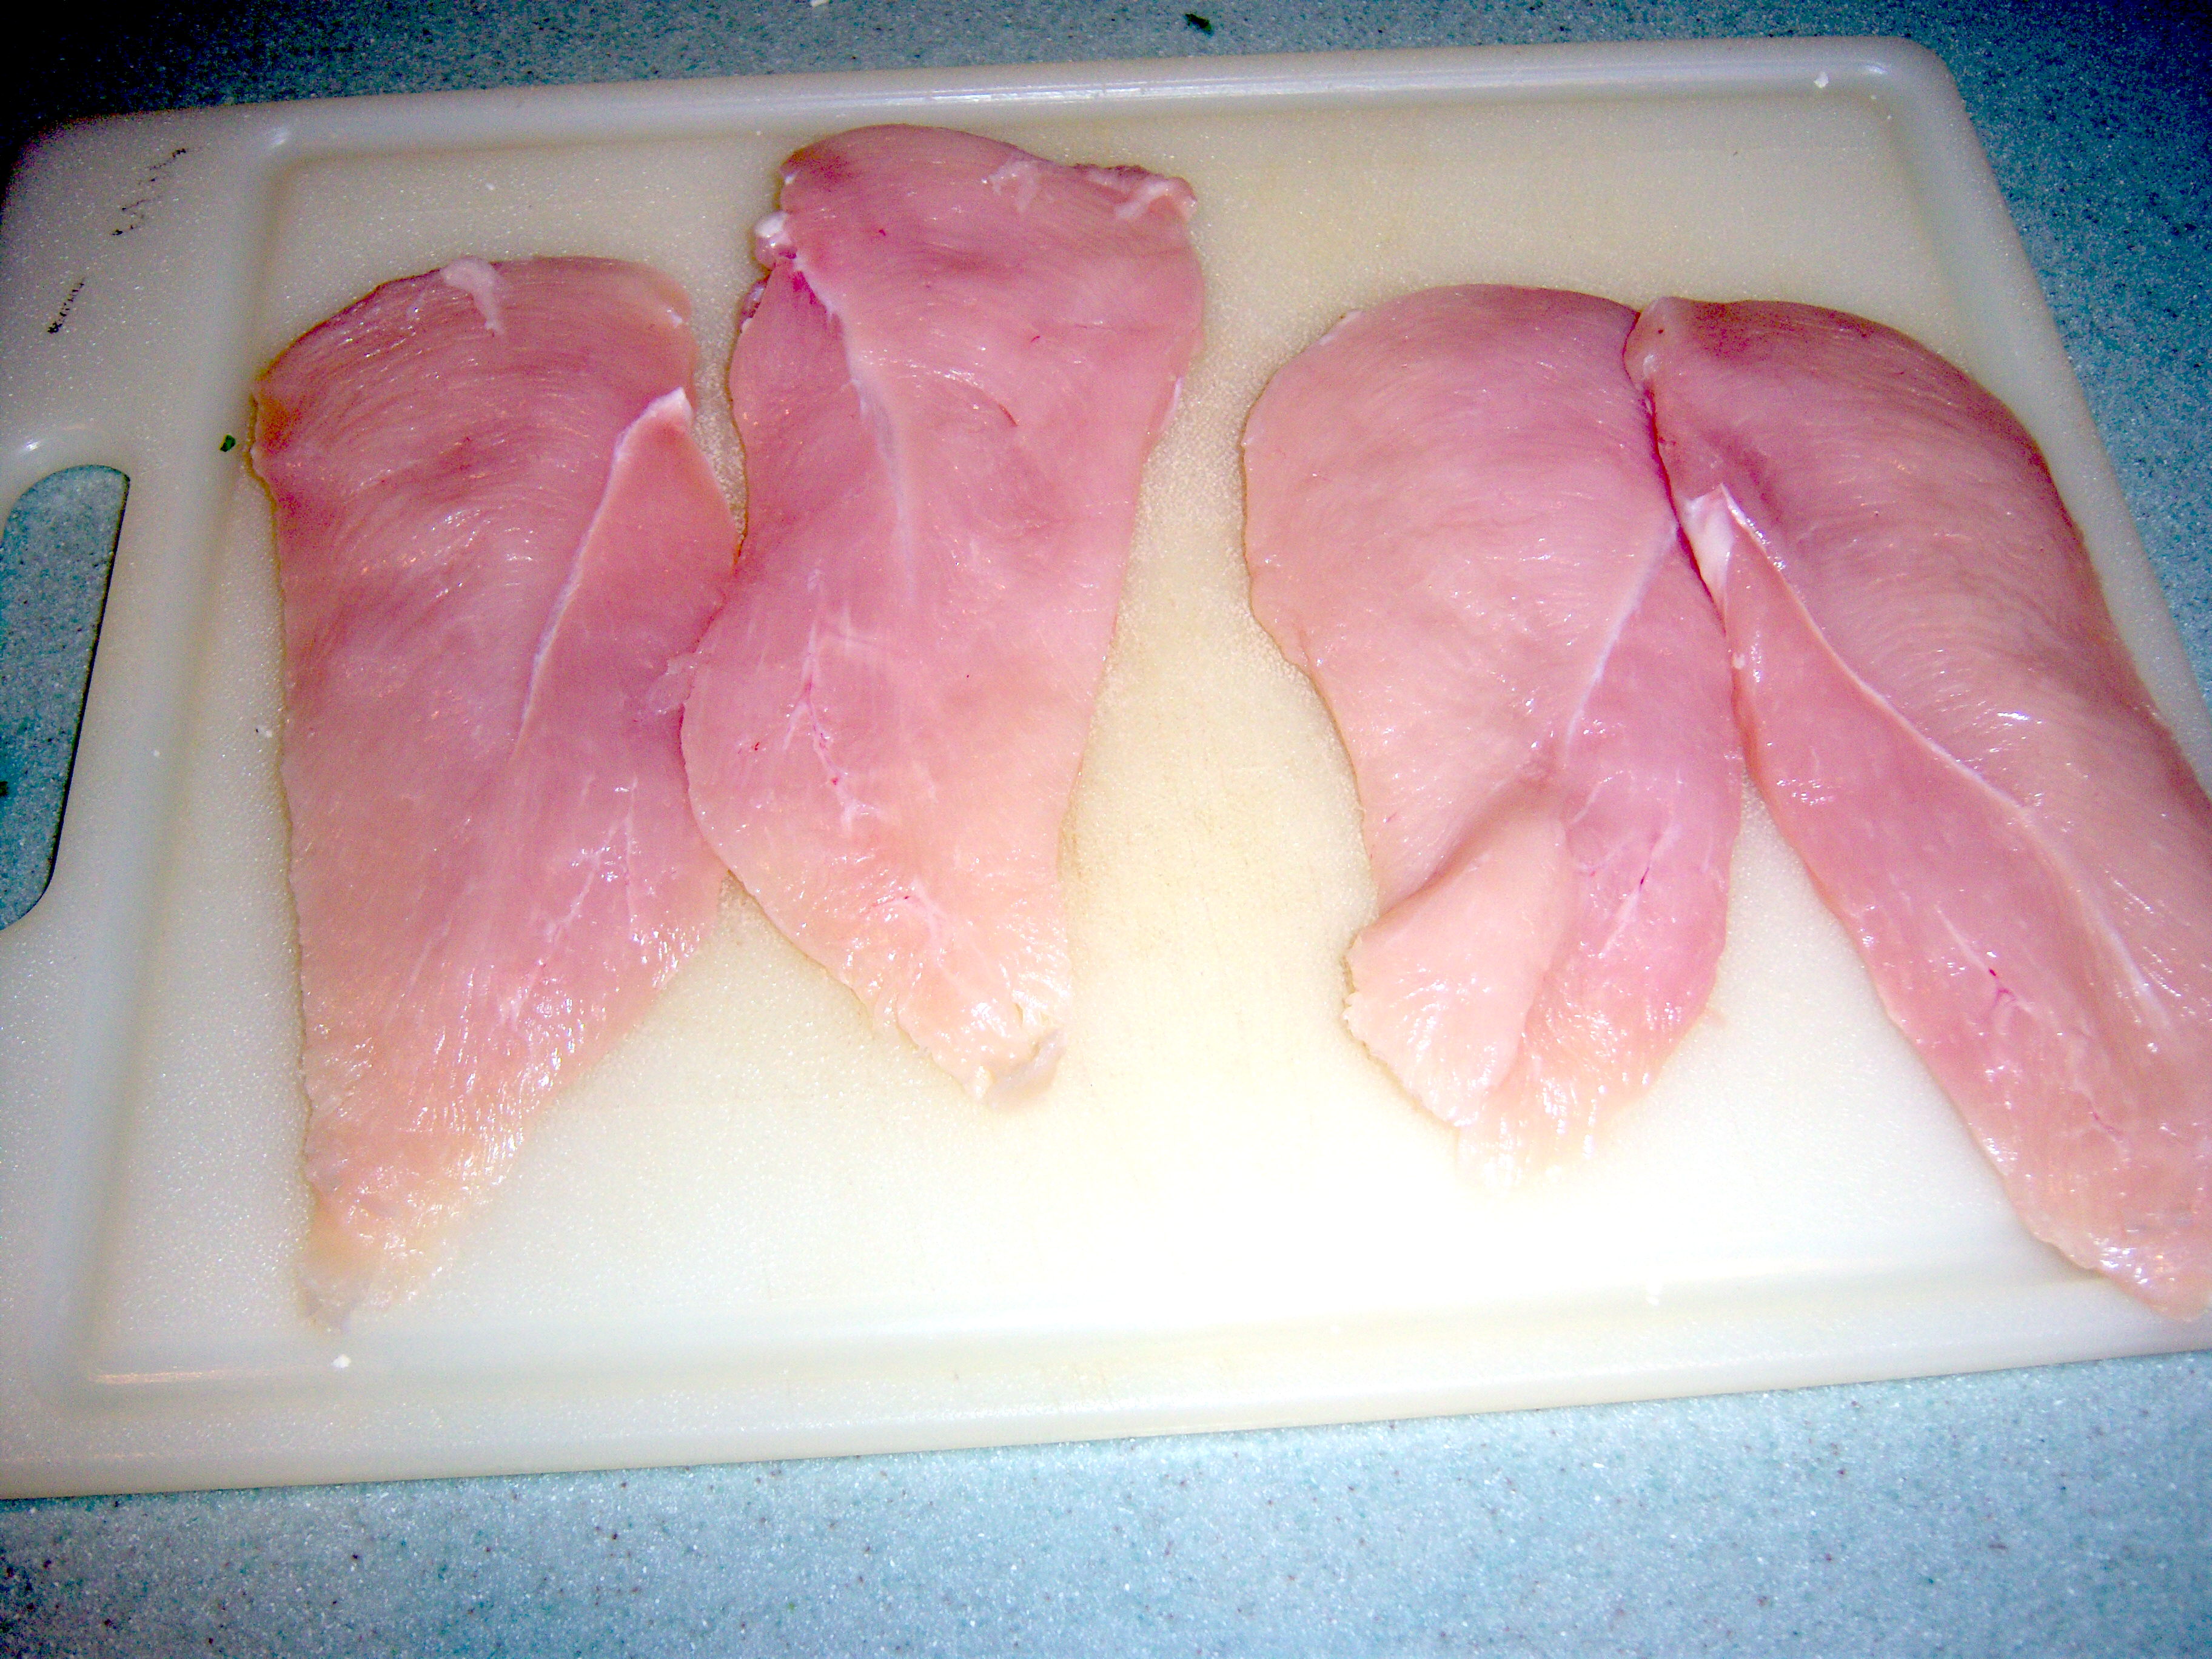
Cutlets

Cutlets

The first step in this

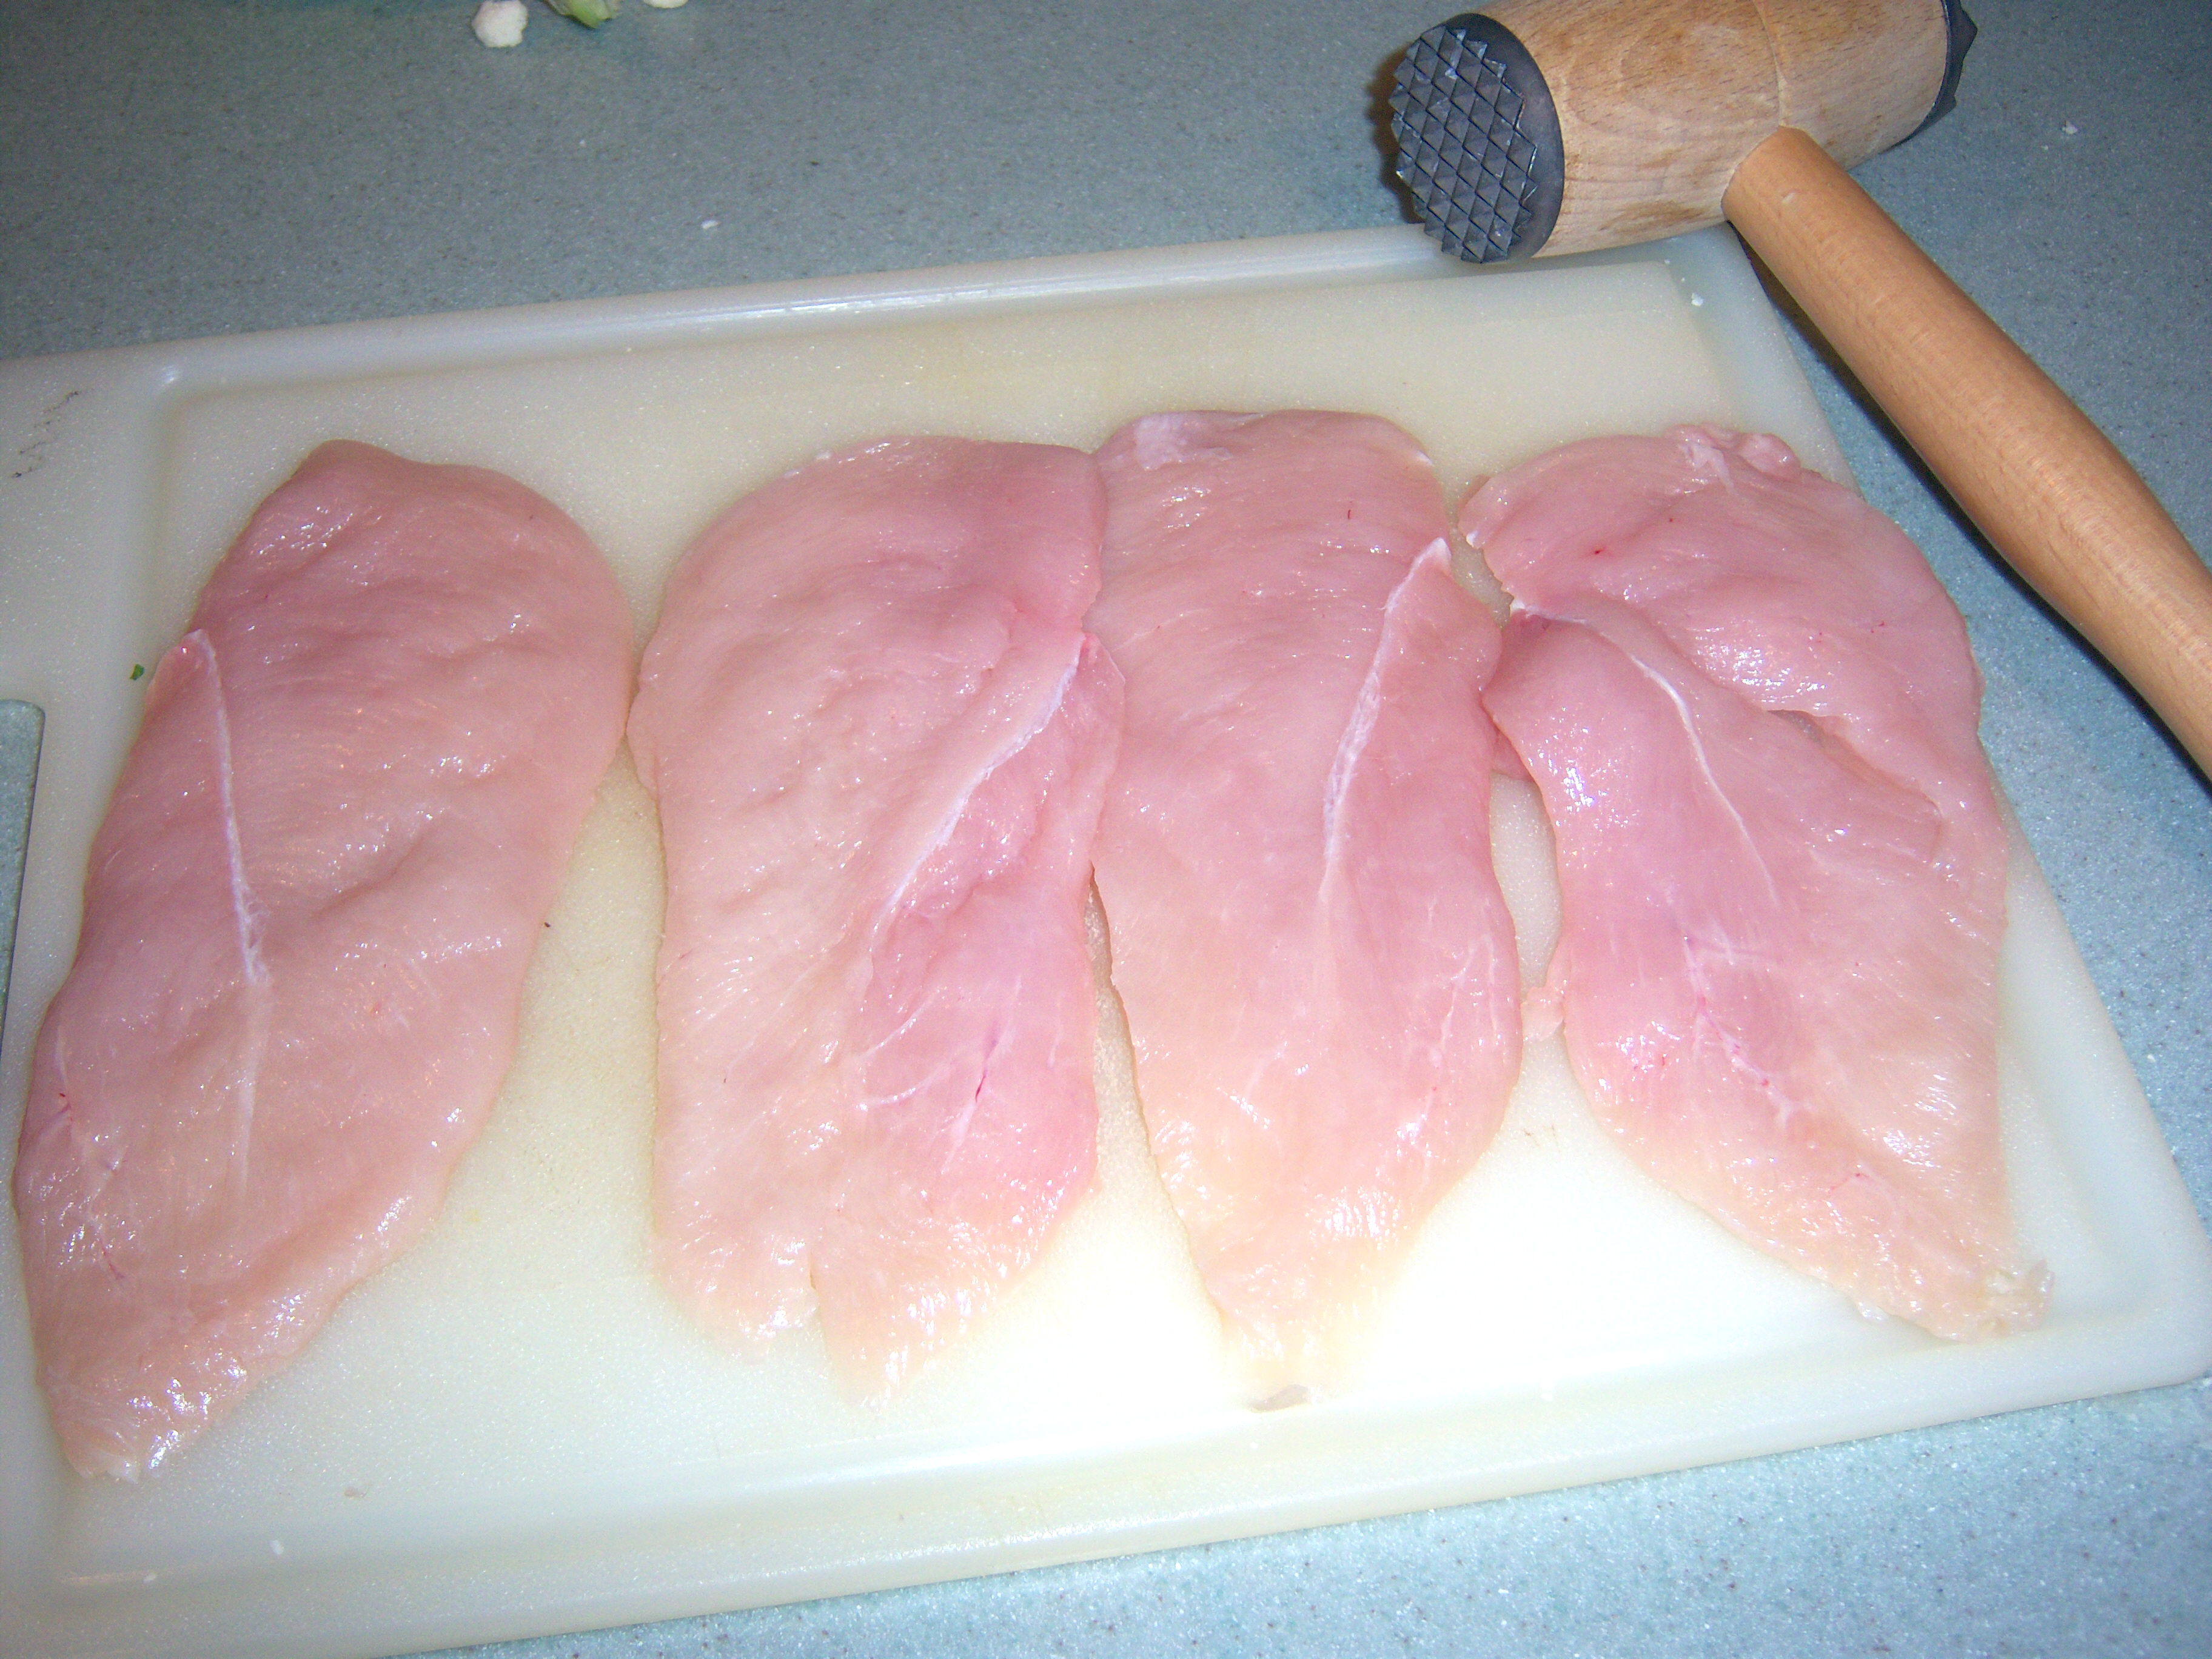
Cutlets pounded

Cutlets pounded

was to make chicken cutlets. I must confess, I never knew what that was really! I just thought it was a chicken breast that was pounded thin. I had no idea you were supposed to cut it in half, to reduce the thickness. Color me ignorant on that. I was a little apprehensive about cutting the breasts in half, but it was super easy. They came out evenly and there was no anxiety necessary!

Next you are supposed to pound the cutlets to make them thin. Martha uses a metal mallet. My mom always used the side of a wooden tenderizer mallet and that’s what I use too (don’t worry – I cover the breasts in plastic so the wood does not get contaminated – no salmonella for this family). This was no problem to do either.

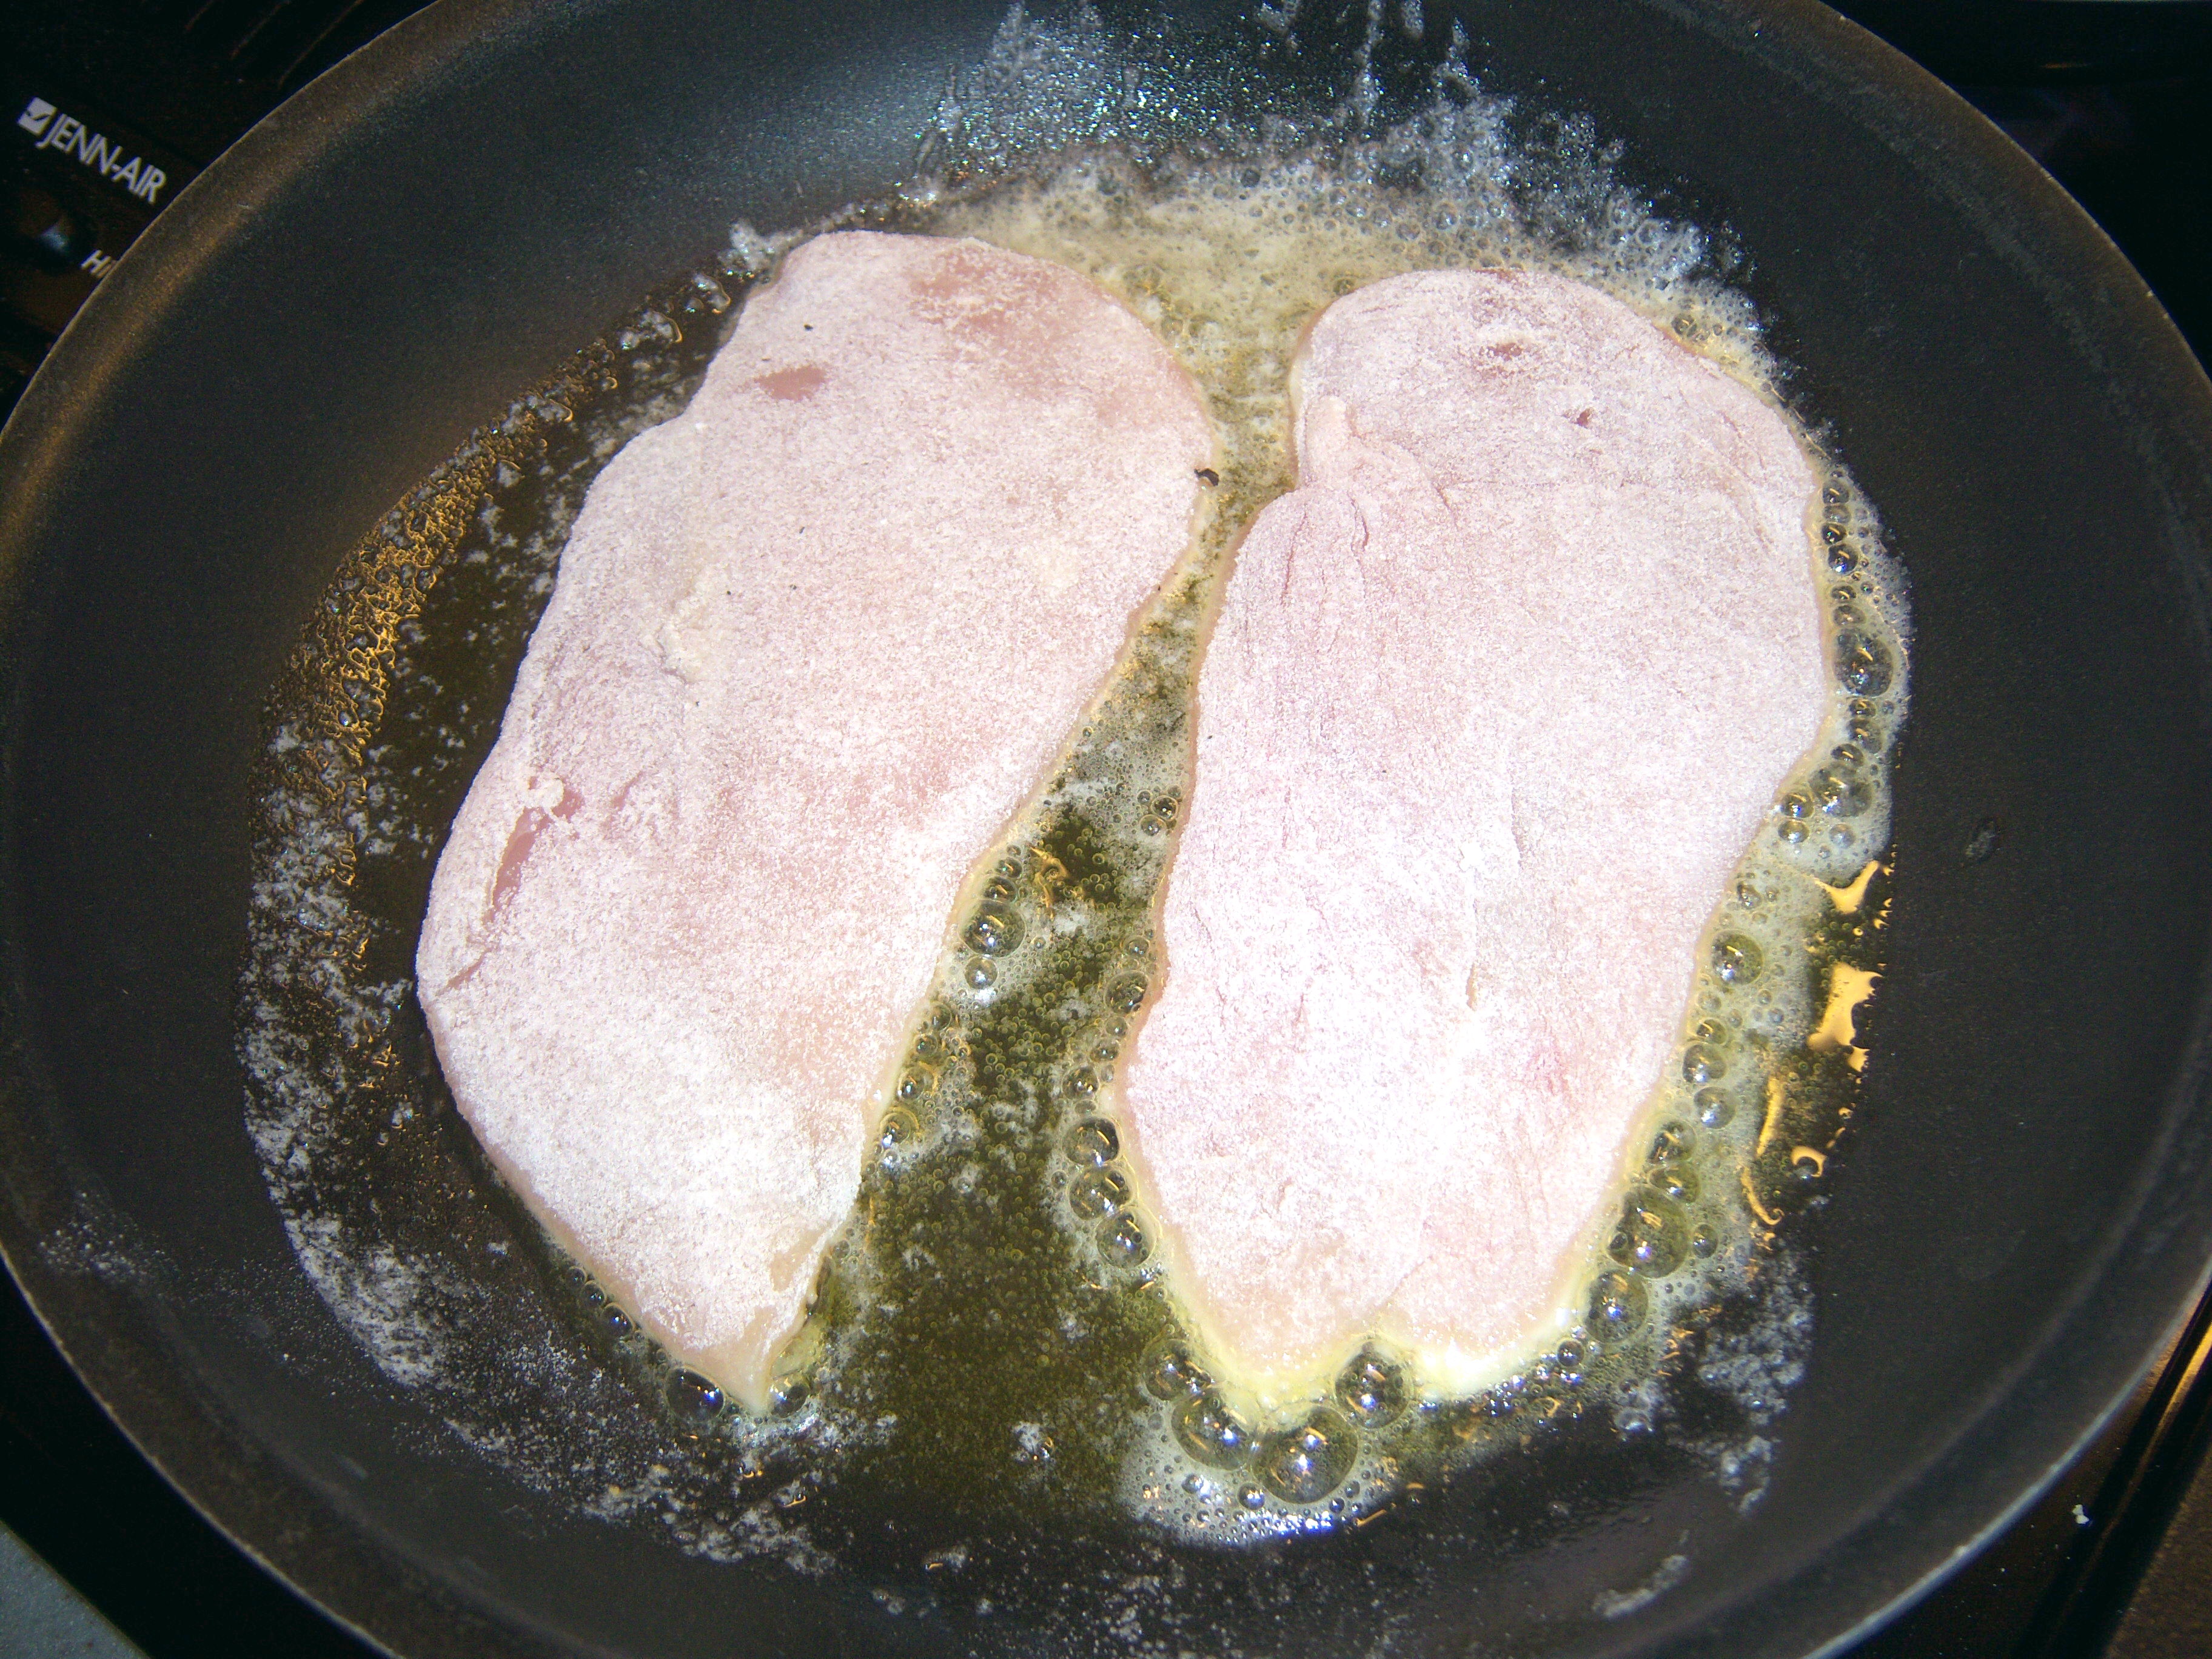
Cooking.....

Cooking.....

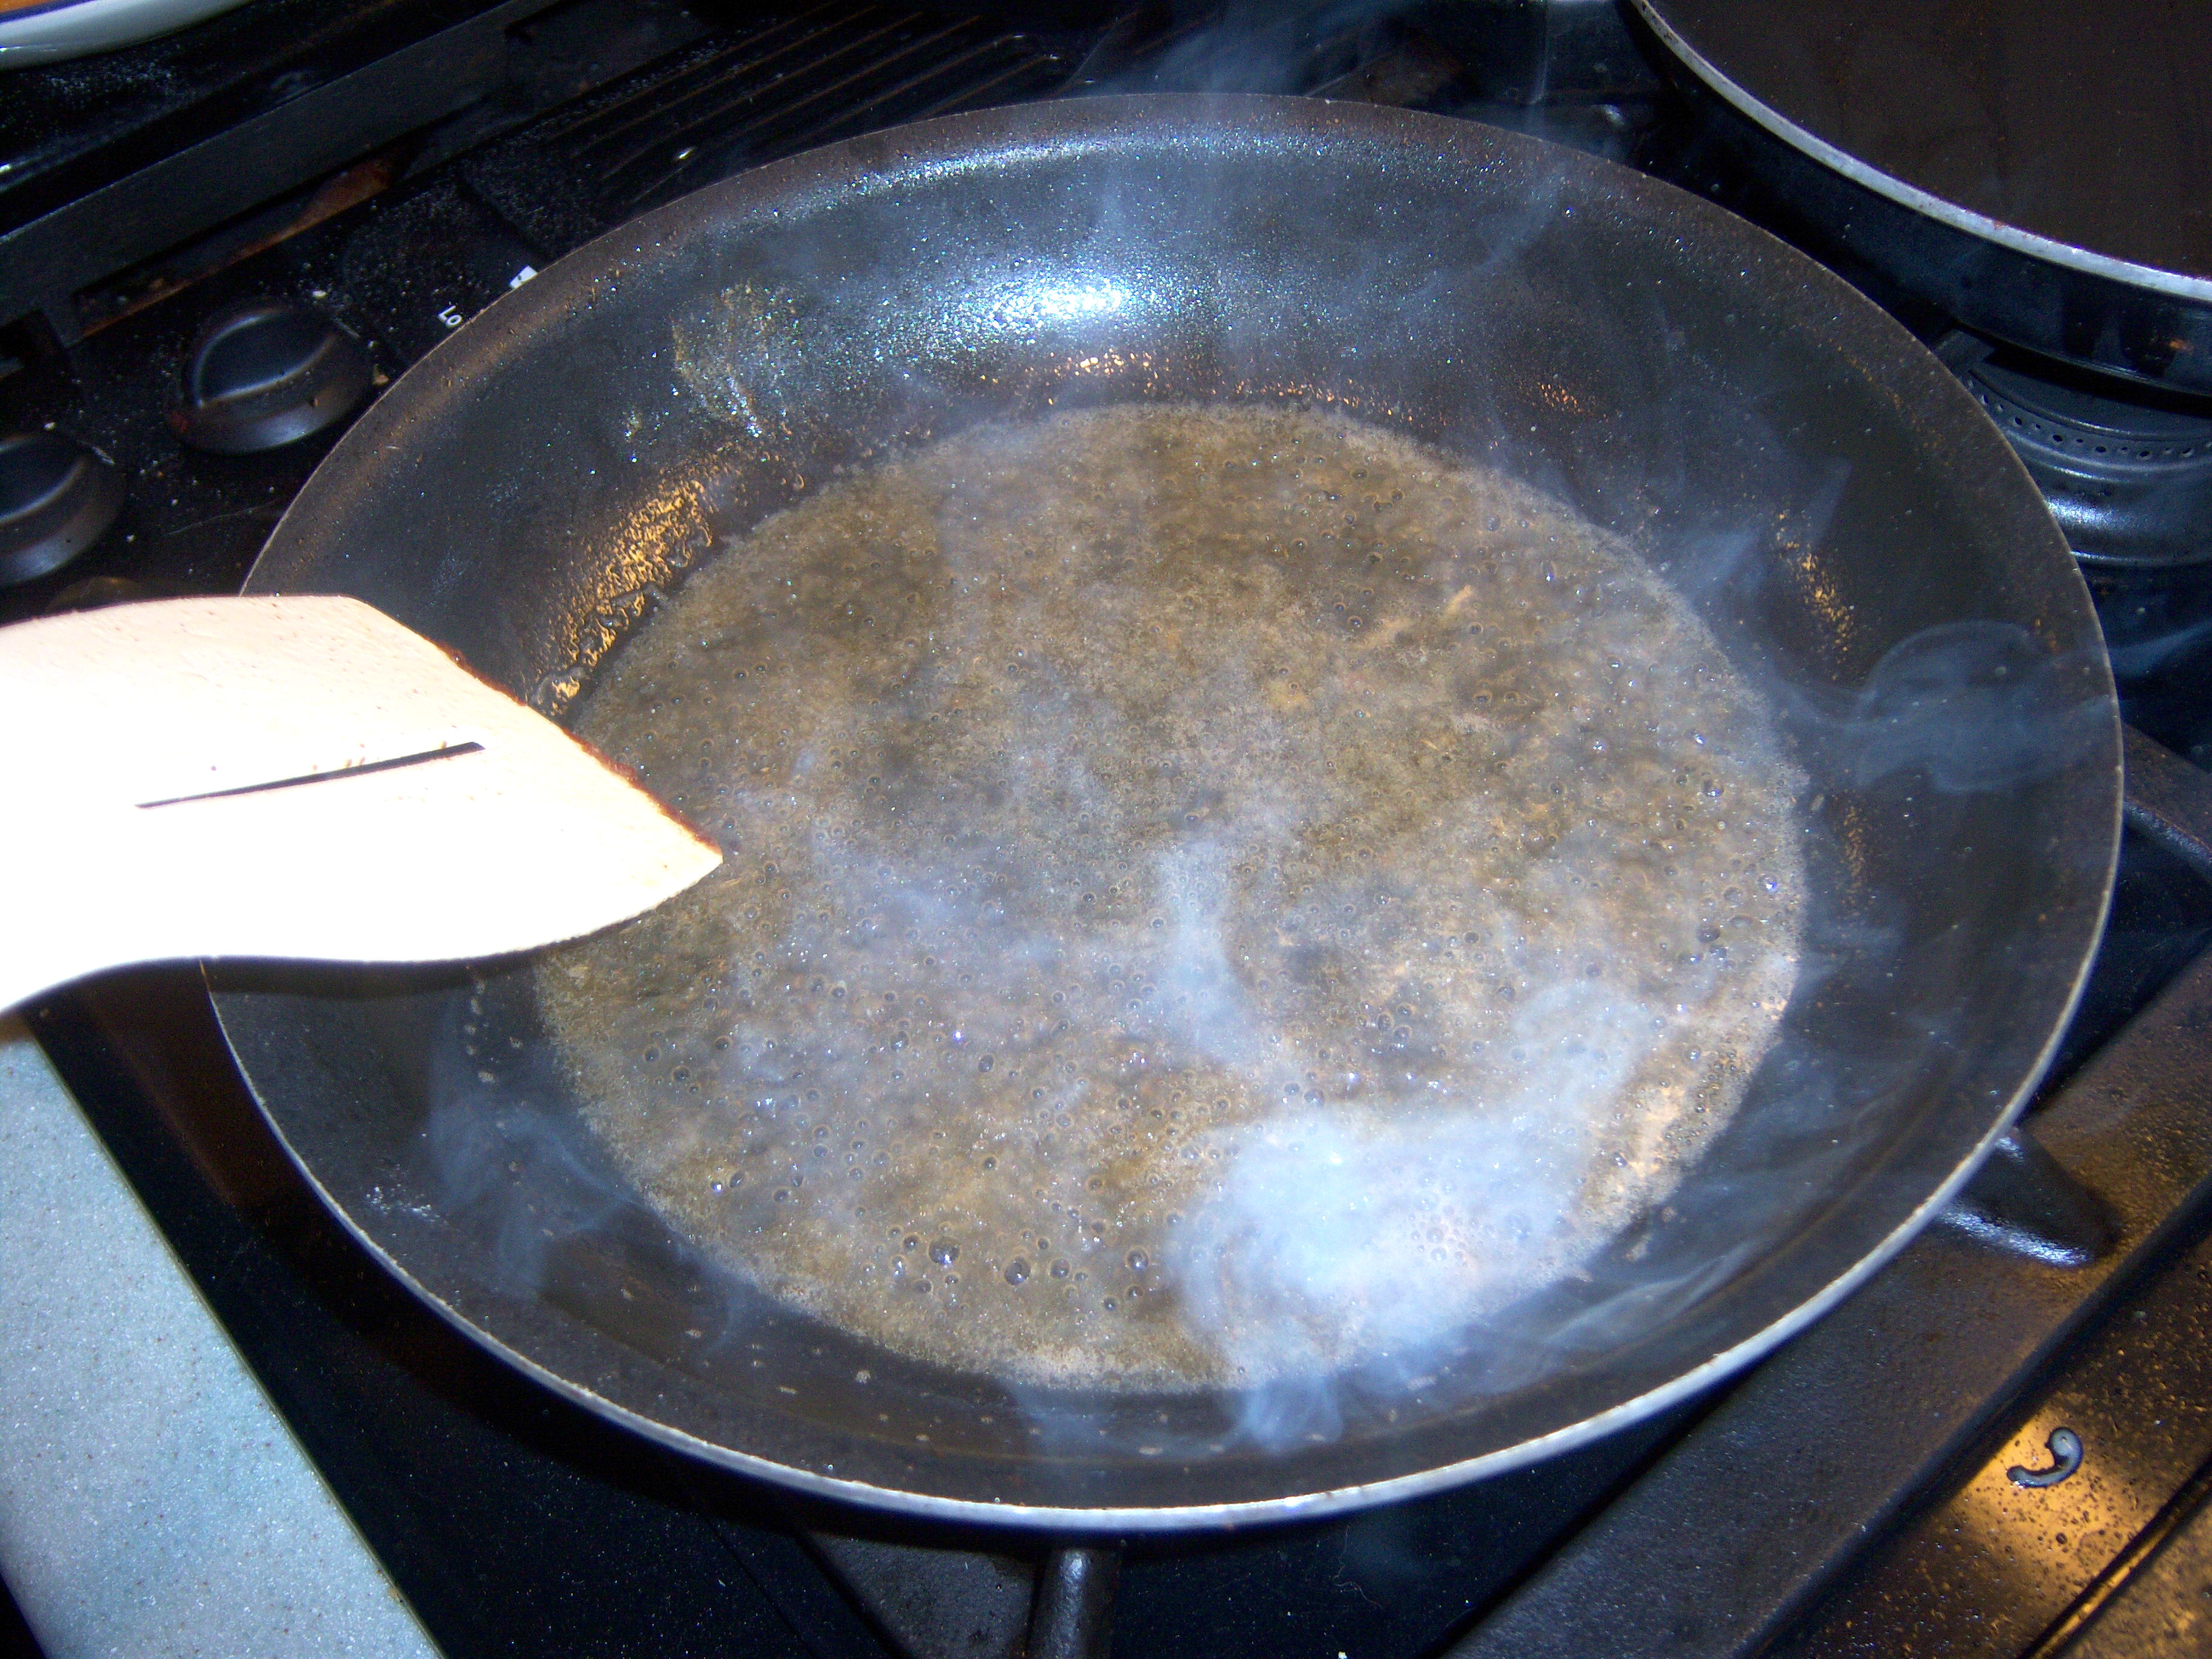
I coated the breasts in the seasoned flour and cooked them in the oil and butter. No problem there either. They cooked really quickly. Once done, I removed them and added the wine, lemon juice, capers and parsley.

This was super simple,

Feelin' saucy

Feelin

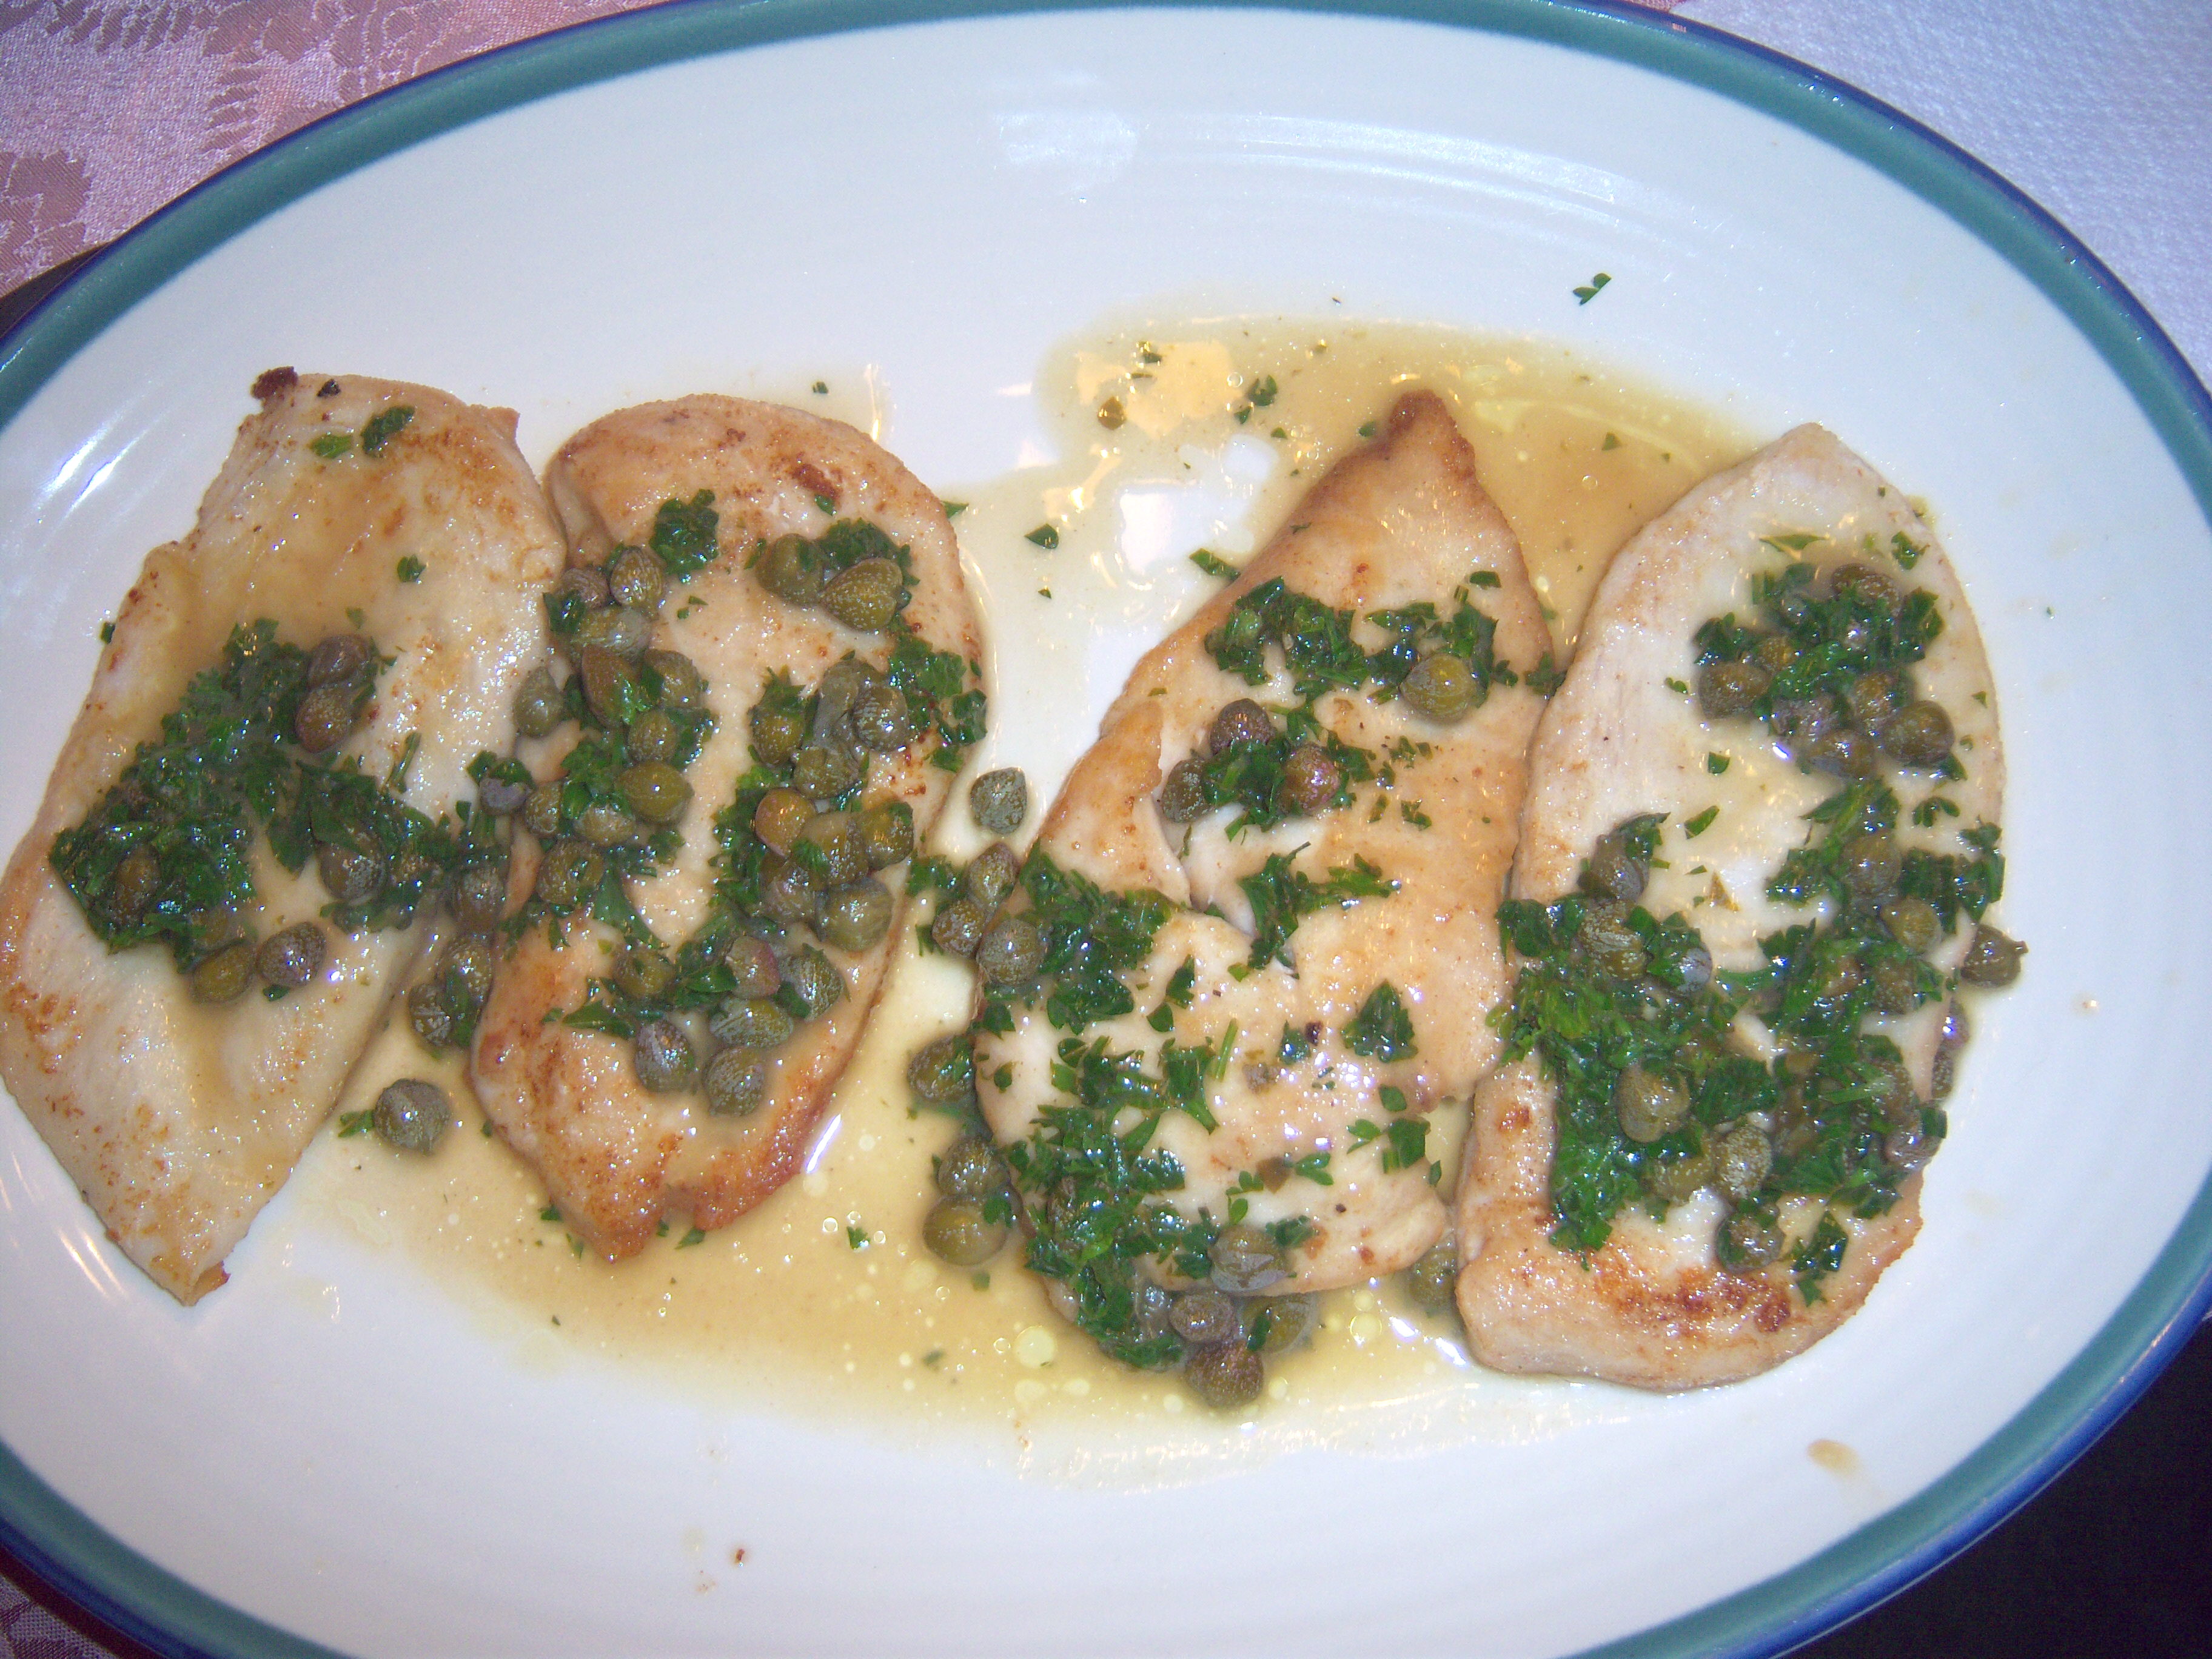
super quick, and super tasty! I have never had chicken piccata before – I guess I thought it sounded boring. I’ve also never eaten capers before. I thought they were like olives (which I

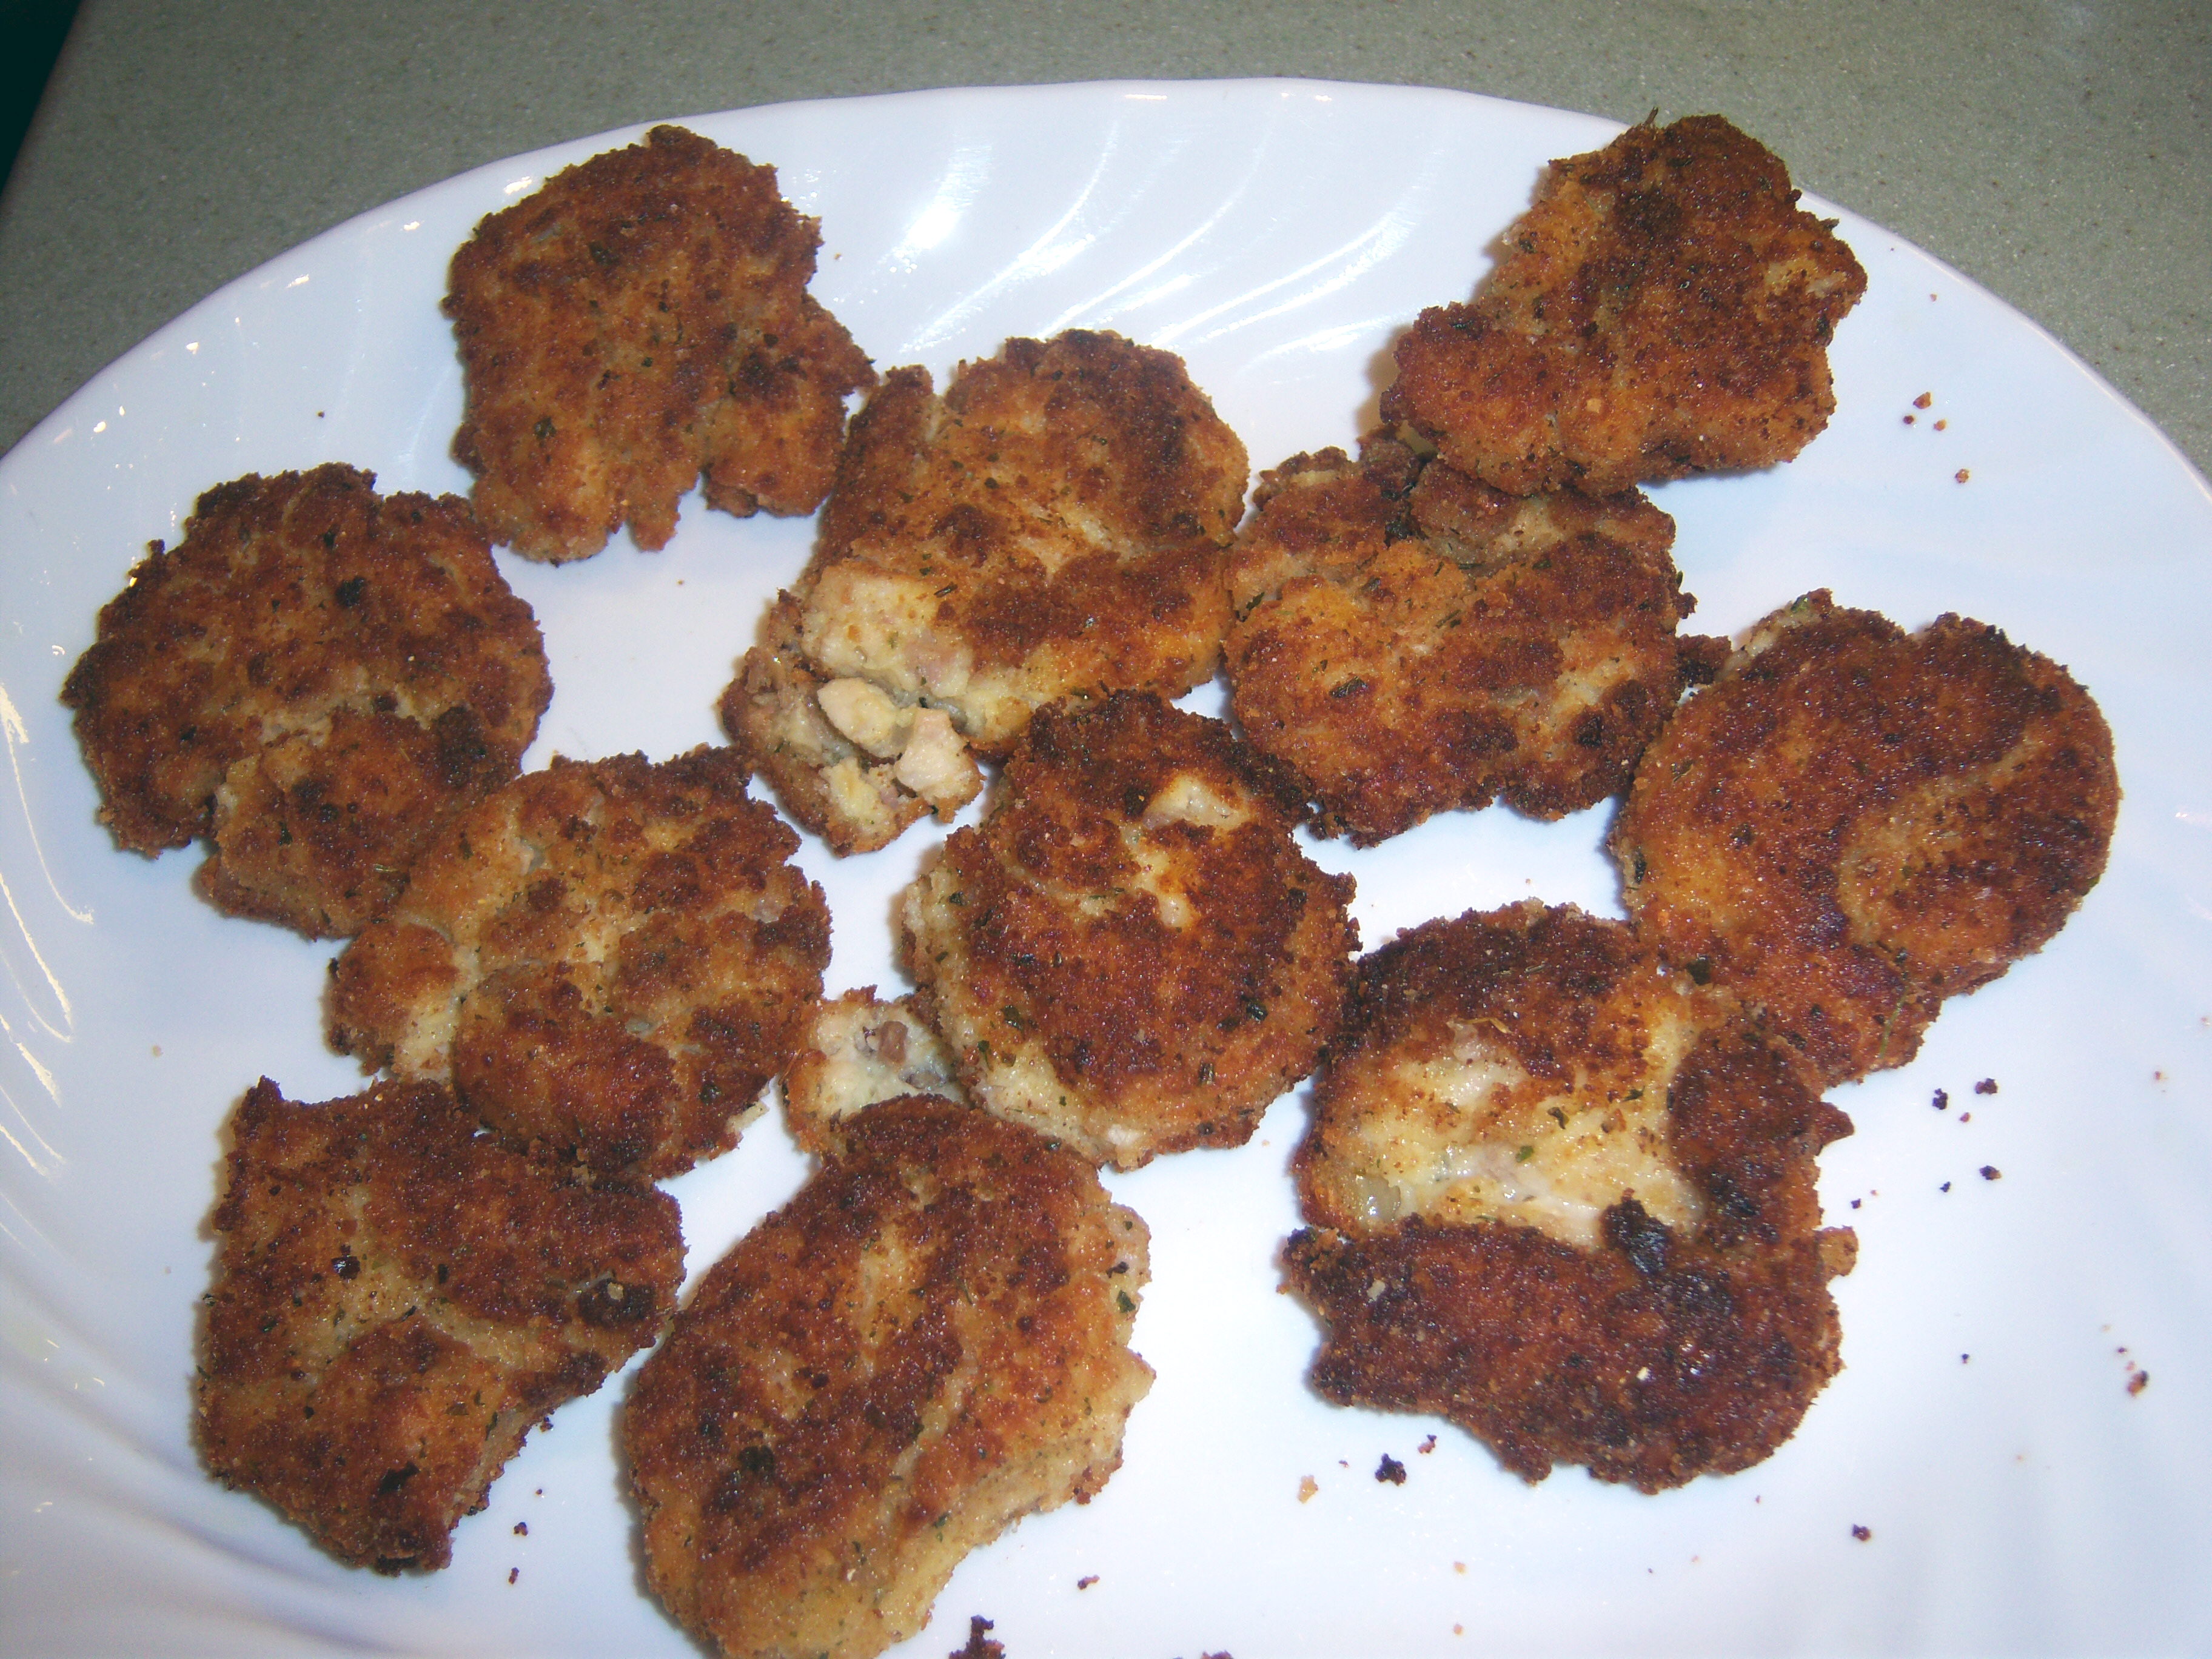
A gorgeous dish

A gorgeous dish

don’t like) so I’ve always avoided them. I have to say, they gave a nice flavor as long as you didn’t eat too many at a time.  I love how the chicken was nicely browned and kind of crunchy. This one’s a good thing! Thanks Martha!

A Side Note

As a side note, I want to mention that I made Martha’s matzoh ball soup (from the Cooking School book) earlier this week. I was sick as a dog and didn’t manage to take any photos. Basically I made chicken soup like I always do (this time I threw in some of the leftover celery root and parsnips from Cooking School lesson 3 – the braised pork shoulder). Her matzoh balls are different than the recipe on the side of the matzoh can. I must confess the first time I ever even tried this kind of soup was last year, so I’m a newbie at this. Martha has you whip the egg whites separately. This did make the dough lighter. I liked their flavor, but found it was hard to get them to come out very round. Mine were all lop-sided and disturbed looking. They tasted great though. So that one gets a thumbs up too.

My December issue of Living recently came in the mail, so I’ll be moving forward to projects from there soon. That issue is a little intimidating – everything is so over the top. I also have Martha’s holiday special issues for both food and crafts and will be using those as well. Christmas is really creeping up on us. I’m looking forward to having a Martha Thanksgiving and Christmas this year. I feel as though Martha is helping me pay attention to details more than I normally would, which I am appreciating.

I’ve only completed half of this cooking school lesson so far. Martha and Sarah Carey made chicken piccata (to demonstrate sauteing) and then an Indian spice yogurt marinaded chicken that was pan-fried. I’ll get to the second one at a future date (or not since I’m not a big fan of spicy Indian food). The … Read more


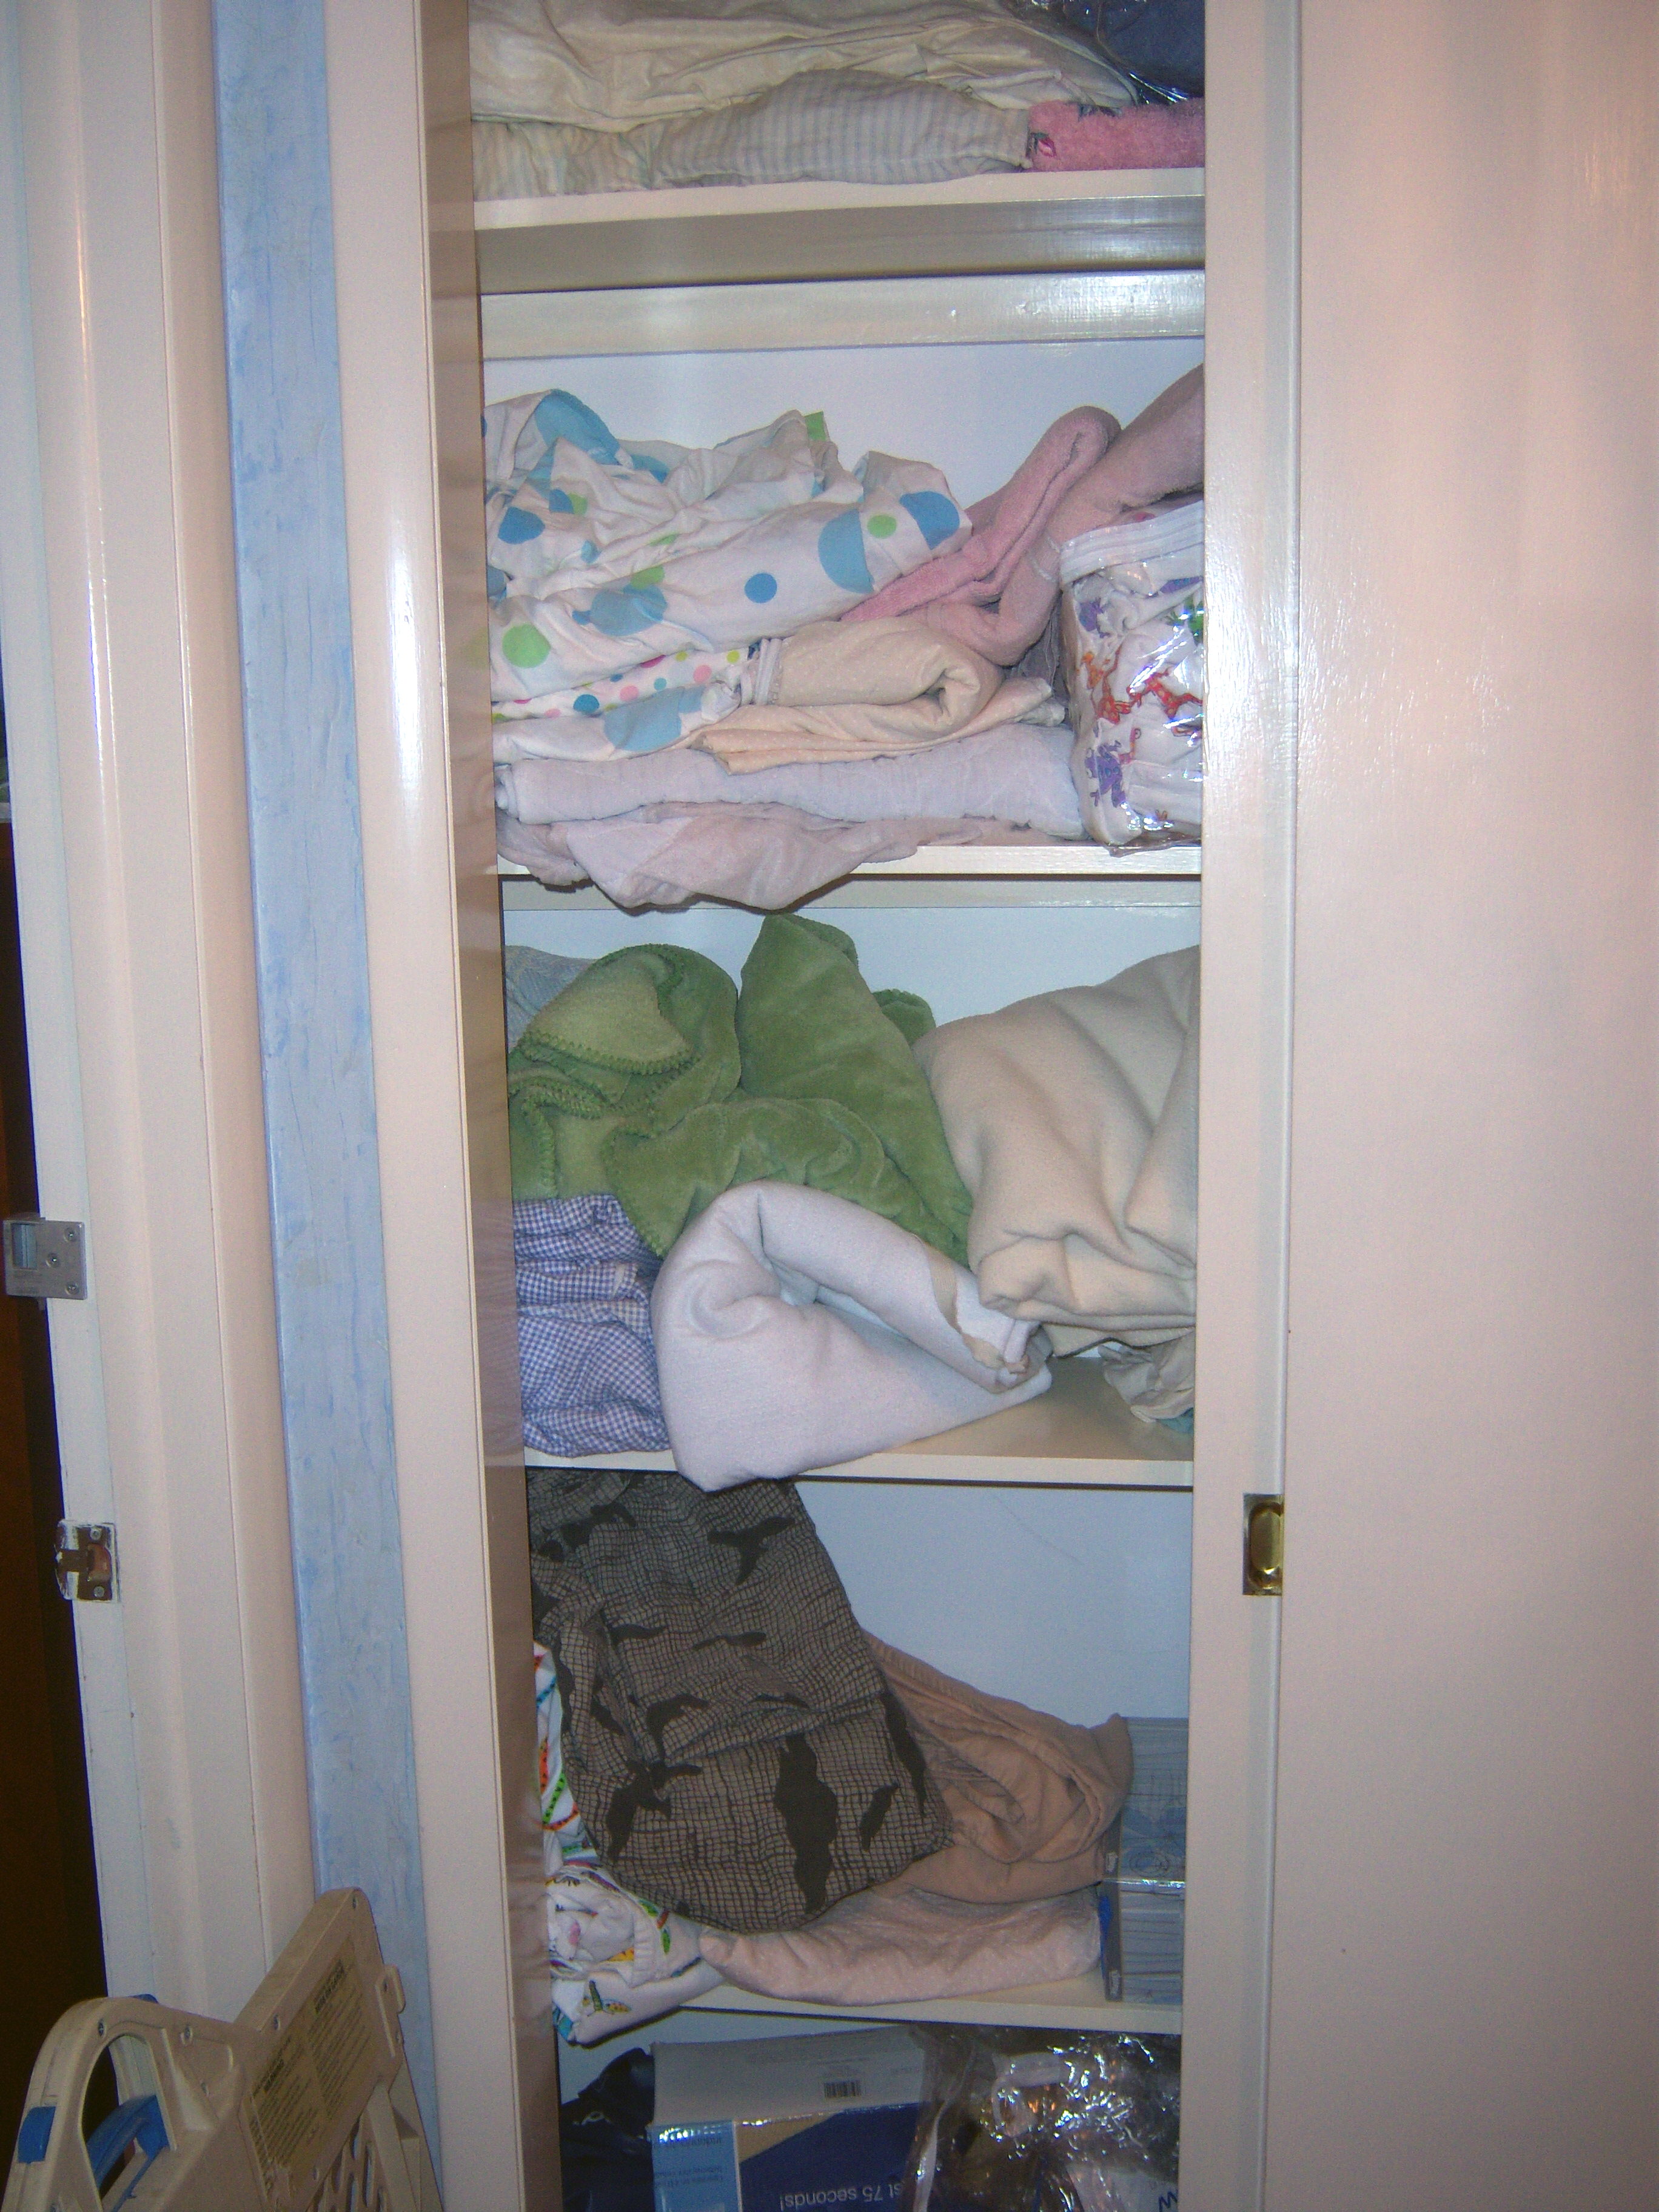
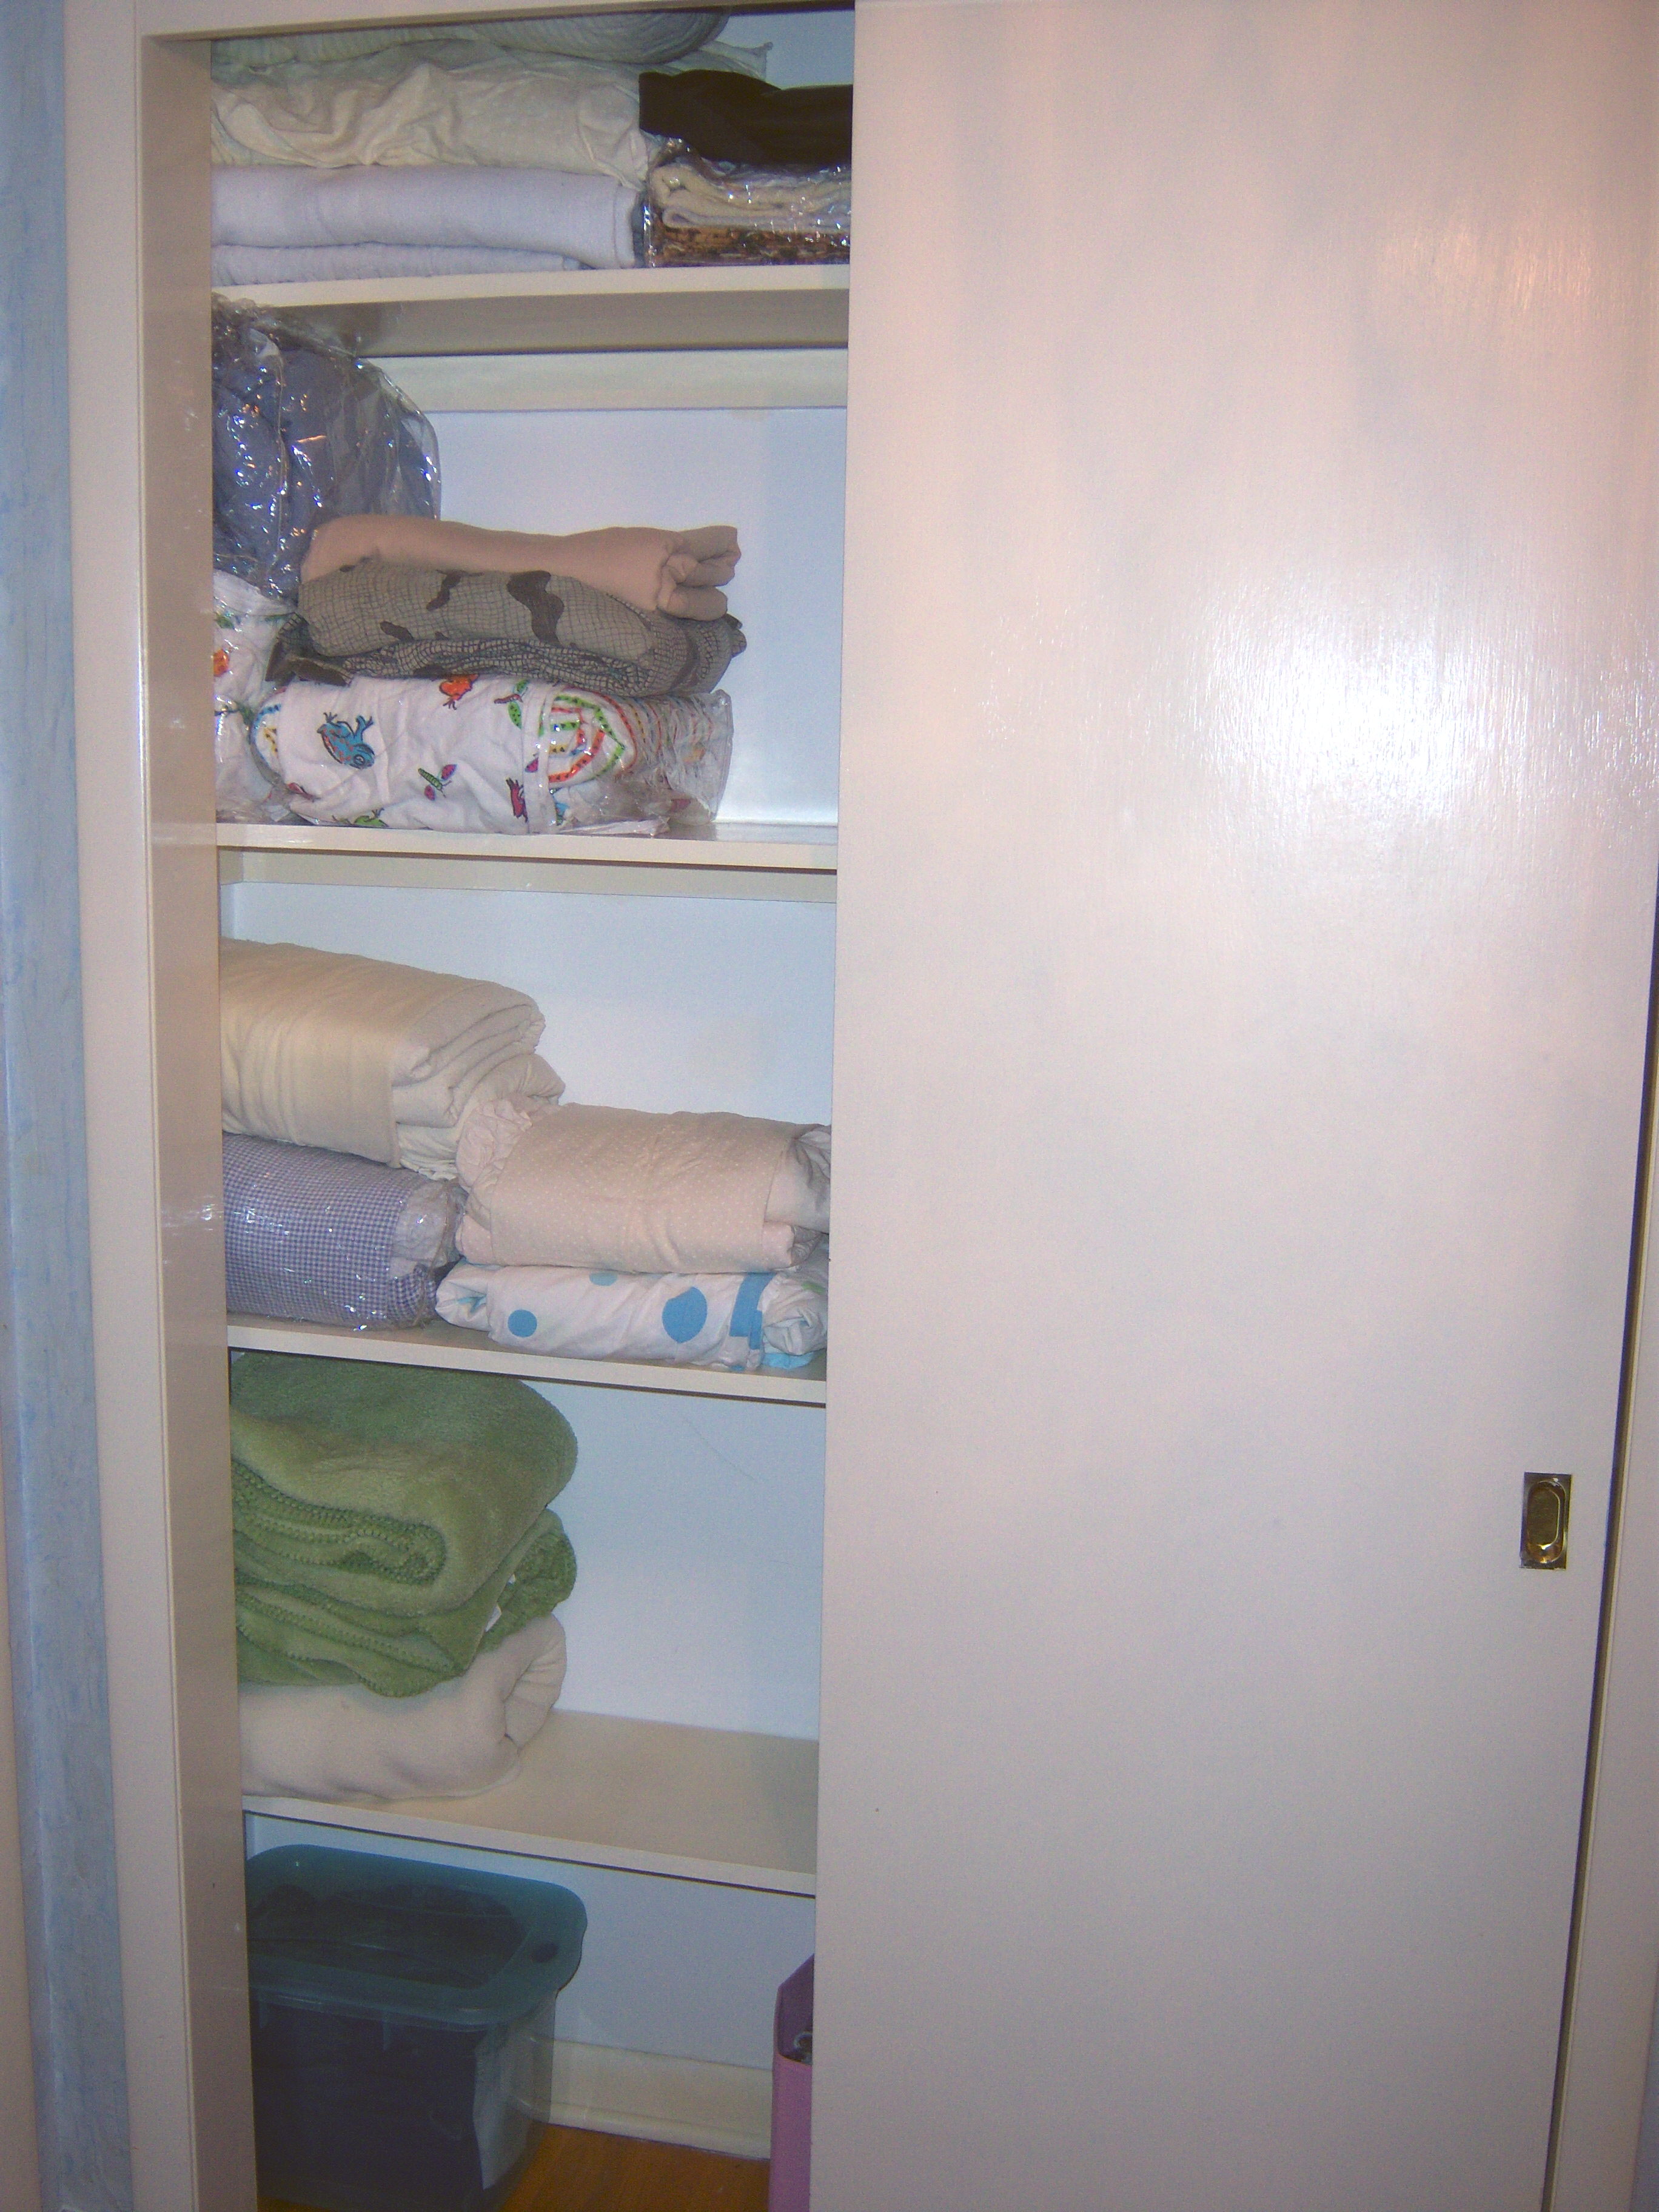
Martha decided it was time to organize my linen closet. She was right. As you can see below, it was pretty messy. I sat down and read all her advice about linen closets on the web site. Some was simply not practical. If I had as much money as Martha does, I could probably install drawers in my linen closet (I am totally serious – that is her ultimate solution), but since I wasn’t up for breaking the bank I went for a simple reorganization. Martha’s other organizational solution is to buy shelf brackets and install them on the top of the shelf upside down and use them as dividers (follow the link above and you’ll see how she does it). This is an inexpensive solution, sort of. They aren’t that expensive, but it feels like too much of a commitment to me to nail those in. I’m stuck with those sizes and shapes on the shelves then. Not to mention – you can’t just nail them in – you would have to paint them and wait for the paint to dry. Ugh. Not happening. This was to be a one afternoon project.

Martha also recommends you label the shelves – “full sheets” or “bath towels”, etc. That seems a little nutty to me. I know what’s what and I don’t need to label it.

The Depths of the Closet

Left Side of Closet

Left Side of Closet

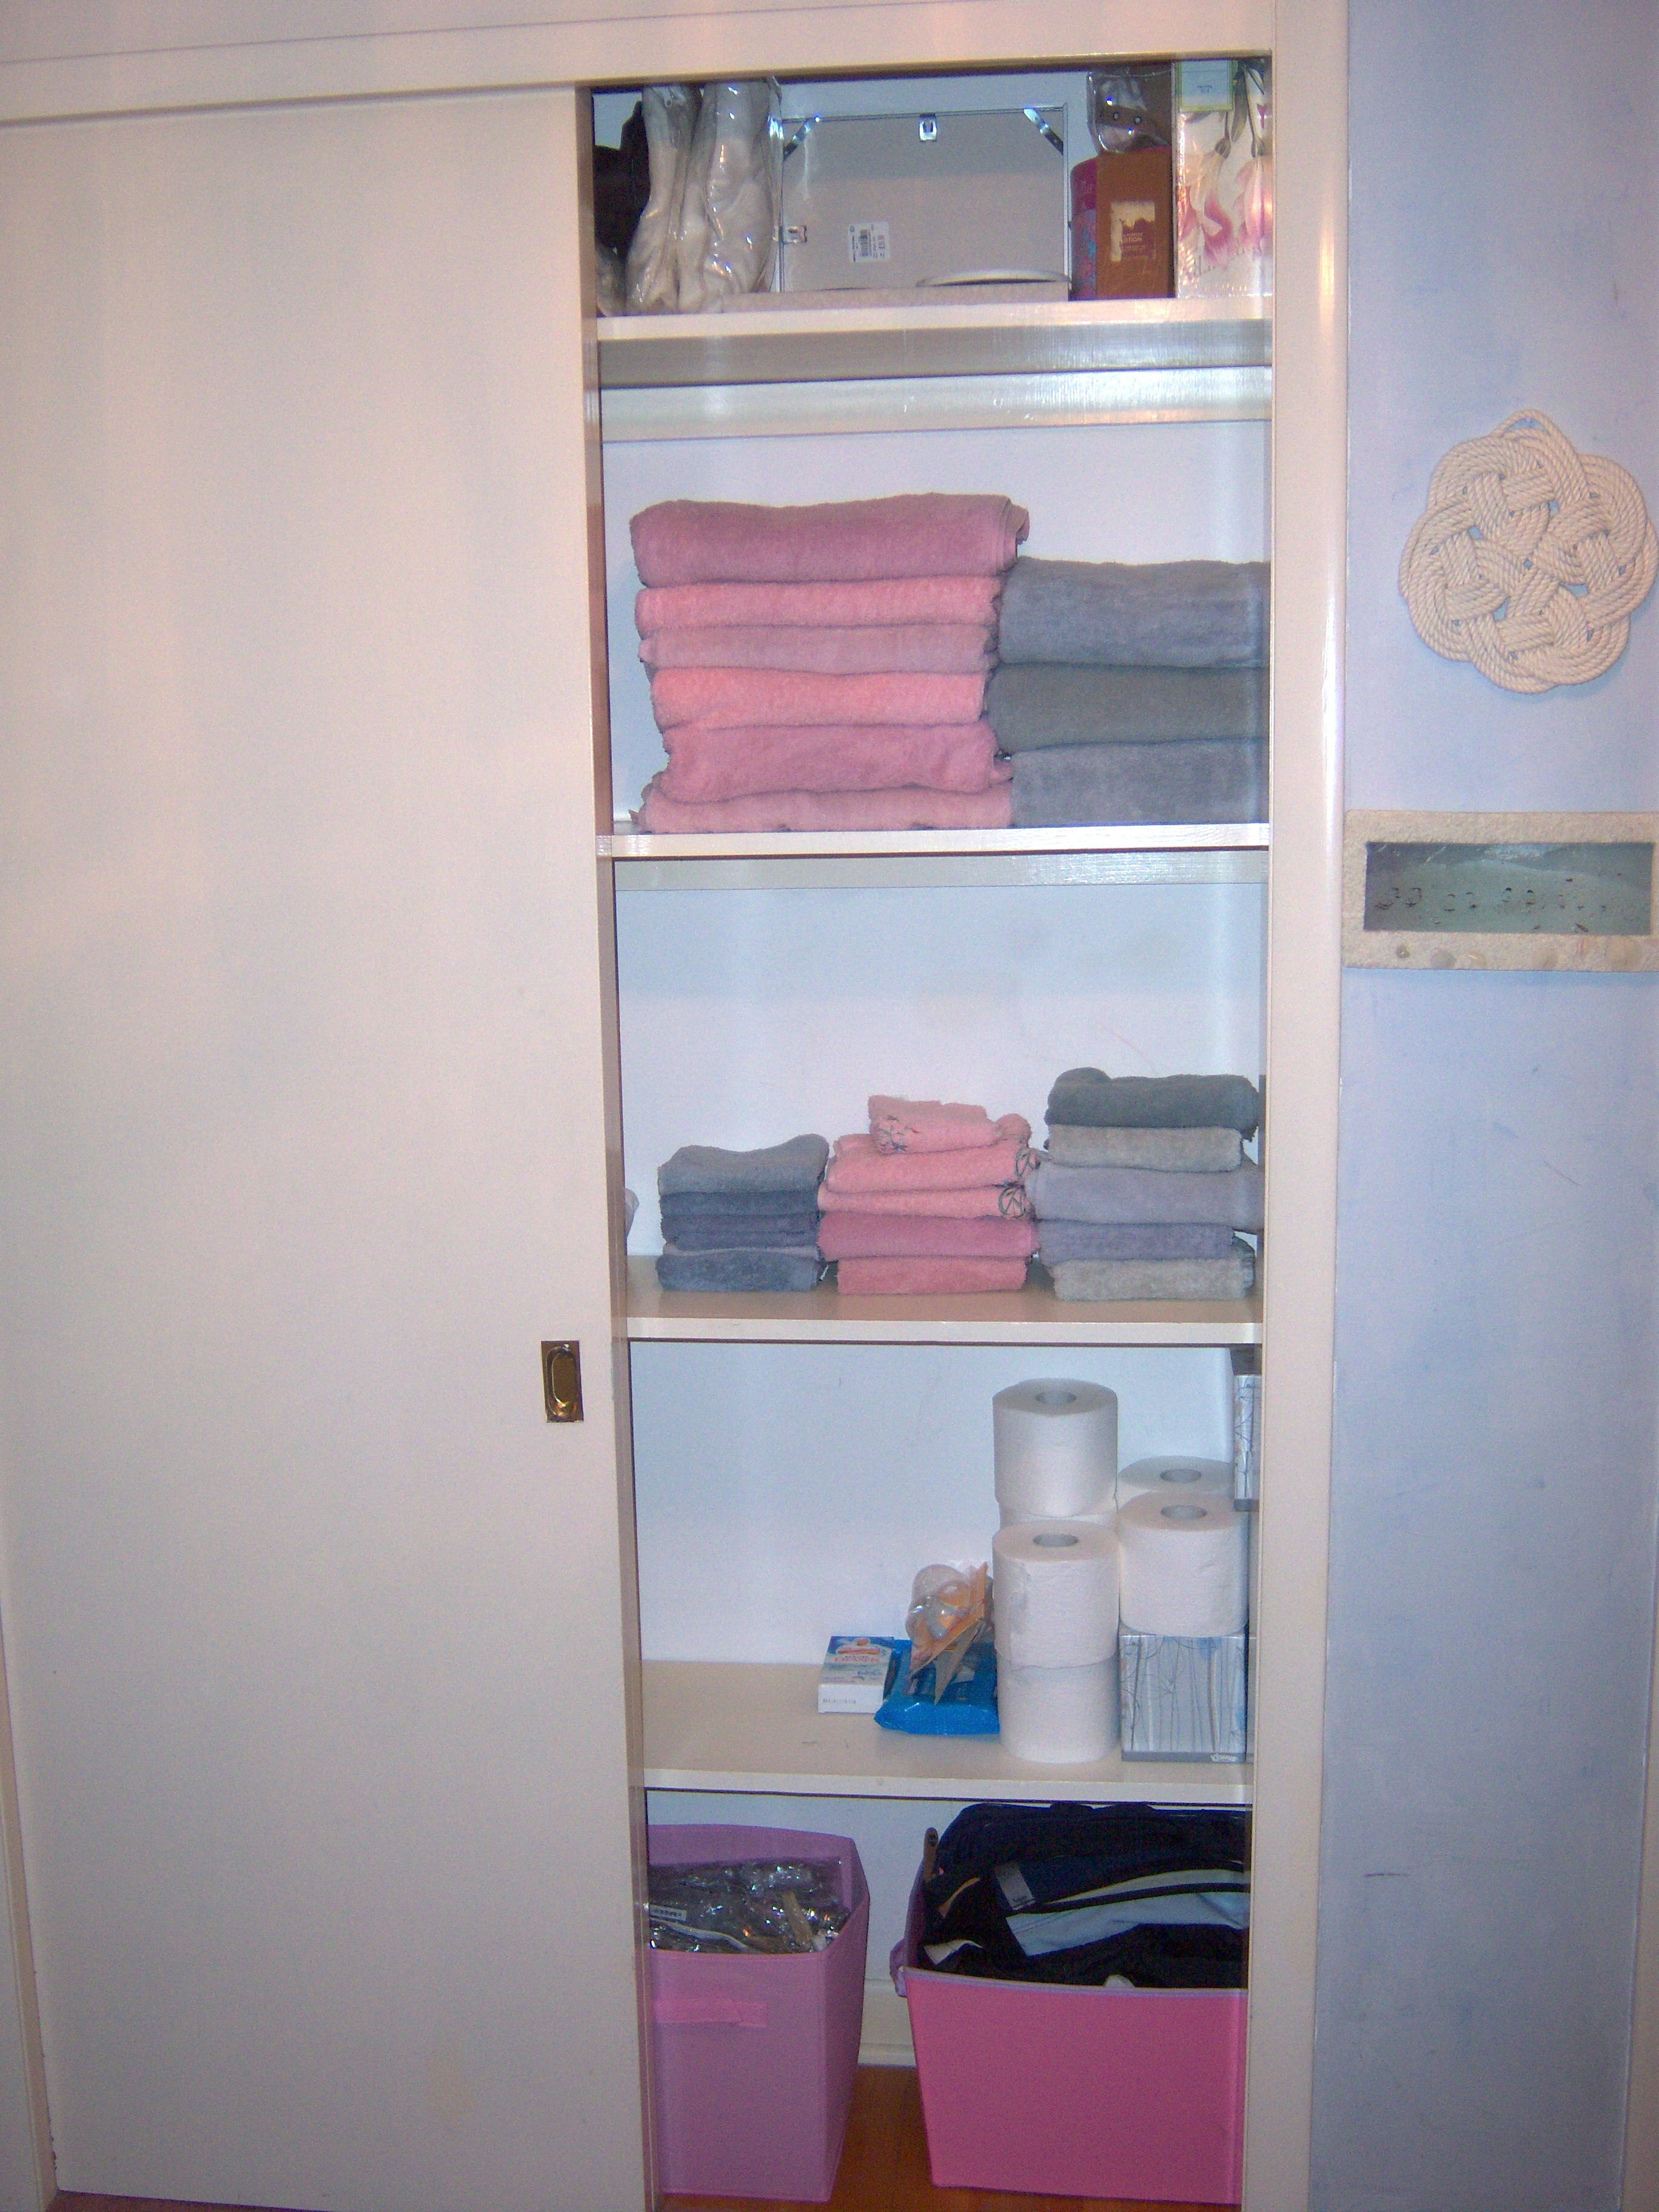
Right side of closet

Right side of closet

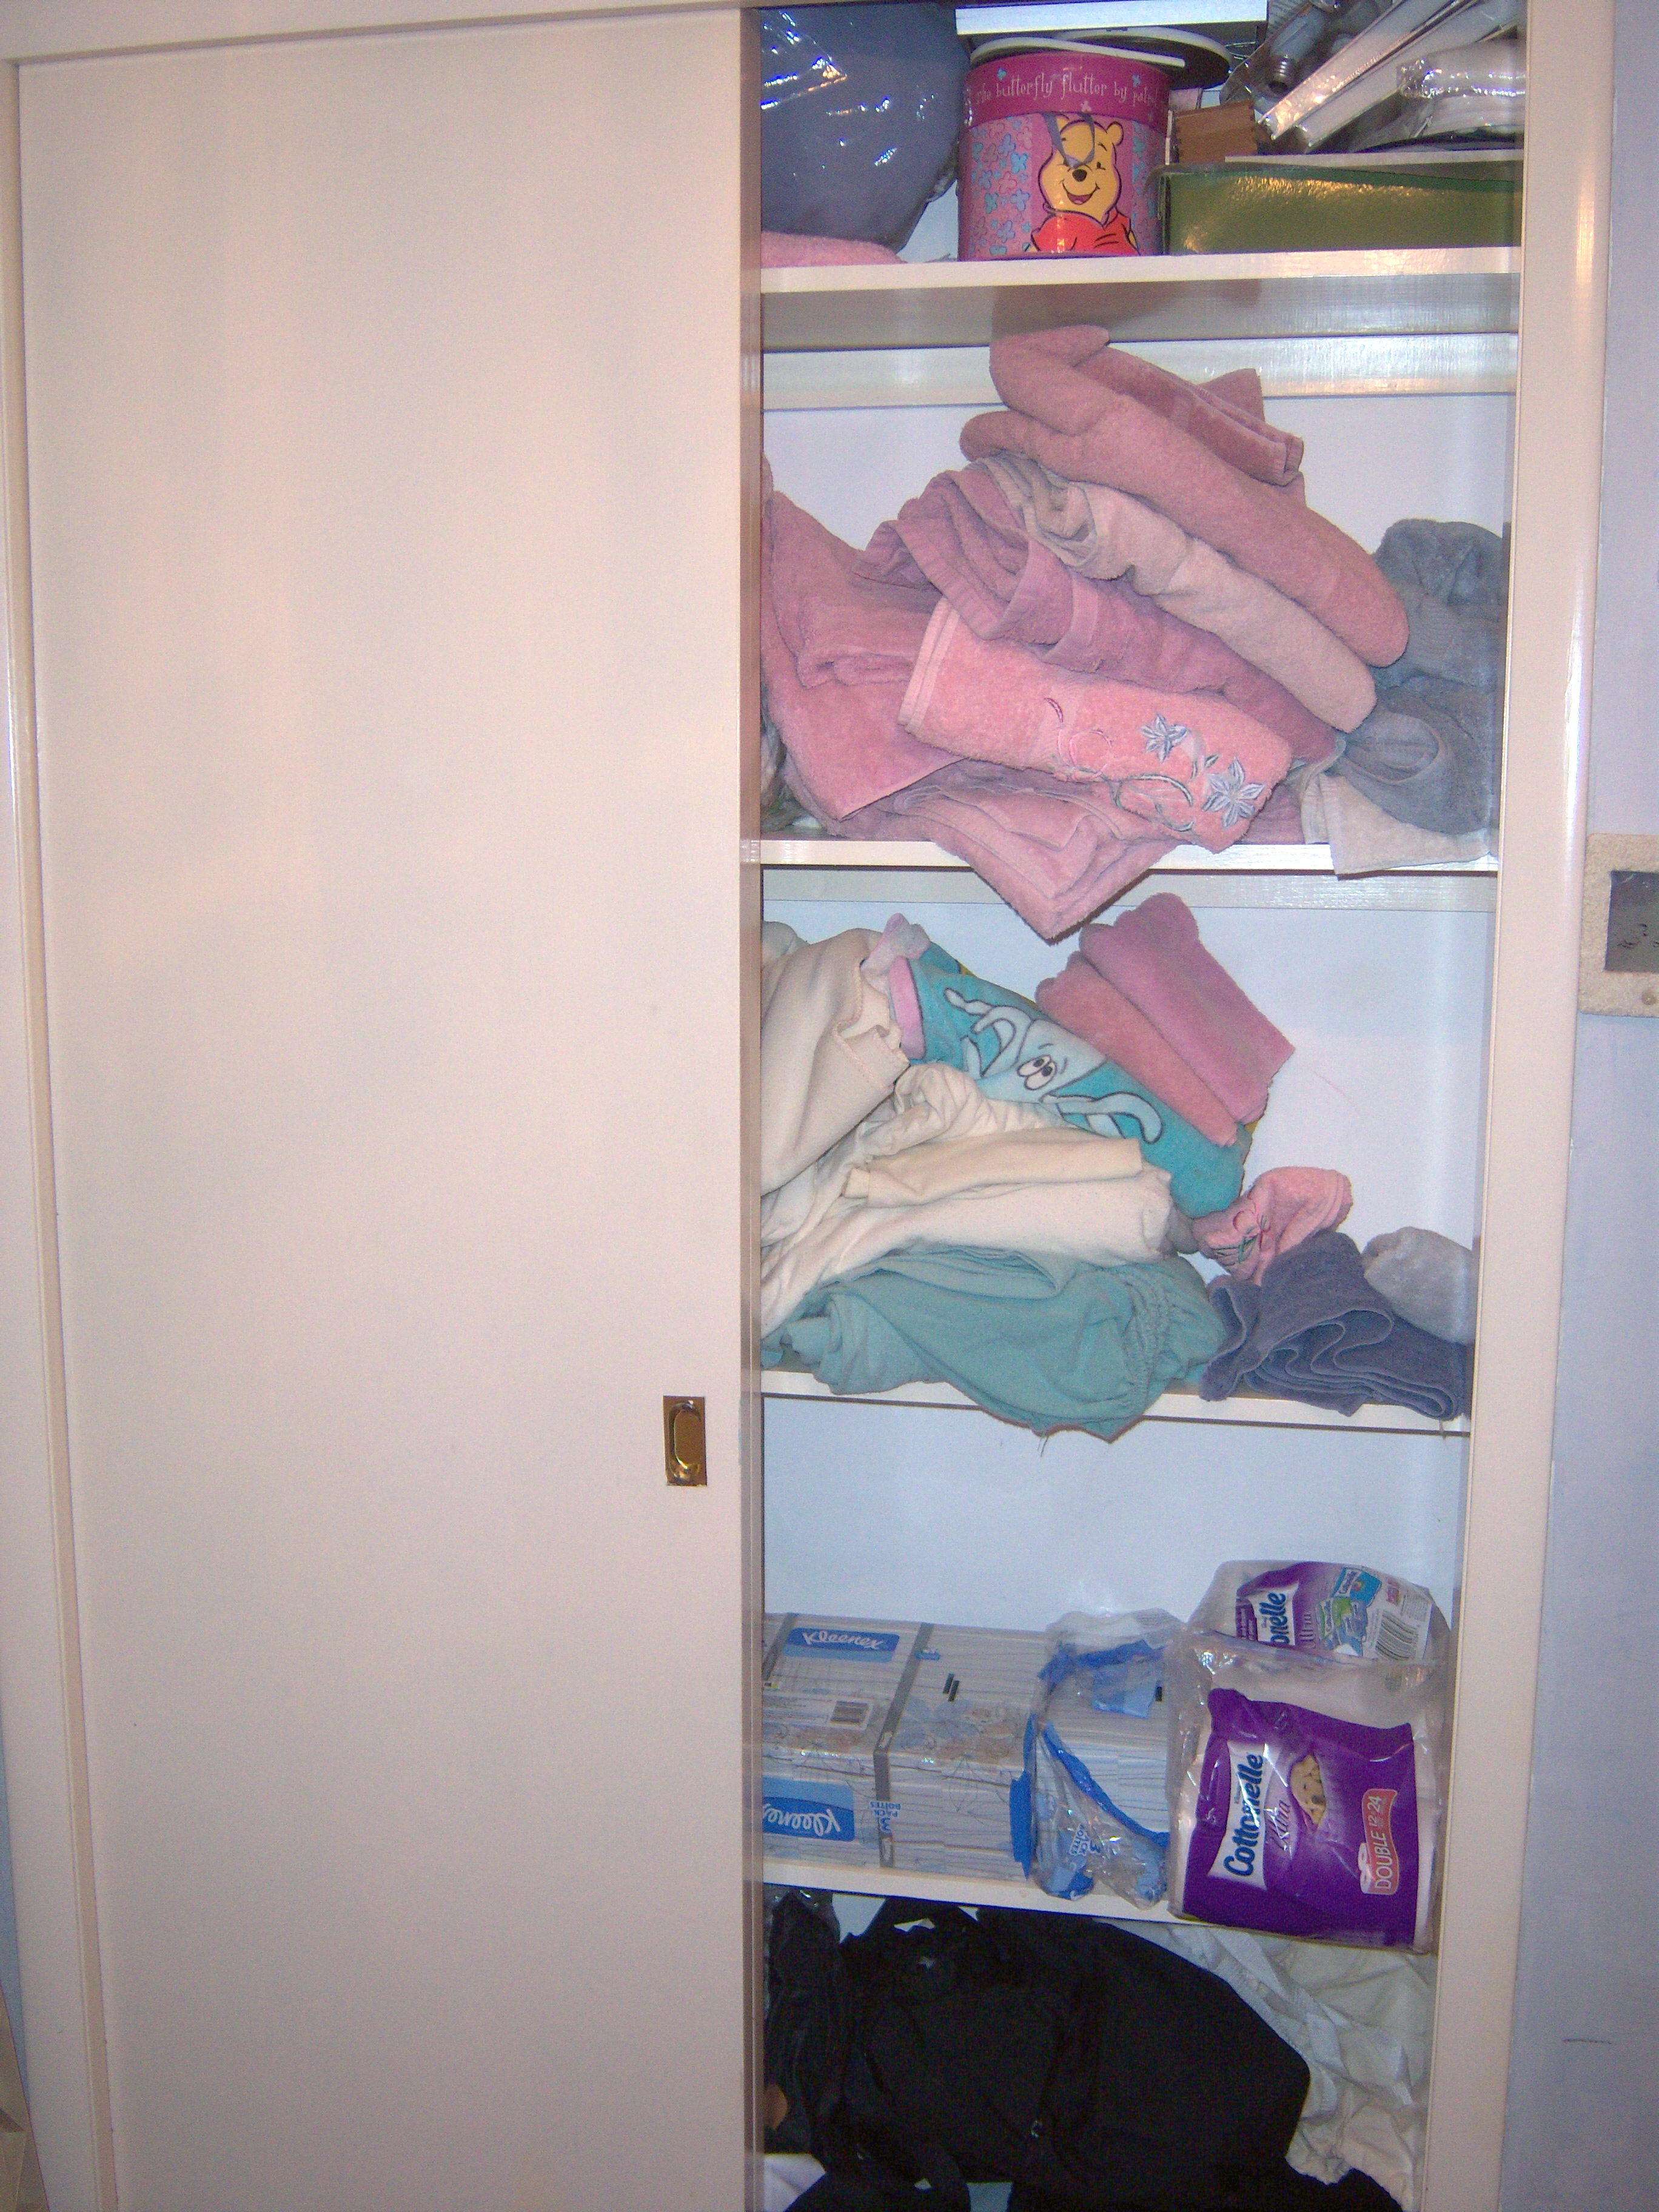
This closet holds linens for the kids’ beds (as well as some for twin beds which we no longer have!) as well as towels (many of which are old and yucky) and supplies for their bathroom. The top shelf is filled with odds and ends (including my Brownie uniform!). The floor of the closet holds our collection of tote and duffel bags, an air mattress and a pile of those plastic zip bags that sheets and blankets come in when you buy them. Our closet has sliding doors that never open and shut properly because something is always getting stuck. In short, it really needed help.

We Began
Mr. MarthaandMe assisted me with this project and we started by taking everything out. Eek. There sure was a lot in there. Then we started with the sheets. We read how Martha recommends you fold a fitted sheet. We even left the instructions up on my monitor while we tried to do it and it never really worked. It always ended up somewhat bumpy and uneven. Have you tried this? If you can make it work, please let me know! There was a lot of under the breath cursing during this phase of the project, I must admit!

Martha did have one idea that I really liked. She suggested taking a set of sheets and stacking them, then wrapping one of the pillow cases around them all. This really did manage to create a cute little package, although I recommend you put the crease side, where the ends of the pillow case meet, down, facing the shelf so it stays together better.

Moving Along
Next we took sheets that we don’t use and put them in some of those plastic zip bags I had. Onward to the towels. I went through them and pulled out some that are now going to be rags. Then we folded them all neatly. Our linen closet shelves are not very deep and the bath towels always catch on the doors. Mr. MarthaandMe suggested folding the bath towels in thirds. He’s a genius! They fit on the shelves then and look very neat. Now he’s channeling Martha!

Our last step was to buy some boxes for the bottom of the closet. This required a trip to my favorite store – Target! I threw out a bunch of duffel bags with broken zippers (some from Mr. MarthaandMe’s elementary school days!) and some ancient stained tote bags. The rest I put in a cute pink canvas box. The air mattress fit into a plastic box with a lid. The plastic zippy bags fit into another canvas box. Voila!

Results

Left Side Completed

Left Side Completed

I have to say, I was rolling my eyes at the thought of this project going in, but now I love how the closet looks. There’s so much more space! The problem is going to be keeping it that way. Martha doesn’t have a teenager and a 10 year old stuffing things in her closets and knocking over her nicely folded piles. I’m going to try to keep it this way though because it’s easier to find things and put them away. It just feels much more luxurious to have it looking so pretty. This project took us about an hour. It was all the refolding of the darn sheets that took so much time.

Right side completed

Right side completed

So the bottom line was that I’m glad we did this. I have to admit I even went and opened the closet later in the day just to see how cute it all looked. Martha – I’m with you on this. It’s a good thing.

  Martha decided it was time to organize my linen closet. She was right. As you can see below, it was pretty messy. I sat down and read all her advice about linen closets on the web site. Some was simply not practical. If I had as much money as Martha does, I could probably … Read more

Martha is plugging her new cooking school book in a hot and heavy way. The magazine has a lesson from it and each week on her show there is going to be an on-air lesson. Being a good little disciple, I have gone out and captured a copy (oddly enough in my local B&N it wasn’t in the cookbook section, but on a separate table in the middle of the store, which struck me as very odd). My plan is to follow along with the lessons on the show and post here each week so you can see how it goes.

Do I Need Cooking School?

Am I a little resentful that Martha thinks we all need to go to cooking school? Yes, maybe a little. After all, as she has admitted, she’s never gone. I think most of us who do cook have learned it on our own, or from our mothers. I’m lucky in that I had two grandmothers who loved to cook, as well as two parents who participated in a monthly “gourmet club” (if that sounds totally 70s, it’s because it was) and threw a Martha style Christmas party every year. So I’m not too shabby in the kitchen.

What I’m learning from Martha though is that there are so many things I really don’t know about cooking. While it totally ticked me off to have to have Martha and Sarah Carey (editor of Everyday Food and clearly the one who wrote most of this Cooking School tome) lecture me on how to chop an onion, I must admit I’ve already picked up some things.

The Knives
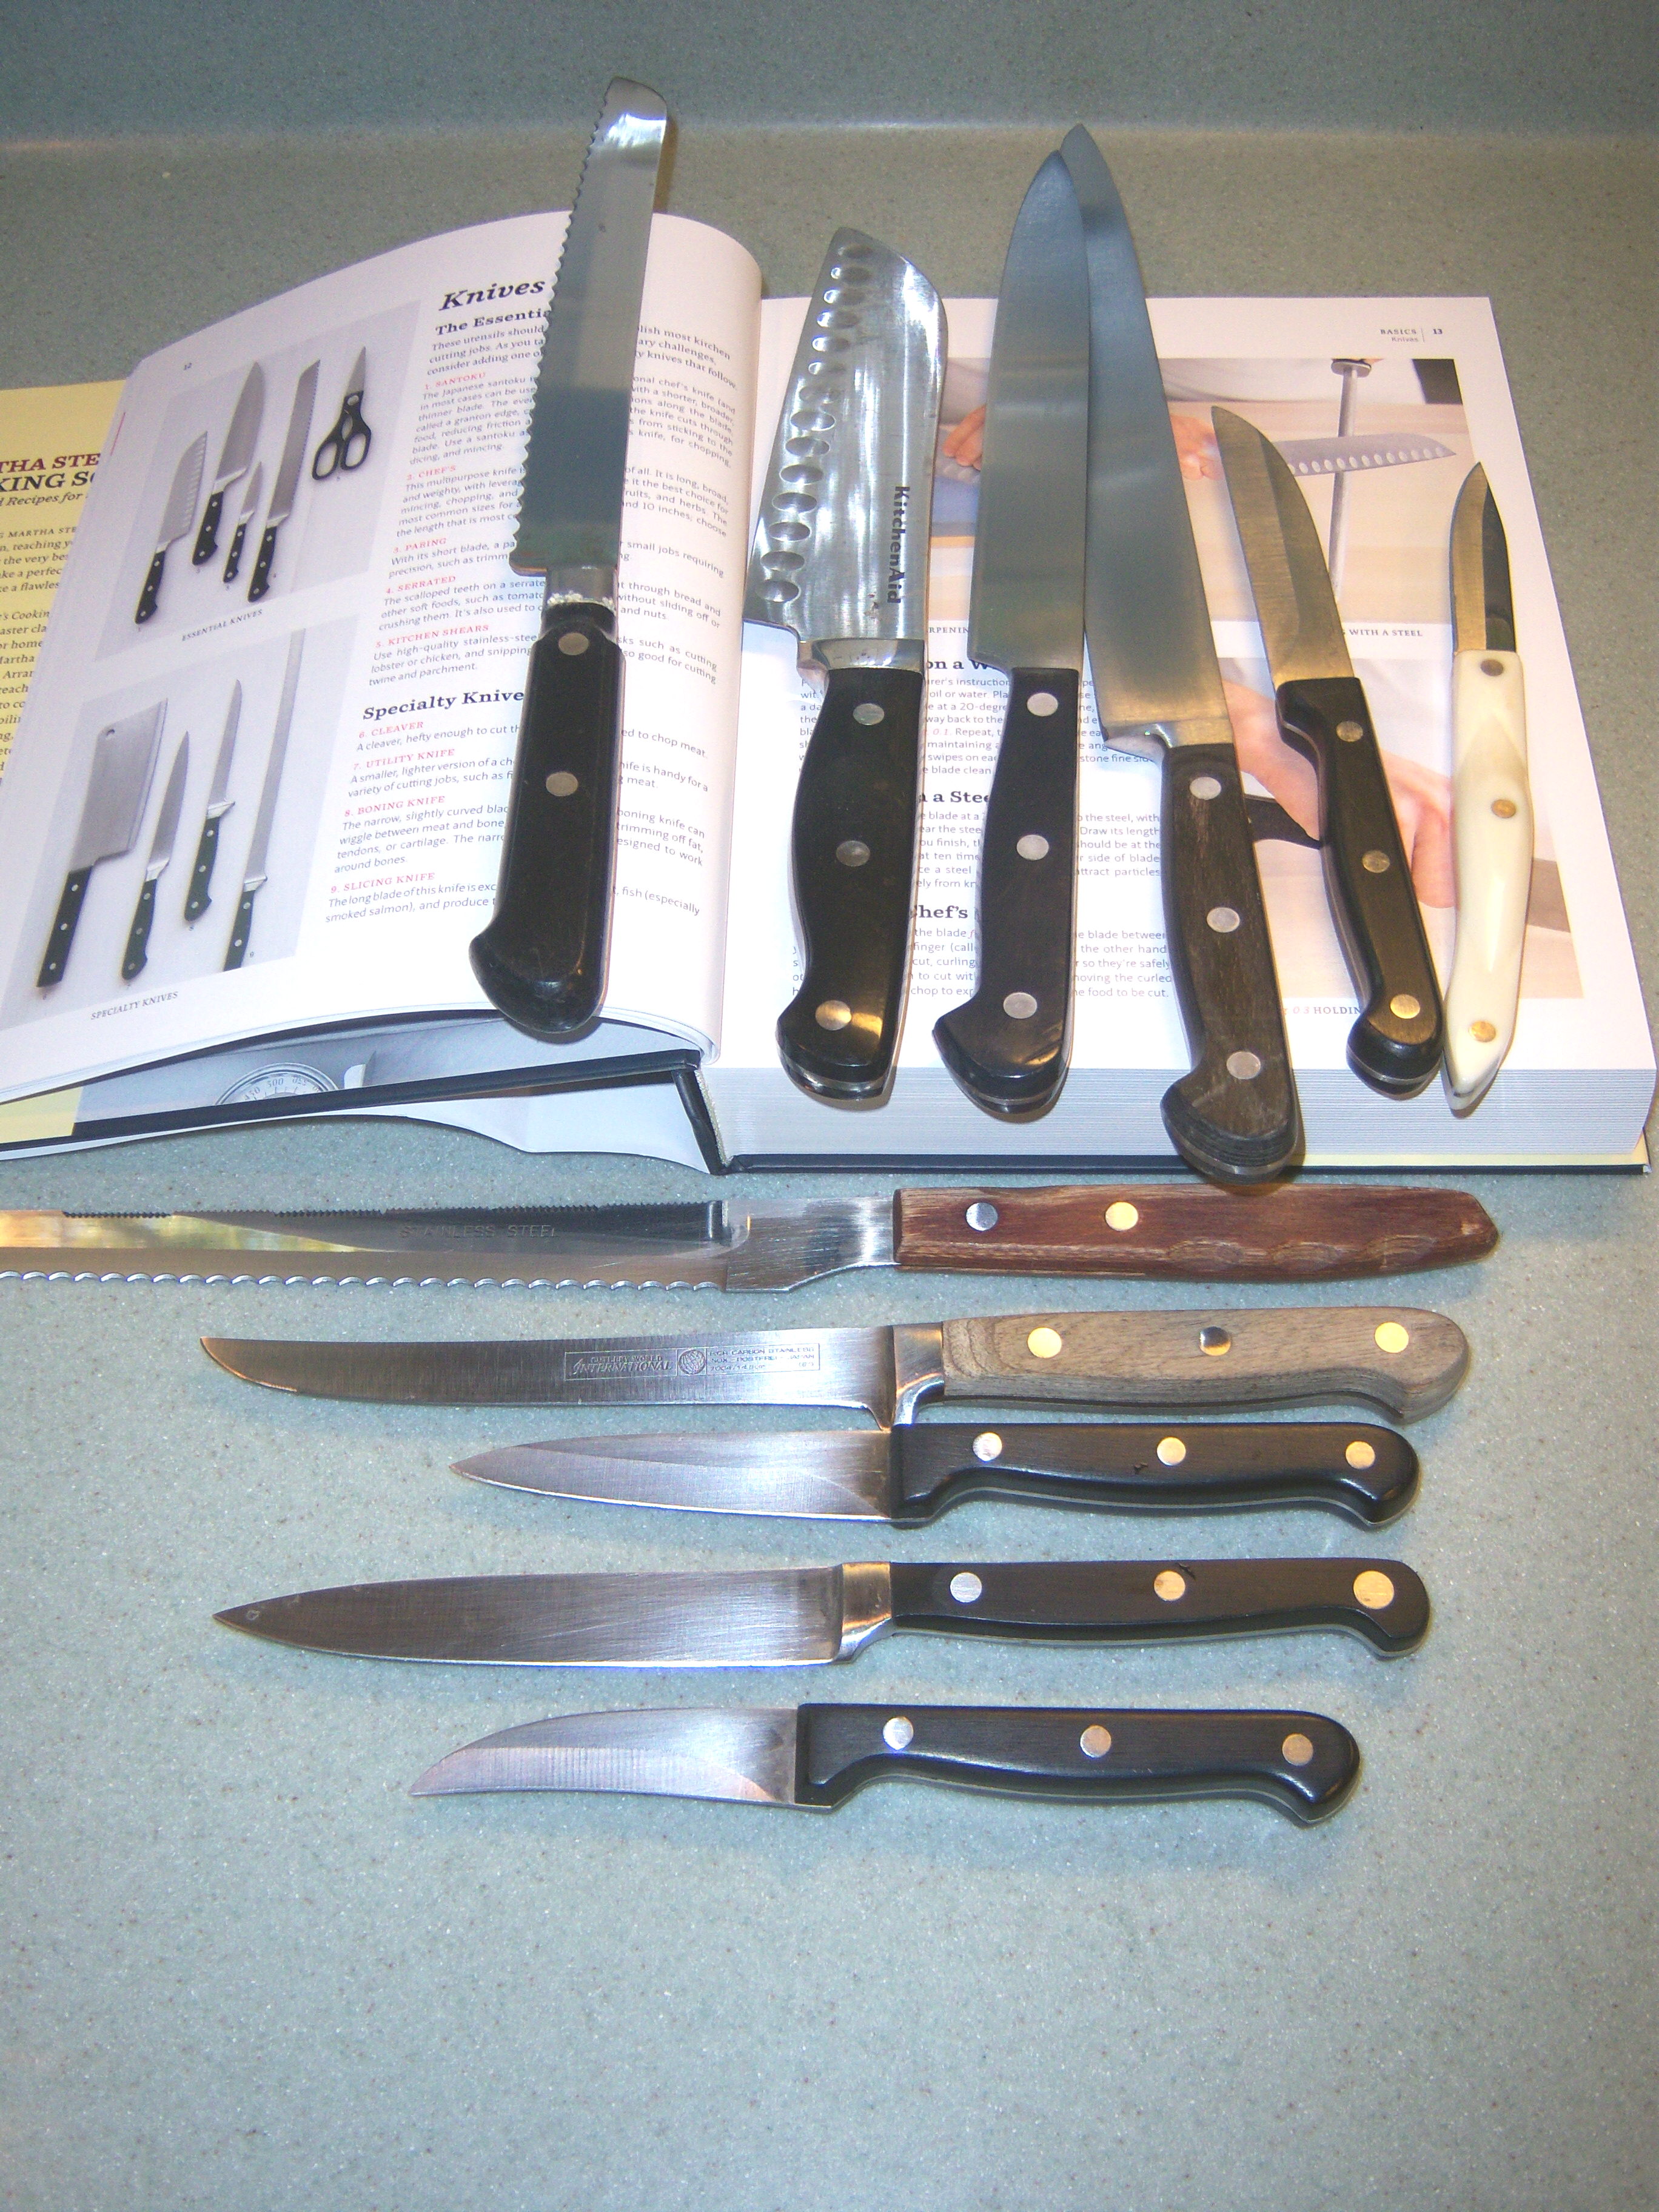
My knife collection

My knife collection

Martha and Sarah, in the first cooking school on-air lesson, went over the kinds of knives we should have.  Here is a photo of my entire knife collection, next to the photo in the book of what you should have. The first knife on the left on the book is serrated and I bought this knife before Mr. MarthaandMe got married – almost 20 years ago – and it’s still great. The next one is a chef’s knife I bought after seeing Rachel Ray use it! The rest are a hodgepodge that have landed in my knife block over the year. The one with the white handle was bought from a cousin who was selling Cutco knives. I don’t have a cleaver, but other than that, I think I can say I pass this cooking school lesson with a good grade.

Onions

Also in the first tv lesson, Sarah Carey showed how to cut an onion  – sliced, diced, finely chopped and minced. I used to always dump my onions in my small food processor to chop, but (and this is the height of laziness) I hate how the stupid bowl never seems to fit in the dishwasher and it just seemed easier to hack it up myself. I knew what slicing meant. Diced, minced and chopped all sort of meant the same thing to me. So here is where Martha has taught me something.
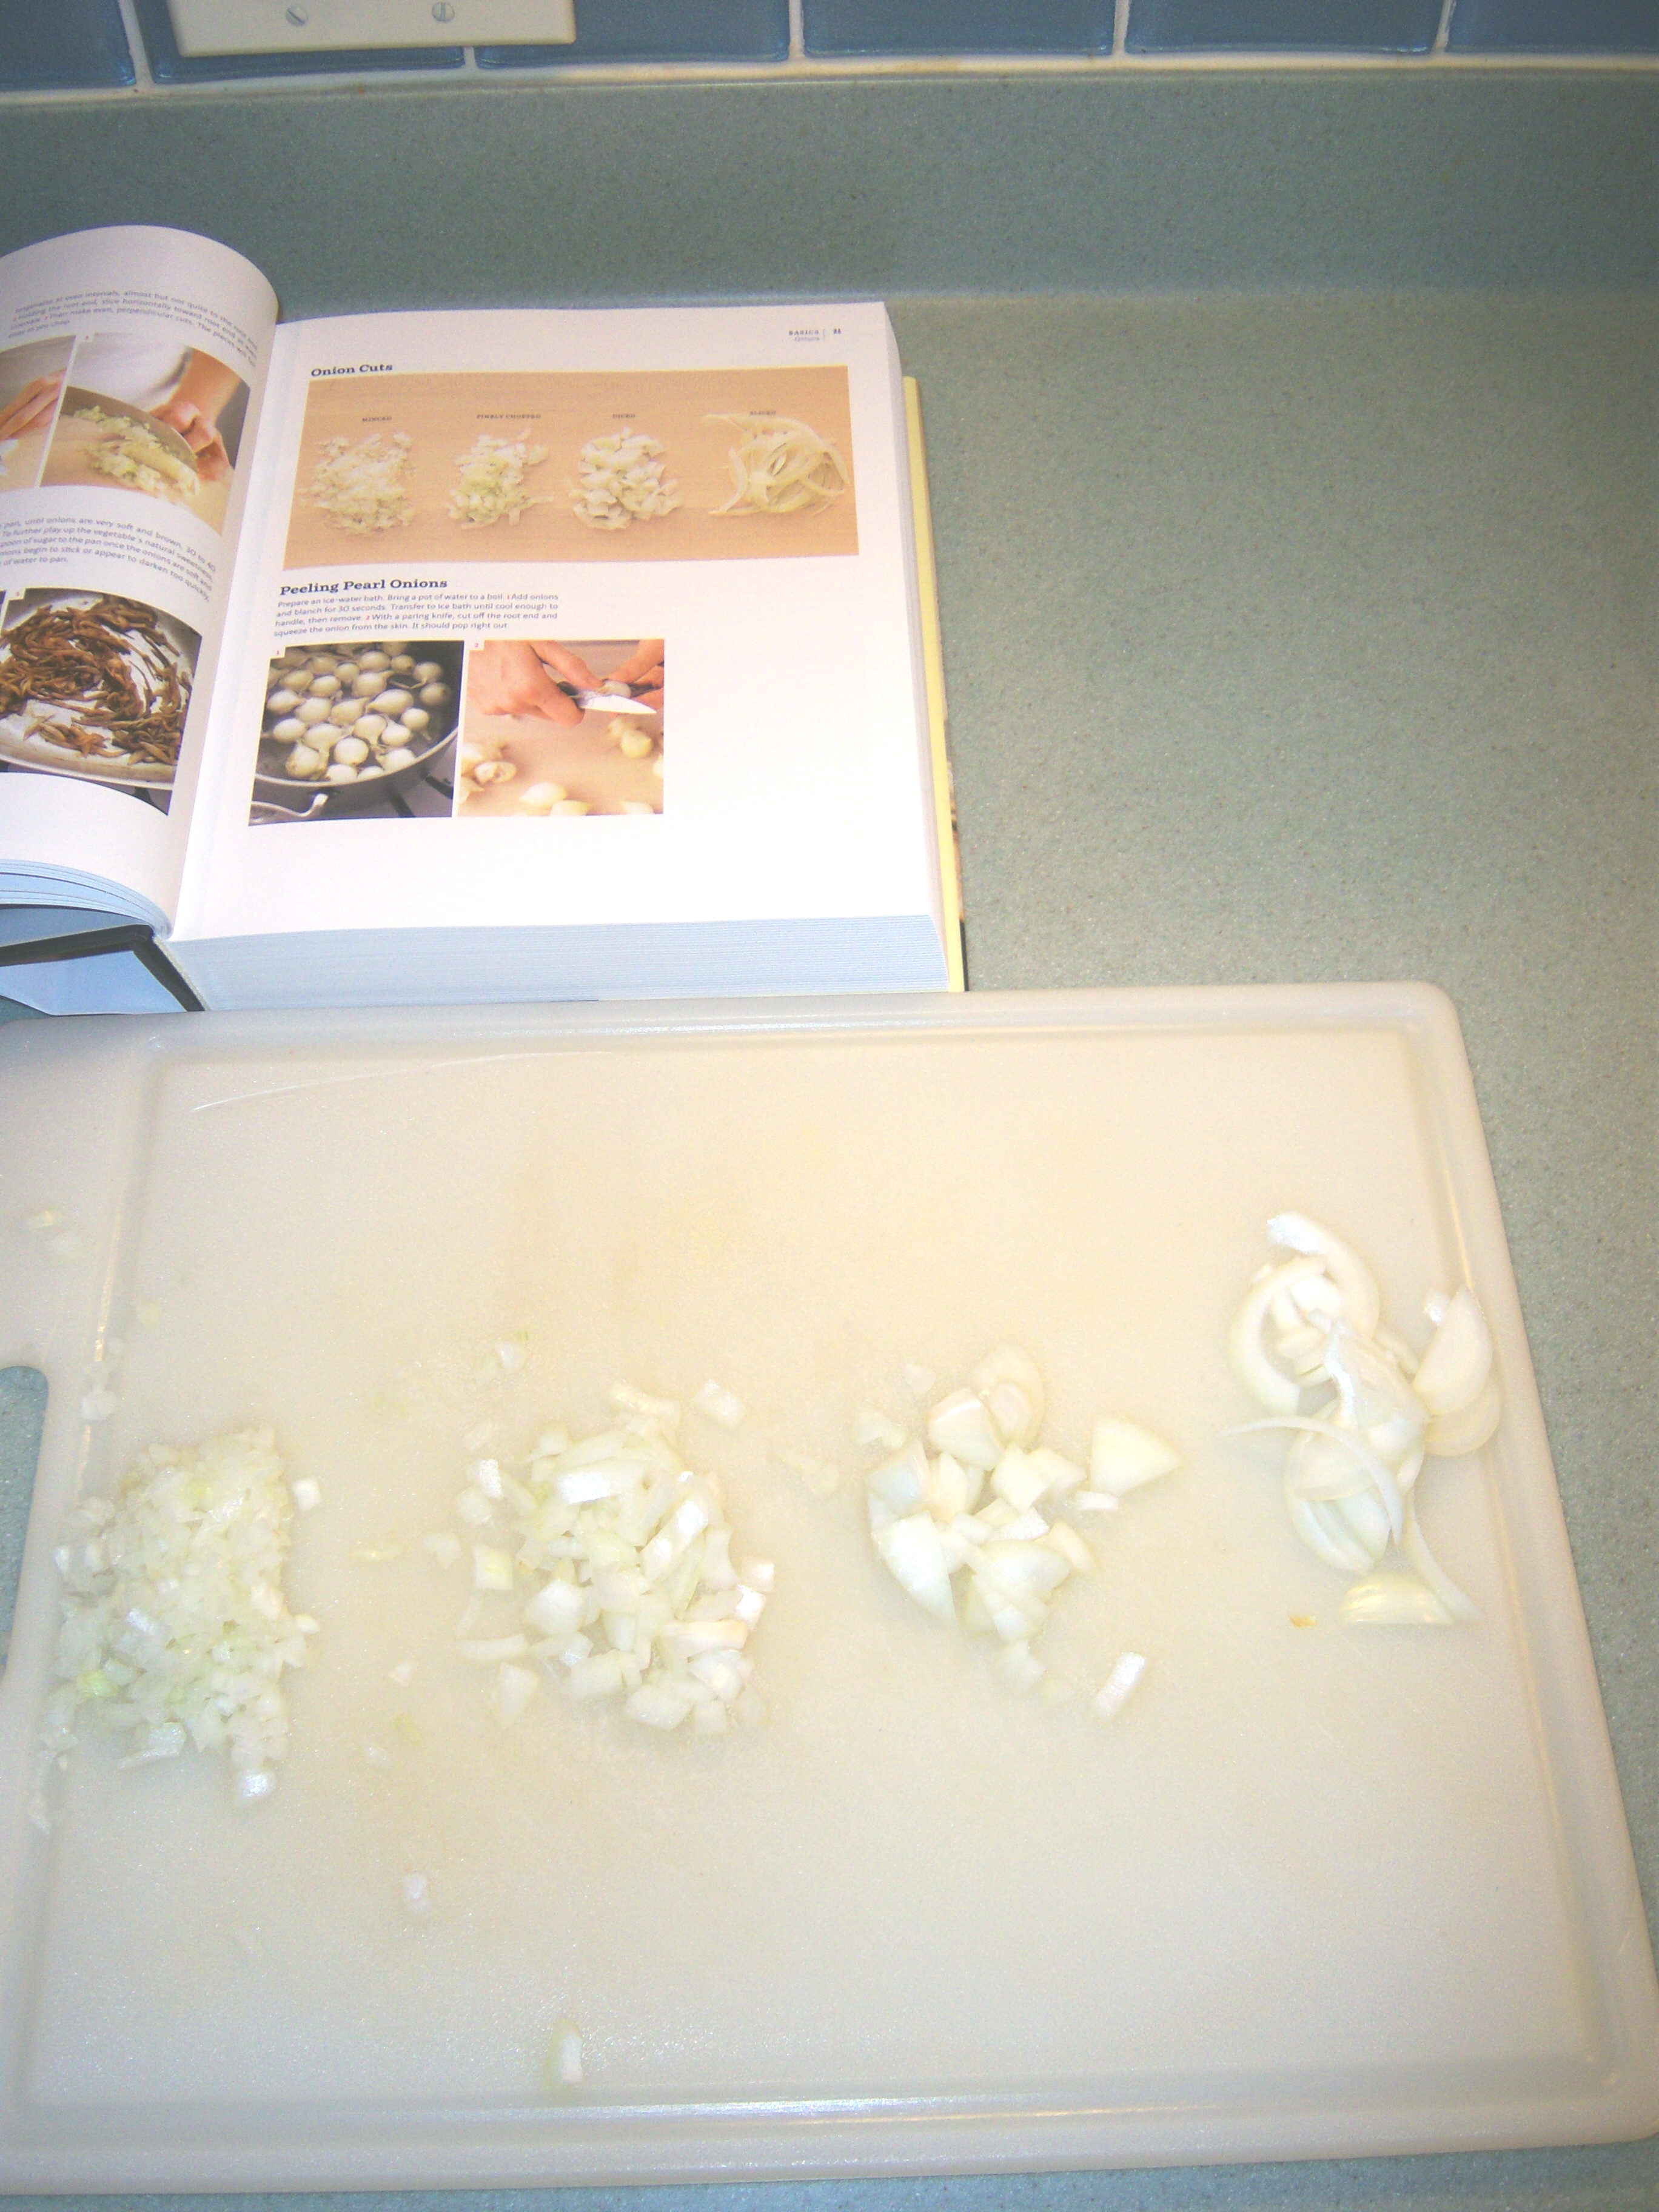
My onion lesson

My onion lesson

Here’s the results of the lesson. From left to right you can see minced, finely chopped, diced and sliced and up at the top is the page in the book with the same thing. Once I learned which was what, this was easy.

I also must admit I did not know the correct way to hold a chef’s knife until Sarah Carey showed me on the show. I have always held on to the handle and sometimes put the other palm on top of it for added pressure. Sarah explained how to hold the knife so your finger and thumb are touching the blade and this really gave me more control. Wow! I didn’t know Martha had so many things to teach me about the basics!

Making Stock

The other segment of the on-air lesson was chicken stock. Martha says we should all make our own. I do make my own when I am making soup or something like chicken and biscuits or chicken and dumplings. Other than that, I buy the cartons of stock and use that. I’m going to make stock when I do the next lesson, which will require me to hack up a chicken.

An Everyday Food Note

Although I know Martha is not knee-deep and hands-on (that’s an image isn’t it?) in the production of Everyday Food magazine, I have been turning to it often. The recipes in Living are great, but on a weekday when I’ve got hockey or lessons to drive kids around to in the afternoon, I just don’t have time to say, braise a pork shoulder for approximately half a day.

Finding myself in a bind one night this week, I turned to Everyday Food’s November issue for inspiration and made Rigatoni with Spiced Meat Sauce (p. 92). Holy cow guys – this was gross. Really, really yucky. Who makes a pasta sauce out of tomato paste, vinegar, cinnamon, and cayenne??? This was so bad I could not serve it as it was. I had to do some serious doctoring of this recipe to be able to put it on my table. First of all, I used ground turkey instead of ground lamb (I like ground lamb when I make Greek food but really no other time) or ground beef. I have been substituting this a lot – in meatballs, meatloaf, tacos, etc and am loving it.

To do something with the nasty sauce, I dumped in a can of stewed tomatoes and ton of Italian herb mix. I added more garlic (the recipe did call for some as well as onion). I also added some parmesan cheese. By the time I did all of that and cooked it for about half an hour, it was edible and the MarthaandMe family ate it happily.

Martha – please do something about Everyday Food. I absolutely know this recipe is not something you would put on your table! NOT a good thing!

Sneak Peek

I’ve got plans afoot for upcoming posts. I’m going to tackle more crafts from the November issue of Living. I’m going to make the big cake from the issue also. We’re going to do a Martha Thanksgiving here. And Martha is going to help me do some organizational things around the house. Currently she is very displeased about the state of my closet and is itching to get her hands on it.

I’m also continuing my search for ways to bring “good things” into my life. This week, I folded the fitted sheet to the bed and instead of just balling it up, I made an effort to fold it nicely (not easy to do at all) and place it on the shelf. It took more time, but I’m finding that if I tell myself I deserve to be surrounded by good things, I feel privileged and pampered somehow. Taking the time to fold something so that it looked nice did give me some satisfaction. I also reminded myself I was “homekeeping” and not just doing the laundry which made the whole experience much more pleasant!

Martha is plugging her new cooking school book in a hot and heavy way. The magazine has a lesson from it and each week on her show there is going to be an on-air lesson. Being a good little disciple, I have gone out and captured a copy (oddly enough in my local B&N it … Read more

no