Cooking School #2
Posted by in Food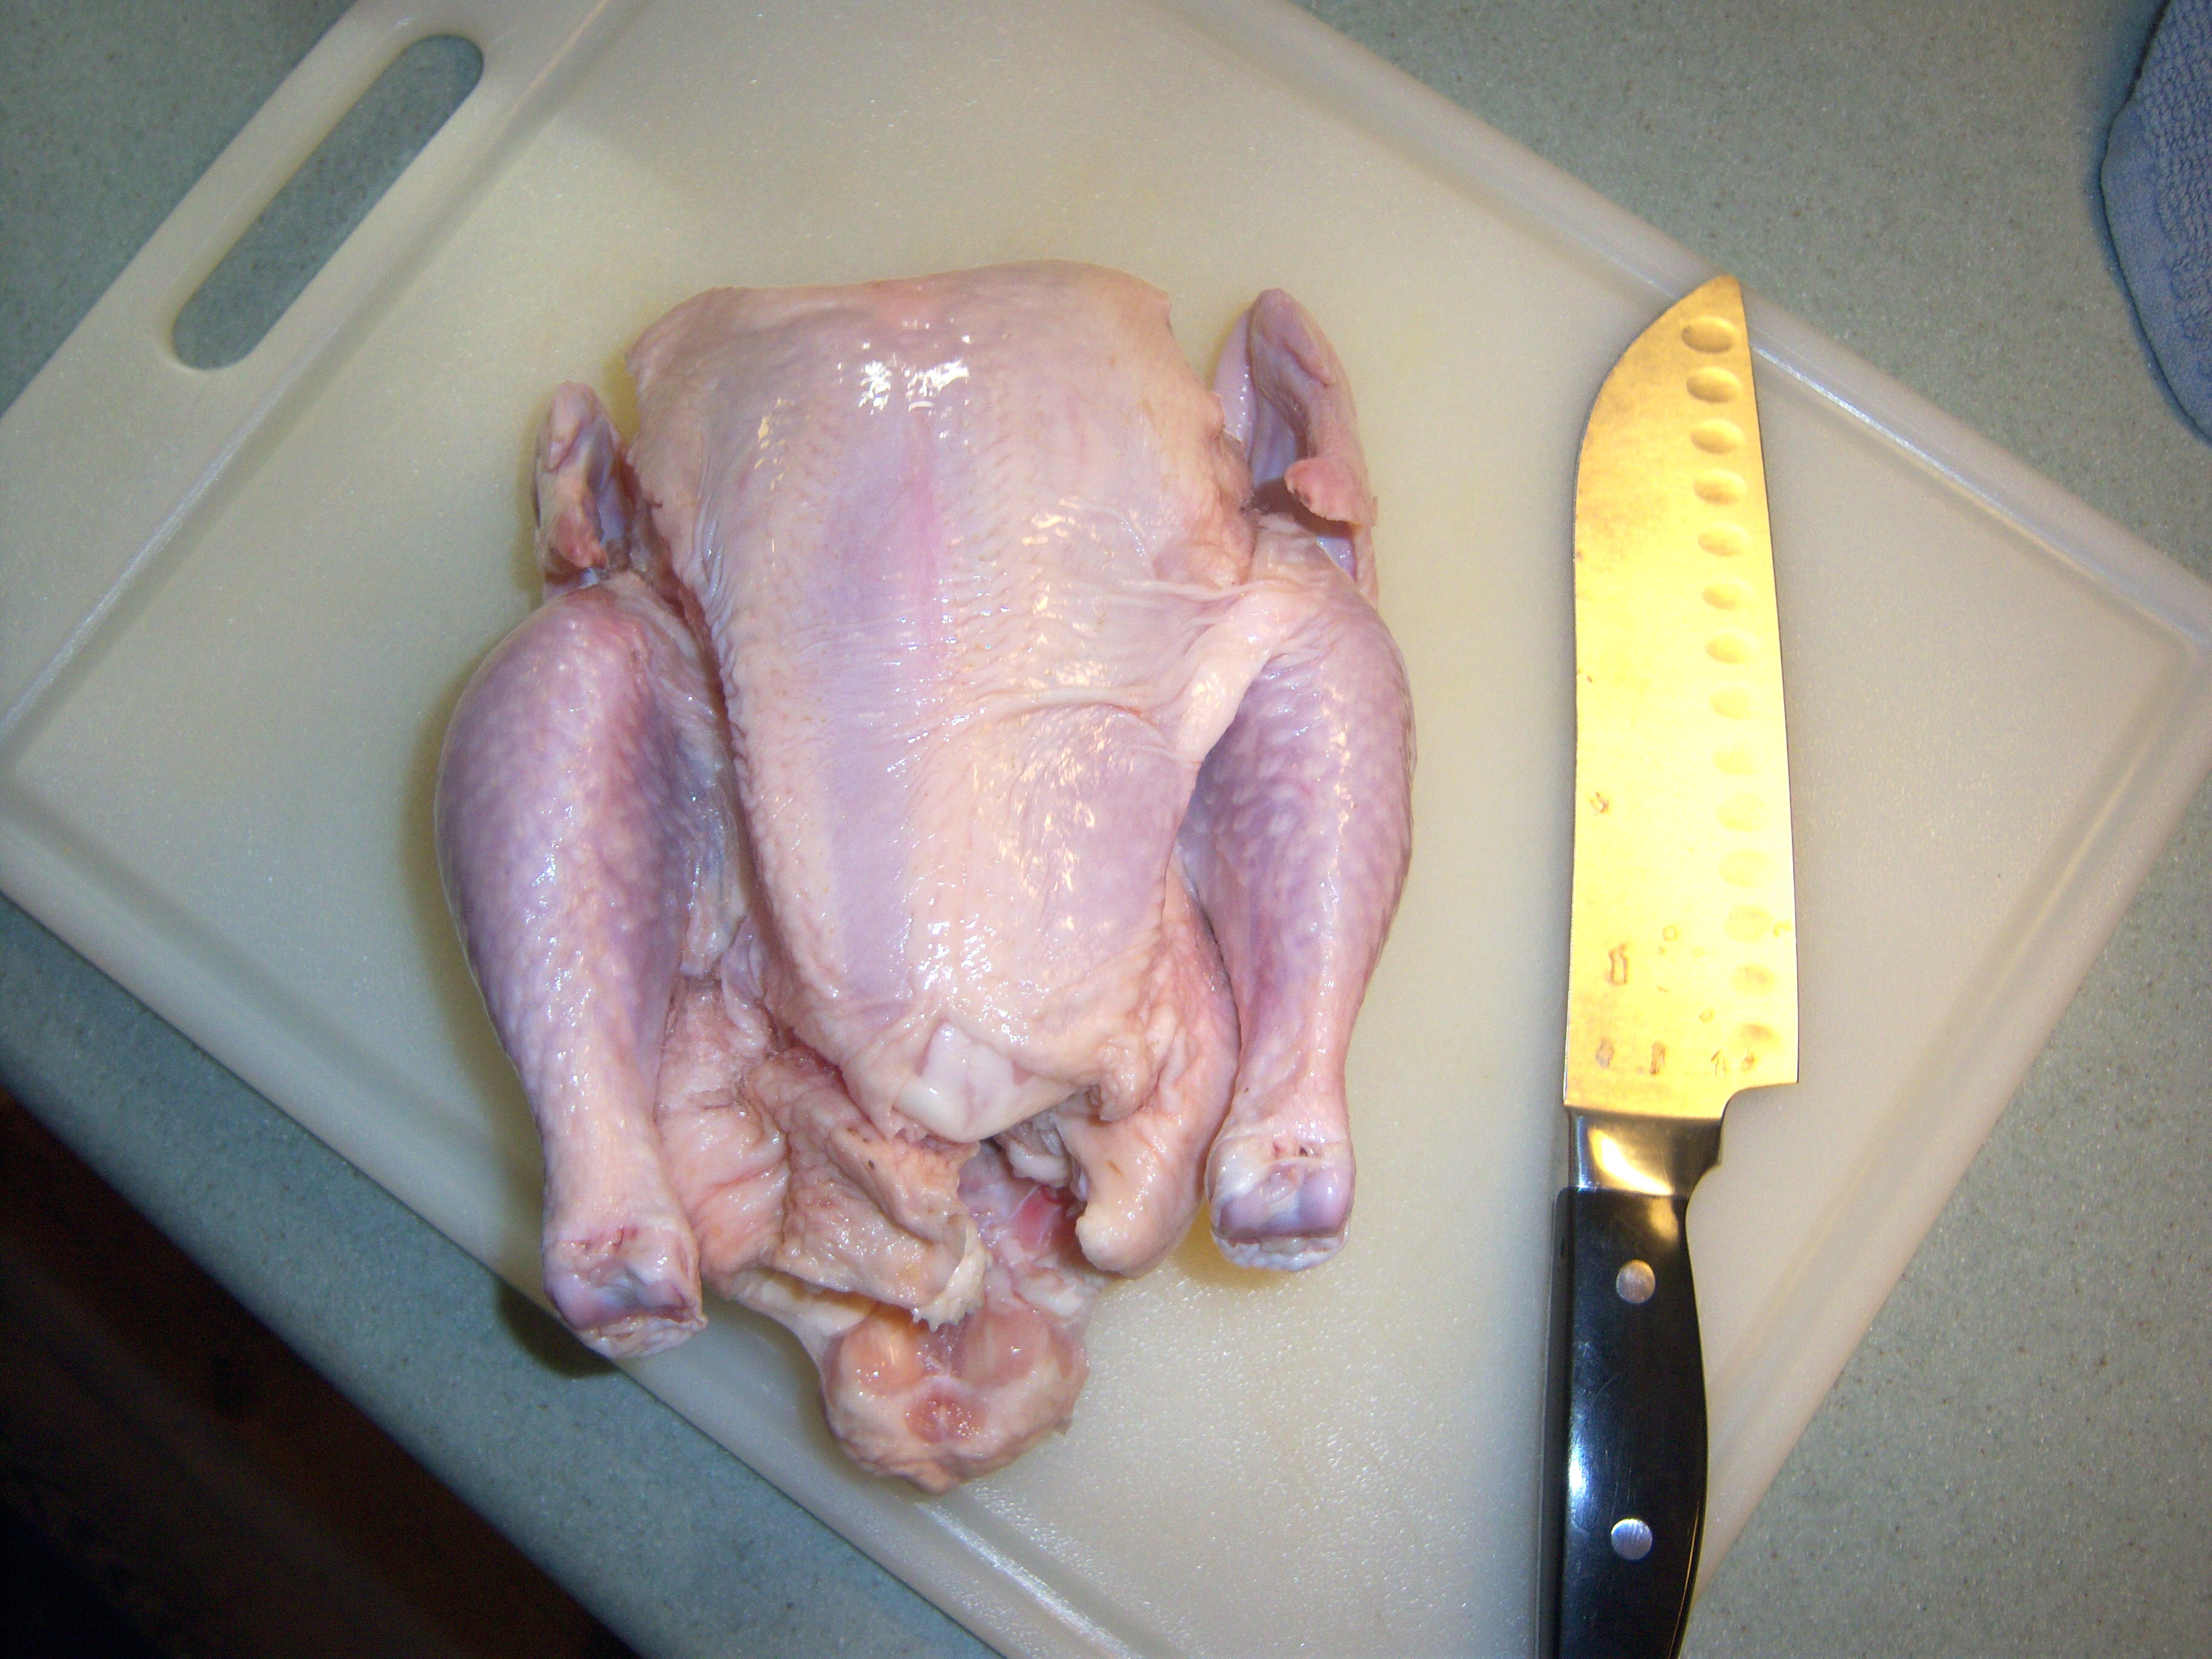 Martha’s second cooking school segment was about chicken. She and Sarah Carey showed how to cut up a whole chicken. They emphasized how much cheaper it is to buy a whole chicken and cut it up yourself, rather than buying parts. This is absolutely true, but it’s nothing I would ever have done myself. I have been buying organic meat exclusively for about the last six months and my grocery store only has whole chickens or breasts. I have been wishing they carried other combos and parts, but I never did think about actually cutting up a whole chicken myself.
Chicken Fingers
I must confess, I really, really, really hate to touch raw chicken. The idea of cutting up a whole chicken was just about more than I could handle. We do eat meat, but I can’t think too much about it to be honest. I search out free range and pasture fed animals that have been well cared for and we eat less meat than we used to.
Mr. MarthaandMe is the one who carves chickens and turkeys in this family and agreed to be on standby in case I totally freaked out or cut off a thumb. I am proud to report to you though that I did it with no mishaps!
Cuts Like a Knife
I got out a plastic board, my big chef knife and a towel I designated “the chicken towel”. I opened up Cooking School next to me so I could follow along.
On the show, Sarah Carey cut it the way it is described in the book. I have no idea what the hell Martha was doing during this episode. She was totally showing off, hacking through her chicken with a pair of scissors, leaping steps ahead of Sarah so we could all see that she knew what she was doing. Geesh! Sarah’s steps were really pretty clear. The description and photos in the book were not as good as the episode when you could see Sarah actually pulling the joints apart. I wish I had had it on while I was doing it so I could see her do it, pause it, then do it myself.
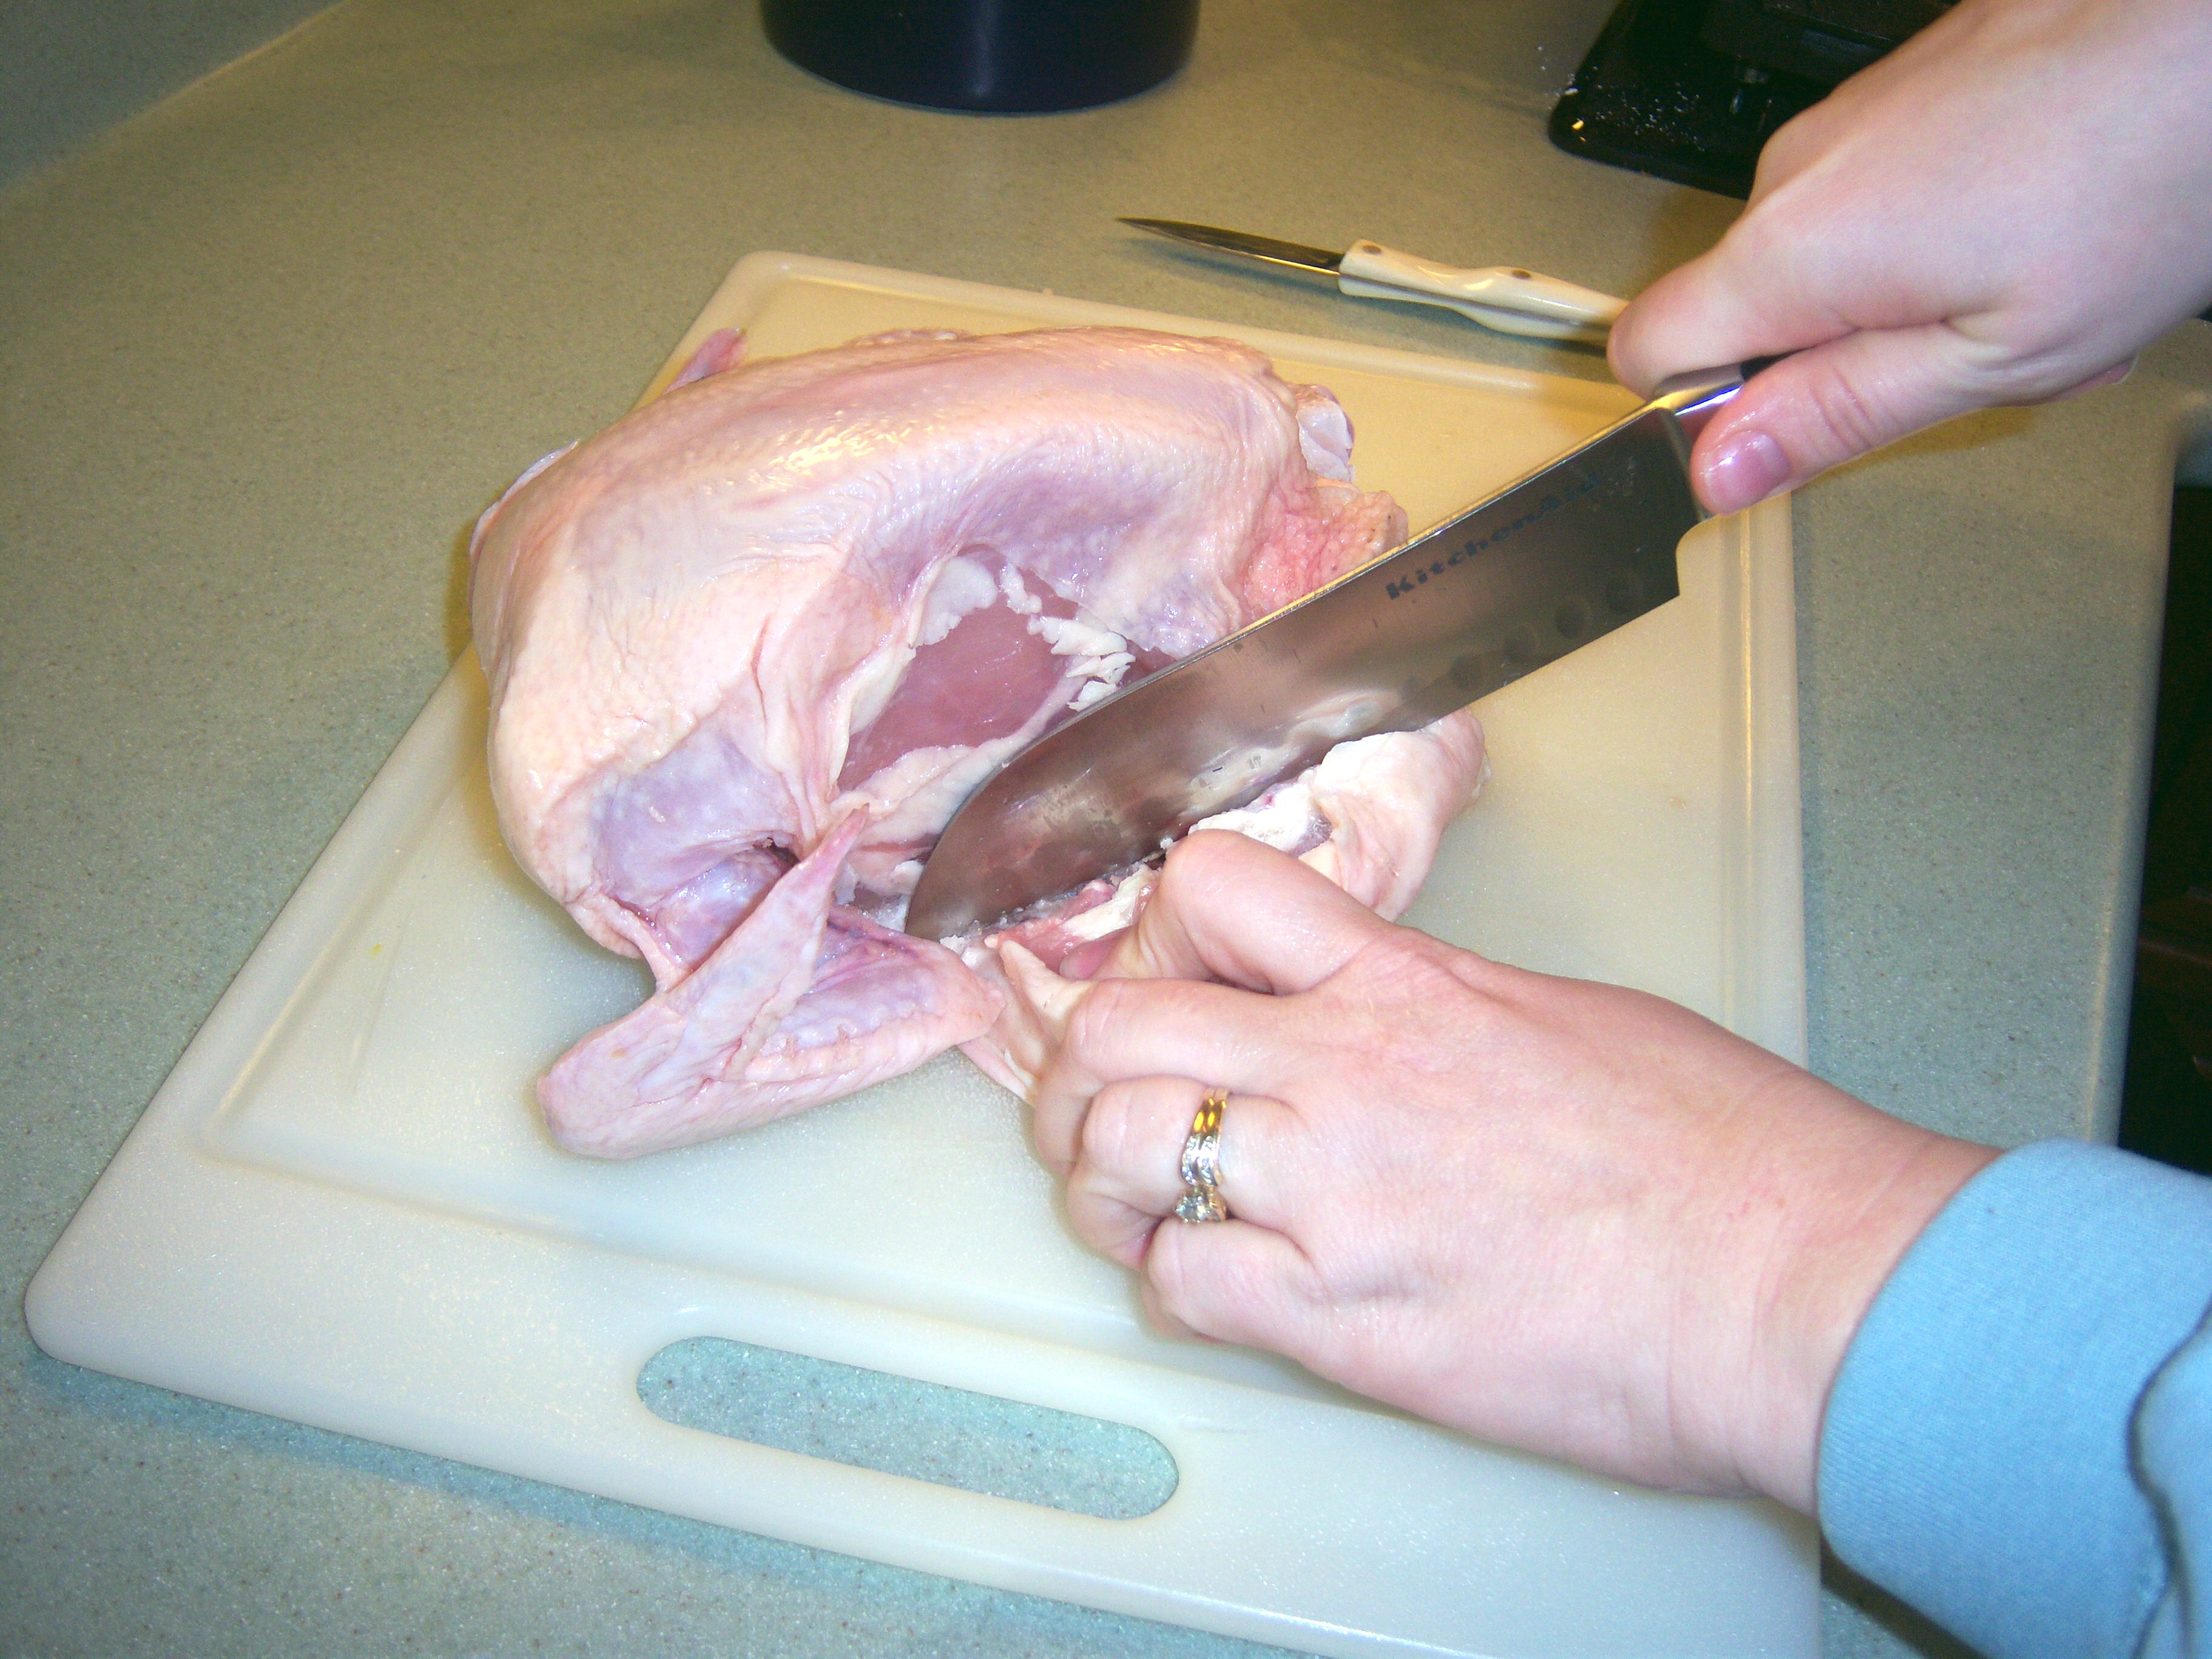
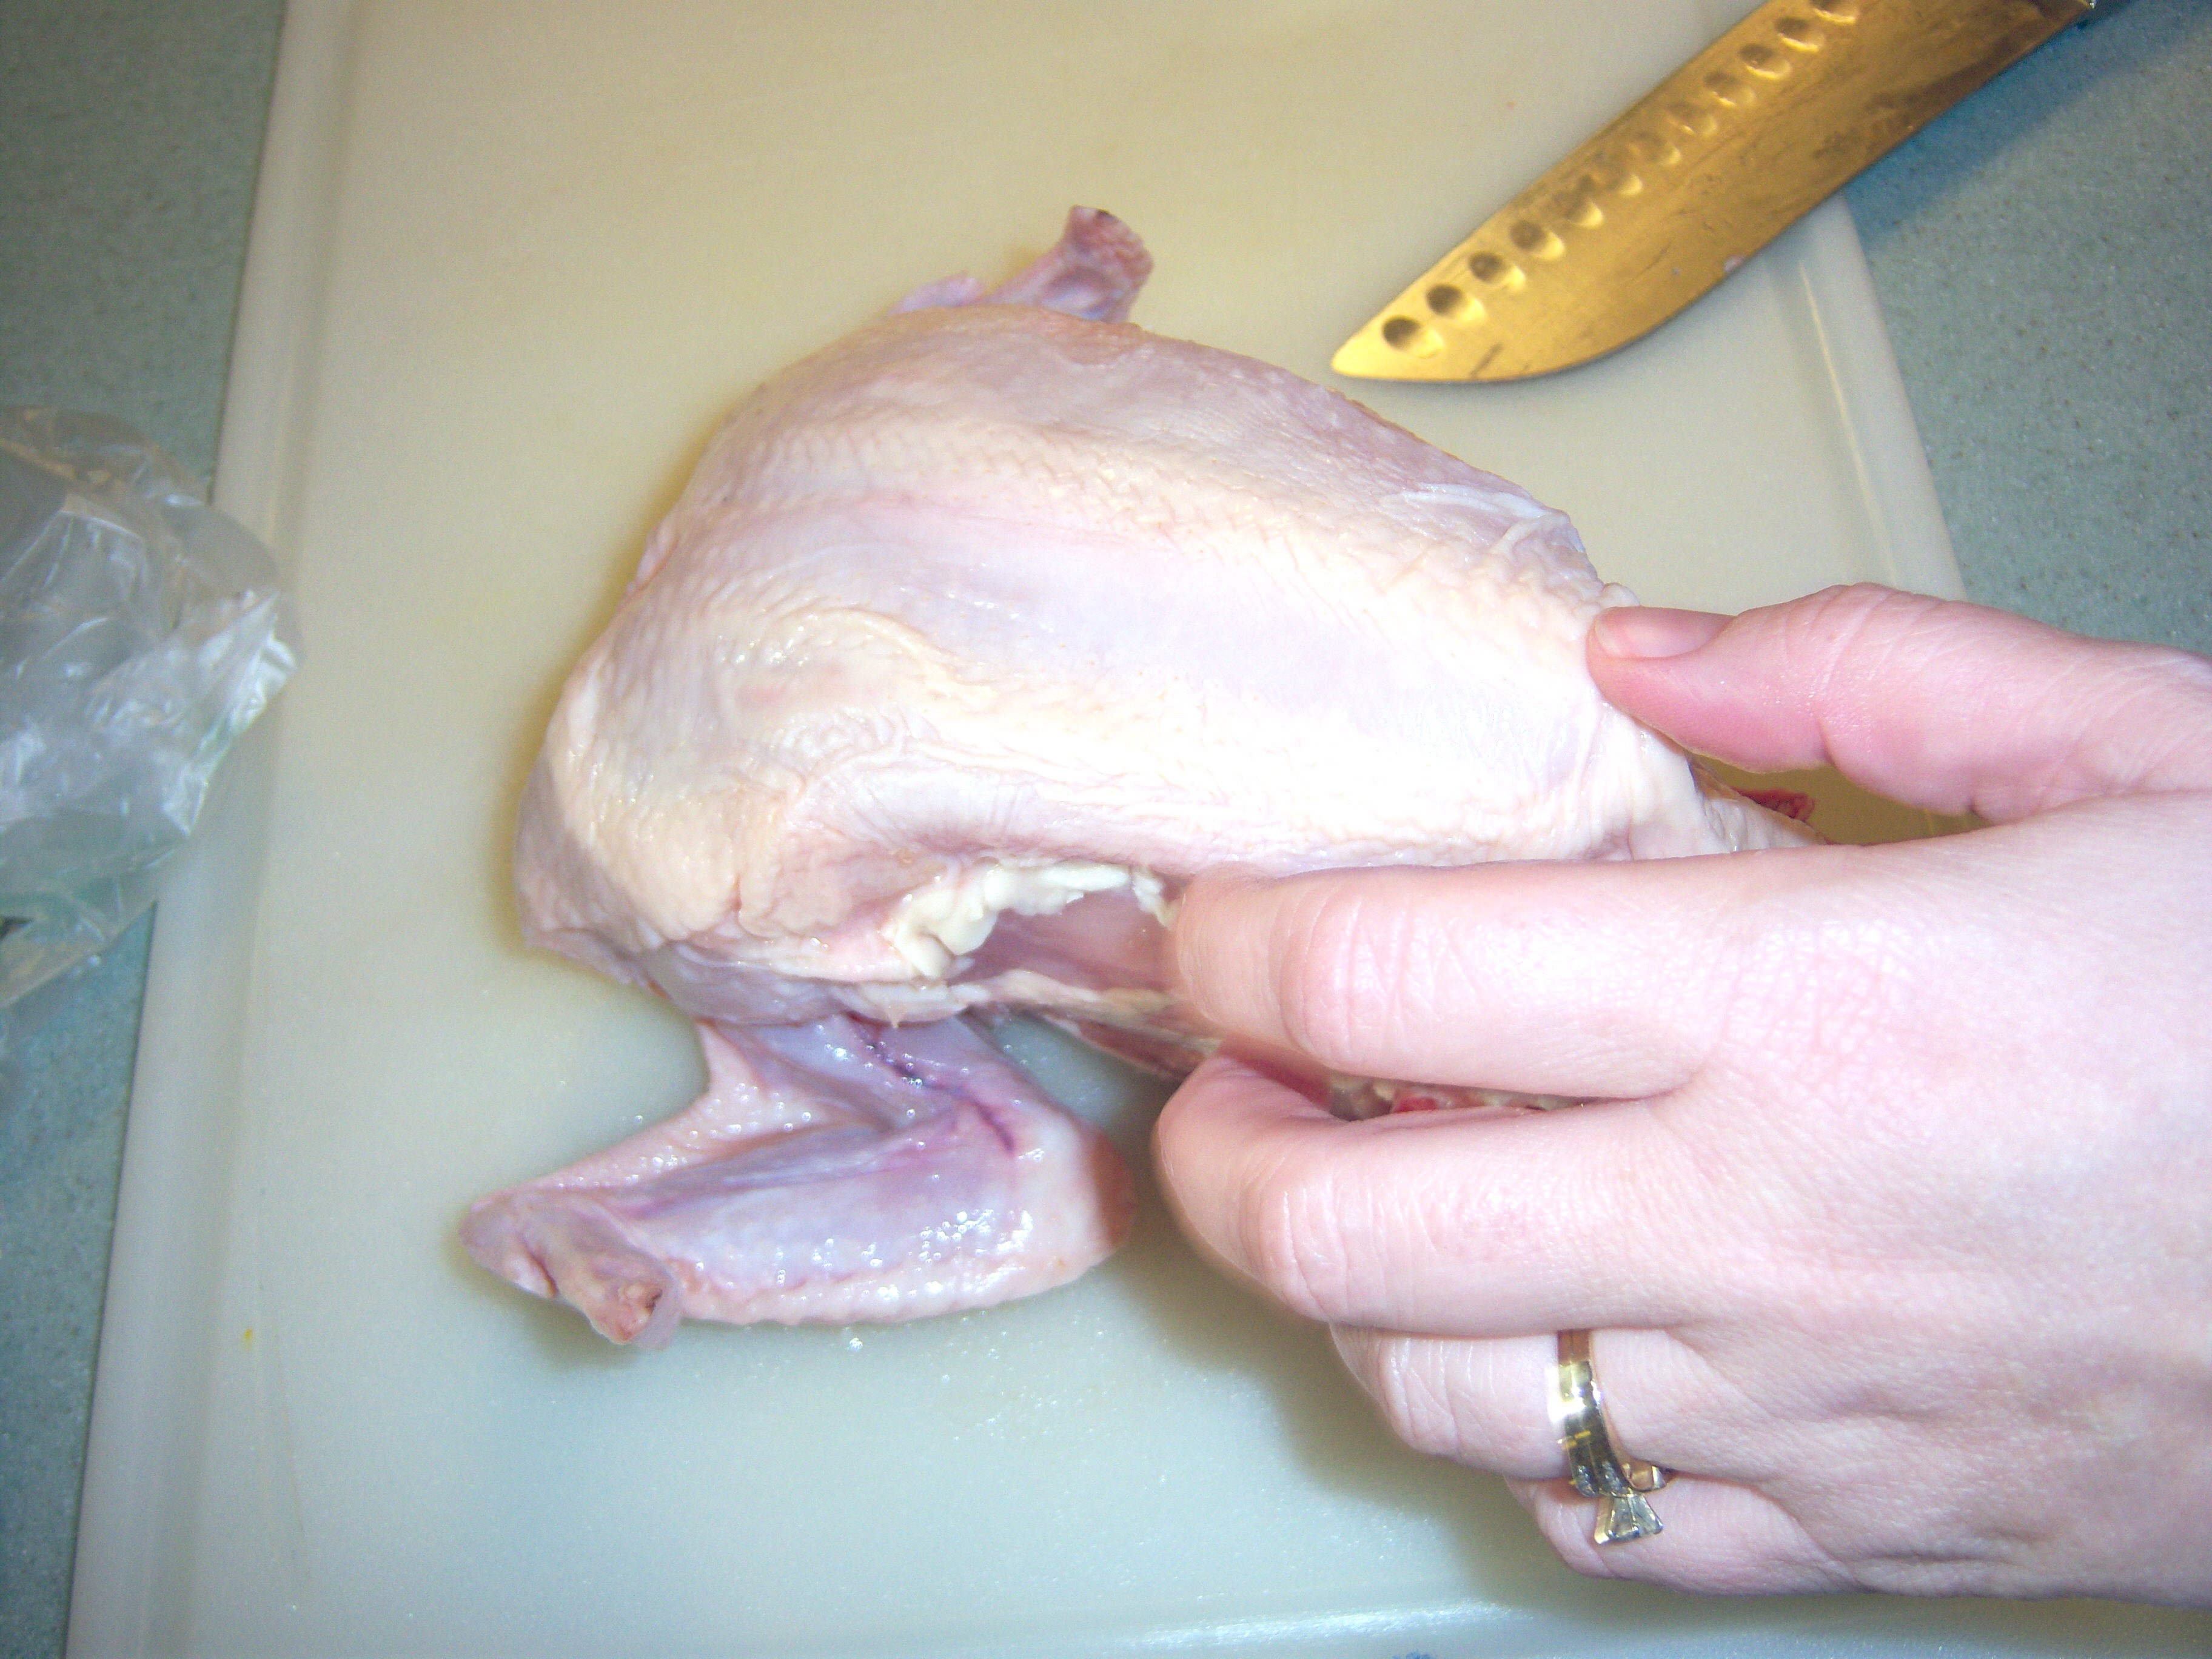
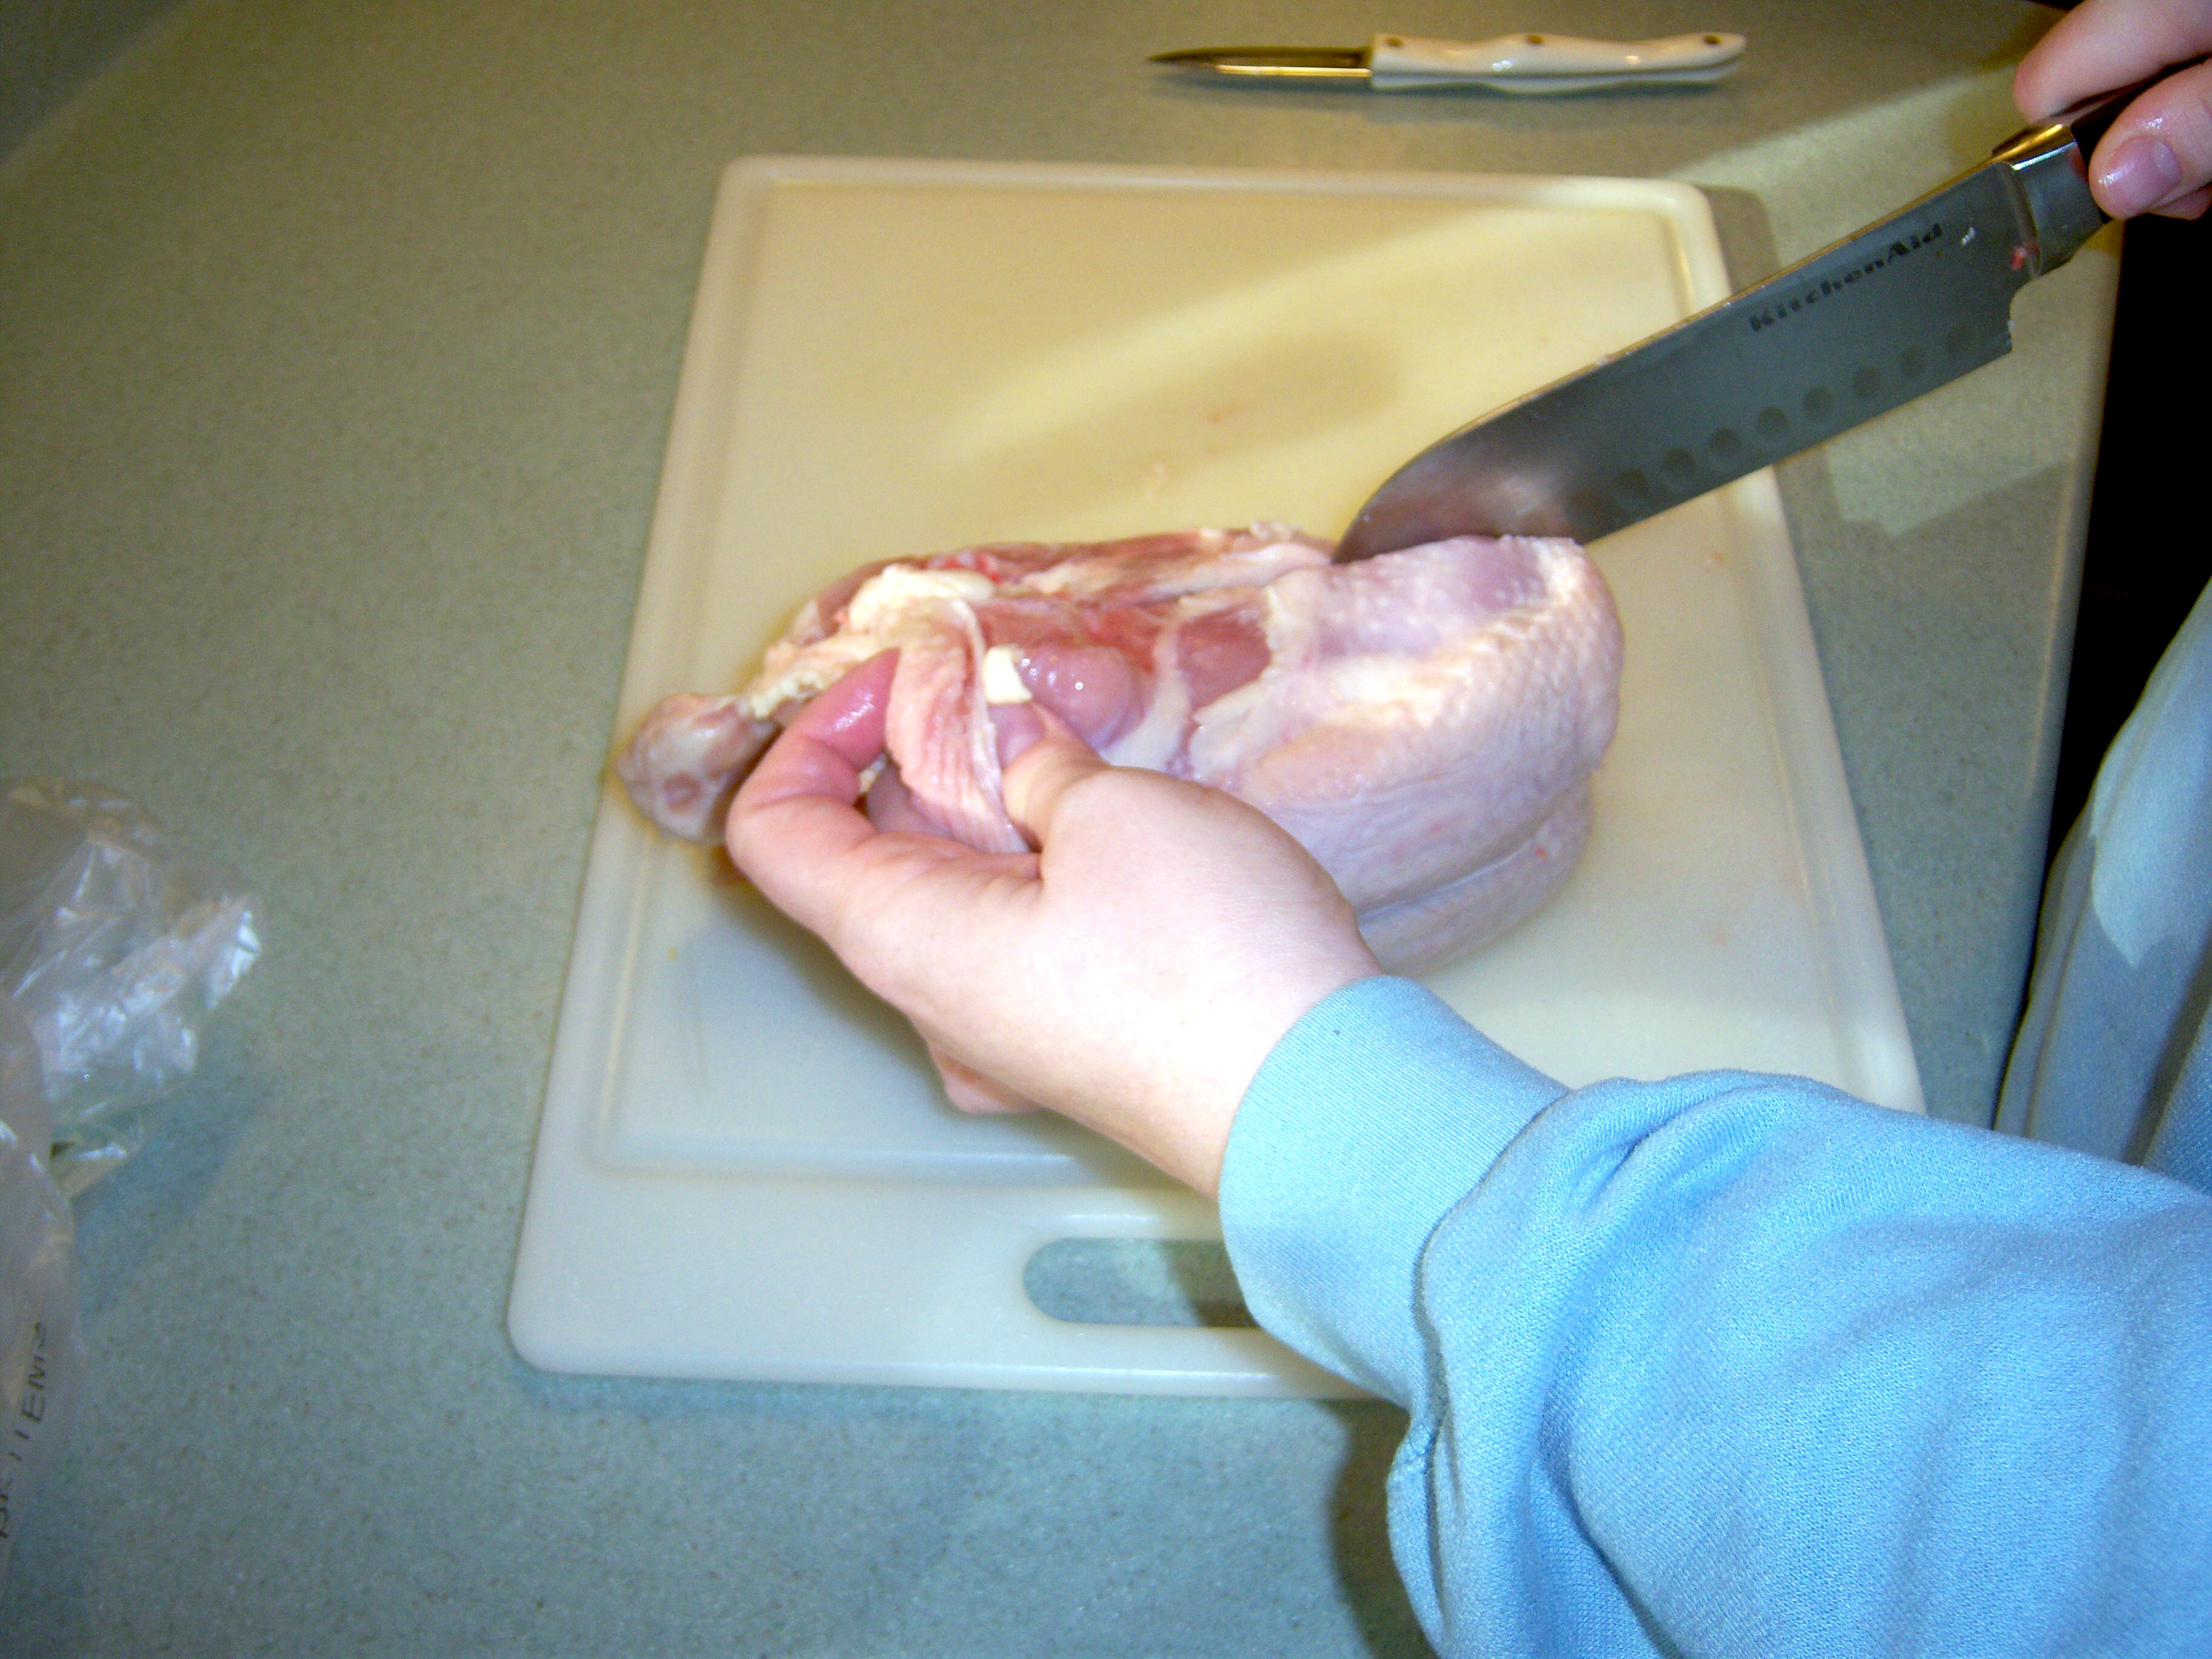
So I started in. First was the leg. I cut through the skin then had to cut down to the joint. I did that then had to pull to pop it out. Ew. This was not pleasant and I might have gotten a little
squeamish. I did manage to do it though. The trick is pulling it apart enough so you can see where the joint is, and then cutting between the joint and the body of the chicken. Then I cut the leg and thigh apart. Next I got the wings off – these were easy compared to the legs.
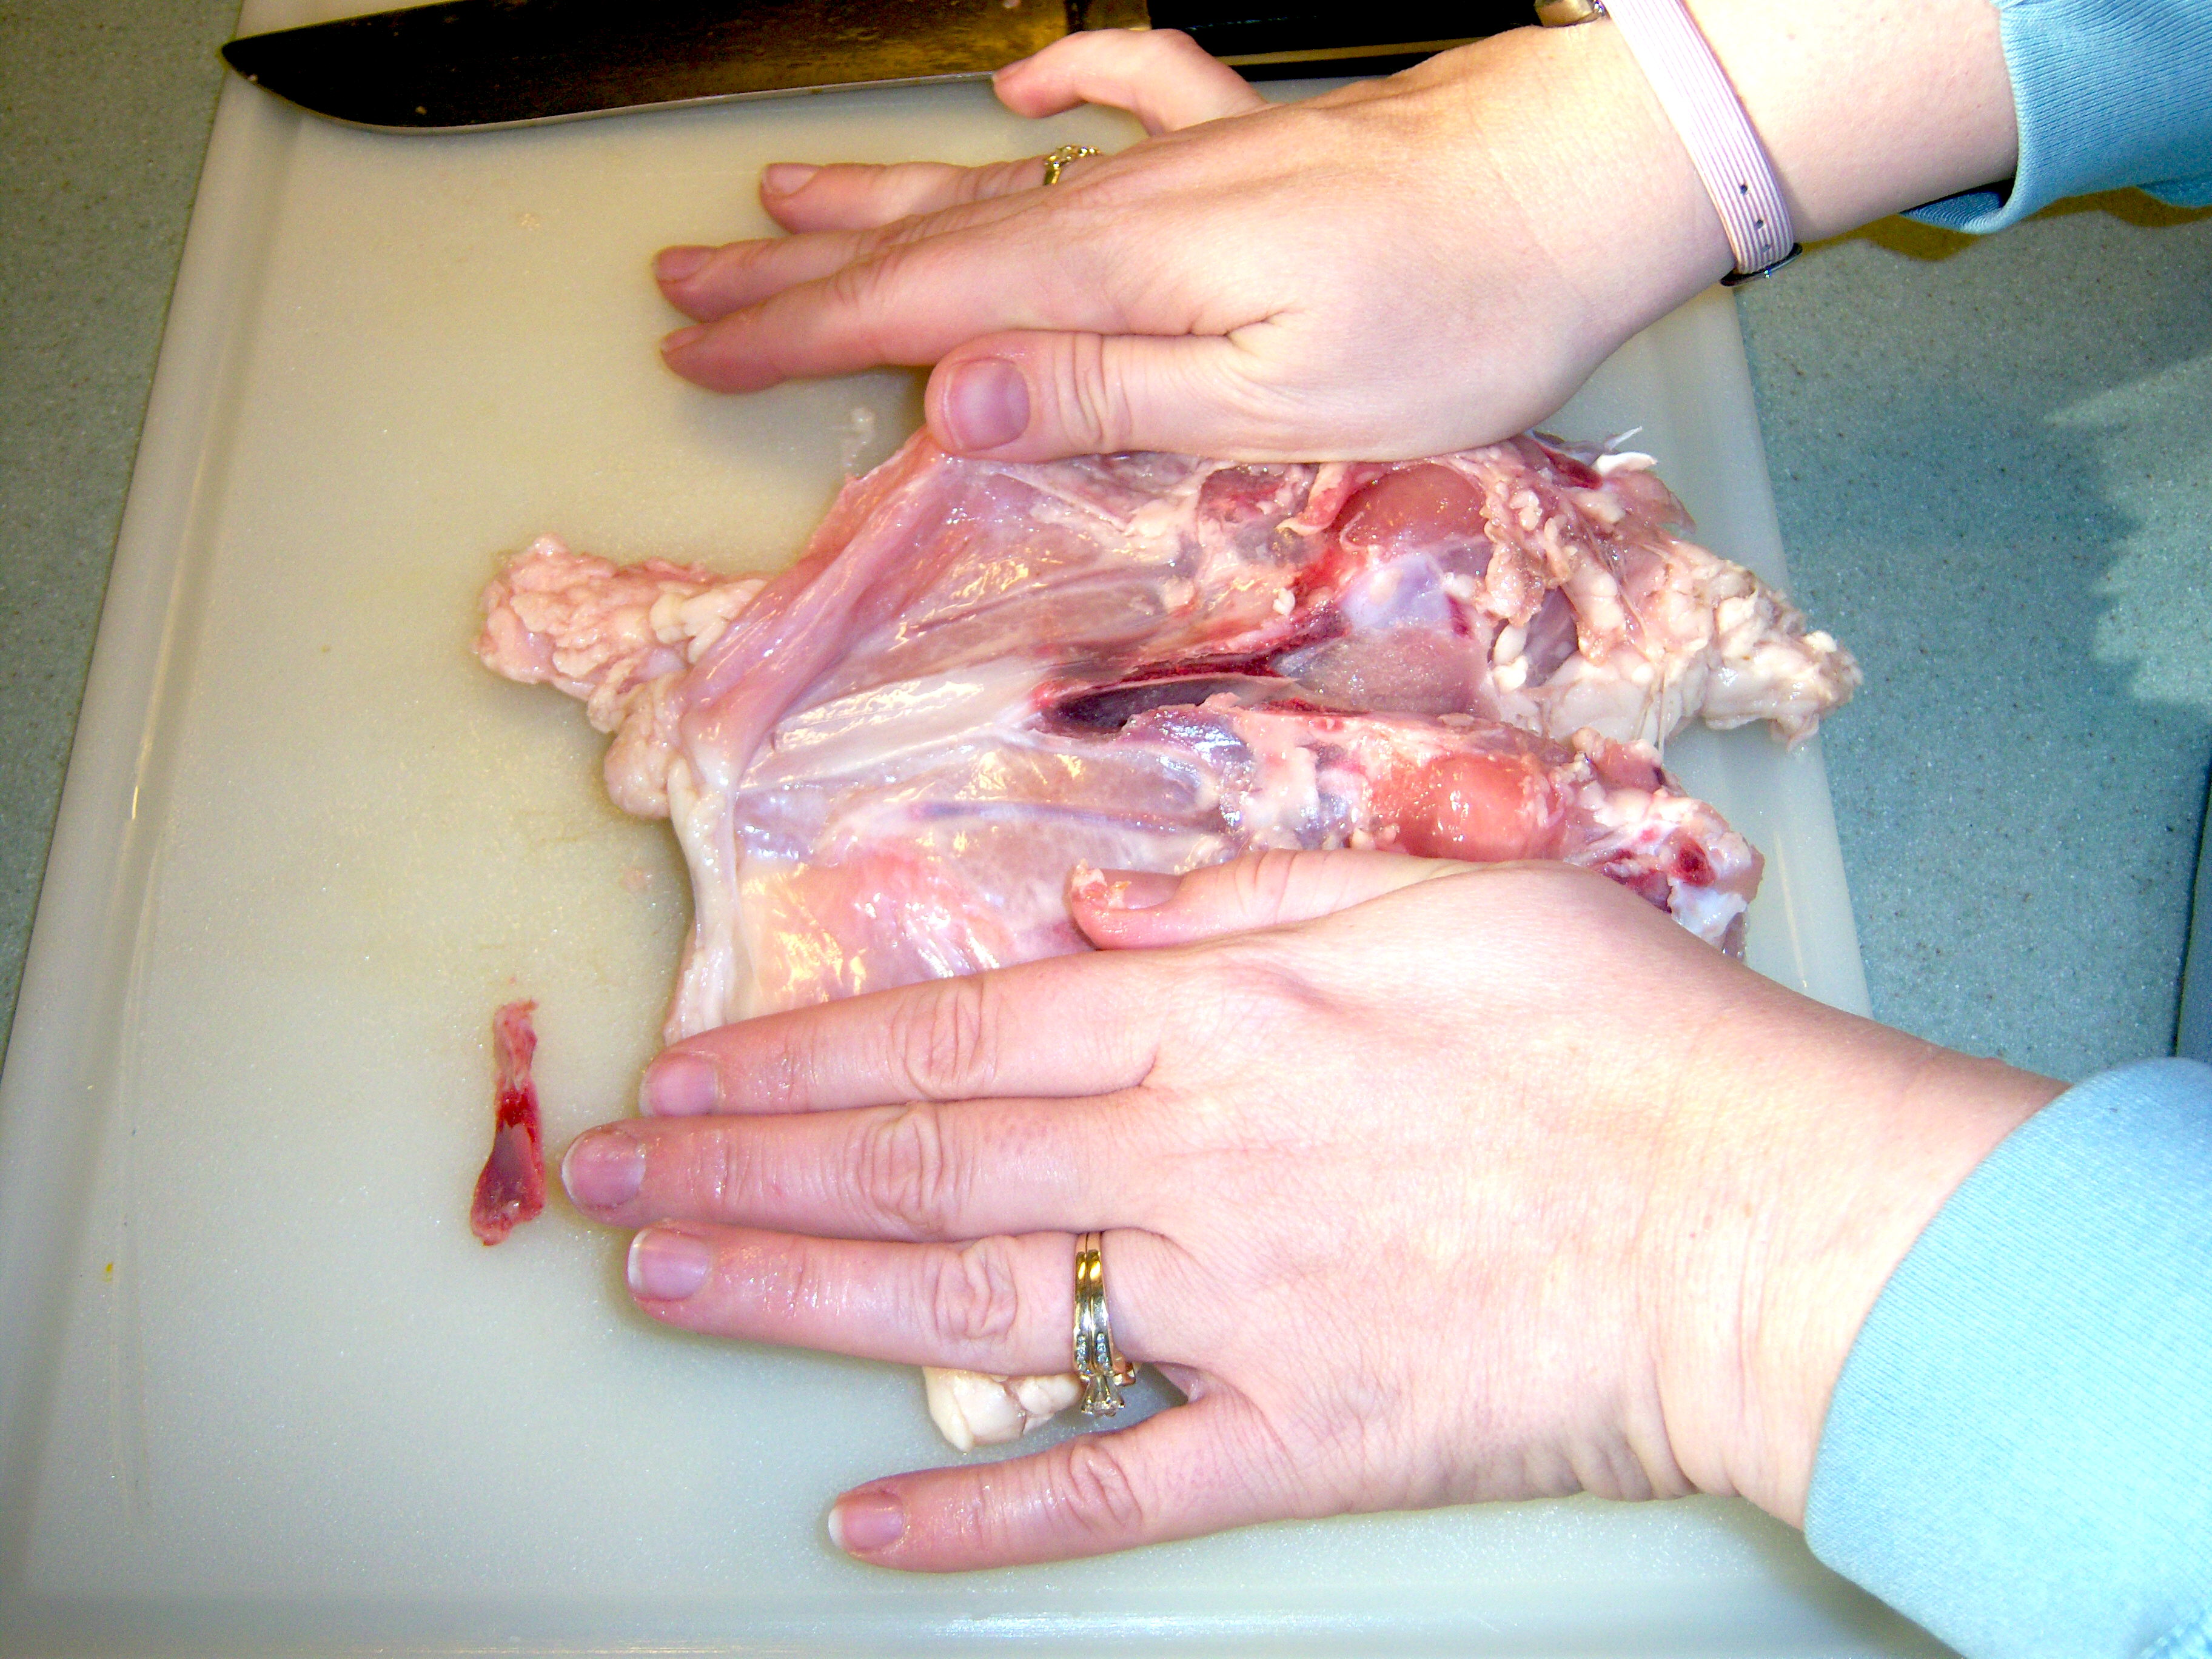
Hacking the breast from the back was not for the faint of heart. Mr. MarthaandMe encouraged me from the sidelines as I looked up in panic a few
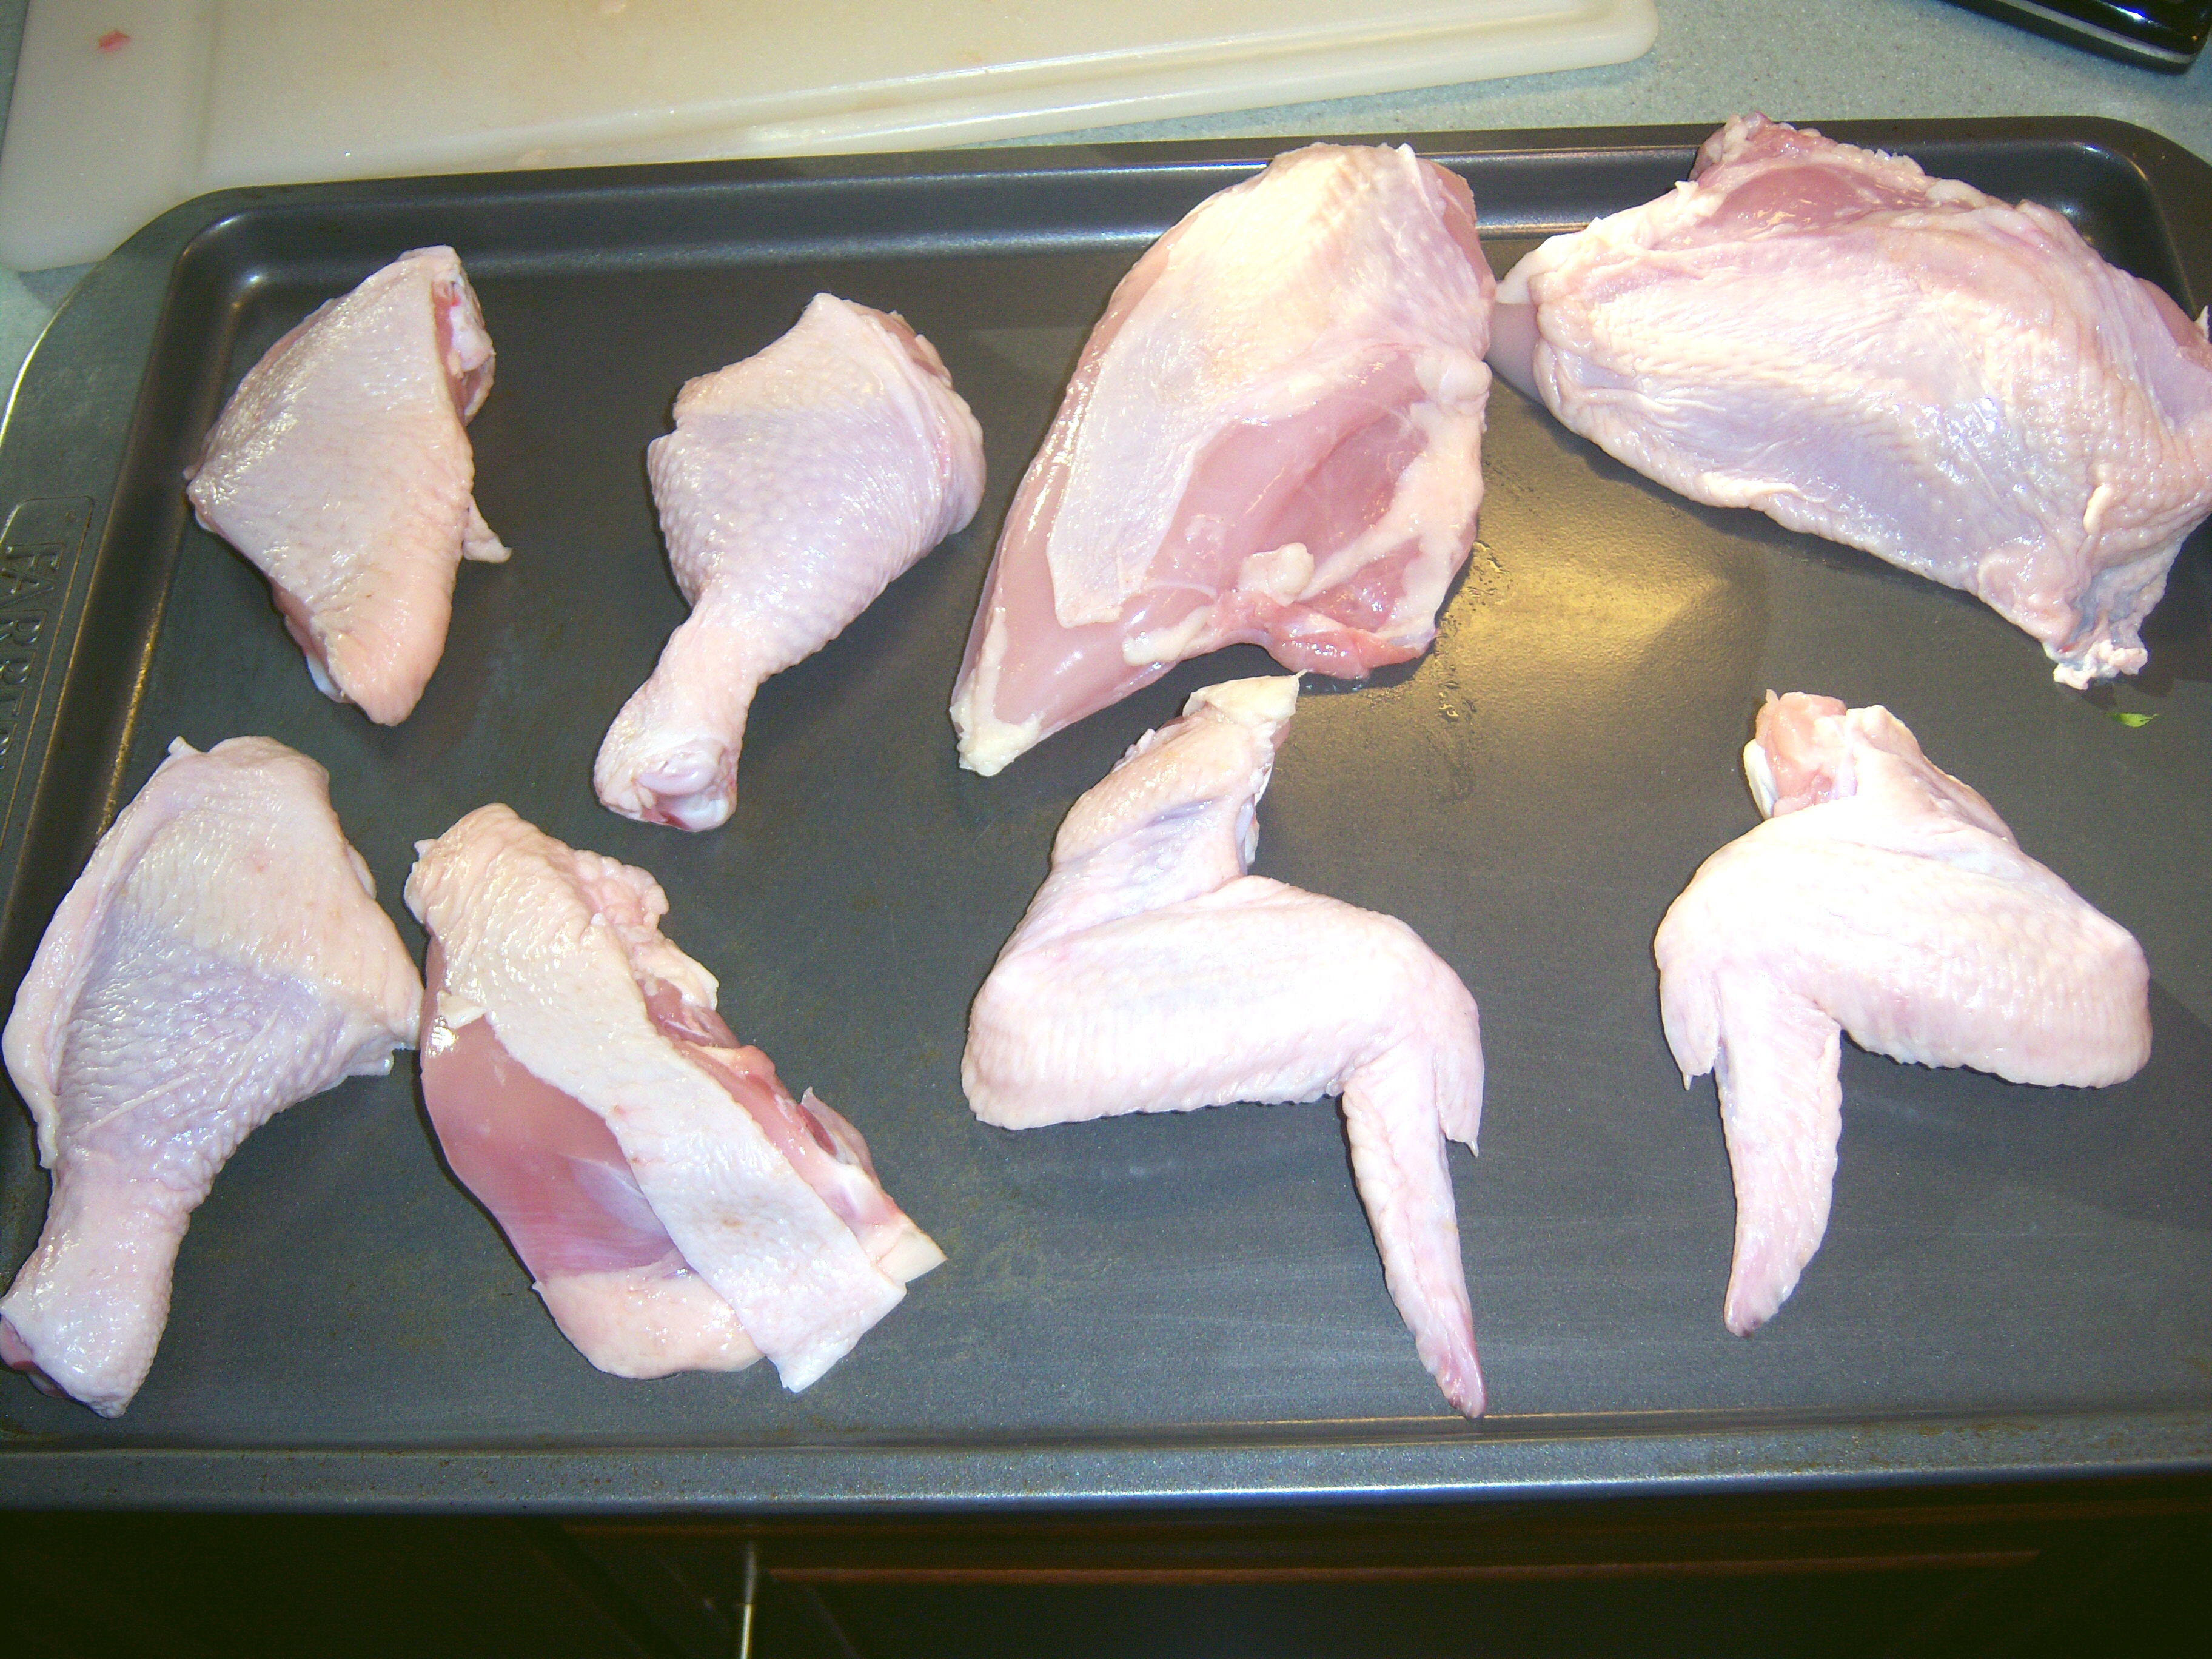
times. Somehow I managed to hack through it and got it apart. This was about just using sheer force – it was not easy, I was not enjoying it and I just kept going. I have no idea if I cut it where I was supposed to since I was just hacking through bone. Separating the breasts was harder than it looked too. The book said to use the heel of your knife to crack the backbone. No clue what that means. Finally I just snapped it with my hands.I had to trim the breasts a bit – there was some big nasty skin hanging off
from them. Once I did that, I had a nice tray of chicken though.
My Reaction
I was really intimidated by this, having never cut up a chicken in my life. It was not fun and I admit I washed my hands 6 times throughout the process (OCD, anyone?). However, being able to have
organic chicken in the pieces I want it in is a pretty powerful motivator. Martha’s right about this being a way to save money. I would rather buy it already cut up (and pay more to avoid having to do this), but since that’s not an option, I guess I would consider doing this again. Or maybe I’ll just delegate this job to Mr. MarthaandMe!
The Recipe
Now that I had my chicken cut up, I had to do something with it for dinner. I decided to go with Martha’s buttermilk fried chicken recipe from the Cooking School book. Let me say here that we vacationed in Hilton Head, SC
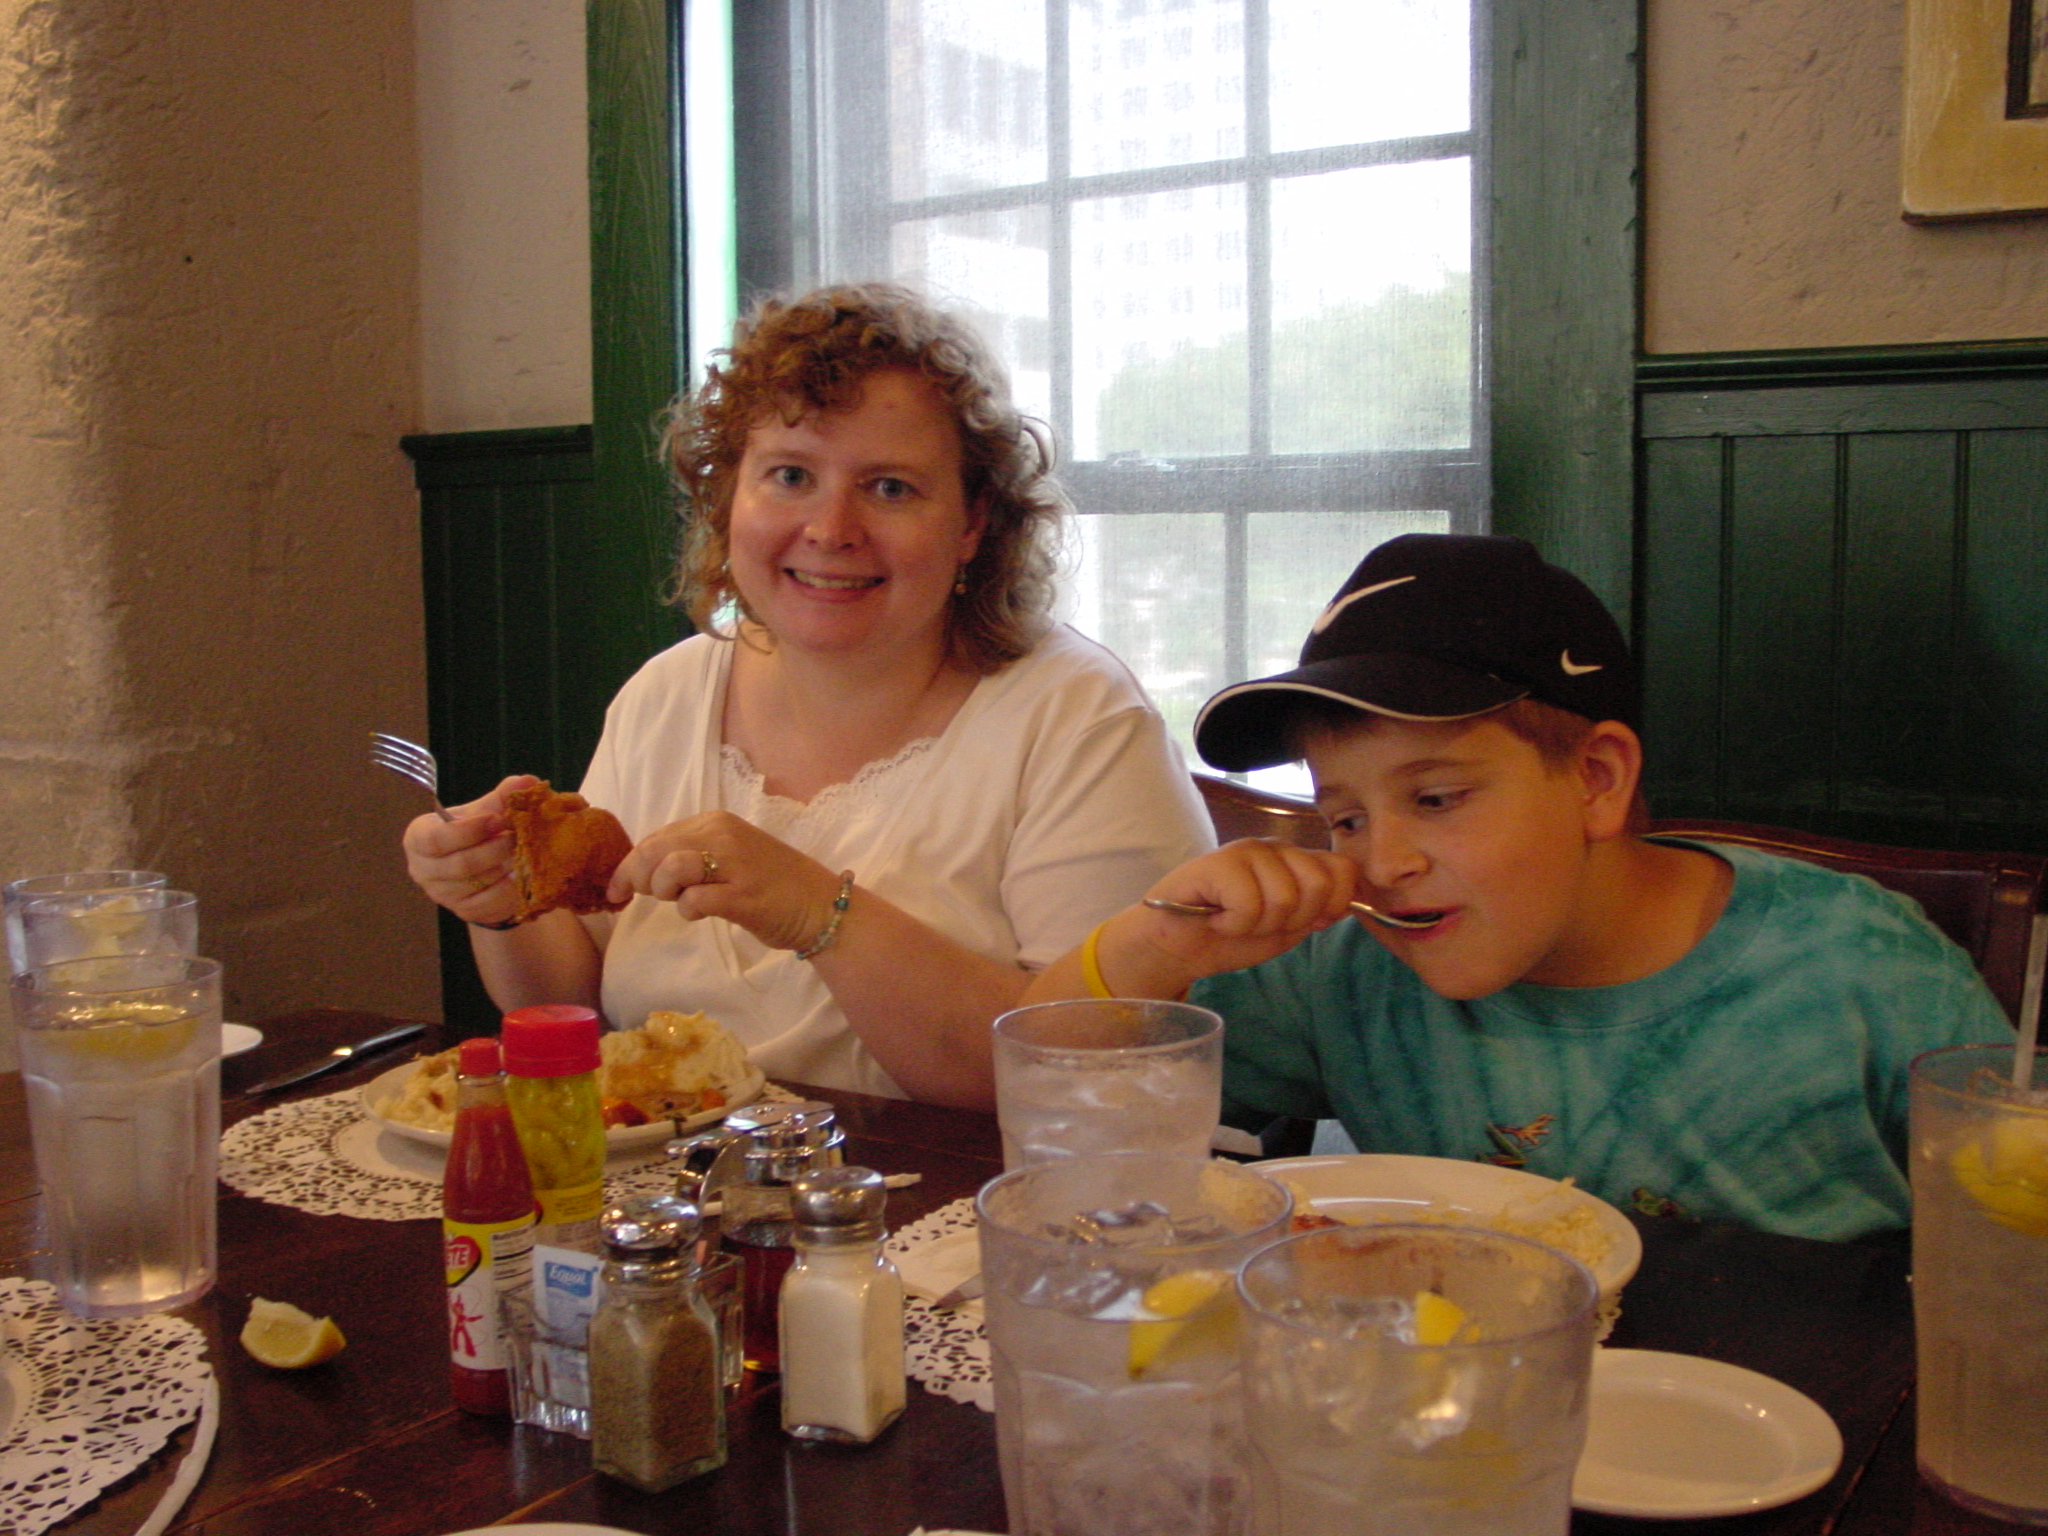
a couple of summers ago and we had the pleasure of dining at Paula Deen’s The Lady and Sons in Savannagh where I had the most perfect fried chicken known to man. After that trip, I spent months trying to perfect fried chicken and settled on Paula’s recipe with some minor modifications. Paula says you have to use self-rising flour. I agree. I discovered fried chicken turns out best if you double dip it (egg, flour, egg, then flour). I usually use a mix of peanut oil and Crisco (yes, I know you’re not supposed to mix oils). Mr. MarthaandMe got me a deep fryer for Mother’s Day this year and now I use that. I learned to cook the heck out of it or it will be bloody inside and brown on the outside. I also learned it tastes better if you let it rest before eating it. It’s also excellent the next day.
Paula does not recommend soaking in buttermilk. Martha does – then wants you to let the chicken sit out and dry a bit. Paula uses egg wash, Martha doesn’t. Martha adds cornmeal to her coating, Paula does not.
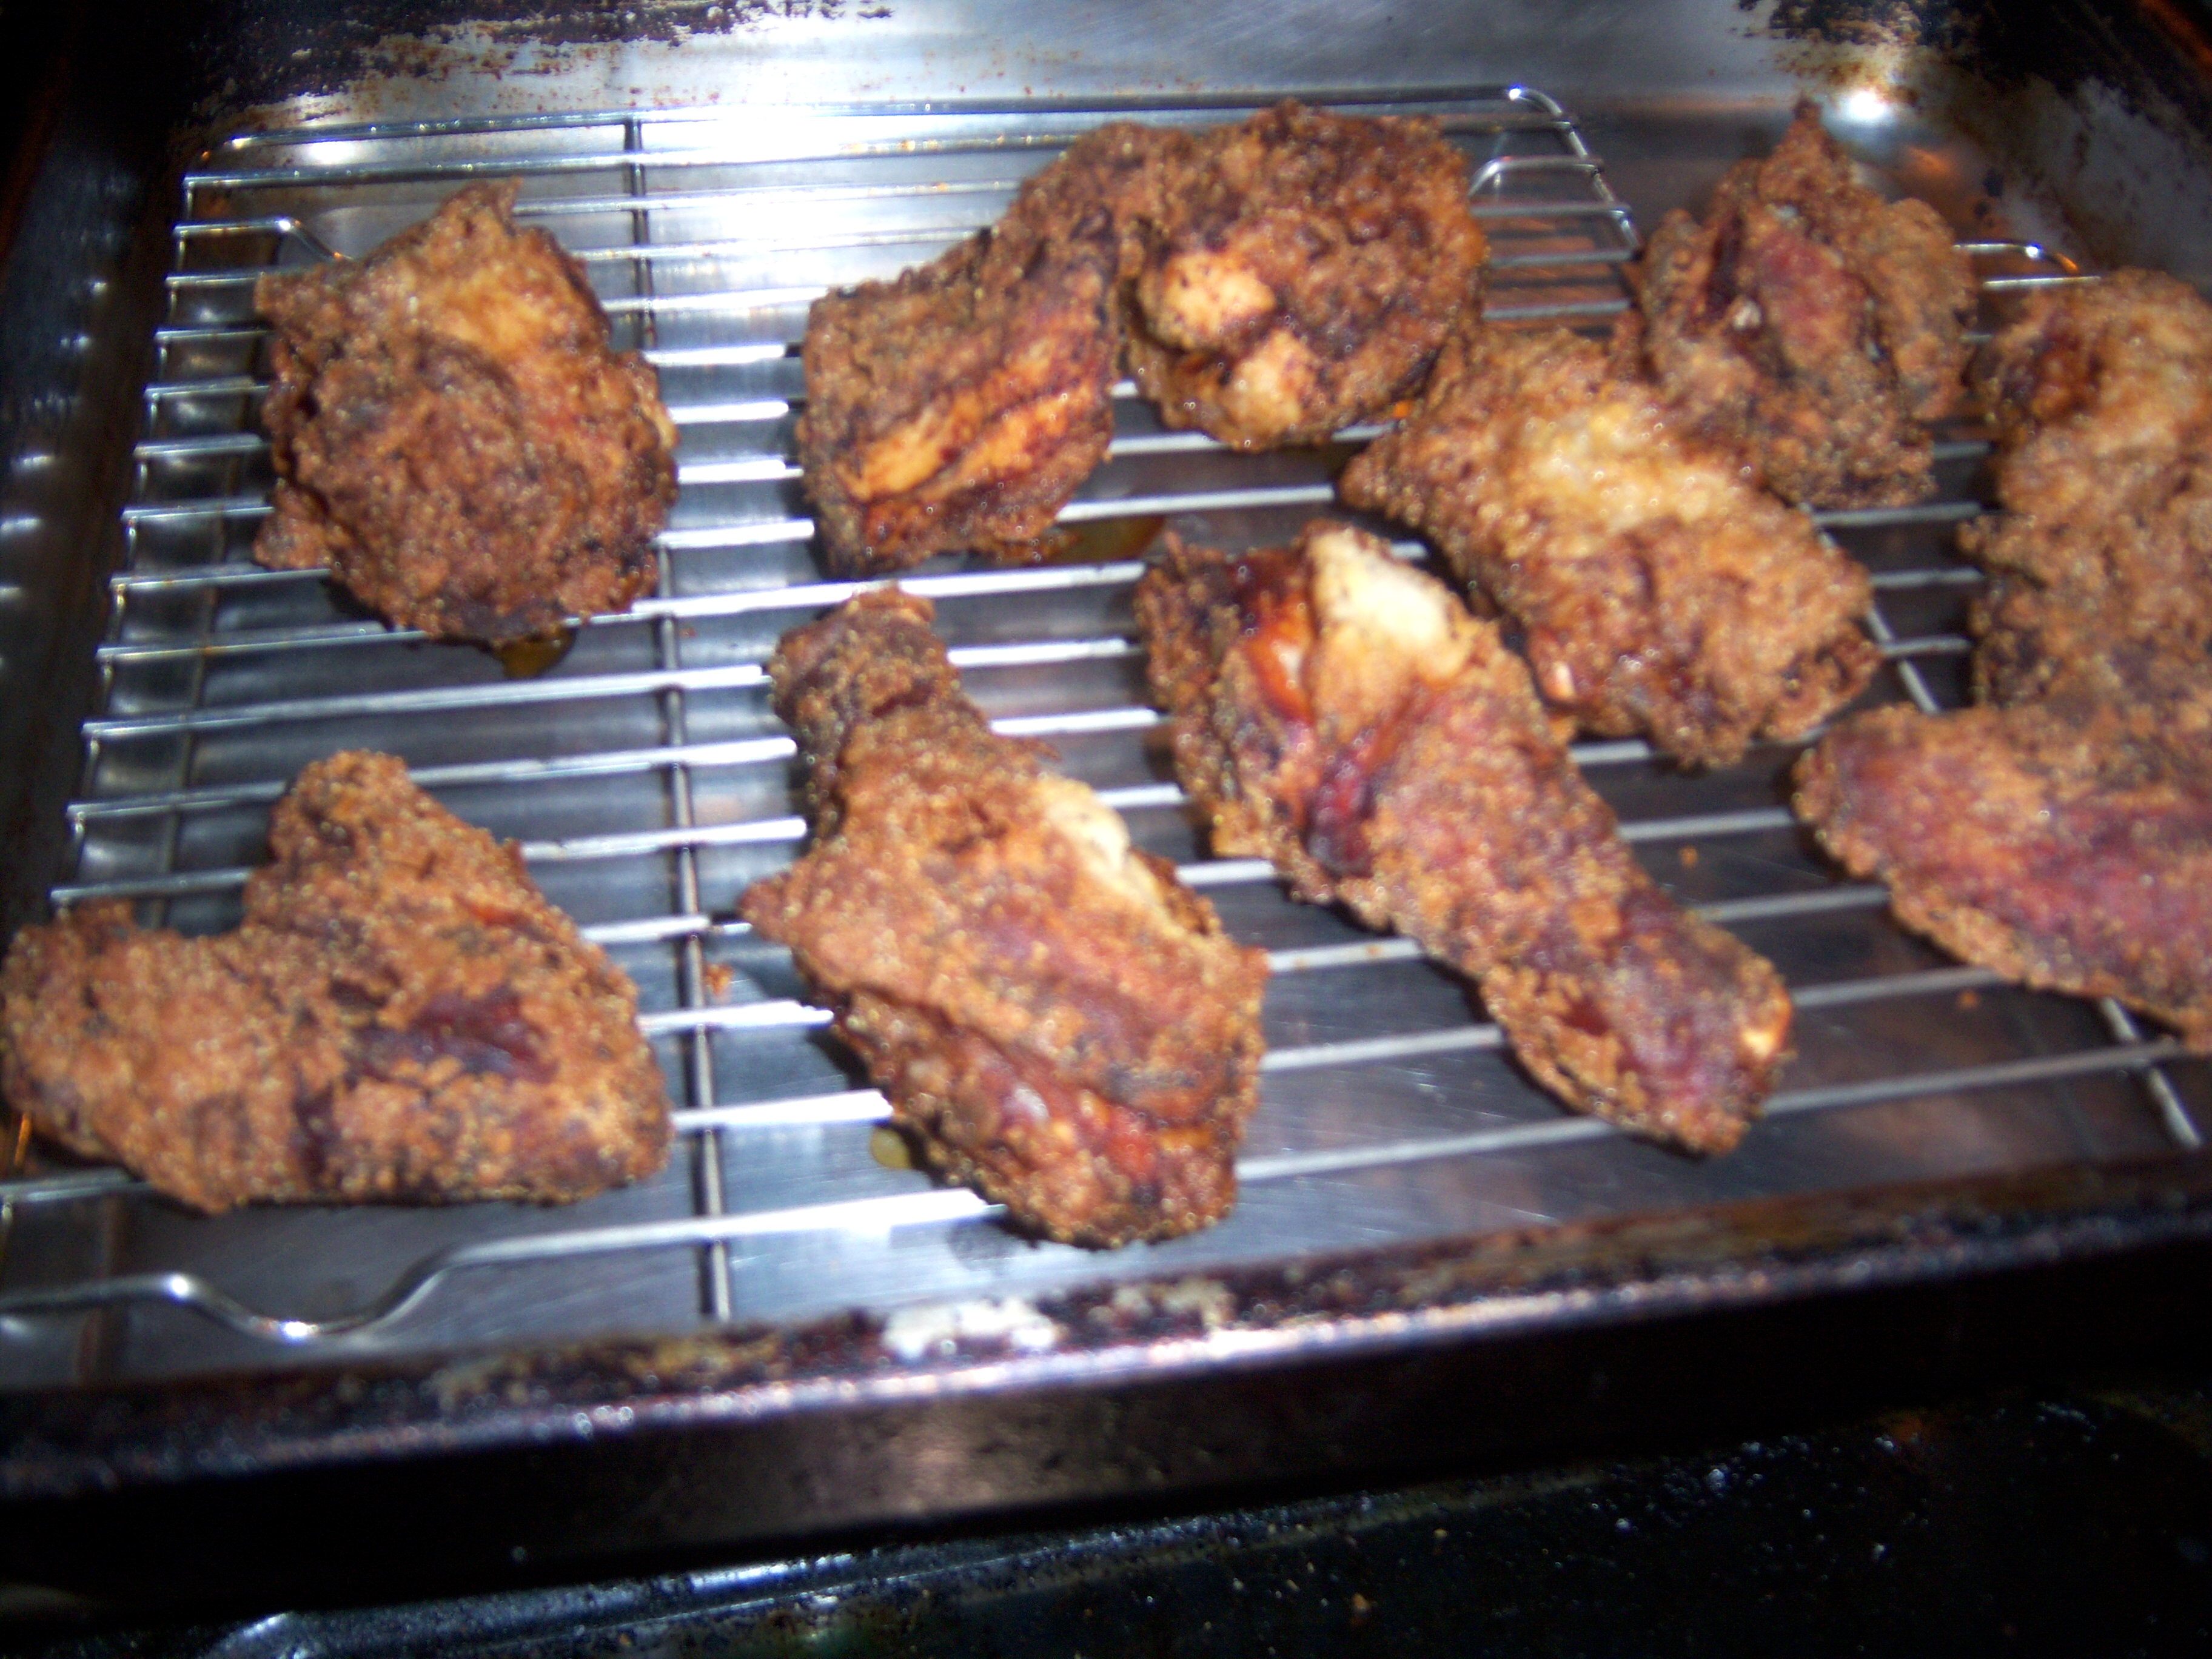
To be true to my Martha experiment, I cooked the chicken according to Martha’s instructions. This chicken cooked very quickly, and turned very brown. I don’t know if that had to do with the coating or maybe because I was using an organic chicken which was also a bit small.
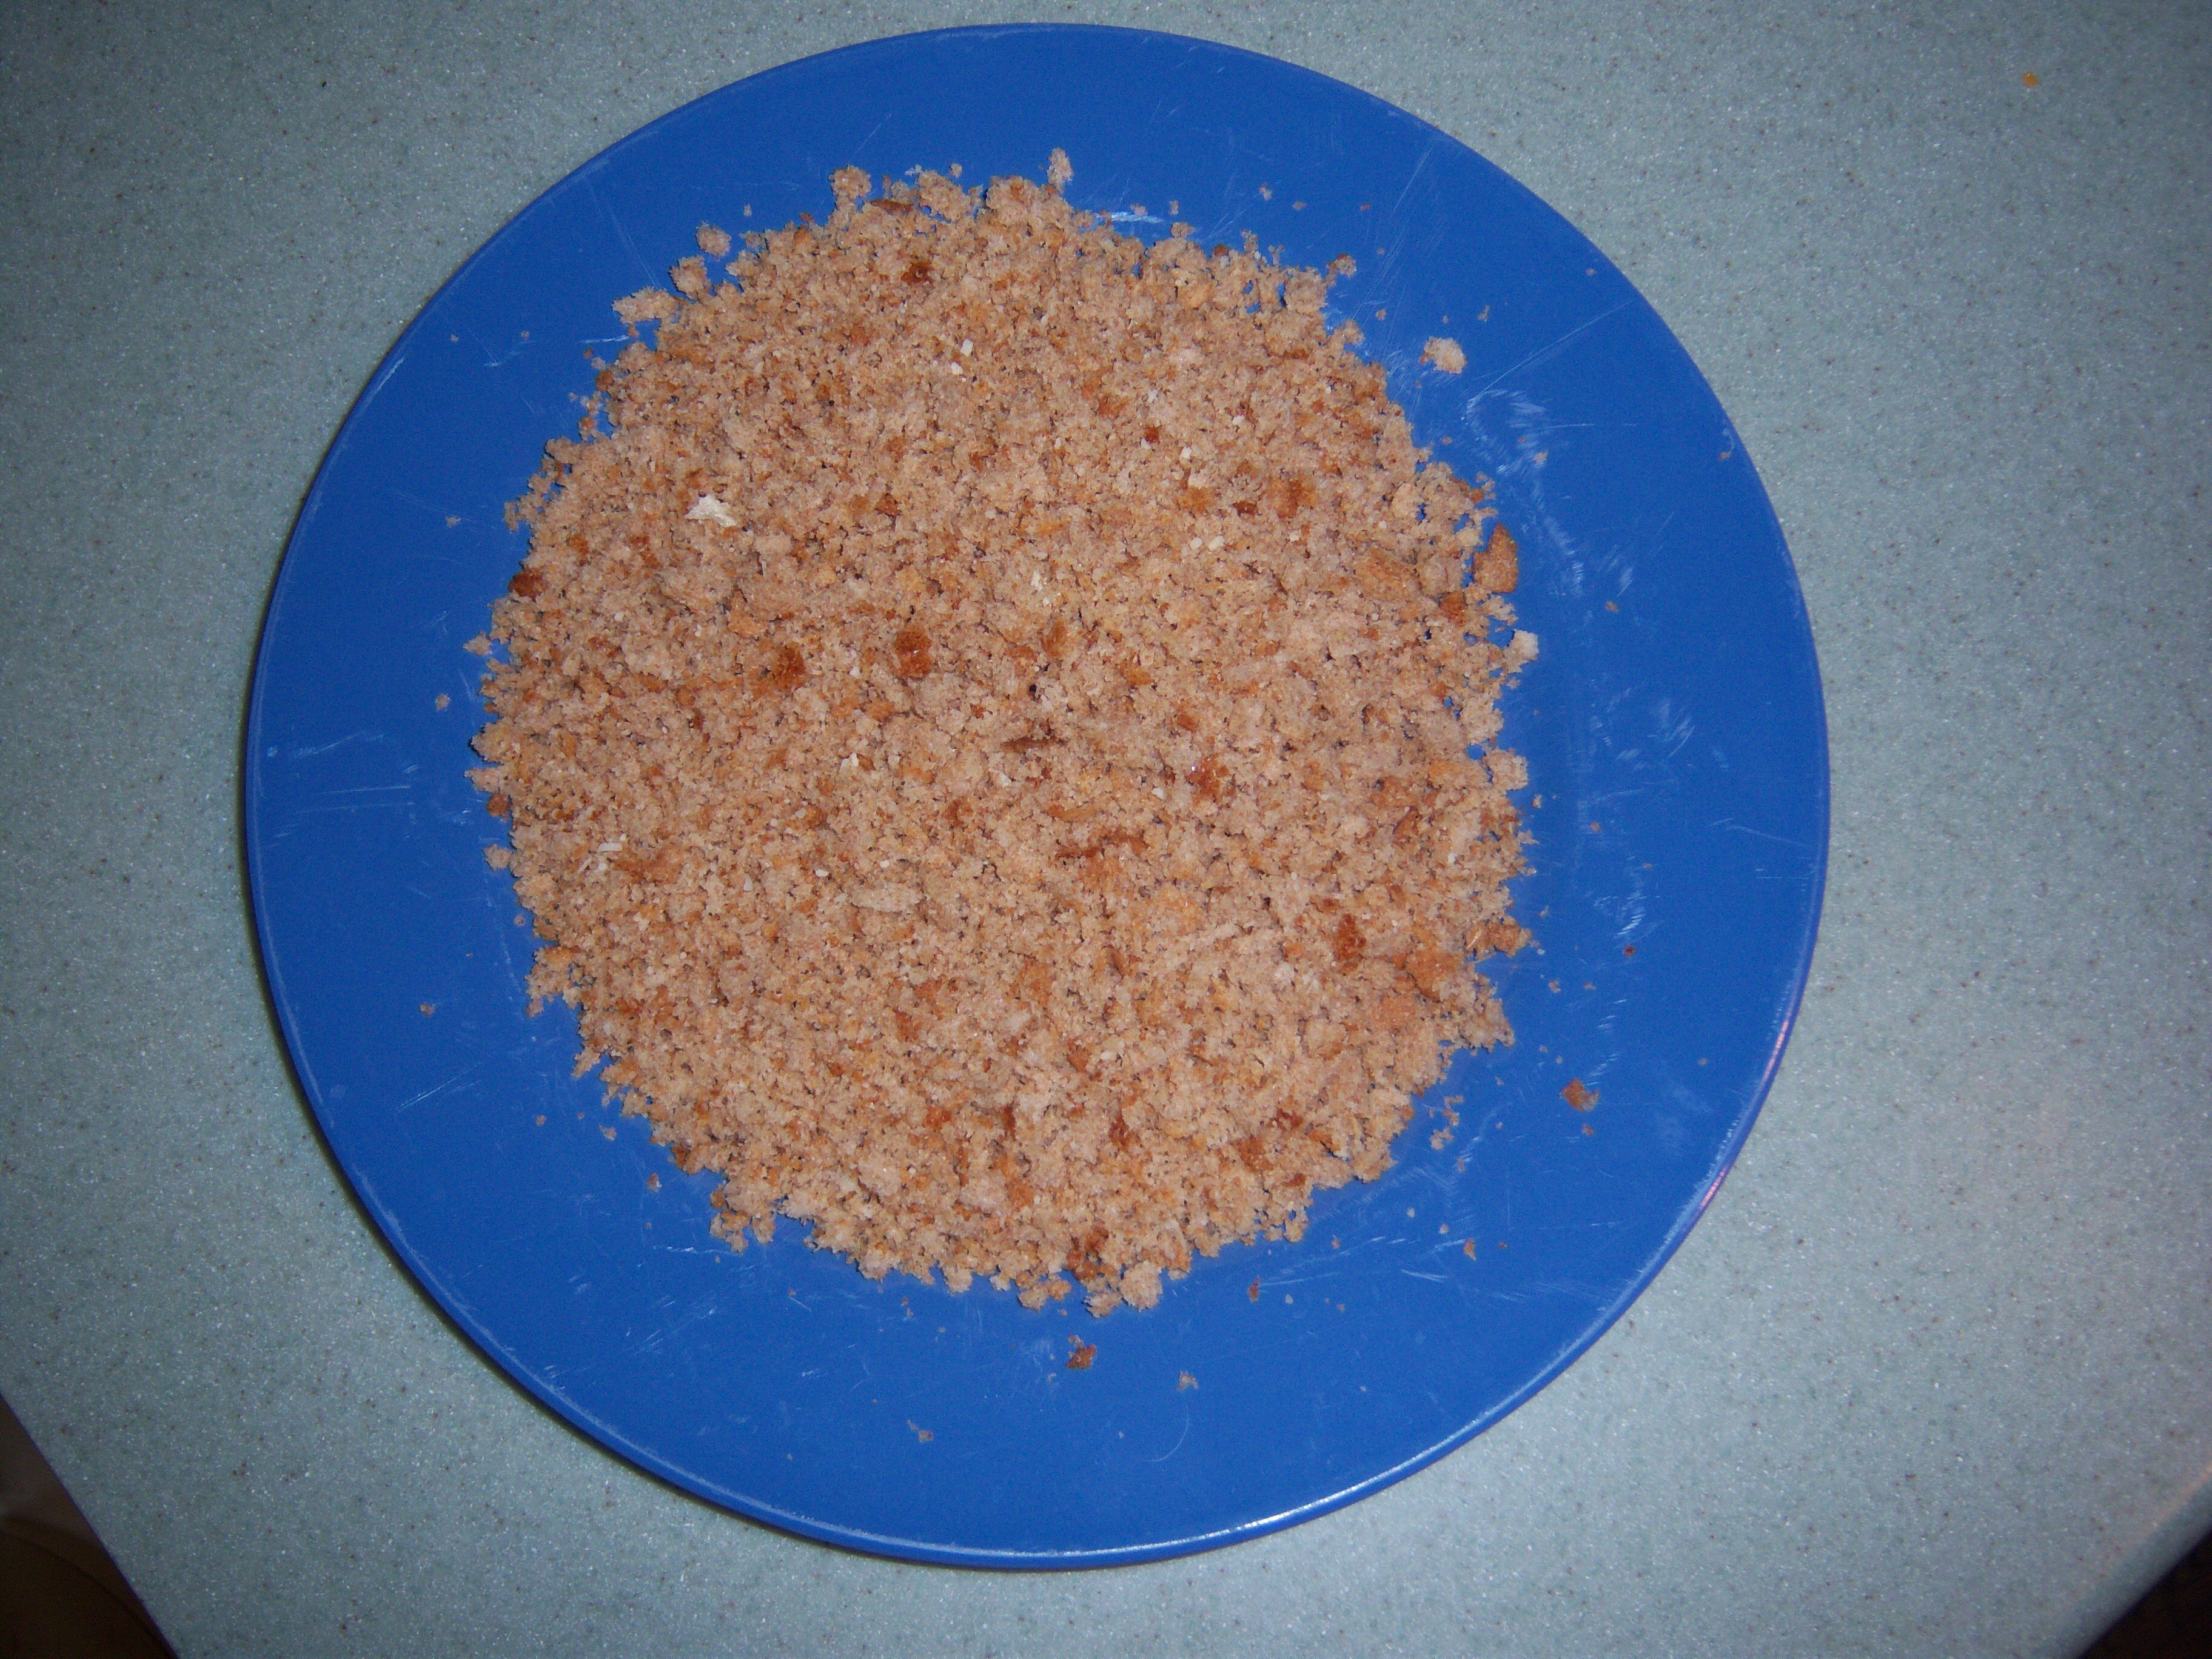
The crust was tasty. I liked the crunch the cornmeal added. However, the skin didn’t really cook and was all mushy and fatty underneath the coating in some places. I didn’t feel as though the buttermilk marinade made much of a difference. I’m definitely going back to Paula’s recipe. Sorry Martha, but you’re not a Southern gal. It was fun to experiment with a different recipe, but Paula really knows her stuff!
Martha’s second cooking school segment was about chicken. She and Sarah Carey showed how to cut up a whole chicken. They emphasized how much cheaper it is to buy a whole chicken and cut it up yourself, rather than buying parts. This is absolutely true, but it’s nothing I would ever have done myself. I … Read more

