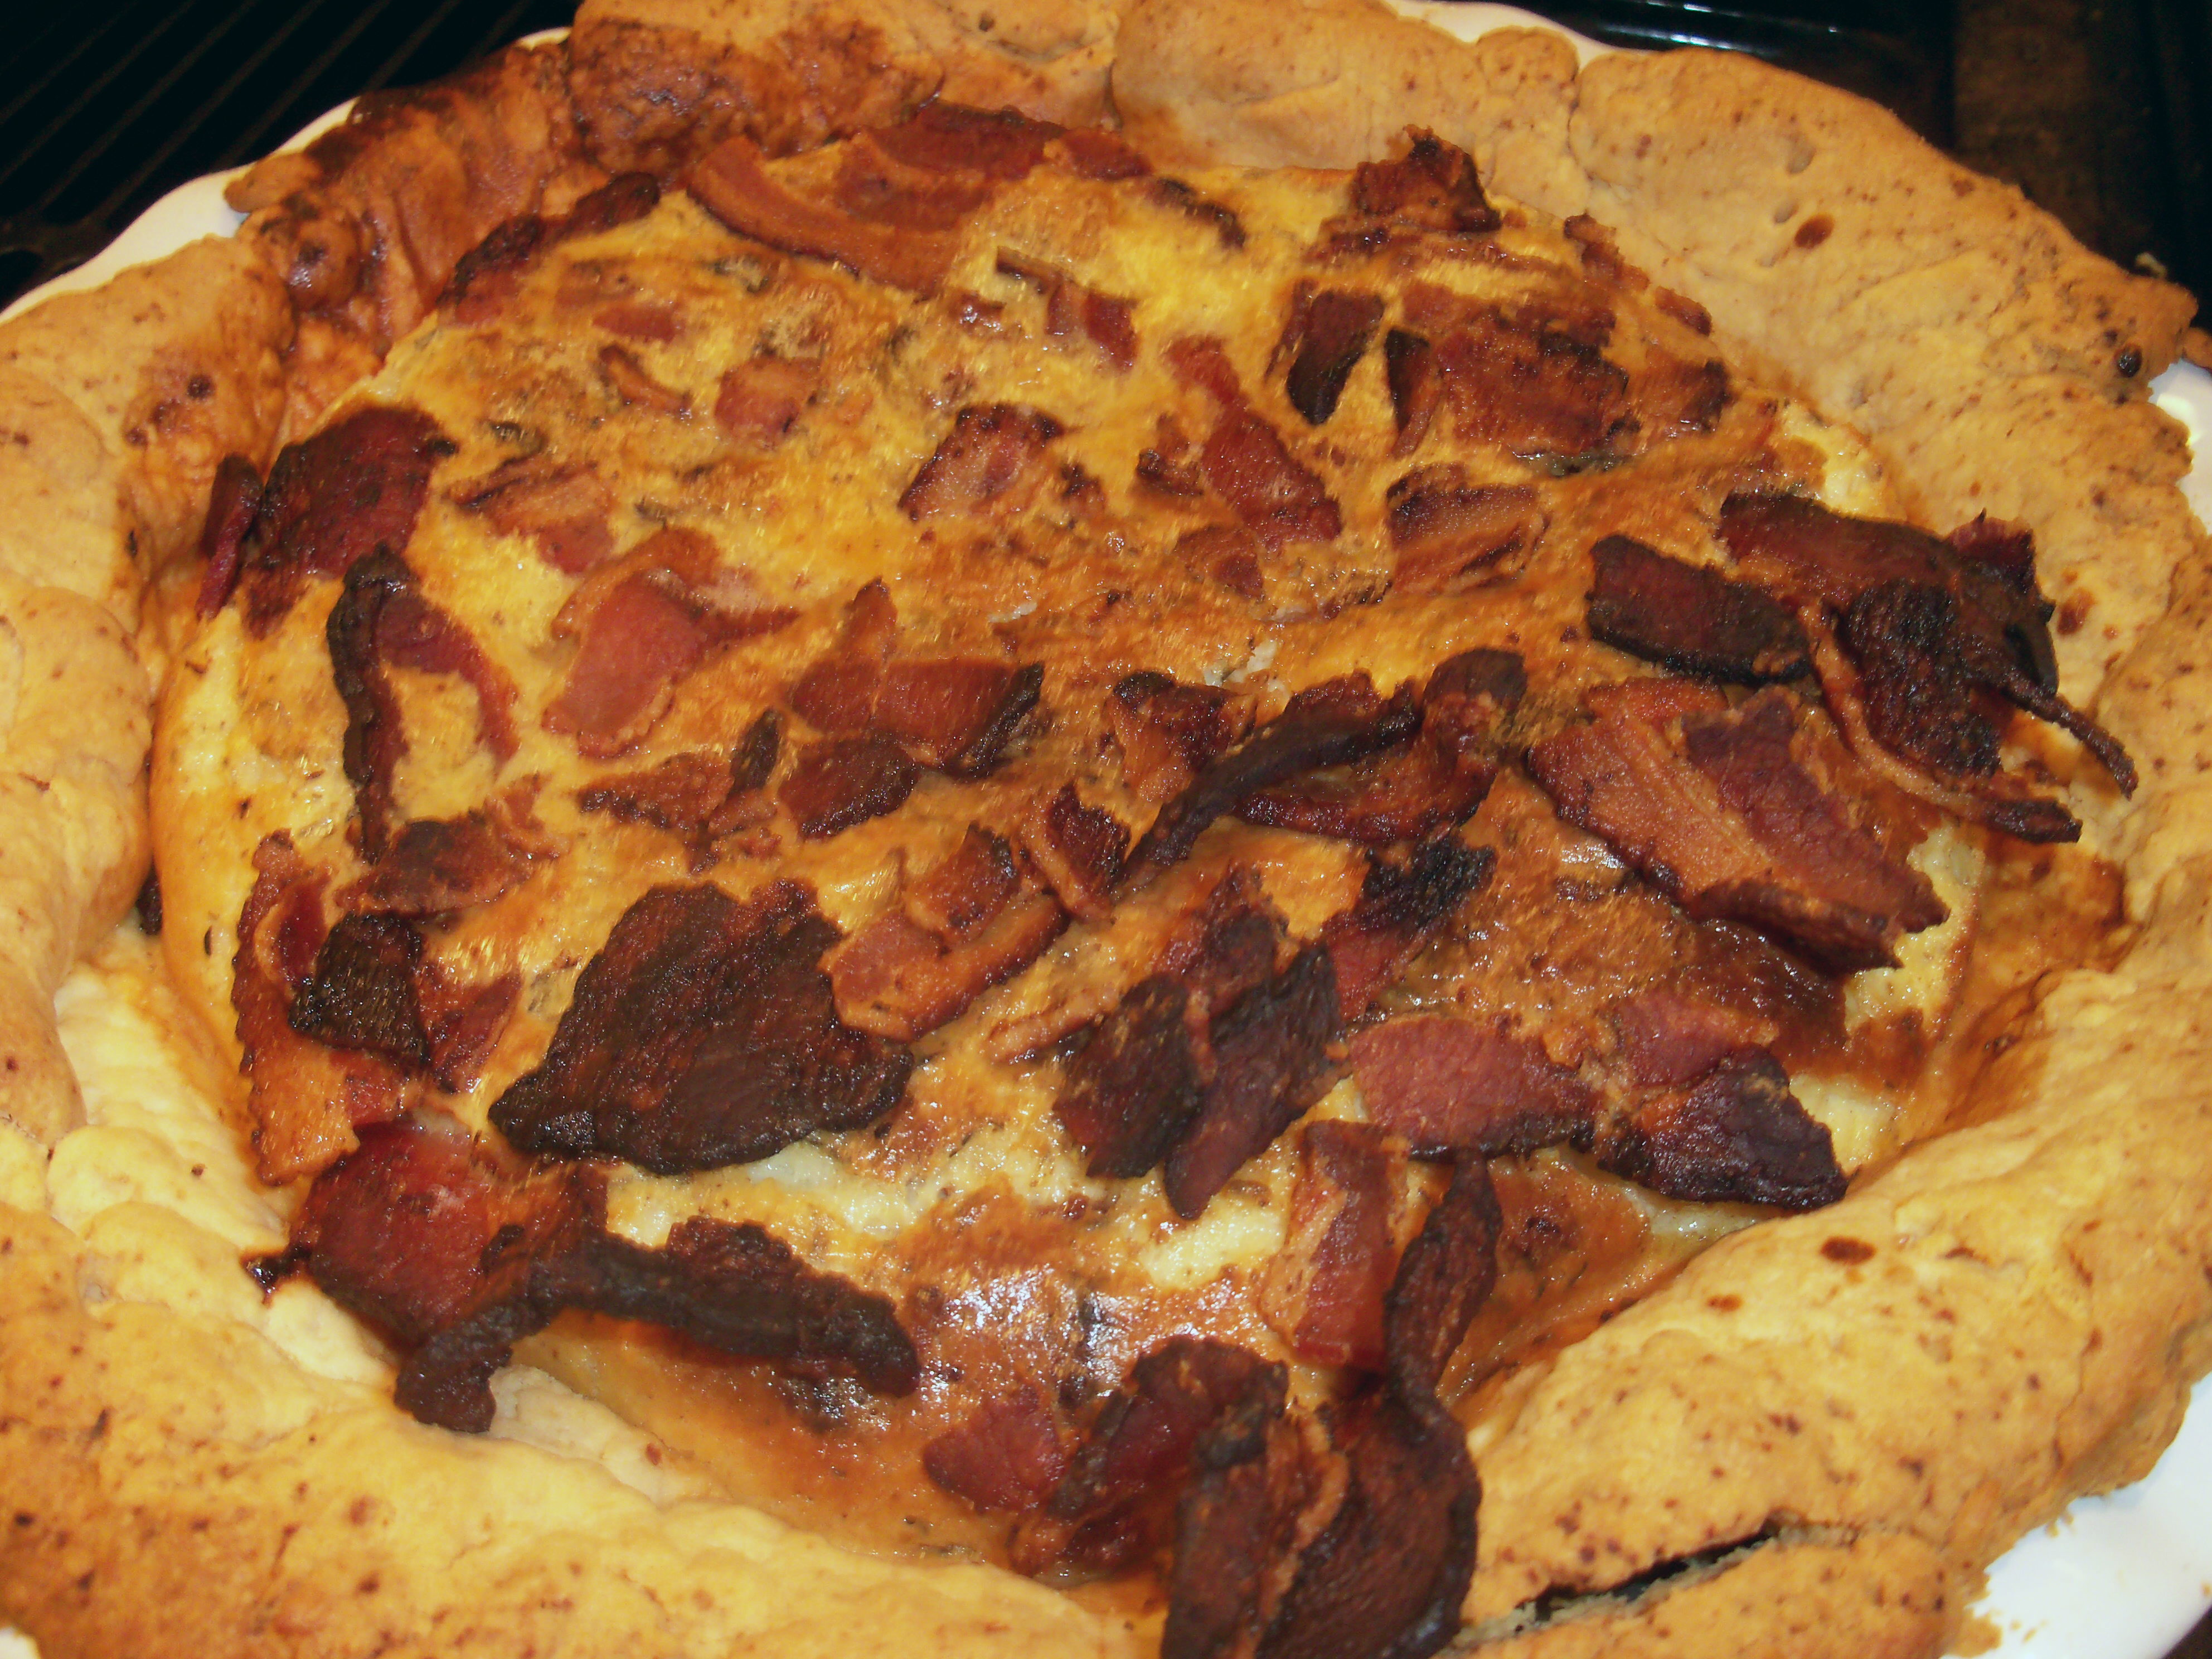
 Thanks to Teresa at Homemade Iowa Life for picking this project – the assignment was to make Easter eggs from the selection on Martha’s site. I made the silk tie dyed eggs last year (#12 in that slide show if this link does’t take you directly there) and my only regret is that I used hard boiled eggs, so all my hard work was thrown out! They were gorgeous and a great project – I highly recommend them. This year I decided it was time to try blowing out eggs. The first
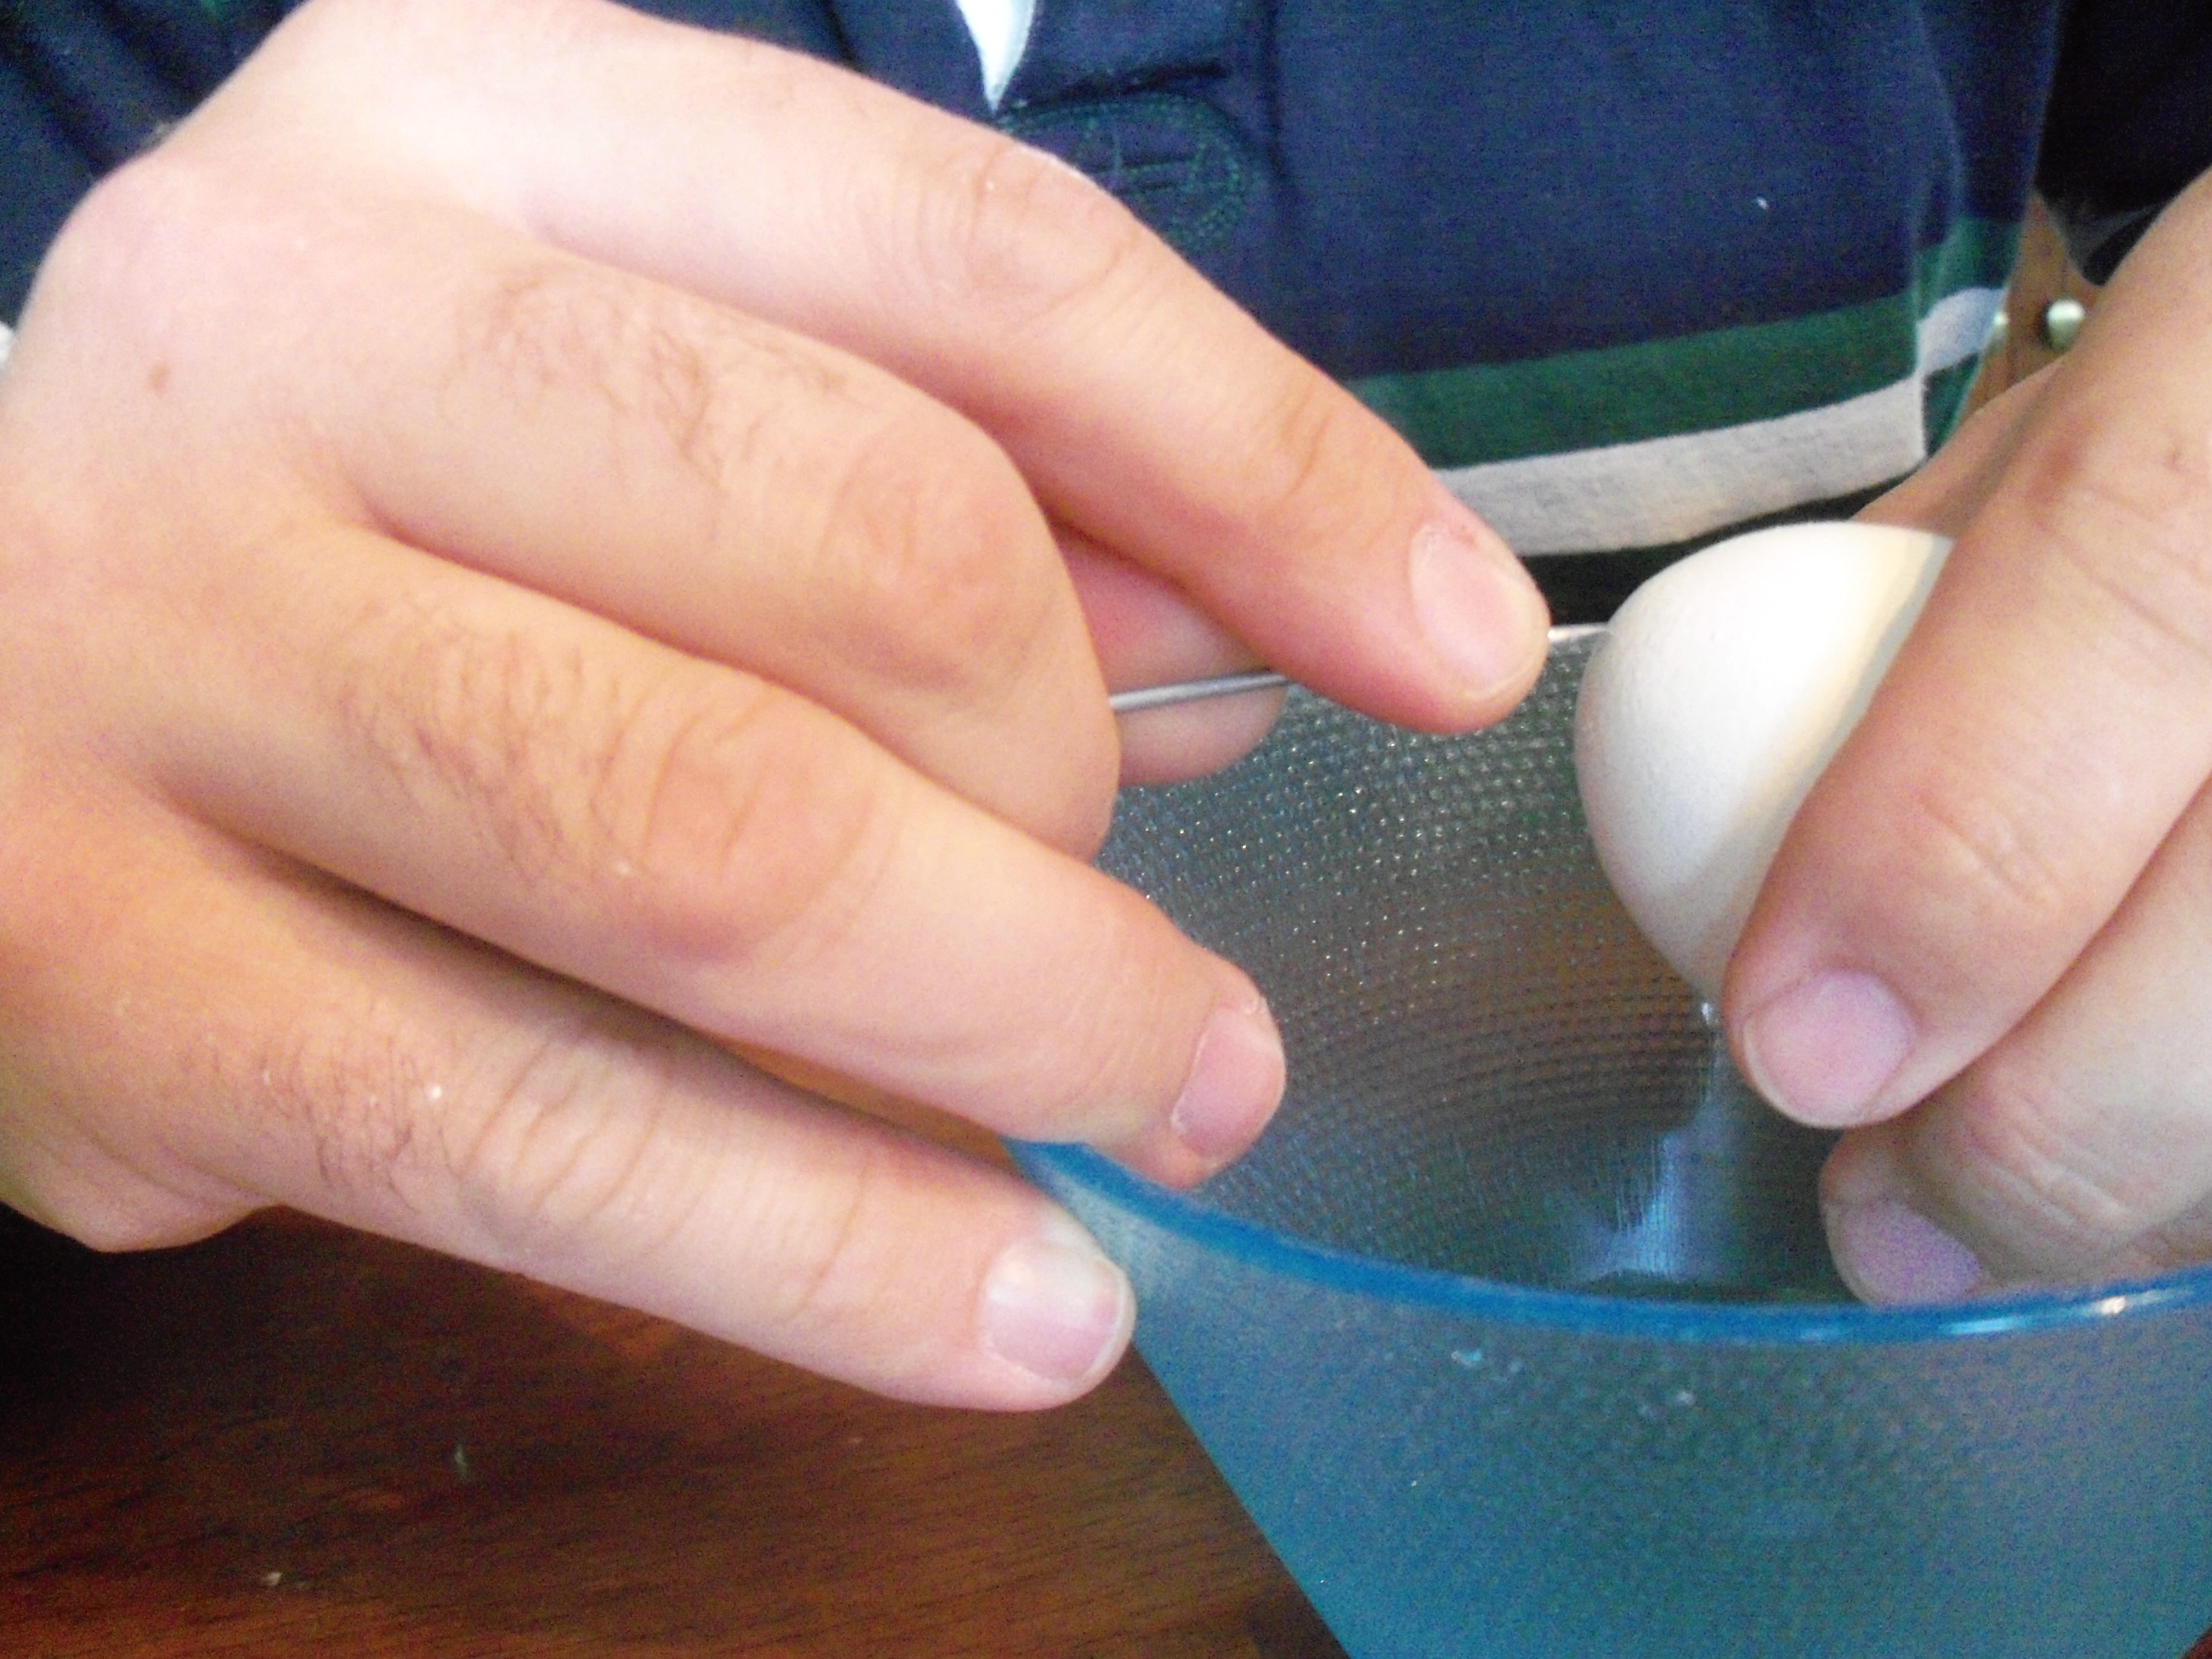
Making the hole
challenge was the eggs. I only buy organic, and they only come in brown, so we ended up buying regular eggs and dumping the contents (wasteful, and I am ashamed).
I read Martha’s instructions for this and her method is to go buy a egg blowing contraption. I decided I didn’t want to invest in that so we decided to do it the old fashioned way. I read some other online
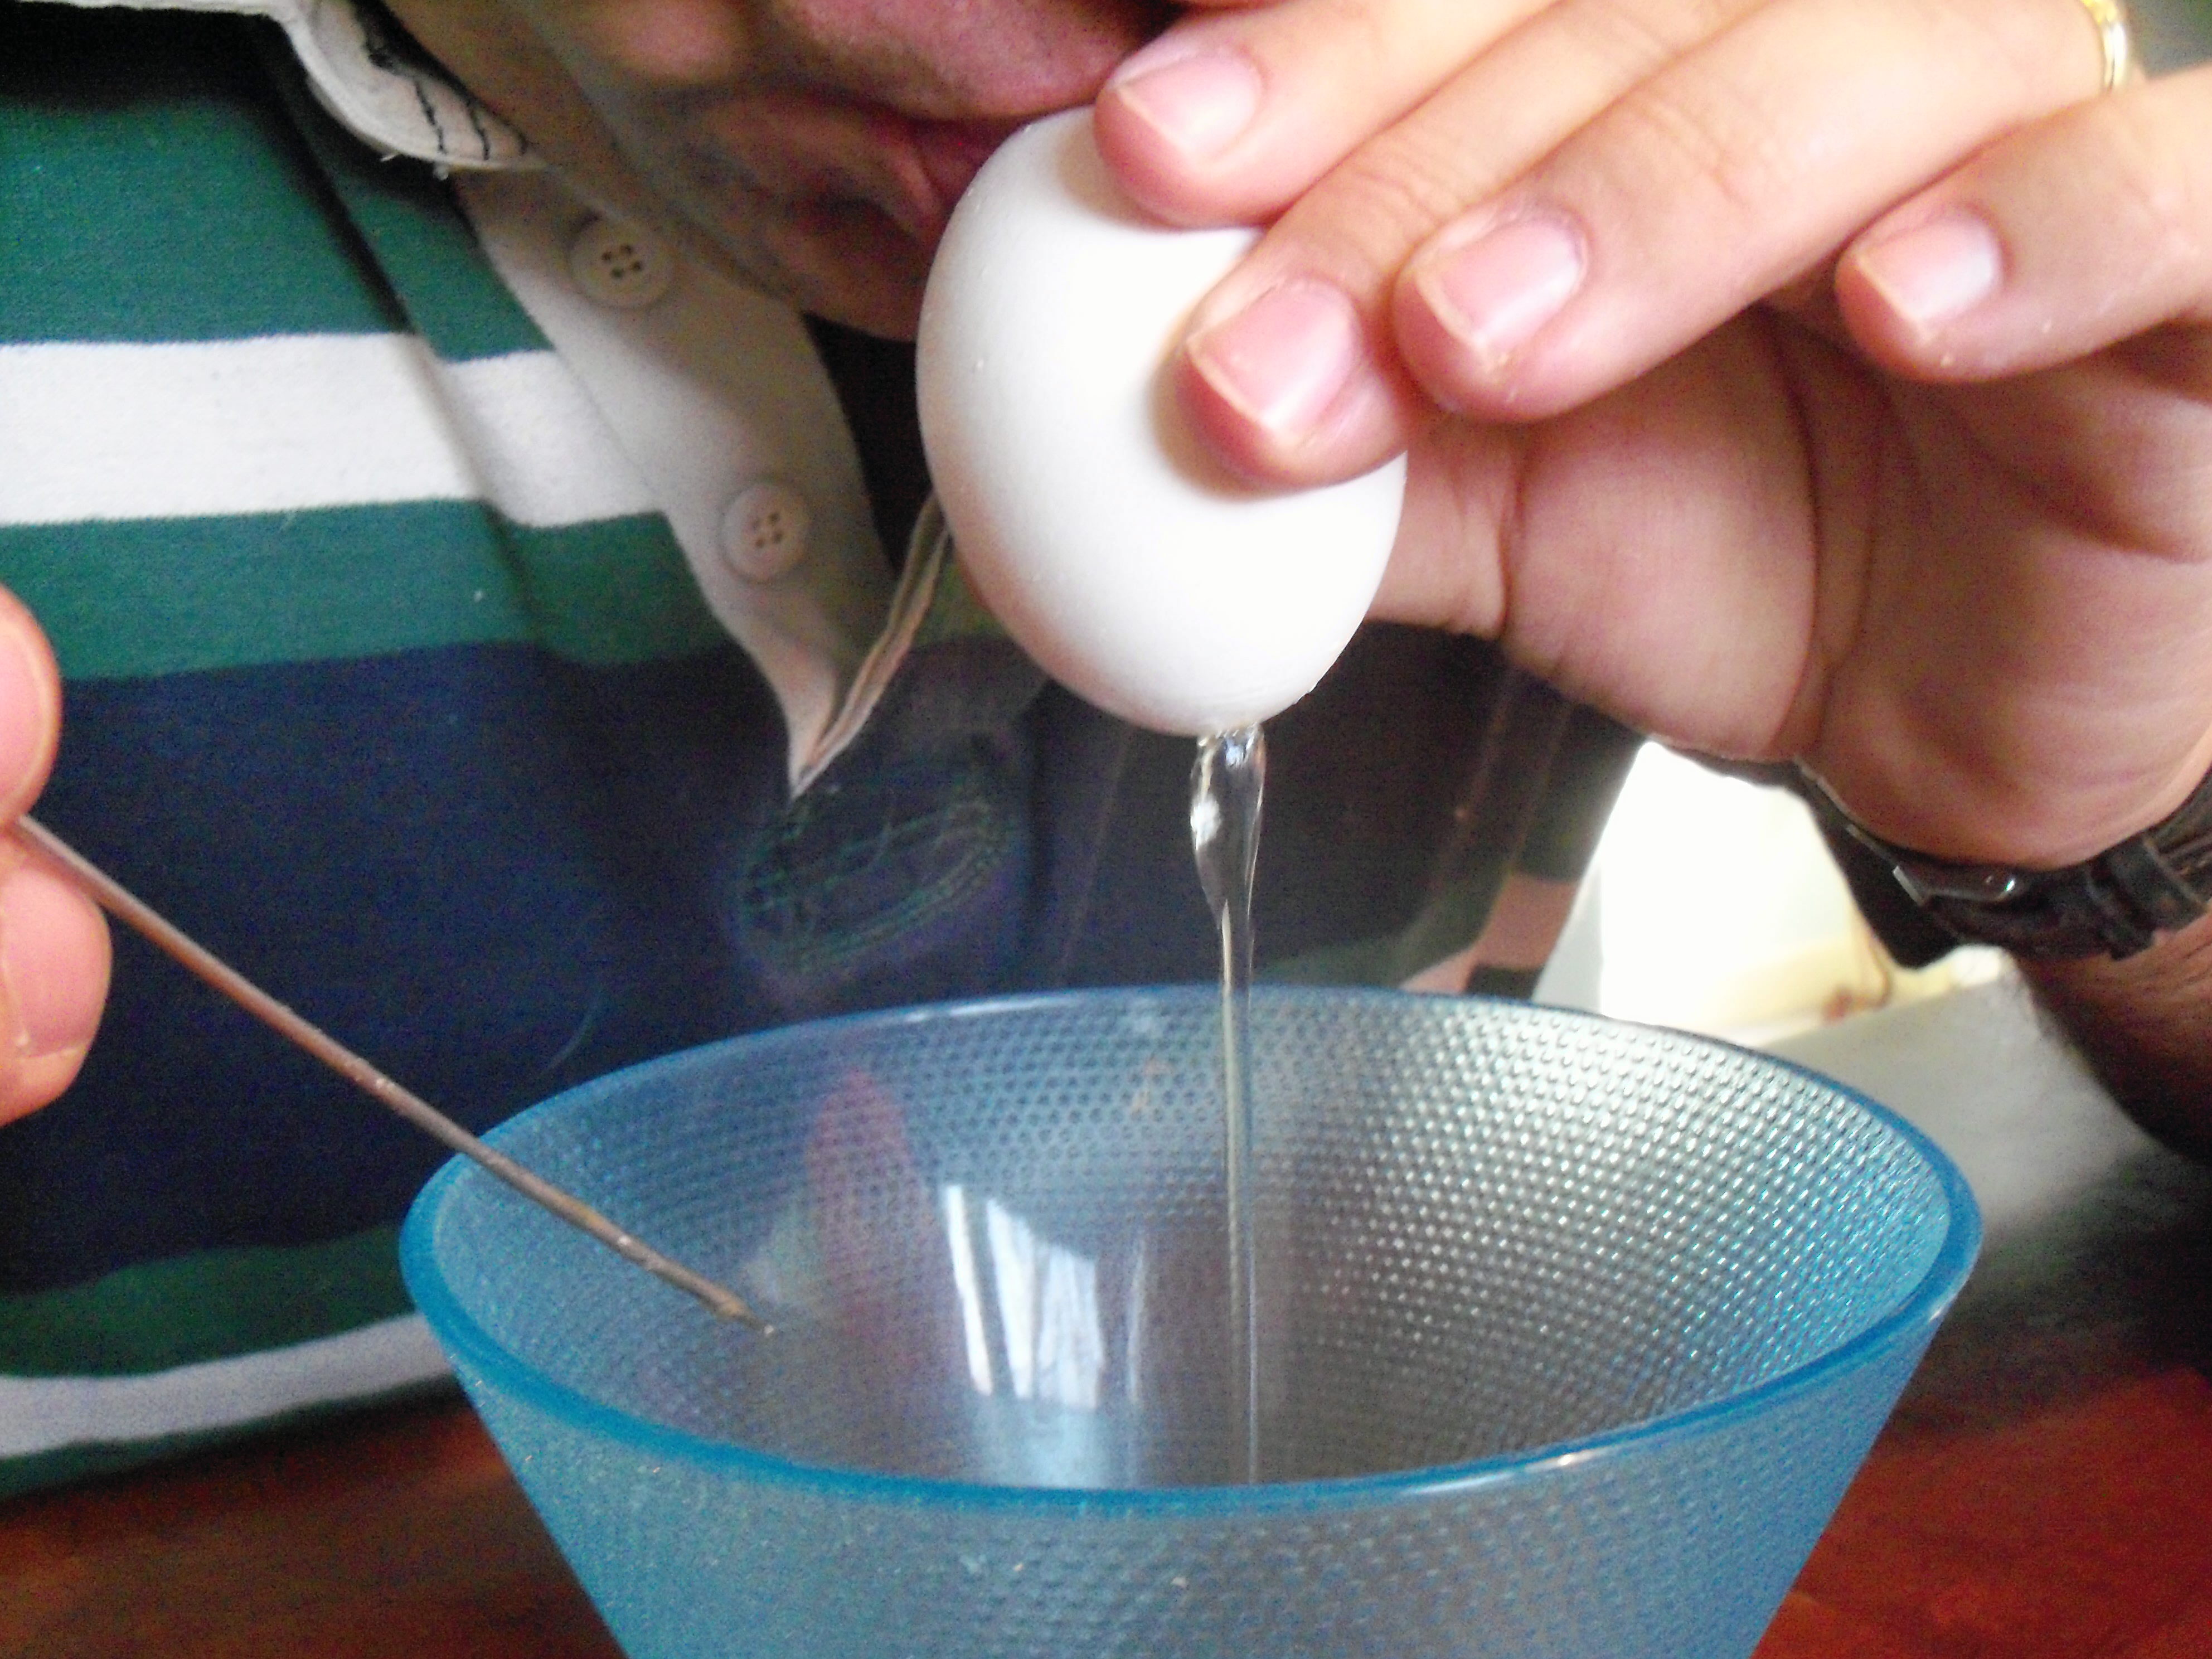
Blowing the egg
instructions about how to do this yourself and we got started. Mr. MarthaAndMe went first since his hands actually do what his brain tells them to do. He used a cake tester and scratched and scratched and scratched at one end until he had a hole. He did the same on the other end and moved the cake tester around to make the hole bigger. Then you swirl the cake tester around inside to break up the yolk.
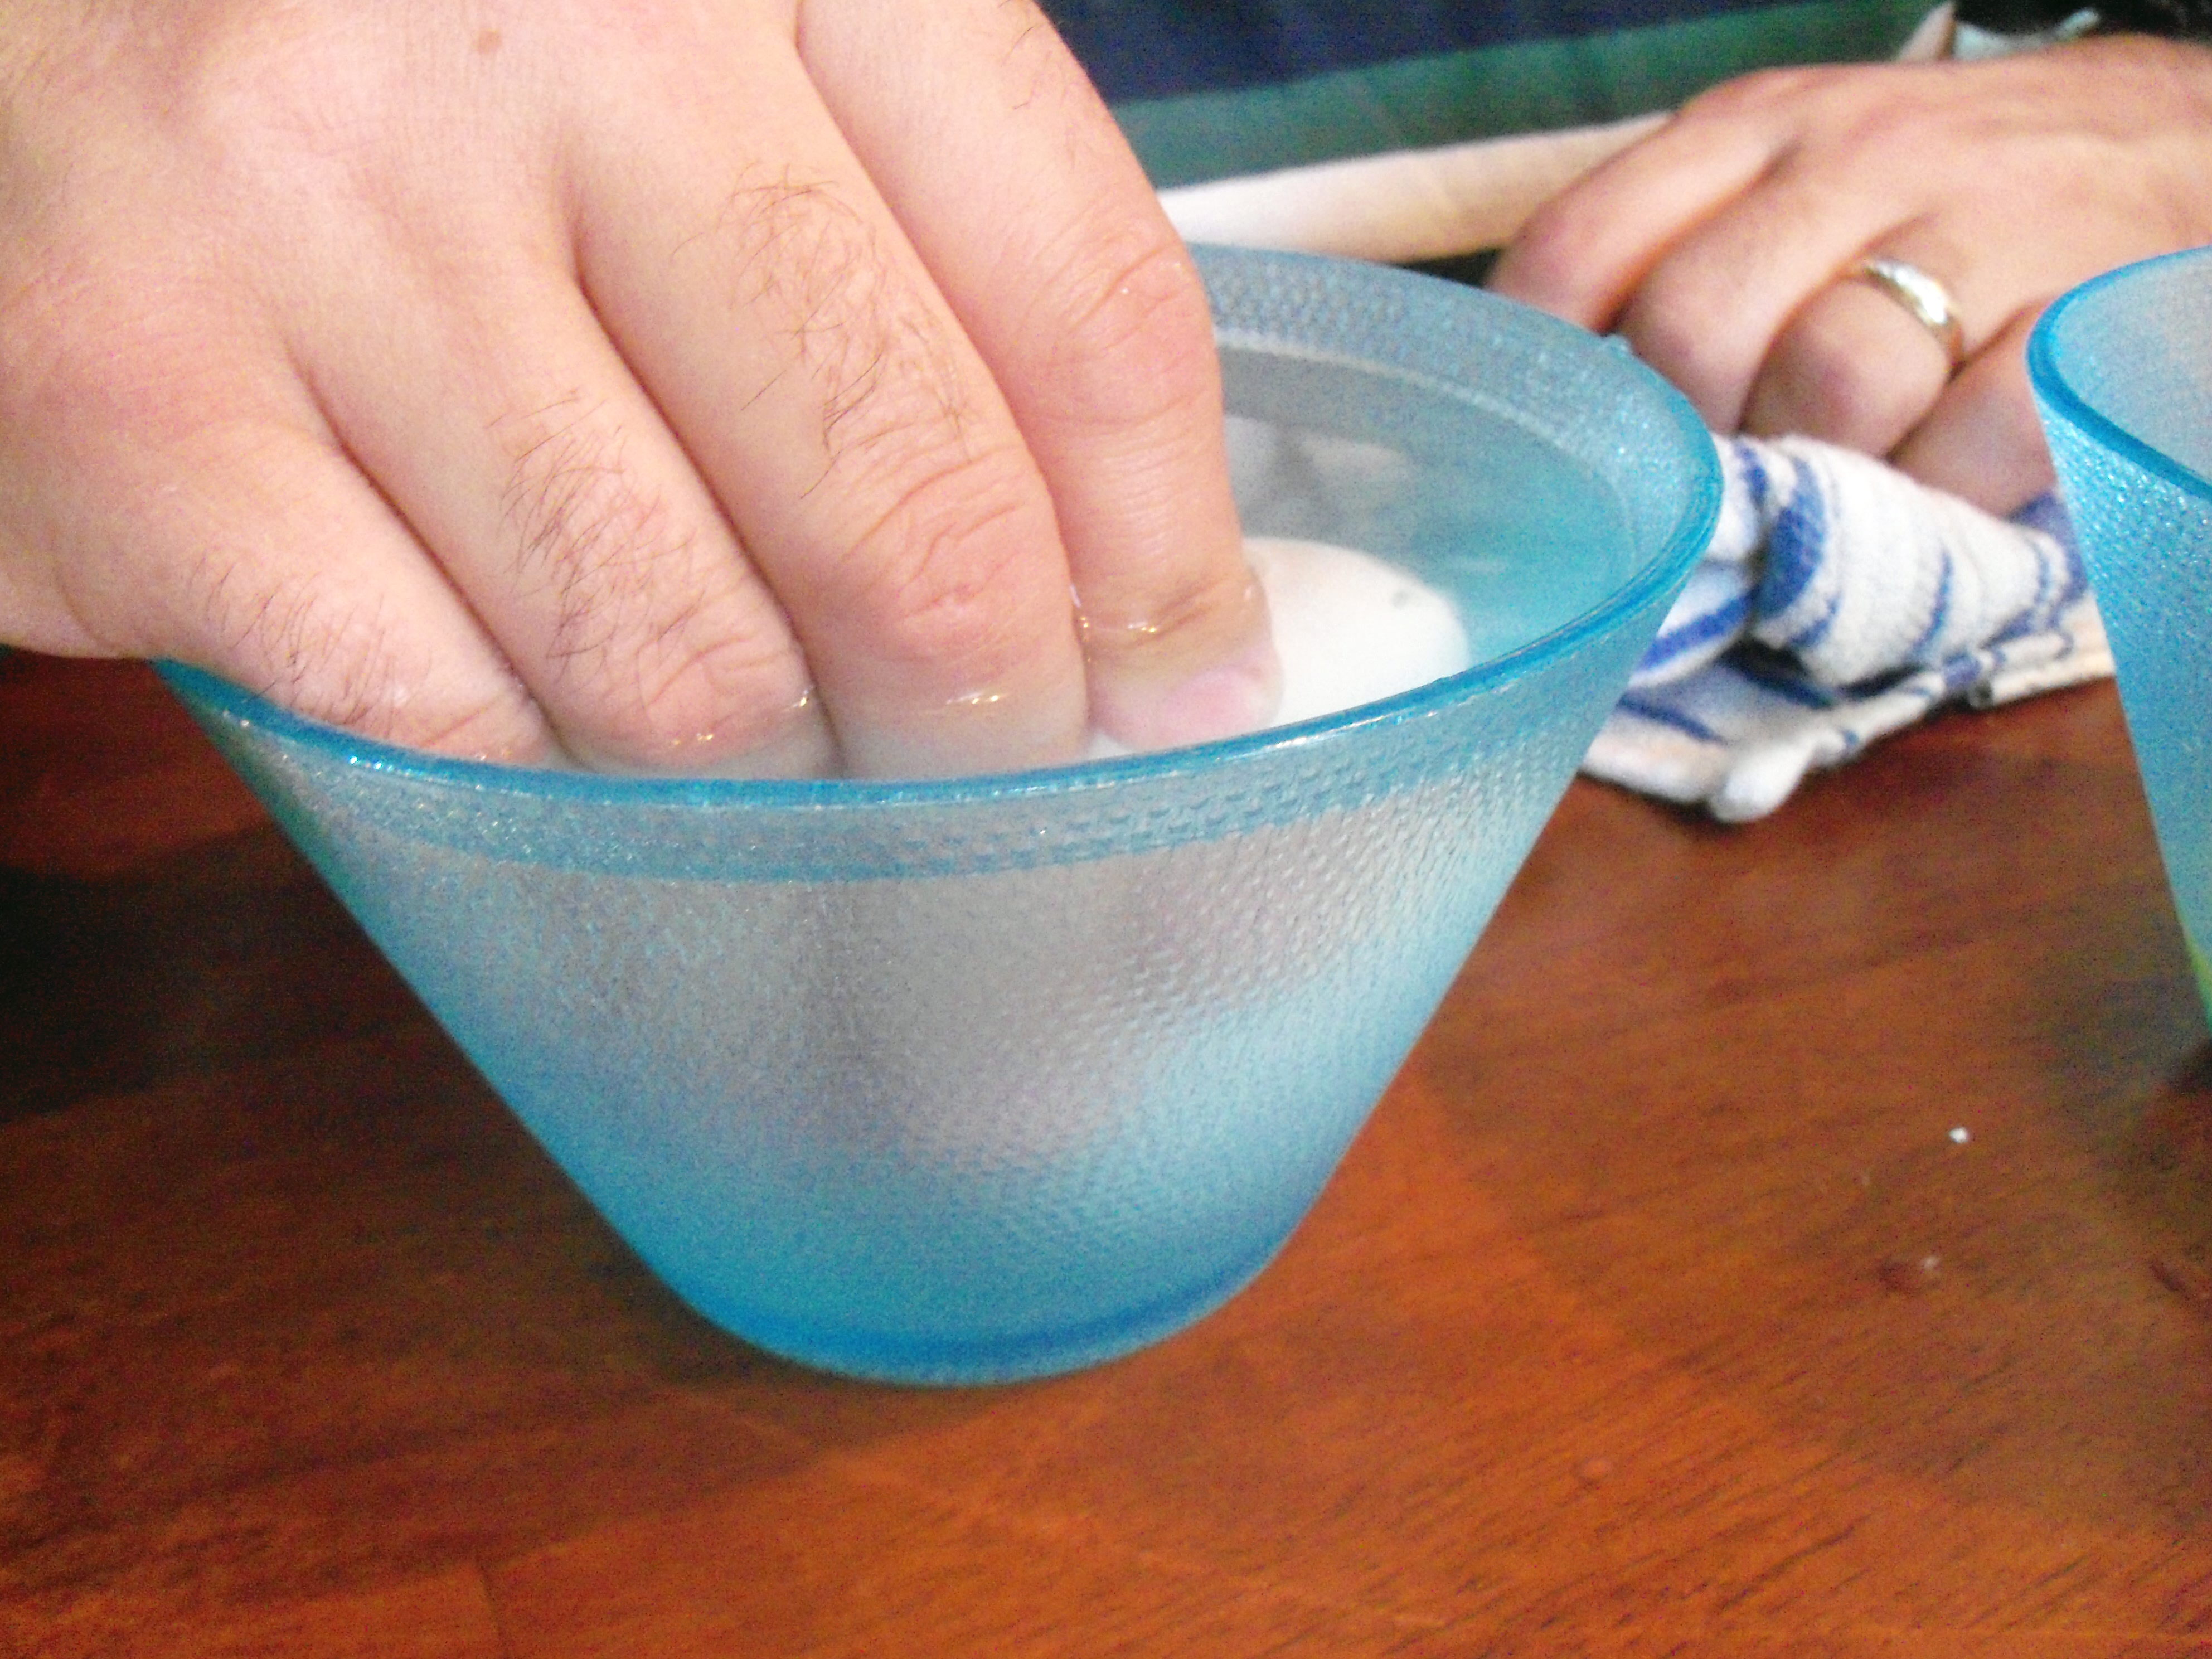
Washing the egg
Hold the egg over a bowl, big hole down and blow through the small hole. Success! Next, submerge the egg in a bowl of water and keep blowing water out until it runs clear. Set it back in the egg carton to completely dry.
When I tried it, I couldn’t get the egg to come out. When Dude Martha tried it, his holes ended up uneven and shattered looking. Mr. MarthaAndMe decided that there had to be an easier way. He’s a man, so that meant power tools. He came back with his drill and used a small bit for the small hole and a slightly bigger one for the bigger hole. He stood the drill up
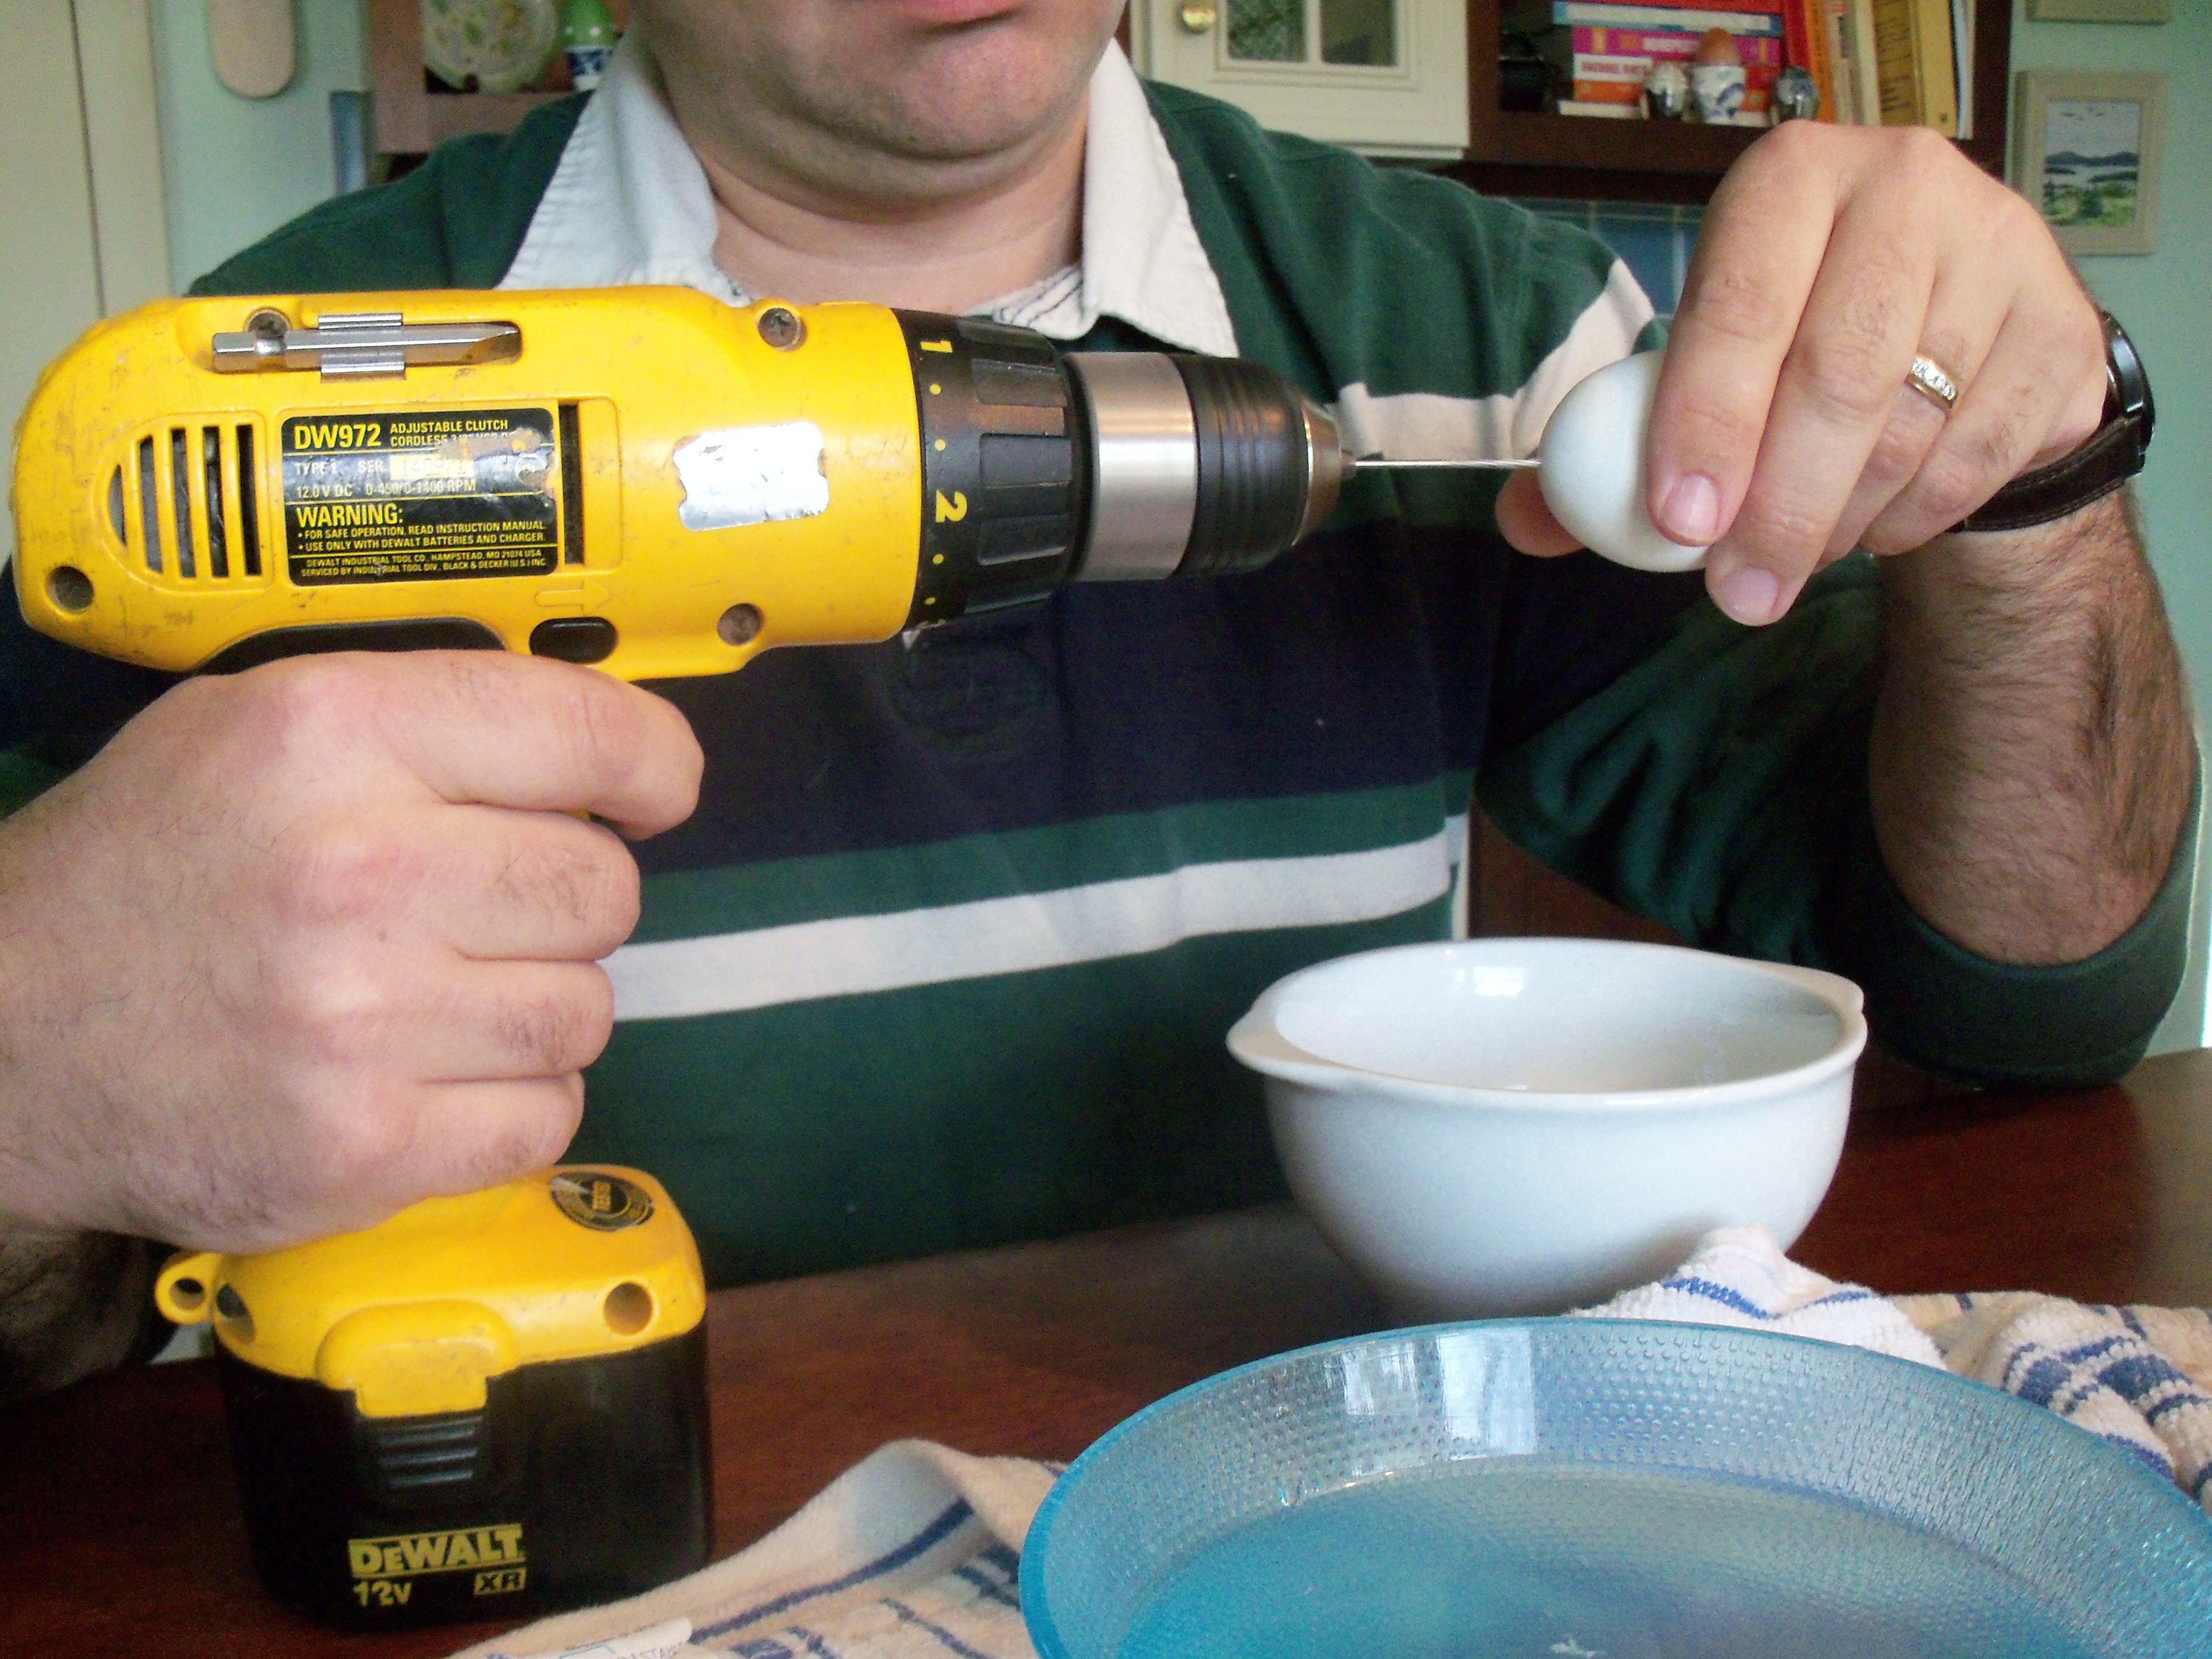
Here come the power tools
and held it stationary and then moved the egg towards the drill bit so he could control it. This worked well the first time. The next few broke, but then he got back on track. Some eggs broke as they were being blown. Out of a dozen eggs, we ended up with 8, 3 of which had nicely shaped holes. Not such a great ratio. It was fun to try this though since I had always wondered how hard it was (pretty hard). I also enjoyed making comments about Mr. MarthaAndMe sucking eggs which made him almost choke as he was trying to blow one out, so that was a highlight as well.
The next day we colored the eggs. I decided to try Marbelizing Eggs. The 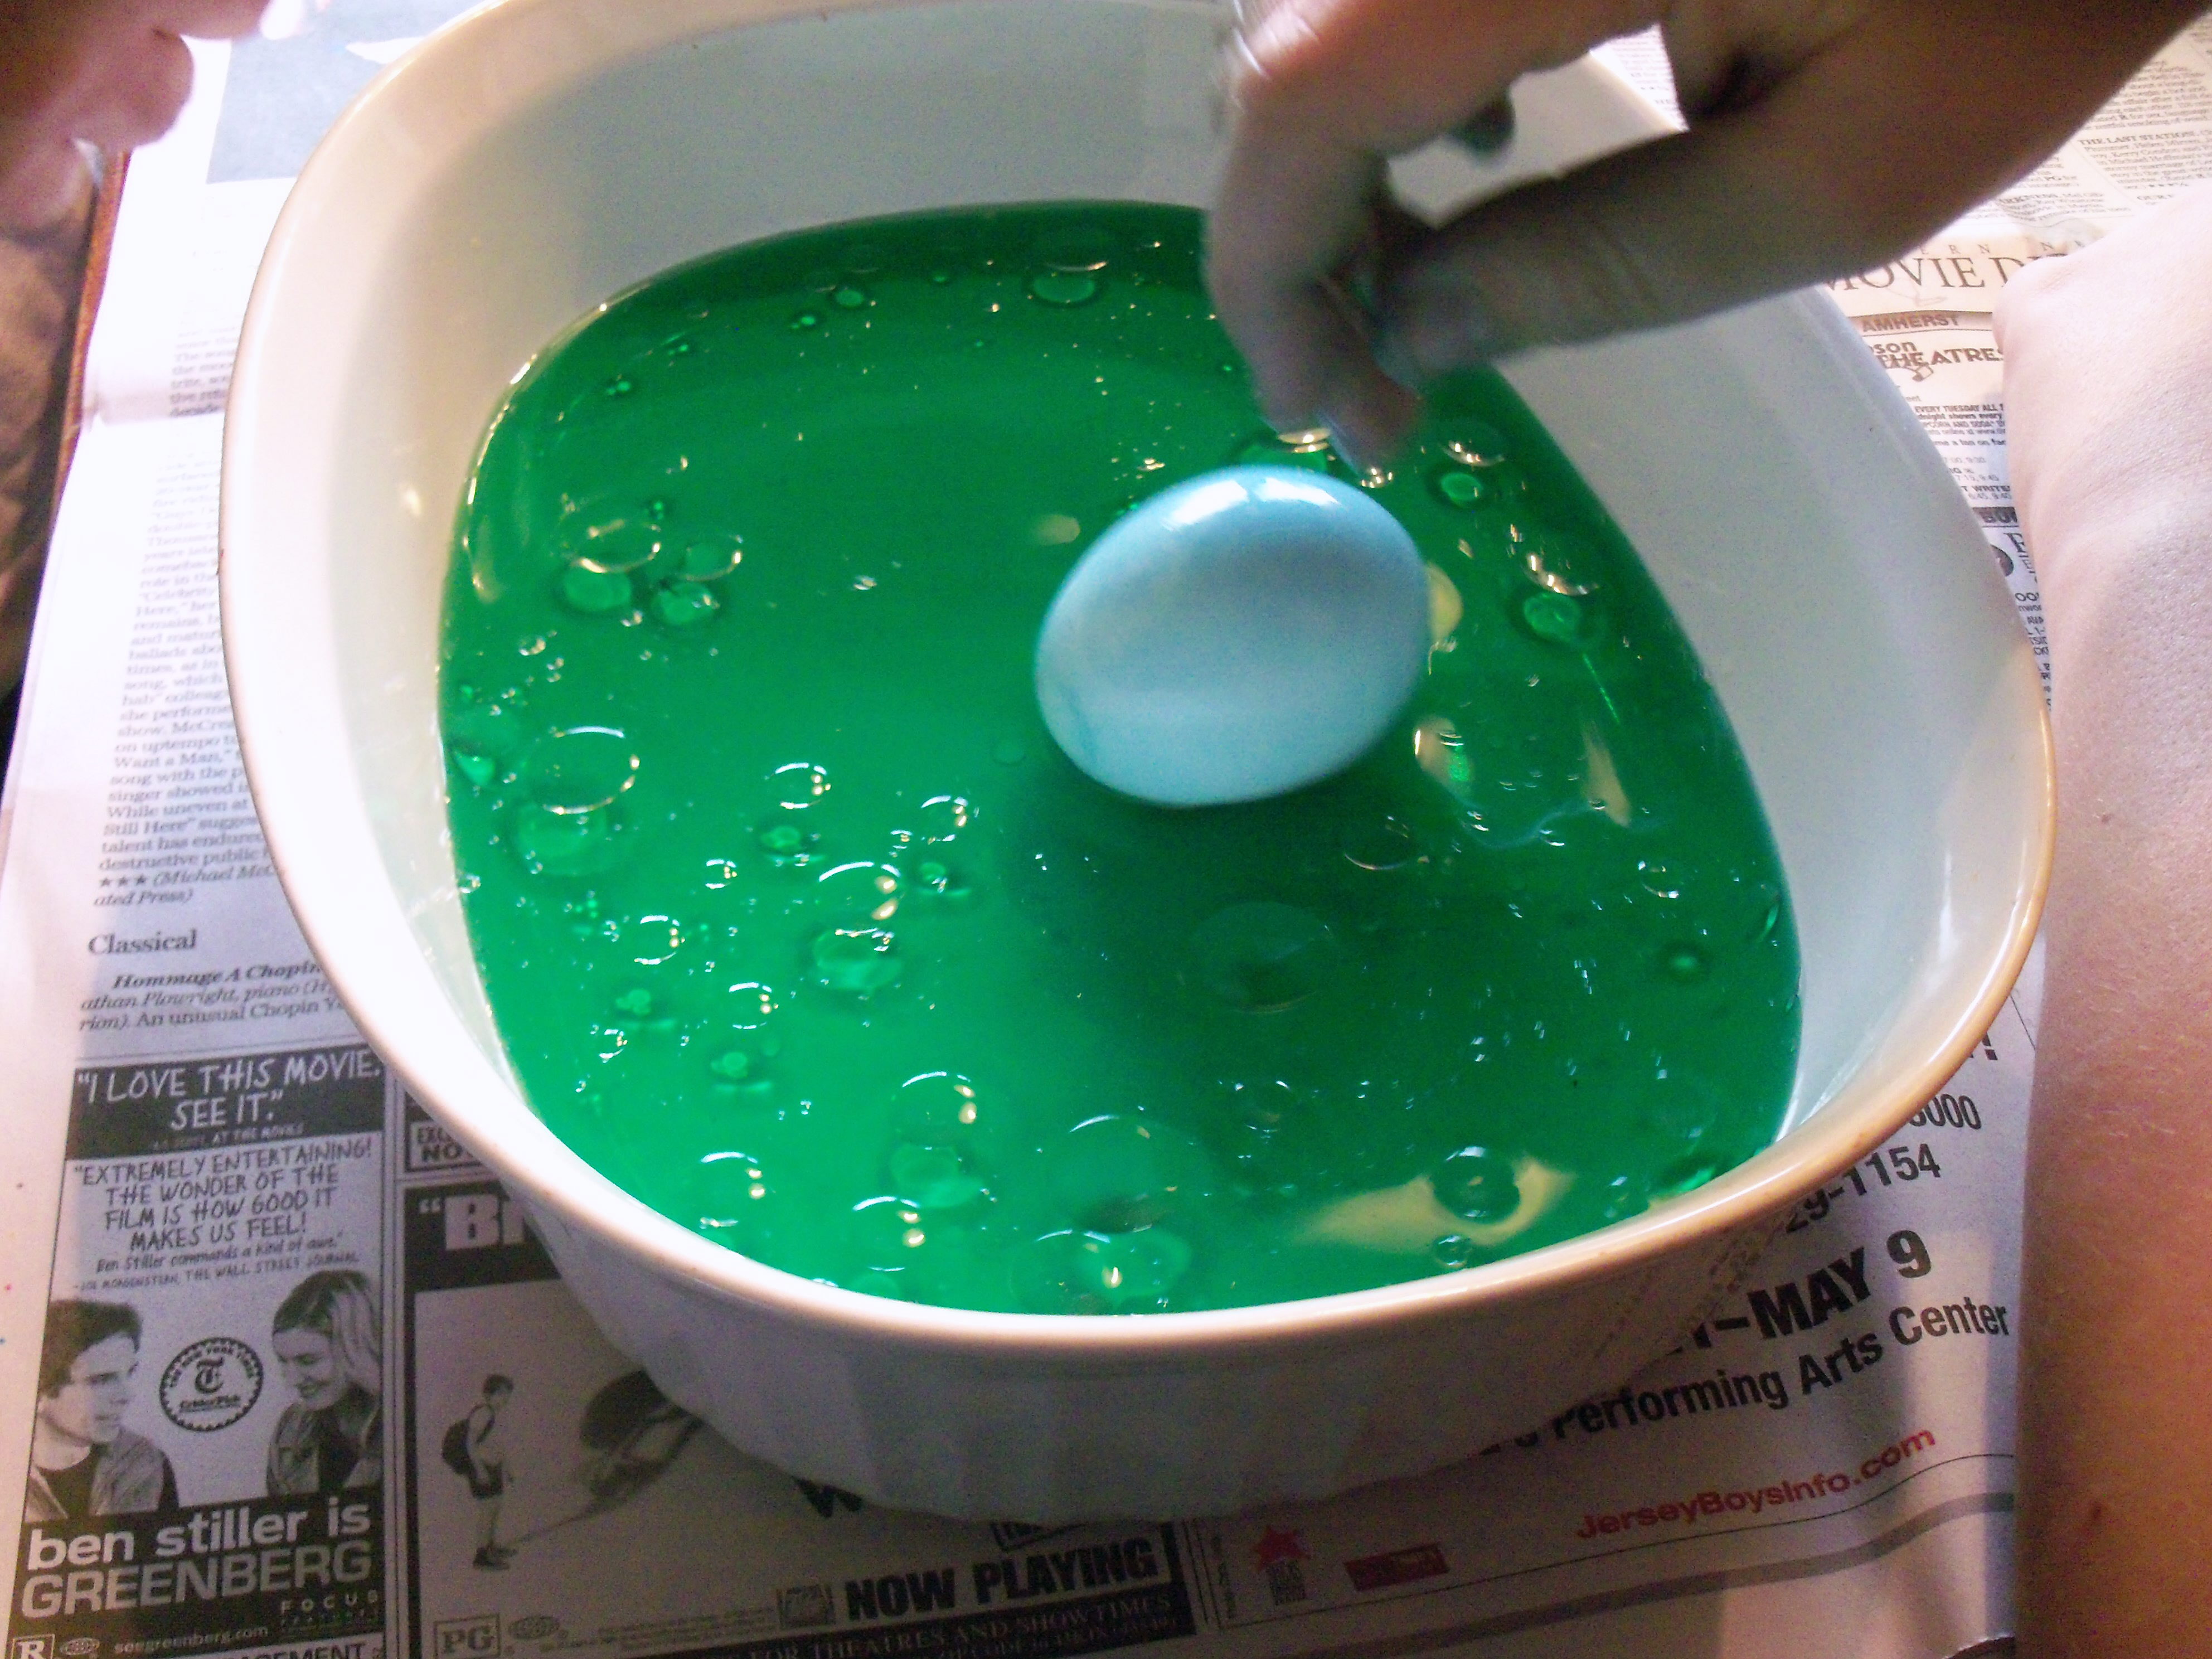 directions say to color the egg first in one bowl then in another bowl, mix up the dye and add oil. Swirl the oil and roll the egg through it to get the marbelized effect. Total disaster. No marbelizing happened at all. None. We tried adding more dye, more oil, etc and nothing working. So Dude Martha and Mr. MarthaAndMe then began to experiment (shudder). Mr. MarthaAndMe has memories of making these kinds of eggs as a kid and tried to recreate it by
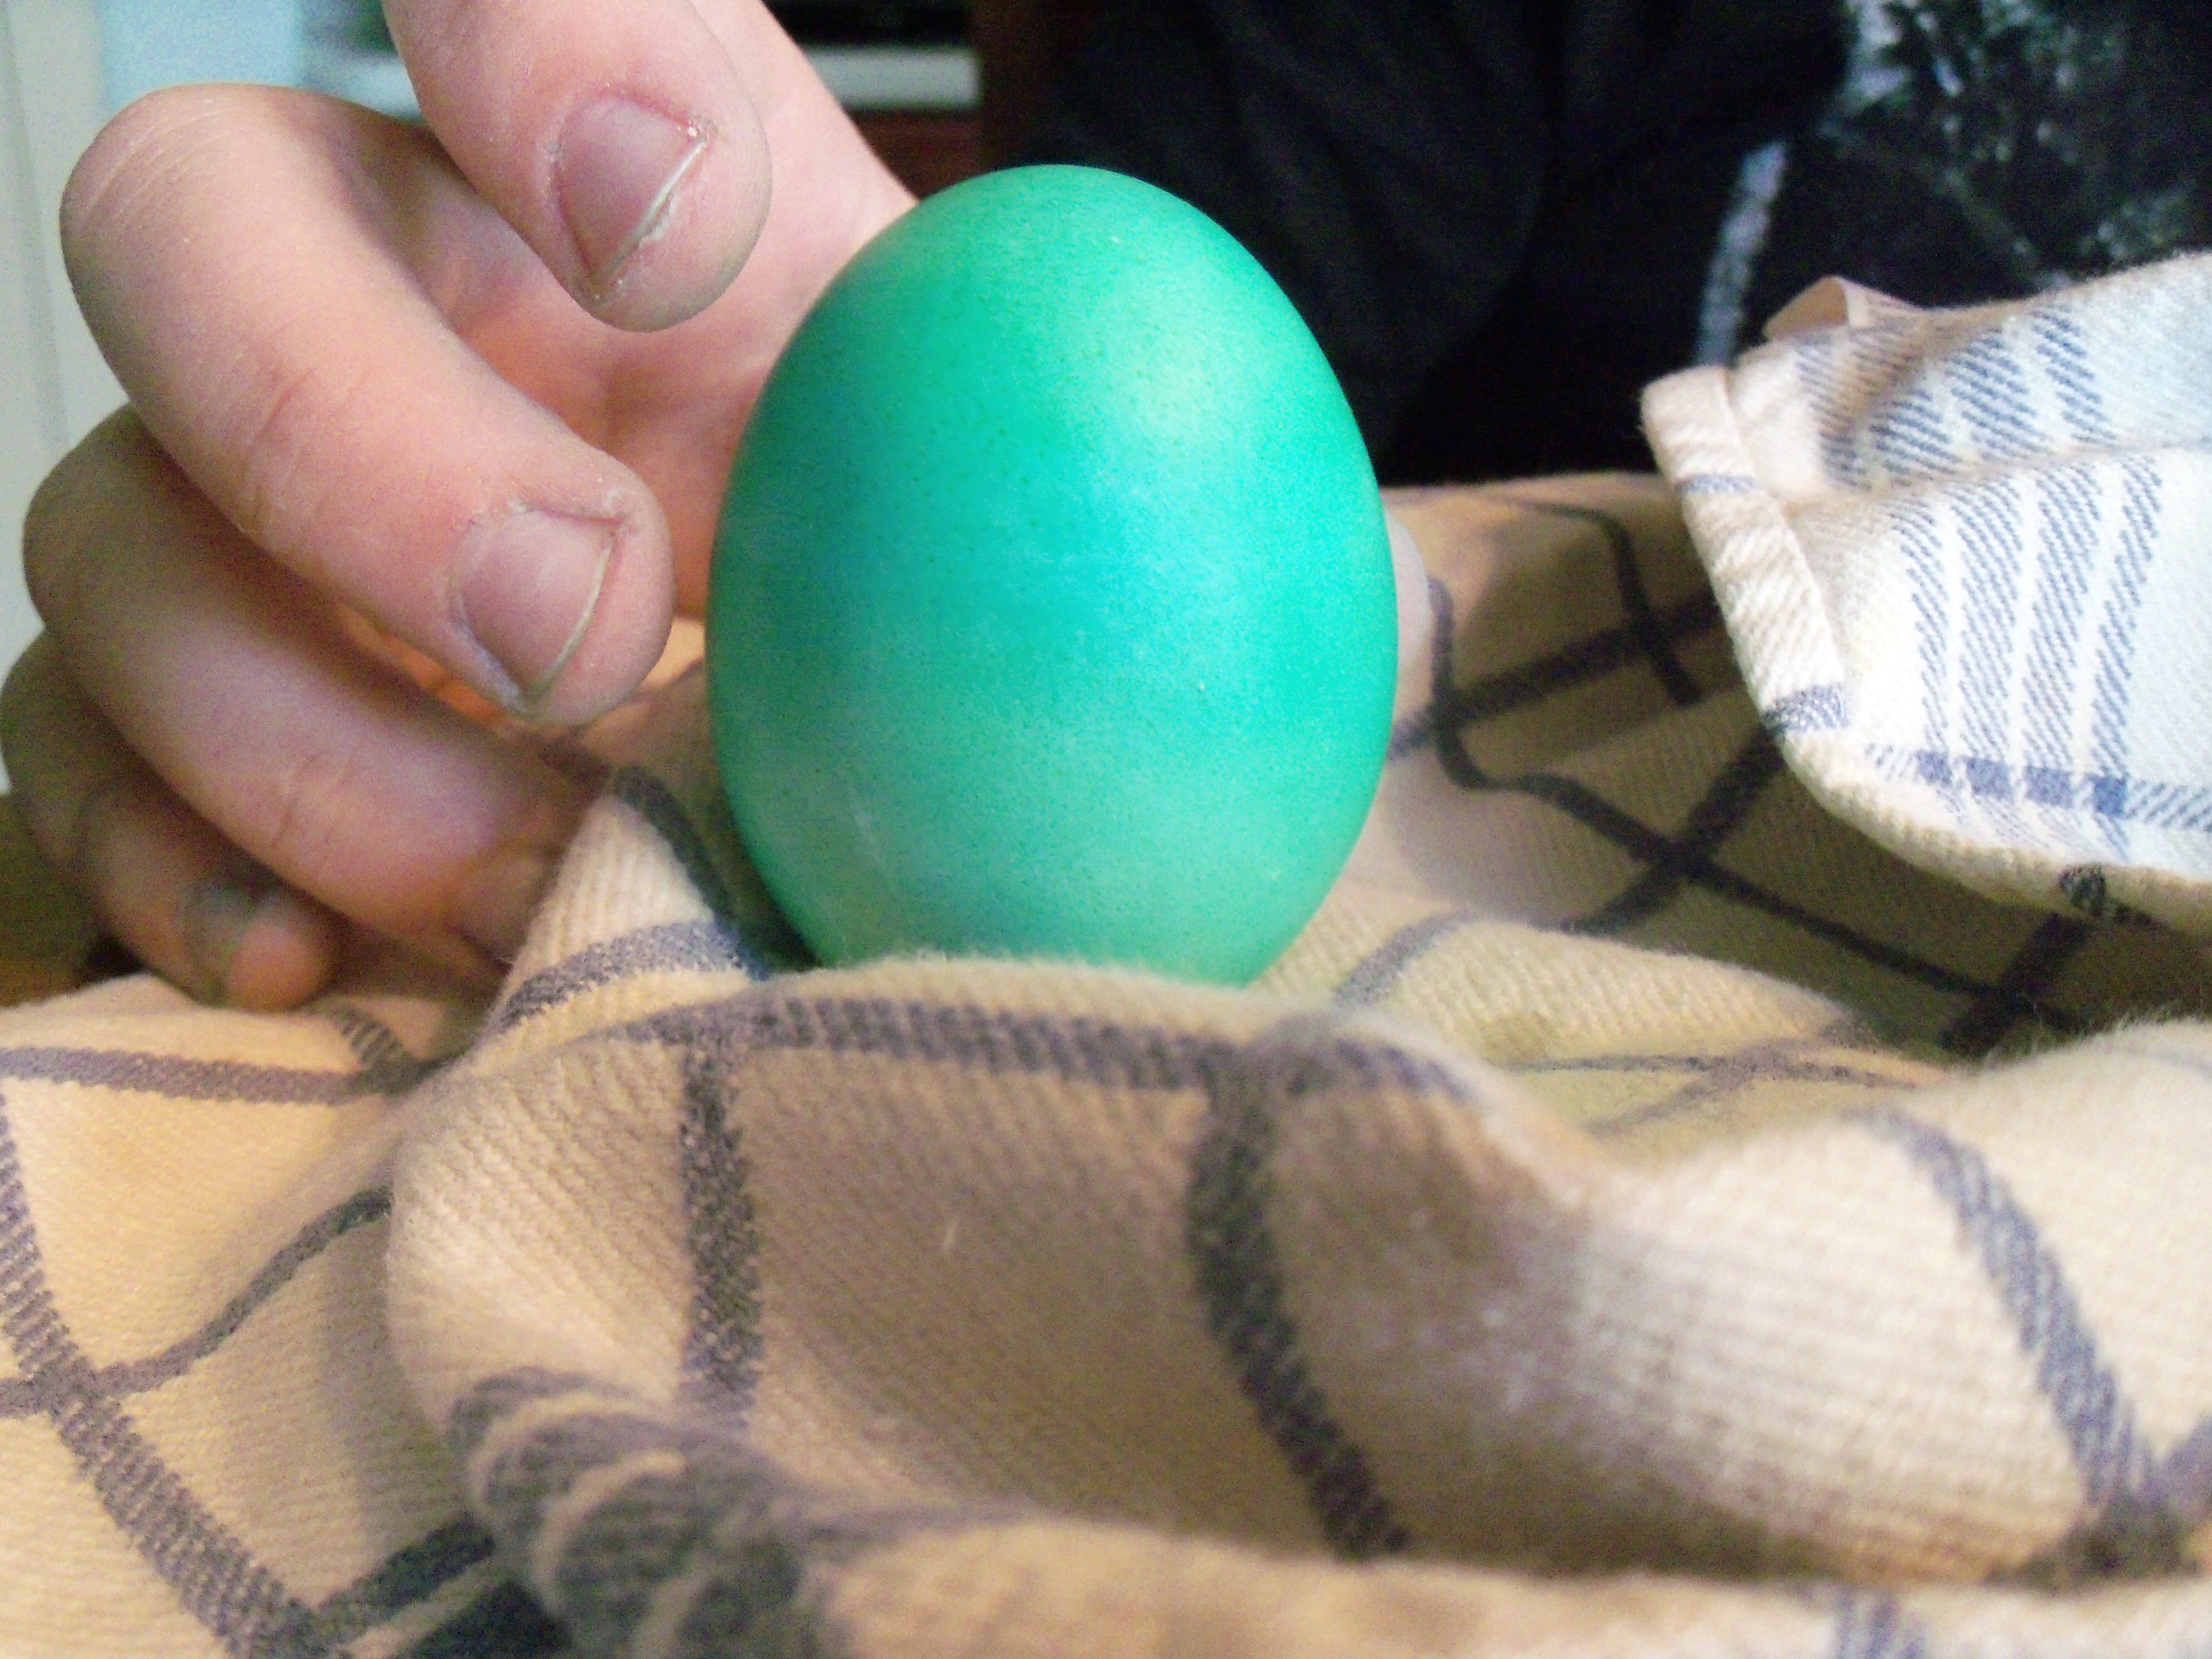
Marbelized result - not so marbelized
adding drops of food coloring to vinegar and water, not mixing it, and quickly rolling the egg through it. It sort of worked. Then he started dripping food coloring directly on the egg and rolling it in the water. That worked the best and resulted in the more brightly colored eggs. Dude Martha did the same thing and the eggs really did turn out quite vibrant and interesting.
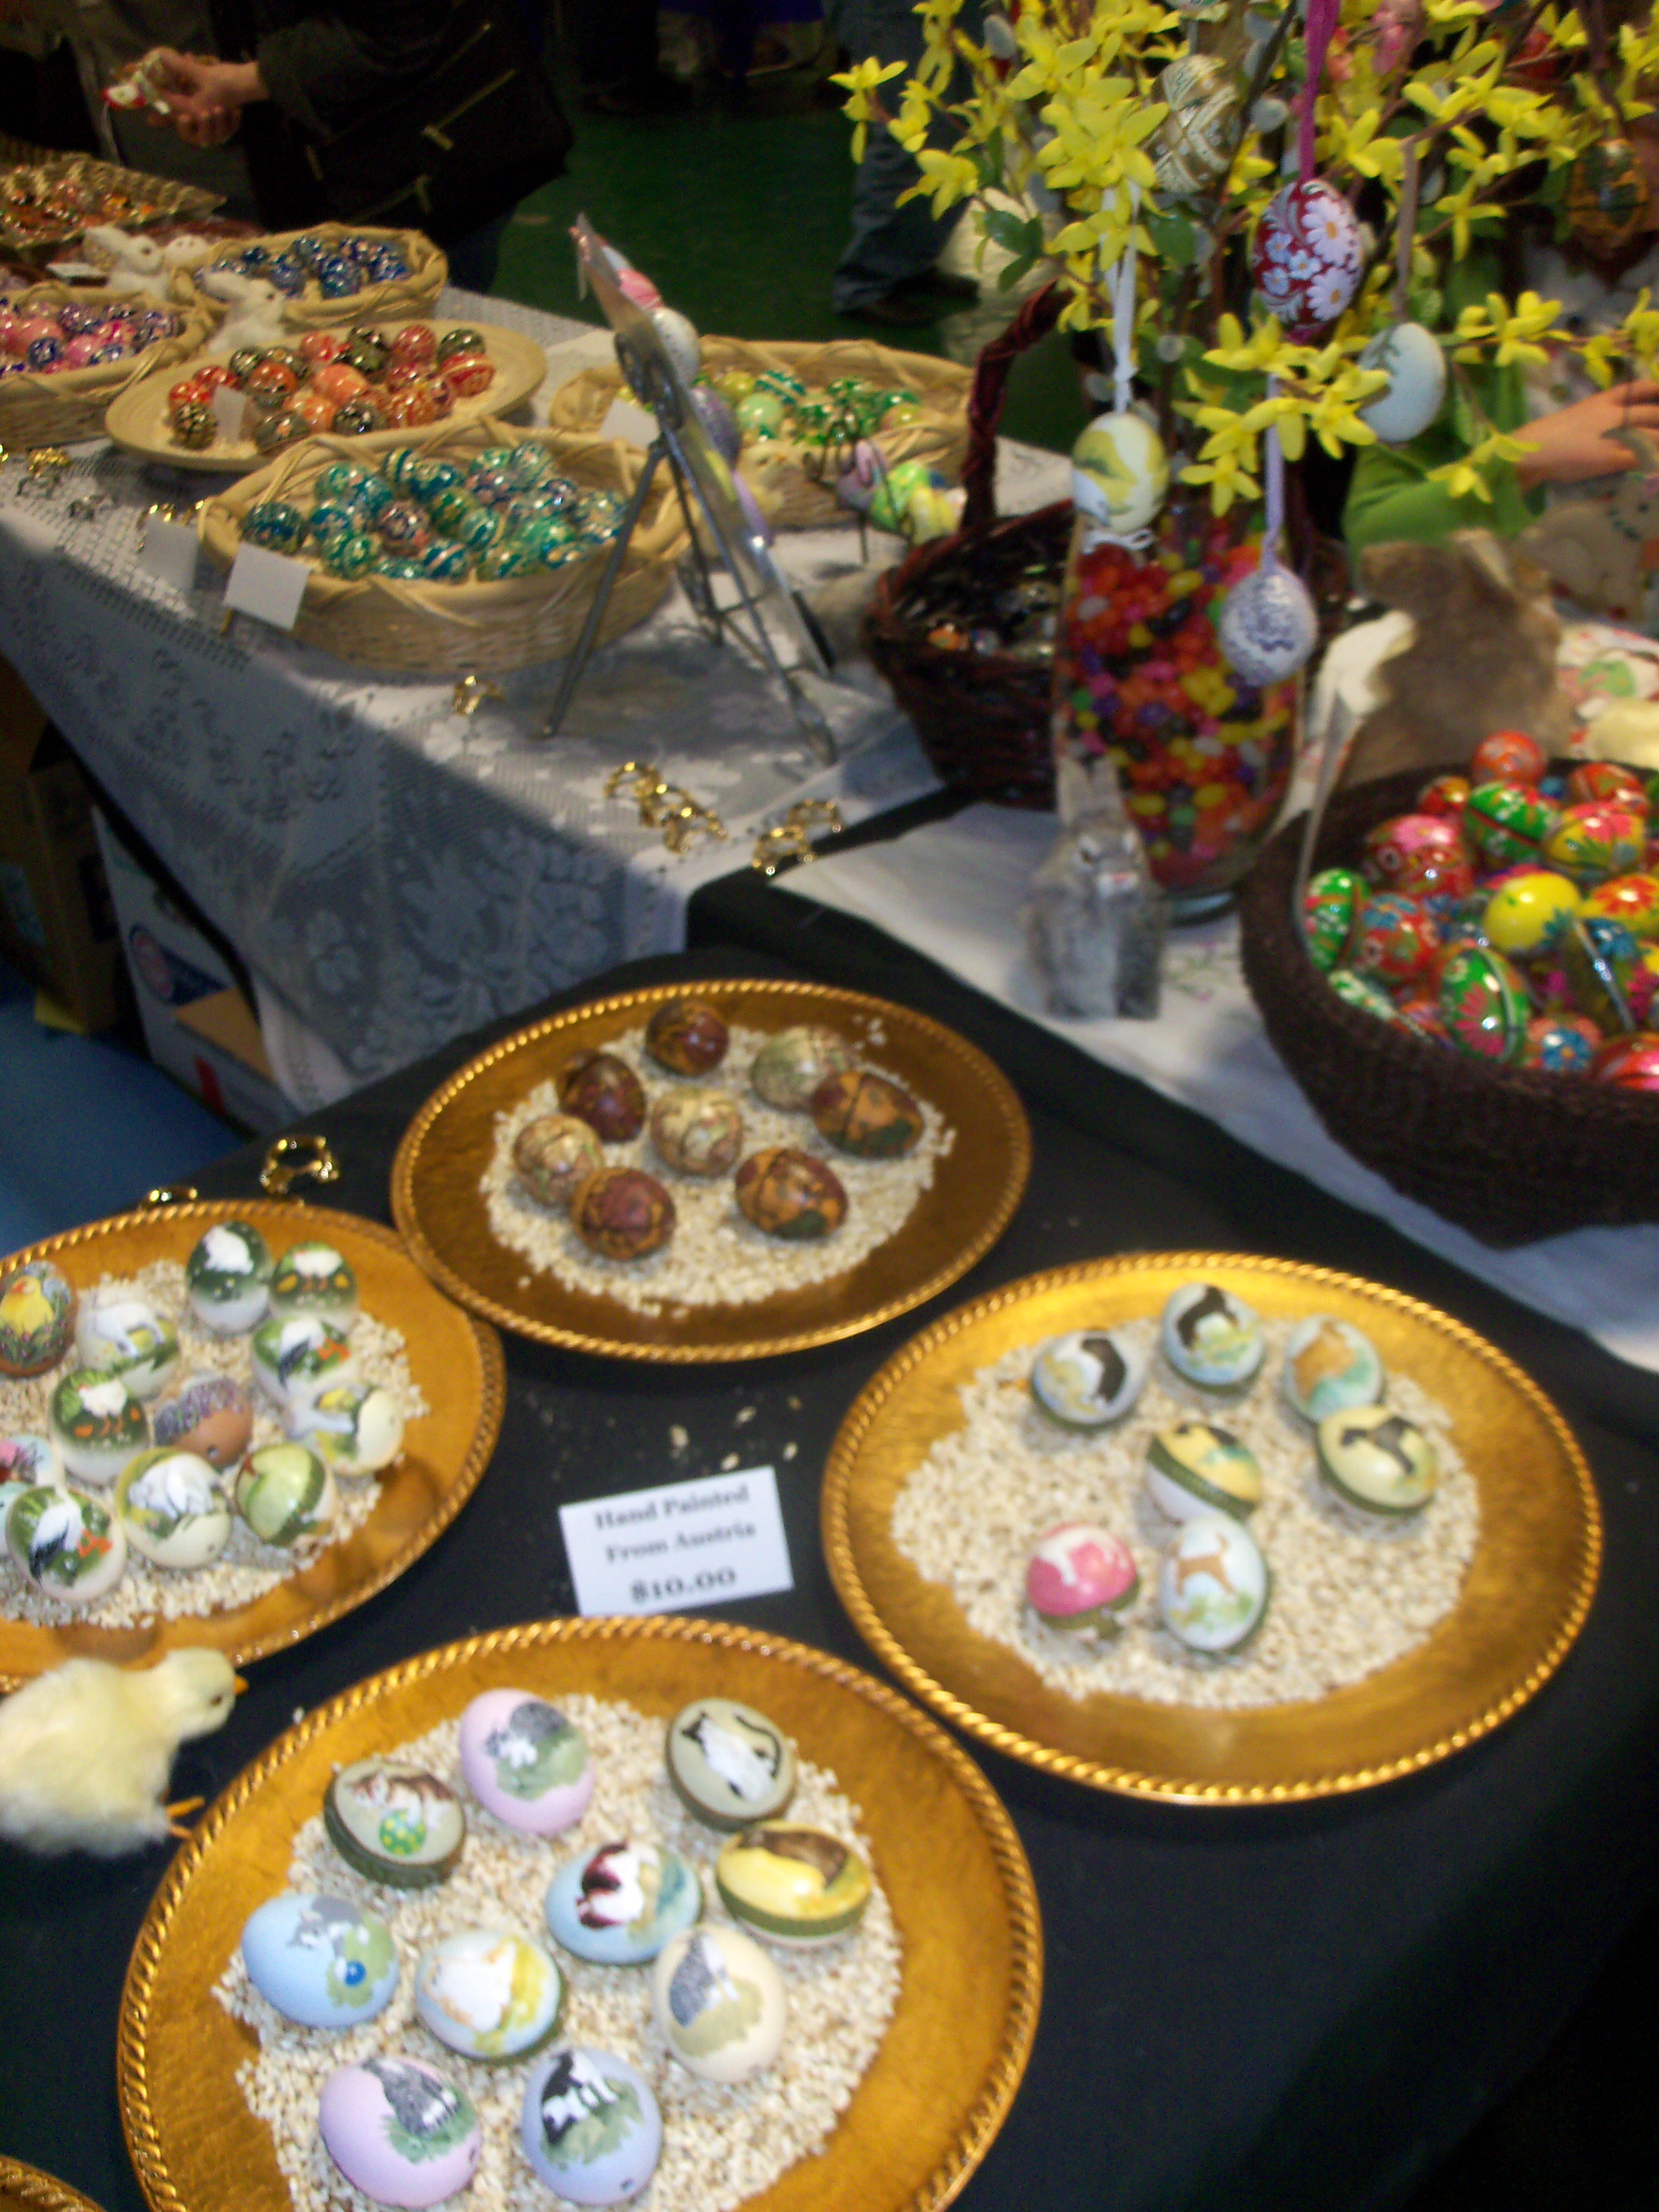
This was fun, but was not as successful as I’d hoped. I do like having blown out eggs to work with so 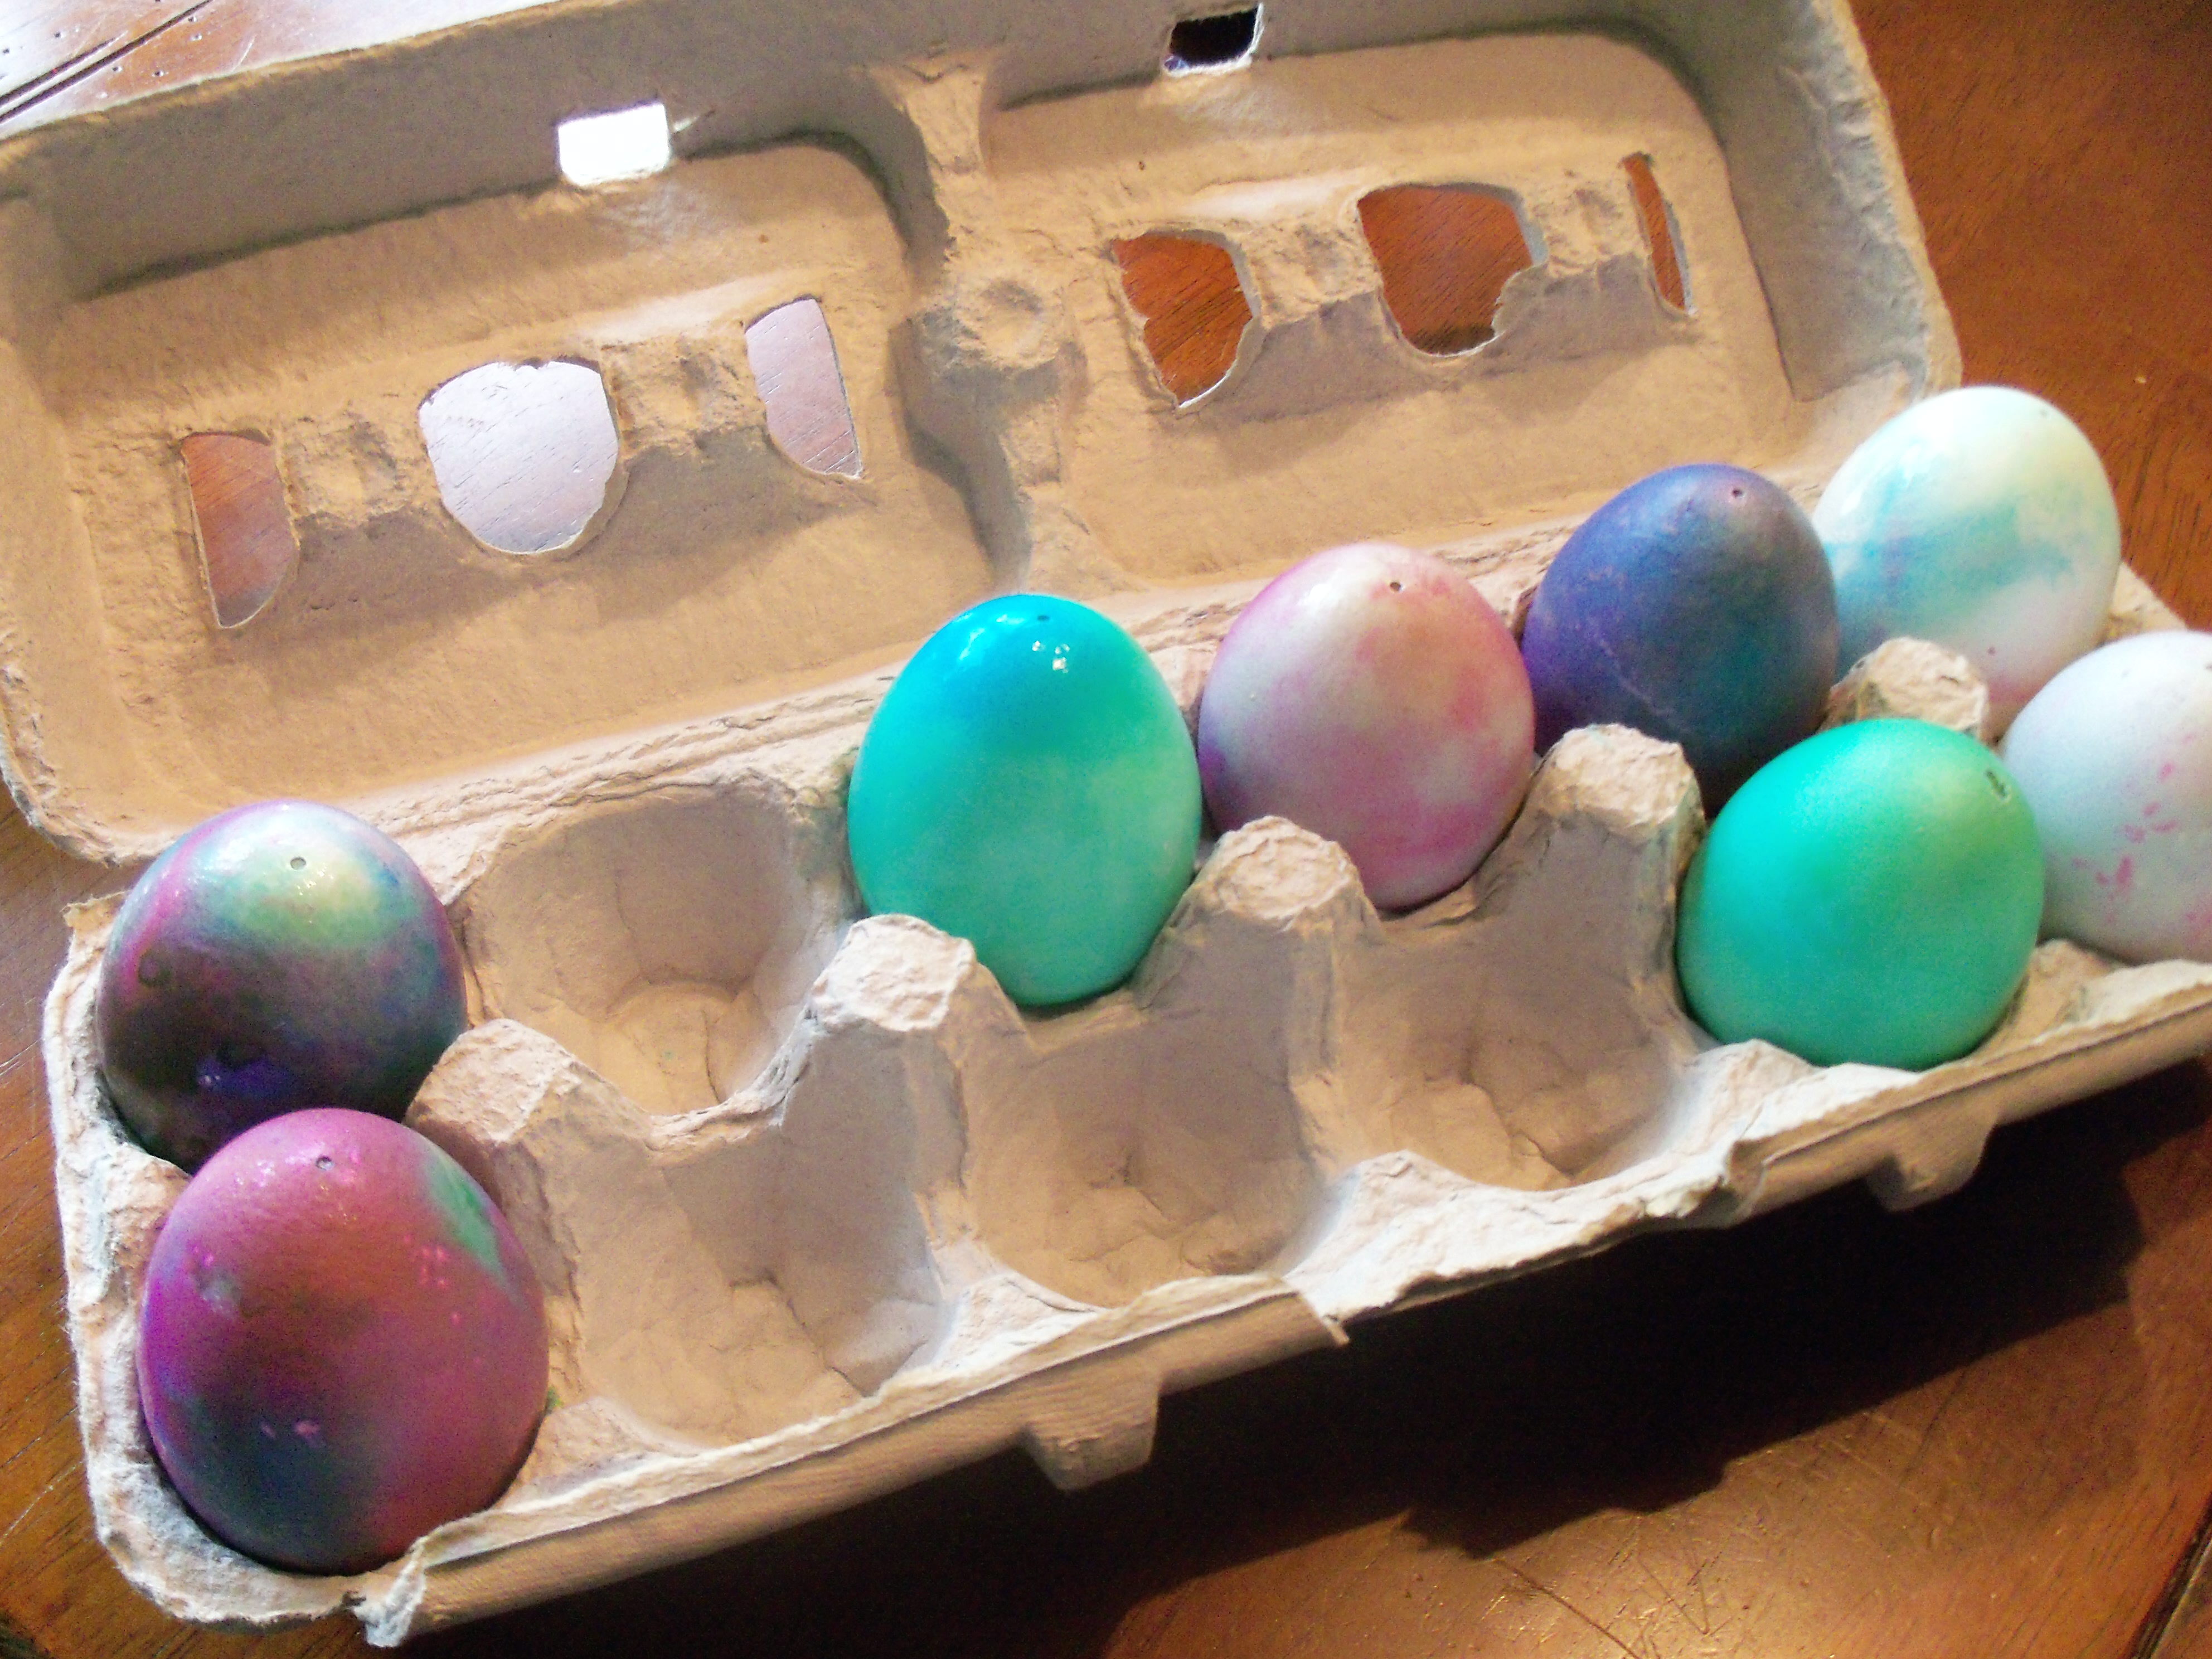 that if you’re lucky enough to create something beautiful, you can keep it. That being said, I think I’ll go back to the Broadway Market next year (see yesterday’s post) and buy some more professionally made eggs for $10!

Thanks to Teresa at Homemade Iowa Life for picking this project – the assignment was to make Easter eggs from the selection on Martha’s site. I made the silk tie dyed eggs last year (#12 in that slide show if this link does’t take you directly there) and my only regret is that I used … Read more →
 The next Martha Mondays pick is mine. I haven’t chosen one in a while, so I gave this some serious thought! For 4/5 let’s make Pane Integrale, the no-knead bread in April Living. The recipe is not online yet, so if you need it, just let me know and I’ll send it along.


