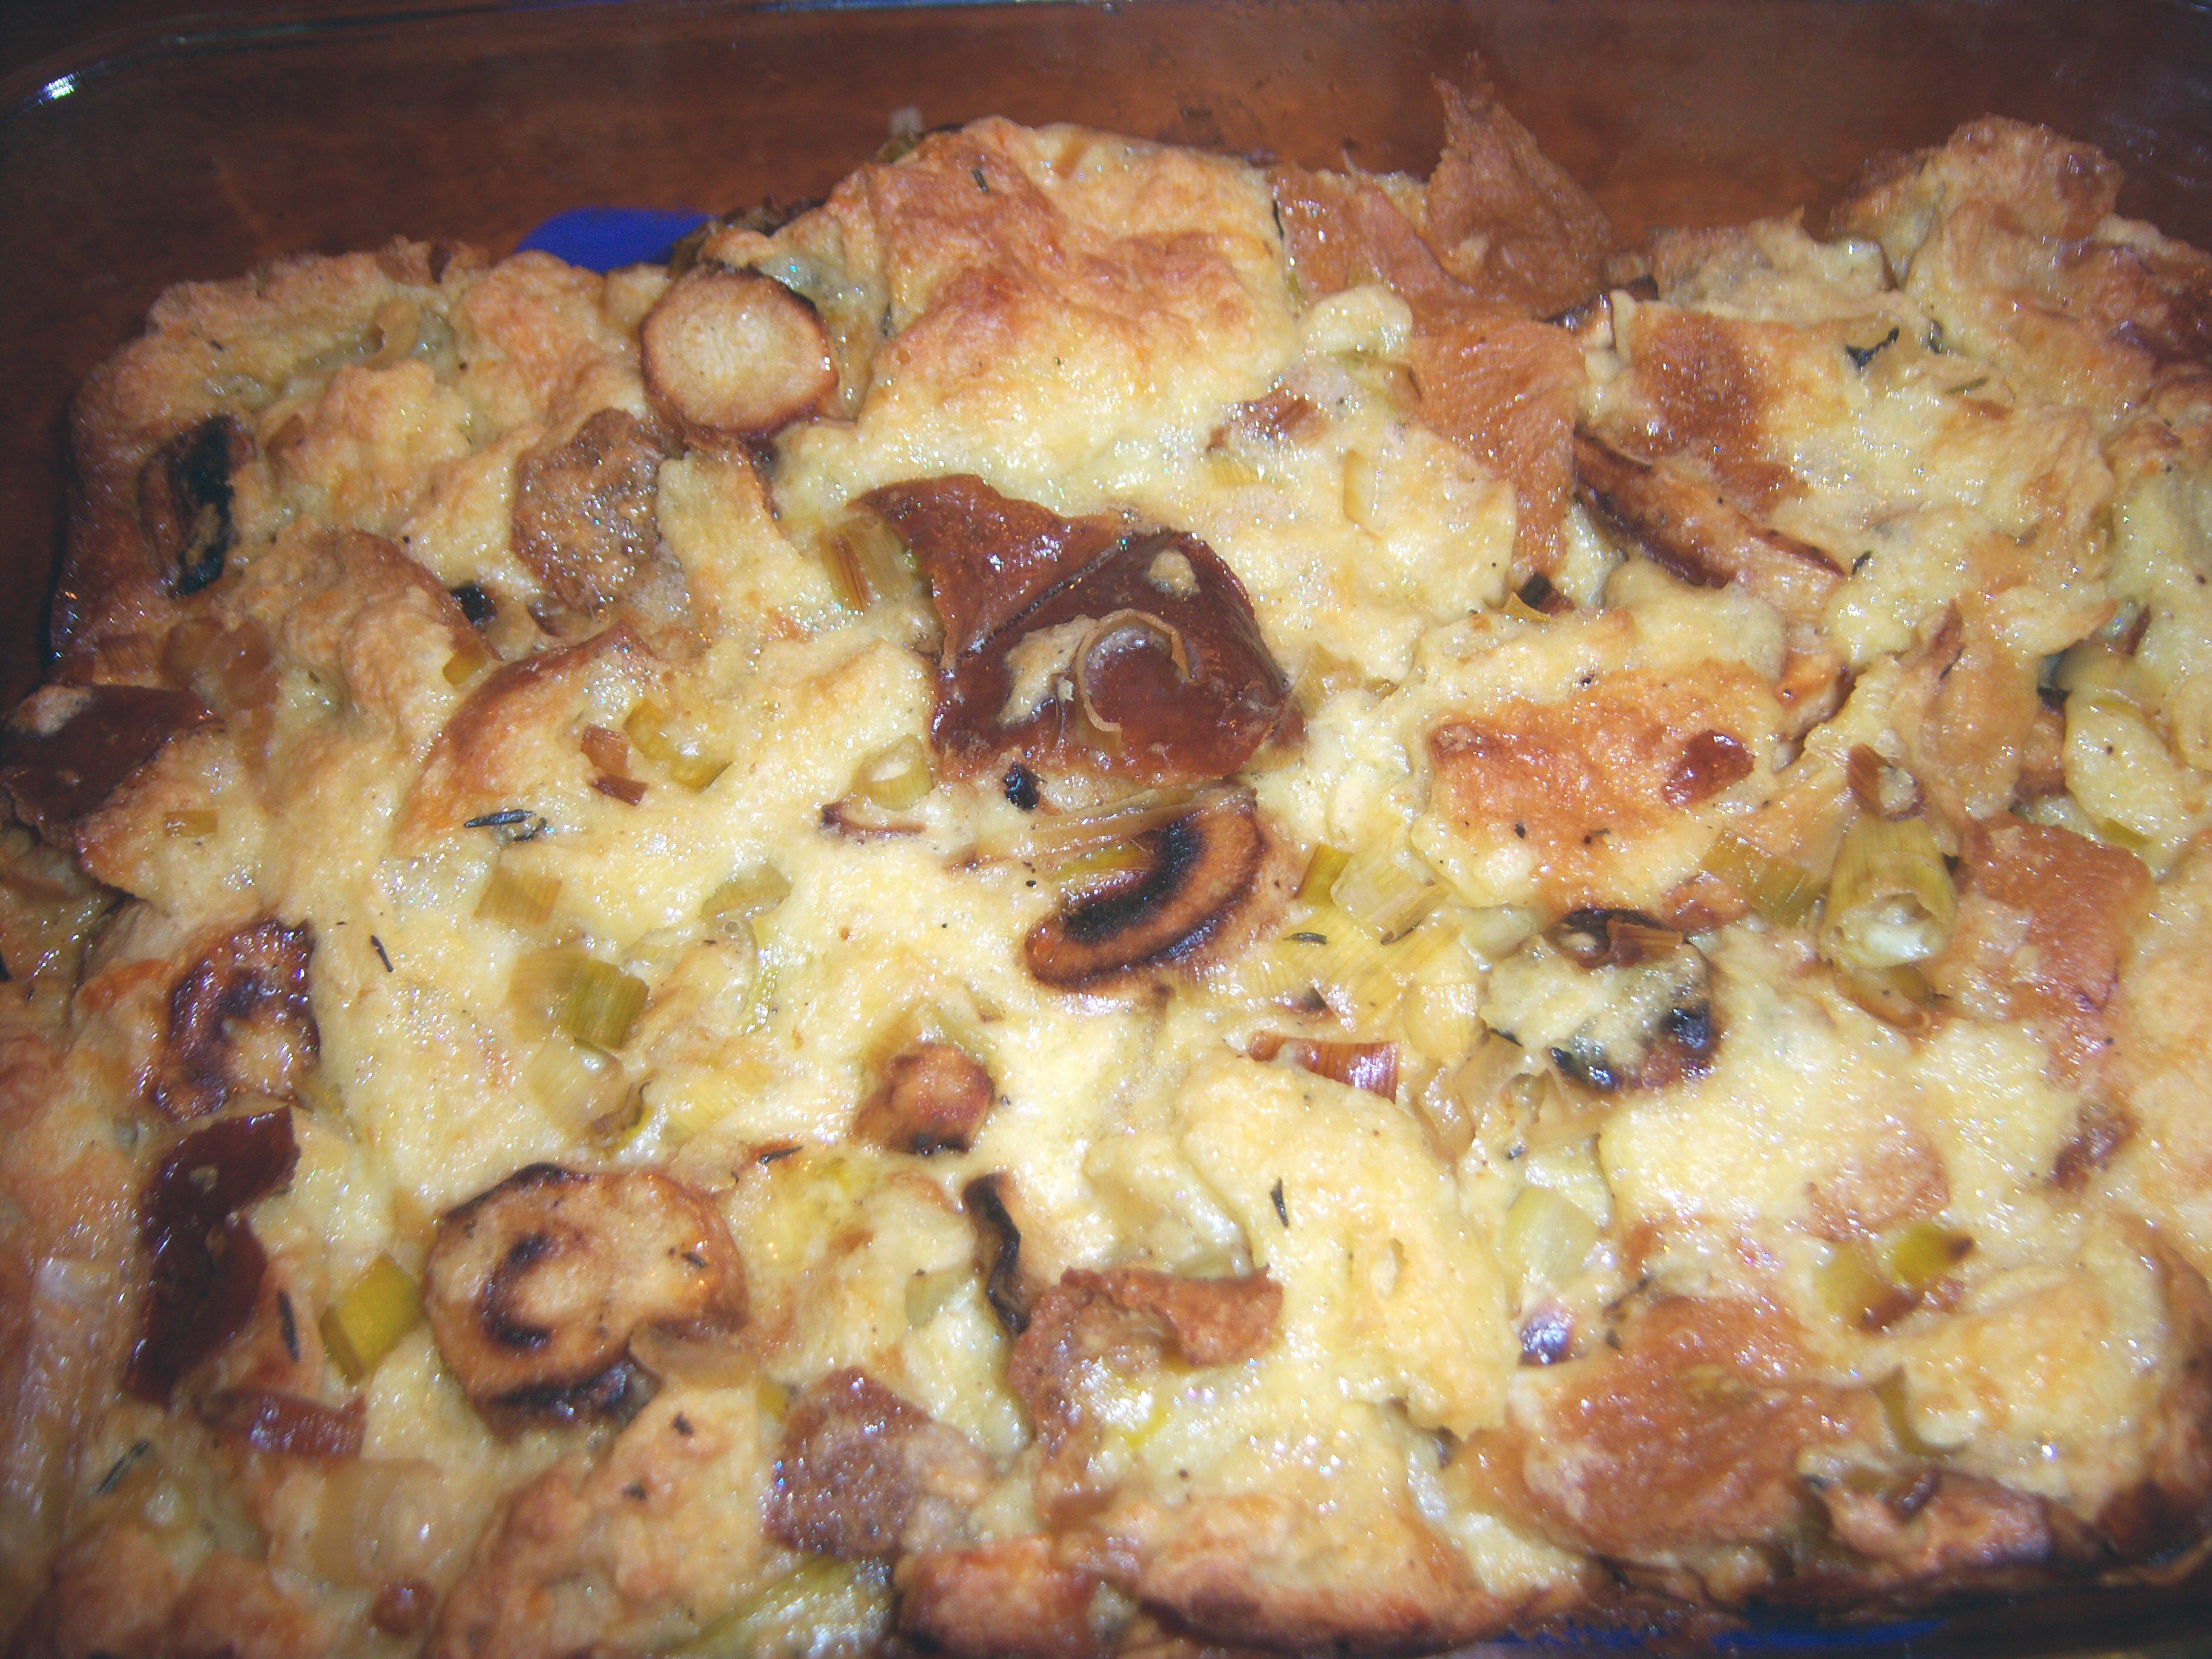
parsnip bread puddI tried out another Thanksgiving side dish recipe from November Living – this time it was Roasted-Parsnip Bread Pudding. To be honest, I did not expect to like this, but I went ahead because part of my Martha project is being open to new things. Bread pudding has never been a favorite of mine.

My first stumbling block was that the recipe called for brioche. I have no idea where you buy that, since I’ve never seen it in a store (grocery or bakery) in my area. Instead, I bought some challah, which I think is close enough.

You start by roasting your parsnips. Usually my store carries those honking big parsnips, but this time they only had small ones, like carrots. It required more peeling, but I think they may have been more tender. Then you roast the parsnips in the oven. Mine got a little brown, but didn’t burn. You slice up some leeks and cook those, adding wine and thyme. You mix the leeks, parsnips, bread, cream, eggs and Parmesan cheese together. It looked pretty goopy. I added more salt and pepper to it since I was worried about blandness.

I got it in the oven and baked it for about 40 minutes (I made half the recipe) then took the lid off and left it in the oven, with the oven off until Mr. MarthaAndMe made it home from work. It worked out perfectly.  It was golden brown and kind of puffy.

And I really liked this! Surprise! I still can’t believe it. It’s really quite rich with all the cream and eggs. Mr. MarthaAndMe liked it too. I ate it for lunch the next day and it was good heated up in the microwave too. Thumbs up on this one!

Bookmark and Share

I tried out another Thanksgiving side dish recipe from November Living – this time it was Roasted-Parsnip Bread Pudding. To be honest, I did not expect to like this, but I went ahead because part of my Martha project is being open to new things. Bread pudding has never been a favorite of mine. My … Read more

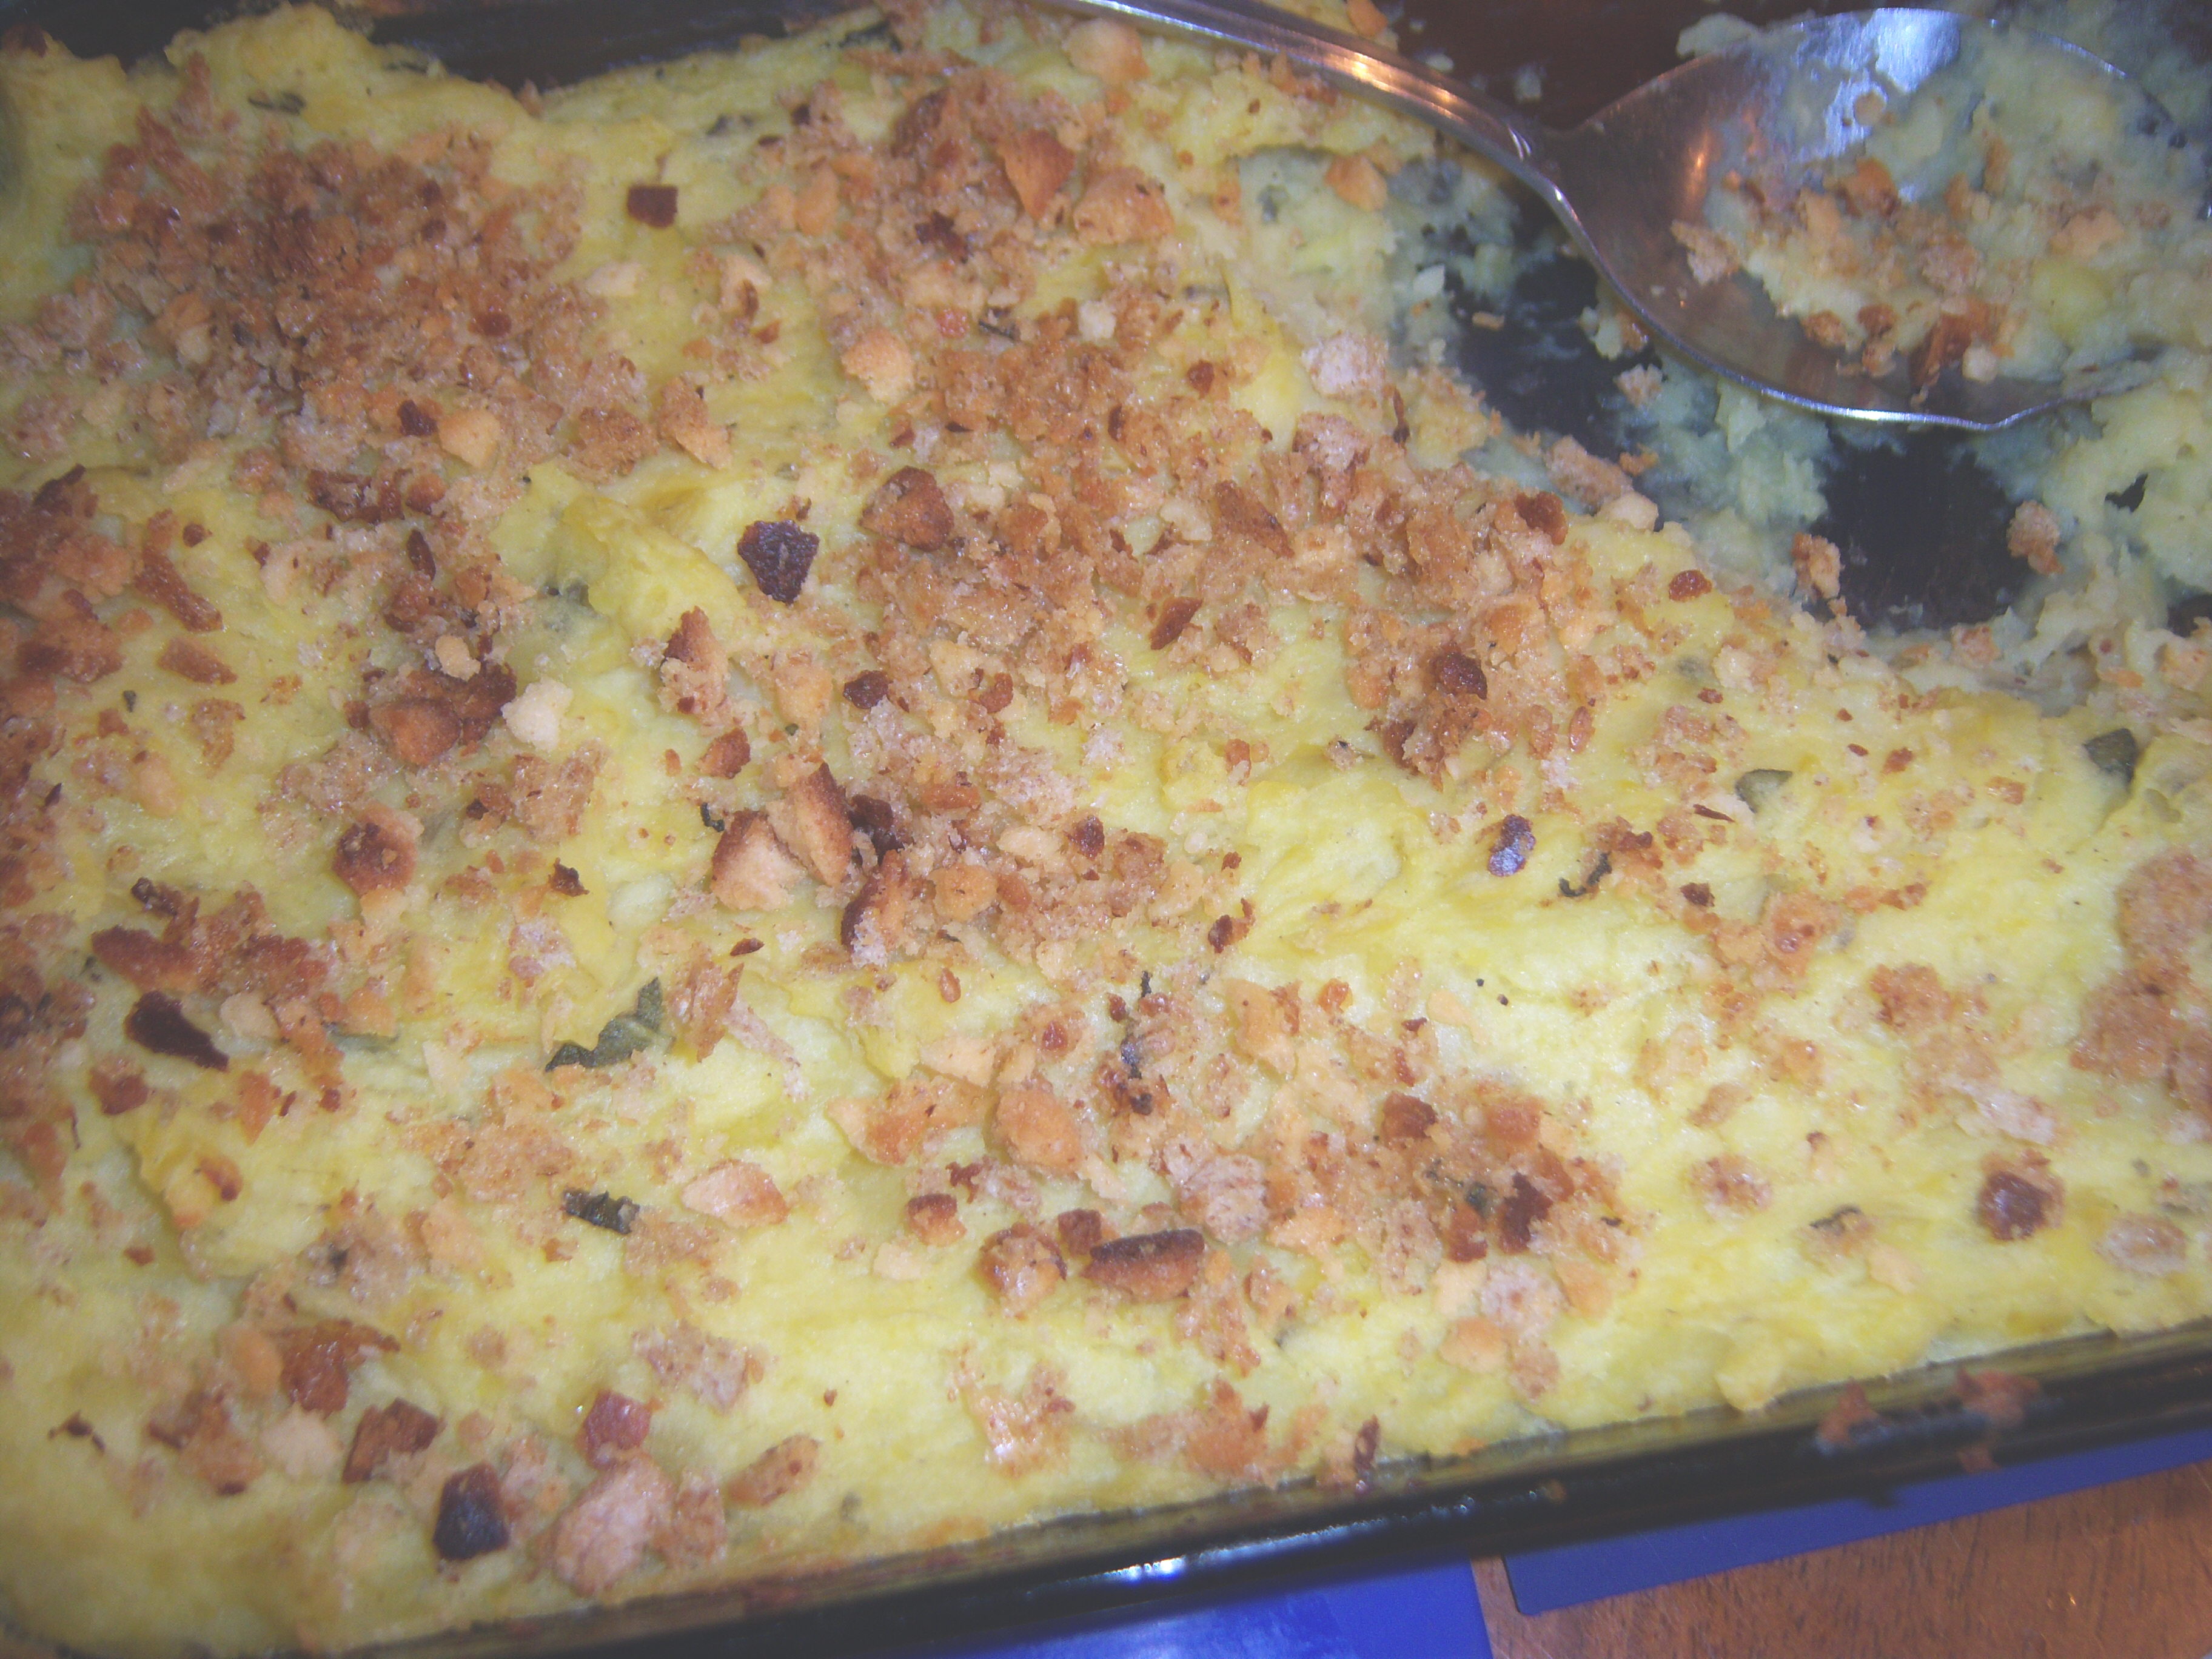
Thanksgiving still seems a long way away, but that didn’t stop me from test-driving a Thanksgiving side dish from Martha Stewart Living (Nov issue), Swsweet poteet Potato and Sage-Butter Casserole. I am a big potato fan. I must admit I have not cooked a lot with sweet potatoes. First of all, I find there is some confusion about them. A lot of people refer to yams as sweet potatoes. Sweet potatoes are a separate item, with a whiter flesh than yams. Since I’m assuming Martha knows the difference, I used actual sweet potatoes, not yams for this (although I think a lot of people make yams for Thanksgiving and call them sweet potatoes, so I don’t know what she was doing).

This dish is really very easy to make and it’s possible to assemble it and then stick it in the fridge until you’re ready to make it, so in that sense it is a convenient thing for Thanksgiving.

First you boil the potatoes. Martha says to boil the sweet potatoes and the Yukon Gold potatoes together, but I found the sweet potatoes cooked faster. If you make this, I recommend boiling them separately.

Next you’re supposed to rice your potatoes. I don’t have a ricer. I tried a couple of alternatives. First, I tried to press them through a strainer. That did not go very well. It took a lot of effort to get any to go through. I gave up on that. Then I had the idea of using the grater attachment for my Cuisinart. It wasn’t a bad substitute, but some of the potato didn’t go through and sort of sat on the blade all mushy. Next I tried using a pastry cutter. That worked the best. It may not have been exactly like a ricer, but I think it was pretty close.

There aren’t many other ingredients – butter, milk, sage, salt and pepper and some breadcrumbs for the top. I got it all together and then baked it for about 35 minutes.

As for taste, I would much rather have regular mashed potatoes than this, but I can see how this would a nice dish to make for a big Thanksgiving dinner where you need to get things done in advance. It was a little bland and boring and I’m not sure I would want to put gravy on it. No one in the family was wild about it at all, so I won’t be making this again. Now, that being sad, it wasn’t a bad dish, just something that was not really to our liking.

Bookmark and Share

Thanksgiving still seems a long way away, but that didn’t stop me from test-driving a Thanksgiving side dish from Martha Stewart Living (Nov issue), Sweet Potato and Sage-Butter Casserole. I am a big potato fan. I must admit I have not cooked a lot with sweet potatoes. First of all, I find there is some … Read more

mondaysThe Martha Mondays assignment for 10/26 is the chili from October Living (p. 62). Thanks to Megan at MegansCookin for the pick. As always, anyone who needs the recipe, just let me know.

If you’re interested in joining Martha Mondays, just leave a comment or send me an email and I’ll add you to the blogroll.

The Martha Mondays assignment for 10/26 is the chili from October Living (p. 62). Thanks to Megan at MegansCookin for the pick. As always, anyone who needs the recipe, just let me know. If you’re interested in joining Martha Mondays, just leave a comment or send me an email and I’ll add you to the … Read more

mondaysFor this week’s assignment, I chose pork and chive potstickers (Oct Everyday Food) and Luminarias (October Living) so folks could choose one they wanted to do.

Potstickers

potstickerslsqMy family loves potstickers. I’ve bought them frozen and I’ve also made my own once or twice before, but I used wonton wrappers and ended up with little beggar’s purses. I was ready to make real potstickers. Lucinda Scala Quinn recently made this recipe on Martha’s show. The recipe is pretty easy, as far as prep goes.  I used ground turkey instead of pork which I mixed with the chives, soy sauce, sherry, ginger, sesame oil and cornstarch. On tv, I noticed Lucinda added a little water, which is not in the recipe.

I sealed the mixture in the wrappers, which took a while, since I tripled this recipe. I tried to make pretty pleated edges, but mostly it bunched up. The recipe says to boil them for 4 minutes, then sear them in a pan. I was taught to make potstickers by heating a pan with oil, searing the potstickers then adding a little water and putting a lid on and steaming them and that’s how I always have made them in the past. I followed Lucinda’s instructions on this though. It required an extra pot and I had some trouble with the potstickers sticking together when I set them on a plate in between the two steps. It did allow me to sear them on both sides, when in the past I usually seared just the bottom.

The dipping sauce was nice – soy sauce, rice vinegar, sugar and sesame oil. I made about 1/3 of the potstickers (since I tripled the recipe) and froze the rest (which I admit will be very handy to have around, so thanks for suggesting it Lucinda). The family ate every single one and wanted more. I thought they were good, but next time I would add a little more flavor. Maybe it was because I used ground turkey, but I found them a little bland. I think they needed garlic. Other than that, they were quite good.

Luninarias

tracing the template

tracing the template

I was hesitant about this project. I’m always a little leery when something that looks so complicated is spelled out in three tiny little steps. The first problem was the materials. The instructions specifically say to buy a piece of 24×36 black paper.  No one sells this. I went to Michael’s, Joann’s and a local art supply store. The art supply store had paper that was 22 x 30 so I ended up buying that and then it turned out it was more than big enough and regular poster size would have worked (grrrr). They did have vellum but I had no idea what weight I wanted. I had to buy one big piece of vellum and cut it down (would have been nice if the instructions said to buy four 8×11 pieces which is what I ended up needing). Sometimes I think that the MSLO folks who create these projects forget that the rest of us don’t live in NYC where you can buy absolutely anything.

Once I got through the craziness of trying to find the materials, this wasn’t

cutting out the vellum (see the price tag!)

cutting out the vellum (see the price tag!)

that hard to do. Mr. MarthaAndMe helped out because I’m not so good with a craft knife. We printed out the template for the lantern and traced it on the black paper, then cut it out with the craft knife.  Then we printed the witch template onto the pieces of vellum we had cut down to size. (Mr. MarthaAndMe was very upset about a price tag that would not come off and which had to go through the printer – we don’t understand who would sell a piece of paper meant for projects that has a price tag that won’t come off!).

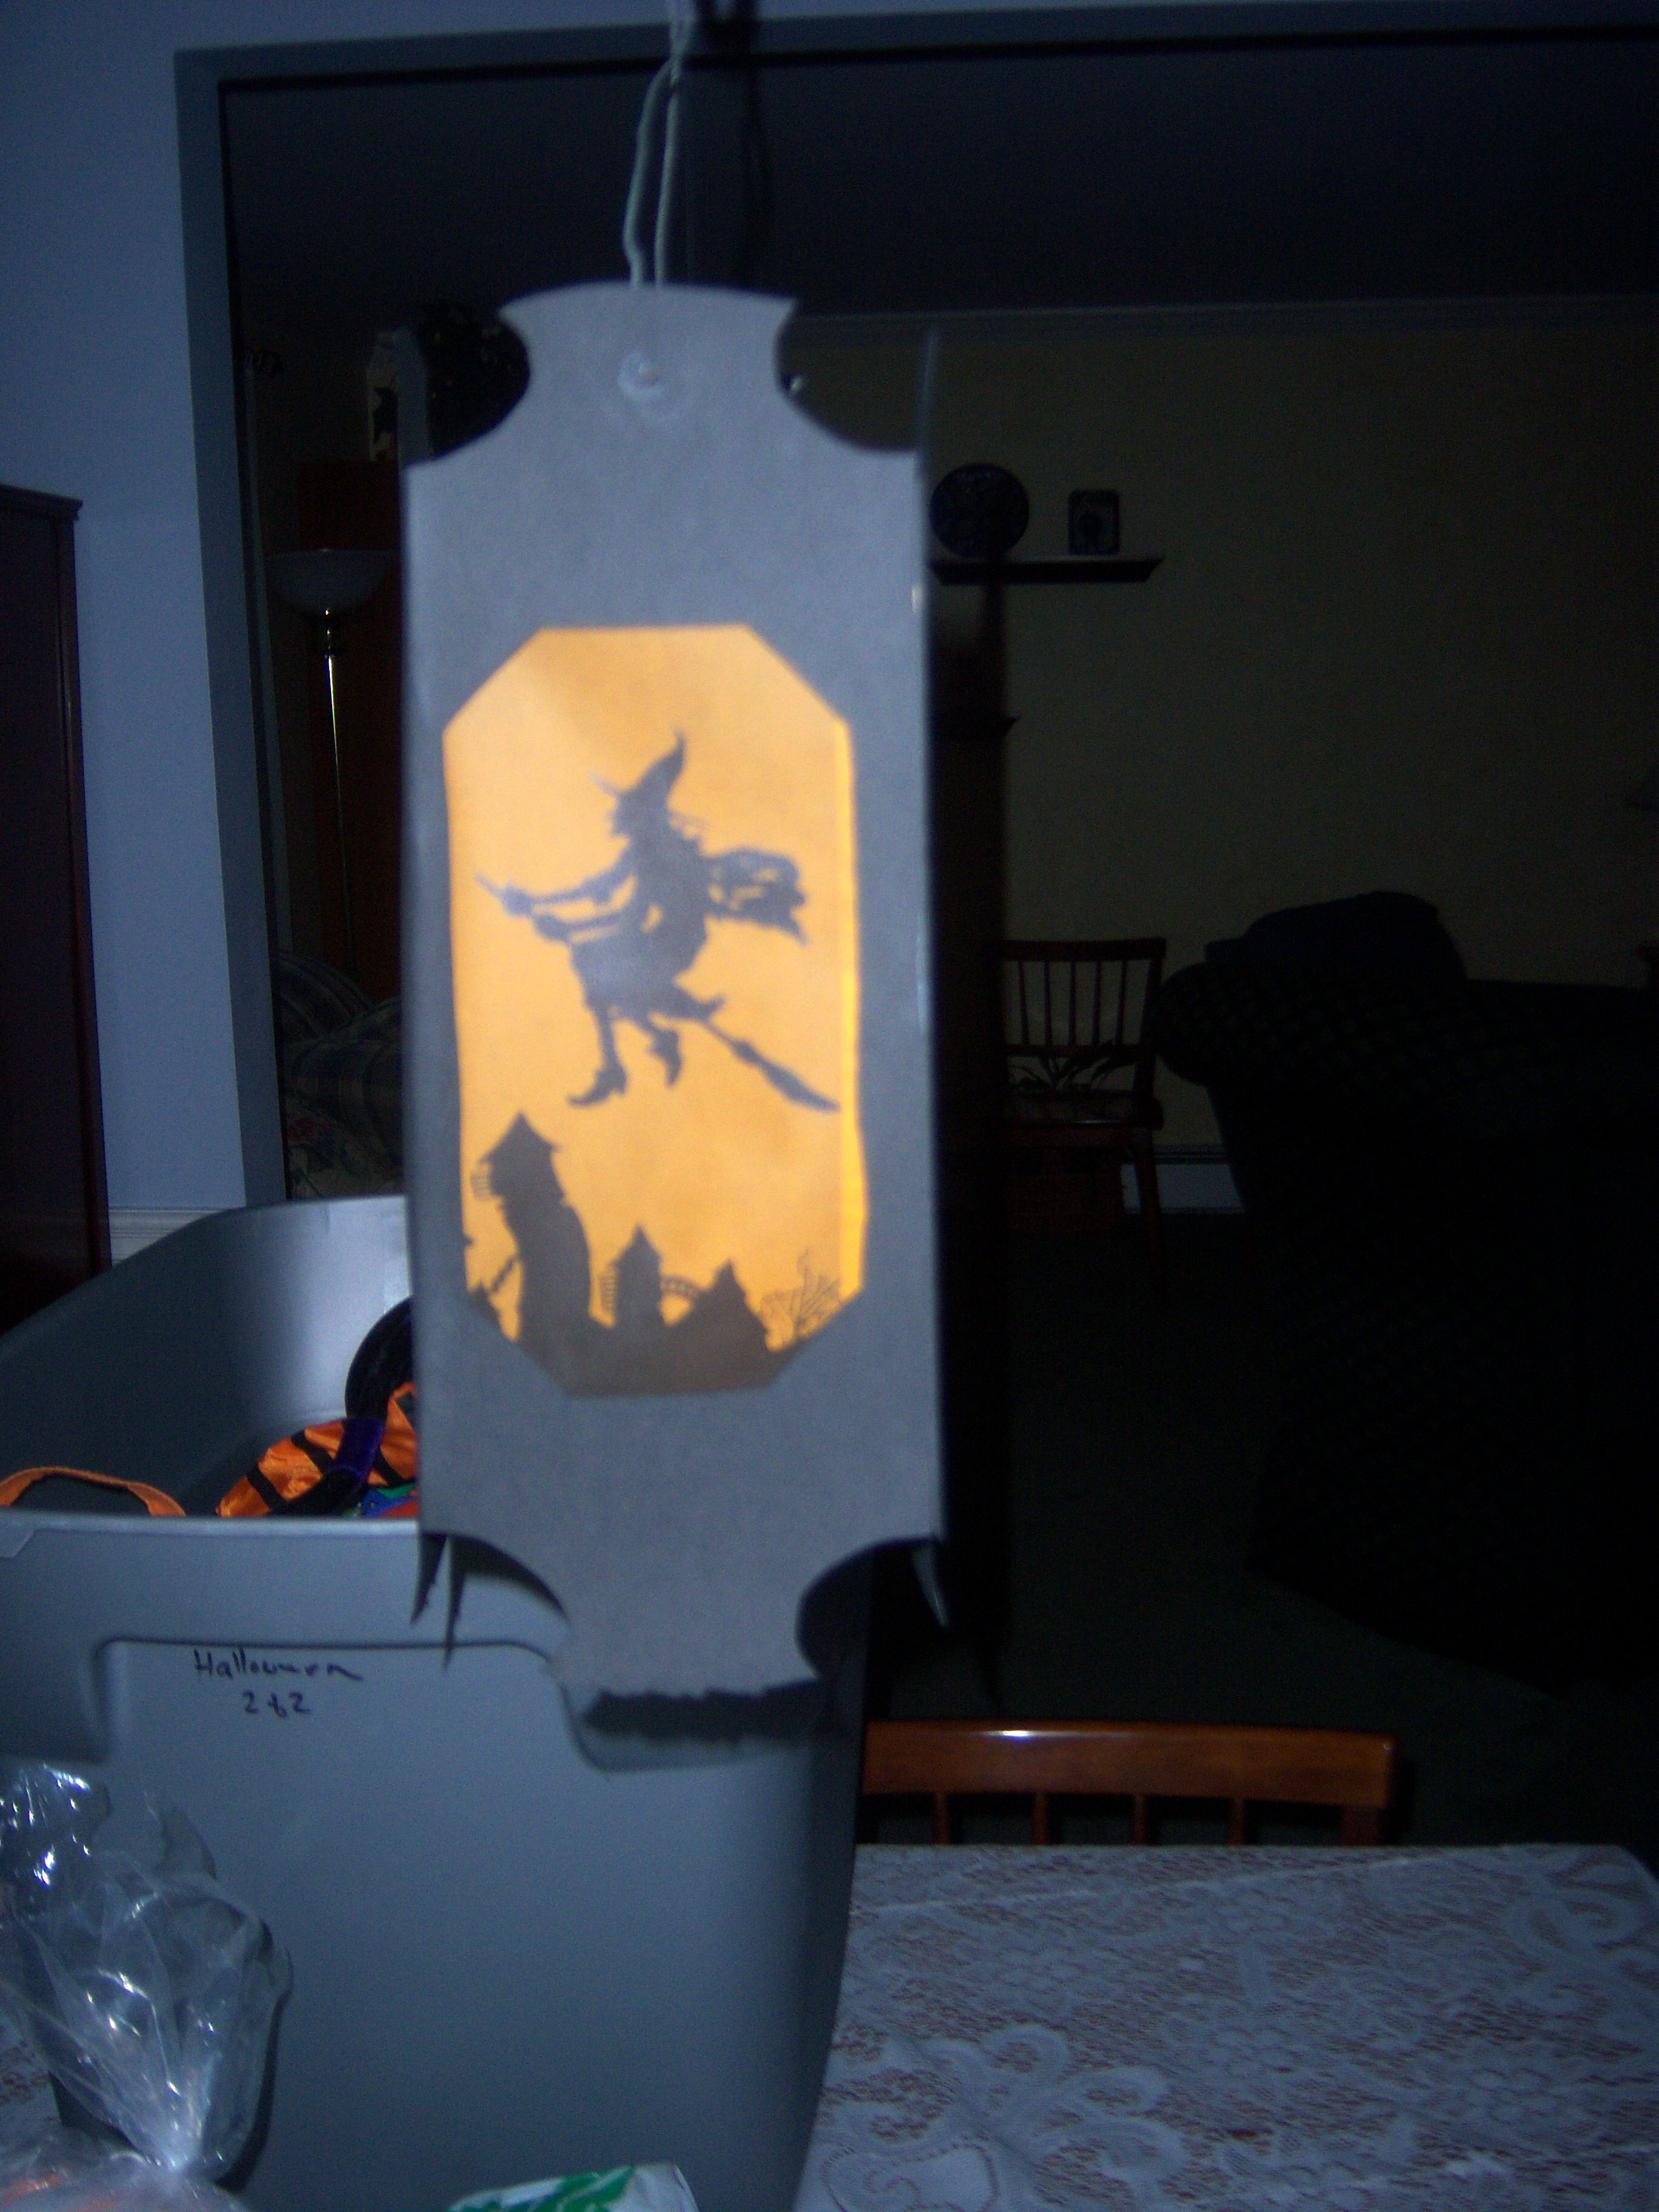
luminThen we used tape to attach the vellum to the lantern windows. We folded the lantern up (I don’t have a bone folder and we were fine without it). The tricky part was attaching wire and the hanging battery powered little light inside. Mr. MarthaAndMe had to handle that part.

This project took about an hour, not counting the shopping time.  I was really quite pleased with the results. We hung it from our dining room chandelier, so that it will be over the table for the Halloween lumin3party.

Bookmark and Share

For this week’s assignment, I chose pork and chive potstickers (Oct Everyday Food) and Luminarias (October Living) so folks could choose one they wanted to do. Potstickers My family loves potstickers. I’ve bought them frozen and I’ve also made my own once or twice before, but I used wonton wrappers and ended up with little … Read more

We’re planning a Halloween party as the one year wrap up to my Martha project. I’ve hit a few bumps along the way and thought I would share them.

First of all, why don’t people RSVP? It makes it so hard to plan things!

My biggest gripe though has to be the things I simply cannot find that I need! Martha demonstrated how to use her Halloween stencils to decorate cupcakes on her show. I can’t find them anywhere. And at this late date, I’m worried about ordering them online in case they don’t arrive in time.

I had to order black tissue paper online for my Martha tablescape. I simply could not find it anywhere. So I ended up paying $5 for shipping for a 99 cent item.

I’m looking for cheap doll parts. I’m planning to make buried alive cupcakes – chocolate cupacakes with an arm sticking up out of them. I actually found this idea in Rachel Ray’s magazine. But I can’t find doll parts anywhere for a reasonable price. I was even hoping to find a bag of cheap little dolls at the dollar store, but they only come singly for $1 each and I need at least 20 arms, so that $10 which seems like a lot. I haven’t found any online for a good price, because the cost of shipping always makes it ridiculous.

We have some fun games planned:

– donut on a string (see who can eat it first with their hands behind their backs)

– eyeball pong (ping pong ball with an eyeball on it – you try to bounce it into cups to win a prize)

– monster assembly (we are collecting bags of stuff we would normally throw out and will give each team a box to make a monster out of)

– name the body part (we’re going to put food items inside boxes and have them guess what body part it is supposed to be)

– candy corn relay

– pitch a penny into a jack o lantern

– pumpkin bowling (we’re making ghost pins out of white cups and using a small pumpkin as a bowling ball)

I’m going to start making some food and freezing it this weekend to get a jump on things. I’m making Martha’s one bowl cupcakes for the buried alive cupcakes and the stencil cupcakes if I ever find the stencil, the marshmallow ghosts in the Halloween issue, the chocolate pumpkin tart from it also, the black bean guacamole from the Halloween issue  (which I’m going to serve in a carved gourd), punch with a frozen hand floating in it along with ice cubes with gummy worms, the puff pastry cheese pumpkins from the Halloween issue, rice krispy treat coffins, a veggie tray that I need to spook up somehow, and little bowls of pink yogurt with mouths on them made of apple slices and yogurt raisins.

For decorations, we will have the luminaria (see tomorrow’s Martha Mondays), a gourd totem (from the Halloween issue) and possibly one of the toadstools from the cover of October Living. I also bought some spider web junk and caution tape, as well as all of our regular Halloween decorations.

As for costumes, Dude Martha has a store bought costume and Teen Martha will be wearing a toga I am making for her. I’m going to be Martha. Mr. MarthaAndMe is undecided. We’ve batted around a lot of ideas, including Tim Gunn, Ryan Seacrest, and Simon Cowell. His old fallback costume is a vampire (he won a prize at a church party as a child and never deviated after that). The other option is for him to be Martha also (Drag Martha).  You’ll just have to tune in after Halloween to see what he ends up as!

Bookmark and Share

We’re planning a Halloween party as the one year wrap up to my Martha project. I’ve hit a few bumps along the way and thought I would share them. First of all, why don’t people RSVP? It makes it so hard to plan things! My biggest gripe though has to be the things I simply … Read more

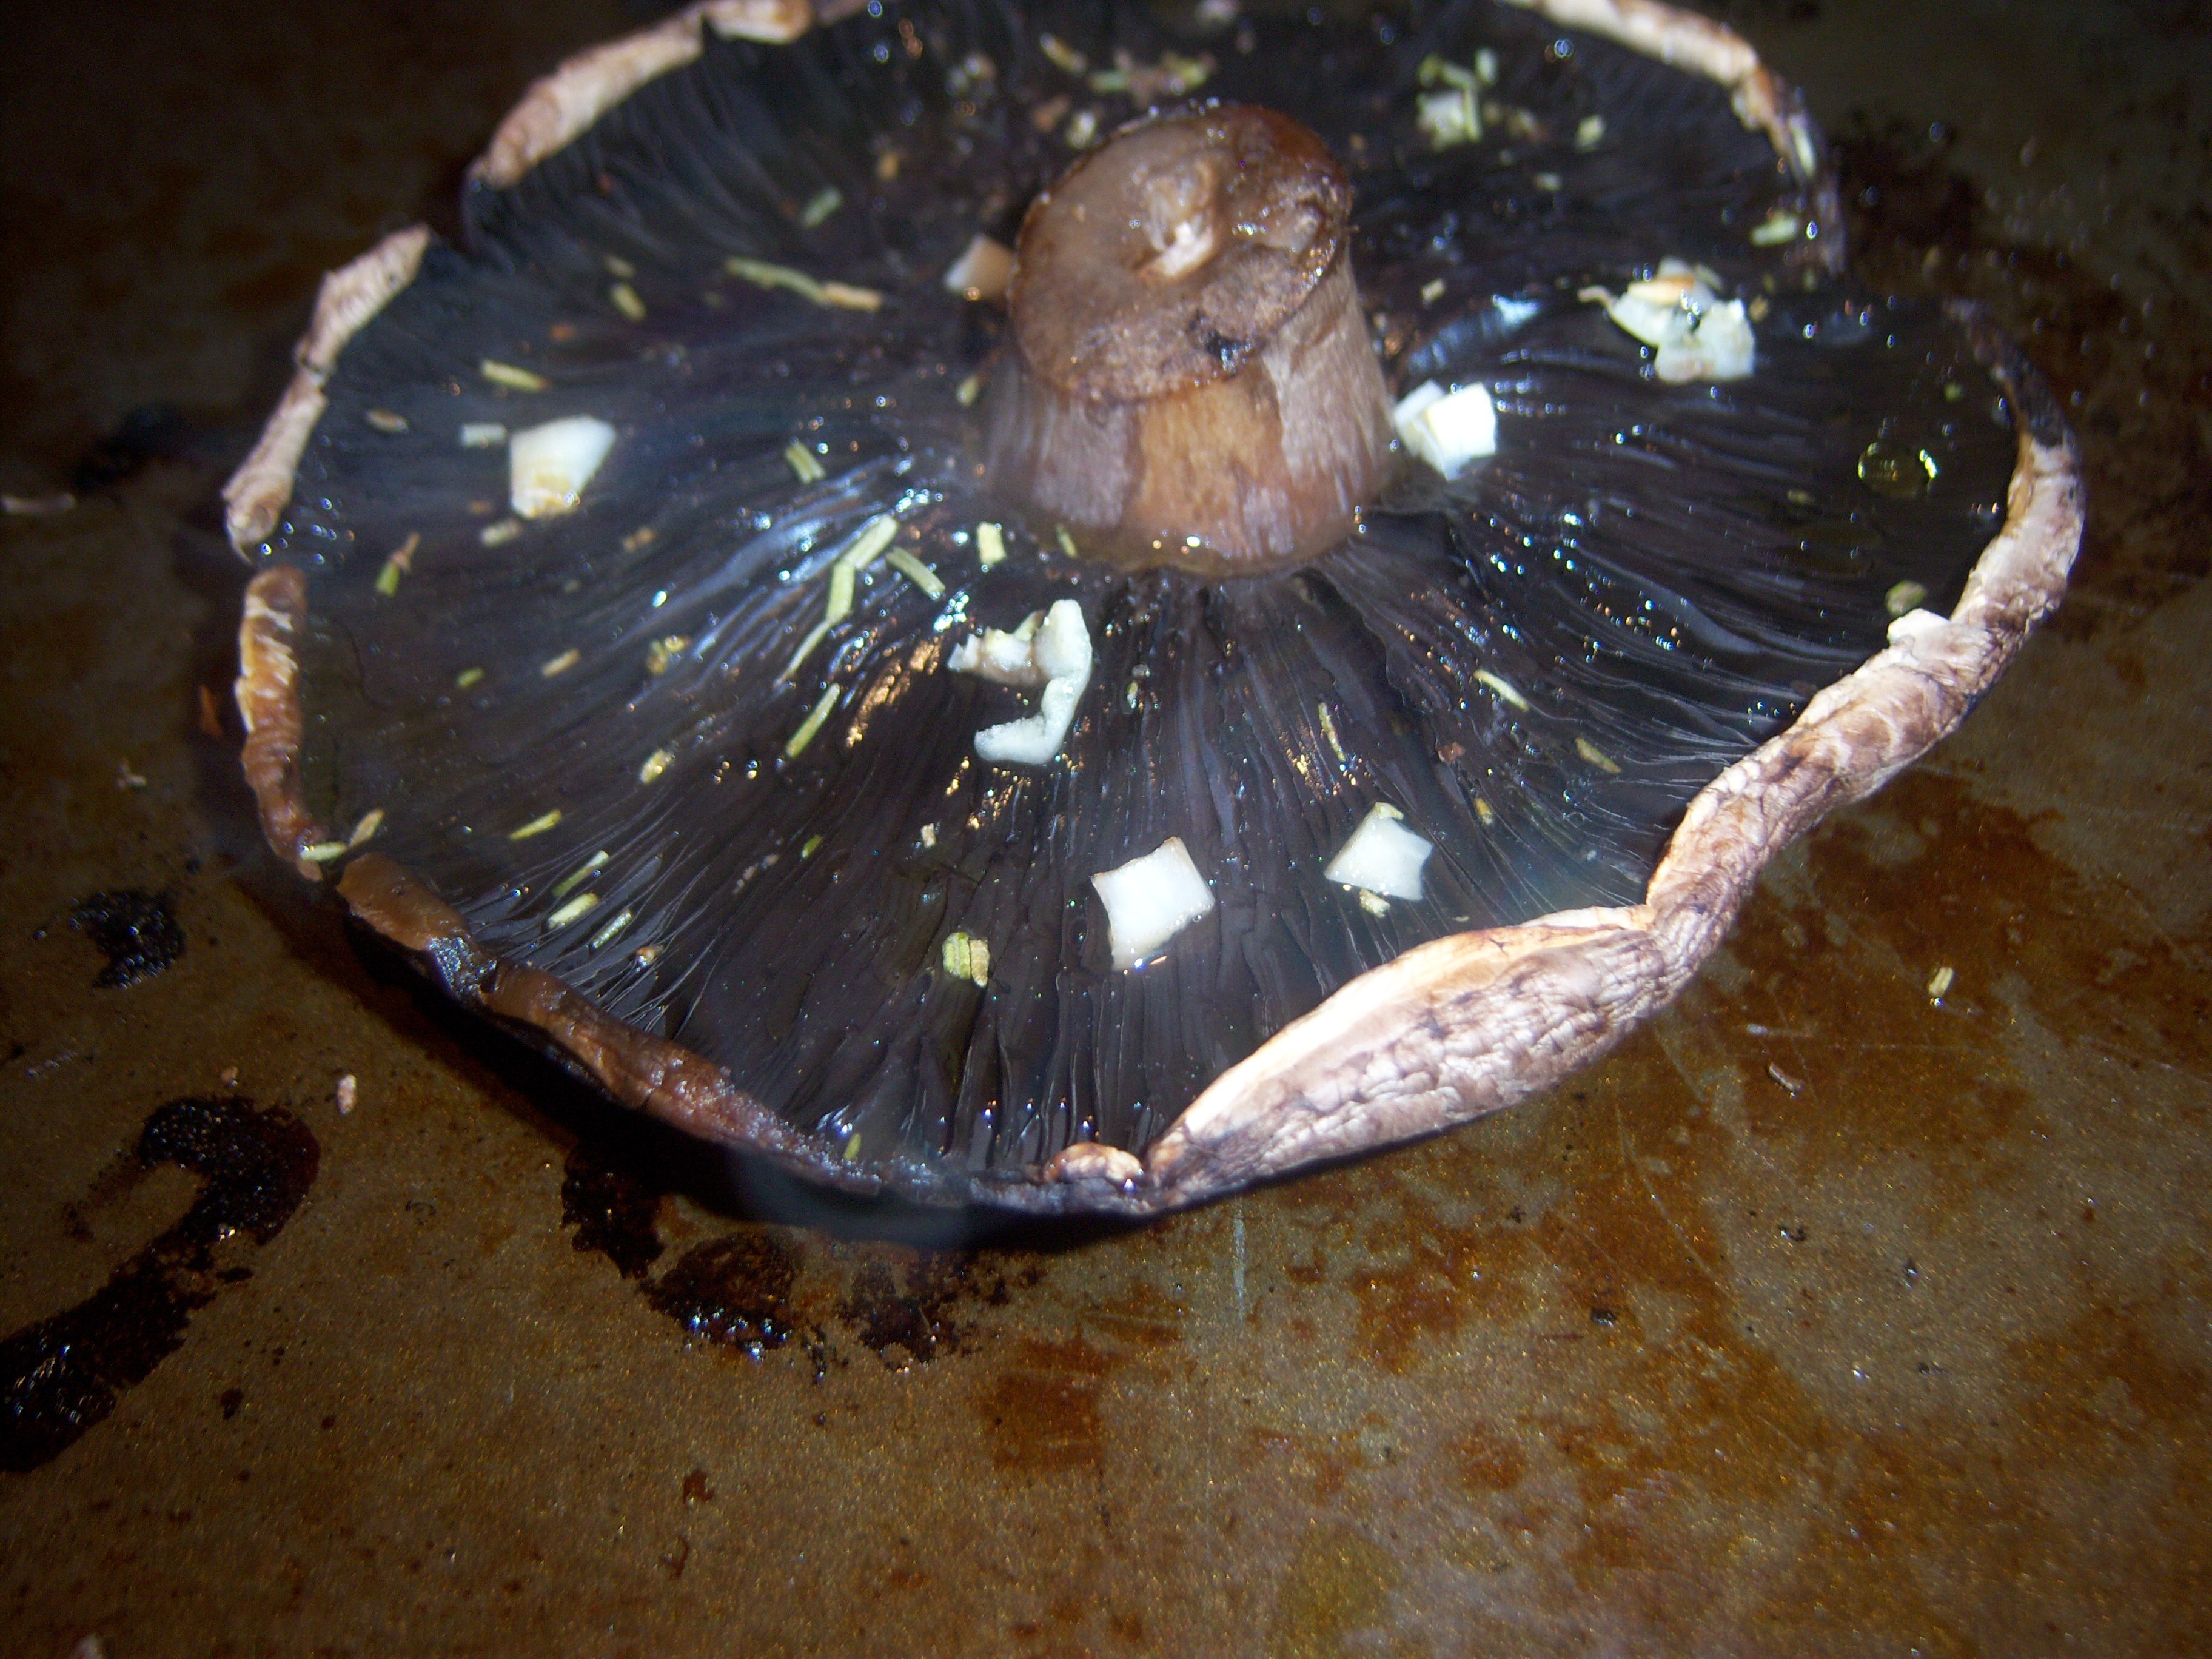
portobello roastedI bought a package of two portobello mushrooms, intending to make Roasted Portobellos with Rosemary (Oct Everyday Food). I liked the sound of this recipe, but I admit I wasn’t quite sure how to fit it into a meal. A note at the bottom of the page suggests using them in a veggie burger, which would have been good.

I ended up making this on a crazy night and we just had some salad and bread with it. I say “it” because we only ended up with one mushroom. I cleaned them and left them on the counter. One of our dogs helped himself to one of the mushrooms, leaving me with just one!

I chopped up a tiny clove of garlic and added some dried rosemary, olive oil and salt and pepper and roasted this in the oven at 450 for about 10 minutes. It turned out quite nicely. Mr. MarthaAndMe and I split it and ate it with our salads. It had a nice flavor and was very juicy. The garlic and rosemary gave it a nice depth of flavor.  I just hate how portobellos always have juice that runs all over the plate, turning everything brown.

Bookmark and Share

I bought a package of two portobello mushrooms, intending to make Roasted Portobellos with Rosemary (Oct Everyday Food). I liked the sound of this recipe, but I admit I wasn’t quite sure how to fit it into a meal. A note at the bottom of the page suggests using them in a veggie burger, which … Read more

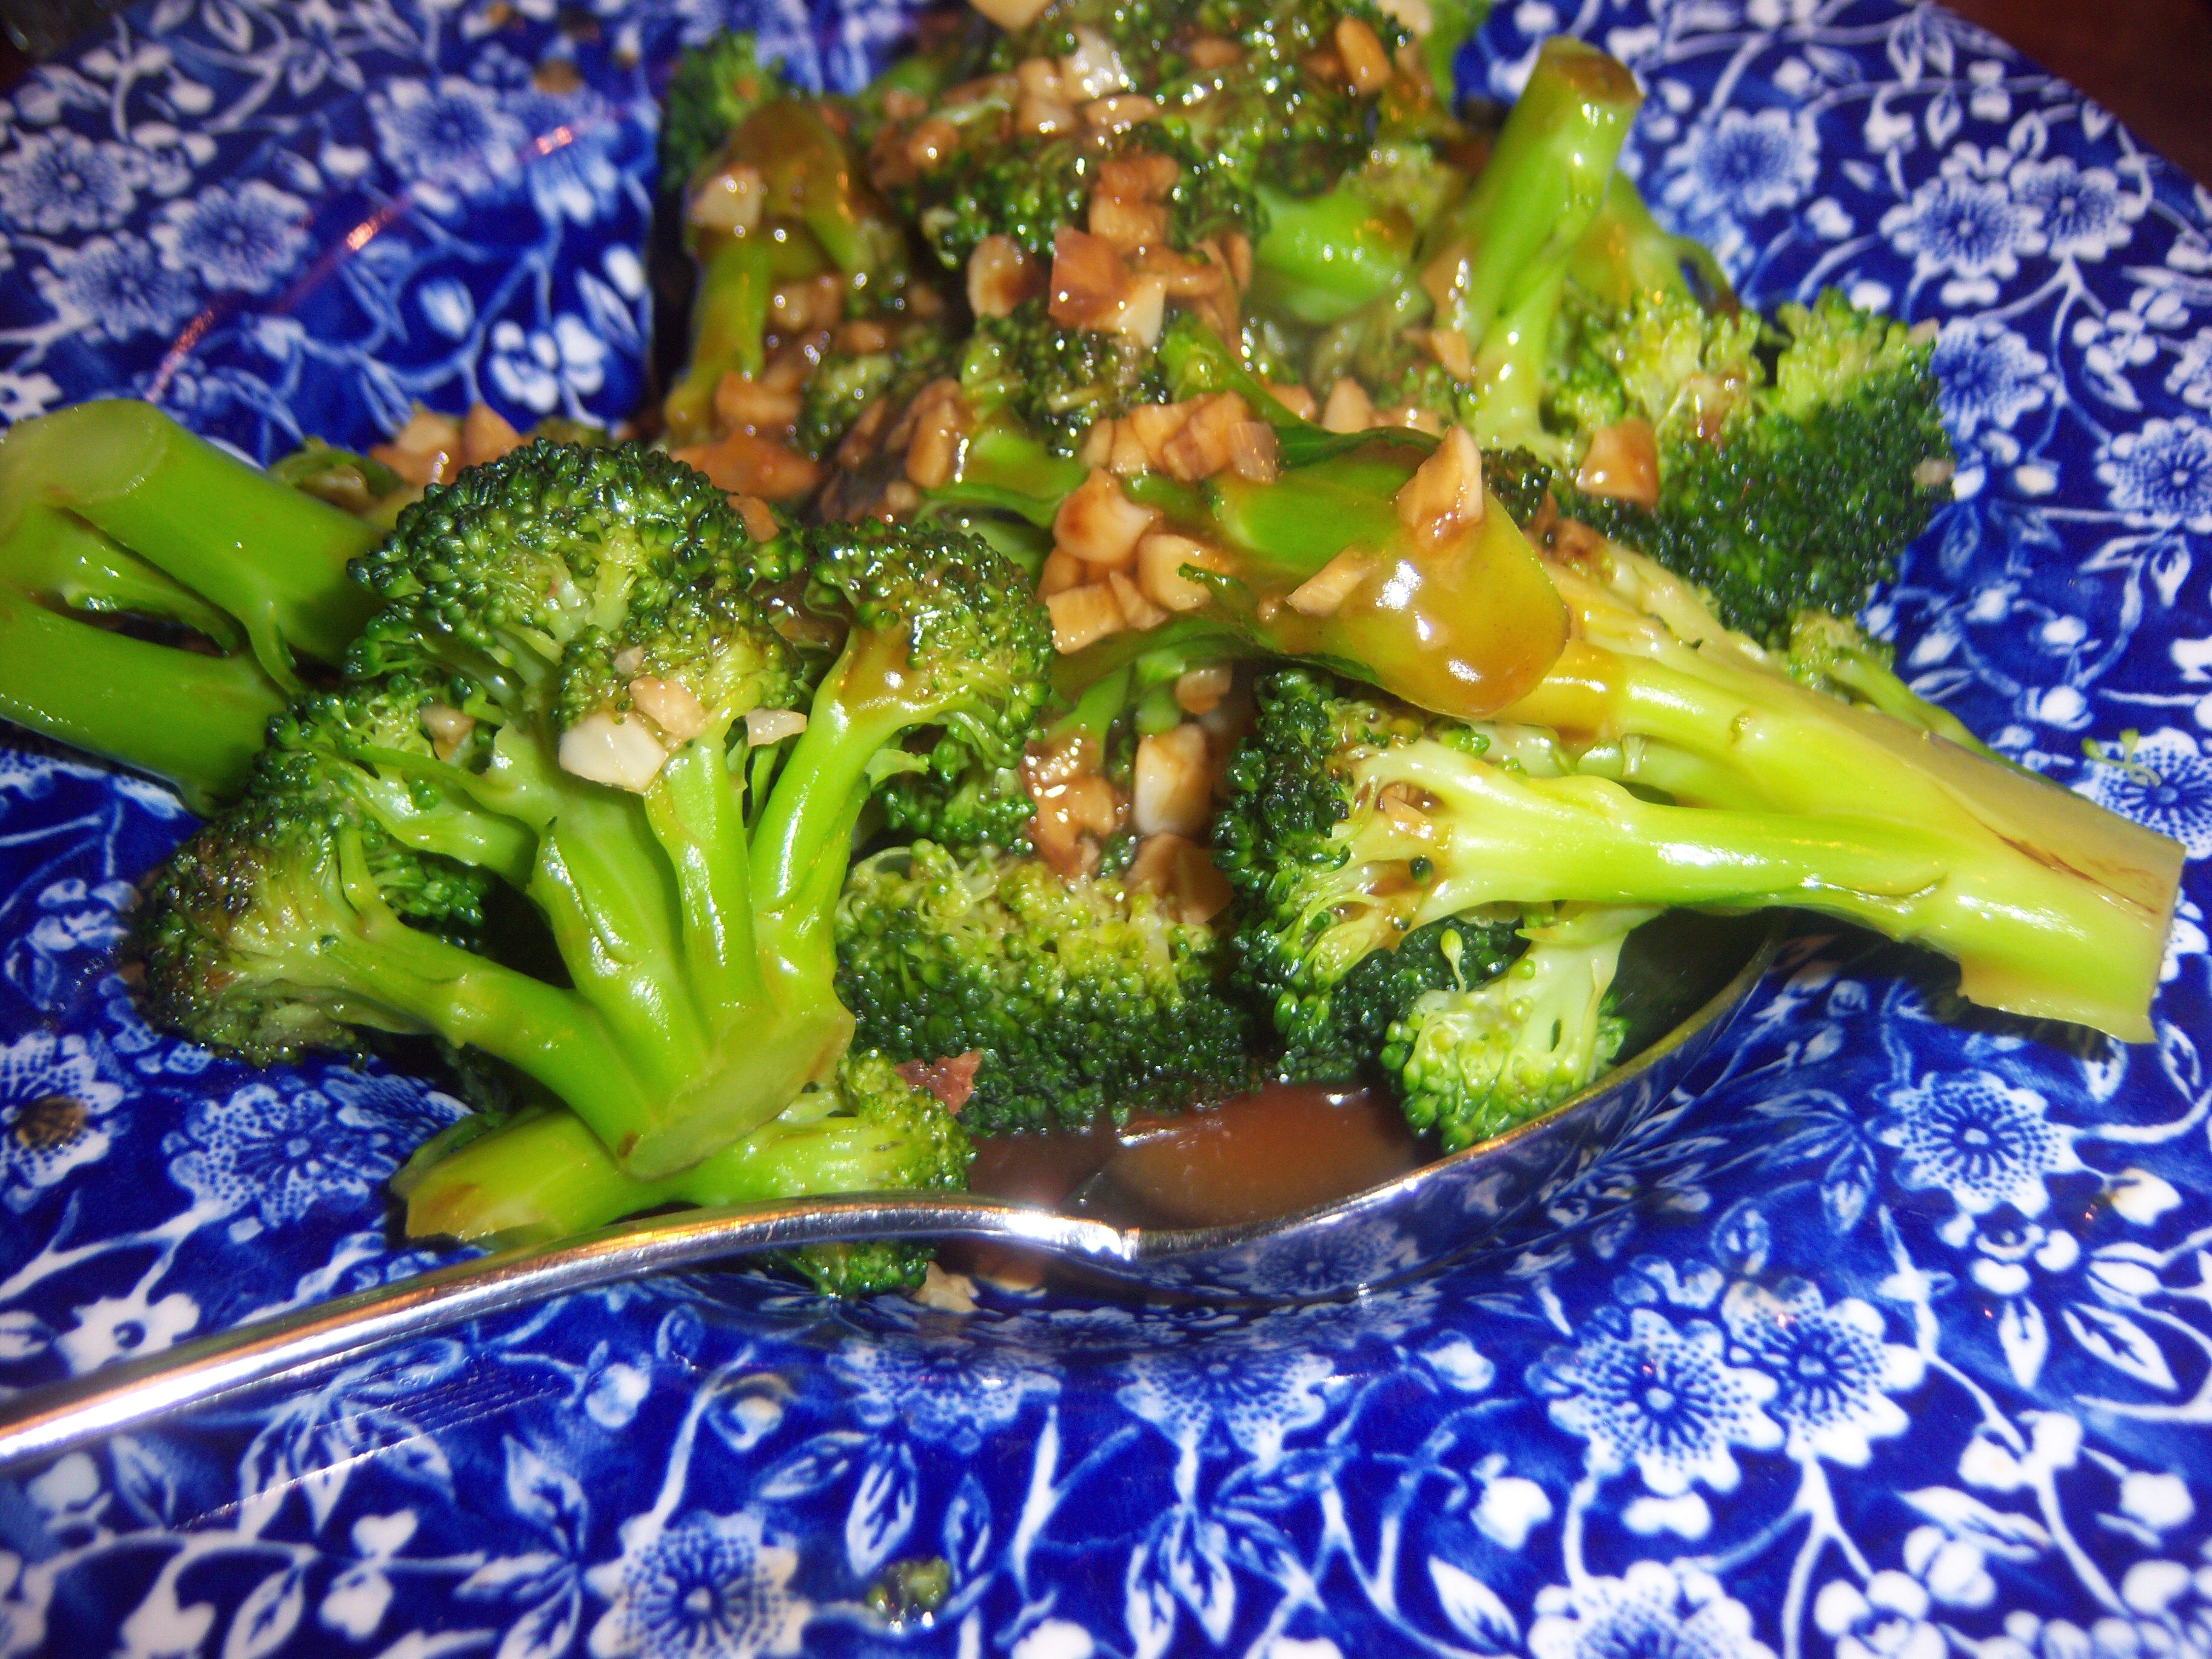
broc oysterLucinda Scala Quinn recently appeared on Martha’s show to demonstrate some recipes from October Everyday Food – one of which was Broccoli with Oyster Sauce. The magazine also included a recipe for Cashew Chicken. I made them together one night with some brown rice. I like making Chinese at home, but it’s always so much prep work. The actual cooking is always very quick, but I end up with piles of dishes and opened bottles all over the counter. And I’m always exhausted at the end.

The broccoli dish was very easy.  You cook some garlic and then add your broccoli to the pan where you saute it until it is bright green. Then you add a little water and cover until it’s cooked and then  stir in the sauce. I’ve never cooked broccoli like this; I usually steam it. It did turn a very pretty green color and it was a very quick method. I loved the oyster sauce, which has a nice deep flavor to it.

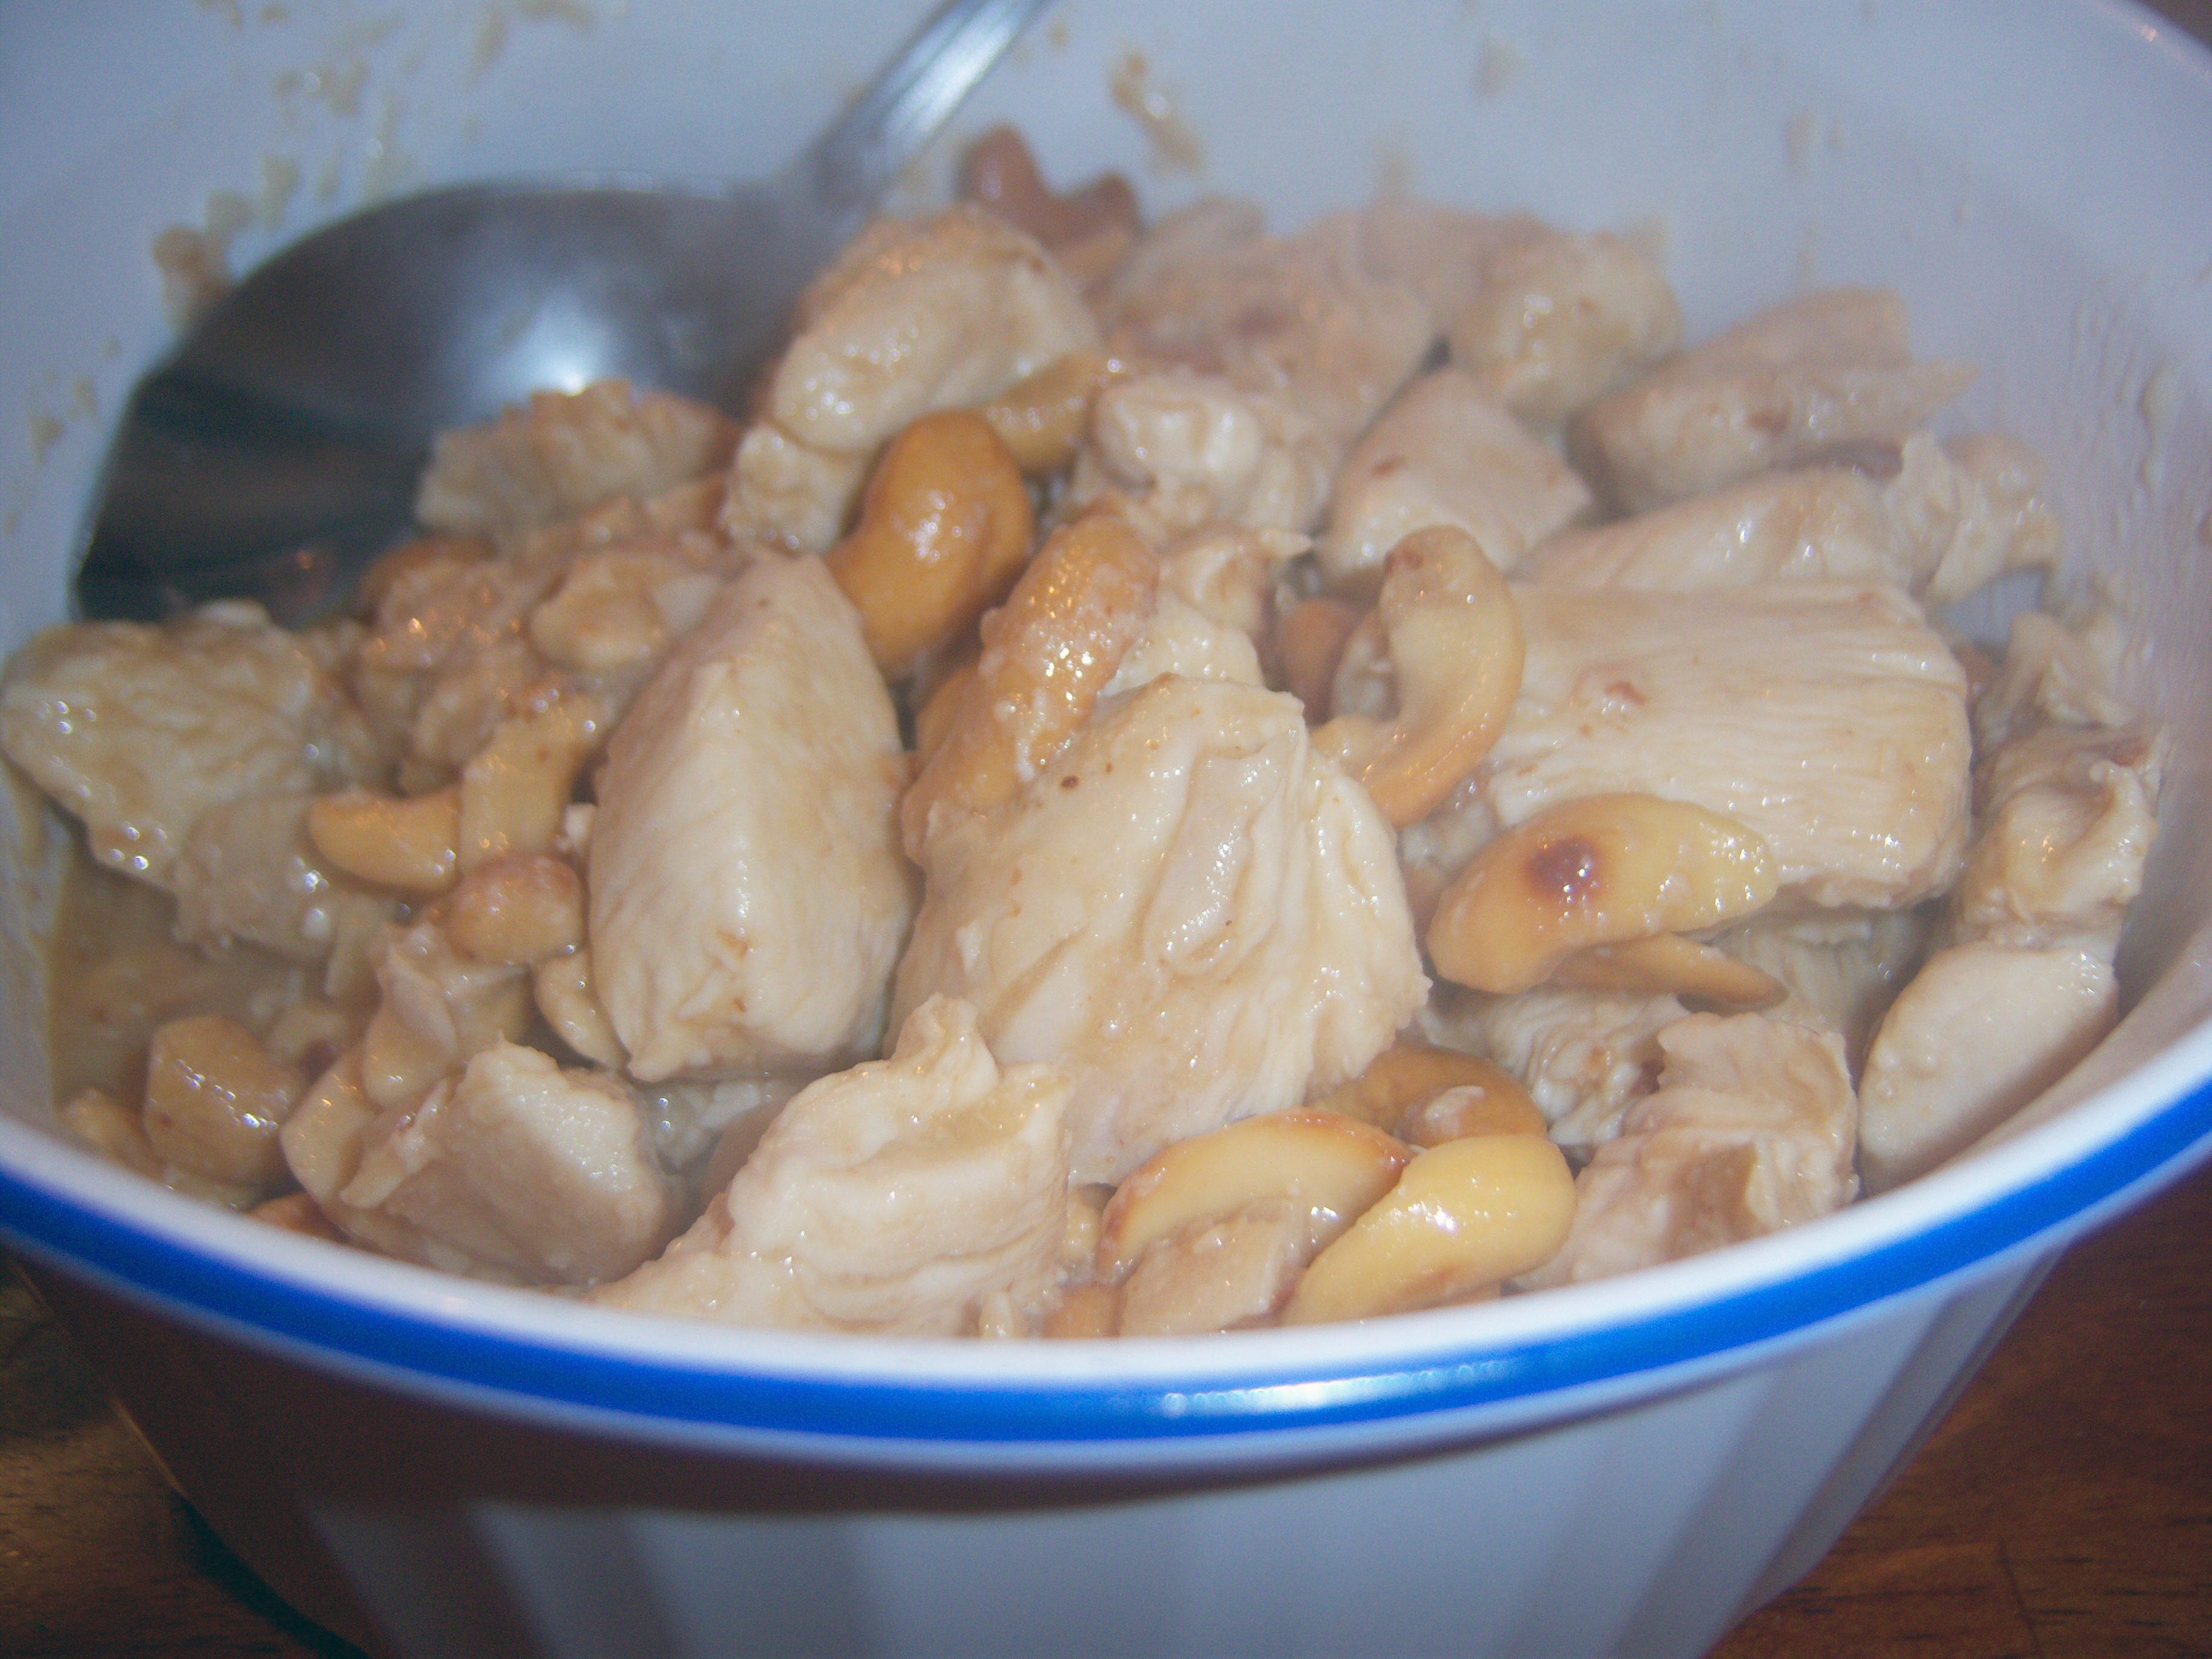
The cashew chicken was a little more involved. You mix the chicken with cashew chickenginger, sherry, salt and cornstarch and let it sit for half an hour in the fridge. Then you cook it, remove it and cook your garlic, cashews, and scallions. Then you add the chicken back in and the mixture you’ve made up for the sauce (chicken broth, soy sauce, vinegar, sugar, and cornstarch) and the cashews.

My chicken did not really brown – there was a lot of liquid in it. I should have poured some off and tried to get a better sear on it. The end result was ok, but not great. It all just looked too pale to me and I also felt it was lacking flavor. I think it needed some vegetables to liven it up a little and I also would have increased the amount of ginger and garlic. It just needed some oomph. We ended up mixing the broccoli and chicken together with the rice to get it to taste like something. Other than that, it was a decent dish and much cheaper than take out.

Bookmark and Share

Lucinda Scala Quinn recently appeared on Martha’s show to demonstrate some recipes from October Everyday Food – one of which was Broccoli with Oyster Sauce. The magazine also included a recipe for Cashew Chicken. I made them together one night with some brown rice. I like making Chinese at home, but it’s always so much … Read more

pump muffinIt’s the 15th, so it’s time for another installment of the Martha Stewart Cupcake Club (please go check out some of the other member’s blogs). This month’s cupcake is Pumpkin Patch, from Martha’s cupcake book – a timely choice. I usually make pumpkin bread around this time of year and also have a pumpkin cookie recipe that is a favorite around here. I was excited to try the pumpkin cupcakes.

I used all whole wheat pastry flour in this recipe – a first for me. The recipe also include buttermilk, which always means it will be very moist. This doesn’t have a ton of pumpkin – a cup and a half. The cupcakes mixed up nicely – and they were my first recipe using my brand new hand mixer. The beaters on my old one rusted and were falling apart, it was time for a new one pumpk muff2(and the replacement price for the beaters was higher than the cost of a brand new mixer!).

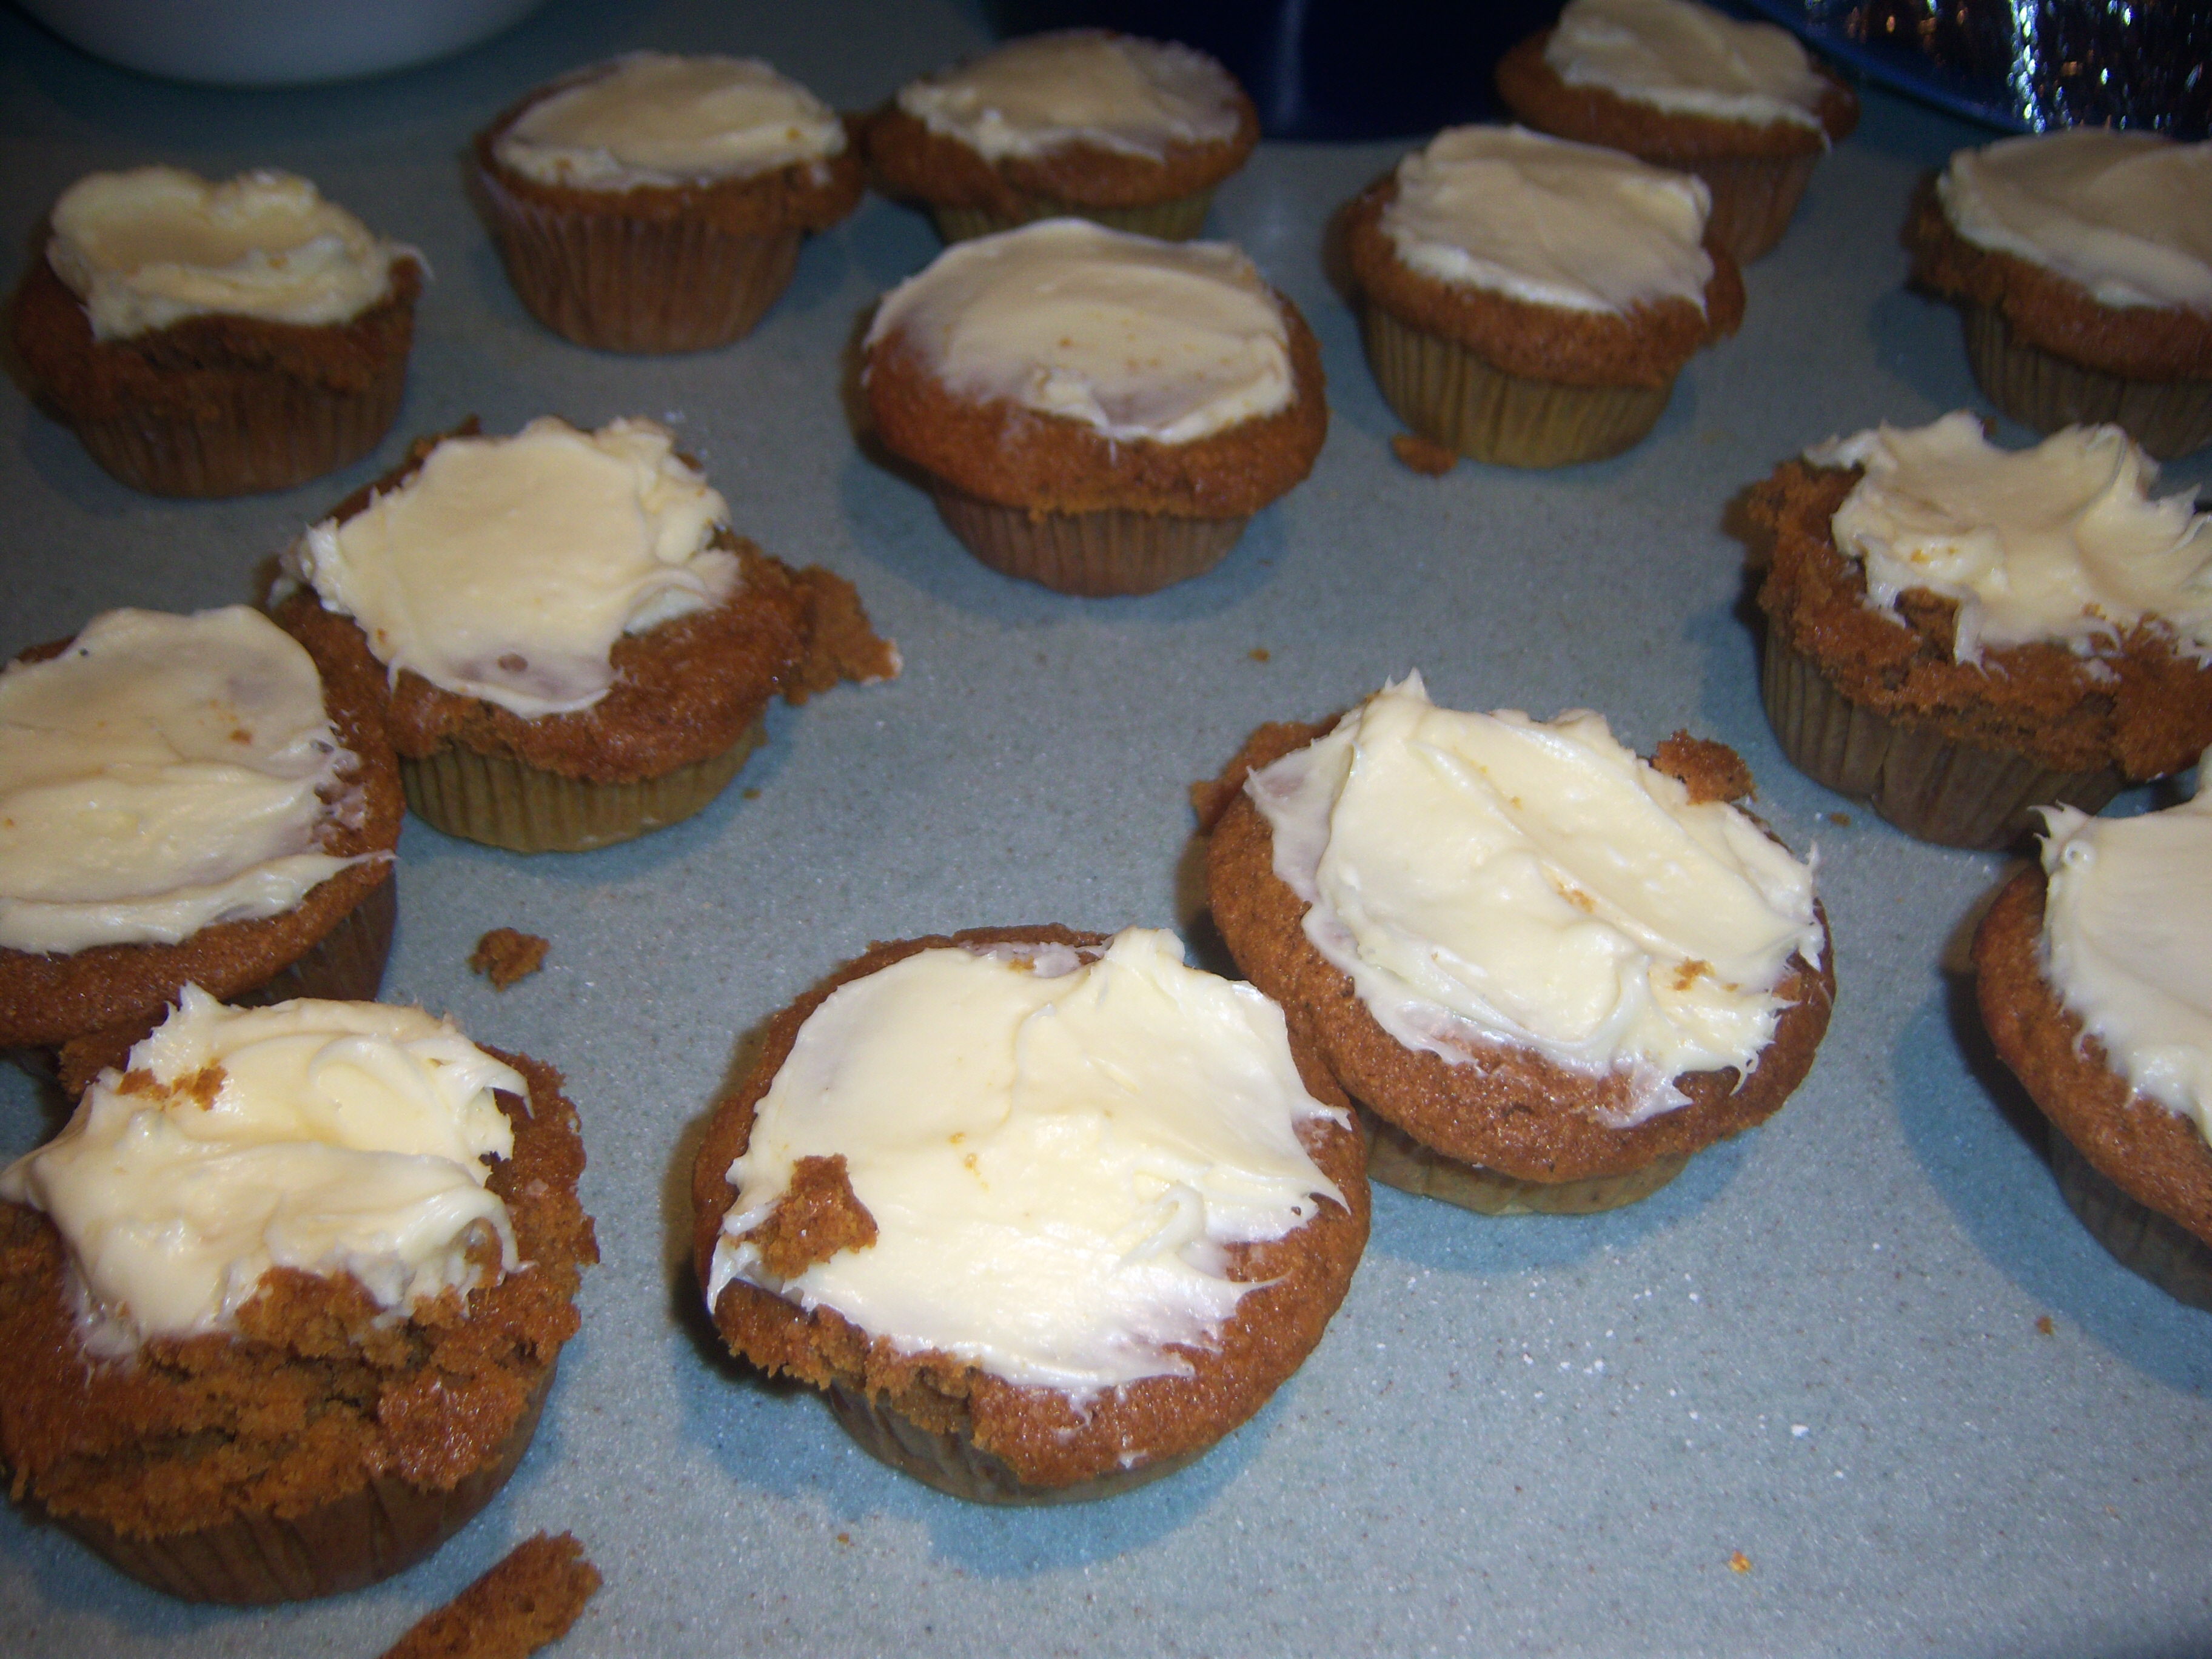
These took longer to bake than Martha predicted – about 10 minutes more actually. They were very wiggly for a long time. I made the cream cheese frosting suggested in the recipe (except I only made half a batch of it because I remember how much it made), but here, my cupcake club friends, is where I failed you. As you can see, my cupcakes were a bit of a mess. I tried to just spread some frosting on top. Silly me. This really needs to be piped on since the cupcake is very soft and fragile. Mine completely fell apart when I tried to put frosting on with an offset spatula. I’m just not into piping (mostly because I HATE trying to clean those little plastic tips). So these cupcakes are the ugly stepsisters of the ones other members of the club will have on their blogs, I’m sure.

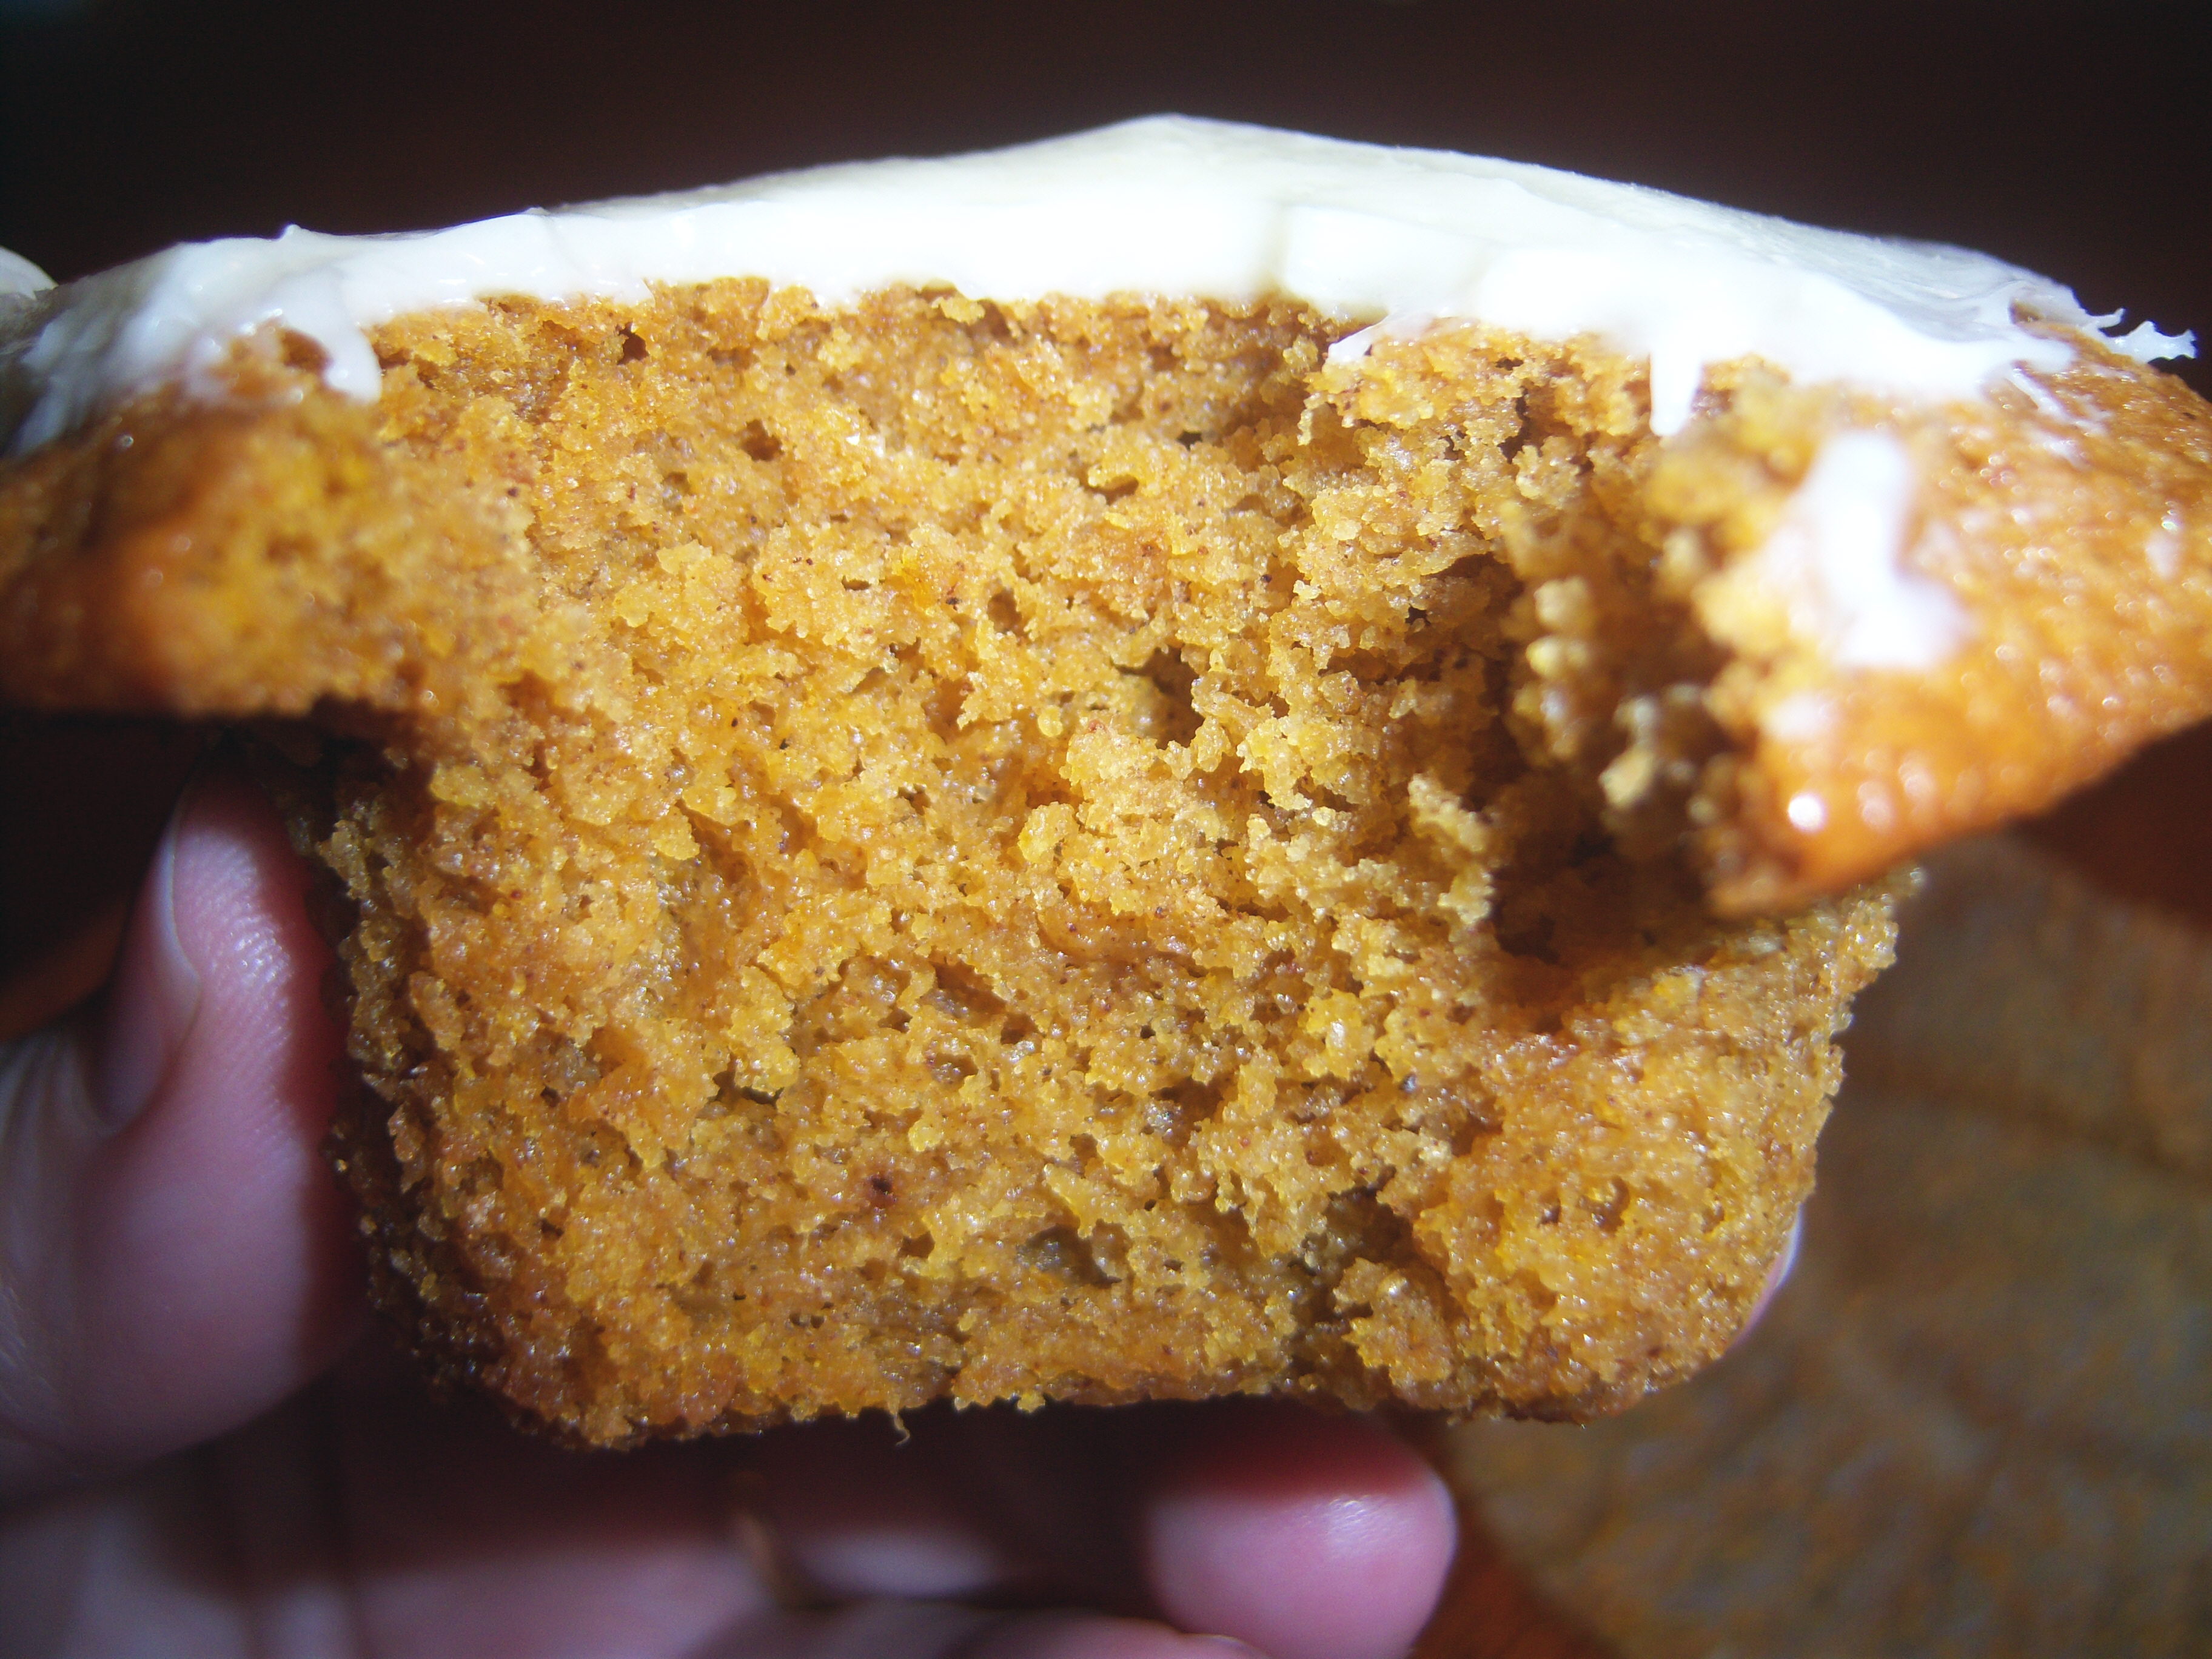
Even though they didn’t look very nice, these tasted great! They were fabulous and I was pleased with the way the whole wheat pastry flour tasted. It wasn’t too heavy nor was it overpoweringly wheaty. It did have a pumpkin flavor, but again, it was not overwhelming. They were soft and moist. The frosting, of course, was just evil, as Martha’s cream cheese frosting always is. Everyone in the family liked these very much. A winner!

Bookmark and Share

It’s the 15th, so it’s time for another installment of the Martha Stewart Cupcake Club (please go check out some of the other member’s blogs). This month’s cupcake is Pumpkin Patch, from Martha’s cupcake book – a timely choice. I usually make pumpkin bread around this time of year and also have a pumpkin cookie … Read more

Lucky Kevin Sharkey. He is Martha Stewart Living decorating editor and he’s remodeling his apartment. Each month, a piece about it will appear in the magazine (and clearly MSLO is footing the bill, sigh). In November Living, Martha redos his kitchen. Who wouldn’t want Martha redoing their kitchen? Lucky, lucky man. Many of the ideas are terrific – and are things I did when we remodeled (vertical dividers for baking sheets, under-shelf baskets, towel rod, wire basket organizer, and drawer dividers). Some I find annoying. For example, she stored all of his flower decorating items above the fridge, then put the folding ladder he needs to get to them in a drawer on the floor, under the sink cabinet. If that was my kitchen, I would not want to have to crawl on the floor to get that stool out every time I needed to get to that cupboard – however I understand there are space constraints in this project.

The part of the project that got me giddy though, is the Kitchen Must-Have Checklist. It’s almost like a quiz (and who doesn’t love a quiz?). I was so excited to get a pen out and check off everything I have. Items I own are in regular black. Items I do not own are in bold.

Cooking Basics
1 1/2 qt saucepan w/ lid
4 qt saucepan w/ lid
10 or 12 inch cast iron skillet (I know people like these, but I don’t – somehow they always seem sticky and greasy to me, not to mention so darn heavy)
medium saute pan
steamer insert
medium Dutch oven
2 qt baking dish
nonstick frying pan
stockpot
shallow stainless steel roasting pan
instant-read thermometer
pepper mill

Preparation Utensils
stainless steel mixing bowls
bowl scrapers
whisk
wooden spoons
stainless steel ladle (on my Xmas list – I have an old plastic one that needs to go)
colander
cutting boards
silicone spatulas
cookie spatula
stainless steel box grater
stainless steel tongs
vegetable peeler
fine sieve
slotted spoon
cooking spoon
long-handled fork
kitchen shears
kitchen timer
vegetable brush (I don’t get why this is necessary when I have a regular scrub brush)
can opener
vegetable slicer (mandoline) (yes, I need one, but frankly they scare me! I’m always sure I’ll shave a hunk off my finger. I do have a slicing blade for my Cuisinart.)
garlic press (I’ve never seen Martha use one – she always chops her garlic and so do I)
citrus reamer
basting brush (silicone)
salad spinner (I had one but got rid of it when we moved since it took up too much cupboard space. Now I rinse my lettuce in a colander, give it a good shake after it has sat for a while, then dump it into a towel where I pat it dry)
microplane zester
wire skimmer
potato masher (I’ve never seen a need for one of these – I mash potatoes with a mixer)

Measuring and Baking
measuring spoons
dry measuring cups
liquid measuring cups
oven thermometer
9 inch round baking pan (just one Martha? You’ve got to have 2 I think)
springform pan
baking sheets
nonstick baking mats
cooling racks
9 inch pie plates (glass and metal)
muffin tin
loaf pan
flour sifter (I never sift! And if I ever needed to, I would use my fine sieve)
parchment paper
rolling pin
kitchen scale
pastry brush
dough scraper
biscuit cutters (I use a glass to do this)

Basic Knives
3 1/2 inch paring knife
8 inch heavy chef’s knife
8 inch bread knife

Small Appliances
food processor
blender (I never use)
coffee/spice grinder
coffeemaker (we don’t drink coffee!)
stand mixer (I never use)
toaster/toaster oven
microwave

There are only 12 items I don’t have (so I have 85%). And honestly, I’m not really about to run out and buy them since I’ve never really felt a need for them. I would never buy baking pans, loaf pans, muffins pans, etc that are not silicone.  So I would change that. Items my must-have list would also include:

cookie dough scoop

ice cream scoop with antifreeze in the handle

8×12 glass baking dish

potholders!

trivet

square glass baking pan for brownies

Christmas cookie cutters

knife sharpener

offset spatula (impossible to frost a cake without one IMHO)

pizza cutter (pizza is BIG in this house)

hand mixer (I never use my stand mixer since it’s so heavy and I don’t have room to leave it out. I also find it awkward to use. It’s hard to get ingredients in and hard to scrape down the sides)

hand held stick blender (Emeril calls this a boat motor. It’s absolutely the best for sauces and soups)

large microwave-safe plastic lid (I use this when I heat things up in the microwave that spatter, like spaghetti sauce)

I also love my bread machine and my electric steamer (I use this for making rice and for steaming veggies), but I could survive without them.

How many items on Martha’s list are you missing? What would you add to the list? Please share!

Bookmark and Share

Lucky Kevin Sharkey. He is Martha Stewart Living decorating editor and he’s remodeling his apartment. Each month, a piece about it will appear in the magazine (and clearly MSLO is footing the bill, sigh). In November Living, Martha redos his kitchen. Who wouldn’t want Martha redoing their kitchen? Lucky, lucky man. Many of the ideas … Read more

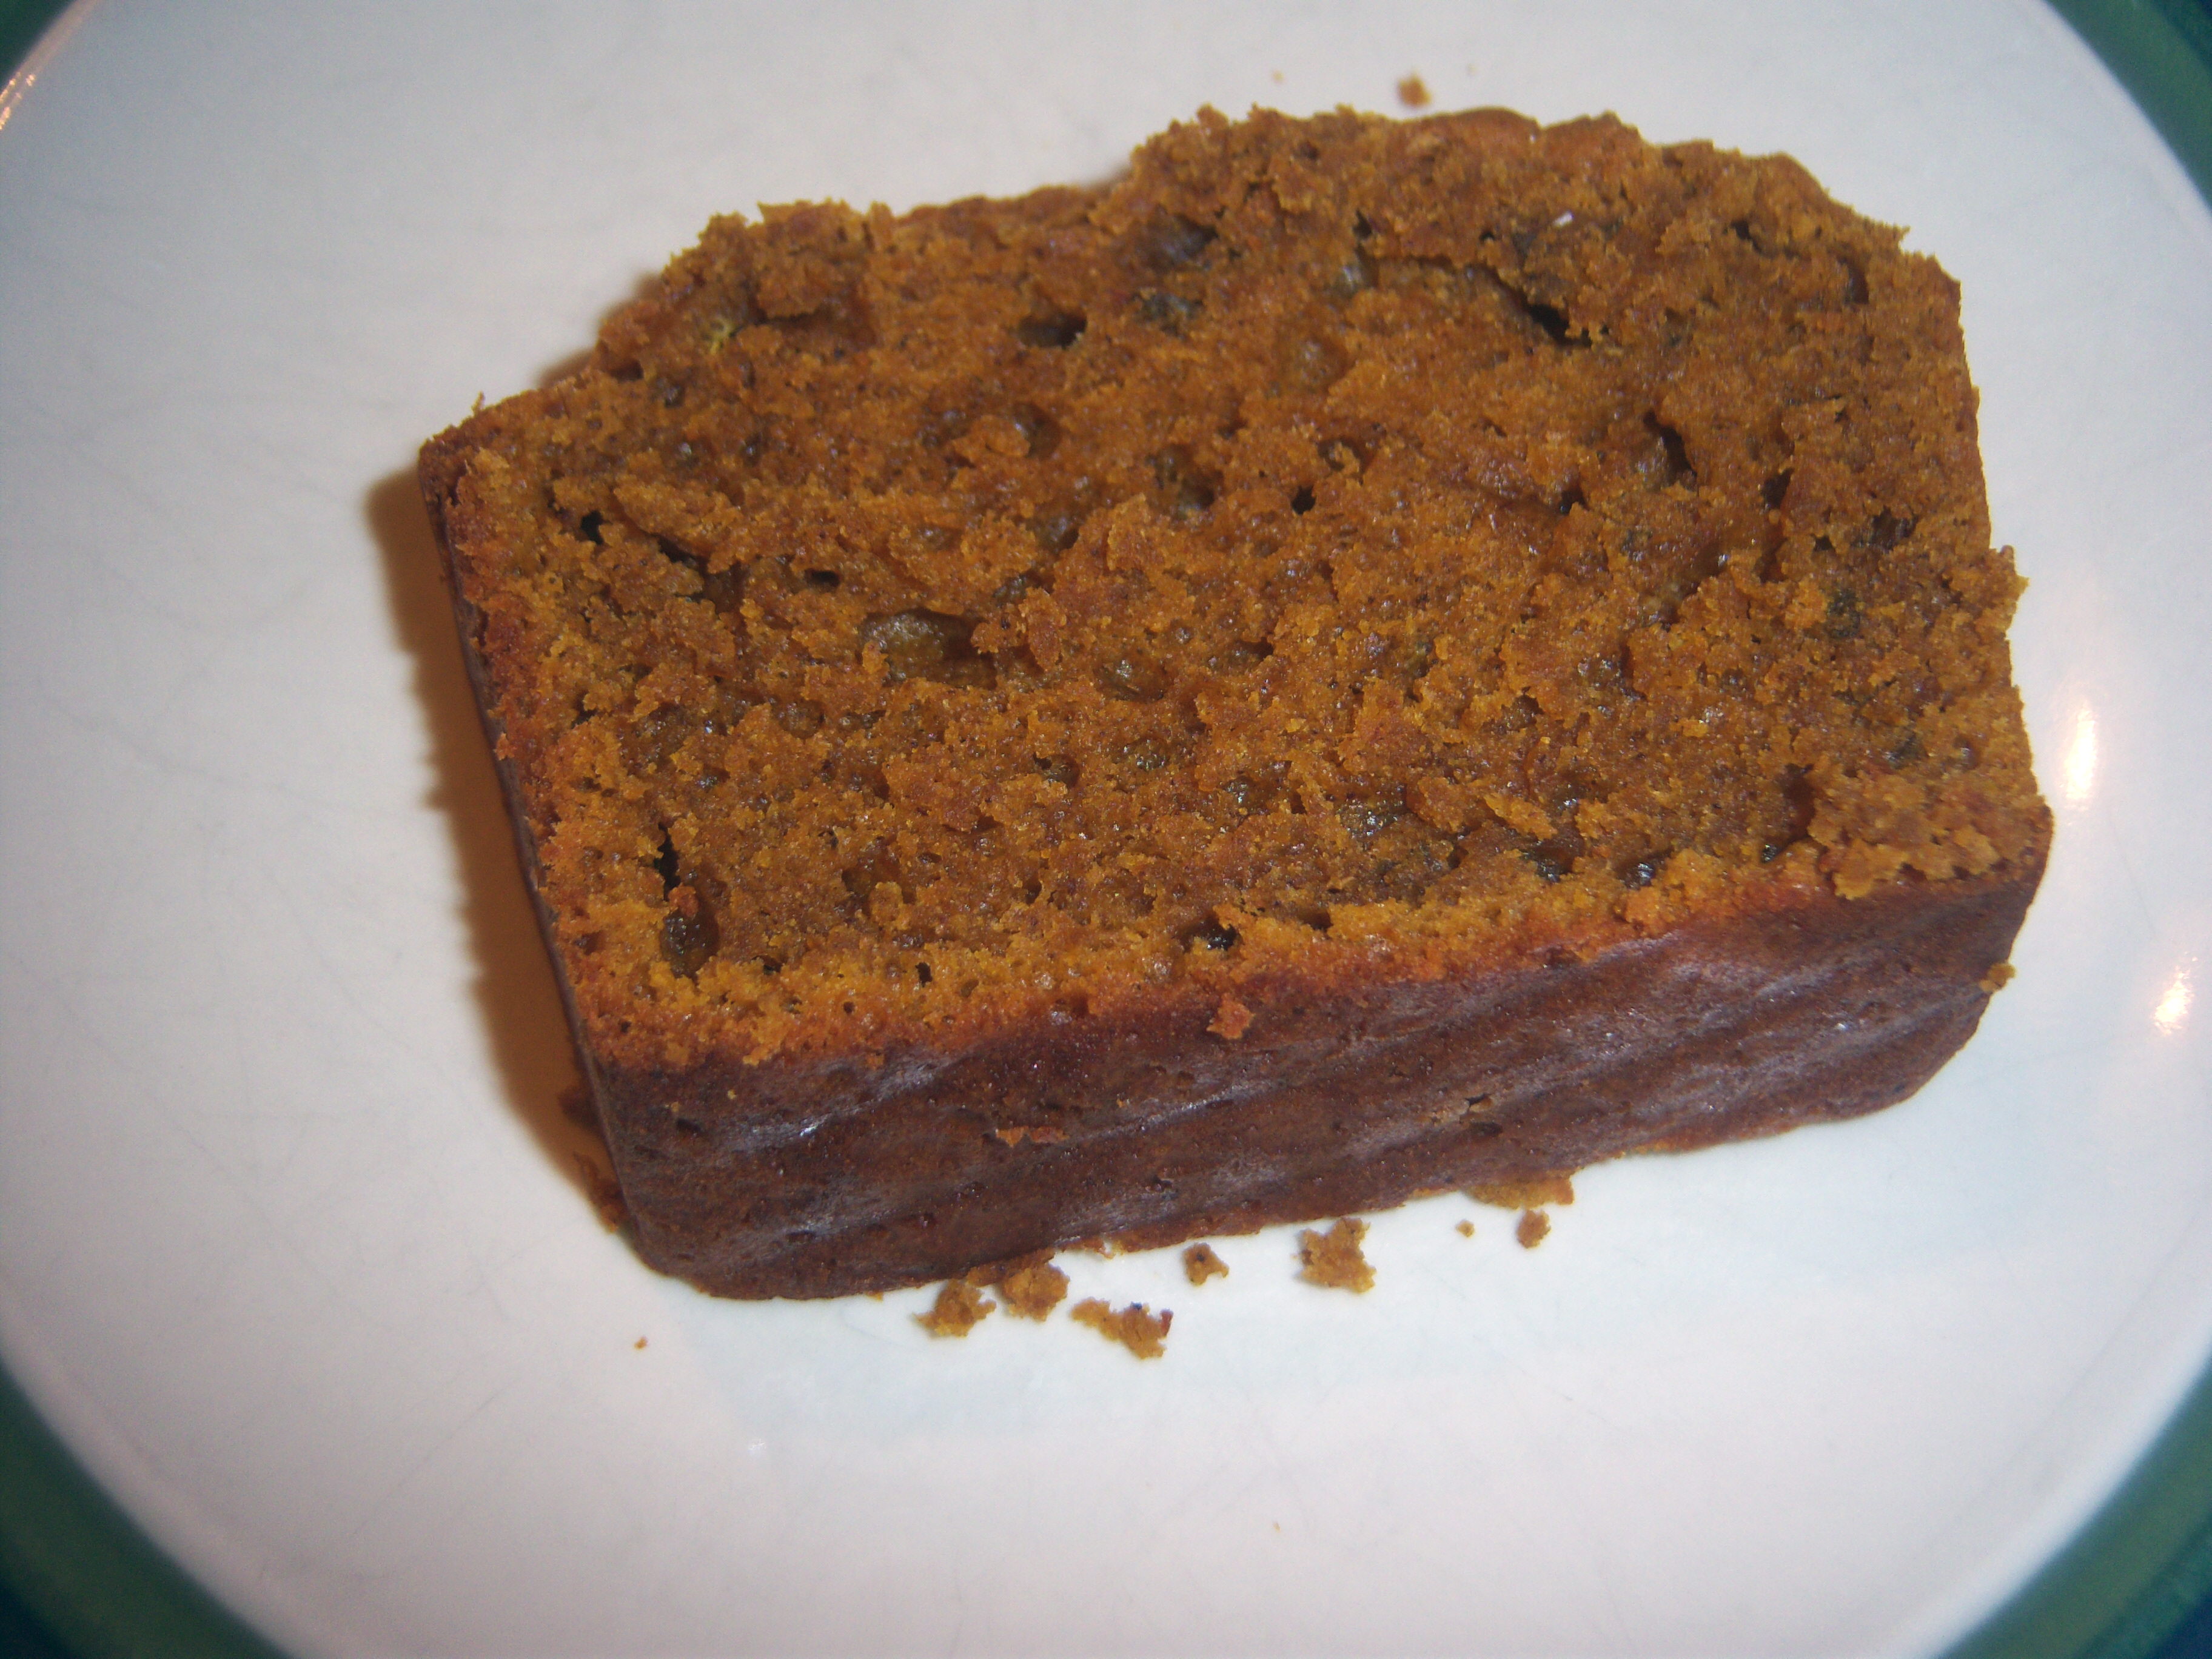
brown butt pumpMy kids and Mr. MarthaandMe love pumpkin bread. I make it every fall. I usually make two loaves and freeze one.  My November issue of Martha Stewart Living has arrived and there is a pumpkin bread recipe in it. I had to give it a try. It’s a bit weird though – sage? In pumpkin bread? Brown butter I was totally on board with. I love brown butter. I make this amazing rice dish with brown butter. Brown butter is an ingredient that is overlooked, I think. So I was totally cool with using it in this.

First, I browned the butter. You add your thinly sliced sage to that while it cooks. The rest of the recipe is pretty standard  – flour (I used 1/2 cup whole wheat with 1 cup regular), nutmeg, cloves, cinnamon, baking powder, eggs, brown sugar, and pumpkin.

This smelled FABULOUS when I was making it. The batter tasted great and I snitched a little with a spoon, I admit. When it was baking, it continued to smell amazing, but the smell was a little confusing. I normally associate the smell of sage with poultry, so to smell that while bread was baking was a little odd.

I made one regular size loaf – the recipe says to make 8 mini-loaves. Because of this, it needed to bake longer than the recipe said – about 50 minutes. It looked beautiful when it came out of the oven. I could barely taste the sage and I also could not really taste the brown butter, which was a big disappointment. This tasted like pumpkin bread, but with something just slightly different about it. If you didn’t know it included those ingredients, I don’t think you would ever guess they were in it. Everyone in the house ate it and everyone but Teen Martha enjoyed it. She said she thought it wasn’t sweet enough. Mr. MarthaandMe ate his with cream cheese spread on it (I think that’s yucky but he’s always done that). I don’t think I would make this again, although the recipe has now made me want to explore using brown butter in other recipes. Brown butter cookies? Brown butter muffins? The possibilities are endless.

Bookmark and Share

My kids and Mr. MarthaandMe love pumpkin bread. I make it every fall. I usually make two loaves and freeze one.  My November issue of Martha Stewart Living has arrived and there is a pumpkin bread recipe in it. I had to give it a try. It’s a bit weird though – sage? In pumpkin … Read more

no