Welcome! I’m so excited to be starting this blog. You should read the “About” page for more info, but let me just say that I have fallen in love with no pot cooking. For me, no pot cooking means using parchment paper packets to cook food with NO MESS. No pots or pans. I am LOVING it. It is a complete lifesaver for me. No more giant stacks of dirty pots and pans to scrub.

The food that I cook this way is delicious, healthy, and amazing. The parchment paper packets seal in all the moisture, flavors, and smells. They act like little pressure cookers, allowing you to make food that is delicious, gorgeous, and most of all, easy. This has changed my life. Check out the “Technique” page for details on how exactly to use parchment paper for cooking (you’re not going to believe how simple this is!).

Let me also add that from time to time I’ll also experiment with muffin tin liner cooking – again, no pots or pans and the shape allows you to cook some things that would be hard to do in parchment (think eggs or things that don’t hold their shape well). I’m having a blast trying all sorts of different foods that way as well.

Come along with me on my journey as I try out new ways to cook with less mess and more flavor!

Bookmark and Share

Welcome! I’m so excited to be starting this blog. You should read the “About” page for more info, but let me just say that I have fallen in love with no pot cooking. For me, no pot cooking means using parchment paper packets to cook food with NO MESS. No pots or pans. I am … Read more

I thought I would update this, since I’ve got another pick to add:

Megan at Megan’s Cookin has chosen Cheese Straws for 11/22

Sara at Sassy Suppers has chosen  leftover turkey recipes for 11/29

Pru at Perfecting Pru has chosen Iced Thumbprint Cookies for 12/6

Lyndsey at Tiny Skillet has chosen Paper Snowflakes for 12/13

Now for some news! Do you like Martha Stewart Craft items? Well, stay tuned, because here at MarthaAndMe there is going to some amazing opportunities to win many Martha Stewarts Craft products. I’ll have details soon!

I thought I would update this, since I’ve got another pick to add: Megan at Megan’s Cookin has chosen Cheese Straws for 11/22 Sara at Sassy Suppers has chosen  leftover turkey recipes for 11/29 Pru at Perfecting Pru has chosen Iced Thumbprint Cookies for 12/6 Lyndsey at Tiny Skillet has chosen Paper Snowflakes for 12/13 … Read more

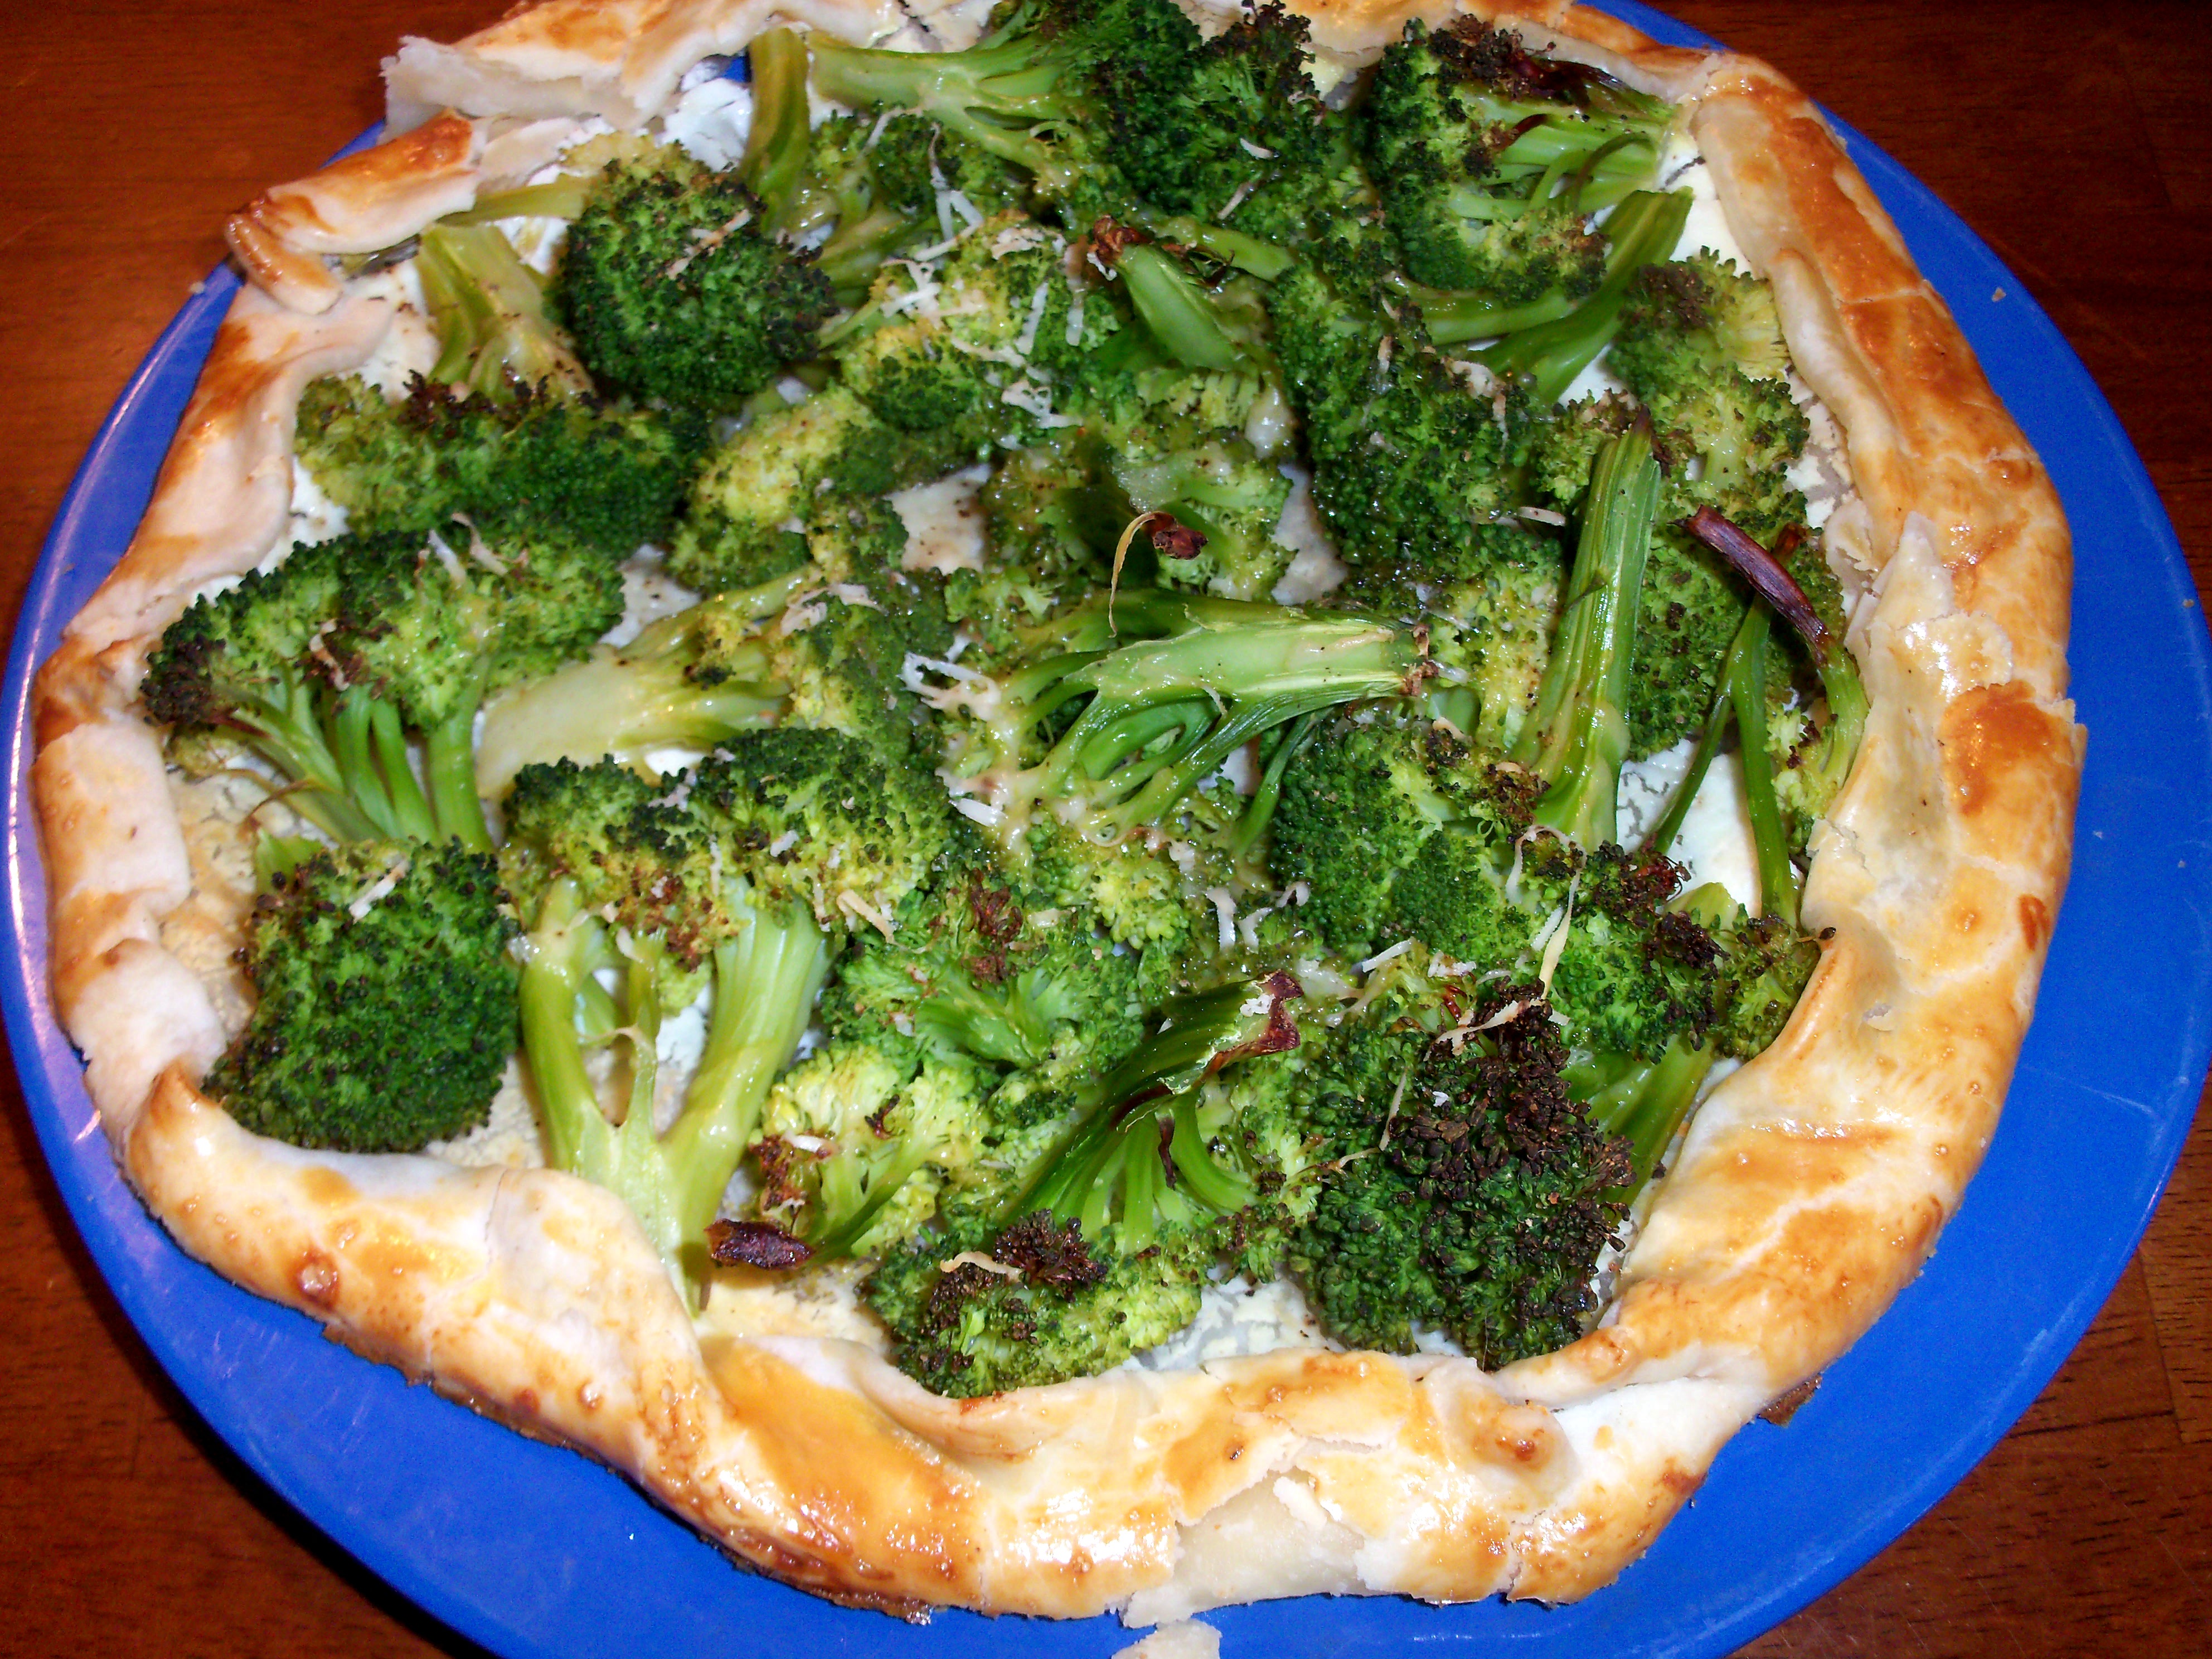
This recipe is from November Everyday Food. I made the alternate version of the recipe (described on p. 101) which replaces broccolini with broccoli and feta with goat cheese. I also used a store bought pie crust. You put your crust on a baking sheet, spread the goat cheese on it (I used 2 oz – I should have used more), place some parboiled broccoli on top and sprinkle with parmesan. Fold the edges of the crust up and brush with egg. Bake at 400 for about half an hour.

This was good, but not fantastic. It was a different way to eat broccoli at least, which shows up on our dinner table at least once a week.

Bookmark and Share

This recipe is from November Everyday Food. I made the alternate version of the recipe (described on p. 101) which replaces broccolini with broccoli and feta with goat cheese. I also used a store bought pie crust. You put your crust on a baking sheet, spread the goat cheese on it (I used 2 oz … Read more

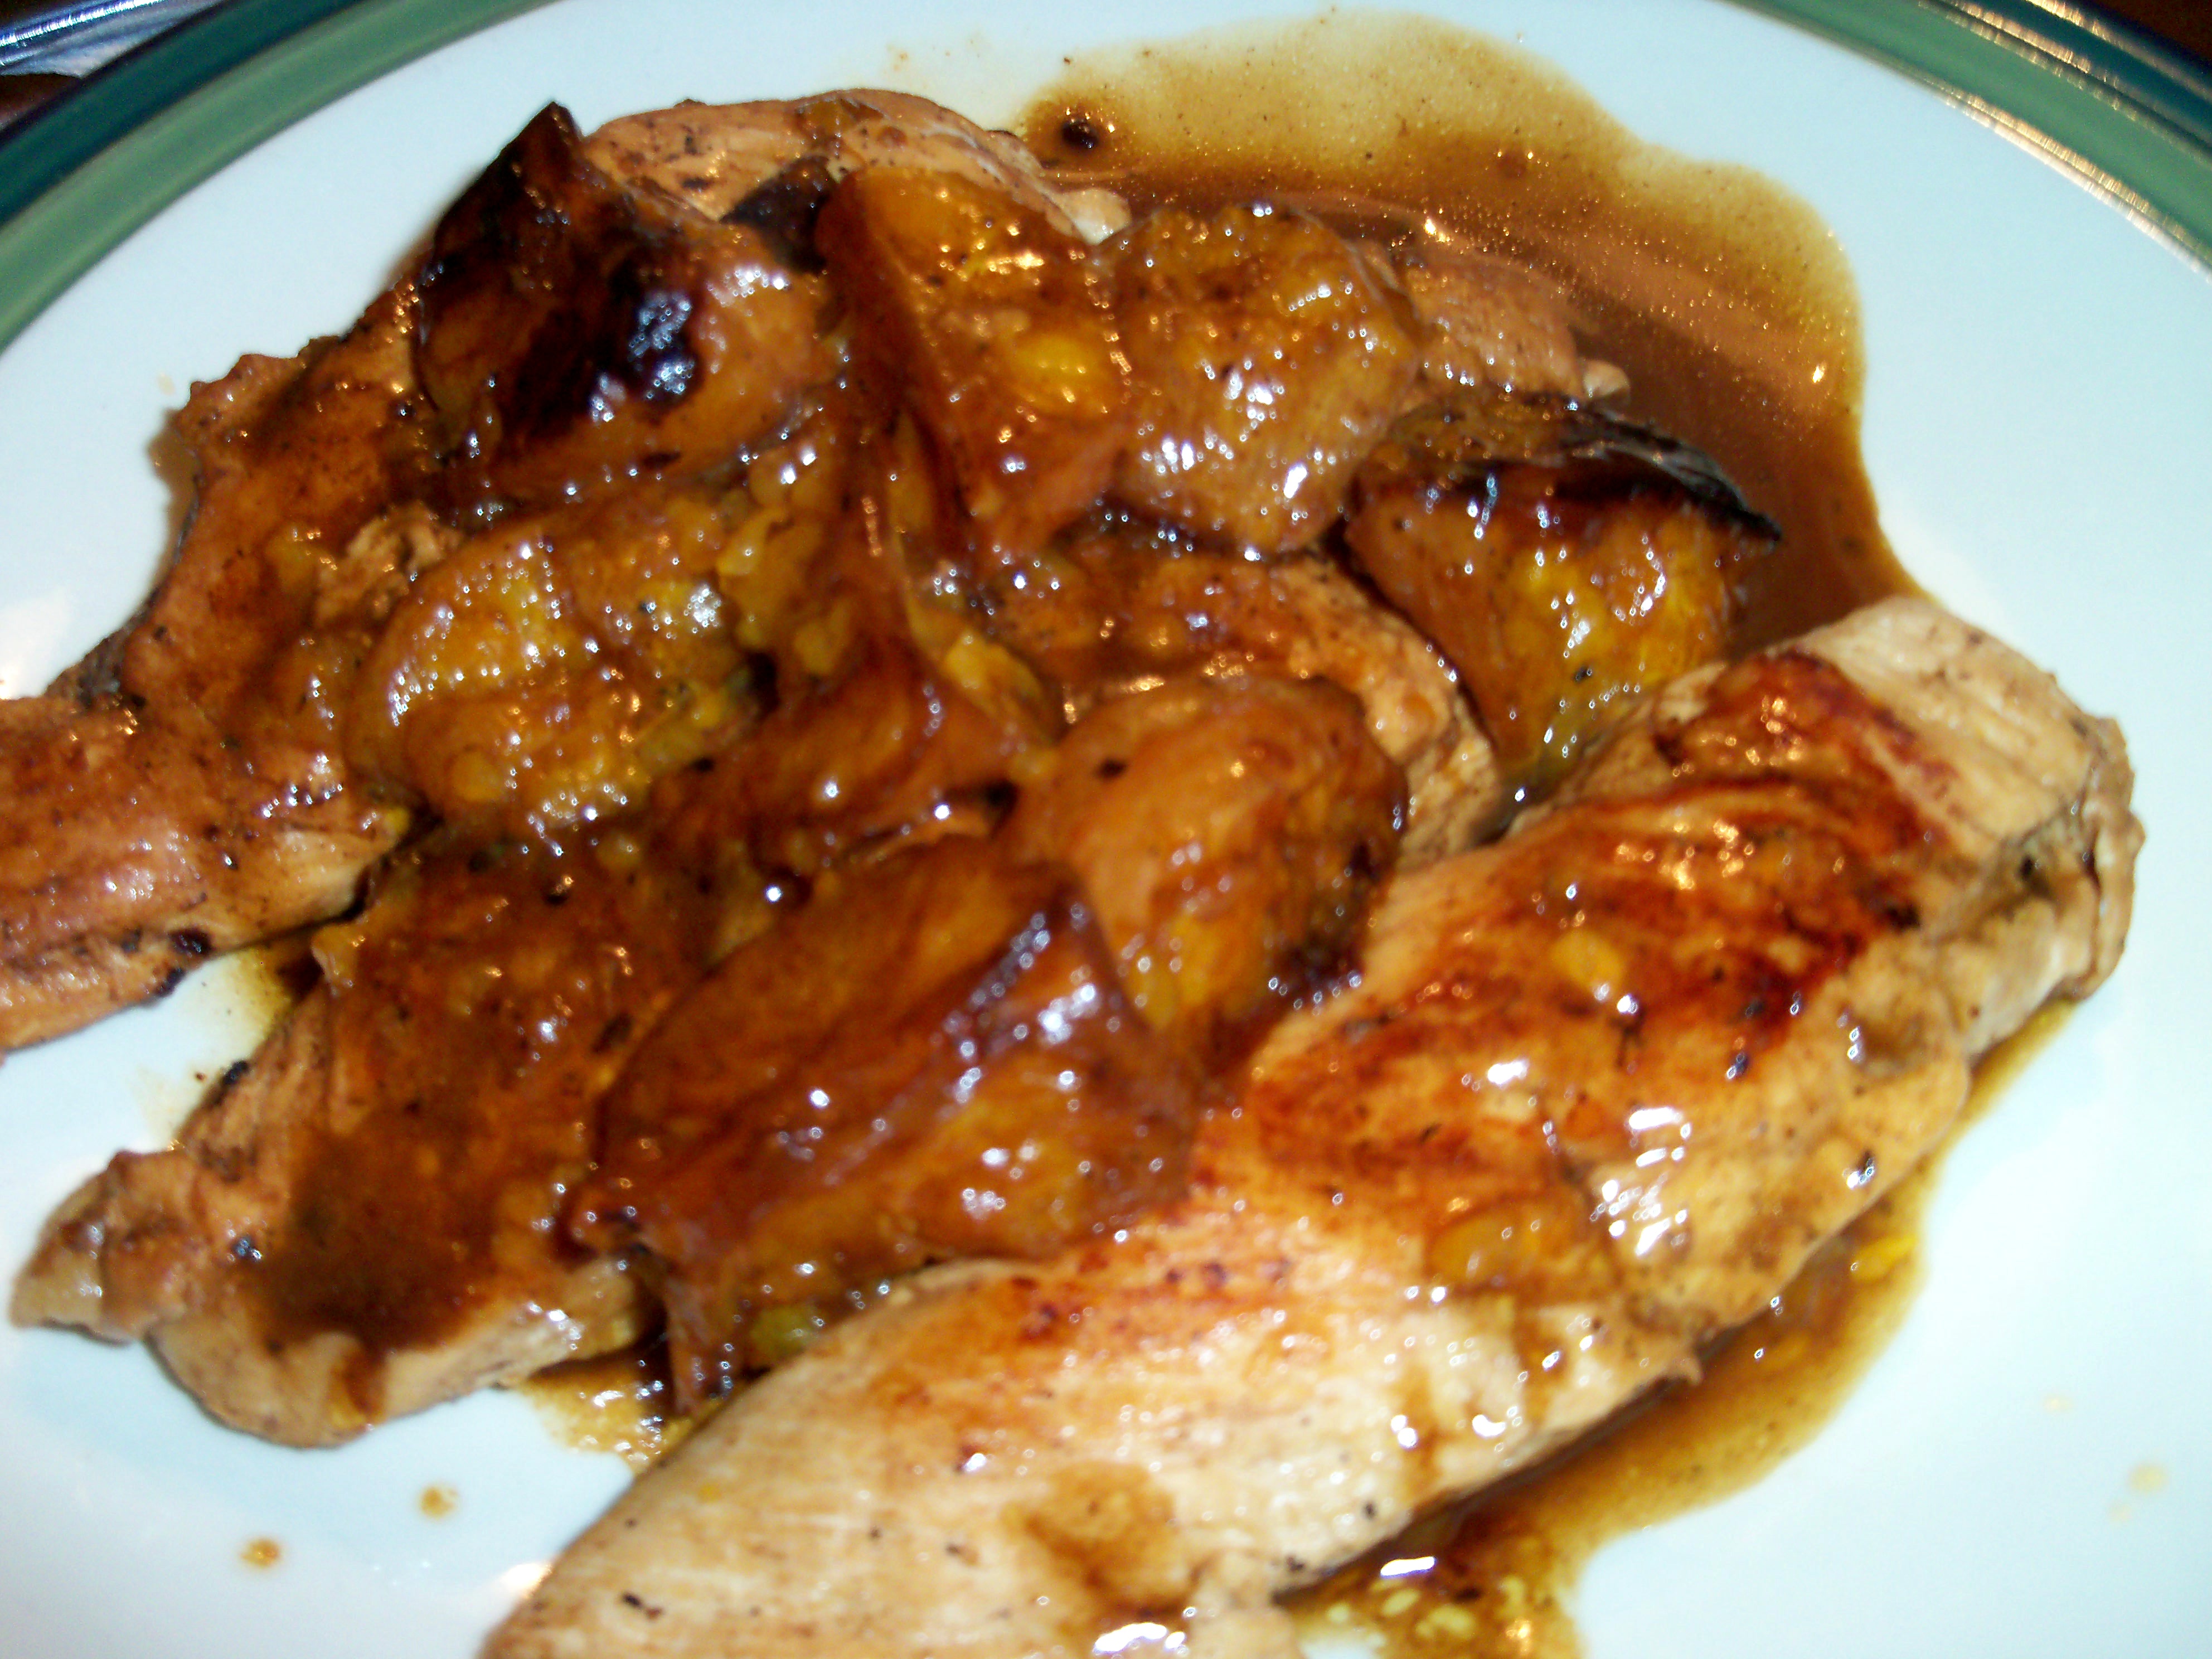
This recipe is from Nov Everyday Food. I was desperate for something quick on a busy weeknight and chicken is usually what I turn to on those nights. I thought I would give this recipe a try. I altered this to fit my needs, so I’ll share my version of the recipe with you (Martha uses chicken thighs and wedges of oranges with the skin on in hers and cooks hers in the oven after browning it).

4 skinless boneless chicken breasts, trimmed and pounded thin

salt and pepper

1 tbsp olive oil

1/2 chicken broth

2 tbsp balsamic vinegar

3 Clementine tangerines, peeled and broken into 3-4 sections each

1 tbsp butter

Season the chicken breasts with salt and pepper. Brown the chicken breasts in a skillet over medium high heat with the olive oil. Add the chicken broth. Add the vinegar and tangerine pieces. Reduce heat to medium. Cook until chicken is cooked through, about 4 minutes and liquid is reduced (remove chicken and continue reducing if the liquid is not reduced enough when the chicken is done). Add the butter and stir until melted.Pour sauce over chicken.

This was a huge, huge hit with my family. And honestly it’s so incredibly easy that I didn’t tell them I did almost nothing to it. It was moist, velvety, and rich with flavor. Truly a fantastic weeknight dish that will make you look like a star.

This recipe is from Nov Everyday Food. I was desperate for something quick on a busy weeknight and chicken is usually what I turn to on those nights. I thought I would give this recipe a try. I altered this to fit my needs, so I’ll share my version of the recipe with you (Martha … Read more

Karen at Karen and Charlie’s Kitchen (her blog used to be At Least Twice a Week) has chosen Thanksgiving tablescapes for our next project for 11/15.

And if you’d like to plan ahead:

Megan at Megan’s Cookin has chosen Cheese Straws for 11/22

Pru at Perfecting Pru has chosen Iced Thumbprint Cookies for 12/6

Thanks to everyone who got me their choices early!

Karen at Karen and Charlie’s Kitchen (her blog used to be At Least Twice a Week) has chosen Thanksgiving tablescapes for our next project for 11/15. And if you’d like to plan ahead: Megan at Megan’s Cookin has chosen Cheese Straws for 11/22 Pru at Perfecting Pru has chosen Iced Thumbprint Cookies for 12/6 Thanks … Read more

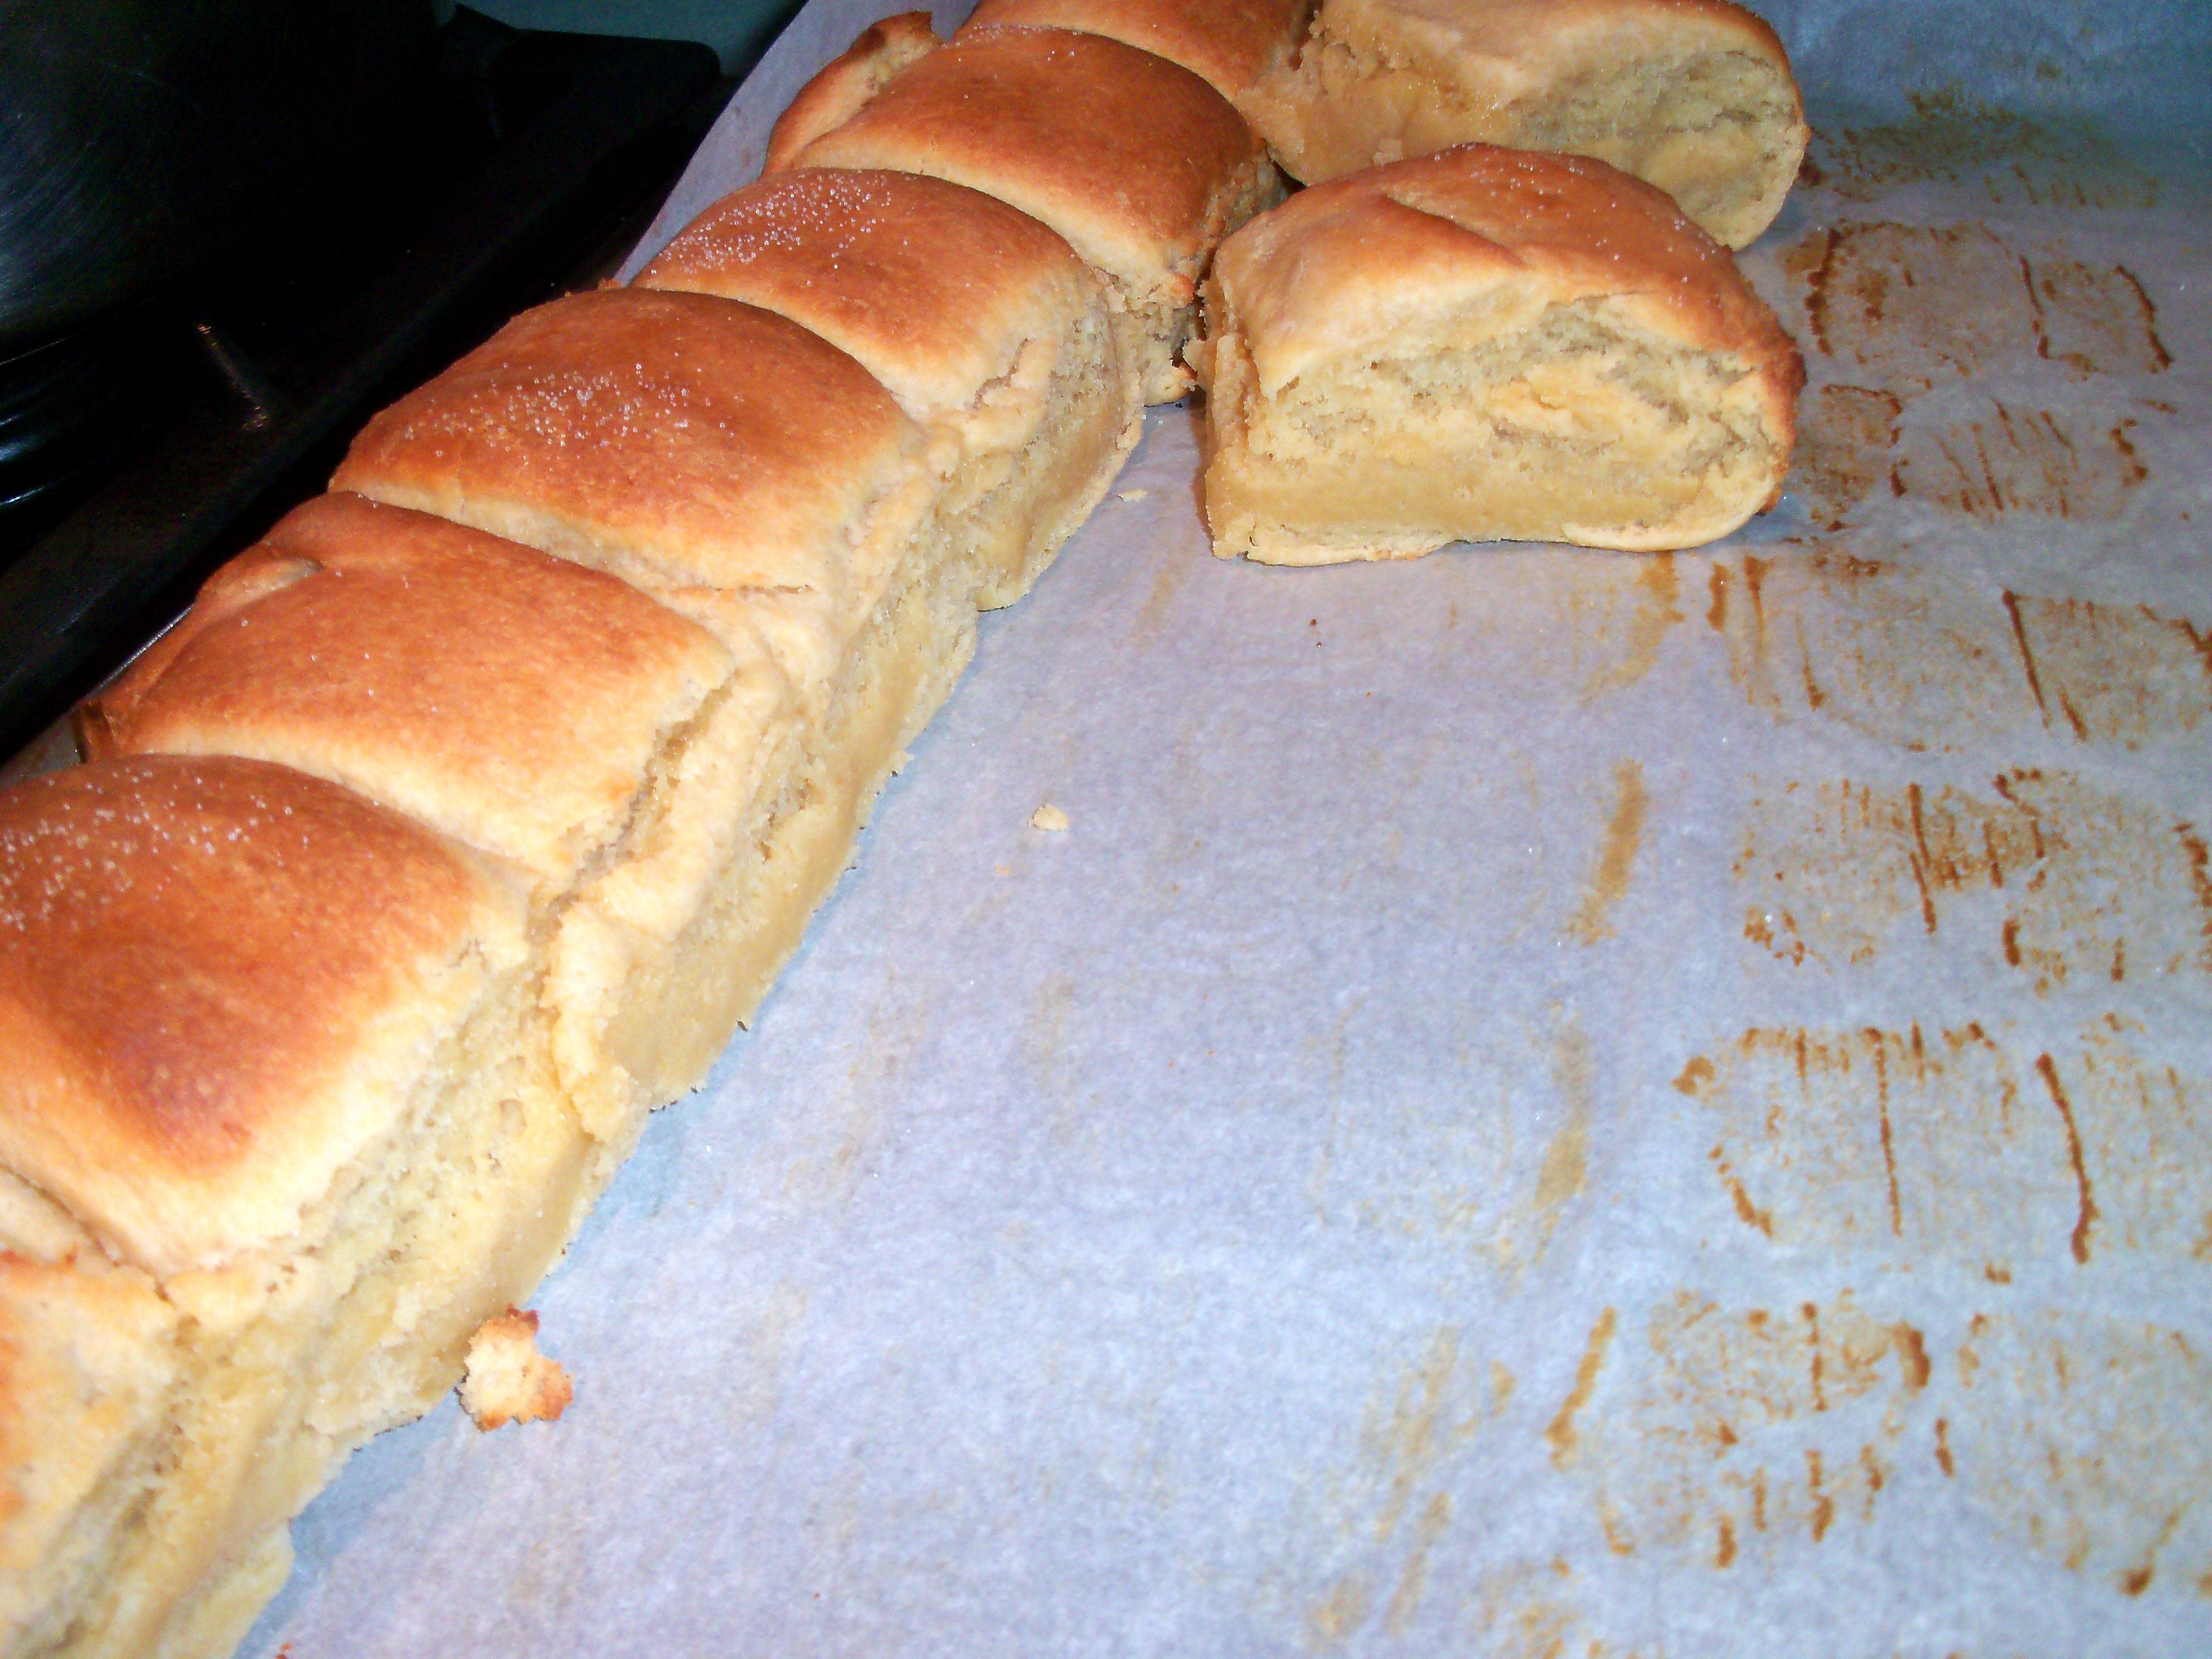
Something about homemade Parker House rolls sounded sooo good to me. Warm, soft, and fragrant. They were calling to me. This recipe is from Food Network Magazine. It definitely felt like a “project.” Now, I must admit that I tweaked the recipe because I don’t like to bake with just plain white flour. There have to be whole grains. So I did half and half in this recipe. I think it probably affected the texture a bit, but I also just could not get these to rise as much as they should have, so that was disappointing. The verdict? They were good, but a little dense and I had a difficult time getting them to bake through without getting too brown on the outside. Tricky. I think I might attempt it again another time, but I cannot imagine having just made this recipe cold for Thanksgiving.
1 packet yeast
1/2 cup sugar
7 1/2-8 cups flour (I used half white, half wheat)
12 tbsp butter, melted and cooled, plus extra for brushing the tops
2 cups milk
2 eggs
1 tbsp kosher salt

Place yeast in bowl with 1/2 cup warm water (between 110 and 120 degrees) and add sugar and whisk. Let sit 1 minute then stir in 1 cup flour.

In a mixer with the dough hook, mix melted butter with milk. Add eggs then add yeast and 6 1/2 cups flour and salt. Mix until dough forms a ball. Add up to 1/2 cup more flour if it is too wet and sticky (I had to add this). Allow to rise in a buttered bowl for 2 hours to 2 hours 30 minutes, until it doubles.

Preheat oven to 375. Press the dough into a 16 x 8 inch rectangle and cut the dough in half the long way then cut each half into 12 strips. Take a strip and fold one side under, about 2/3 of the way. Then fold the other end of the strip under enough to just cover the end of the other side. Place the rolls on a parchment paper covered sheet in three rows (the long way). Bake 18-20 minutes until the tops are brown. Remove from oven and brush with more butter and sprinkle with salt.

Mine had to bake 30 minutes and were still not quite cooked all the way through.Everyone liked these – it was a treat to have dinner rolls. I’ve never made them before and I don’t buy store rolls, so we only have them in restaurants, which is once in a blue moon. This was a fun project to make and I’m glad I gave it a try.

Bookmark and Share

Something about homemade Parker House rolls sounded sooo good to me. Warm, soft, and fragrant. They were calling to me. This recipe is from Food Network Magazine. It definitely felt like a “project.” Now, I must admit that I tweaked the recipe because I don’t like to bake with just plain white flour. There have … Read more

We are big breakfast people on the weekends.  And I mean these words literally, because the kids have always called it “big breakfast.” In better financial times, going out to breakfast was a special treat every couple of months, but lately getting the kids out of bed when Mom and Dad are up and hungry before 11 a.m. (much before! We’re usually up by 8) is nearly impossible and it just doesn’t make financial sense to pay $3 for a thimble of OJ and $6 for a plate of pancakes.

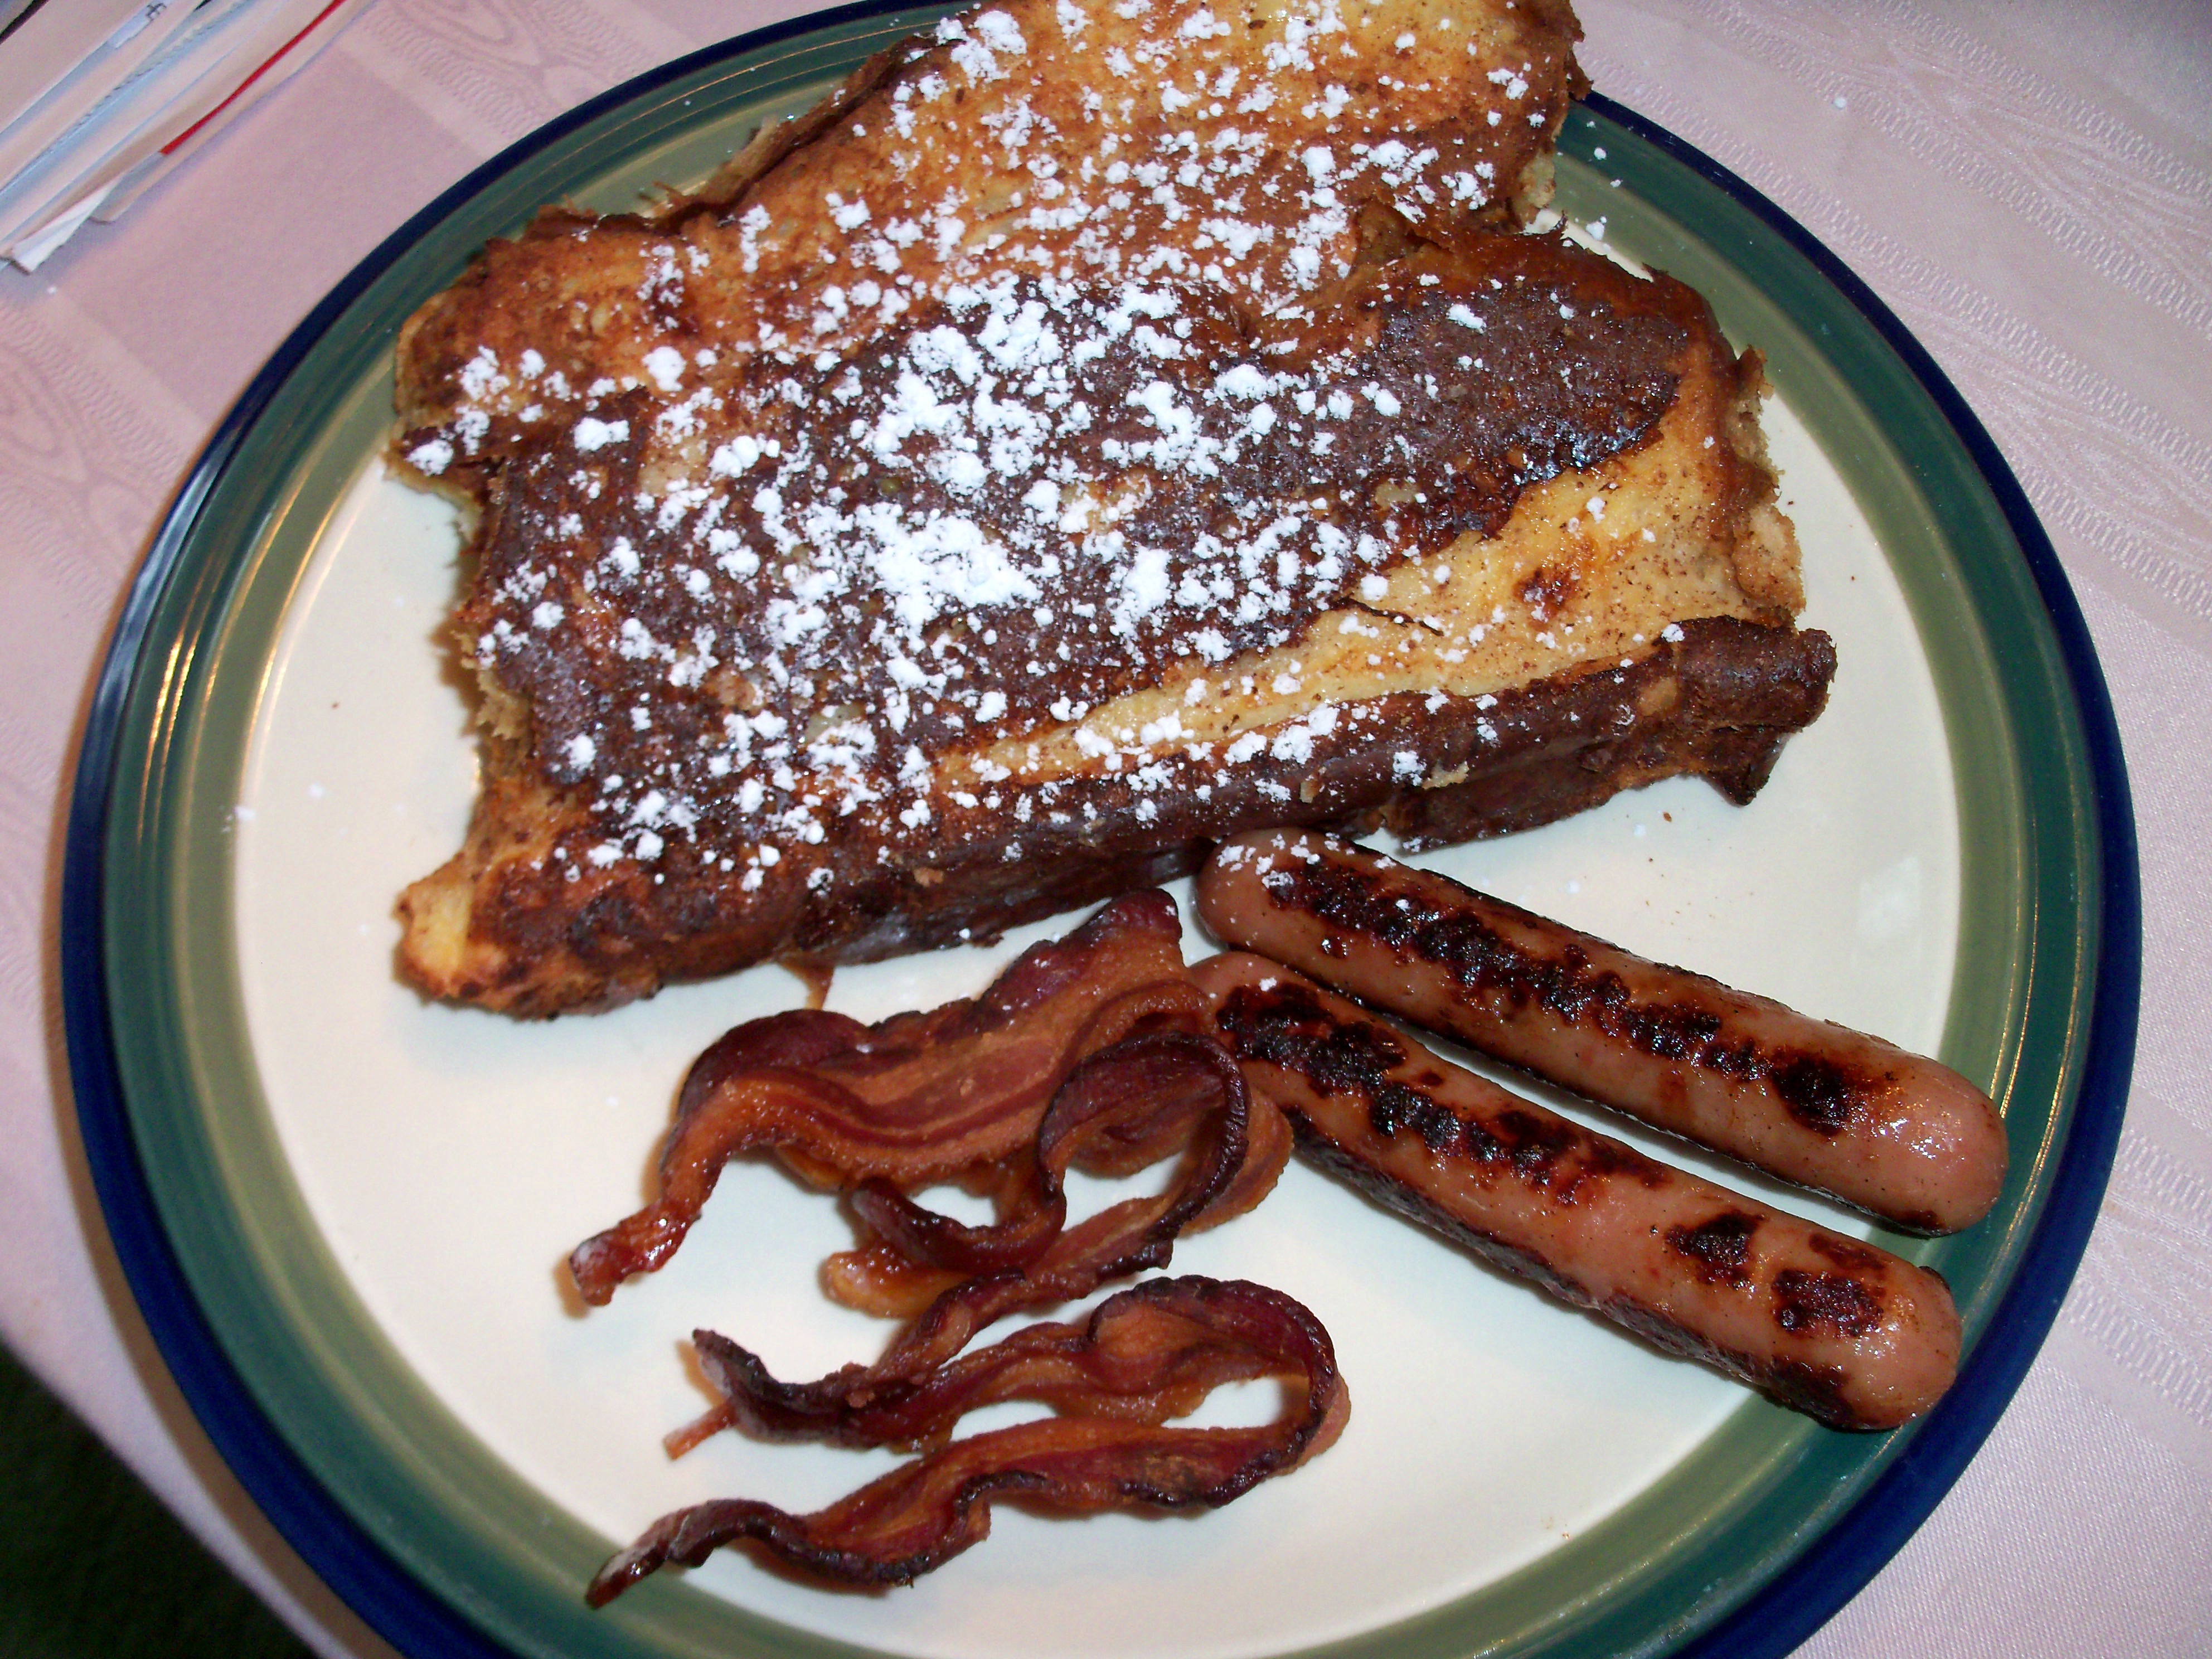
So, we are firmly an at-home big breakfast family these days. I look forward to it all week. Pancakes, French toast, omelets, waffles, you name it, we like it.  If it goes with bacon (nitrate free, I wish I could find organic bacon!) and sausage (organic chicken sausage), we like it. What I don’t always like is having to tumble out of bed and start cooking up a storm whilst in my nightgown, so the idea of something that I could make ahead was appealing (but then I had to get up anyhow and get it in the oven to bake and wait for it to cook, so it wasn’t a perfect solution!). Baked French toast from Martha’s November Living issue was definitely something I had to try.

Beat 6 eggs and add 2 cups milk and 1/3 cup cream with 1/3 cup sugar, 1 tsp vanilla, 1/2 tsp coarse salt and 1 tsp nutmeg (I substituted cinnamon). Dip 10 slices of day old brioche into the batter (I used challah). Place them in a baking dish and then pour remaining batter over the top. The recipe says you should overlap the bread slices over each other. I did this, but then realized half the bread was sitting in the batter while the other half was sitting up in the air, drying out, so I switched over to a baking sheet where I could lay them all flat. Refrigerate covered for at least 2 hours – mine went in overnight. Preheat oven to 375. Top with 1 cup chopped pecans (I would have liked to add this, but there are family members who would not eat it if I did, so I skipped it) and sprinkle with 3 tbsp sugar. Bake covered, for 25 minutes. Uncover and bake until golden about 20-25 minutes. Serve with maple syrup.

This was good, but I think I like regular French toast better. It was a tad too eggy for me. I like my French toast just a bit drier (and I also usually use cinnamon bread for it and that really makes it very tasty).  This is definitely a nice idea if you are feeding a crowd, although I think you’d better make a double batch because this recipe fed the 4 of us with only 1 slice left over!

Do you have a favorite “big breakfast?”

Bookmark and Share

We are big breakfast people on the weekends.  And I mean these words literally, because the kids have always called it “big breakfast.” In better financial times, going out to breakfast was a special treat every couple of months, but lately getting the kids out of bed when Mom and Dad are up and hungry … Read more

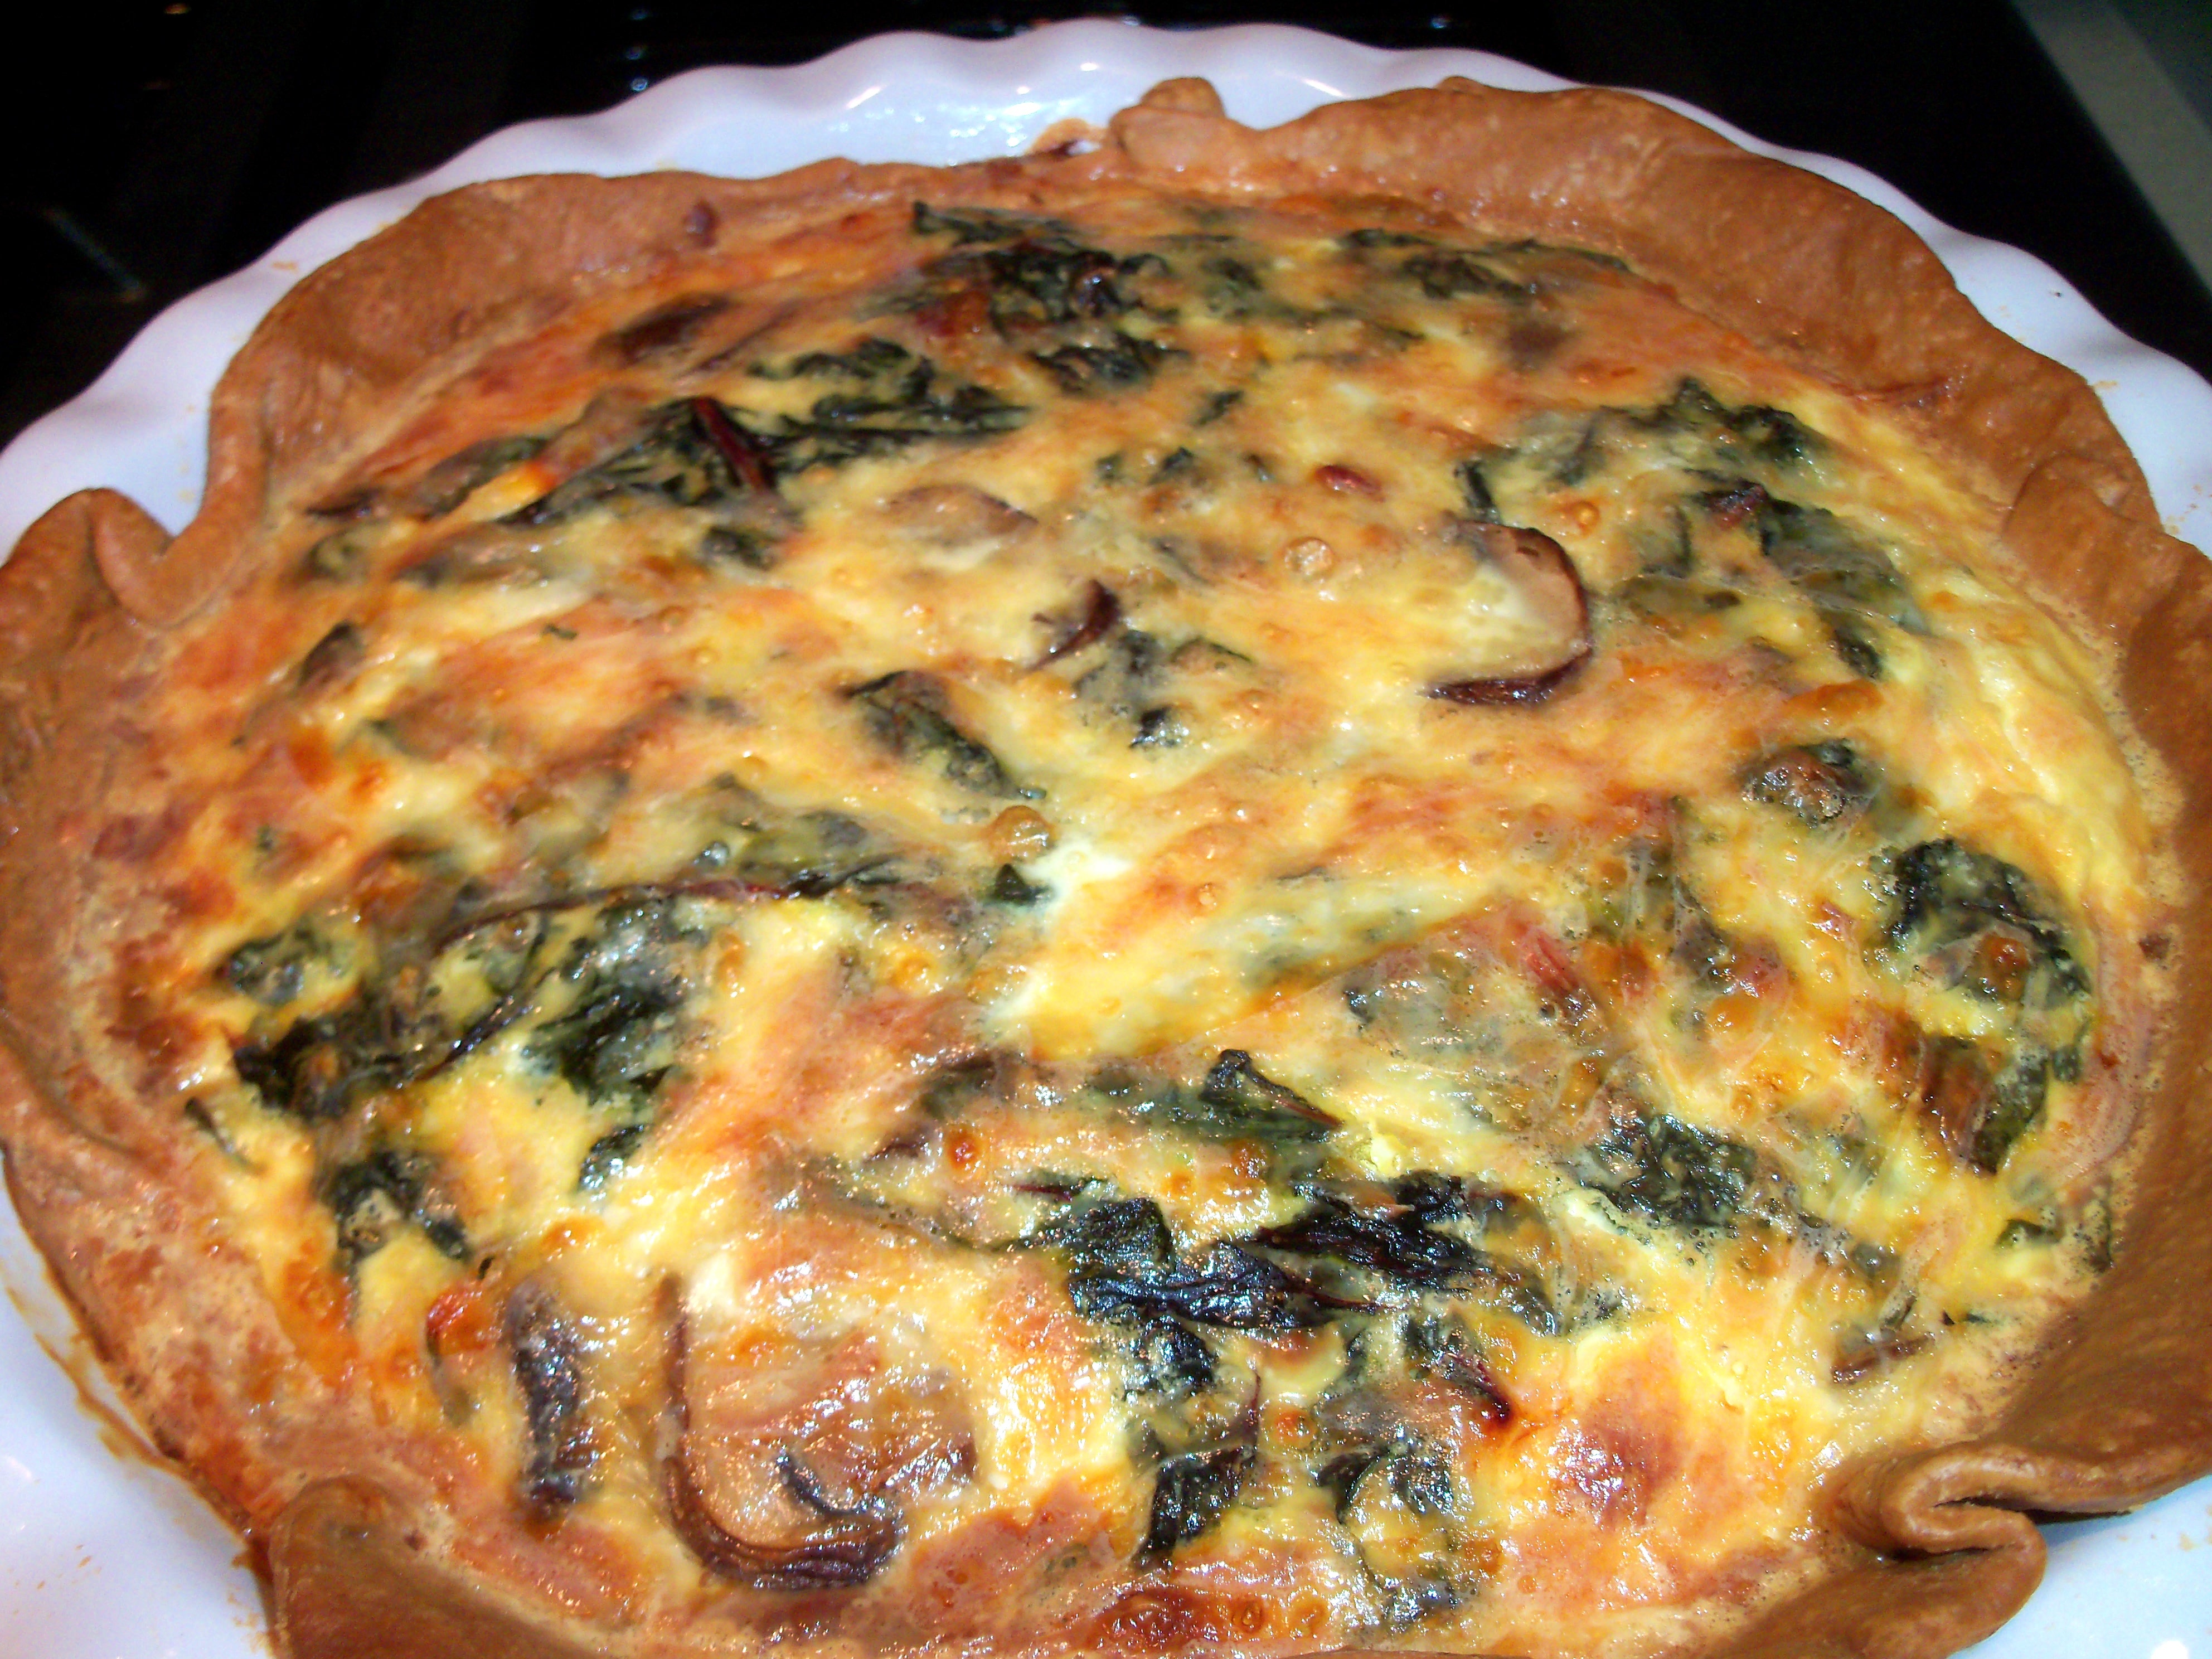
Martha has this recipe in November Living as a breakfast idea, but I like to serve quiche for dinner with a salad. I was excited about this because Swiss chard and mushrooms are high up on my list.

I started with a store bought pie crust (sorry Martha) and cut the recipe in half to make it in a pie pan instead of on a baking sheet as the recipe says. Here are the proportions I used:
1 1/2 tbsp butter
1/2 lb baby bella mushrooms, sliced
1 garlic clove, minced
6 oz Swiss chard, stems removed washed and coarsely chopped
5 eggs
1 1/2 cups half and half
1 1/4 cups shredded white cheddar

I baked my pie crust ahead, but wish I hadn’t since it got too brown, so I would say skip that. Melt half the butter in a skillet and cook mushrooms until tender about 8 minutes. Season with salt and pepper and remove. Then add the rest of the butter and cook the garlic about 1 minute. Add chard and salt and pepper. Cook covered, stirring occasionally, for 6 minutes. Raise the heat and cook off the liquid. Mix with mushrooms. Whisk eggs and half and half with salt. Sprinkle half the cheese on the bottom of the pie crust, then top with the vegetables and the rest of the cheese. Pour egg mixture over it. Bake for 35-40 minutes. Let stand for 15 minutes before serving.

The result? Blech!!! Horrible. There’s too much half and half in this. It was practically white inside and tasted like flavorless cottage cheese. I did not care for it at all. I picked the veggies out and ate those and crust. The leftovers went in the trash. Really, really bad.

Bookmark and Share

Martha has this recipe in November Living as a breakfast idea, but I like to serve quiche for dinner with a salad. I was excited about this because Swiss chard and mushrooms are high up on my list. I started with a store bought pie crust (sorry Martha) and cut the recipe in half to … Read more

Asian Meatballs

Posted by Brette in Food

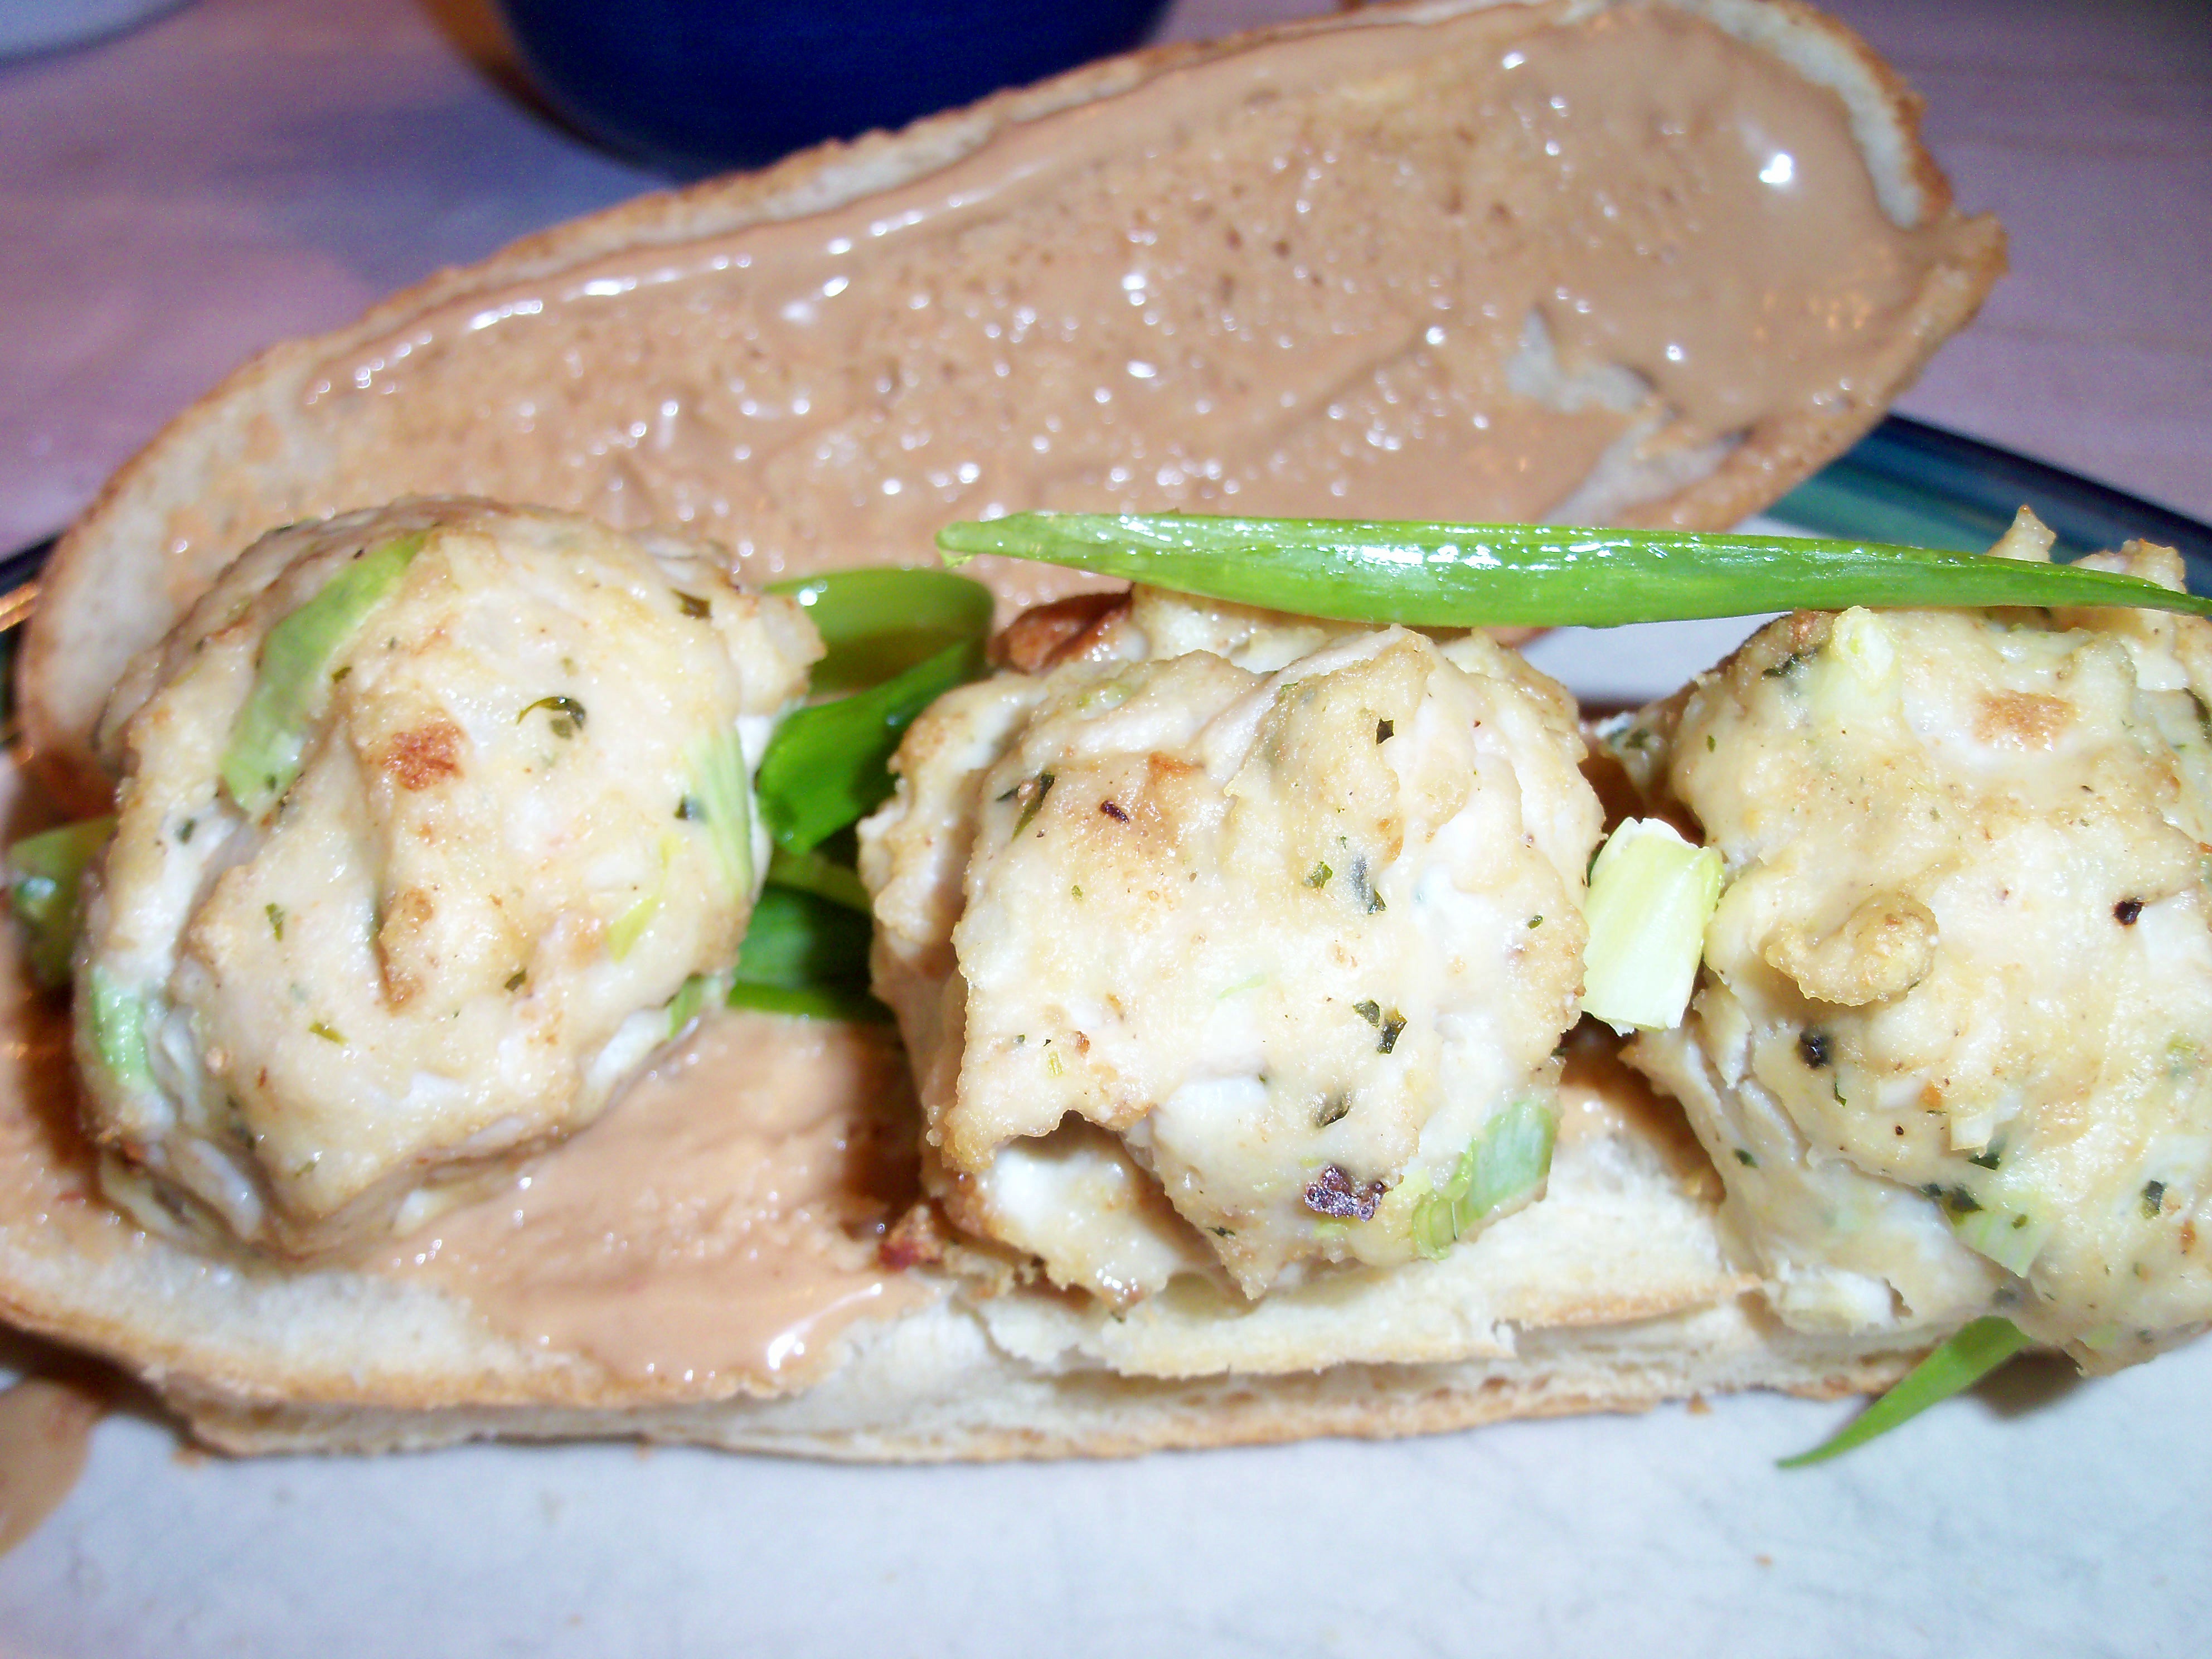
This looked like a fun recipe from Food Network Magazine (and funnily enough, there’s also one in Everyday Food this month, but the FN one just looked better to me). This is super, super simple yet full of flavor and is a totally nontraditional Asian dish that you will love. I’ve tweaked the original recipe a bit to fit my needs, but didn’t have to do too much to it.

1 slice whole wheat bread

1 1/2 tbsp milk

1 tsp soy sauce

1 lb ground turkey

1/2 can water chestnuts, chopped

3 scallions, with white chopped and green cut into 3 inch long thin pieces

2 garlic cloves, chopped

1 tbsp grated fresh ginger

1 egg

1/4 cup fresh cilantro

1 1/2 tsp toasted sesame oil

salt and pepper

1/2 cup hoisin sauce

1/2 cup mayo

2 tbsp lemon juice

4 individual sub rolls


Rip the bread into small pieces and pour milk and soy sauce over it. Meanwhile, mix the turkey with the scallion whites, garlic, ginger, water chestnuts, cilantro, 1 tsp sesame oil, salt and pepper. Then mix in the bread. Add some breadcrumbs if mixture is too wet to form into meatballs. Form into medium sized meatballs. Bake meatballs at 350 for 15 minutes.

Mix mayo, hoisin, lemon juice, and remaining 1/2 tsp sesame oil and spread on toasted sub rolls. Place meatballs on rolls and top with thinly sliced scallions.

Bookmark and Share

This looked like a fun recipe from Food Network Magazine (and funnily enough, there’s also one in Everyday Food this month, but the FN one just looked better to me). This is super, super simple yet full of flavor and is a totally nontraditional Asian dish that you will love. I’ve tweaked the original recipe … Read more

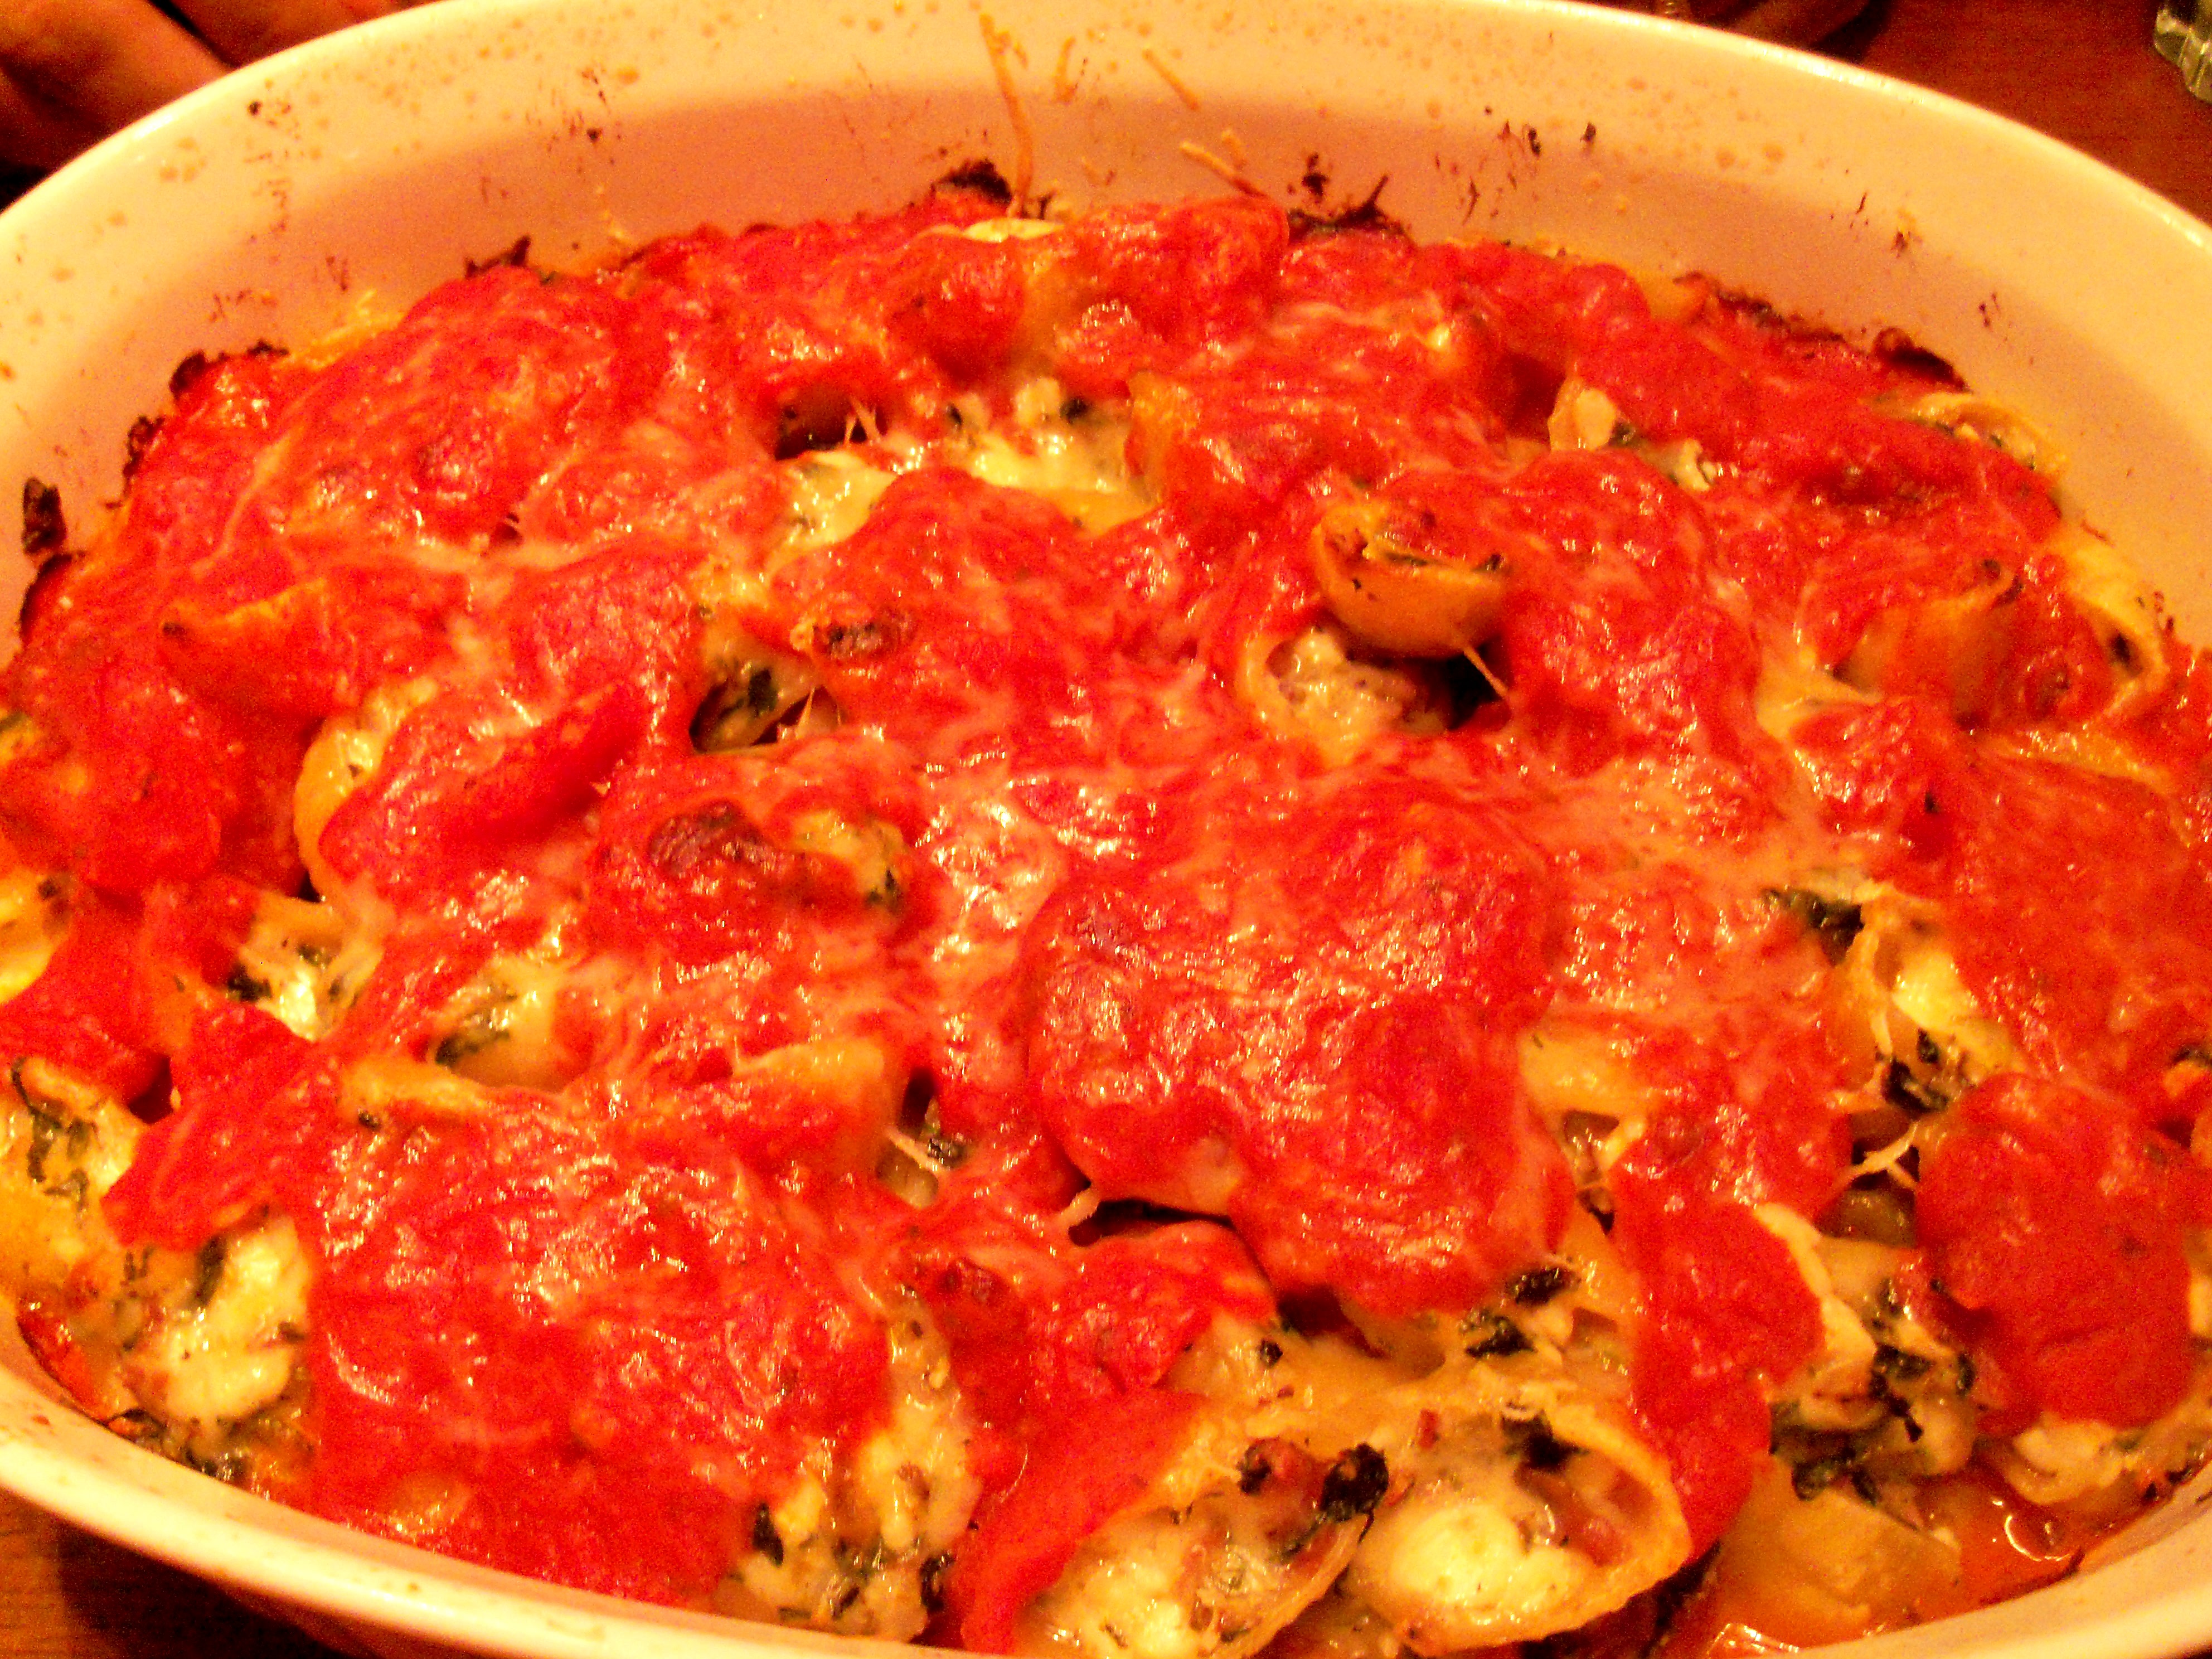
I was inspired by Lucinda Scala Quinn’s stuffed shells on Mad Hungry recently and wanted to try a version of her recipe. She uses prosciutto in hers, which intrigued me. I could only find large shells, not XL which was a bummer, but I made do. I also did not use radicchio since I don’t care for it. Instead I substituted spinach. I used jarred tomato sauce and cottage cheese instead of ricotta (what a cheat I am). I like some sauce on top of my shells so I poured some over the top before baking.

This was good, but I don’t think I would use the prosciutto again. It was interesting, but was kind of a smoky taste that I didn’t feel really went with the dish. I do like stuffed shells and I wish I could find the XL ones because stuffing all those little shells took me FOREVER!

Bookmark and Share

I was inspired by Lucinda Scala Quinn’s stuffed shells on Mad Hungry recently and wanted to try a version of her recipe. She uses prosciutto in hers, which intrigued me. I could only find large shells, not XL which was a bummer, but I made do. I also did not use radicchio since I don’t … Read more

no