
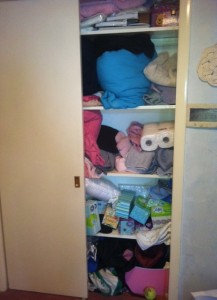
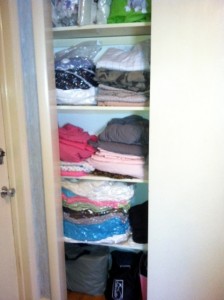
Before
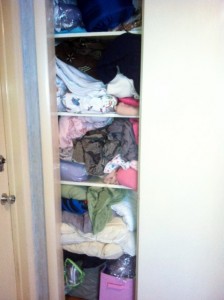
Before
I have been fighting a losing battle with the linen closet for a while now. It was so full that it didn’t seem to matter how much straightening I did. Towels, sheets, blankets and tote bags were falling out all over. I spotted some Space Bags while at Marshall’s a few weeks ago and couldn’t get them out of my mind! Finally I went on Amazon and ordered a set. I got 5 jumbo, 4 large and 2 medium bags, as well as 3 of the roll up bags for $34.
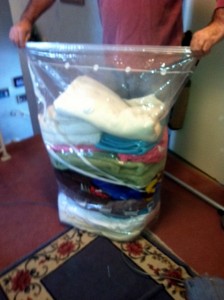
Space bag pre-vacuum
Space Bags are heavy duty plastic storage bags you vacuum the air out of. They compress things down, making them easier to store. The roll up bags are meant for travel – you remove the air from them by rolling them.
The bags were easy to use. We filled them to the fill line, zipped them and then held the vacuum hose to the nozzle in the bag. It sucked the air out and quickly compressed the bags down. It was actually quite amazing how much space we saved – it reduced it by about 2/3, which is a significant difference when you’re tight on space!
We used 4 space bags and have tons left for future use. They were very easy to pack and shrink. They’re waterproof and reusable and also airtight. It’s a great solution if you need to store something in an attic or basement. I can also see using these to
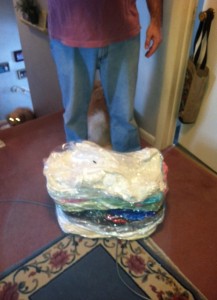
Space bag after vacuum
store winter clothes if you are pressed for space.
The bags solved my closet problem. I had lots of blankets, comforters, mattress pads, pillows and sheets that we don’t use but I can’t bring myself to get rid of. No one likes flannel sheets, but I keep them thinking “What if we lost power for a week and were cold?” I also can’t help but think that my kids will soon be going out on their own and they will want to have extra blankets and pillows, so it seems like a waste to get rid of them!
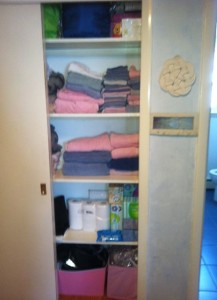
As you can see, the space bags made my closet much easier to organize. The things we don’t use are now in the bags, compressed down and completely contained, leaving room to neatly stack sheets and towels we do use. Nothing is falling off the shelves and I can see everything now.
I did do a little purging. We donated some of the tote bags I always seem to have too many of, as well as two pillows. I had been hoarding those plastic zipper
After!
bags sheet sets come in, but I threw out a ton of those. Now that I have Space Bags, I don’t need them.
After!
I have been fighting a losing battle with the linen closet for a while now. It was so full that it didn’t seem to matter how much straightening I did. Towels, sheets, blankets and tote bags were falling out all over. I spotted some Space Bags while at Marshall’s a few weeks ago and couldn’t … Read more


