I am a big fan of brisket, even though I only started making it a few years ago. I had never had brisket before then – except for corned beef brisket. Martha has a recipe for braised brisket  with carrots, parsnips and garlic in the April issue of Martha Stewart Living. I usually use Emeril’s recipe for brisket, so I was interested in giving Martha’s version a whirl to see how they compared.

Emeril’s recipe requires you to make the brisket a day ahead, refigerate it and then reheat it before serving. Martha’s version is a one day plan. Emeril’s recipe creates this wonderful tomato-y sauce which is really tasty.

I started Martha’s brisket on a weekday afternoon. I knew both kids would be home for dinner and Mr. MarthaandMe too, and I was thinking Teen Martha’s boyfriend might also make an appearance, so I would have a crowd.

Liquid

Liquid

First I browned the brisket on both side, then I cooked the onion and garlic. Next I added tomato paste, broth and wine and bay leaves, creating the liquid the meat would cook in.

I put the meat in and put it in the oven. The recipe says to cook for 2 hours, then to flip the brisket and cook another half hour. Then you’ve got another hour in which you cook the veggies you’ve added. Then you’re supposed to take it out, cover the beef and let the liquid cool so you can skim off the fat. Then you need 20 minutes to cook the liquid down.

After the meat had been in the oven an hour and a half, our power went off. Praying to the gods of the brisket, I called the power company and found out they would not have it back on for another 2 1/2 hours – 6:30 pm (also known as dinner time). So that was that for my brisket that day. Instead we went out and had hot dogs. The brisket went in the fridge.

The Cooked Brisket

The Cooked Brisket

The next day, I planned to continue the cooking process once I returned from an important excursion – prom dress shopping with Teen Martha and Big MarthaandMe. Silly me, I didn’t realize it would take SEVEN HOURS of hard labor to obtain the perfect dress. I got home at 5 pm. Quickly, I shoved the brisket in the oven and put it on convection roast. After an hour, I added the vegetables. I let those cook about 25 minutes (I used baby carrots and had my parsnip cut thin). No time to cool the cooking liquid and skim fat. Instead I boiled the hell

The Veggies

The Veggies

out of it and added flour to make it a gravy.

So there I am with this lovely brisket ready for dinner. Dude Martha announces he doesn’t feel well and doesn’t want to eat. Teen Martha says she’s tired and is going to bed. So there Mr. MarthaandMe are with a giant brisket before us. He unfortunately forgot the adage about slicing against the grain, so our slices were not very nice looking. We each had a few slices. I thought it was quite good, but I still like Emeril’s recipe better. The sauce/gravy was good. The veggies were good. I enjoyed it,but am going to

The Plate

The Plate

stick to my usual recipe. Sorry Martha!

Bookmark and Share

I am a big fan of brisket, even though I only started making it a few years ago. I had never had brisket before then – except for corned beef brisket. Martha has a recipe for braised brisket  with carrots, parsnips and garlic in the April issue of Martha Stewart Living. I usually use Emeril’s … Read more

For Easter, I decided to make Martha’s Pineapple Mustard Glazed Ham (April Martha Stewart Living). I don’t generally make a ham for Easter. In fact, until last year, we usually were away over Easter and didn’t really celebrate at all. But this year we were home and I thought I would Martha-ify our Easter.

I often make a ham around Christmas and I usually baste it with Coke or pineapple juice and then make a glaze with brown sugar, mustard, and pineapple juice.

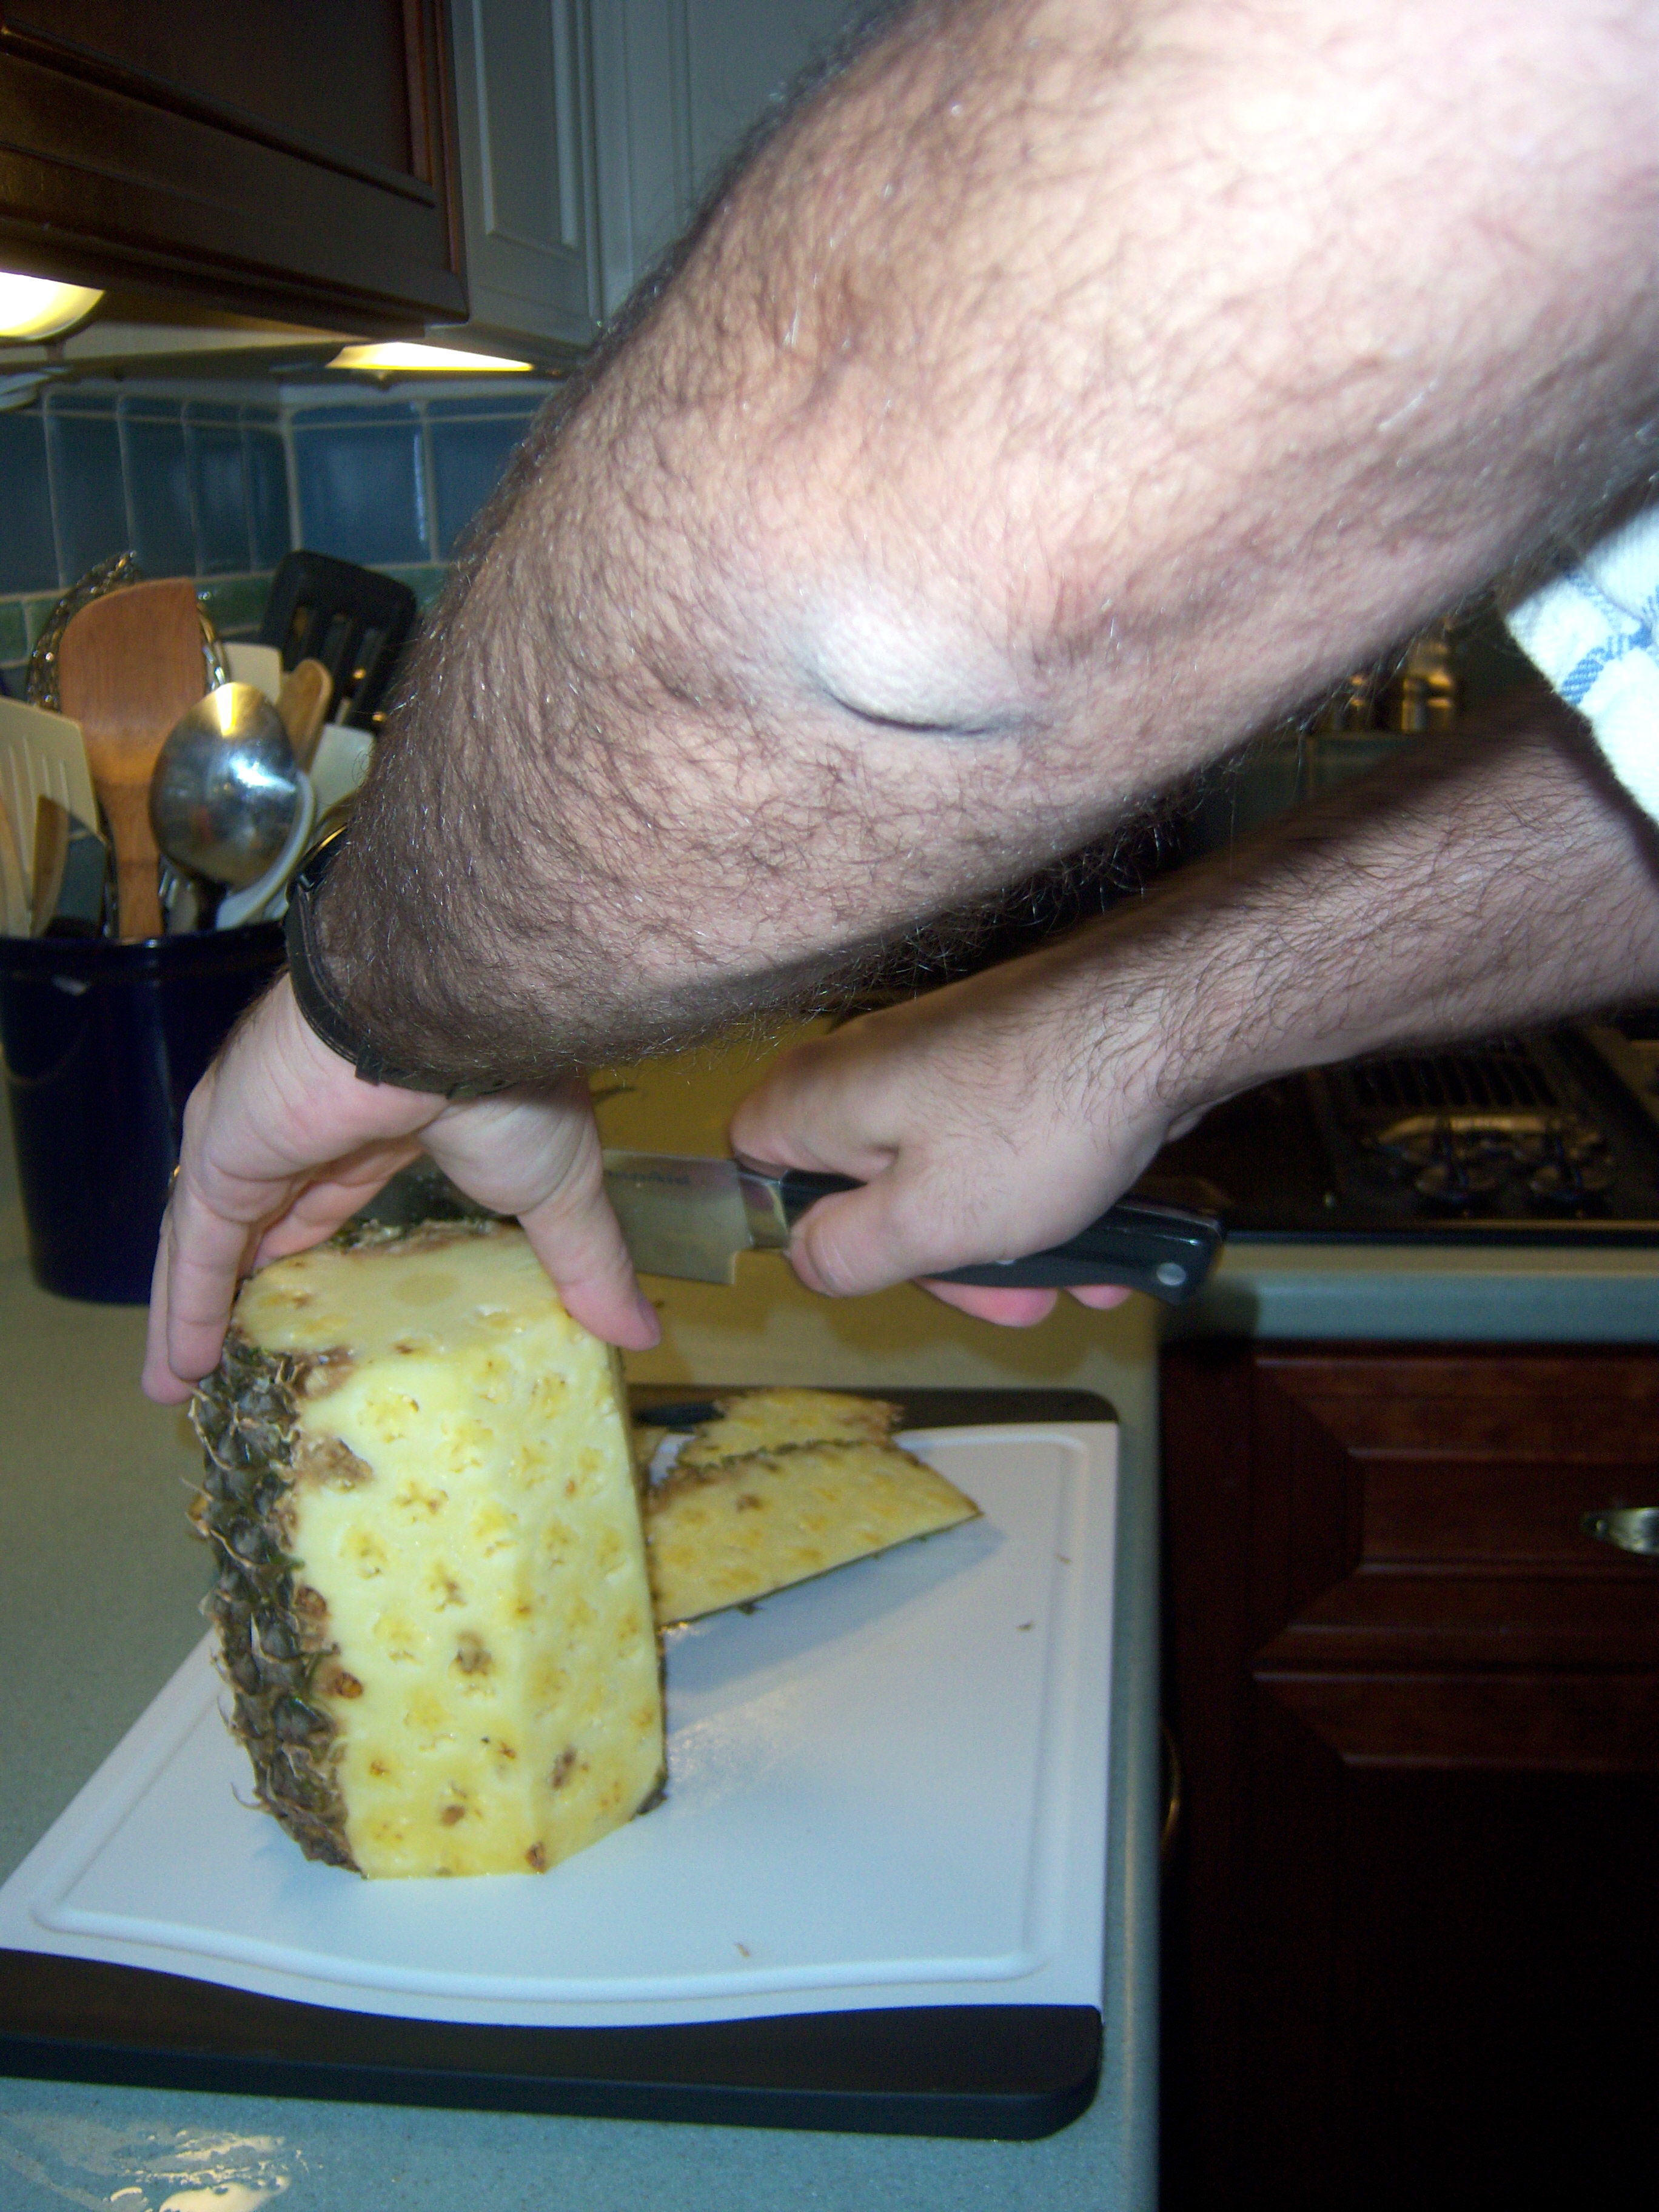
pinapple1Martha’s recipe is more complicated (of course). She directs you to buy whole pineapples and peel, core and slice them (however, she does not give any instruction about how to do that). Fortunately, last summer in Hawaii we saw a demonstration of this at the Dole Plantation. Mr. MarthaandMe went to work with the pineapple. He used an apple corer to get the core out.
Once the pineapple is ready, Martha says to cook it with water and sugar for an hour to an hour and 20 minutes, until it is translucent. I did this and ended up with only half the juice the recipe says you will have. Sigh. So I dumped in some canned pineapple juice and cooked it down to the right consistency. Once that cooled, I mixed in mustard Note that at no point does this recipe say to remove the pineapple slices and reserve them, but I did take them out.pineapple4

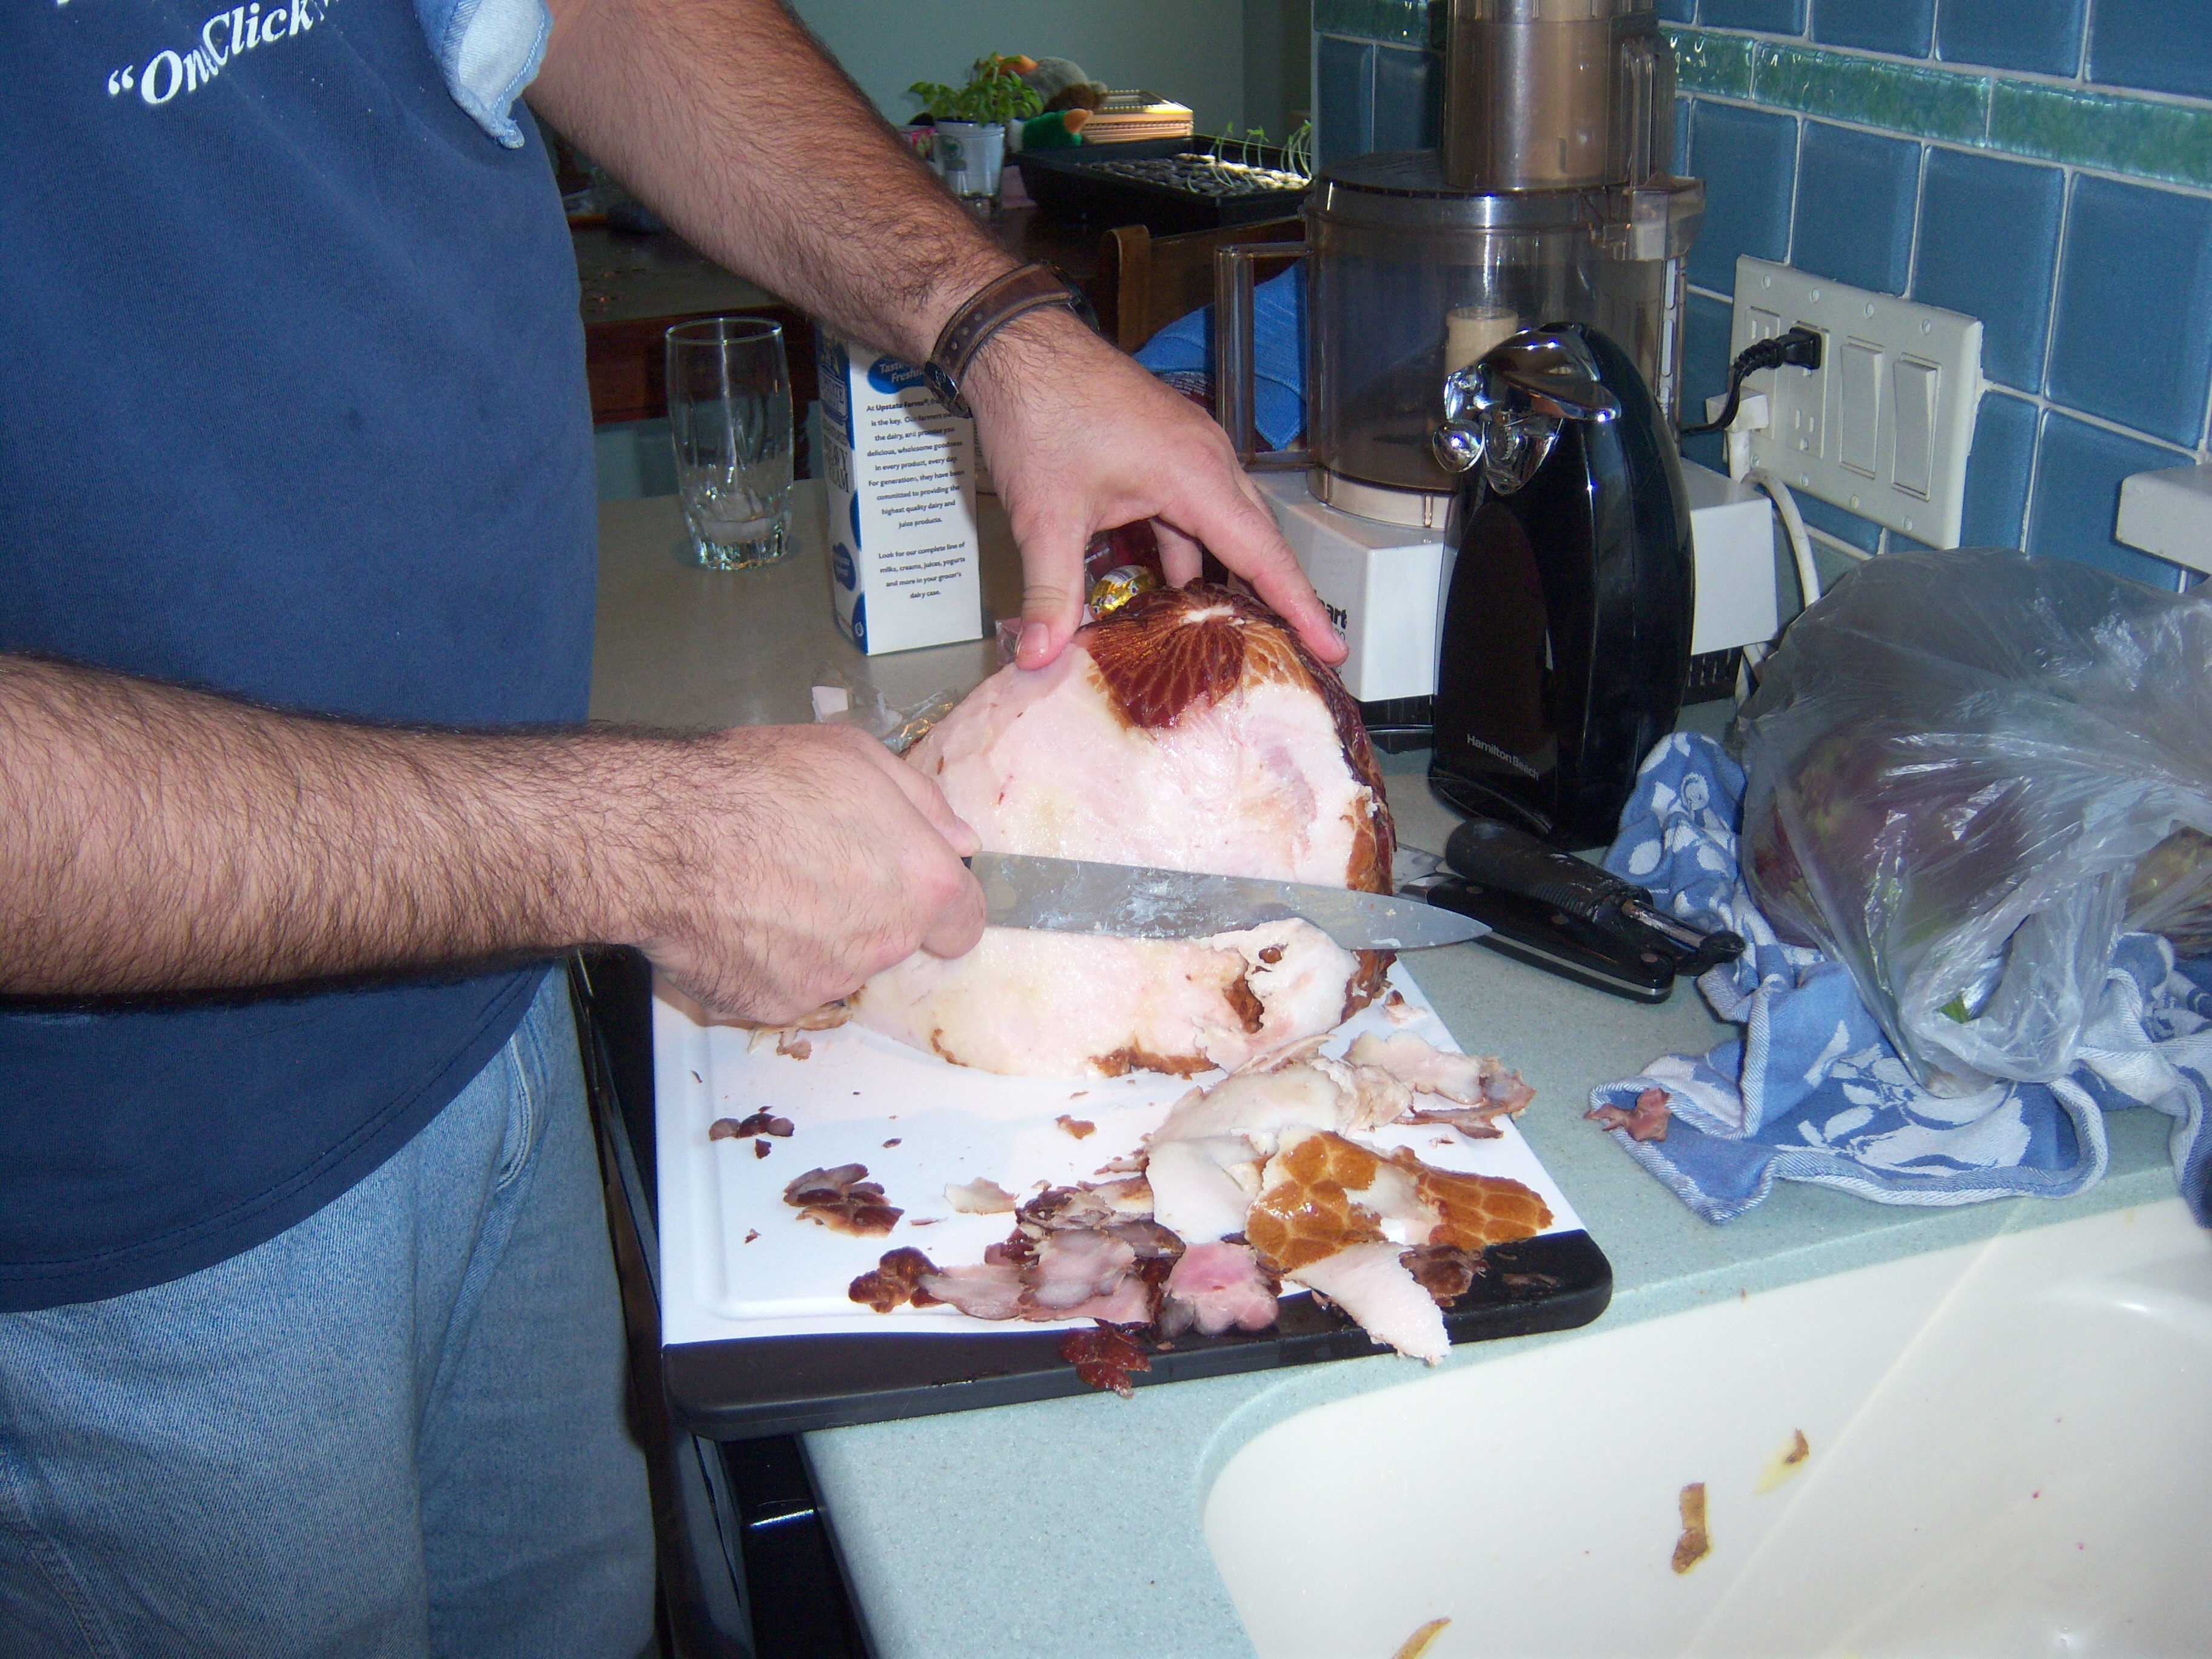
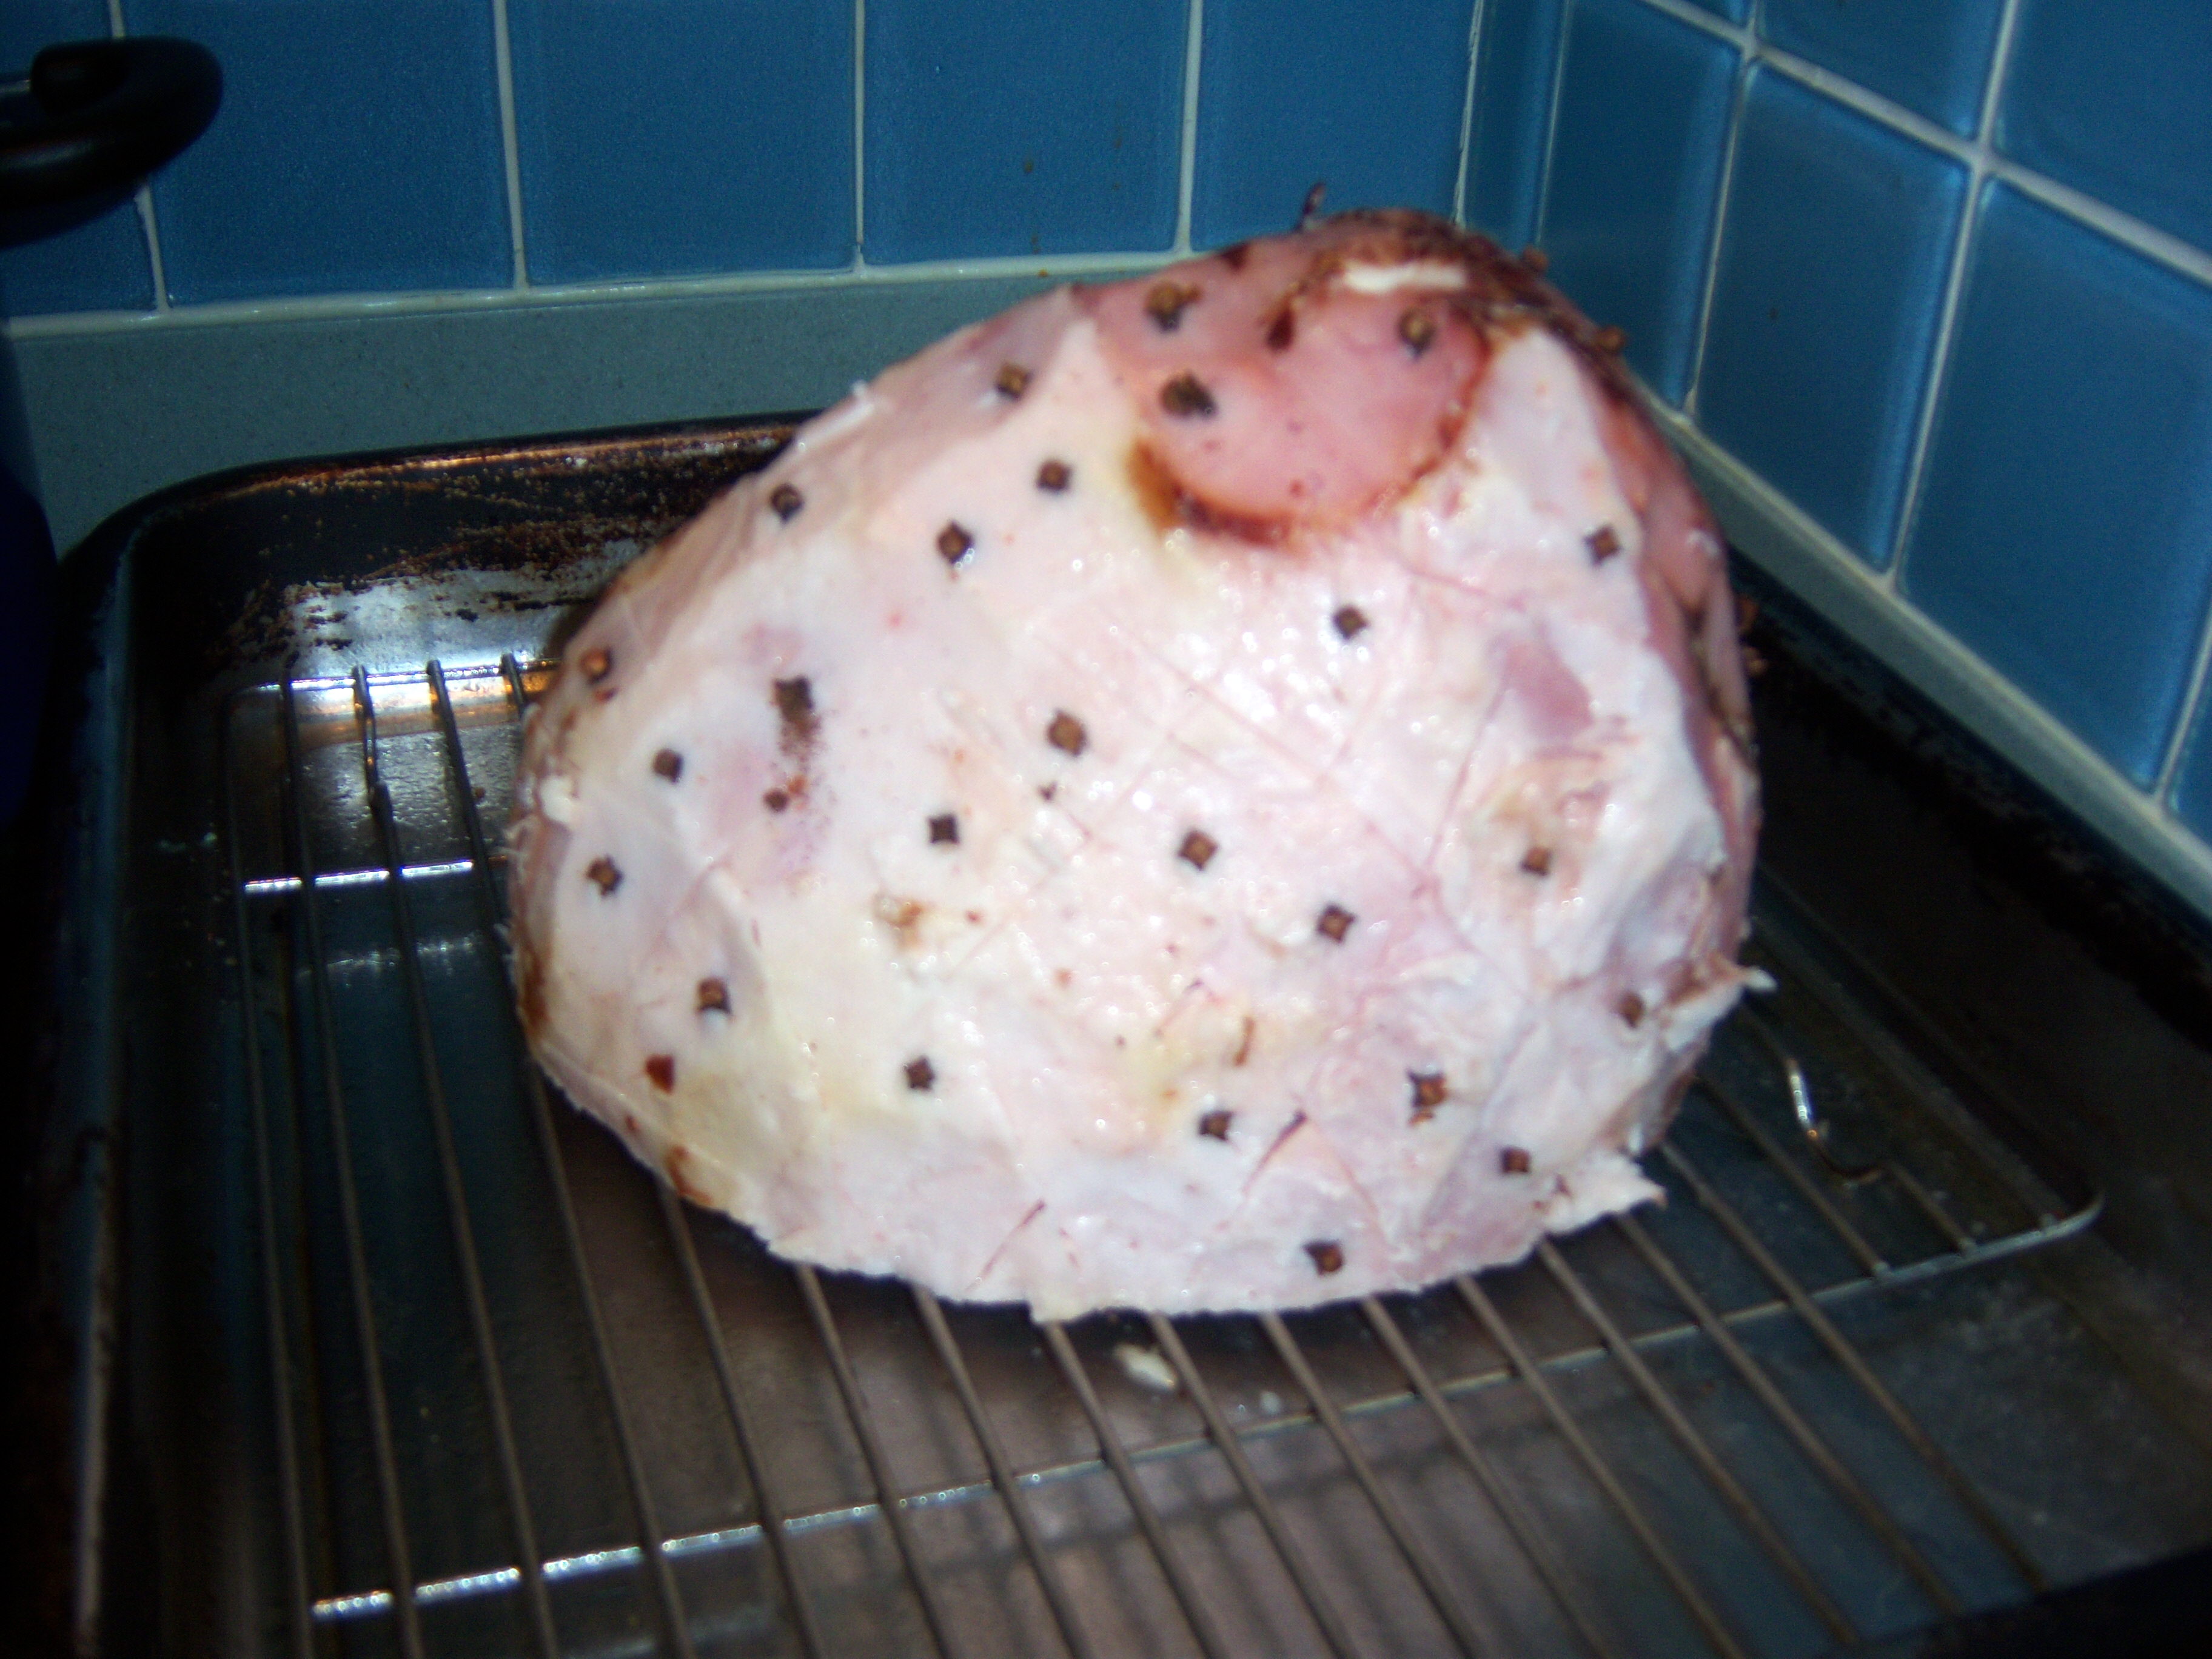
Next it was time to prepare the ham. Martha says to trim excess skin and fat and leave about 1/4 inch of fat. It has never occurred to me to remove the skin from the ham, but it struck me as a brilliant idea. I don’t like the skin or the fat and you make this wonderful glaze and it sits on the skin and doesn’t soak into the meat at all and you never taste it. So, Mr. MarthaandMe trimmed the ham. Next, I scored it and inserted cloves.

ham1I brushed on half the glaze, covered it with parchment and foil and baked as directed. I then removed the covering, poured on the rest of the glaze and finished baking.  Martha makes reference to pan drippings, but everything in my pan burned to a crisp. In fact, I had to turn the oven temp down. Martha said to cook at 425 with the ham uncovered. My ham started to burn and smoke at that temp.
The recipe says to let the ham rest, and then to serve with the pineapple and ham2the pan drippings  (of which I had none). Here’s where my biggest complaint comes in with this recipe. In the photo next to the recipe in the magazine, you see a big beautiful ham with pineapple rings attached to it. The recipe does not say to attach the pineapple to the ham at all.  I have never attached pineapple rings to a ham and was looking forward to that beautiful presentation. In fact, I have no idea how you attach them. Toothpicks?
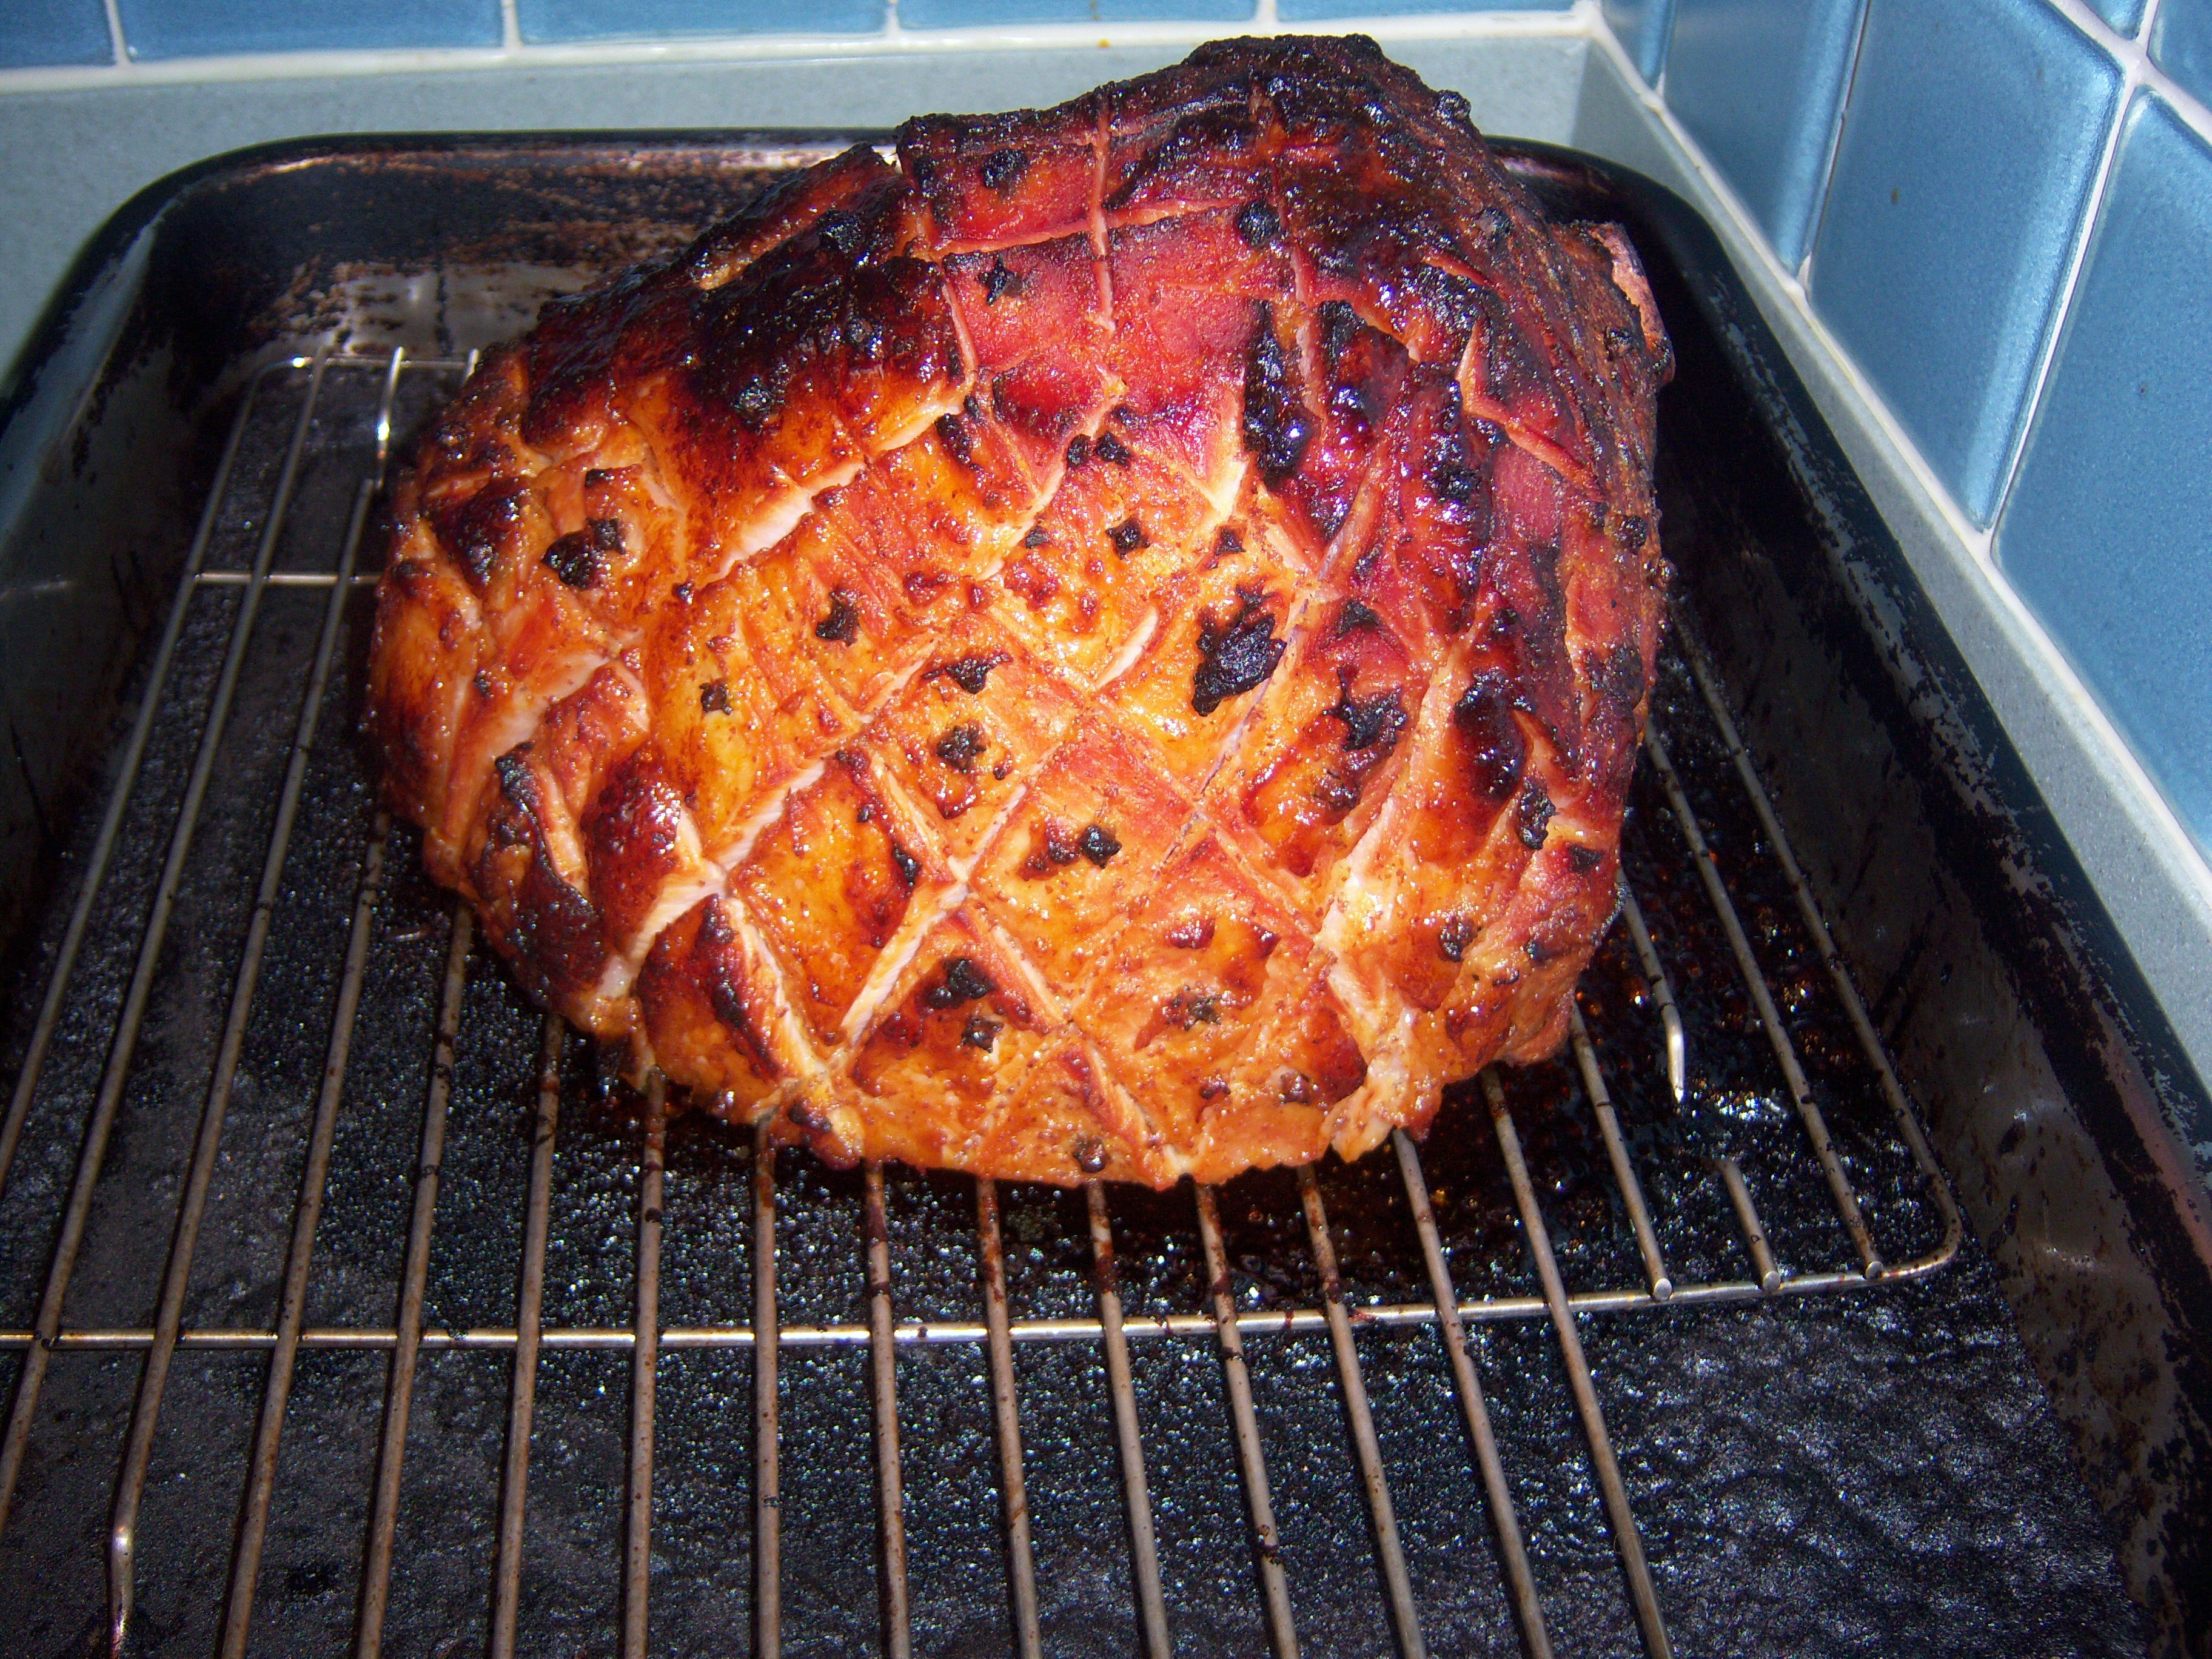
ham3The ham tasted good and it was particularly good when eaten with the pineapple slices which were practically candy. The family verdict was that my usual method is better. In the future, I will make my own glaze, but I am going to trim the skin and fat off, so that is my take away lesson from this.
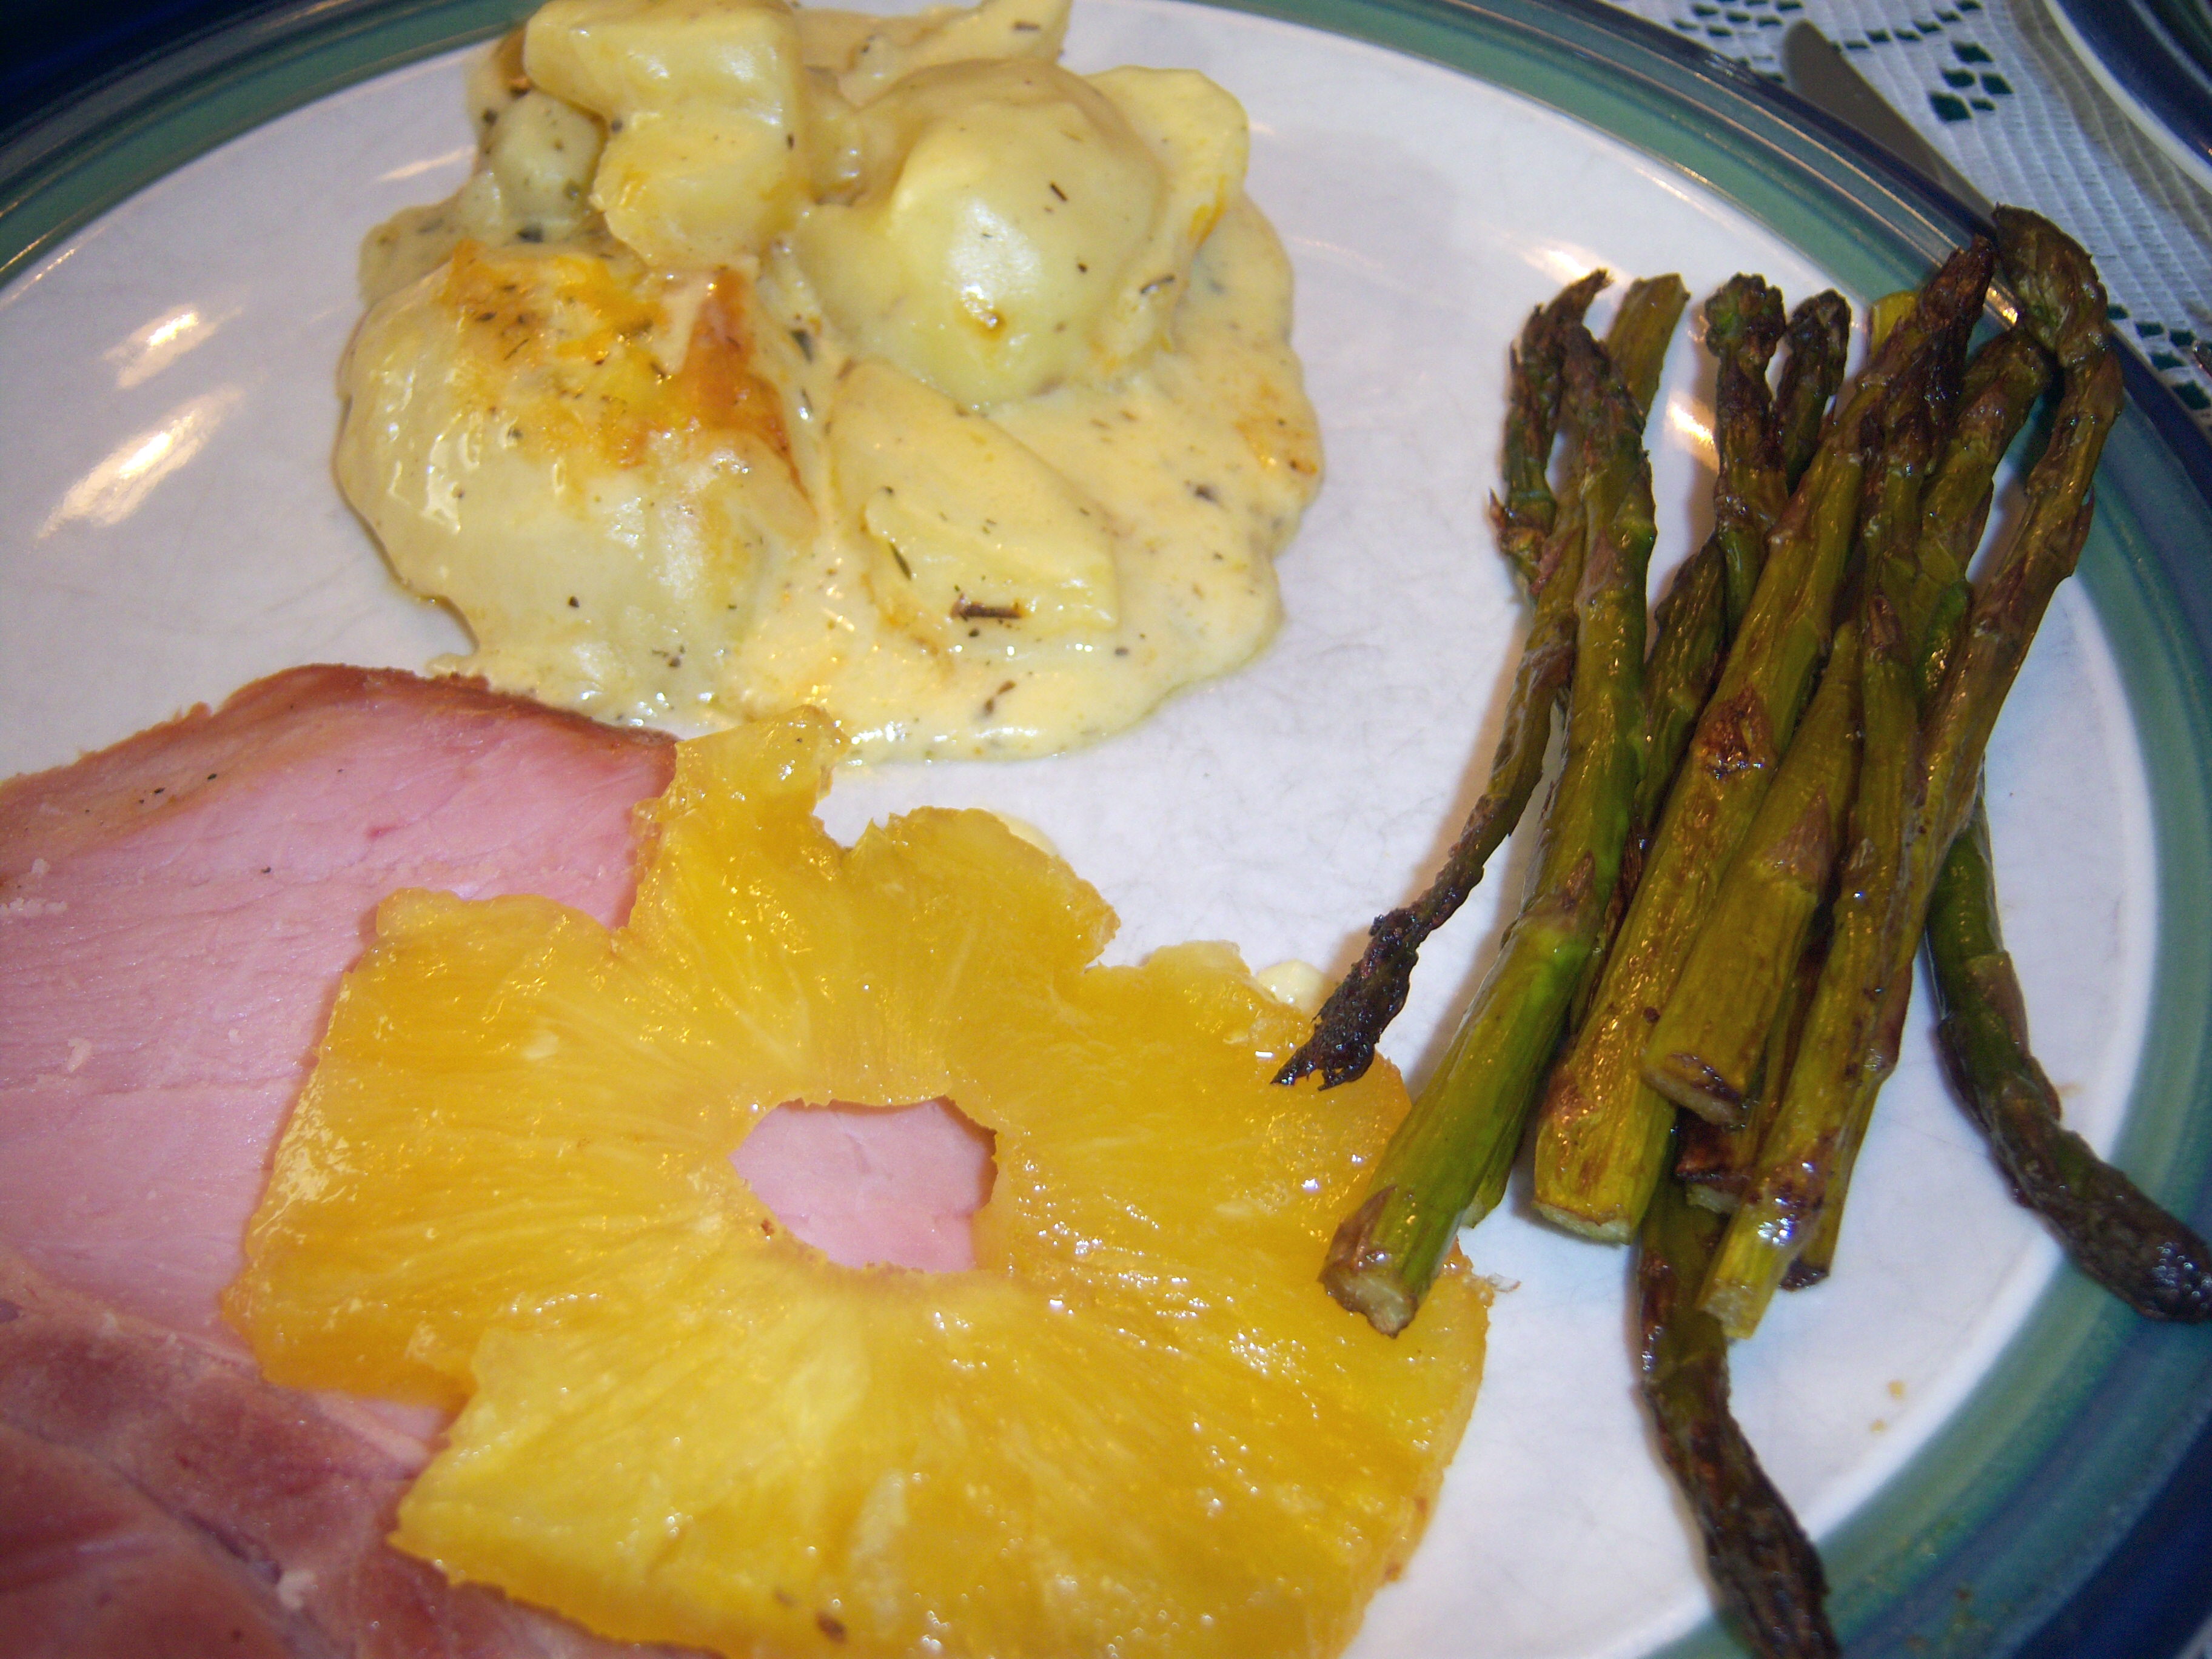
I had planned to make an entire Martha meal and so I consulted the Cooking School book. I am sad to report I couldn’t find the kinds of recipes in there that I wanted. I wanted to make some cheesy potatoes and there wasn’t a single recipe that even ham4resembled that. In fact, there are very few potato recipes in that book at all. I had artichokes and checked the book for some interesting recipes for that and all Martha has is how to boil them. So I abandoned that and went with some roasted asparagus, my grandmother’s cheesy potato recipe and some artichokes with butter for dipping.
Bookmark and Share

For Easter, I decided to make Martha’s Pineapple Mustard Glazed Ham (April Martha Stewart Living). I don’t generally make a ham for Easter. In fact, until last year, we usually were away over Easter and didn’t really celebrate at all. But this year we were home and I thought I would Martha-ify our Easter. I … Read more

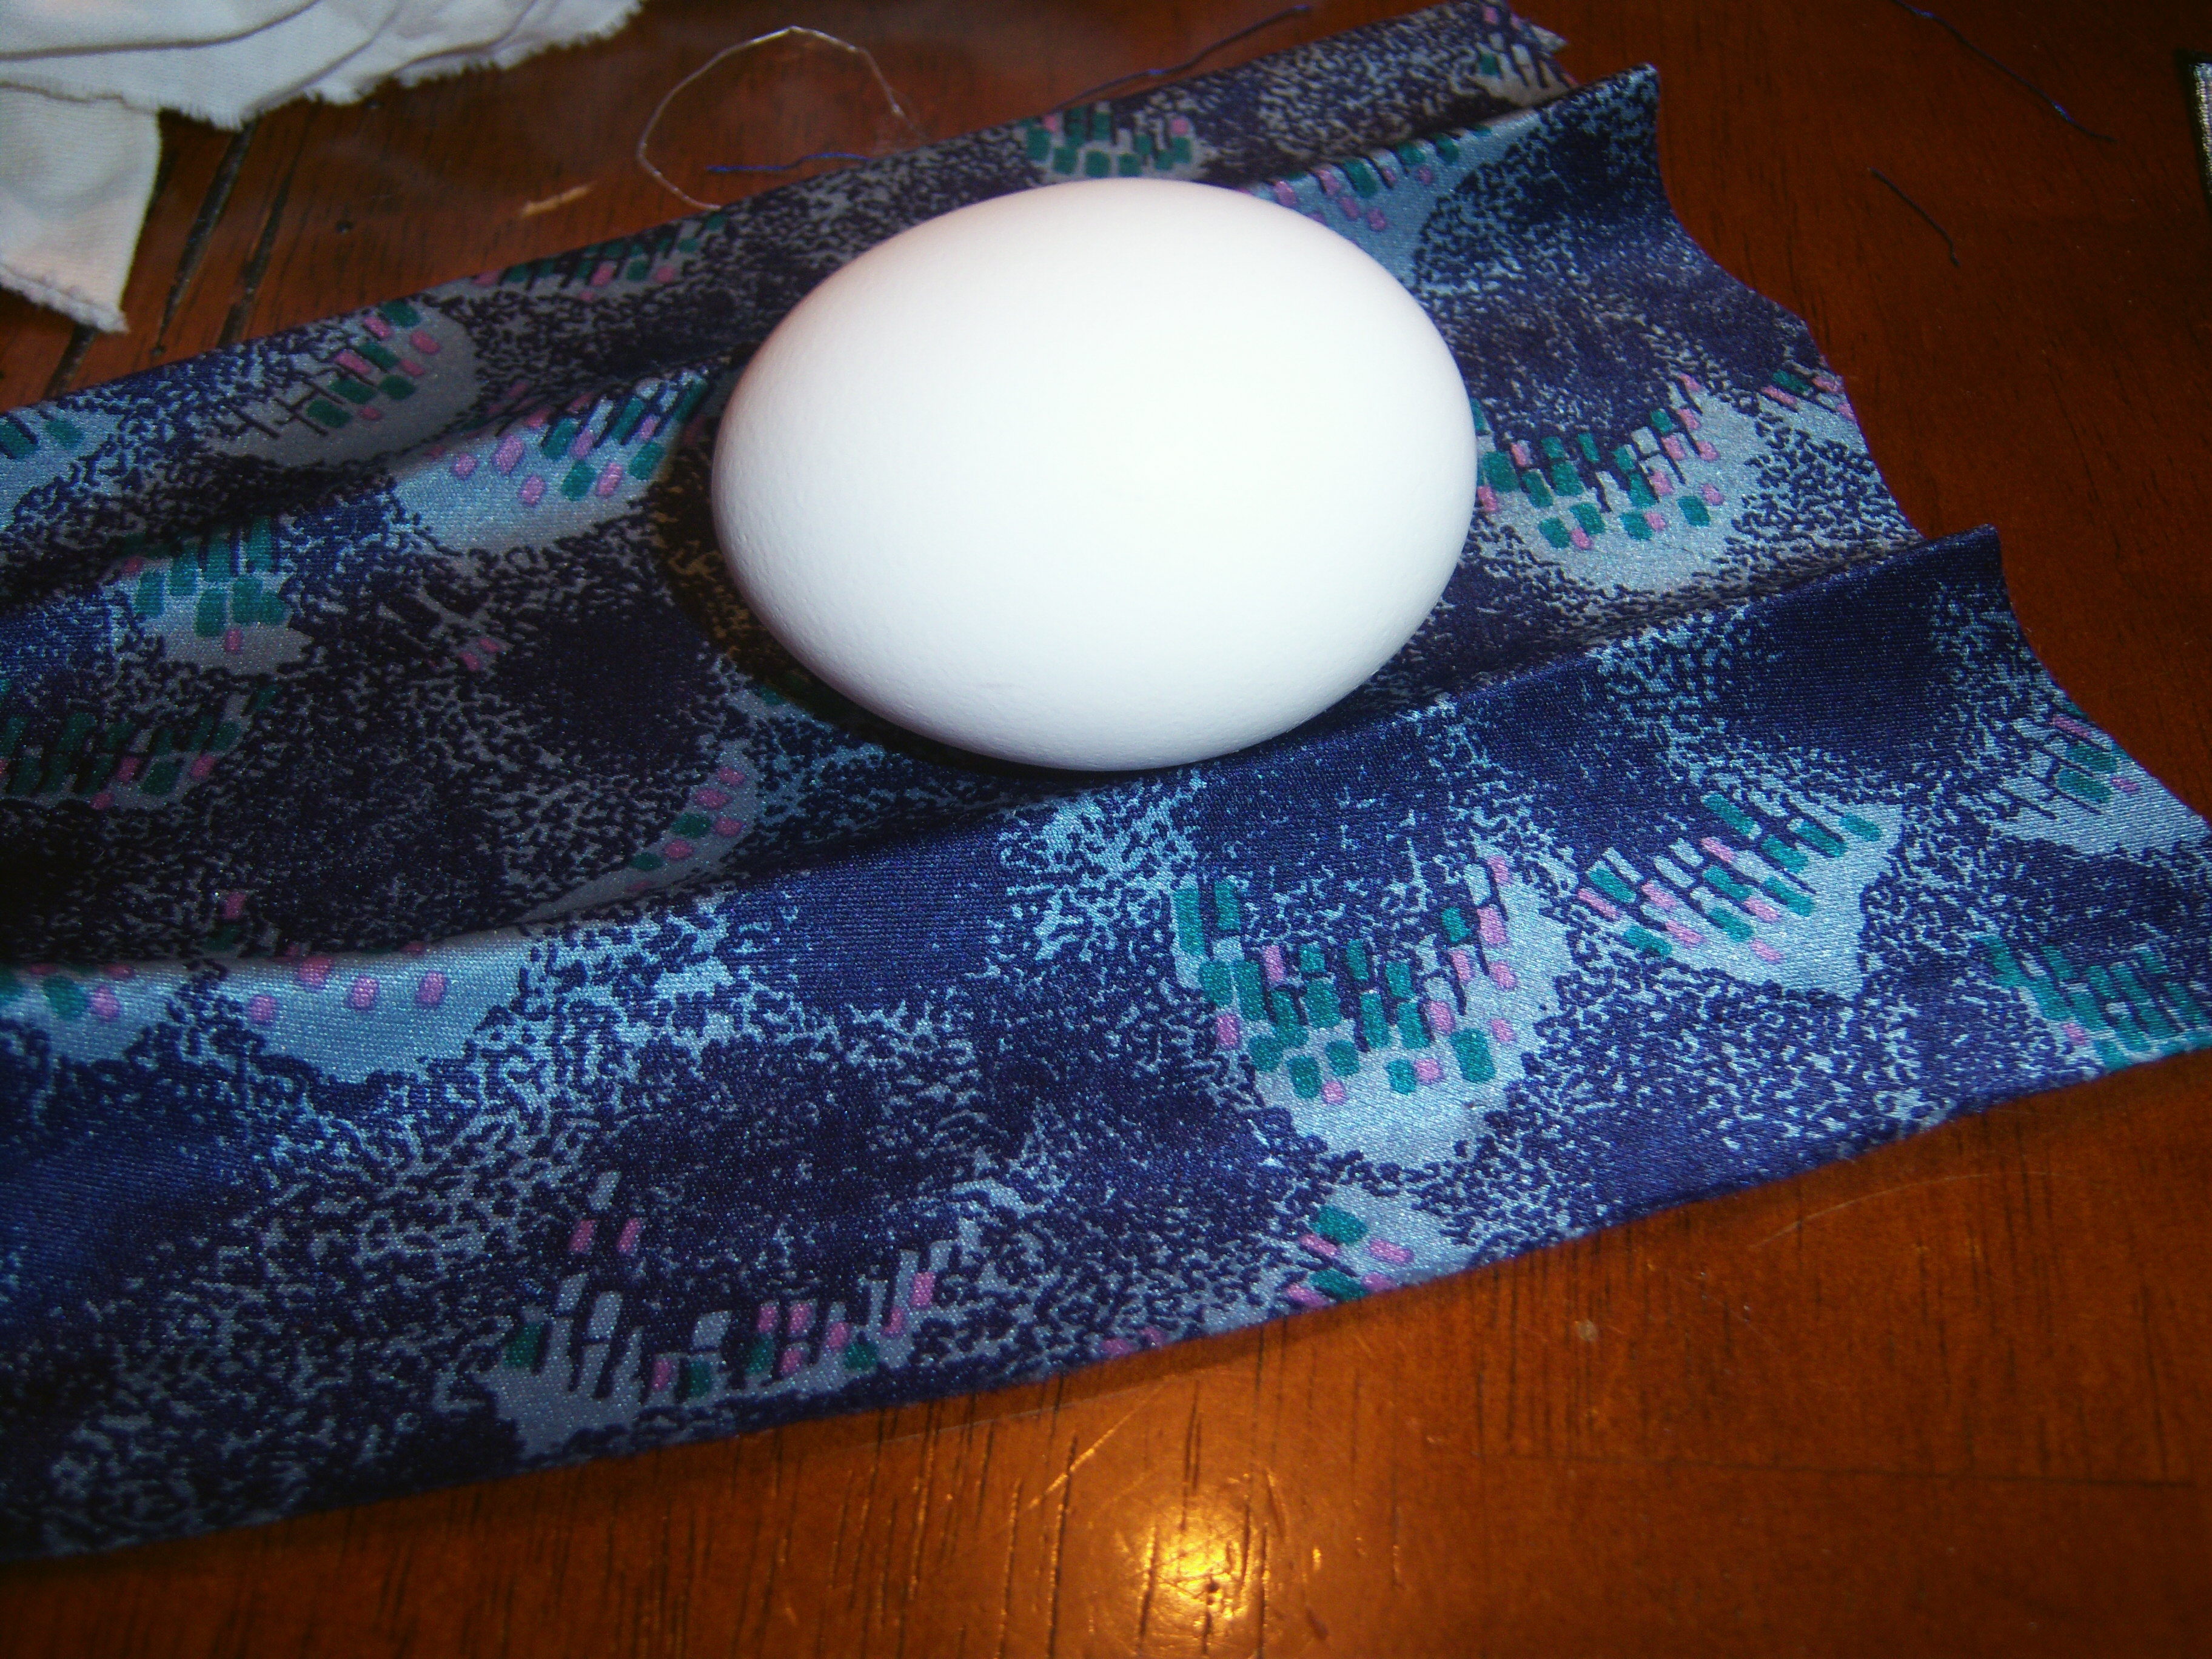
Let me be the first to say I absolutely doubted Martha when she showed how to dye Easter eggs with scarves. I thought it was completely nuts, so I had to try it for myself. I went through my dresser and did not have any scarves I was scarf-egg1willing to sacrifice, so Mr. MarthaandMe was able to give me a tie which I cut into pieces.
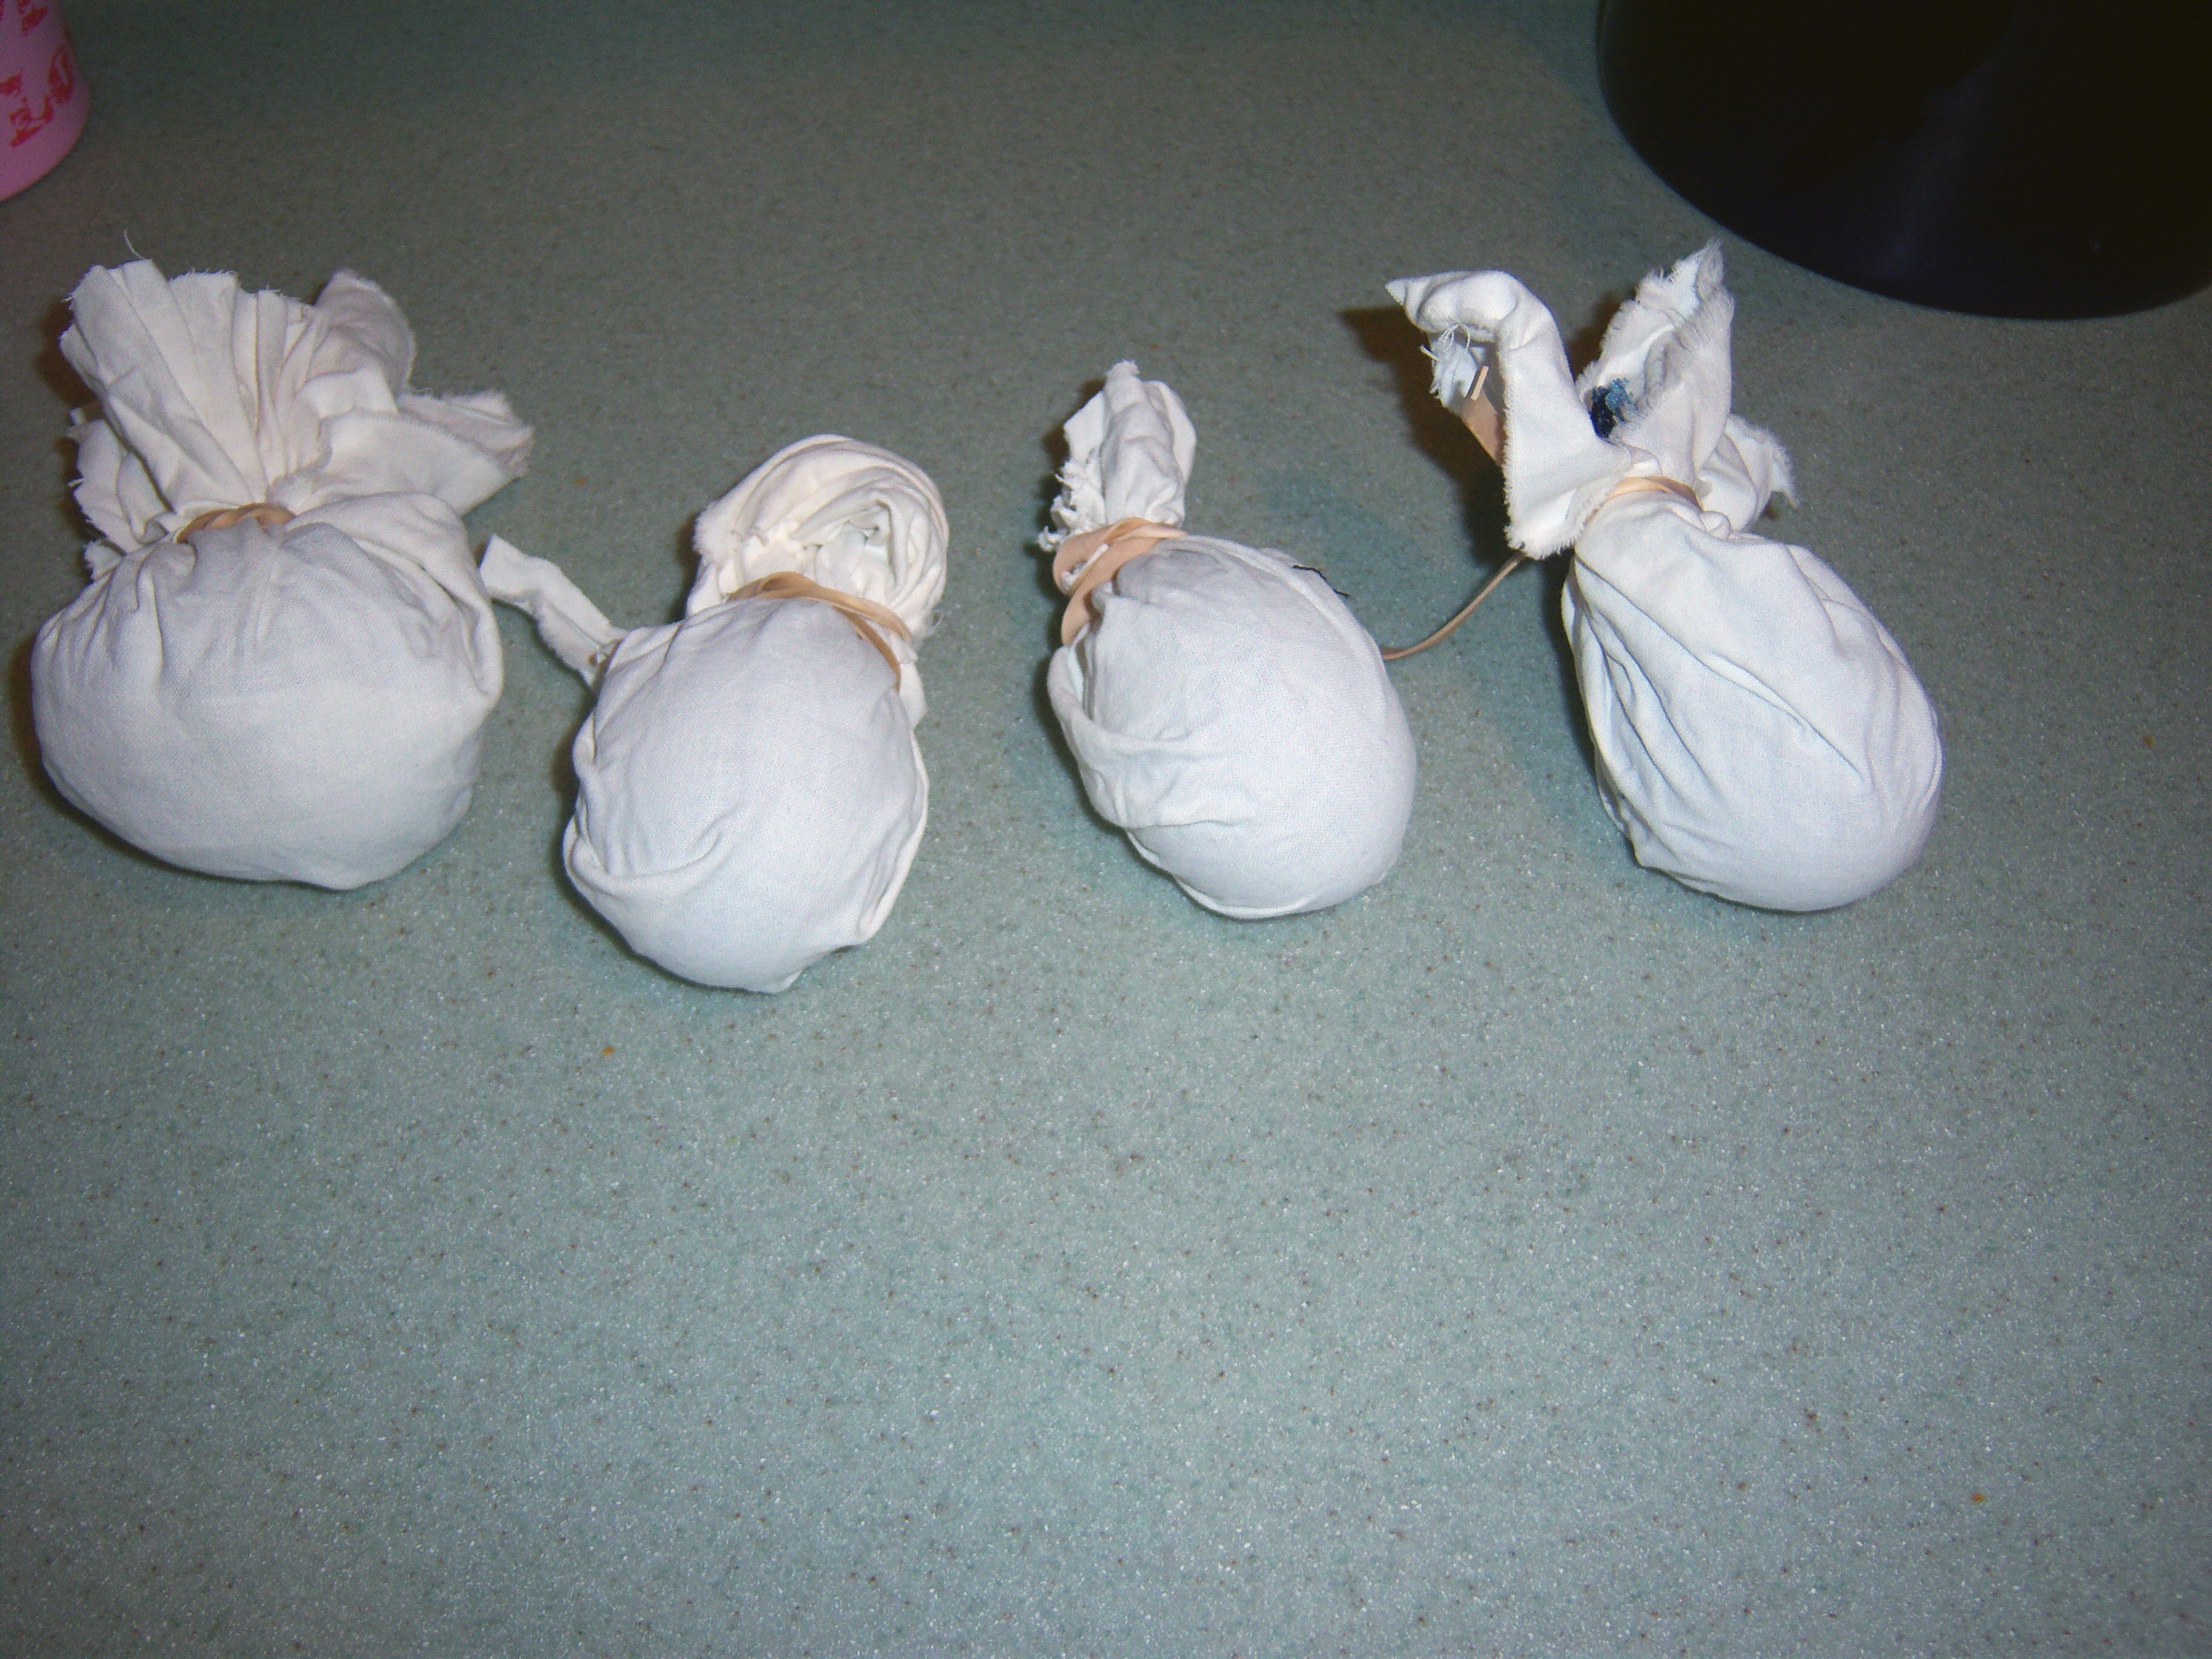
You wrap the egg in the fabric, with the print part facing the egg. Martha says to twist tie it – I used rubber bands. Then you cover it with a white muslin and rubber band it shut again.

You boil the eggs in water with vinegar for 20 minutes. I took them out, unwrapped them and was completely stunned at how gorgeous they are! This scarfegg21was very simple to do and results are stupendous! I now wish I had blown the eggs out so I could keep them. I am definitely going to be doing this craft again.
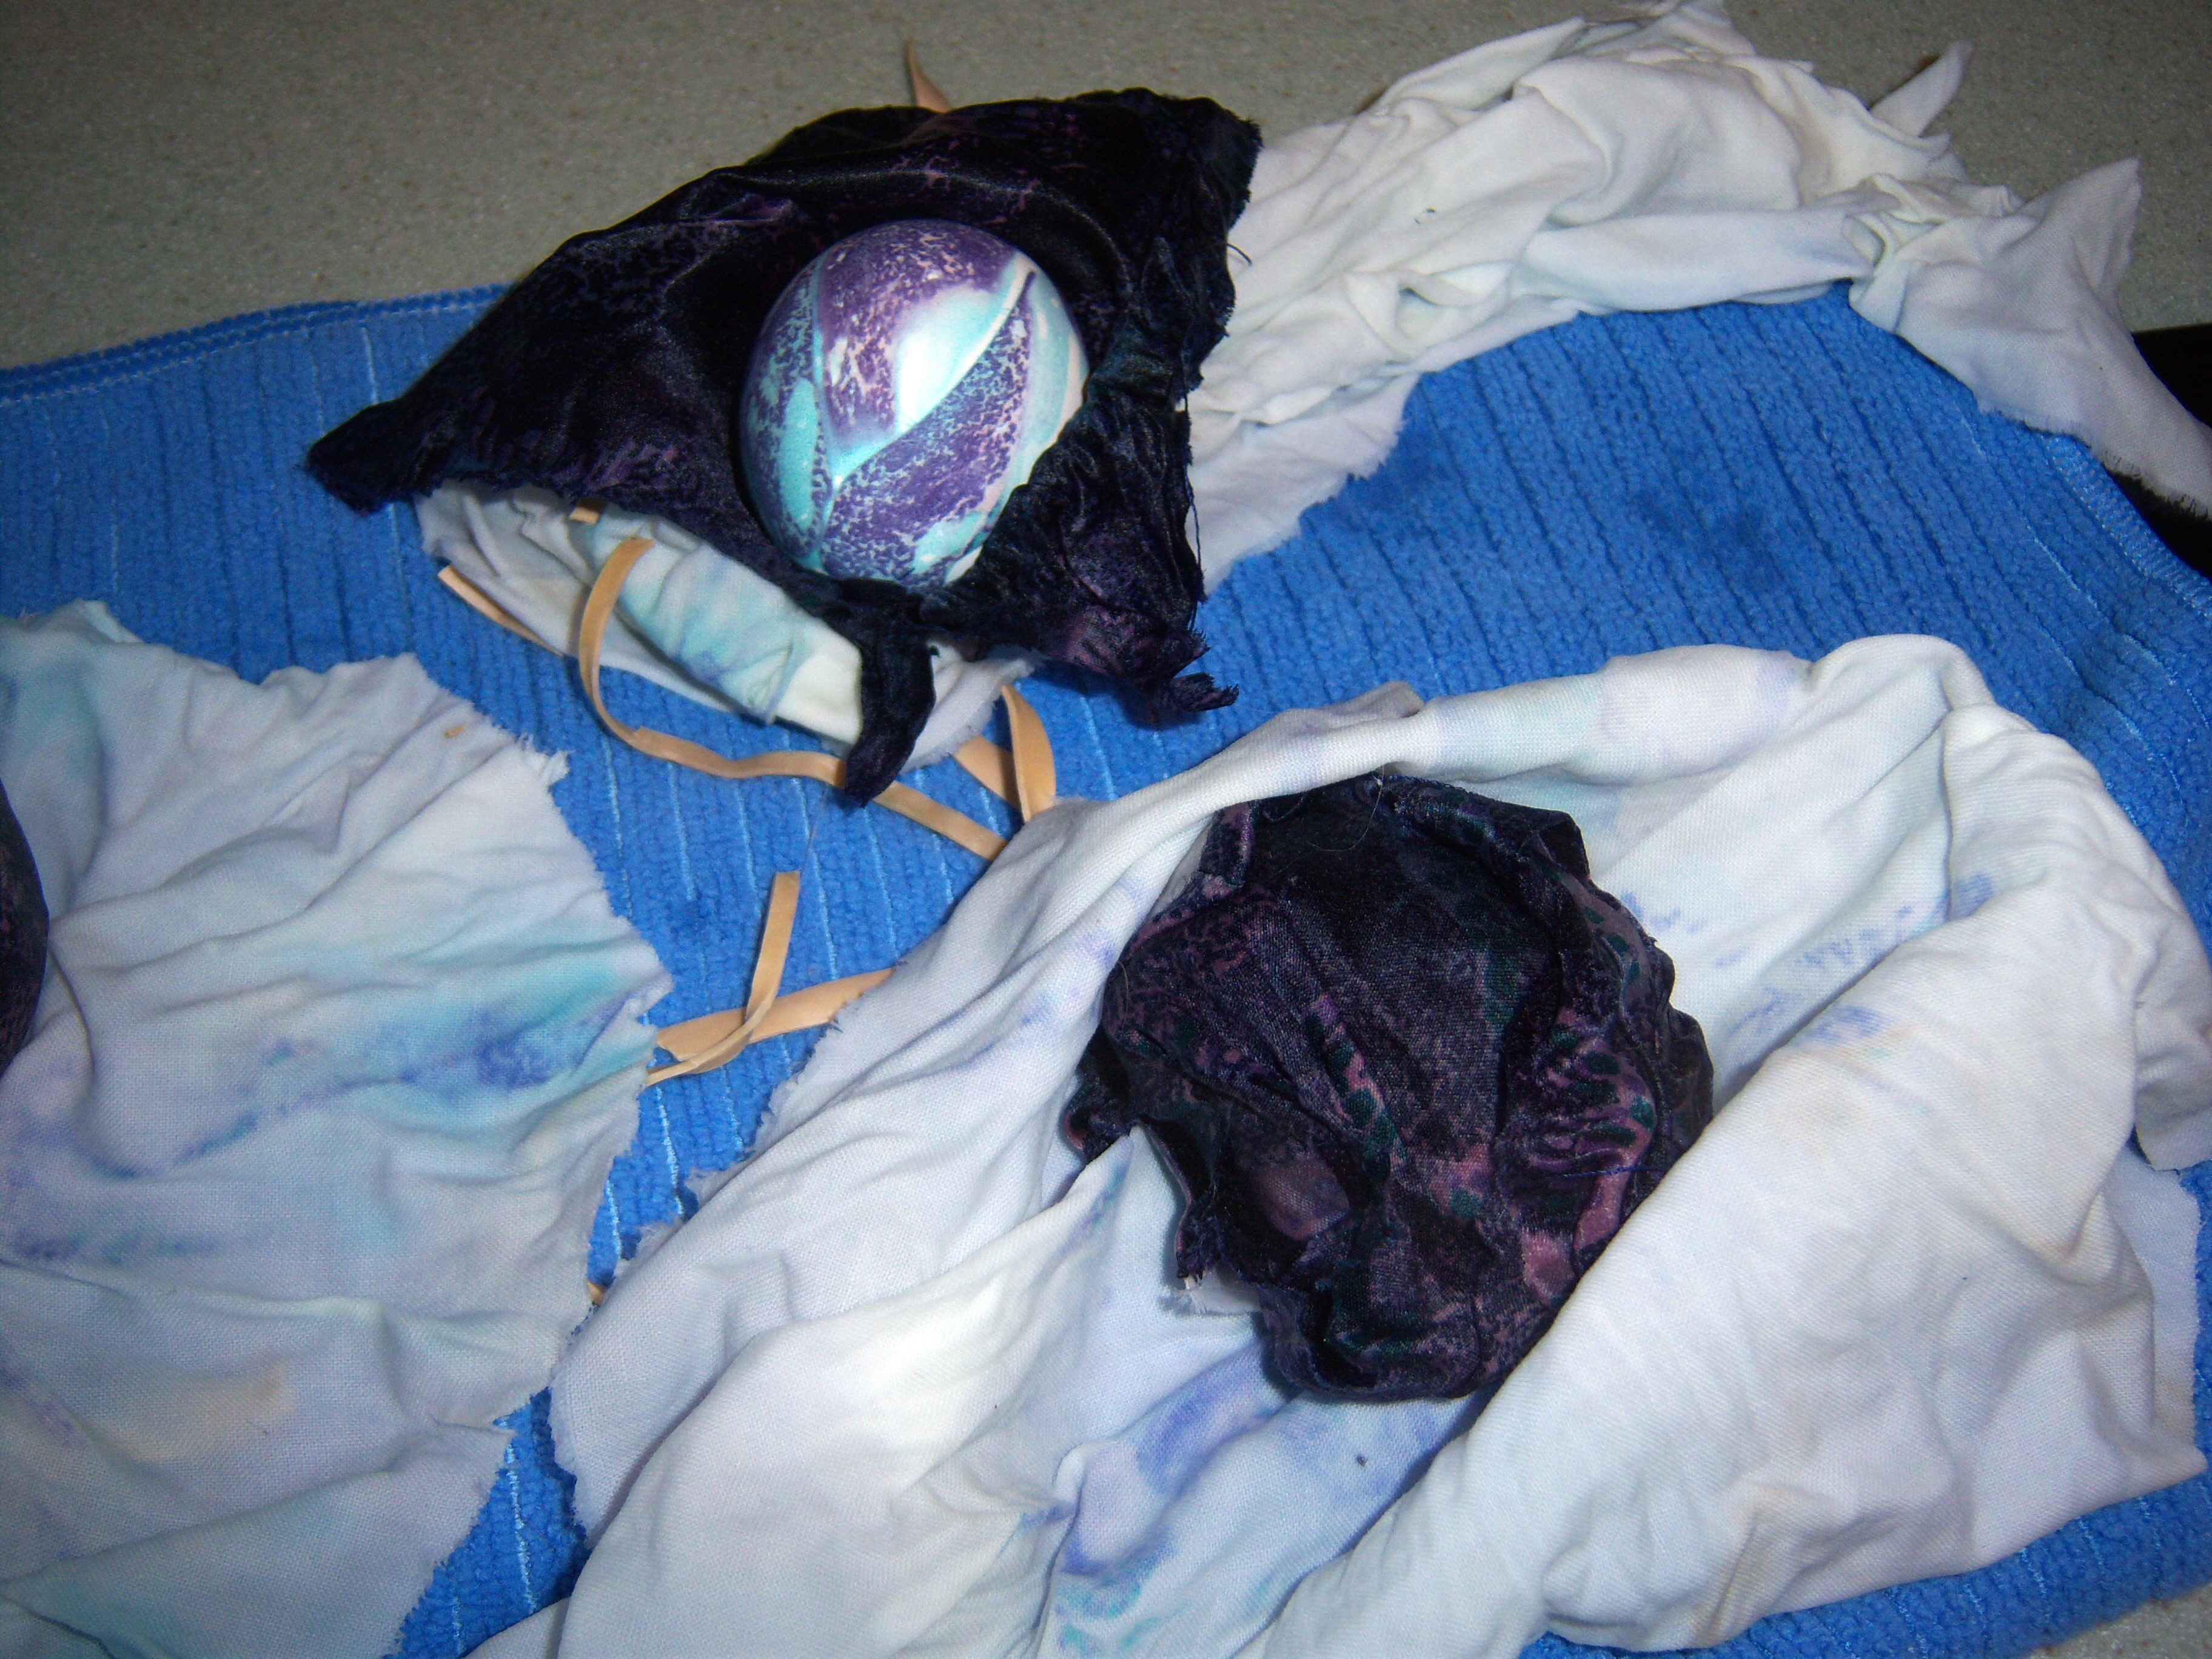
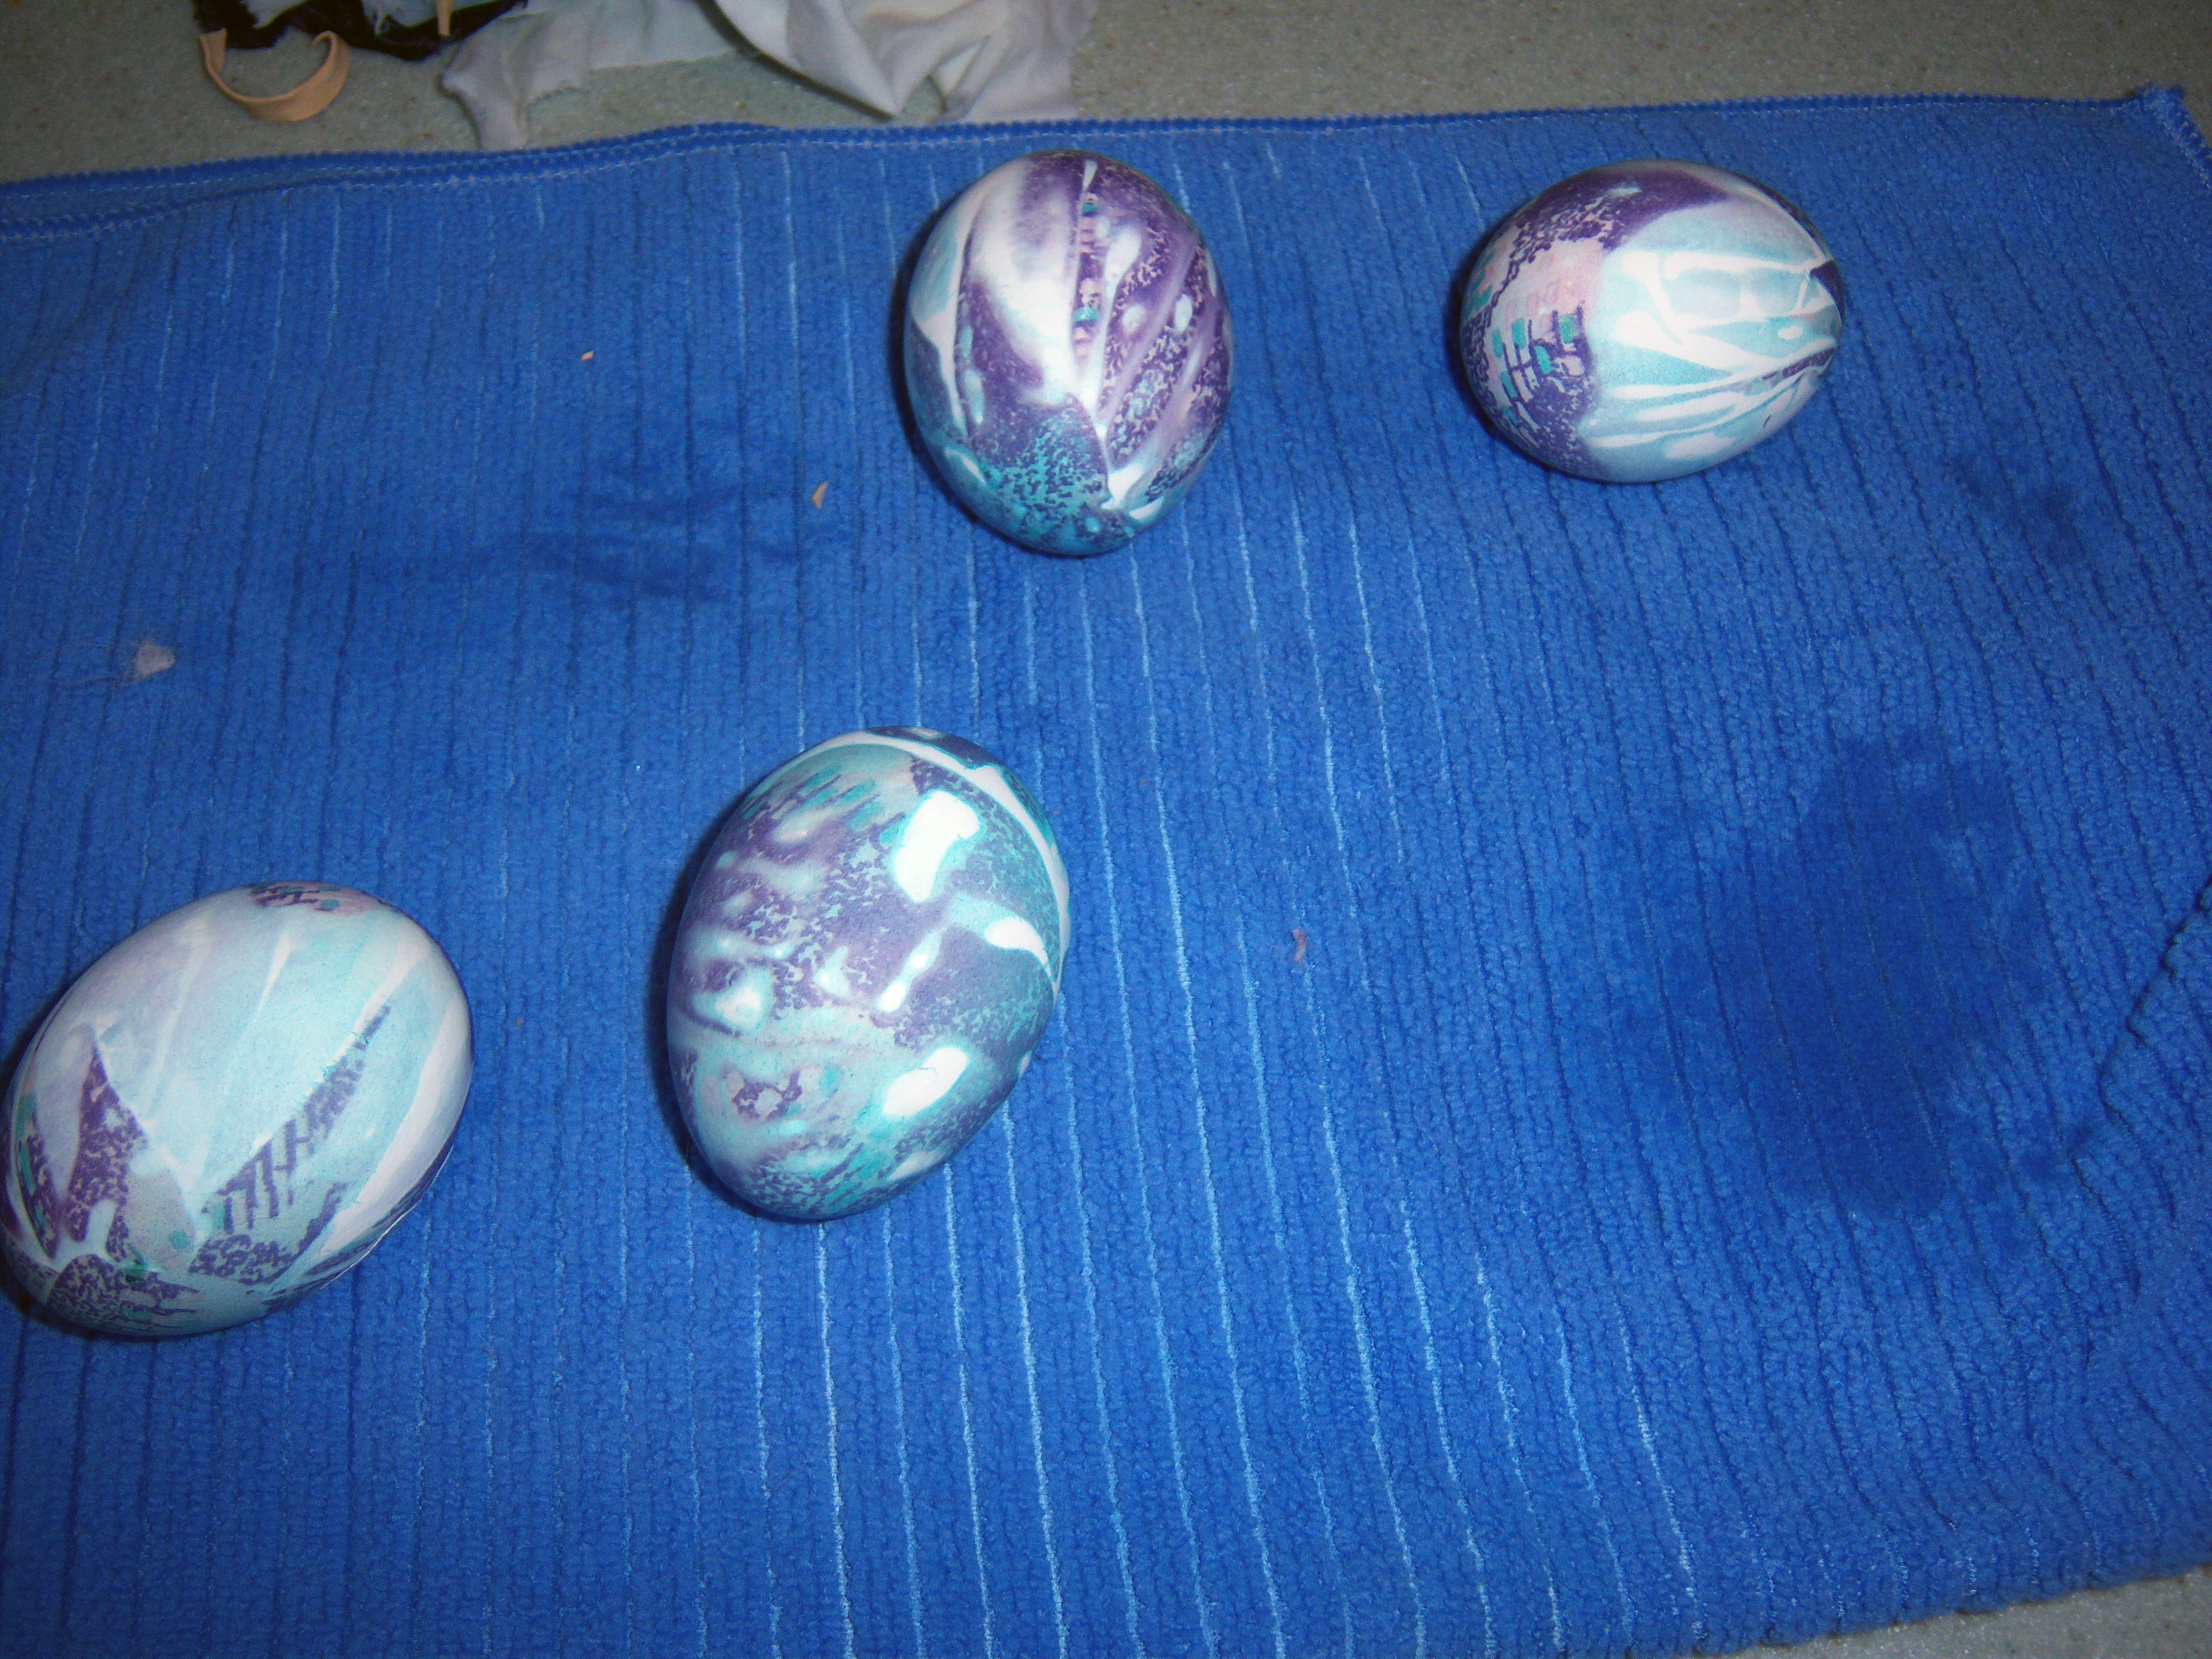
Mr. MarthaandMe said that this is hands down the best craft I have done from Martha and he is right. In fact, this is the first craft that I am willing to call a “good thing”!

scarfegg3

scarfegg4

Bookmark and Share

Let me be the first to say I absolutely doubted Martha when she showed how to dye Easter eggs with scarves. I thought it was completely nuts, so I had to try it for myself. I went through my dresser and did not have any scarves I was willing to sacrifice, so Mr. MarthaandMe was … Read more

In what will be a continuing series, I want to share with you my garden progress. When I was recently on Martha Stewart Radio, Morning Living, I mentioned that one of my big upcoming Martha projects is a garden. My father is a marvelous gardener and produces mass quantities of vegetables each summer, all summer. I love having fresh veggies in the garden, but Mr. MarthaandMe have never quite gotten the hang of it. When we lived at our previous house we tried to have a garden, but having a toddler and busy jobs meant we didn’t really tend to it well. After we had lived here for a few months, we attempted a garden. We grew some very nice pumpkins (on our pumpkin tree as we called it, since the the vine grew up into a tree!) and not much else. We just aren’t so good at regular watering and weeding.

greenhouse1We’ve made do with some tomatoes and peppers in pots and a tiny little herb garden since then. This year, I am going to try to live up to Martha’s expectations and have a somewhat real garden.
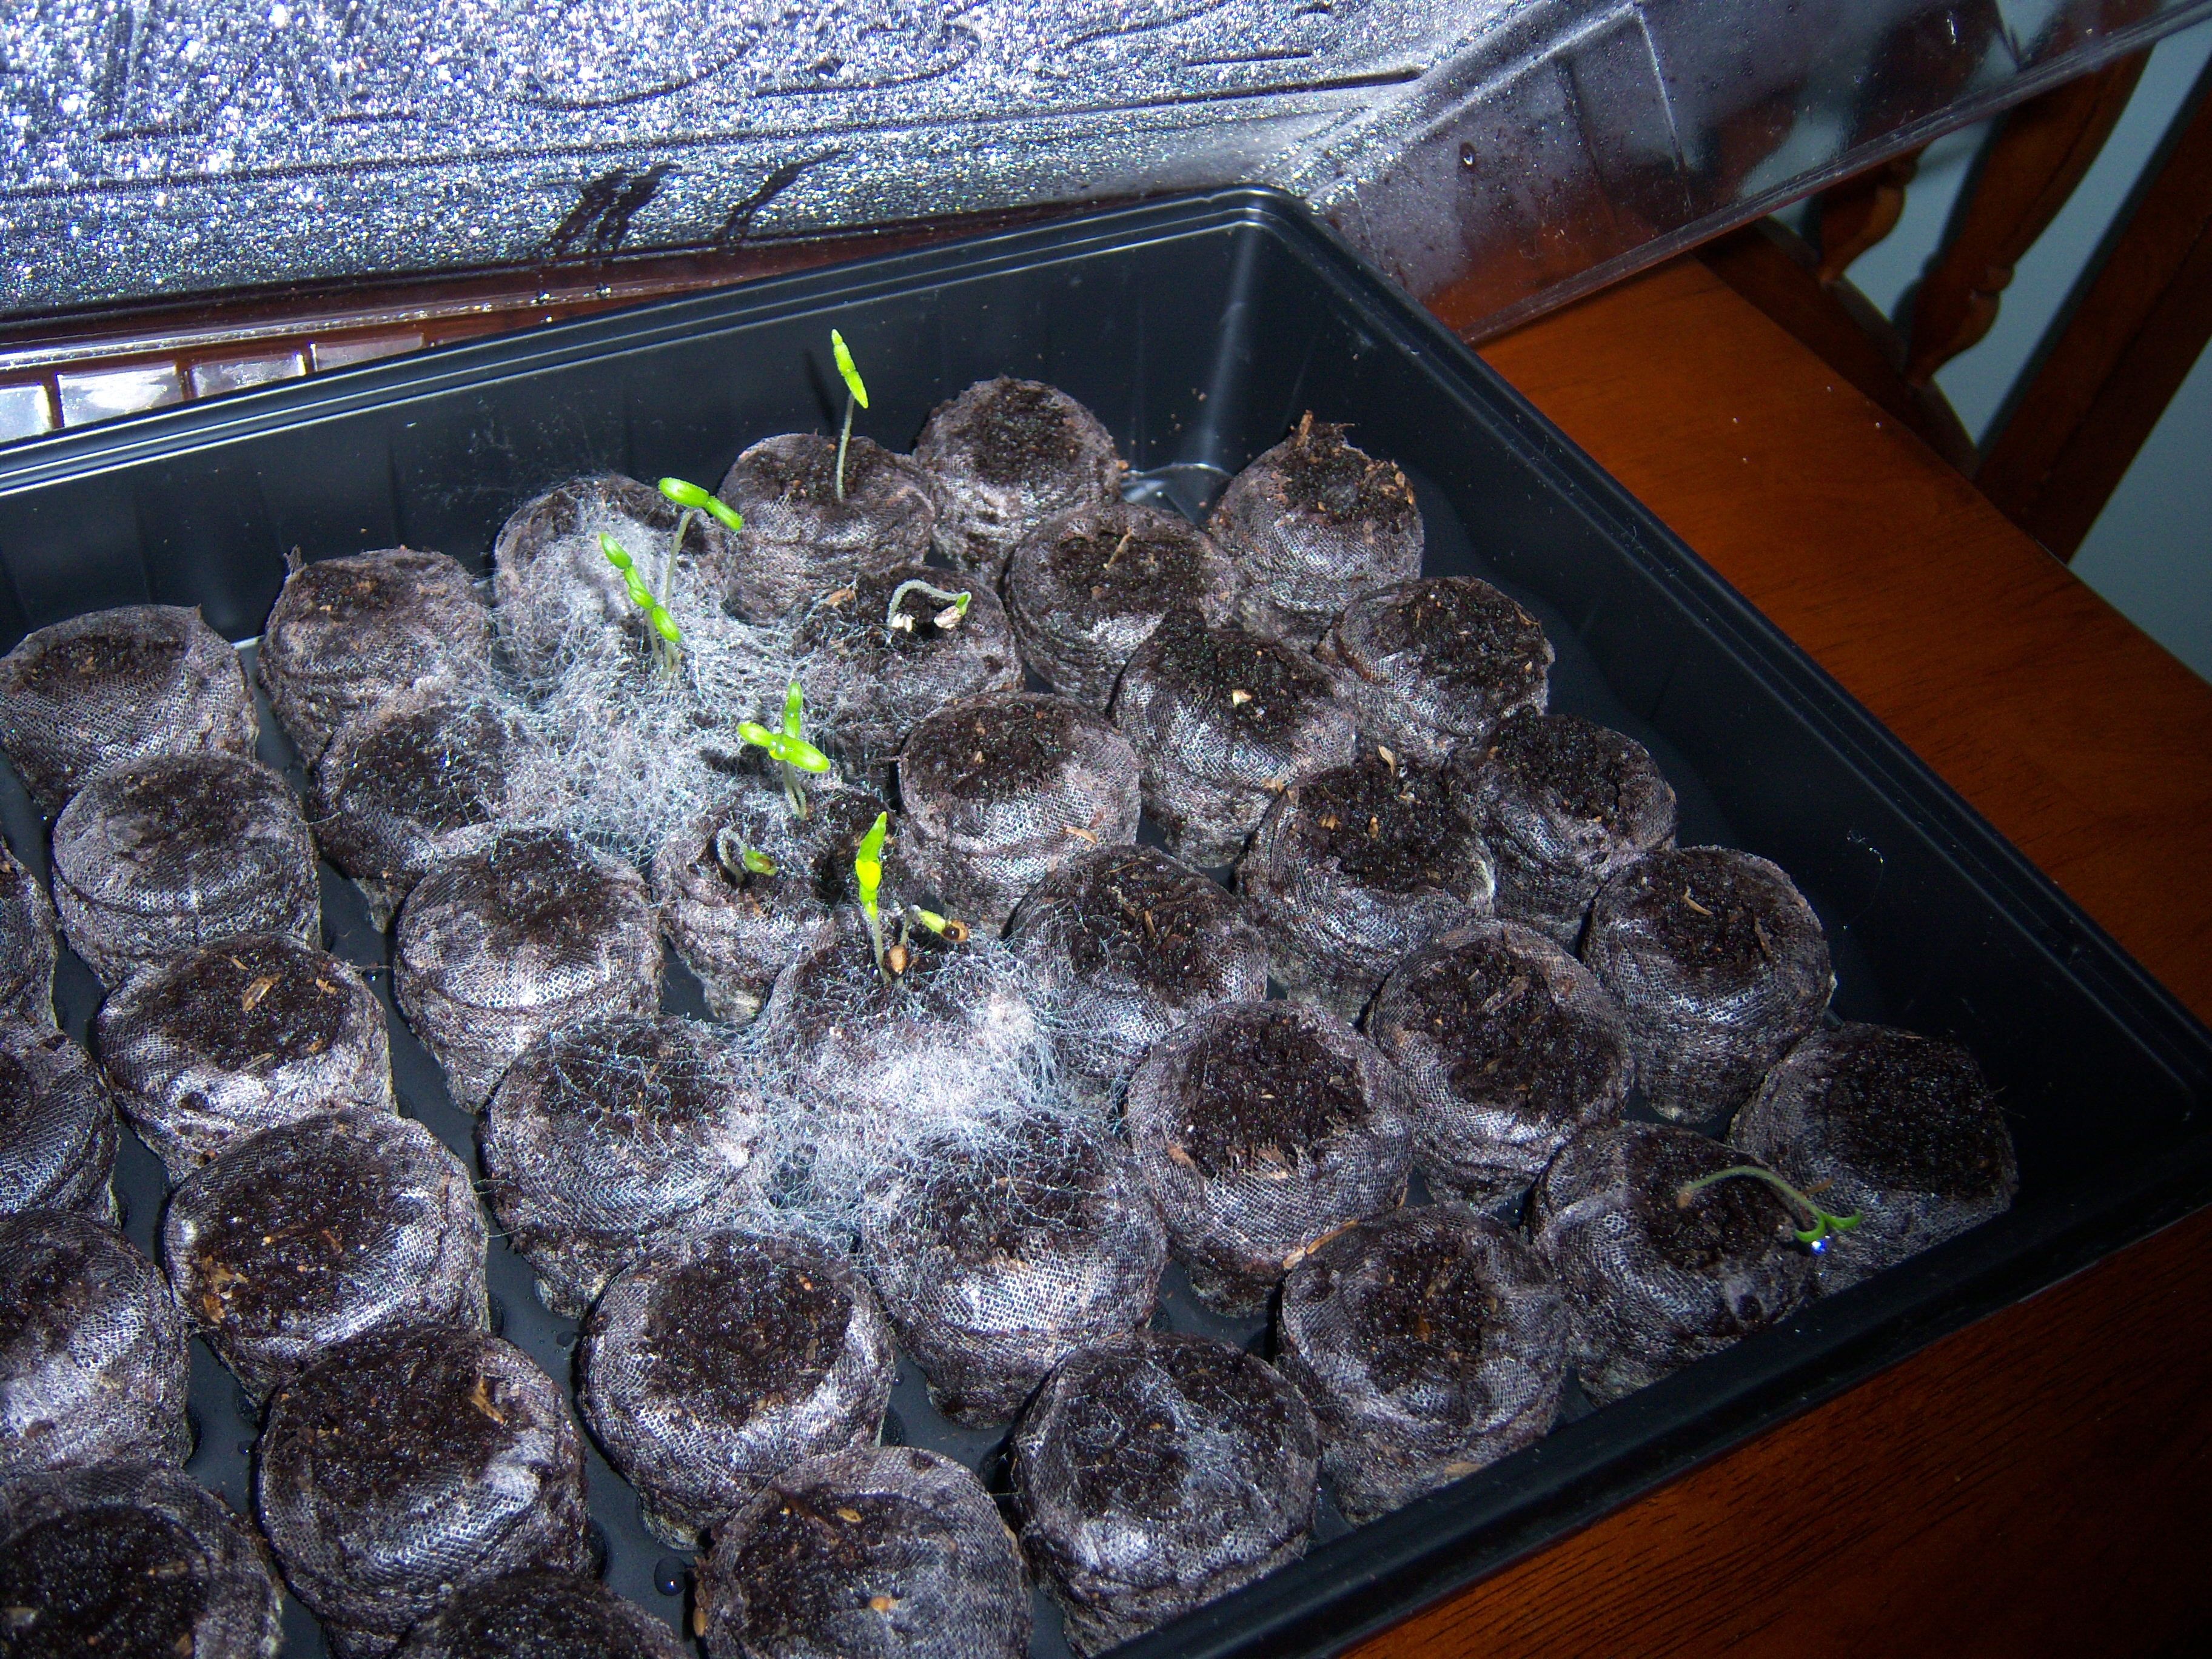
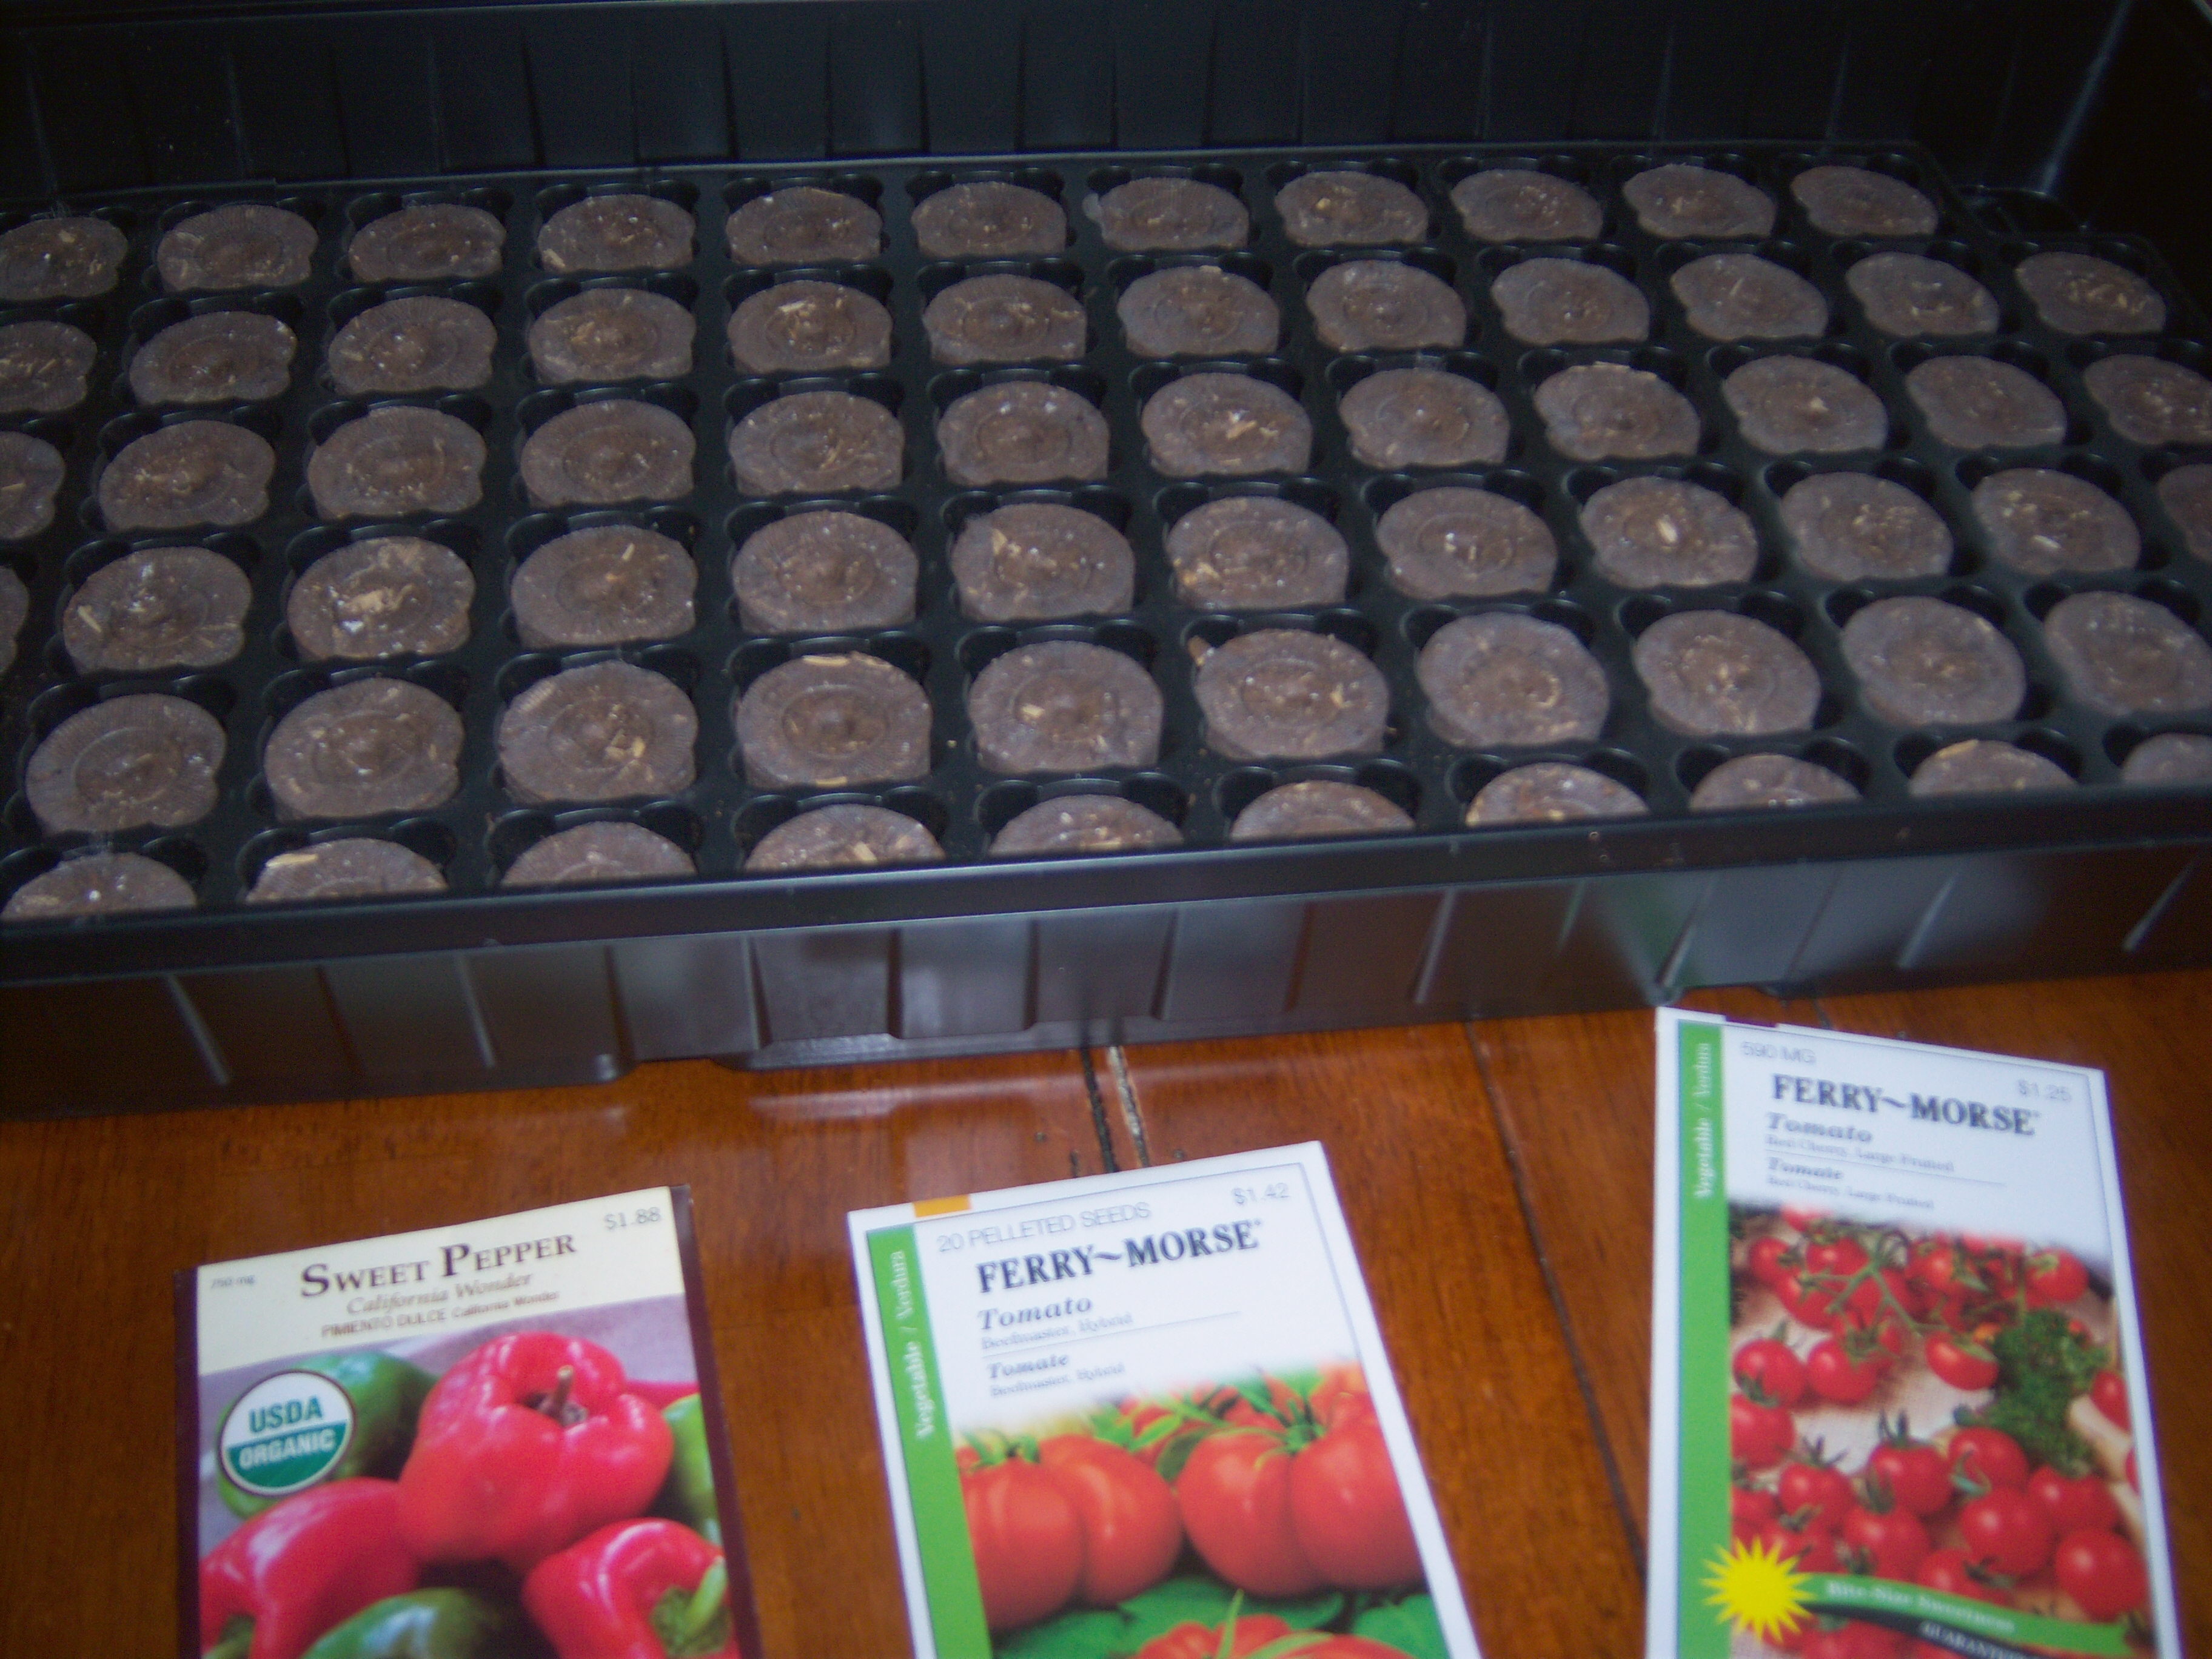
I got started by buying an indoor greenhouse (covered tray) and some seeds. I planted my seeds and lo and behold in about a week, things started to sprout! So far, so good. We’ll see what the rest of the season holds. greenhouse2(yes that appears to be mold growing with my plants – not really a good sign).
Bookmark and Share

In what will be a continuing series, I want to share with you my garden progress. When I was recently on Martha Stewart Radio, Morning Living, I mentioned that one of my big upcoming Martha projects is a garden. My father is a marvelous gardener and produces mass quantities of vegetables each summer, all summer. … Read more

Omelet Fun

Posted by Brette in Food

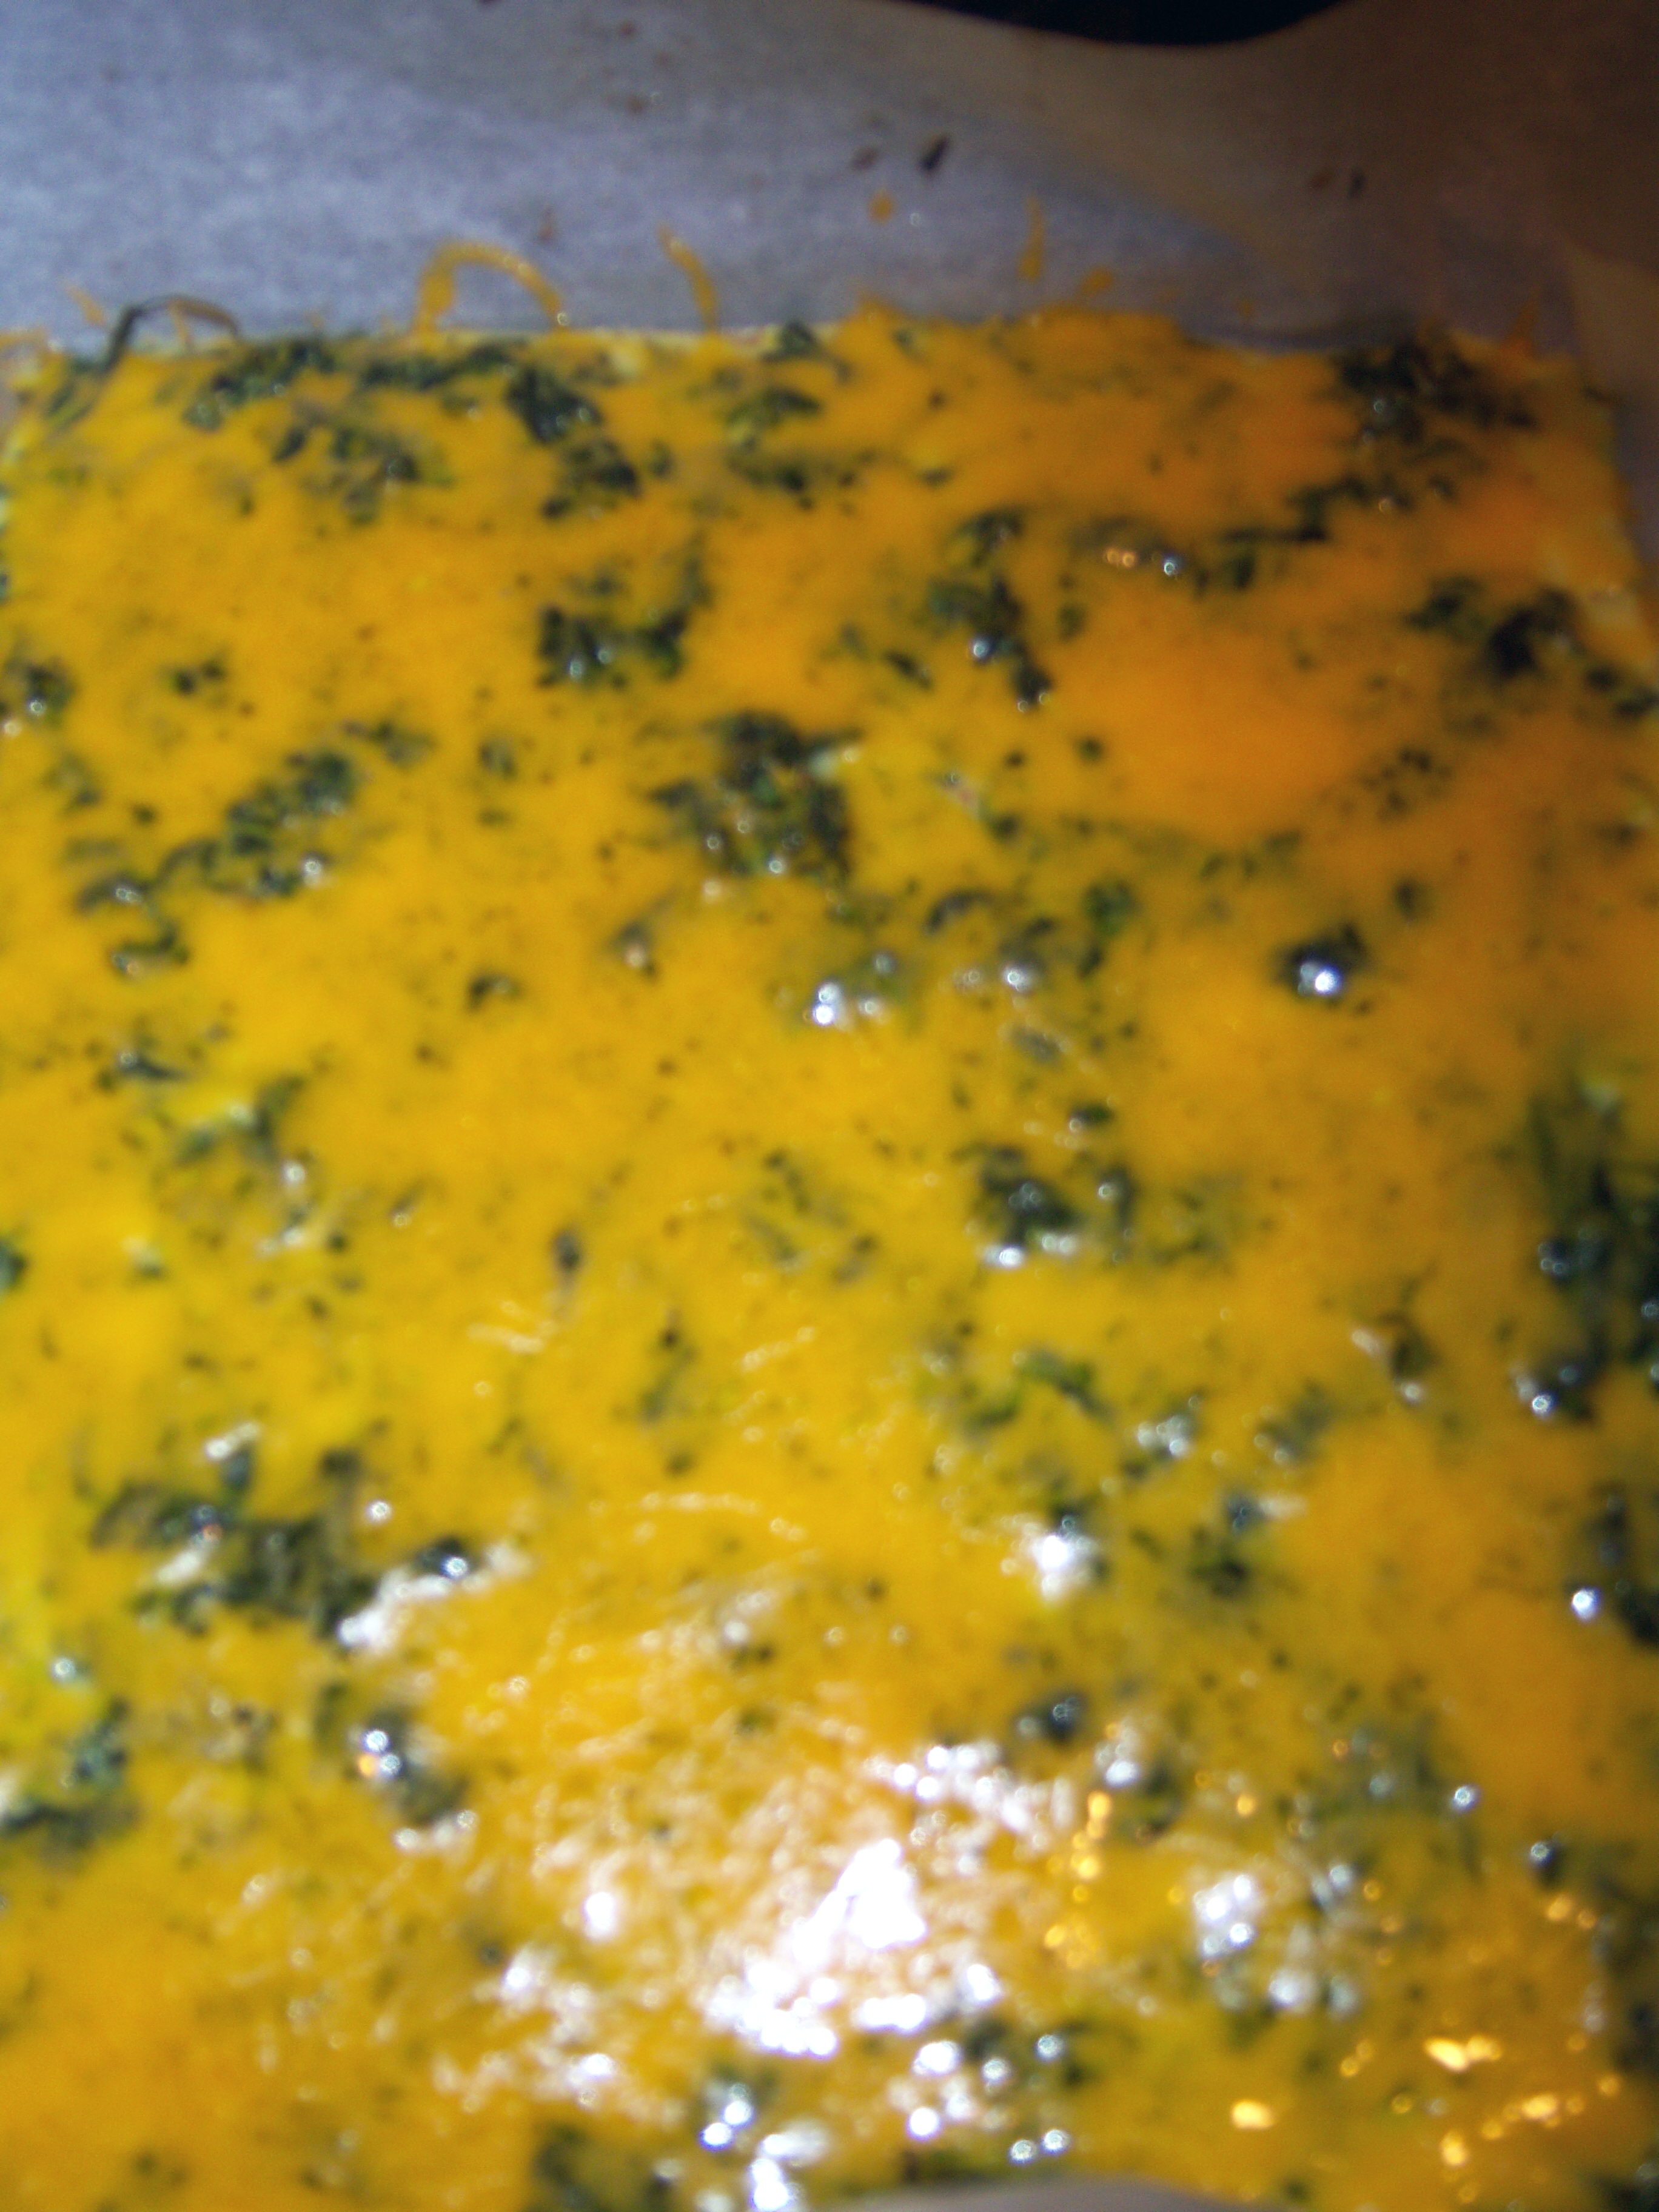
Martha has a recipe for a rolled omelet in the April issue of Everyday Food. It looked like a fun little thing to whip up, so I gave it a try. You start by mixing milk and flour, which I would not have thought to put in an omelet. Then you add your eggs and salt and pepper. Pour the omelet into your pan (I cut this rolled-omelet2recipe in half and used a small baking sheet meant for the toaster oven) and sprinkle on the spinach.
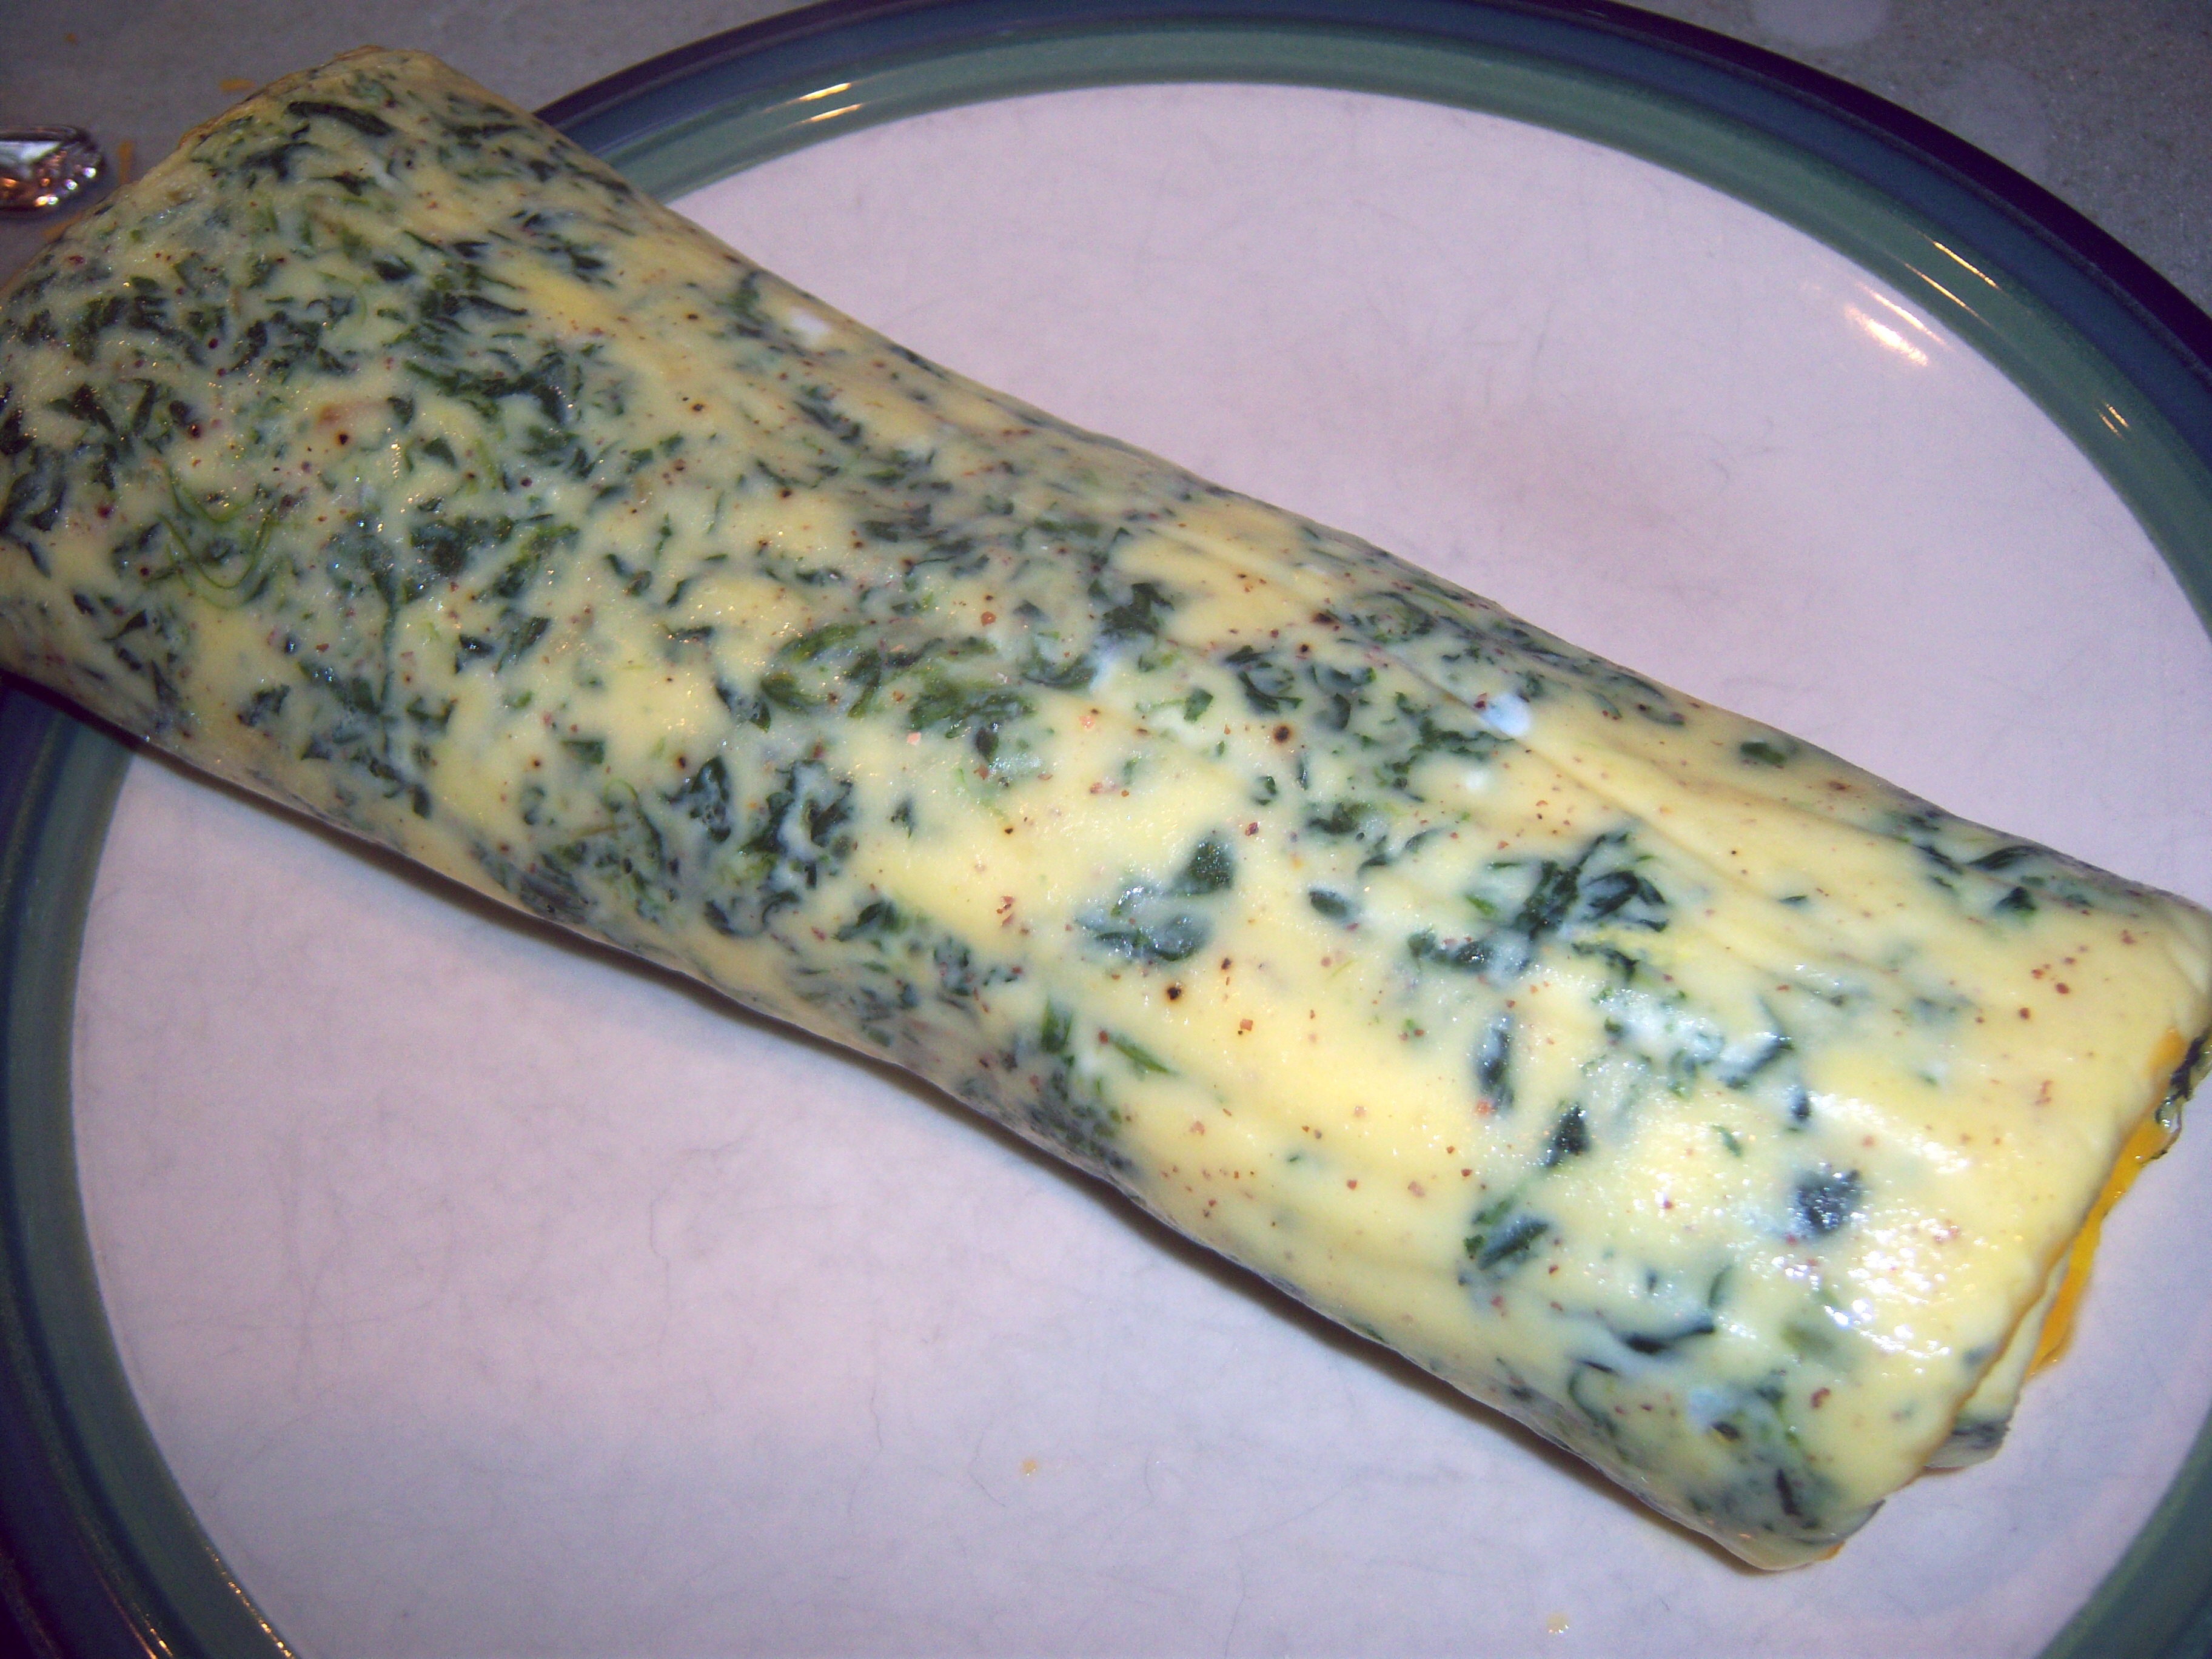
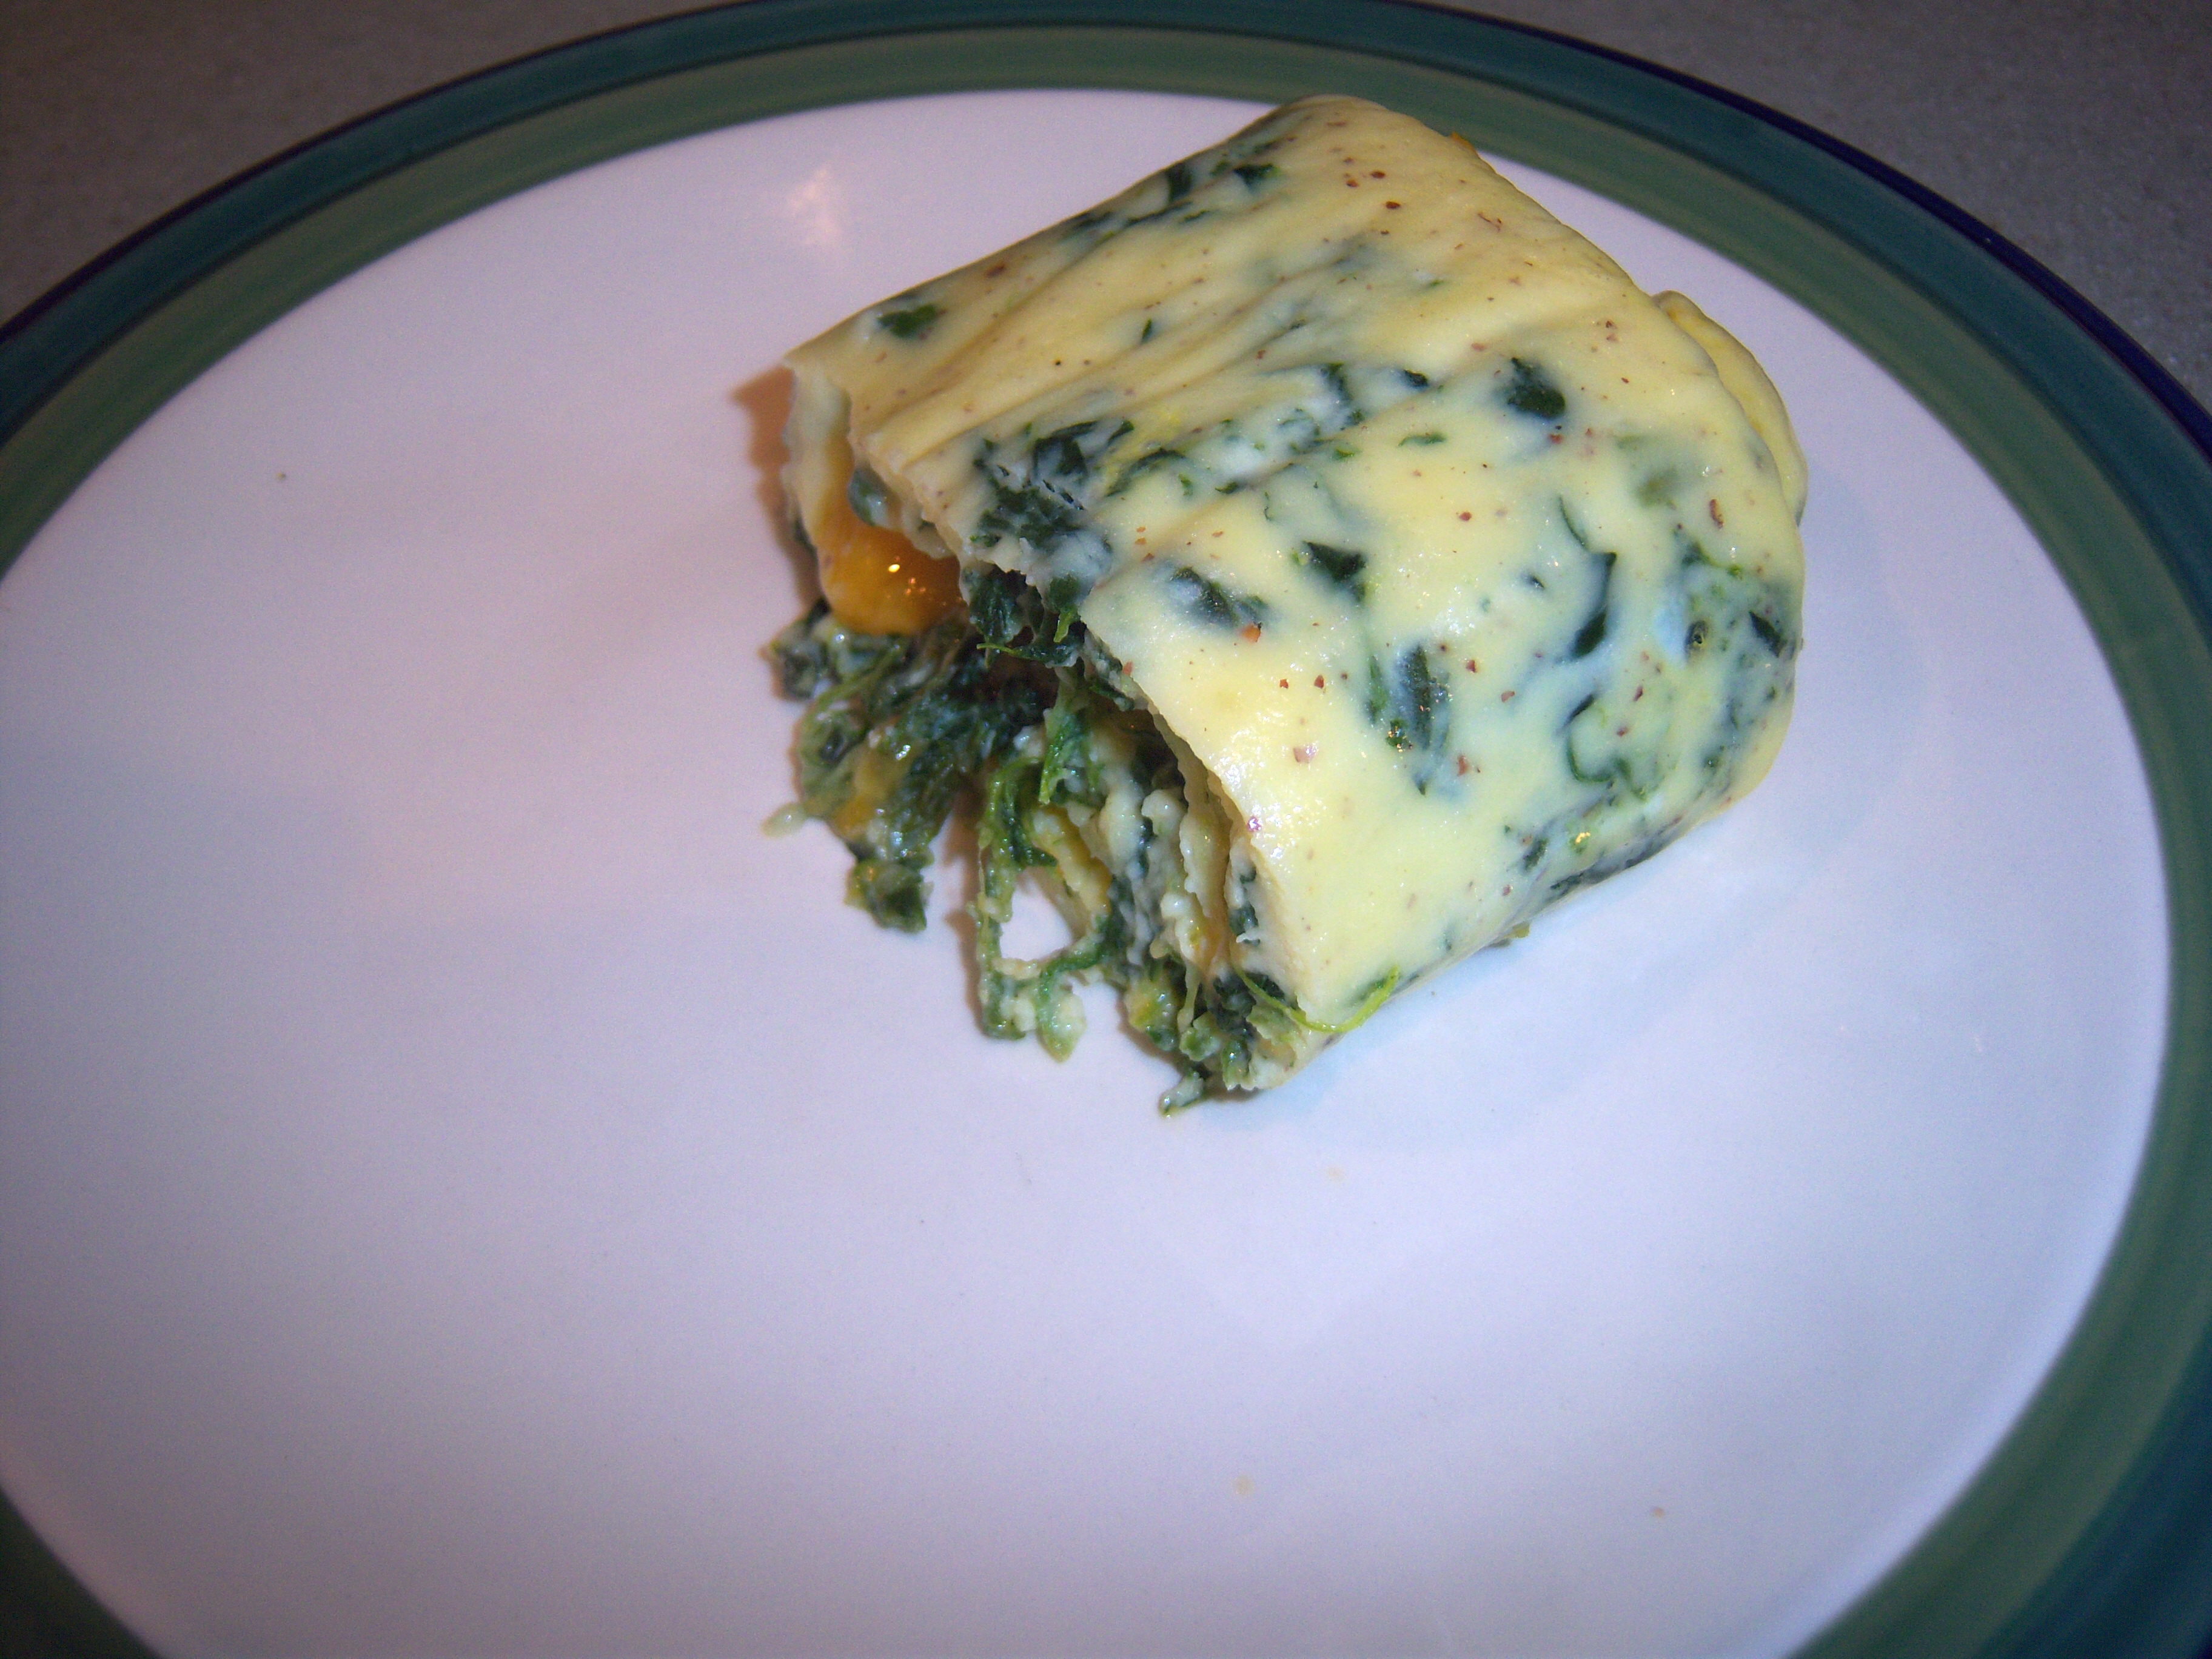
This bakes for about 10 minutes, then you sprinkle cheese on and let it melt. When you take it out of the oven, you’re supposed to roll it. I found this to be a bit hard to do since it was so darn hot! I did finally get it rolled and it really looked pretty cute. My slices looked good too and let me tell you, this really tasted terrific! I love spinach and cheese (as you well know if you’ve been following along with me) so this was a great combo in my book. I even ate it heated up from the microwave the next day and it was just as good. I have to say I was pretty surprised by this dish. It was light and fluffy and baked to perfection. And the fact that you can make it ahead and rolled-omelet3heat it up again makes it a great thing for a holiday brunch.
rolled-omelet

Bookmark and Share

Martha has a recipe for a rolled omelet in the April issue of Everyday Food. It looked like a fun little thing to whip up, so I gave it a try. You start by mixing milk and flour, which I would not have thought to put in an omelet. Then you add your eggs and … Read more

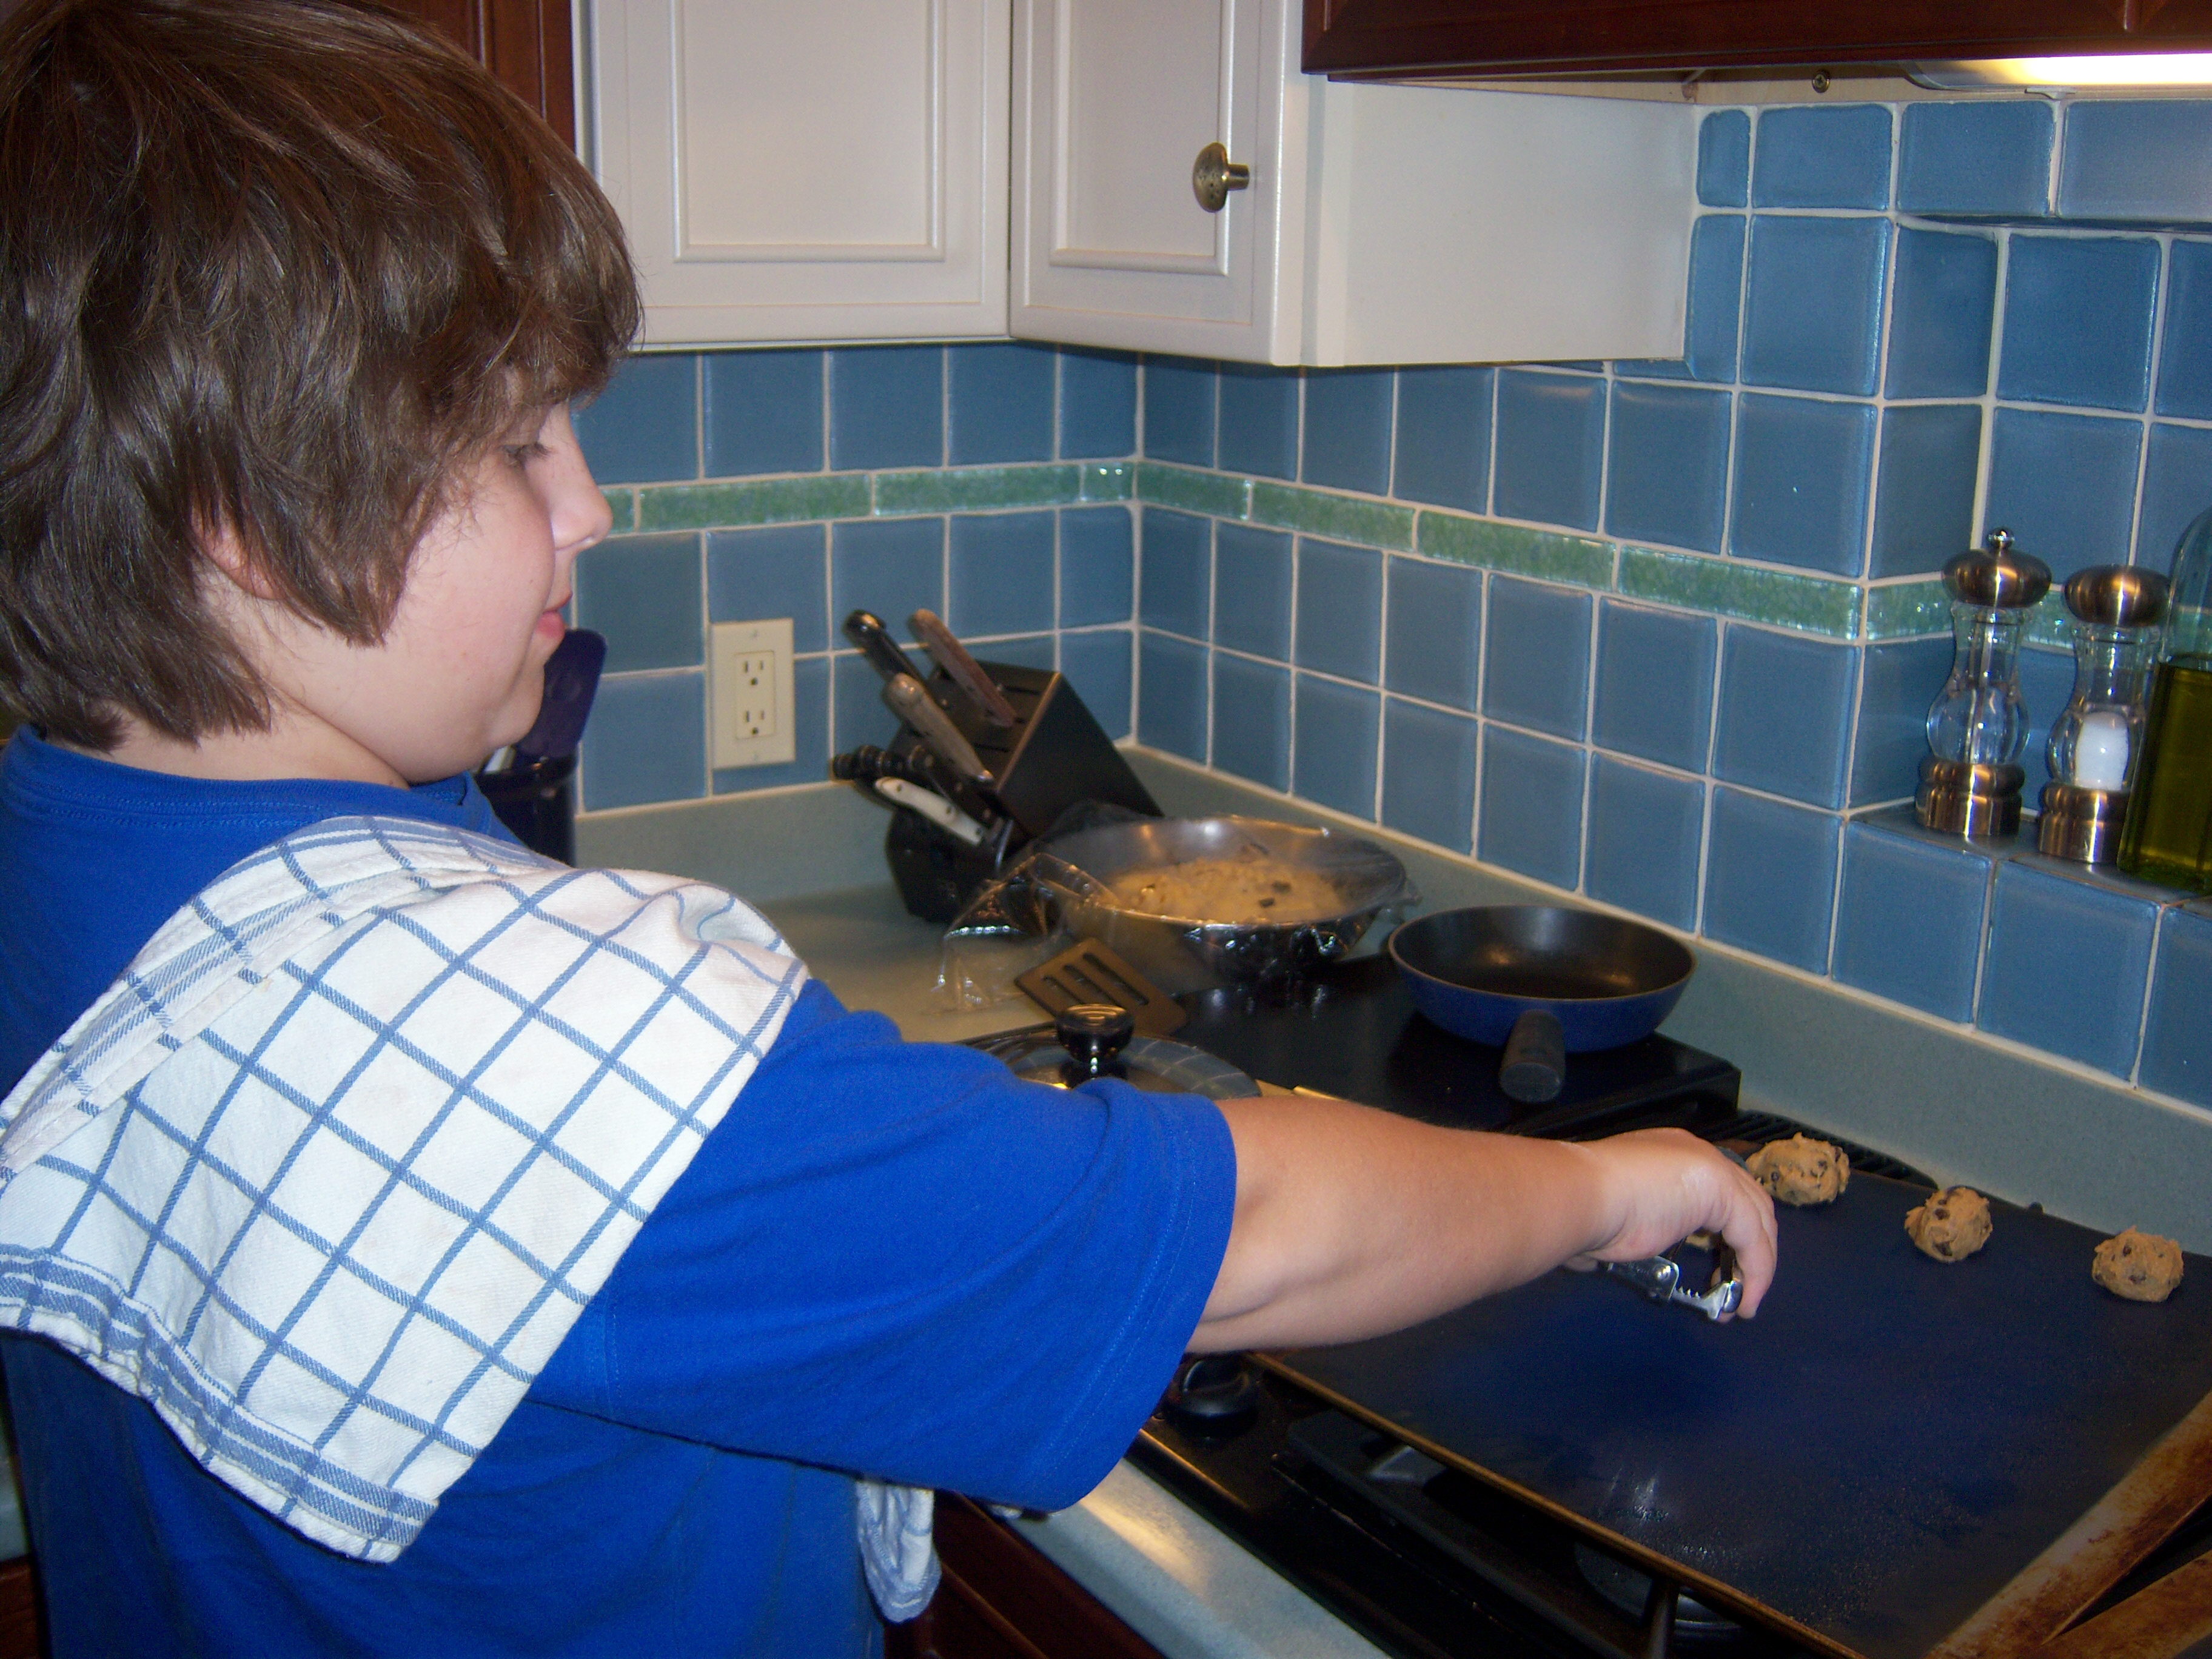
My son, previously known as mini-Martha, has requested that he be referred to as Dude Martha. I will do my best to remember! Dude Martha asked me if there were any Martha cookies he could make and got quite excited about the soft chocolate chip cookies in the April issue of Everyday Food. He made these completely on his own and is quite a proficient little baker!

soft-choc-chipThe recipe is pretty basic and the only way it differs from regular chocolate chip cookies is that it uses corn syrup instead of granulated sugar.
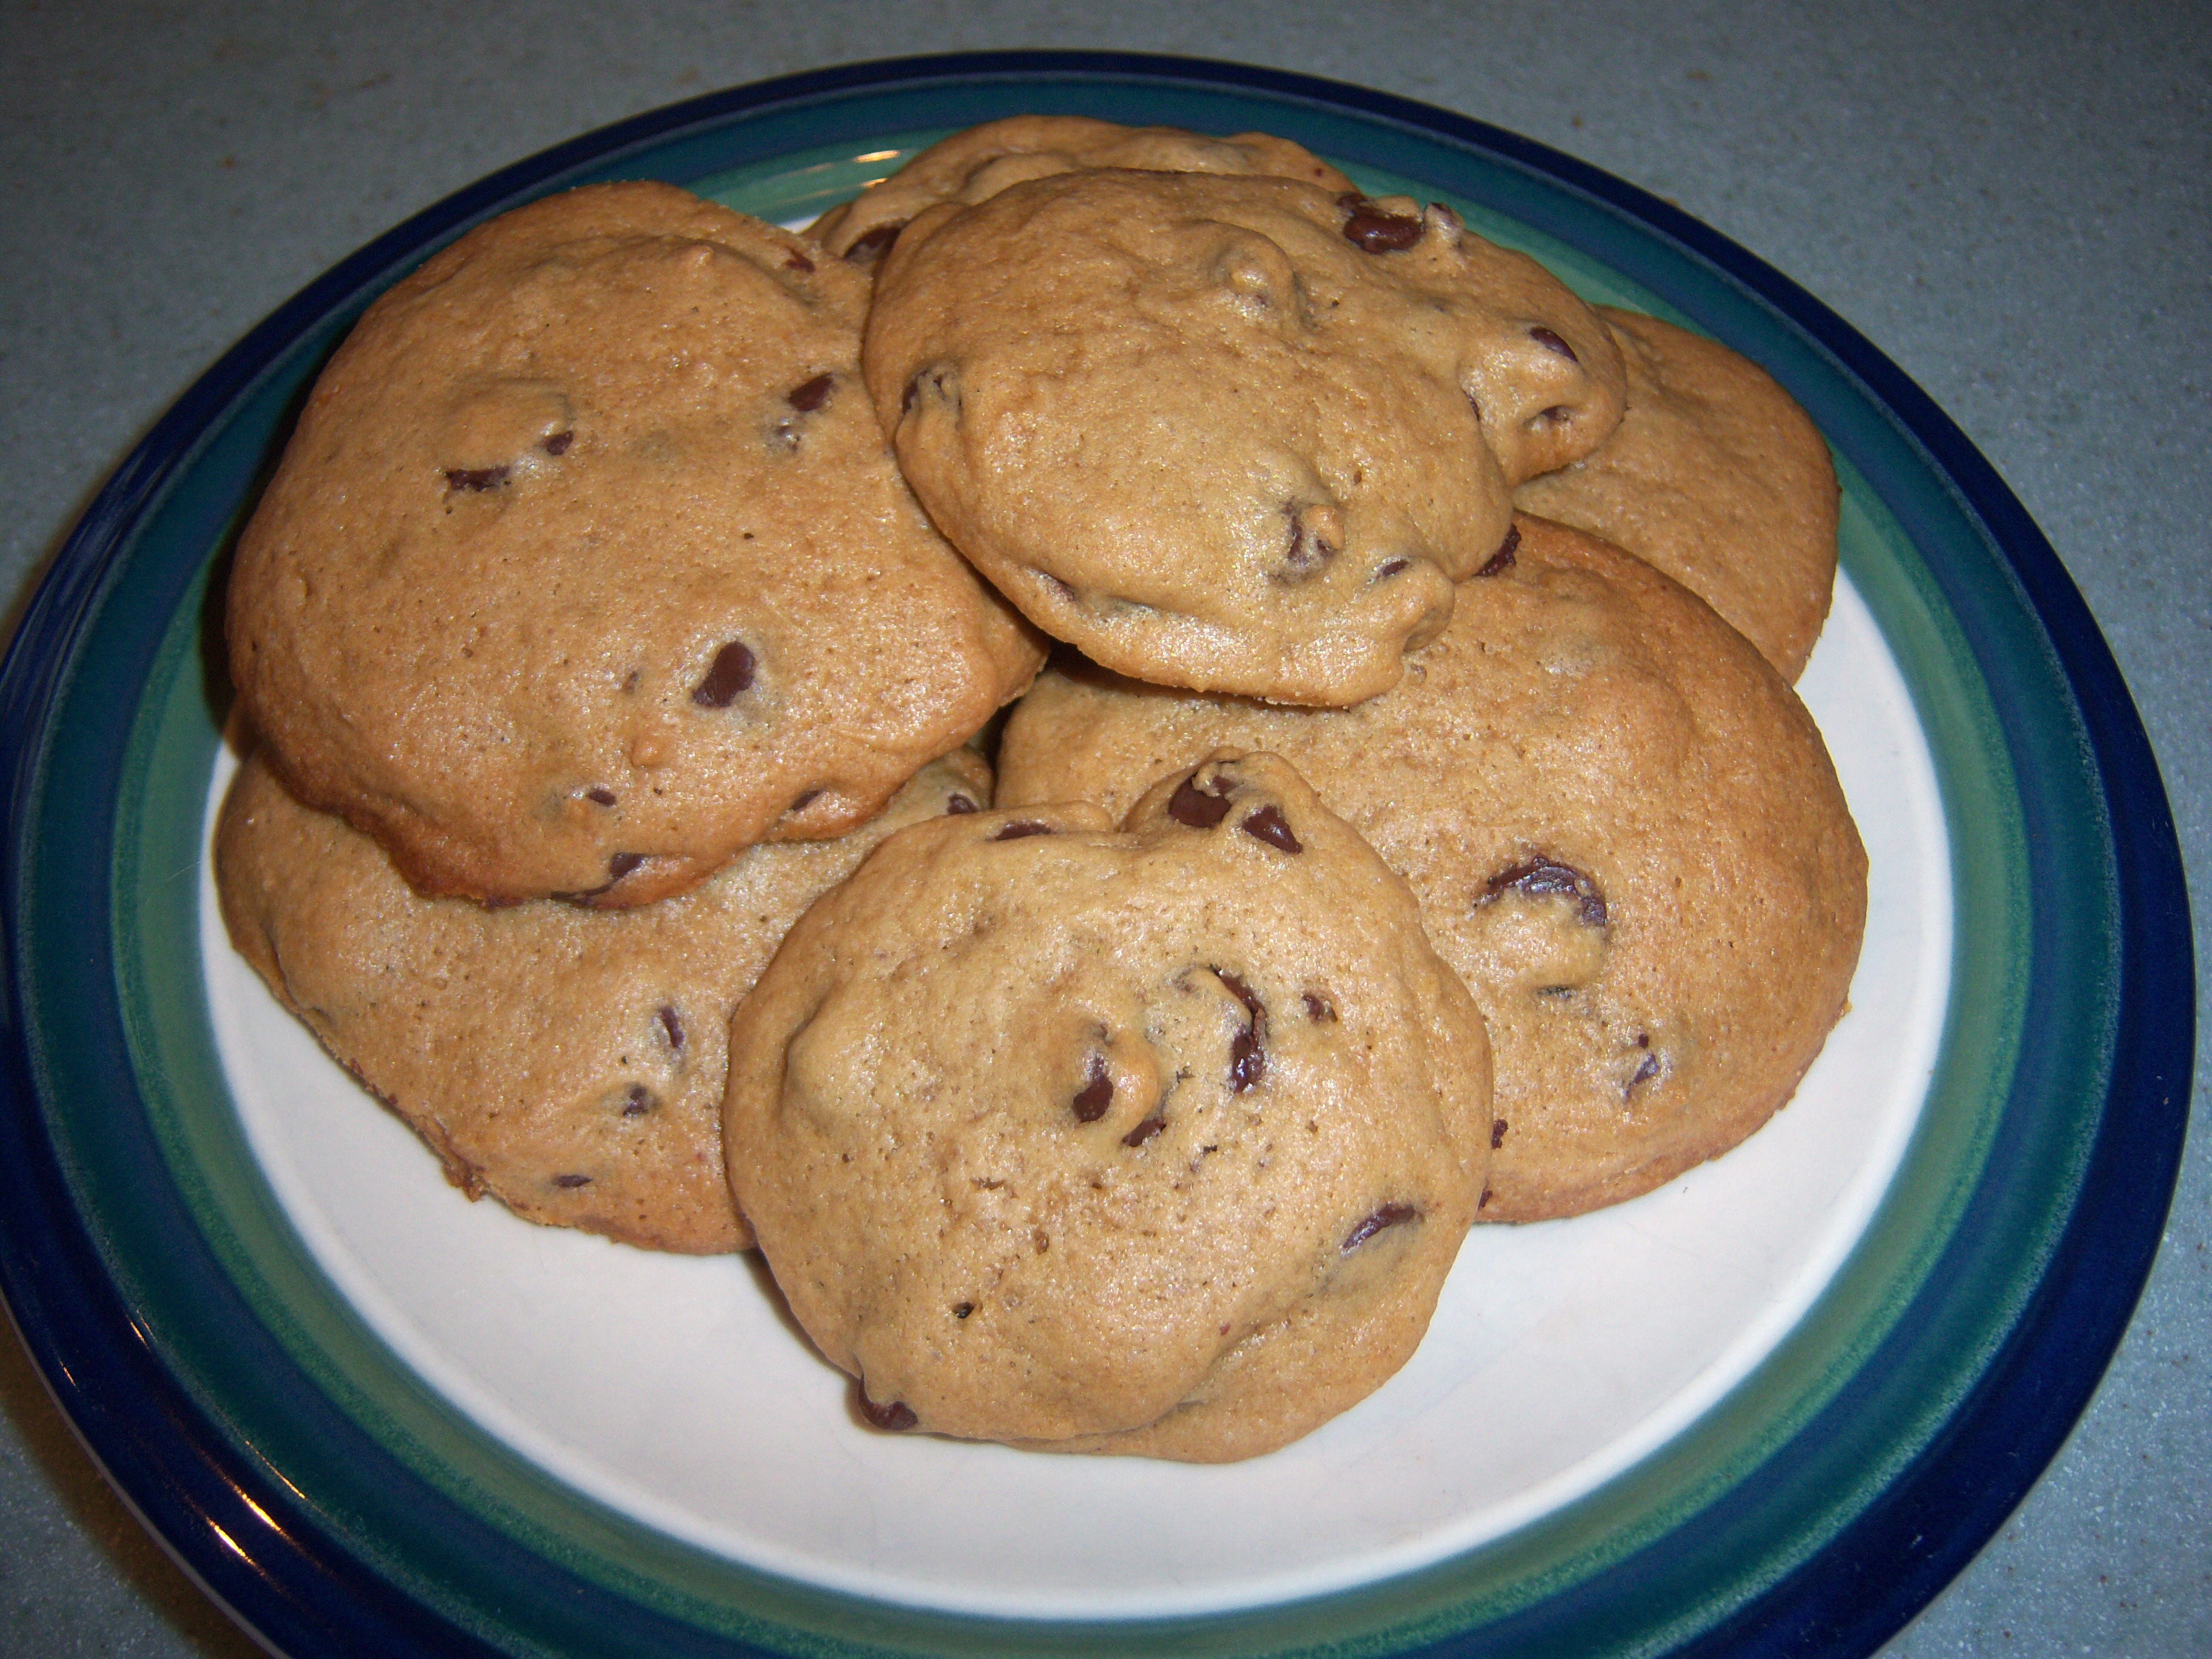
He did a very find job mixing it all up and scooping the cookies. They took a little longer to bake than the recipe said (as always). We put it on convection finally and that got the last batch done quickly.

How did they taste? Really great, actually! They truly are soft and have a very soft-choc-chip2nice flavor. Dude Martha has requested that I save this recipe for him, since he plans to make these again and again. Of course, I’ll need to taste test each batch….
Bookmark and Share

My son, previously known as mini-Martha, has requested that he be referred to as Dude Martha. I will do my best to remember! Dude Martha asked me if there were any Martha cookies he could make and got quite excited about the soft chocolate chip cookies in the April issue of Everyday Food. He made … Read more

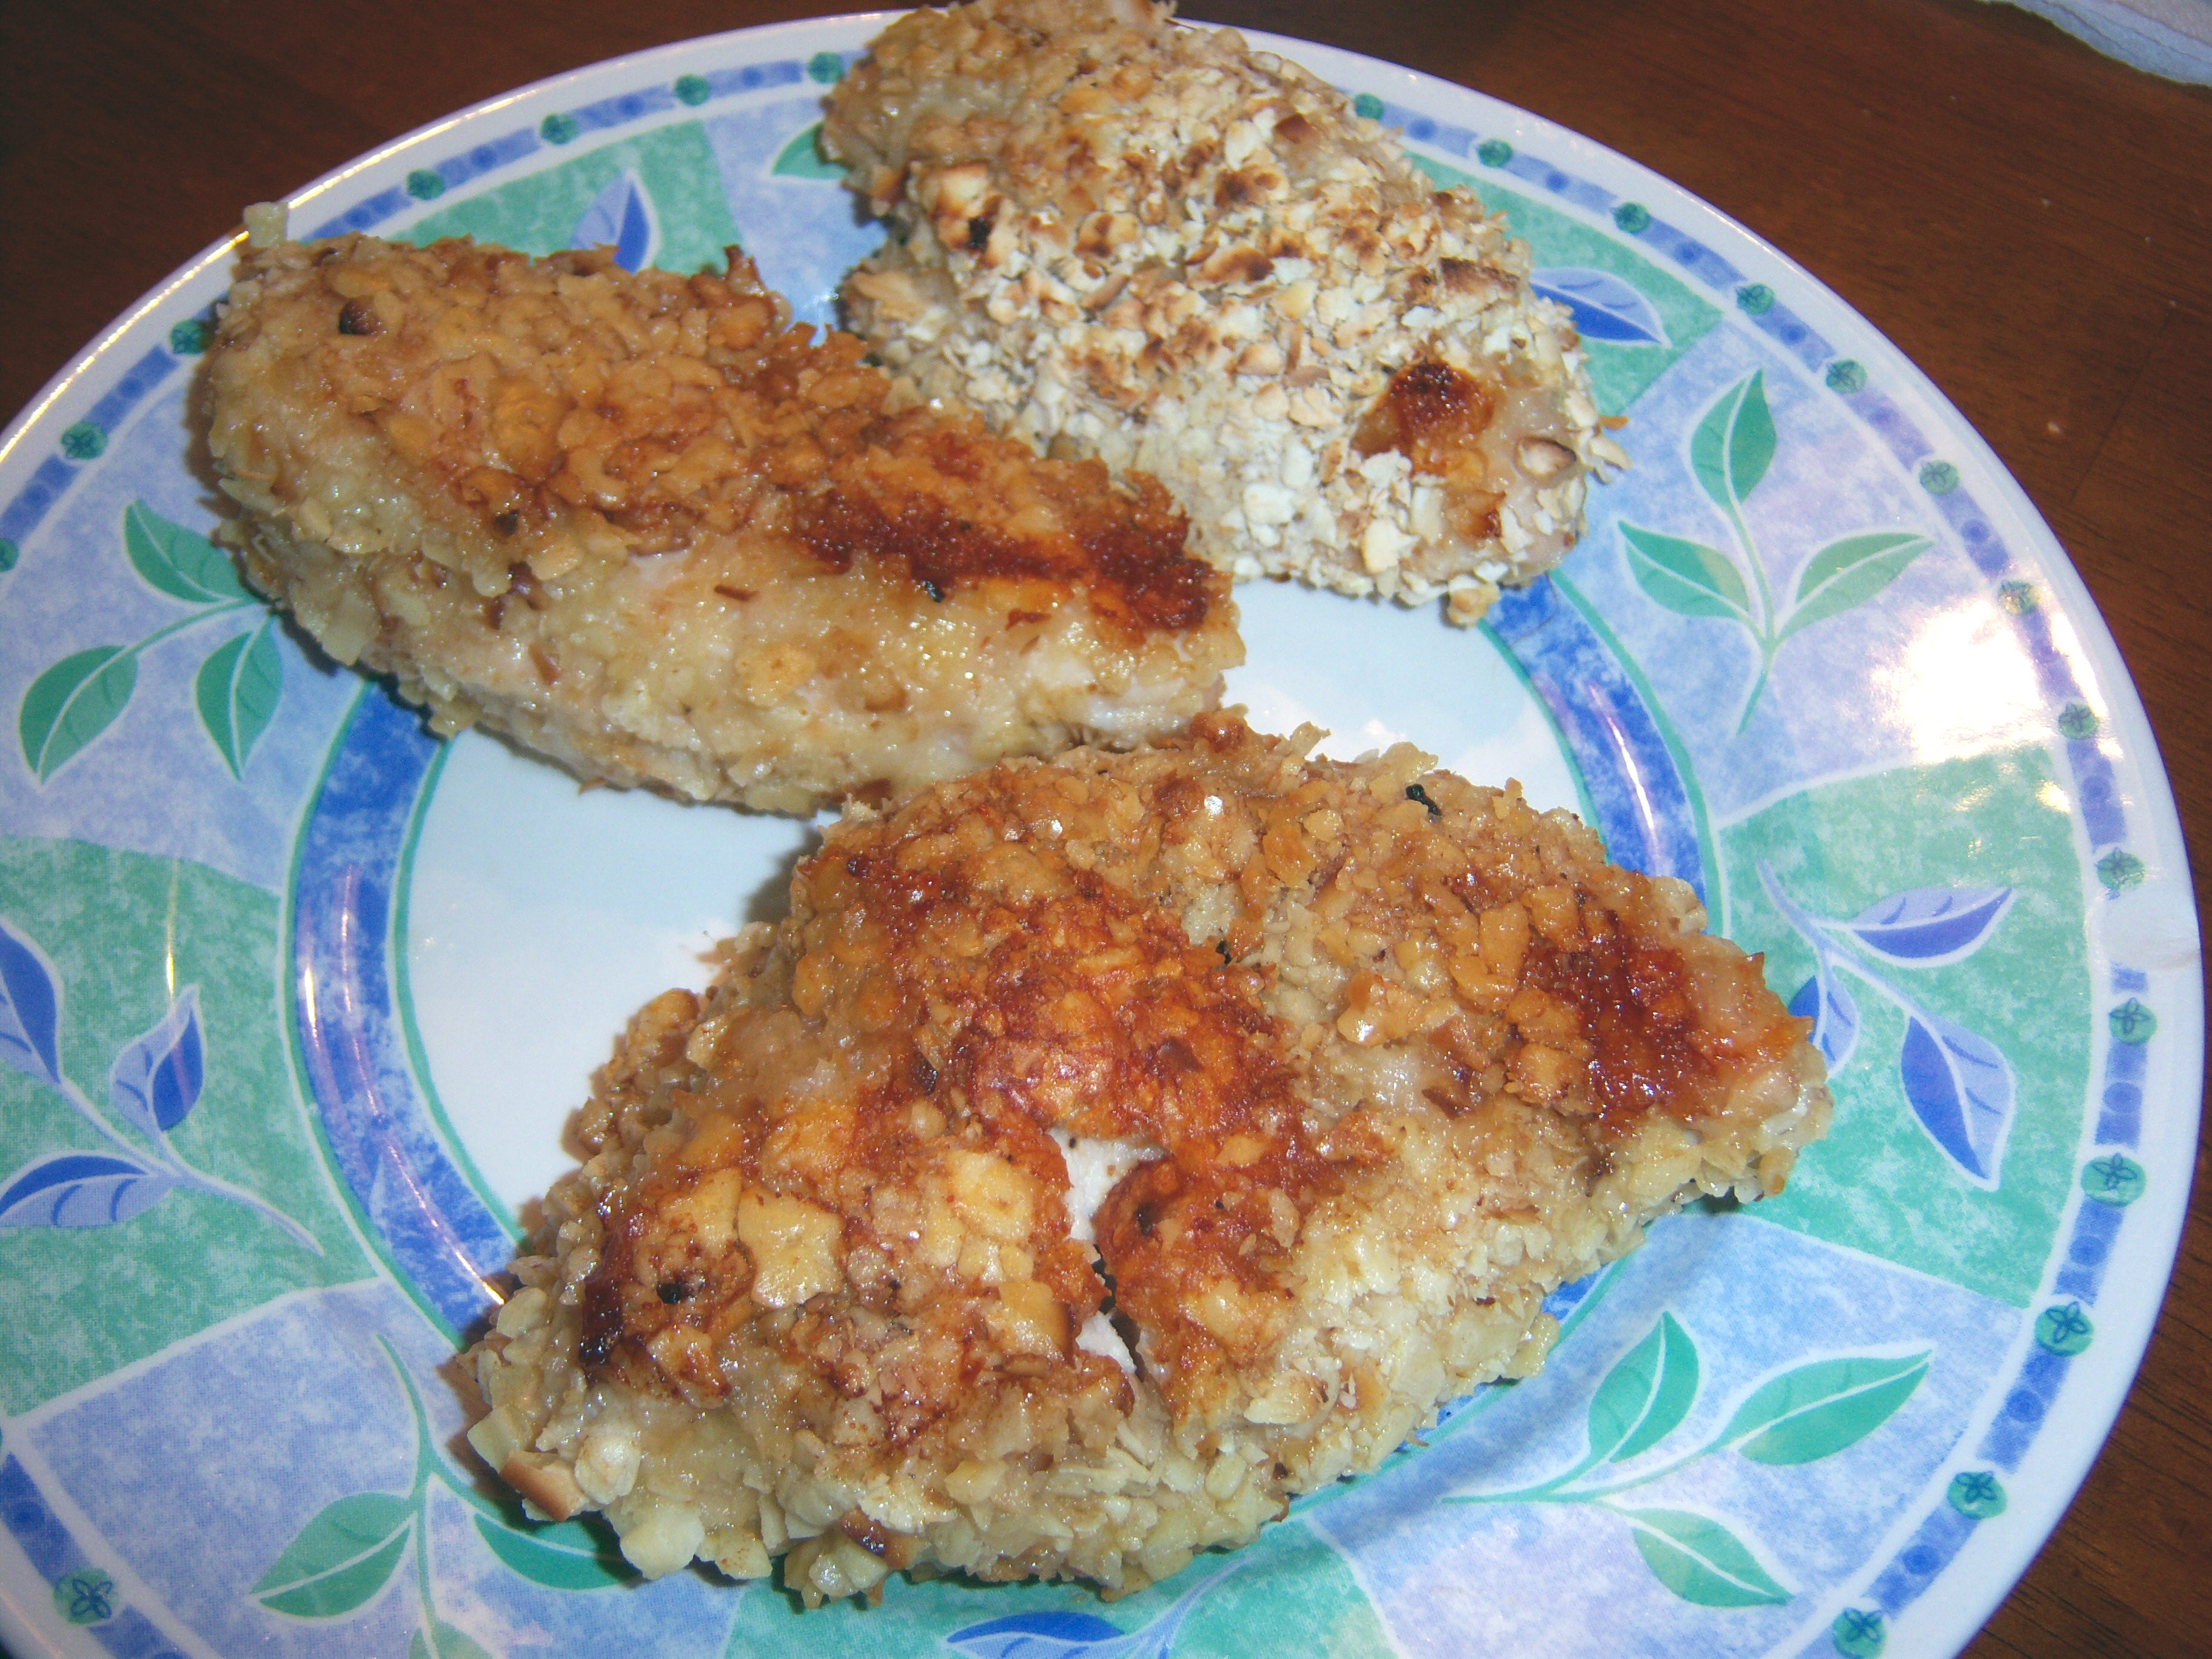
The What’s for Dinner section in April Martha Stewart Living intrigued me – Matzo Crusted Chicken Cutlet and Vegetable Tian. I’ve never had matzo in anything but matzo ball soup and had never even heard of a tian! I was game though.

matzo-chickenThe Matzo Chicken was very easy. You just crush up matzo and use it as breading. Quick and simple. And it really tasted great. You could definitely do this with crackers also. Rachel Ray has a recipe like this where you crush pretzels that I like too. My only comment would that I think I would dump it in the Cuisinart and crush it that way. It was hard to get the pieces very small and I think it would stick better if it was crushed more finely.
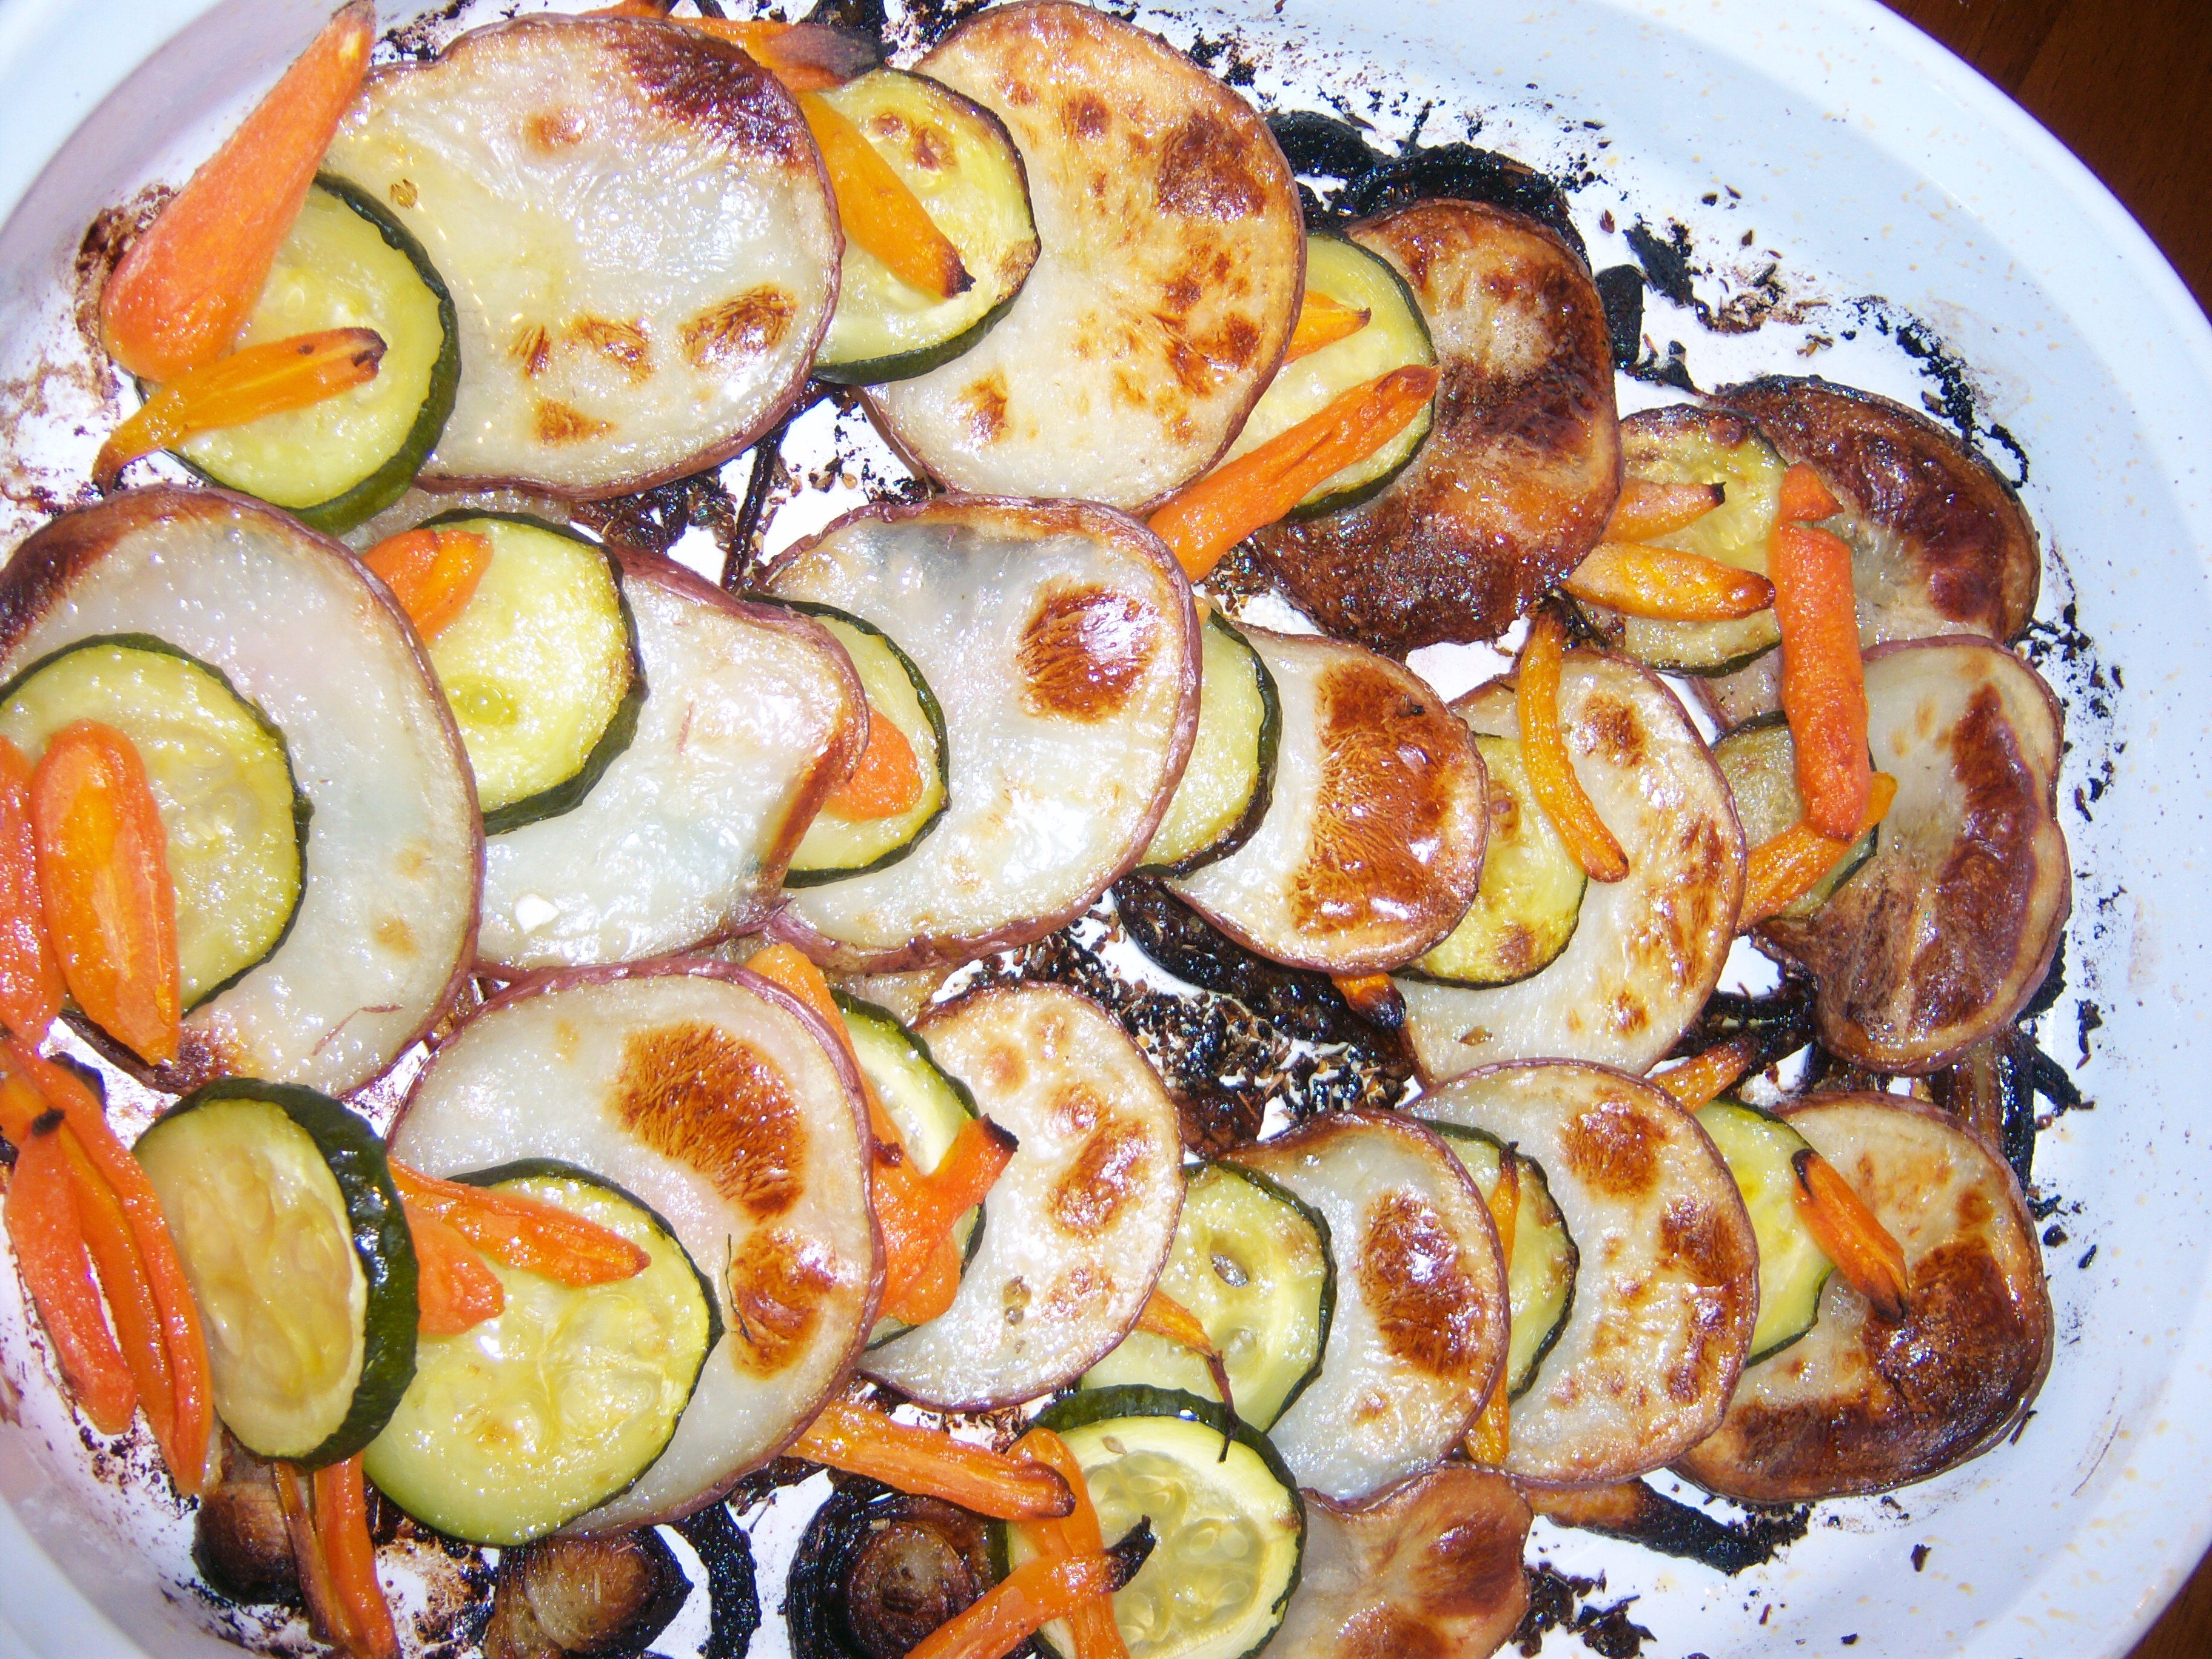
The vegetable tian sounds sort of weird and foreign – but a tian is defined as just a layered vegetable dish. Martha says to slice some onion and garlic and thyme (I only had dried) and put itn in the baking pan with olive oil then layer potato, zucchini, and carrot on top. I had baby carrots only, so I sliced them lengthwise instead of making coins. This dish turned out quite nicely. It is a very veg-tian1light and simple dish, but with a lot of flavor. The onions tasted great – almost caramelized. I would definitely make this again. It’s similar to a dish my mom (Big MarthaAndMe) made for us over the summer that I loved.  You take a baking dish and layer in sliced tomato, zucchini, onion and mozzarella cheese as well as some basil. Then you pour beef broth into the dish and cover it. Bake it for about 45 minutes at 375.  Take the cover off and let the cheese on top brown. Take it out of the oven and let it sit for a minute, then pour the liquid out of the dish and serve. It is SO good.

Bookmark and Share

The What’s for Dinner section in April Martha Stewart Living intrigued me – Matzo Crusted Chicken Cutlet and Vegetable Tian. I’ve never had matzo in anything but matzo ball soup and had never even heard of a tian! I was game though. The Matzo Chicken was very easy. You just crush up matzo and use … Read more

The What’s for Dinner section in April Martha Stewart Living intrigued me – Matzo Crusted Chicken Cutlet and Vegetable Tian. I’ve never had matzo in anything but matzo ball soup and had never even heard of a tian! I was game though.

matzo-chickenThe Matzo Chicken was very easy. You just crush up matzo and use it as breading. Quick and simple. And it really tasted great. You could definitely do this with crackers also. Rachel Ray has a recipe like this where you crush pretzels that I like too. My only comment would that I think I would dump it in the Cuisinart and crush it that way. It was hard to get the pieces very small and I think it would stick better if it was crushed more finely.

The vegetable tian sounds sort of weird and foreign – but a tian is defined as just a layered vegetable dish. Martha says to slice some onion and garlic and thyme (I only had dried) and put itn in the baking pan with olive oil then layer potato, zucchini, and carrot on top. I had baby carrots only, so I sliced them lengthwise instead of making coins. This dish turned out quite nicely. It is a very veg-tian1light and simple dish, but with a lot of flavor. The onions tasted great – almost caramelized. I would definitely make this again. It’s similar to a dish my mom (Big MarthaAndMe) made for us over the summer that I loved.  You take a baking dish and layer in sliced tomato, zucchini, onion and mozzarella cheese as well as some basil. Then you pour beef broth into the dish and cover it. Bake it for about 45 minutes at 375.  Take the cover off and let the cheese on top brown. Take it out of the oven and let it sit for a minute, then pour the liquid out of the dish and serve. It is SO good.
Bookmark and Share

The What’s for Dinner section in April Martha Stewart Living intrigued me – Matzo Crusted Chicken Cutlet and Vegetable Tian. I’ve never had matzo in anything but matzo ball soup and had never even heard of a tian! I was game though. The Matzo Chicken was very easy. You just crush up matzo and use … Read more

Napkin Magic?

Posted by Brette in Crafts

On yesterday’s show, Martha kicked the show off by demonstrating a “good, green thing.” Martha says you can take old shirts and cut them up and use them as napkins. Hey, I thought, even I can do that! It looked so very easy! Martha said you just cut a square out of the back of a shirt then you can hem the edges or fray them. Basic, simple steps. I really was sure I could do this one! Martha said instructions would be on the site, but they weren’t – just the video of what she did on the show.

My lines

My lines

Off I went to Goodwill, since Mr. MarthaandMe has no shirts he is ready to part with. I bought 2 short sleeve dress shirts for $2 each. One is pink and is not a button down. The other is a blue striped button down. I thought they would look cute together, maybe on a white tablecloth.

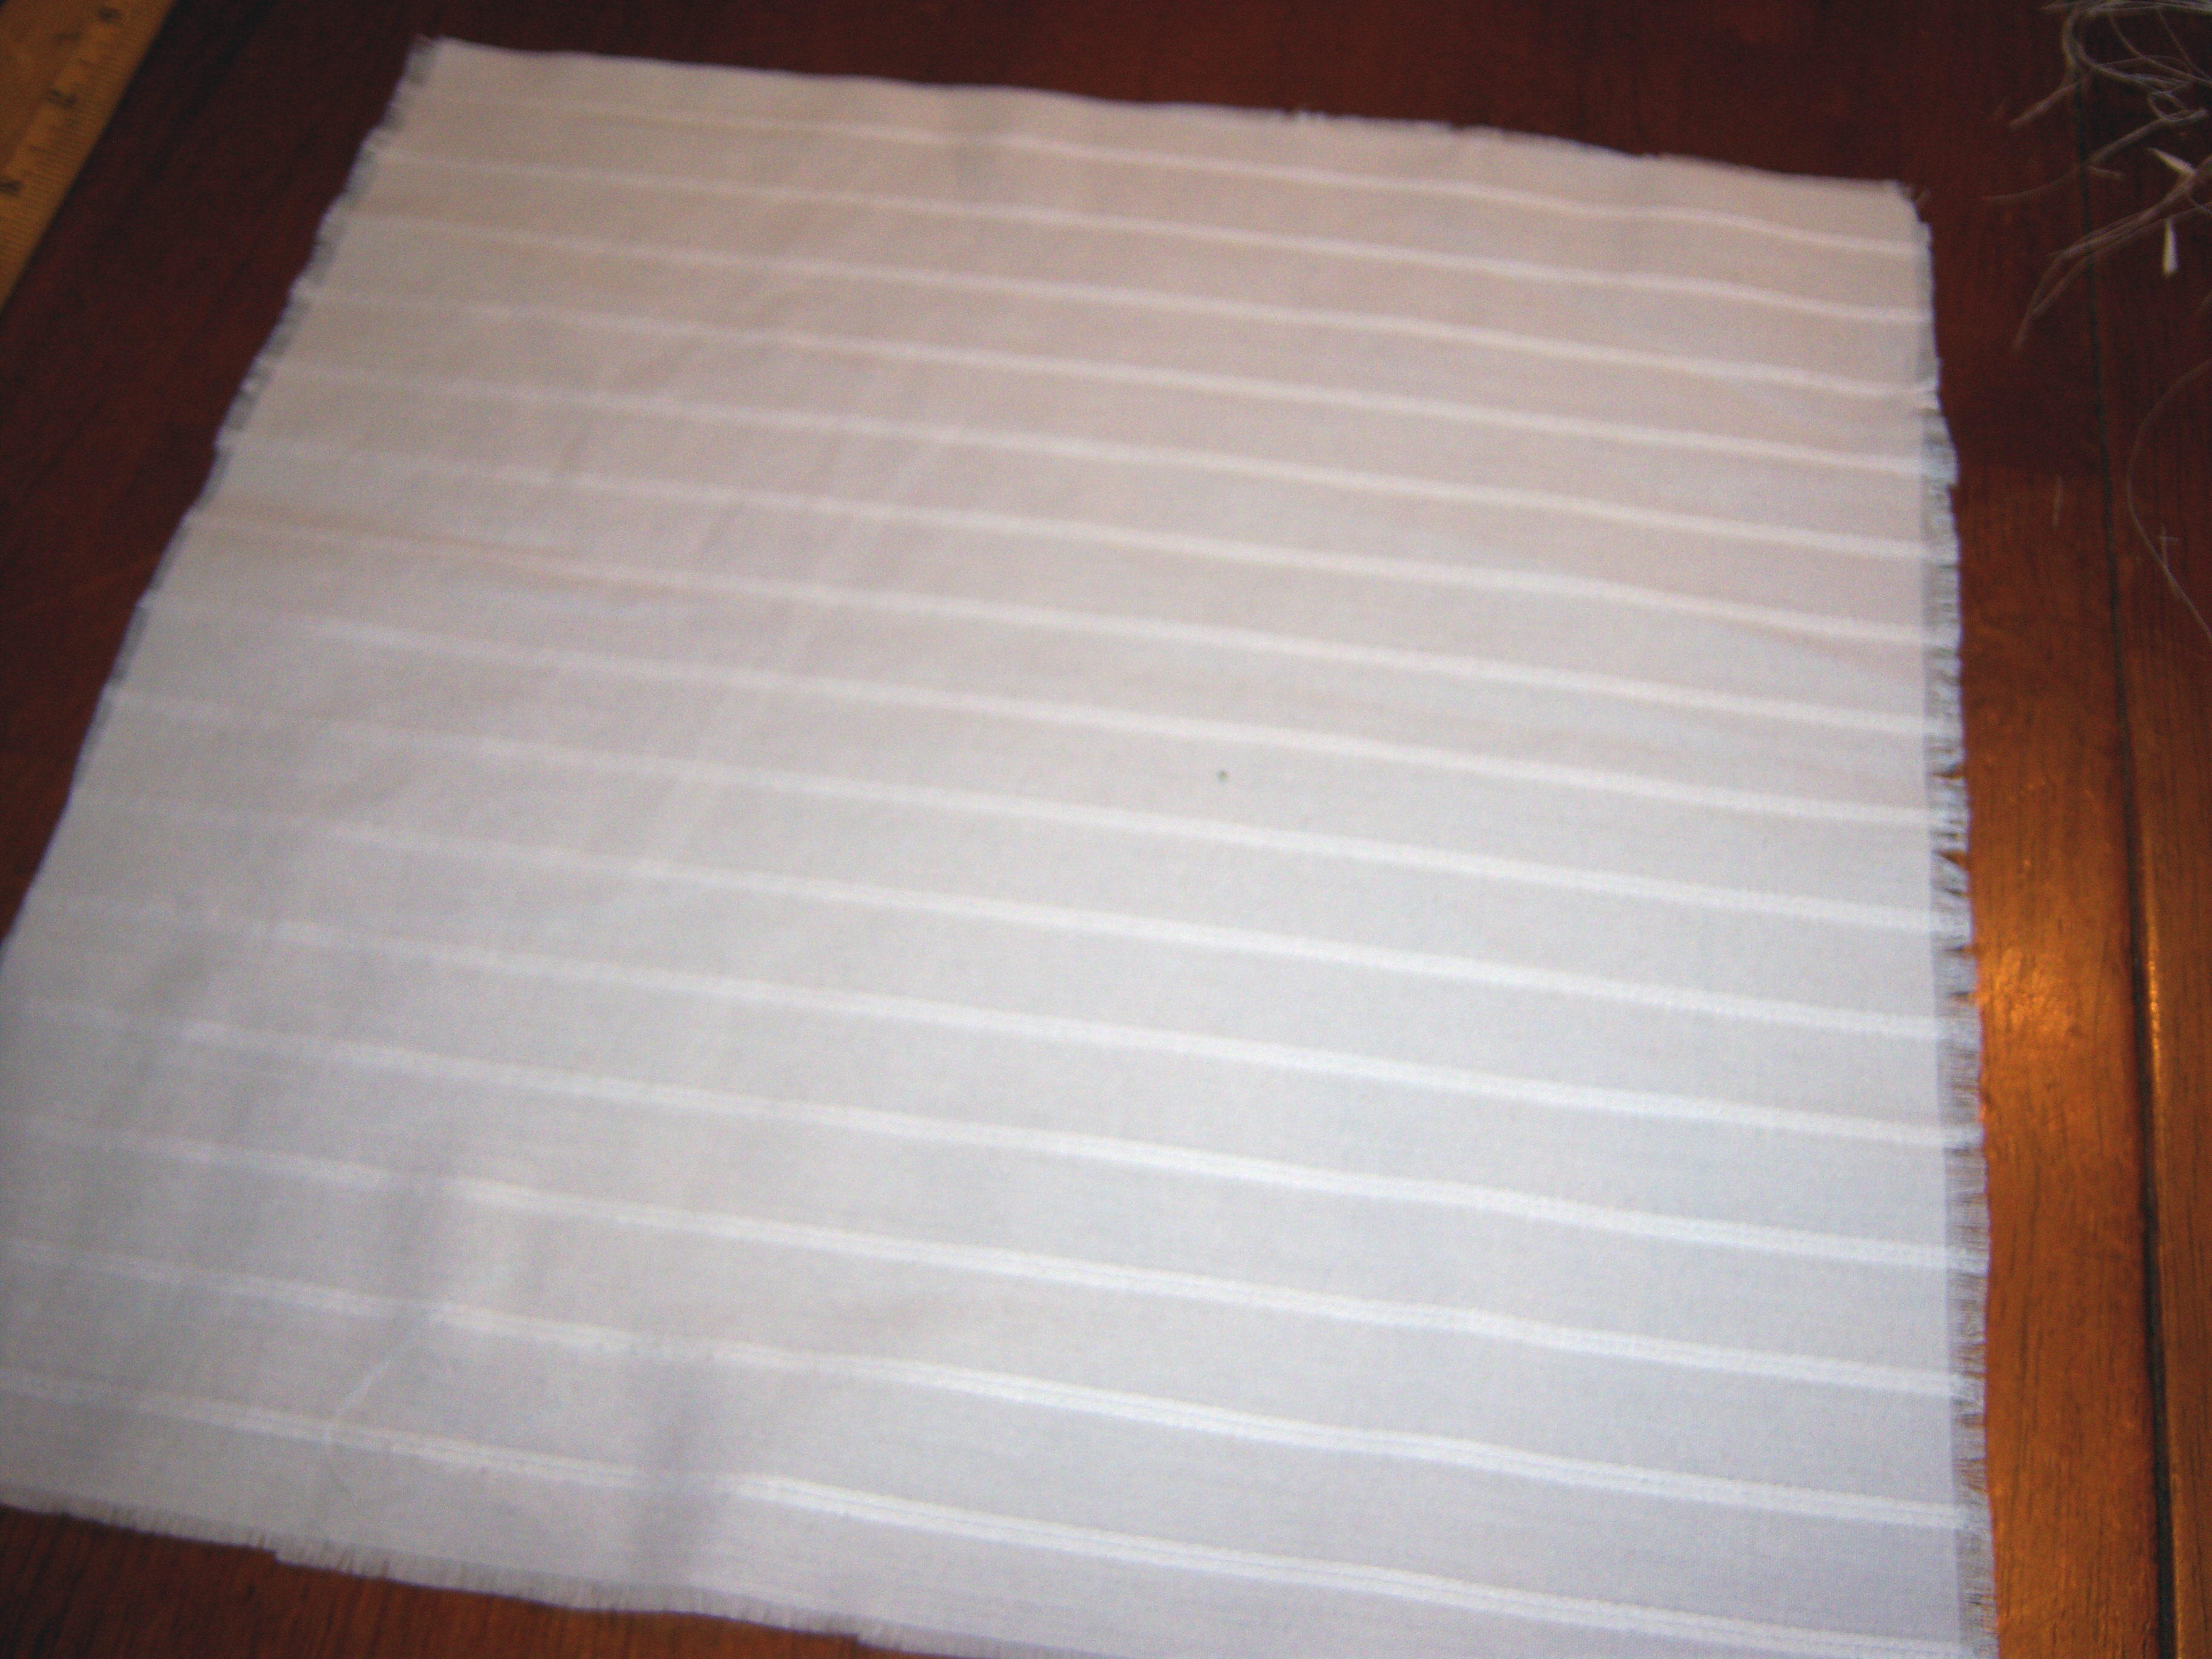
I got them home and marked off a 12 inch square on each. Then I cut them out. Umm, Martha? How do you make straight cuts? Mine were all jagged and weird, no matter how hard I tried. They looked pretty awful. I tried to trim them once I saw the edges, but that just made it worse. I really, really wish Martha would take the

My cuts

My cuts

time to explain these kinds of things. I have no idea how to get it straight. There’s probably some expensive tool you’re supposed to have to do this (which really does not make this an affordable project if that is the case).

All right, I said to myself, maybe I’ll just fray it and you won’t notice. Right. That just resulted in an uneven frayed edge. So I tried to trim it again. No go.

Frayed

Frayed

Now, look, in these photos they don’t look too bad, but I know that if you took one of these and opened it up to use as a napkin you would clearly see how misshapen they are.

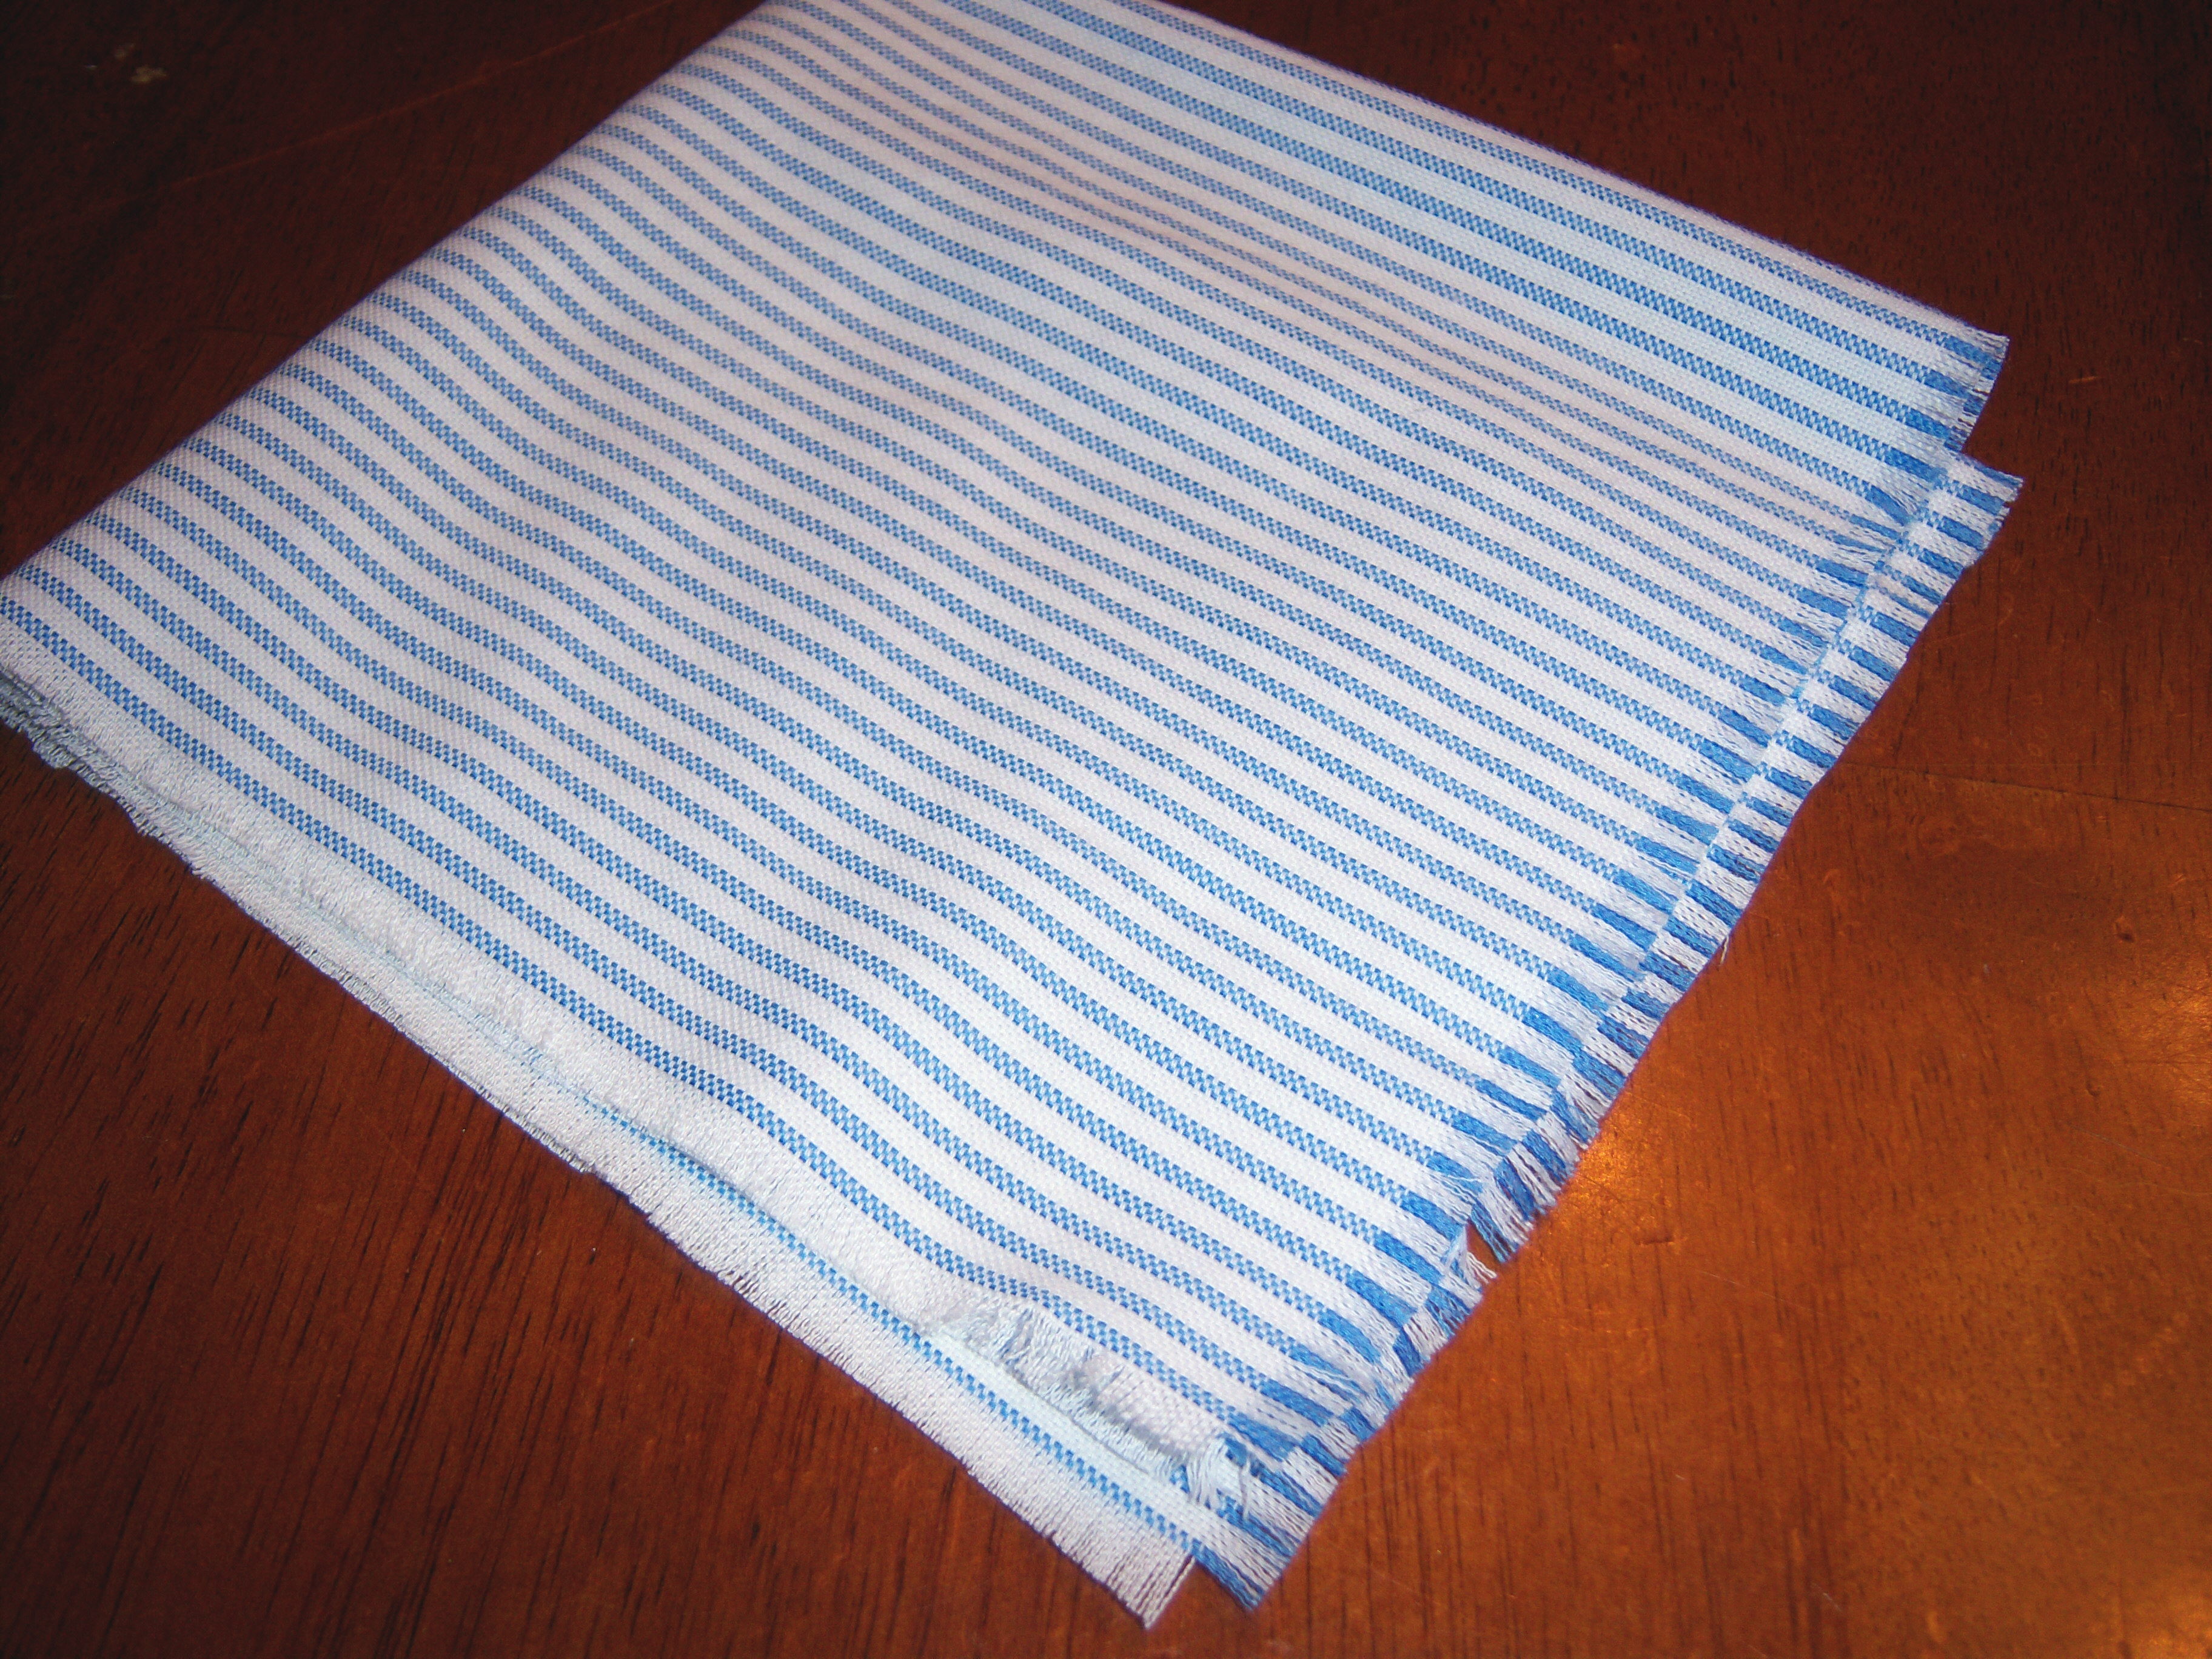
The pink dress shirt was probably a bad choice – too thin really to be a napkin. The blue striped button down is a heavier material and I could see using that, although it still does not feel like real napkin material to me. Yet again, I am vanquished by a Martha Stewart craft. Is there no hope for me?? I would have felt to frugal if this had worked.pink-shirt4

blue-shirt4

Bookmark and Share

On yesterday’s show, Martha kicked the show off by demonstrating a “good, green thing.” Martha says you can take old shirts and cut them up and use them as napkins. Hey, I thought, even I can do that! It looked so very easy! Martha said you just cut a square out of the back of … Read more

no