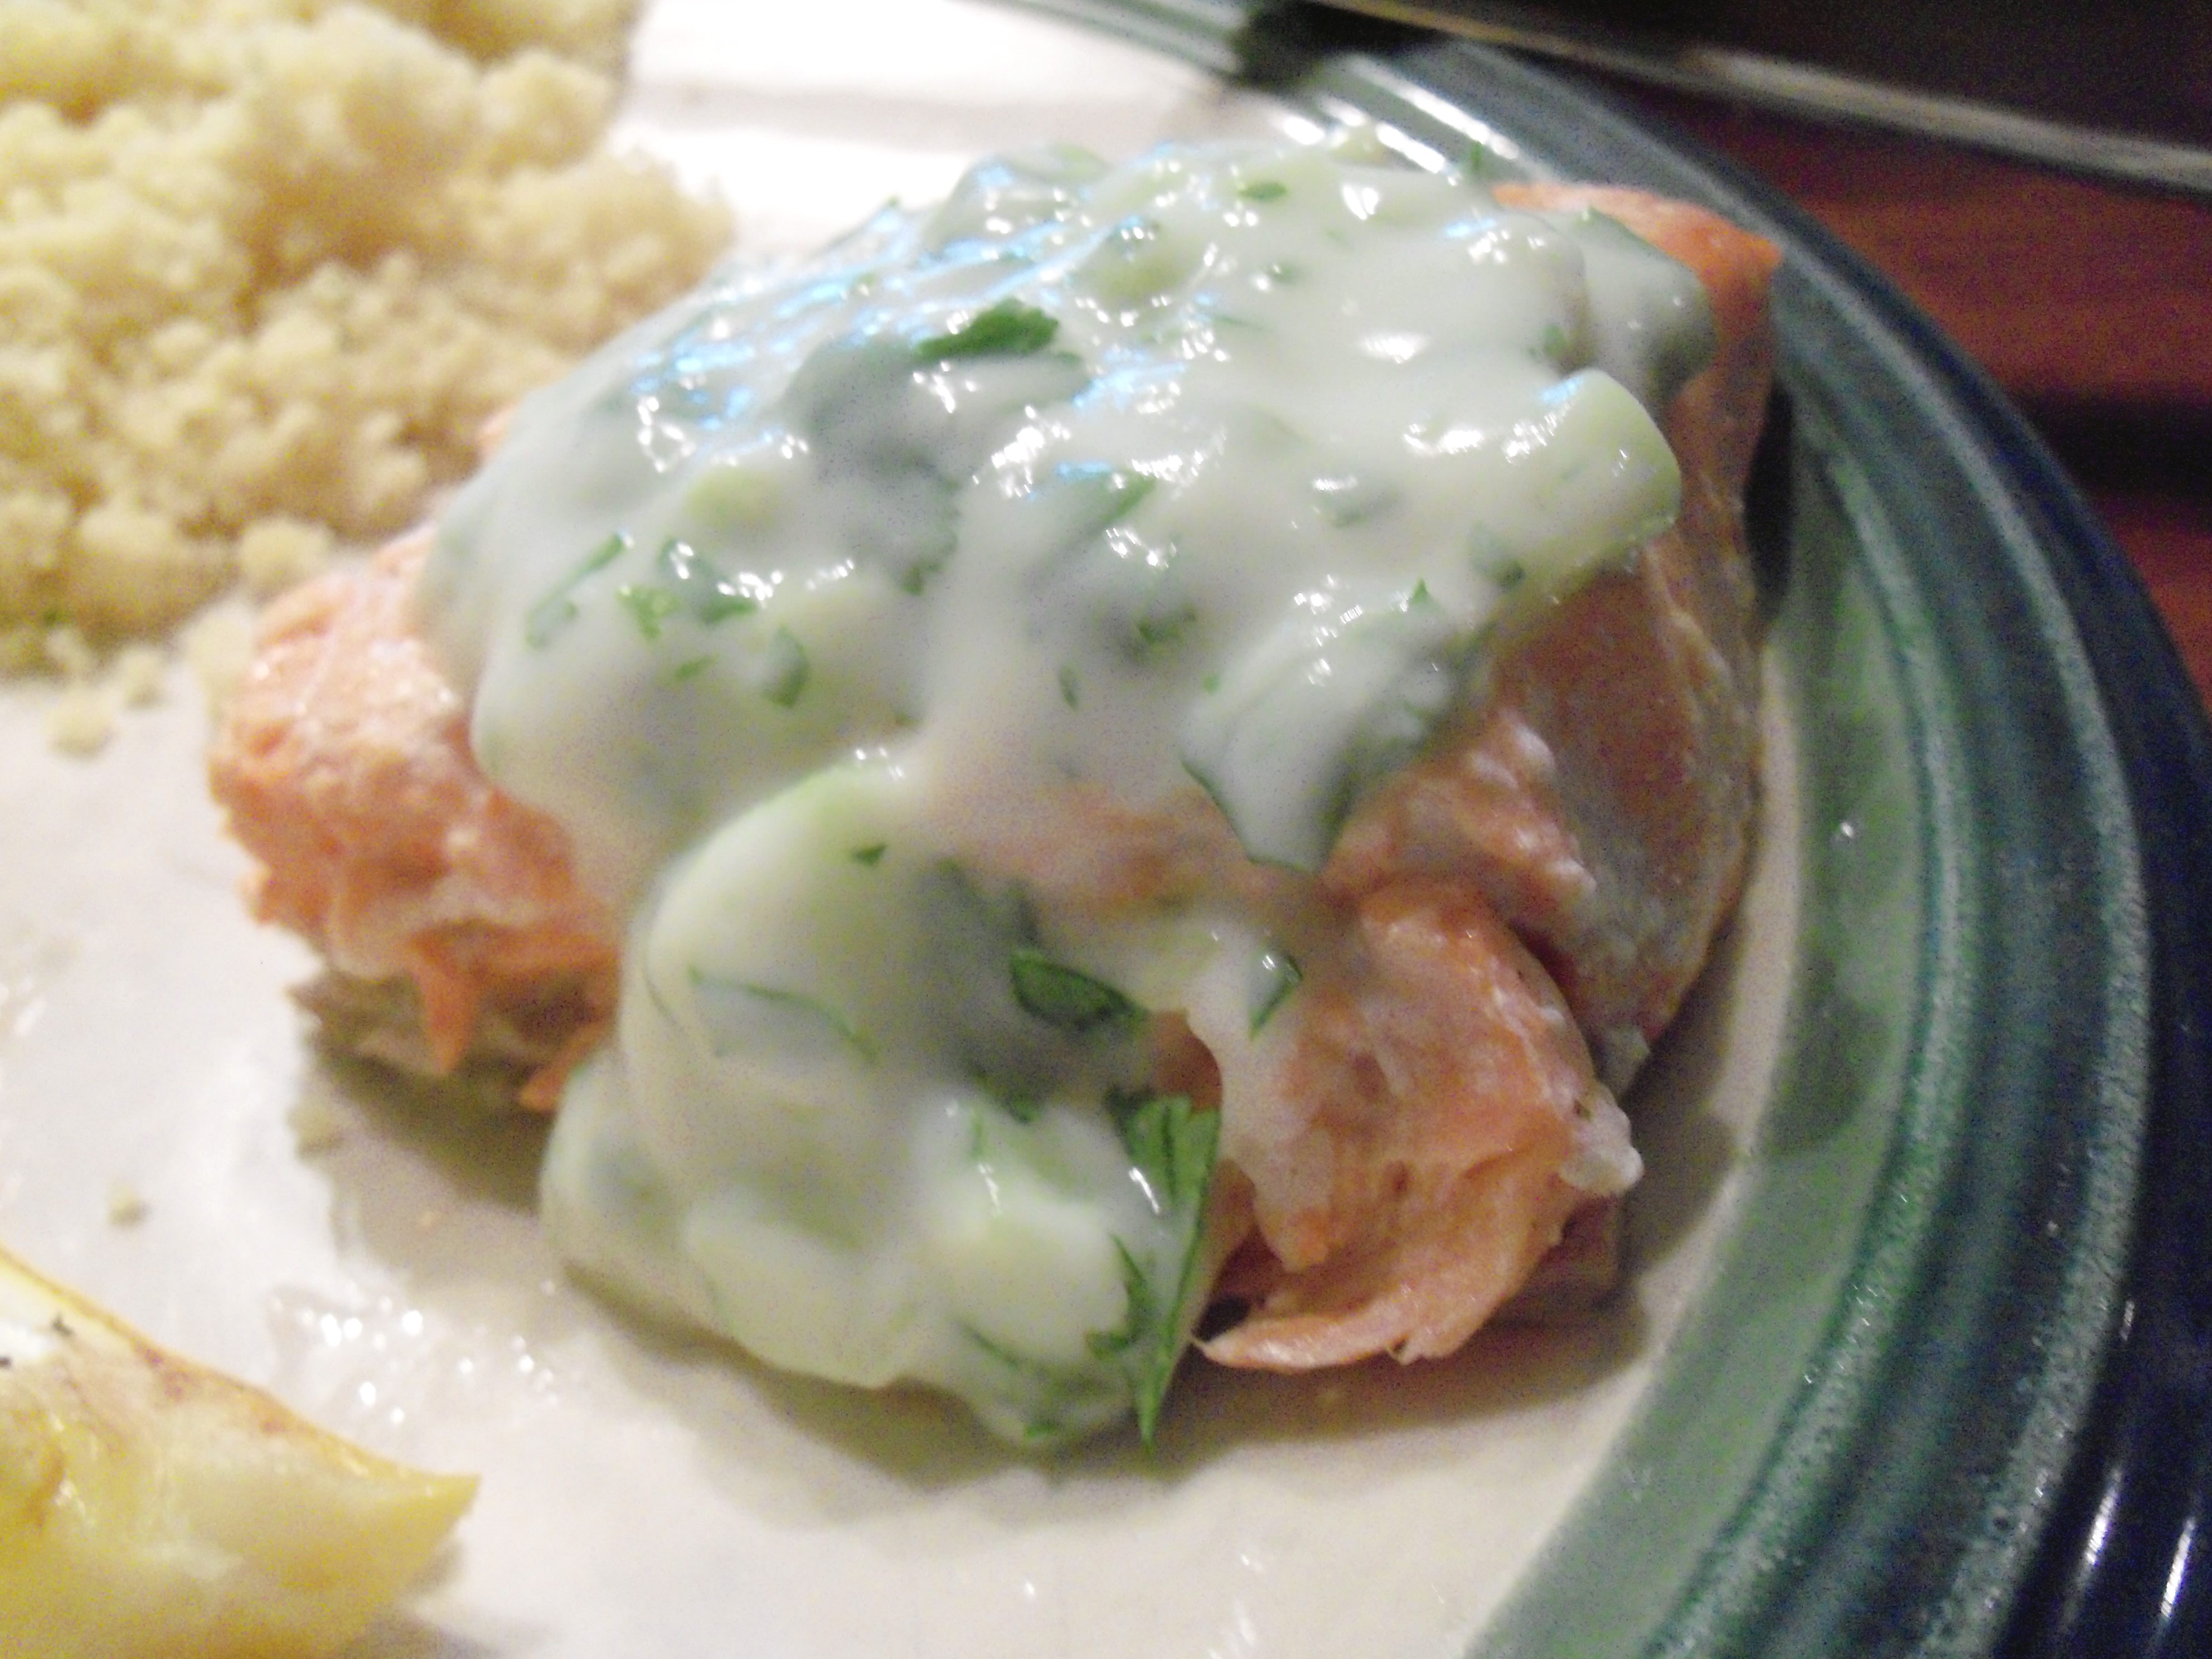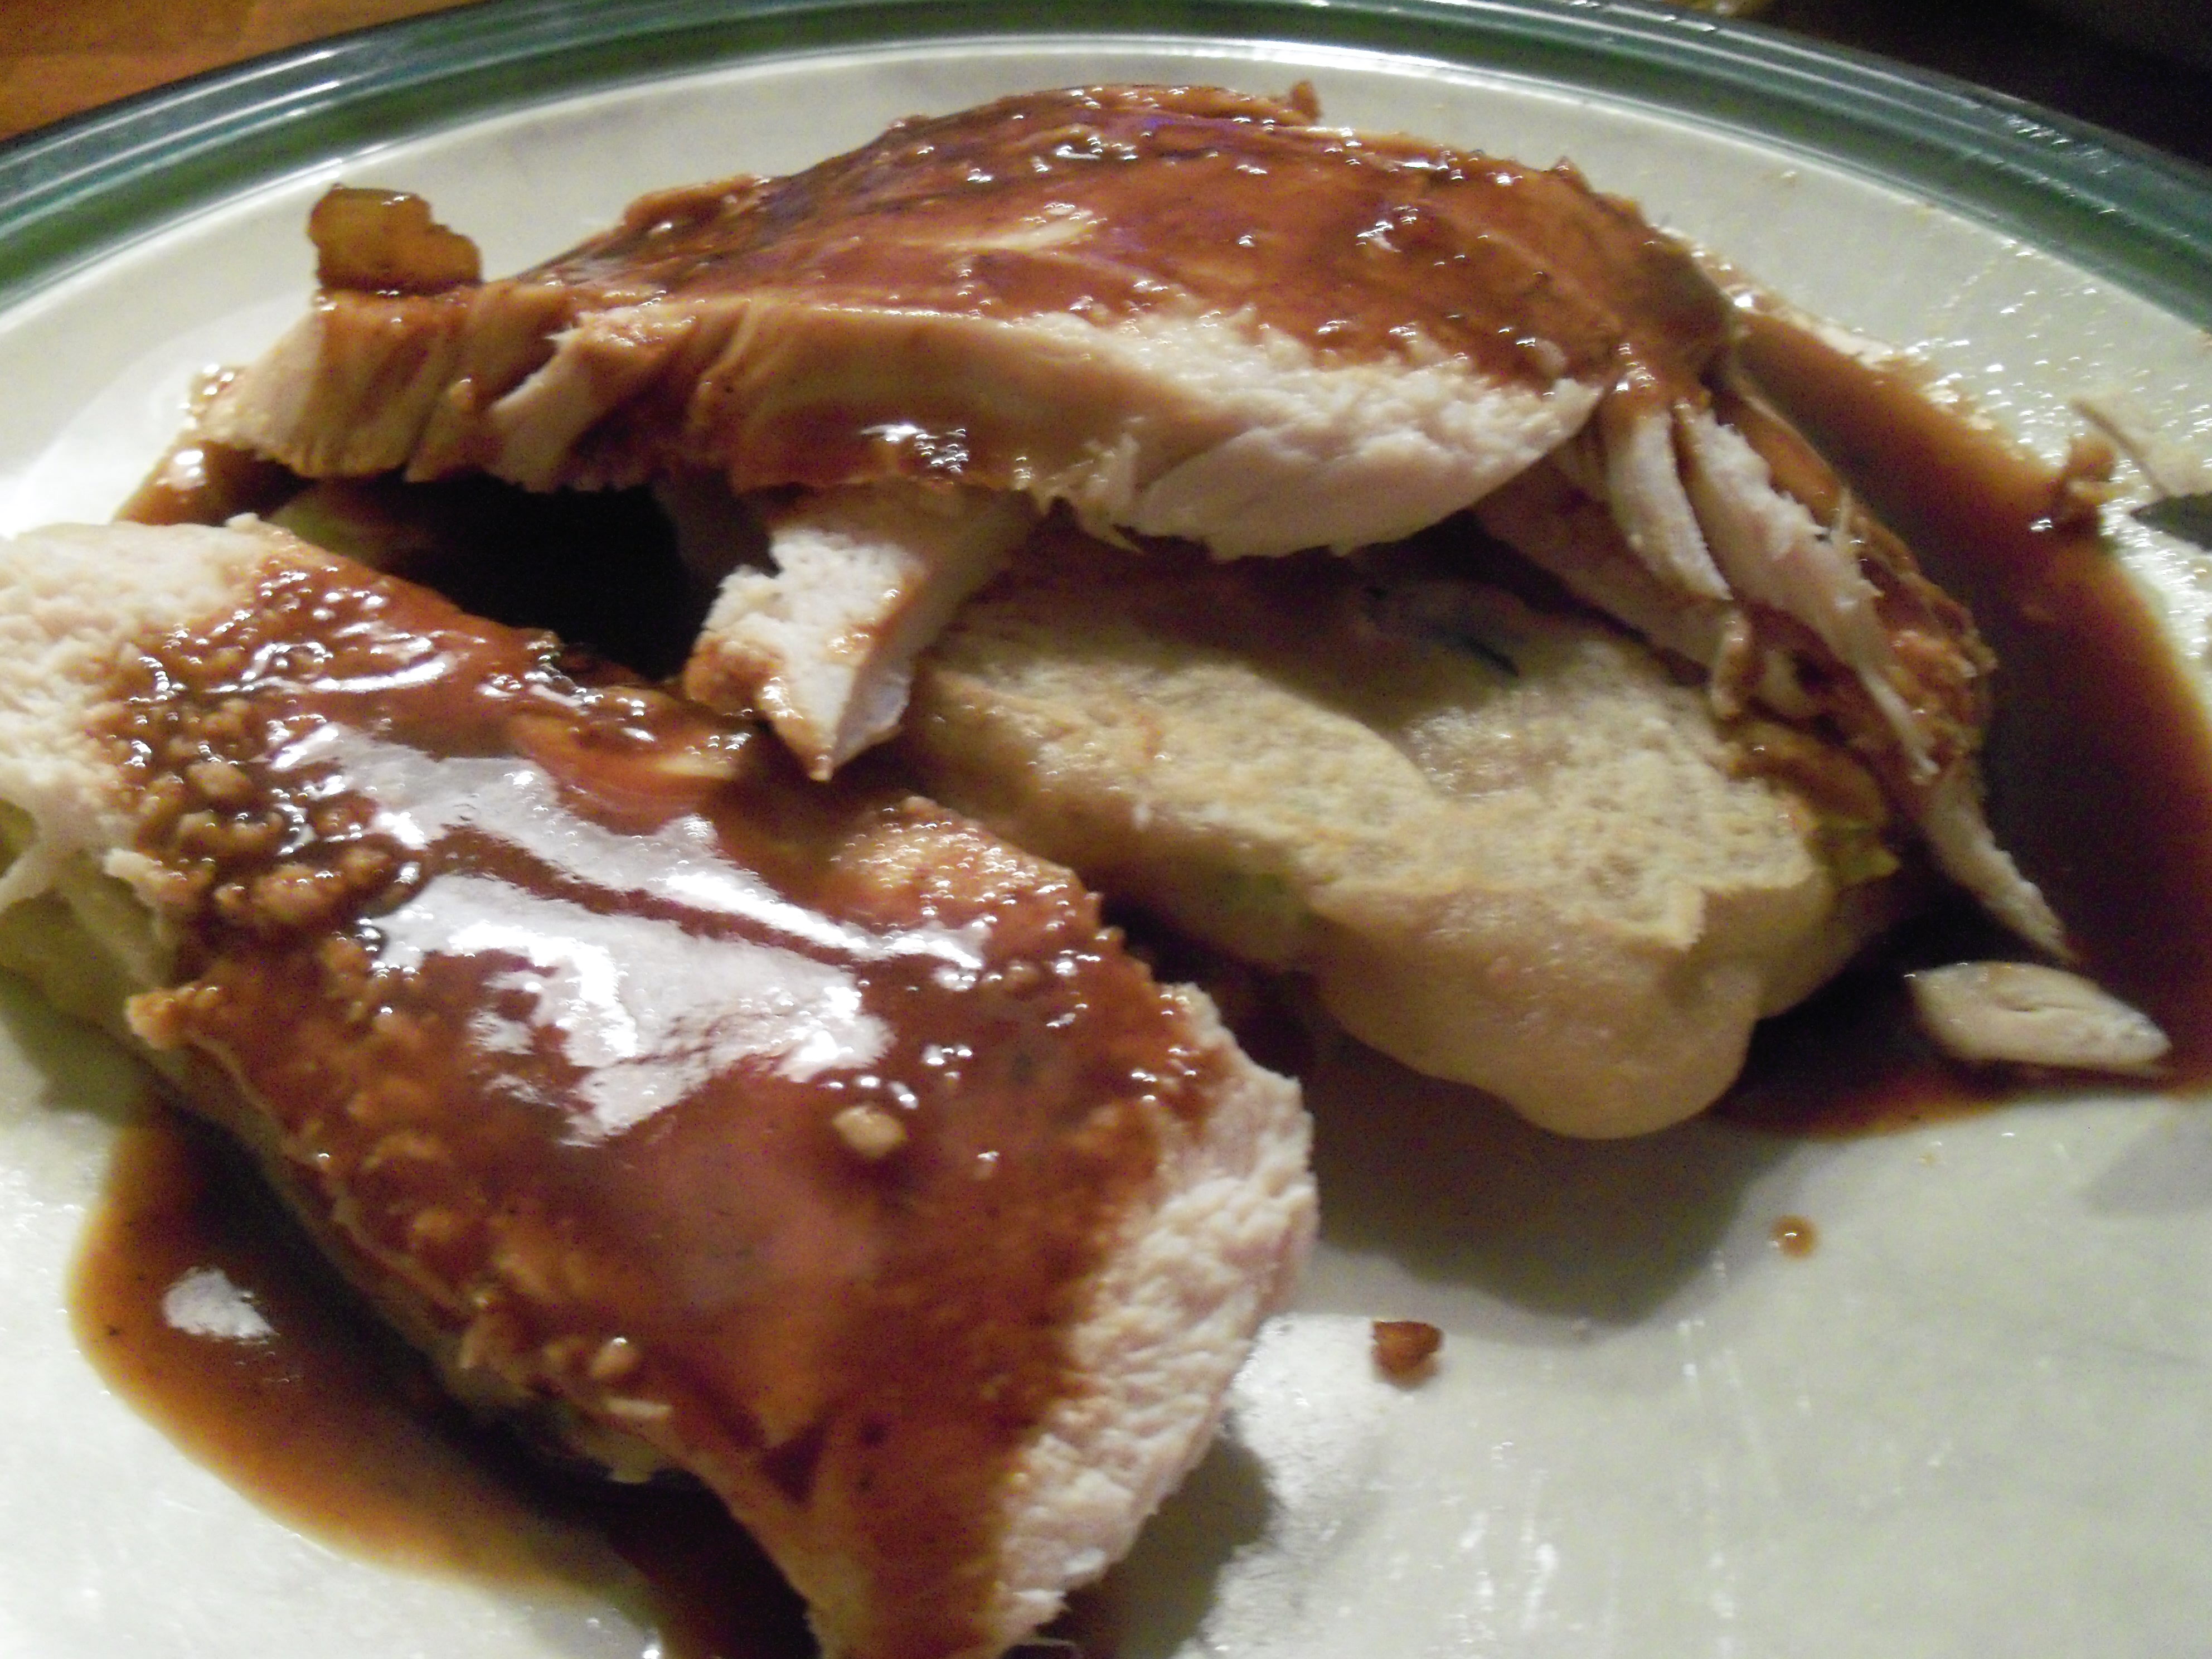
We have lots of salmon Dude Martha and Mr. MarthaAndMe caught in Alaska, which is filling my freezer. This was our first try with the coho salmon Mr. MarthaAndMe caught. It was delicious – milder in flavor than the king, which I kind of liked.

I stumbled upon a great recipe for arctic char in Cooking Light and adapted it for the salmon. It it incredibly easy. Cook your salmon on the grill or in the oven, however you like it. About half an hour before dinner, mix one small container of plain yogurt, one peeled and diced small cucumber (gherkin size), 2 cups chopped cilantro, 1 tbsp lime juice, and salt and pepper. That’s it! Serve the yogurt over the salmon. It’s cool and creamy and light and refreshing. The cilantro, cucumber and lime give it a very fresh taste that allows the salmon to shine. Fantastic. A sauce that doesn’t have to be cooked – you can’t beat that! Even Mr. MarthaAndMe, who believes that he does not like yogurt really liked this one.

Bookmark and Share

We have lots of salmon Dude Martha and Mr. MarthaAndMe caught in Alaska, which is filling my freezer. This was our first try with the coho salmon Mr. MarthaAndMe caught. It was delicious – milder in flavor than the king, which I kind of liked. I stumbled upon a great recipe for arctic char in … Read more

Thanks to Lynn at Tiny Skillet for choosing next week’s project, molasses ginger cookies. Should be fun! As always, anyone is welcome to play along. Make the recipe by Oct 11 and post results on your blog. Leave a comment on my post so everyone will know who made it and we can all see how everyone made out. If you’d like a turn picking our weekly project, just let me know and I’ll add you to the list.

Thanks to Lynn at Tiny Skillet for choosing next week’s project, molasses ginger cookies. Should be fun! As always, anyone is welcome to play along. Make the recipe by Oct 11 and post results on your blog. Leave a comment on my post so everyone will know who made it and we can all see … Read more

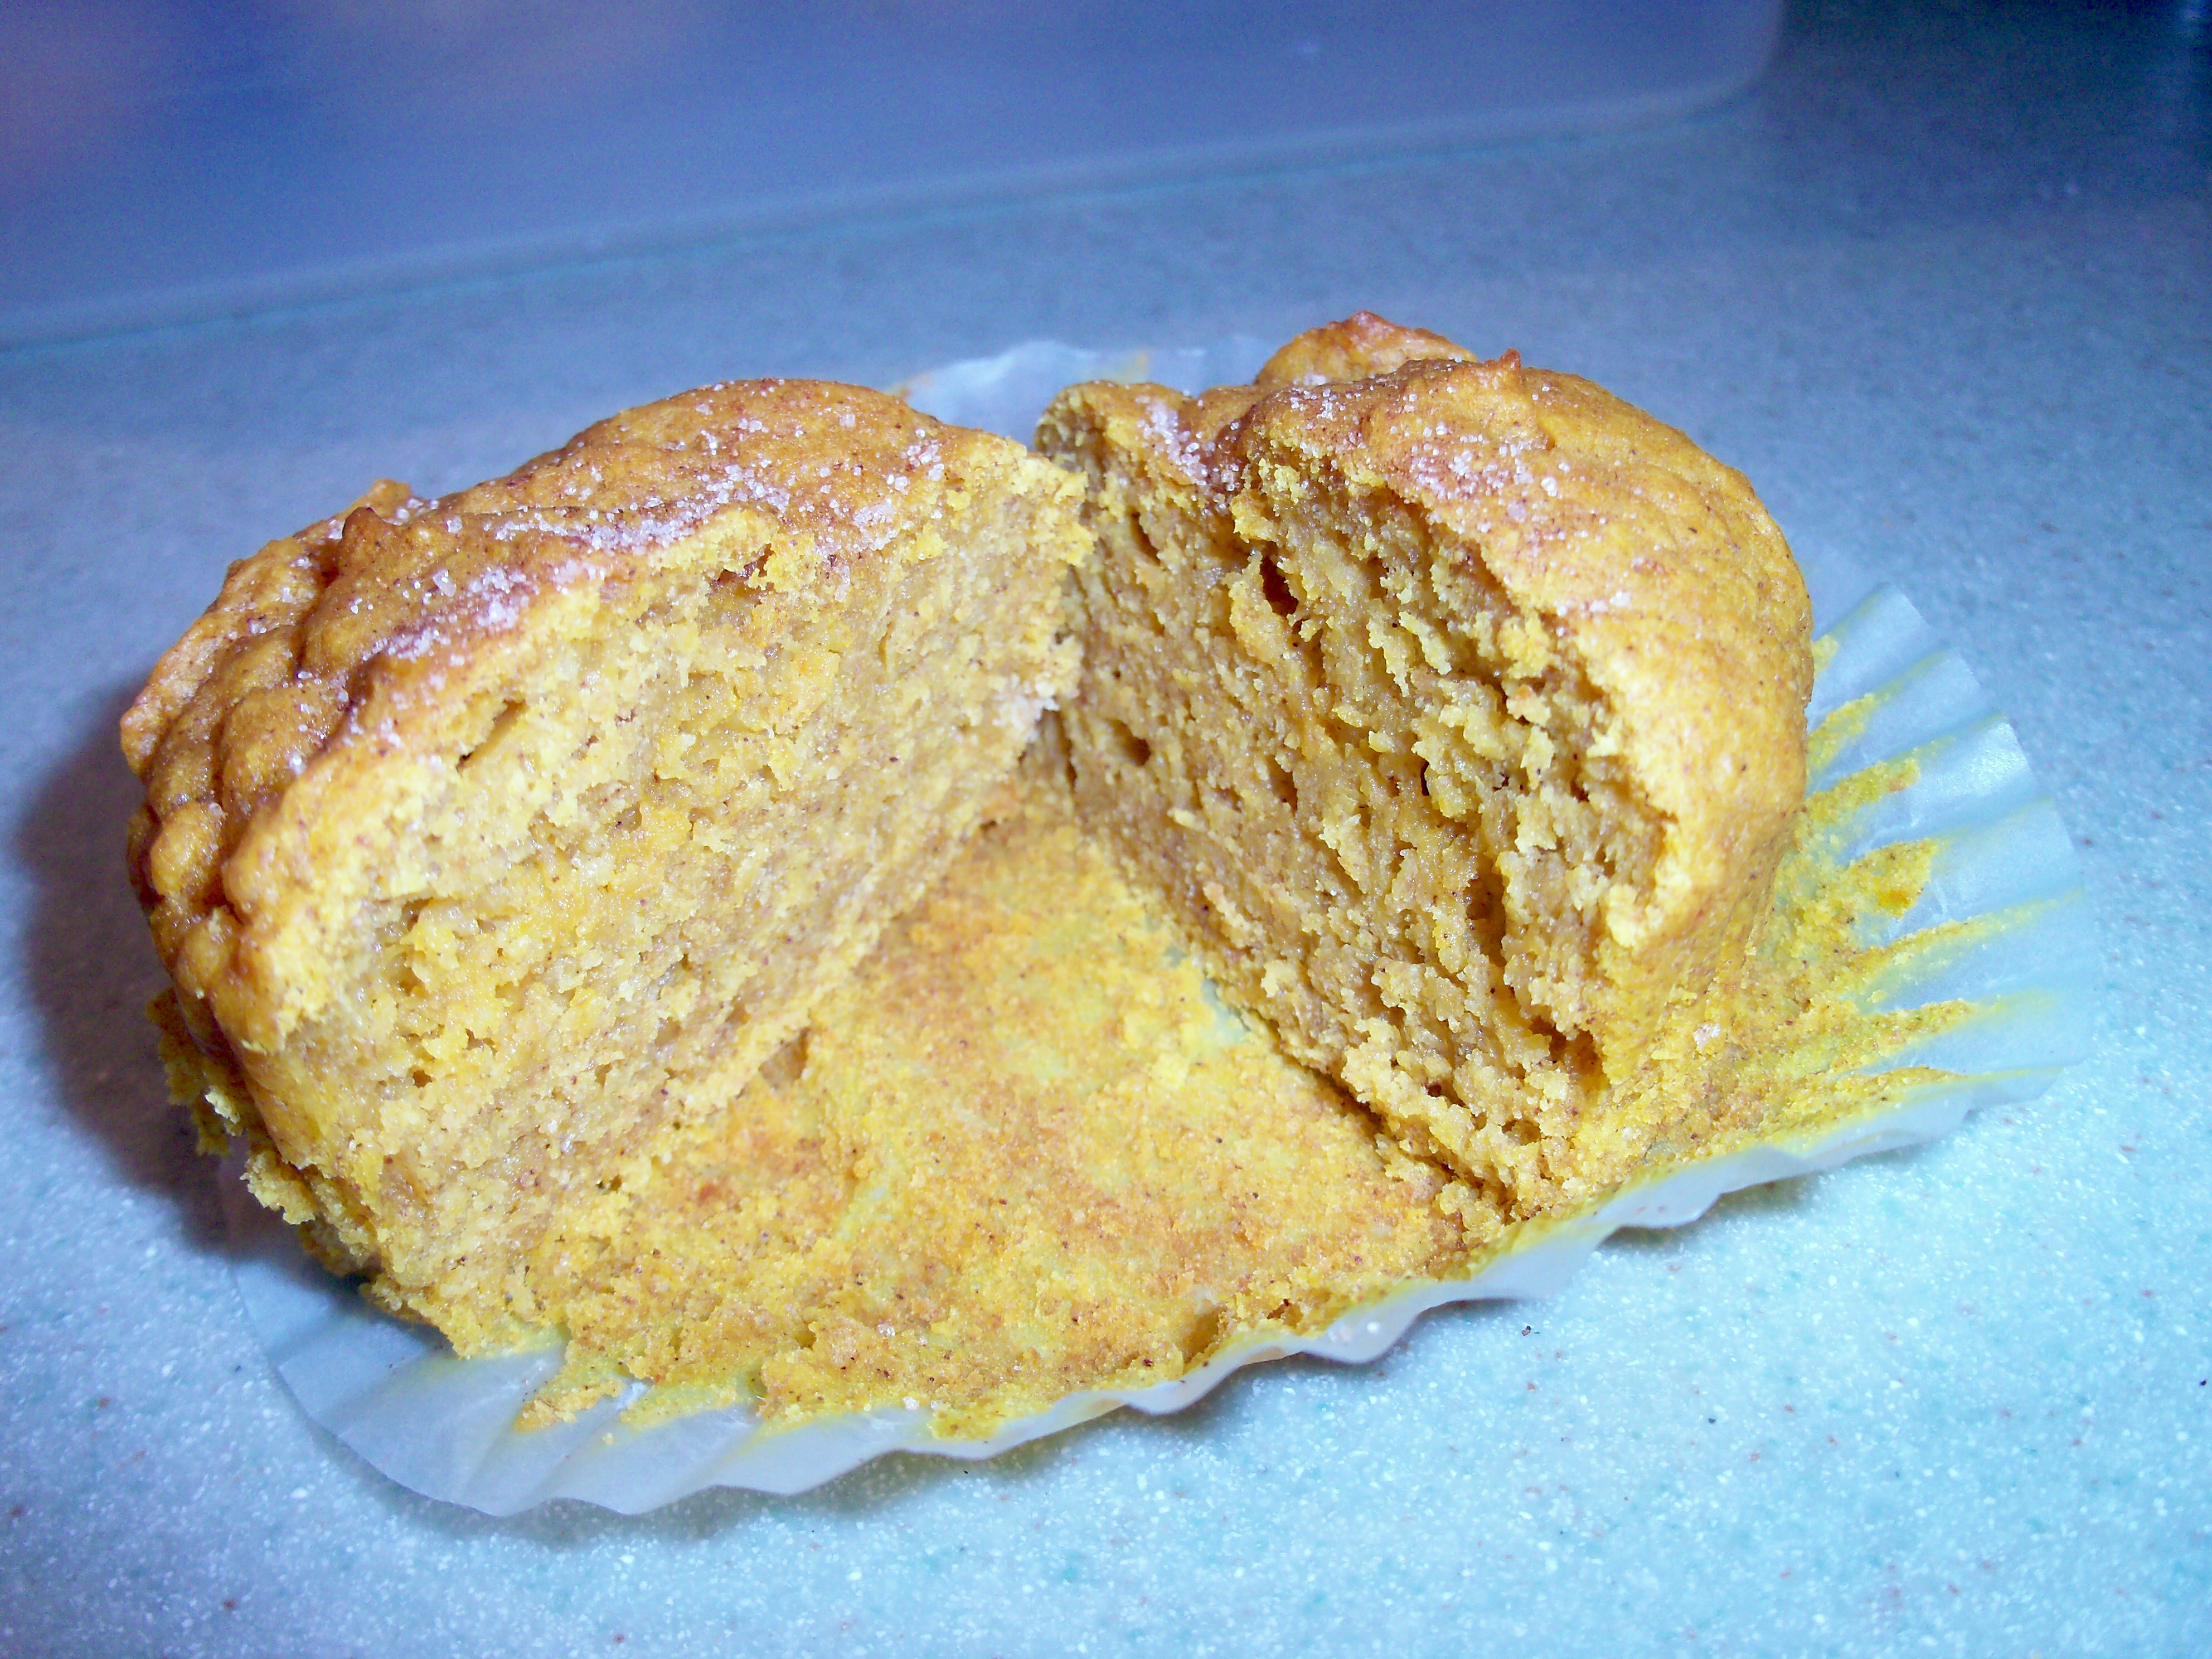
Martha MondaysThanks to Brenda at Brenda’s Canadian Kitchen for choosing today’s project, Pumpkin Muffins.

I love to bake with pumpkin in the fall and often make pumpkin bread and pumpkin cookies. The muffins sounded good. They’re made with yogurt and half whole wheat flour. I did not add the nuts since some family members don’t like them. They were simple to mix up. The recipe says it makes 12 jumbo muffins – I made 24 regular muffins with this. Mine took forever to bake. The recipe says 25 minutes for the jumbo muffins so I thought mine would be done before that, but they actually took about 10 minutes longer.

I liked them, but thought they were a bit lacking in flavor. The recipe uses pumpkin pie spice which I generally don’t like. I think you get a better flavor if you use separate measurements of regular spices. I ended up sprinkling some cinnamon and sugar on top of these to make them look nice and to jazz them up. Also – as I was tasting these I realized there was no salt in the recipe which might have been part of the problem too!

I’ll be interested to hear what everyone else thought.

Bookmark and Share

Thanks to Brenda at Brenda’s Canadian Kitchen for choosing today’s project, Pumpkin Muffins. I love to bake with pumpkin in the fall and often make pumpkin bread and pumpkin cookies. The muffins sounded good. They’re made with yogurt and half whole wheat flour. I did not add the nuts since some family members don’t like … Read more

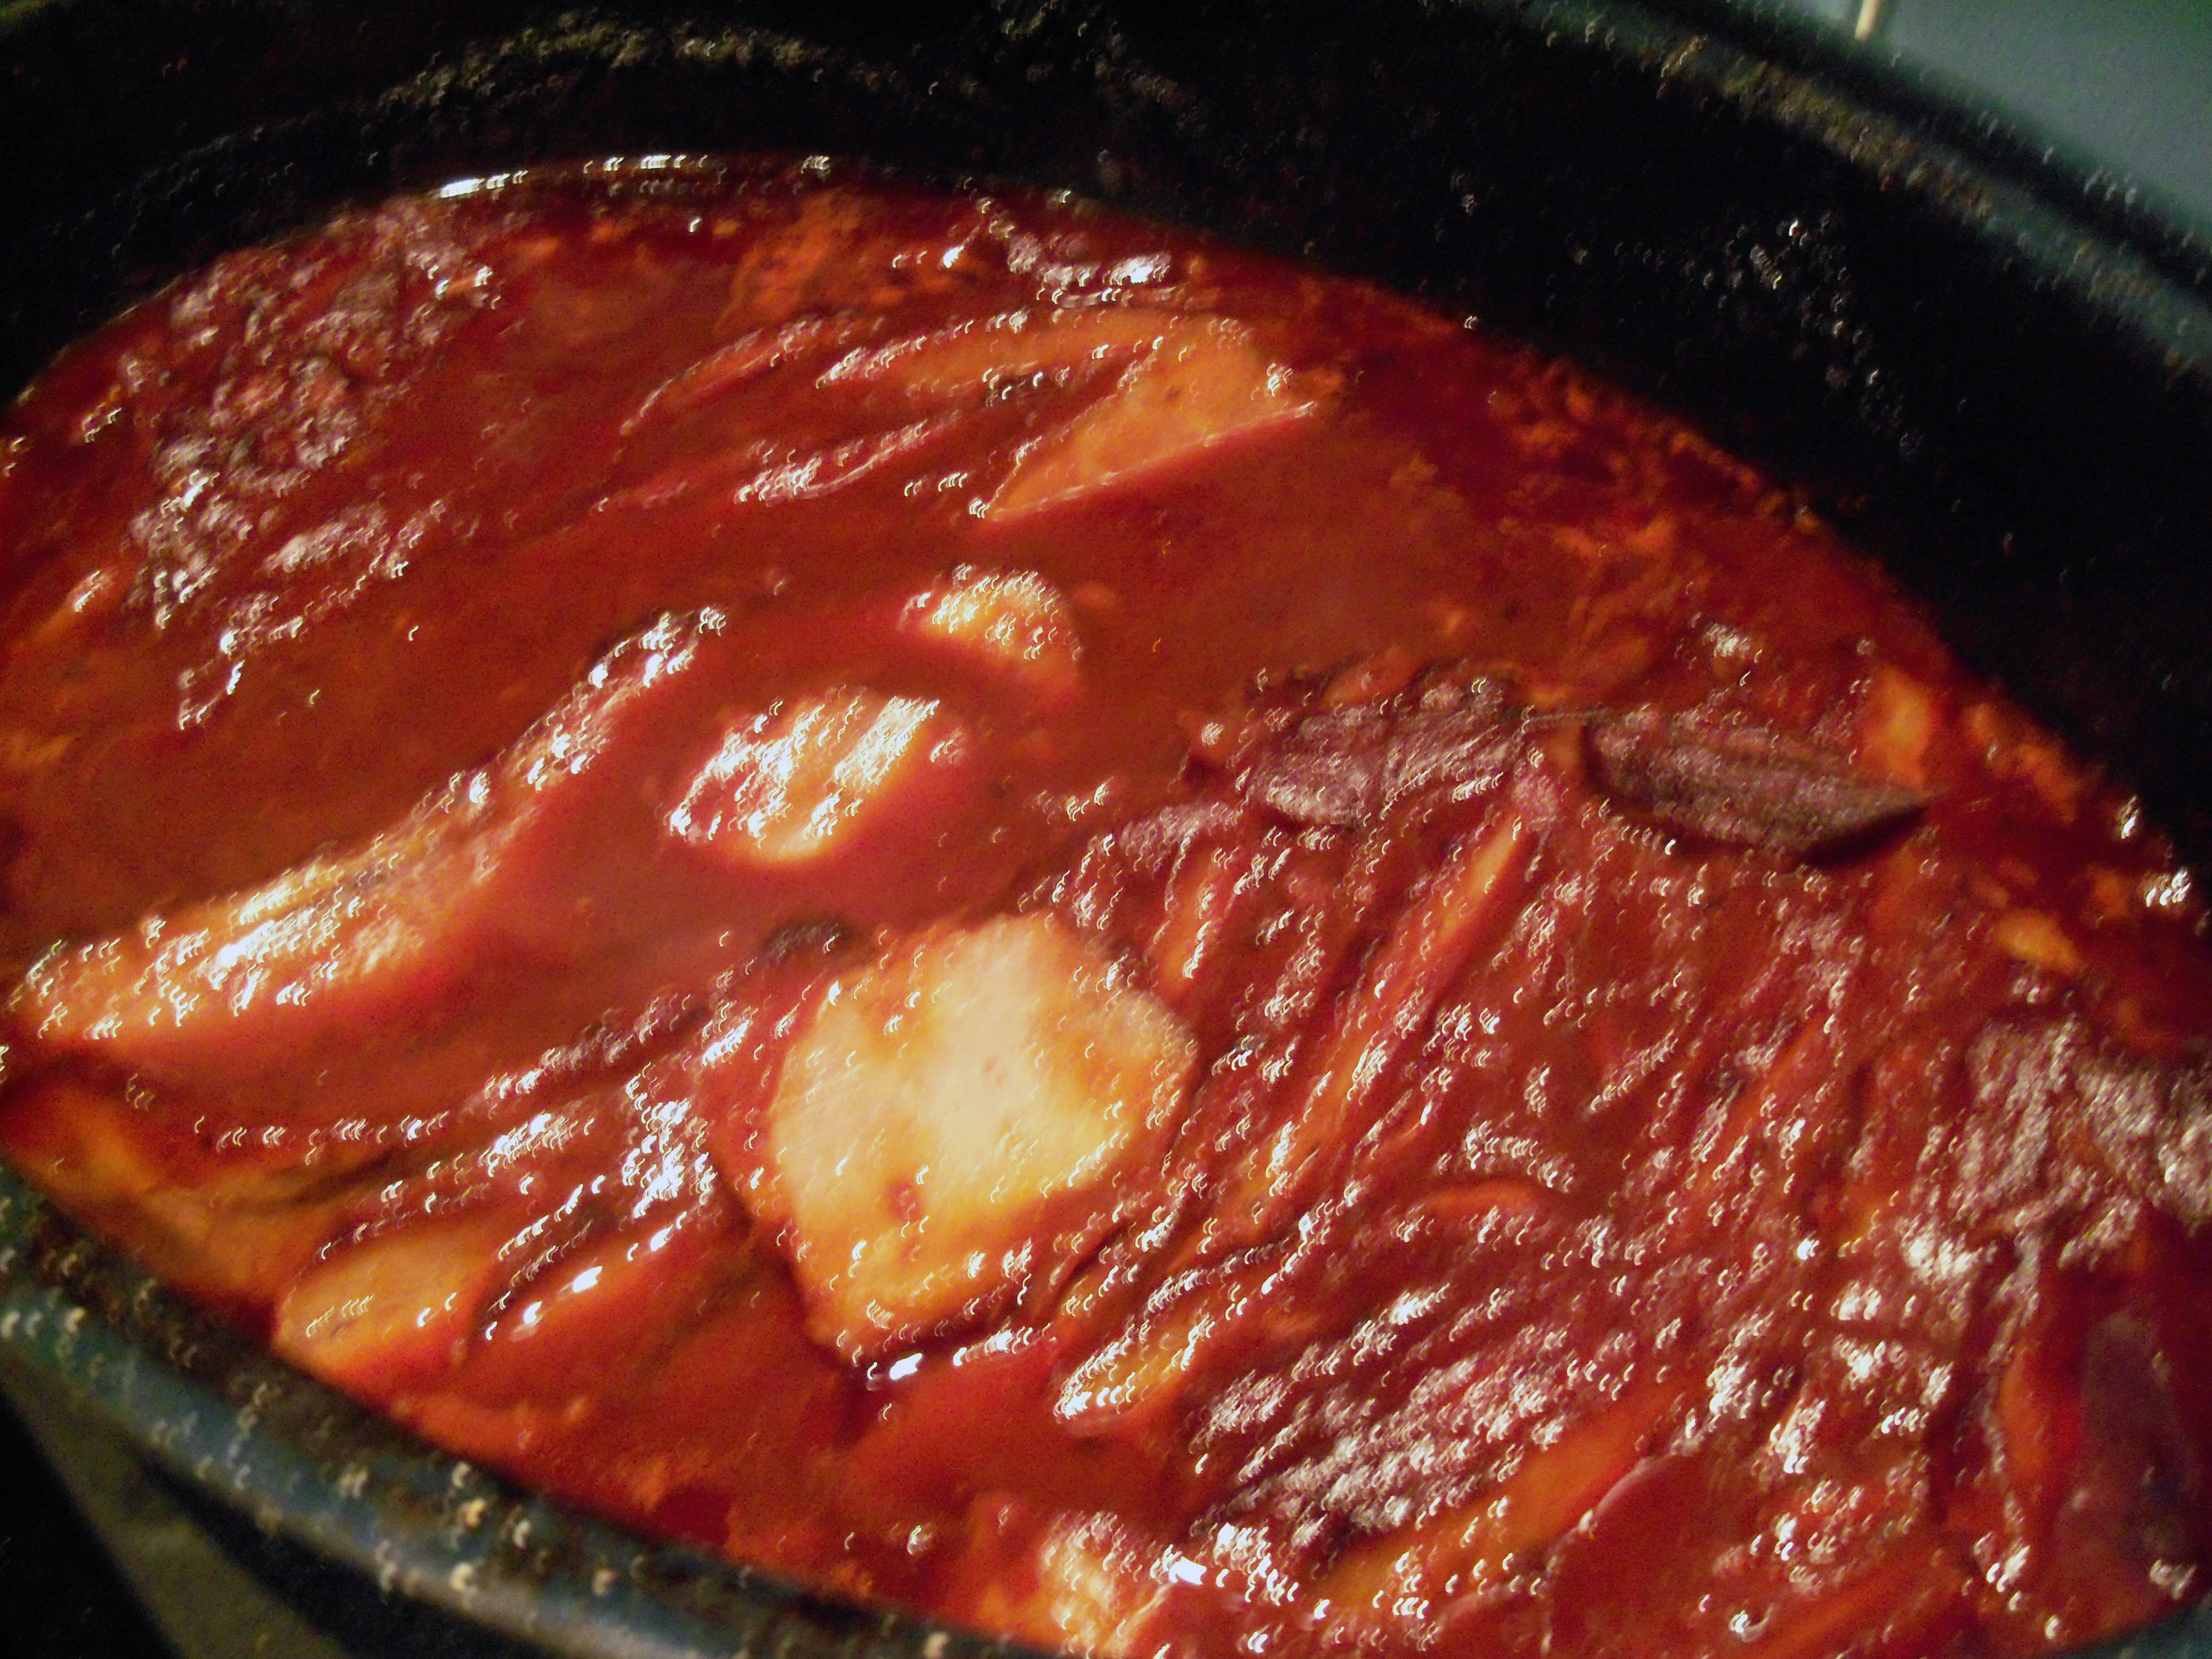
I adore brisket. And I’d never had until about ten years ago when I tried Emeril’s recipe for it. Luckily, I happened upon this incredible recipe. Once a year or so I will make a big batch of this and freeze it. I get many meals from one brisket (the leftovers are fantastic on buns or if you buy refrigerated crescent roll dough and line muffin tins with them and fill them with shredded brisket).

You have to plan ahead for this recipe and make it the day before, because it needs to sit overnight. Then you just reheat it the next day. It is sublime. I’ve had so many compliments on this. My in-laws, traditional meat and potato folk, love it. A business associate of my husband’s from India came to dinner and was crazy about it, never before having heard of brisket. The sauce is sweet and a little spicy. It has layers of flavor because you start with studding the brisket with garlic, then browning the brisket, then you braise it in broth, then you add carmelized onions, chili sauce, ketchup, brown sugar and spices. The meat turns out moist and incredibly tender.  It’s a hit every time.

Bookmark and Share

I adore brisket. And I’d never had until about ten years ago when I tried Emeril’s recipe for it. Luckily, I happened upon this incredible recipe. Once a year or so I will make a big batch of this and freeze it. I get many meals from one brisket (the leftovers are fantastic on buns … Read more

Sesame Chicken

Posted by Brette in Food

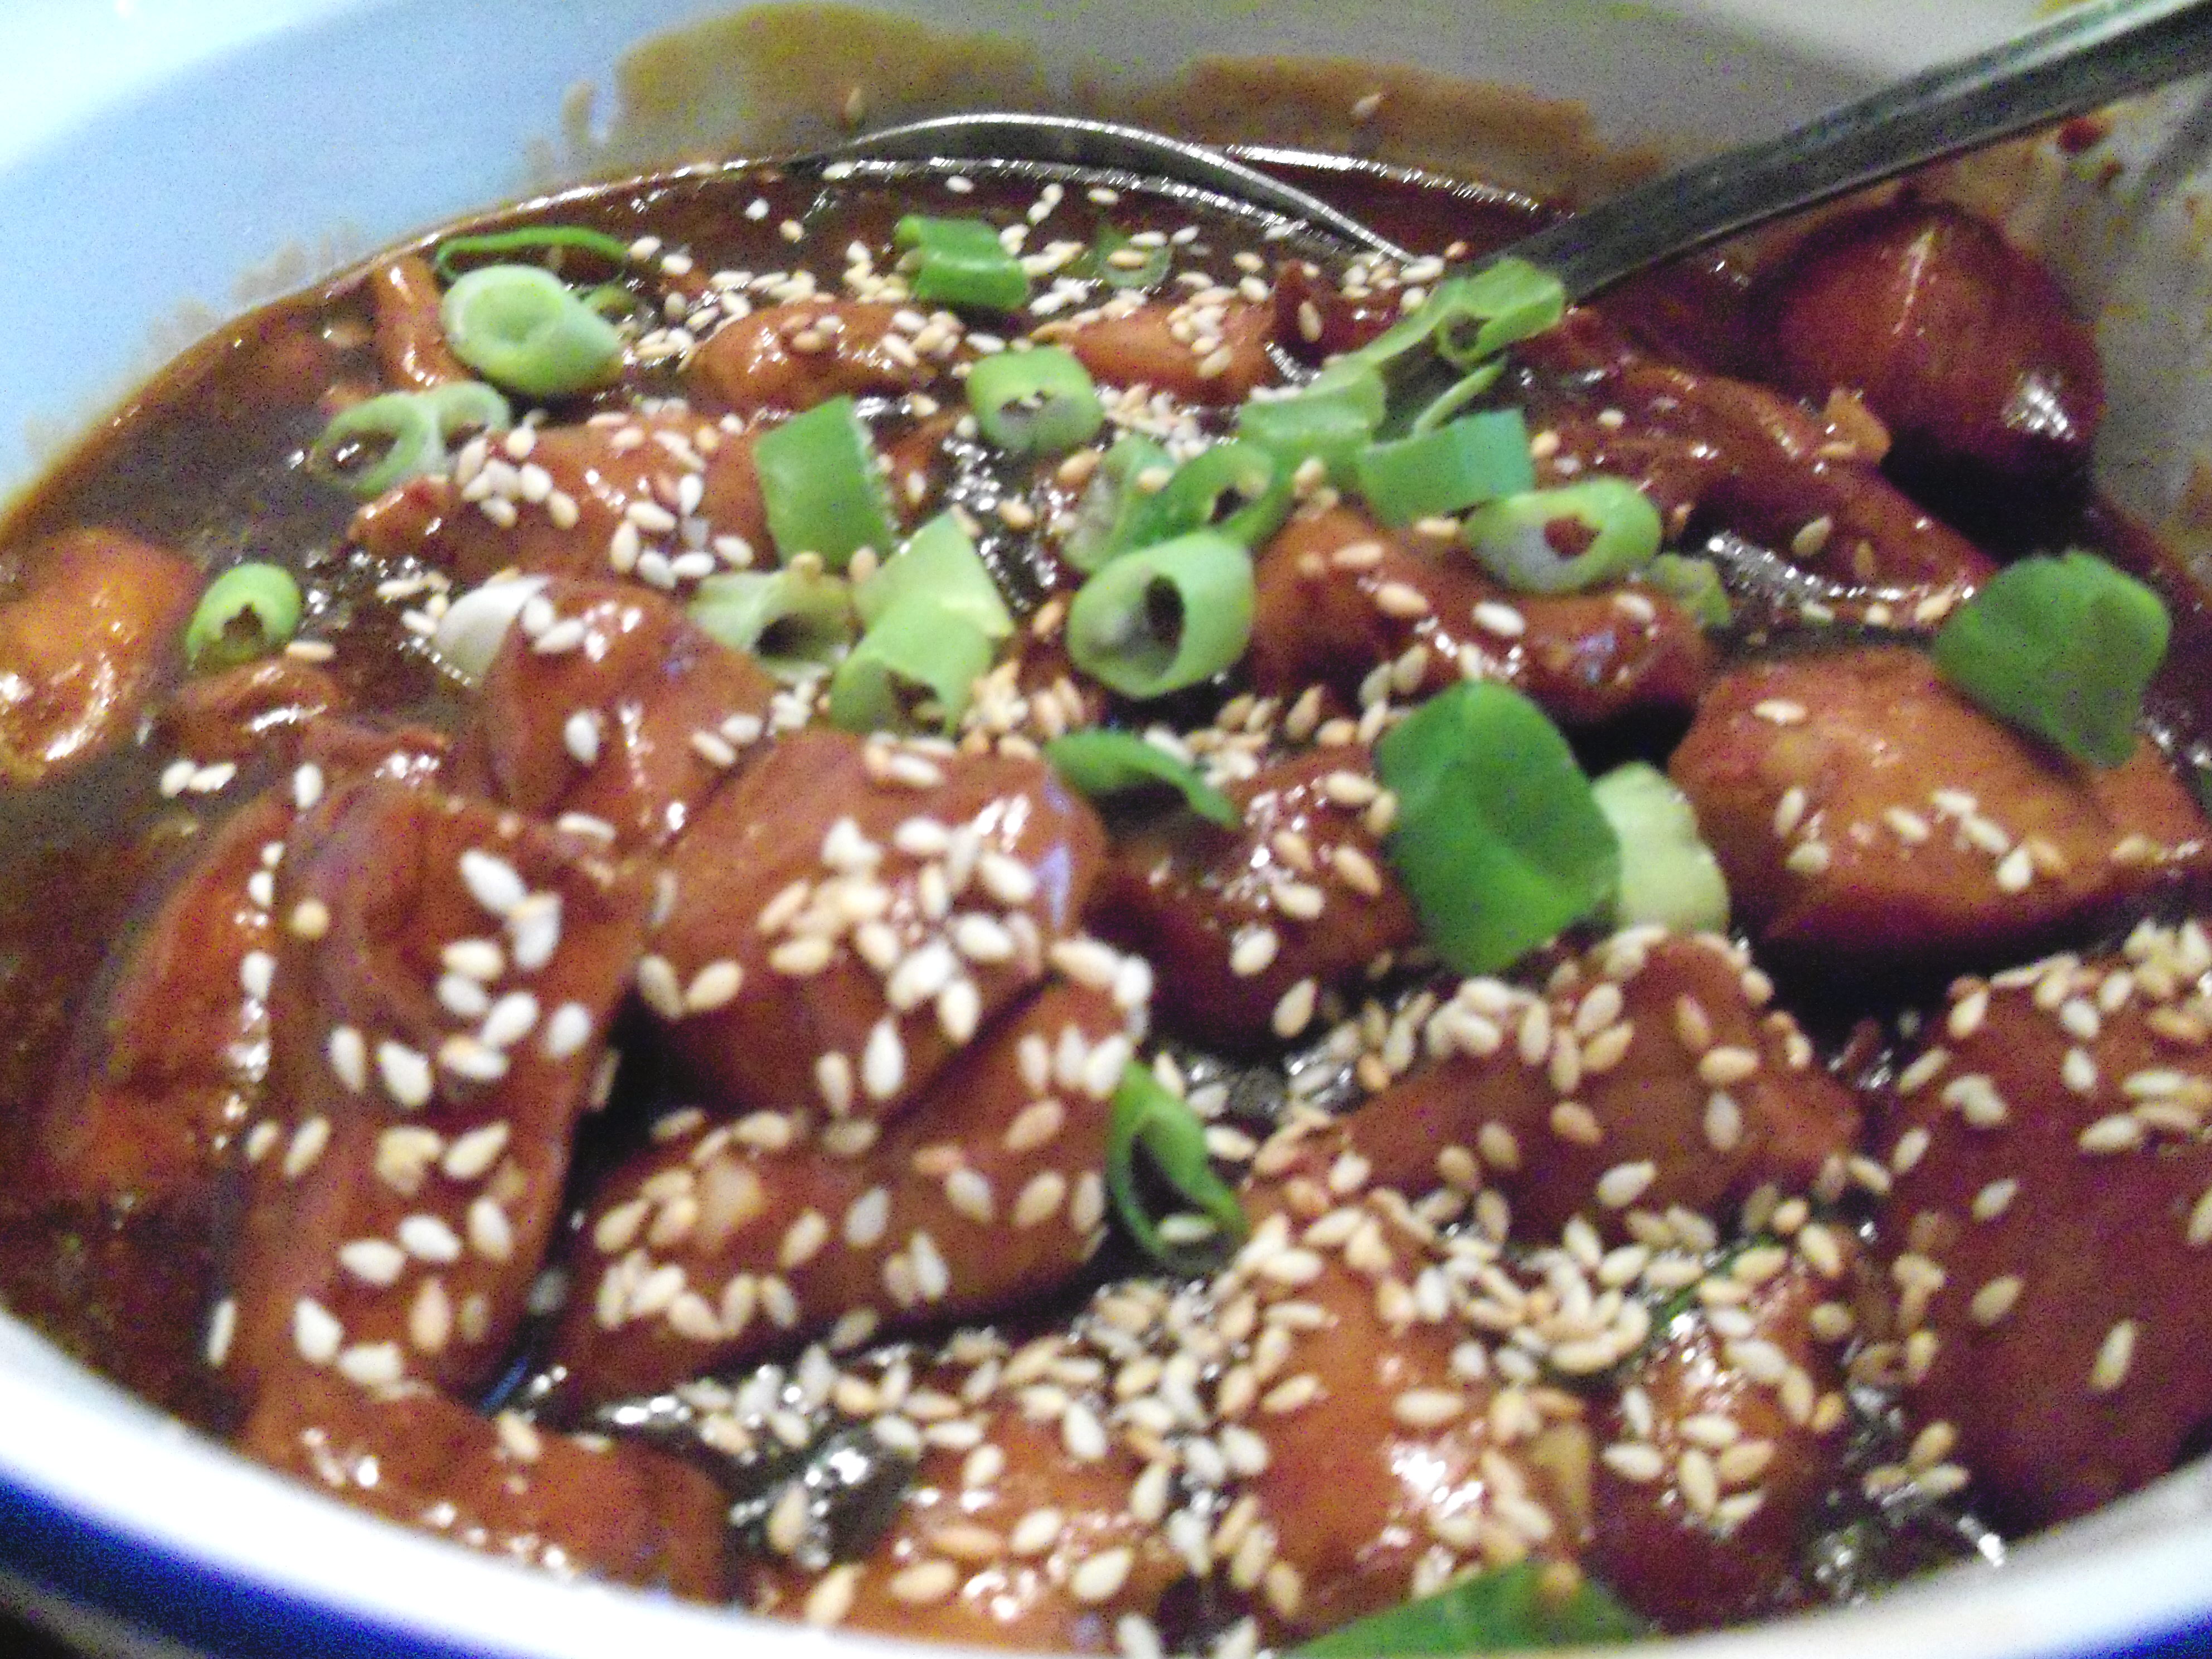
My kids love sesame chicken takeout. If we get takeout (a rare occurrence) we have to get two large orders of this to prevent fisticuffs. I don’t mind it, but always seem to end up with a piece that is fatty or grisly, so I don’t eat much of it. They like it because it is sweet and deep fried.

I came upon a recipe for sesame chicken by Ellie Krieger in Food Network Magazine’s Sept issue. No deep frying involved, yet it promised a flavorful dish that is a good substitute. The verdict? They’re right. The chicken is browned in a bit of oil so it gets a nice flavor to it and the sauce is complex and rich. I really liked this a lot. I served it with some somen noodles. Like seemingly all Asian dishes, there are a lot of ingredients and steps, but I would say this was definitely worth it.

5 tbsp soy sauce

4 tsp toasted sesame oil

2 tsp honey

1 1/4 lbs skinless boneless chicken breasts, cut into 3/4 inch chunks

6 tsp canola oil

2 scallions

1 tbsp grated ginger

3 cloves garlic, minced

1 1/4 c chicken broth

3 tbsp sugar

3-4 tsp cornstarch

1 tbsp rice vinegar

1 tsp chili paste

4 cups snowpeas, trimmed

cooked brown rice

2 tbsp toasted sesame seeds

whisk 3 tbsp of soy sauce with 2 tsp sesame oil and honey. Add chicken and marinate 20 min.

Remove chicken from marinade and cook in 2 tsp oil in nonstick pan over medium heat. Cook in 2 batches, turning once or twice, until done, about 3-5 min

Remove chicken and wipe out pan. Heat 2 tsp oil and add scallions (reserving some tops to sprinkle on dish), ginger, garlic and cook for 1 min. Whisk broth, sugar, cornstarch, vinegar, chili paste, and remaining 2 tbsp soy sauce in a bowl. Add to the pan and cook until thickened, 3-4 minutes. Add remaining 2 tsp sesame oil.

Cook snow peas in a steamer 2-3 min.

Return chicken to pan and heat through. Serve over brown rice with snow peas. Top with sesame seeds and reserved scallion.

Bookmark and Share

My kids love sesame chicken takeout. If we get takeout (a rare occurrence) we have to get two large orders of this to prevent fisticuffs. I don’t mind it, but always seem to end up with a piece that is fatty or grisly, so I don’t eat much of it. They like it because it … Read more

Peking Chicken

Posted by Brette in Food

The person who introduced me to homemade Chinese food was the Frugal Gourmet. He was a crazy hippie/ordained minister who had a cooking show on PBS in the late 80s/early 90s when I was a newlywed. My husband and I used to watch him together and found him to be entertaining (“Hot pan, cold oil, food won’t stick,” I can still hear him saying). It was around this time that I took some books out of the library about Asian food and began experimenting. My recipe for Peking Chicken was born.

This recipe is a family favorite. Mr. MarthaAndMe has been known to request it for his birthday dinner. It’s one of those dishes where everyone is literally licking the plate at the end of the meal. When my kids were younger I used to make some pancakes without scallion and they would gobble them up with chicken and sauce on them. Now I make them all with scallions. One word of warning. Make sure you can open your windows when you make this! It always smokes up my kitchen. Open your window before you start cooking this to get some ventilation going.

I adore this recipe. The chicken gets a magnificent color and has crunchy skin. The sauce is rich, dark, and thick. The pancakes are soft and absorb the sauce wonderfully. You taste the bite of ginger and garlic, the sweet darkness of the hoisin, the moist chicken, and the soul soothing pancakes.  It’s a perfect dish.

Peking Chicken

1 whole chicken

2 tbsp honey

2 tbsp tamari

1 tbsp minced peeled ginger

2 garlic cloves, crushed

1 tsp seasoned rice wine vinegar

1/2 cup chicken broth

1/2 cup hoisin sauce

Preheat oven to 450 degrees.

Place chicken in sink and pour 1 quart boiling water over it, flipping chicken halfway through.

Place on rack and roast in oven for 50 minutes.

Mix honey, tamari, ginger, garlic, rice vinegar. Once the chicken has roasted for 50 minutes, brush with half the honey mixture and return to oven for 5 minutes. Brush again with the rest of the mix and return to oven for another 5 minutes.

Allow chicken to rest while you make the sauce. Add the chicken broth and hoisin to the chicken pan, first removing any blackened pieces, leaving all the brown pieces.  Bring to boiling, whisking, and scraping up the brown bits from the bottom of the pan. Serve sauce separately.

Scallion Pancakes

2 cups flour

1 tsp salt

2 eggs

1 1/2 cups water

2 large whole green onions, finely sliced.

Mix ingredients together. Heat a skillet or large pan and add 1 tbsp oil (vegetable or olive are fine).  Use the batter to create pancakes, about 4 inches diameter each. Flip when the bottom is slightly brown. Repeat until all are made. Pancakes can be kept in a warm oven until they are all made.

To eat, put a pancake on your plate and top with a slice of chicken. Pour sauce over it and enjoy with a knife and fork.

This is also wickedly good cold! Note that I’ve tried to make this with half whole wheat flour and it just wasn’t the same – the pancakes were too chewy somehow.

Bookmark and Share

The person who introduced me to homemade Chinese food was the Frugal Gourmet. He was a crazy hippie/ordained minister who had a cooking show on PBS in the late 80s/early 90s when I was a newlywed. My husband and I used to watch him together and found him to be entertaining (“Hot pan, cold oil, … Read more

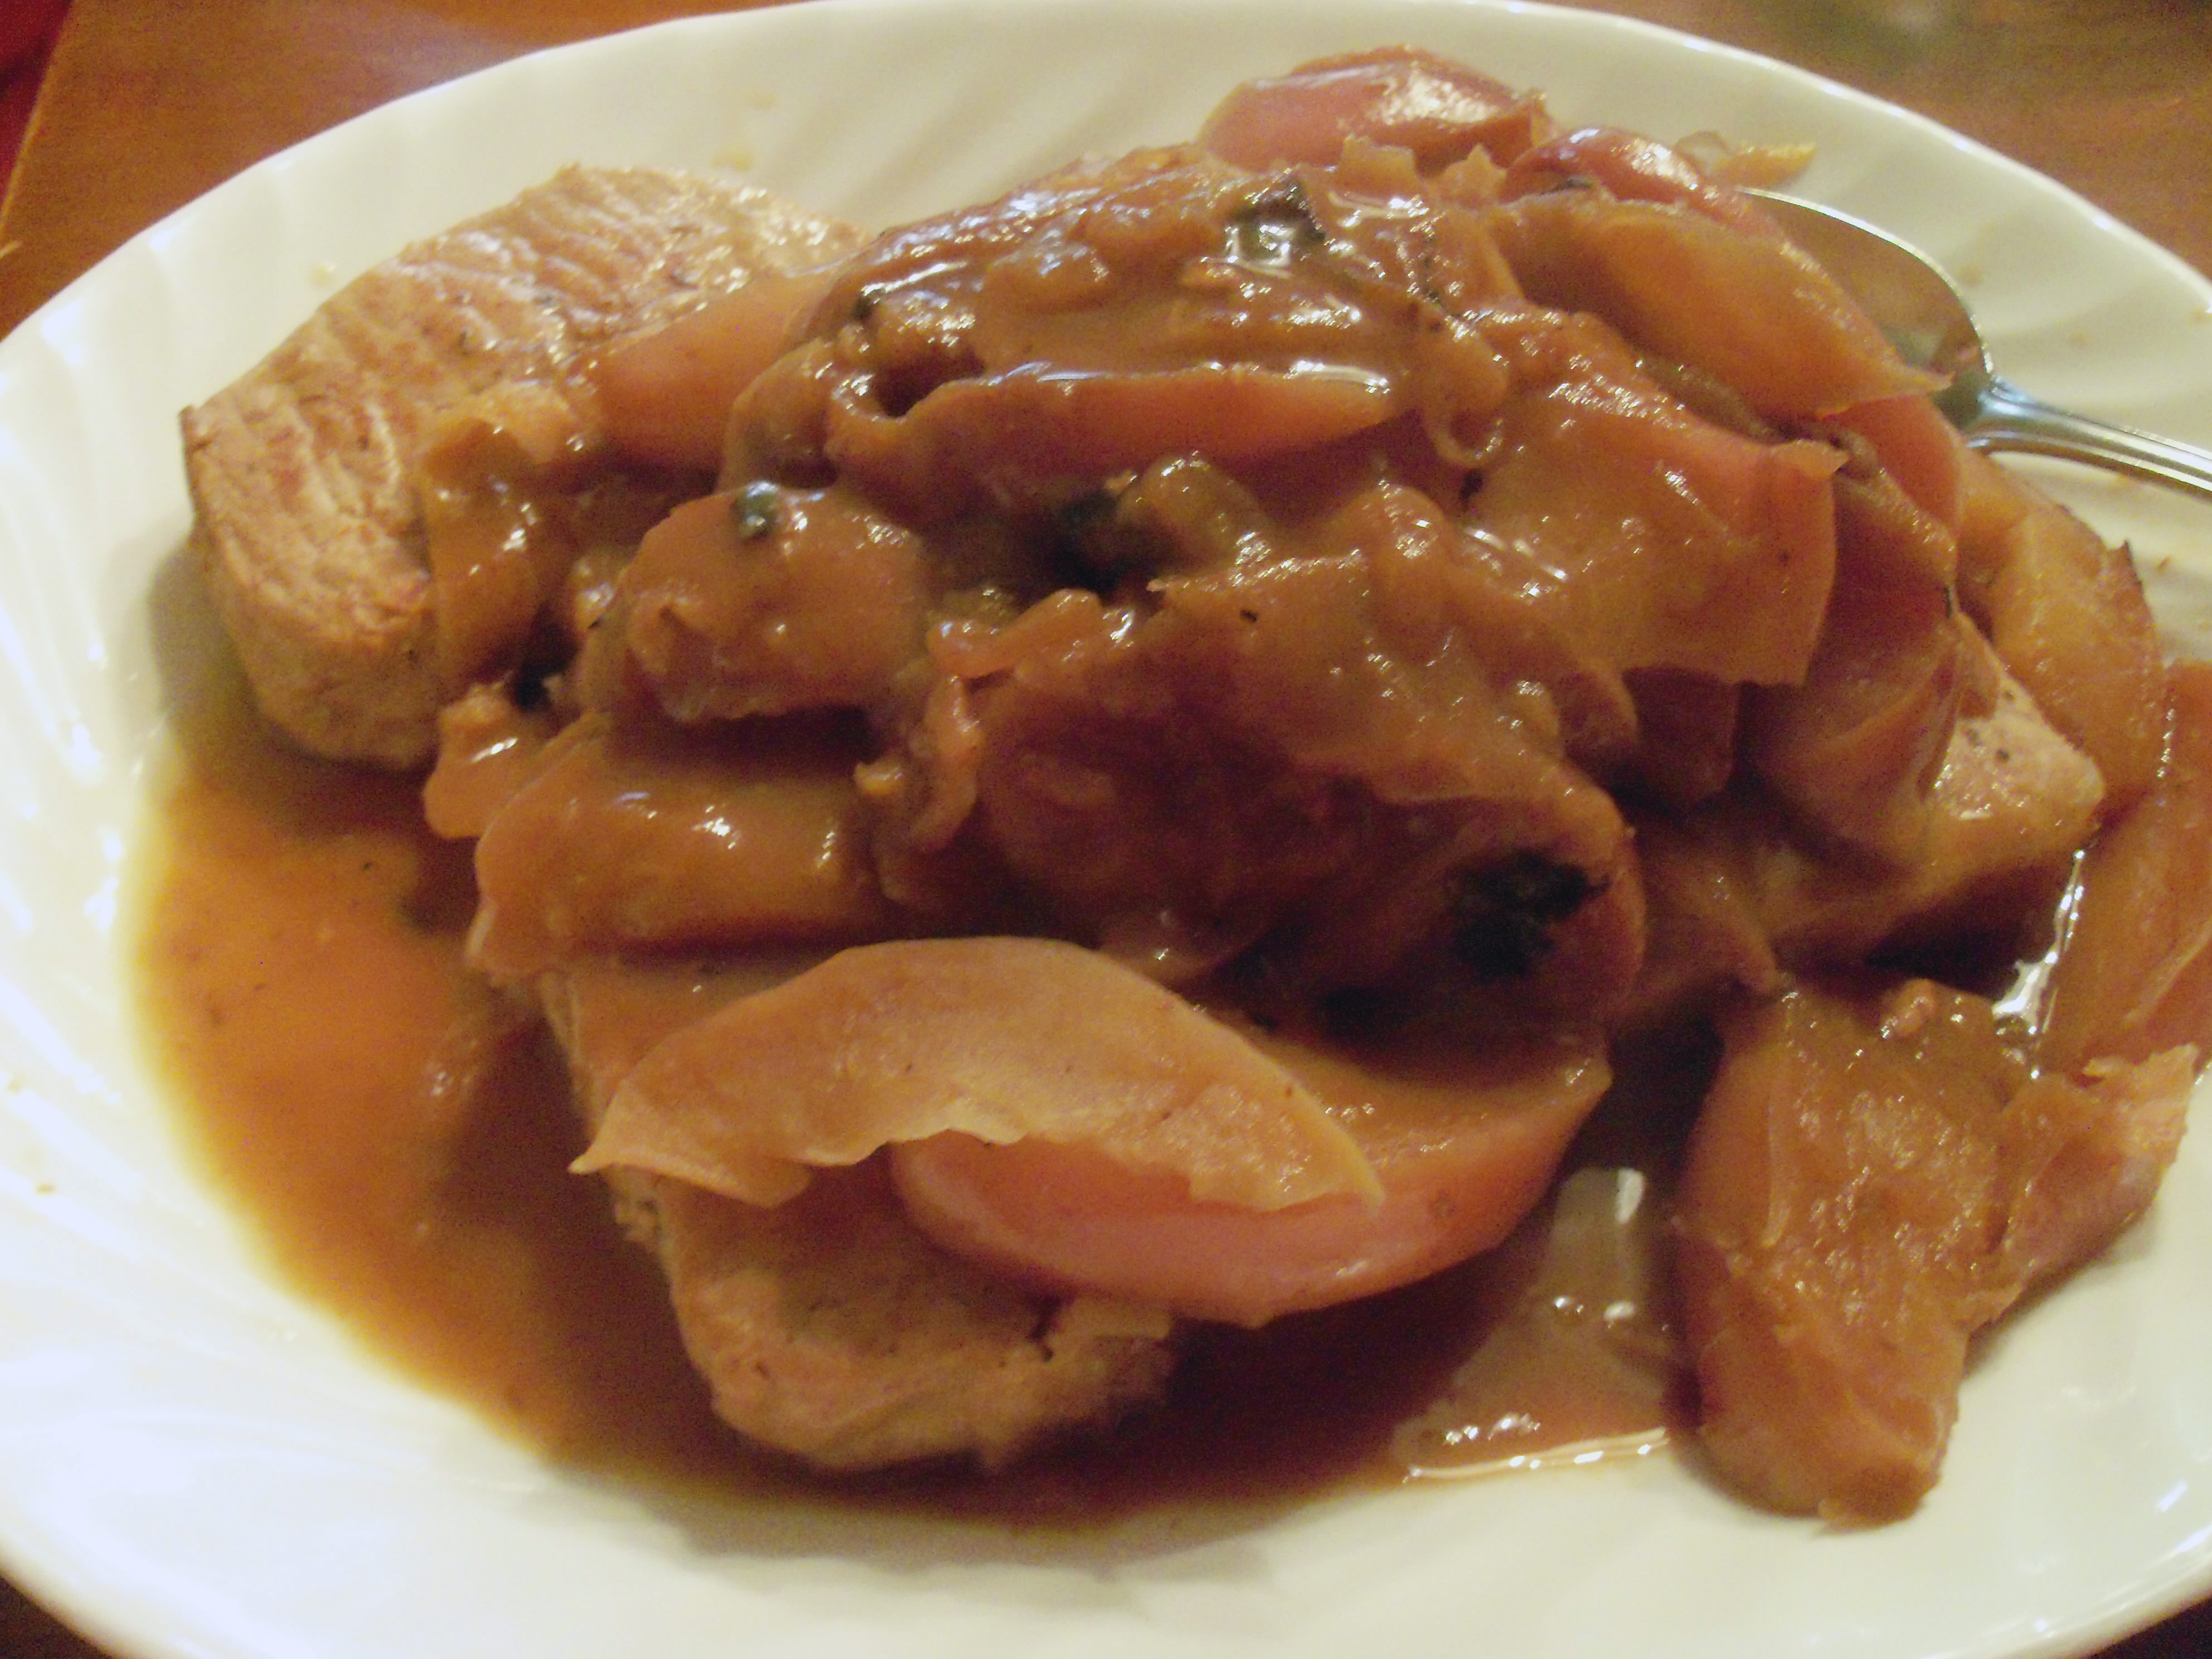
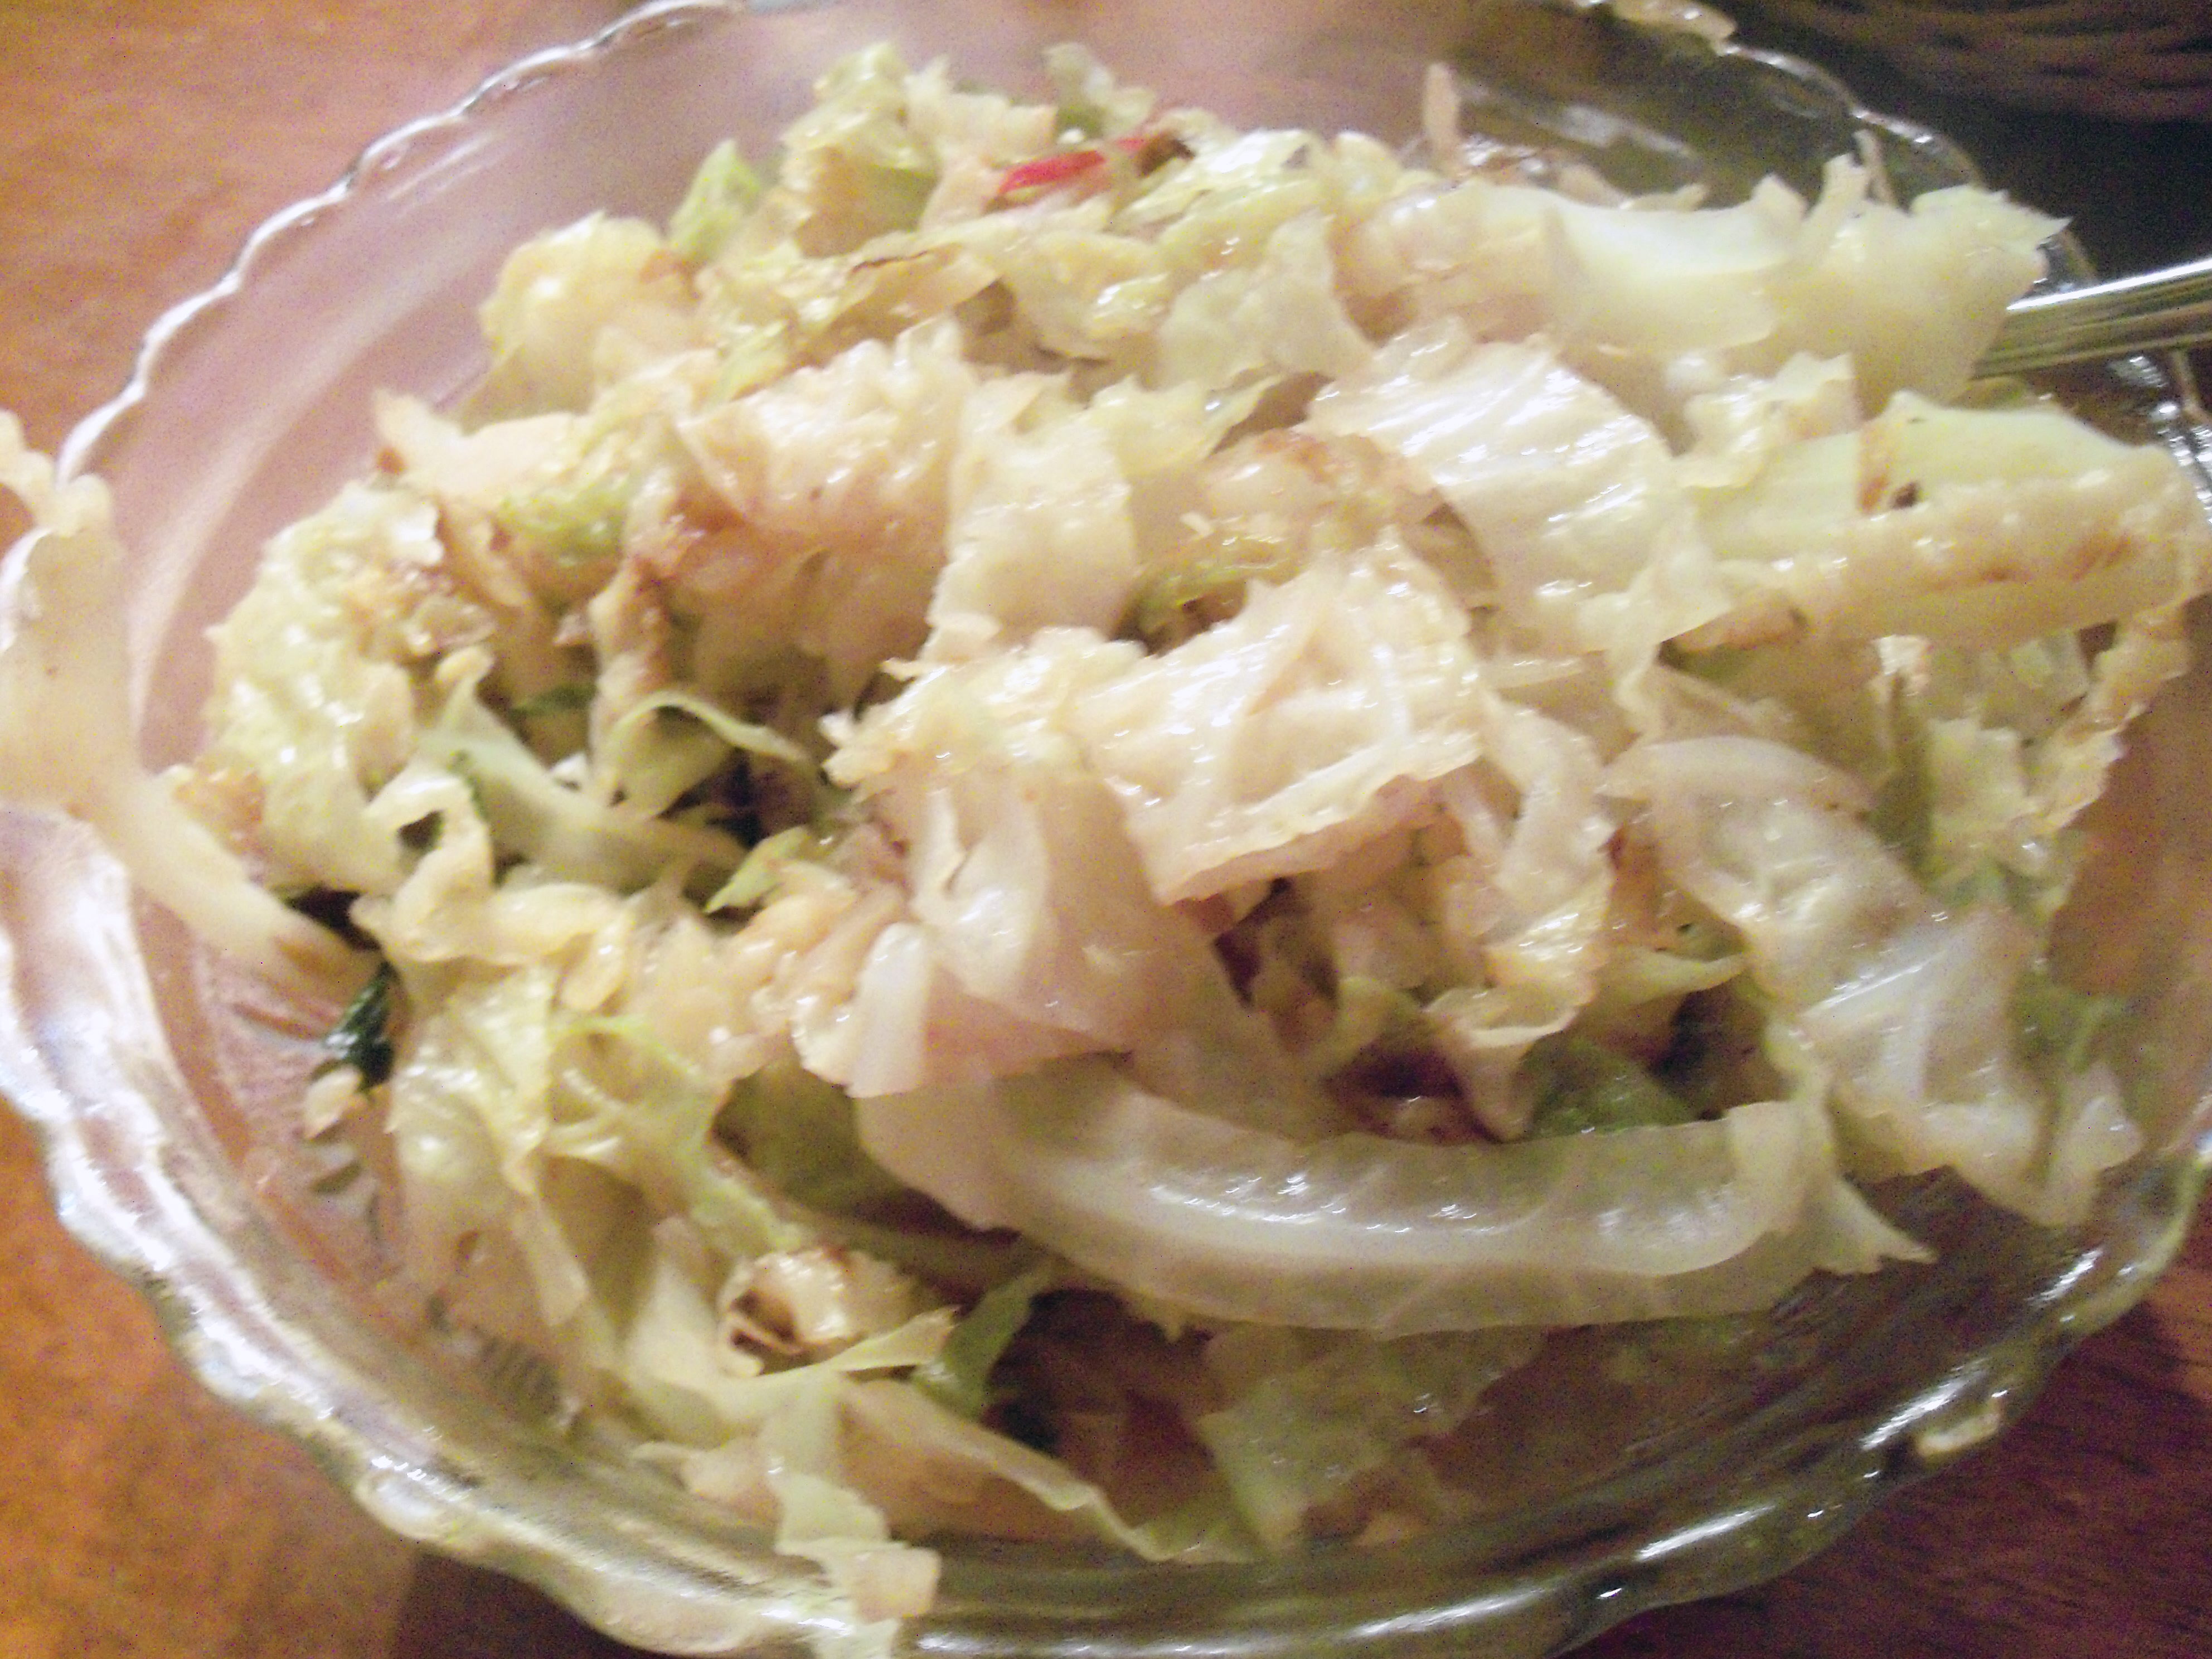
You already know I think Lucinda Scala Quinn is a genius. I’ve got her cookbook, Mad Hungry, and I love the segments she does on Martha and the pieces she writes for Living. She’s got her own tv show now on Hallmark, called Mad Hungry. I’ve been DVRing it daily. One day she made Pork Chops with Apples and Onions and also sauteed cabbage. Both recipes are from her book and I already had them flagged as things to try, so the show gave me that nudge I needed to try them.

A couple of admissions first. I don’t have a cast iron pan. And I used boneless pork chops. So sue me.

The pork chops were very easy to make. Essentially you sear them then you cook the onions and apples, add some liquid and add the chops back in to cook until done. I love apples and pork and liked this method of cooking them. Next time I would add some thyme or some sage – it needed some herbs I think. I might also be tempted to sear the pork, then stick the whole thing in the oven. The pork was moist and the apples amazing. I liked this a lot. Very hearty and homey.

The cabbage was a little trickier. The ingredients are simple – some onion, a little tomato and then cook the cabbage until wilted. I had to cook mine a really long time to get it to be soft enough to eat (and I covered it to get it to cook faster). I don’t like it crunchy. So if you make this, just be prepared to be patient. I did like it once it was done, but thought it was a little bland. Not sure what it needs – something.  Lots of leftovers, but I used them in all sorts of things (quesadillas and fried rice).

Bookmark and Share

You already know I think Lucinda Scala Quinn is a genius. I’ve got her cookbook, Mad Hungry, and I love the segments she does on Martha and the pieces she writes for Living. She’s got her own tv show now on Hallmark, called Mad Hungry. I’ve been DVRing it daily. One day she made Pork … Read more

Thanks to Brenda at Brenda’s Canadian Kitchen for choosing next week’s project, Pumpkin Muffins.

Thanks to Brenda at Brenda’s Canadian Kitchen for choosing next week’s project, Pumpkin Muffins.

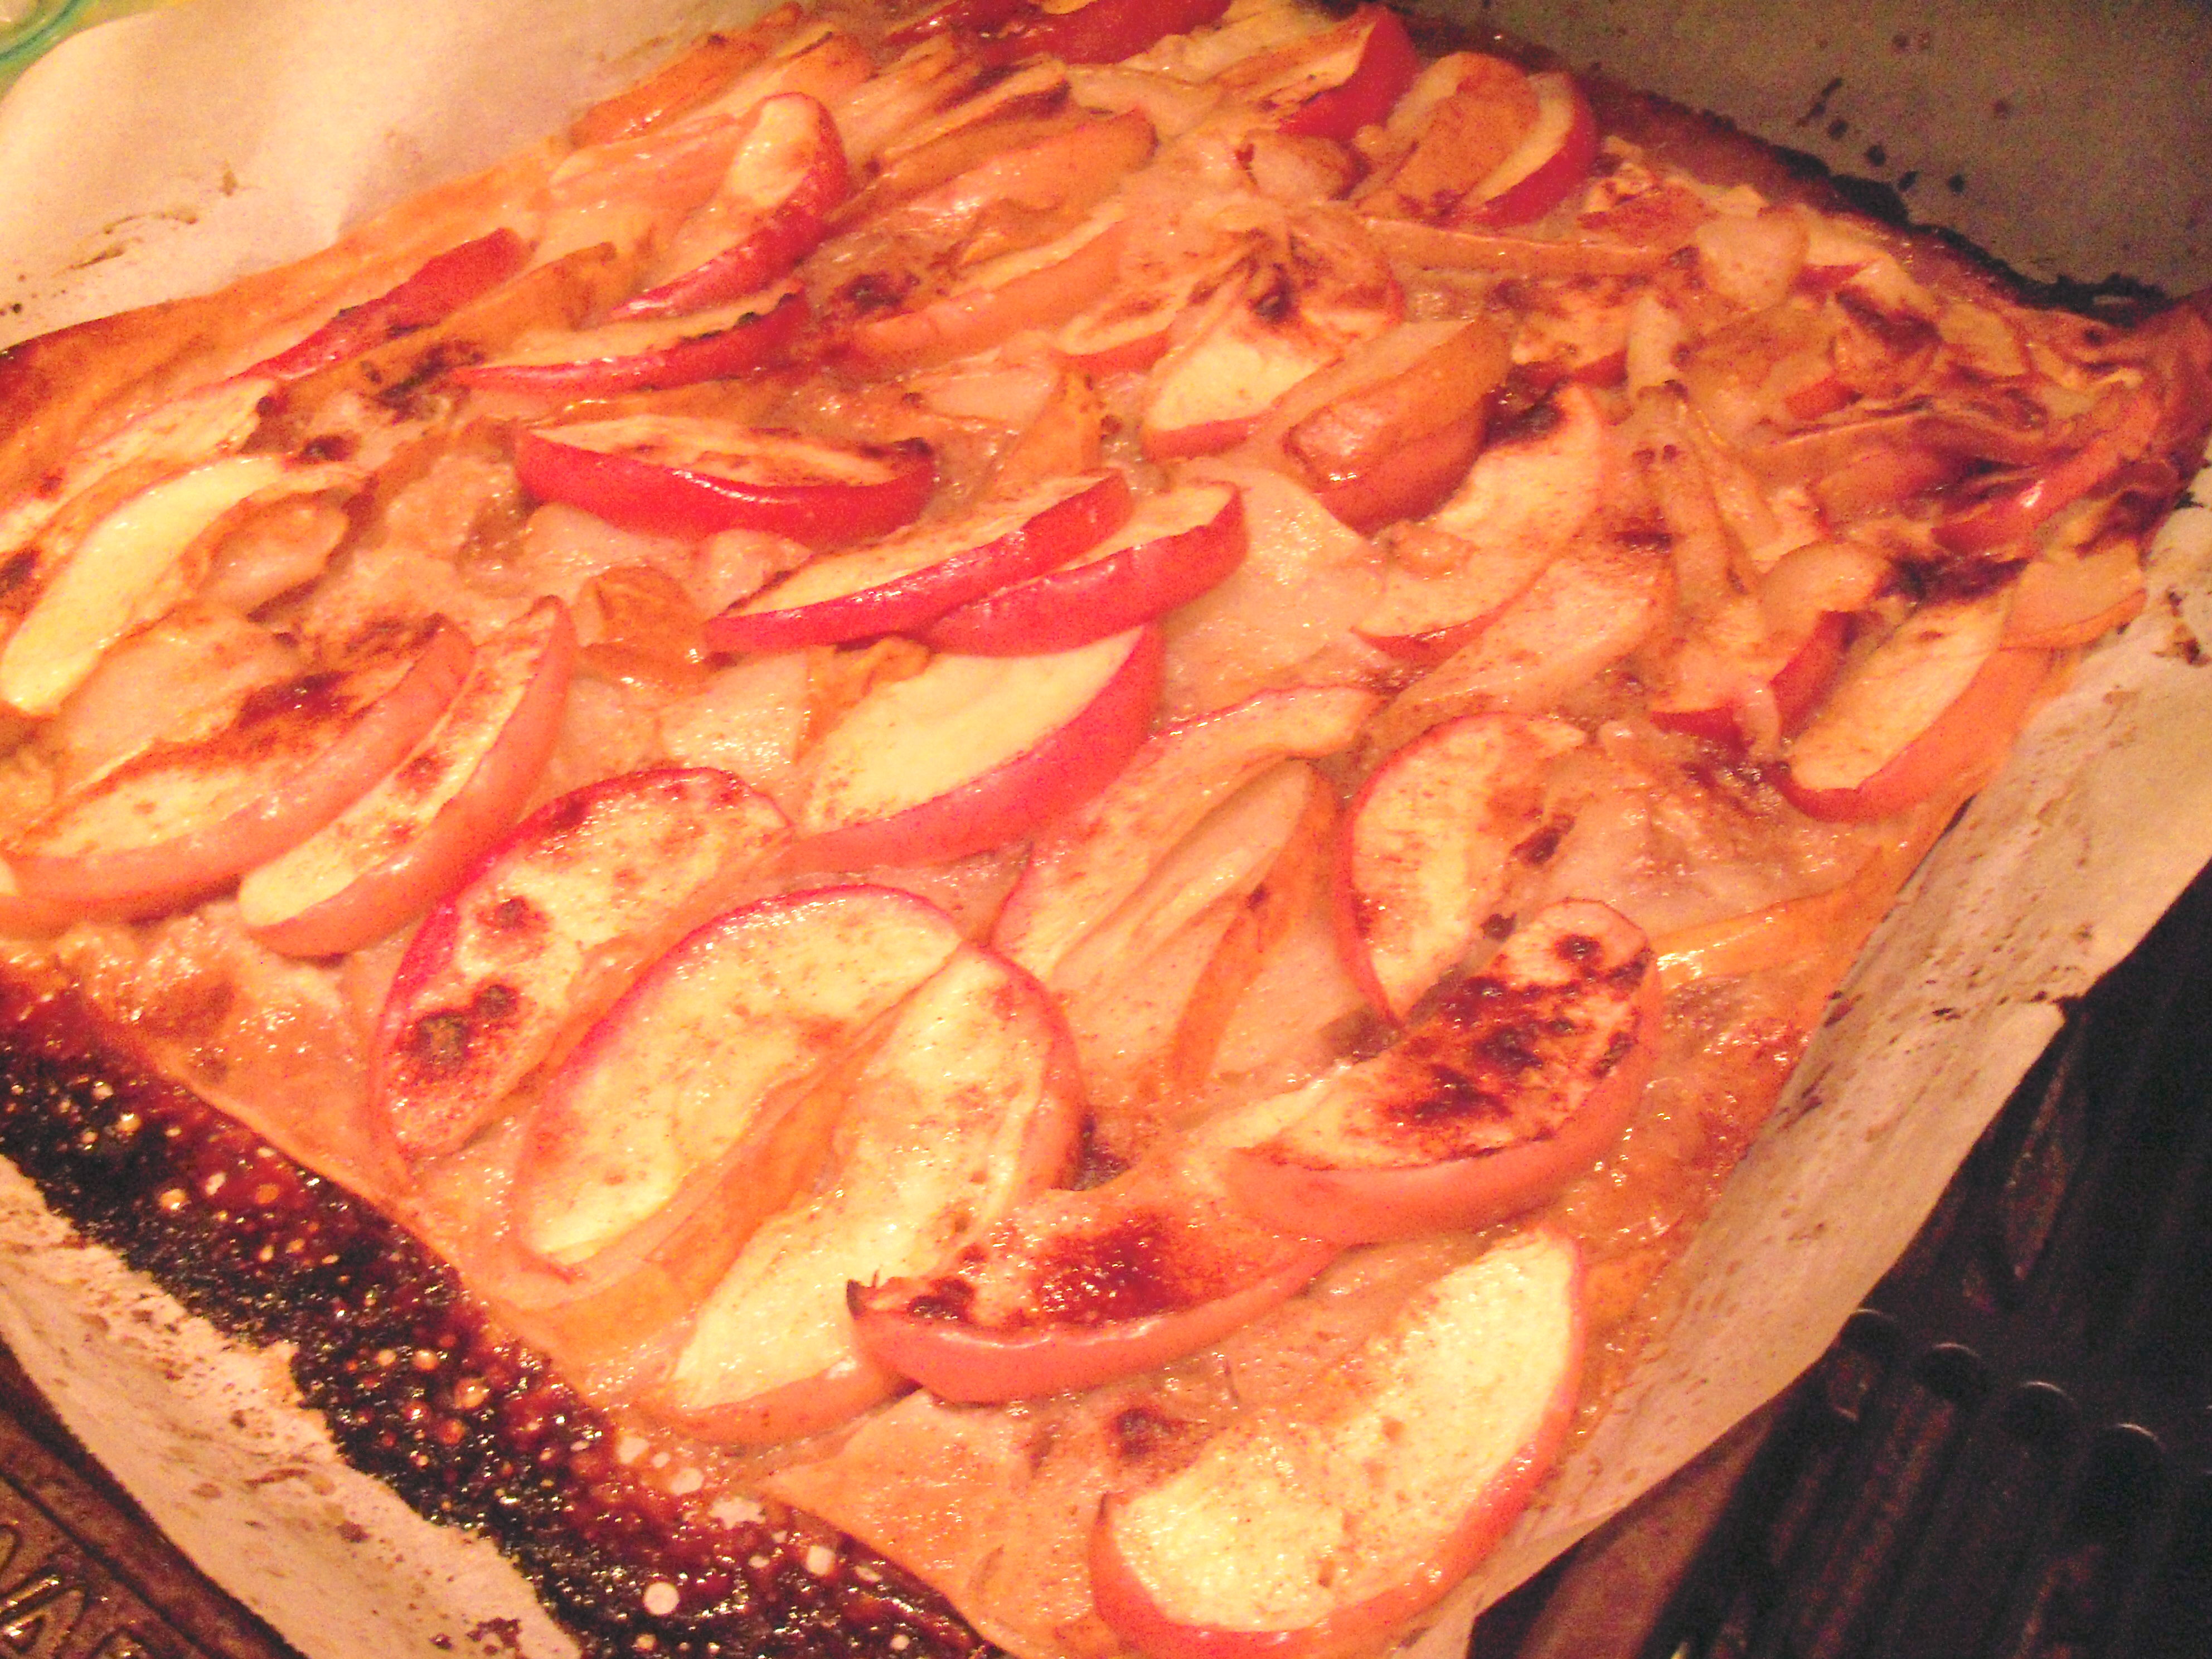
Today’s project, Pear and Apple Phyllo Crisp from Oct Living was chosen by Teresa at Homemade Iowa Life.

Sorry about the photo for this. It really did look pretty. This was very simple to make. I could not believe only a few sheets of phyllo were needed. I sprayed the top of my fruit with a little Pam and sprinkled them with sugar and cinnamon which make it look prettier and gave it some extra sweetness.

This was terrific the first day but quickly became mushy, so it’s really something that doesn’t keep well unfortunately. It was delicious though. The crispy phyllo combined with the soft fruit was a nice combo.

1/2 c pecans
1/2 c plain fresh breadcrumbs
1/4 c sugar
1/2 tsp cinnamon
6 sheets frozen phyllo dough 11 1/2 x 15 each thawed
1 stick unsalted butter, melted
2 small firm pears, such as Forelle or Seckel
2 Granny Smith apples, peeled
Preheat oven to 400 with rack in top position Combine pecans, breadcrumbs, sugar and cinnamon
Line baking sheet with parchment and top with 1 phyllo sheet. Brush phyllo with butter all over and sprinkle pecan mix over it. Repeat 4x. Top with remaining sheet and brush with all but 2 tbsp butter.
Slice pears and apples 1/8 inch thick, discard seeds. Arrange in a single layer on phyllo, leaving space between fruit and a 1/4 inch border around the edges.
Brush fruit with reserved 2 tbsp butter. Sprinkle with sugar and dust with additional cinnamon.
Bake, rotating sheet halfway through, until phyllo is golden brown and fruit is soft, 28-32 min. Let cool slightly. Cut into 8 pieces.

Bookmark and Share

Today’s project, Pear and Apple Phyllo Crisp from Oct Living was chosen by Teresa at Homemade Iowa Life. Sorry about the photo for this. It really did look pretty. This was very simple to make. I could not believe only a few sheets of phyllo were needed. I sprayed the top of my fruit with … Read more

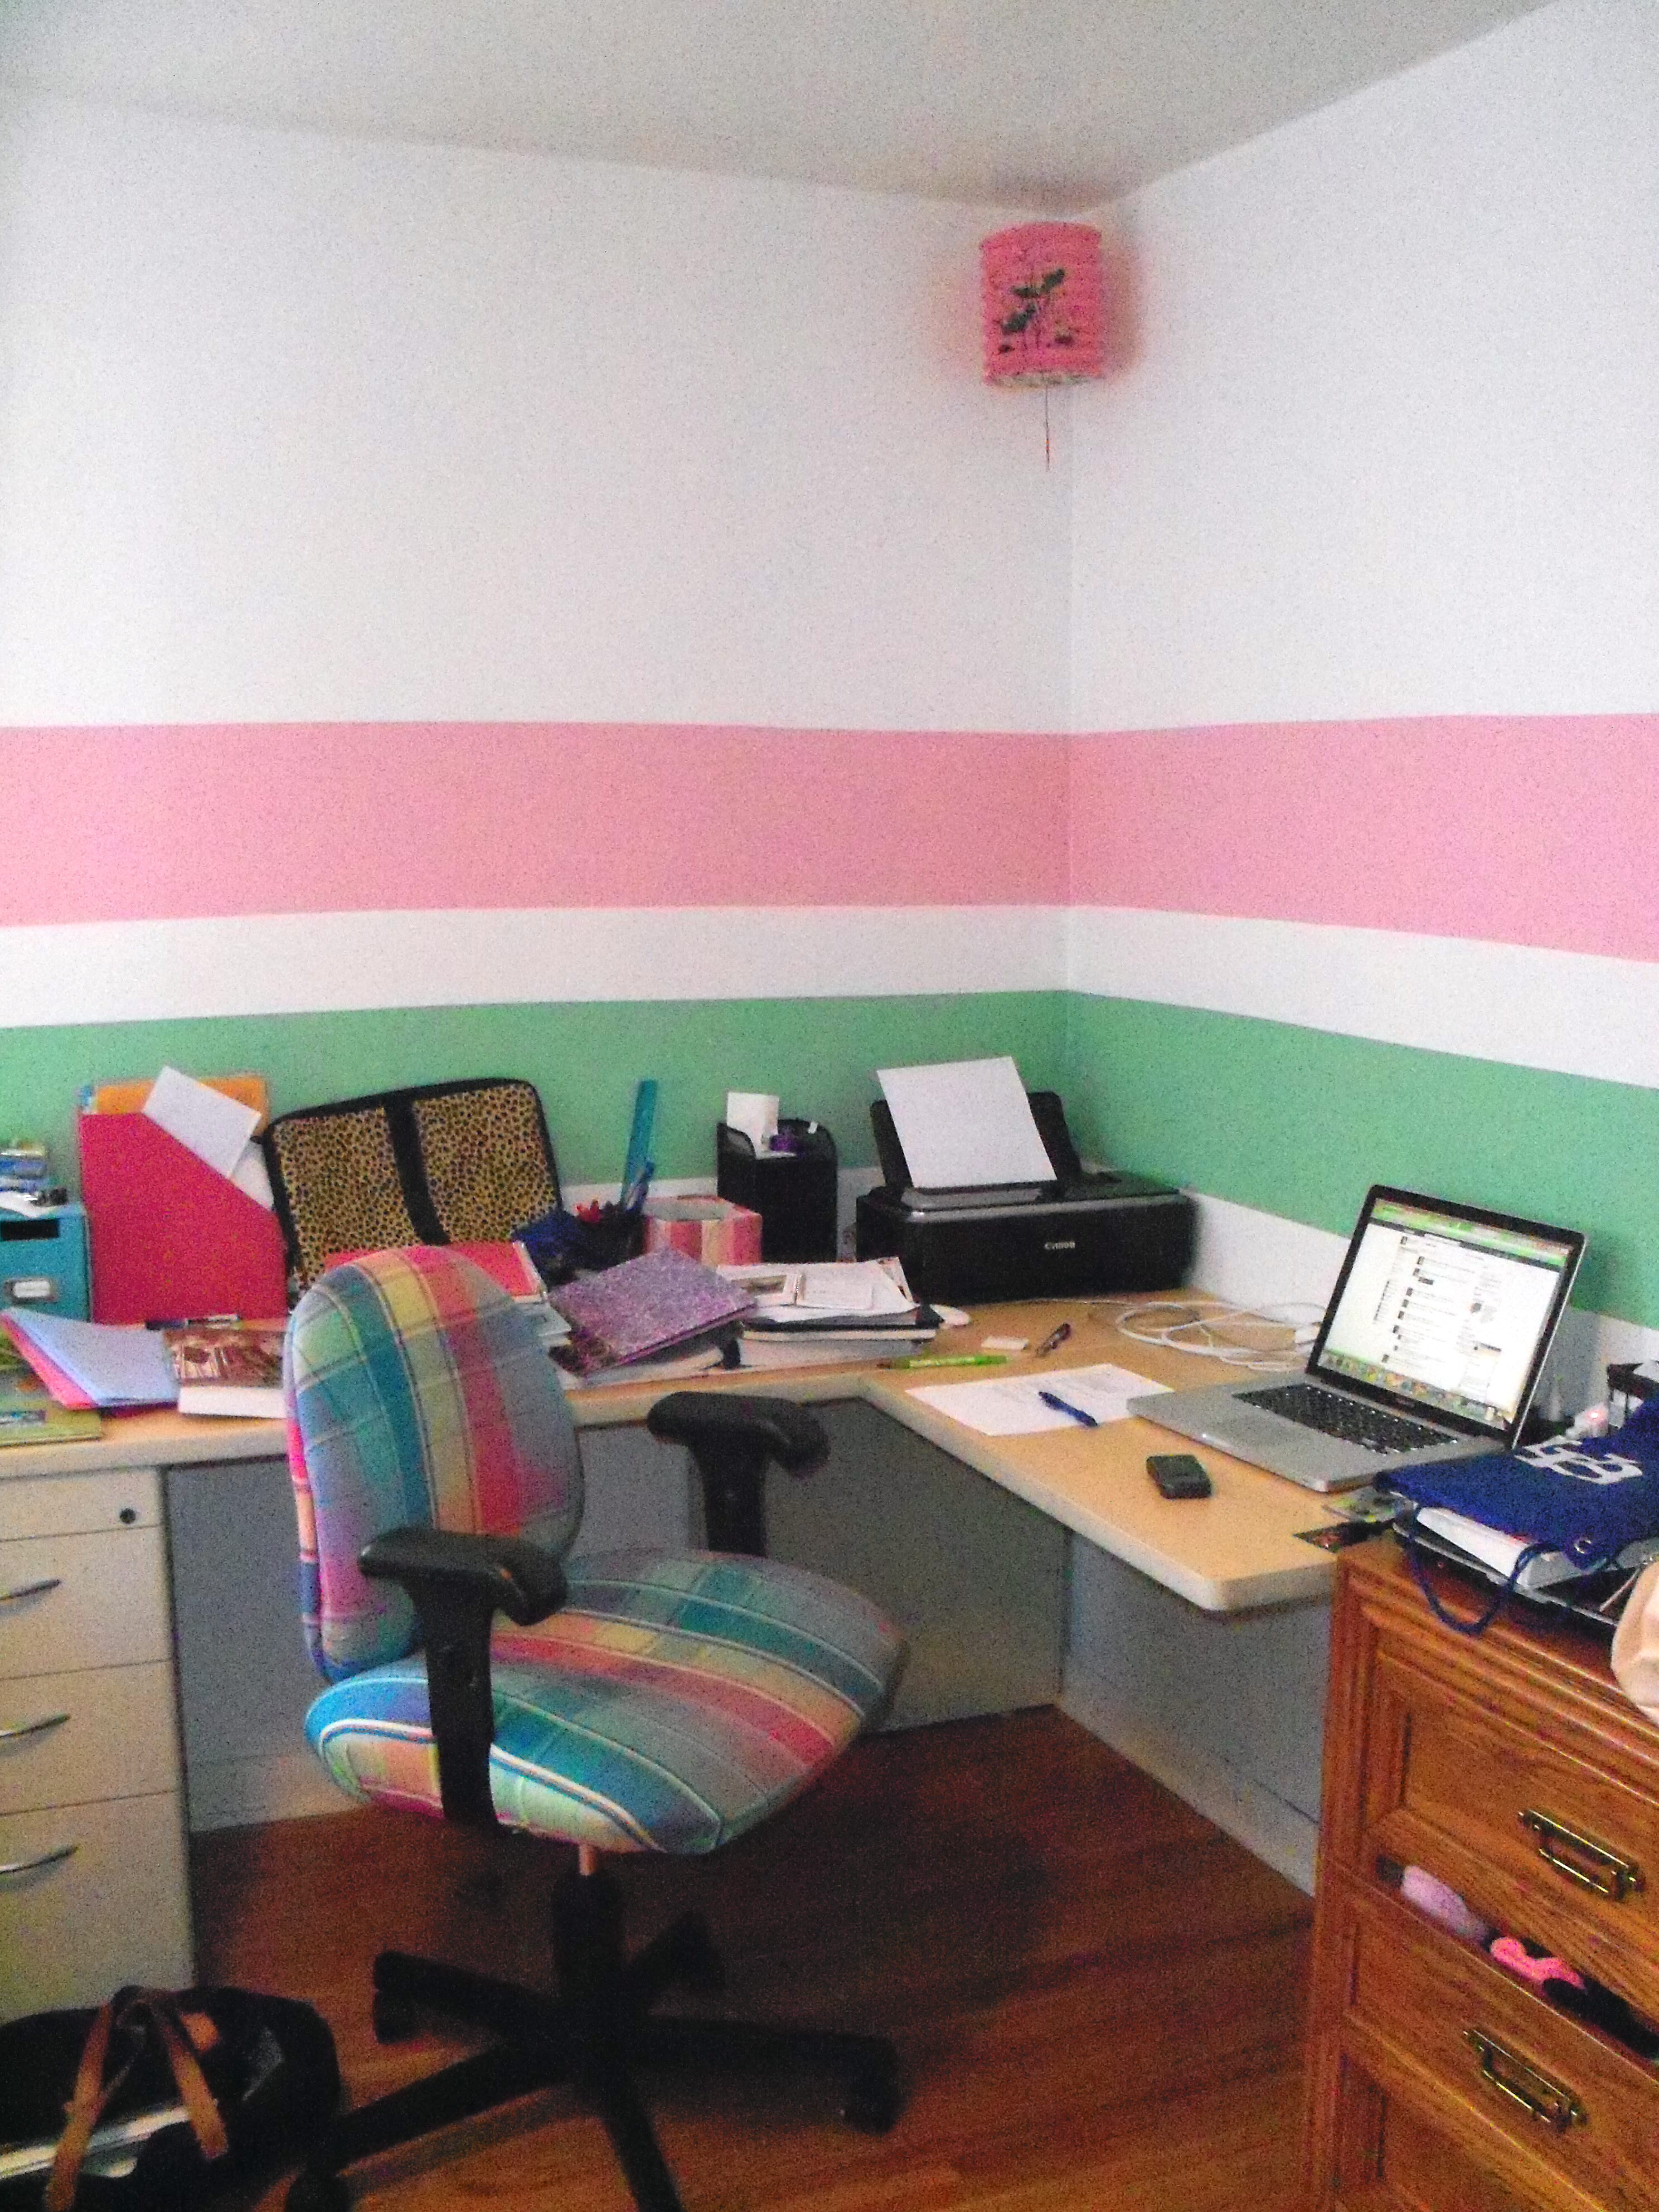
Teen Martha started college this fall, but is living at home. This big change in her life necessitated a big change in her room as well. She was done, done, done with her room that had 2 pink walls and 2 purple walls. She was done with her purple comforter. She was done with the big desk unit that was designed for a giant monitor when she now has a laptop. She was done with the lime green Roman shades. She was fed up with the clutter.

Step one was decluttering. She packed tons of stuff away and emptied out lots of books. Her curio cabinet, which housed her collections of porcelain hinged boxes, miniature shoes and other items, was taken away. The desk was dismantled. The blinds came down.

The first step was painting. She wanted stripes. Oh my. We primed the walls with white (twice). Then we taped it off so we could do a pink stripe and a green stripe. We let it dry, did another coat, and removed that tape and taped again so that in between the two stripes was a white sparkle stripe (two coats there too). The painting took weeks with all the taping, untaping and numerous coats.

We found the duvet cover on Overstock which was a huge bargain given that it is Tommy Hilfiger. She wanted plain roller blinds to darken the room (Walmart) and found some gorgeous white see through nubby drapes at Target (you can’t see these very well in the photo so here’s the link to see them).

The desk is all Mr. MarthaAndMe. In the dark ages, Mr. MarthaAndMe used to own an office furniture repair company and he also at one point worked for an office furniture design firm. He still has contacts there and one of those took us up to the dusty, hot storage room where we found two desk tops and a pedestal which Mr. MarthaAndMe and his handy brother cut down to fit as an L shape in the space Teen Martha had available, with the pedestal as support.

On our summer trip, Teen Martha bought some Chinese lanterns in Vancouver, and those hang in the corners.

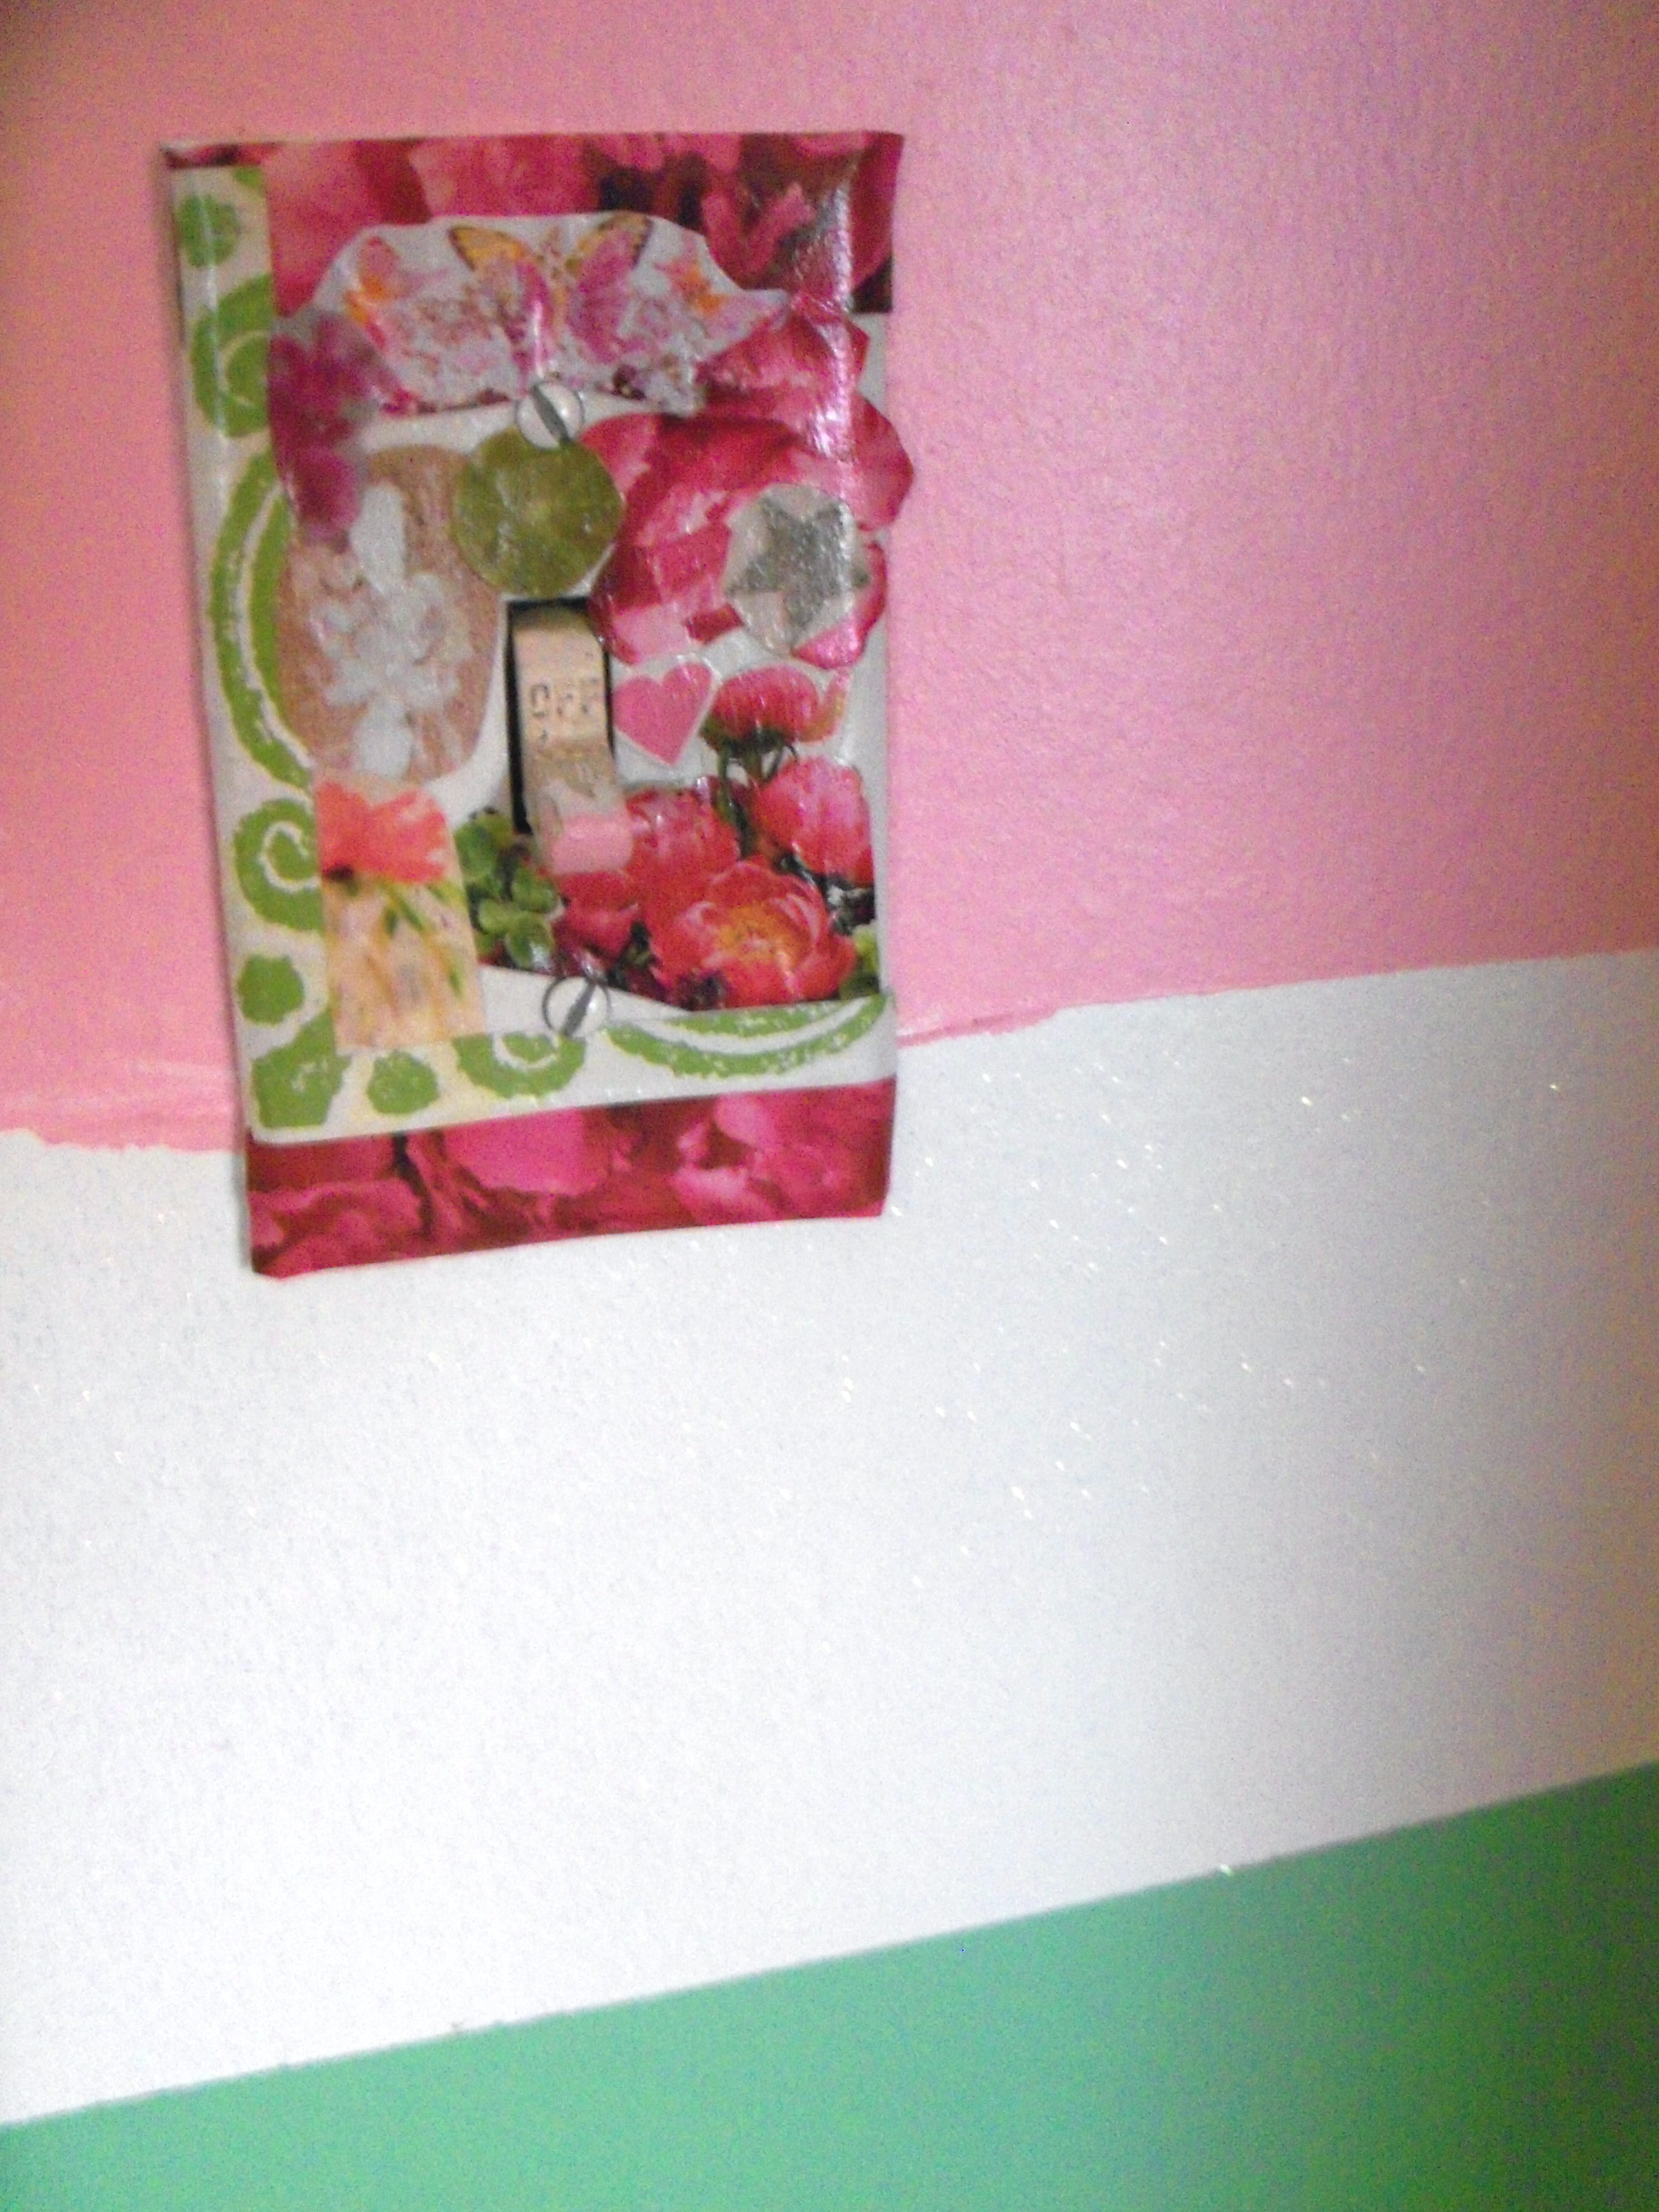
She decoupaged her light switch cover with clippings from magazines (it doesn’t look like it matches in the photo, but actually the colors are really spot on).

The room isn’t quite done. She still wants a desk lamp and wants to replace the rug by the bed and get a new office chair.

But I’m pretty proud of how well it turned out. The desk seems to be working well, giving her lots of space to spread out. All of this cost under $300.

Bookmark and Share

Teen Martha started college this fall, but is living at home. This big change in her life necessitated a big change in her room as well. She was done, done, done with her room that had 2 pink walls and 2 purple walls. She was done with her purple comforter. She was done with the … Read more

no