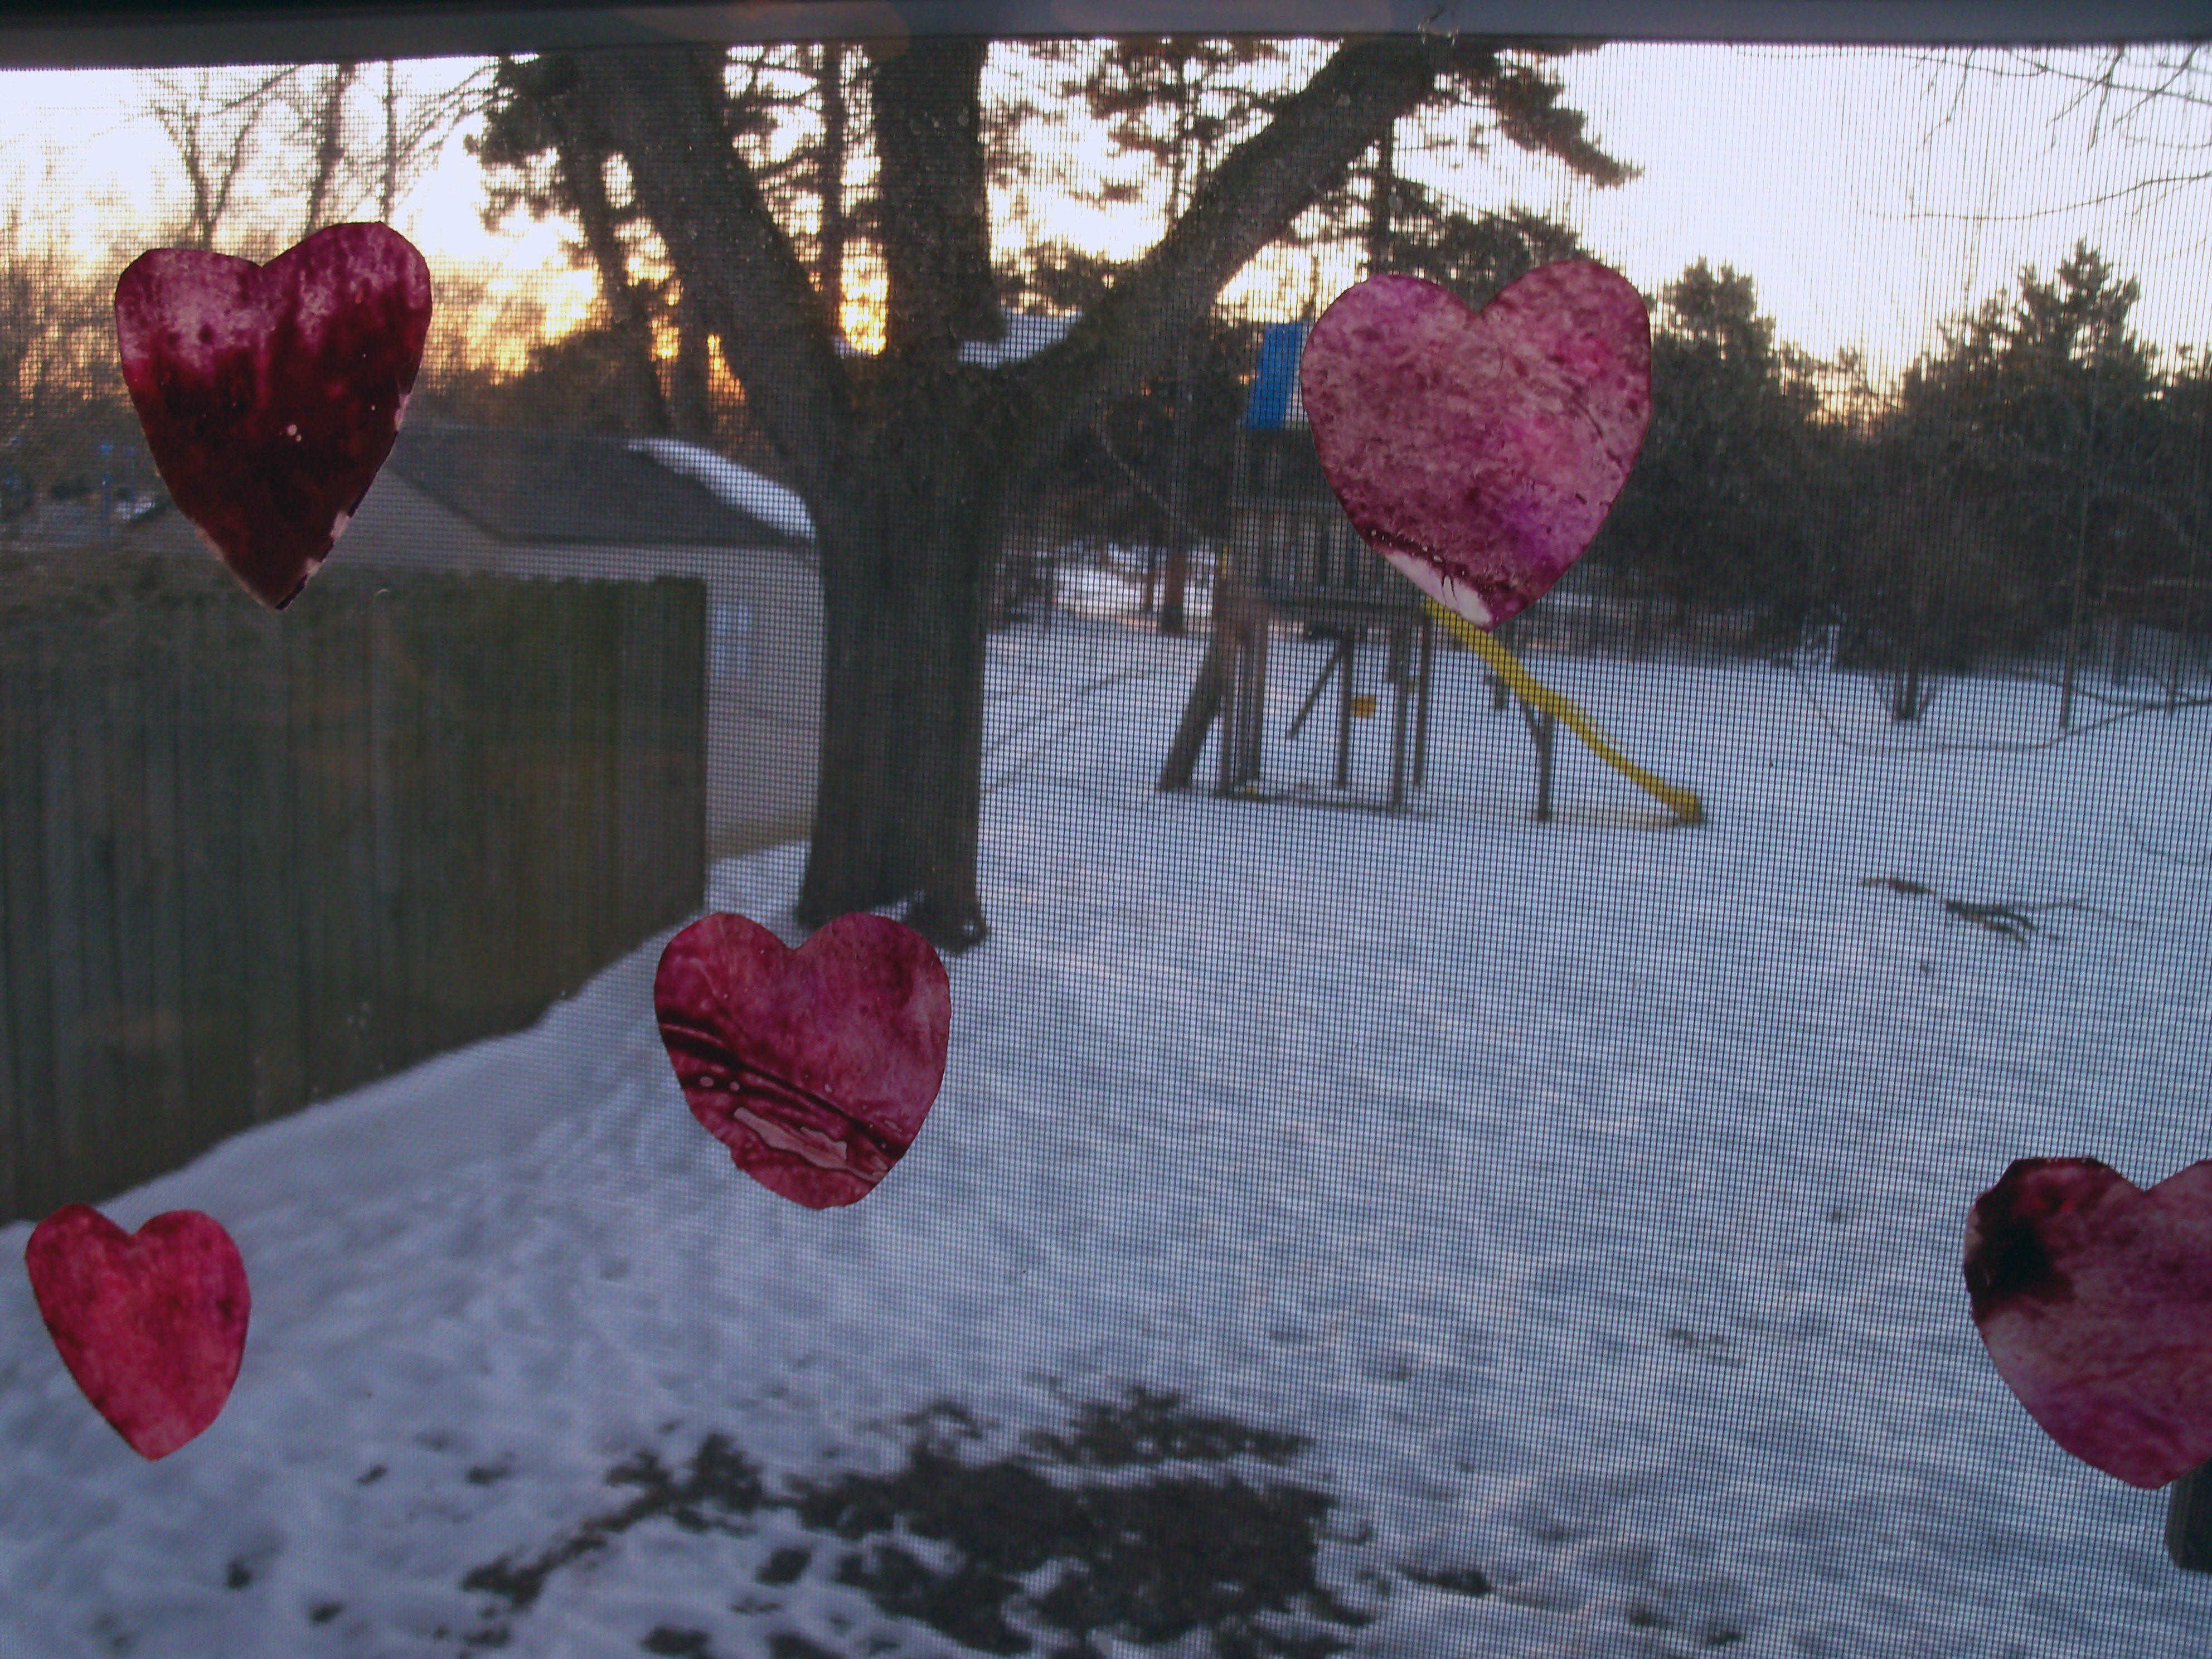
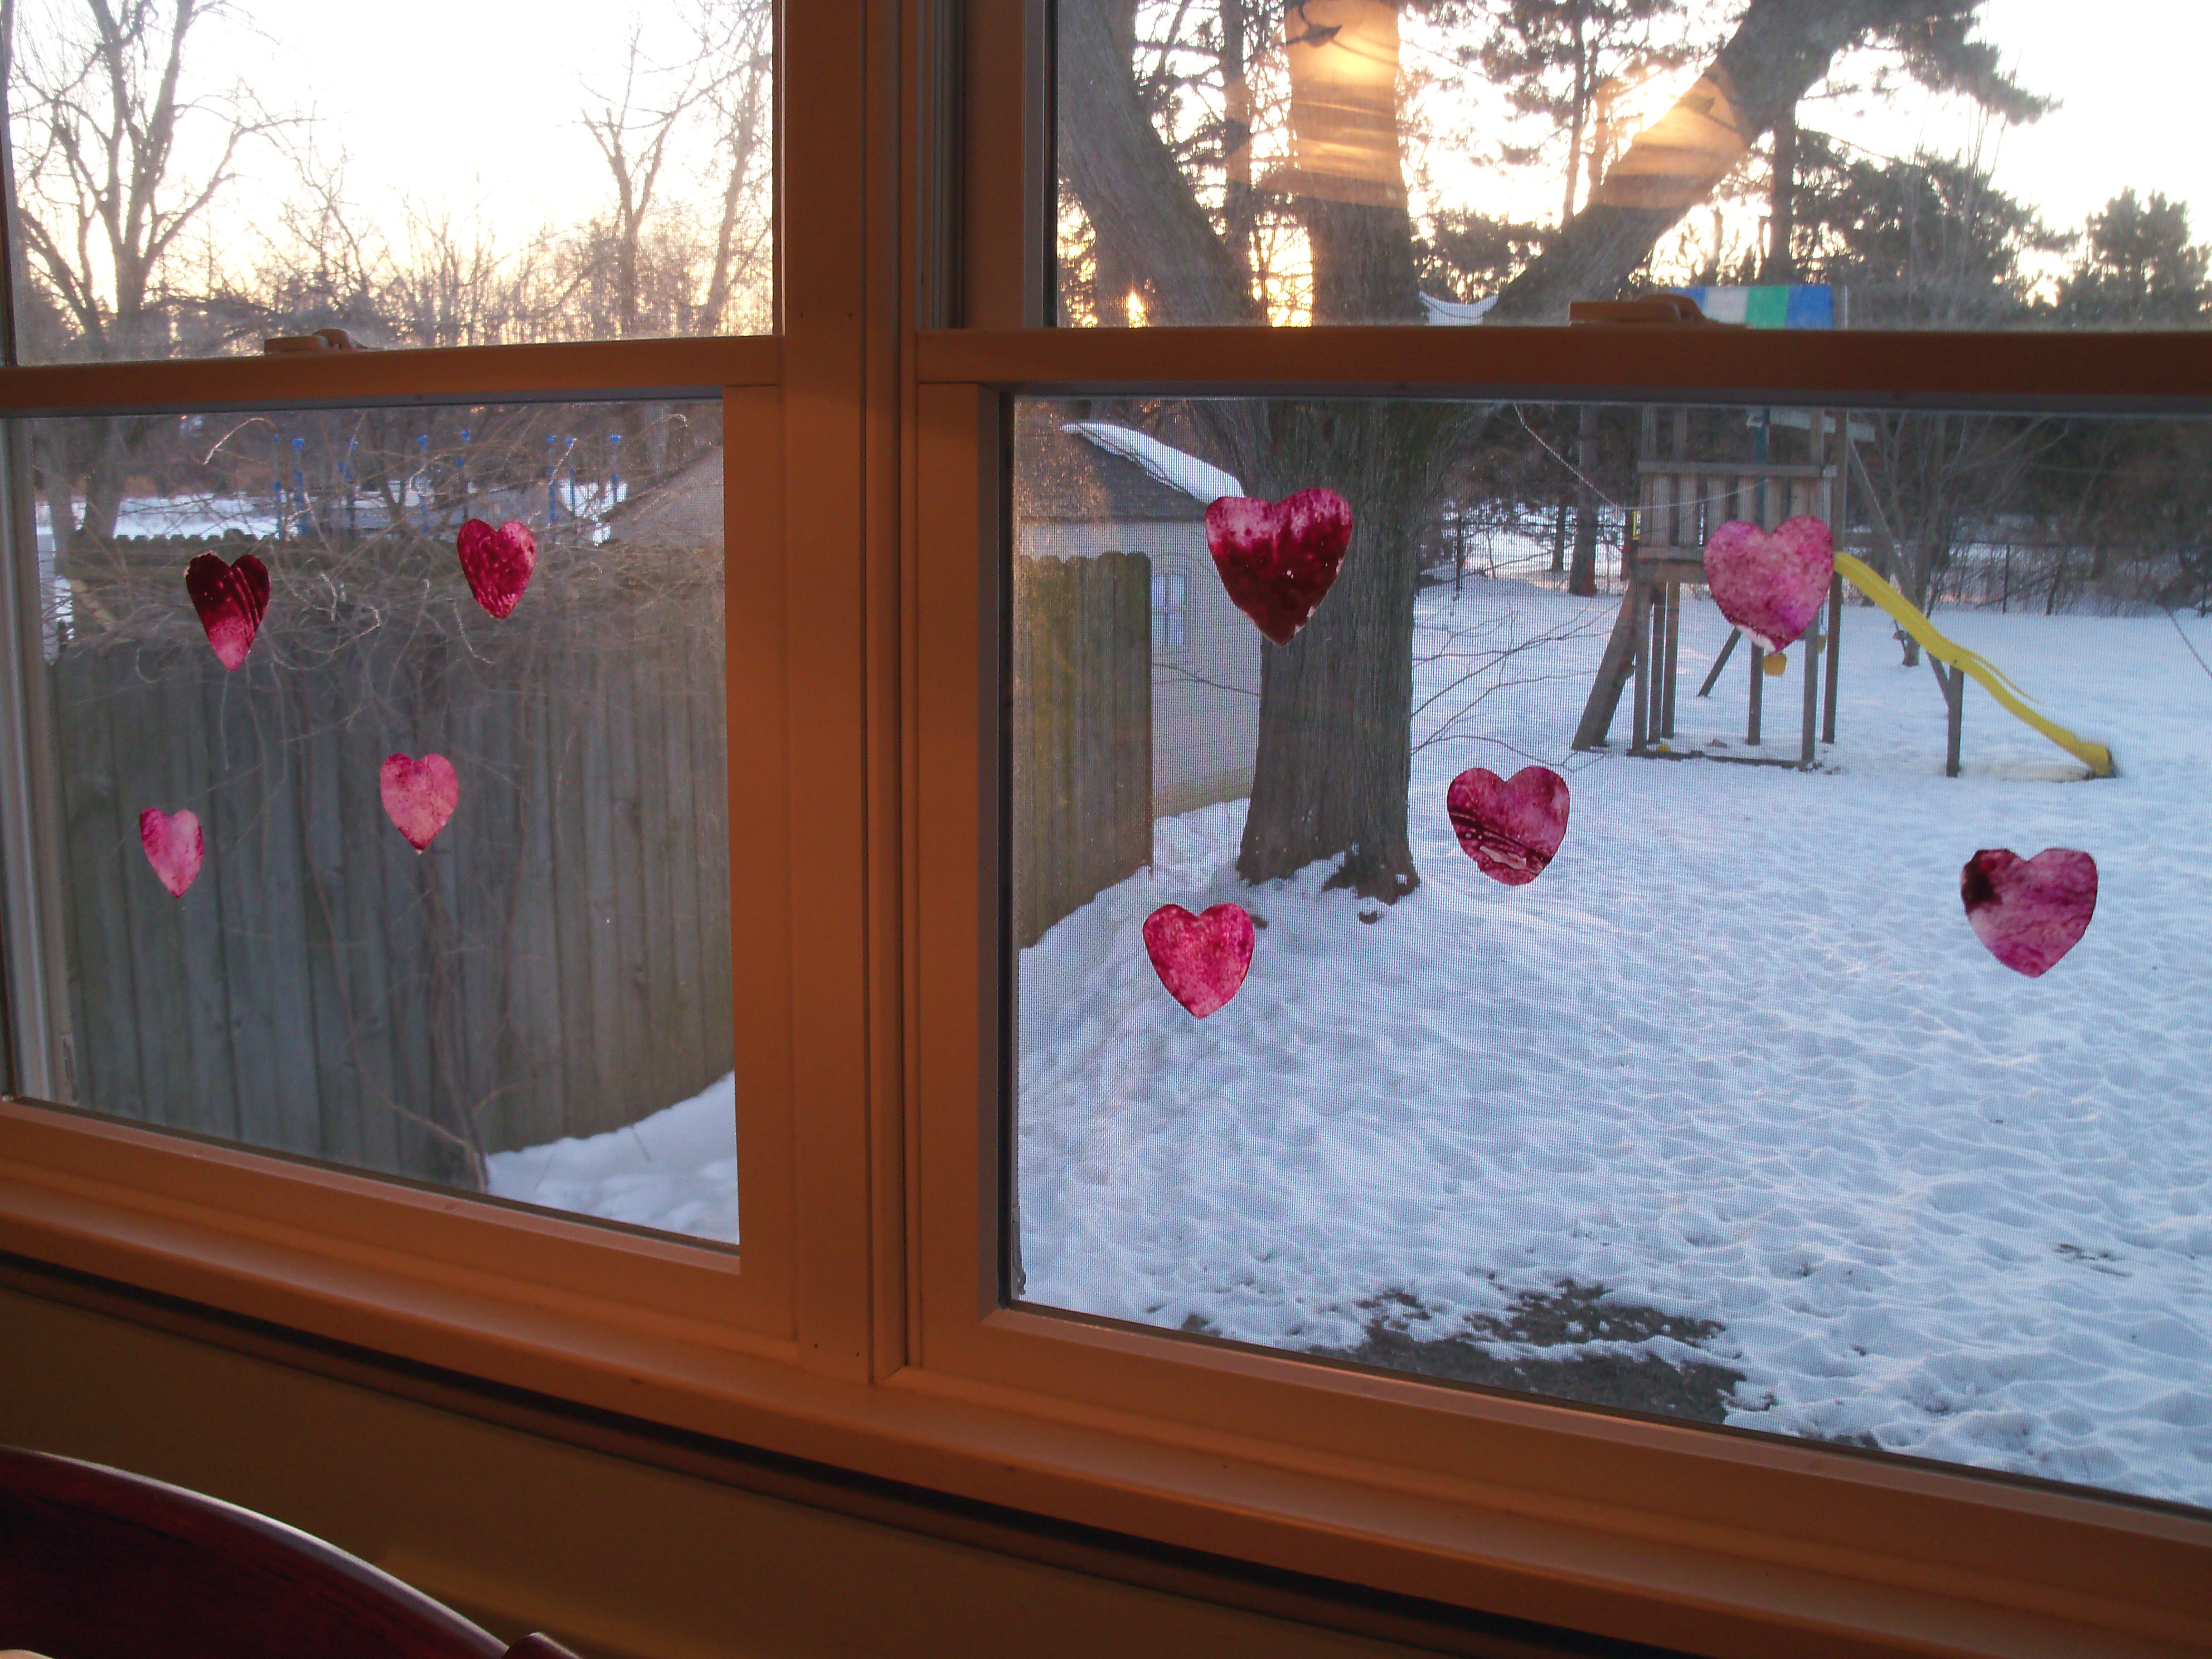
 Today’s Martha Monday’s project was chosen by Lyndsey at Tiny Skillet. The project is crayon hearts and it’s perfect for a Valentine’s Day craft to do with your kids.
You take a piece of waxed paper and fold it in half lengthwise, then open it up and place crayon shavings on half of it. Making all those crayon shavings took forever! They kept jamming up the pencil sharpener I was using. I tried using a vegetable peeler but that didn’t make the nice curly shavings.
Once you have enough, you fold the paper back up, and fold the edges to hold it in. Iron it between sheets of craft paper (I used parchment). Let it cool, then cut out heart shapes from it. Martha says to hang them using thread, but we just used tiny dabs of museum gel to stick them to the kitchen windows. They  really are pretty and look like suncatchers. The key is to use lots of different shades of pink and red crayons. Spread the shavings out in a very thin layer. In places where mine were thick, the hearts did not cut out well, and the waxed paper peeled off a little.
This is easy and very family-friendly and is a cute project to make for Valentine’s Day.
You can follow any comment to this entry through the RSS 2.0 Both comments and pings are currently closed.


Yours look so good. Mine didn’t turn out at all and I abandoned mine at the ironing board but my results are up http://www.perfectingpru.wordpress.com.
That’s a very sweet project! Baby girl’s too little this year, but maybe next year, we’ll give it a go.
I remember making these when I was a kid. how nice to see that you — and Martha — find them fun and beautiful still.
I didn’t know about them until now. My kids would have liked this when they were small.
Oh no! I’m sorry it didn’t work for you.
This is great for using those leftover crayon stubs that seem to proliferate when you have a little one!
Cute! I’ll have to try this out. So you recommend using a pencil sharpener then? How thick of shavings do you need? (I’m crafty, but also a technical person who seems to need details)
If anyone can think of a better way, let me know! It was very tedious and took forever. But the vegetable peeler didn’t get the right consistency and neither would a knife. I also tried a cheese grater and that didn’t work either. I considered melting the crayons in the microwave and pouring it onto the paper, but didn’t want to deal with the mess it would make.
Yours turned out really well. I had the same issue with the sharpener. I did it but I had to keep picking out the broken tips. I wasn’t sure if I should of made it thicker. It would of been fun to do this when my daughter was younger too. I think butterflys would look cut this way too, maybe for spring.
I just posted mine: http://www.aquasunday.blogspot.com
These hearts look great, Brette!
These may have taken forever, but they sure look lovely on your window!
Cute! I’ve never seen this one before, but it would work for a bunch of different holidays with a change in shape and colour.
Definitely. It would also be a cute project to do to make a mobile for your child’s room. Martha says to hang them from threads, but I decided not to.
Thanks! They are pretty cute.
I never did get to the store to buy the parchment paper 🙁 These are really beautiful and I’ll bookmark this project for next year. Thanks for the inspiration 🙂
Museum gel for hanging…I’d never think of that!
Not a good solution! They are all falling off! I’m going to have to replace it with double sided tape
So pretty!
I’ve made crayon hearts in a heart shaped muffin tin – you just add the shavings and heat it. They make heart-shaped multi-colored crayons which are pretty and useful.
That sounds really cute too. I once tried to melt crayons when my daughter was little, but then could not get them out of the muffin tins!
This looks like fun. I’d like to try it.
We made these today with our two year olds using parchment paper (we’re in the UK so no wax paper around…) and they were great ! My hubby just kept checking that the shavings were melting as he ironed… I did pop the crayons (used crayola pinks & reds) in a dish on the radiator before sharpening with a BIG sharpener & all was well. We pressed them under heavy books & then stuck them to our window with a small blob of Pitt Stick glue… Fab!
I’m so glad it worked out for you! It sounds like everyone had fun.
Is there a reason the crayons need to be “shaved”? Could you not crush them into tiny pieces with a hammer (put the crayons in a paper bag to avoid a mess?) Just a thought!! I want to try…
Hi Nancy. No, they’re too thick then. The shavings give you wide, thin, flat pieces that melt and spread. Chunks of crayon would not melt so smoothly and evenly. We tried whittling a crayon with a knife and the pieces from that were even too thick.
I’ve always used a cheese grater and it’s worked, but may not be as thin as with a sharpened. How about one of those cylinder Parmesan graters?
I’m also wondering whether anyone thinks this might work in the oven instead of with an iron – I no longer own an iron 🙂