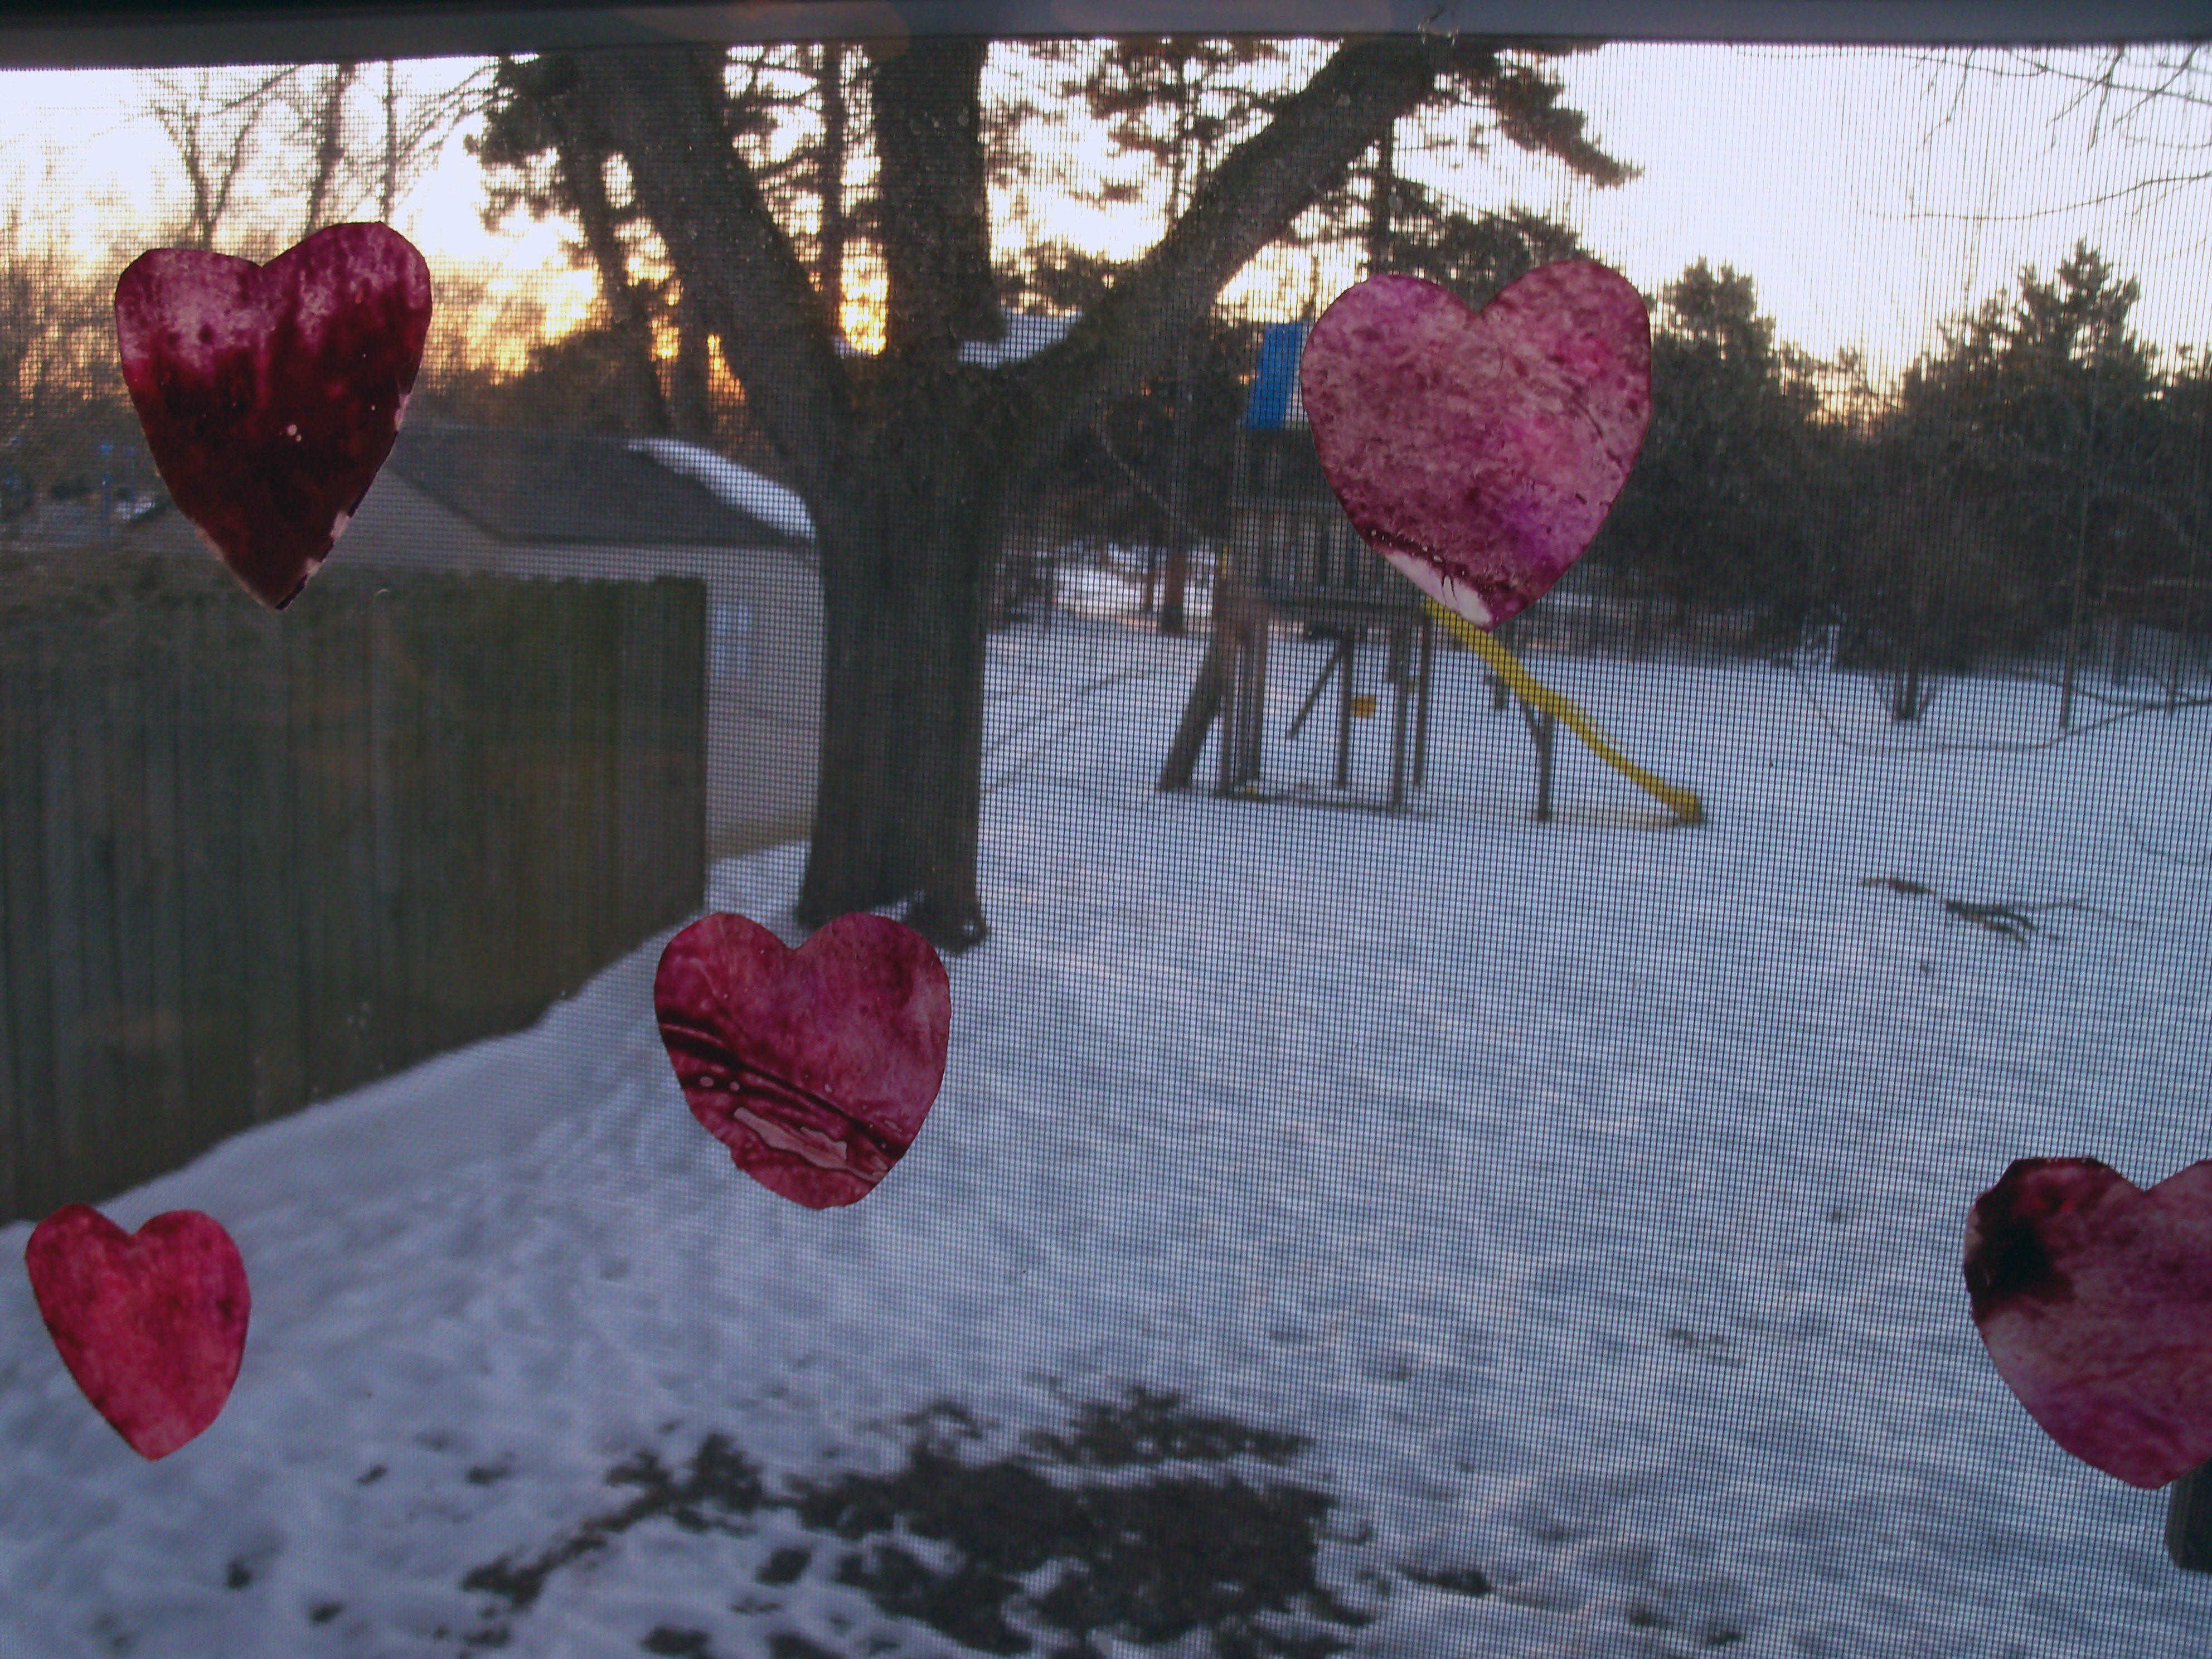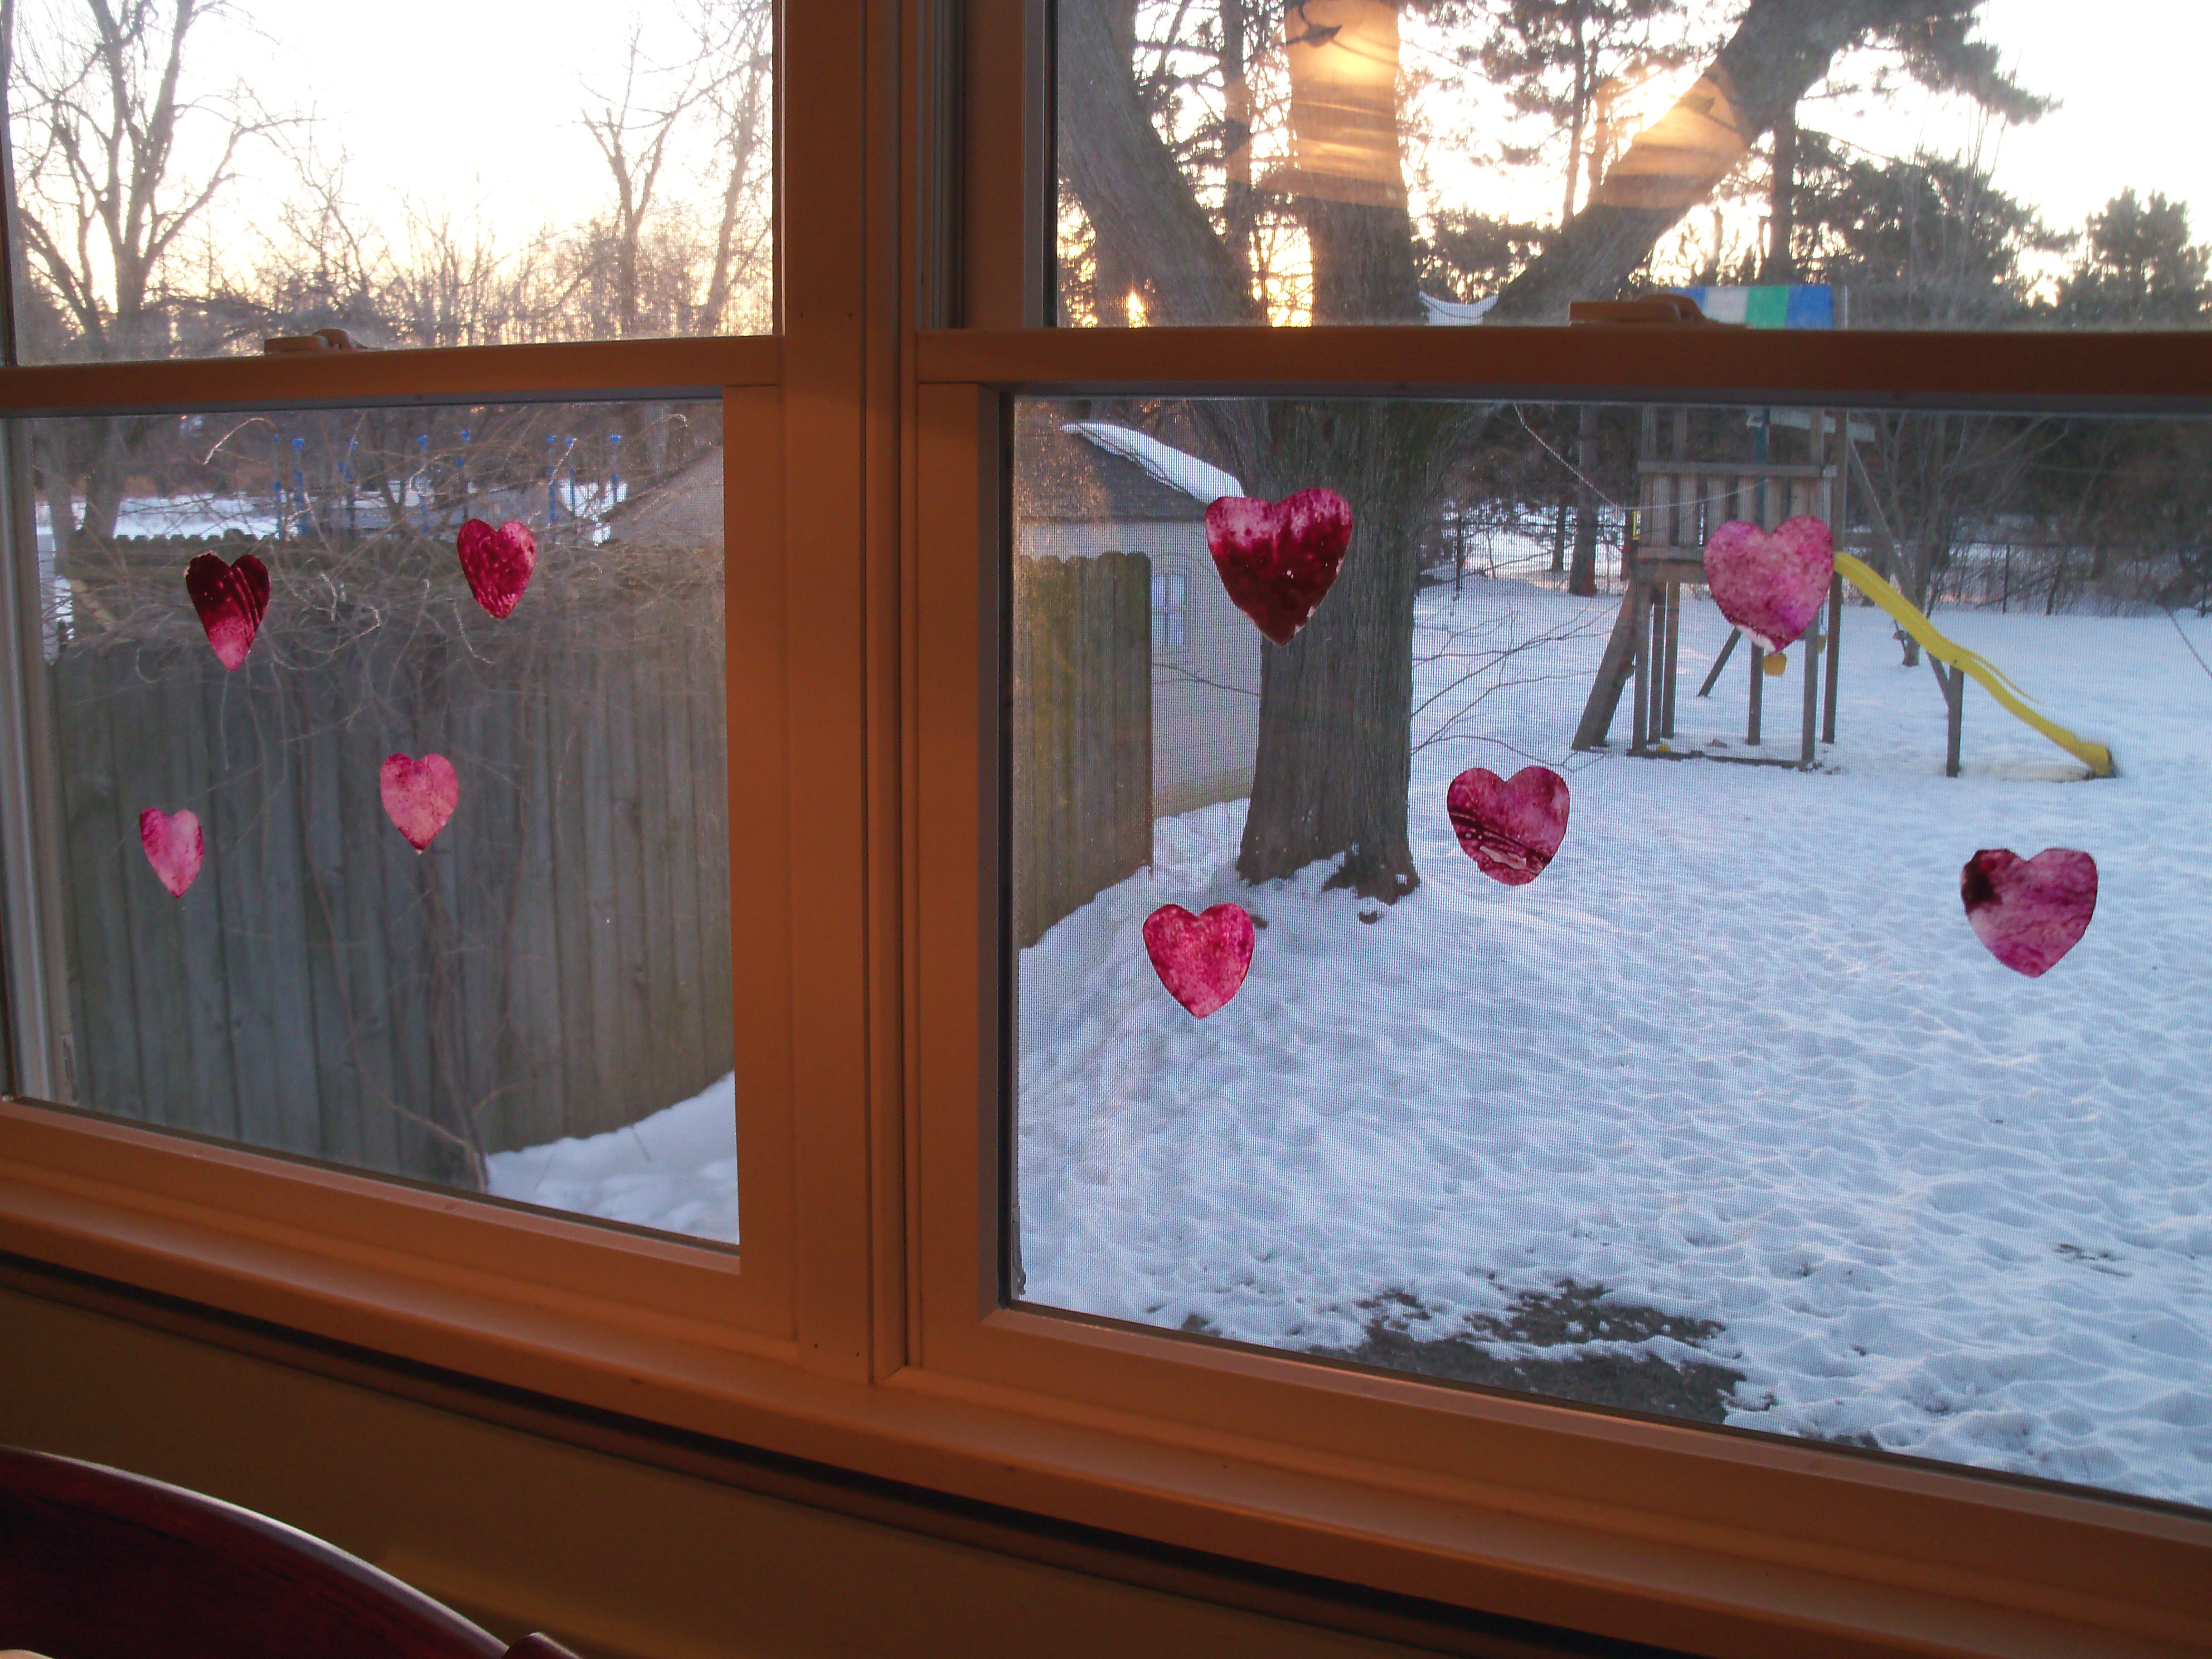
Today’s Martha Monday’s project was chosen by Lyndsey at Tiny Skillet. The project is crayon hearts and it’s perfect for a Valentine’s Day craft to do with your kids.

You take a piece of waxed paper and fold it in half lengthwise, then open it up and place crayon shavings on half of it. Making all those crayon shavings took forever! They kept jamming up the pencil sharpener I was using. I tried using a vegetable peeler but that didn’t make the nice curly shavings.

Once you have enough, you fold the paper back up, and fold the edges to hold it in. Iron it between sheets of craft paper (I used parchment). Let it cool, then cut out heart shapes from it. Martha says to hang them using thread, but we just used tiny dabs of museum gel to stick them to the kitchen windows. They really are pretty and look like suncatchers. The key is to use lots of different shades of pink and red crayons. Spread the shavings out in a very thin layer. In places where mine were thick, the hearts did not cut out well, and the waxed paper peeled off a little.

This is easy and very family-friendly and is a cute project to make for Valentine’s Day.

Bookmark and Share

Today’s Martha Monday’s project was chosen by Lyndsey at Tiny Skillet. The project is crayon hearts and it’s perfect for a Valentine’s Day craft to do with your kids. You take a piece of waxed paper and fold it in half lengthwise, then open it up and place crayon shavings on half of it. Making … Read more

One of the only Martha goals I had for this holiday season was to make the croquembouche in December Living. To me, the croquembouche is somehow quintessential Martha. I think I must have seen her make it years ago on her tv show and it stuck in my brain as the most Martha thing, ever. It is pretty over the top.

I had planned to make it for Christmas Eve, but was waylayed by a terrible abdominal muscle pull that made it impossible to do anything. Any movement was torture. I’m actually still working through the tail end of it, but am pushing through it to do the things I want to get done.

We had two remaining holiday parties this past weekend and I decided the croquembouche was definitely going to go to one of them. I decided to make it for my in-laws, since she asked me to bring dessert.

I read and re-read the instructions several times, gearing up for what felt like my Martha Olympic event. There were three components – the round cream puffs, the caramel cream to fill them with, and the caramel sugar to glue them together with and to use as spun sugar (not part of the recipe, but I’ve seen Martha do it before). I made the caramel cream the day before and kept it refrigerated. That went quite smoothly.

The cream puffs were pretty basic to make – the same as other cream puffs I’ve made in the past. I didn’t find Martha’s instructions too helpful. She said to make them the size of quarters, but didn’t indicate how tall. It took some experimenting to get that right. Whenever I’ve made cream puffs before, I’ve just used a spoon, but this required a pastry bag. Eek. I hate pastry bags. Not only do I have a mental block about where to put the plastic cuff and the tip, but they always squirt out the back or explode out the side. Mr. MarthaAndMe has no pastry bag fear though, so he stepped in and manned this one quite well.

Once those were made and baked, I finished the caramel cream by folding in the whipped cream. Mr. MarthaAndMe filled the puffs using the pastry bag. He got the job done, but it was a huge mess. Cream was spurting out the end of the bag and all over the place. It was dripping off his hands and he ended up standing over the sink to fill the cream puffs since it was like a creature from the black lagoon.

Next, I made the caramel used to stick them together. Mr. MarthaAndMe almost immediately burned himself dipping the puffs in the caramel. From that point on we used tongs. The caramel was a little hard to work with. I had to keep heating it back up. There might have been a little cursing throughout this process.

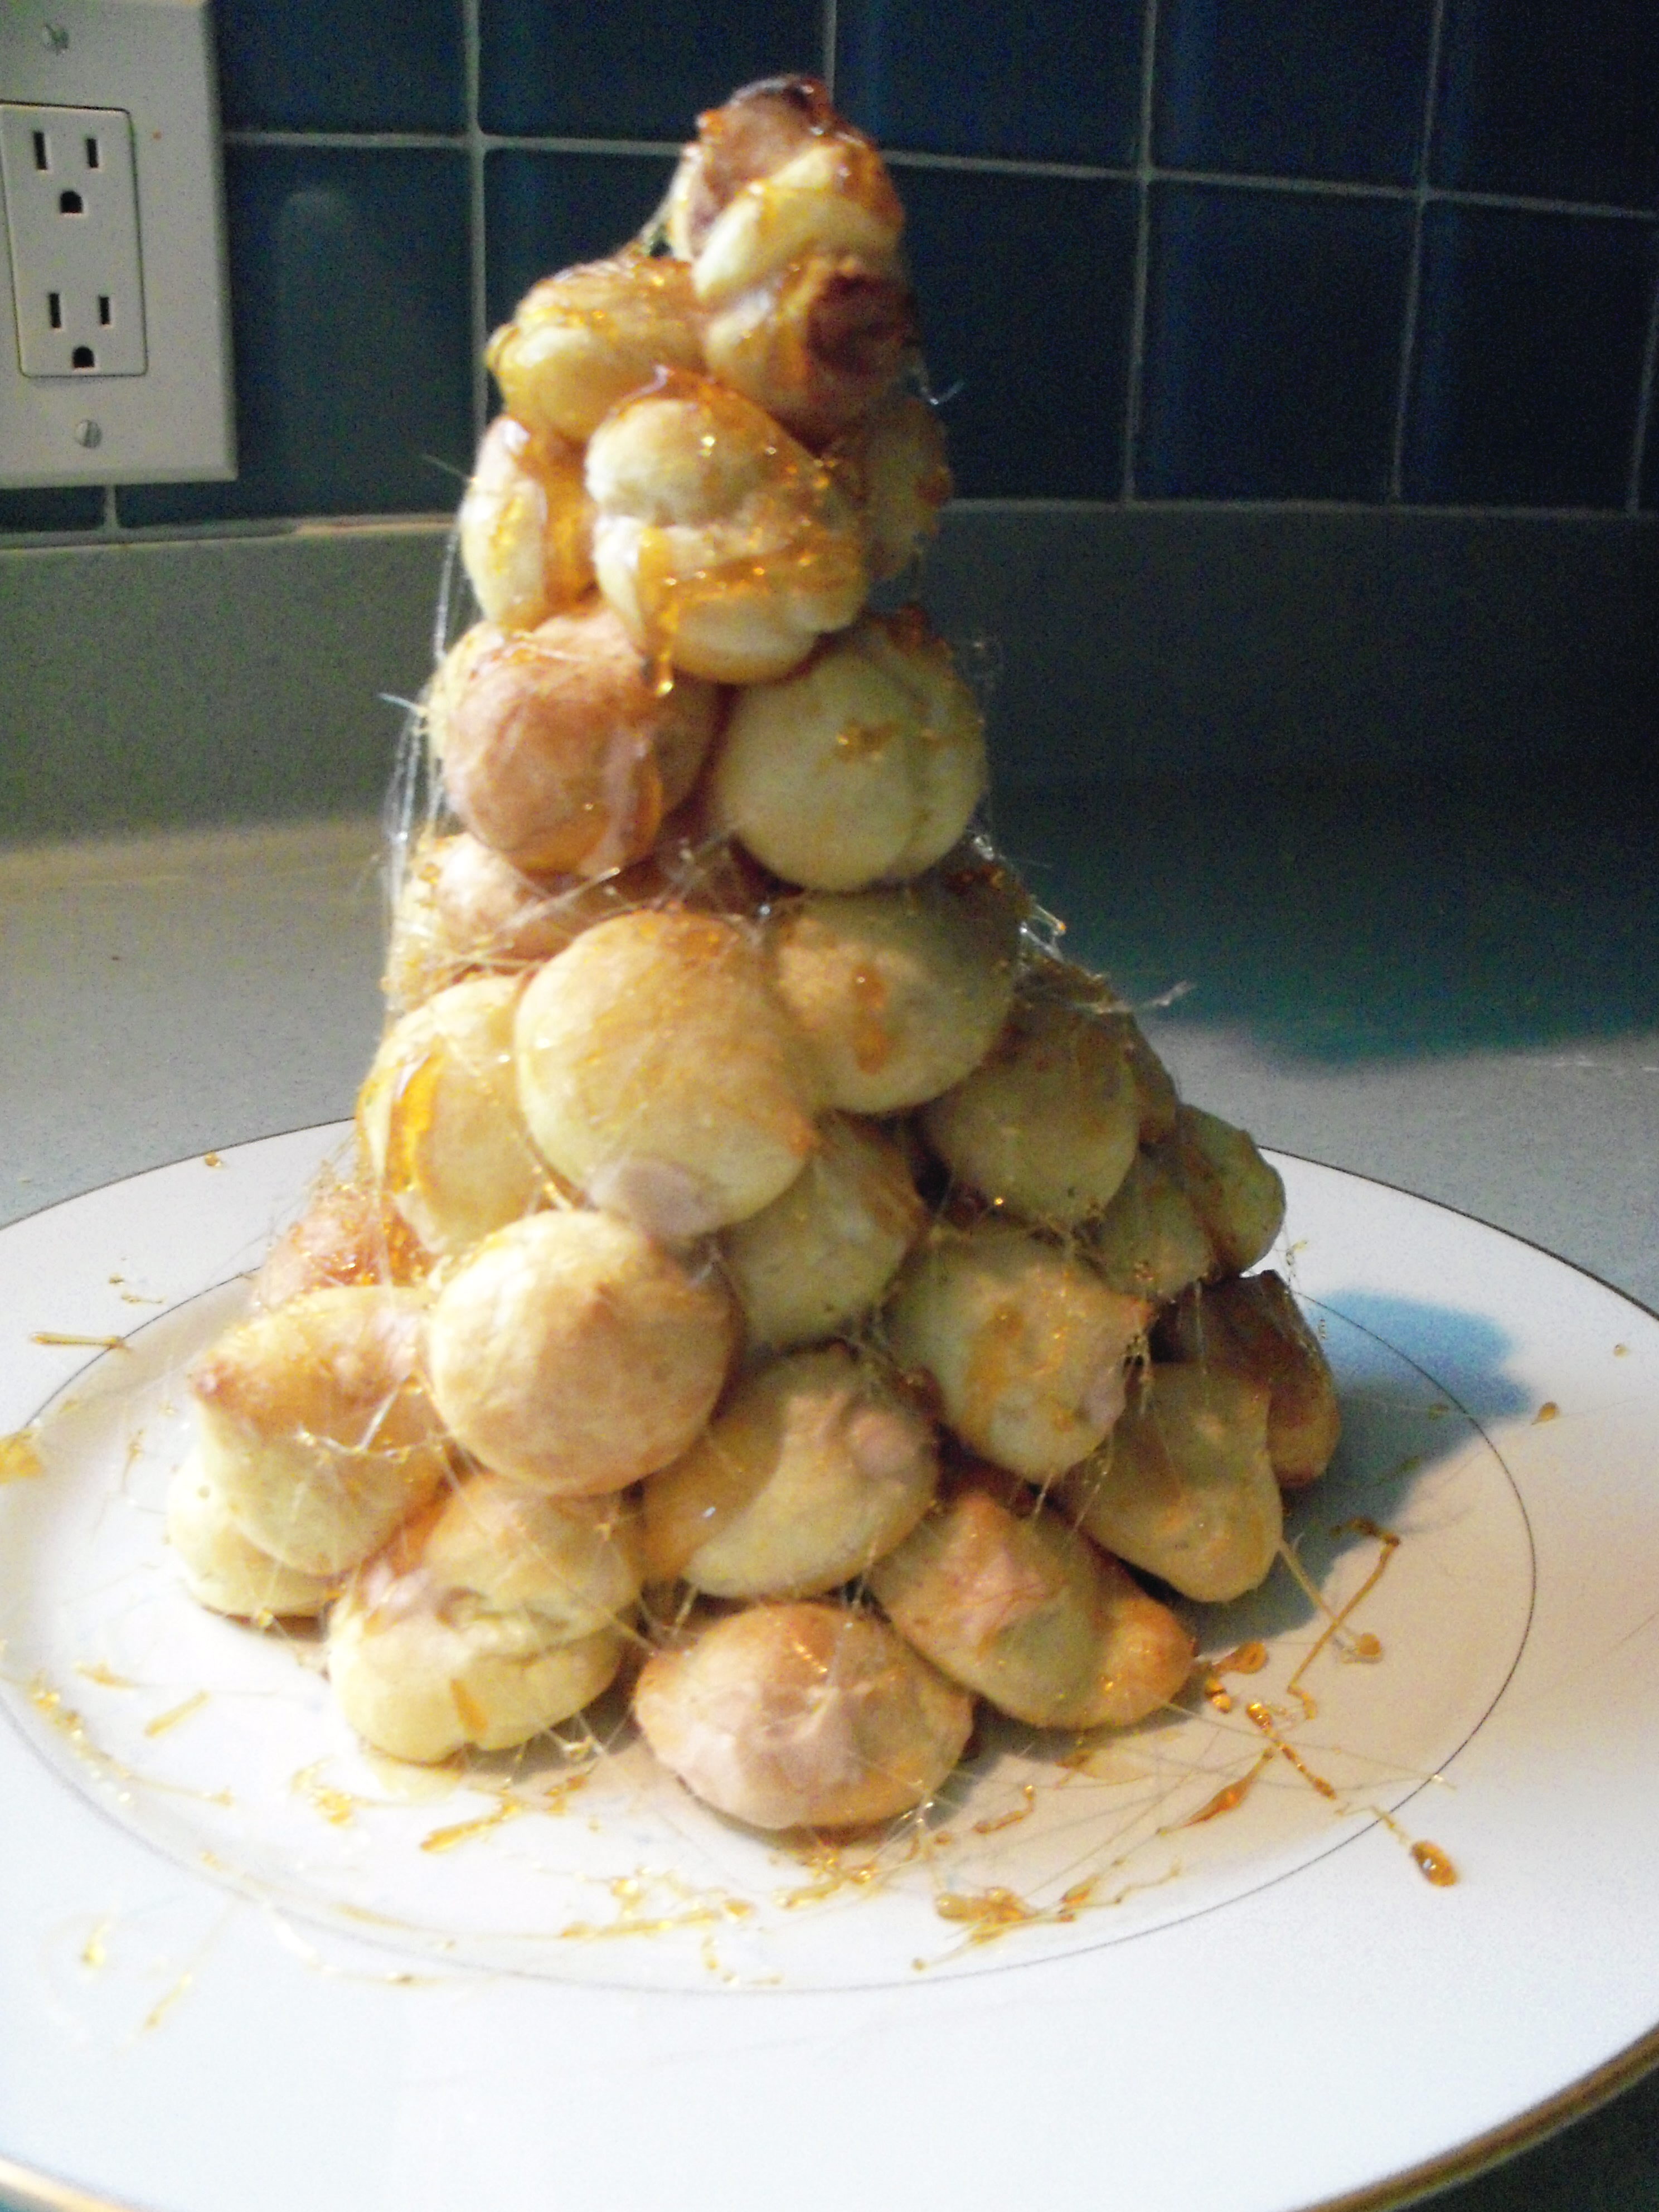
Putting the actual tree together was a challenge. Again, I found Martha’s instructions lacking. I didn’t know how many puffs to use to form the base and was worried about running out or having too many leftover. Some more detail about this part would have been helpful. At one point it looked like a bush (croquem-bush as I called it) but Mr. MarthaAndMe kept adding more and showing me where to put more and we got it to come out resembling a tree, albeit a kind of lopsided tree.

I didn’t make the sugar cookies to attach, and instead spun some sugar around it (I just used the caramel and used a fork to sort of whip it around the tree). I have to say that spinning sugar like this made me feel like a total Martha.

I think it turned out pretty nicely. We put it directly on a plate, even though Martha says to put it on parchment. We cut this recipe in half and it sounded like it should be enough – it says the full recipe feeds 30 people.

I held this on my lap for a treacherous half hour drive through snow to my in-laws’ house. It made it safely. Whew. I did keep this refrigerated at home and once we arrived, even though Martha says to keep at room temp. The caramel cream was a bit thin and I was worried about it running.

Everyone enjoyed this – it tasted great. The cream puffs were light and the caramel cream was deep and rich. The caramel used to stick it together and which I spun the sugar out of was a deep brown and really good.  It was a bit challenging to remove cream puffs to eat. They stuck together and broke when you tried to remove them. I’m not sure what Martha thinks you’re supposed to do. I think the cream puffs should have been a bit larger – they were kind of small and didn’t hold a lot of cream. We served this with a tray of cookies and some ice cream, but by itself it would not have been enough for the 6 people we had for dinner.

Now that I know how to make this, I wouldn’t be afraid to try it again.  The most challenging part was controlling the pastry bag and using the caramel sauce without serious injury. I wish I had the skills to make the tree form correctly, but I’m just not talented when it comes to spatial things! My little lopsided tree doesn’t really compare to what Martha produces. Yes, she has food designers, but I’ve seen her construct this with her own hands on tv and she can make it turn out perfectly shaped. Sigh. I know I’ll never be Martha, but sometimes it is frustrating! I am, however, proud that I accomplished this, something I’ve always wanted to try!

Bookmark and Share

One of the only Martha goals I had for this holiday season was to make the croquembouche in December Living. To me, the croquembouche is somehow quintessential Martha. I think I must have seen her make it years ago on her tv show and it stuck in my brain as the most Martha thing, ever. … Read more

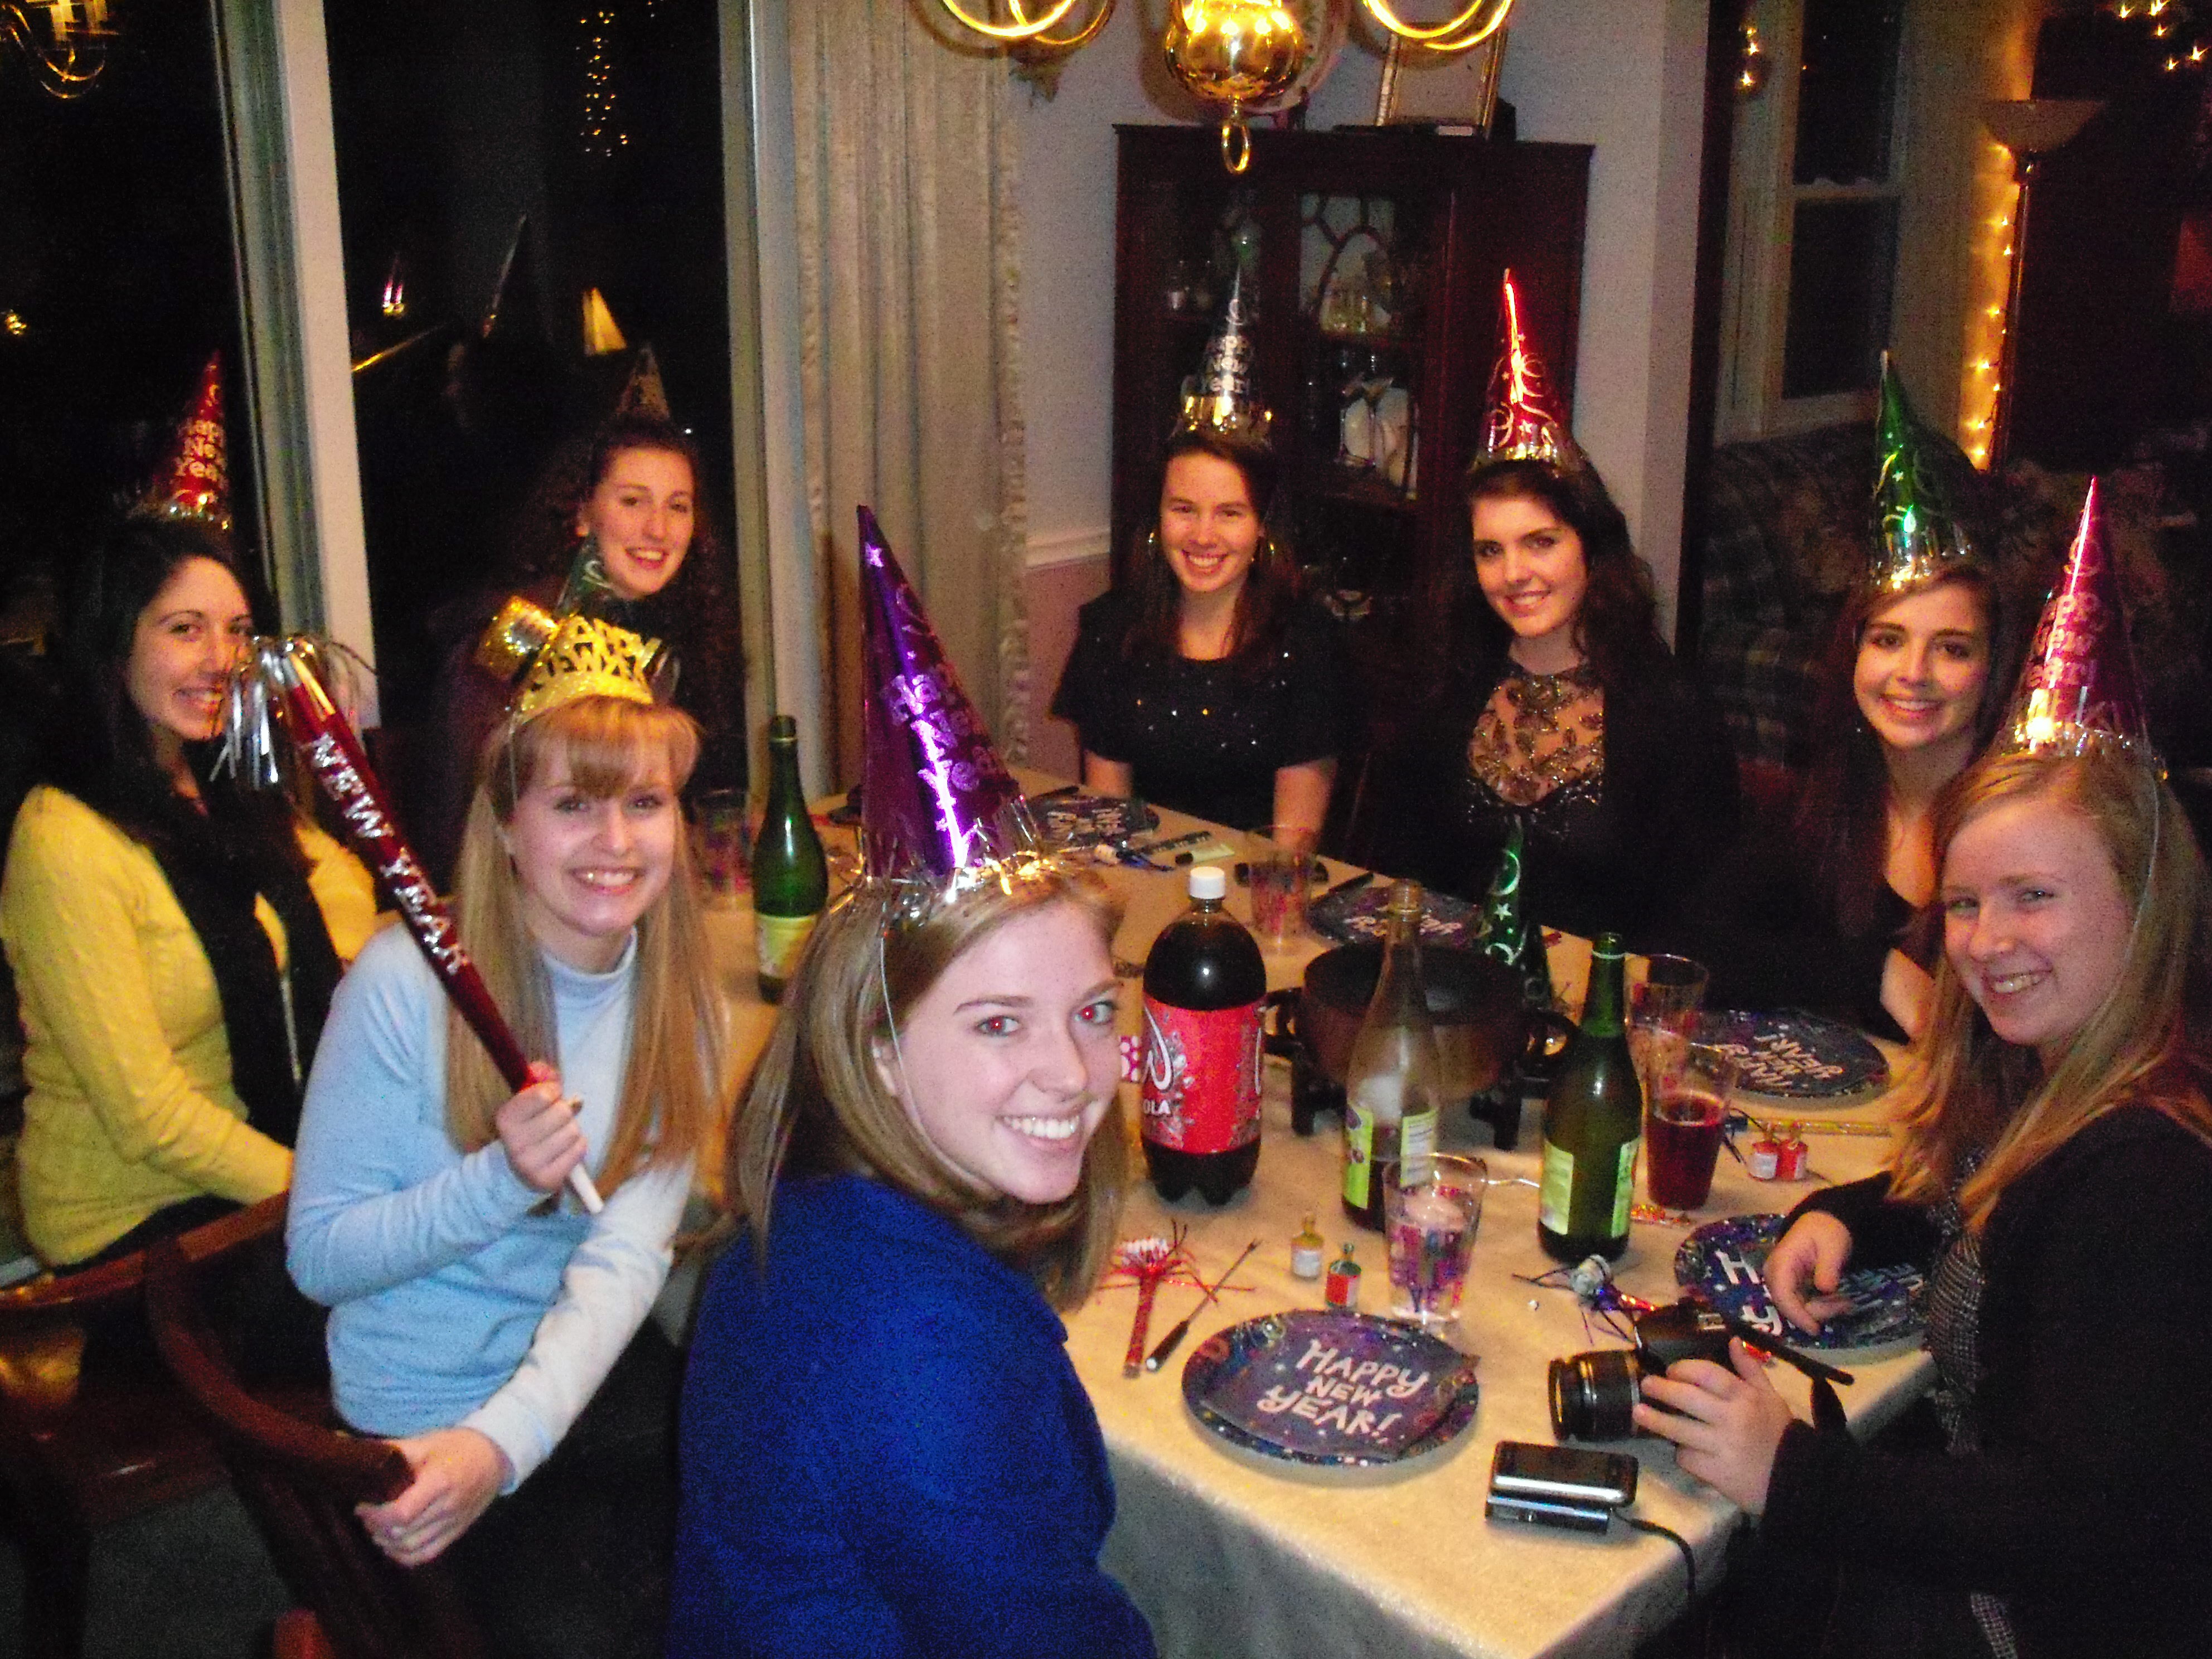
Happy New Year! 2010 is here and to help ring it in, we had our traditional fondue party last night. We’ve been doing this for years. It started as something fun to do while we were home with small kids and has now become a tradition among our daughter’s friends, who come every year. I like it because it gives a purpose to the holiday for me and we have fun food, and then I can go to bed at 10!

In addition to the cheese and chocolate fondue, this year I made some appetizers. I made cocktail wieners – so not Martha but a kitschy thing I like to make. It’s very simple – mix a bag of mini wieners with half a jar of grape jelly and half a bottle of chili sauce and heat it up.

I also made stuffed mushrooms. I used baby bella mushrooms and filled them with a mix of crabmeat, cream cheese, mustard, dill, lemon juice, bread crumbs and salt and pepper. I put the mushrooms in a baking dish and just covered the bottom with chicken broth. I covered it and baked for 15 min at 400.

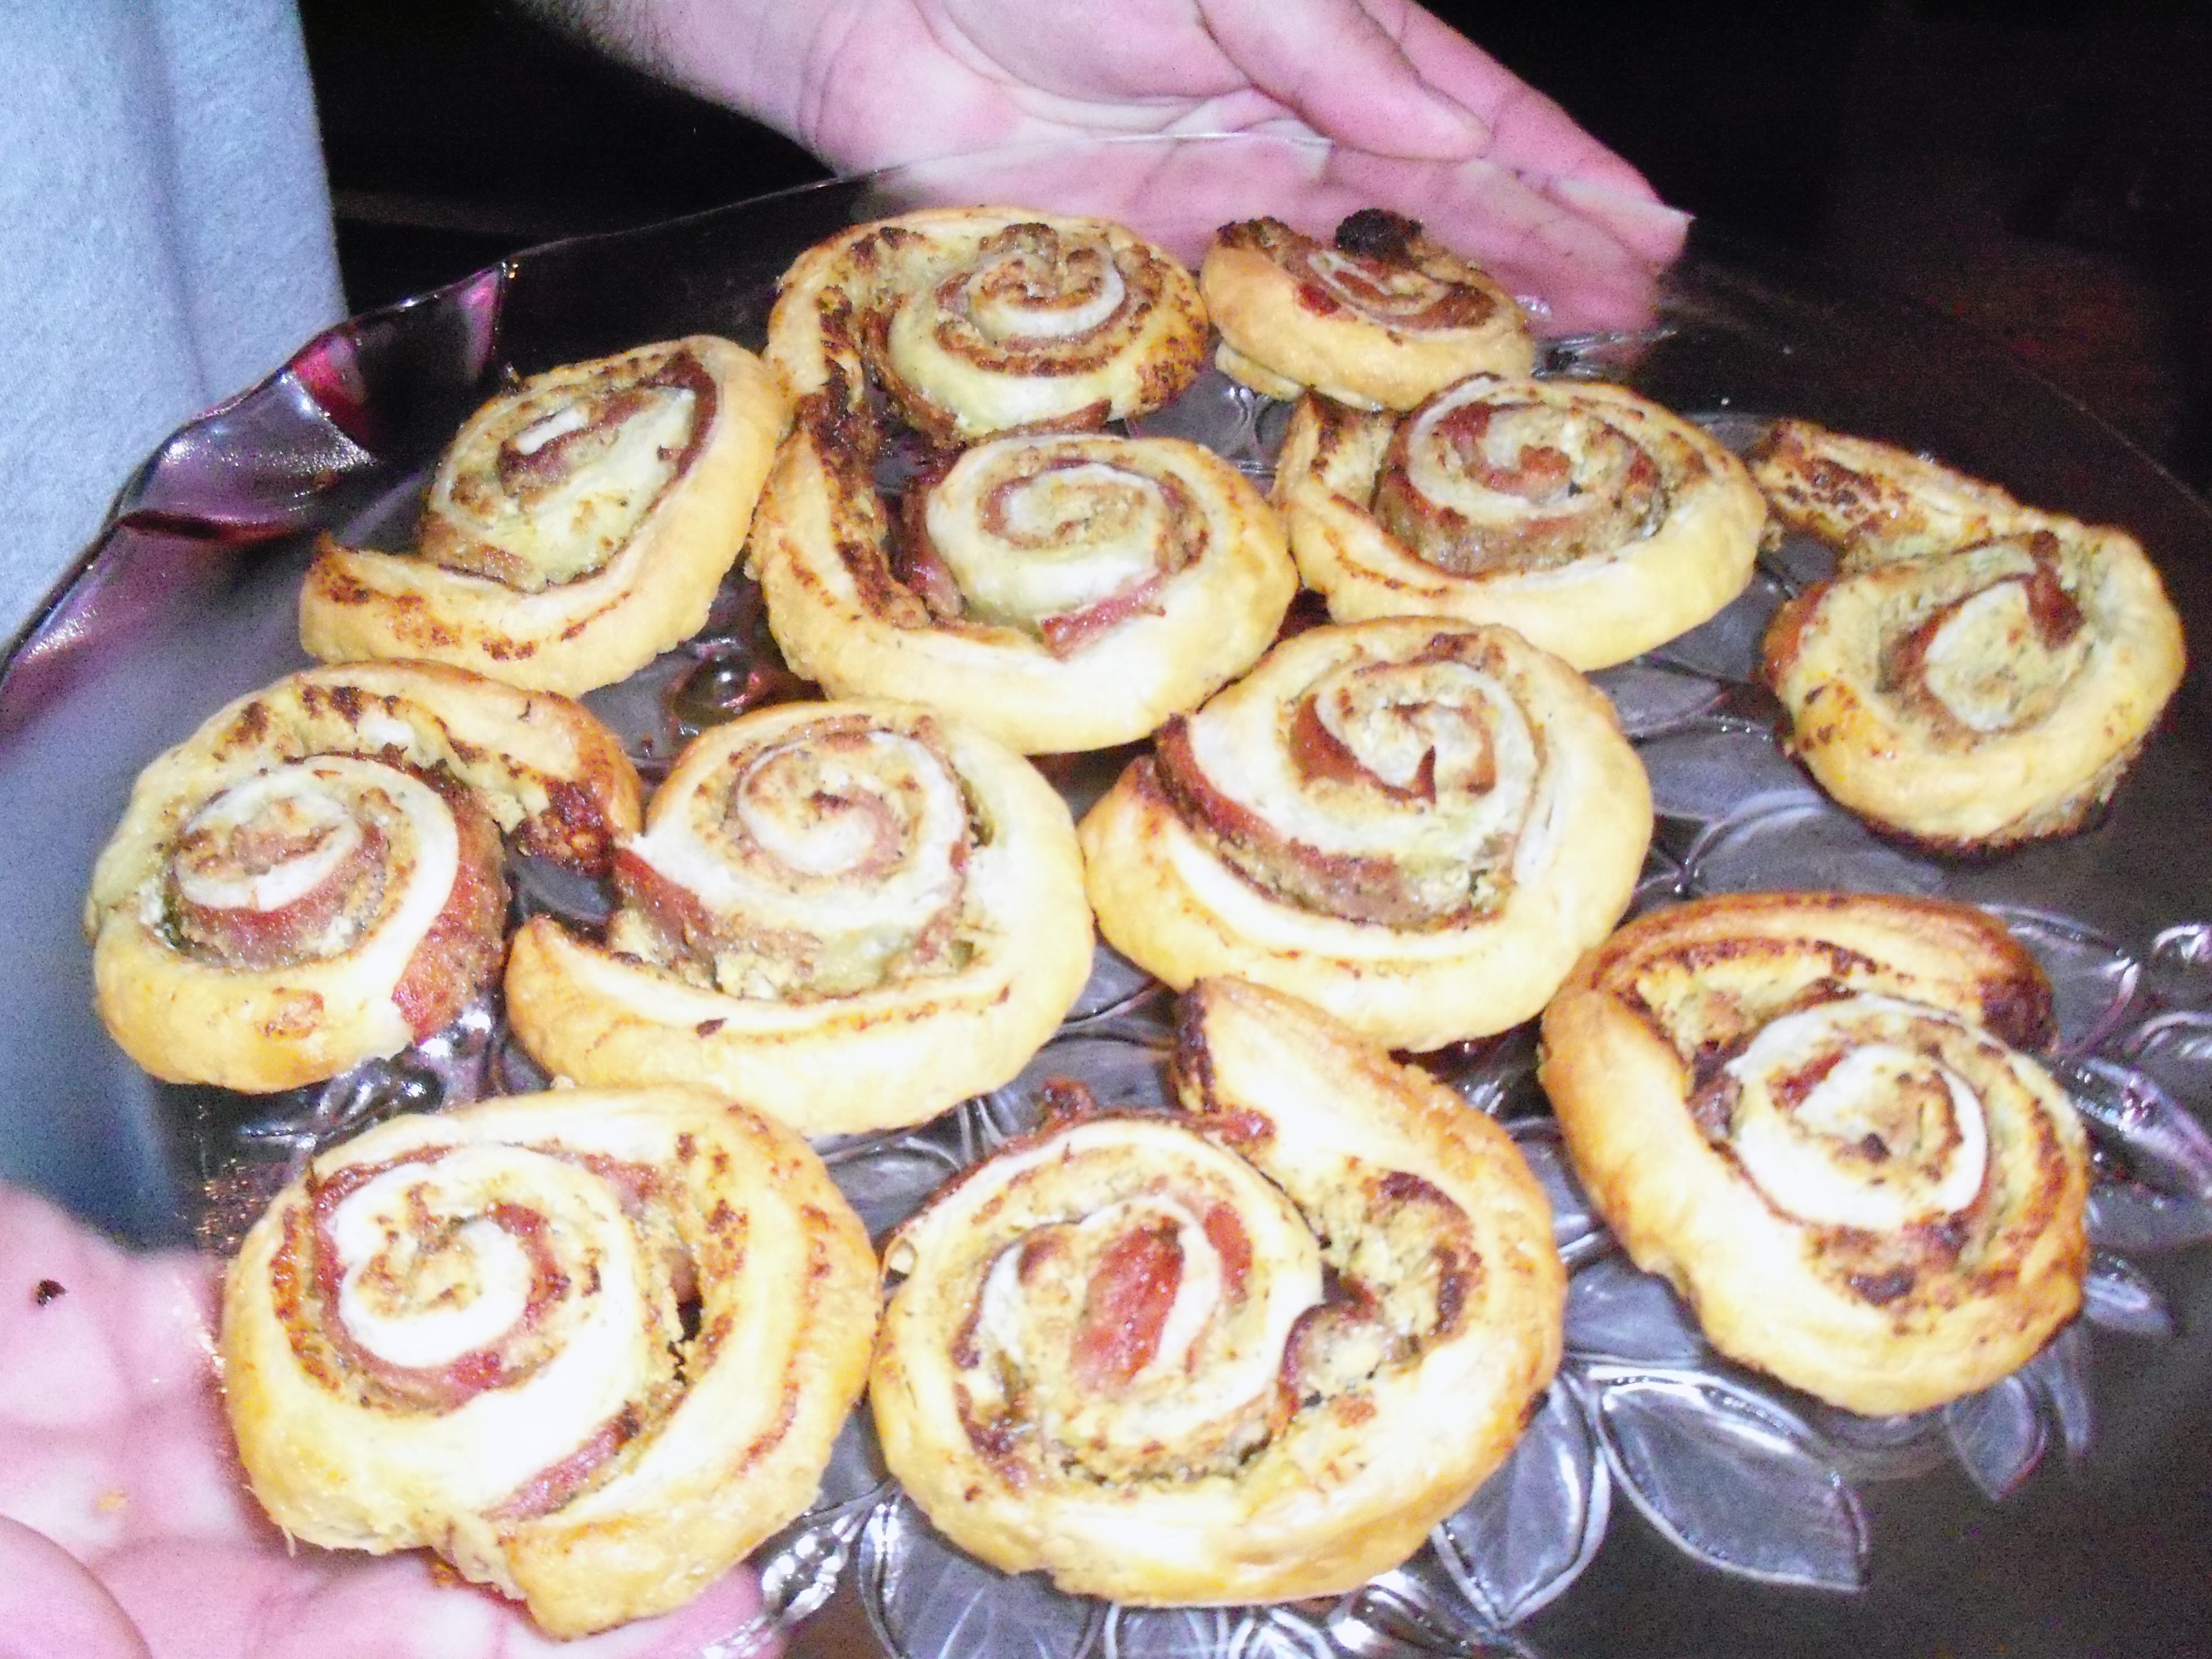
I bought a bag of mini vegetable egg rolls and served those with sweet and sour sauce. Then I made up a puff pastry item (channeling my inner Martha). I started with two sheets of puff pastry, which I rolled out to make a bit thinner. Then I mixed 3/4 jar of pesto with 8 oz. of goat cheese in the Cuisinart with some pepper. I spread this mix on the puff pastry and then placed prosciutto on top (I used about 12 pieces of paper thin prosciutto). I rolled them into logs, sealed the edges with water, and refrigerated (a trick I learned from Martha). Then I sliced them and baked at 350 for about 10-15 minutes until they were brown and cooked through. I liked them, but thought they were a little salty.

The fondue went well, but as always it is hours of cutting up food! With the cheese, I served: ham, chicken sausage, marinated chicken breasts, French bread, pumpernickel/rye, pear, apple, grapes, cherry tomato, broccoli, and cauliflower. With the chocolate: pretzel logs, graham crackers, marshmallows, pineapple, blueberry, strawberry, raspberry, banana, tangerine, rice krispies, pound cake, chocolate chip cookies, brownies, and chocolate chip biscotti. We had rainbow sprinkles, chopped nuts, and chopped white chocolate to roll things in as well. Beverages were sparking apple juice, sparkling white grape juice, sparkling red grape juice and cola. We had a bottle of sparkling apple pomegranate juice, but the screw top lid was stuck and when Mr. MarthaAndMe finally got it off, it ended up breaking the top of the bottle off, so we had to toss that one.

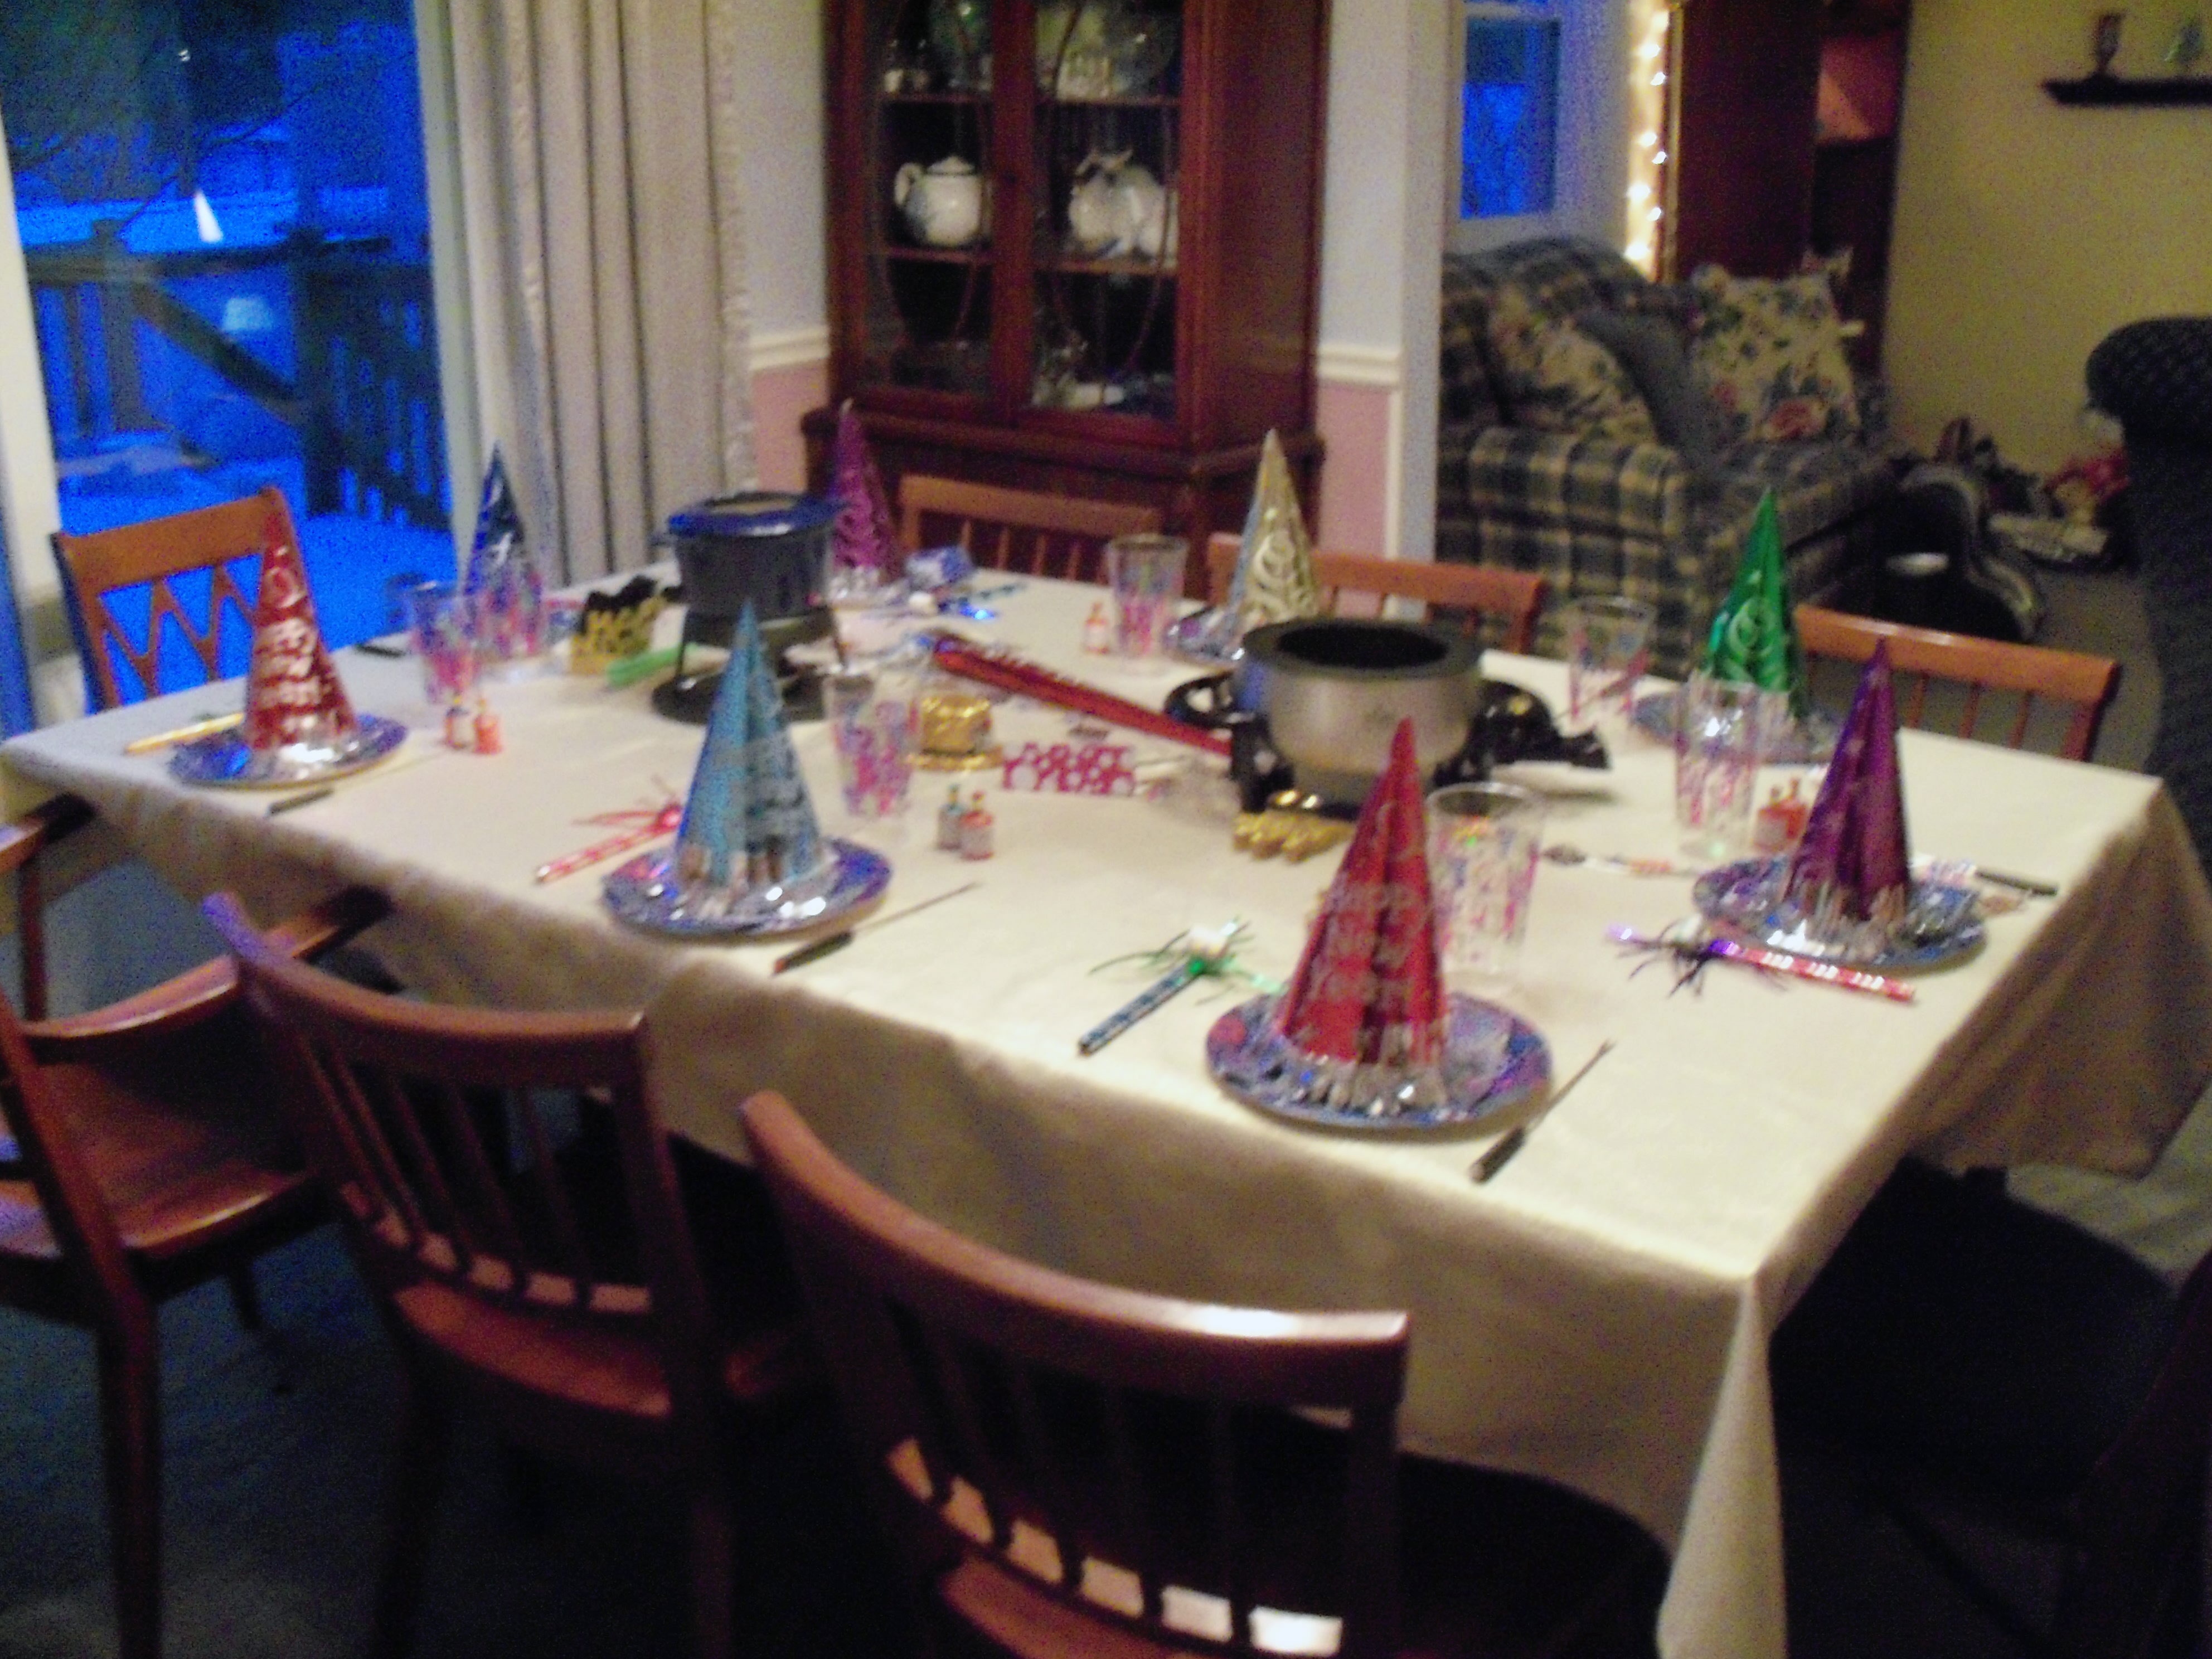
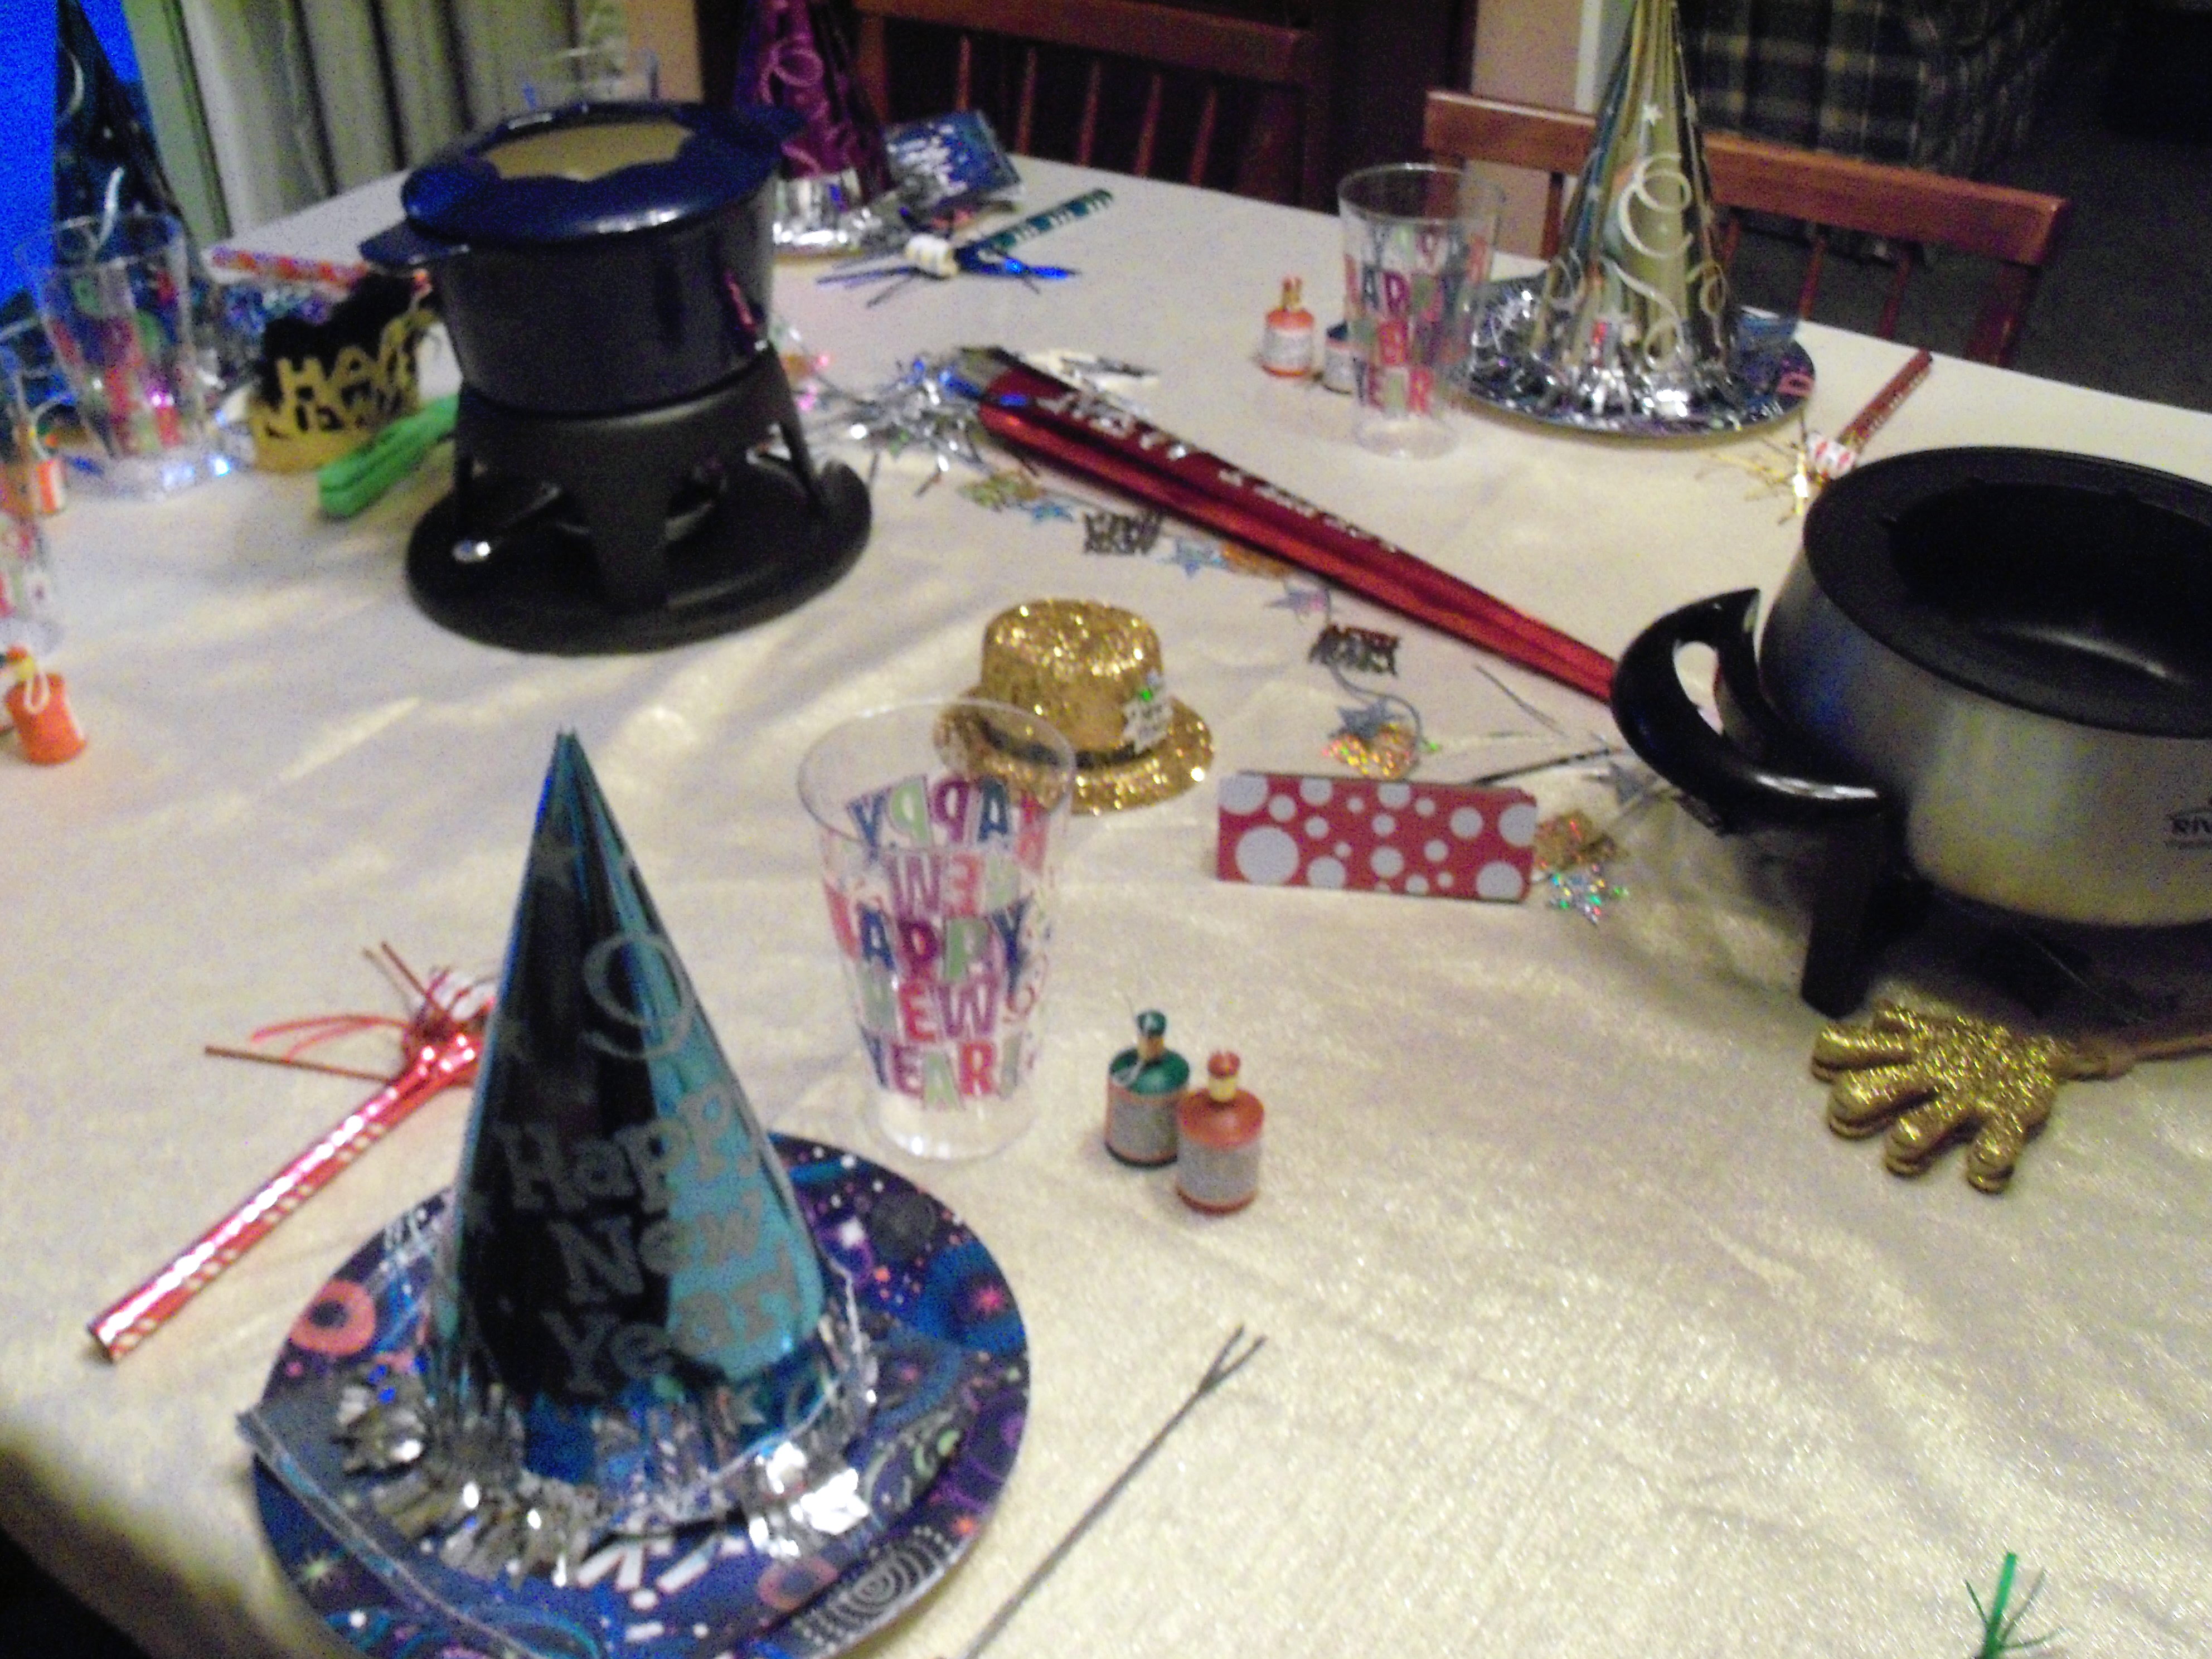
I loved the way my table looked, even if it was not up to Martha’s standards. I used my gold tablecloth. I went to the party store and bought plates, cups, and napkins that say Happy New Year. I bought a string of New Year garland which went down the center of the table. Each person got a hat, a noisemaker and two little champagne poppers. Also in the center of the table I placed a few different metal noisemakers, a big horn, a little gold hat and a feathered New Year’s tiara. It looked festive and cute.

Bookmark and Share

Happy New Year! 2010 is here and to help ring it in, we had our traditional fondue party last night. We’ve been doing this for years. It started as something fun to do while we were home with small kids and has now become a tradition among our daughter’s friends, who come every year. I … Read more

My grandmother made the world’s best sugar cookies. I’ve never tasted any like them, ever. Her cookies are soft, moist, and delicate. Because I grew up eating these, I have been spoiled and don’t care for the harder sugar cookies most people seem to make. The key ingredient is buttermilk, which makes for a soft dough, but is also responsible for the texture and flavor. Because of the soft texture, you need to make this dough, then freeze it completely before you attempt to roll it out and cut it out. There are many family stories about this. One year my aunt took the entire batch out to a table set up in the garage and rolled them out in the garage where the dough would stay cold. The first time I attempted it, I didn’t freeze it long enough and I ended up with a huge mess.  The other trick is picking the right cut out shapes. The dough spreads and softens as it cooks, so many shapes become unrecognizable. I’ve found that stars work quite well. Candy canes also work. Santas, snowmen and trees tend to just blur and become blobs. My grandmother often just made these as circles.

As my Christmas gift to you, dear readers, I’m going to share this special family recipe.

Gai’s Sugar Cookies

1 cup unsalted butter

2 cups sugar

2 eggs

2 cups buttermilk

4 cups flour

1 tsp baking soda

1 tsp salt

2 tsp vanilla

Cream butter and sugar. Add egg and vanilla. Alternate adding dry ingredients with buttermilk. Freeze the dough for several hours. Roll the dough out using lots of flour on the counter and on the rolling pin because it will stick if you aren’t careful. Roll this out a bit thicker than you would with regular sugar cookies – you want it to be about a 1/2 inch thick. Flour the cookie cutters. Place on silpats in a oven preheated to 375 degrees. Bake for 10-12 minutes. You want to take them out when the bottoms are just beginning to brown.  Don’t let the top of the cookie get brown or it will be too hard. Let them rest on the baking sheets until cool and then remove them.

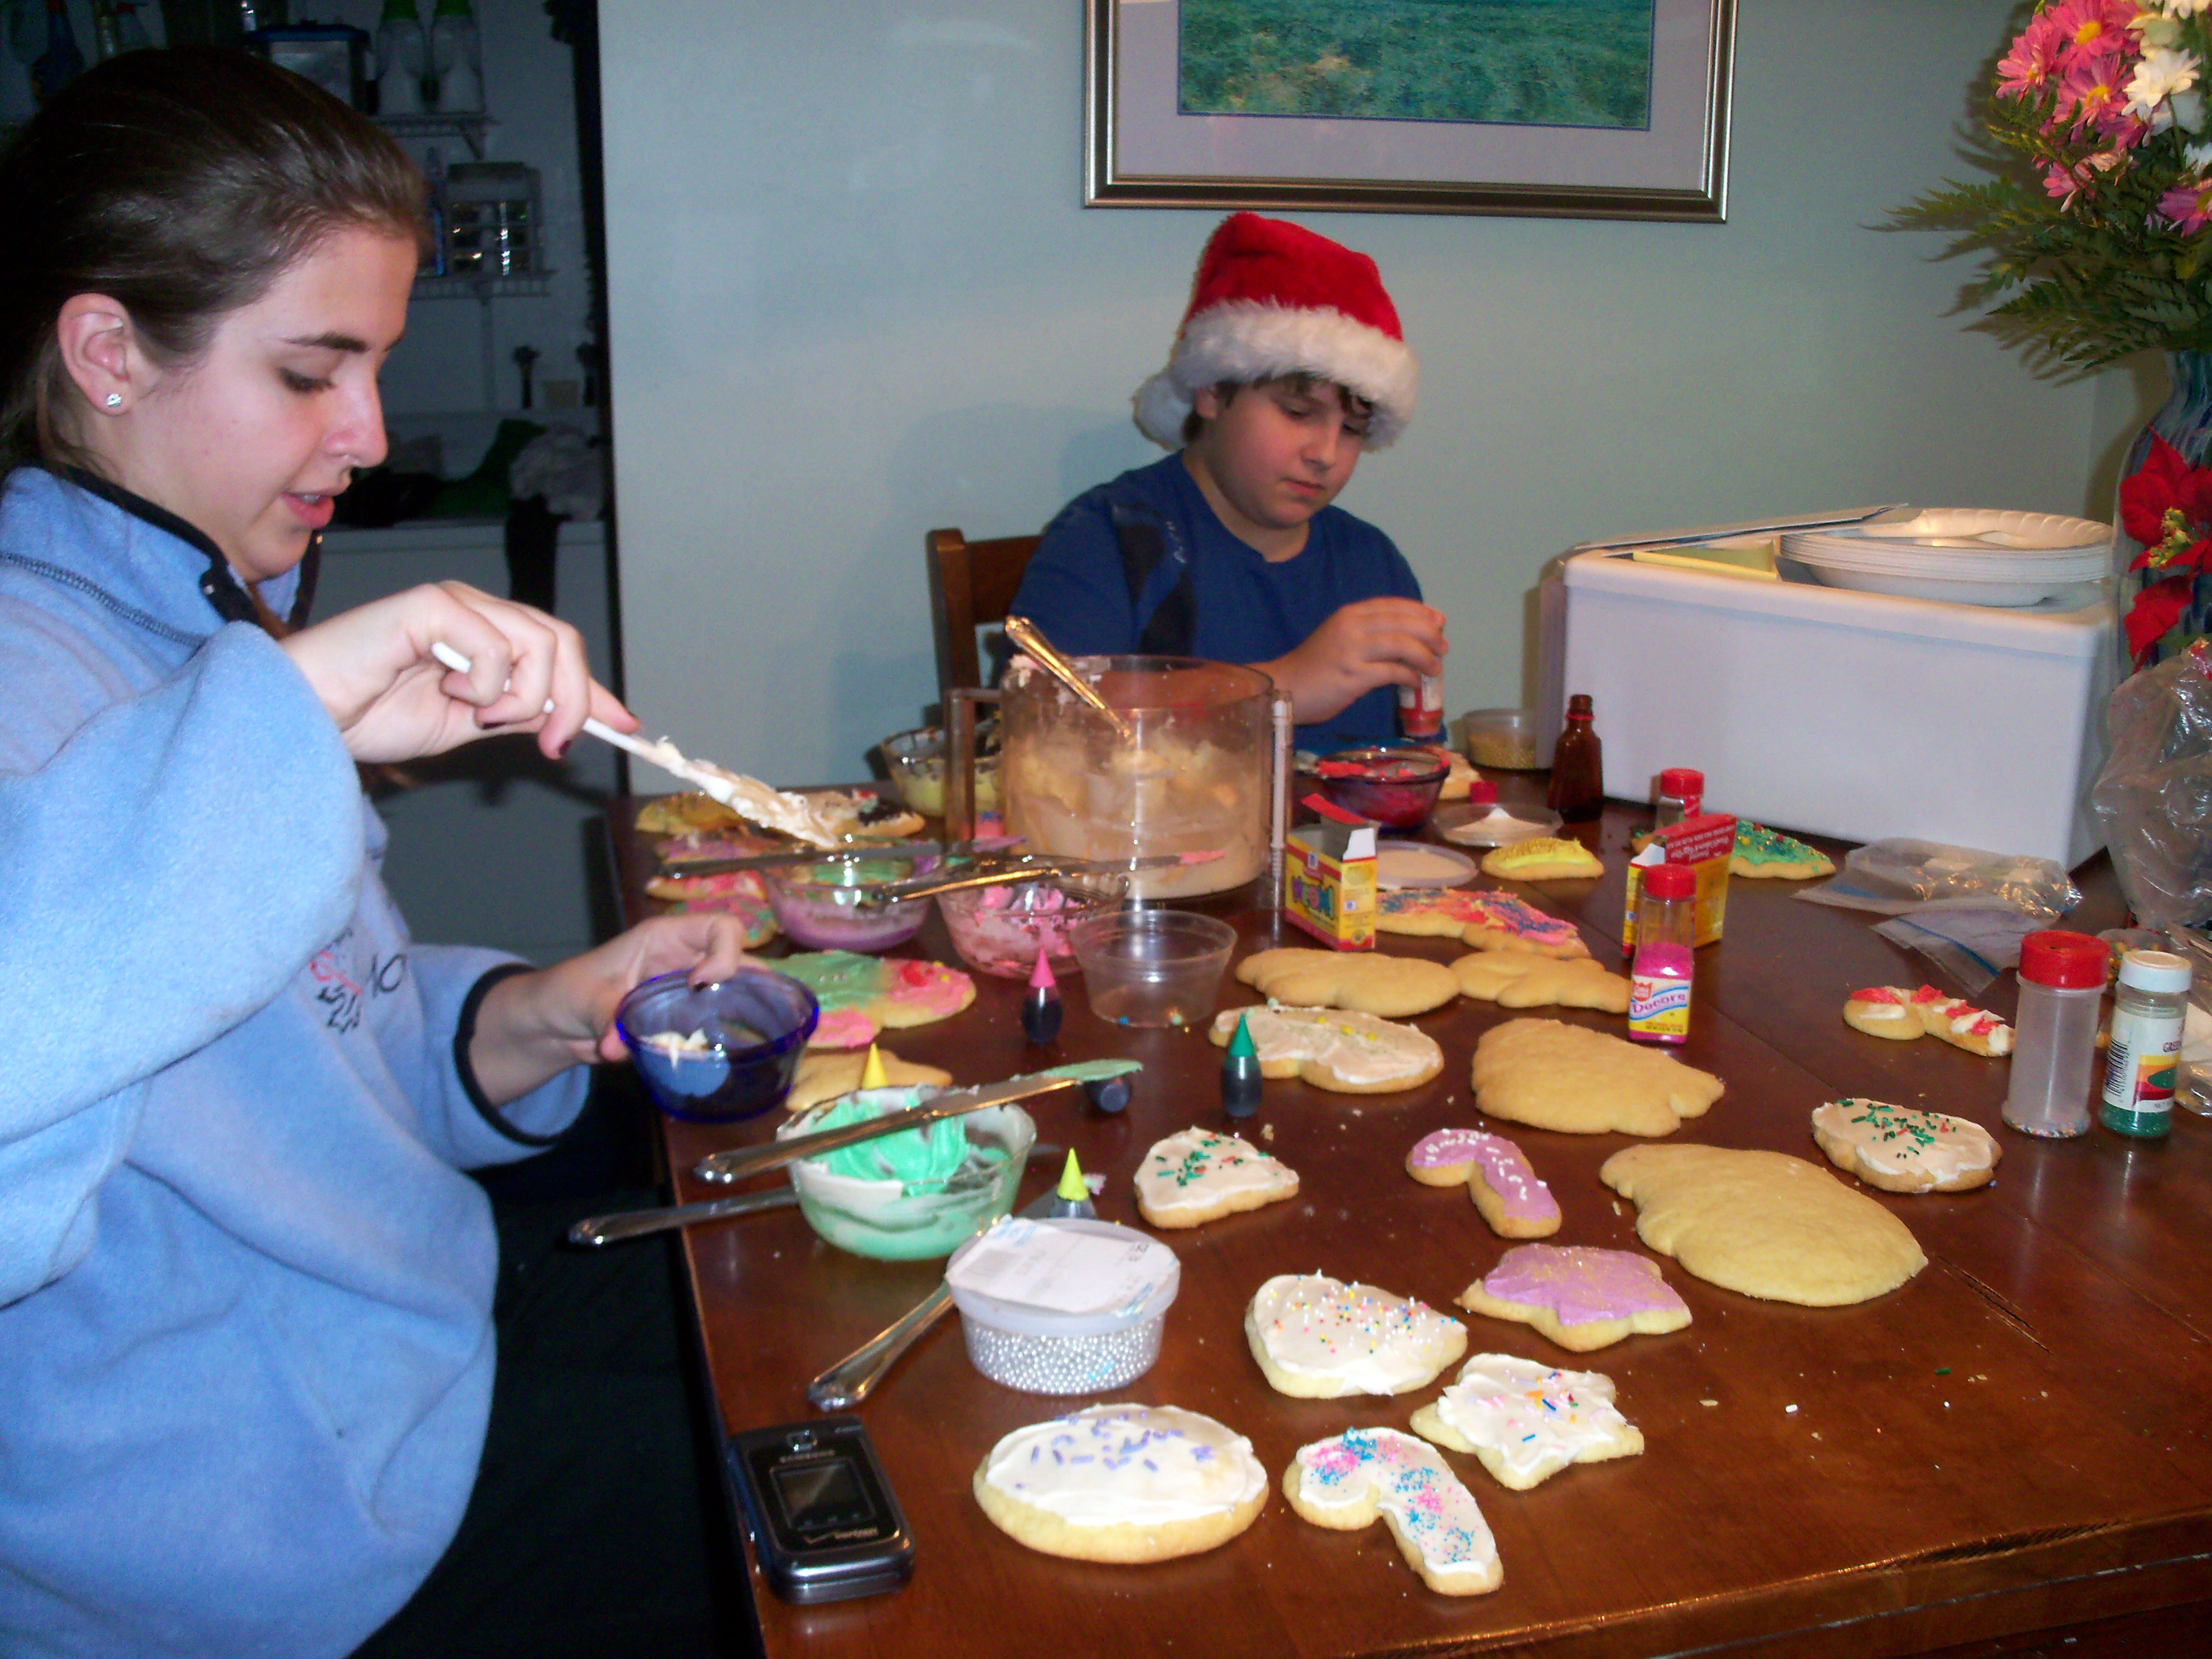
I usually make a simple frosting of butter, powdered sugar, vanilla and milk (which you can color with food coloring if you want different colors) and then we decorate them with colored sugar. As you can see in the photo, my kids really get into it!

Bookmark and Share

My grandmother made the world’s best sugar cookies. I’ve never tasted any like them, ever. Her cookies are soft, moist, and delicate. Because I grew up eating these, I have been spoiled and don’t care for the harder sugar cookies most people seem to make. The key ingredient is buttermilk, which makes for a soft … Read more

Martha has definitely inspired me to take decorating more seriously. For years, I’ve been moaning about how I don’t like some of my Christmas decorations. I’ve finally started to get rid of the ones I don’t like and focus on collecting things I do like.

Last year when I was shopping the after Christmas sales, I picked up three glass tree toppers are bargain basement prices. this year, I added a mercury glass tree topper I found at Target and a smaller pink vintage German topper I bought on eBay. I’ve got them displayed on my mantel in front of the mirror and I’m thrilled with them. I hope to keep adding to this collection.

Bookmark and Share

Martha has definitely inspired me to take decorating more seriously. For years, I’ve been moaning about how I don’t like some of my Christmas decorations. I’ve finally started to get rid of the ones I don’t like and focus on collecting things I do like. Last year when I was shopping the after Christmas sales, … Read more

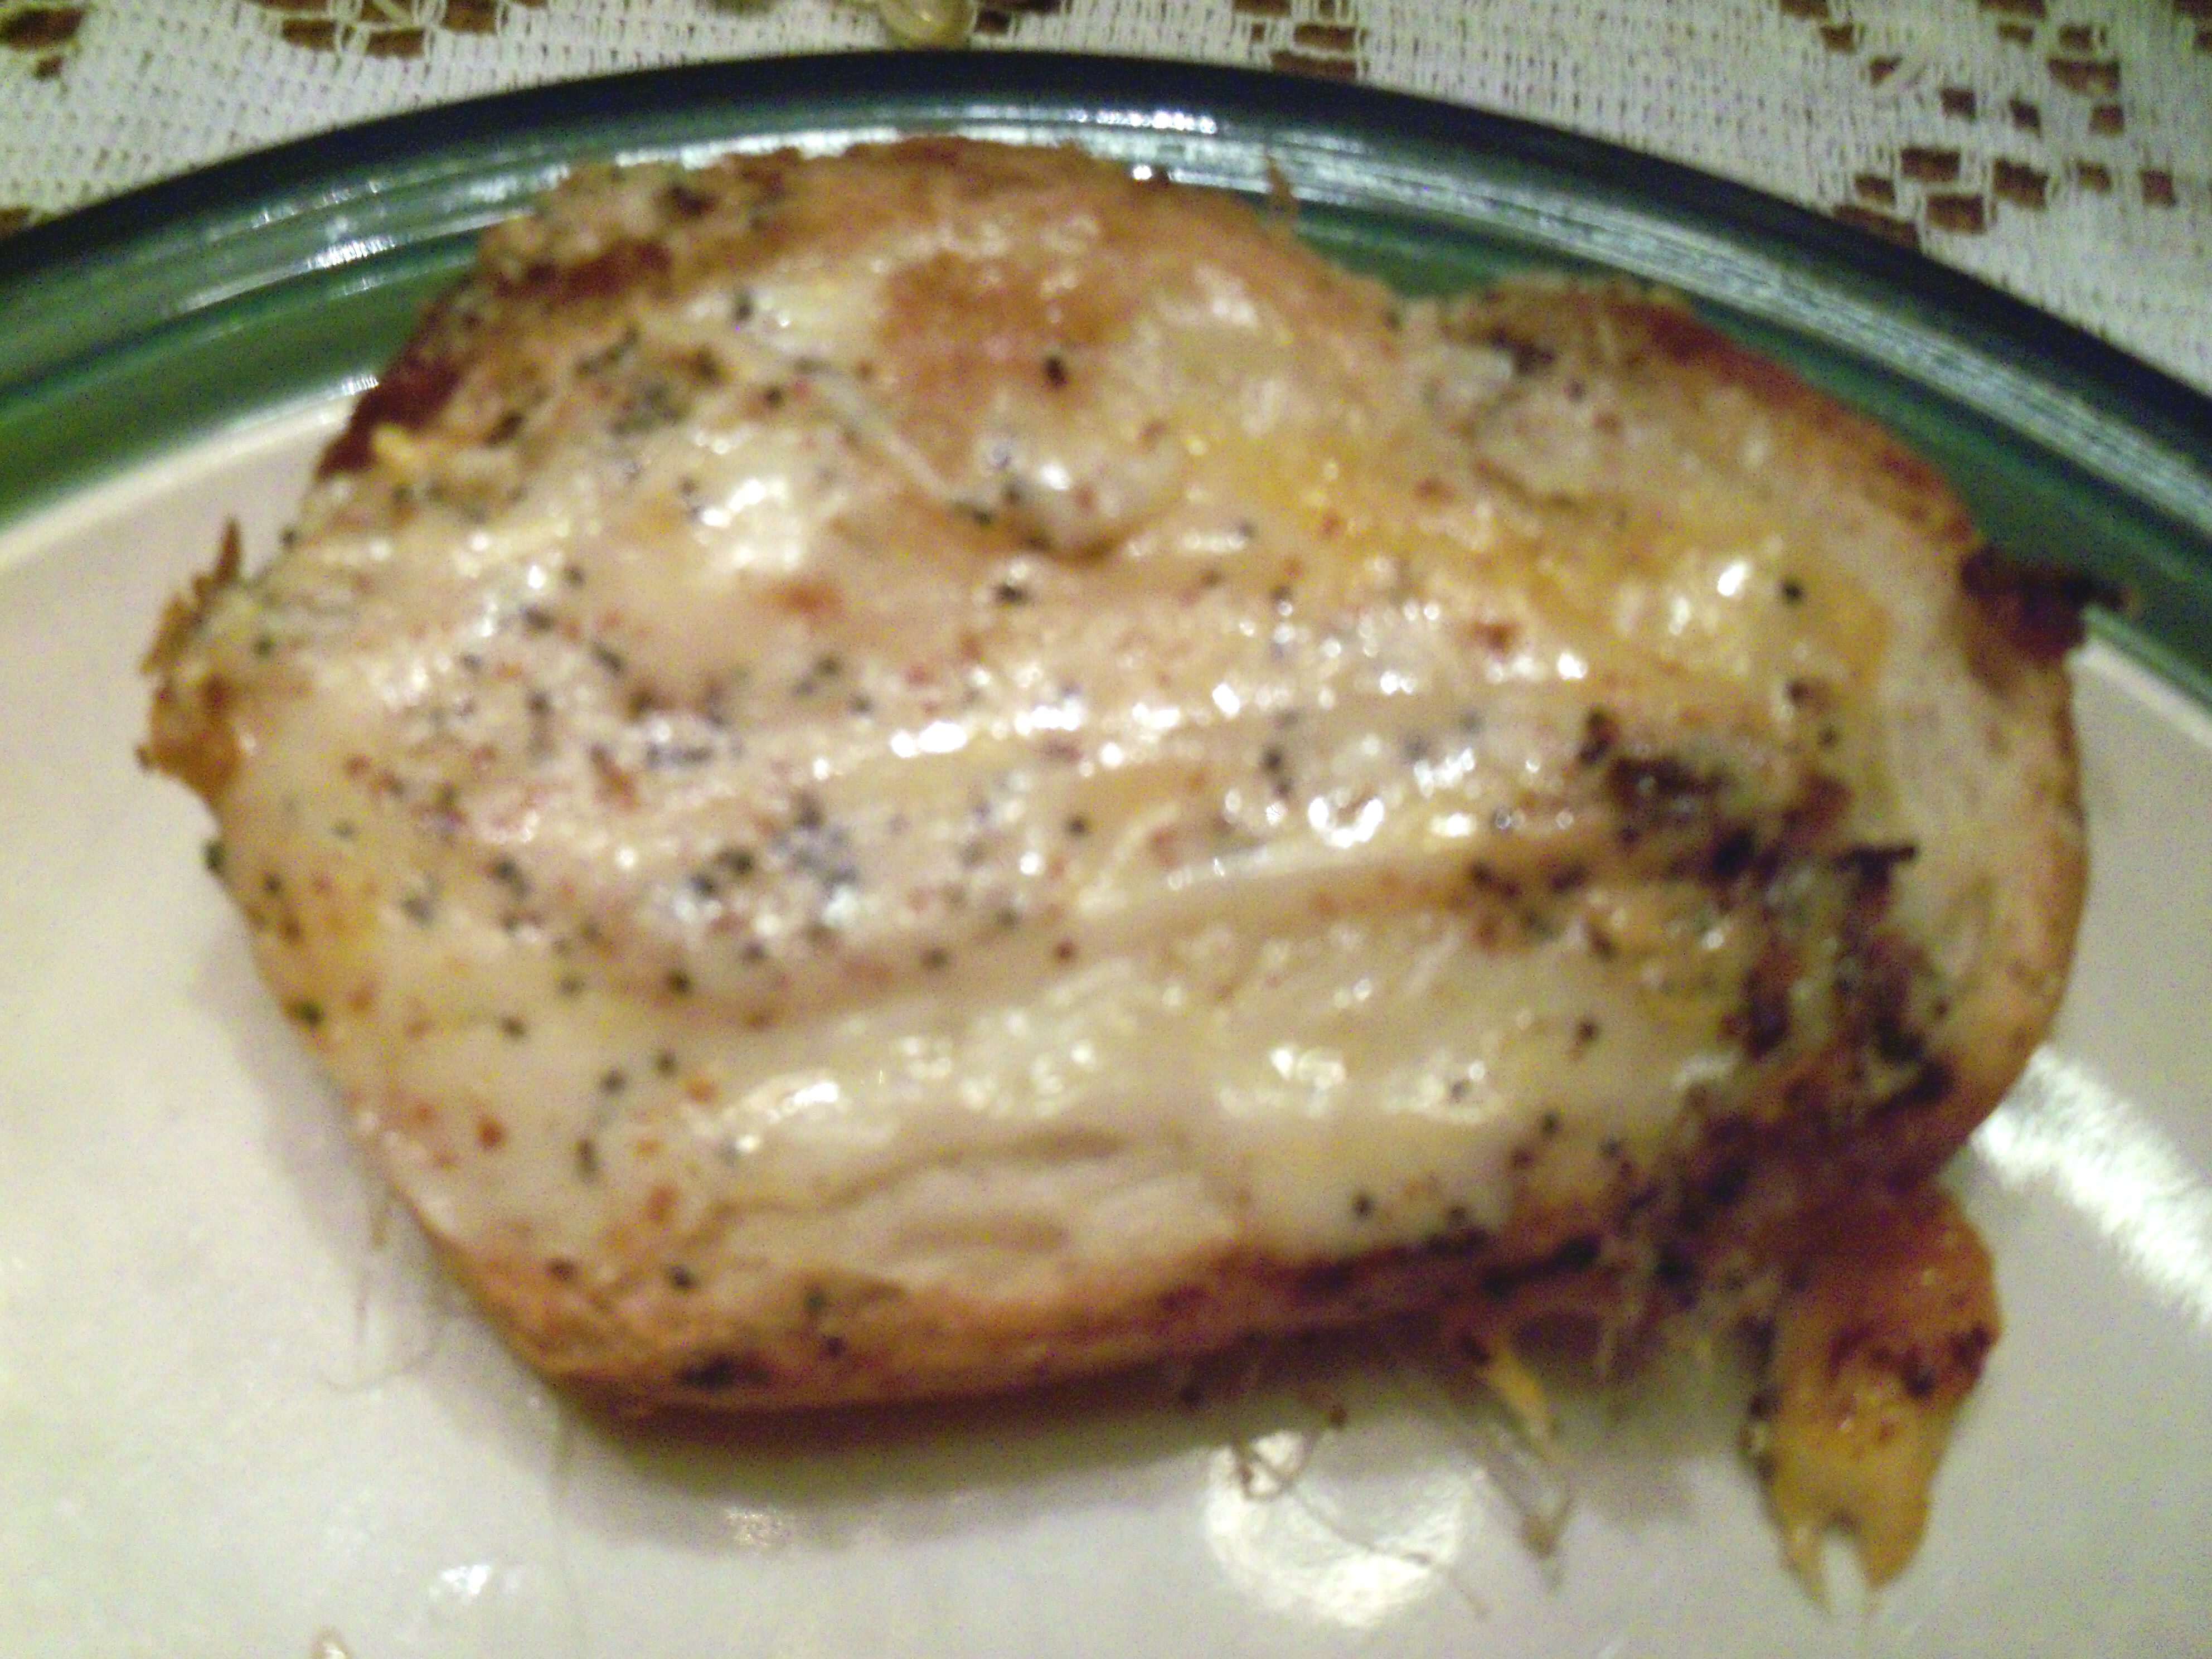
We are not Jewish. Yet every year I make Chanukah bread.  And every year we remember that Hal Linden is (was? I don’t even know if he is still alive) Jewish and pay homage to him. It’s definitely a little kooky, but let me explain.

Back when we were first married, I was in college. My fall semester ended and I was in our apartment on my first day off decompressing with daytime tv. I was watching some talk show that has been lost to time and Hal Linden (of Barney Miller fame – younger readers probably have no clue who this is!) was a guest and he made a recipe for Chanukah bread. It looked so good, I grabbed a pen and scribbled the recipe down (I still have that piece of paper). I made it for dinner that night and we loved it and so since then I’ve made it every year, with some tweaks over the years. Sometimes we have it during Chanukah, sometimes just during the Christmas season. It’s always a special event though.

Hal Linden’s Chanukah Bread (adapted)
1 loaf sliced bread (I usually use Italian, but you could use plain white bread or even wheat)
1 stick butter, softened

2 tbsp olive oil

2/3 cup minced onion

6 tbsp country style Dijon mustard

2 tbsp poppy seeds

4 tbsp lemon juice

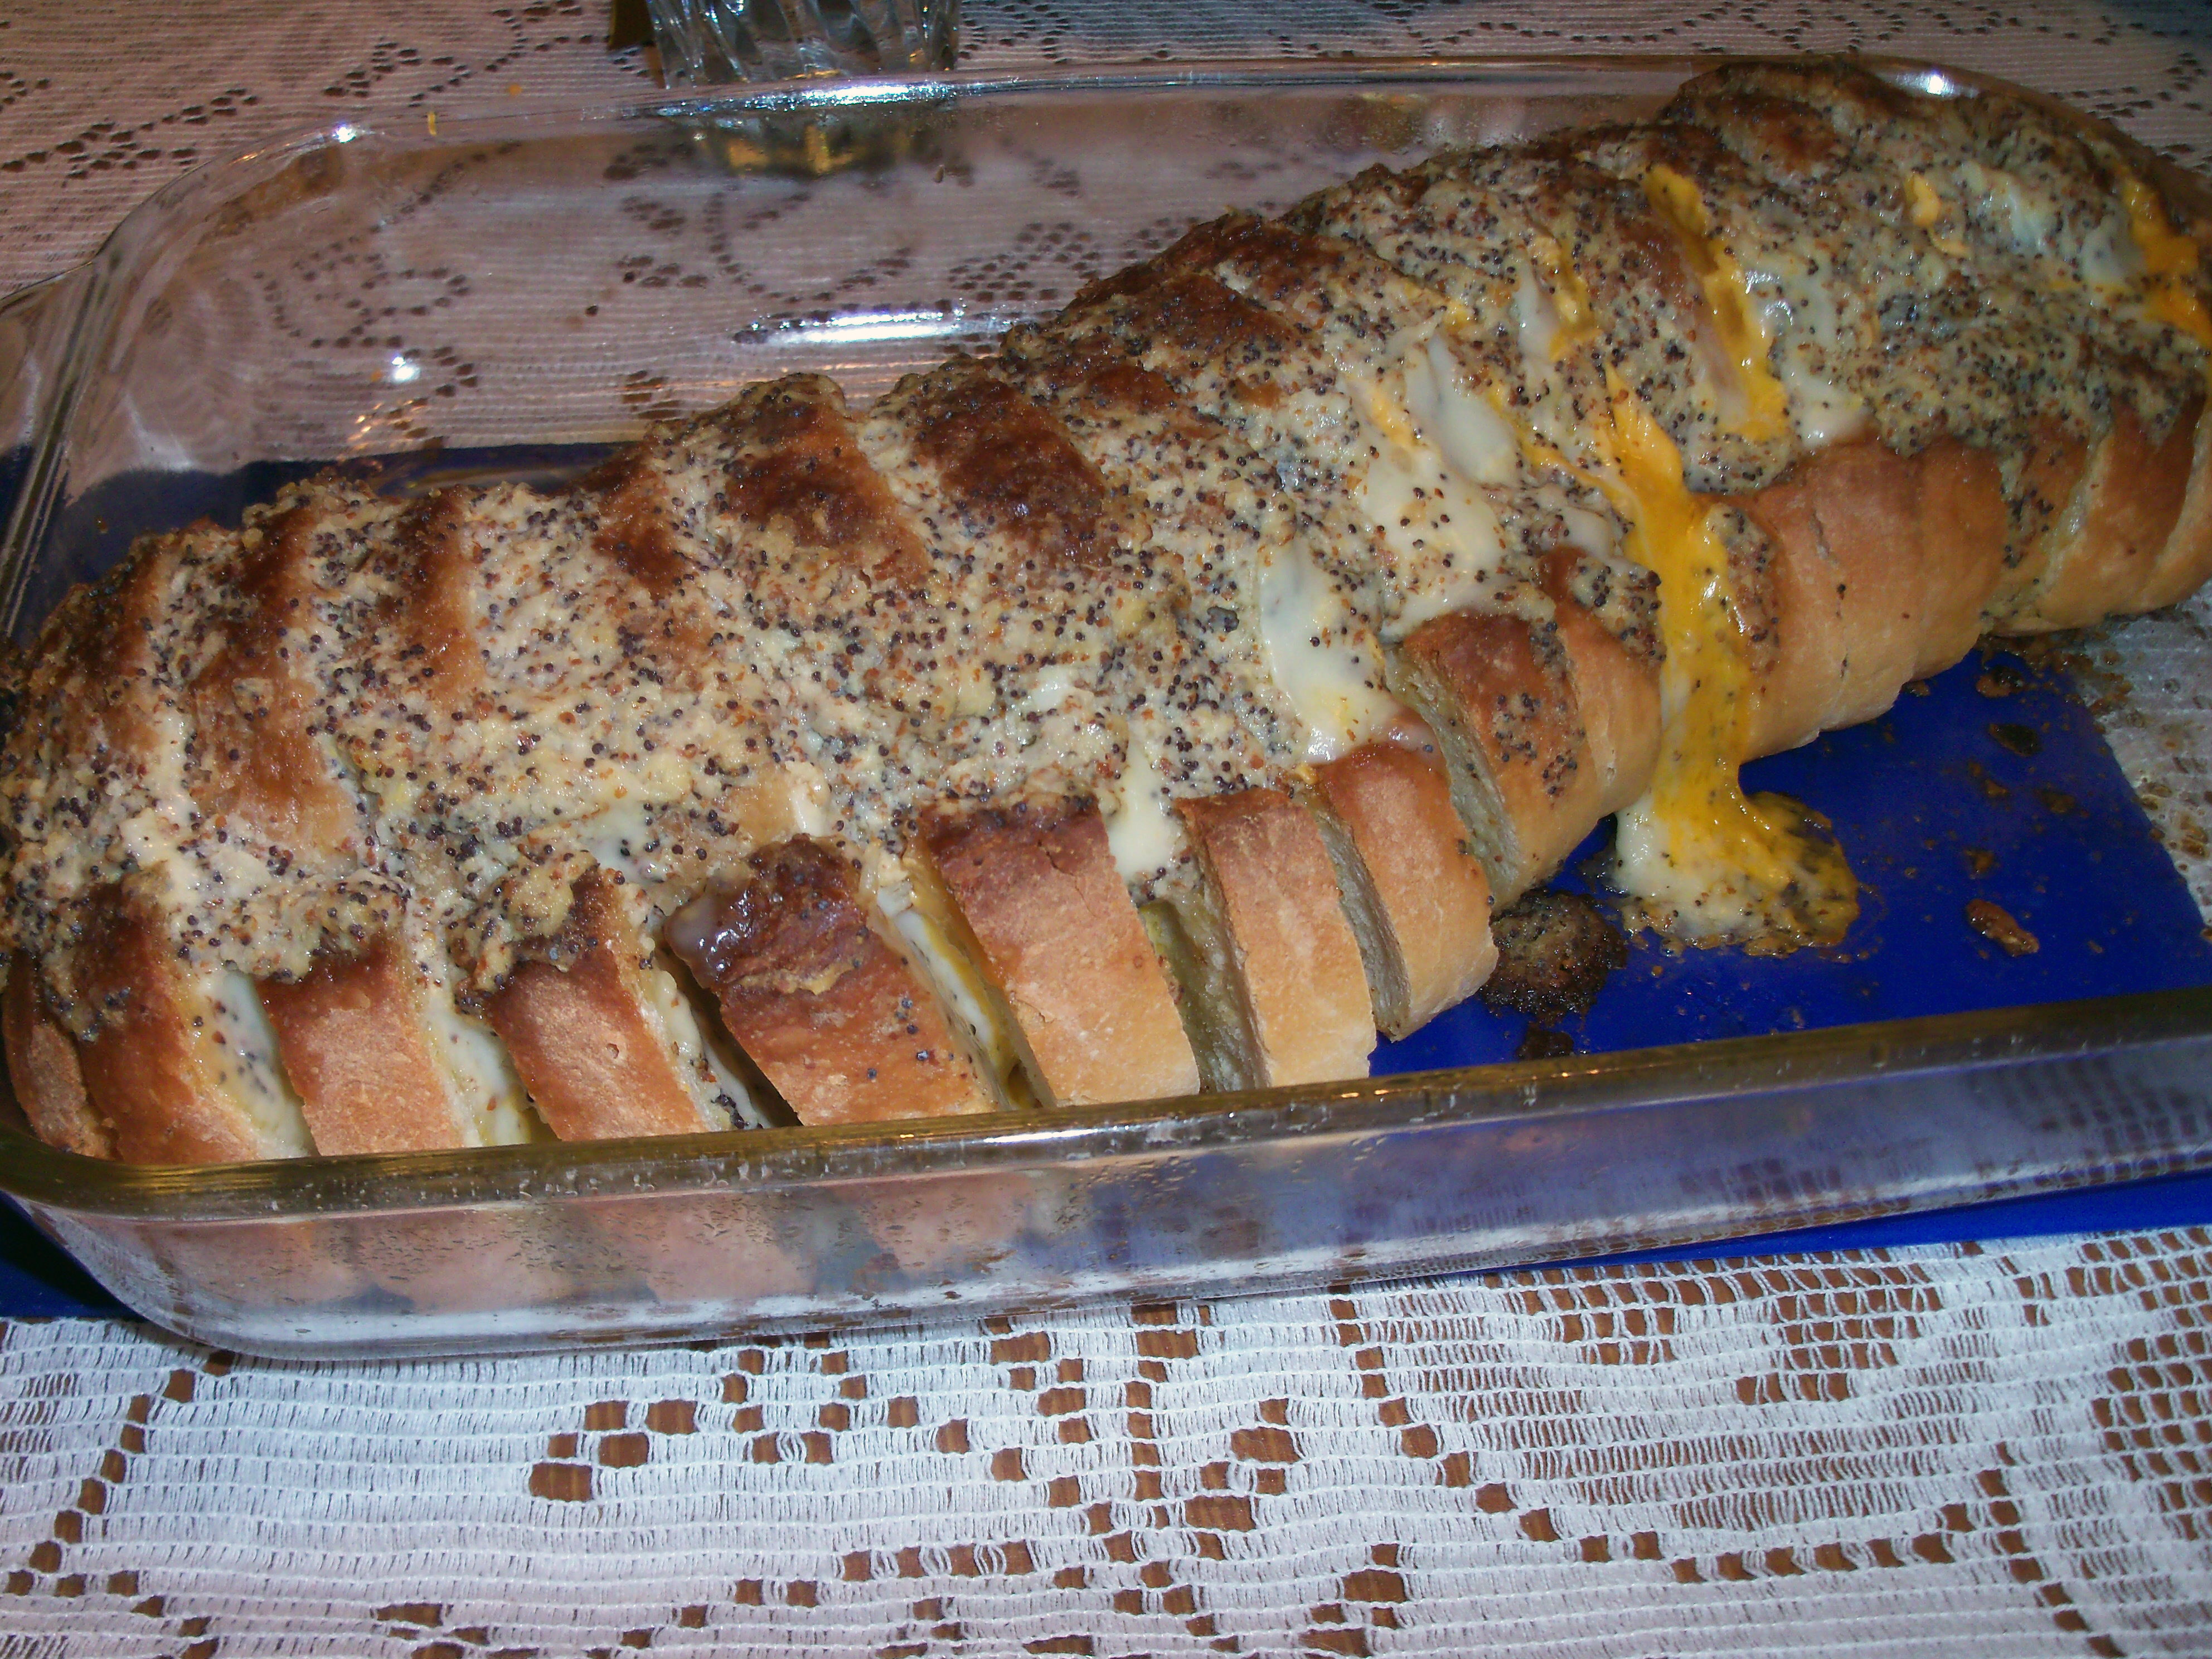
Mix butter, oil, onion, mustard, poppy seeds and lemon juice together. Preheat oven to 375 degrees. Spray an 8 x 12 glass baking pan (first test your loaf to see if it will be held in place and not flop apart – if you have a shorter loaf, use a shorter pan so that the bread is supported by the ends of the pan – it is also possible to just wrap the bread in foil to hold it together). Place the bread in the pan. Using a knife or small spatula, spread the butter mixture on one side of every piece of bread and reserve enough to spread all across the top of the bread.

Hal’s recipe calls for Swiss  and American cheese – but I use Swiss and cheddar. You could substitute any type of cheese you like Place half a slice (I’m referring to those presliced pieces of cheese you can buy – if you’re slicing your own, just approximate this size and remember to keep it thin) each of Swiss and cheddar between each slice of bread.

Smear the remaining butter mix across the top.  Cover with foil and bake for at least 30 minutes or until all the cheese is melted (it could take up to 15 minutes more if your cheese is thick or your loaf is very large). If it is getting too brown, reduce heat.

This is even better the next day.

Bookmark and Share

We are not Jewish. Yet every year I make Chanukah bread.  And every year we remember that Hal Linden is (was? I don’t even know if he is still alive) Jewish and pay homage to him. It’s definitely a little kooky, but let me explain. Back when we were first married, I was in college. … Read more

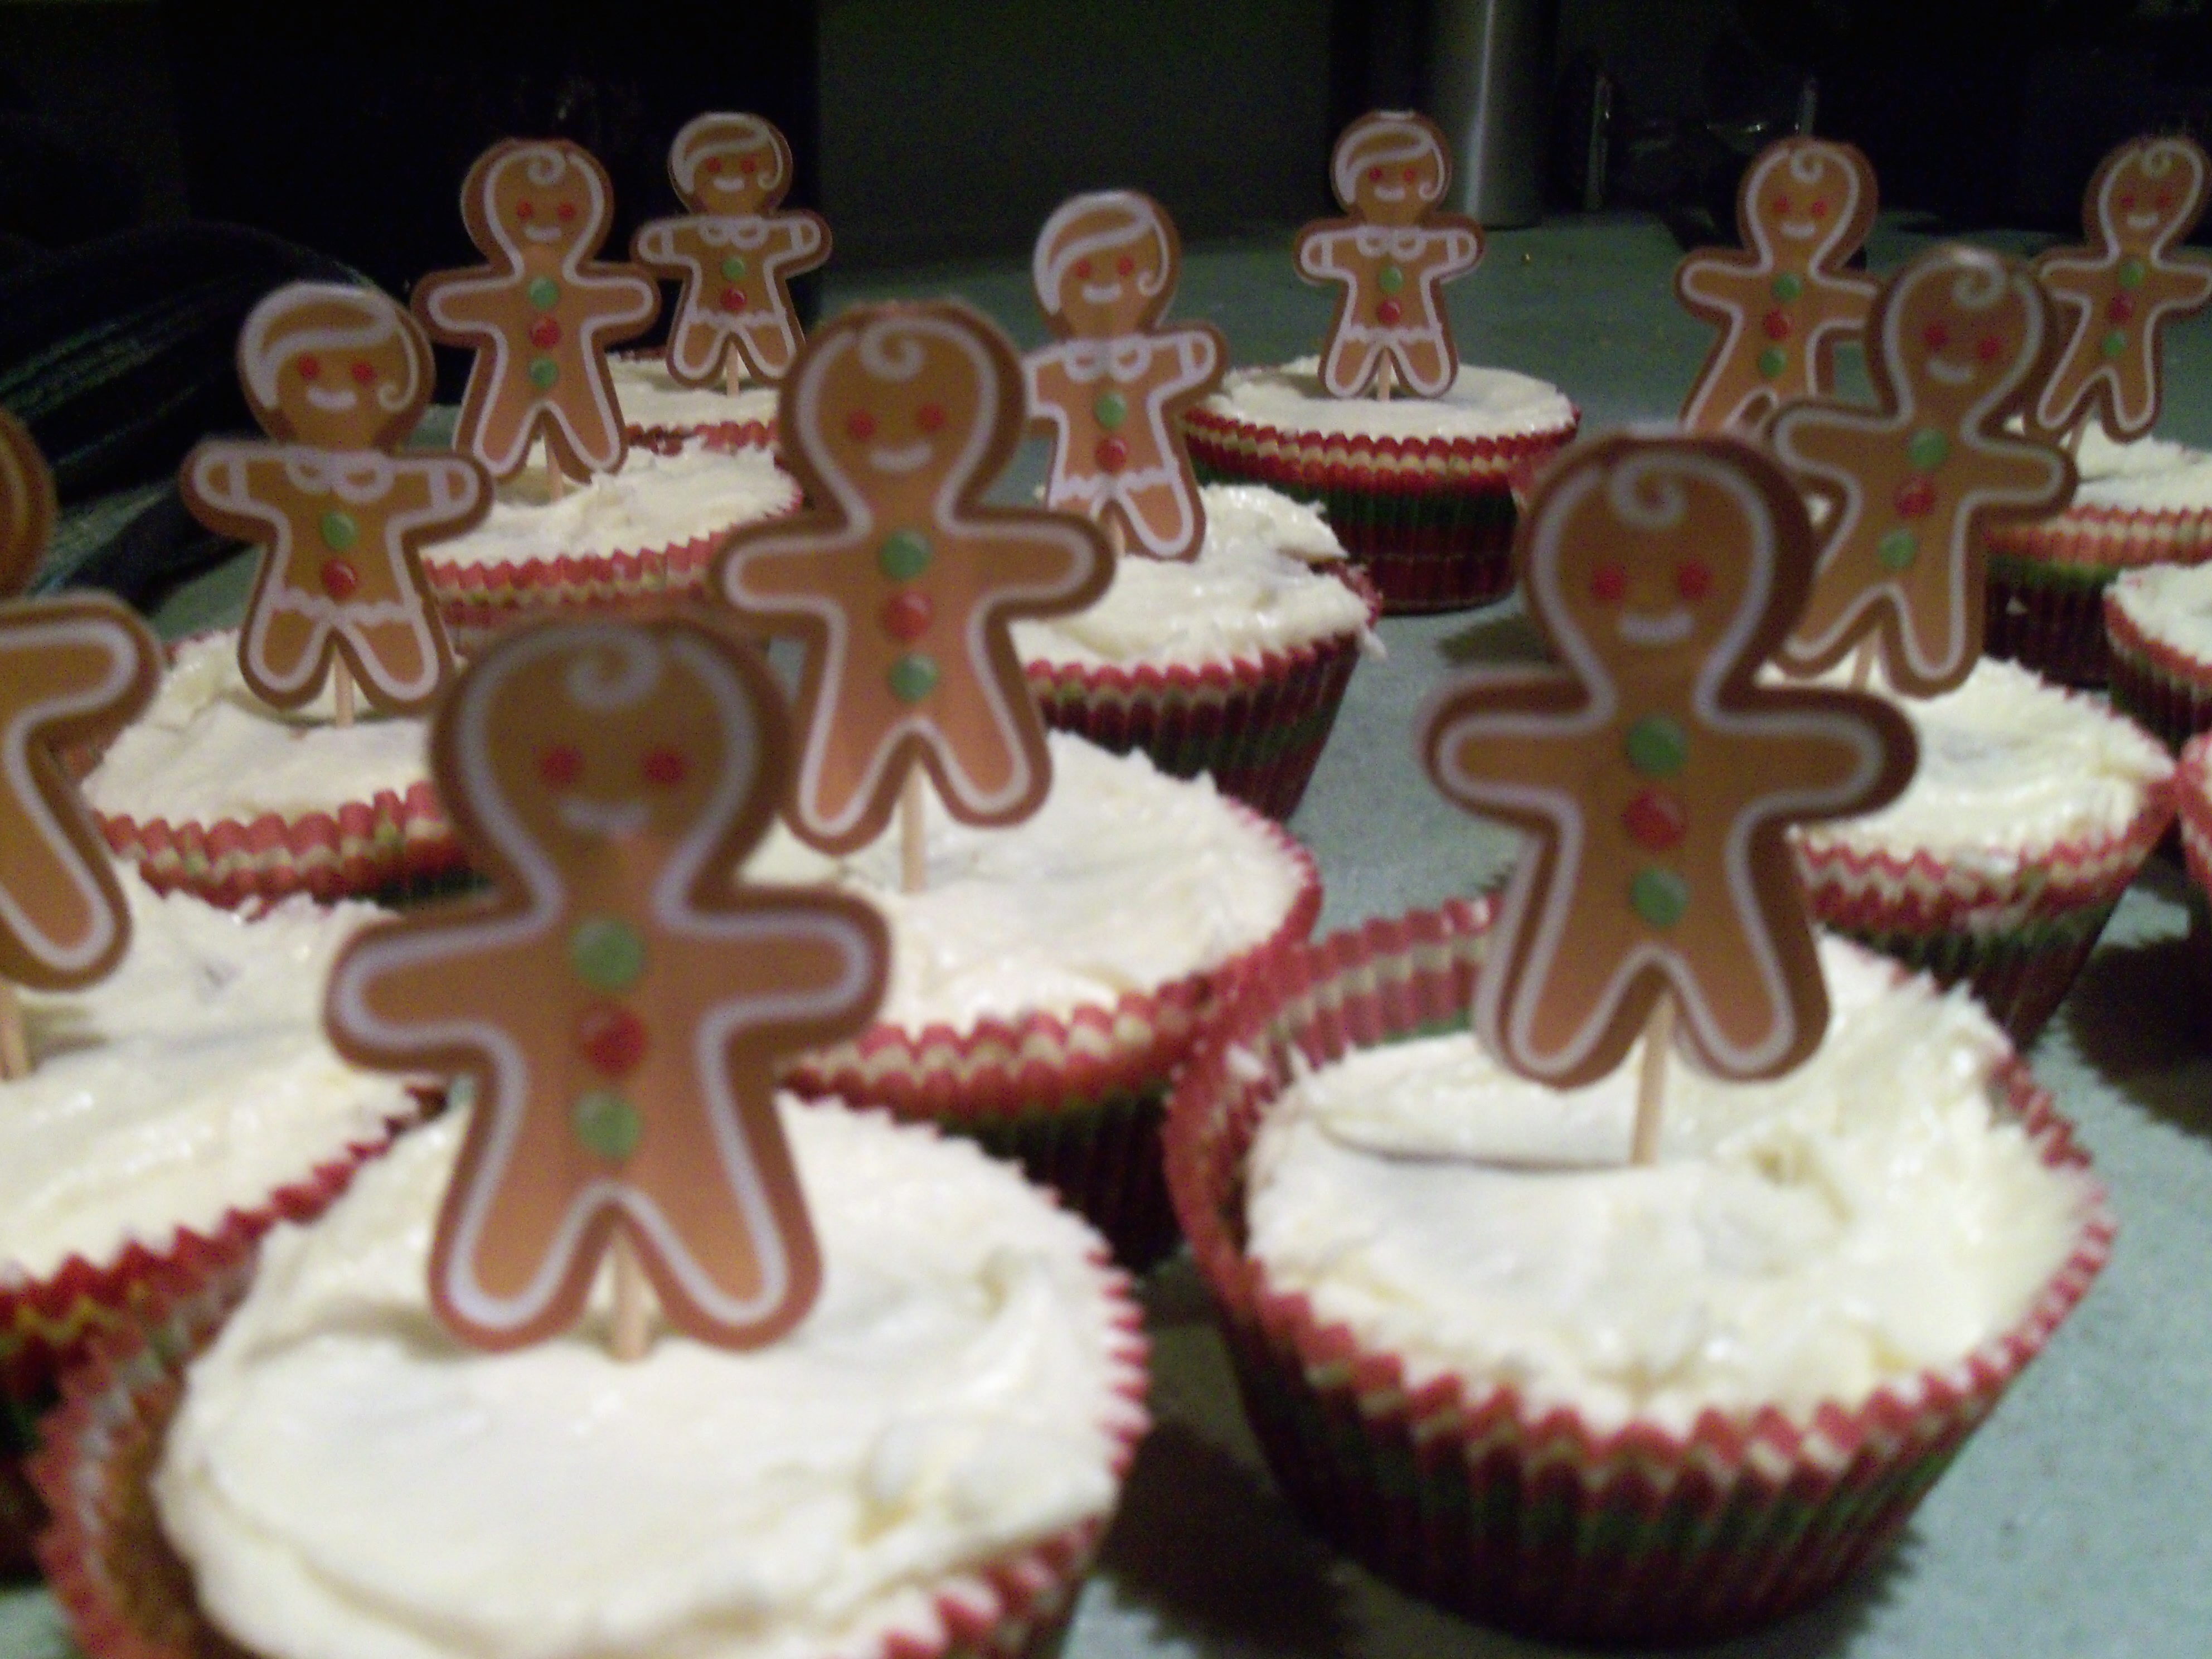
Gingerbread cupcakes – what could be a better pick for December? I was so enthusiastic about these, I even bought holiday cupcake papers and little gingerbread toothpick guys to decorate. This recipe is from the Martha Stewart Cupcake book. Visit the MSC Cupcake Club page and other members if you get a chance.

As always, these cupcakes were a breeze to whip up. There was only one small problem – I didn’t have quite enough ginger. I only had 1 1/2 tbsp and the recipe called for 2 tbsp. Sorry Martha!

This made 22 very small cupcakes. Usually I like to fill my cupcake tins pretty close to the top and have them rise out of the tins. There wasn’t enough to do this and they didn’t rise a lot.

I just made a plain white frosting and decorated with my toothpick guys (as always I am sure I will be embarrassed once I see the other club members’ creativity!).

As for taste, I was not a big fan. I would rather eat real gingerbread. The kids liked them and so did Mr. MarthaAndMe. I sent most of these off to school with Teen Martha who fed them to her Virgil (Latin) class.

Bookmark and Share

Gingerbread cupcakes – what could be a better pick for December? I was so enthusiastic about these, I even bought holiday cupcake papers and little gingerbread toothpick guys to decorate. This recipe is from the Martha Stewart Cupcake book. Visit the MSC Cupcake Club page and other members if you get a chance. As always, … Read more

At this point, dear reader, you must be scratching your head and thinking “What else could she have inherited from her grandmother? Her house must be full!” But, as I’ve been doing since my grandmother passed away in May, I continue to find ways to use, display, and enjoy her belongings with some inspiration from Martha.

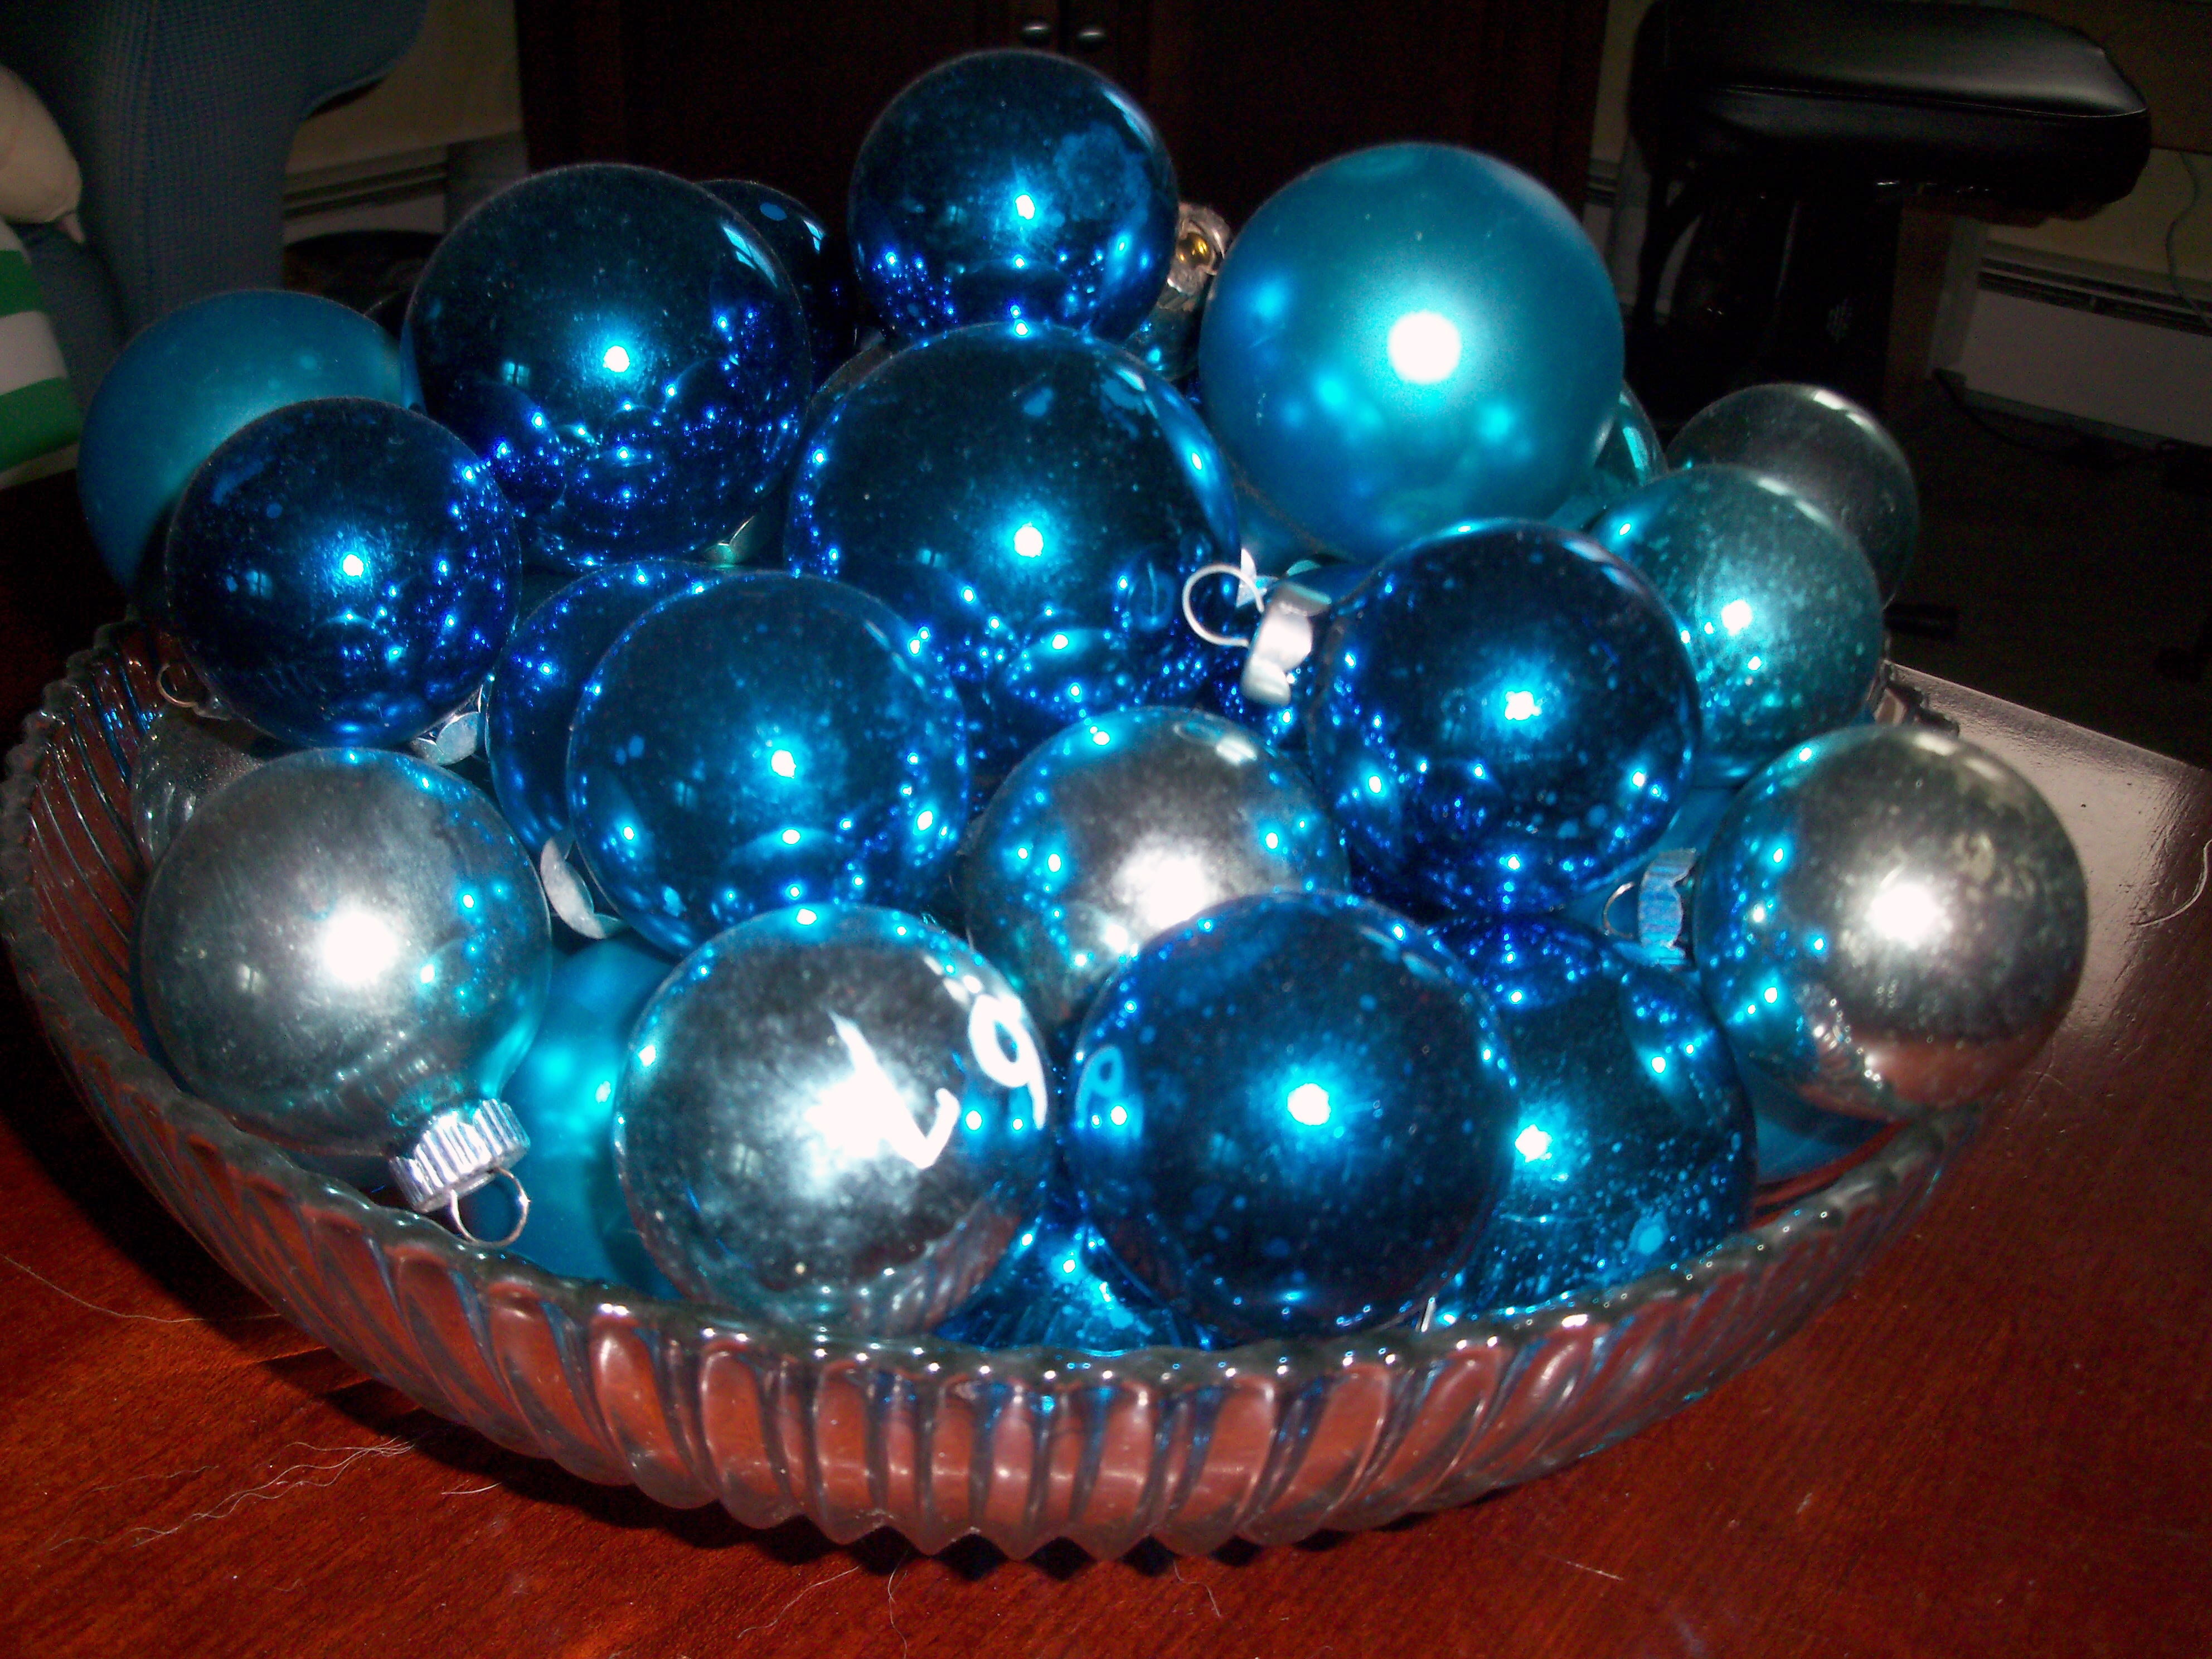
It should be no surprise that now I’m working through the Christmas items I got from her. My grandmother’s Christmas tree was always filled with blue ornaments – blue was her signature color. My own tree is pink (which is my signature color!), so her ornaments don’t work on my tree. I do have a lot of blue in my house, so I gathered all of the blue ornaments I received and put them in a Heise glass bowl she gave to me. It’s on the coffee table in the family room and looks very pretty.

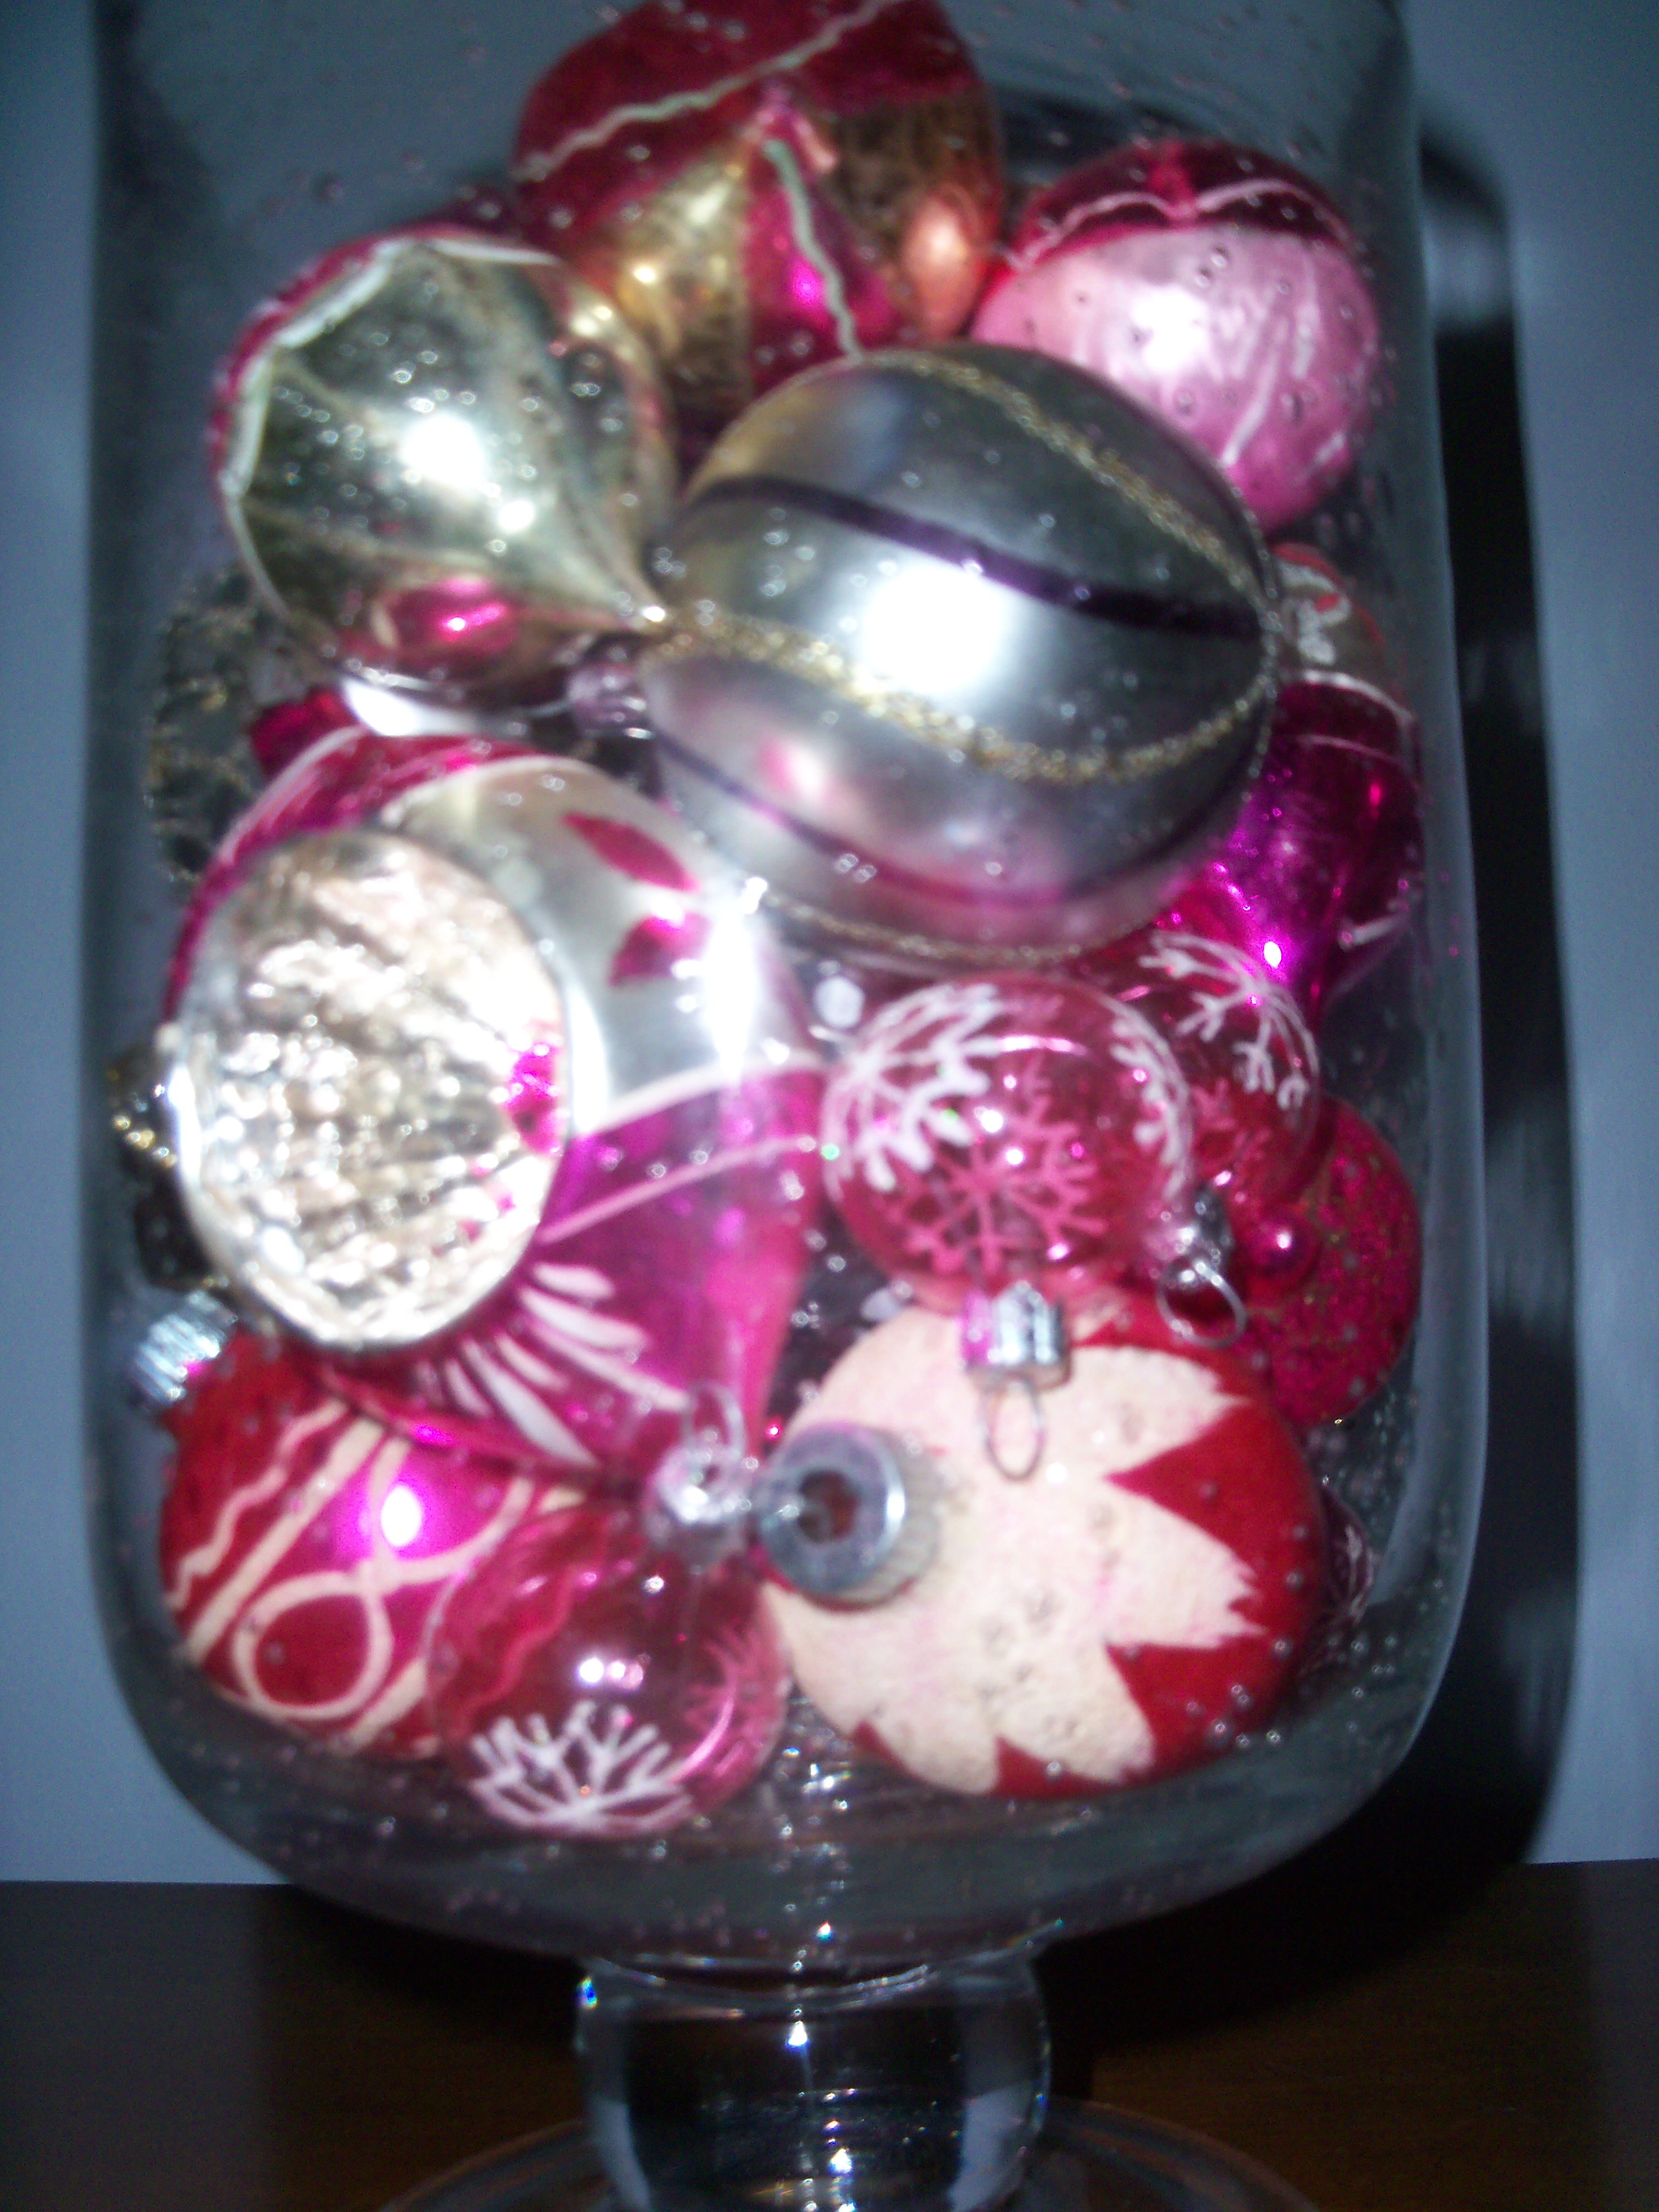
Among her things we also found some pink ornaments – mostly hot pink, which doesn’t quite go with my tree. So I took these and put them in a glass container to display. They look great in my dining room.

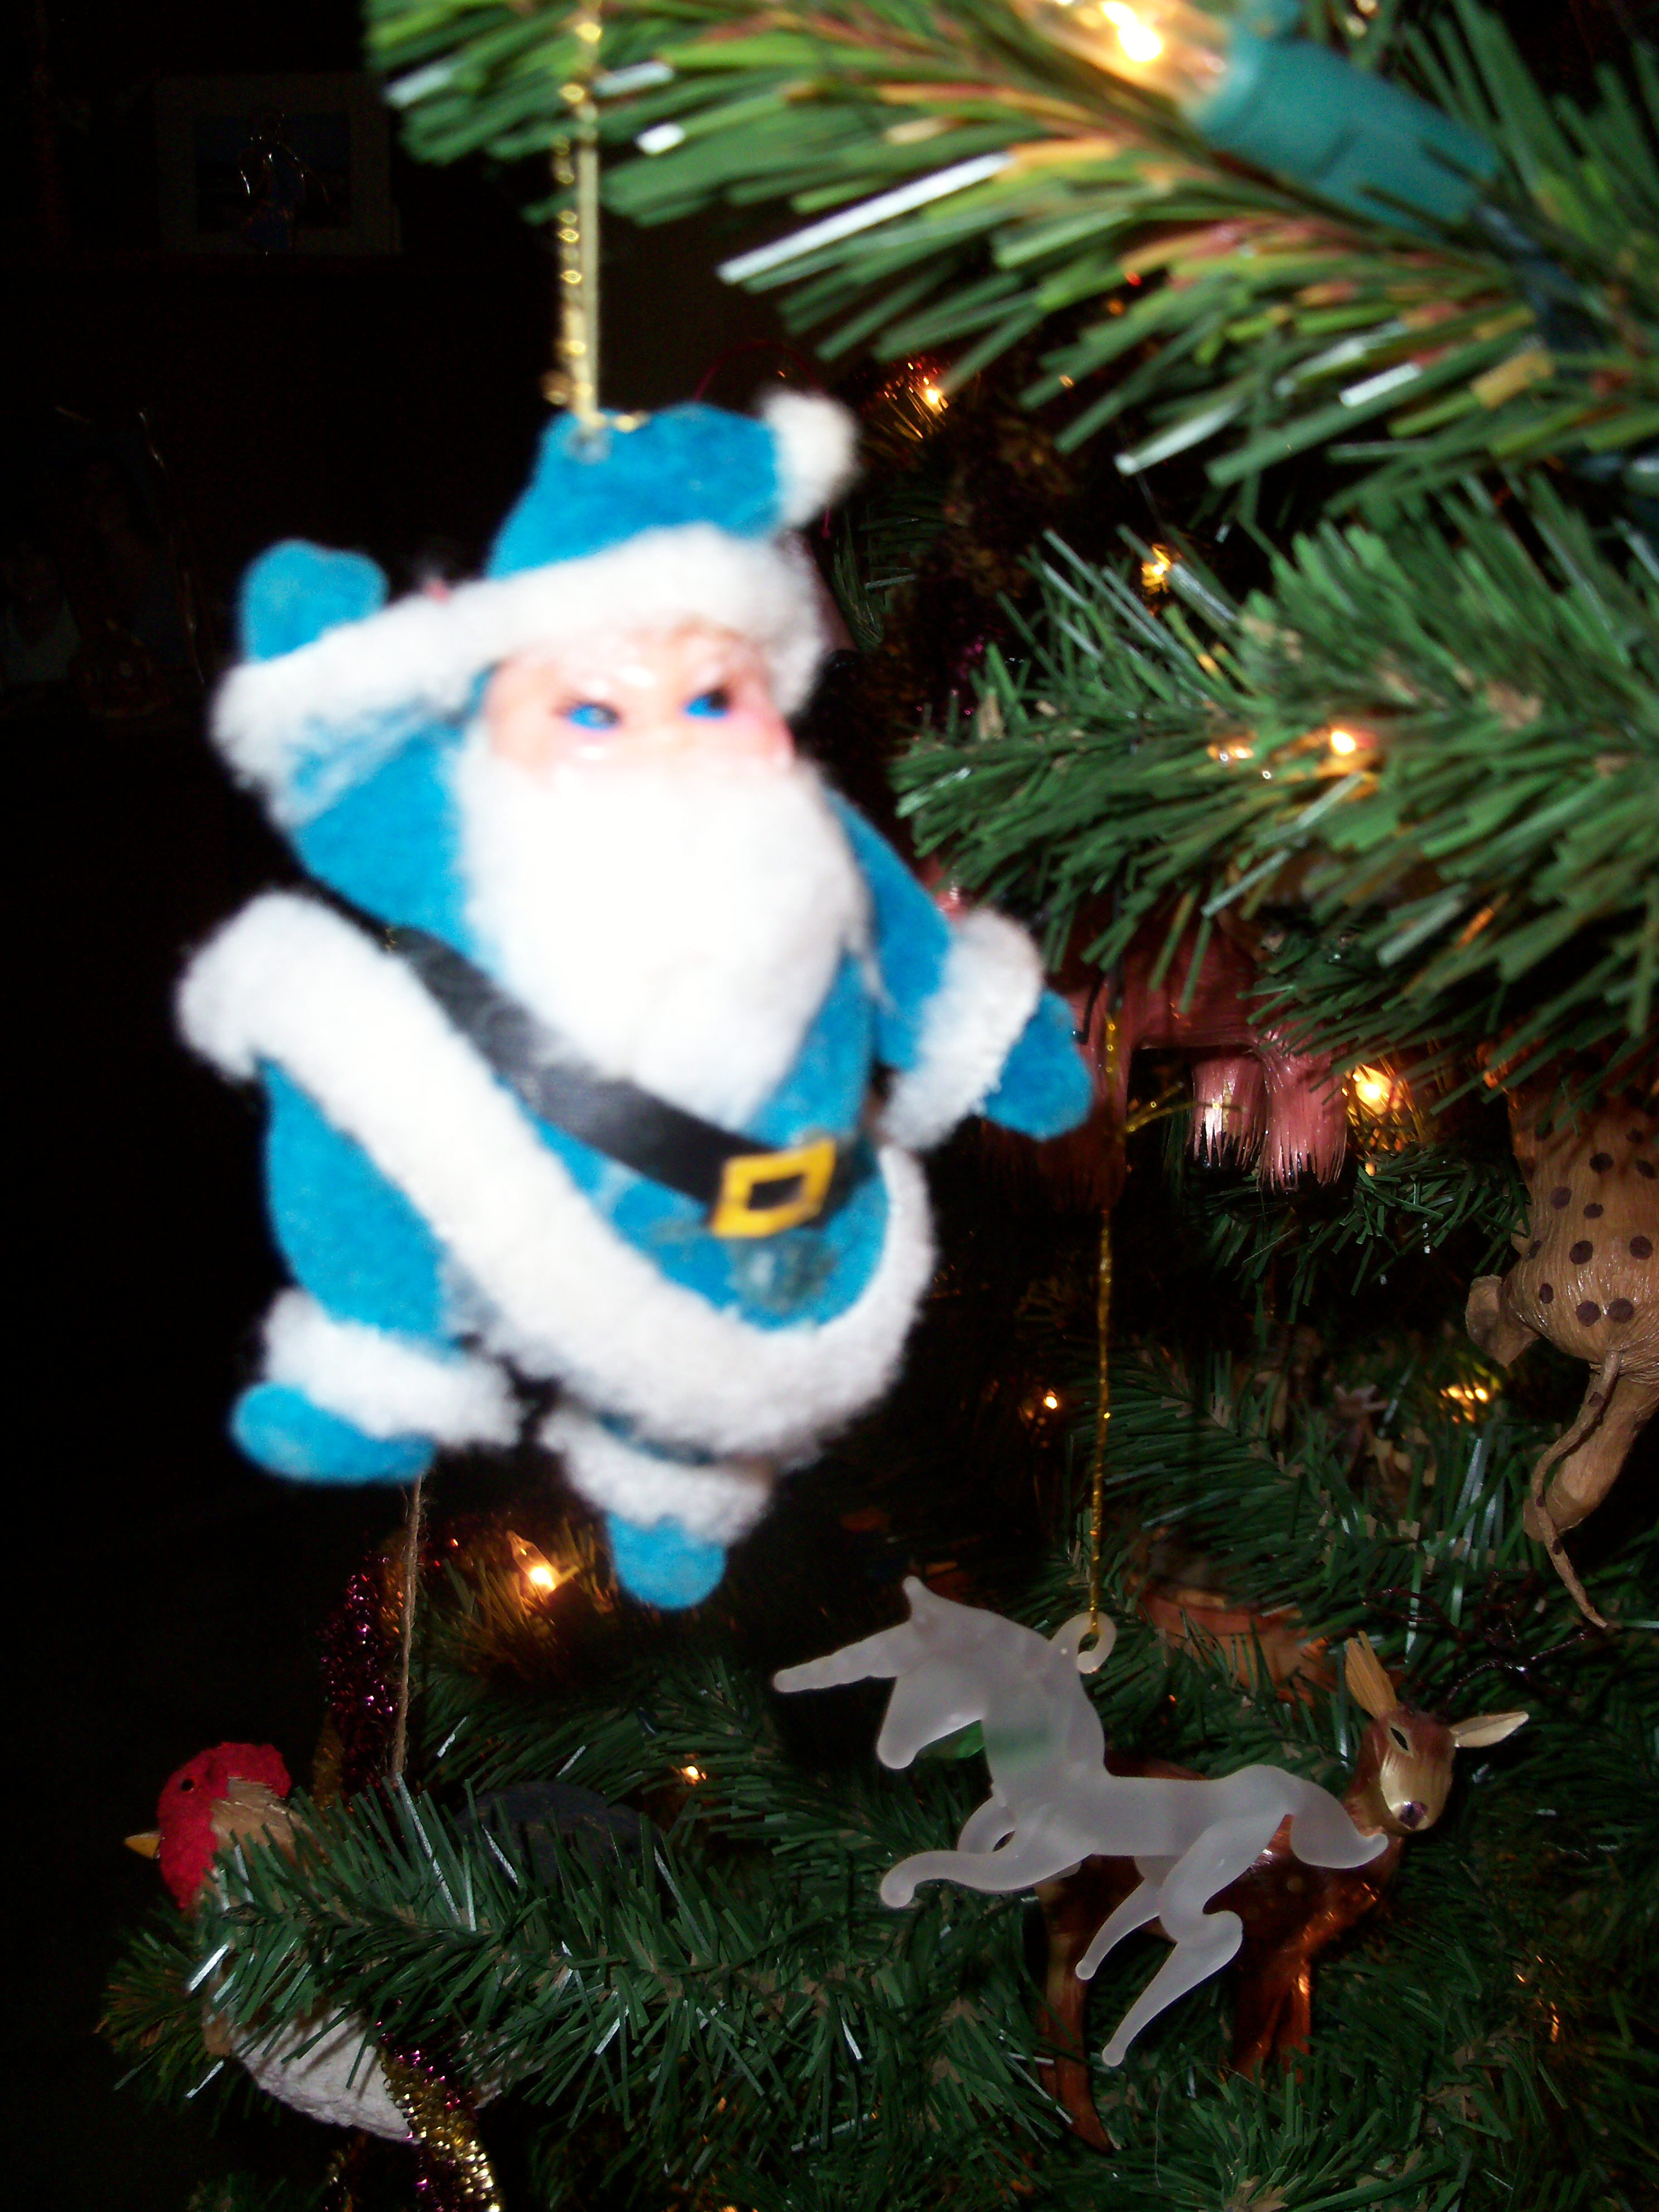
Since everything on her tree was blue, she had a few interesting items you wouldn’t normally find in blue. The most memorable for my kids and me were her blue Santas. She had two blue Santa ornaments she bought in Japan. Every Christmas we would talk about these with her. She was so proud of them. “You never see a blue Santa!” she would say. Since there were two, each of my children got one (and fortunately they are identical so there was no squabbling). The Santas are hanging on the kids’ tree in the family room. They’re a bit old and falling apart (after all, she went to Japan probably 40 years ago)

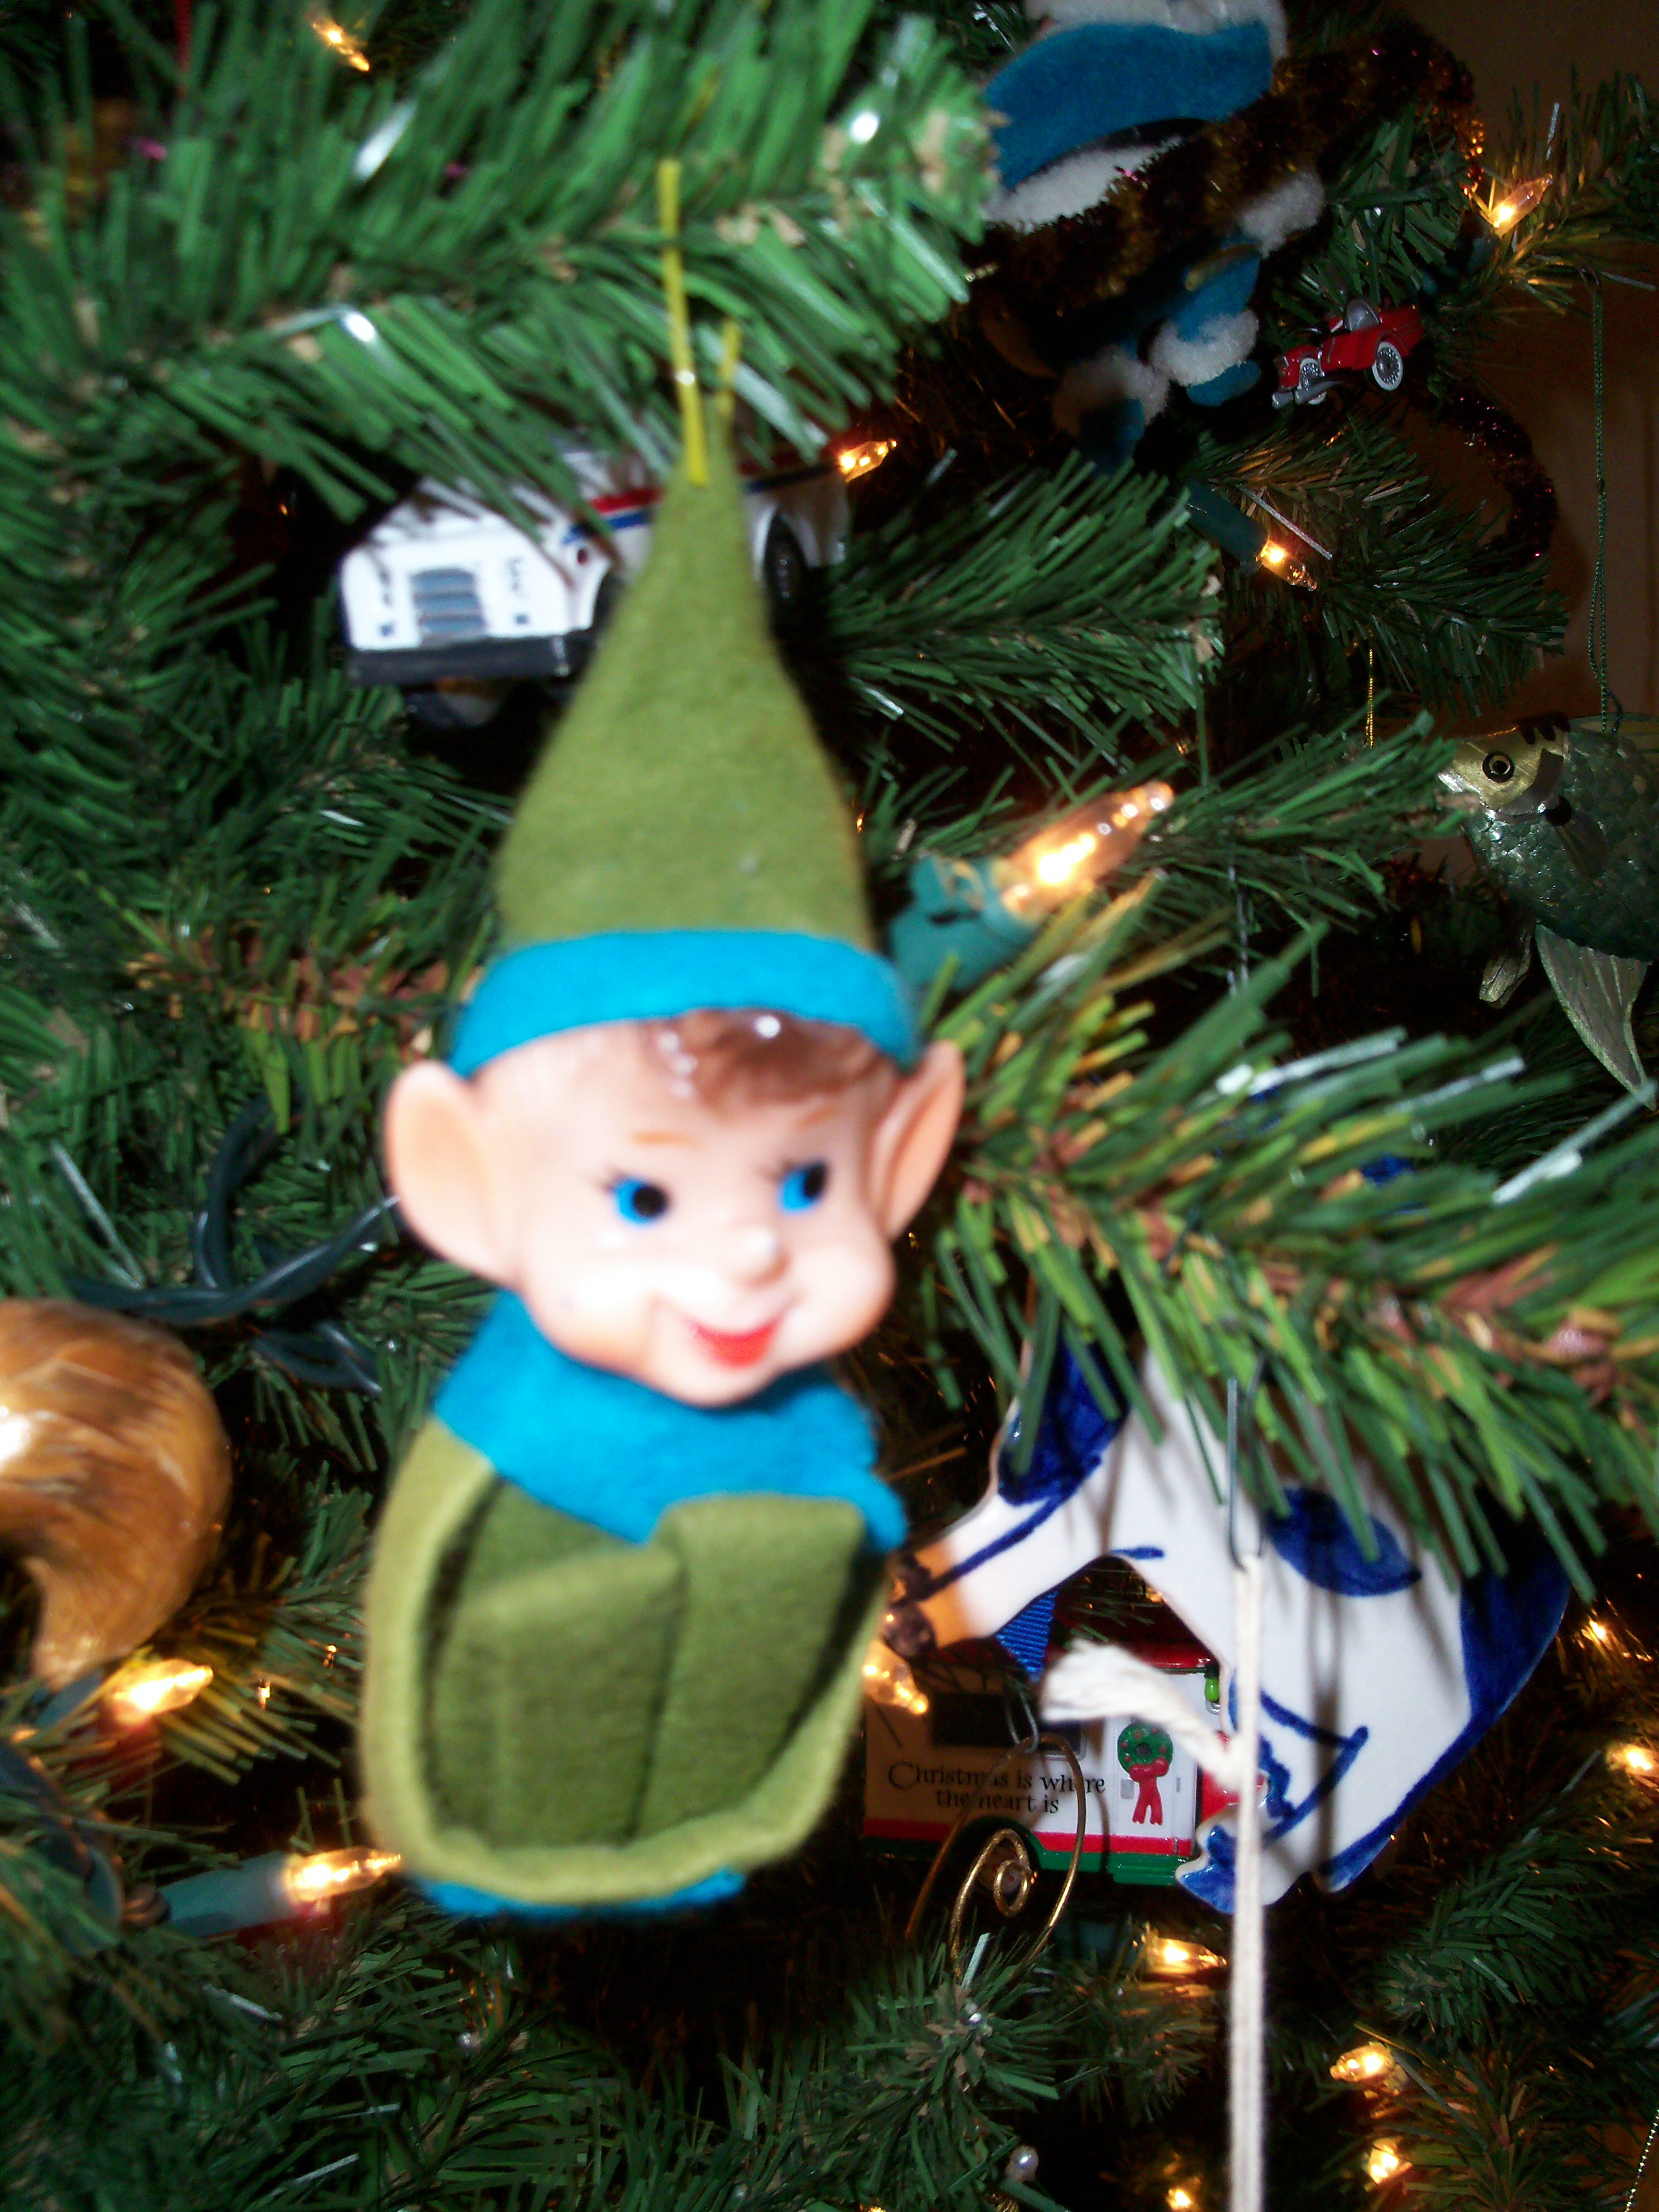
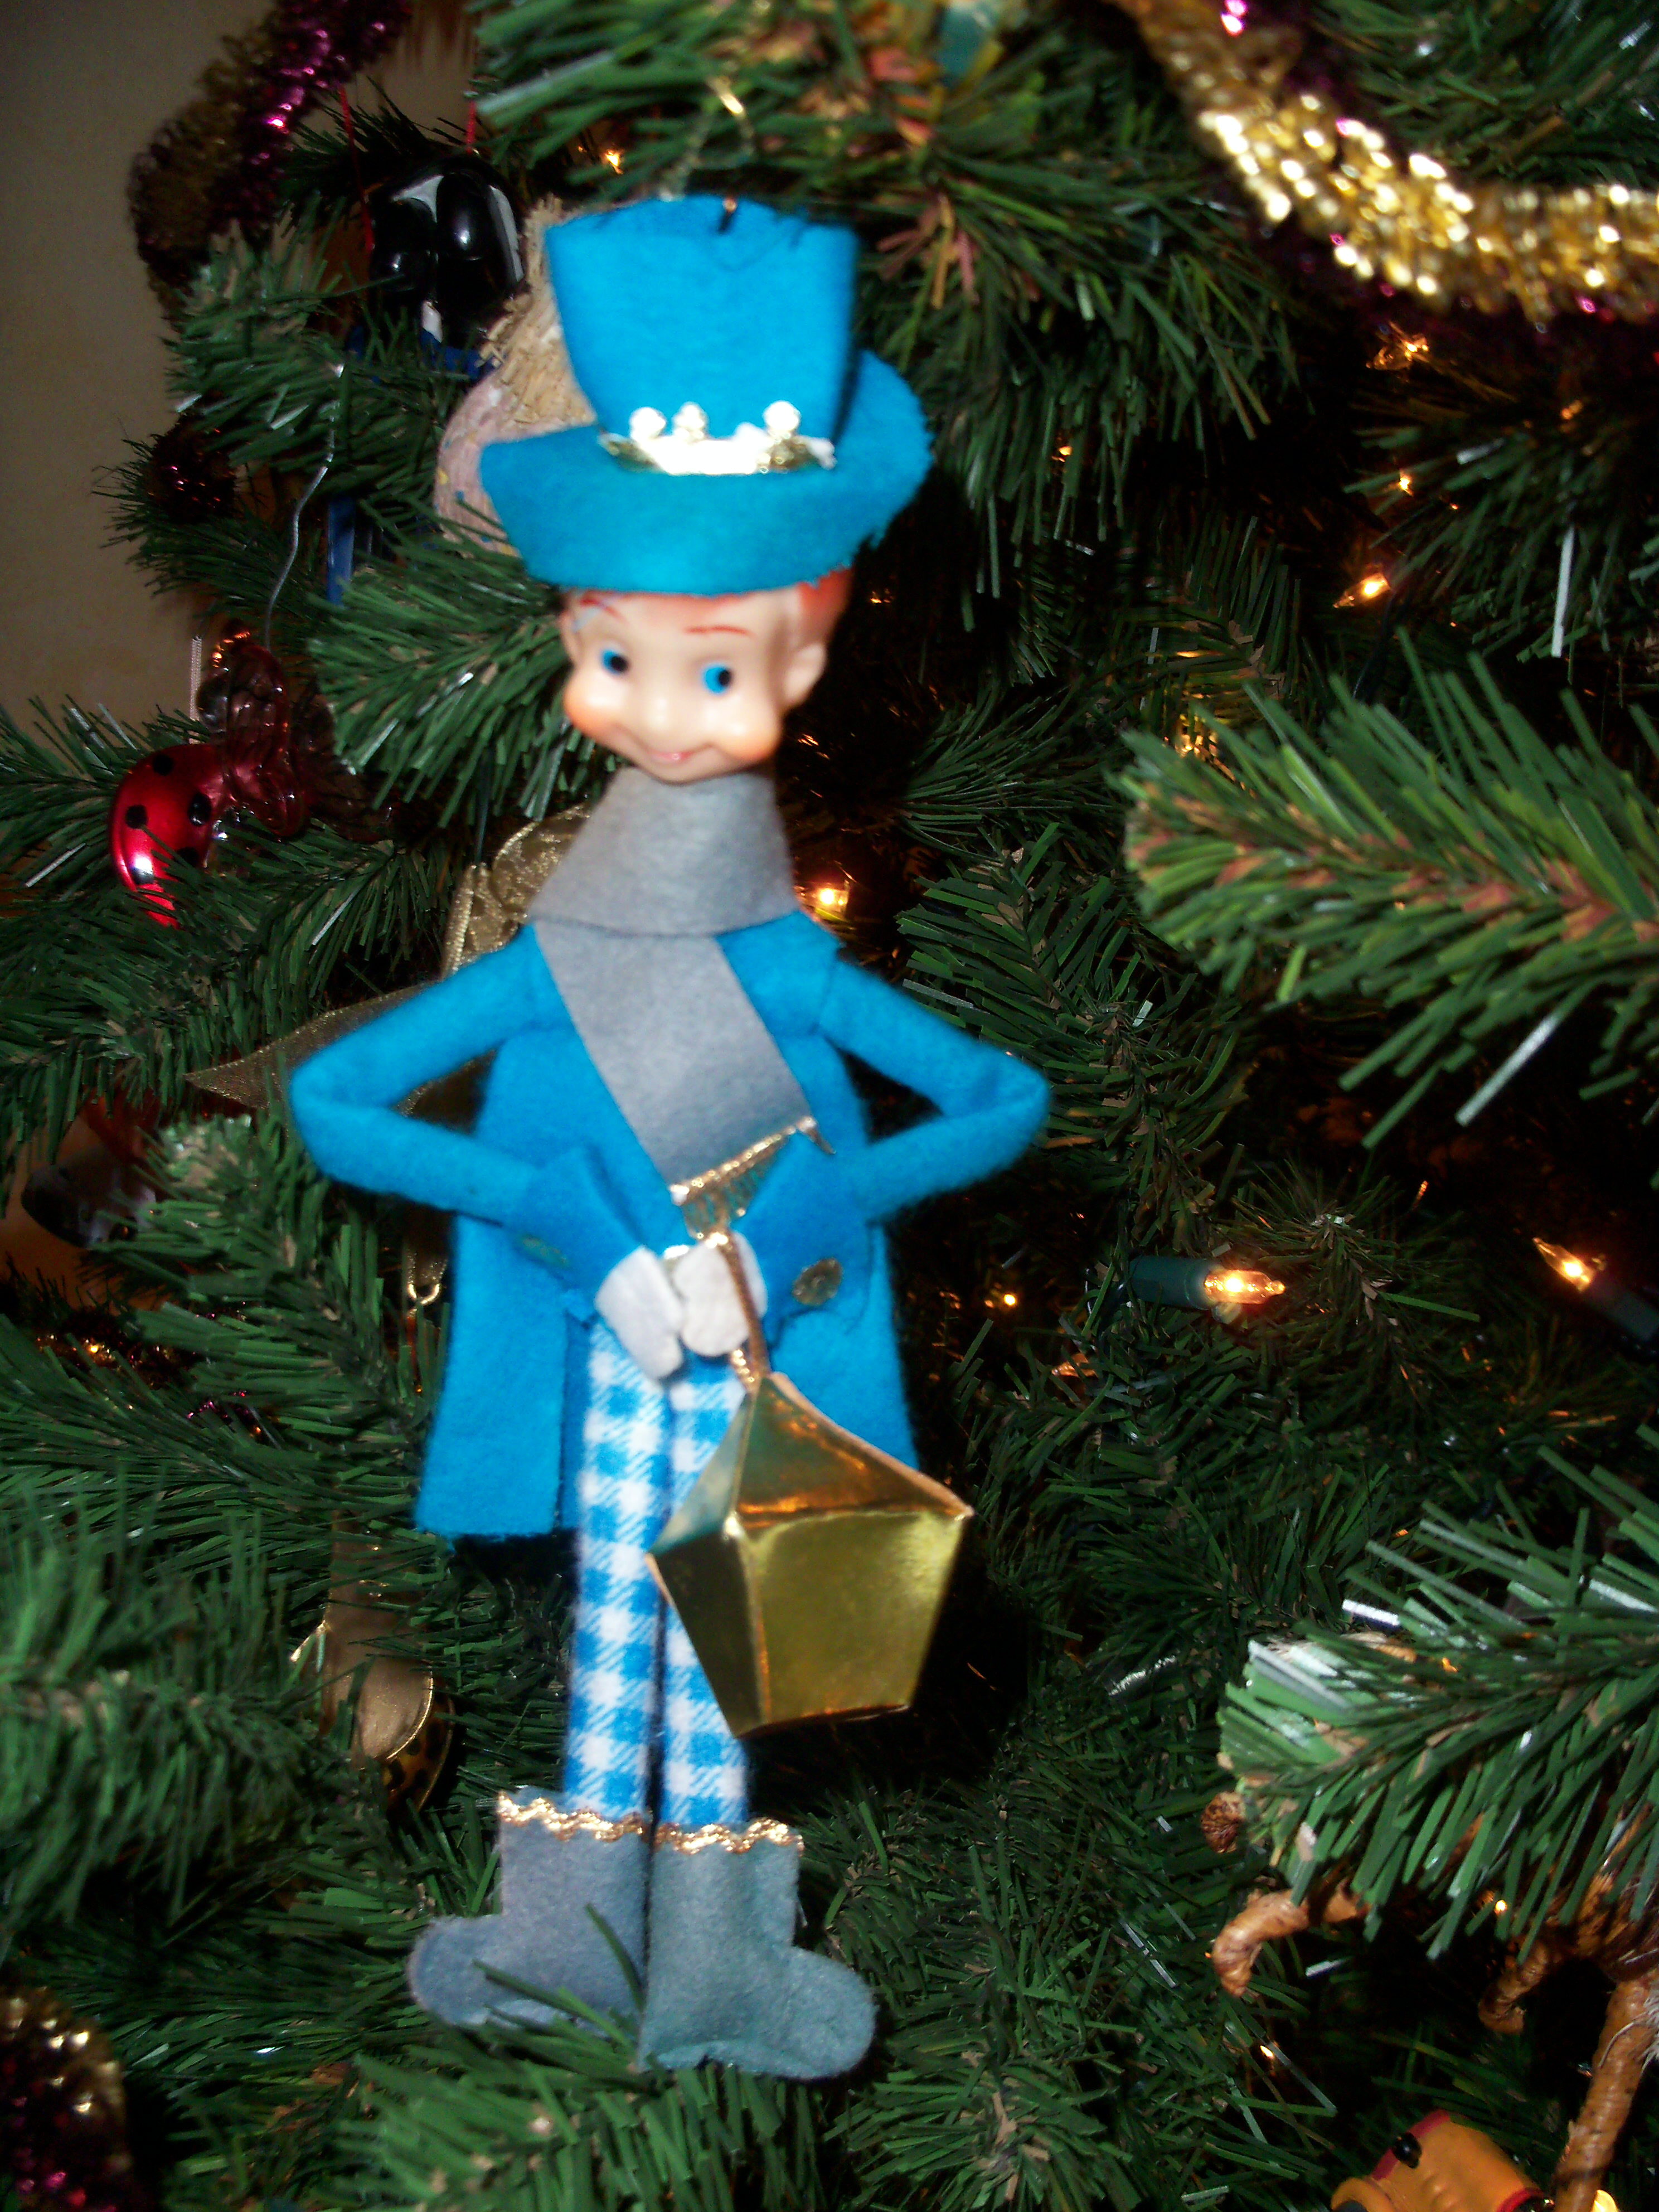
She also had some elves, very 1960s elves, which are of course blue. I tried to put these in my kitchen, but the green color clashed with the sea green of my tile, so instead I gave them to the kids and they hung them on their tree.

Bookmark and Share

At this point, dear reader, you must be scratching your head and thinking “What else could she have inherited from her grandmother? Her house must be full!” But, as I’ve been doing since my grandmother passed away in May, I continue to find ways to use, display, and enjoy her belongings with some inspiration from … Read more

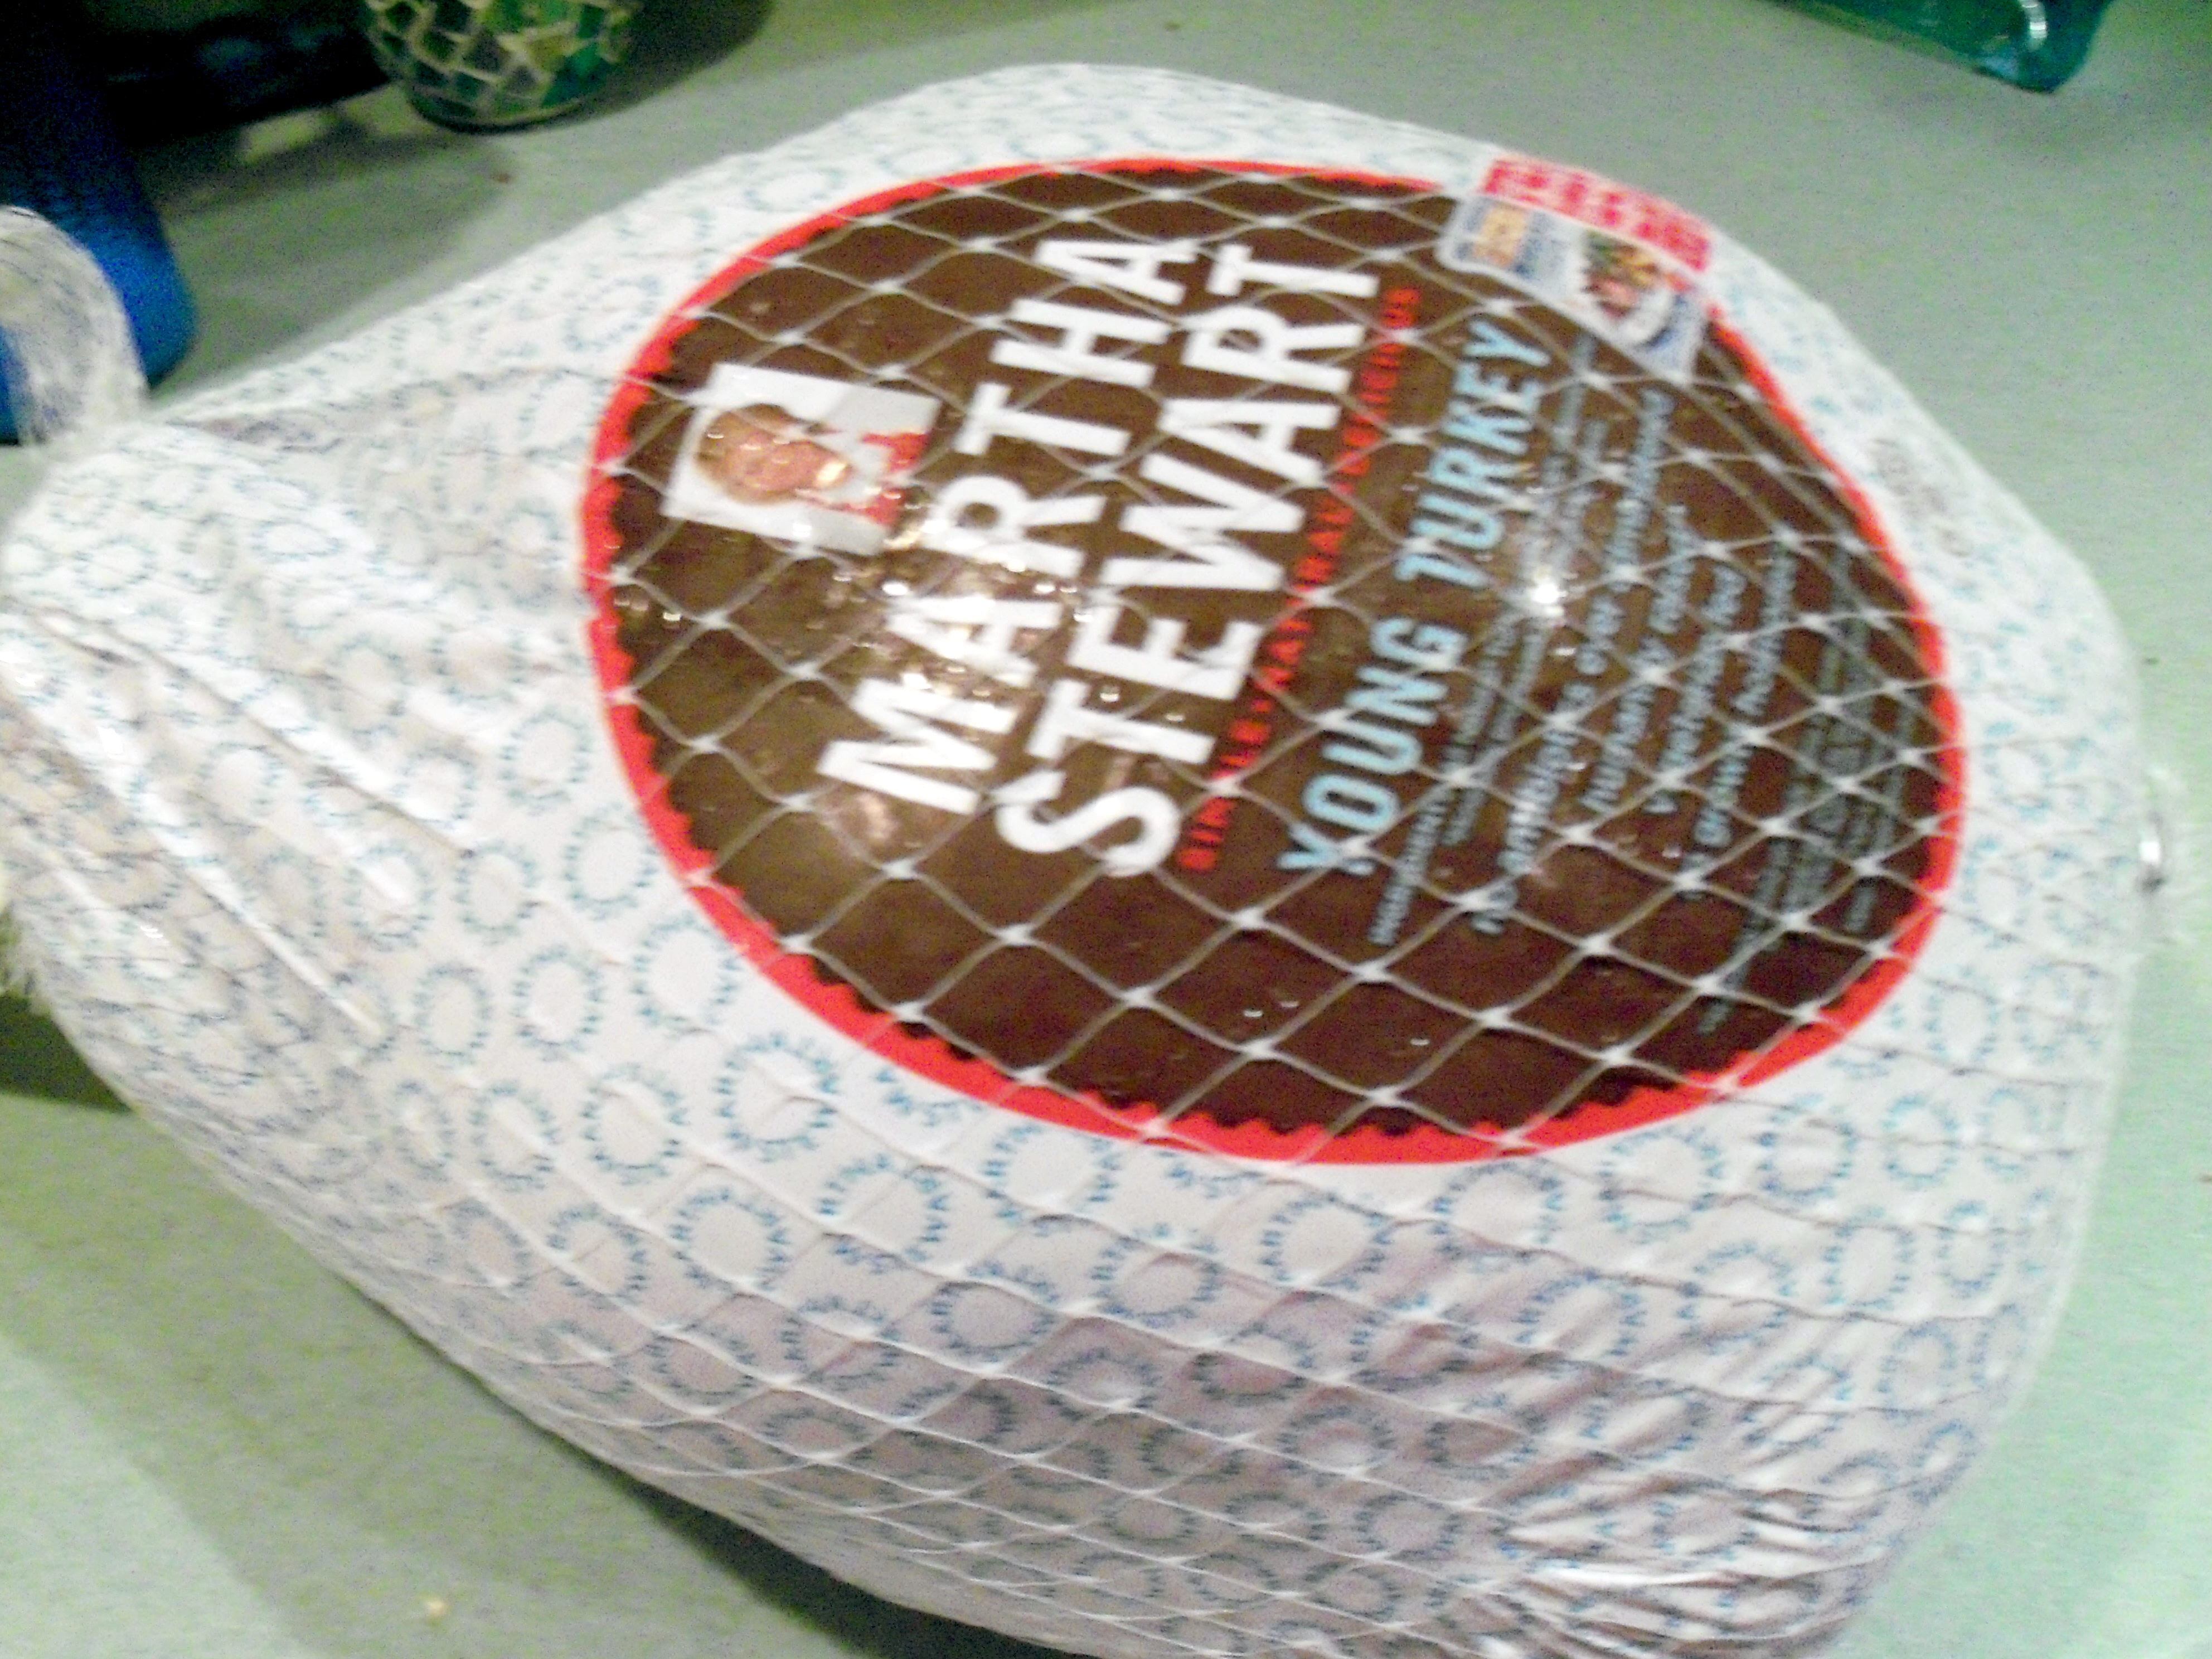
This year I bought one of Martha Stewart’s turkeys. Martha seems to be slowly making her way into the food market, so I was interested to try her turkeys. Martha’s turkeys are described as organic (although not certified), pasture fed and humanely treated – three things that are important to me. Last year I bought an organic turkey at my supermarket, but it was not pasture fed nor humanely treated, so I jumped at the chance to buy one of Martha’s. The cost made me choke a bit. I paid $85.51 (including shipping and AFTER a $15 discount) for a 12 lb turkey. That is quite steep.

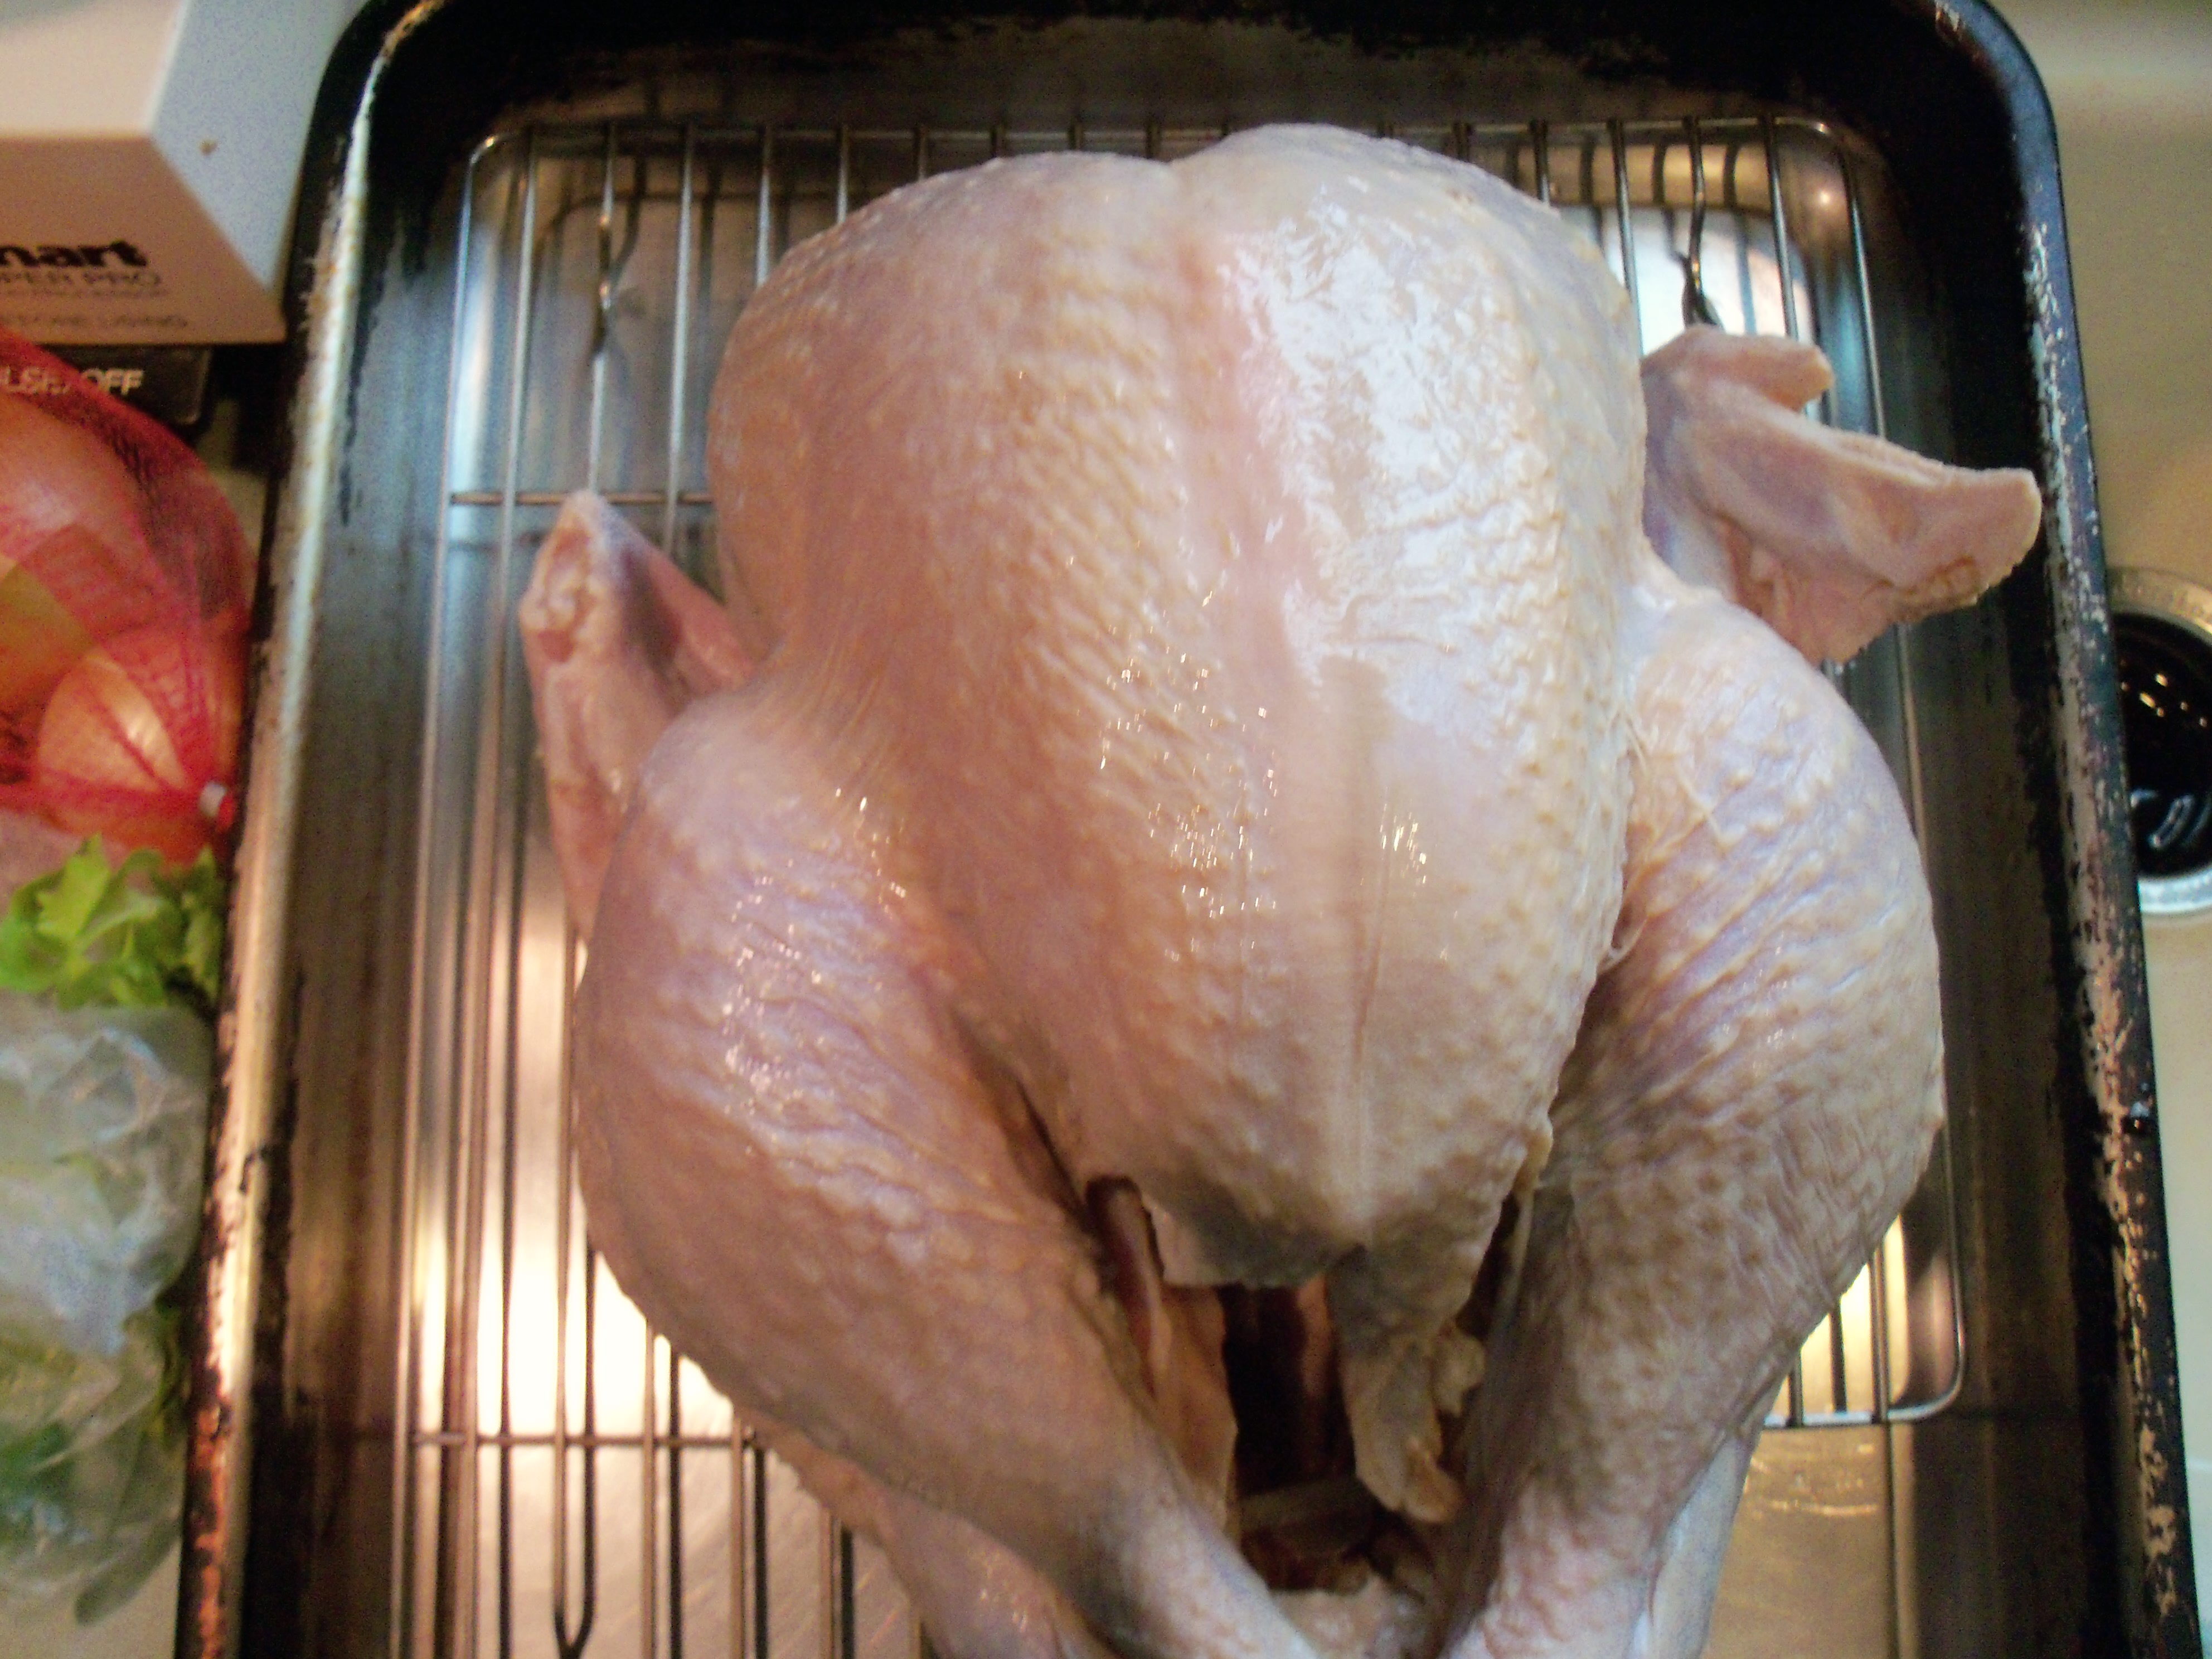
The turkey arrived frozen on the day scheduled. I left it in the fridge to defrost. This took much longer than Martha said it would. I got the turkey exactly one week before Thanksgiving and it was not fully defrosted until the day before.

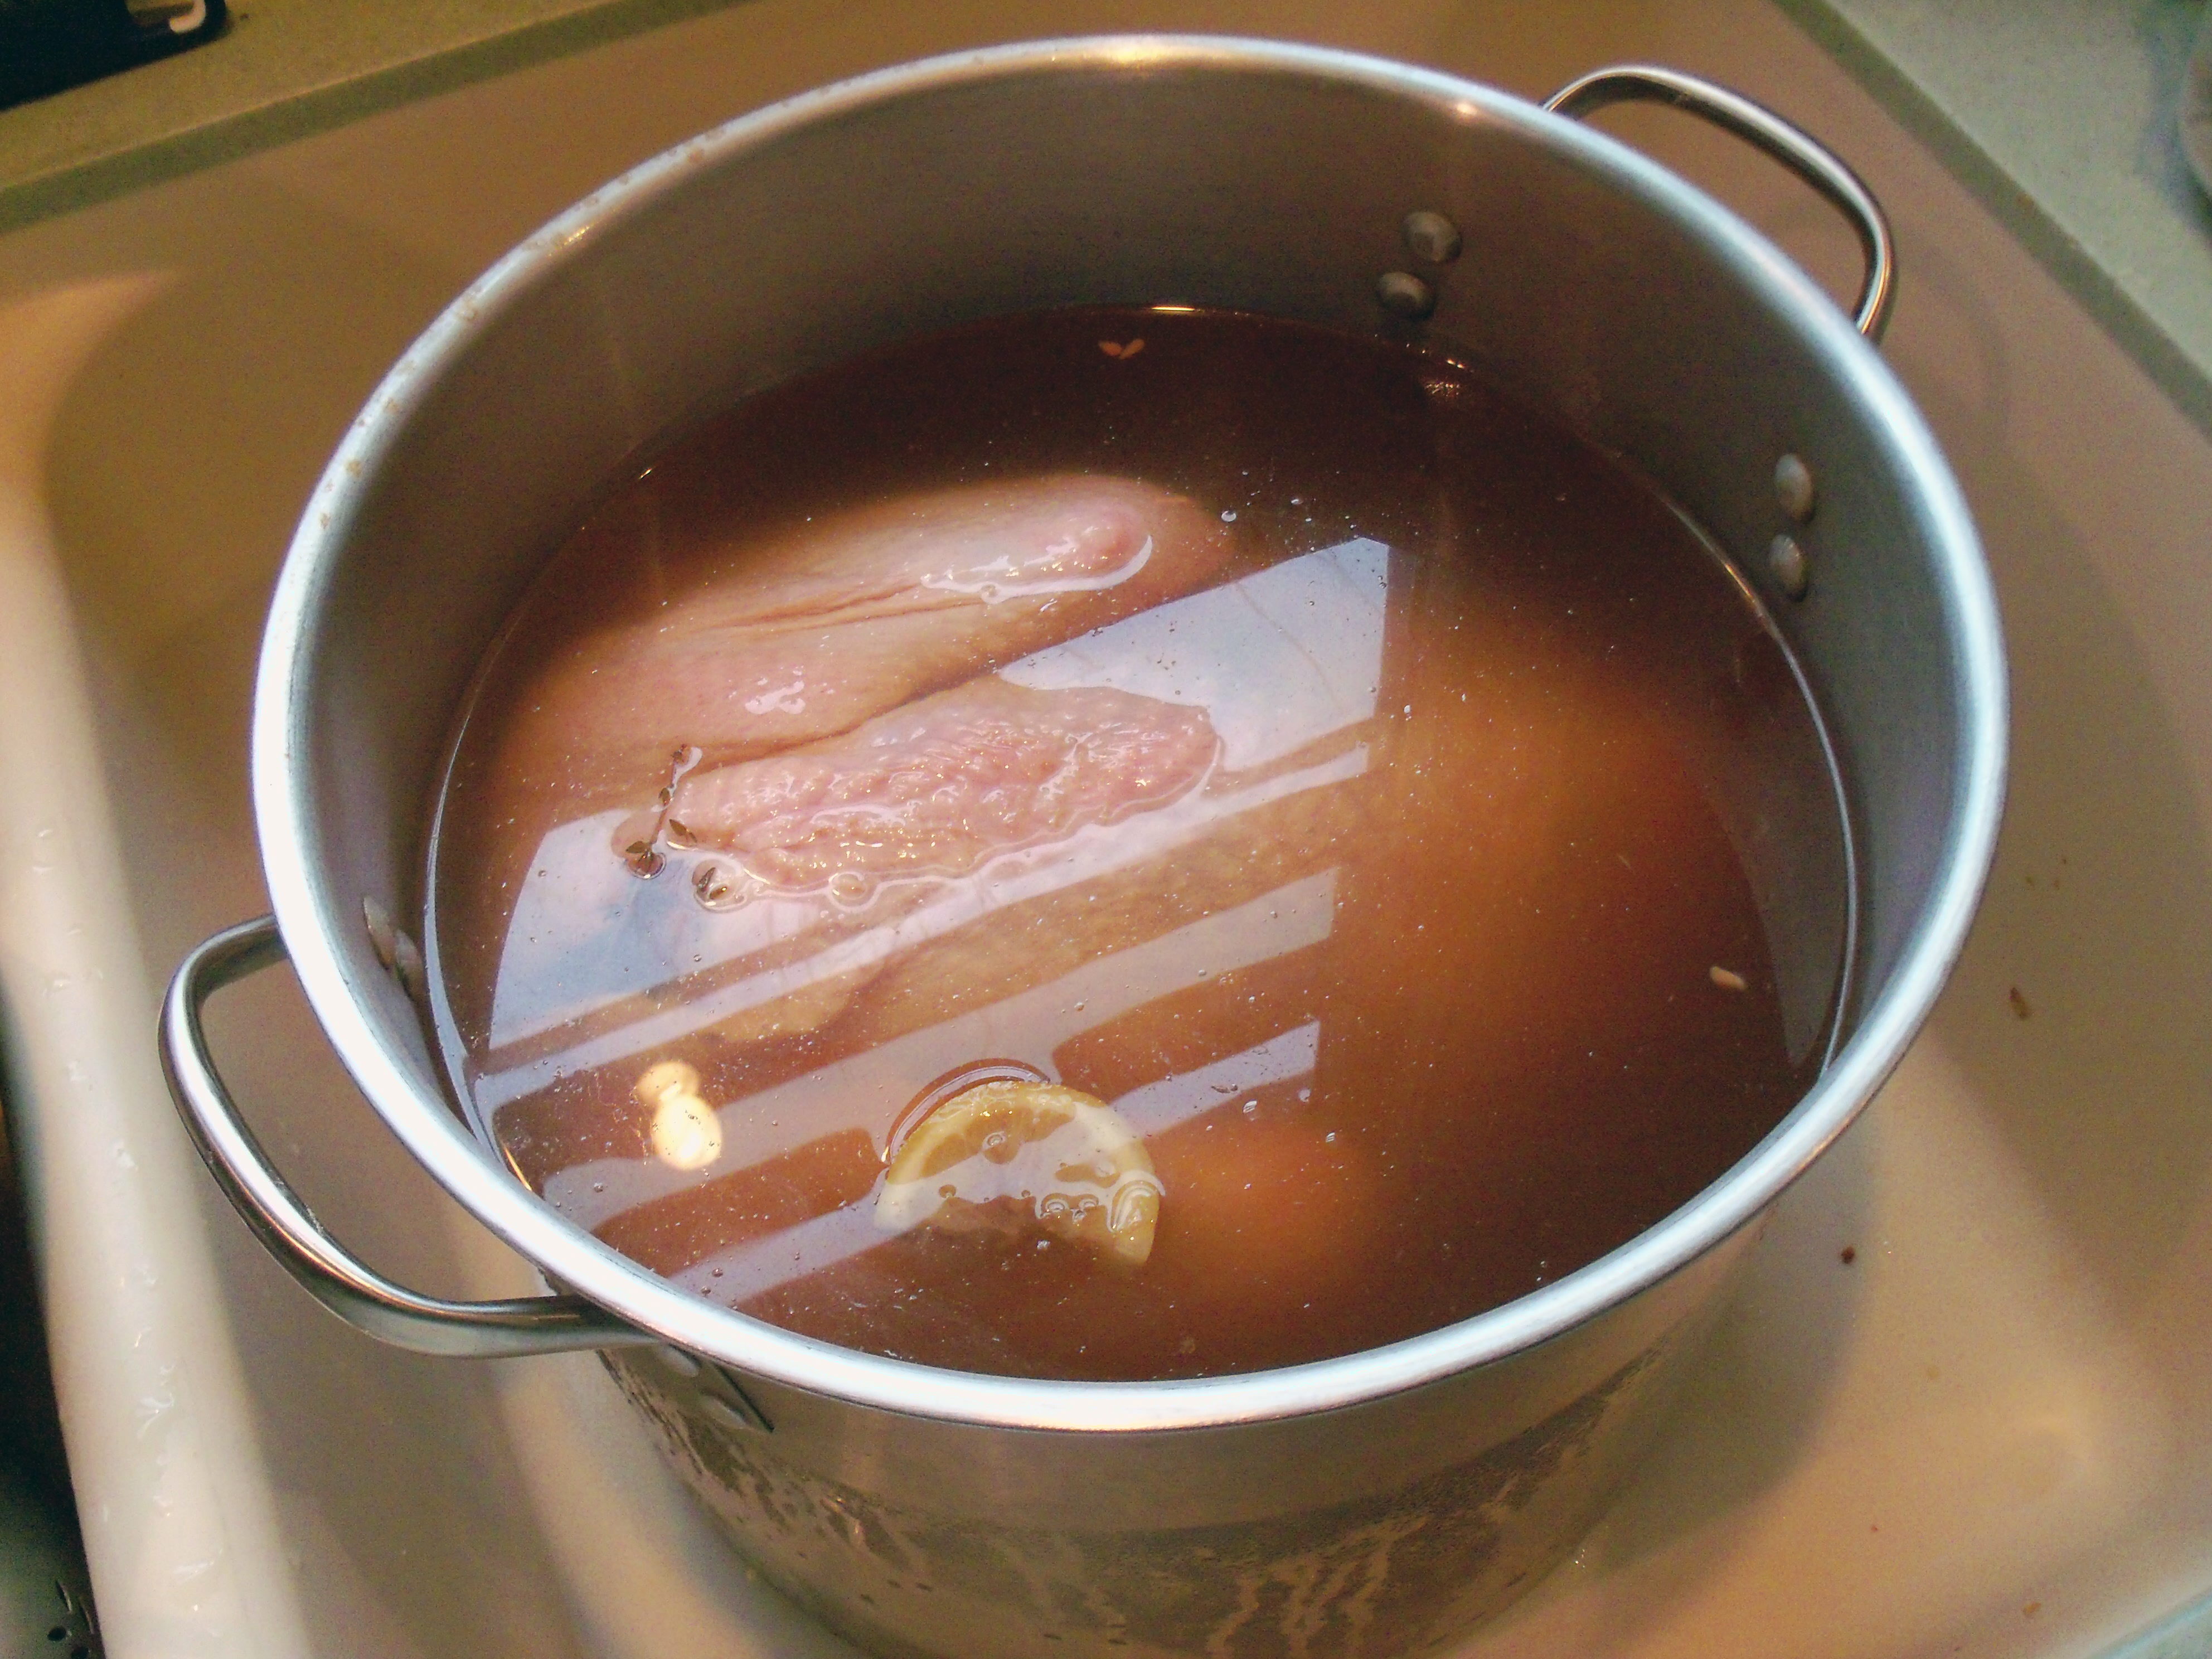
I did a wet brine this year (last year I tried Martha’s dry brine). I used 1 cup brown sugar, 1 cup salt, 2 oranges quartered, 2 lemons quartered, fresh thyme and rosemary and about 6 peppercorns. I added this to 2 gallons of water and brought it to a boil and then cooled it before adding the turkey. I ended up adding about another gallon of water to get the turkey completely covered. I let it brine for about 16 hours.

When we took the turkey out of the brine to get it ready for the oven, we realized it was missing part of a wing! Martha would NOT approve of this.

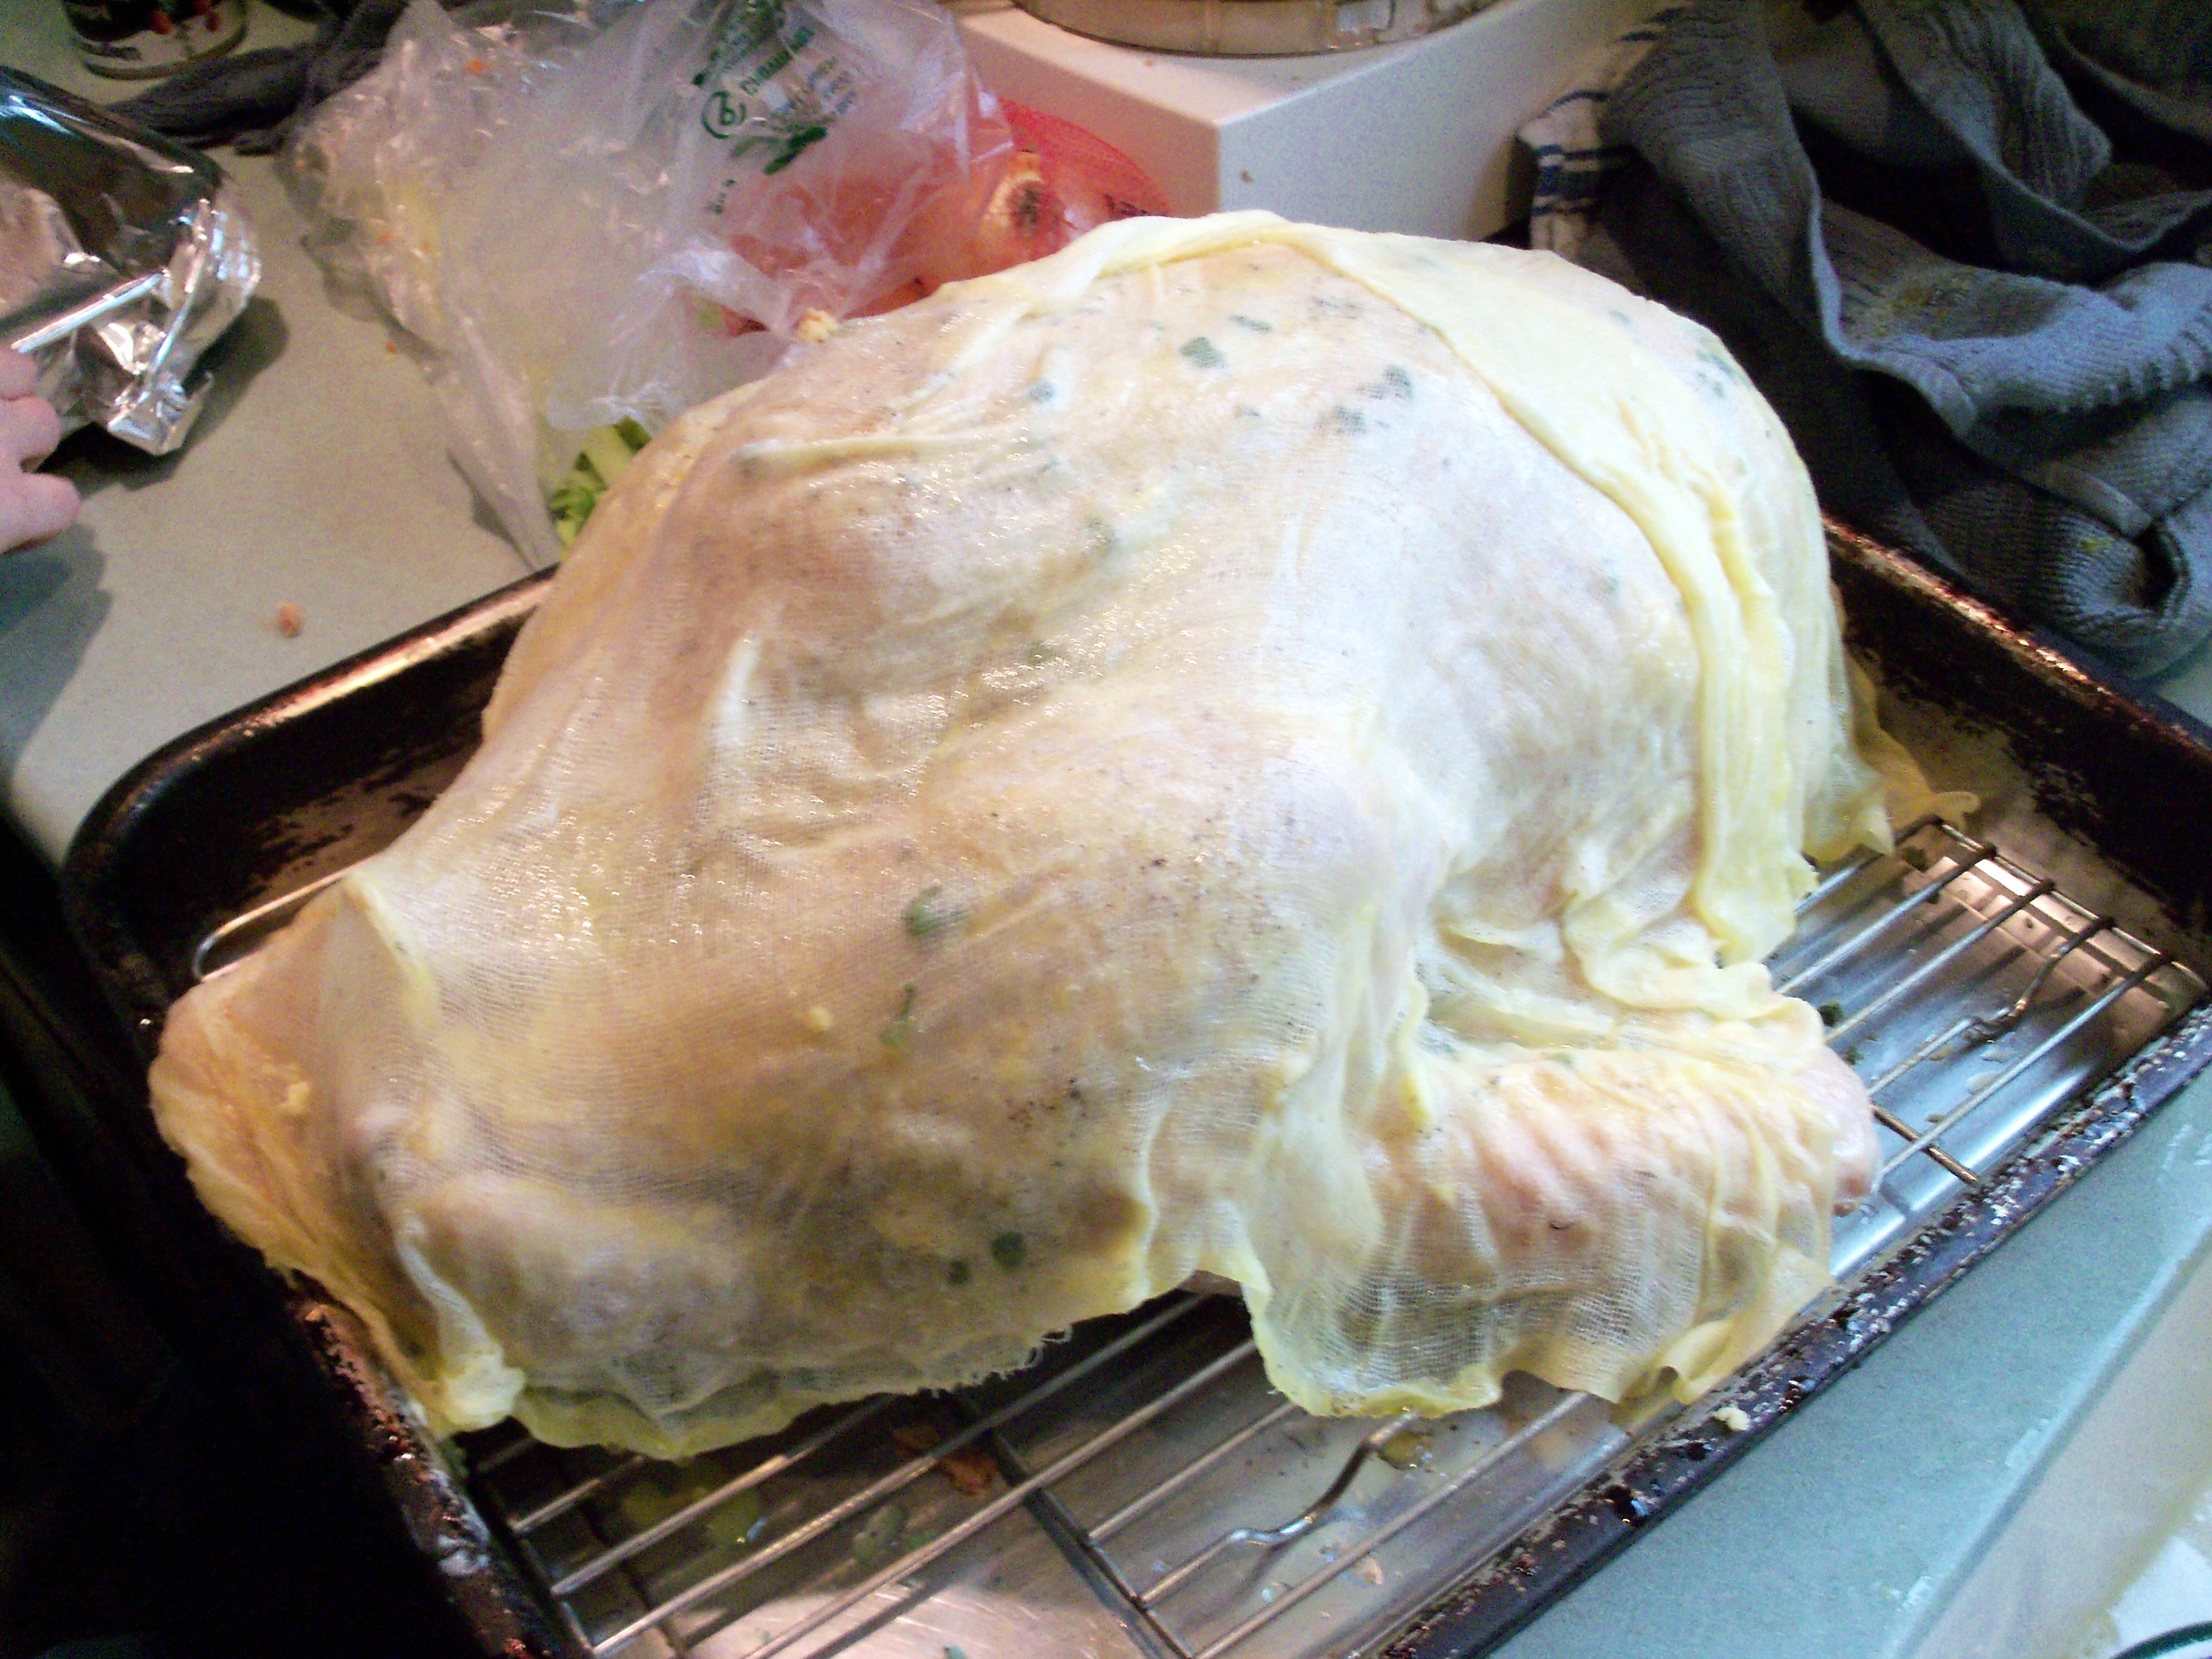
I decided to attempt Martha’s cheesecloth method of turkey roasting (which was described in the instructions included with the turkey). You soak a piece of cheesecloth in butter (Martha says to use wine also but I didn’t use wine). You rub the turkey with butter and salt and pepper it (I also added some fresh sage, rosemary and thyme). Then you lay the cheesecloth over the turkey and bake at 425 for 30 minutes. Then brush it with the butter and reduce heat to 350, brushing with butter every 30 minutes for 2 hours.

After two hours, you remove the cheesecloth, baste with pan juices and continue to cook until the turkey reaches 165 (Martha says about 1 to 1 and a half hours). Ours was done in about an hour.

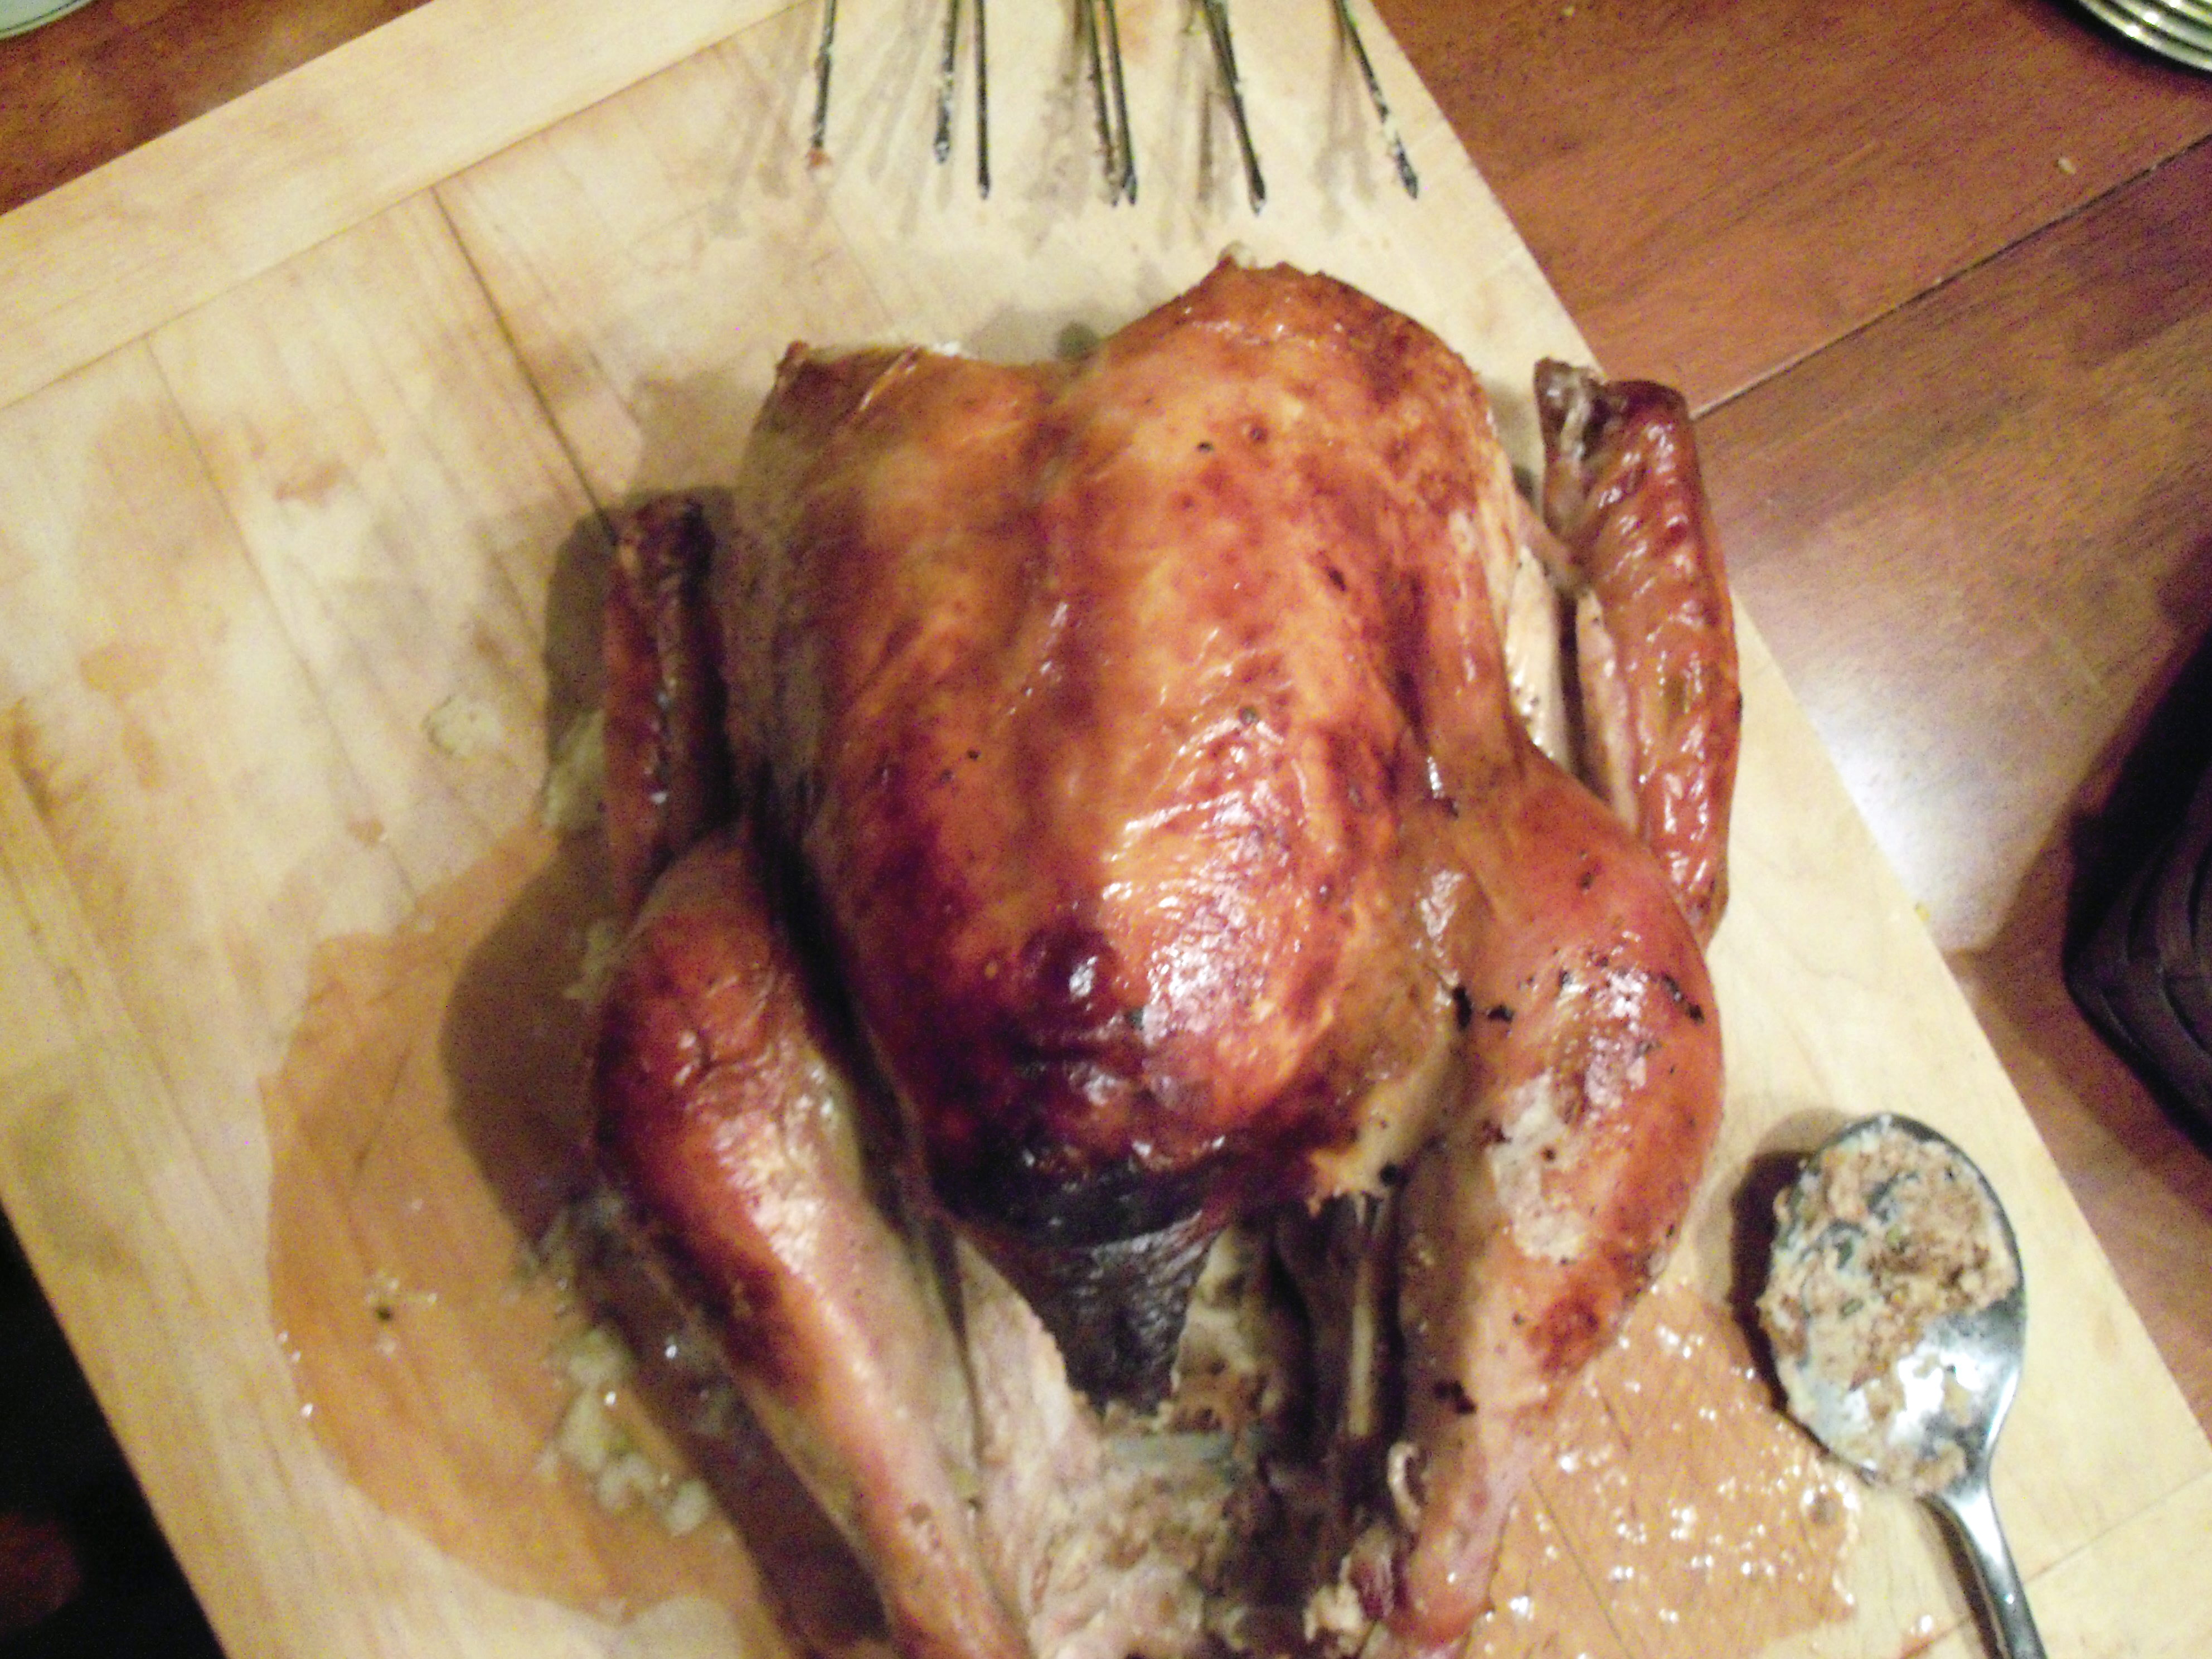
I did stuff my turkey- regular stuffing in one end and cornbread in the other end. We got a little excited after we took the turkey out and it rested – we didn’t remember to take a photo until after we scooped out the stuffing.

This was absolutely the BEST turkey we’ve ever had. It was moist, tender, flavorful, and it just about melted in your mouth. I am sure the quality of the turkey itself played a large part in that, but I also think the brining and the cheesecloth added to the taste and texture. I will definitely use this method again next year. I would love to buy Martha’s turkey again next year, but I hope I can find a local organic turkey that is pasture fed and humanely treated instead (not to mention less expensive – the shipping alone on this was $30). If not, I might end up with Martha’s again.

One other tidbit – I bought a potato masher – one of those handheld thingies you smush the potatoes with (highly recommended by Martha) and tried that for the mashed potatoes. I was surprised at how quickly they did smash up with it. However, I did not like the texture. It was too grainy. So I quickly got out the mixer and whizzed it with that – then it had the creamy texture we like. So the potato masher was a failure!

Bookmark and Share

This year I bought one of Martha Stewart’s turkeys. Martha seems to be slowly making her way into the food market, so I was interested to try her turkeys. Martha’s turkeys are described as organic (although not certified), pasture fed and humanely treated – three things that are important to me. Last year I bought … Read more

no