Greek Spaghetti

Posted by Brette in Food

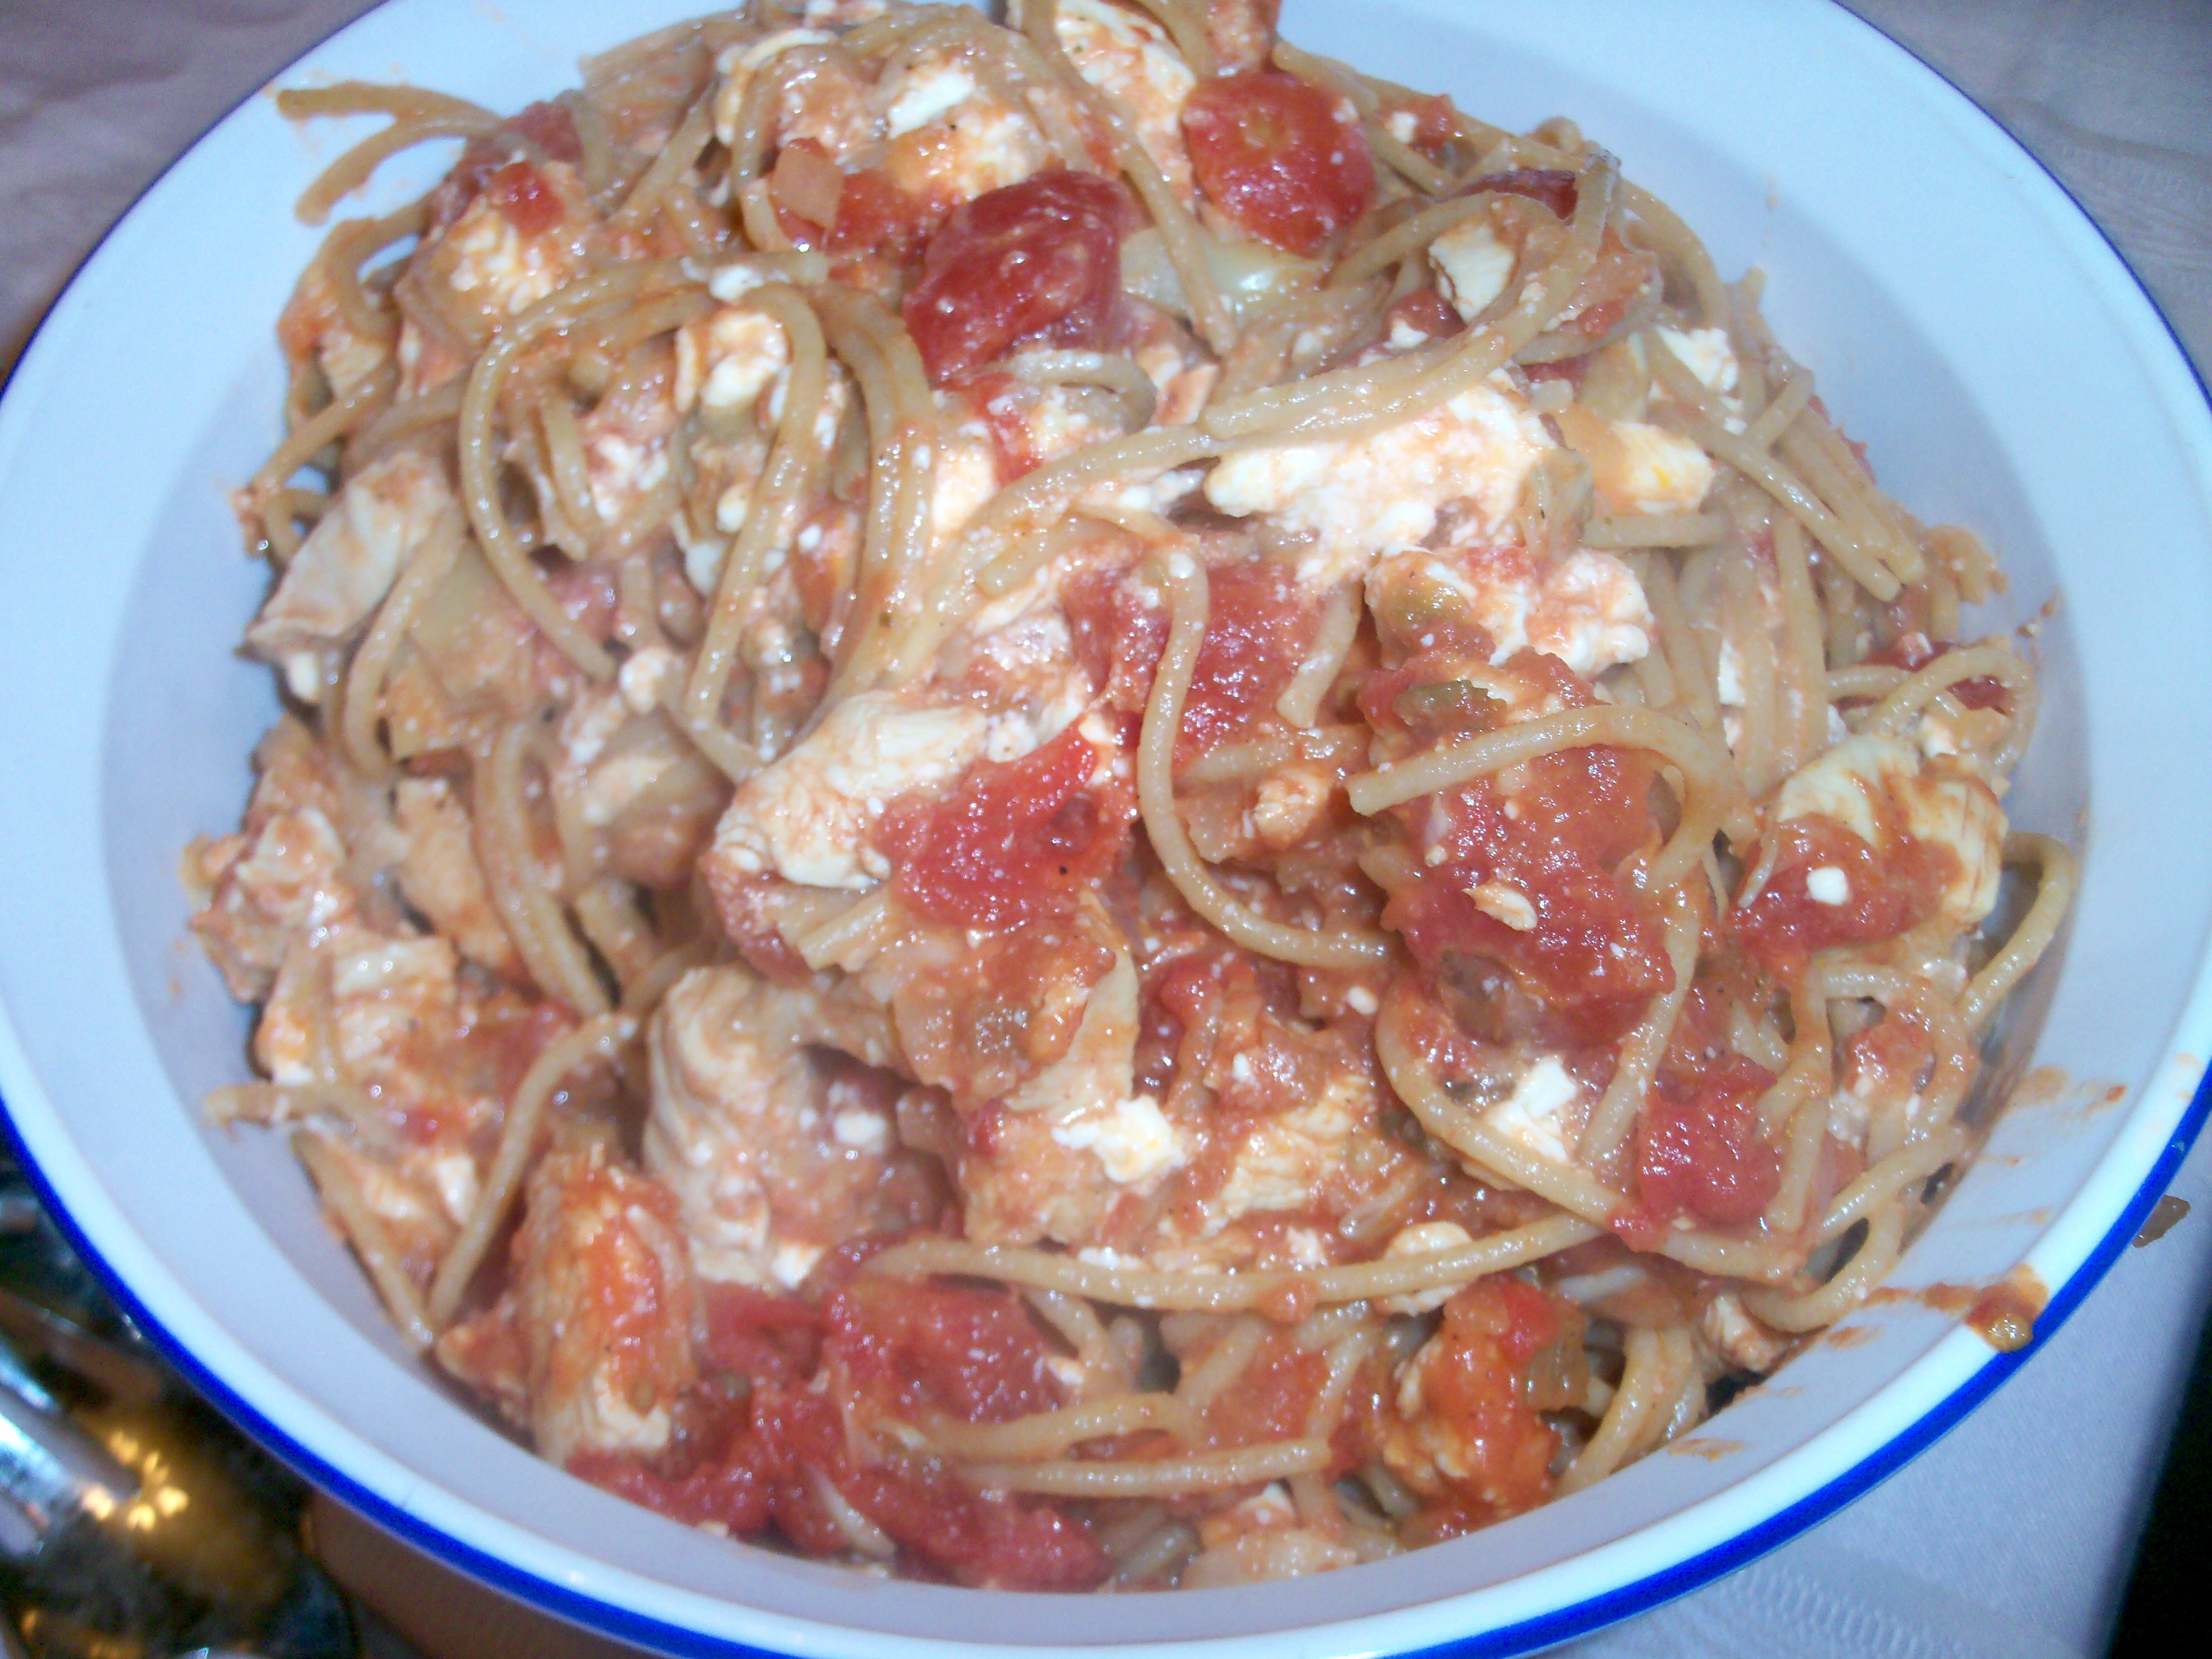
Greek Spaghetti has been a family favorite here for years and years and I couldn’t even tell you where I got the recipe from originally or how much I’ve changed it. Teen Martha asked me to make this the other day and I realized that with all the Martha cooking I’ve been doing, I haven’t made this one in a while. I thought I would share the recipe with all of you. It’s an easy meal to throw together and all you need are some pantry staples.

Cook 1/2 a chopped onion in a few tsps of olive oil until translucent in a large, deep pan. Then add one chopped clove of garlic. Cook for about a minute, then add 2 cans (14 oz) of stewed tomatoes. Cook, breaking up the tomatoes for a few minutes. Add one jar of marinated artichoke hearts that you’ve cut up into small pieces, as well as half of the juice in the jar. Cut 2 boneless chicken breasts into bite size pieces and add those. Add 2 tsp Greek seasoning (or use oregano) and salt and pepper to taste. Cook for about half an hour on medium, uncovered, until the chicken is cooked and the sauce has thickened. Cook 3/4 package whole wheat spaghetti. Drain the spaghetti and add to the tomato mixture and then add one carton of feta cheese, broken up. Stir and serve. For variations on this, I substitute shrimp for the chicken and sometimes I add some chopped spinach (but the kids don’t care for that) or some scallions for green color. If you like olives, you could add some black olives. This is enough for 4-6 people depending on how big the appetites in your house are. I like to serve this with a green salad. It reheats well in the microwave if you have leftovers.

Bookmark and Share

Greek Spaghetti has been a family favorite here for years and years and I couldn’t even tell you where I got the recipe from originally or how much I’ve changed it. Teen Martha asked me to make this the other day and I realized that with all the Martha cooking I’ve been doing, I haven’t … Read more

Next week’s Martha Mondays is Easter eggs, chosen by Teresa at Homemade Iowa Life. Very seasonal! Teresa wanted to do the silk dyed eggs. I did these last year and it is a really great project. Since I already made it, we decided to just make the assignment any Easter eggs you want. Martha has a lot of choices on this page, so it will be interesting to see what everyone tries.

Next week’s Martha Mondays is Easter eggs, chosen by Teresa at Homemade Iowa Life. Very seasonal! Teresa wanted to do the silk dyed eggs. I did these last year and it is a really great project. Since I already made it, we decided to just make the assignment any Easter eggs you want. Martha has … Read more

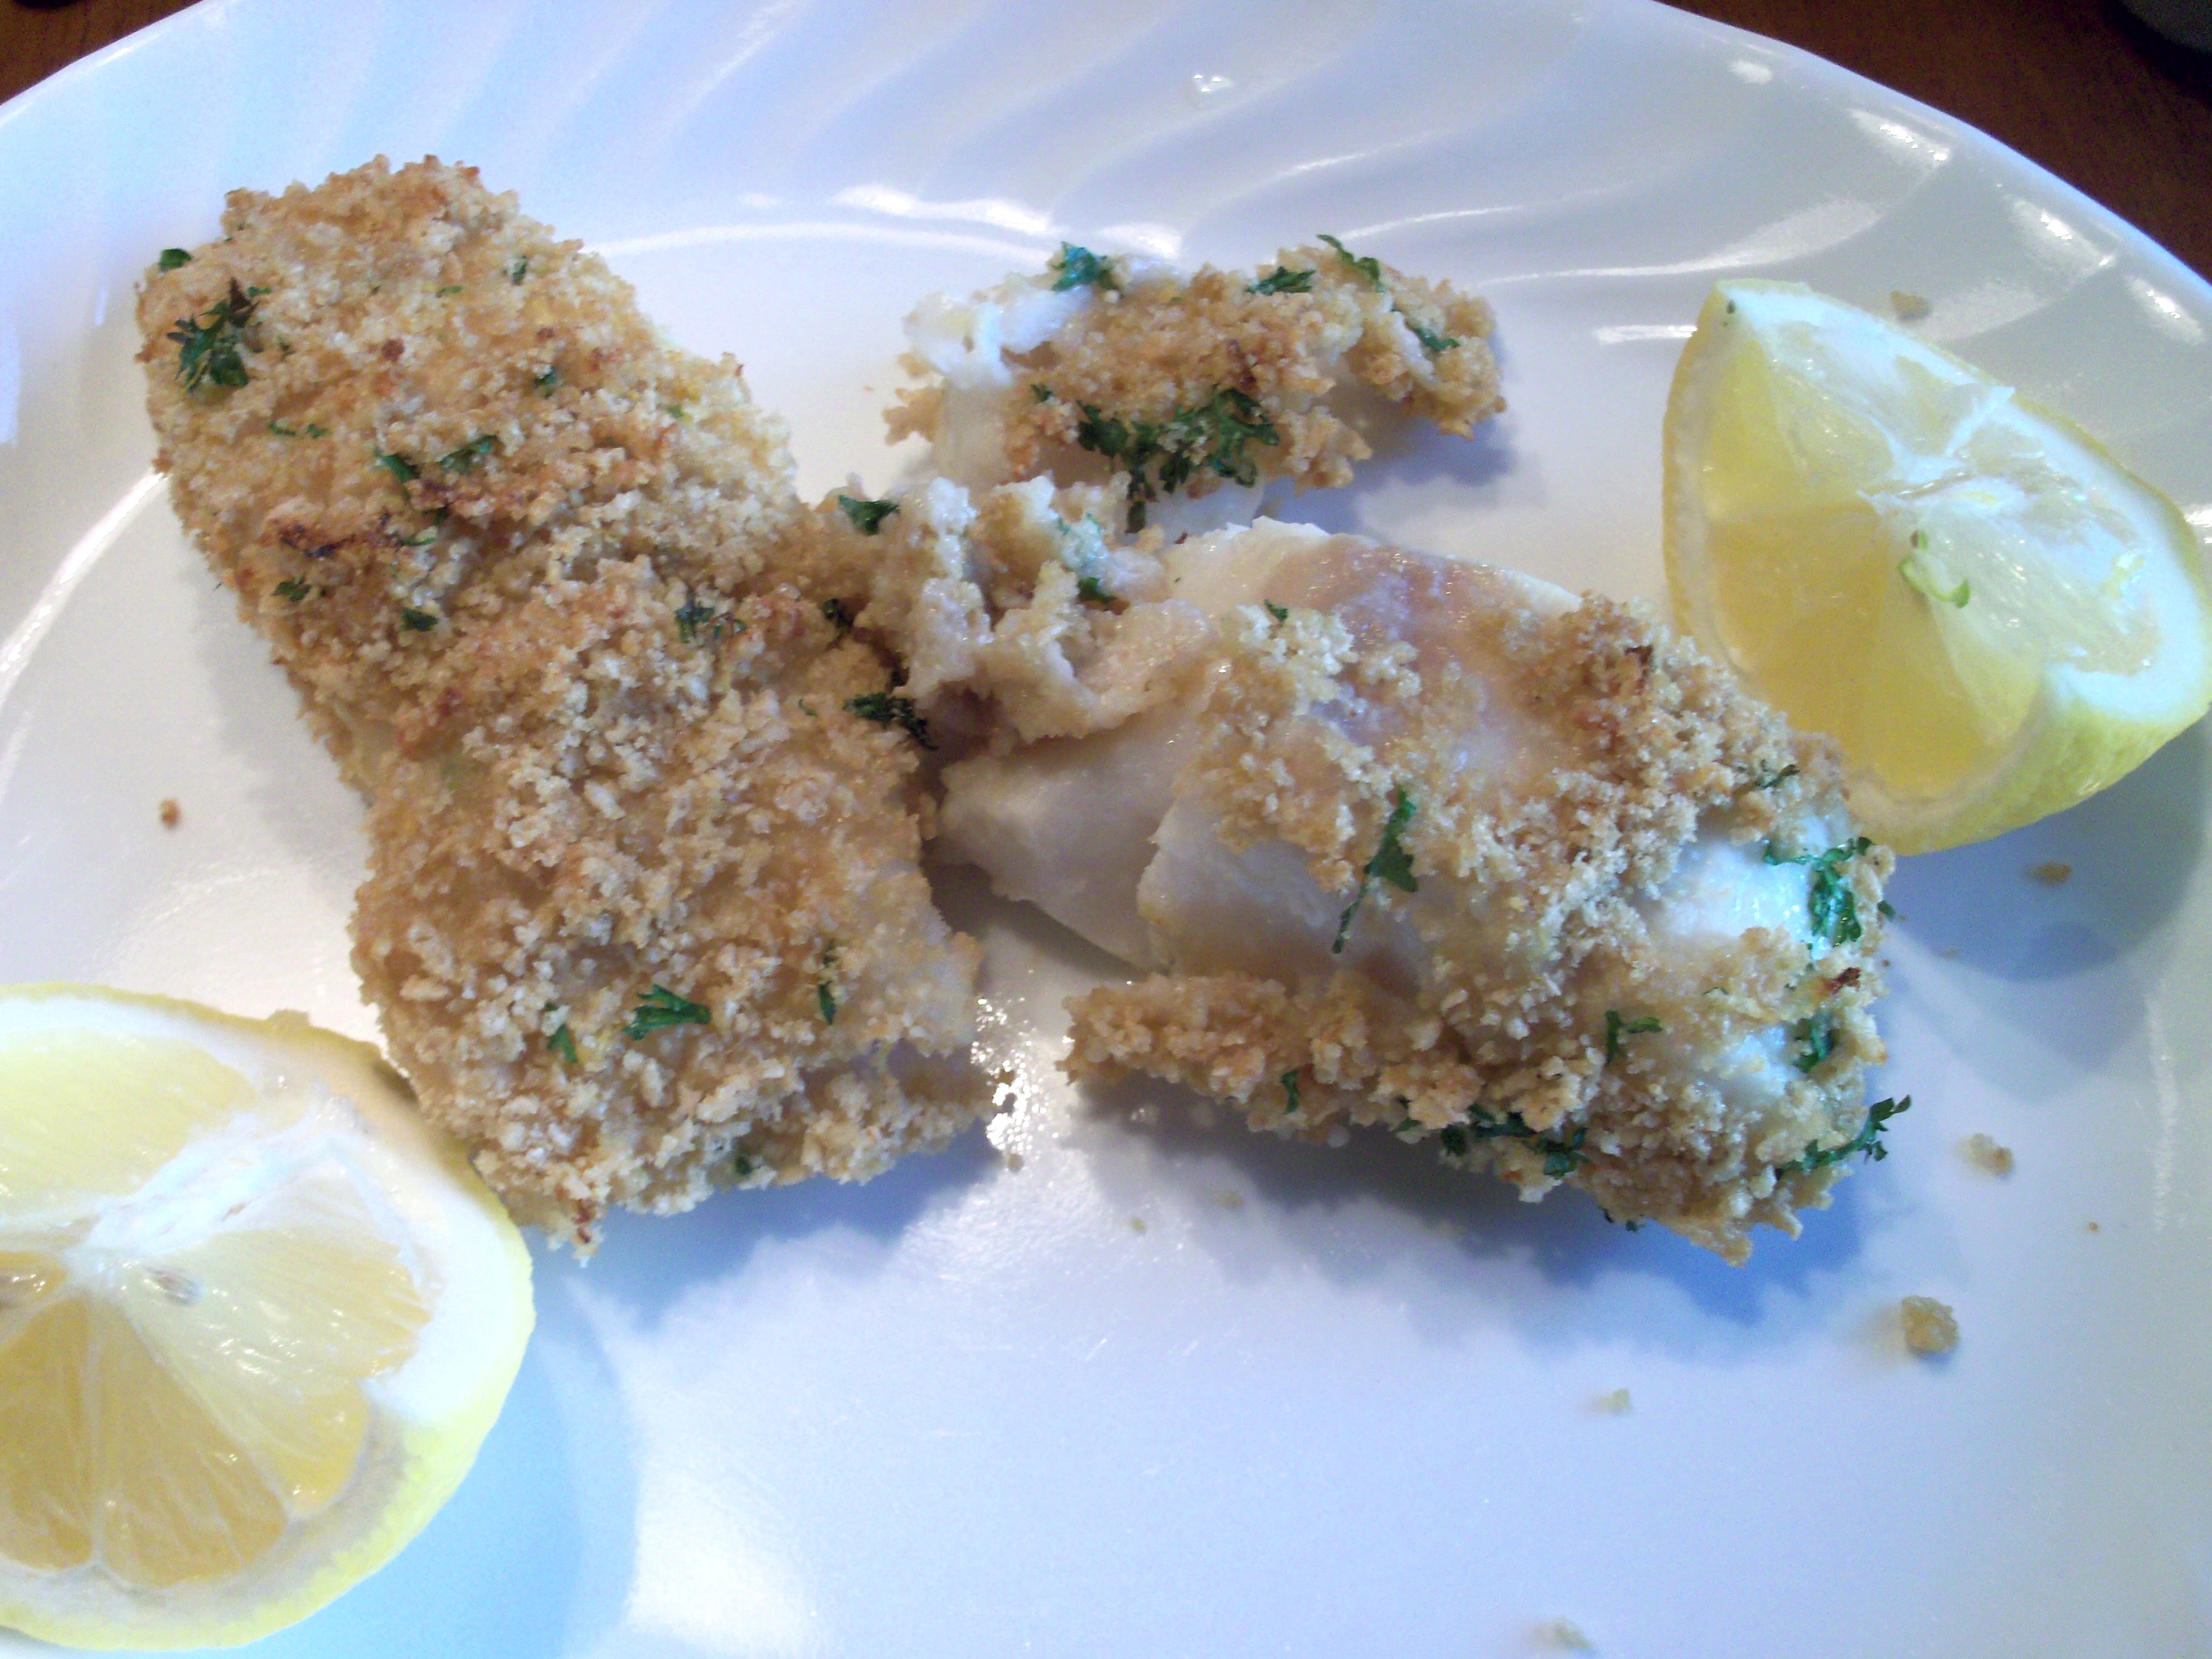
I’m checking out the April issue of Martha Stewart Living at last. I’m so glad to be done with that stupid March gardening issue since I am just not a gardener! This issue at least has some things in it I want to cook! One recipe that caught my eye was Crisp Baked Lemon Cod. It is very simple. You crush some Rice Chex (about 2 c) and add 1/4 c olive oil, 2 tsp lemon zest, and 1/4 chopped parsley and some salt. Martha says to press the fish into the cereal mixture (no egg wash first), then bake at 400 for about 15 minutes. As you can see, the cereal mix did not stick to my fish very well. I would definitely use an egg wash next time. That being said, this was crispy and good. We did squeeze lemon juice over it before eating since the zest was not quite enough lemon flavor. I would use the Rice Chex again as breading – very crunchy.

Bookmark and Share

I’m checking out the April issue of Martha Stewart Living at last. I’m so glad to be done with that stupid March gardening issue since I am just not a gardener! This issue at least has some things in it I want to cook! One recipe that caught my eye was Crisp Baked Lemon Cod. … Read more

This week’s project was chosen by Pru at Perfecting Pru. Maple Bacon Quiche sounded good,

Maple Quiche

Maple Quiche

but I am fan of quiche in general. Maple and bacon can also do no wrong in my book.

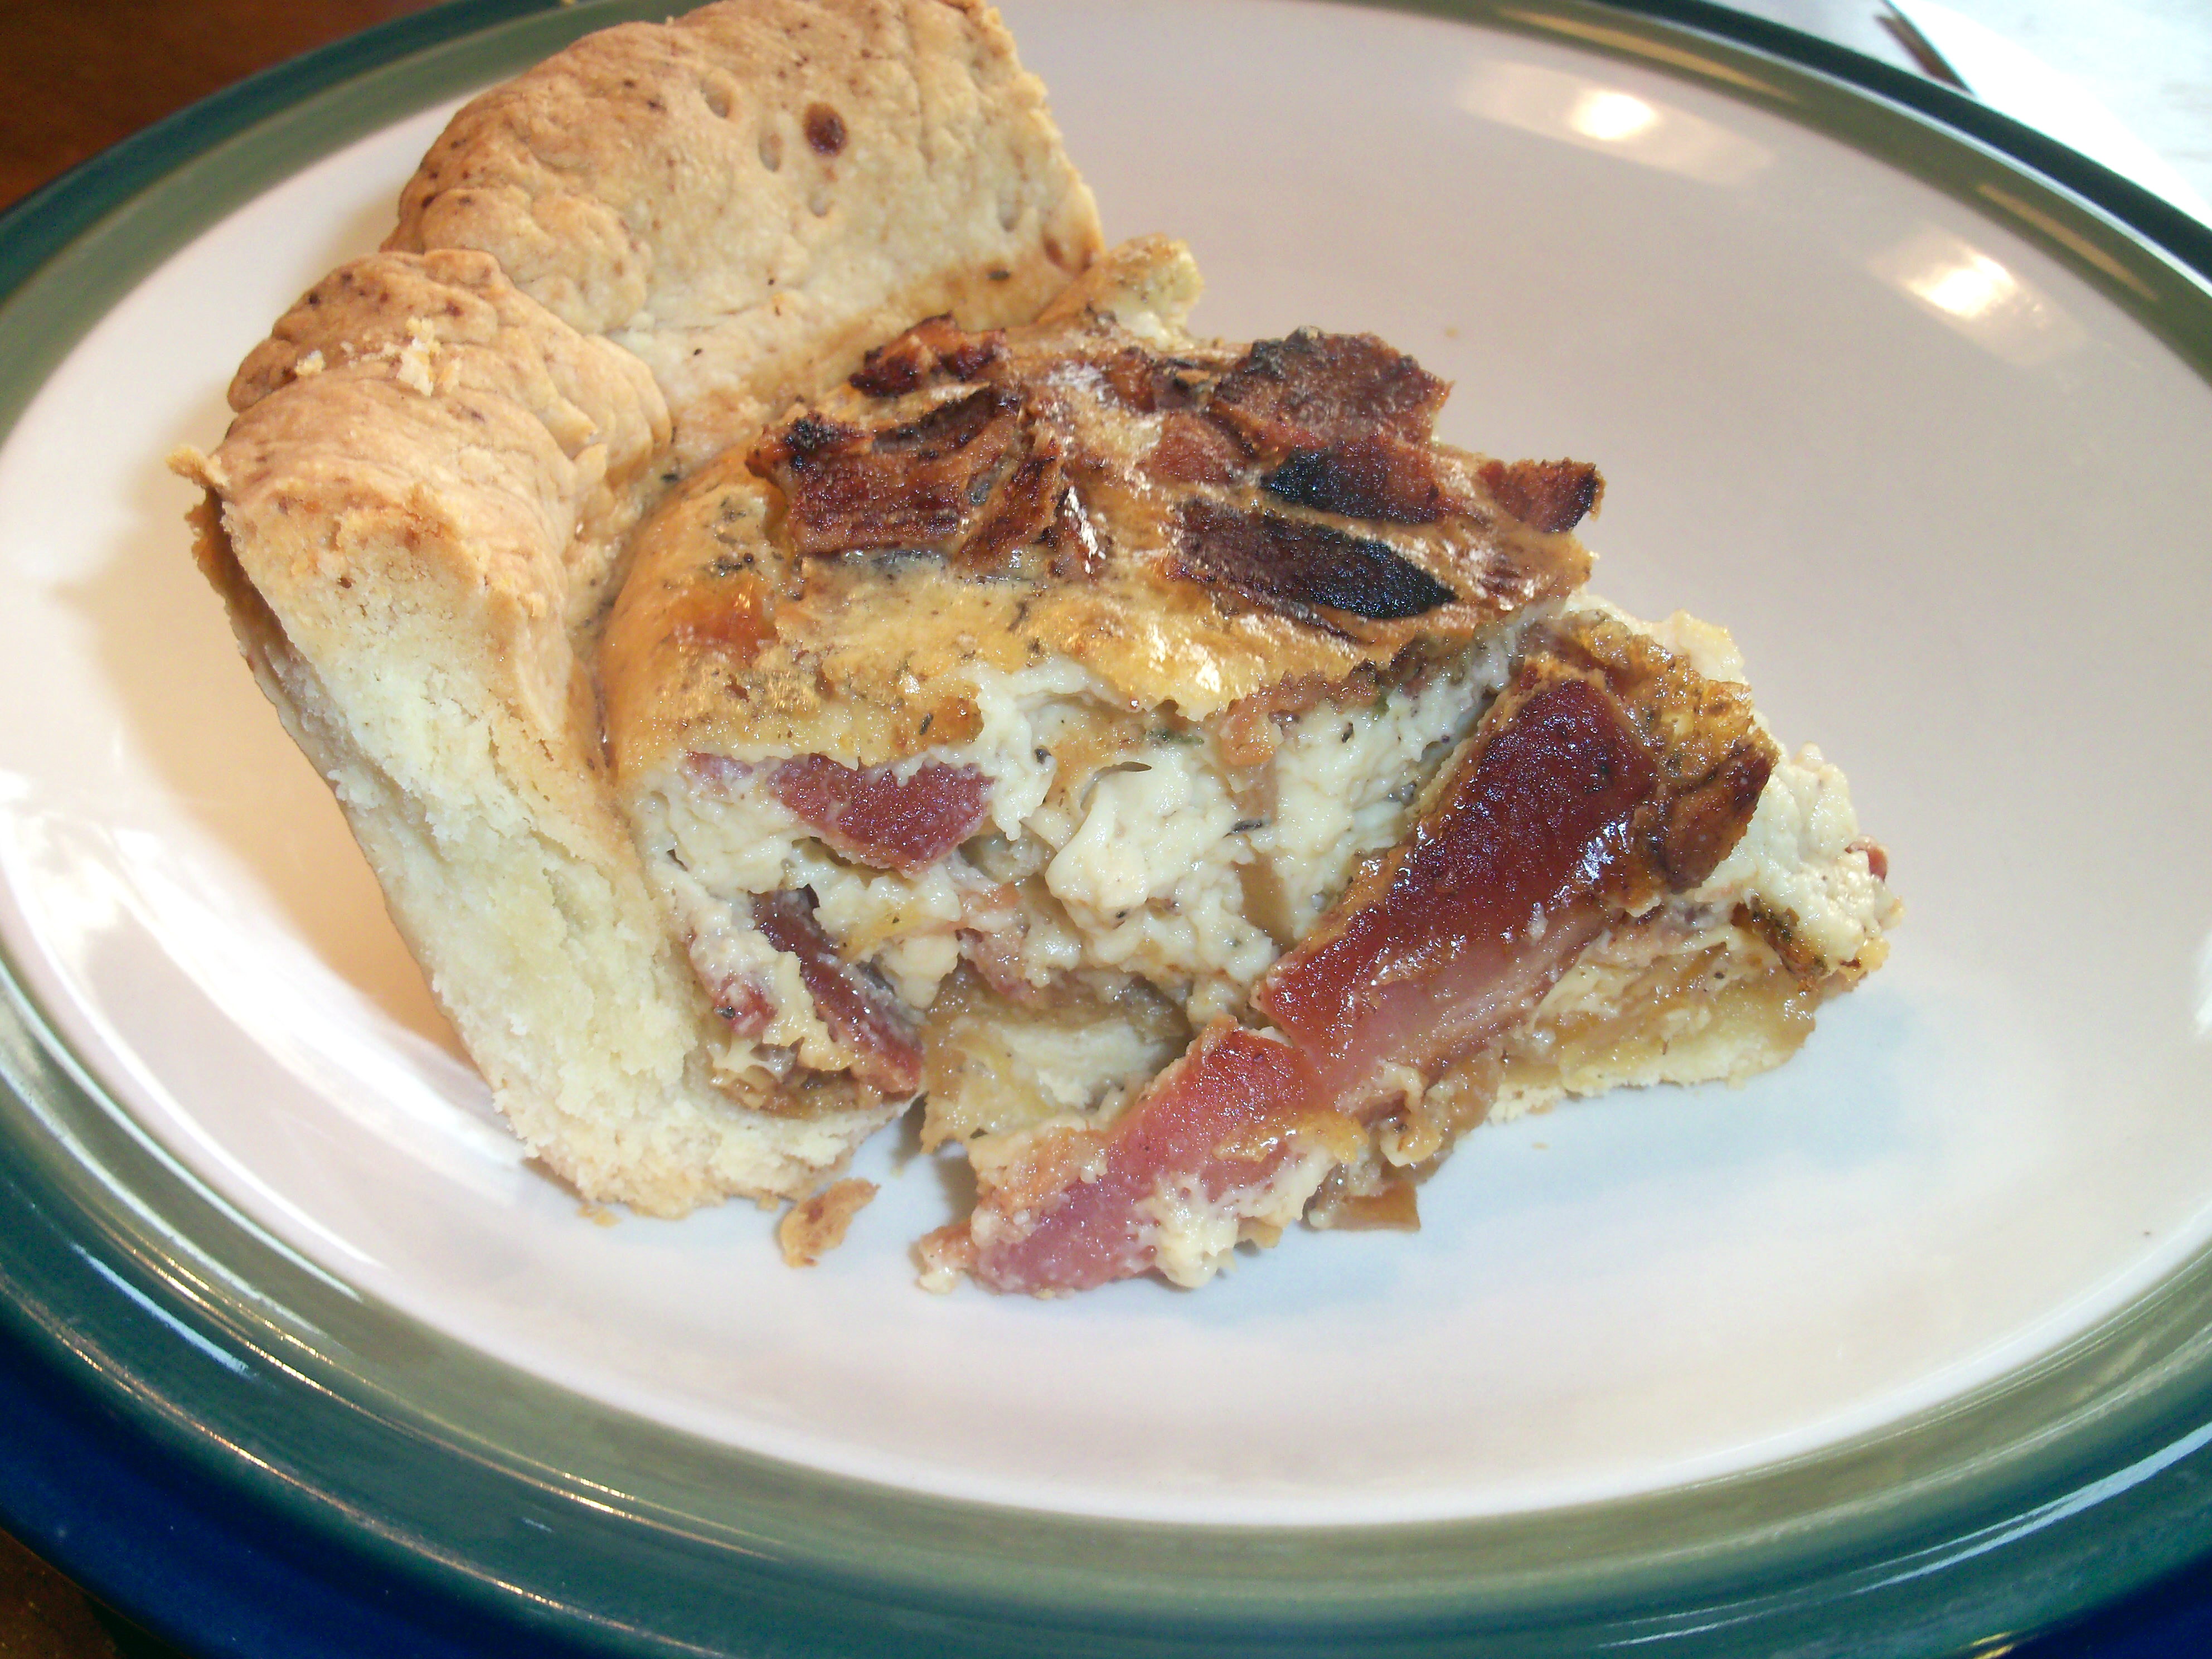
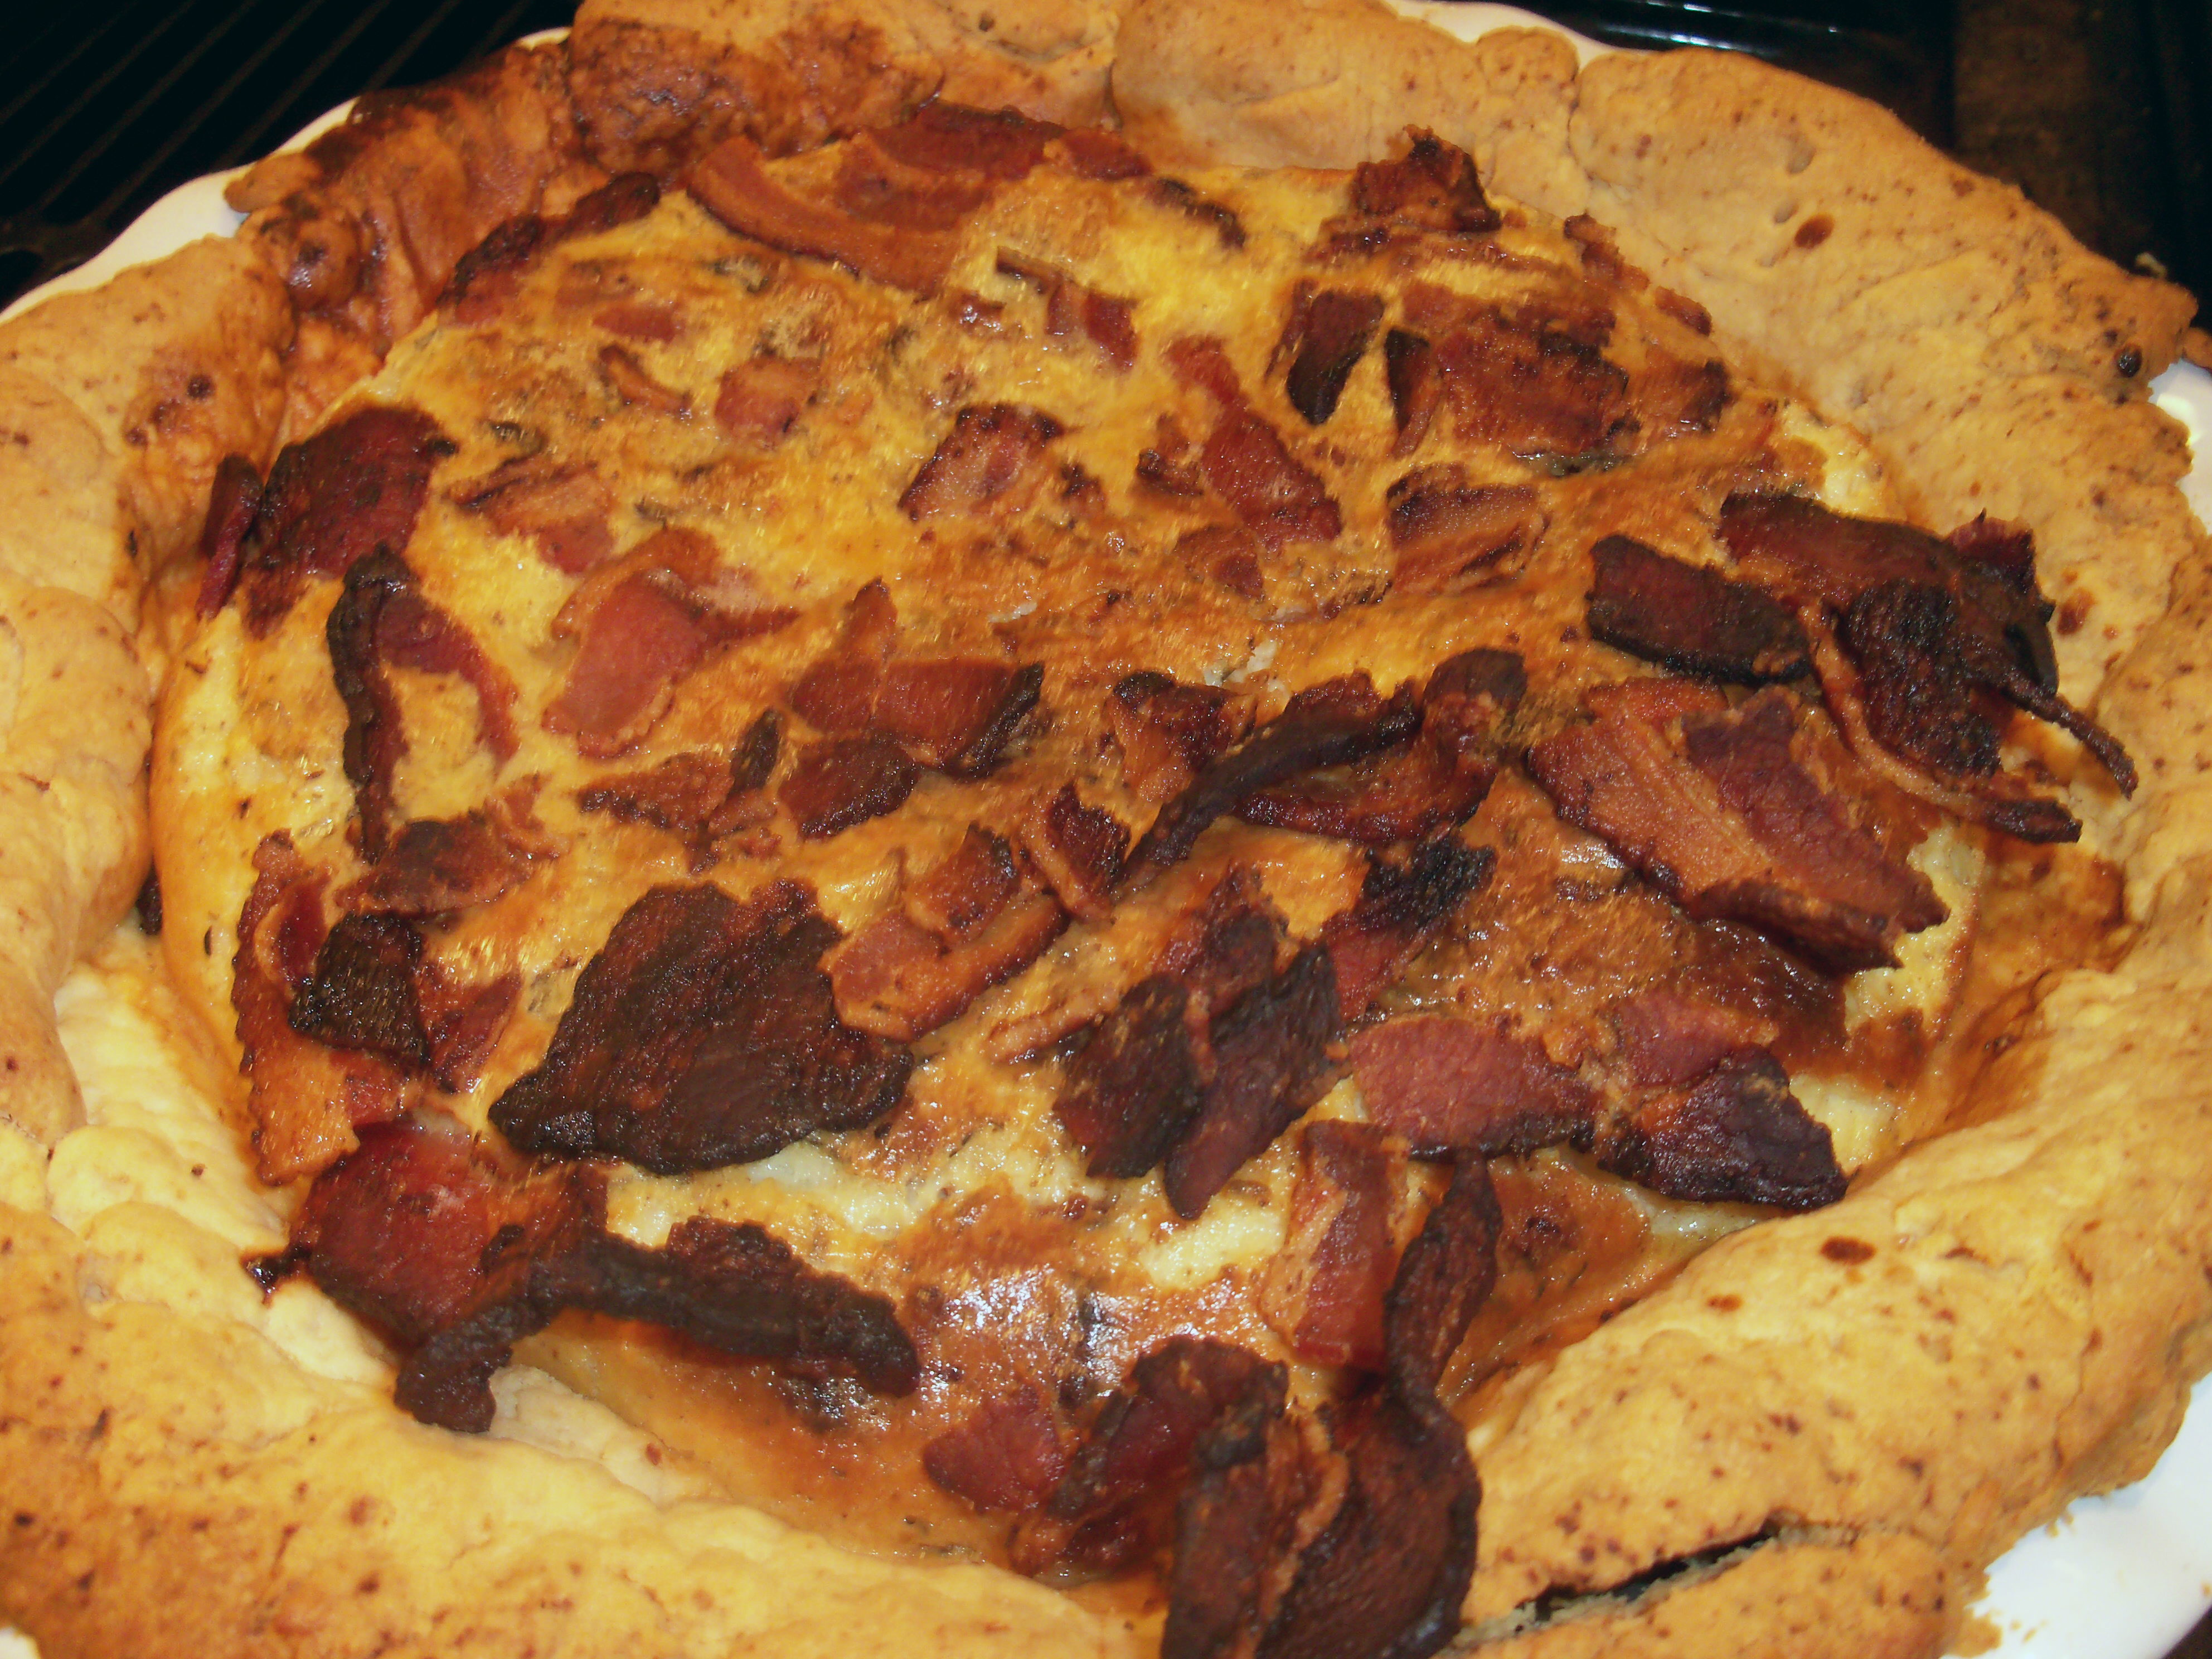
I started making this much later than I should have, but I put the oven on convection and we were able to eat dinnerbefore it was time to go to bed:) First up was the pate brisee.  This made a lot of pie crust. In fact, it uses twice as much butter and almost twice as much flour as my usual recipe for pate brisee. I’m not sure why Martha wanted the crust so thick and so big. You make the crust and then bake it separately. Then you cook bacon, and cook some onion in a little bacon grease, adding maple syrup. That all gets mixed with egg, cream and thyme and goes into the pie shell.

Maple Quiche

Maple Quiche

I thought it was very good. Mr. MarthaAndMe thought it had too strong of a maple flavor. I also thought it seemed very rich – it’s mostly egg, cream and bacon! I’m used to quiche that has vegetables in it, so this was a heavier version. It looked pretty with the bacon sprinkled on top.

Bookmark and Share

This week’s project was chosen by Pru at Perfecting Pru. Maple Bacon Quiche sounded good, but I am fan of quiche in general. Maple and bacon can also do no wrong in my book. I started making this much later than I should have, but I put the oven on convection and we were able … Read more

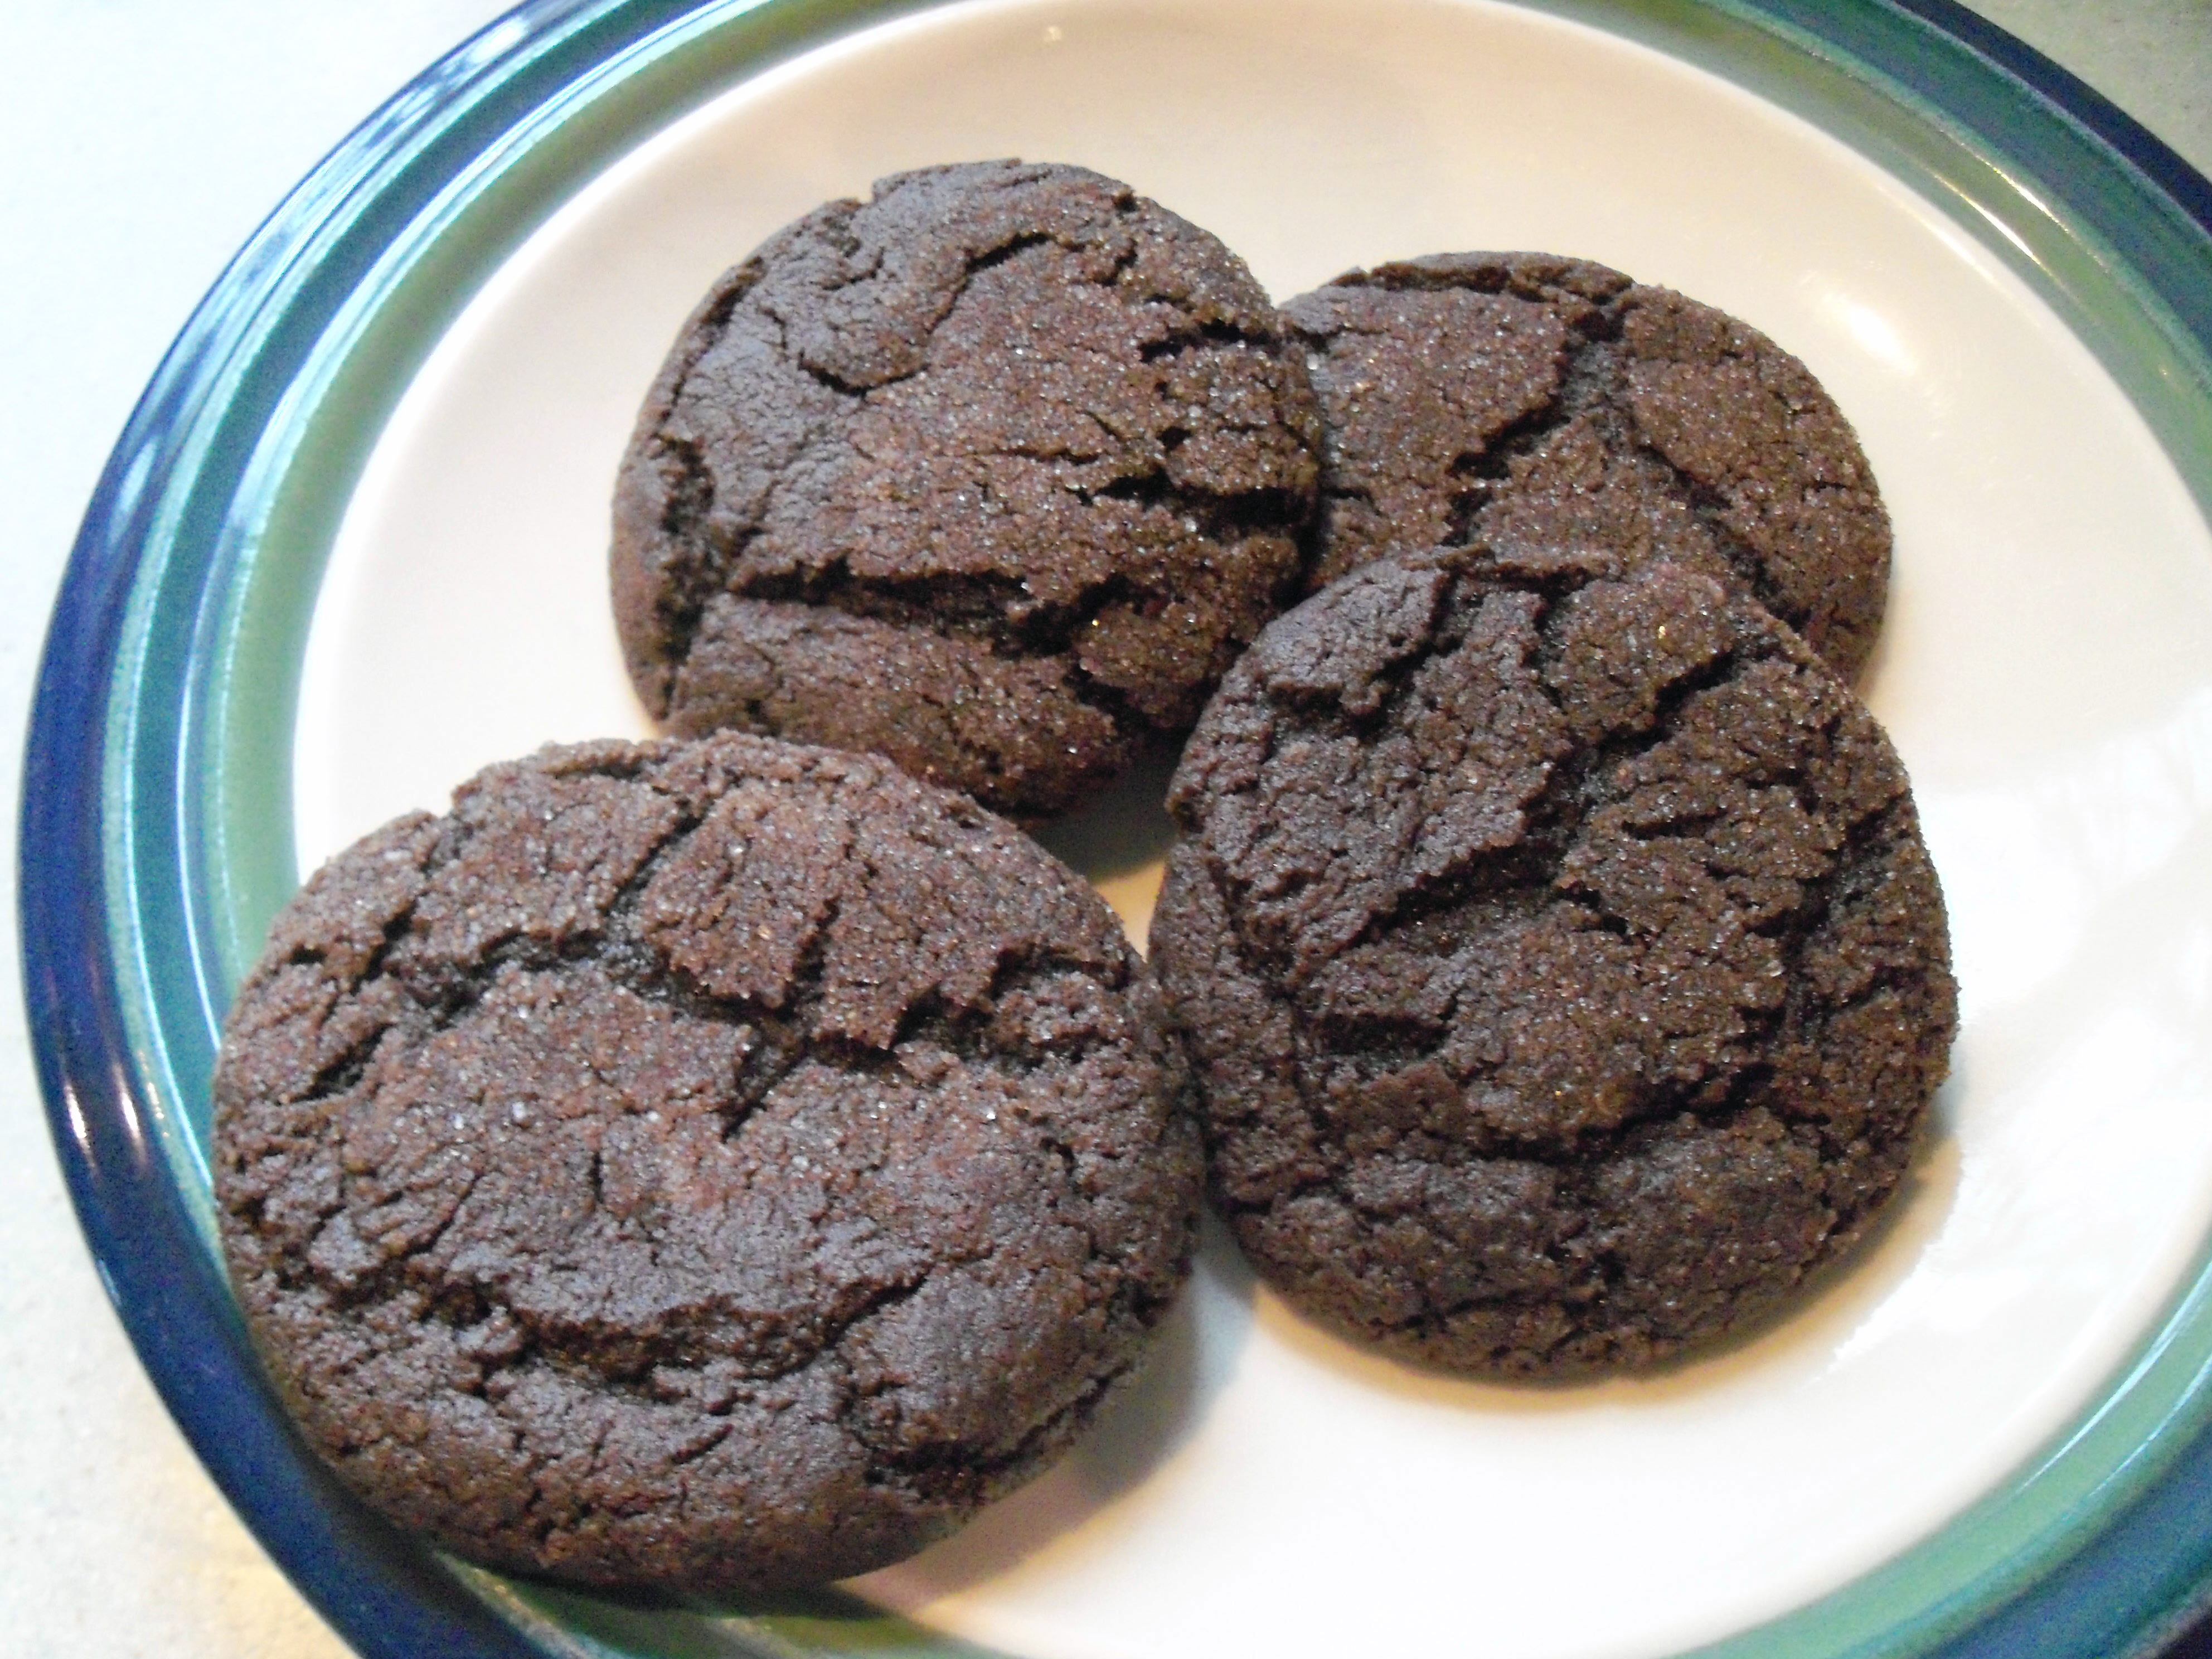
Another cookie post. This is getting dangerous. My issue of April Everyday Food is here and I am excited! I had to make the Mexican Hot Chocolate cookies immediately. These are chocolate cookies dipped in a sugar/cinnamon mix (I did not add chili powder which was optional). I loved these cookies! They were easy to make and the top baked up all crinkly and crunchy looking. Oh, they were delicious! Very chocolately with just a hint of cinnamon. Crunchy and melt in your mouth good. A real winner.

Bookmark and Share

Another cookie post. This is getting dangerous. My issue of April Everyday Food is here and I am excited! I had to make the Mexican Hot Chocolate cookies immediately. These are chocolate cookies dipped in a sugar/cinnamon mix (I did not add chili powder which was optional). I loved these cookies! They were easy to … Read more

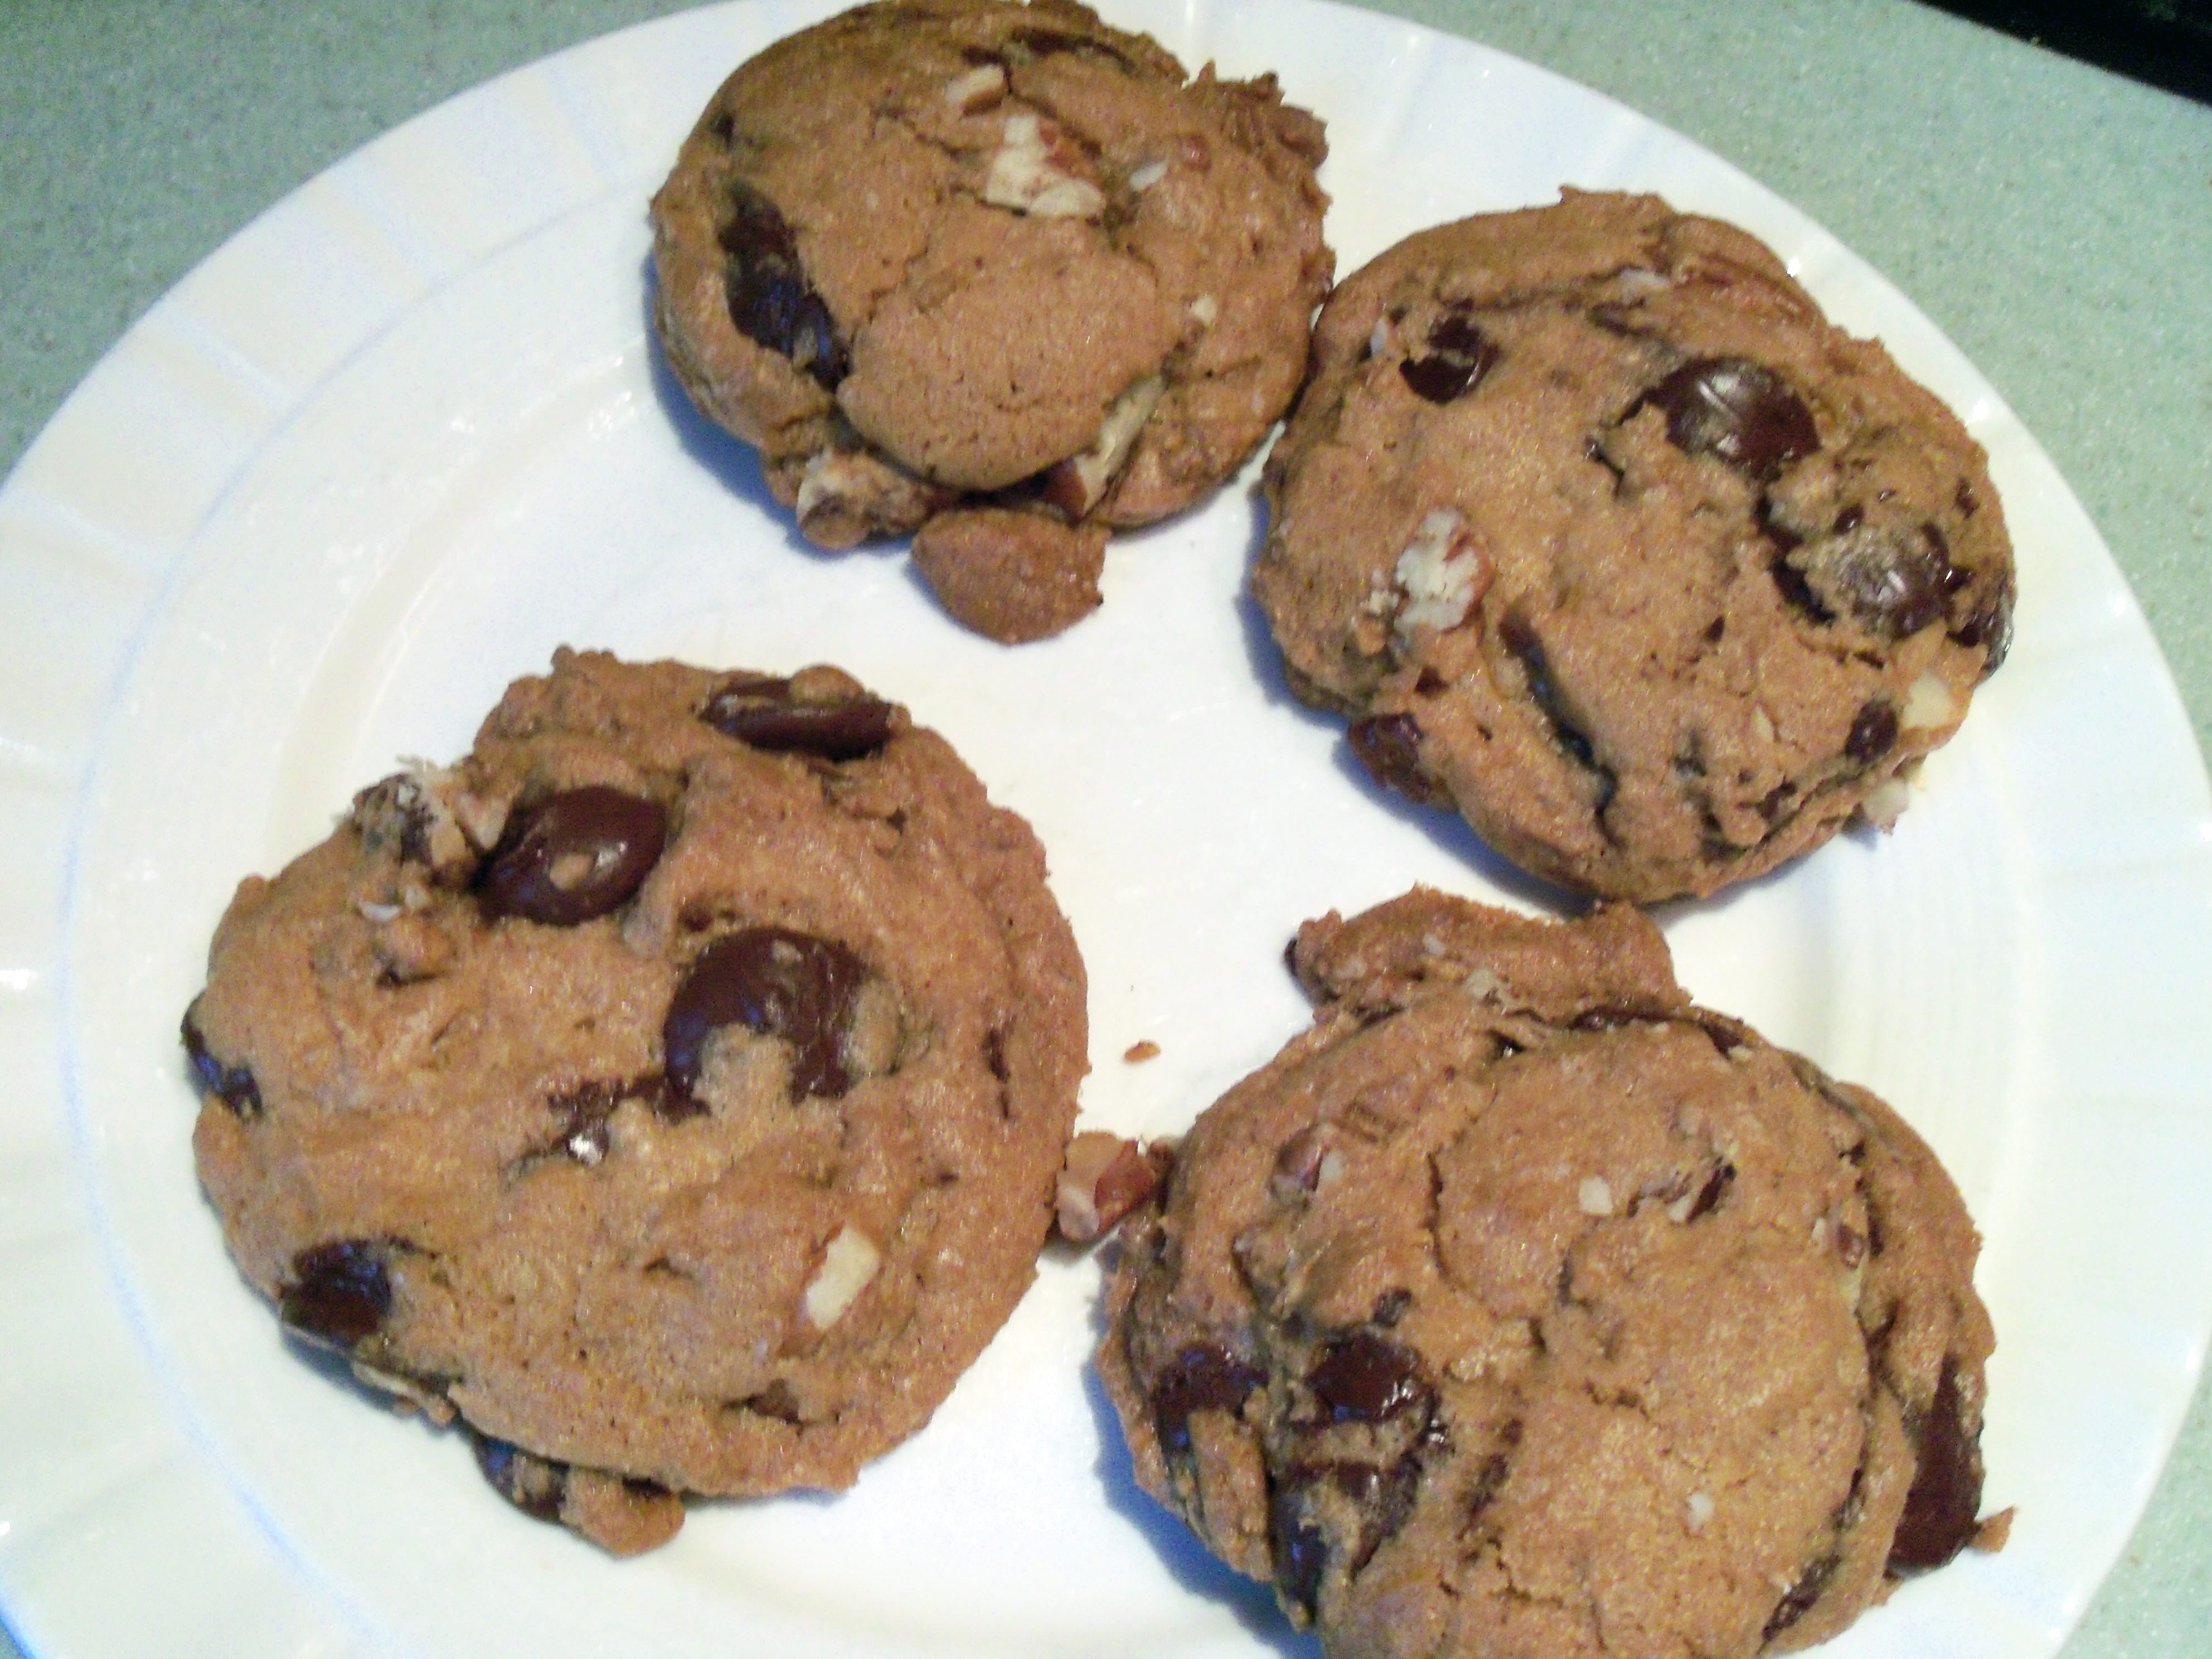
In a previous post, I talked about how the original Tollhouse cookie recipe, which was developed by the sainted Ruth Wakefield, required 36 hours of refrigeration before baking. When I tried it, I was bowled over by the results. The other interesting piece of info you should know about the original cookies is that flour was different back in those days, and had a higher protein content. The all-purpose flour we use today is not the same. So, in the interests of science, I decided to make the cookies using bread flour which has a higher protein content and is recommended in the cookbook Bakewise (read the excerpt here). I used the Tollhouse recipe on the Nestle bag again (note: this is not the same recipe Ruth used – I’ll give that one a spin another day, so stayed tuned) but substituted bread flour. I refrigerated the dough for 36 hours (this required me to make other cookies so there would not be a riot and I admit I slipped out to the garage to sample the dough a few times!)

The cookies don’t spread as much as the regular recipe. They look like cookies the way my grandmother used to make them. They’re thick. The edges are crisp but the insides of the cookies are chewy, but not in a sticky way, in the way that substantial baked goods are chewy. They seem a lot less greasy than the regular cookies and feel more substantial somehow. You have to bite into them – they aren’t thin cookies that sort of break off in your mouth. I kind of like the chewiness and the feeling that it’s a COOKIE. These get high marks from me.

Bookmark and Share

In a previous post, I talked about how the original Tollhouse cookie recipe, which was developed by the sainted Ruth Wakefield, required 36 hours of refrigeration before baking. When I tried it, I was bowled over by the results. The other interesting piece of info you should know about the original cookies is that flour … Read more

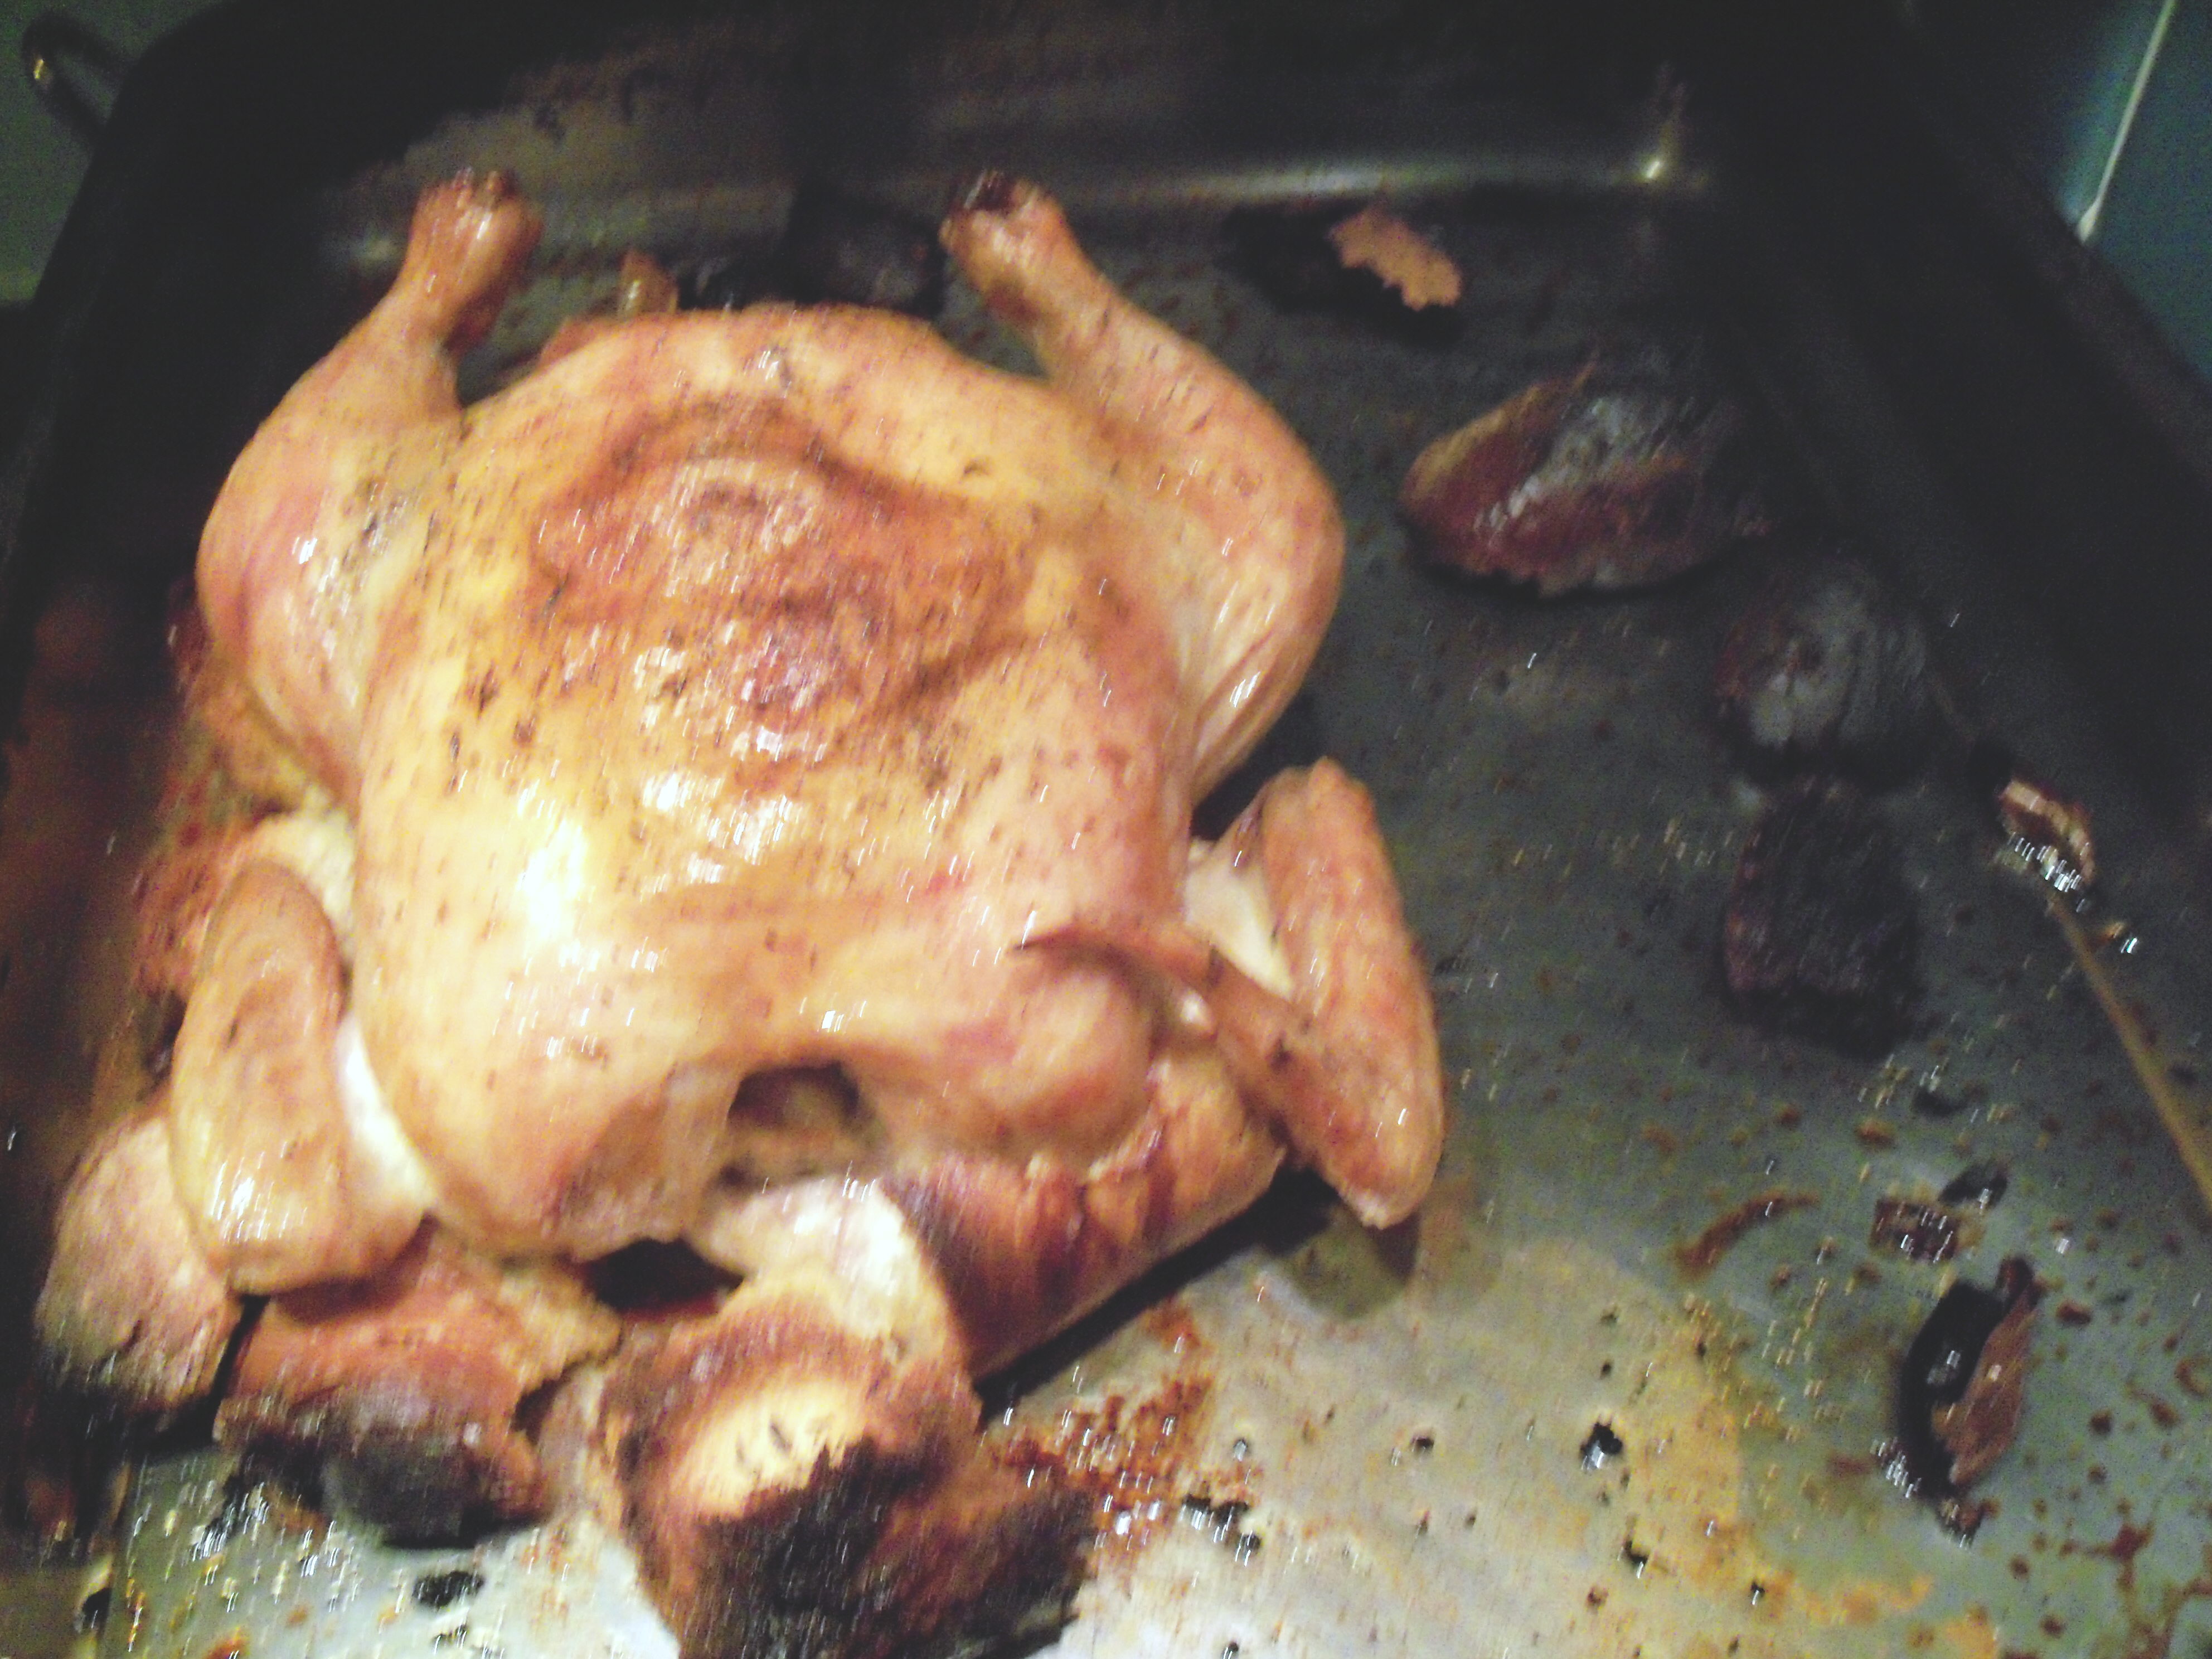
On page 50 of March Martha Stewart Living, there are instructions for creating an edible roasting rack for chicken. Basically you rip up a baguette and put it on the bottom of your roasting pan with some garlic and thyme. Brush the chicken with some butter and put some thyme under the skin, and place the chicken on the bread and roast it. I have to say I sort of scoffed at this initially, but it wasn’t bad. The biggest problem was that any bread that was not directly beneath the chicken burned to a crisp and was inedible. The bread that stayed under the chicken was delicious, and probably really bad for you! It was crunchy and greasy and really, really, really tasty. That being said, I don’t see myself doing this again. I felt WAY too guilty eating bread soaked in chicken grease and there wasn’t anything convenient or easier about this compared to a regular roasting rack.

Bookmark and Share

On page 50 of March Martha Stewart Living, there are instructions for creating an edible roasting rack for chicken. Basically you rip up a baguette and put it on the bottom of your roasting pan with some garlic and thyme. Brush the chicken with some butter and put some thyme under the skin, and place … Read more

Thanks to Pru at Perfecting Pru, we’ll be making Maple Bacon Quiche for our next Martha Mondays. Sounds delicious!

Thanks to Pru at Perfecting Pru, we’ll be making Maple Bacon Quiche for our next Martha Mondays. Sounds delicious!

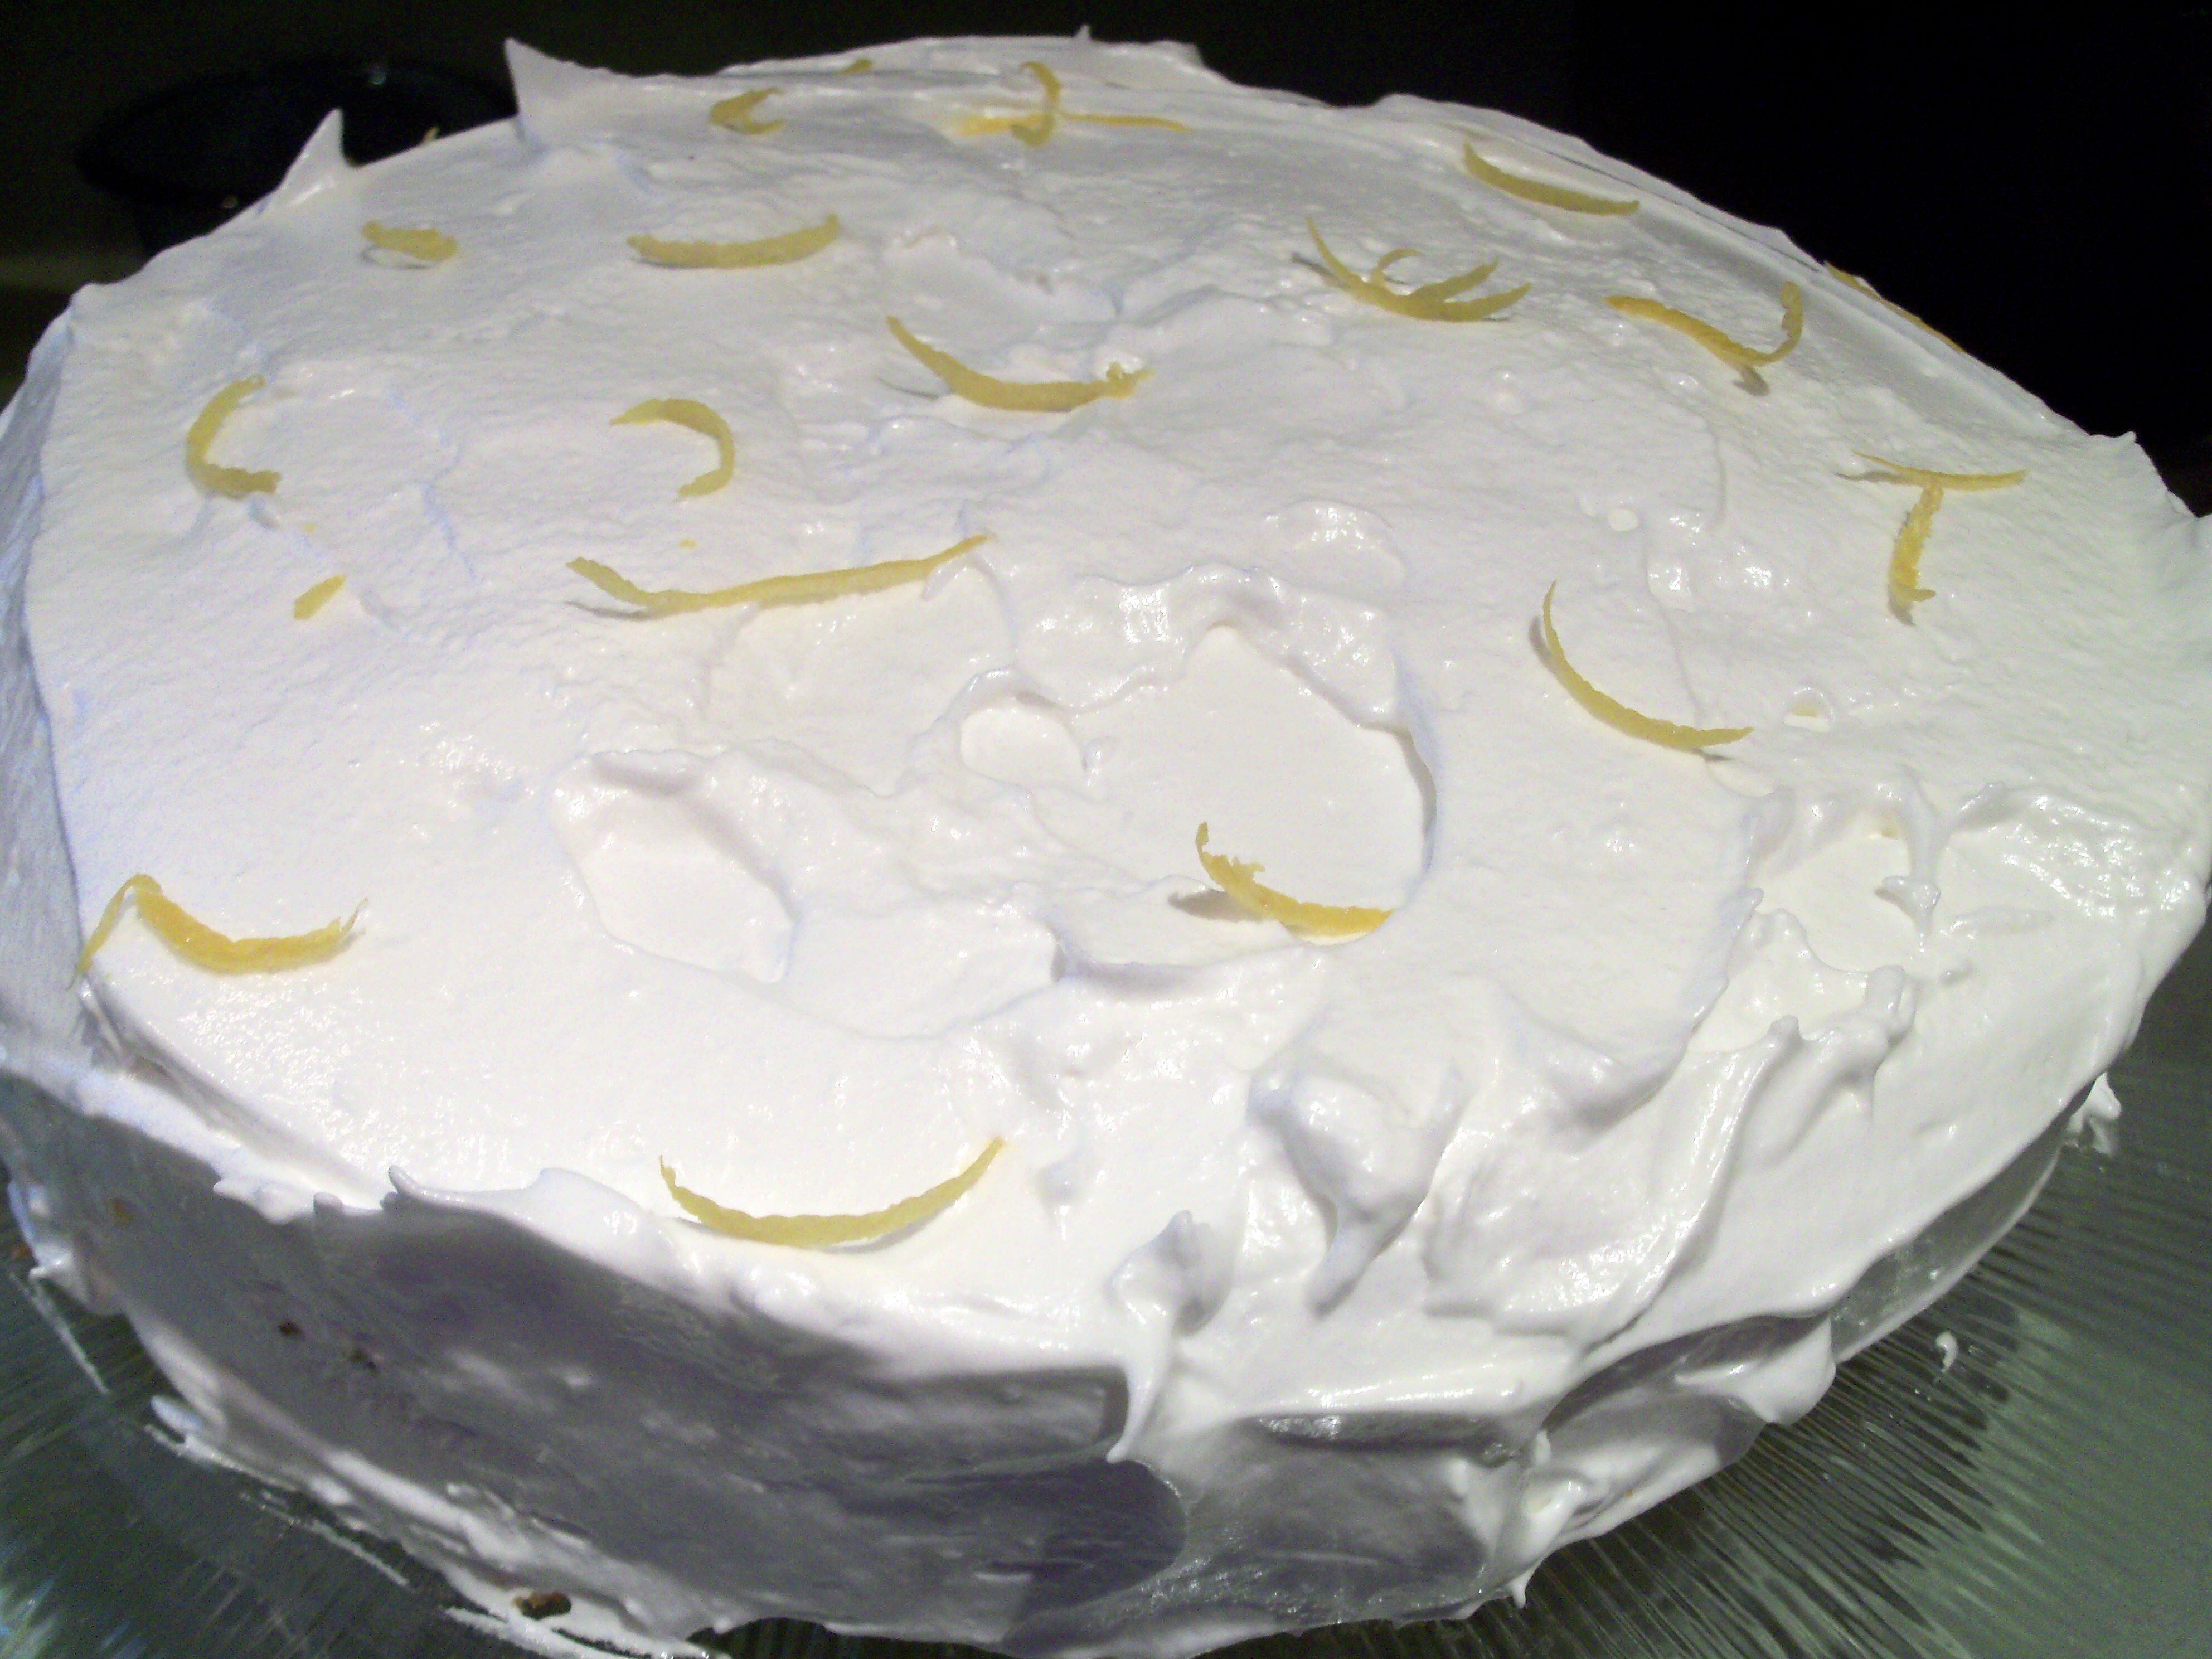
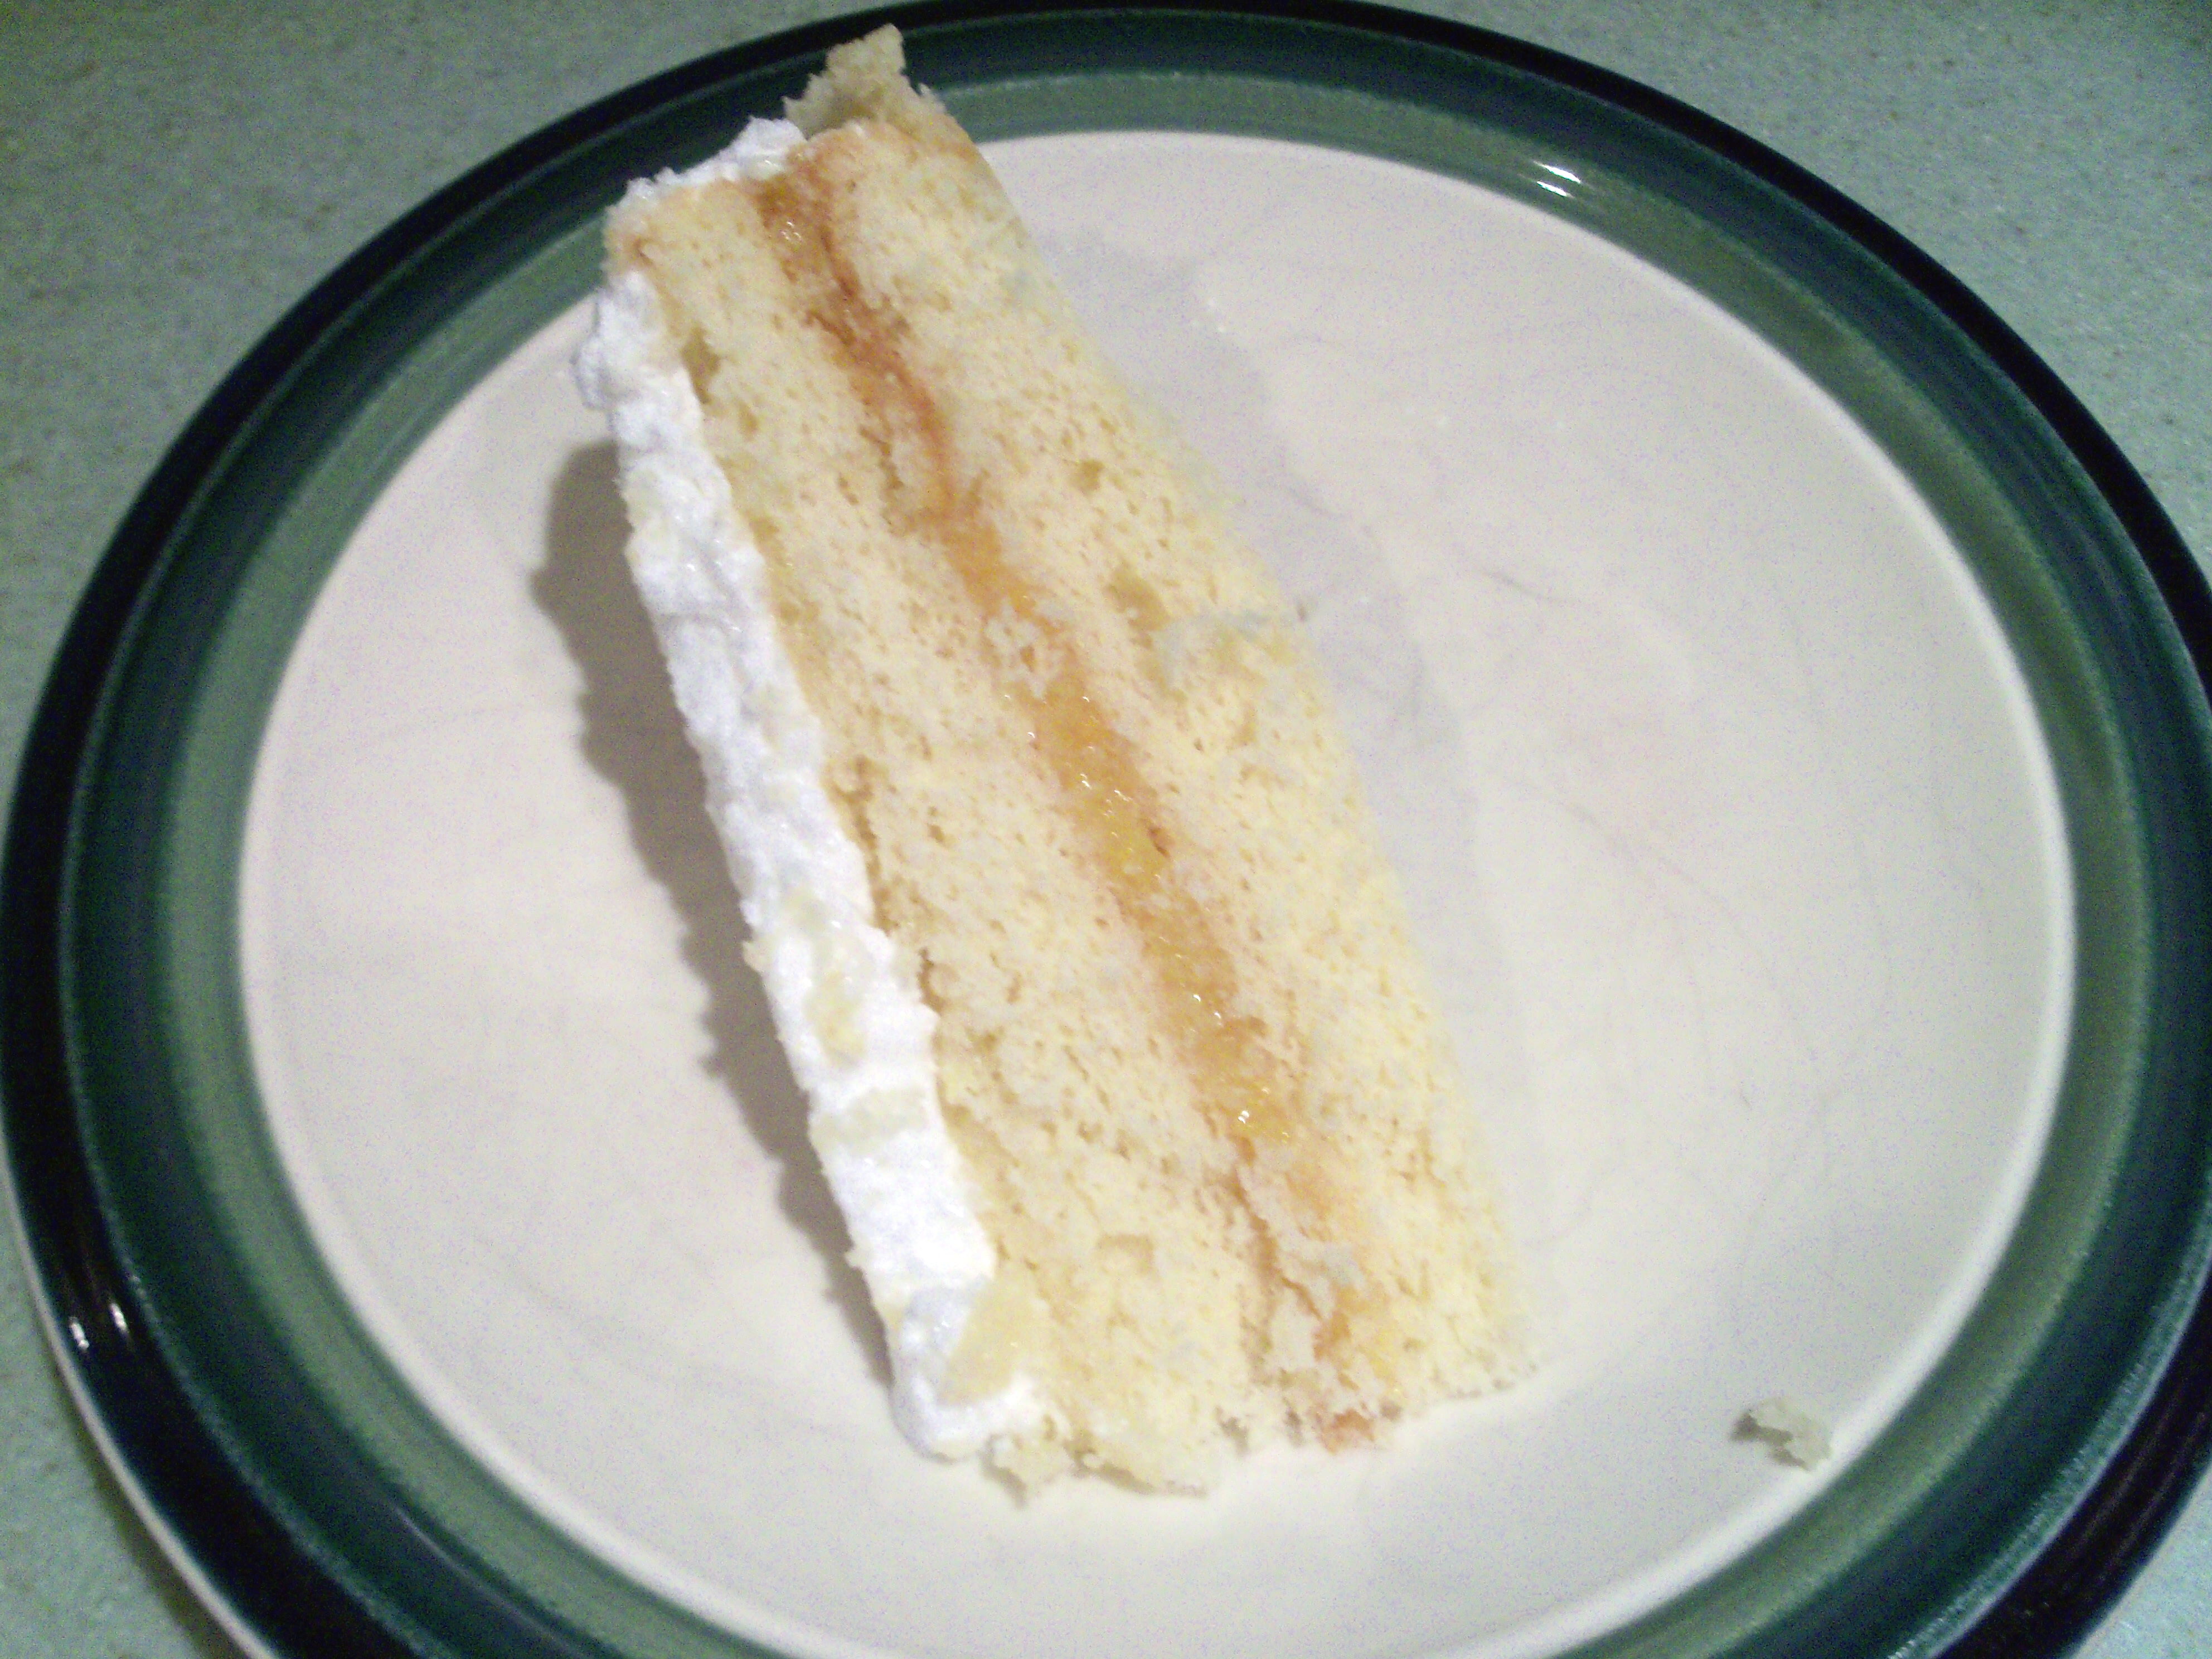
The MSC Cupcake Club pick for this month is Lemon Meringue Cupcakes from Martha Stewart’s Cupcake book. I must confess I cheated on this one. I made a cake instead of cupcakes, but it was exactly the same components – cake batter, lemon curd, and 7 minute frosting.  I had people for dinner and really wanted to serve a cake, not cupcakes.

I thought the lemon curd was easier to make than I expected. I made the cake and curd the day before and assembled them and covered it then made the frosting the next day. As you can see, the curd turned slightly brown overnight. The frosting actually worked for me this time (a first!) and it was really, really good. I added some lemon extract to it to pump up the lemon flavor and the frosting was to die for! I thought the cake was pretty good. It was pretty and everyone enjoyed it.

If you’re looking for Martha Mondays, scroll down to the next post. MSC and Martha Mondays keep falling on the same day!

Bookmark and Share

The MSC Cupcake Club pick for this month is Lemon Meringue Cupcakes from Martha Stewart’s Cupcake book. I must confess I cheated on this one. I made a cake instead of cupcakes, but it was exactly the same components – cake batter, lemon curd, and 7 minute frosting.  I had people for dinner and really … Read more

I have never been a fan of poached eggs. My mother used to make them. She used tuna fish cans with the tops and bottoms removed as the molds, but her eggs were always runny. I don’t like runny whites. Even the thought of it makes me shiver! I had poached eggs in NYC one morning as an adult as a kind of Florentine. They were served over English muffins with spinach and ham and a cheese sauce. They were also too runny and wiggly so I was turned off yet again.  Just recently in the Bahamas, our hotel breakfast buffet had poached eggs on English muffins with a thin slice of ham and a tiny bit of cream sauce. These eggs were perfectly cooked – solid whites and runny yolks. It was a revelation!

So when I saw Martha had a section on poached eggs in March Everyday Food I knew I would have to give it a try. This was my first time poaching eggs, and I could see why my mom used tuna cans! The eggs did not stay together very well. I made three and one was perfect and two were not even close, with the whites sort of floating off in the pan.

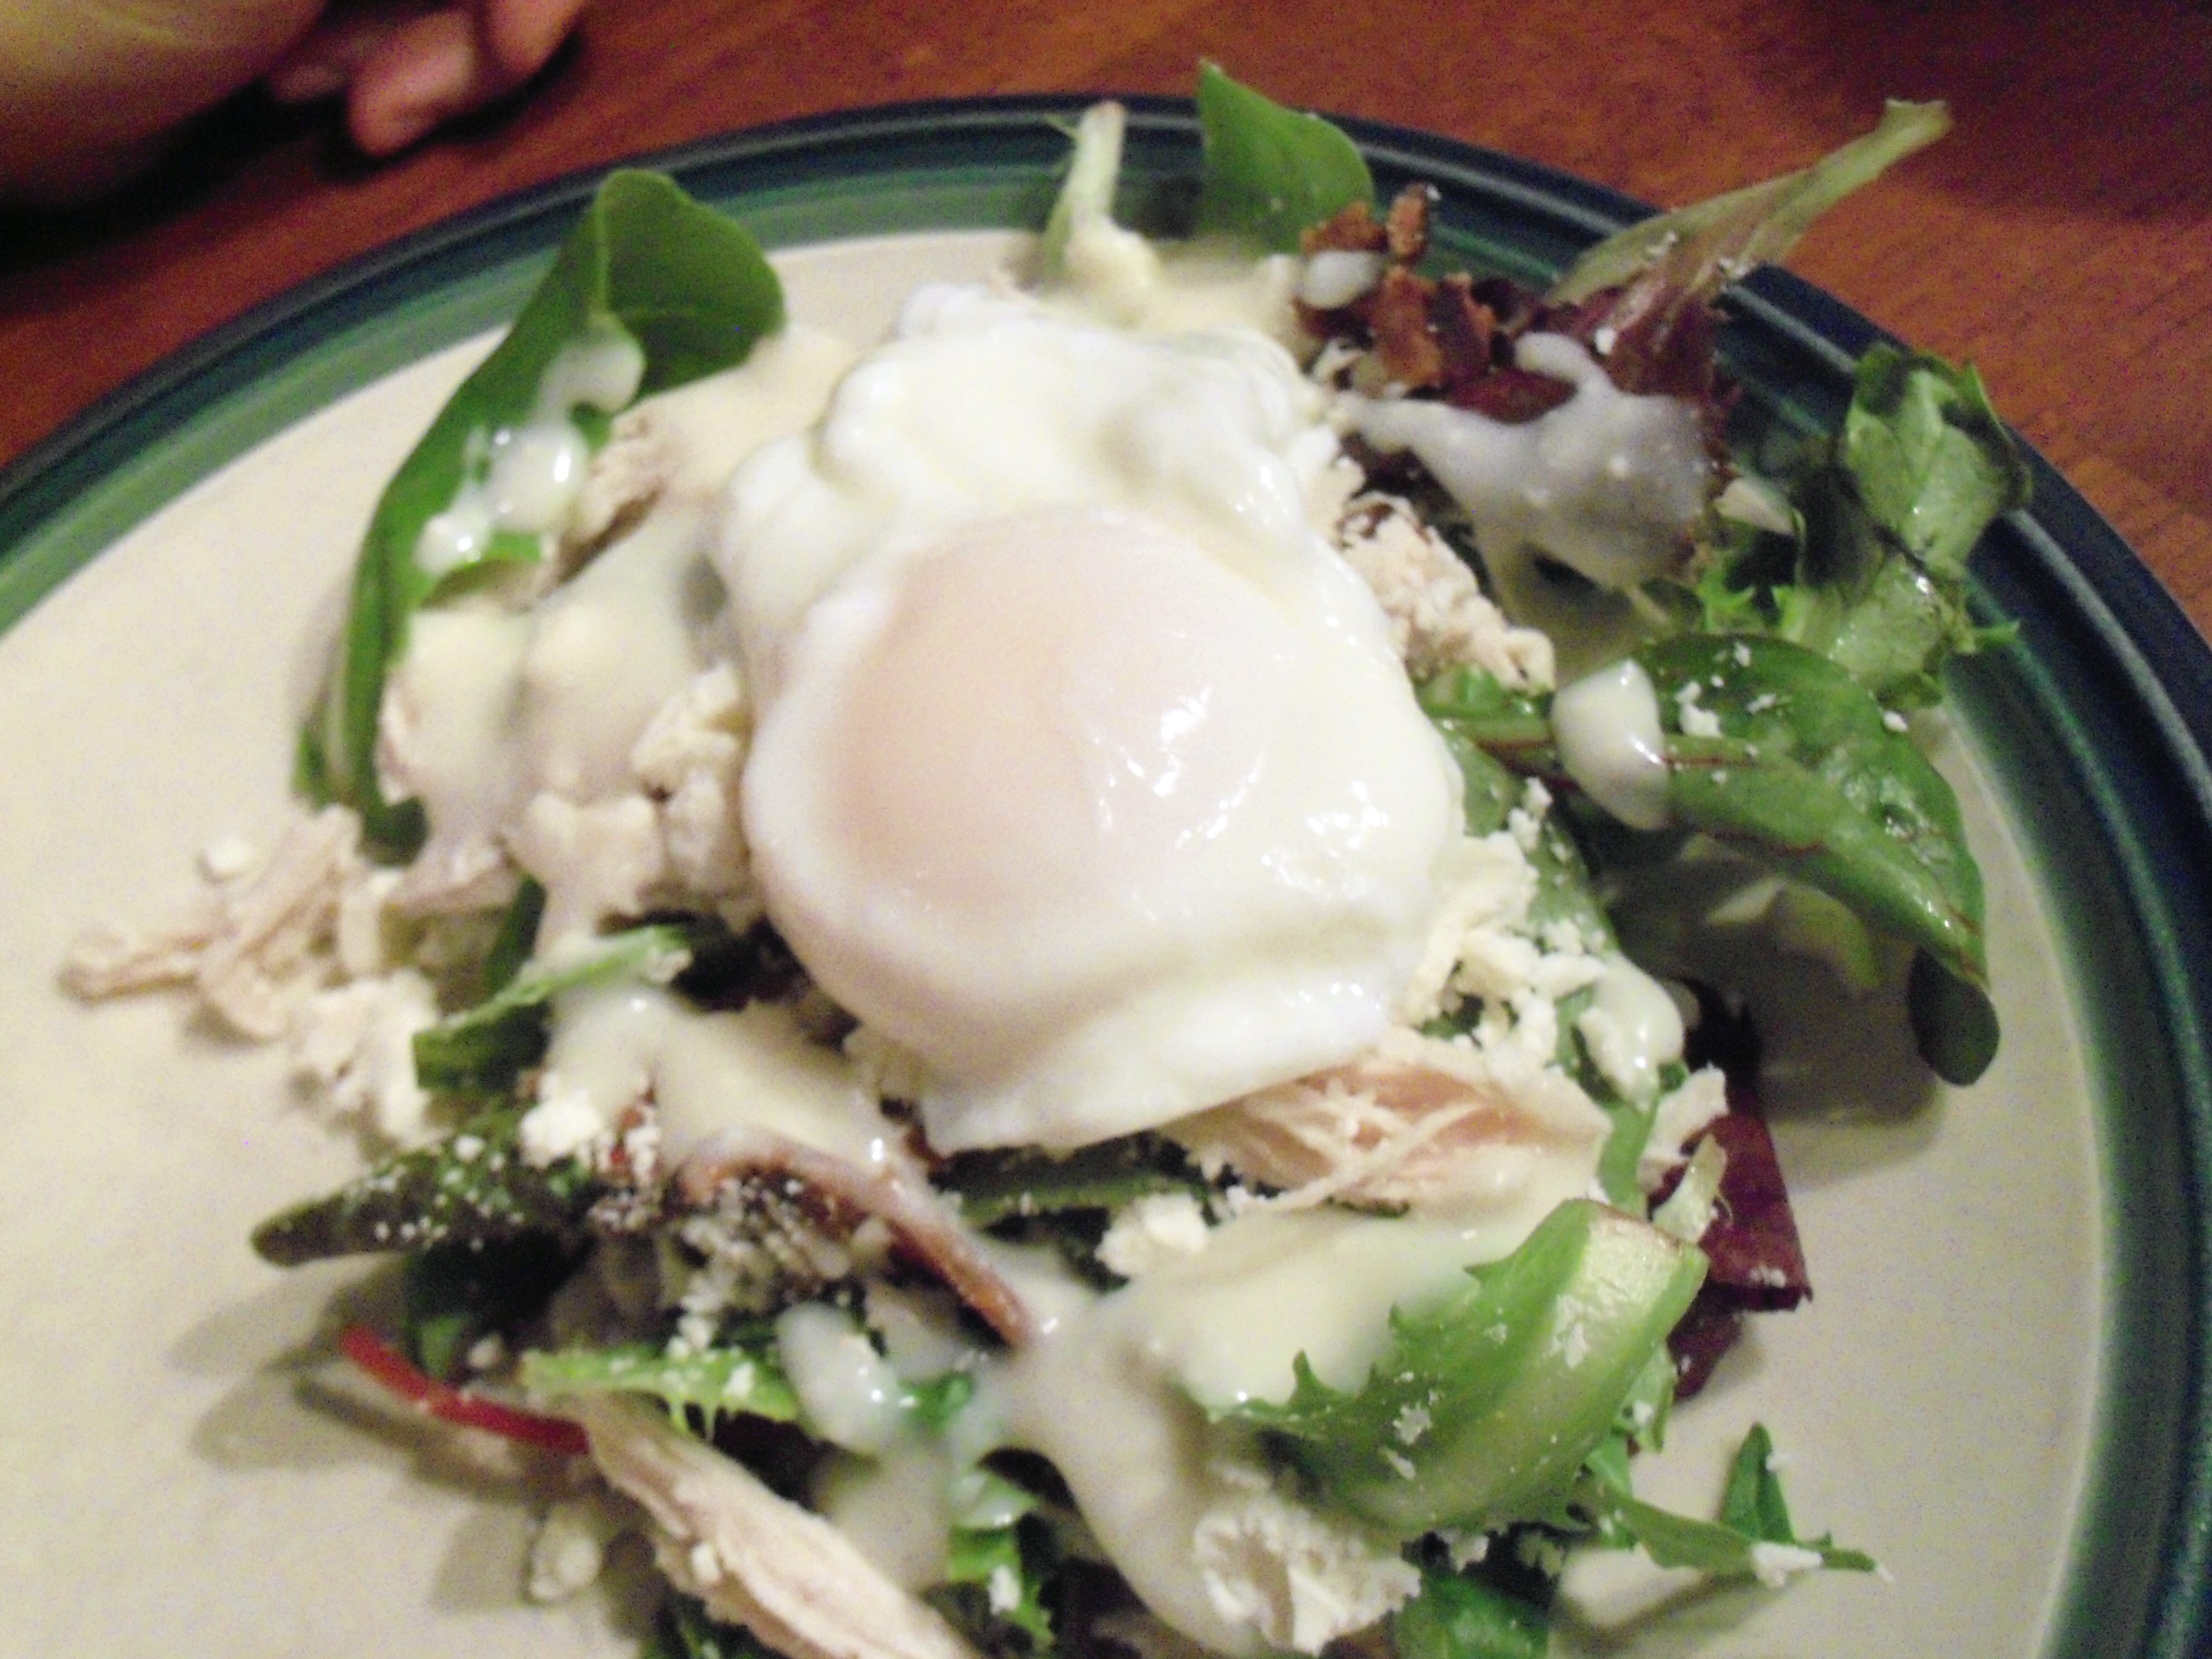
Putting a poached egg on top of a salad seemed a bit odd, but I was willing to go for  – after all a hard boiled egg is good in a salad. I didn’t have bleu cheese, so I used feta but I did have bleu cheese dressing so I used that. I thought this salad was quite good, but it had a lot of protein – chicken, bacon and egg. I think I would skip the chicken next time since it was almost too much. I did like the egg with the salad and am surprised that I did.

I have never been a fan of poached eggs. My mother used to make them. She used tuna fish cans with the tops and bottoms removed as the molds, but her eggs were always runny. I don’t like runny whites. Even the thought of it makes me shiver! I had poached eggs in NYC one … Read more

no