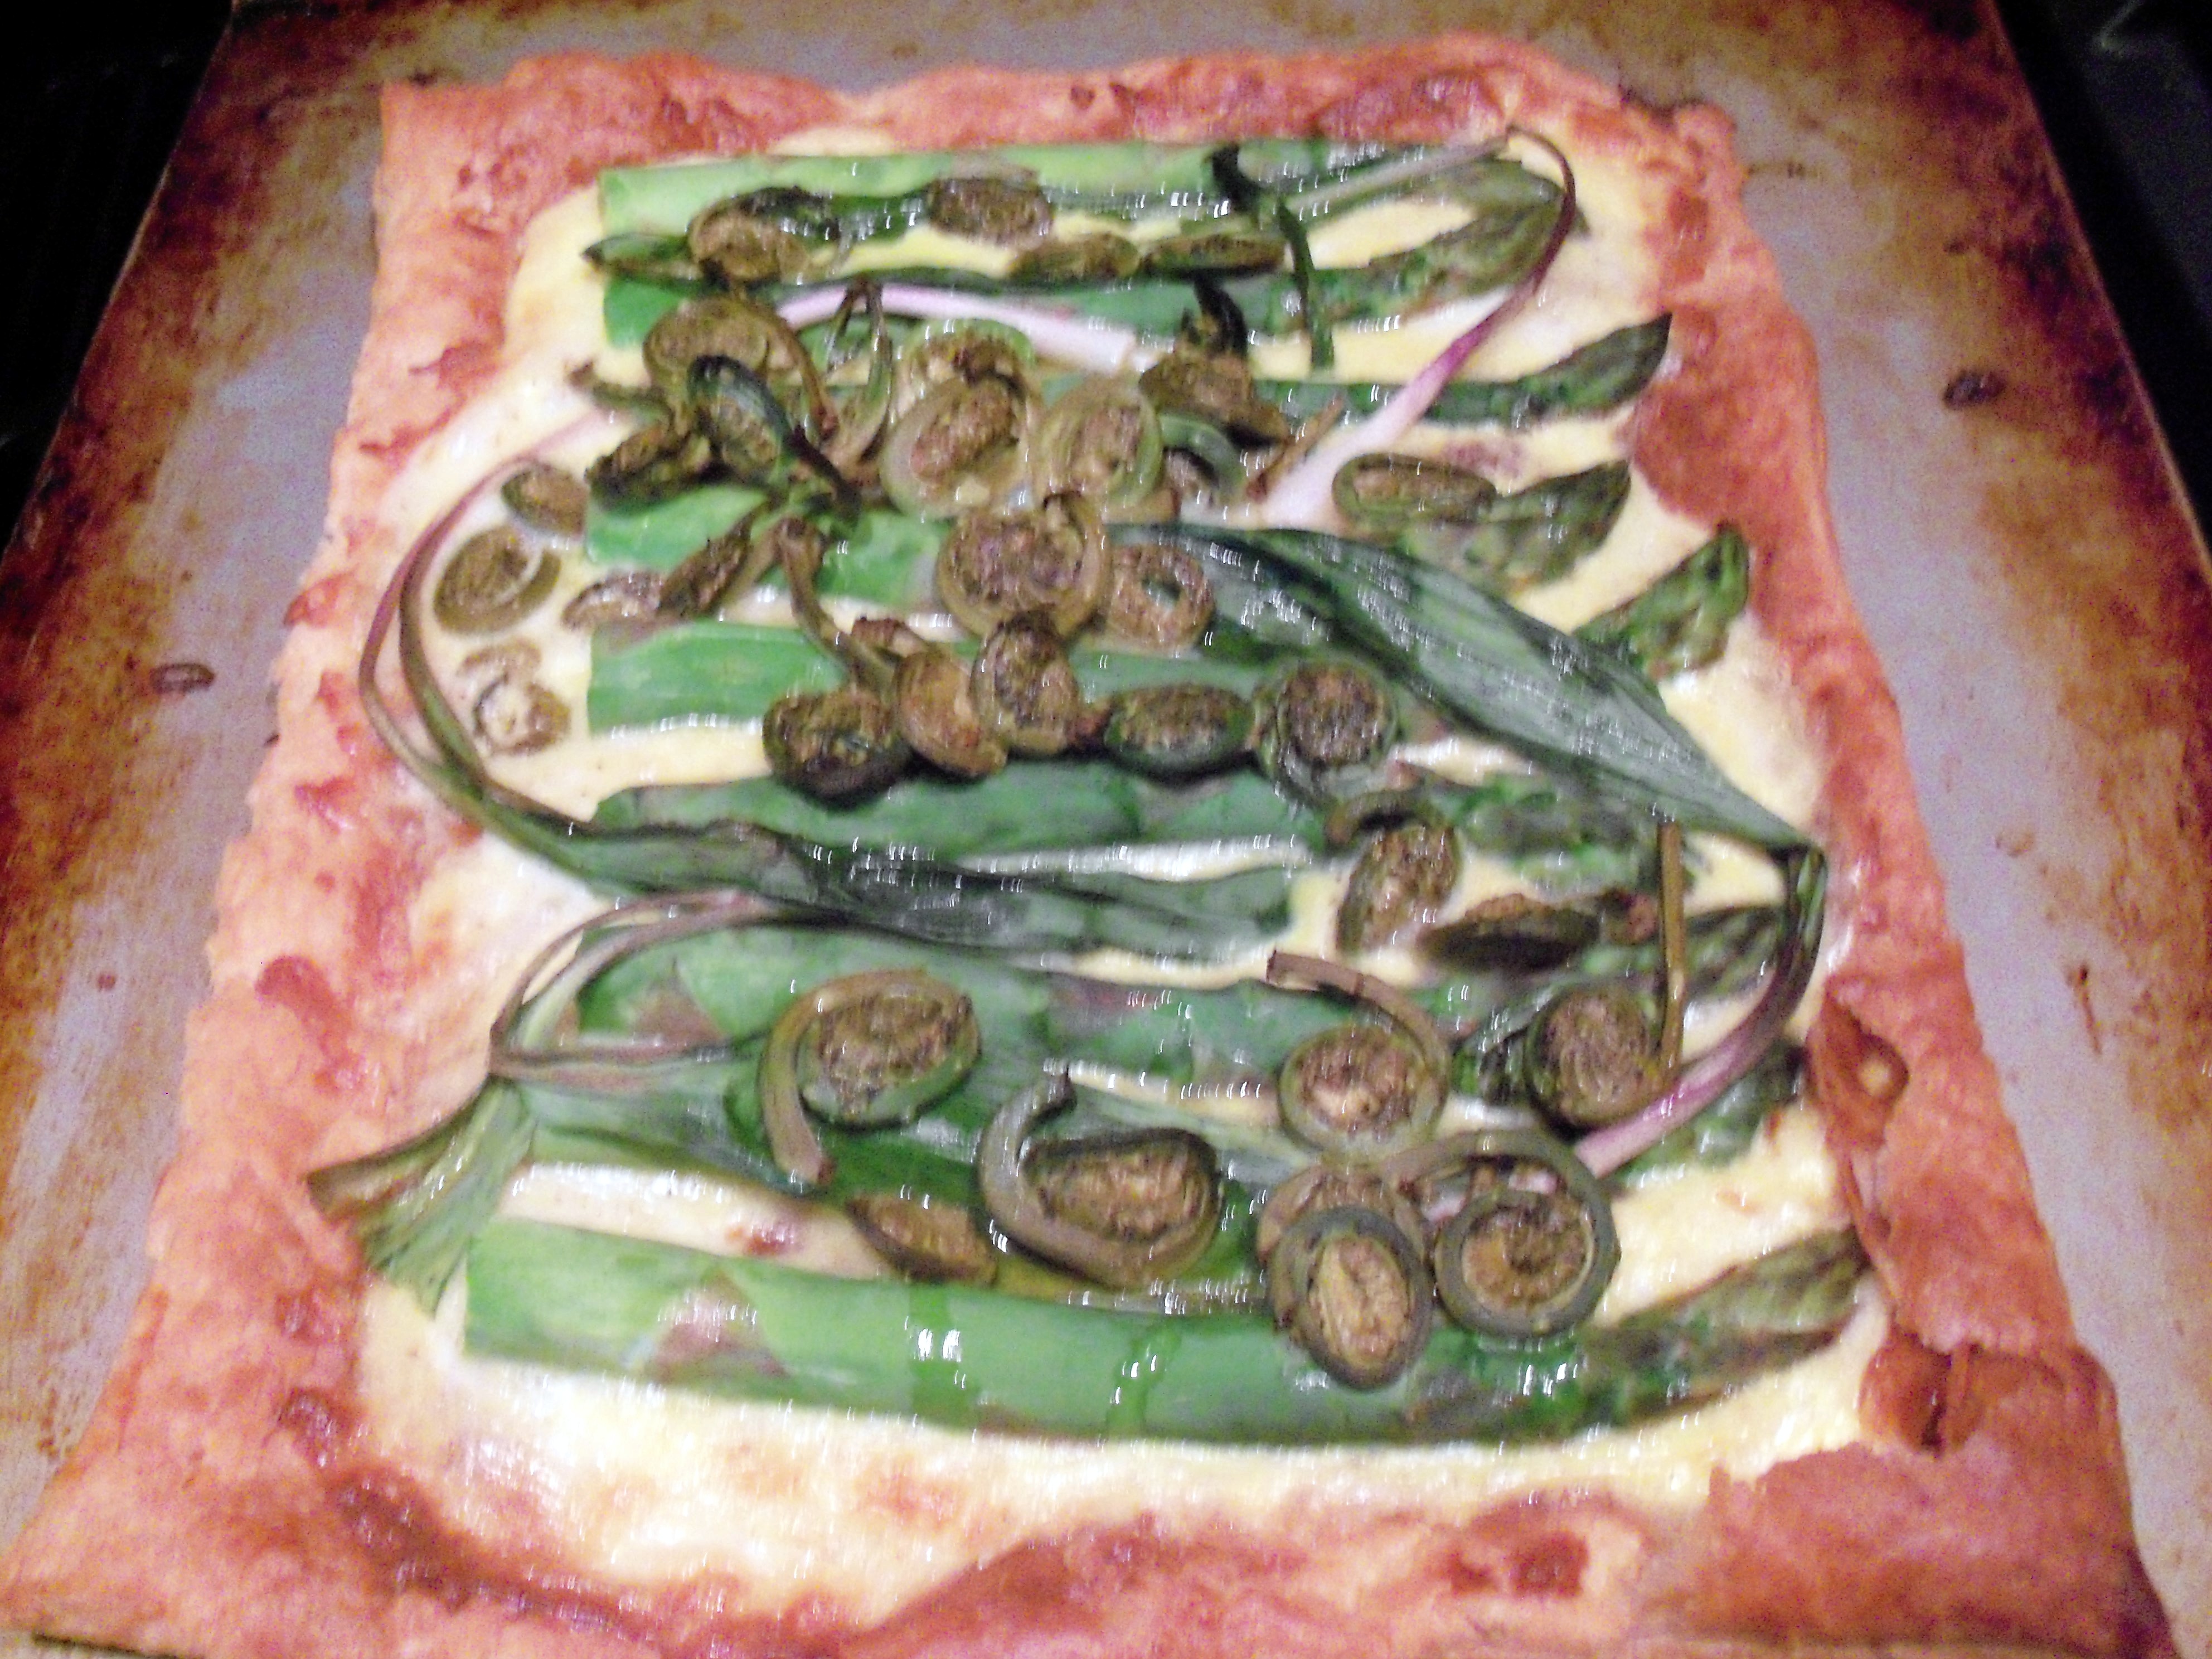
I hit the jackpot at the grocery store this week: fiddleheads and ramps. We ate some of the fiddleheads for dinner the other night – I just boiled them then tossed with butter, lemon juice, and salt and pepper. I used the leftovers in this recipe.

This is my adaption of a recipe in April Food Network Magazine (“Asparagus and Cheese Tart” p. 149) but I used some other veggies and switched up the cheeses. It was really delicious. Ramps just make me swoon. Here’s my version:

Spring Veggie Tart

1 bunch asparagus, trimmed

4 ramps (roots cut off)

1/2 cup cooked fiddleheads

1 sheet puff pastry, thawed

1/2 cup grated fontina cheese

1 cup grated Swiss cheese

1/2 cup grated Parmesan cheese

2 egg yolks

3 tbsp milk

pinch nutmeg

salt and pepper

Olive oil

Blanch the asparagus. Roll out the puff pastry to about 10×16 and prick all over with fork. Bake in a 400 degree oven for about 10 minutes until it is light golden brown.

Mix cheeses, eggs, milk, nutmeg, salt and pepper in a small bowl. Spread over puff pastry. Arrange vegetables on top and sprinkle with olive oil. Bake for about 15-20 minutes until the cheese mixture is slightly puffy. Cut into squares.

I hit the jackpot at the grocery store this week: fiddleheads and ramps. We ate some of the fiddleheads for dinner the other night – I just boiled them then tossed with butter, lemon juice, and salt and pepper. I used the leftovers in this recipe. This is my adaption of a recipe in April … Read more

Ana at Sweet Almond Tree has chosen Rosemary Bread for next week’s project.

Ana at Sweet Almond Tree has chosen Rosemary Bread for next week’s project.

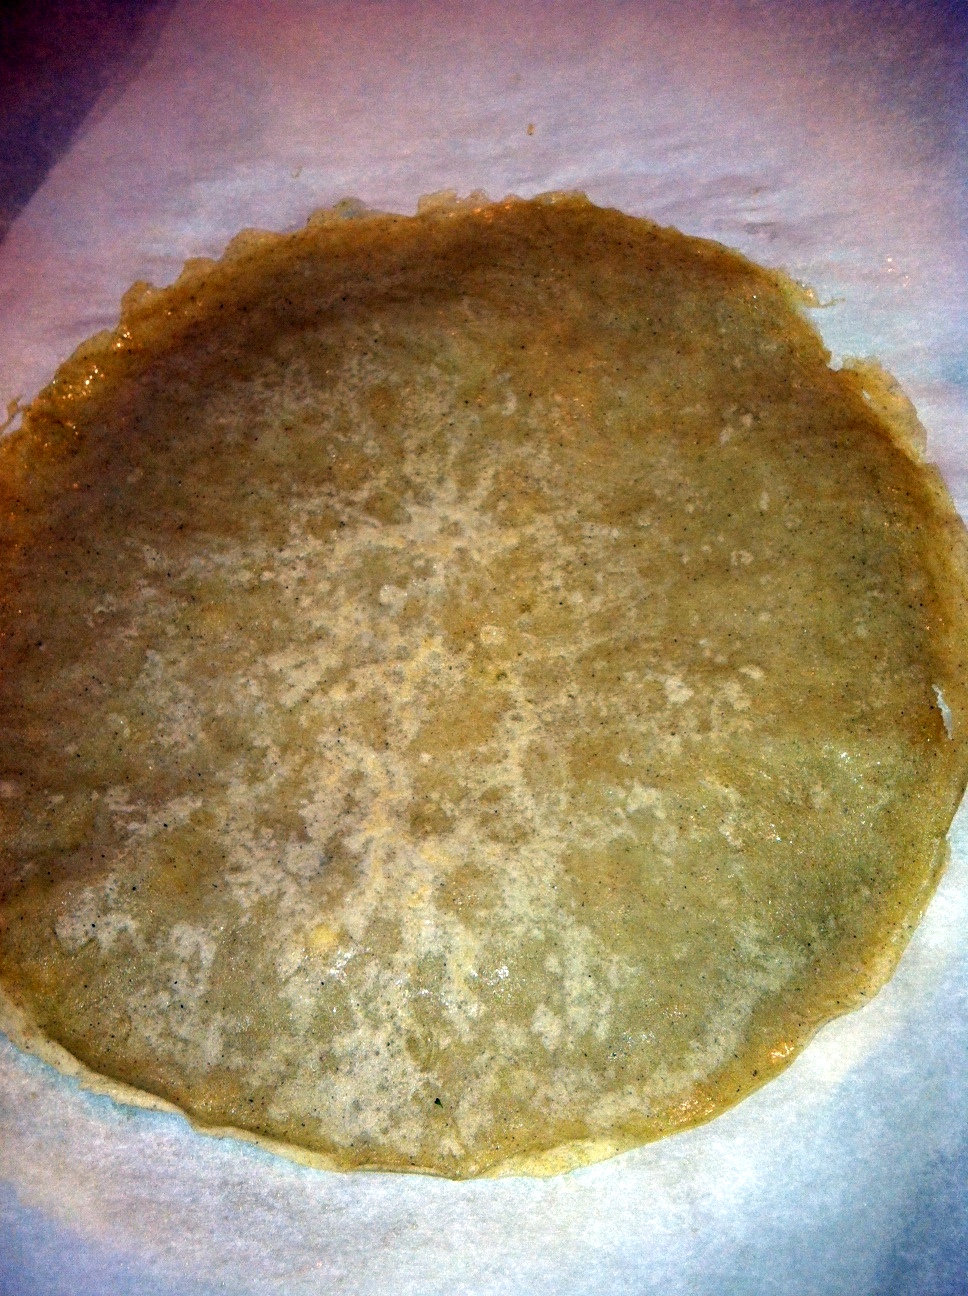
Today’s project was crepes, chosen by Tiny Skillet. I first made crepes when I was about 8. My mom had an electric crepe maker. It was an inverted pan that you would dip into a special bowl that came with it then flip it over and let it cook, sitting on the counter. The batter would stick to the concave pan and you would use a special spatula to loosen it and then flip it. I remember loving dipping that pan into the batter.

When we went to Montreal when our kids were young, we ended up eating at a crepe restaurant twice in the same weekend because there was something there every picky eater could enjoy. My last experience with crepes was last summer in Colorado Springs. We ate lunch at a creperie that made all organic buckwheat crepes. The place had won all sorts of local “best of” awards, but we did not enjoy it at all. Their crepes were just too heavy.

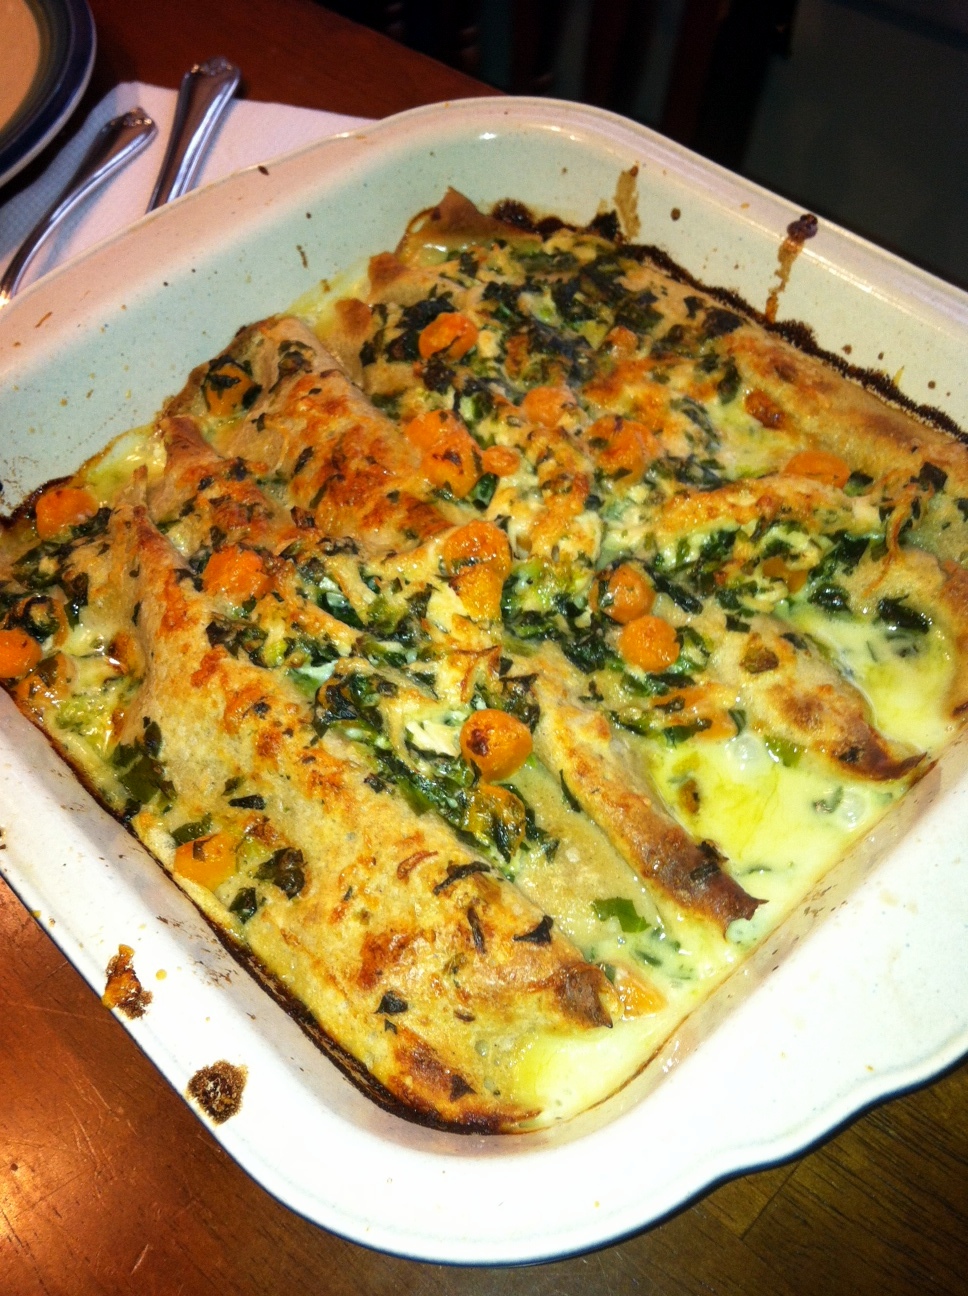
So, I was happy to try making my own, something I don’t think I have done since I was a kid. I have the perfect pan for this – a Green pan that didn’t even need any butter (although I used a little) and even my first crepe turned out perfectly, which is never the case. I made the buckwheat version in the recipe and made up a chicken, carrot, spinach and cheese filling (it wasn’t perfect, so I’m not including my recipe for that). The crepes themselves were nice though and I had fun making them!

Today’s project was crepes, chosen by Tiny Skillet. I first made crepes when I was about 8. My mom had an electric crepe maker. It was an inverted pan that you would dip into a special bowl that came with it then flip it over and let it cook, sitting on the counter. The batter … Read more

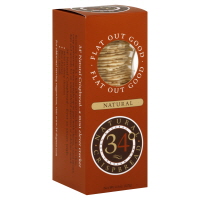
I love cheese. And cheese needs the perfect cracker. I grew up on Stoned Wheat Thins which are still pretty high on my list, but I have a new cracker obsession. They’re called 34 Degrees Crispbread. These are super, super thin crackers. Meaning few calories from the crackers, leaving more calories for the cheese, or more cheese and cracker combos sitting on your plate. There are 150 calories in a serving, and a serving is 19 crackers. And because they are so thin, there are more per package – almost 80 in fact! That’s a lot of cheese plates! They are fantastically crunchy and they do not break when you spread cheese on them. They come in different flavors, but I just prefer the plain (“natural”) variety (my store does not have the whole wheat variety or I would buy that). They are coming out with chocolate, caramel, graham and cinnamon varieties as well, which I would eat just as a snack, obviously not with cheese. I’ve got a package in my pantry at all times!

I love cheese. And cheese needs the perfect cracker. I grew up on Stoned Wheat Thins which are still pretty high on my list, but I have a new cracker obsession. They’re called 34 Degrees Crispbread. These are super, super thin crackers. Meaning few calories from the crackers, leaving more calories for the cheese, or … Read more

We’re back from a week in Naples, Florida where I am always thrilled to have access to so much fresh seafood and tropical produce. I ate fish every night but one that we were there. We also had a fishing adventure where we went out 11 miles on a fishing charter. Dude Martha hooked a 200 lb Goliath grouper, which unsurprisingly broke the line. I hooked a 60 lb cobia but that also broke the line. We saw barracudas in the water as well, but unfortunately brought nothing into the boat to take home.

One reason I enjoy Florida is because of the grocery stores. Here in Buffalo, we have two main choices: Wegmans and Tops, and while I am a Wegmans girl for sure, I get tired of seeing the same old, same old. On this trip to Florida, I explored 4 different supermarkets and was in heaven the whole time.

First off is Publix, which is similar to Wegmans. Your basic needs grocery store. There’s not a lot there that thrills me, but I can buy the basics we need. My kids like their sweet tea and I’ve been so often I know where everything is.
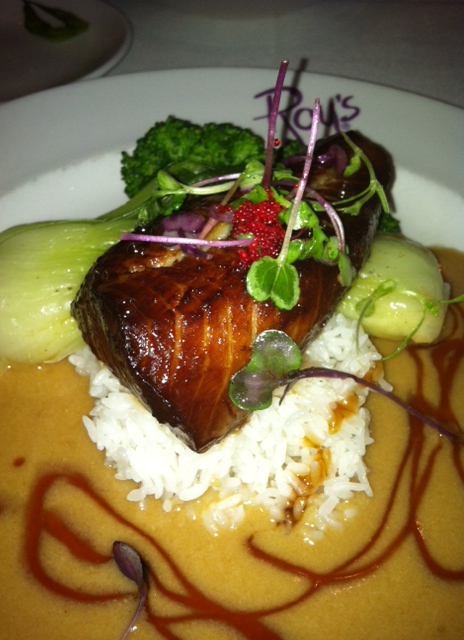
Butterfish from Roy

Next stop, Fresh Market. We’ve been going to Fresh Market down there for a few years. We got sucked in by their cinnamon rolls, which I am sorry to say have gone downhill in recent years, but their chocolate croissants are still to die for. I love going there because first you walk through a hallway of fresh and live flowers. It smells and looks wonderful and has such a luxurious feel to it! They have a small but decent produce section, with some organics. I don’t even look at meat in Florida, so I have no comments on the meat department. We love their baked goods and buy far too many cookies, croissants, and cheese rolls. I am also addicted to their prepared foods. When I’m in Florida, it’s all about making my life easy, so I happily buy prepared salads and soups. I like their lobster bisque and am obsessed with their cole slaw and macaroni salad. I like to walk around their aisles and poke around and see what they have. I stumbled upon dark chocolate covered praline almonds next to the register. I smuggled a bag home in my luggage.

Next stop, Whole Foods. Or Whole Paycheck, as I’ve heard it called. This one

Peace, Love and Little Donuts

opened a couple of years ago down there and I like their produce. They have a bigger selection of most things than Fresh Market and I also like their baked goods, which includes vegan, gluten free, and whole grain options. I adore their buffet style prepared foods though. We almost always end up there before lunch and I load up on multi-grain salads (taboulleh, spelt, and other great ingredients) and Mr. MarthaAndMe likes to buy the Chinese food.

This year Trader Joe’s opened so of course I had to make a pilgrimage there. I know lots of folks swear by TJ, but I was underwhelmed. Tiny store with not a lot to choose from. We did buy some TJ brand items and I was not excited by them at all, at least those I tasted. I need to go back next year and try again, but I’m not yet a convert.

Two fun new trends have hit SW FL: donuts and cupcakes. There are now several different cupcakeries, and I tried a few, but was not impressed. They are always gorgeous, but are always pretty dry. Nothing to write home about there. We did stop by a cute little place called Peace, Love, and Little Donuts, where they sell mini donuts with different toppings. They were fun and tasty, but would have been better if the donuts themselves actually came in different flavors instead of just having different toppings. I would definitely go back there however. The benefit of little donuts is that you can eat a few!

My favorite dish of all while eating out was at Roy’s where I had butterfish with a beurre blanc over jasmine rice. I am a sucker for butterfish, which you cannot get in my area.

I spend a lot of time at the seafood market, where I am dazzled by grouper, snapper, and big scallops and shrimp. This year I was pleased to find some sole, so I put together a tropical sole and shrimp dish. Serve this with jasmine rice.

Tropical Sole and Shrimp
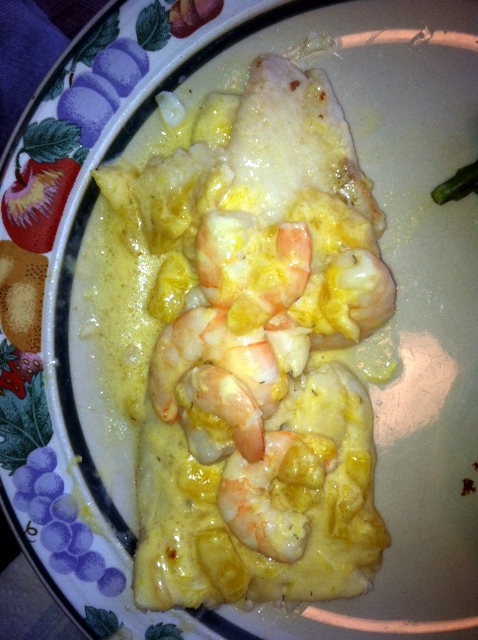
Tropical Sole and Shrimp

12 medium shrimp, shells on

1 tbsp butter

salt and pepper

1/4 cup water

1/4 cup milk

2 sole fillets

Wondra flour

1/2 a mango peeled and chopped

1 tbsp lemon juice

3 tbsp orange juice

1/4 cup cream

1/8 tsp dill

Peel the shrimp and place the peels in a pan with the butter, salt to taste, water and milk. Cover and cook about 5 minutes, stirring occasionally. Remove the lid and the shells. Add shrimp, mango, lemon juice, orange juice, cream, dill and pepper to taste. Cook down to a thickened sauce and until the shrimp are cooked through.

Prepare sole by dredging in Wondra and salt and pepper to taste. Cook in a pan with 1 tbsp melted butter. It will cook quickly, so keep an eye on it and flip halfway through. Serve with mango sauce poured over it.

We’re back from a week in Naples, Florida where I am always thrilled to have access to so much fresh seafood and tropical produce. I ate fish every night but one that we were there. We also had a fishing adventure where we went out 11 miles on a fishing charter. Dude Martha hooked a … Read more

Tiny Skillet has chosen crepes for next week’s project. Choose your own filling for this one!

Tiny Skillet has chosen crepes for next week’s project. Choose your own filling for this one!

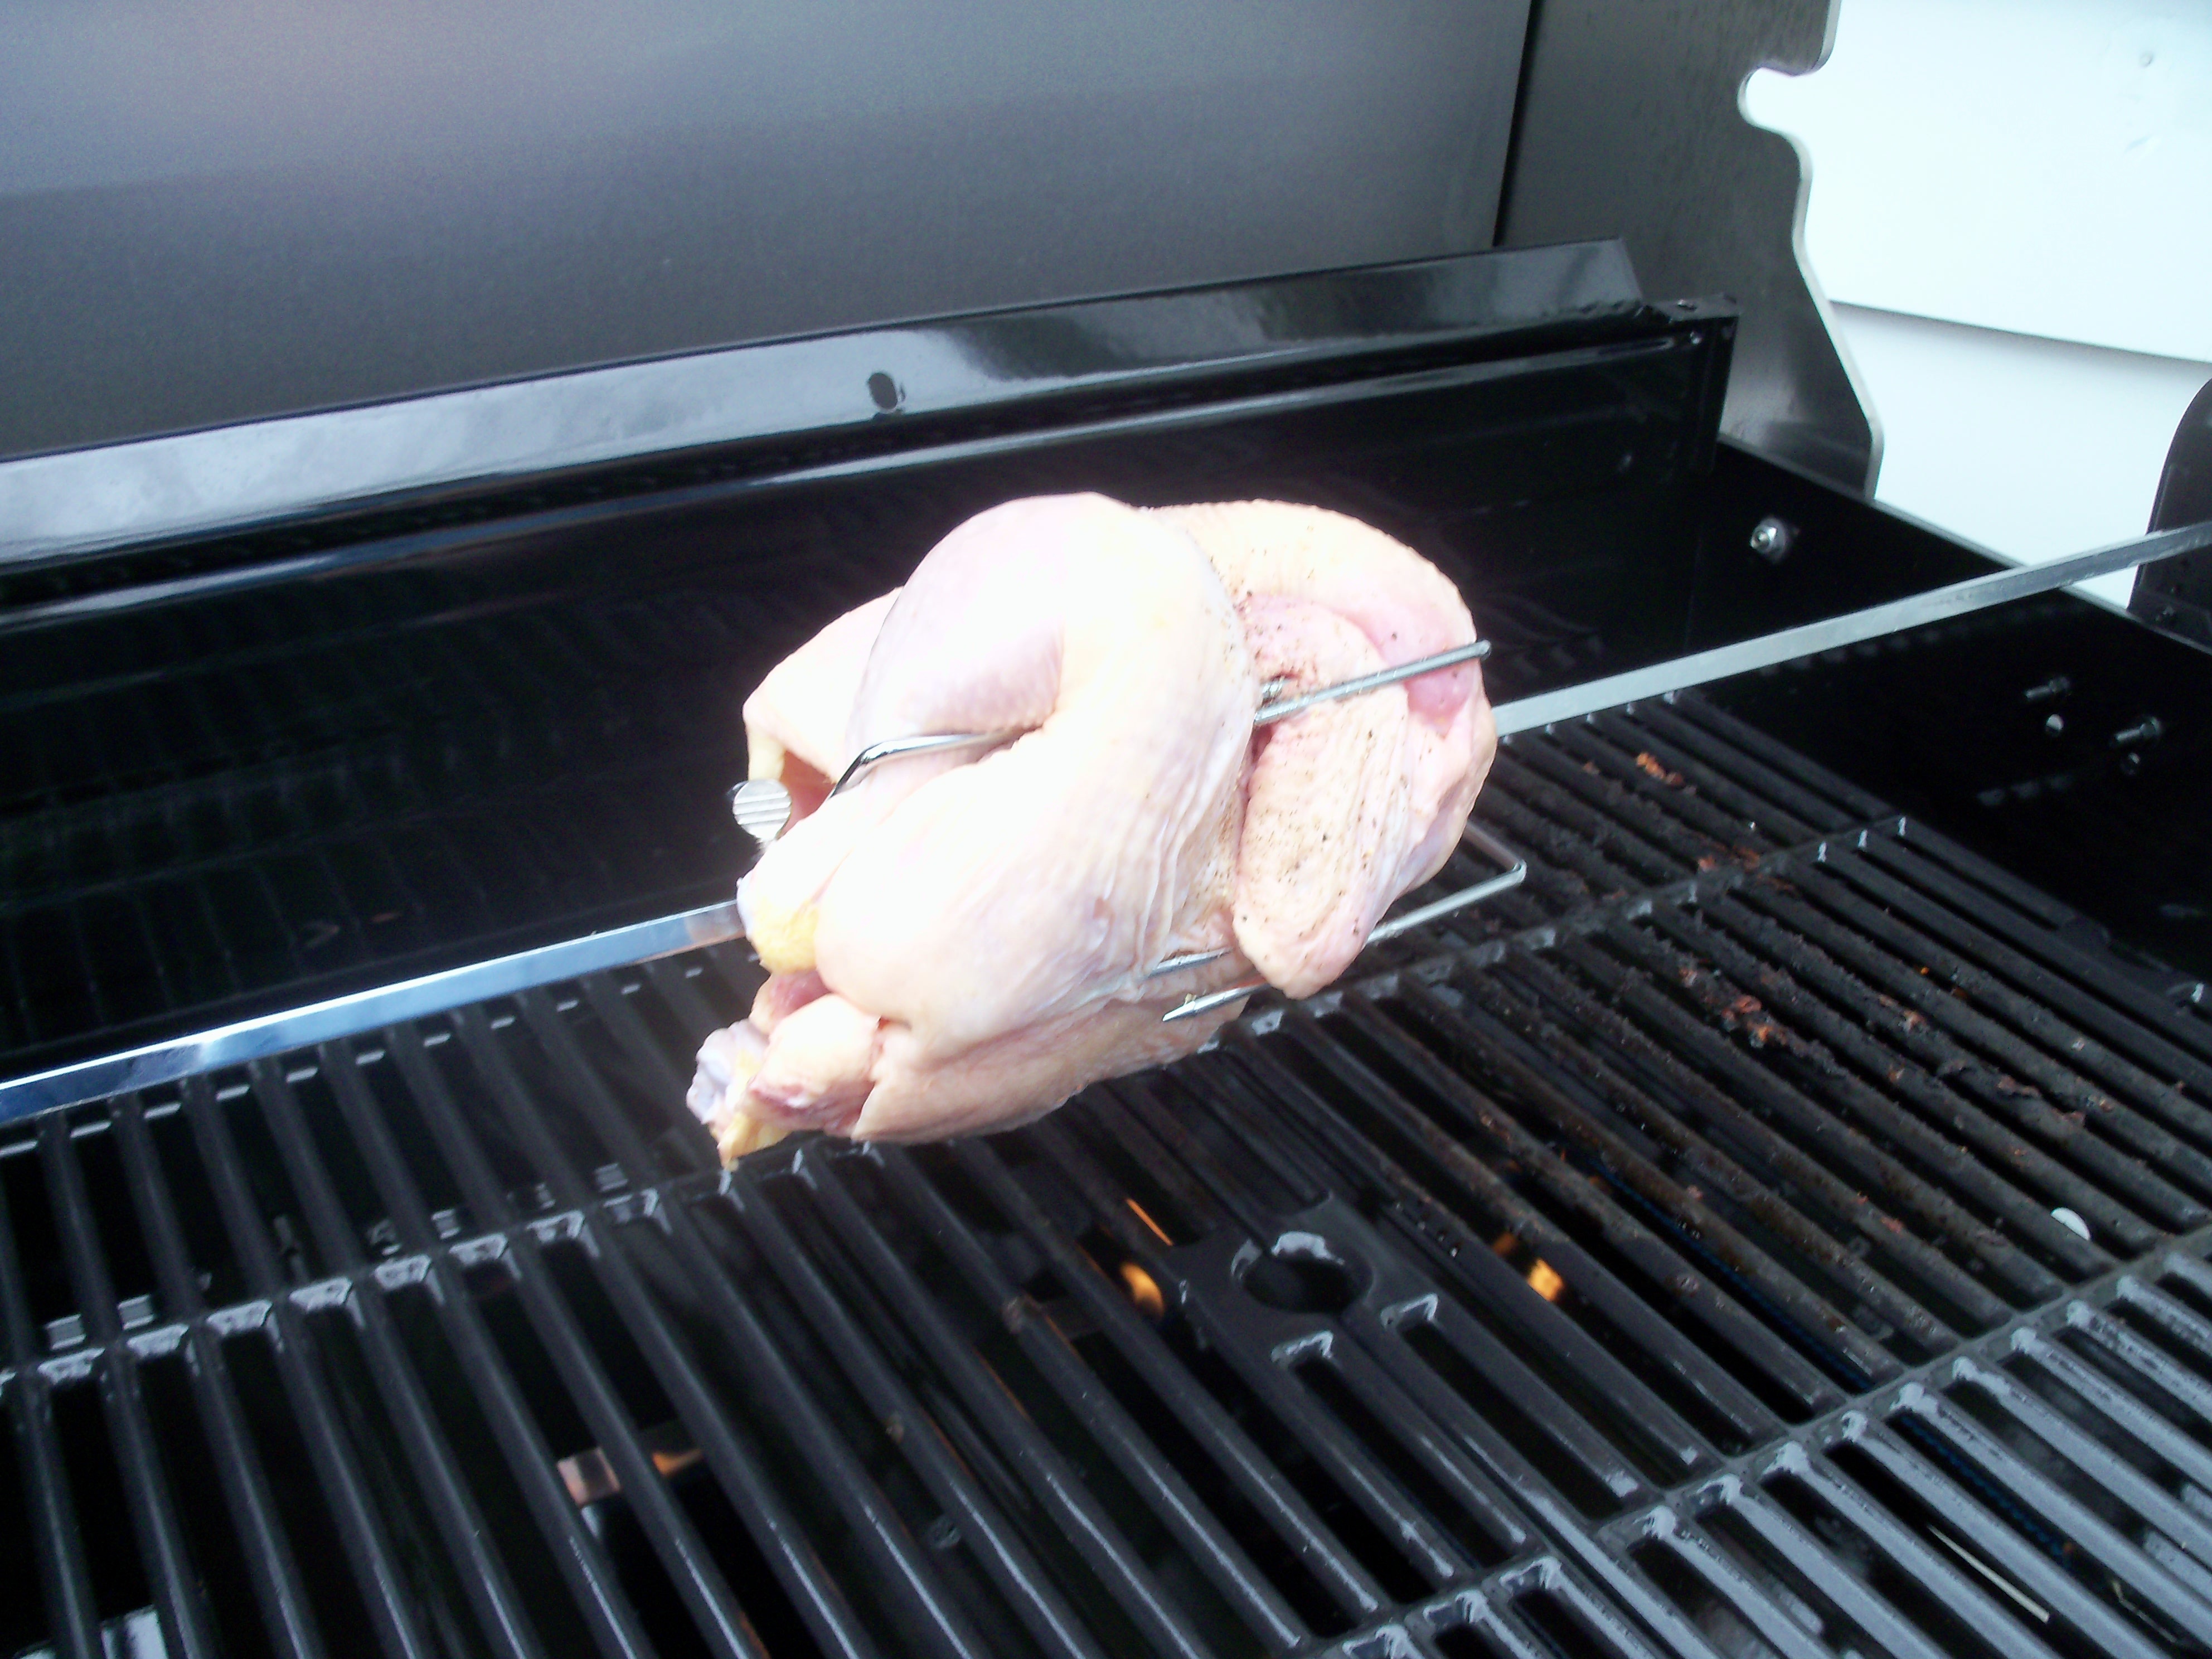
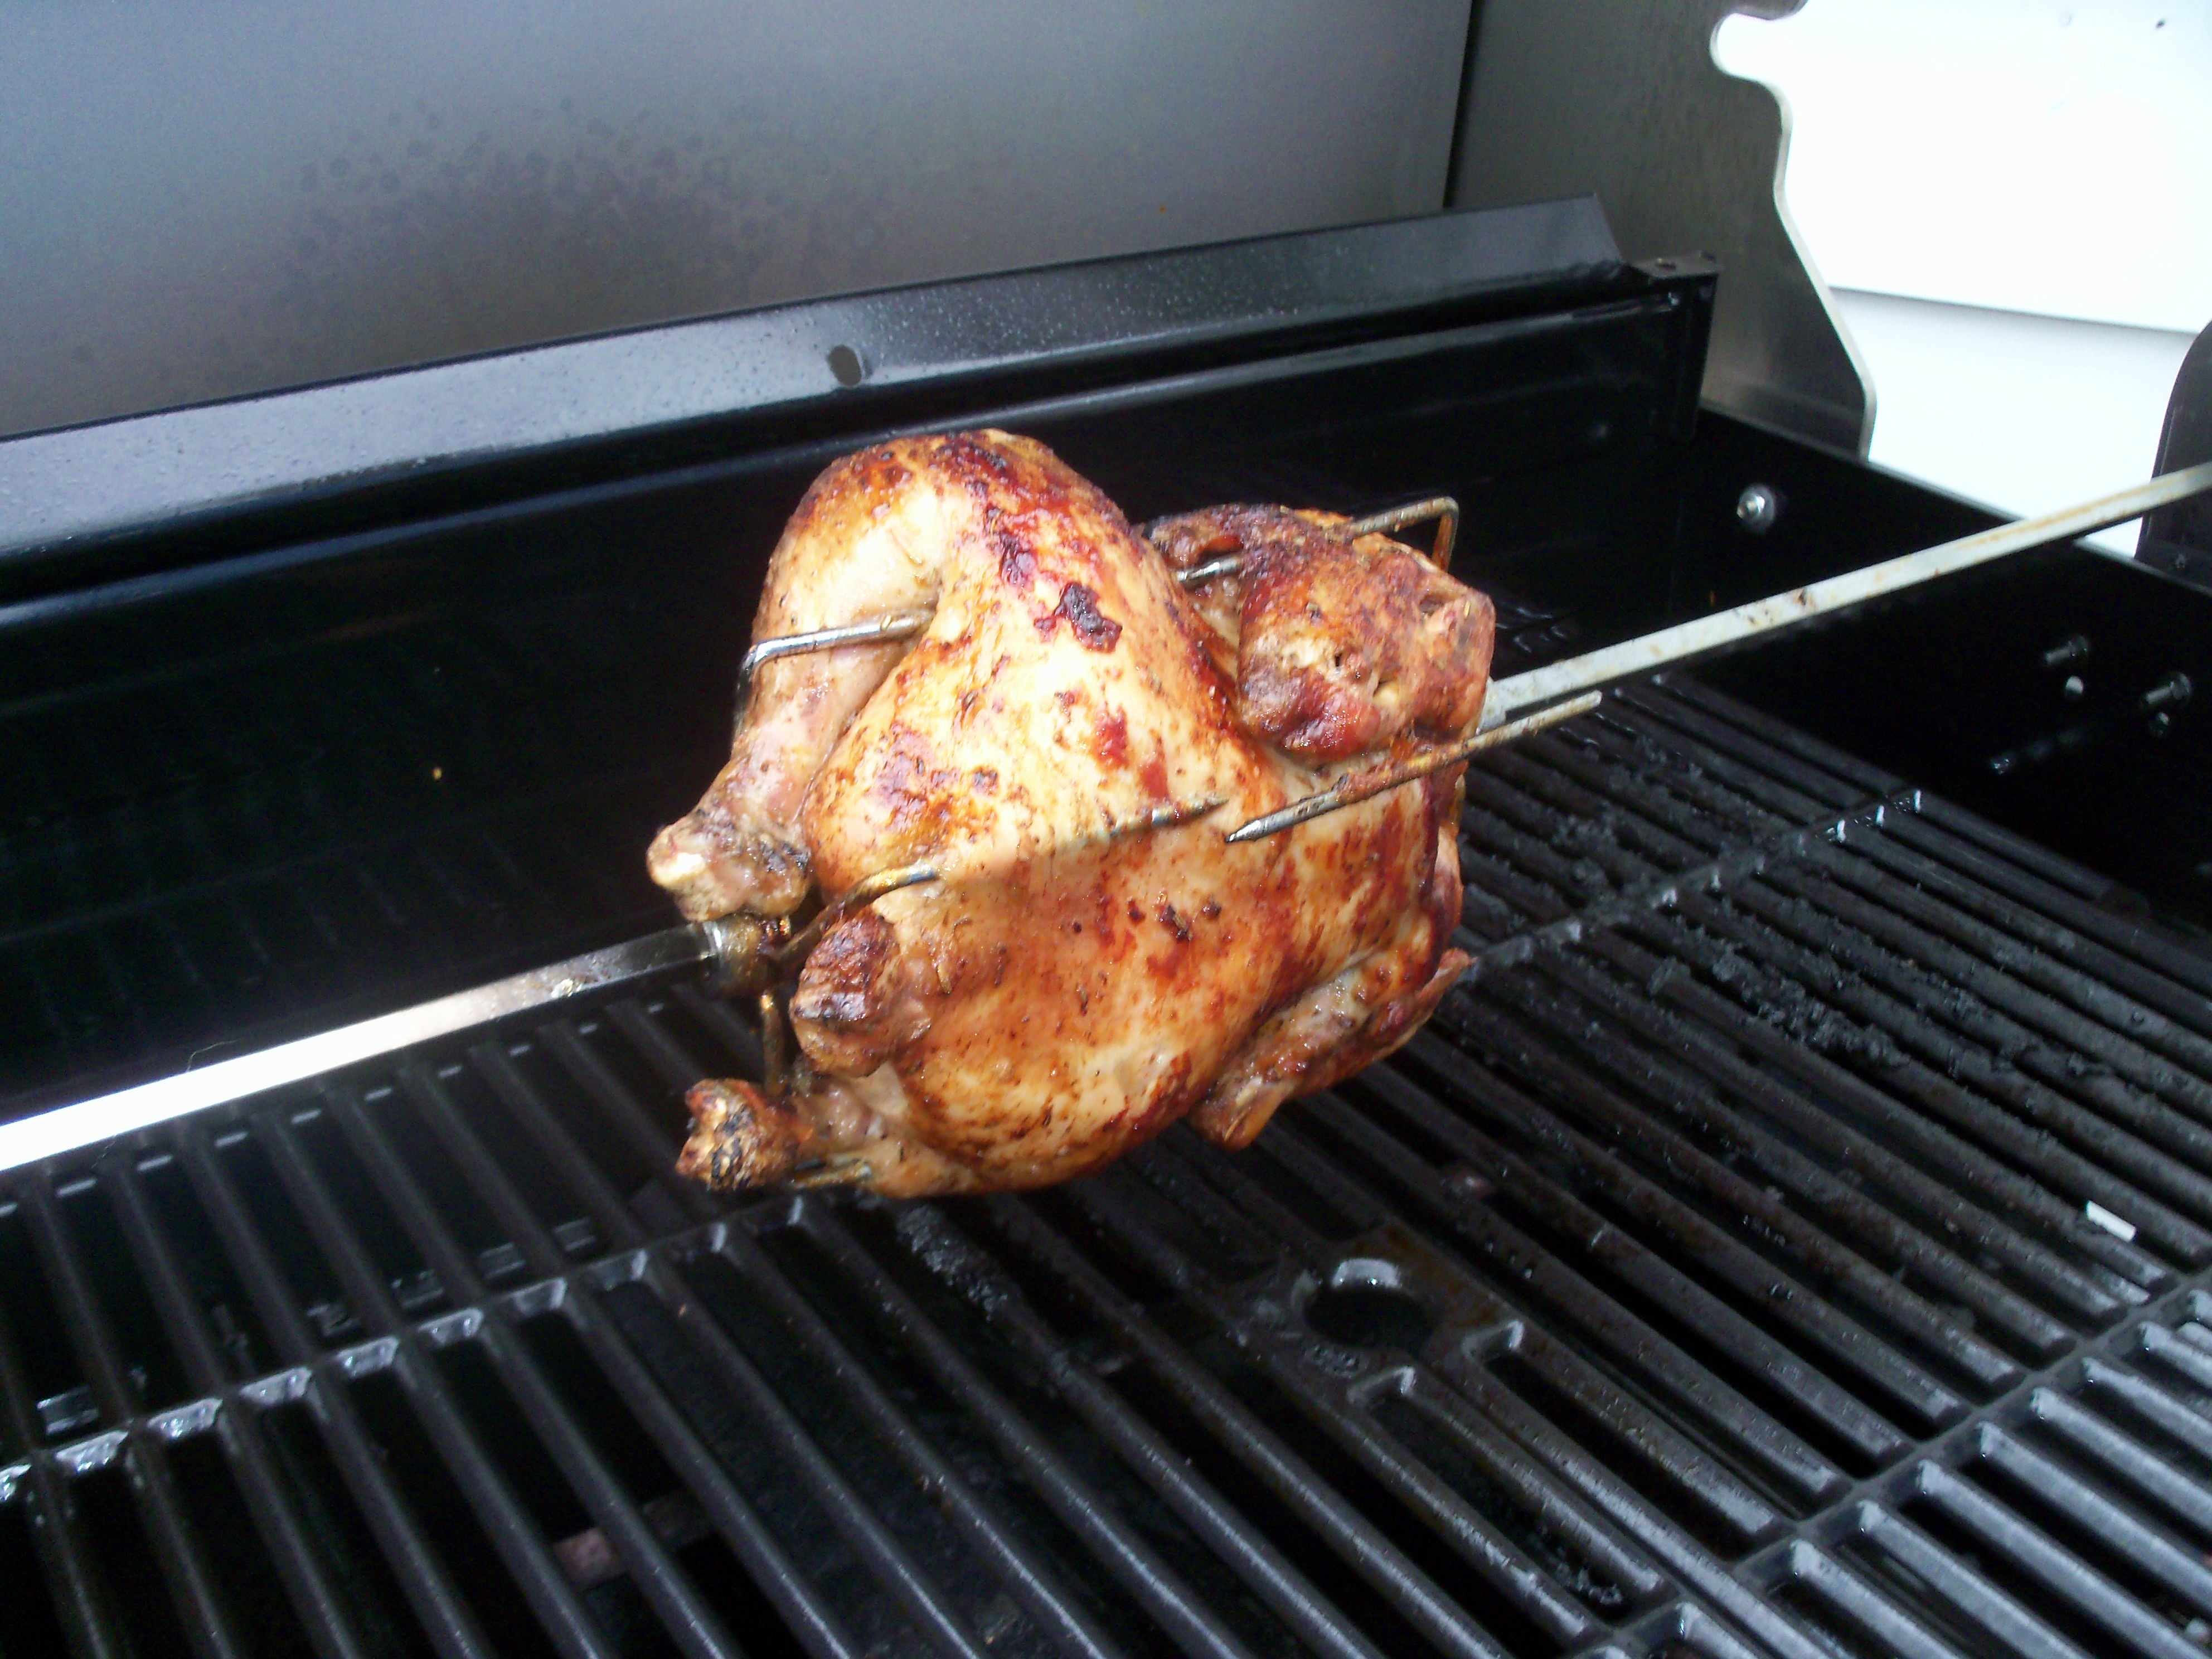
I admit that in moments of exhaustion, I have bought grocery store rotisserie chickens, but I really don’t like to because I prefer to buy only organic chicken. Now I can make my own! Mr. MarthaAndMe recently got a new grill (it was long past time for this, I can assure you) and we bought a rotisserie kit to go with it. I was SO excited to try it! It took some fiddling, but I finally figured out the tricks.

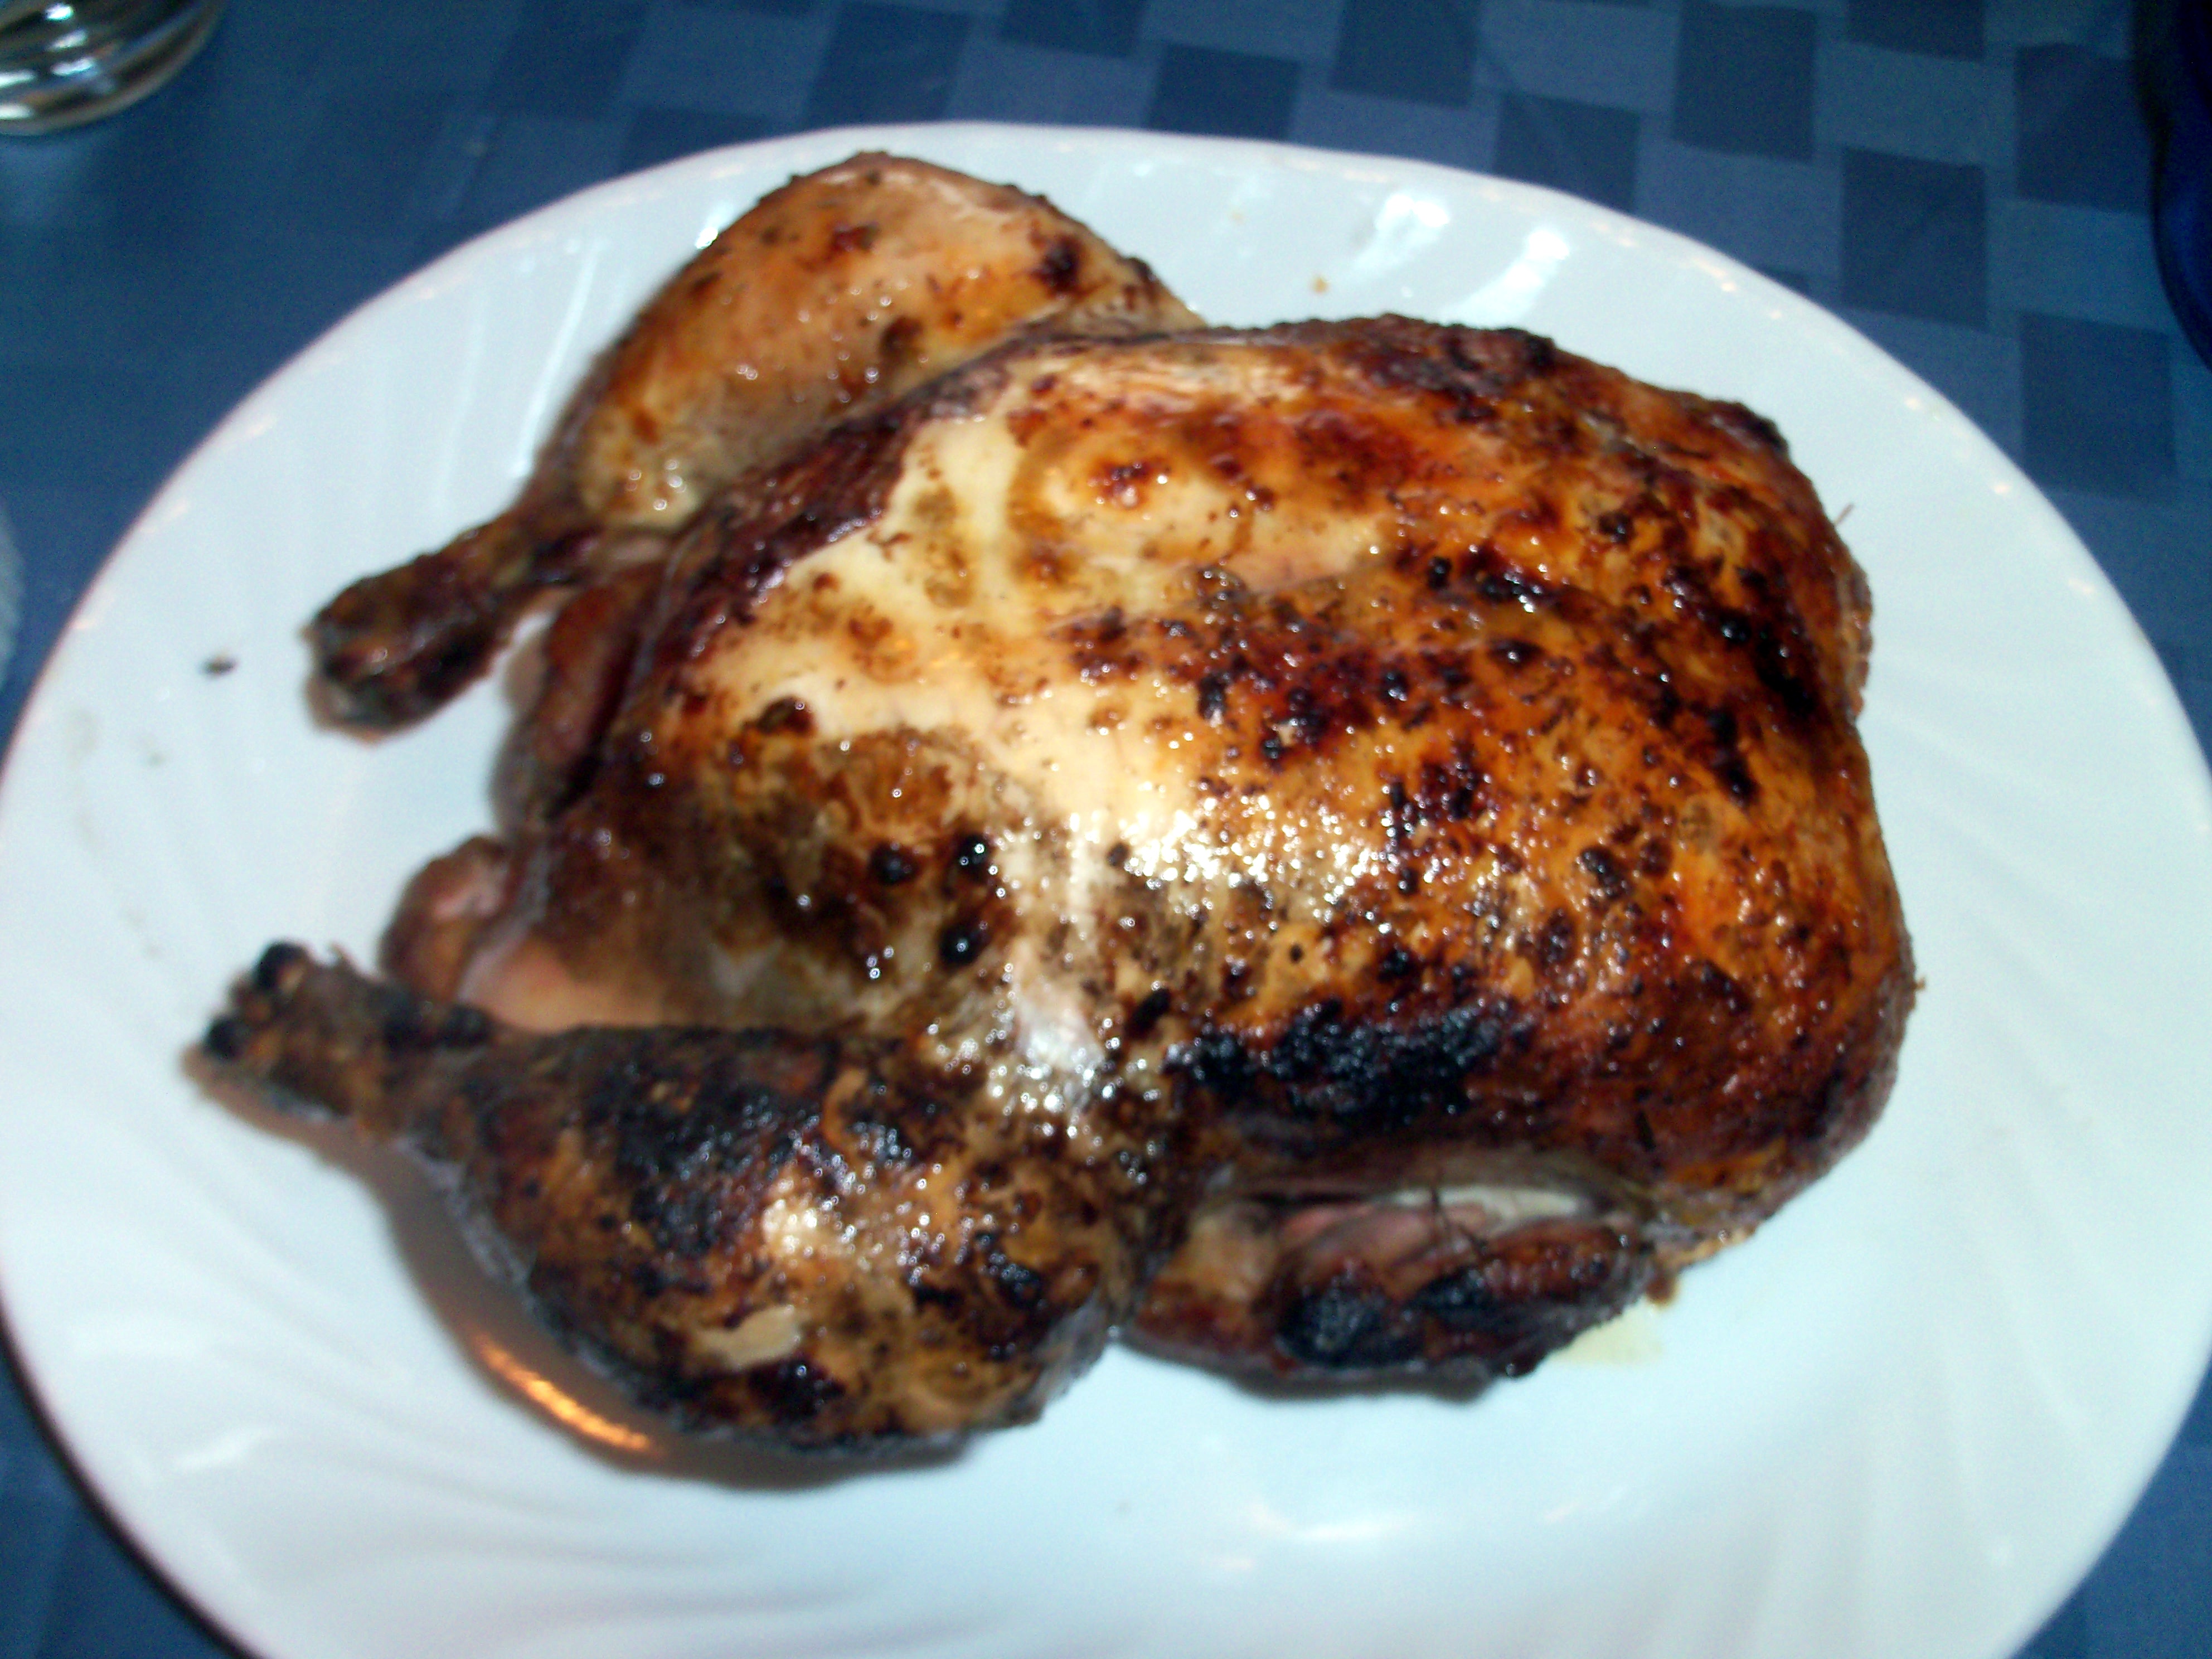
Put a lemon on the skewer before adding the chicken. Our rotisserie has nice 4-pronged things to hold the meat in place, but if yours doesn’t, truss it so the wings and legs are tight to the middle. Our grill has 4 burners, so I placed the chicken over the middle two and lit the 2 burners on the sides. This way there was no flaring up when the chicken dripped. I also basted it with a mix of olive oil, rosemary, lemon juice, salt and pepper, paprika, and garlic powder, about every 20 minutes. I got the grill heated to about 350 degrees and kept it there. When the chicken was done– about an hour and a half– (verified using an instant read meat thermometer), I turned it breast side down, stopped the rotisserie, turned the middle burners on and cooked it that way for about 5 minutes to further brown the breast side.

It was amazing. It was incredibly juicy and flavorful. There was nothing left! We will definitely be doing this again, and now I’m trying to think what else I could cook this. A pork roast for sure, but what else? Any ideas?

I admit that in moments of exhaustion, I have bought grocery store rotisserie chickens, but I really don’t like to because I prefer to buy only organic chicken. Now I can make my own! Mr. MarthaAndMe recently got a new grill (it was long past time for this, I can assure you) and we bought … Read more

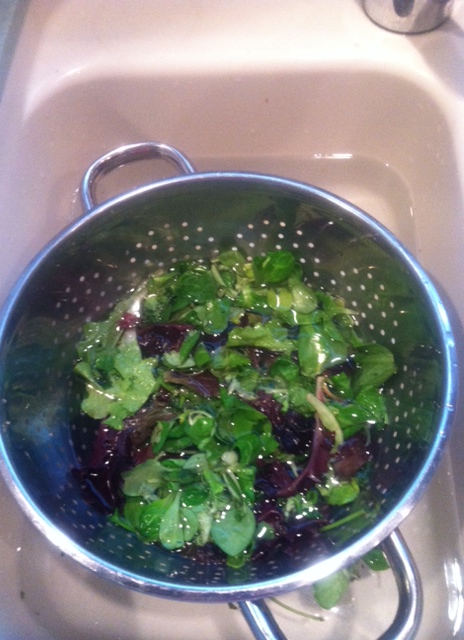
I never seem to be able to buy just the right amount of veggies for the week. Either I run out, or I have too many and they wilt or rot. I get really frustrated when I have too much, but I’ve hit upon a method lately that lets me extend the life of my salad greens. They tend to get wilty and sad and who wants to eat that? Now you don’t have to throw those out. I put them in a colander in a sink with cold water (sometimes I add ice cubes to really get them nice and crunchy) and let it soak a while (15 min or so). When I drain them, they are revived and crisp. It has saved me time and time again when I discovered wilted lettuce in the back of the fridge.

I never seem to be able to buy just the right amount of veggies for the week. Either I run out, or I have too many and they wilt or rot. I get really frustrated when I have too much, but I’ve hit upon a method lately that lets me extend the life of my … Read more

Perfecting Pru chose Hot Cross Buns with Dried Cherries for this week. I’ve made hot cross buns once before, a Martha recipe, but I liked that this recipe had dried cherries since I don’t like raisins. The recipe actually has half cherries and half raisins. I thought that this did not rise quite as much as I would have liked it to, but other than it turned out well. I cheated and did not use a pastry bag for the frosting, thus the messy look. We all shared one here and enjoyed it, then I sent the rest away since we also had cake to eat from Teen Martha’s birthday (she turned 20 so from now on, we’ll be referring to her as College Martha). We’re taking a break for the next two Mondays and will get going again with a new project after that.


Perfecting Pru chose Hot Cross Buns with Dried Cherries for this week. I’ve made hot cross buns once before, a Martha recipe, but I liked that this recipe had dried cherries since I don’t like raisins. The recipe actually has half cherries and half raisins. I thought that this did not rise quite as much … Read more

Ok, so you’re thinking, cooking with parchment paper packets has to require some trick, or amazing origami moves. It doesn’t! It’s easier than you could have imagined.

fold4Here’s how to start.  The size of parchment you need will depend on whether you’re cooking an individual portion or a family style portion. I find that an individual portion requires about 18 inches of paper. A family style portion needs about 24 inches.

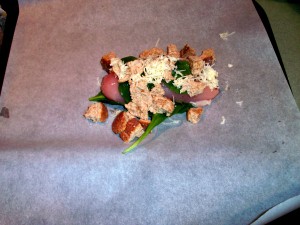
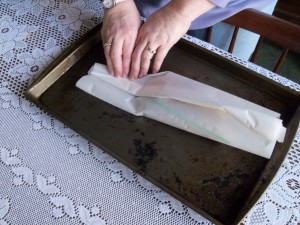
Tear off the parchment and lay it on a baking sheet (it might curl up initially, but once you put food on it, it won’t. If that bothers, you place it so the edges that want to curl up are actually facing down and can’t curl). Place your food in the center. Leave at least 4 inches on the sides.

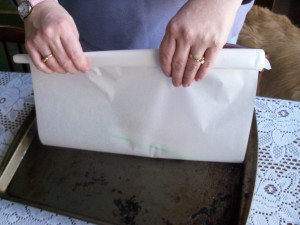
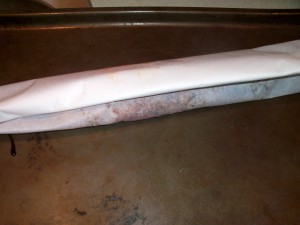
Now, grab the long ends of the paper and have them meet in the air in the middle, then just fold_dfold them down until you get to the food. You’ll end up with a long package.

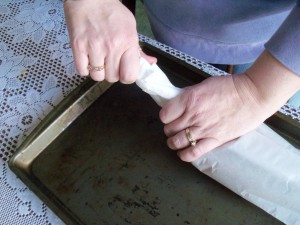
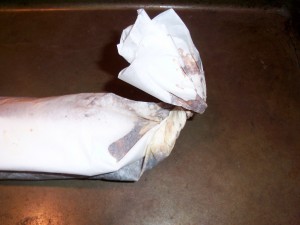
Now all you have to do is fold the ends up. There are two methods that work. My preferred method is to simply twist the ends. It’s quick, and the paper stays in place (it doesn’t untwist while cooking) and it seals in all the flavors and juices. Easy, no fuss. Love it.

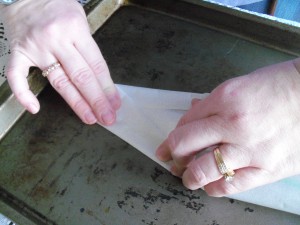
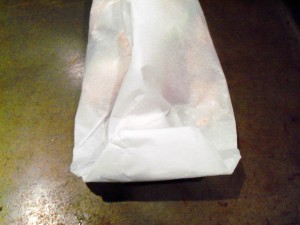
If you would like something that looks a little fancier, treat that end of the fold_epackage as if it were a gift. Fold the sides in to create a point, then fold the point up towards the parcel, folding over several times. It’s neat and pretty and symmetrical.

So choose whichever method appeals to you more and go with it.

You bake your packet right on the baking sheet. Sometimes thepackages will weep condensation (just water) a tiny bit, which means you might have tofold_f just wipe the baking sheet off when you’re done. If that is not for you, just stick some foil under your packet and you’ll have a squeaky clean baking sheet.

There a few methods available to open your packets. I find the simplest is to just take a knife and make a slit down the center. Then grab the sides of the opening and pull. This keeps all your juices inside the packet, which becomes like a little serving container.

You could also just undo all the folding and open the packet that way.

fold_hNow, here are some tips I’ve learned:

– If you’re making more than one packet, space them out on the baking sheet as evenly as possible. They cook faster and more evenly if they’re spaced out.

– I like making entrees as individual portions and sides family style. Everyone gets their own entree and canfold_i then take what they want from the side packets.

– You can test meat for doneness without opening the packet (which will let out the steam and slow down your cooking process) by poking an instant read thermometer through the parchment into the center of the meat.

– Be sure to let your packet rest about 5 fold_jminutes after removing it from the oven. This makes it easier to open (not as much steam coming out) and allows the food to absorb flavor and retain juices.


fold_l


Ok, so you’re thinking, cooking with parchment paper packets has to require some trick, or amazing origami moves. It doesn’t! It’s easier than you could have imagined. Here’s how to start.  The size of parchment you need will depend on whether you’re cooking an individual portion or a family style portion. I find that an … Read more

no