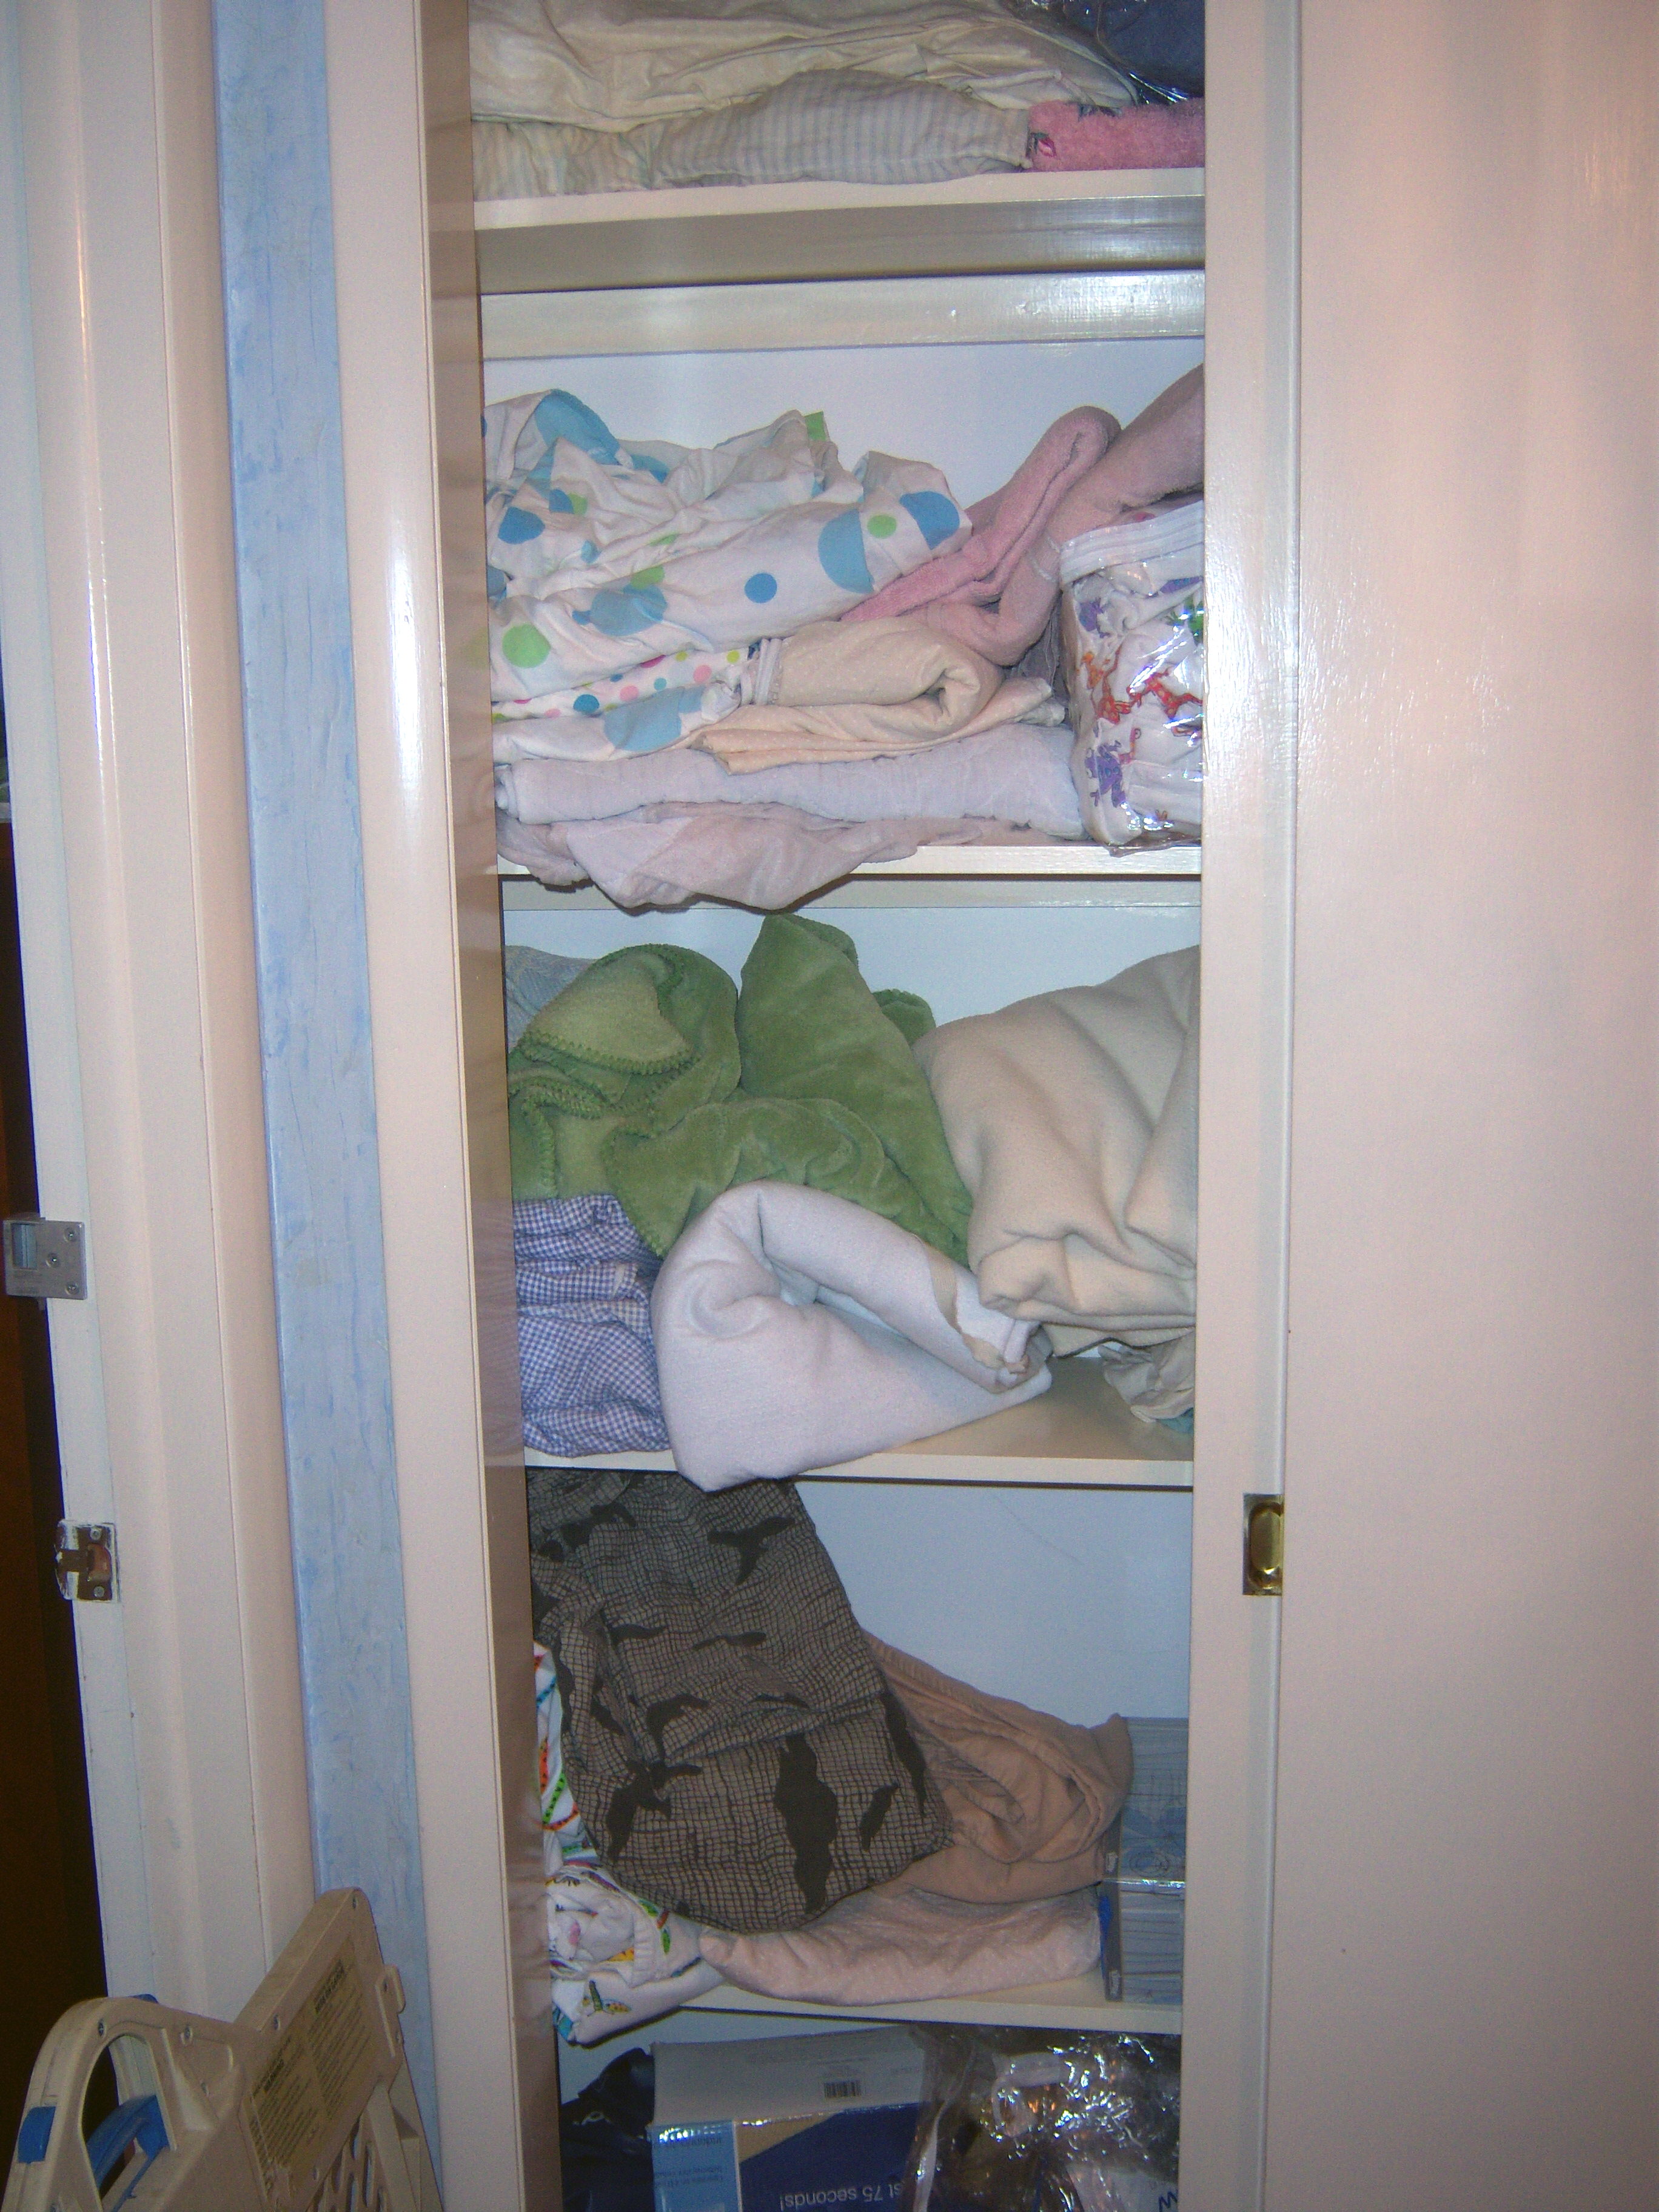
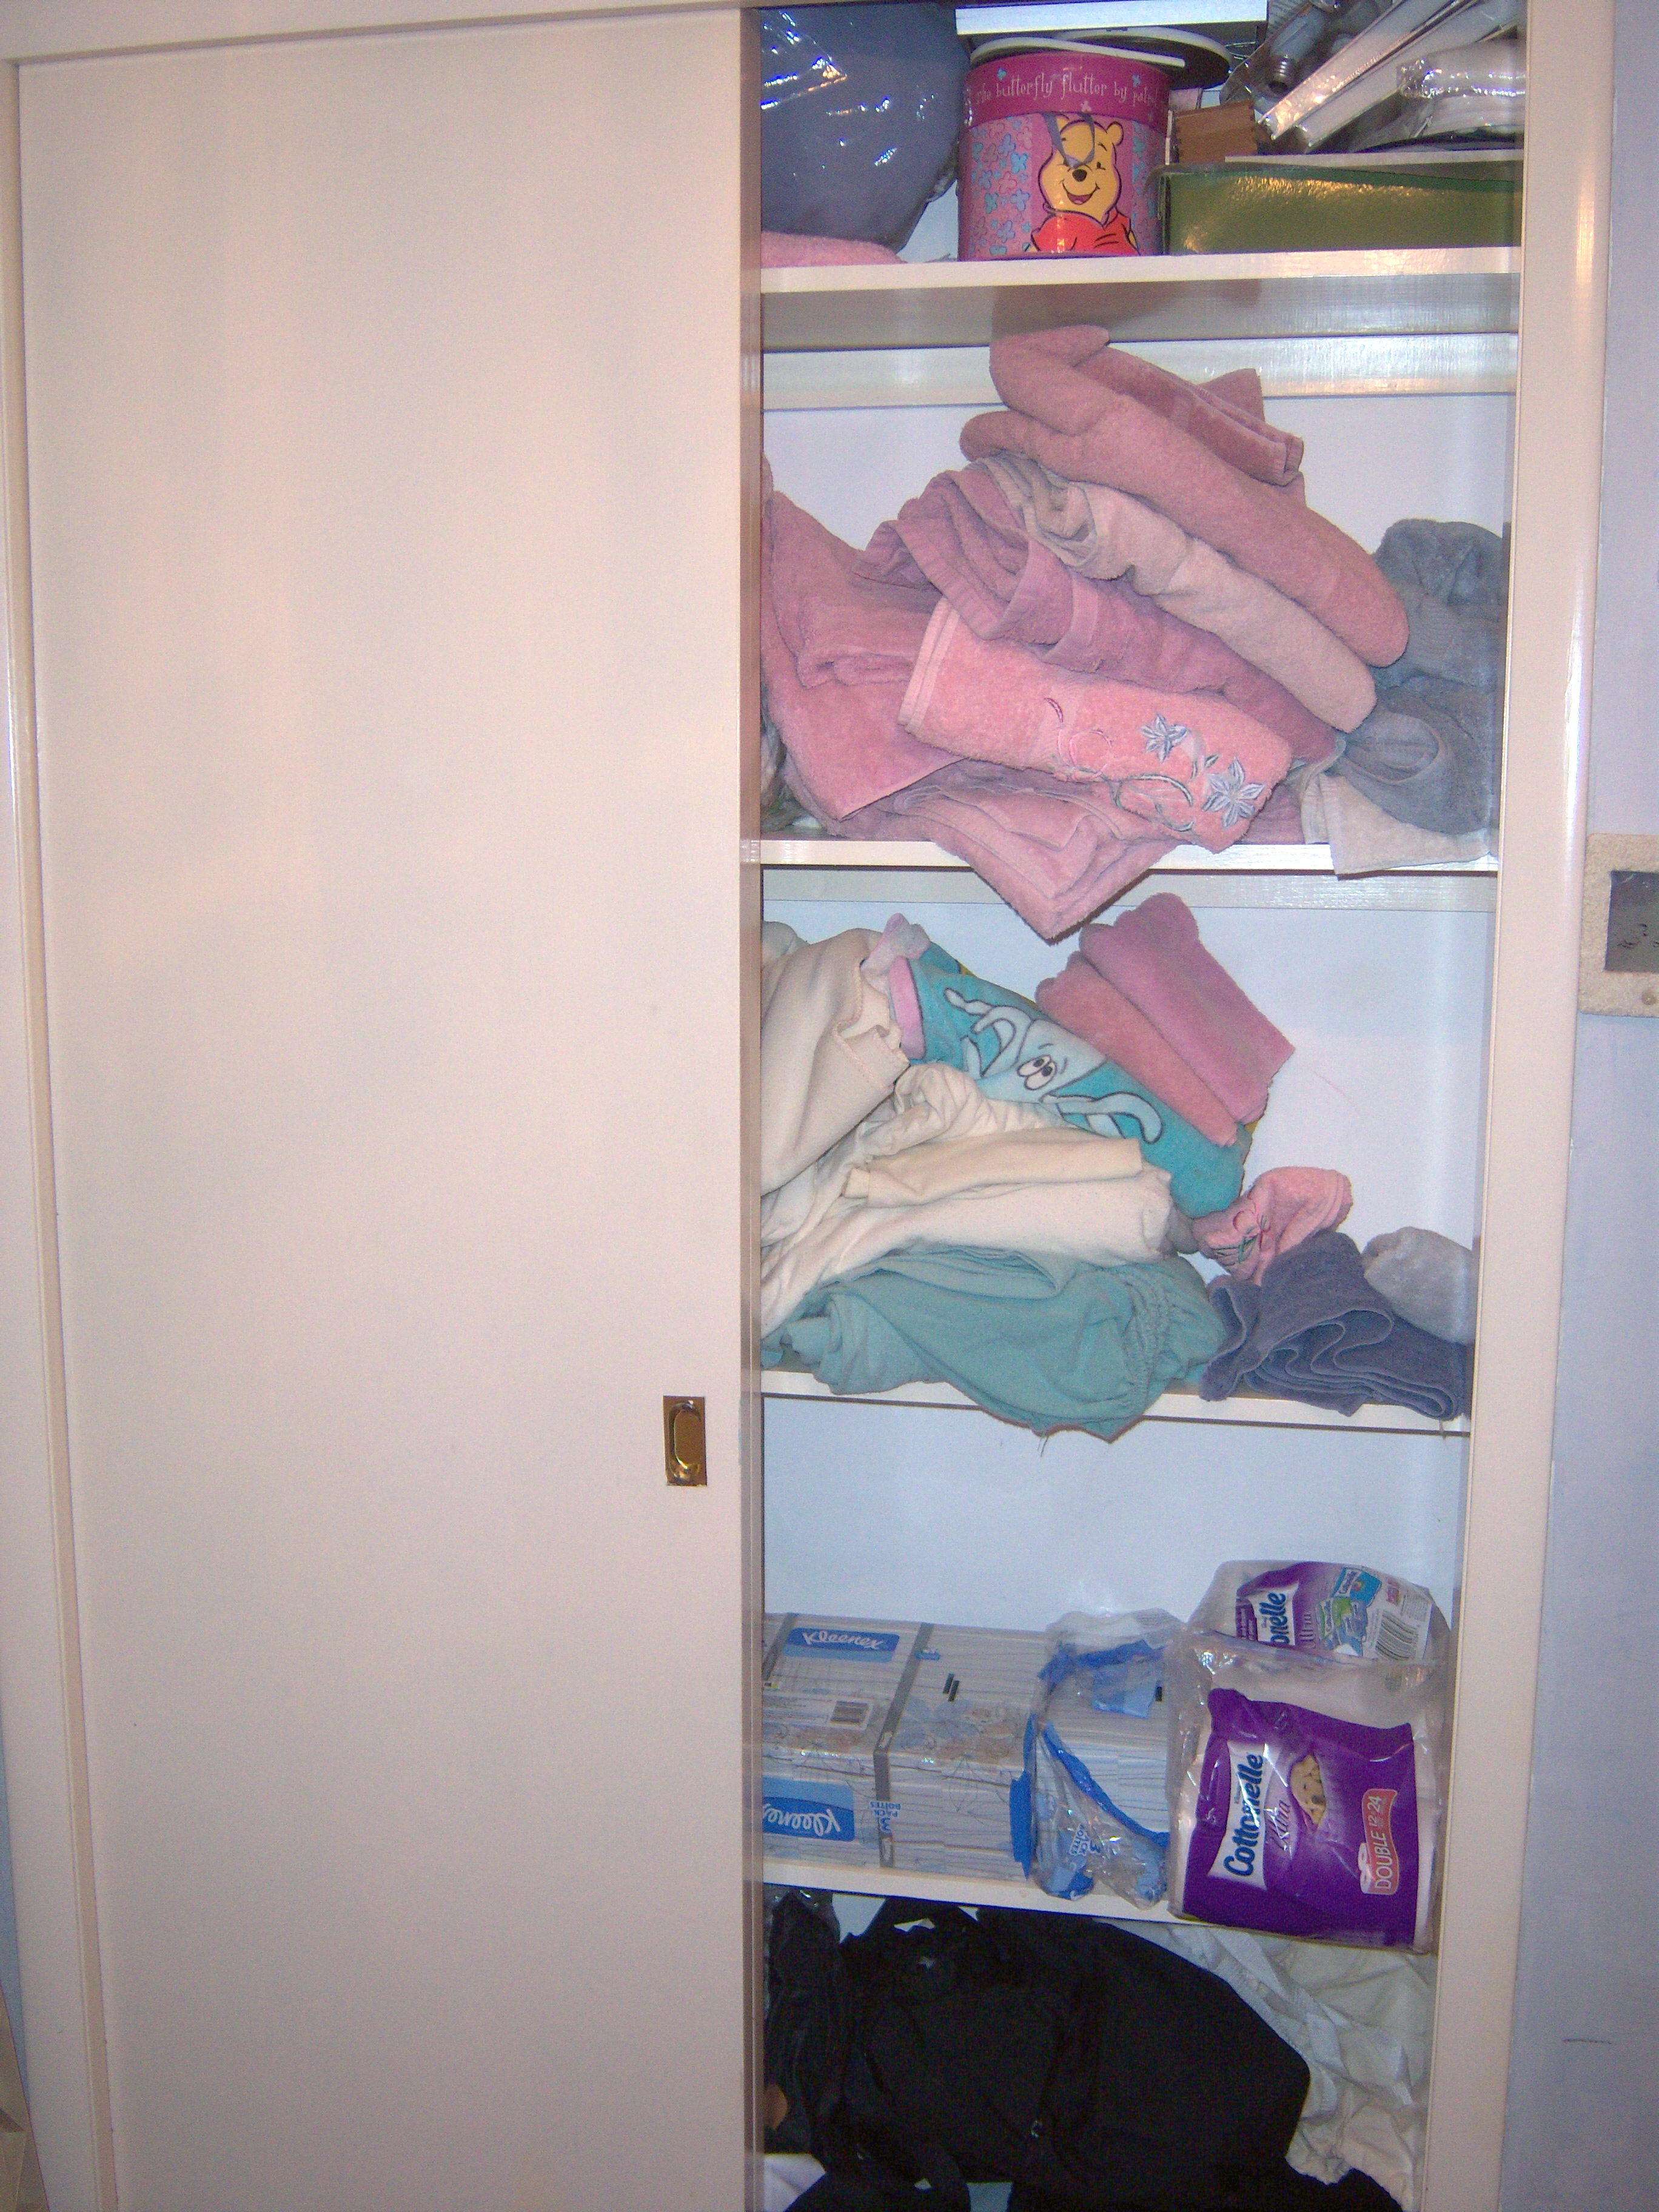
Martha decided it was time to organize my linen closet. She was right. As you can see below, it was pretty messy. I sat down and read all her advice about linen closets on the web site. Some was simply not practical. If I had as much money as Martha does, I could probably install drawers in my linen closet (I am totally serious – that is her ultimate solution), but since I wasn’t up for breaking the bank I went for a simple reorganization. Martha’s other organizational solution is to buy shelf brackets and install them on the top of the shelf upside down and use them as dividers (follow the link above and you’ll see how she does it). This is an inexpensive solution, sort of. They aren’t that expensive, but it feels like too much of a commitment to me to nail those in. I’m stuck with those sizes and shapes on the shelves then. Not to mention – you can’t just nail them in – you would have to paint them and wait for the paint to dry. Ugh. Not happening. This was to be a one afternoon project.
Martha also recommends you label the shelves – “full sheets” or “bath towels”, etc. That seems a little nutty to me. I know what’s what and I don’t need to label it.
The Depths of the Closet
This closet holds linens for the kids’ beds (as well as some for twin beds which we no longer have!) as well as towels (many of which are old and yucky) and supplies for their bathroom. The top shelf is filled with odds and ends (including my Brownie uniform!). The floor of the closet holds our collection of tote and duffel bags, an air mattress and a pile of those plastic zip bags that sheets and blankets come in when you buy them. Our closet has sliding doors that never open and shut properly because something is always getting stuck. In short, it really needed help.
We Began
Mr. MarthaandMe assisted me with this project and we started by taking everything out. Eek. There sure was a lot in there. Then we started with the sheets. We read how Martha recommends you fold a fitted sheet. We even left the instructions up on my monitor while we tried to do it and it never really worked. It always ended up somewhat bumpy and uneven. Have you tried this? If you can make it work, please let me know! There was a lot of under the breath cursing during this phase of the project, I must admit!
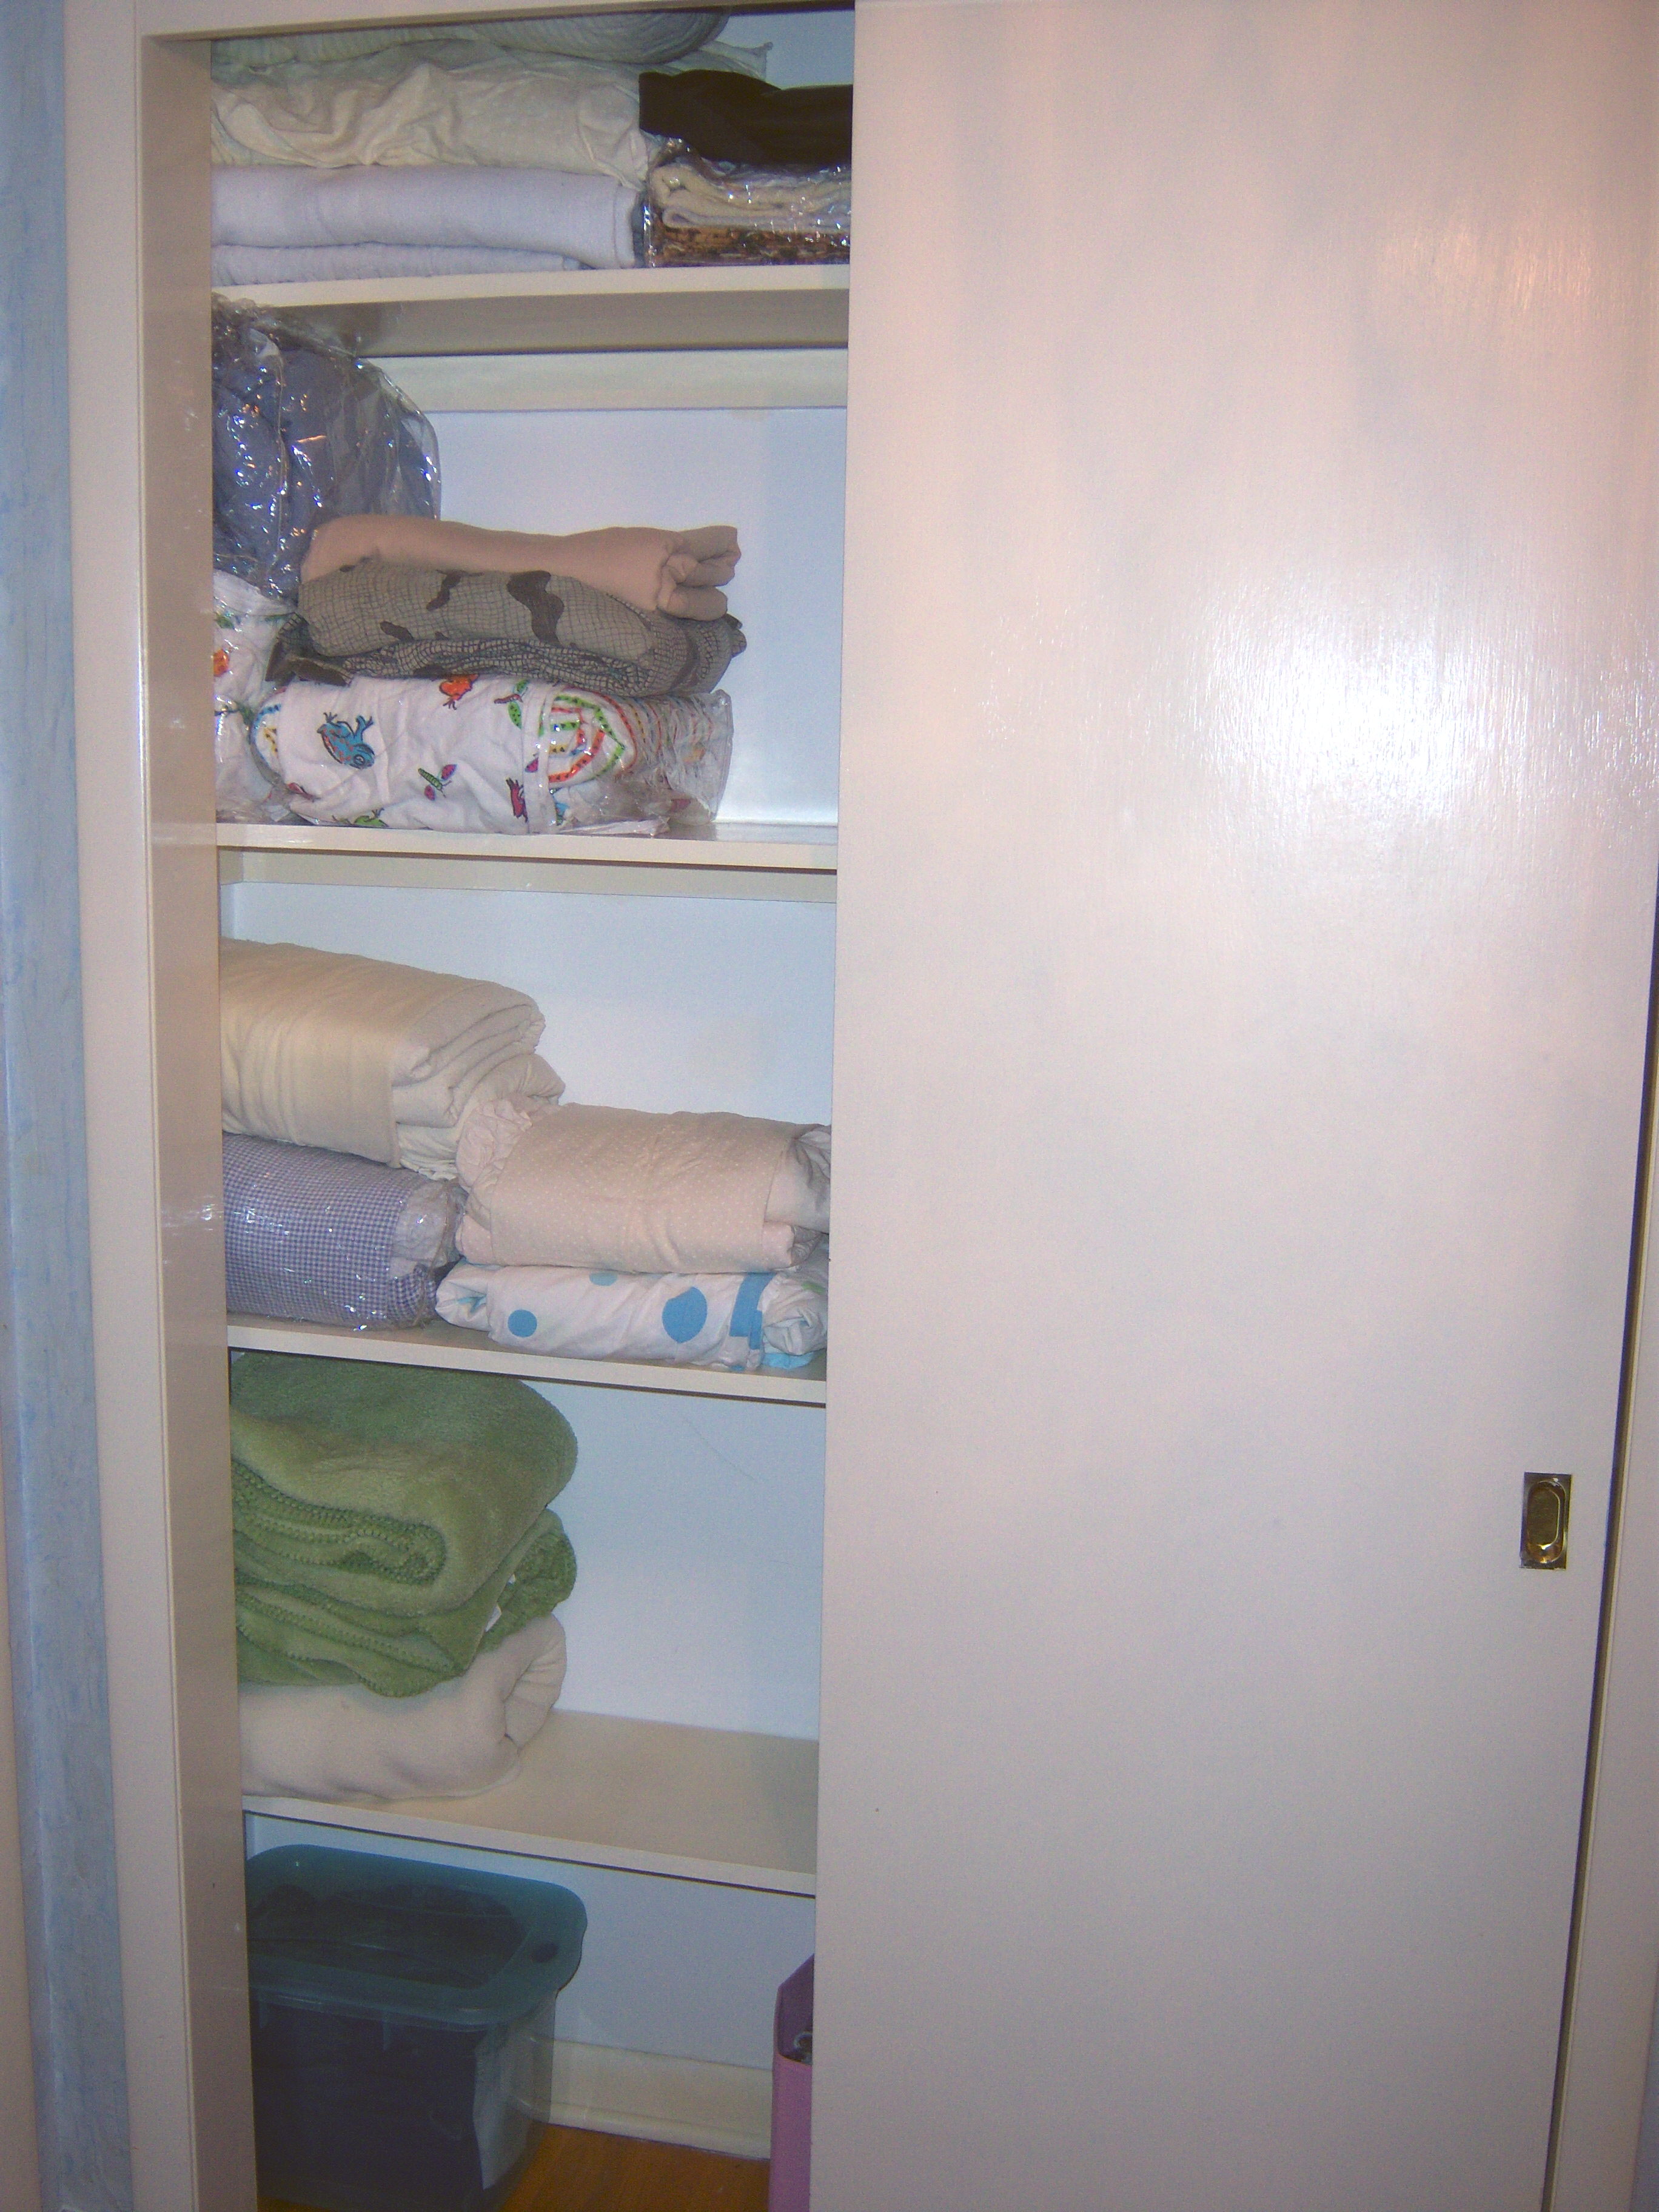
Martha did have one idea that I really liked. She suggested taking a set of sheets and stacking them, then wrapping one of the pillow cases around them all. This really did manage to create a cute little package, although I recommend you put the crease side, where the ends of the pillow case meet, down, facing the shelf so it stays together better.
Moving Along
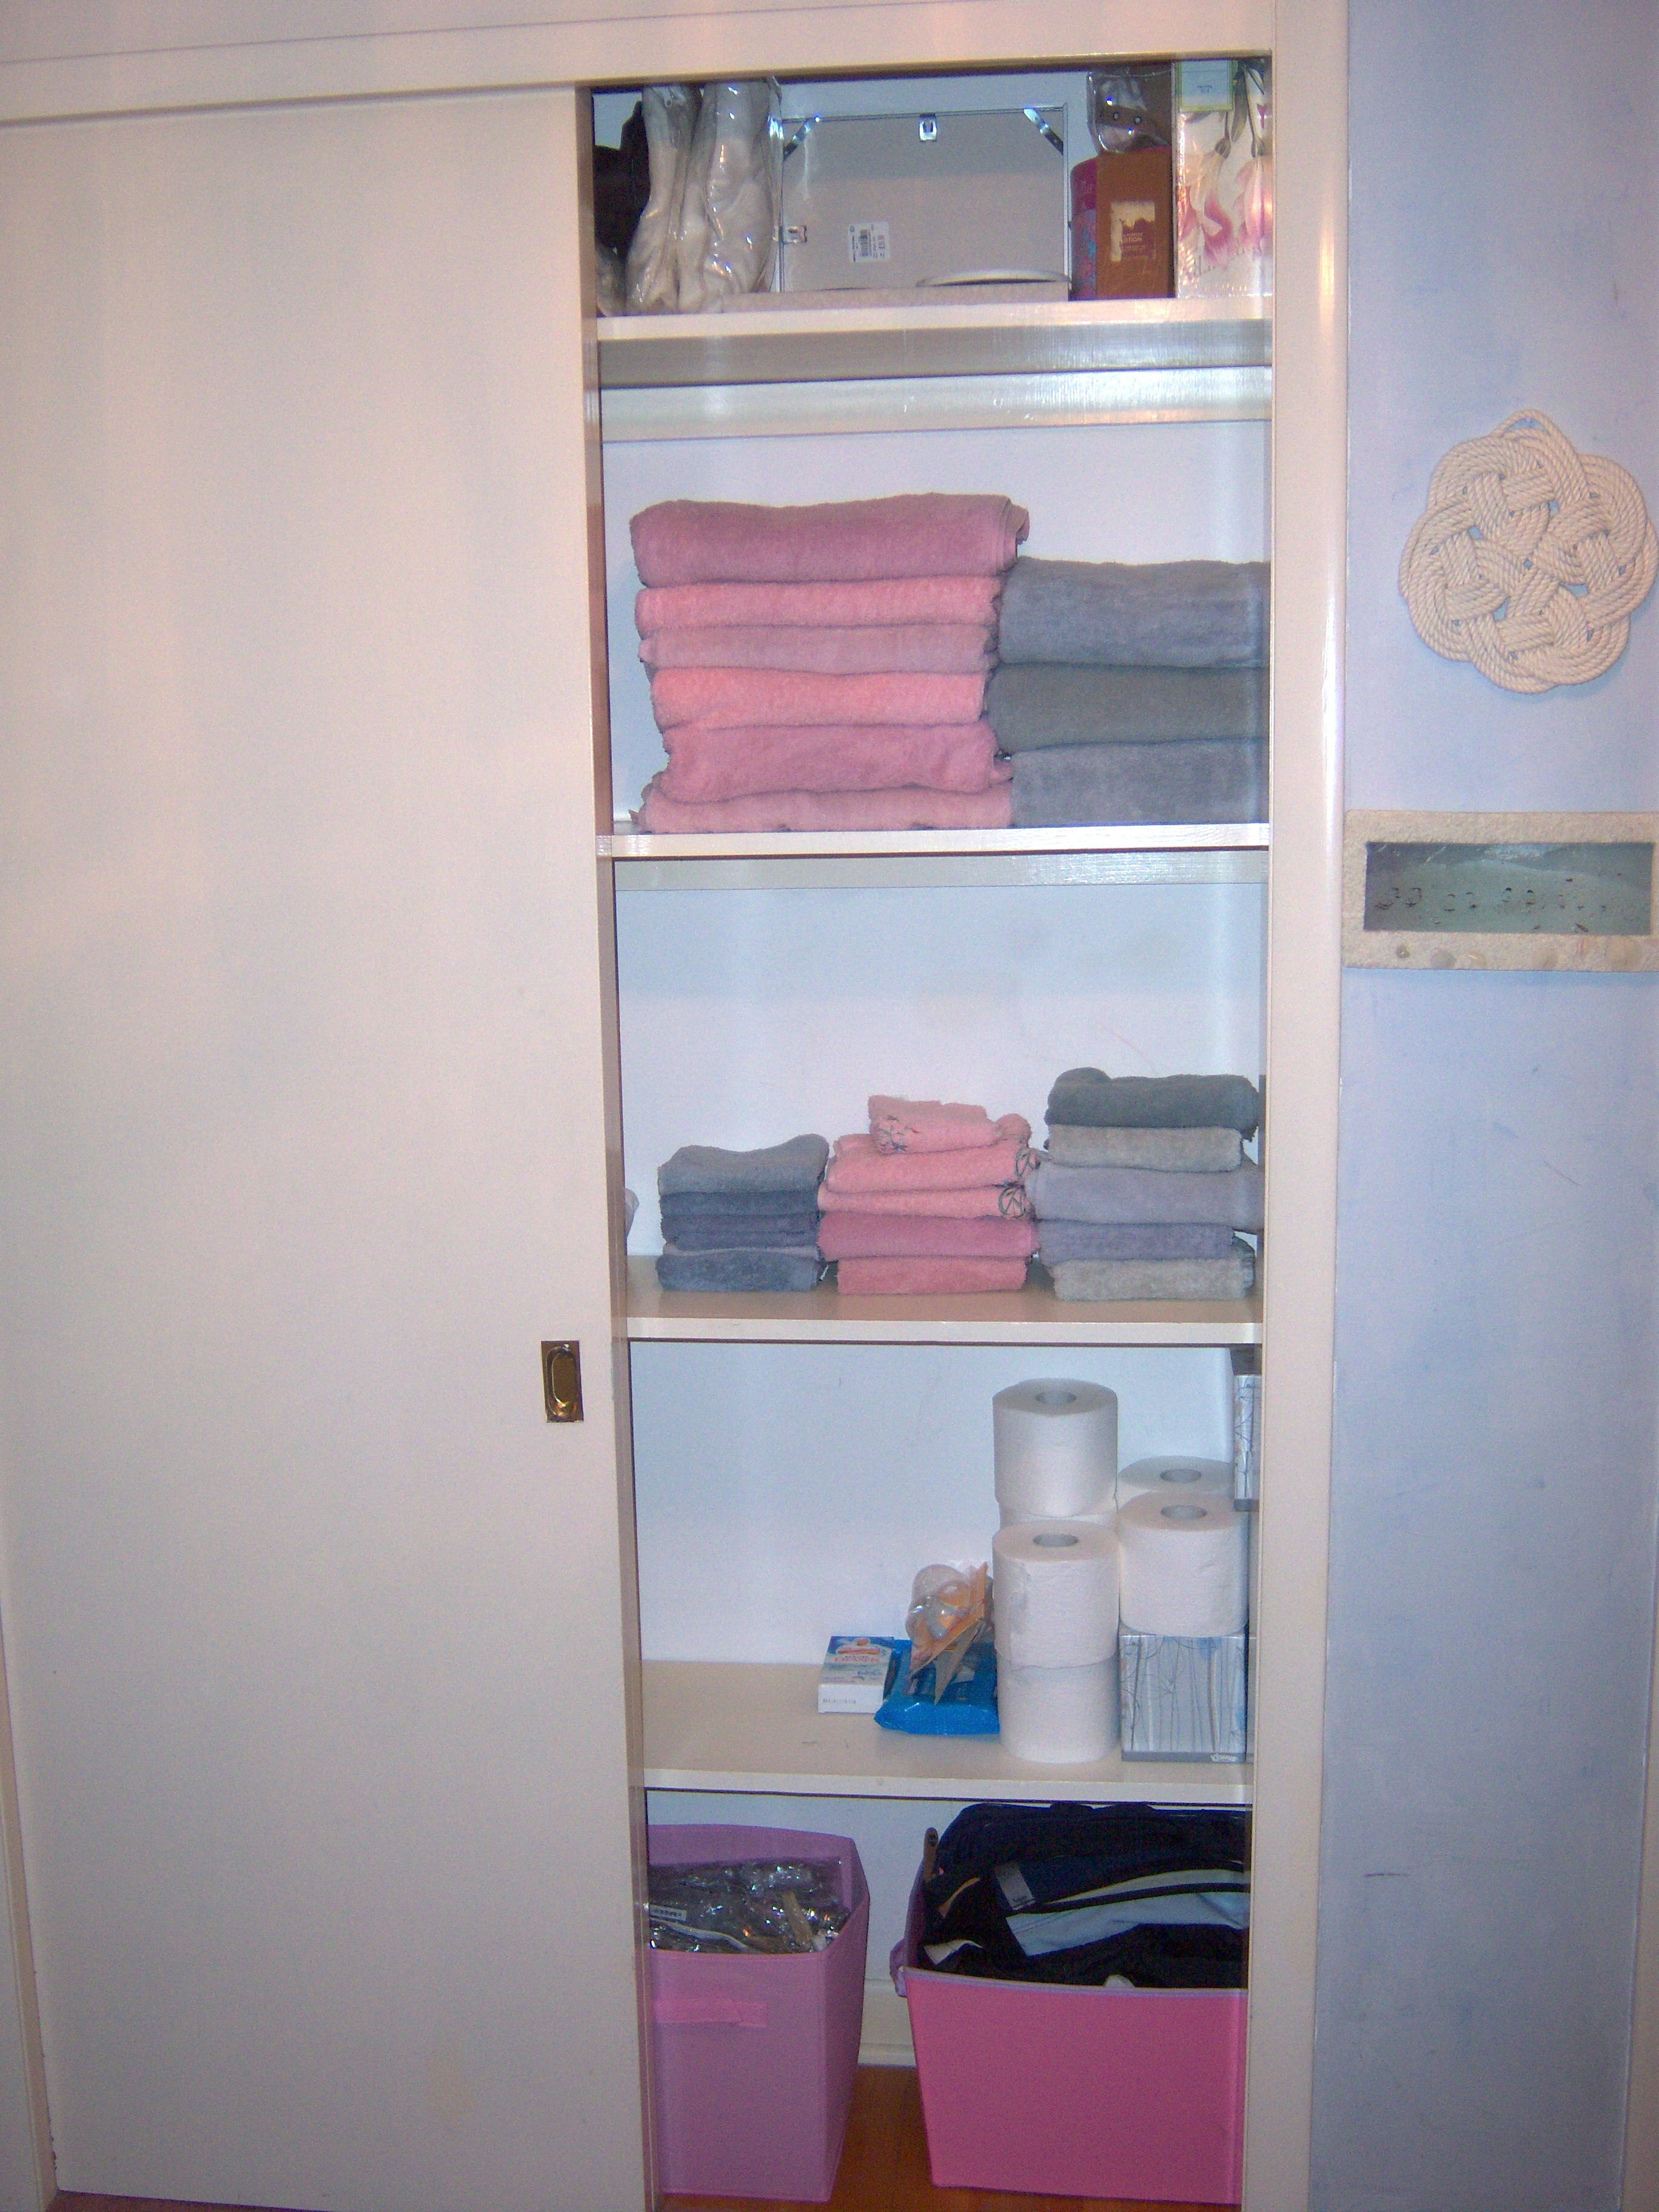
Next we took sheets that we don’t use and put them in some of those plastic zip bags I had. Onward to the towels. I went through them and pulled out some that are now going to be rags. Then we folded them all neatly. Our linen closet shelves are not very deep and the bath towels always catch on the doors. Mr. MarthaandMe suggested folding the bath towels in thirds. He’s a genius! They fit on the shelves then and look very neat. Now he’s channeling Martha!
Our last step was to buy some boxes for the bottom of the closet. This required a trip to my favorite store – Target! I threw out a bunch of duffel bags with broken zippers (some from Mr. MarthaandMe’s elementary school days!) and some ancient stained tote bags. The rest I put in a cute pink canvas box. The air mattress fit into a plastic box with a lid. The plastic zippy bags fit into another canvas box. Voila!
Results
I have to say, I was rolling my eyes at the thought of this project going in, but now I love how the closet looks. There’s so much more space! The problem is going to be keeping it that way. Martha doesn’t have a teenager and a 10 year old stuffing things in her closets and knocking over her nicely folded piles. I’m going to try to keep it this way though because it’s easier to find things and put them away. It just feels much more luxurious to have it looking so pretty. This project took us about an hour. It was all the refolding of the darn sheets that took so much time.
So the bottom line was that I’m glad we did this. I have to admit I even went and opened the closet later in the day just to see how cute it all looked. Martha – I’m with you on this. It’s a good thing.
You can follow any comment to this entry through the RSS 2.0 Both comments and pings are currently closed.


You have inspired me! I have a few closets that look like this (well, maybe a bit worse) and have procrastinated working on them. It is just a huge undertaking. Looking at your before and after photos – and reading your tips- make it sound like a fun project instead of something to dread. No more procrastinating – I’m going to do this the Martha and Me way 🙂