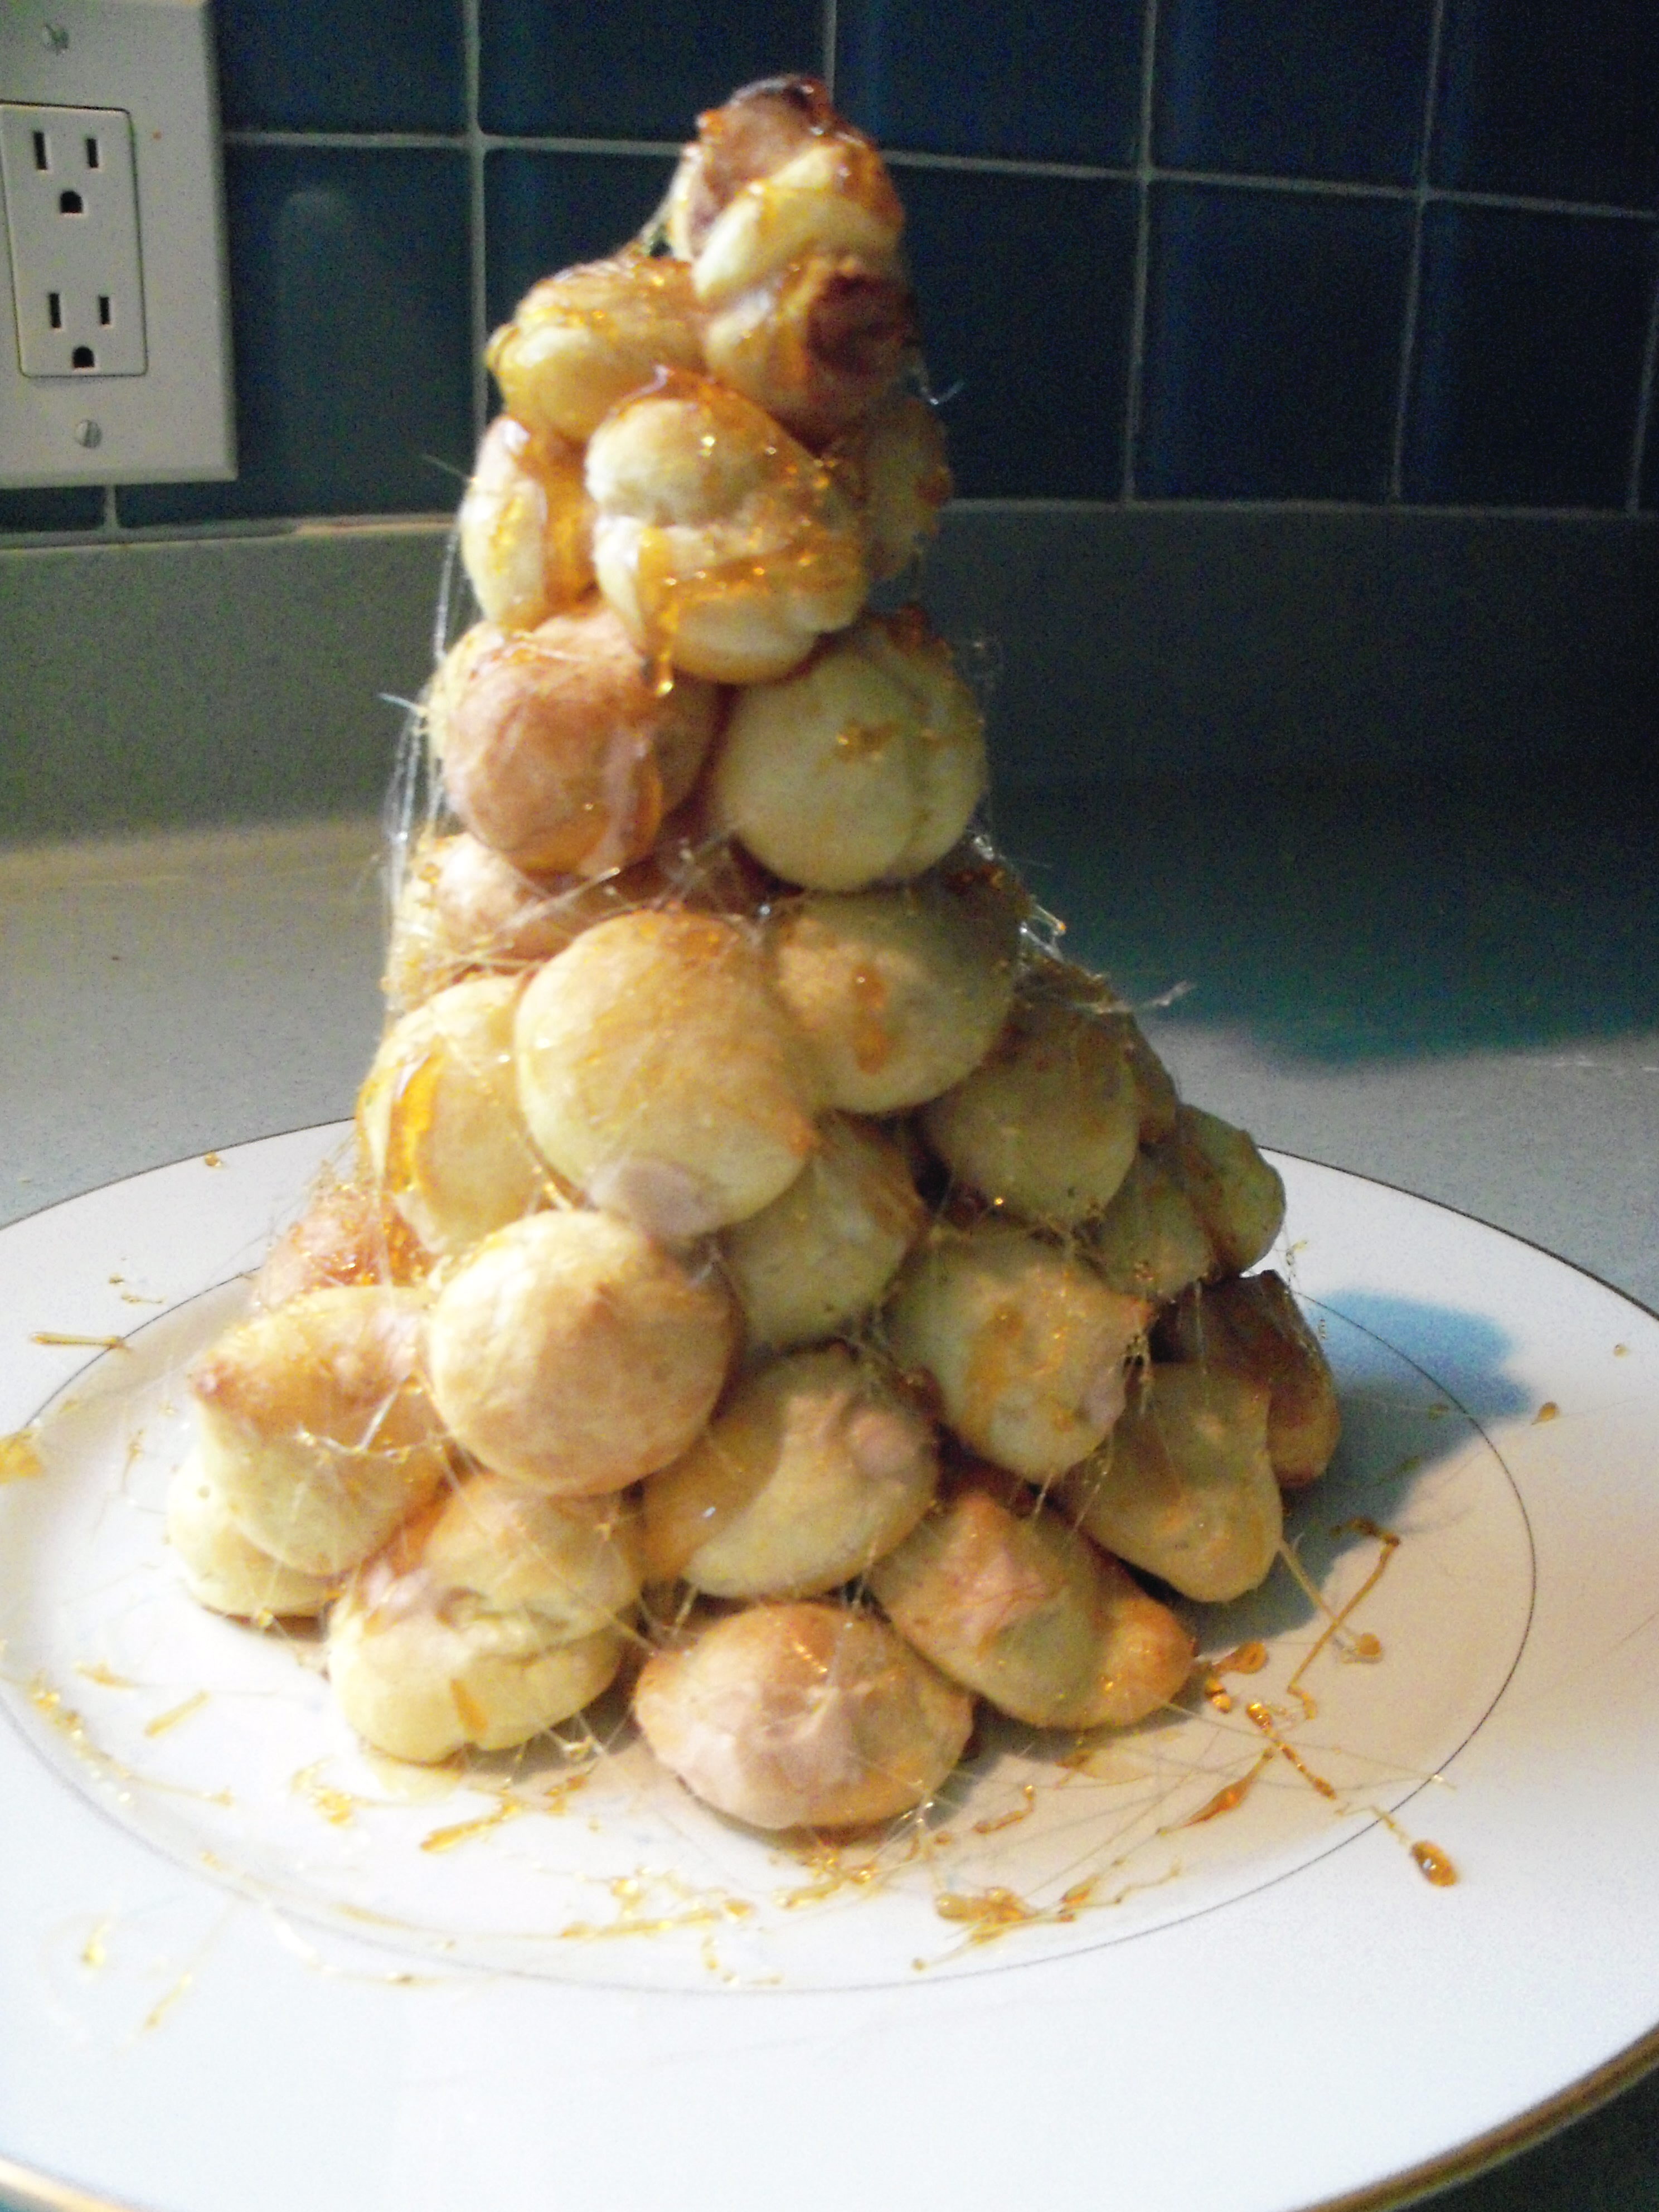
One of the only Martha goals I had for this holiday season was to make the croquembouche in December Living. To me, the croquembouche is somehow quintessential Martha. I think I must have seen her make it years ago on her tv show and it stuck in my brain as the most Martha thing, ever. It is pretty over the top.

I had planned to make it for Christmas Eve, but was waylayed by a terrible abdominal muscle pull that made it impossible to do anything. Any movement was torture. I’m actually still working through the tail end of it, but am pushing through it to do the things I want to get done.

We had two remaining holiday parties this past weekend and I decided the croquembouche was definitely going to go to one of them. I decided to make it for my in-laws, since she asked me to bring dessert.

I read and re-read the instructions several times, gearing up for what felt like my Martha Olympic event. There were three components – the round cream puffs, the caramel cream to fill them with, and the caramel sugar to glue them together with and to use as spun sugar (not part of the recipe, but I’ve seen Martha do it before). I made the caramel cream the day before and kept it refrigerated. That went quite smoothly.

The cream puffs were pretty basic to make – the same as other cream puffs I’ve made in the past. I didn’t find Martha’s instructions too helpful. She said to make them the size of quarters, but didn’t indicate how tall. It took some experimenting to get that right. Whenever I’ve made cream puffs before, I’ve just used a spoon, but this required a pastry bag. Eek. I hate pastry bags. Not only do I have a mental block about where to put the plastic cuff and the tip, but they always squirt out the back or explode out the side. Mr. MarthaAndMe has no pastry bag fear though, so he stepped in and manned this one quite well.

Once those were made and baked, I finished the caramel cream by folding in the whipped cream. Mr. MarthaAndMe filled the puffs using the pastry bag. He got the job done, but it was a huge mess. Cream was spurting out the end of the bag and all over the place. It was dripping off his hands and he ended up standing over the sink to fill the cream puffs since it was like a creature from the black lagoon.

Next, I made the caramel used to stick them together. Mr. MarthaAndMe almost immediately burned himself dipping the puffs in the caramel. From that point on we used tongs. The caramel was a little hard to work with. I had to keep heating it back up. There might have been a little cursing throughout this process.

Putting the actual tree together was a challenge. Again, I found Martha’s instructions lacking. I didn’t know how many puffs to use to form the base and was worried about running out or having too many leftover. Some more detail about this part would have been helpful. At one point it looked like a bush (croquem-bush as I called it) but Mr. MarthaAndMe kept adding more and showing me where to put more and we got it to come out resembling a tree, albeit a kind of lopsided tree.

I didn’t make the sugar cookies to attach, and instead spun some sugar around it (I just used the caramel and used a fork to sort of whip it around the tree). I have to say that spinning sugar like this made me feel like a total Martha.

I think it turned out pretty nicely. We put it directly on a plate, even though Martha says to put it on parchment. We cut this recipe in half and it sounded like it should be enough – it says the full recipe feeds 30 people.

I held this on my lap for a treacherous half hour drive through snow to my in-laws’ house. It made it safely. Whew. I did keep this refrigerated at home and once we arrived, even though Martha says to keep at room temp. The caramel cream was a bit thin and I was worried about it running.

Everyone enjoyed this – it tasted great. The cream puffs were light and the caramel cream was deep and rich. The caramel used to stick it together and which I spun the sugar out of was a deep brown and really good.  It was a bit challenging to remove cream puffs to eat. They stuck together and broke when you tried to remove them. I’m not sure what Martha thinks you’re supposed to do. I think the cream puffs should have been a bit larger – they were kind of small and didn’t hold a lot of cream. We served this with a tray of cookies and some ice cream, but by itself it would not have been enough for the 6 people we had for dinner.

Now that I know how to make this, I wouldn’t be afraid to try it again.  The most challenging part was controlling the pastry bag and using the caramel sauce without serious injury. I wish I had the skills to make the tree form correctly, but I’m just not talented when it comes to spatial things! My little lopsided tree doesn’t really compare to what Martha produces. Yes, she has food designers, but I’ve seen her construct this with her own hands on tv and she can make it turn out perfectly shaped. Sigh. I know I’ll never be Martha, but sometimes it is frustrating! I am, however, proud that I accomplished this, something I’ve always wanted to try!

Bookmark and Share

One of the only Martha goals I had for this holiday season was to make the croquembouche in December Living. To me, the croquembouche is somehow quintessential Martha. I think I must have seen her make it years ago on her tv show and it stuck in my brain as the most Martha thing, ever. … Read more

Pork Paillards

Posted by Brette in Food

A couple of weeks ago, I tried the Chicken Paillards from January Martha Stewart Living, but it wasn’t a success. I decided to give Martha another chance and made Pork Paillards from the same article. This one was a winner, gang!

You start with a pork tenderloin and trim it (something I admit I’ve never done before). You then slice it into 1/2 inch pieces and then pound them to about 1/4 inch. This went very smoothly.

You cook the pork in grapeseed oil (which I specifically bought for this). Once that’s done, you take it out and add white wine. I had none but found a dusty old bottle of champagne in the basement (we don’t drink, but someone must have given it to me a long time ago). I used 1/4 cup of that. Scrape up the bits and reduce the wine, then add 1/2 cup chicken stock. Reduce that, then add 3/4 cup sour cream and 1/4 tsp smoked paprika. I got some smoked paprika for Christmas so I was excited to try it.

I served this over whole wheat egg noodles. I loved it. I am a big fan of beef stroganoff and this was like the pork version. The smoked paprika gave it a really interesting, deep flavor. The pork was thin and tender. I would definitely make this again!

Bookmark and Share

A couple of weeks ago, I tried the Chicken Paillards from January Martha Stewart Living, but it wasn’t a success. I decided to give Martha another chance and made Pork Paillards from the same article. This one was a winner, gang! You start with a pork tenderloin and trim it (something I admit I’ve never … Read more

It’s been a while since I tried a completely new-to-me Martha dish. In fact, I had never heard of paillards. There’s a section in January Living all about paillards, which are essentially thin cuts of meat. To make chicken paillard, I butterflied chicken breasts, then pounded them flat. This was easy to do. The recipe itself was also simple – cook the chicken in butter and olive oil. Remove it from the pan and cook 1/4 minced shallot then add two lemons that have the rind removed and have been cut into segments. 3/4 cup of chicken stock also gets added. You cook it down and toss in a little butter at the end. It sounded simple and delicious.

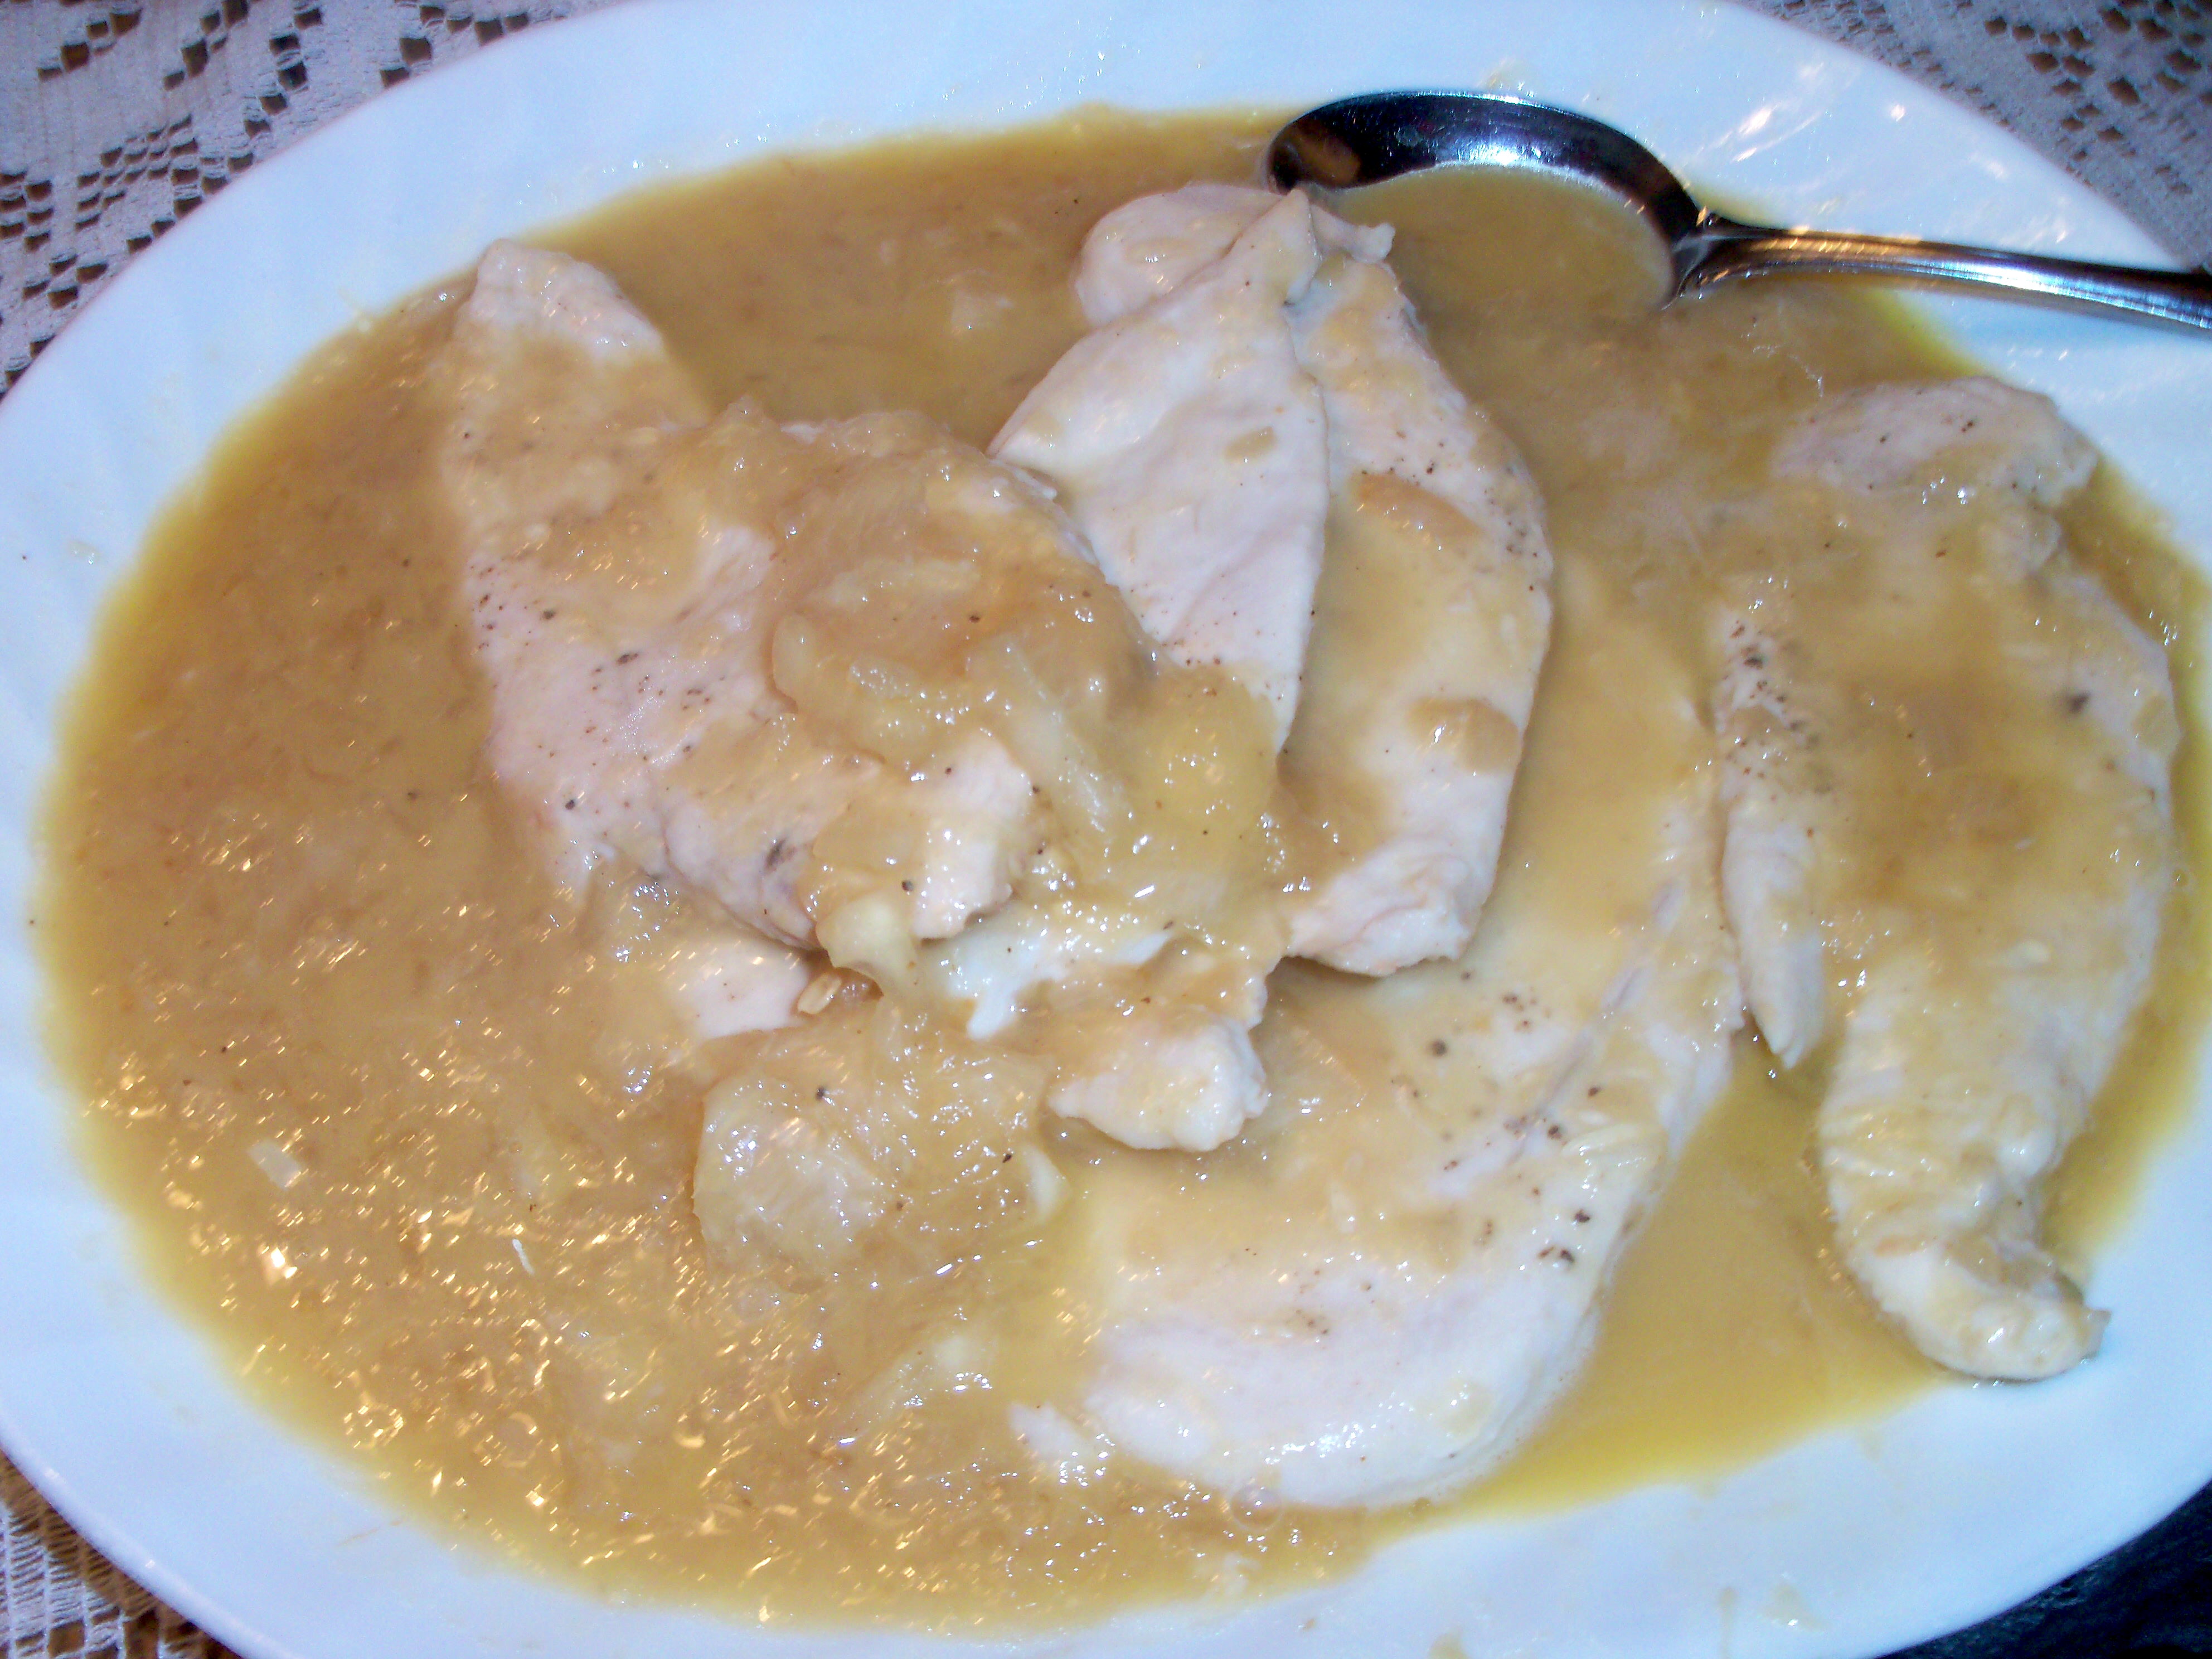
It was simple, but it was not delicious. I liked the chicken cooked this way very much. It was tender and thin. The sauce, however, was horrendous. It was so incredibly sour that we couldn’t eat it. I don’t understand how anyone could think adding two entire lemons to this pan sauce could be a good idea. The photo in the magazine is deceiving – it shows a small amount of light brown pan sauce. Mine turned out lighter  with big hunks of lemon in it – it looked like applesauce and as you can see, there was a lot of it. It was not appetizing at all.

I will definitely prepare chicken in this style again, but I’ll make  a completely different sauce.

Bookmark and Share

It’s been a while since I tried a completely new-to-me Martha dish. In fact, I had never heard of paillards. There’s a section in January Living all about paillards, which are essentially thin cuts of meat. To make chicken paillard, I butterflied chicken breasts, then pounded them flat. This was easy to do. The recipe … Read more

This week’s Martha Mondays pick – Chocolate-Caramel Cookie Bars – was chosen by Megan at Megan’s Cookin. This cookie was on my list to make since it looked so good!

The bottom part of the cookie was very simple to make. The chocolate caramel was a little harder. You cook sugar and water until it turns “amber”. I found that term to be a little vague. I think of amber as a yellowish-brown, kind of deep and dark. Martha says to cook it for 10-12 minutes to get that color. I slaved over that stove for 20 minutes, washing down the sides of the pan and I got to a light gold color. Finally I threw in the towel and hoped it was right.  I added the butter and cream, boiled it and poured it over the chocolate.

When I took it out of the fridge, I realized I didn’t read the part in the instructions about putting parchment in the pan before putting in the cookies! I was sure I was going to have a mess on my hands, but it came out easily.

I have to say I didn’t care for this one though. It was just too sweet. I love chocolate, but I did not enjoy this. I guess the added sugar from the caramel made it just too sweet for me. The cookie bottom was crunchy and nice, but I just couldn’t eat it – too sweet for me. I did put sea salt on top and that was interesting, but it didn’t cut the sweetness enough for me. The kids will probably eat this up – I think anyone under the age of 18 is immune to things that are too sweet. The consensus of the family was that this tasted like fudge and not caramel.

Bookmark and Share

This week’s Martha Mondays pick – Chocolate-Caramel Cookie Bars – was chosen by Megan at Megan’s Cookin. This cookie was on my list to make since it looked so good! The bottom part of the cookie was very simple to make. The chocolate caramel was a little harder. You cook sugar and water until it … Read more

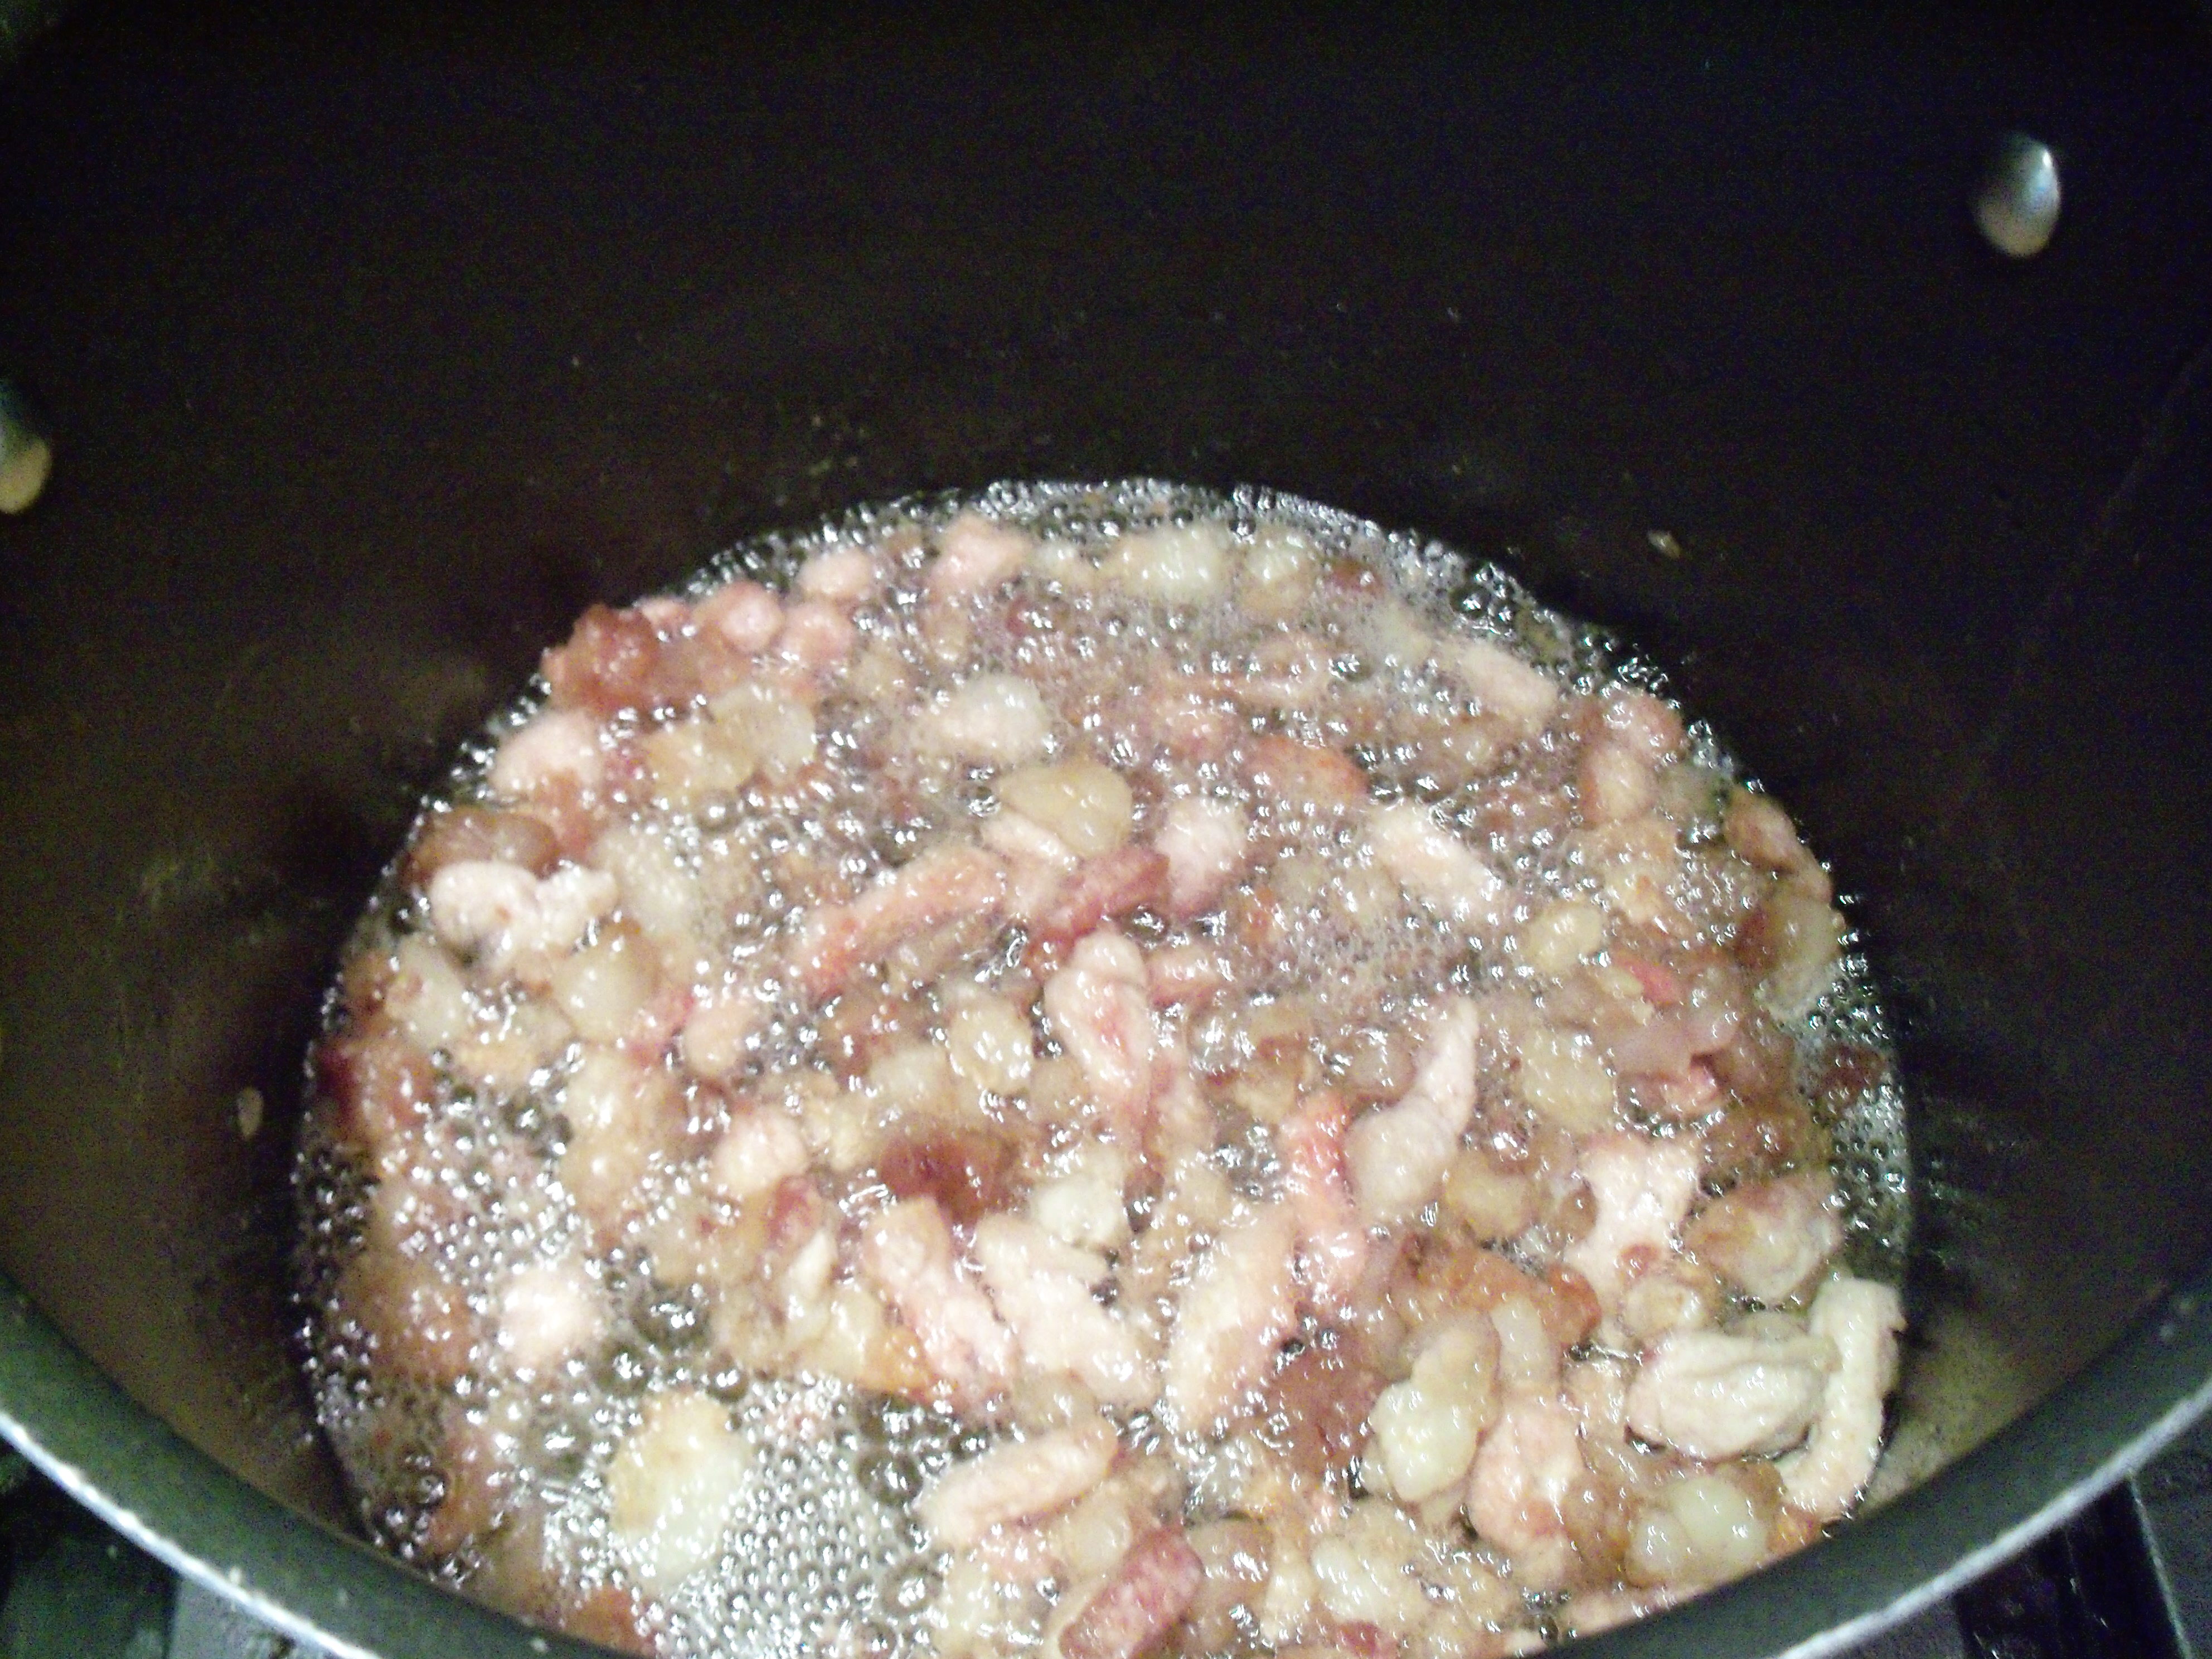
This week’s Martha Mondays was my pick – suet birdfeeders from November Living. Let me say I am so, so, sorry. If you made this and it stunk up your house as badly as it did mine, I apologize. I think this is truly the nastiest Martha thing I’ve ever made. My grocery store did not have suet so I ended up at a butcher. Mr. MarthaAndMe chopped it up for me since I was grossed out by it. The directions say to render this until it liquifies. It seemed to me like that would be pretty simple but it wasn’t. It took FOREVER, it smelled horrible, and I was not sure when it was actually done. There were lots of chunks of stuff still floating around in the liquid fat, but it was starting to burn. I pulled the plug and strained it.

Martha says you have to strain it with cheesecloth – I just used a sieve. Then you have to let it harden, then melt it and strain it again. Can I just say, this seems like a LOT of work for birds. Seriously, can you see Martha taking an entire afternoon to make these birdfeeders? I think not. I’m sure she buys them from someone who makes organic artisan suet birdfeeders or something.

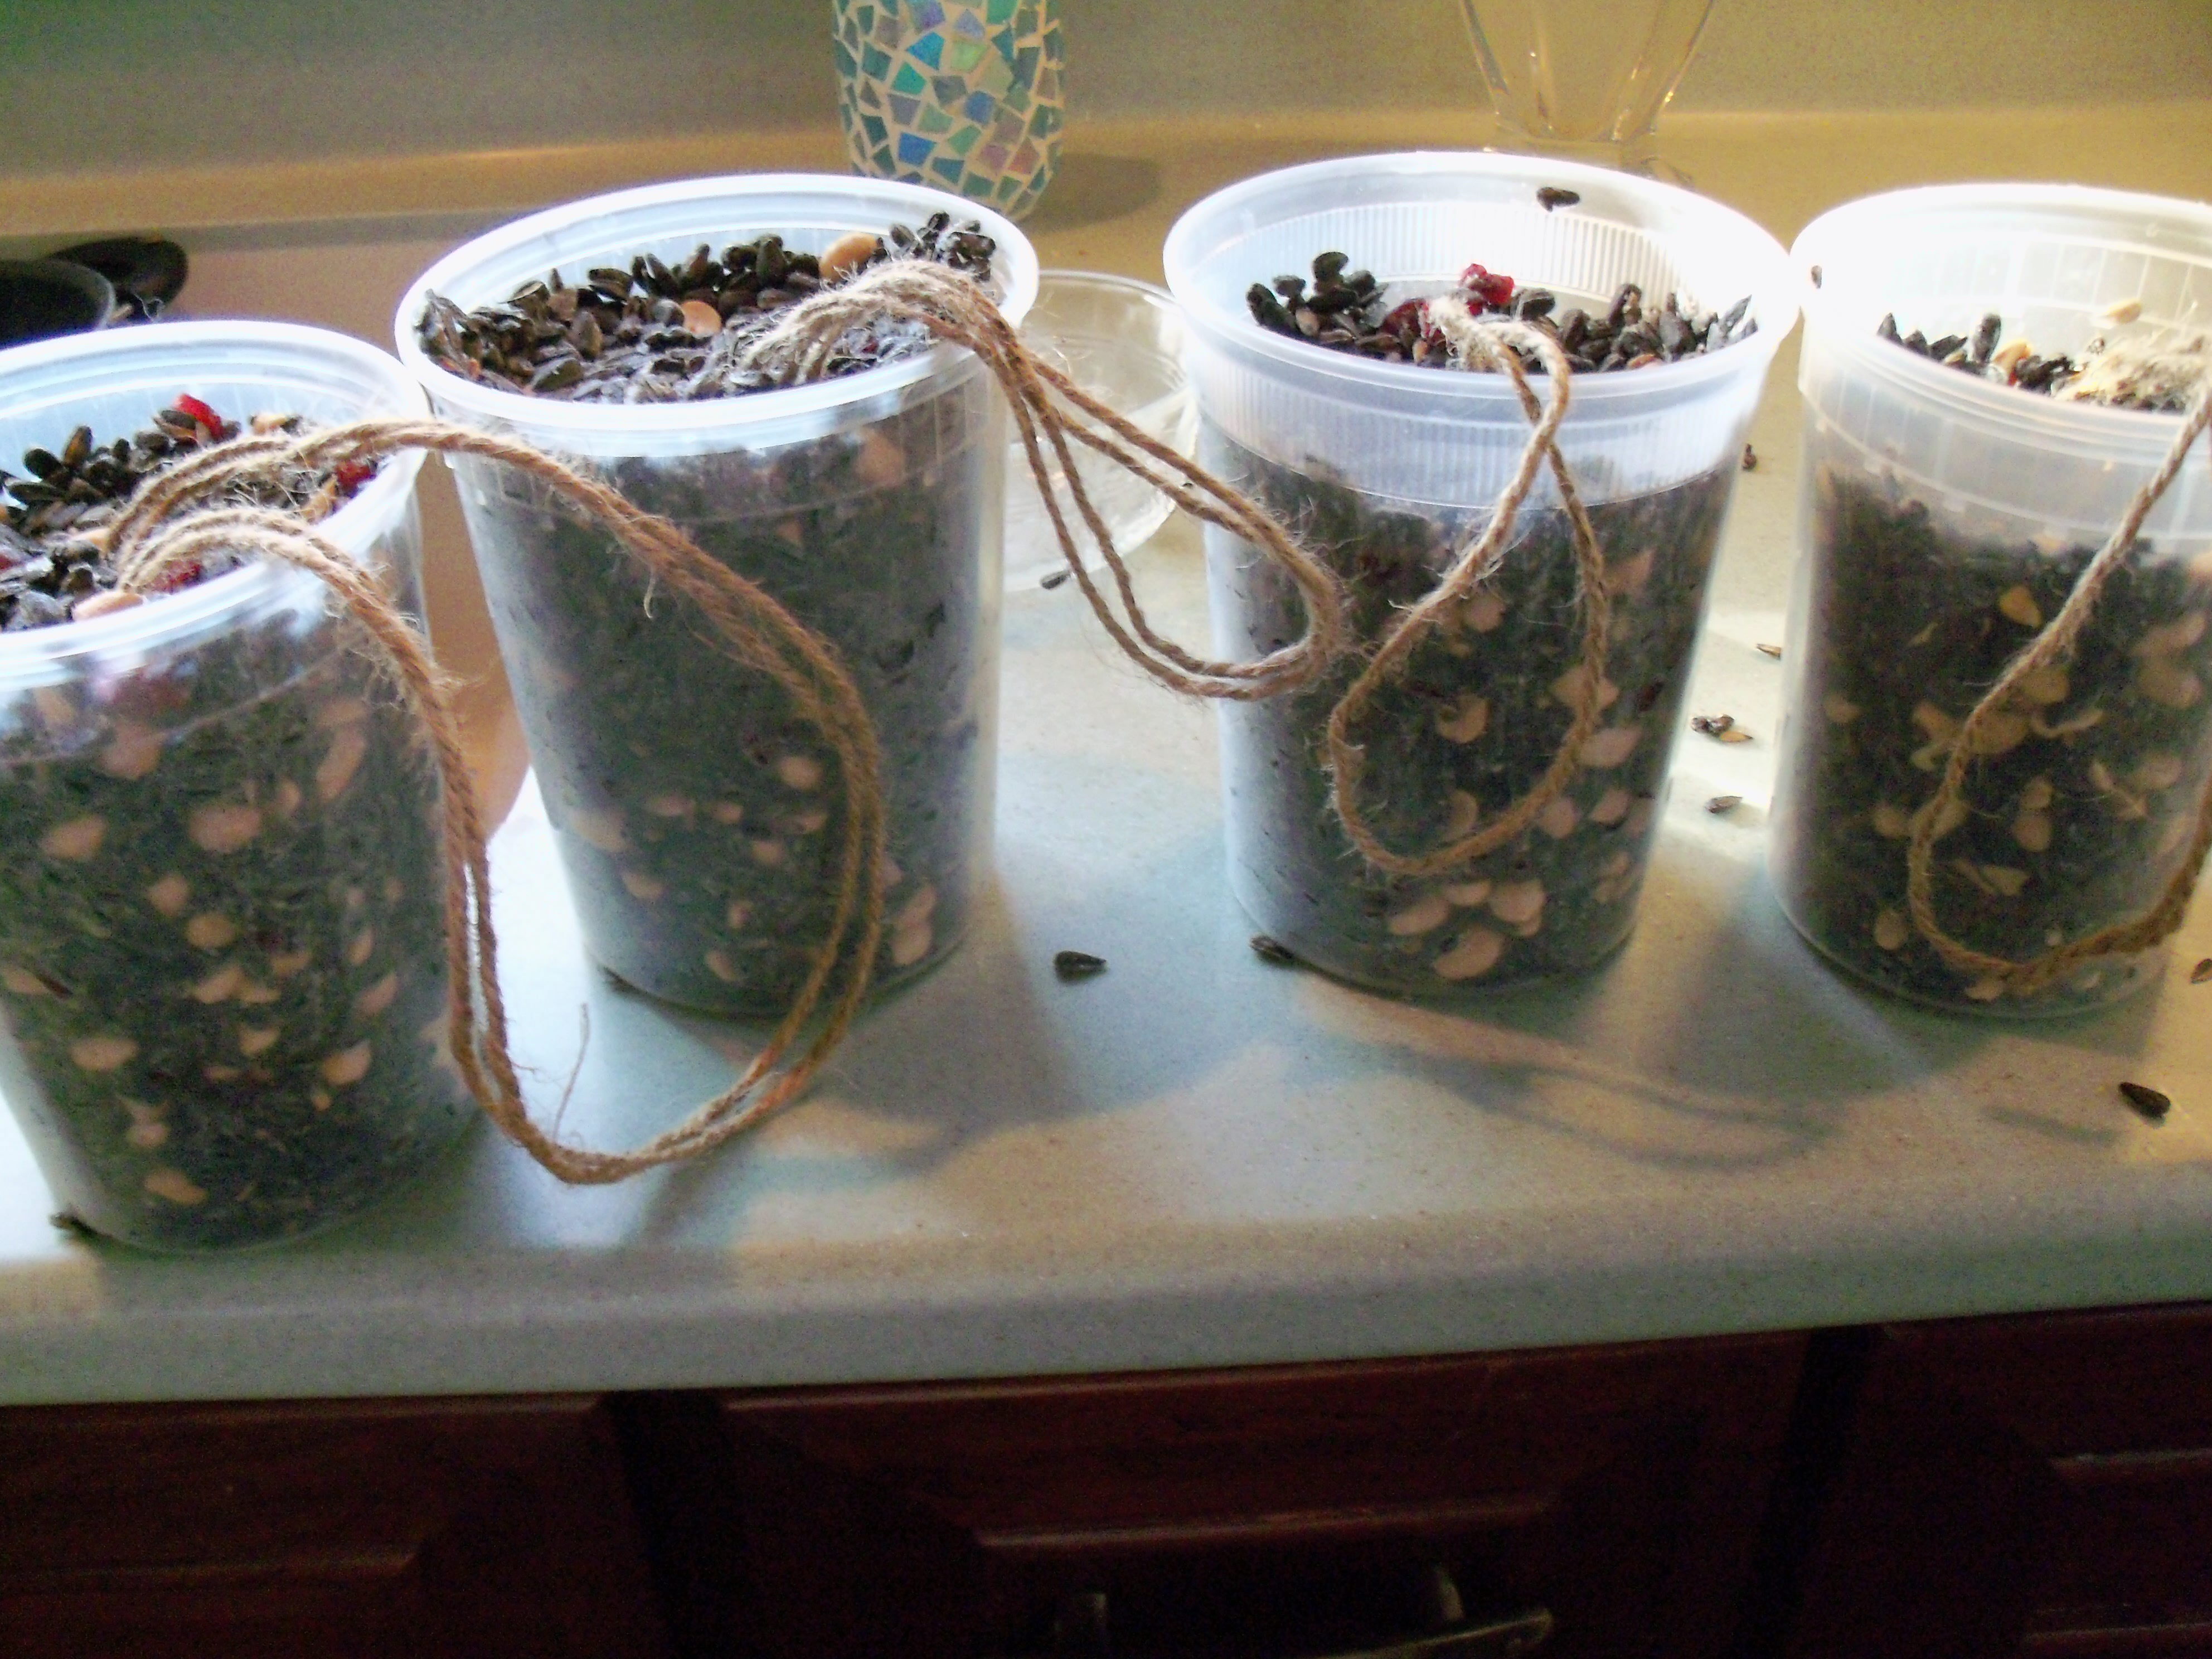
So I did let it harden and liquify it again, but I confess I did not strain it the second time – there was nothing in it to strain out. I just did not care enough. I mixed in the sunflower seeds, peanuts and cranberries and we smushed it into plastic containers with string in it and froze it. I actually halved this recipe, but somehow it made 4 containers full. I was a little concerned when about 3 hours after I put it in the freezer it wasn’t sticking together.

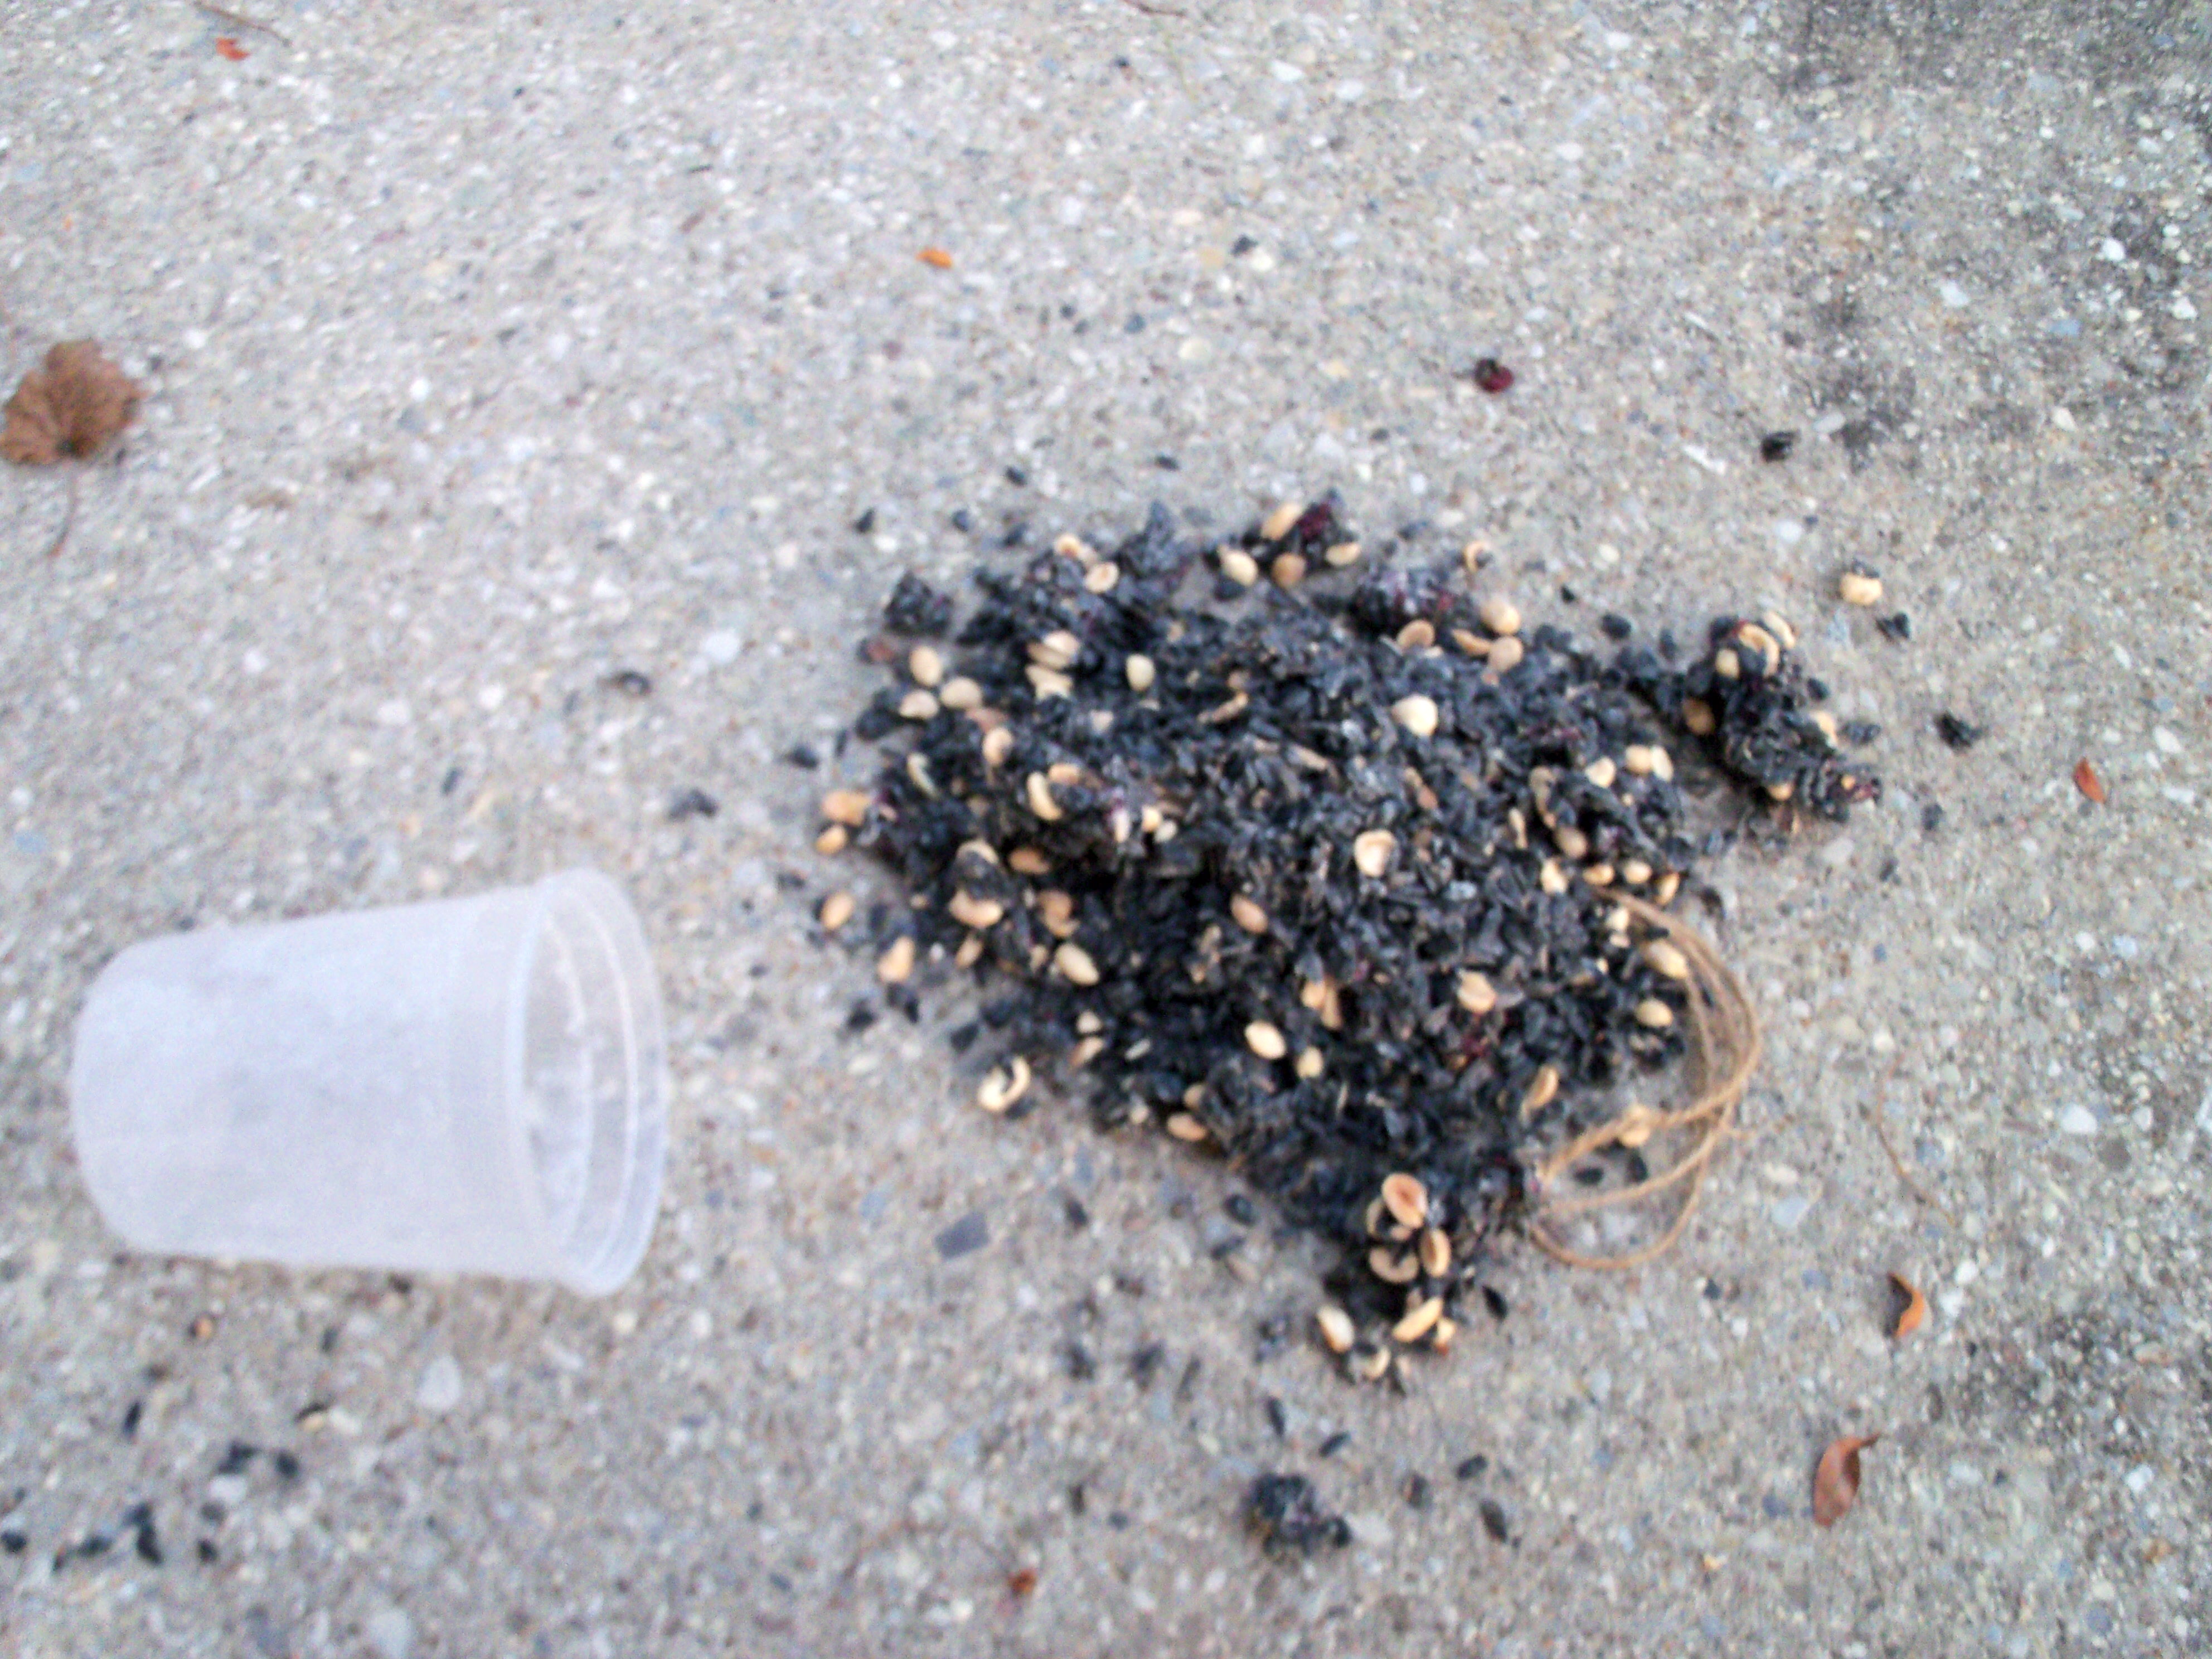
I left it in overnight. This morning we checked them and they all seemed loose, but we hoped for the best. We took the most solid one outside and tried to get it out of the container. You can see from the photo that it completely fell apart.

What a mess and what a disappointment. I’m wondering if maybe the butcher didn’t give me enough suet? Maybe I should have kept on cooking it down even though it was on low and was burning? I don’t know what to think, but it sure would be a lot easier to just BUY one of these suet things in the store for $2 than to spend this much time horsing around and ending up with such a mess!

Bookmark and Share

This week’s Martha Mondays was my pick – suet birdfeeders from November Living. Let me say I am so, so, sorry. If you made this and it stunk up your house as badly as it did mine, I apologize. I think this is truly the nastiest Martha thing I’ve ever made. My grocery store did … Read more

I always make pumpkin pie for Thanksgiving. It is one of Dude Martha’s favorite foods, so he’s been asking lately if I would make one before Thanksgiving so he didn’t have to wait so long!

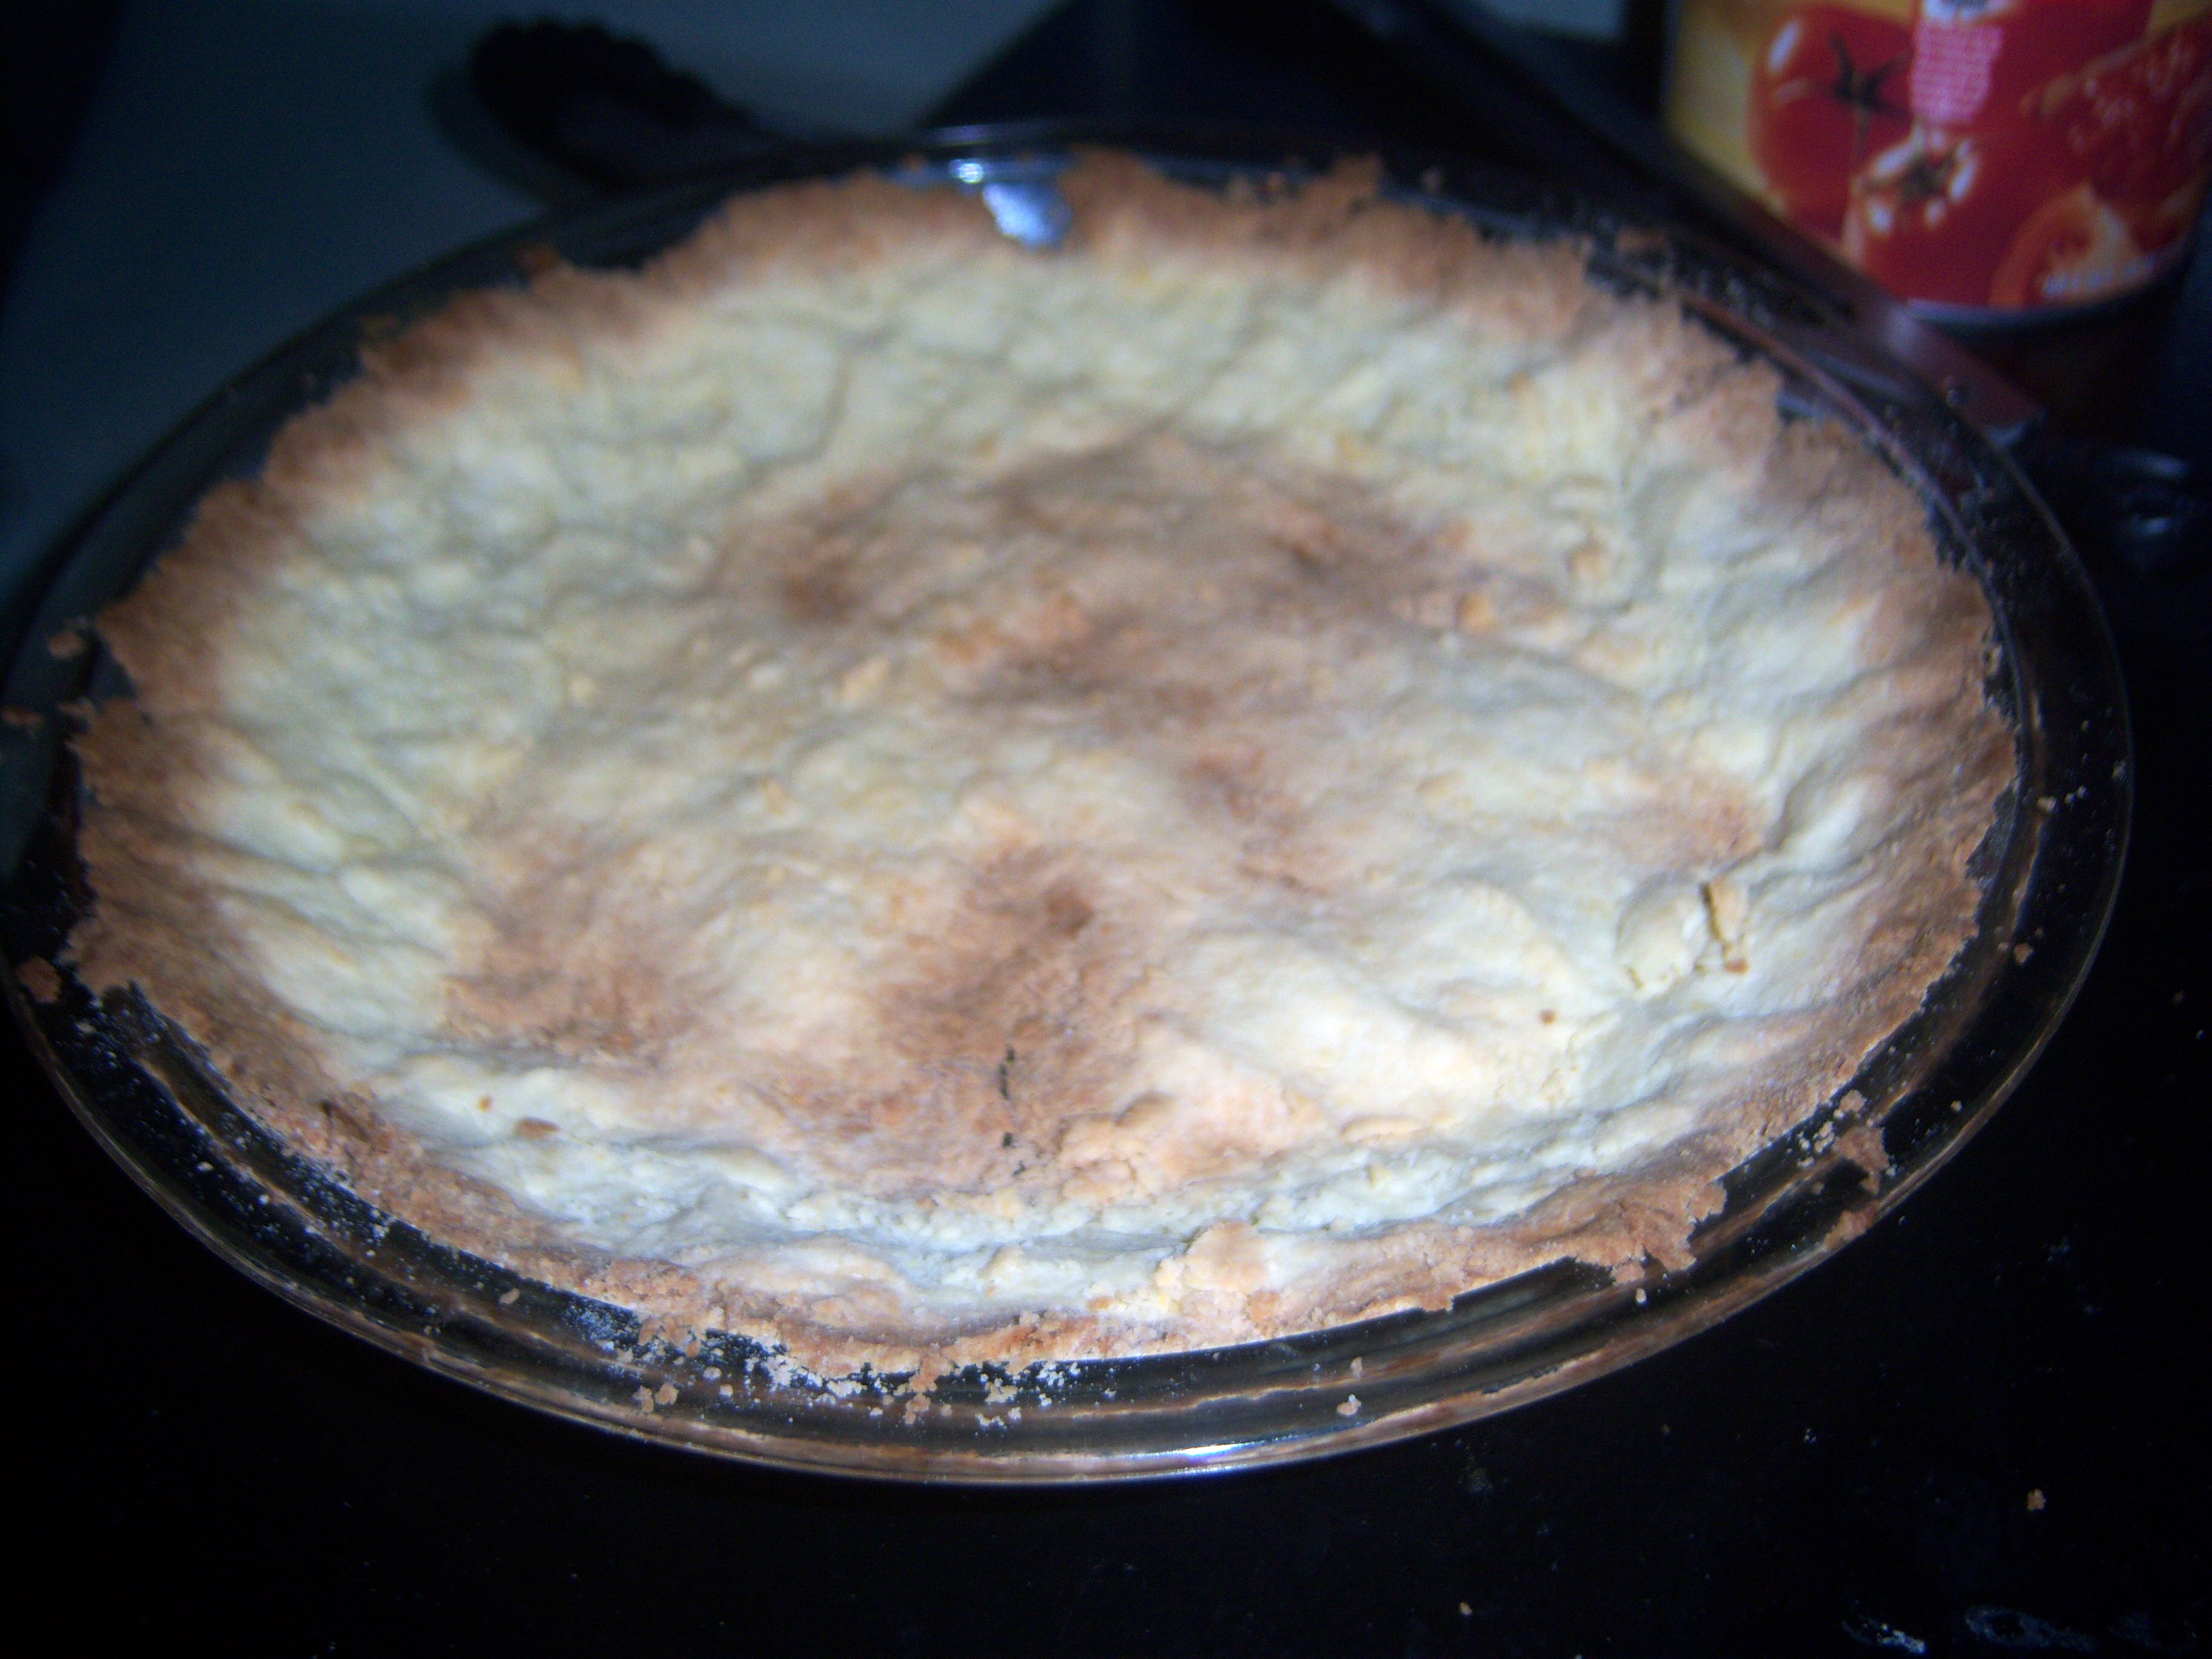
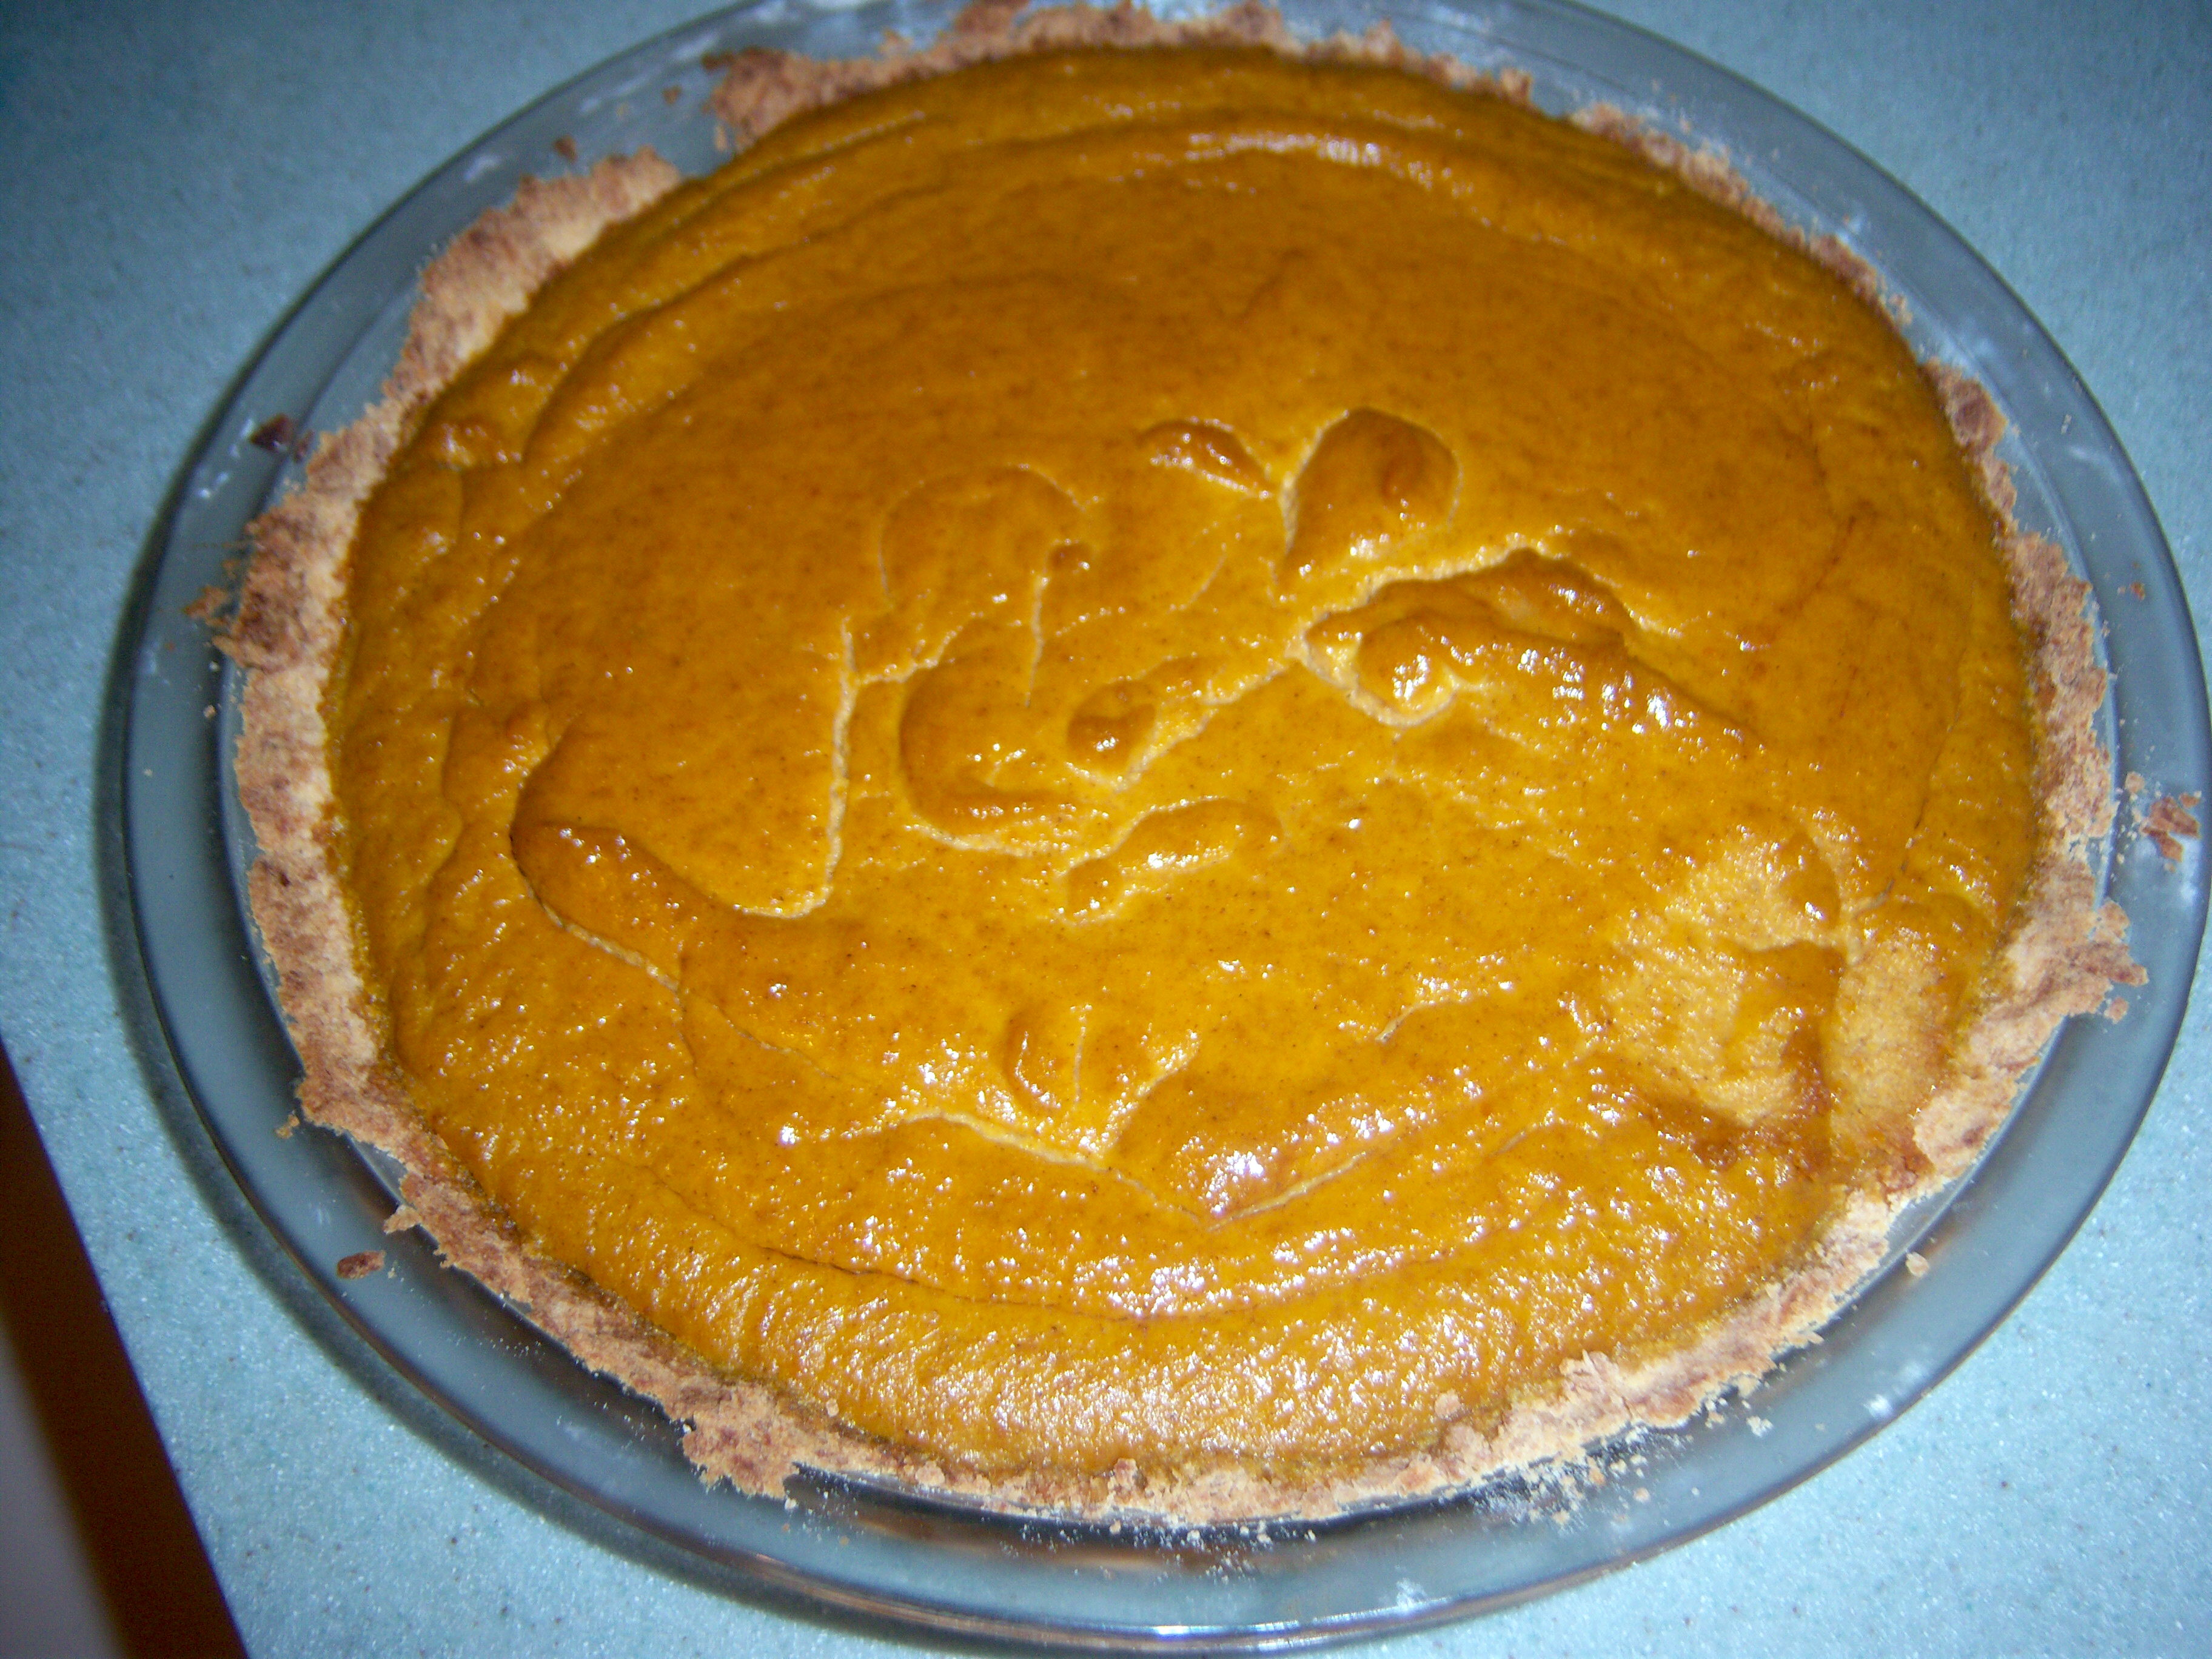
shortbread pie crust2Martha has an interesting section in November Living with a variety of pie crusts. One option is a no-roll, press-in pie crust (o. 171). This sounded great to me. I hate rolling pie crust. It always rips. This pie crust recipe is essentially a shortbread (eggs in pie crust is definitely a new approach!). It was very easy to mix up and press in the pan. I baked it and it looks browner in the photo than it really was. It was so easy – I was so excited!

Then I made Martha’s pumpkin pie from the same issue (p. 214). I am embarrassed to tell you that the recipe I always use is one I ripped out of a magazine from a Libby’s canned pumpkin ad many years ago, but everyone loves it. Last Thanksgiving I made another one of Martha’s pumpkin pies and it didn’t stand up to the Libby’s recipe, but I was ready to try another version.

This pumpkin pie recipe uses heavy cream instead of the evaporated milk most pump pie shortbreadpumpkin pie recipes use. Nothing else struck me as remarkable when I was making it. I got it in the pie crust and baked it. It looked and smelled good. Everyone was so excited to sit down to try it.

It was a disaster. Inedible. First of all, let’s talk about the crust. It was incredibly salty. I used unsalted butter. The recipe calls for 1 tsp salt – I used about 3/4 tsp. It was way too much. If it hadn’t been salty, it would have been very nice I think. So if you make this, I recommend cutting the salt back to 1/2 tsp or 1/4 tsp.

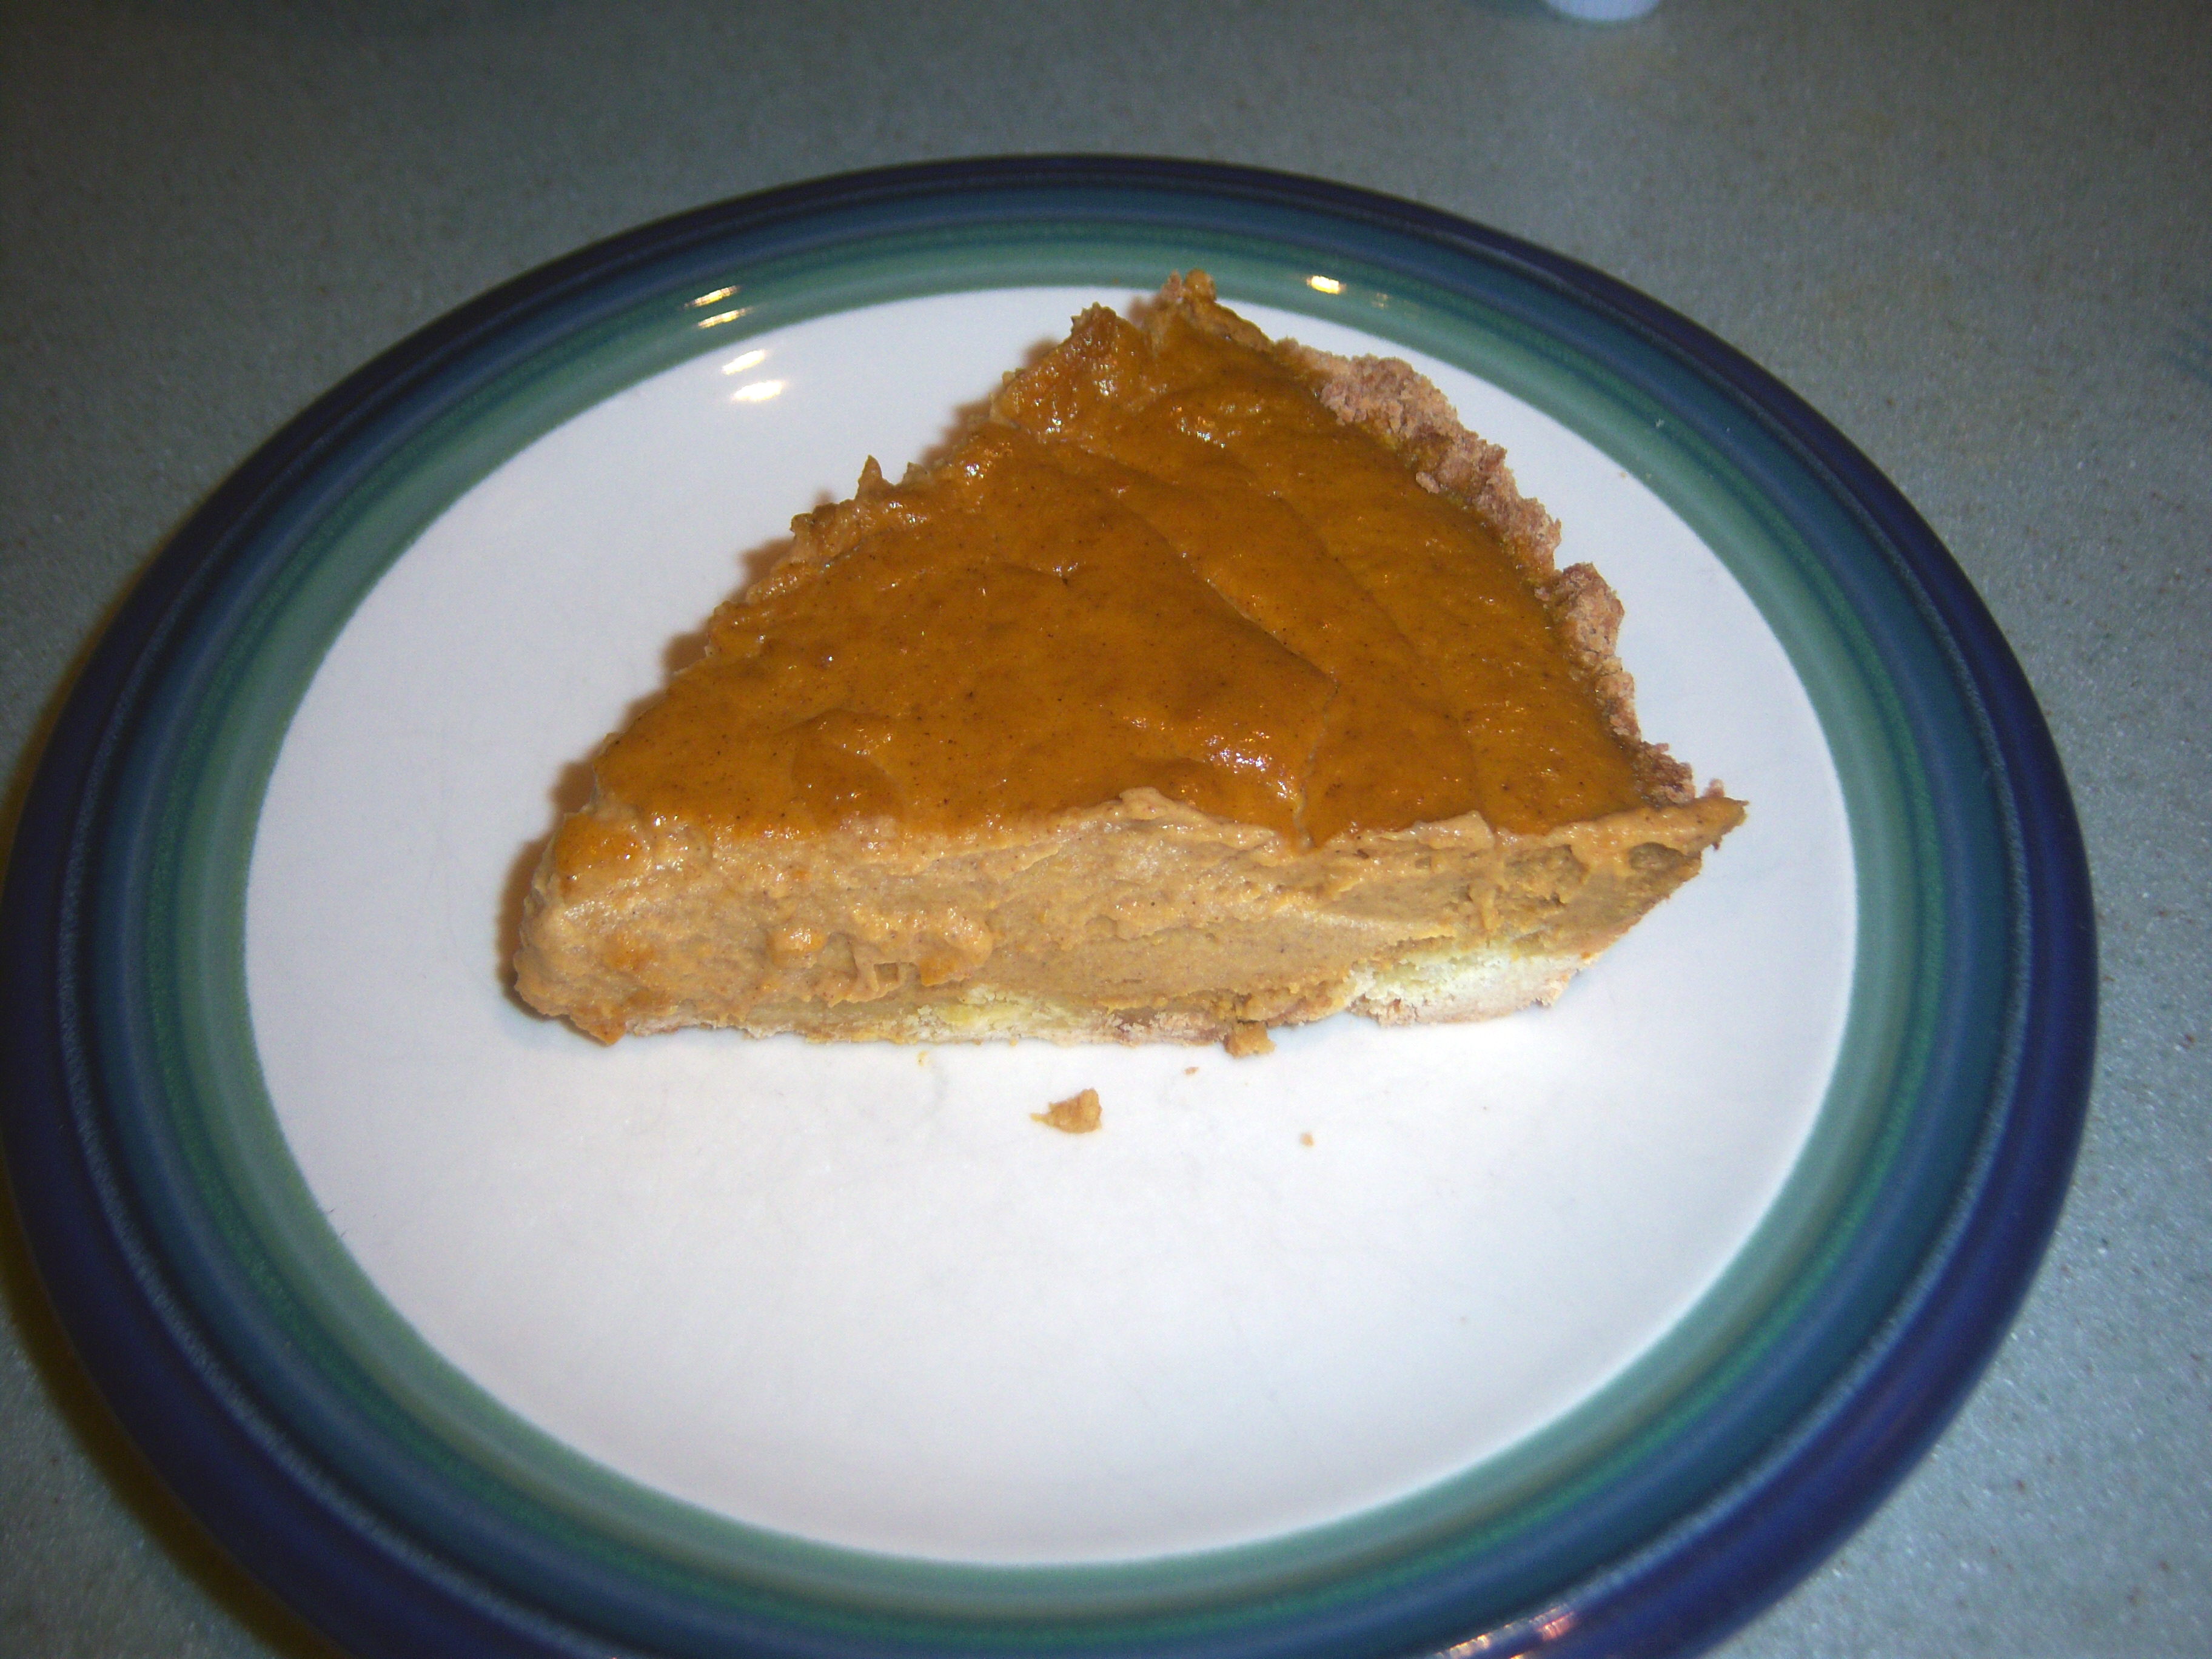
pump pie shortbread 2Now, the pie. It was not sweet. The recipe uses 1/4 cup of sugar  while my Libby’s recipe uses 3/4 cup plus it has evaporated milk which is sweetened. There wasn’t close to enough sugar in this recipe. It didn’t even taste like a dessert. Between the lack of sugar in the filling and the excessive salt in the crust, no one could eat this. In the trash it went. I’m glad I didn’t make this untested for Thanksgiving because that would have been a terrible disappointment!

Bookmark and Share

I always make pumpkin pie for Thanksgiving. It is one of Dude Martha’s favorite foods, so he’s been asking lately if I would make one before Thanksgiving so he didn’t have to wait so long! Martha has an interesting section in November Living with a variety of pie crusts. One option is a no-roll, press-in … Read more
mondaysThis week’s Martha Mondays is Texas Red Chili, from the October issue of Martha Stewart Living (p. 62) chosen by Megan at MegansCookin.

Chili has always been one of those quick meals I’ve pulled together using ground meat and a package of seasoning. I’ve never made it from scratch, so texas chilithis was a new frontier for me. First stop, the grocery store. I’ve never bought dried chilis. I didn’t even know where to find them! I ended up buying what were called “New Mexico” chilis since that was the only type they had. I had no clue if they would work.
The first step in the recipe involves the chilis. You’re supposed to put them in a skillet on the stove and blister them. I did this. Then you remove the stems and seeds. No problem. Then you soak them for half an hour. Once that’s done, Martha says to put them in a blender with some of the soaking water and puree.  This didn’t work! The chilis just sat at the bottom and sides of the blender while the blades ineffectually whirred. I tried it on several settings and I tried adding more water. I got nowhere fast. So I dumped it all in the Cuisinart. This worked a little better, but it did not puree it by any means. I had big pieces (maybe 1/2 an inch to an inch) of chilis that simply did not get any smaller. After what felt like hours of scraping and trying over and over again, I gave up and just used it as it was.

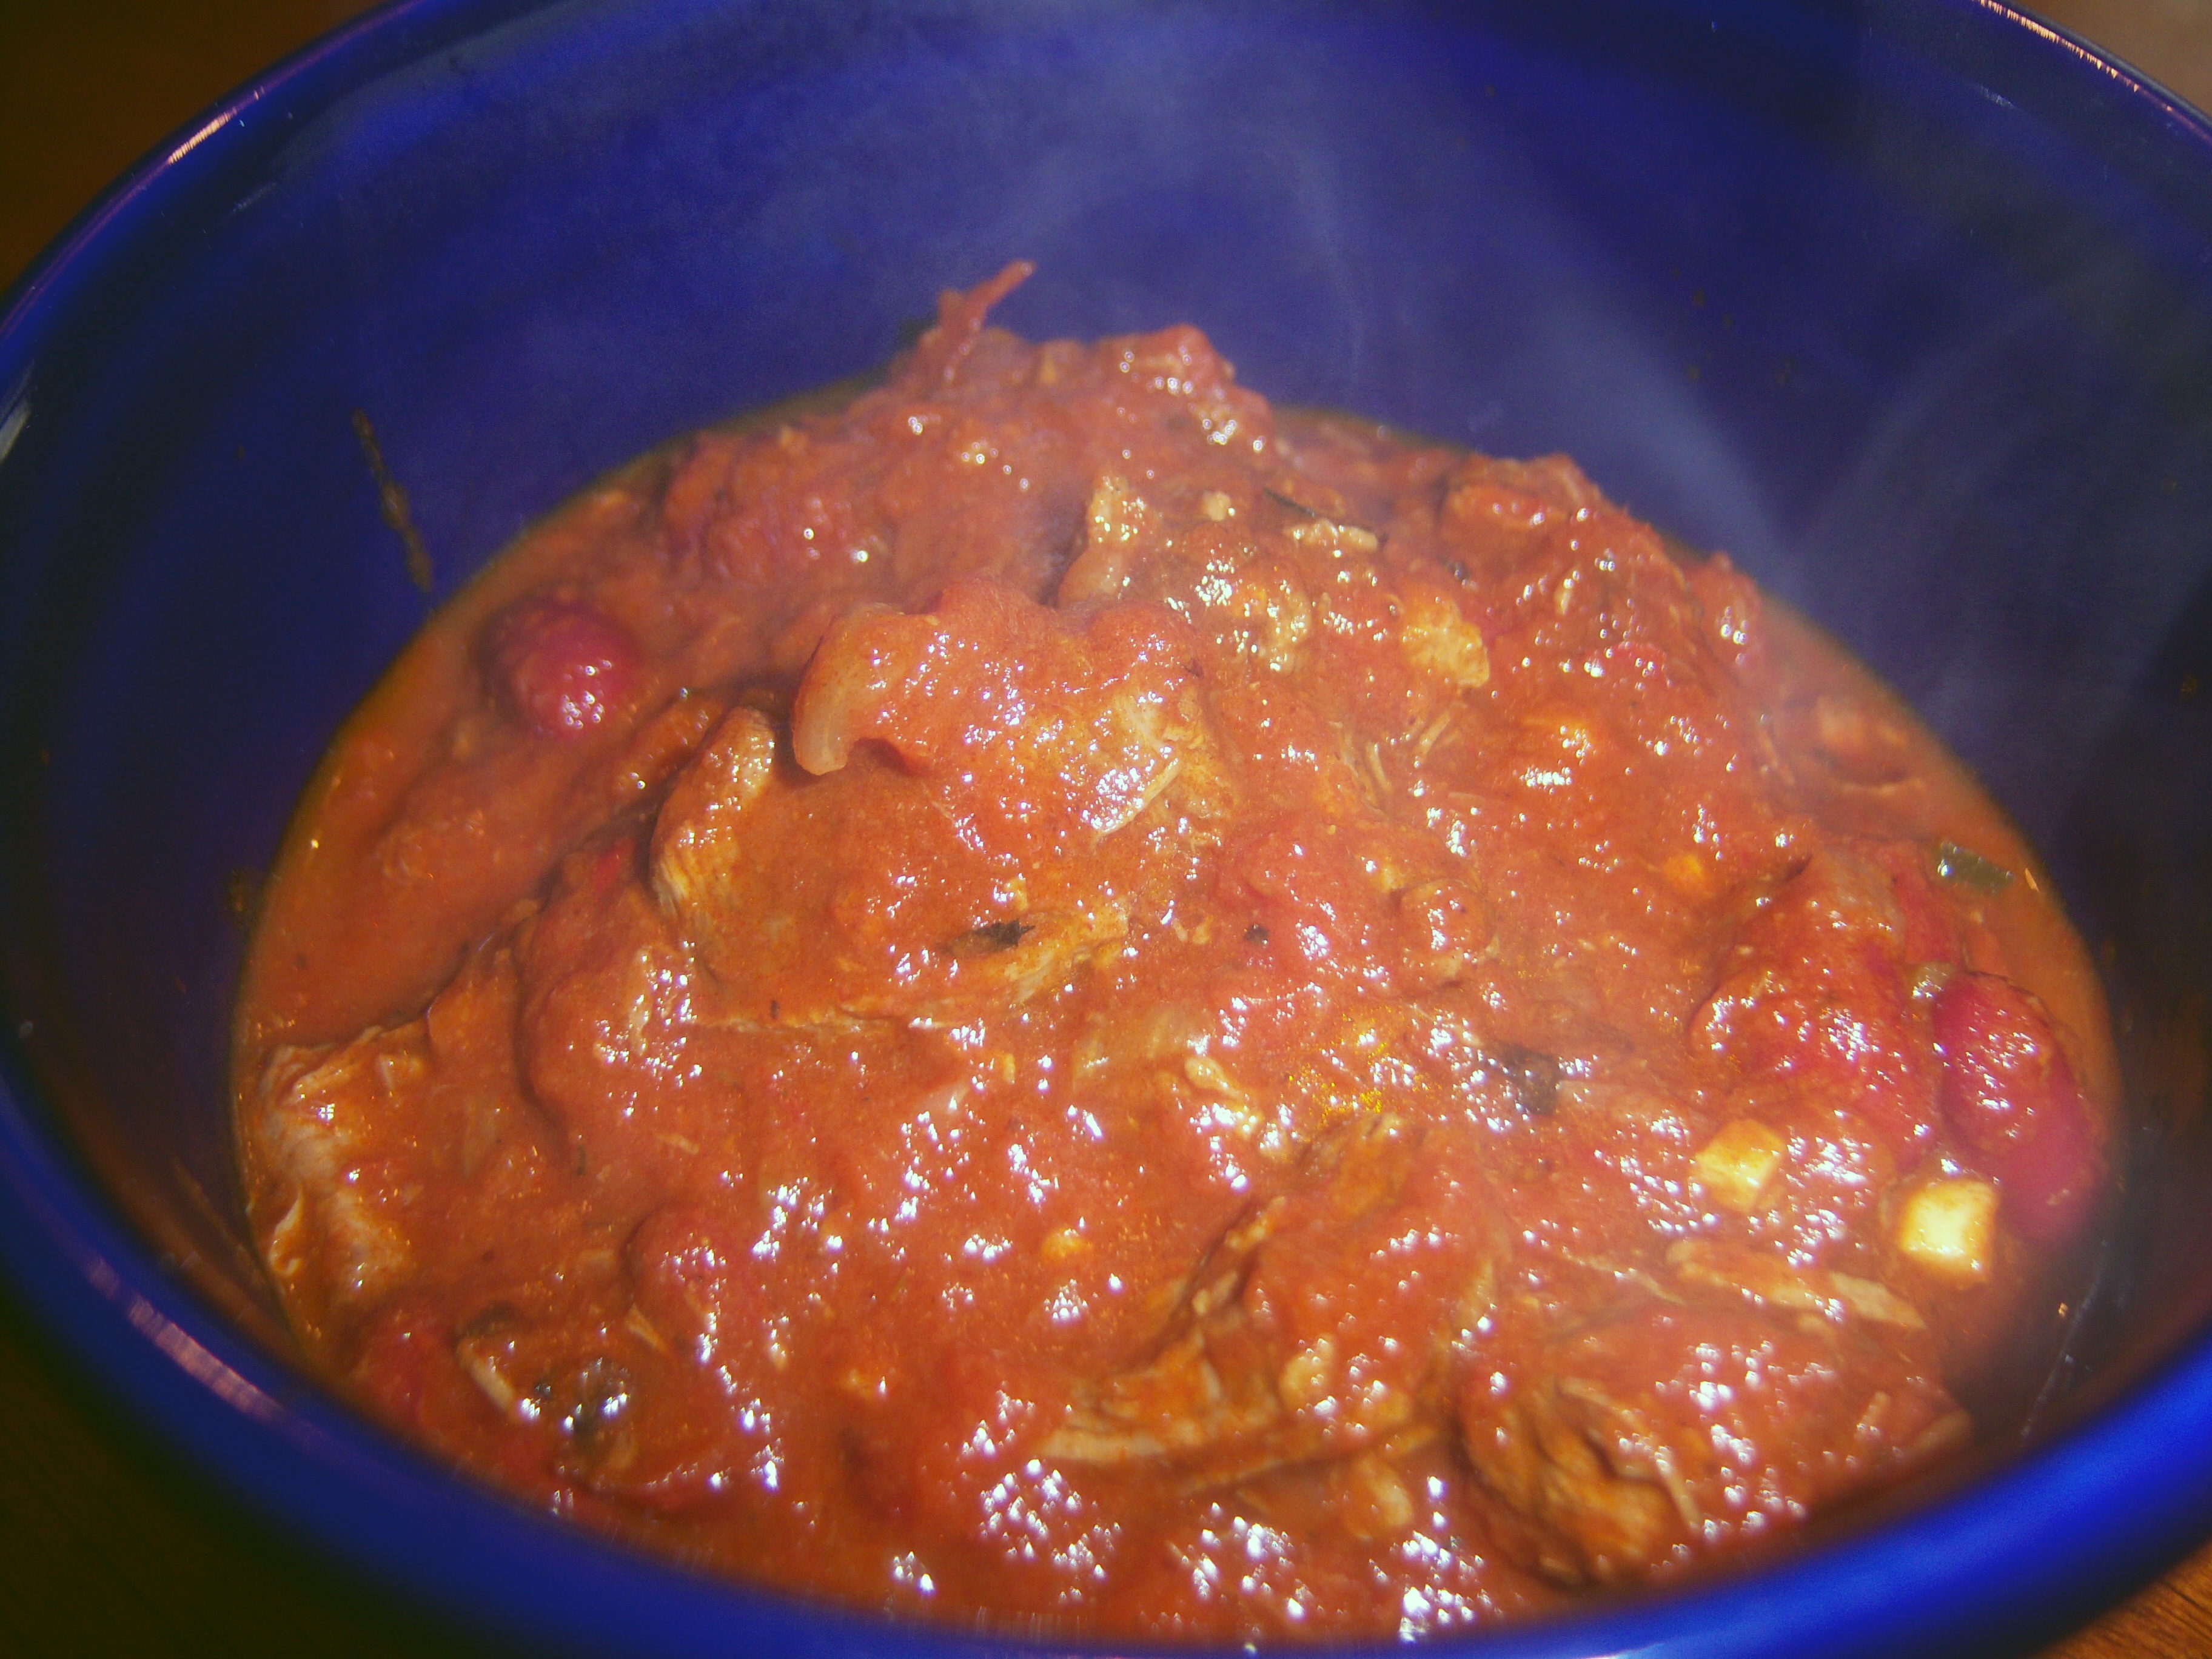
The recipe uses chunks of beef, garlic, onions, cumin, oregano, jalapenos and pureed tomatoes in addition to the chili pepper pureee. It cooks for about 2 1/2 to 3 hours. This part went well. But when I tasted it, I realized it needed a lot of help. First of all, I just can’t imagine chili without beans, so I dumped in a can of kidney beans. It was very bland (which I could not believe – I was sure it was going to be firey hot!) so I added some chili powder. I also added some more tomato. Finally I got it to the point where I thought it tasted pretty good, but I had one big problem – the pieces of dried chili were tough and stuck to your tongue. So I stood at the stove and picked them out one by one as best I could. There were a lot of them. I’m glad I got them out though, because it was almost inedible with them in it.

I served this with some grated cheese. It was good, but I would never use the dried chilis again – they were such a disaster. I suppose it’s possible to make this with fresh chilis, but I don’t know if I would go that route either. I did like having pieces of beef in it as opposed to ground meat – it tasted more like real food. Mr. MarthaAndMe thought this was ok. Teen Martha wouldn’t try it and Dude Martha didn’t like.

Bookmark and Share

This week’s Martha Mondays is Texas Red Chili, from the October issue of Martha Stewart Living (p. 62) chosen by Megan at MegansCookin. Chili has always been one of those quick meals I’ve pulled together using ground meat and a package of seasoning. I’ve never made it from scratch, so this was a new frontier … Read more

cranberry cornmealCranberries are something I’ve learned to like as I’ve gotten older. Dried cranberries (Craisins) are a great salad addition, but I don’t care for them by themselves. I’ve also learned to like cranberry juice cocktail and even swigged straight cranberry juice (very tart!!) when dealing with a persistent UTI. I don’t mind one bite of cranberry sauce at Thanksgiving, but that’s about all I usually want.
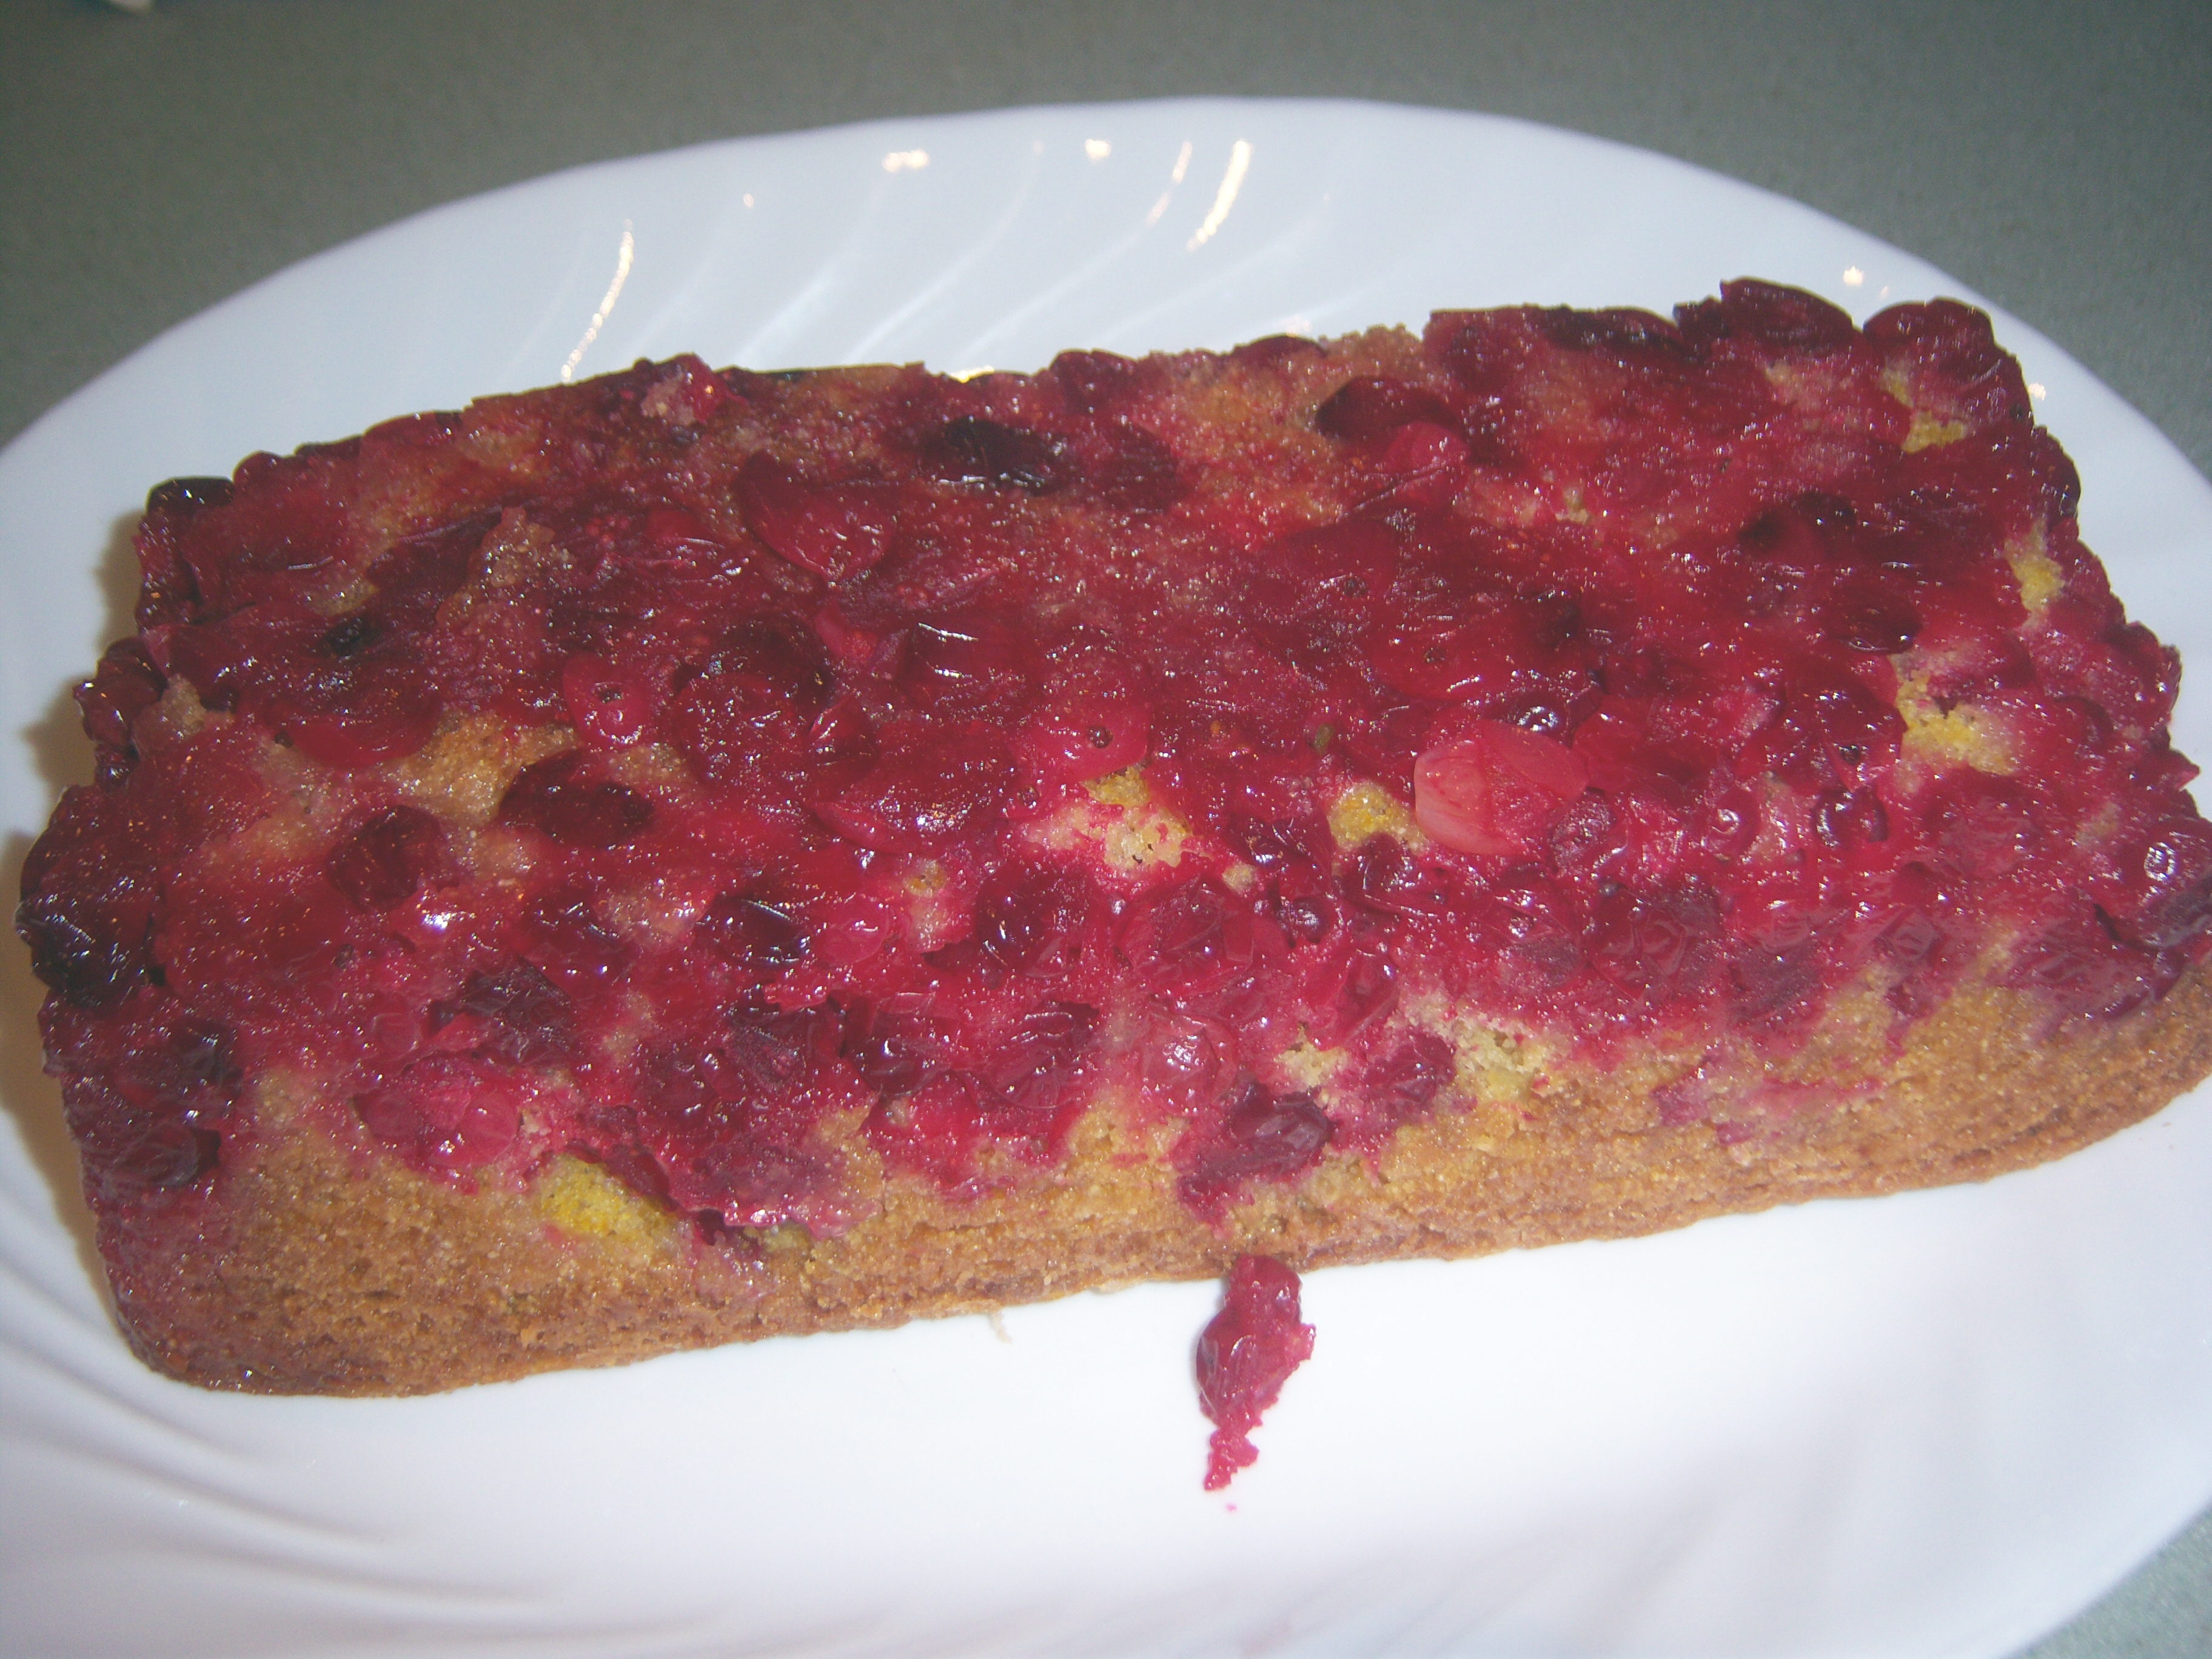
Martha has a recipe in November Living for Cranberry Cornmeal Quick Bread. Cornbread is a huge family favorite, so I thought there was a chance the family would eat this.

You start by cooking fresh cranberries with butter and sugar. Fresh cranberries! A new one for me. You then pour that into the bottom of your loaf pan. You whip up the bread which is made with 1 cup flour and 1/2 cup cornmeal – so not a true 100% cornbread. An interesting addition is some chopped candied ginger. This is definitely not a pantry staple for me. I couldn’t find it at the grocery store and had to ask. It turned out to be in the bulk section.

This took longer to bake than predicted. Martha says 30-35 minutes. Mine cooked about 40-45 minutes. You let it cool for 15 minutes then you remove it from the pan and let it cool the rest of the way.

I had a little trouble with the appearance. Some of the cranberries ended up mixing in with the bread. It didn’t really create a sauce-y sort of topping at all, which is what I expected. When I was spreading the bread over the cranberries, they kept getting mixed up with the batter. Some of the cranberries stuck to the pan and I had to pry them out and stick them back on.

This sliced nicely (I took a photo but it didn’t turn out!) and had cranberries on the bottom 25% of each slice. Everyone loved the bread portion – very soft and tender and just sweet enough. The cranberry part was not a big hit. It was very tart, even when eaten with a mouthful of the bread. No one noticed the candied ginger at all. I couldn’t detect any flavor from it.

I can see this as being an interesting side item to serve at Thanksgiving. It’s seasonal yet creative.  And anyone who doesn’t like the cranberries can just cut that part off the bread.

Bookmark and Share

Cranberries are something I’ve learned to like as I’ve gotten older. Dried cranberries (Craisins) are a great salad addition, but I don’t care for them by themselves. I’ve also learned to like cranberry juice cocktail and even swigged straight cranberry juice (very tart!!) when dealing with a persistent UTI. I don’t mind one bite of … Read more

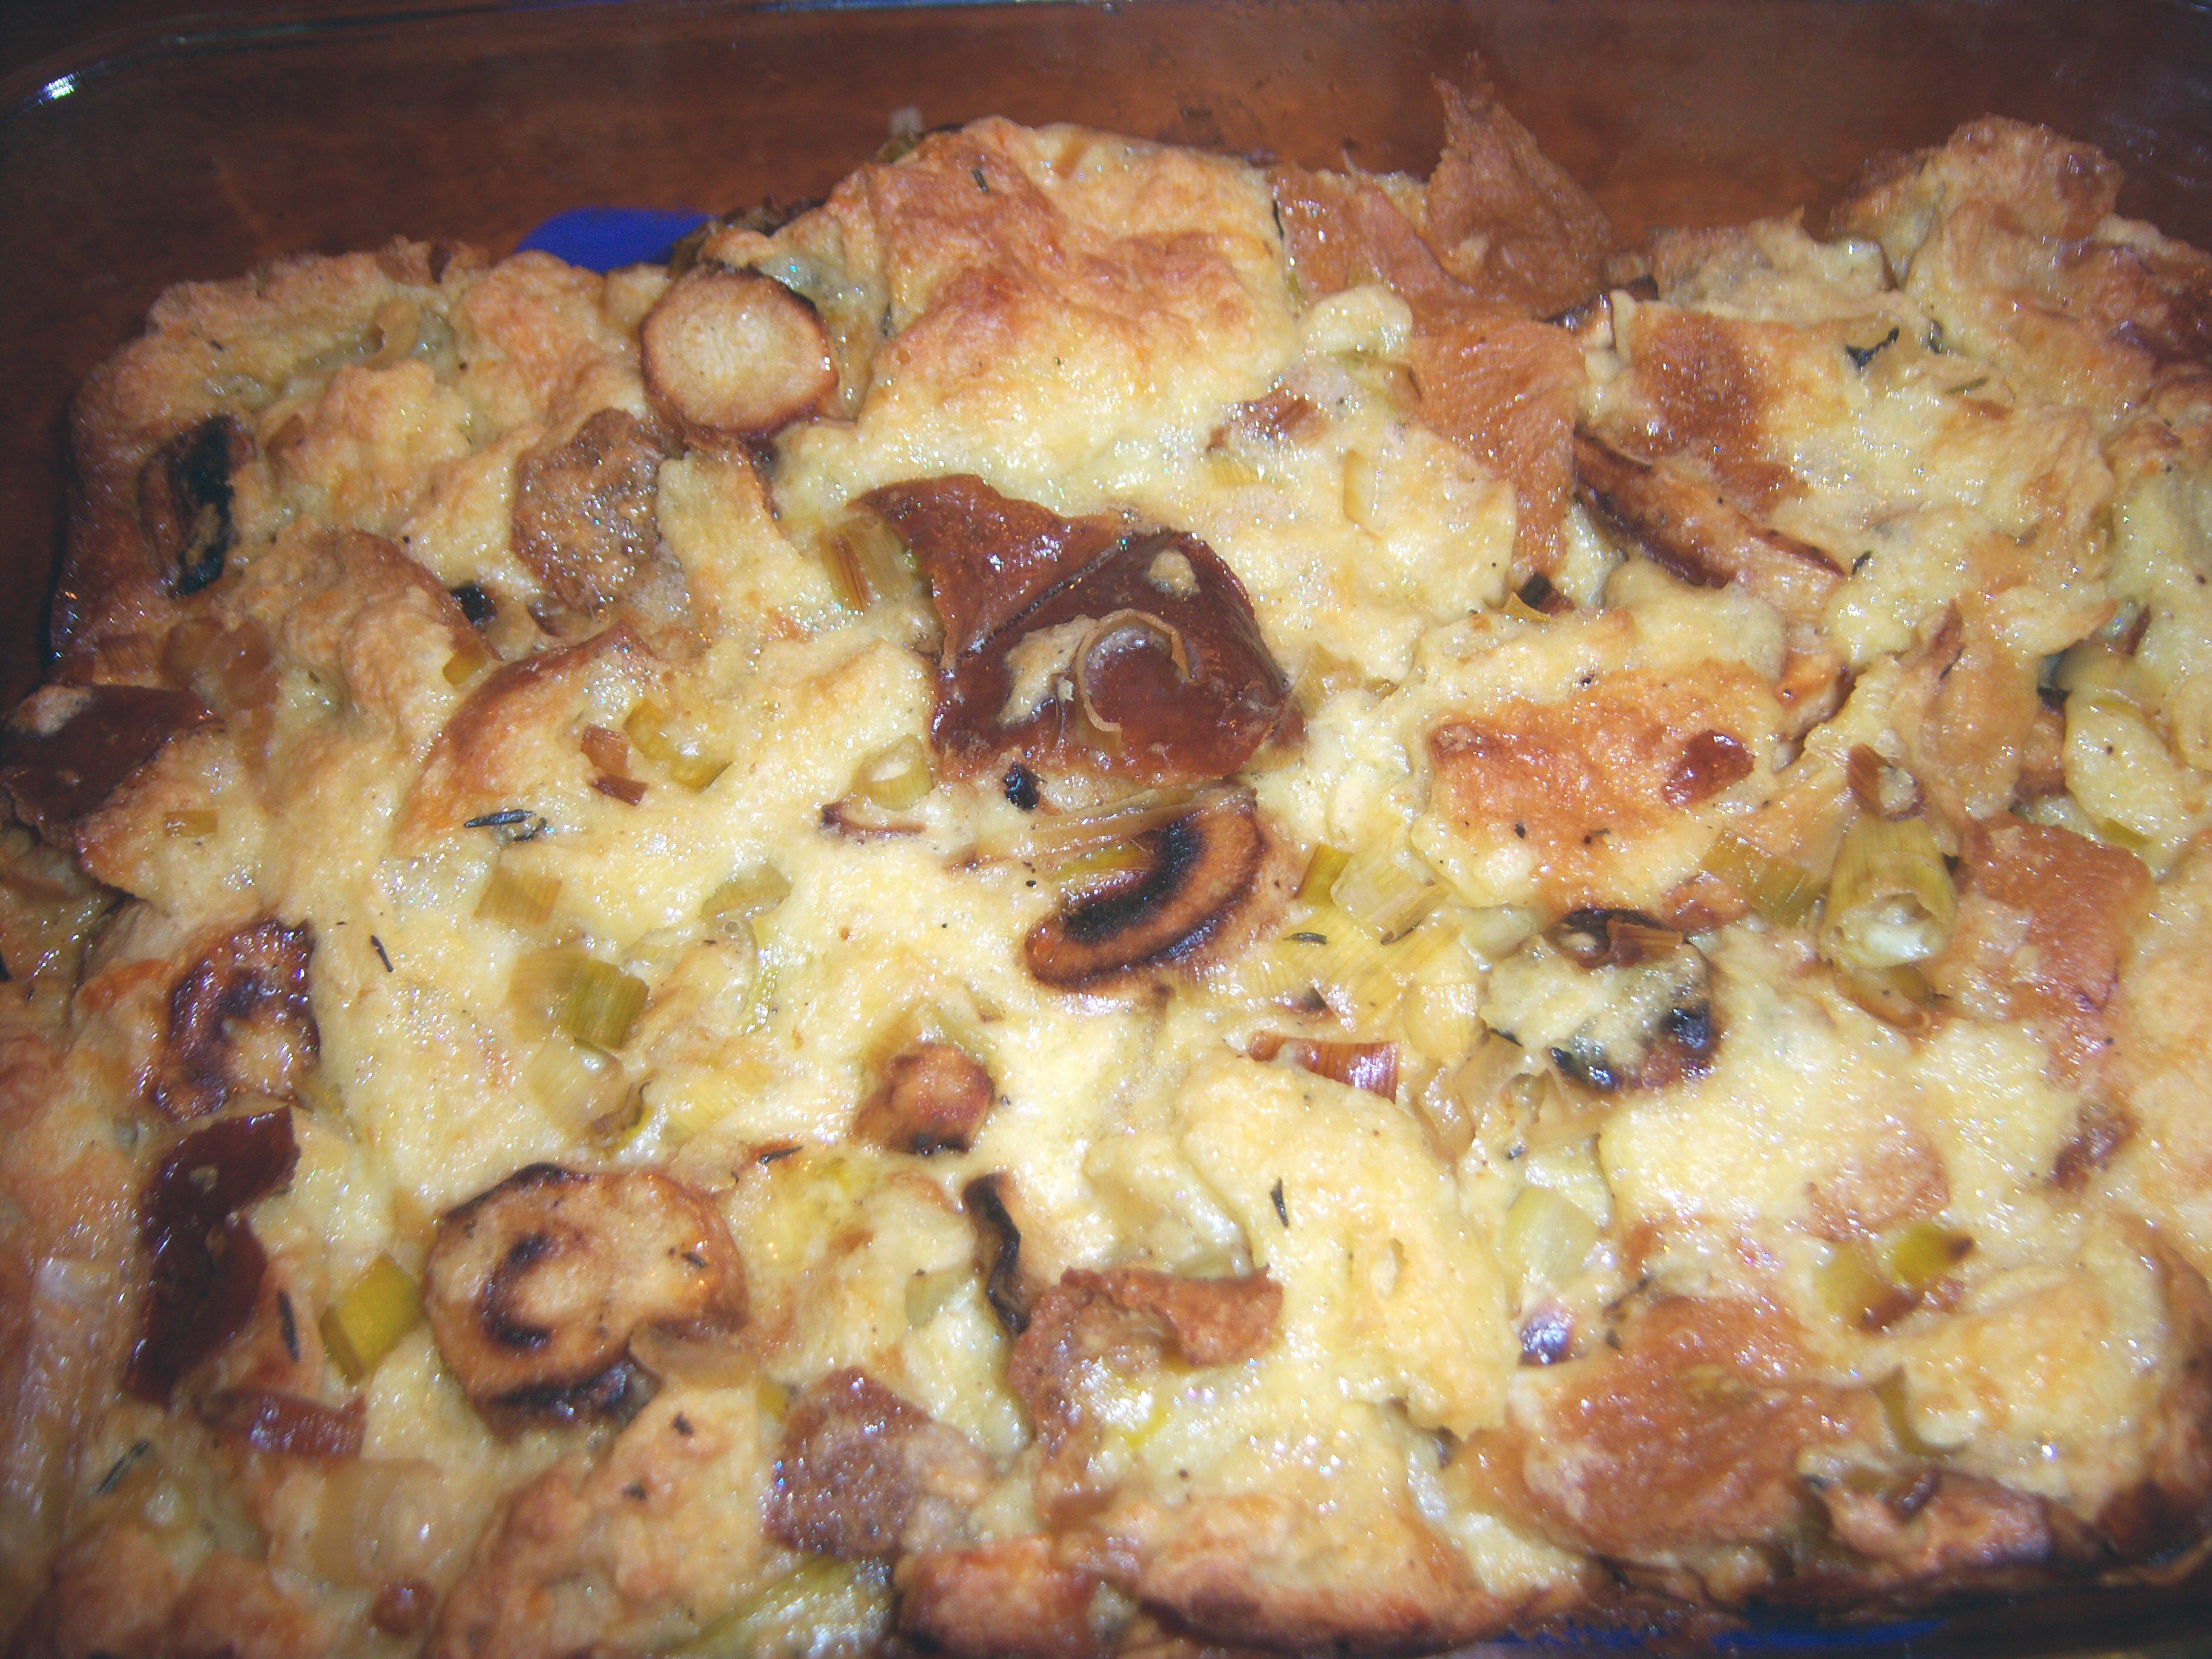
parsnip bread puddI tried out another Thanksgiving side dish recipe from November Living – this time it was Roasted-Parsnip Bread Pudding. To be honest, I did not expect to like this, but I went ahead because part of my Martha project is being open to new things. Bread pudding has never been a favorite of mine.
My first stumbling block was that the recipe called for brioche. I have no idea where you buy that, since I’ve never seen it in a store (grocery or bakery) in my area. Instead, I bought some challah, which I think is close enough.

You start by roasting your parsnips. Usually my store carries those honking big parsnips, but this time they only had small ones, like carrots. It required more peeling, but I think they may have been more tender. Then you roast the parsnips in the oven. Mine got a little brown, but didn’t burn. You slice up some leeks and cook those, adding wine and thyme. You mix the leeks, parsnips, bread, cream, eggs and Parmesan cheese together. It looked pretty goopy. I added more salt and pepper to it since I was worried about blandness.

I got it in the oven and baked it for about 40 minutes (I made half the recipe) then took the lid off and left it in the oven, with the oven off until Mr. MarthaAndMe made it home from work. It worked out perfectly.  It was golden brown and kind of puffy.

And I really liked this! Surprise! I still can’t believe it. It’s really quite rich with all the cream and eggs. Mr. MarthaAndMe liked it too. I ate it for lunch the next day and it was good heated up in the microwave too. Thumbs up on this one!

Bookmark and Share

I tried out another Thanksgiving side dish recipe from November Living – this time it was Roasted-Parsnip Bread Pudding. To be honest, I did not expect to like this, but I went ahead because part of my Martha project is being open to new things. Bread pudding has never been a favorite of mine. My … Read more

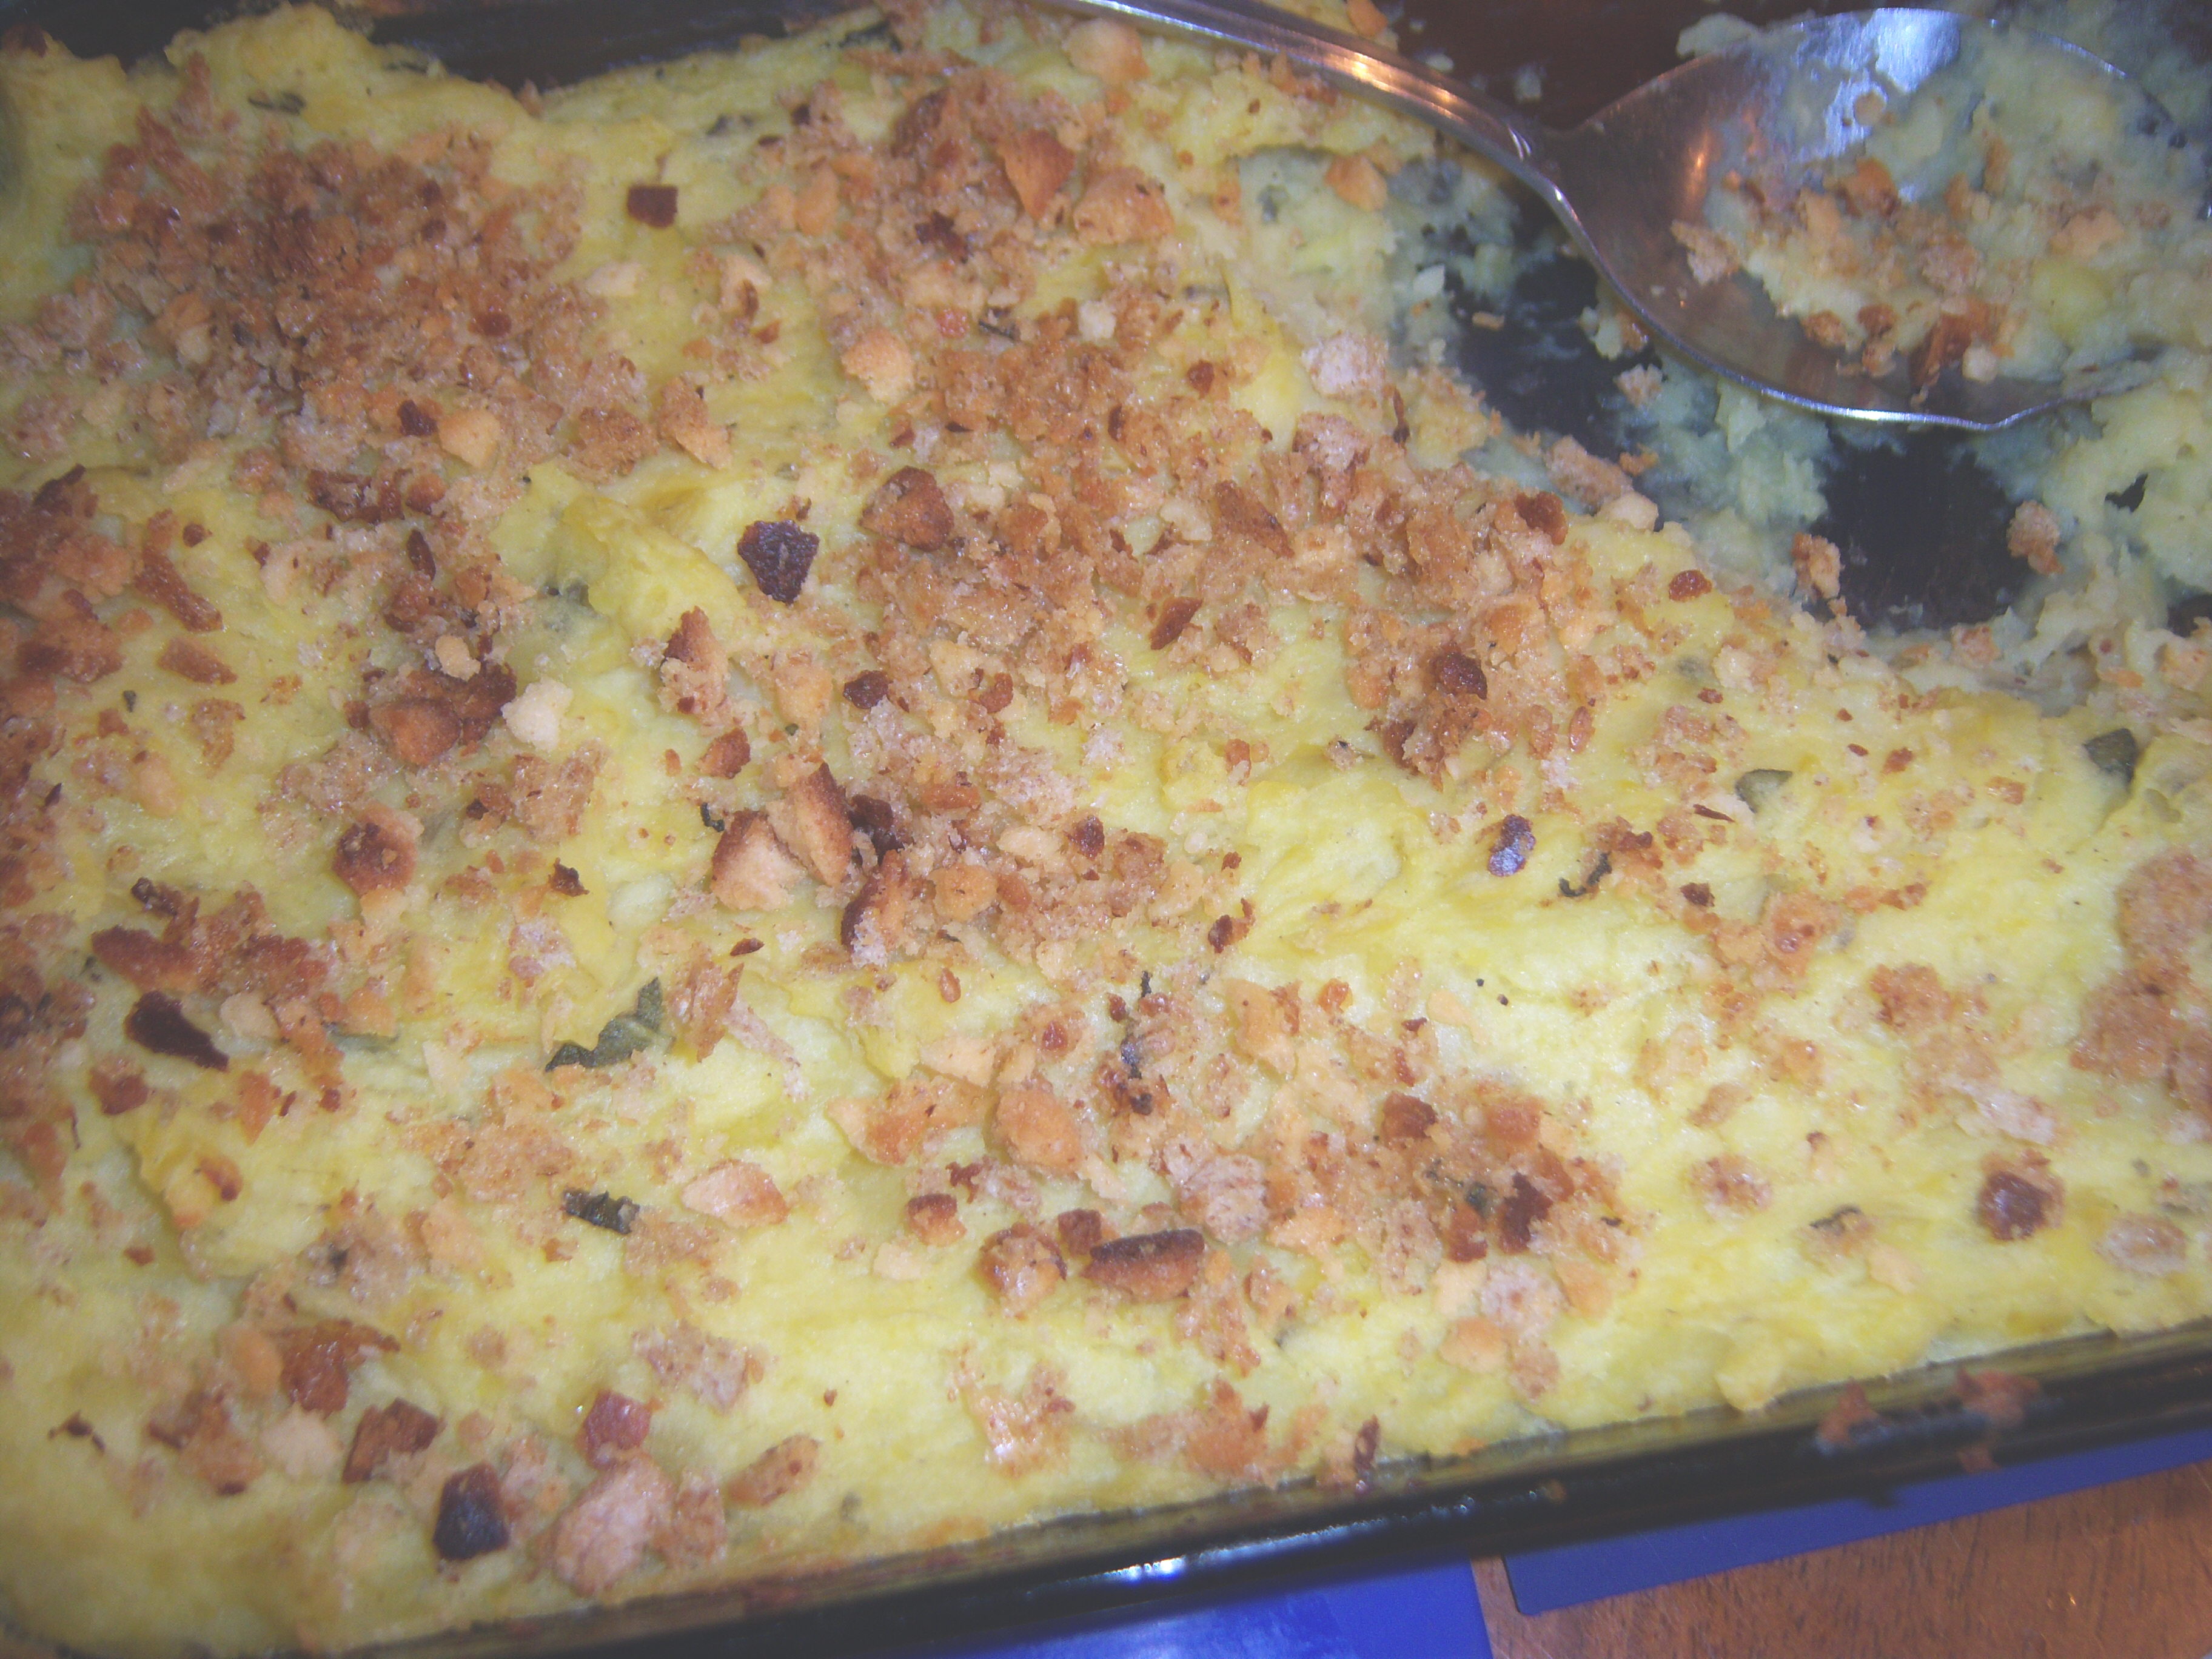
Thanksgiving still seems a long way away, but that didn’t stop me from test-driving a Thanksgiving side dish from Martha Stewart Living (Nov issue), Swsweet poteet Potato and Sage-Butter Casserole. I am a big potato fan. I must admit I have not cooked a lot with sweet potatoes. First of all, I find there is some confusion about them. A lot of people refer to yams as sweet potatoes. Sweet potatoes are a separate item, with a whiter flesh than yams. Since I’m assuming Martha knows the difference, I used actual sweet potatoes, not yams for this (although I think a lot of people make yams for Thanksgiving and call them sweet potatoes, so I don’t know what she was doing).

This dish is really very easy to make and it’s possible to assemble it and then stick it in the fridge until you’re ready to make it, so in that sense it is a convenient thing for Thanksgiving.

First you boil the potatoes. Martha says to boil the sweet potatoes and the Yukon Gold potatoes together, but I found the sweet potatoes cooked faster. If you make this, I recommend boiling them separately.

Next you’re supposed to rice your potatoes. I don’t have a ricer. I tried a couple of alternatives. First, I tried to press them through a strainer. That did not go very well. It took a lot of effort to get any to go through. I gave up on that. Then I had the idea of using the grater attachment for my Cuisinart. It wasn’t a bad substitute, but some of the potato didn’t go through and sort of sat on the blade all mushy. Next I tried using a pastry cutter. That worked the best. It may not have been exactly like a ricer, but I think it was pretty close.

There aren’t many other ingredients – butter, milk, sage, salt and pepper and some breadcrumbs for the top. I got it all together and then baked it for about 35 minutes.

As for taste, I would much rather have regular mashed potatoes than this, but I can see how this would a nice dish to make for a big Thanksgiving dinner where you need to get things done in advance. It was a little bland and boring and I’m not sure I would want to put gravy on it. No one in the family was wild about it at all, so I won’t be making this again. Now, that being sad, it wasn’t a bad dish, just something that was not really to our liking.

Bookmark and Share

Thanksgiving still seems a long way away, but that didn’t stop me from test-driving a Thanksgiving side dish from Martha Stewart Living (Nov issue), Sweet Potato and Sage-Butter Casserole. I am a big potato fan. I must admit I have not cooked a lot with sweet potatoes. First of all, I find there is some … Read more

no