Yesterday Martha had a show that was all about sandwiches. I was excited! Sandwiches – real food that real people can make with regular ingredients! Well, I was disappointed. There wasn’t a single sandwich on that show I want to eat. Everything had at least one offensive ingredient! Olives, anchovies, curry paste, liver. Ick! And Martha’s favorite – a baguette with buttter, boiled ham and Jarlsburg? BORING.

Because I was so disappointed, I’m guessing some of you were too. Therefore I’m going to share my three favorite sandwich recipes with you.

Heart Attack From a Novel

This sandwich is based on one I read about in one of Marcia Muller’s Sharon McCone books. You start with an onion roll. Put mustard on it.  Place colby jack cheese on the bottom and broil it so the cheese melts. Fry a sunny side up egg. Place salami on top of the cheese, then place the fried egg on top and place the top of the bun on that. When you bite into it, the egg yolk runs down the sandwich. This is incredibly good.

Shrimp Po Boy

Take a loaf of Italian bread and slice it in half, so you have a top and a bottom like you would with a bun. Now pick out a lot of the soft white insides of the loaf, so that you have concave pieces of bread. Put mayo on the bread. Pan fry some breaded shrimp.  Place lettuce, tomato and onion on the roll then pile the shrimp on. Squeeze some lemon over the shrimp and put the top of the bread on. Slice the loaf into 4 segments.

Hawaiian Heaven

This is a sandwich I have making at home for years, and then last summer I had a version of it while we were in Hawaii (with fresh avocadoes) and it was to die for. Start with two pieces of bread of your choosing (rye, wheat,  or marble rye are some of my favorites). Spread honey mustard on both halves. Slice half an avocado. Cook some bacon (I use uncured, organic, nitrate free, but I wish they made it in a light version). Place Swiss cheese on the sandwich.

Now for the super secret move. Slice a tomato and remove the seeds and wet part. Place your slices on a paper towel. Let them sit a minute then flip them over.

Now assemble your sandwich – bread, cheese, bacon, tomato, and avocado. Grill it like grilled cheese on low heat until the cheese is melted and the ingredients are warm.

Draining the tomato keeps the sandwich from getting wet and mushy and it also keeps the tomato from sliding out.

You can substitute turkey instead of bacon and sometimes I add sprouts to this as well.

Yesterday Martha had a show that was all about sandwiches. I was excited! Sandwiches – real food that real people can make with regular ingredients! Well, I was disappointed. There wasn’t a single sandwich on that show I want to eat. Everything had at least one offensive ingredient! Olives, anchovies, curry paste, liver. Ick! And … Read more

The Yarn Show

Posted by Brette in Crafts

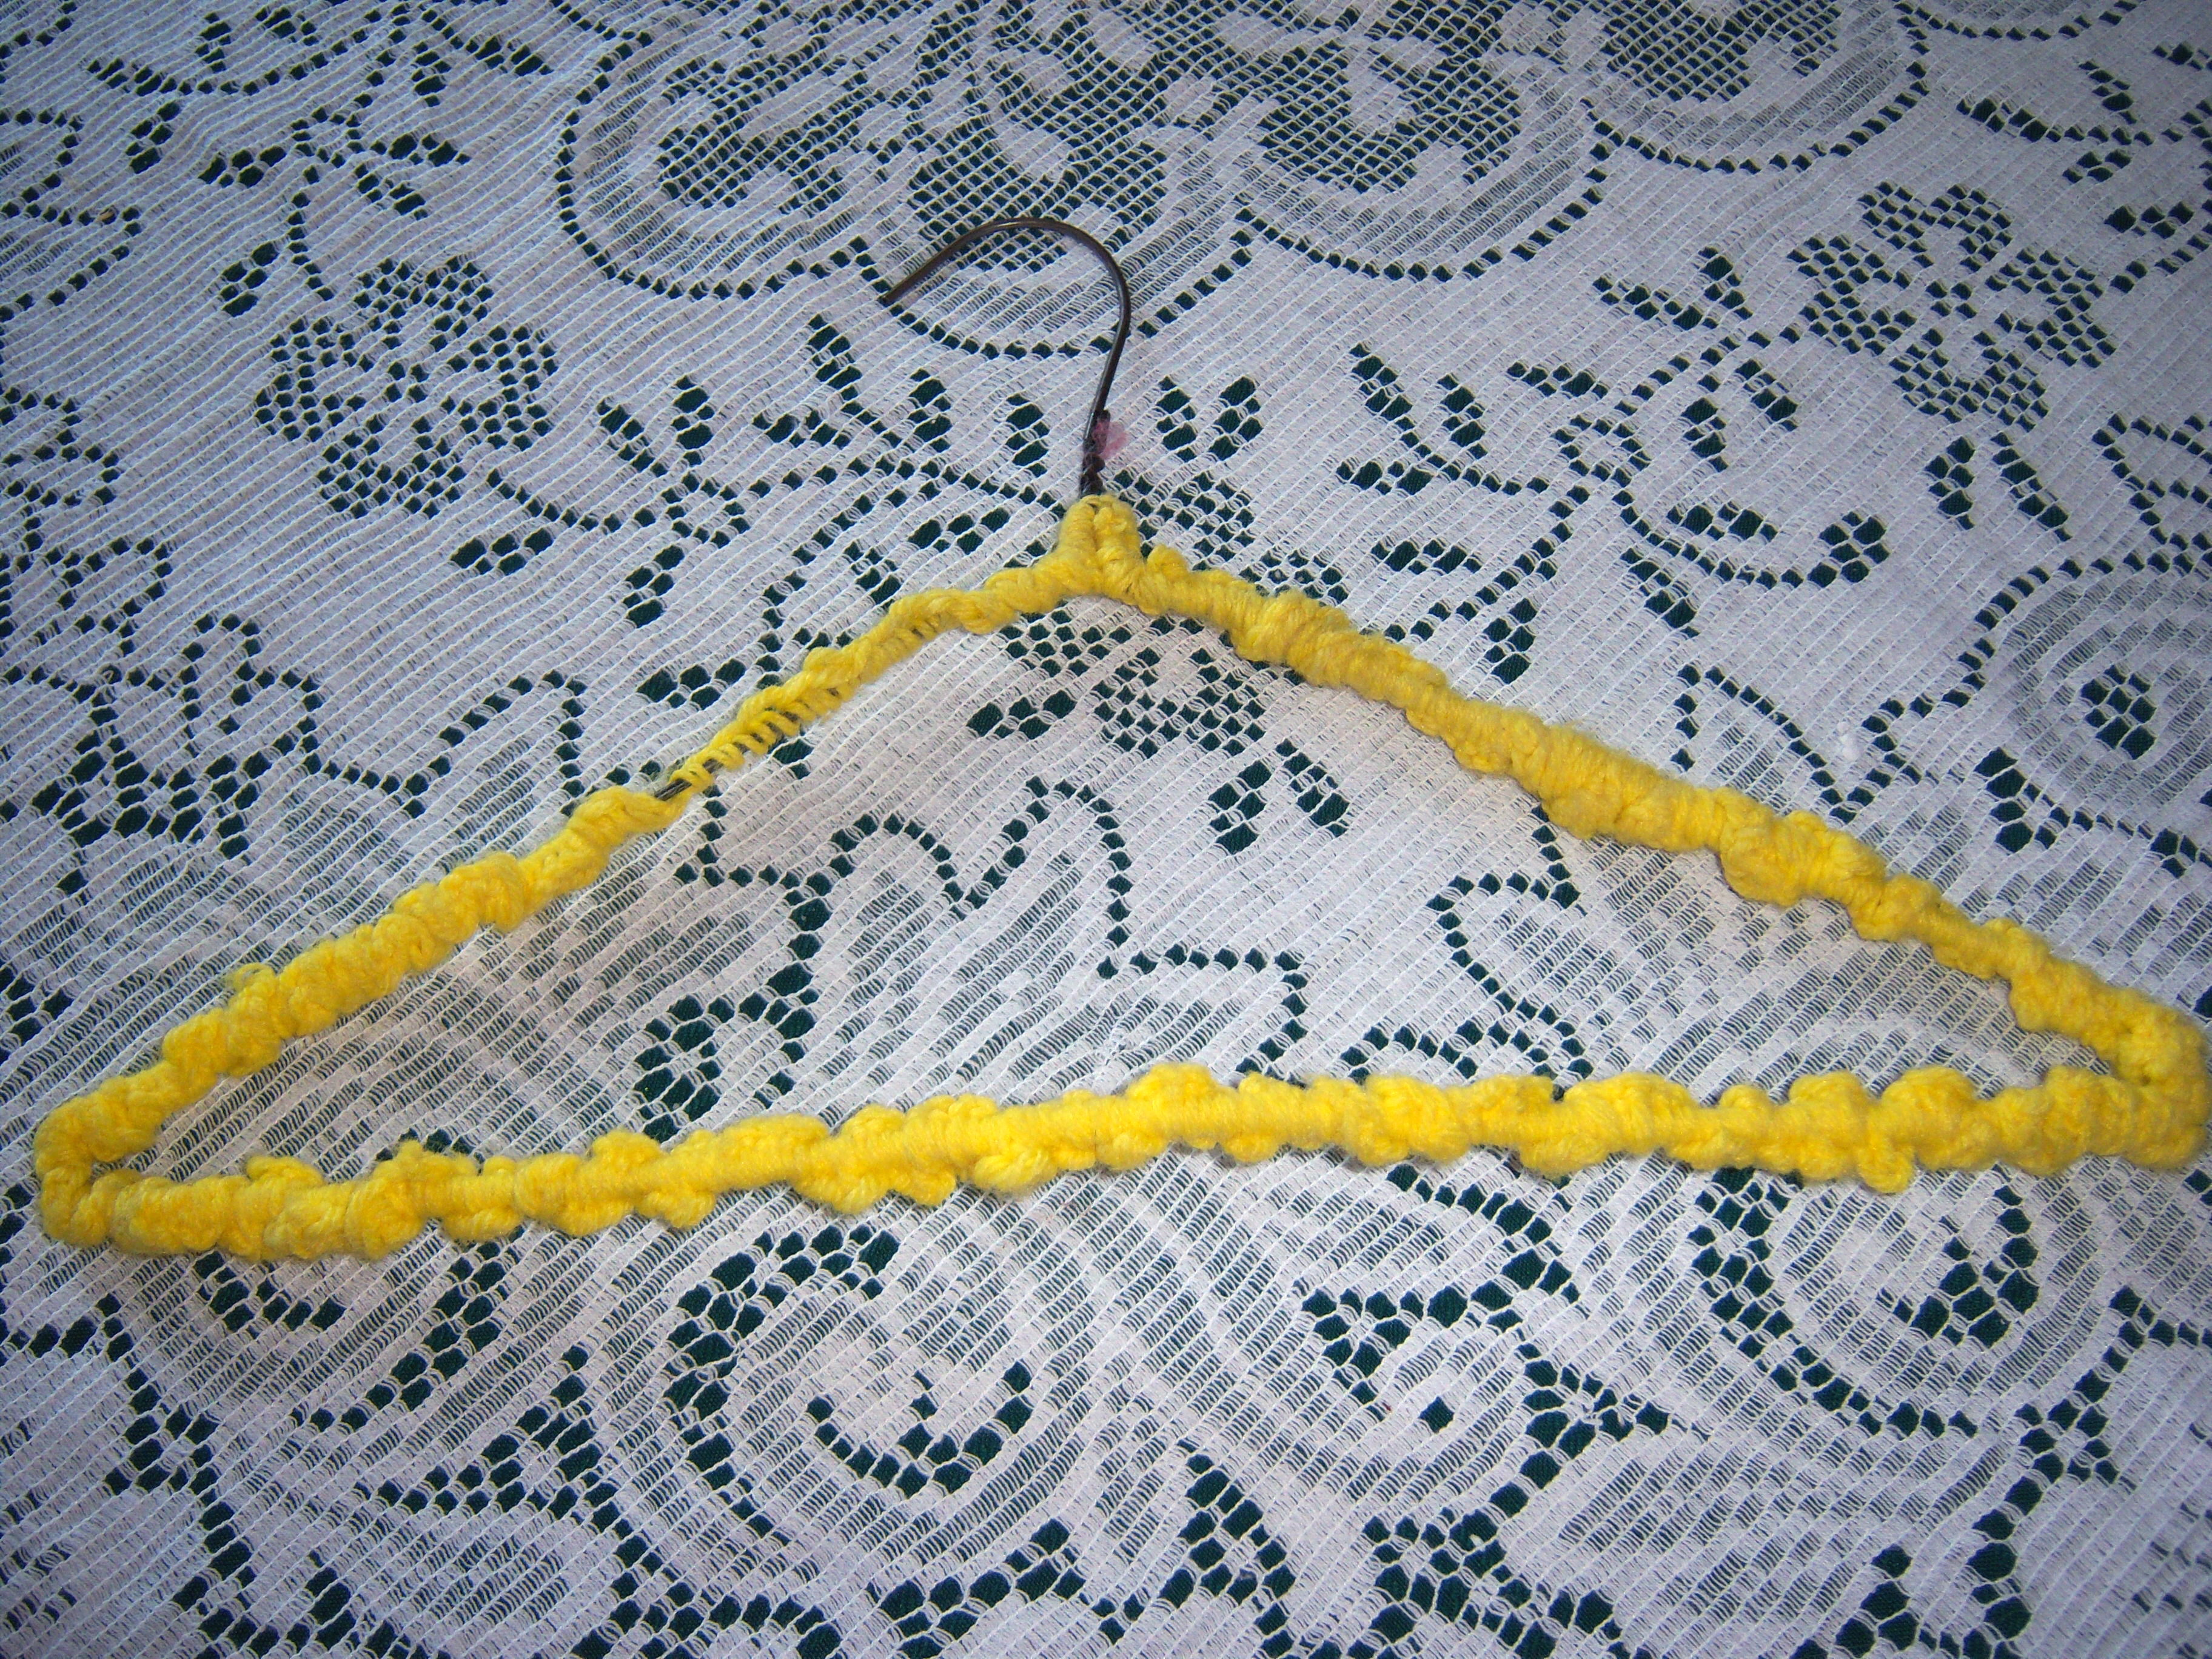
Yesterday on Martha, she had an entire show about yarn. I started to feel a little left out (not one of the cool kids!) since I don’t know how to knit, but then I remembered that I do know some basic crochet, which my grandmother taught me. When I was a child, I used to make crocheted padded hangers. I dug through my closets and found that I still have one! So this is my one and only item I can contribute to the yarn show!

hanger

Yesterday on Martha, she had an entire show about yarn. I started to feel a little left out (not one of the cool kids!) since I don’t know how to knit, but then I remembered that I do know some basic crochet, which my grandmother taught me. When I was a child, I used to … Read more

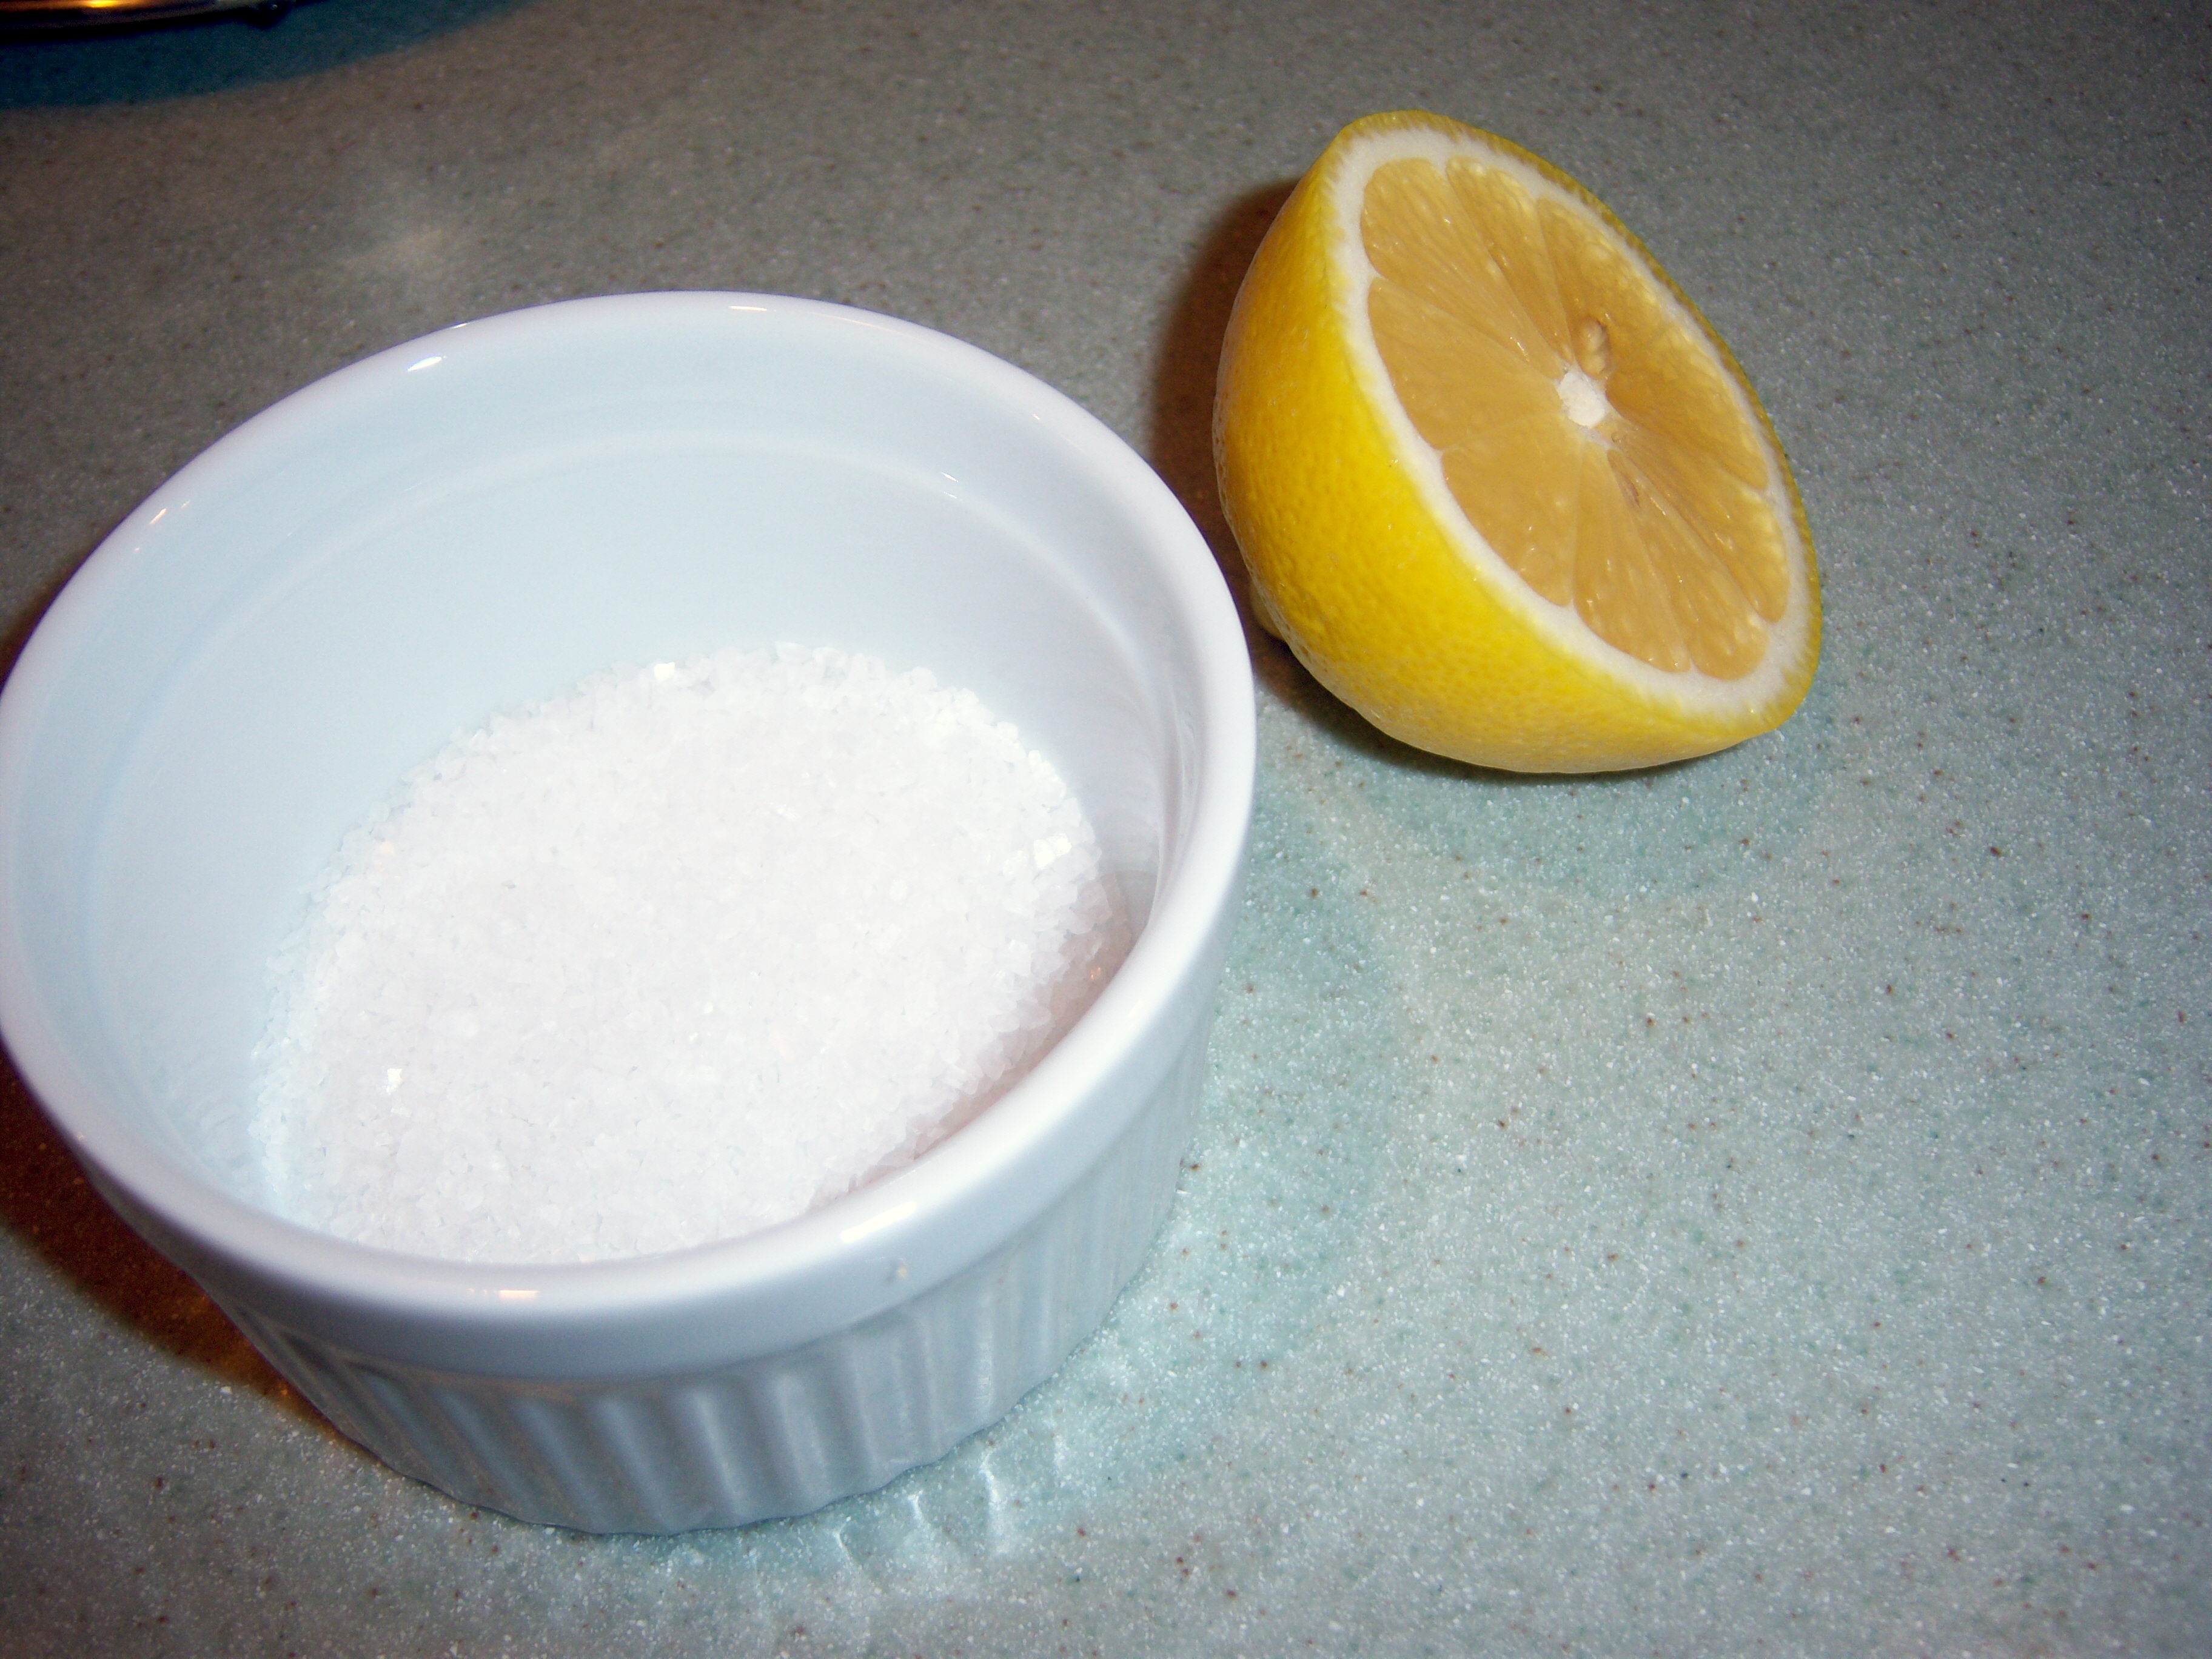
copper2On the March 20 show, Martha demonstrated some ways to use lemon around the house. This also appeared in Apr Living. One of her tips is about using lemon to polish copper. She says to dip half a lemon in coarse salt and then rub your copper with it.

The only copper item I have is a pot with a copper bottom, and to be honest, I never worried about cleaning the copper on it. It’s just the bottom of a pot, so it really wasn’t very high on my to-do list. Martha piqued my curiosity and I decided to see if this would work.

Check out the before and after photos.

Before

Before

You can see that before I had a very dull and dirty pot. Ok, seeing it upside down like this, I will admit it is pretty gross!

Now check out the after. What do you think? It did make a difference, however it did not get it completely clean – and I really

After

After

scrubbed the heck out of it. It’s definitely a much brighter color.

Any ideas on how to get it completely clean?

On the March 20 show, Martha demonstrated some ways to use lemon around the house. This also appeared in Apr Living. One of her tips is about using lemon to polish copper. She says to dip half a lemon in coarse salt and then rub your copper with it. The only copper item I have … Read more

I’m moving ahead to the April issues now although it still doesn’t feel like spring here with a high today of 35!

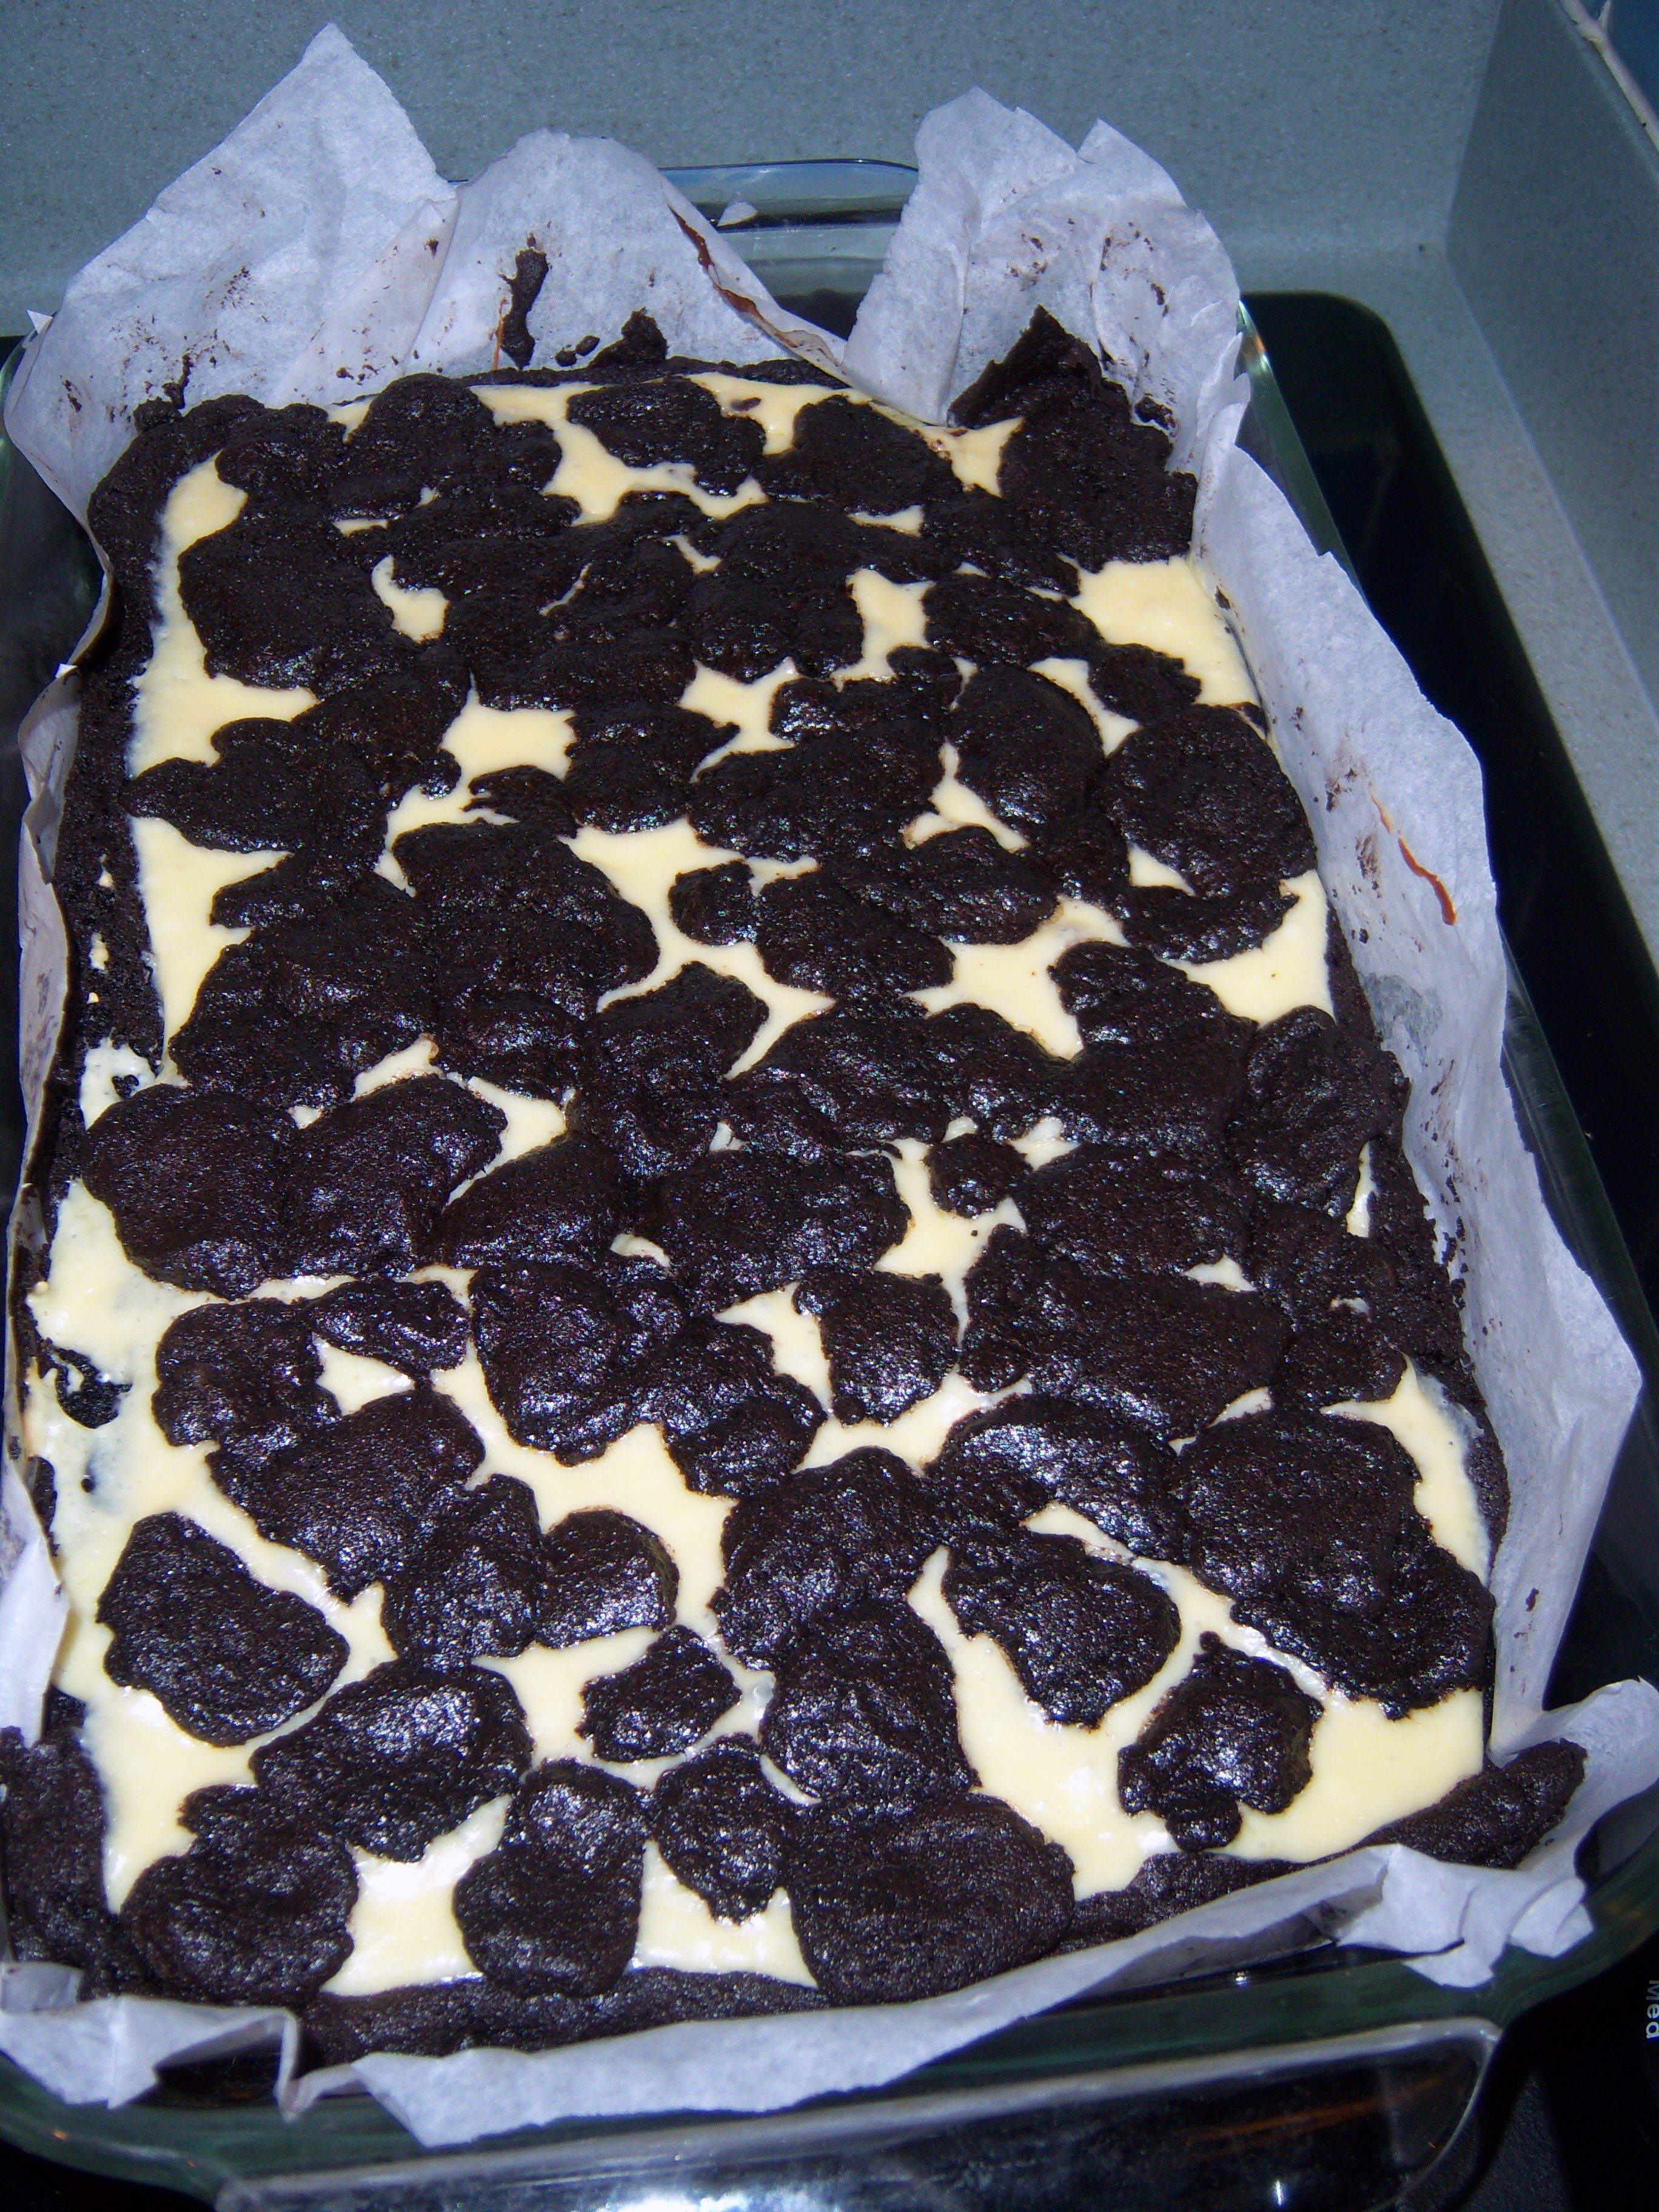
Black-and-White Cheesecake Squares are the Last Course in the April Martha Stewart Living (the replacement for Cookie of the Month). Decadent is the word that comes to mind from looking at the recipe and photos.

I started by lining my baking pan with parchment. It annoyed me though. I would rather just spray the pan, but I followed Martha’s instructions even though it seemed a little silly. Mixing up the brownie dough was easy and the dough tasted really good! Then, though, I had to go through Martha’s usual 30 steps of making something and refrigerating it and then baking and cooling, etc. I gritted my teeth and followed the instructions.

cheesecake-browniesYou bake the brownie crust, but reserve a cup of dough. Once the bottom is cooled, you mix up the cheesecake mixture, pour that on, then sprinkle the remaining dough on top and bake.
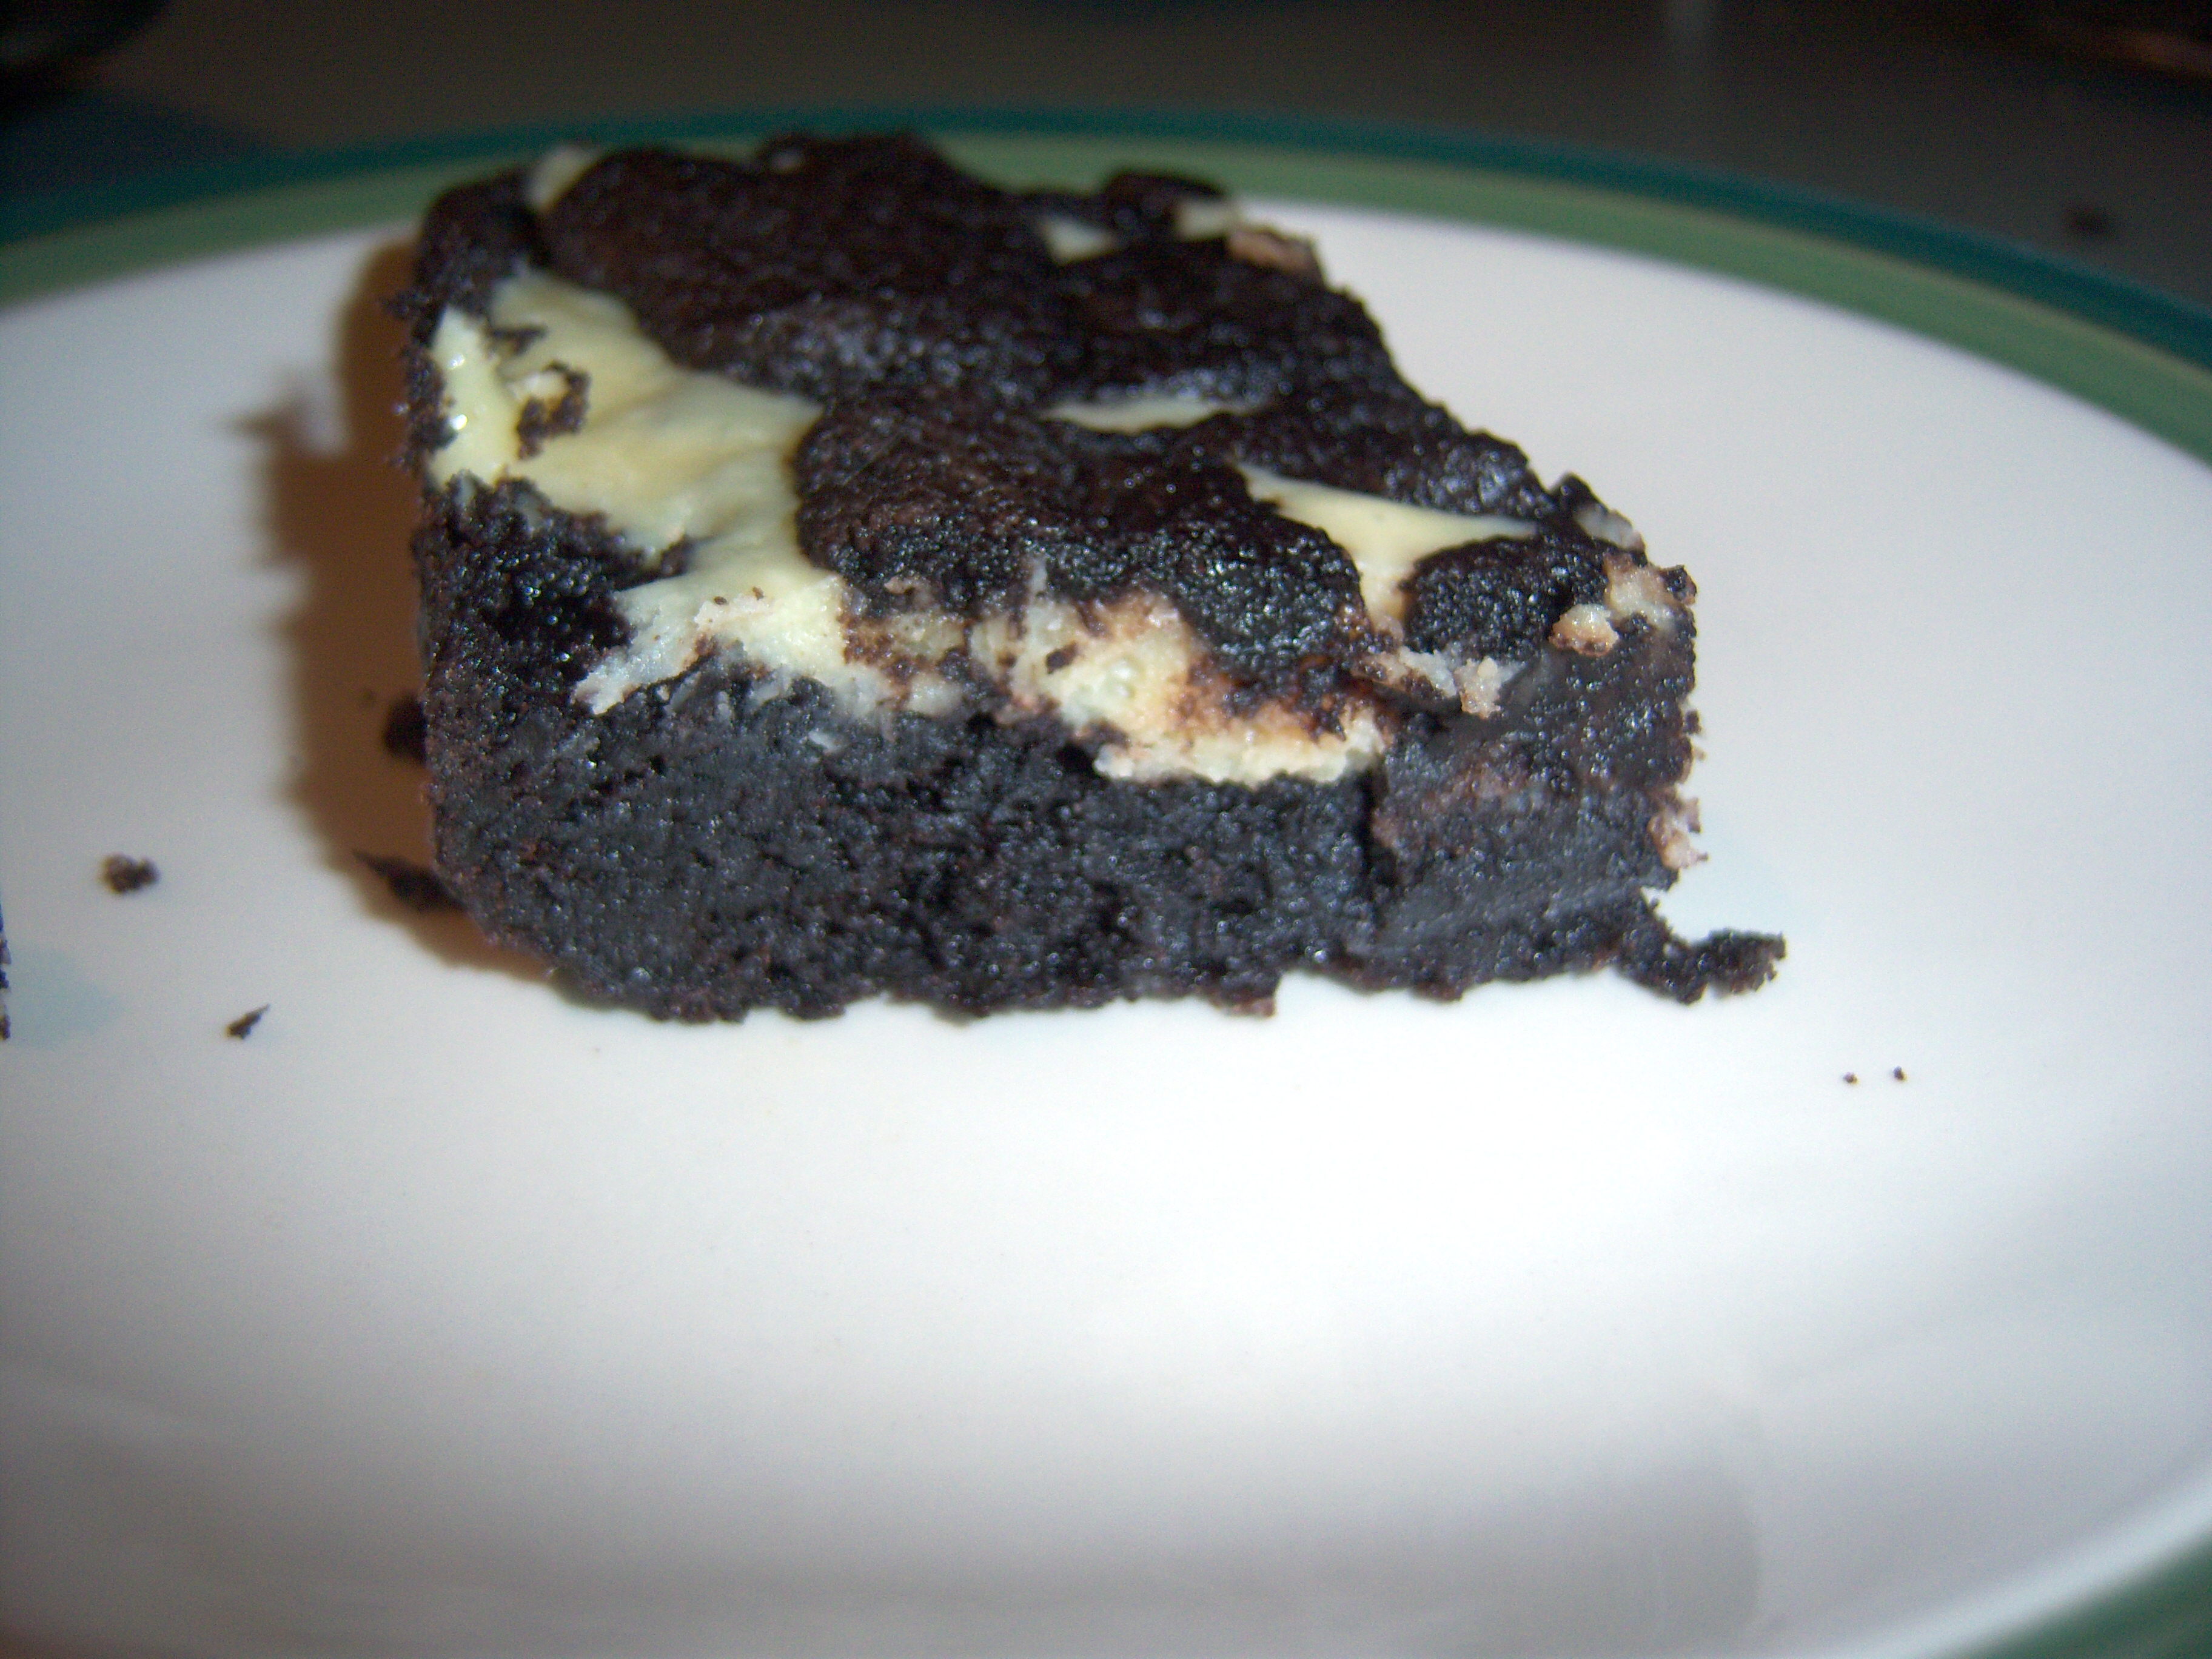
I baked mine to the time specified, but I really think it could have baked a bit longer. The bottom was wonderful – crunchy and very chocolate. The cheesecake part was a bit gooey for me. Despite that criticism, this is currently the item in the house that is causing me cheesecake-brownie2paroxysms of guilt. It is evil.

I’m moving ahead to the April issues now although it still doesn’t feel like spring here with a high today of 35! Black-and-White Cheesecake Squares are the Last Course in the April Martha Stewart Living (the replacement for Cookie of the Month). Decadent is the word that comes to mind from looking at the recipe … Read more

In March Martha Stewart Living,  Lucinda Scala Quinn (my fave!) has a section on Eastern influences, so I decided to make the Soba Soup with Chicken, Shrimp, and Vegetables and the Edamame with Sesame Salt.

Edamame

Edamame

The edamame is simple and it’s something I make all the time. I like to make extra and keep it in the fridge for snacks. You just boil it and season it. If you’ve never had edamame, they taste a lot like lima beans.

Now for the soup. I did a major cheat on this one. Martha (Lucinda, actually in this recipe!) wants you to make your own broth. Sigh. It just takes so much time and as much time as I put into this blog, I can’t do even more. So instead I used pre-made broth and added some ginger and garlic and cooked it a bit. The soup itself contains chicken, which I cooked in the broth, then shredded, shrimp cooked in the broth, and napa cabbage, mushroom, carrot, and tofu. Tofu. I know, I was scared too. But I have to say I did not even notice it in this soup. You also add soy sauce and you put some sesame oil on the soba noodles.

The Soup

The Soup

This came together quickly and was really a very satisfying meal. All the protein the bowl made it feel very hearty and it was great on a cold night. I just love soba noodles. They’re actually made of buckwheat and one of my most favorite things in the world is buckwheat pancakes, so it’s no surprise. Thumbs up on this one Lucinda!

In March Martha Stewart Living,  Lucinda Scala Quinn (my fave!) has a section on Eastern influences, so I decided to make the Soba Soup with Chicken, Shrimp, and Vegetables and the Edamame with Sesame Salt. The edamame is simple and it’s something I make all the time. I like to make extra and keep it … Read more

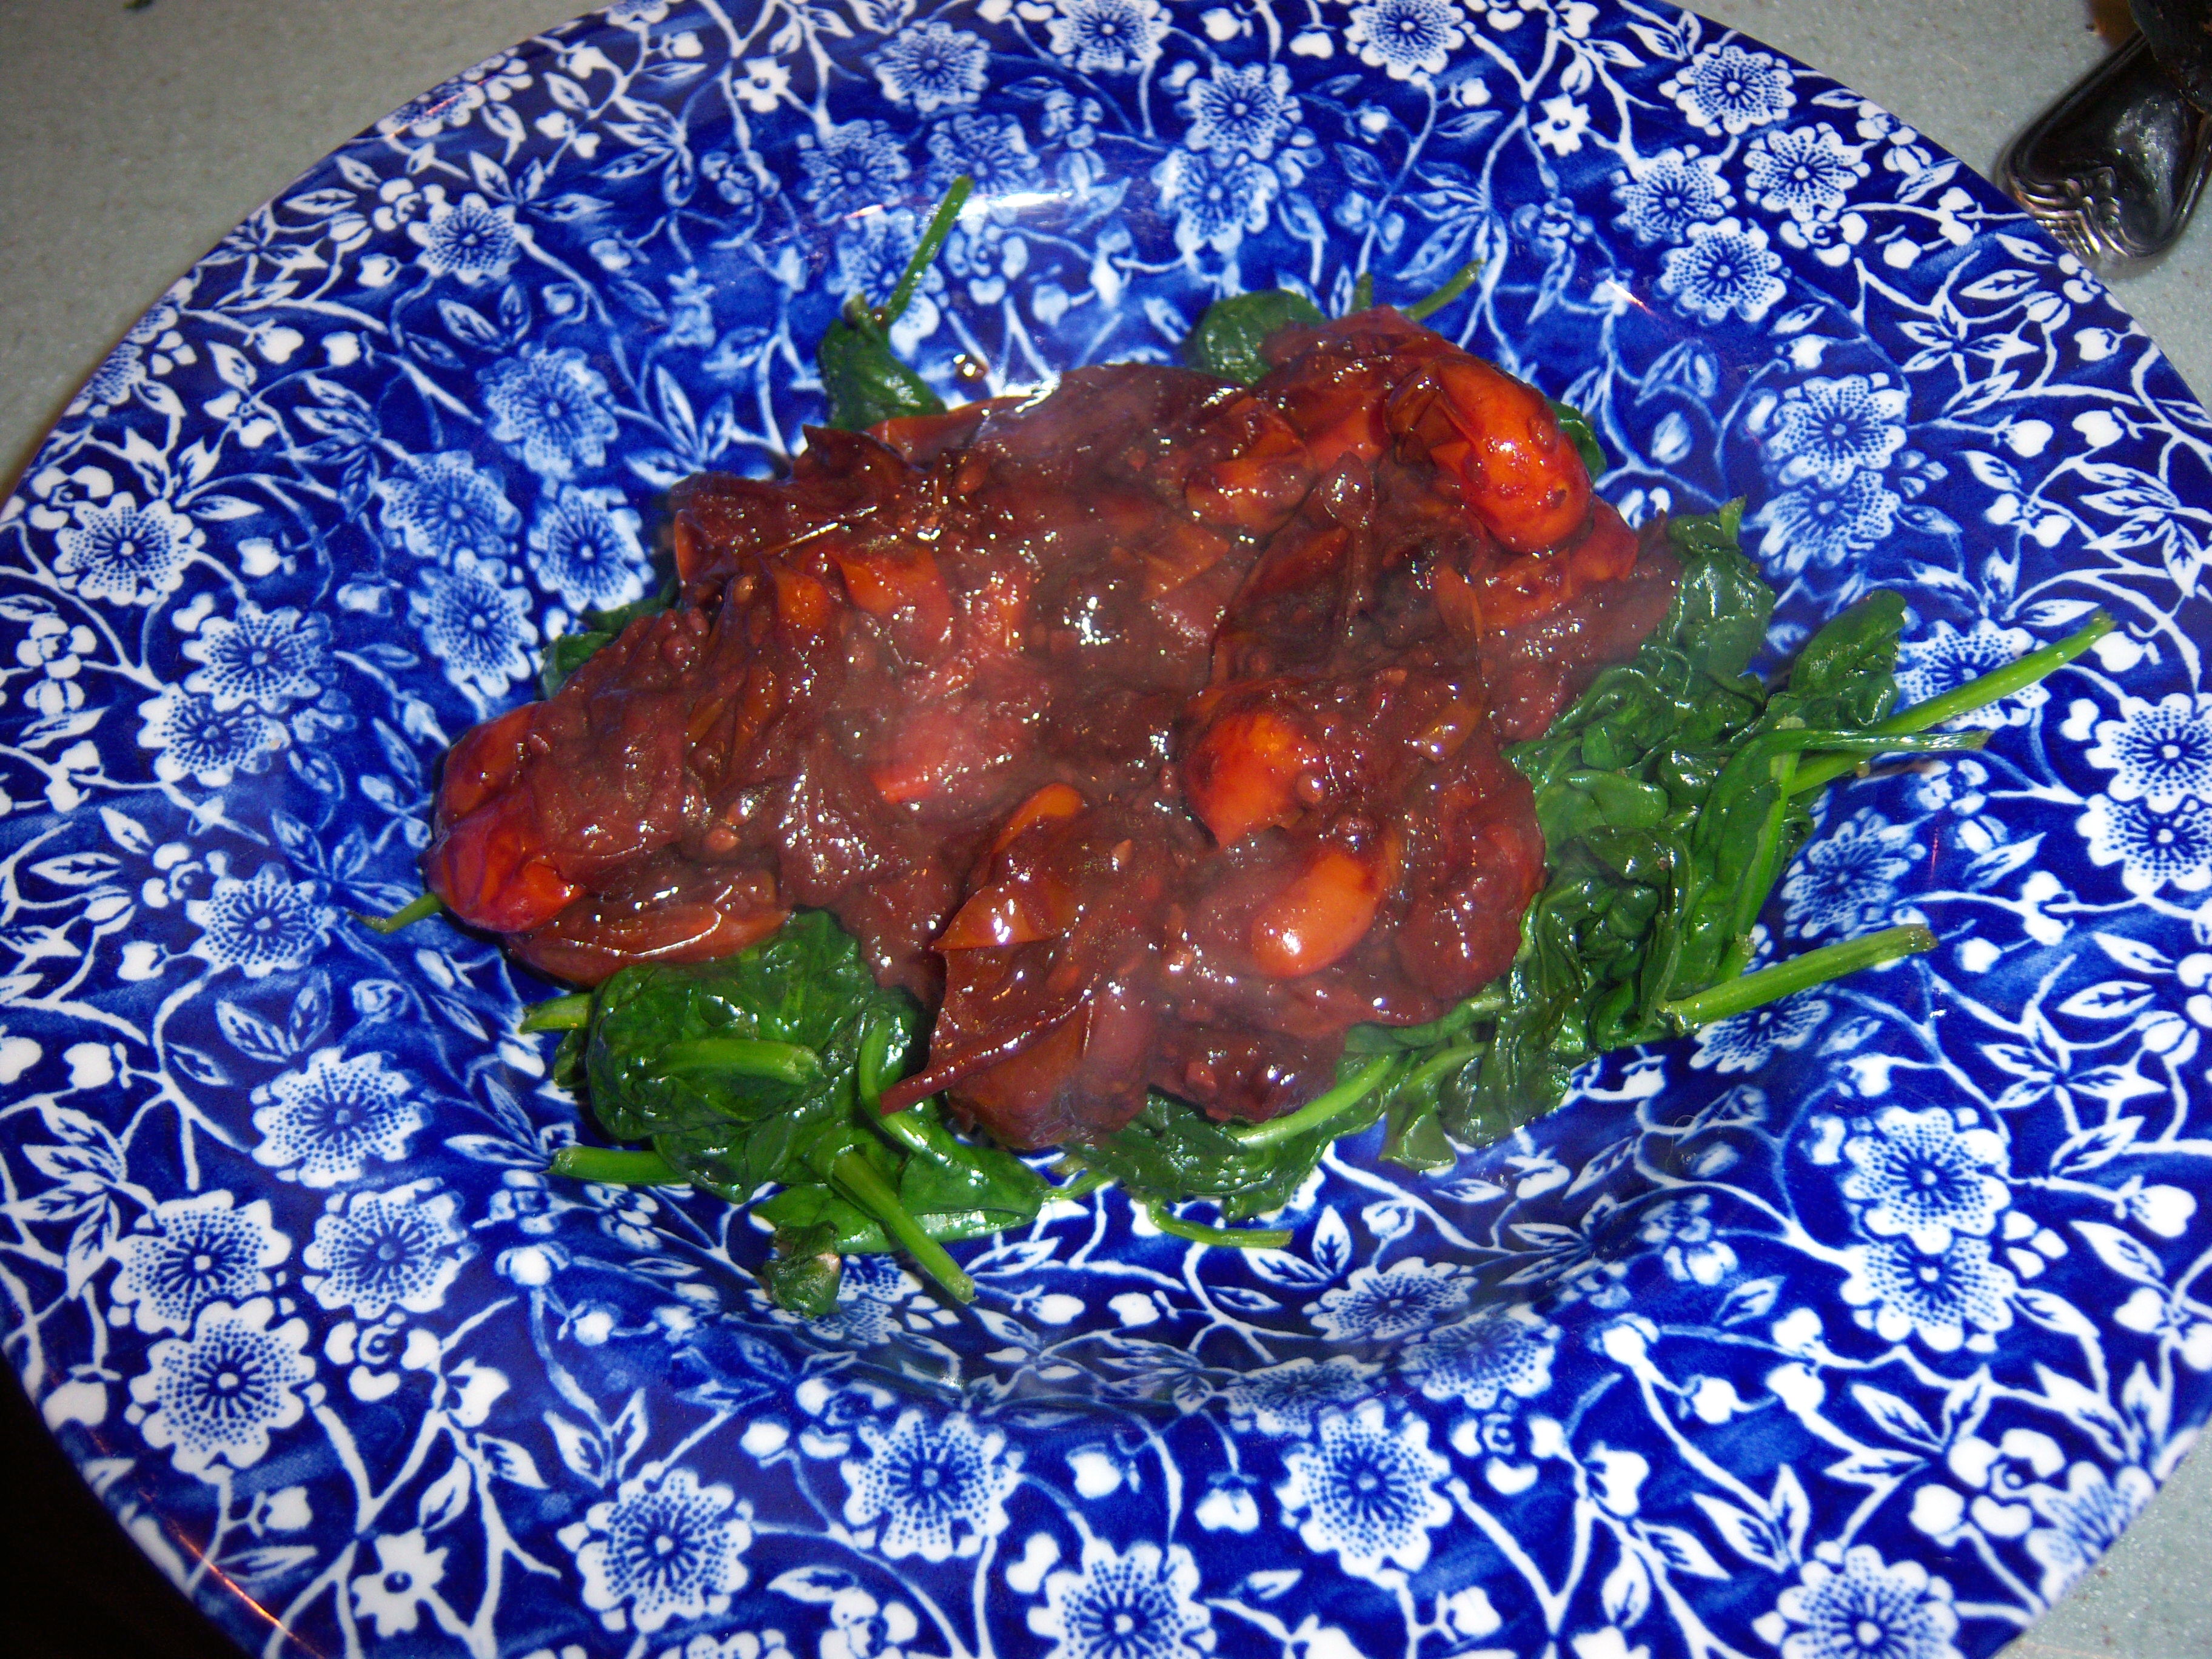
The concept of the Warm Tomato Dressing (Martha Stewart Living, March) seemed sort of weird to me. It sounded more like a sauce than a dressing, but I gave it a try. It was very simple to make and was quick to come together. You cook cherry tomatoes until they blister, then you add balsamic vinegar, red wine, garlic, red wine vinegar, sugar and salt. I had to smush the tomatoes a little to get them to soften up but once I did that it quickly thickened.

warm-tomato-dressingI served this over some wilted spinach and it was really delicious! This would taste good on many things – chicken, pasta, a hearty fish (like swordfish).  It has a really beautiful color and a nice consistency. This is a good thing!
The concept of the Warm Tomato Dressing (Martha Stewart Living, March) seemed sort of weird to me. It sounded more like a sauce than a dressing, but I gave it a try. It was very simple to make and was quick to come together. You cook cherry tomatoes until they blister, then you add balsamic … Read more

A Martha Meal

Posted by Brette in Food

Ok you get two for the price one in this post. I made Chicken with Artichokes and Angel Hair and Asian Carrot Slaw for dinner (both from the March issue of Martha Stewart Everyday Food).

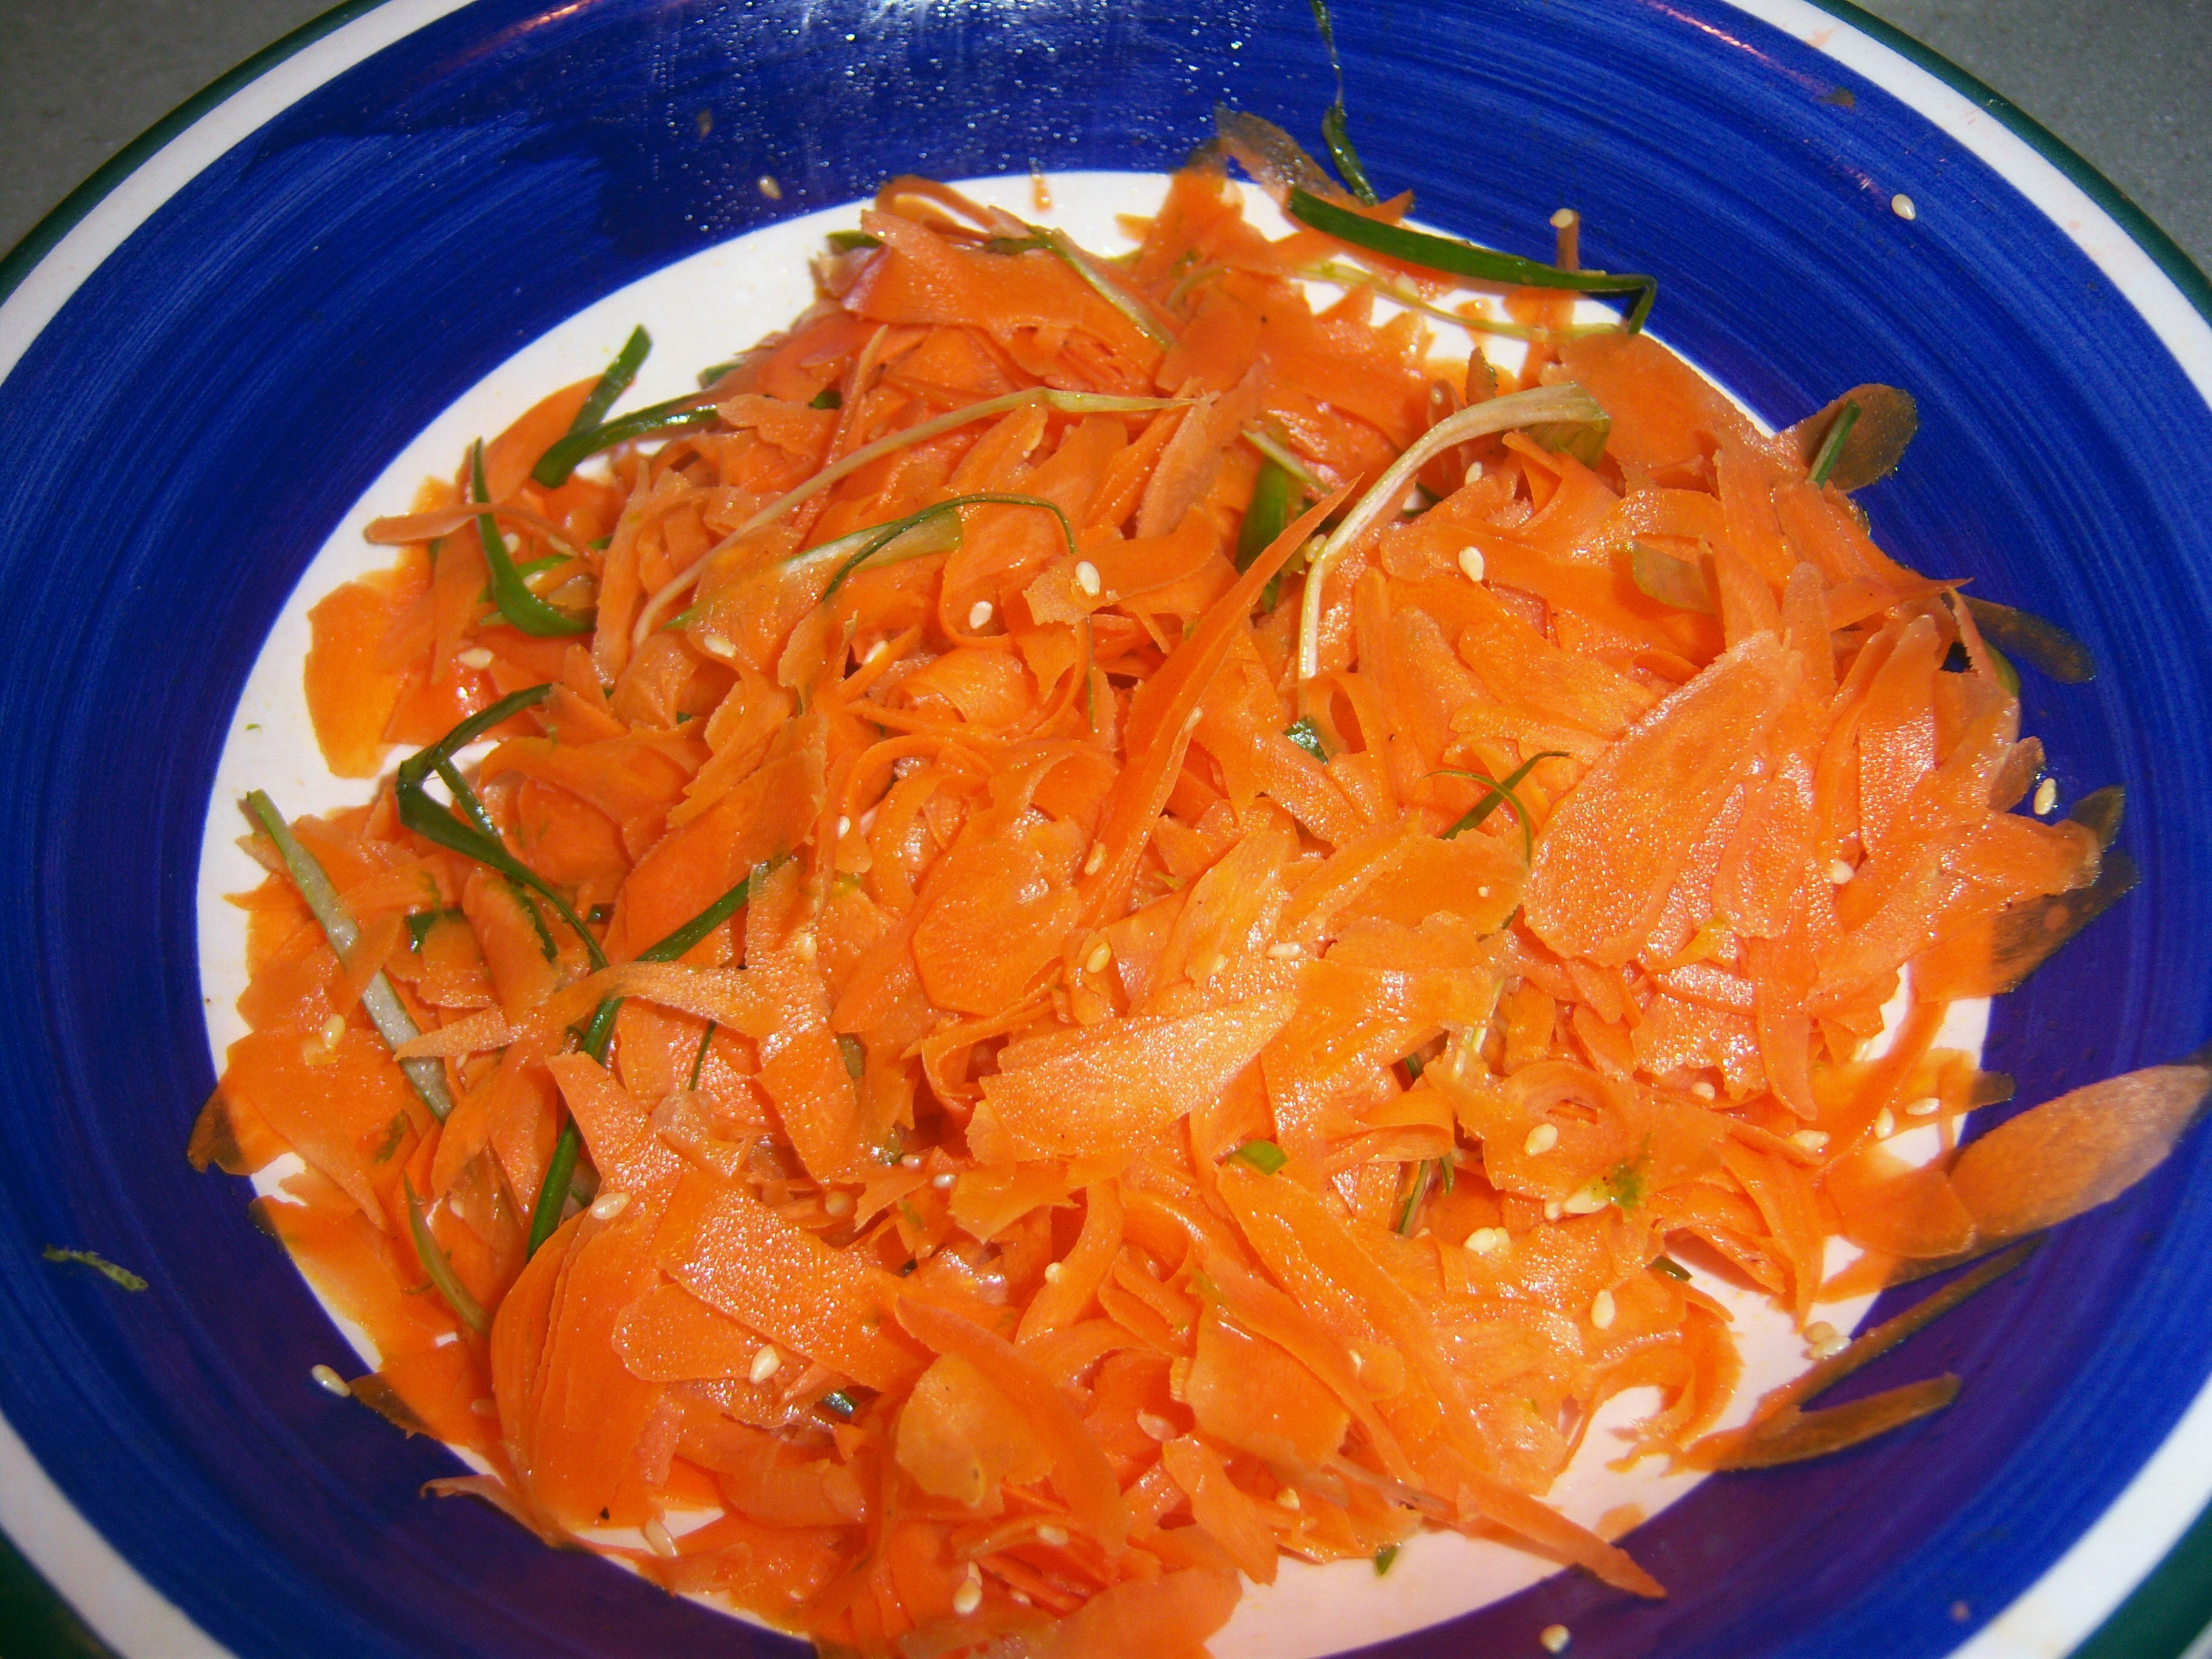
First I made the slaw. You are supposed to take carrots and shave them with a vegetable peeler. No problem. Now picture yourself trying to do this with baby carrots. Not that easy. Please envision me holding on to the tip of the baby carrot with my finger tips, getting little miniature shavings off. I didn’t make a lot of this since it was taking me forever to shave the baby carrots! Thinly sliced scallions, toasted sesames, rice vinegar, oil, salt and pepper complete the recipe. I added a dash of sugar since I find Martha’s dressings too tart.

asian-carrotThis was very good. The scallion gave it just a little kick. I loved the subdued Asian dressing on it and the sesame gave it some nice flavor. I like shaved carrots like this. Somehow a whole raw baby carrot is just too crunchy sometimes, but when it is shaved like this, it’s very mild and nice.
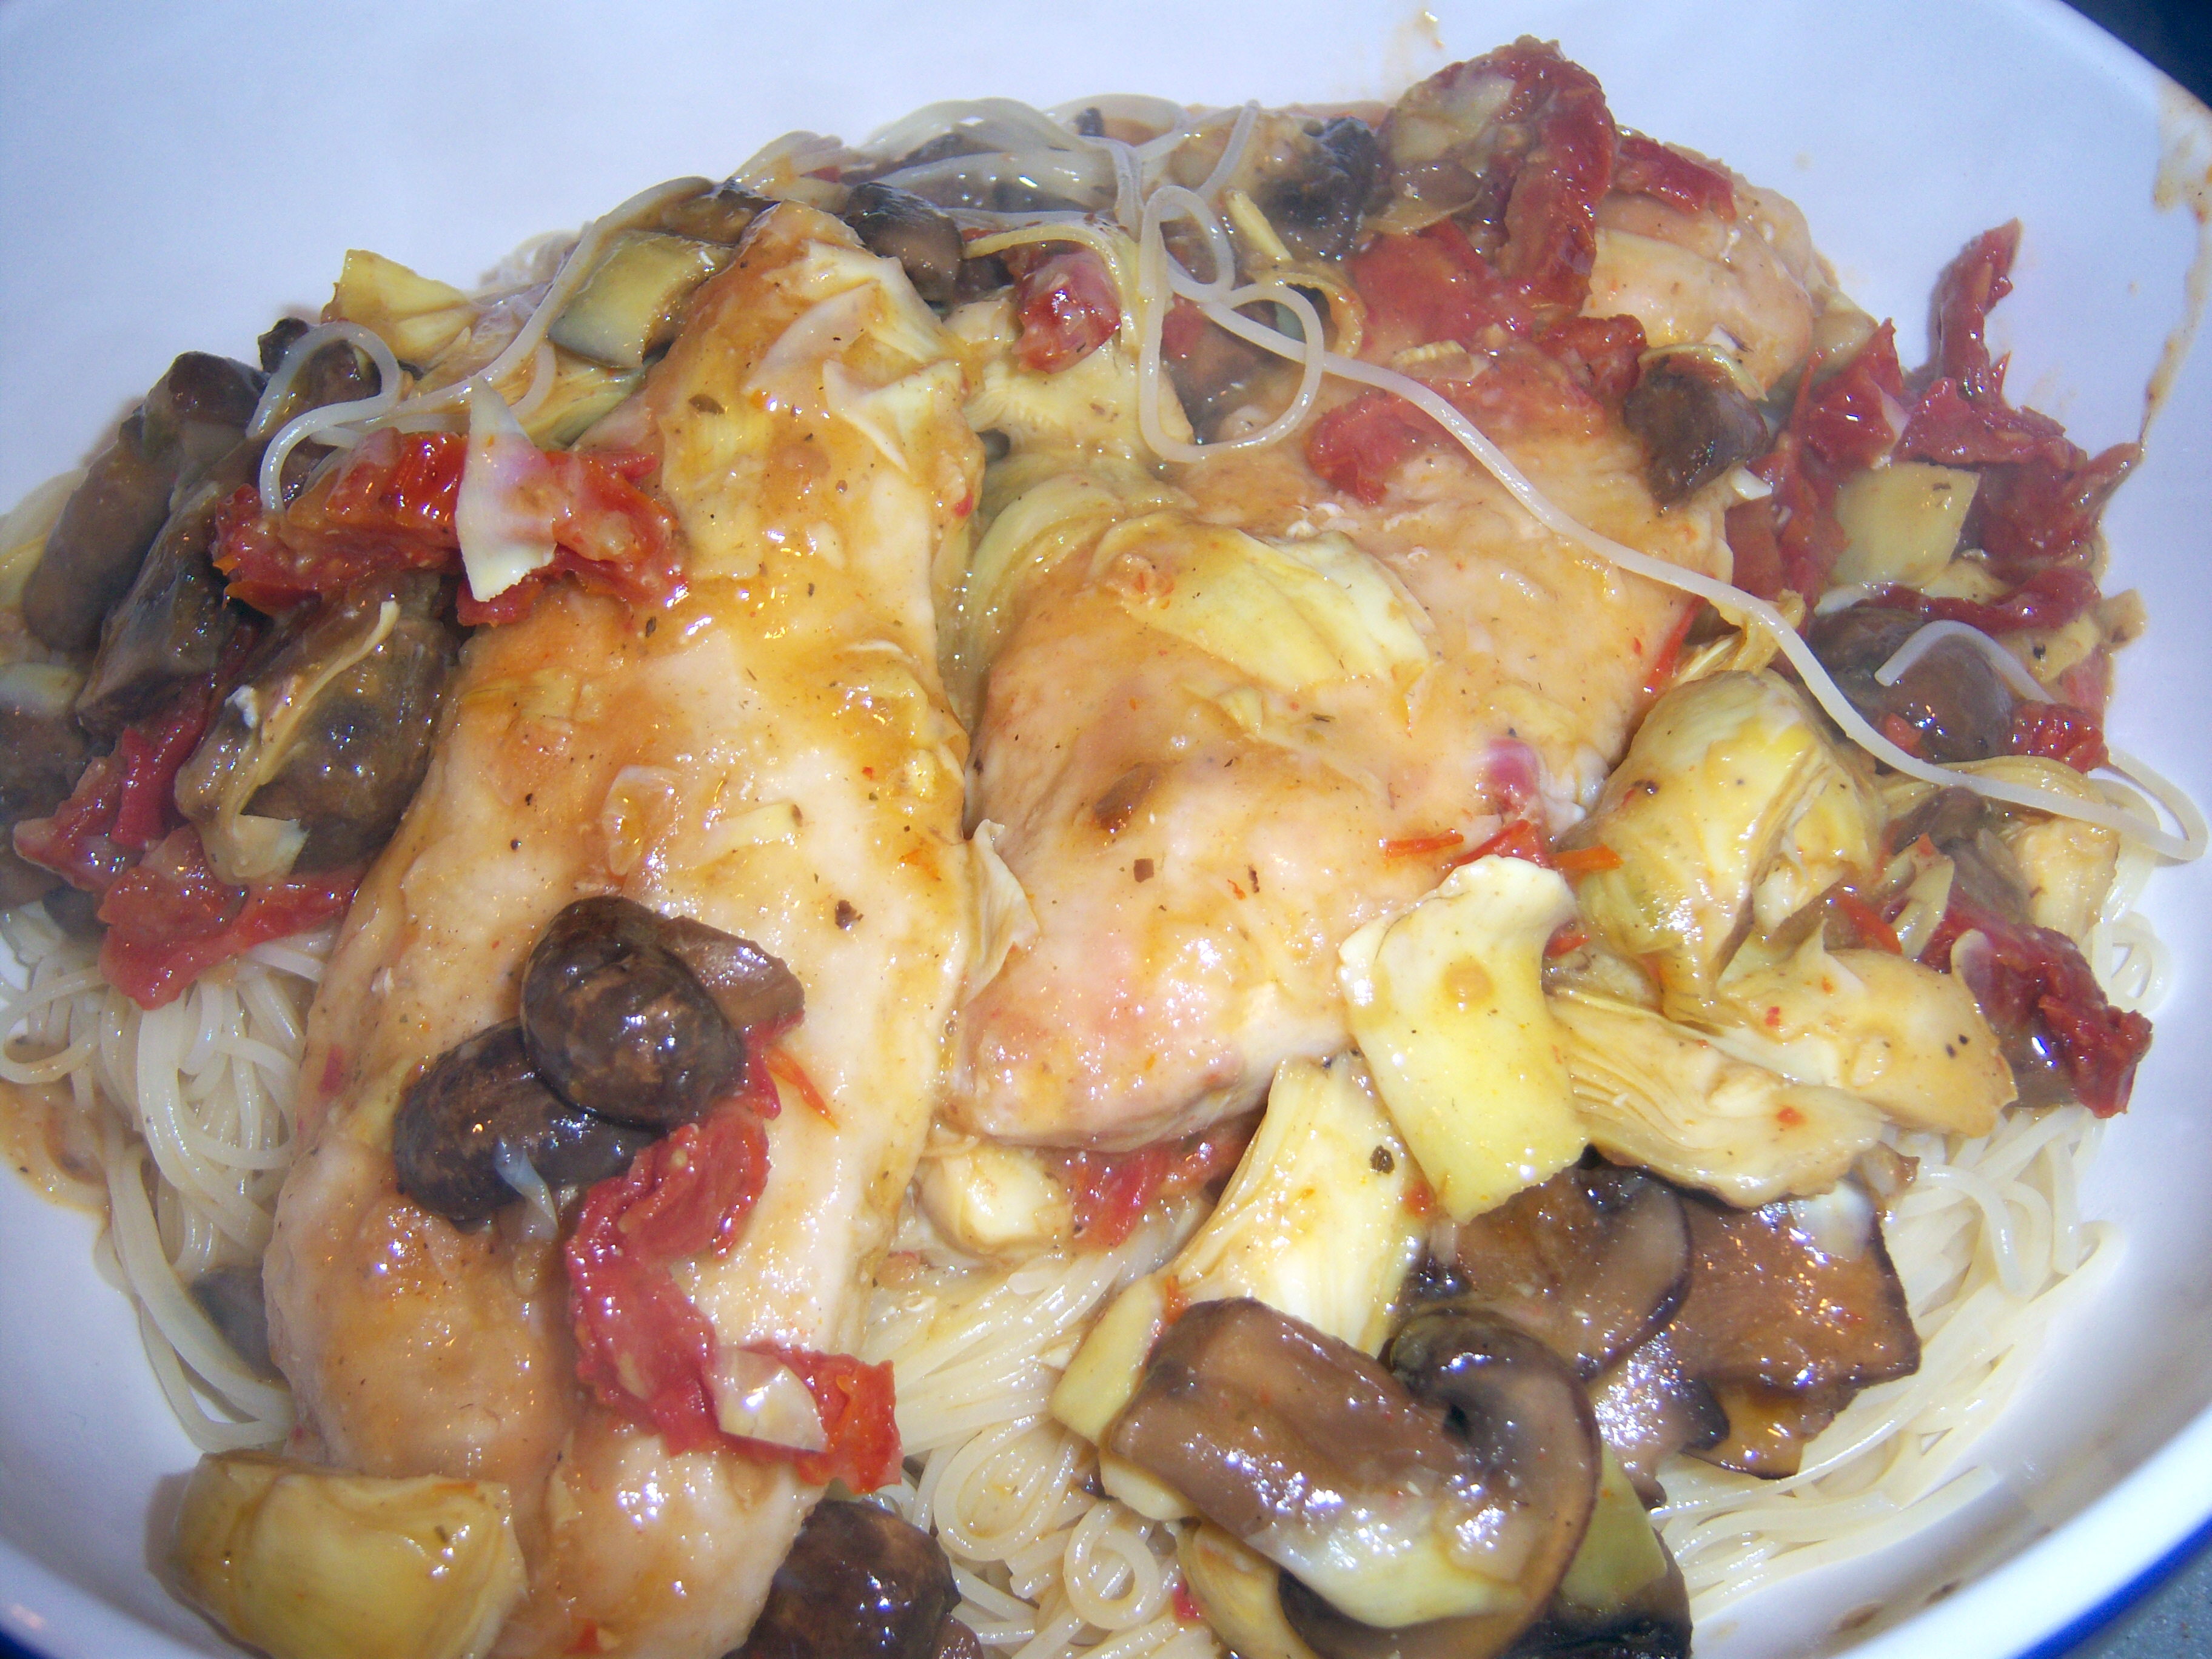
Next up is the Chicken with Artichokes and Angel Hair. Full confession – I cheated a bit (a lot) on this. First you dredge your chicken pieces in flour then cook them in a little oil. No problem. You are supposed to remove them and add some chicken stock. I had none and I couldn’t even find my emergency jar of boullion. My solution? Open a dusty can of chicken noodle soup and use the broth from it.

chick-arti-angelNext you add artichoke hearts and capers. Small problem – no capers in my pantry today. So this is where I got creative. I thought this dish sounded a little bland anyhow, so I added some mushrooms and sundried tomatoes. Then I put the chicken back in the sauce, added a little butter and served it over the angel hair pasta.
Here is where I get to pat myself on the back. I ate it without any parmesan cheese. Now look, as far as I’m concerned, pasta and parmesan are meant to go together. I held back from adding it to see if I could focus on the flavor of the ingredients. And I have to admit it was good without the cheese.

I would add something else to this to liven it up – some herbs. It was a little bland, but it was still good.

Ok you get two for the price one in this post. I made Chicken with Artichokes and Angel Hair and Asian Carrot Slaw for dinner (both from the March issue of Martha Stewart Everyday Food). First I made the slaw. You are supposed to take carrots and shave them with a vegetable peeler. No problem. … Read more

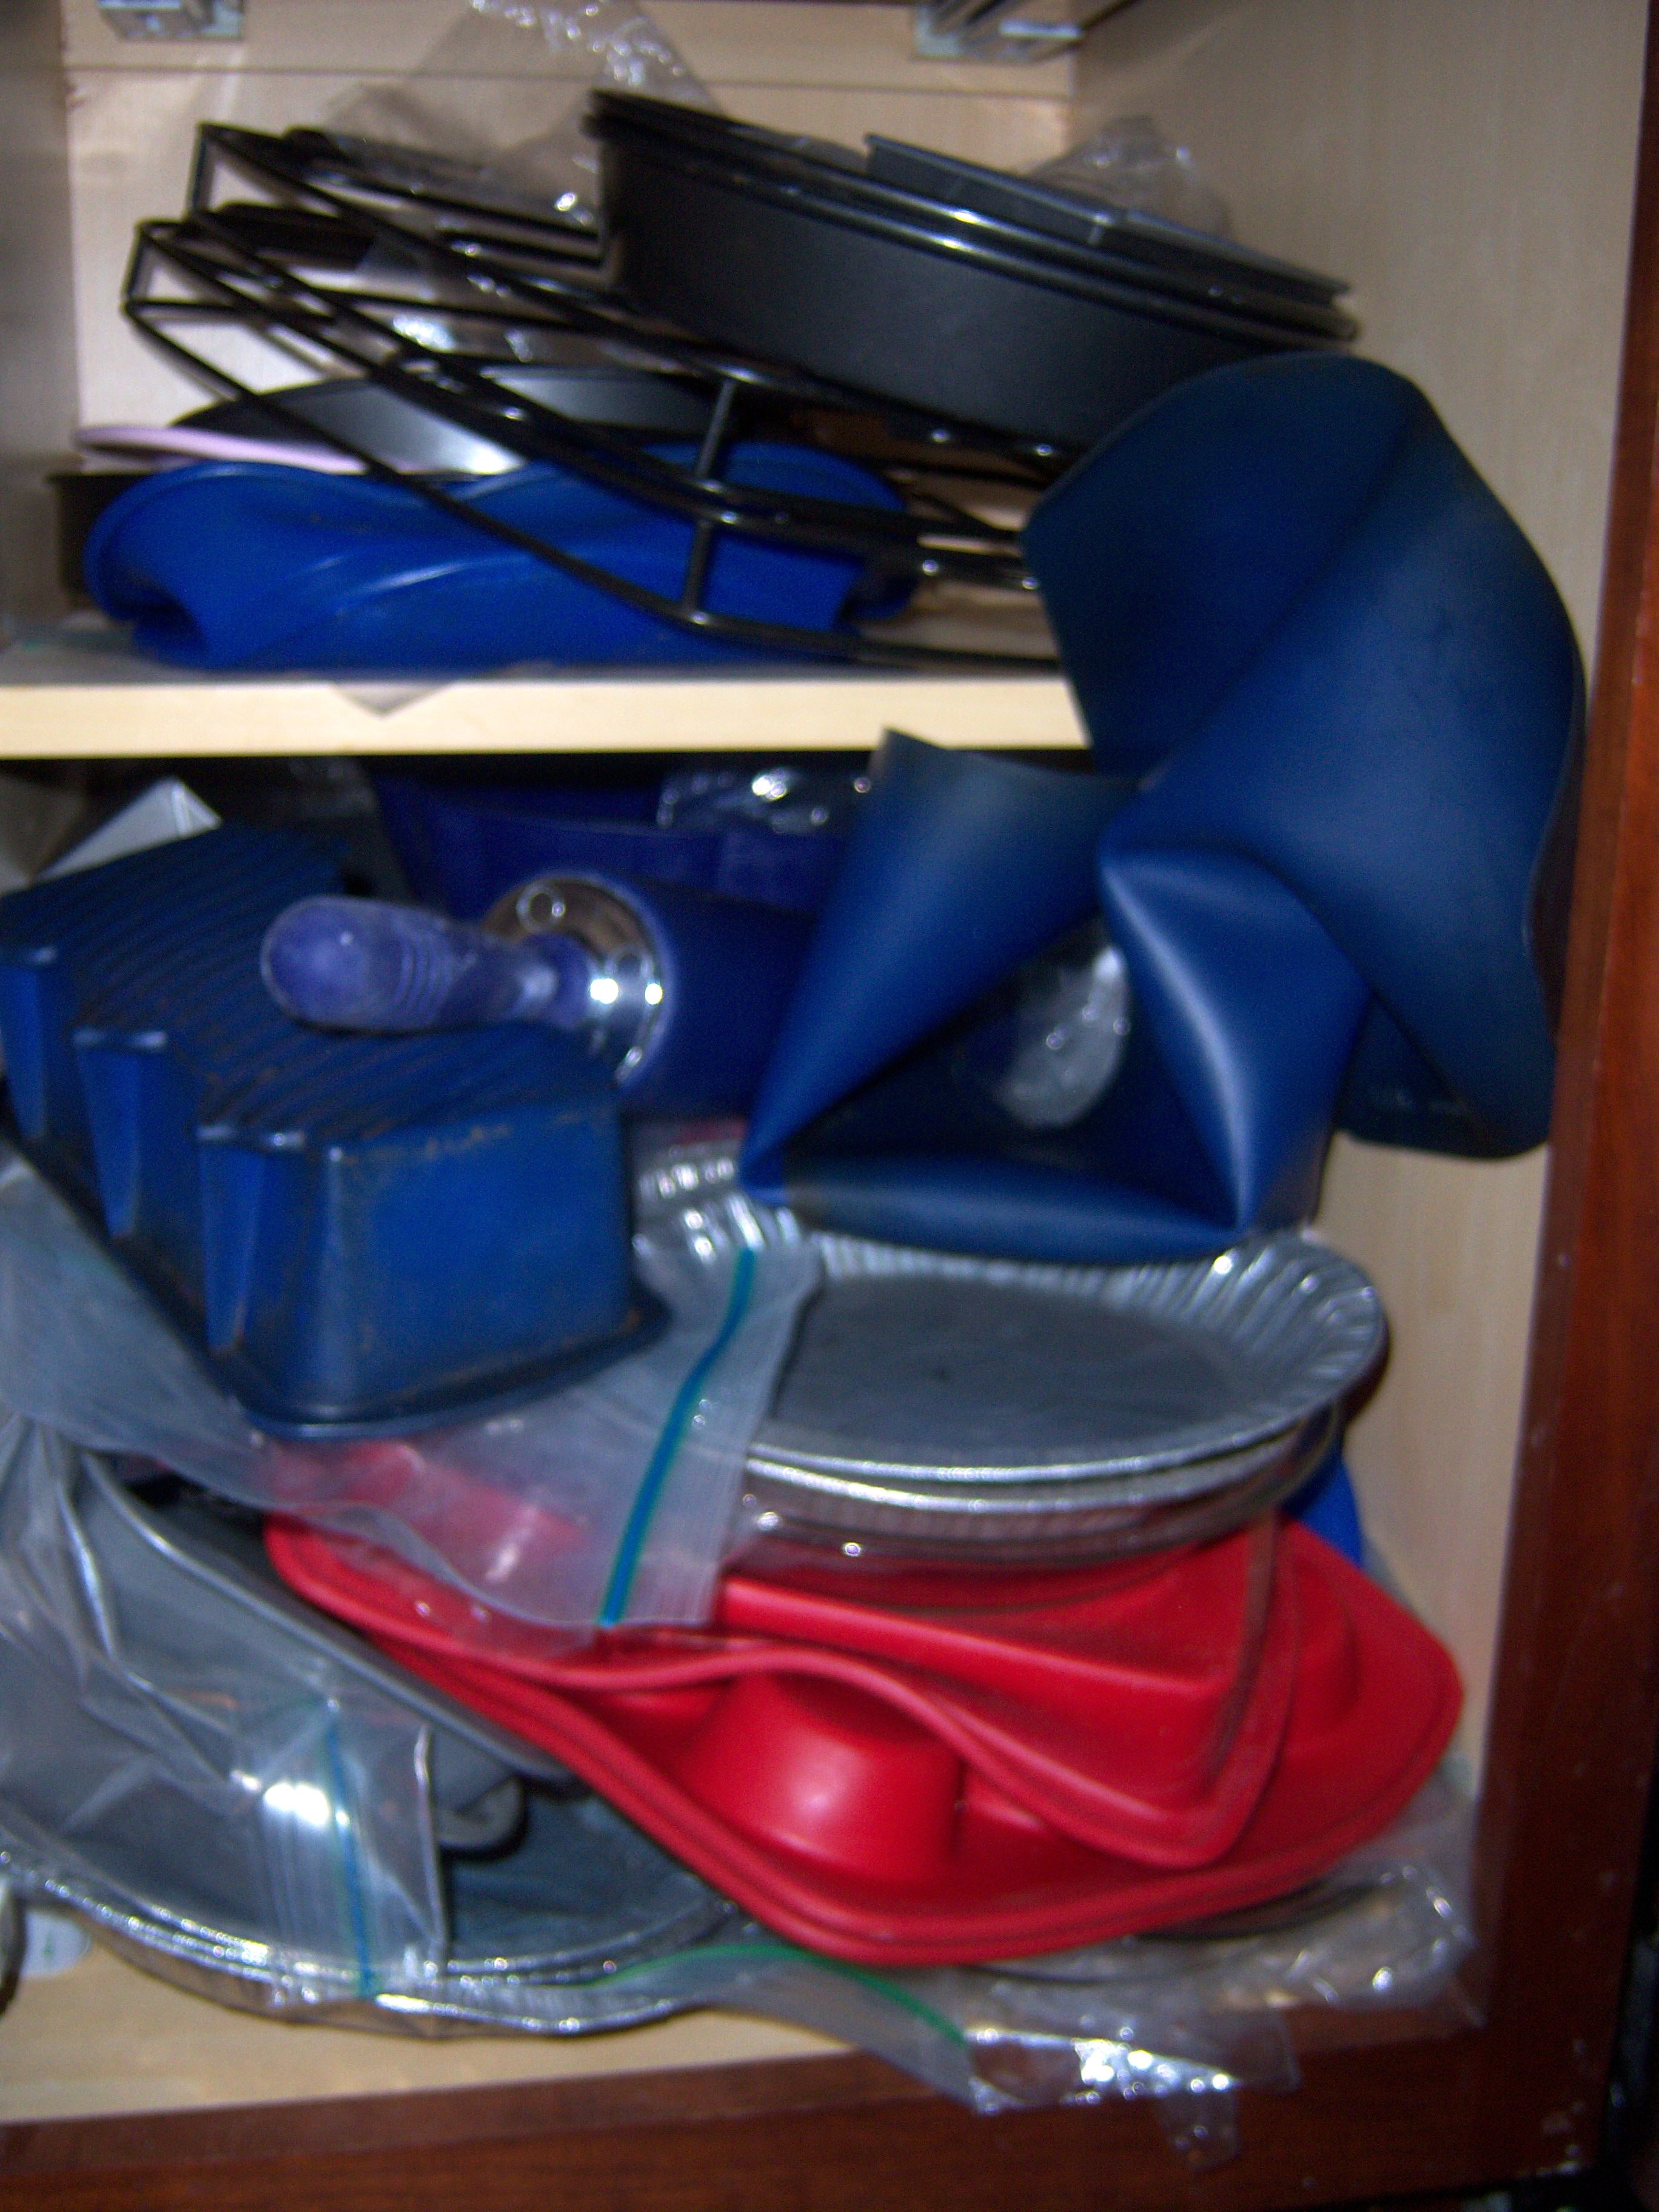
kitch-cupboard1Martha has inspired me to do some kitchen organization, with the post on her blog showing her neatly organized kitchen. The absolute worst spot in my kitchen was my baking cupboard. As you can see, it was a total disaster. What really made me get going was one day my good cobalt blue ceramic pie pan fell out and broke. It was time to take action.

At Lowe’s we found this great two drawer system you can install in a kitchen cabinet. It was about $82, but as you can see, it made a huge difference. Now things don’t fall out and I can actually get to them.

I’m going to be totally upfront and honest with you here though. You know how you always see those HGTV shows where they do projects like this and you scratch your head wondering how they fit the same amount of junk into the same space? Well, they don’t. I purged this cupboard and threw some things out and sent some seasonal

Ta da!

Ta da!

things (such as a heart shaped cake pan) to the basement. I also purged some other areas of the kitchen so I could move items over there.

One thing I thought of that I am SO proud of myself for is the new organizational system for all of our plastic bags, plastic wrap, parchment paper, foil, etc. This was in the drawer above this kitchen cupboard and somehow the drawer is just a tiny bit not tall enough, because the boxes the bags were in always caught when you opened the drawer. They would rip and bags would spill out everywhere. It was a disaster. Well, in trying to reorganize the pantry, it occurred to me that the entire

Pantry door

Pantry door

back of the door had nothing on it. So we installed some shelves and all of the bags are now kept there. This then freed up the drawer which has become my baking drawer – rolling pin, measuring cups and spoons, etc. Also on the door, I have placed some of the things I use the most from the pantry and which I can never find – baking soda and powder, salt, cinnamon and syrup.

Baking drawer

Baking drawer

I just love the feeling of getting a big mess like this cleaned up! It makes me feel so productive!

Martha has inspired me to do some kitchen organization, with the post on her blog showing her neatly organized kitchen. The absolute worst spot in my kitchen was my baking cupboard. As you can see, it was a total disaster. What really made me get going was one day my good cobalt blue ceramic pie … Read more

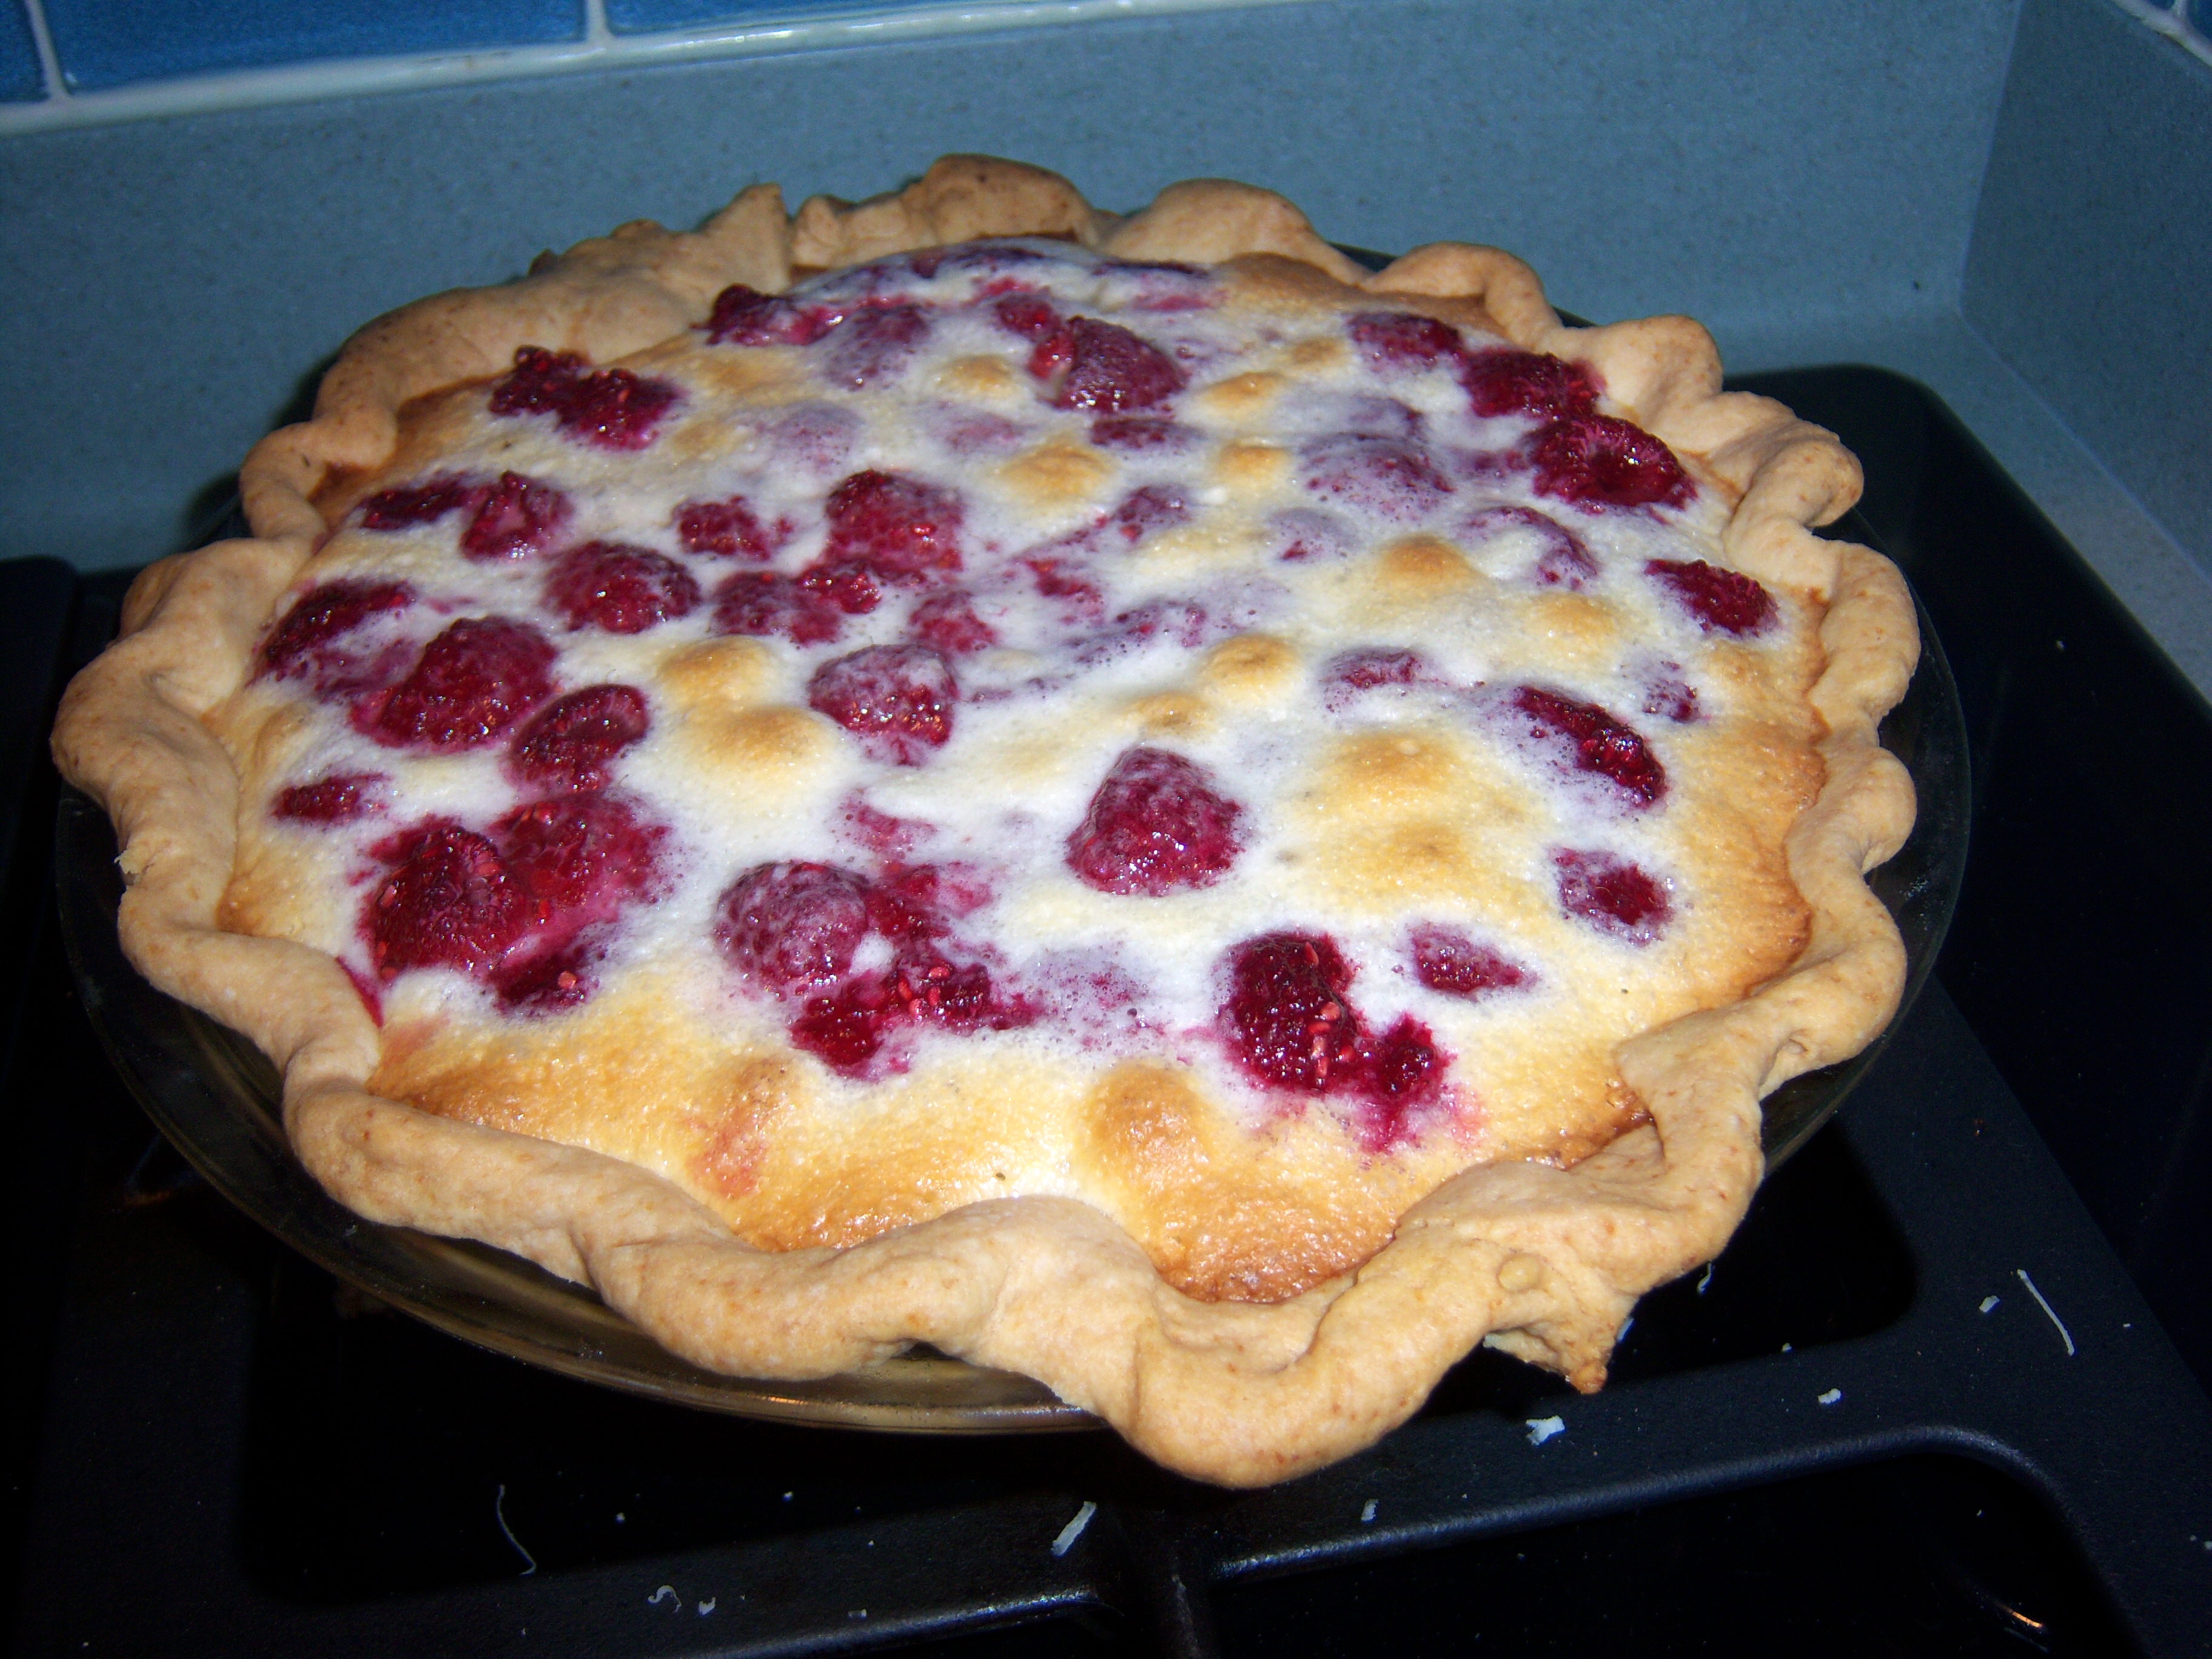
I made Martha’s Raspberry Custard Pie as dessert for our St. Pat’s dinner. Although the final result was good, I think my brain was on vacation as I was

Don't crimp my style!

Don't crimp my style!

making this. First, I made Martha’s crust. I refrigerated it as she directs and then found it nearly impossible to roll out, even after I let it sit out a while to warm up. The dough kept cracking at the edges. Finally got it into a pan and I used Martha’s two finger plus thumb crimping method (which really worked amazingly well!). No problem. I added beans (I need to buy some pie weights!)  to the pie crust and got it in the oven. Well, half-brained me, I forgot to put parchment paper down first before I poured the beans in! So when I went to get the beans out, I ended up with road kill pie crust. It was not usable, so I

Mini-Martha's treat

Mini-Martha's treat

had to start over. However, in Martha’s waste not, want not mentality, I used the messed up crust to make a little cinnamon and sugar pie for Mini-Martha who was not going to like raspberry pie. My second attempt was much better  – and this time I did not refrigerate the crust and it rolled out very, very nicely without a problem.

Once I had a usable crust, I made the custard. This took me two tries. I was measuring out the sugar and completely lost count. I had no idea how many 1/4 cups I had dumped in! So I had to dump it out and start over to make sure it came out right! Once I got over that brain freeze, I mixed the rasp-tart2raspberries with it and got that into the oven. It cooked nicely.  The custard set up well and the pie was pretty. My mom (Big MarthaAndMe) really liked it – I knew she would since raspberries are so sour and we always say Nana likes “pucker pies” – pies that are very tart. I wasn’t a great fan of this dessert. It was a little too tart for me.  It was definitely easy to make (or it would have been had my brain not been on vacation!).rasp-tartfinal

I made Martha’s Raspberry Custard Pie as dessert for our St. Pat’s dinner. Although the final result was good, I think my brain was on vacation as I was making this. First, I made Martha’s crust. I refrigerated it as she directs and then found it nearly impossible to roll out, even after I let … Read more

Top o’ the morning to you! Hold onto your hats gang, this is going to be a looooonnnggg post.  We always celebrate St. Patrick’s Day – it’s a family tradition – with corned beef and cabbage and my cheese soda bread. This year, I decided to do it Martha’s way.

Corned Beef

Corned Beef

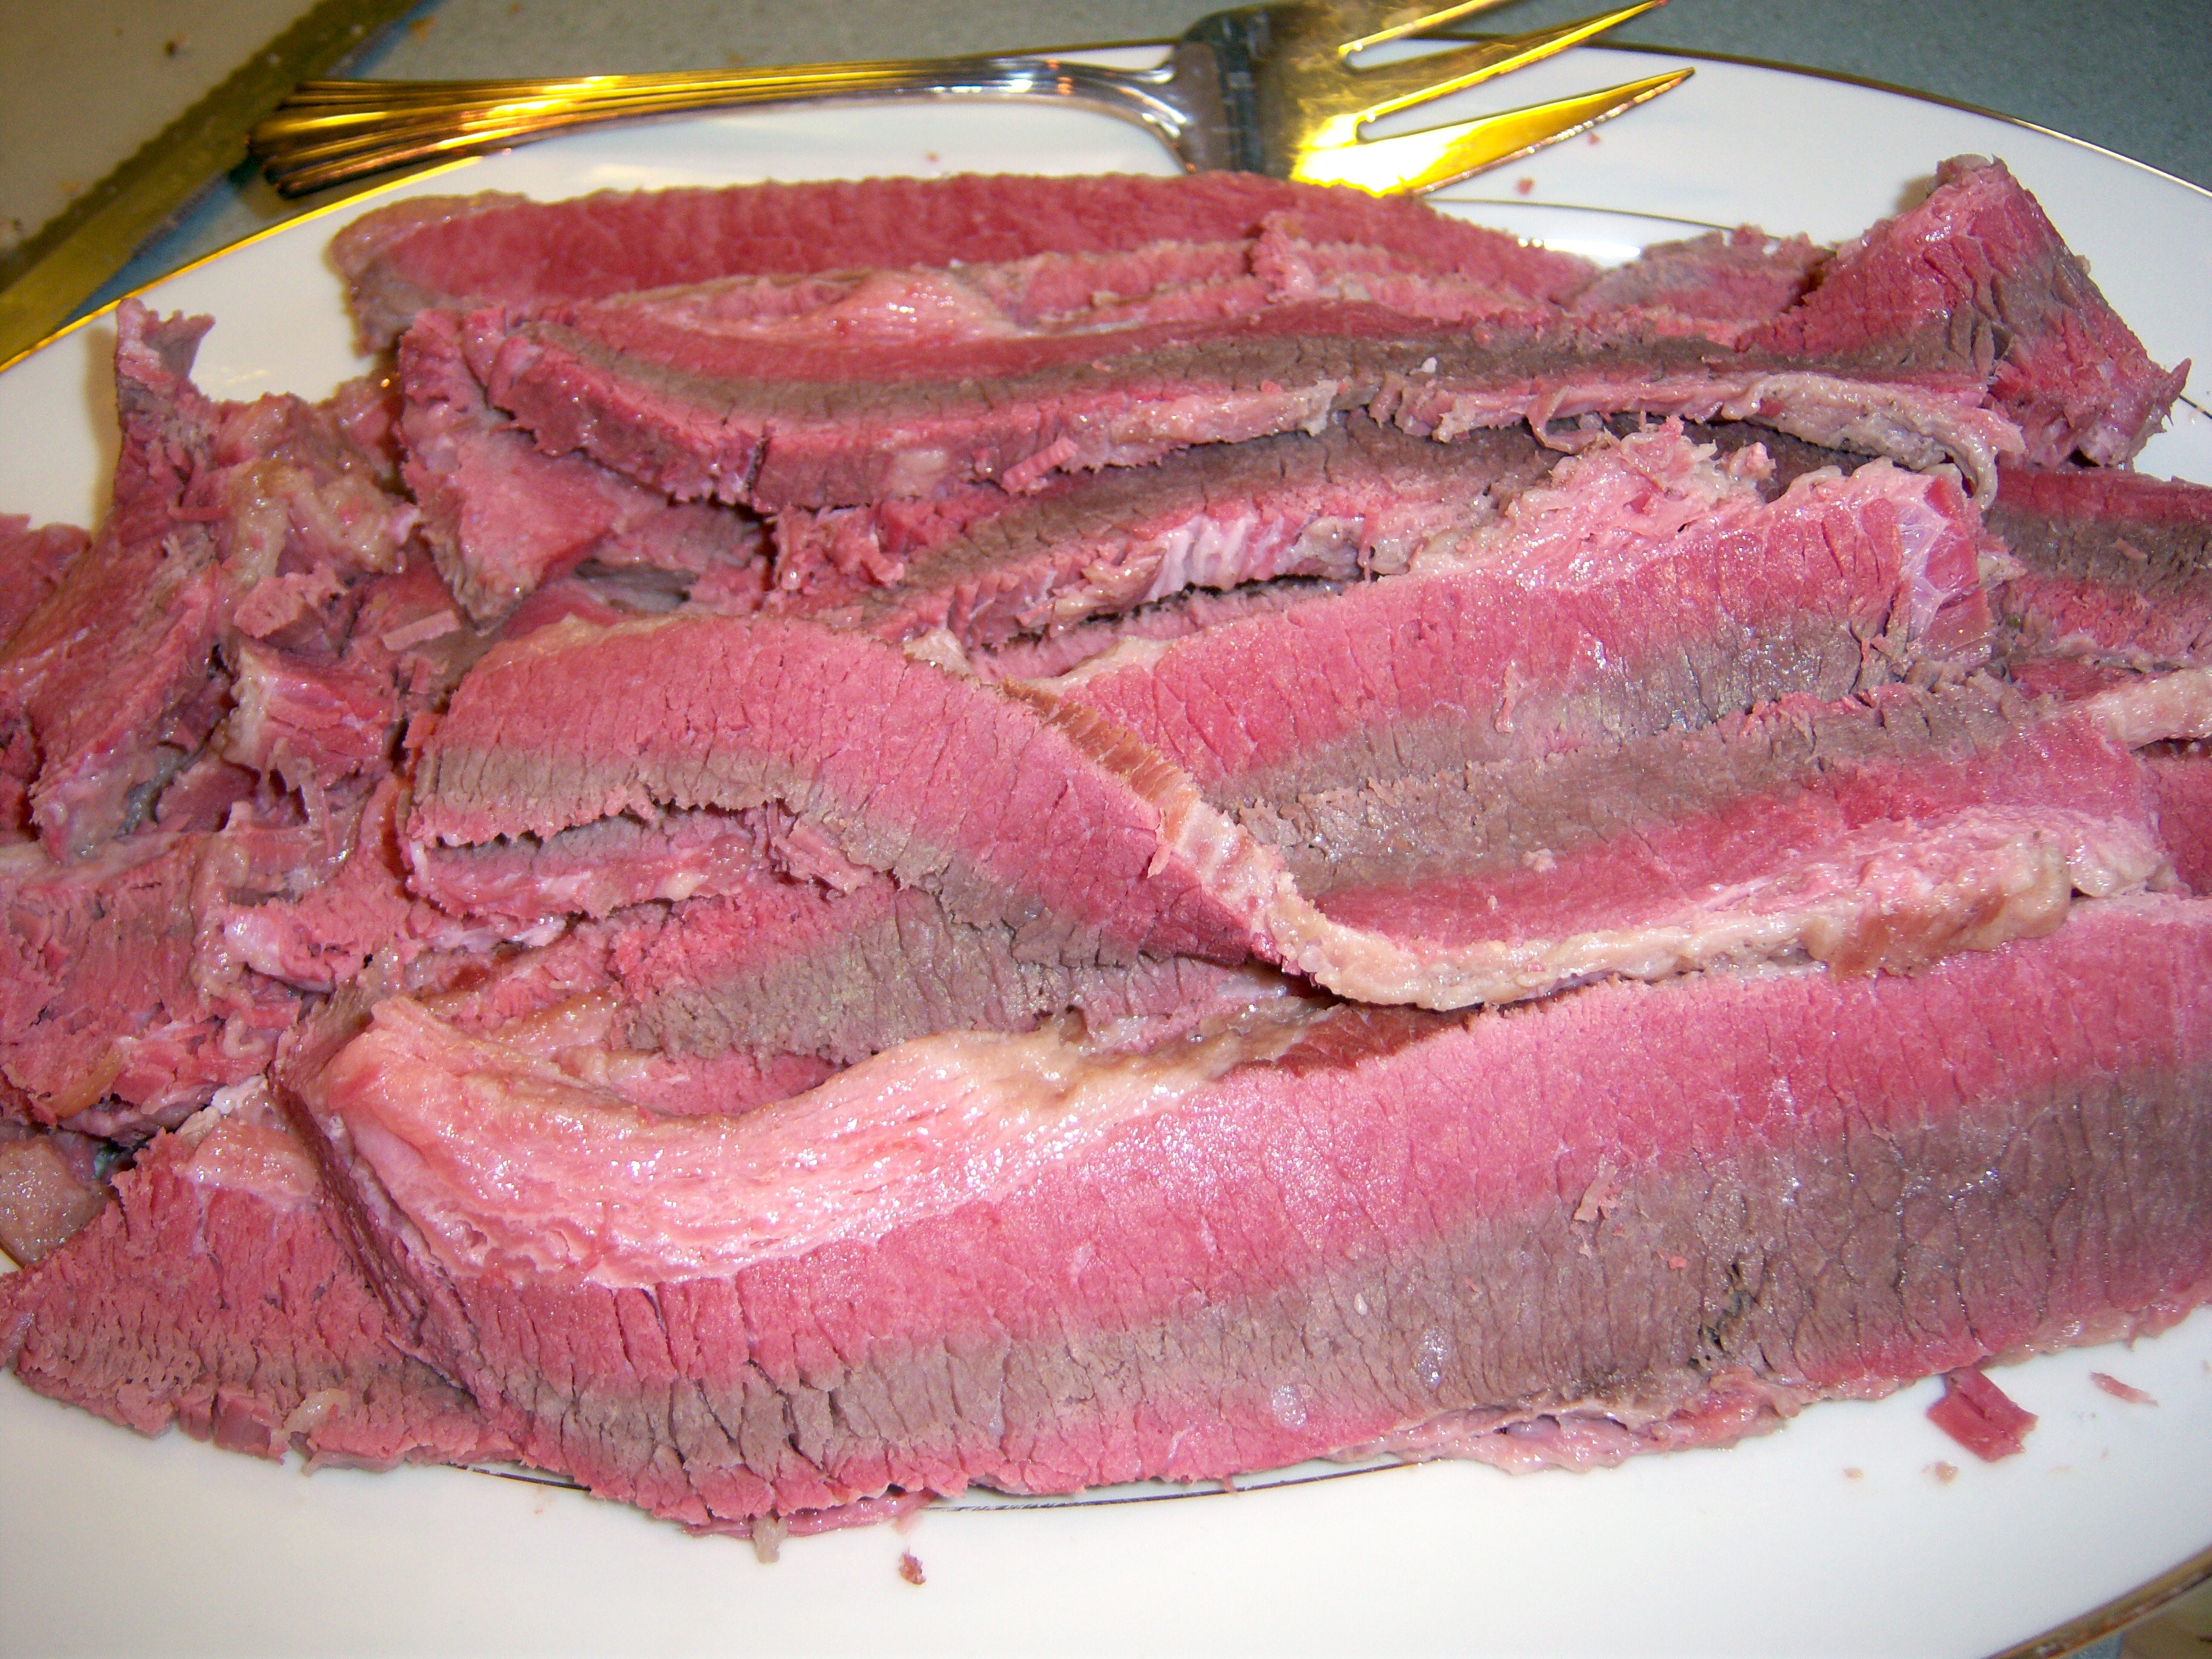
First, Homemade Corned Beef with Vegetables, which is in March Martha Stewart living and also shown on the tv show. As I posted two weeks ago, I corned the beef myself. It was actually quite easy to do (other than not being able to find pink curing salt -I substituted a meat curing salt instead). The meat has to cure for two full weeks. I cooked this in much the same way I always do – in a big pot with some carrot, celery, and onion.

When I make this, I always add cabbage, carrots, and potatoes. Martha calls for tunips also, so I added those.  I followed her instructions about steaming the turnips and carrots, although in the past I have always just cooked all the veggies in the pot with the meat and they are good that way too.  The results?

Veggies

Veggies

Excellent! I was worried my corned beef would not be pink since I did not have pink curing salt, but as you can see, it did mostly turn pink. It tasted very good. If I had any criticism it would be that it seemed a little too salty. The vegetables were great and the turnips were a nice addition. Martha says to serve this with broth and mustard. In my family, we serve it with horseradish and ketchup, and some sour cream for the potatoes.  I will definitely corn my own beef again next year!

Martha has a recipe for Irish Soda Bread in the magazine and she also made it on tv, talking about how she made up this recipe herself (I was excited to try something that really was straight from her hands).  I also made my own cheese soda bread so we could have a taste-off.

Martha's Soda Bread

Martha's Soda Bread

Martha’s bread was easy to make, once I ran to the store for wheat bran! She uses milk that she sours with vinegar instead of buttermilk. Her recipe has no eggs in it, whereas mine does. She adds caraway seeds and raisins. The bread came together nicely. When I baked it, it flattened significantly though. Cutting it into slices was an adventure. It pretty much fell apart and wasn’t very nice

Soda Bread Sliced

Soda Bread Sliced

looking. It did, however, taste FANTASTIC. Really, really amazing. I am not a raisin fan, so I picked those out. The wheat bran really makes this bread wonderful – crunchy and sweet and hearty.  I will definitely make this again (although maybe I’ll make a loaf for me without raisins in it!).

Cheese soda bread

Cheese soda bread

Now for my own Cheese Soda Bread. Here’s the recipe:

4 c flour

1 tbsp baking powder

1 tsp salt

3/4 tsp baking soda

6 tbsp butter

2 heaping cups shredded cheddar cheese

2 eggs

1 1/2 c buttermilk.

Preheat the oven to 350. Cut the butter into the dry ingredients and stir in the cheese. Beat the eggs and reserve 1 tbsp. Mix eggs with buttermilk and stir into dry ingredients. Turn it out onto a floured surface and form it into a round. Place on greased baking sheet and brush outside with reserved egg. Bake for 75 minutes and allow to rest for 15 minutes before slicing.

I have been making this for years and years and got the recipe from my mom (Big MarthaAndMe). It is  just as simple to make as Martha’s. It uses buttermilk and eggs and of course the cheese is a big change from Martha’s. I love this bread so much, but it is very different from Martha’s – almost like they are not both in the same family of breads. I think I will have to make both every year from now on!

My reuben

My reuben

Now, on to the leftovers. One of the reasons I love St. Patrick’s Day dinner is because there are always leftovers! The next day I always make a reuben sandwich. I use pumperknickel rye bread. I put ketchup on one slice and mustard on the other. I use sliced corned beef, Swiss cheese and sauerkraut and cook it in a pan like grilled cheese. Oh! It is so good.

My other big leftover dish is corned beef hash. First, I cook some onion and set it aside. I use the potatoes from the corned beef because they are already cooked. I dice them and then cook them in a pan with olive oil, slowly, until they are brown and crisp. Then I add the onion and diced corned beef and salt and pepper to taste. I serve it with ketchup. It’s to die for.

Top o’ the morning to you! Hold onto your hats gang, this is going to be a looooonnnggg post.  We always celebrate St. Patrick’s Day – it’s a family tradition – with corned beef and cabbage and my cheese soda bread. This year, I decided to do it Martha’s way. First, Homemade Corned Beef with … Read more

no