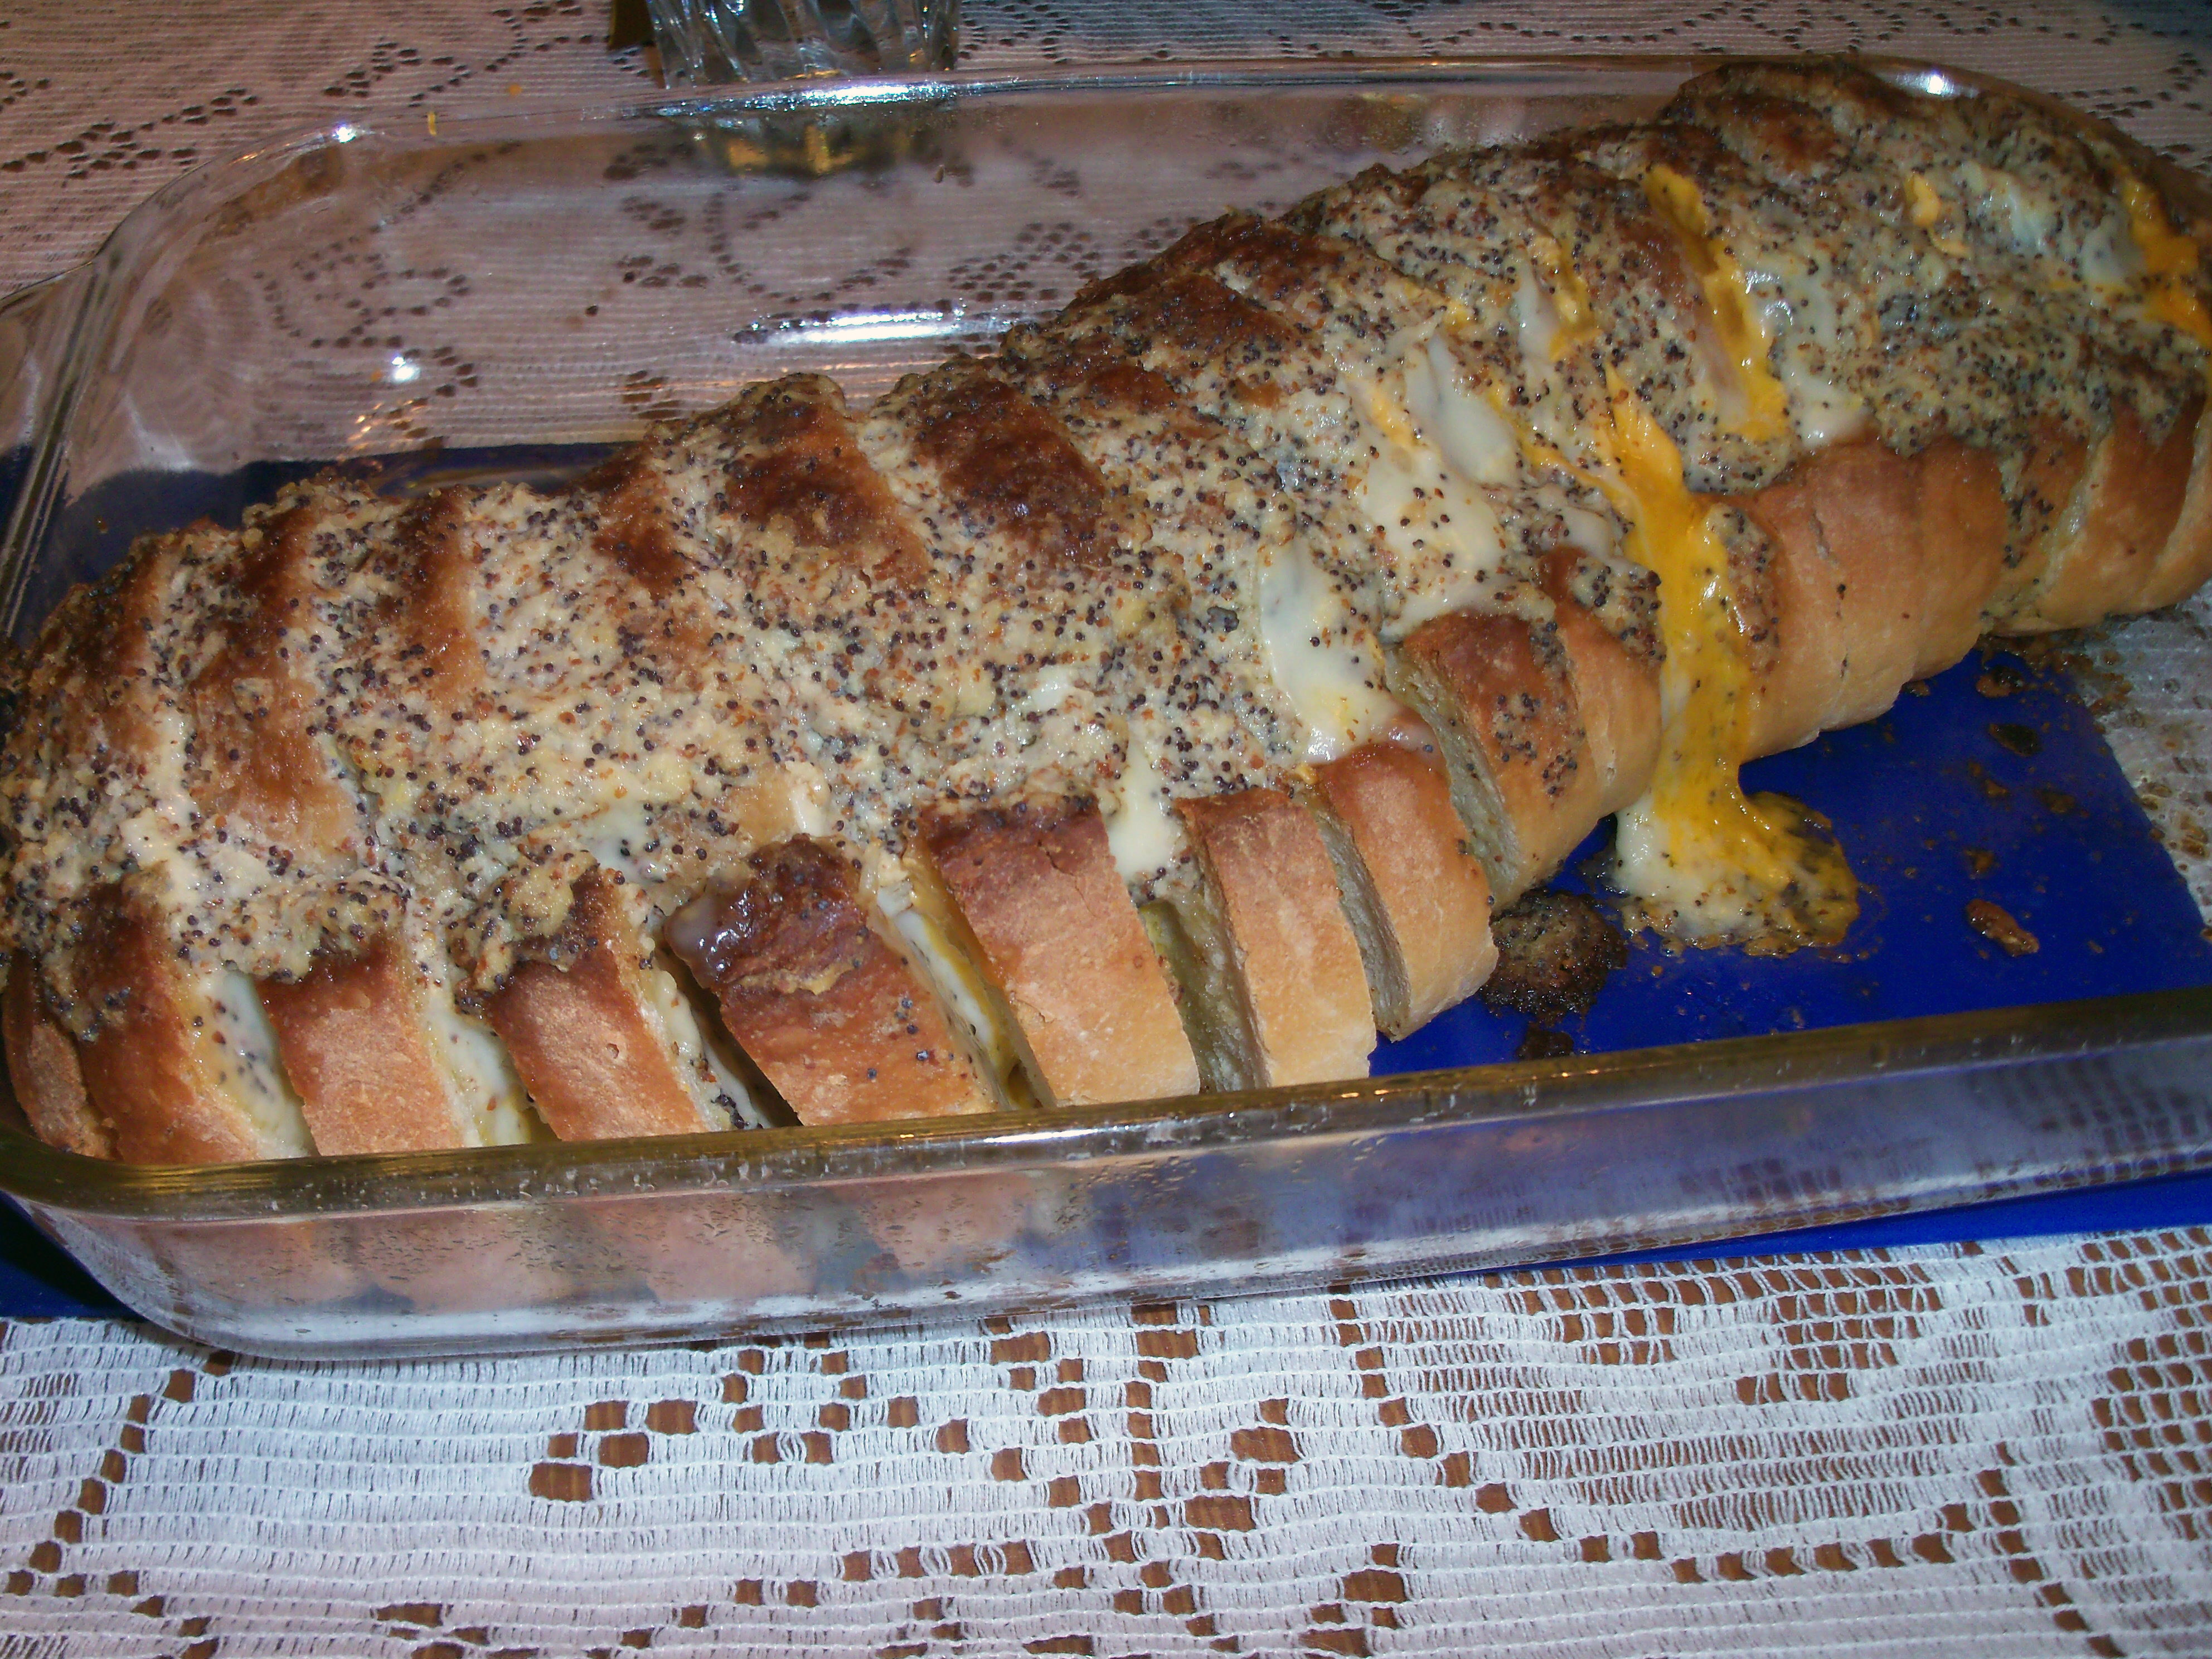
We are not Jewish. Yet every year I make Chanukah bread.  And every year we remember that Hal Linden is (was? I don’t even know if he is still alive) Jewish and pay homage to him. It’s definitely a little kooky, but let me explain.

Back when we were first married, I was in college. My fall semester ended and I was in our apartment on my first day off decompressing with daytime tv. I was watching some talk show that has been lost to time and Hal Linden (of Barney Miller fame – younger readers probably have no clue who this is!) was a guest and he made a recipe for Chanukah bread. It looked so good, I grabbed a pen and scribbled the recipe down (I still have that piece of paper). I made it for dinner that night and we loved it and so since then I’ve made it every year, with some tweaks over the years. Sometimes we have it during Chanukah, sometimes just during the Christmas season. It’s always a special event though.
Hal Linden’s Chanukah Bread (adapted)
1 loaf sliced bread (I usually use Italian, but you could use plain white bread or even wheat)
1 stick butter, softened

2 tbsp olive oil

2/3 cup minced onion

6 tbsp country style Dijon mustard

2 tbsp poppy seeds

4 tbsp lemon juice

Mix butter, oil, onion, mustard, poppy seeds and lemon juice together. Preheat oven to 375 degrees. Spray an 8 x 12 glass baking pan (first test your loaf to see if it will be held in place and not flop apart – if you have a shorter loaf, use a shorter pan so that the bread is supported by the ends of the pan – it is also possible to just wrap the bread in foil to hold it together). Place the bread in the pan. Using a knife or small spatula, spread the butter mixture on one side of every piece of bread and reserve enough to spread all across the top of the bread.

Hal’s recipe calls for Swiss  and American cheese – but I use Swiss and cheddar. You could substitute any type of cheese you like Place half a slice (I’m referring to those presliced pieces of cheese you can buy – if you’re slicing your own, just approximate this size and remember to keep it thin) each of Swiss and cheddar between each slice of bread.

Smear the remaining butter mix across the top.  Cover with foil and bake for at least 30 minutes or until all the cheese is melted (it could take up to 15 minutes more if your cheese is thick or your loaf is very large). If it is getting too brown, reduce heat.

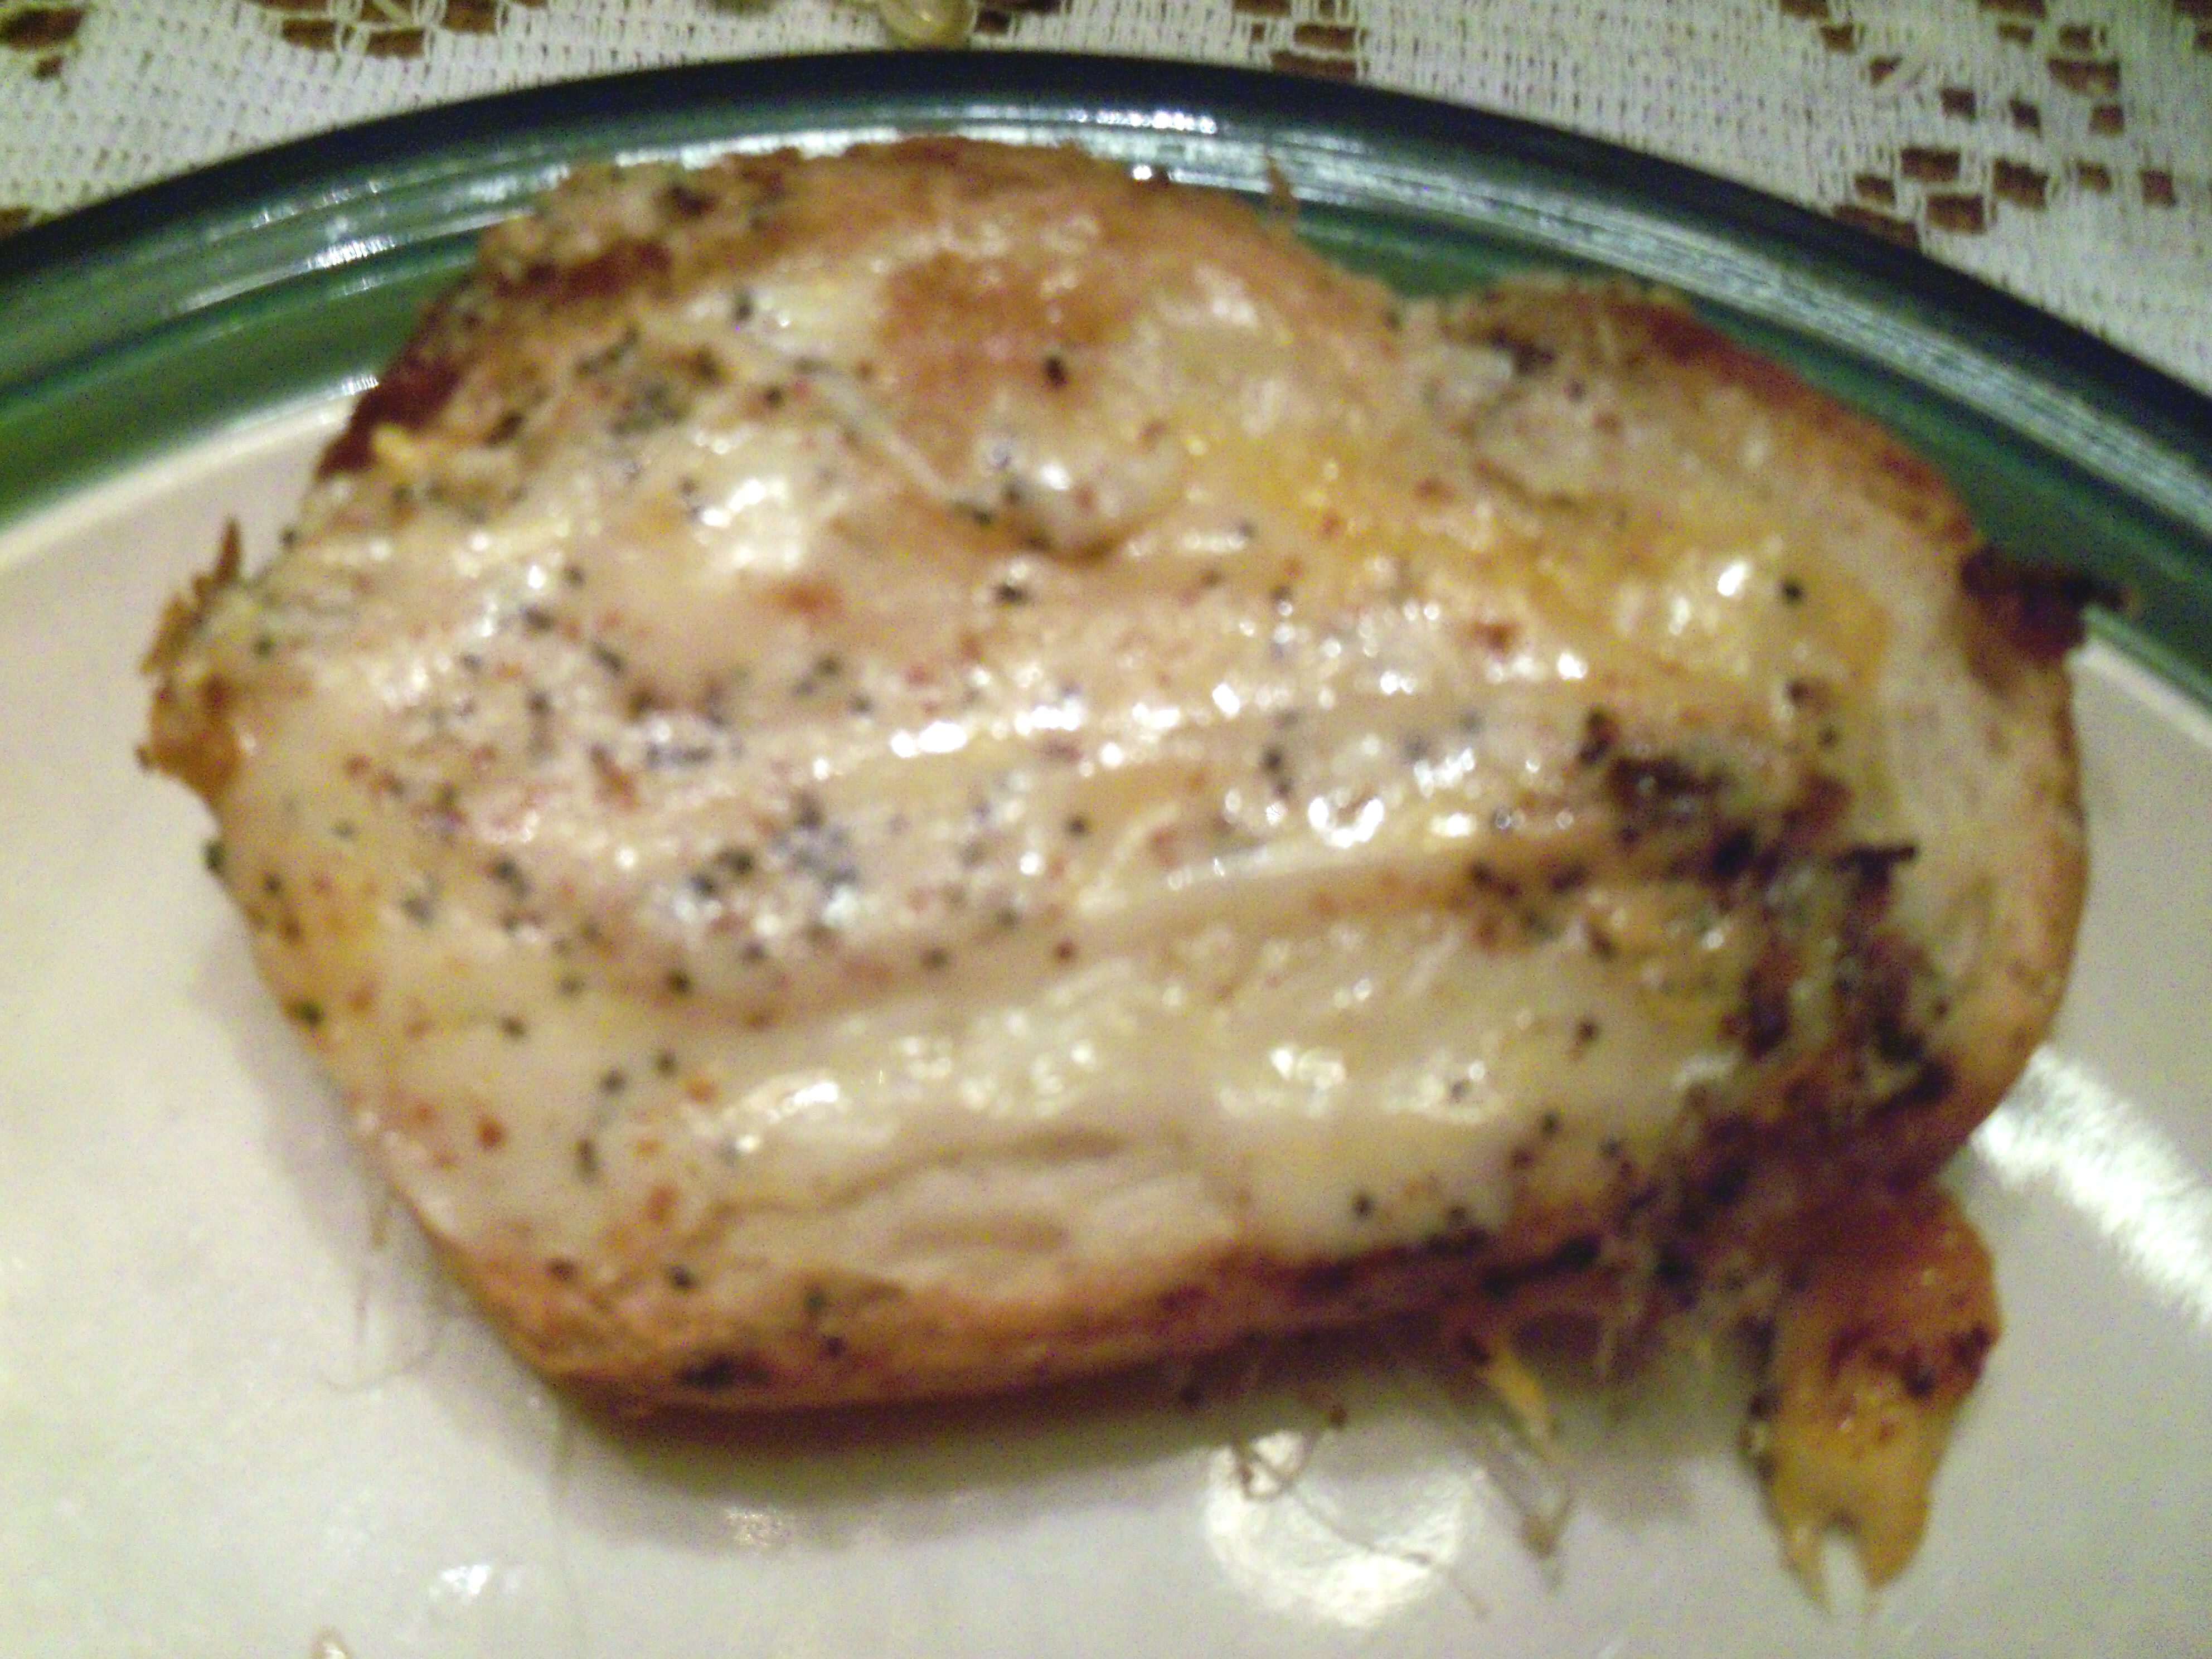
This is even better the next day.

Bookmark and Share

We are not Jewish. Yet every year I make Chanukah bread.  And every year we remember that Hal Linden is (was? I don’t even know if he is still alive) Jewish and pay homage to him. It’s definitely a little kooky, but let me explain. Back when we were first married, I was in college. … Read more


Gingerbread cupcakes – what could be a better pick for December? I was so enthusiastic about these, I even bought holiday cupcake papers and little gingerbread toothpick guys to decorate. This recipe is from the Martha Stewart Cupcake book. Visit the MSC Cupcake Club page and other members if you get a chance.

As always, these cupcakes were a breeze to whip up. There was only one small problem – I didn’t have quite enough ginger. I only had 1 1/2 tbsp and the recipe called for 2 tbsp. Sorry Martha!

This made 22 very small cupcakes. Usually I like to fill my cupcake tins pretty close to the top and have them rise out of the tins. There wasn’t enough to do this and they didn’t rise a lot.

I just made a plain white frosting and decorated with my toothpick guys (as always I am sure I will be embarrassed once I see the other club members’ creativity!).

As for taste, I was not a big fan. I would rather eat real gingerbread. The kids liked them and so did Mr. MarthaAndMe. I sent most of these off to school with Teen Martha who fed them to her Virgil (Latin) class.

Bookmark and Share

Gingerbread cupcakes – what could be a better pick for December? I was so enthusiastic about these, I even bought holiday cupcake papers and little gingerbread toothpick guys to decorate. This recipe is from the Martha Stewart Cupcake book. Visit the MSC Cupcake Club page and other members if you get a chance. As always, … Read more

Sara at Sassy Suppers has picked Vinegar Glossed Chicken from the December issue of Living for the 12/21 project.  This should be fun to try.  If you need the recipe, let me know.

Sara at Sassy Suppers has picked Vinegar Glossed Chicken from the December issue of Living for the 12/21 project.  This should be fun to try.  If you need the recipe, let me know.

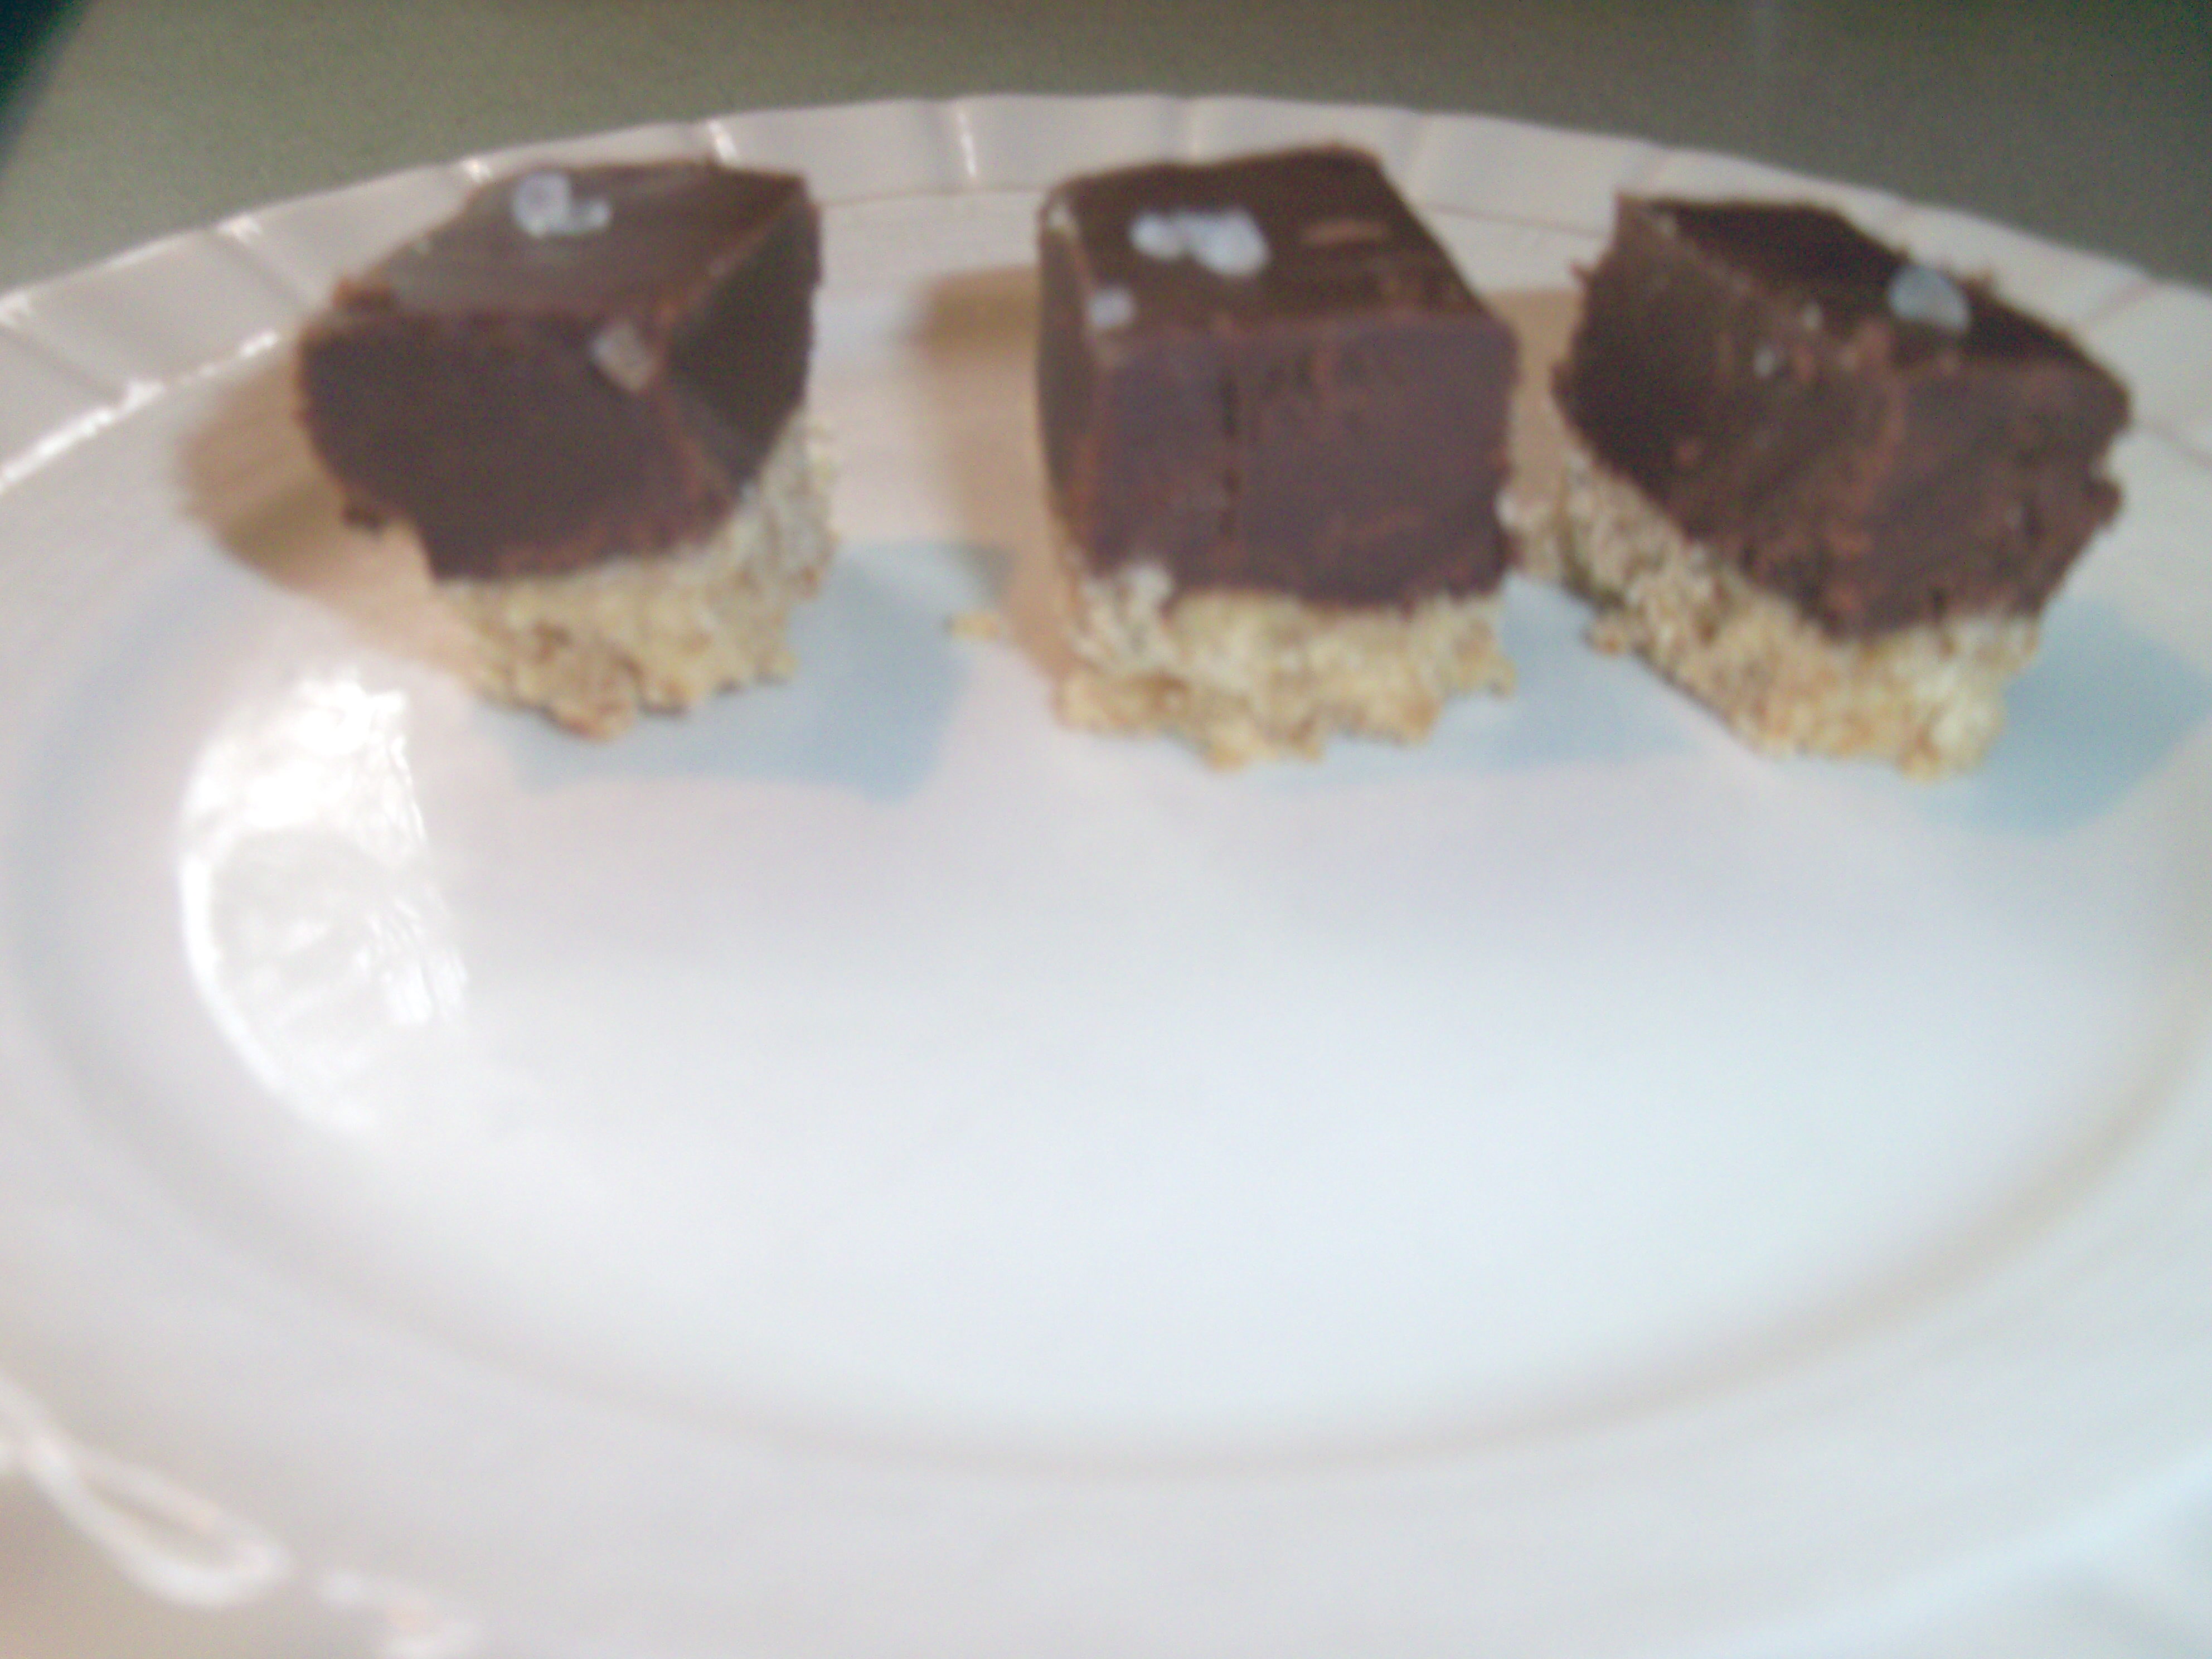
This week’s Martha Mondays pick – Chocolate-Caramel Cookie Bars – was chosen by Megan at Megan’s Cookin. This cookie was on my list to make since it looked so good!

The bottom part of the cookie was very simple to make. The chocolate caramel was a little harder. You cook sugar and water until it turns “amber”. I found that term to be a little vague. I think of amber as a yellowish-brown, kind of deep and dark. Martha says to cook it for 10-12 minutes to get that color. I slaved over that stove for 20 minutes, washing down the sides of the pan and I got to a light gold color. Finally I threw in the towel and hoped it was right.  I added the butter and cream, boiled it and poured it over the chocolate.

When I took it out of the fridge, I realized I didn’t read the part in the instructions about putting parchment in the pan before putting in the cookies! I was sure I was going to have a mess on my hands, but it came out easily.

I have to say I didn’t care for this one though. It was just too sweet. I love chocolate, but I did not enjoy this. I guess the added sugar from the caramel made it just too sweet for me. The cookie bottom was crunchy and nice, but I just couldn’t eat it – too sweet for me. I did put sea salt on top and that was interesting, but it didn’t cut the sweetness enough for me. The kids will probably eat this up – I think anyone under the age of 18 is immune to things that are too sweet. The consensus of the family was that this tasted like fudge and not caramel.

Bookmark and Share

This week’s Martha Mondays pick – Chocolate-Caramel Cookie Bars – was chosen by Megan at Megan’s Cookin. This cookie was on my list to make since it looked so good! The bottom part of the cookie was very simple to make. The chocolate caramel was a little harder. You cook sugar and water until it … Read more

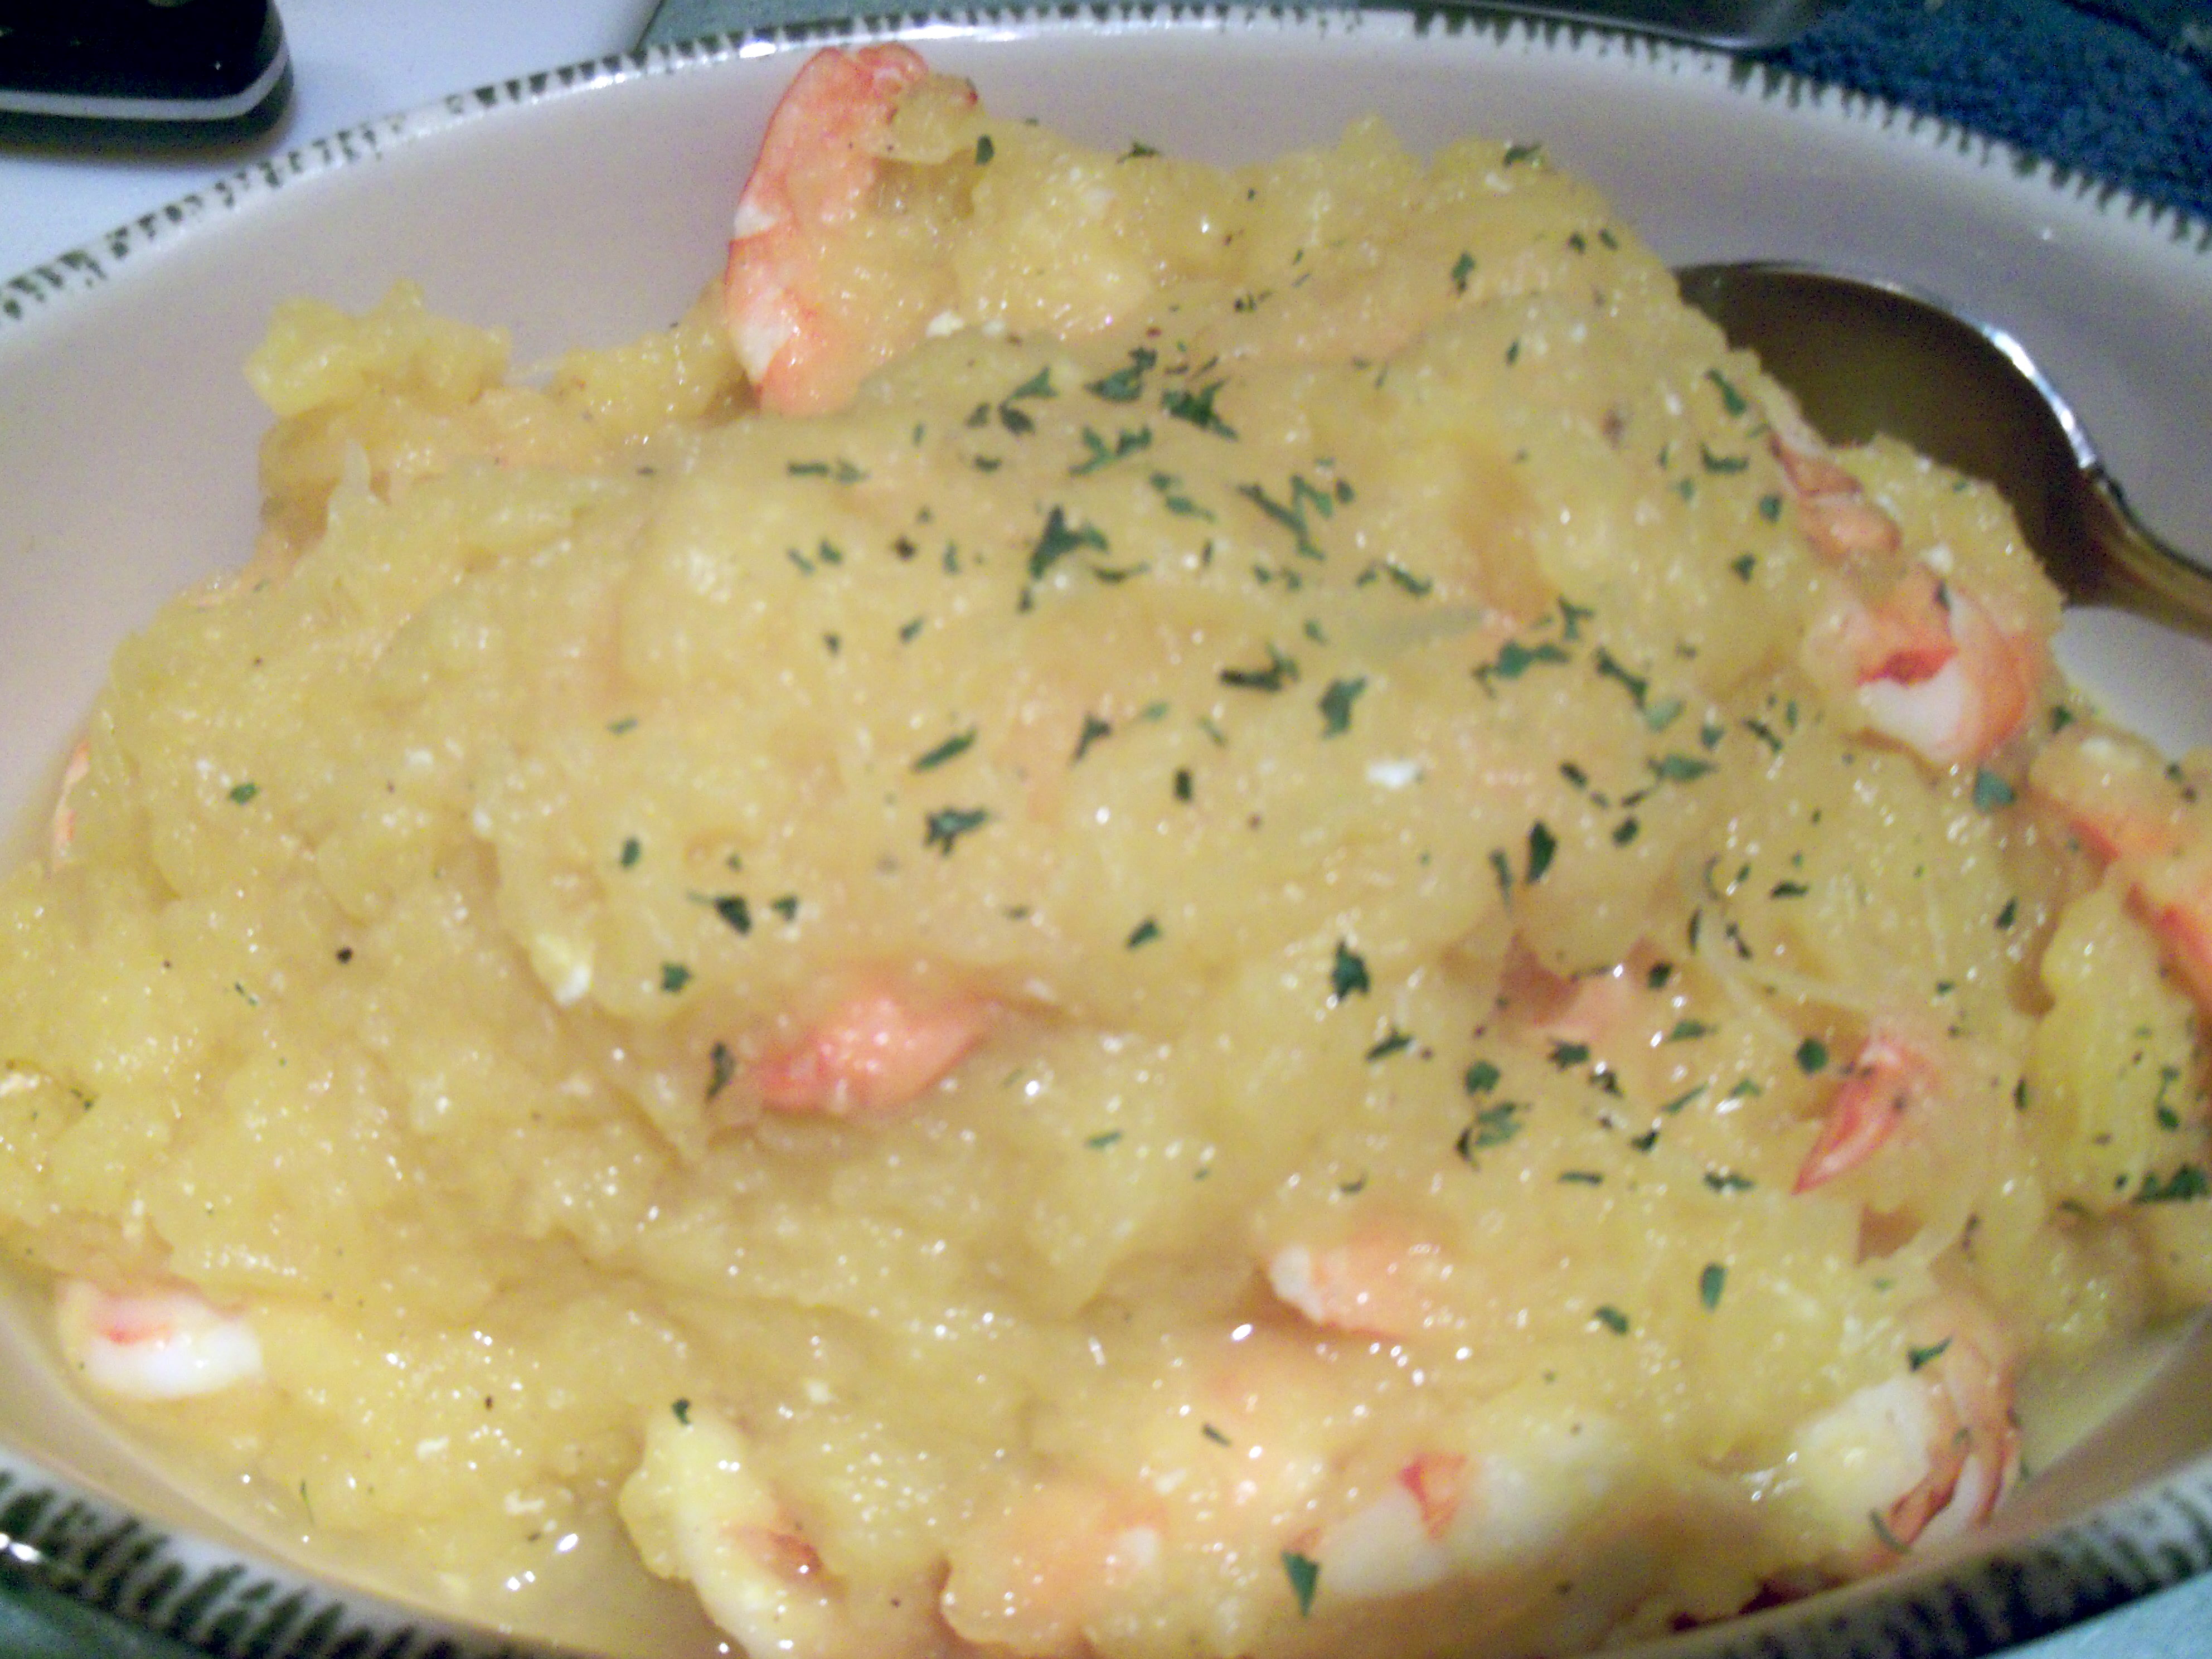
I was intrigued by the recipe for Roasted Shrimp with Spaghetti Squash in December Martha Stewart Everyday Food. I’ve seen recipes like this before, where the idea is that spaghetti squash replaces spaghetti and I’ve always been curious, and skeptical.

This recipe is very simple – too simple. You roast the squash, cut in half, upside down in water. Then scrape the strands out. Meanwhile, you roast your shrimp in the oven (this goes very quickly of course). Serve the shrimp over the squash with lemon and parsley. That’s it.

As soon as I scraped out the squash, I knew I was in trouble. I tasted it and it was very bland and flavorless. Just like you would not serve plain shrimp over plain spaghetti, there’s no way you would serve plain shrimp over plain spaghetti squash, so I tried to add some flavor. First I threw in some herb butter I had hanging around. That did liven it up a bit. Somehow these kinds of squash always seem to need something sweet to me, so I added a little honey. I also added lemon juice and lots of salt and pepper.

I added the shrimp and got it to the table, but I just didn’t like it. Although the squash came out in strands, by the time I mixed ingredients into it, it had become mushy. It didn’t feel like or taste like spaghetti and the only resemblance is that it has strands.

I didn’t care for this dish at all and am marking spaghetti squash off my list! If you have a better way to prepare it, let me know!

Bookmark and Share

I was intrigued by the recipe for Roasted Shrimp with Spaghetti Squash in December Martha Stewart Everyday Food. I’ve seen recipes like this before, where the idea is that spaghetti squash replaces spaghetti and I’ve always been curious, and skeptical. This recipe is very simple – too simple. You roast the squash, cut in half, … Read more

crummy photo - sorry!

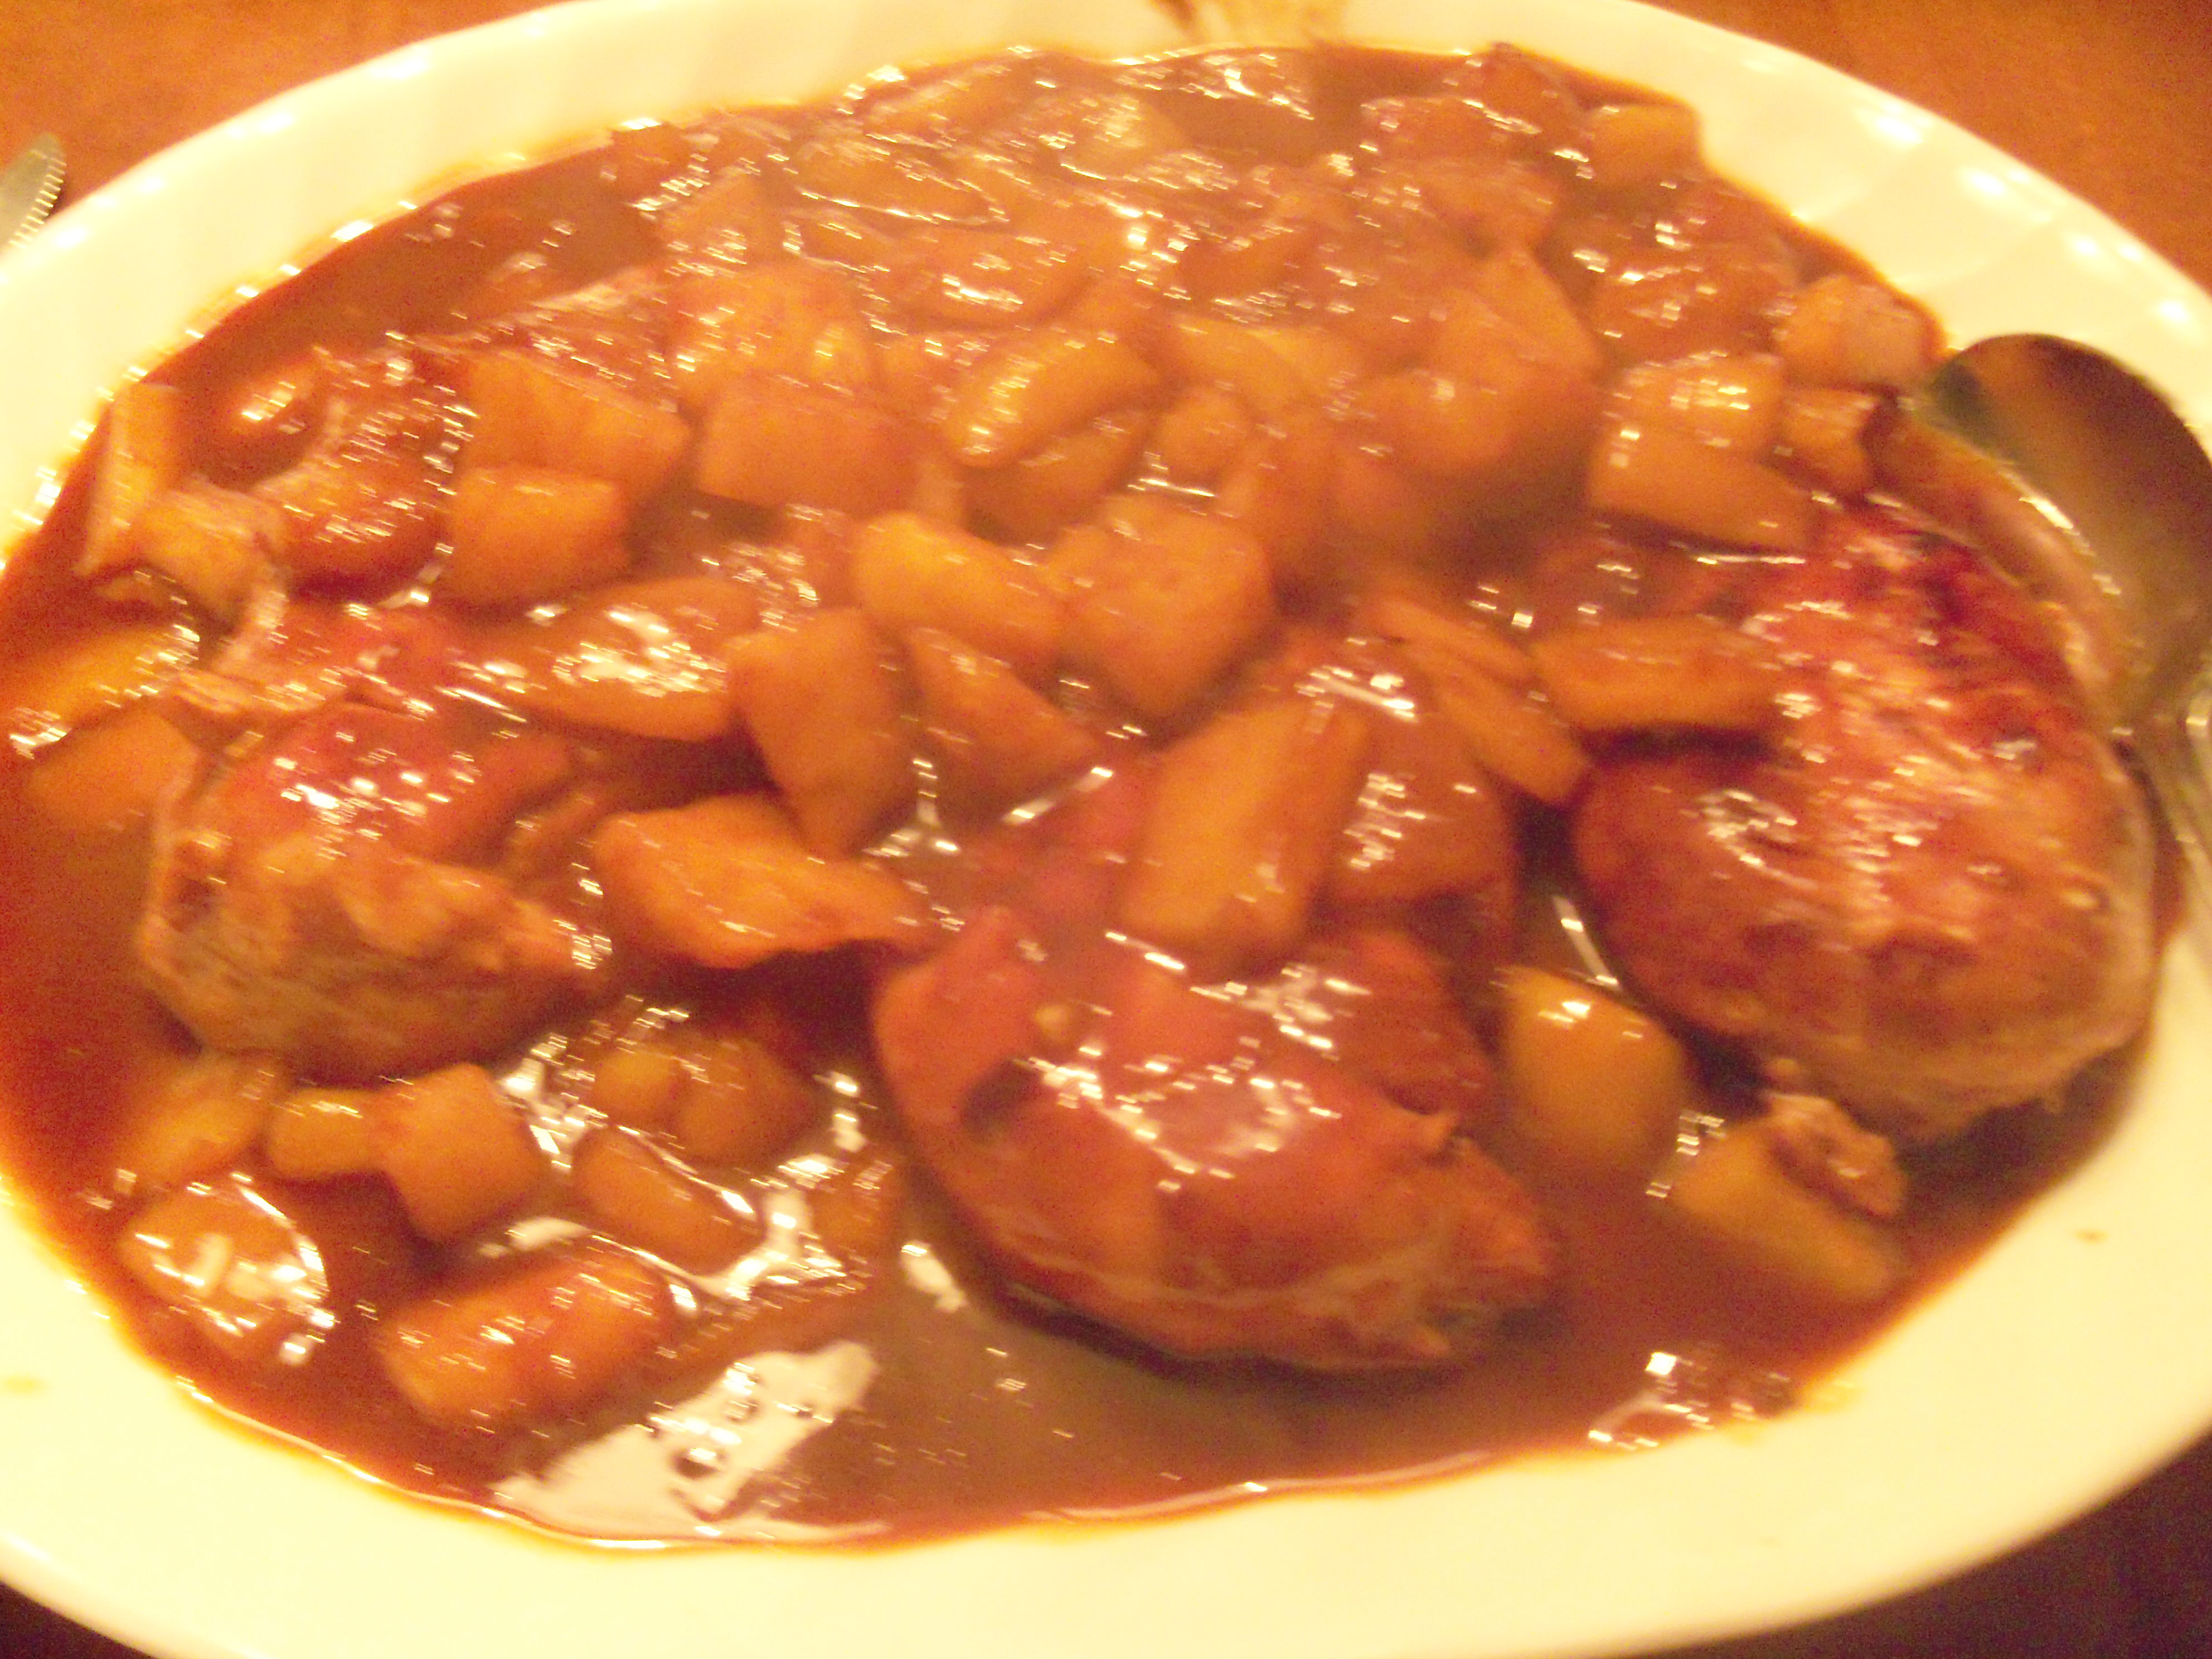
We went to Hawaii in the summer of ’08 and it was one of the most magnificent trips ever. We loved it there. The scenery, the climate, the people, the beaches – and of course the food. I think I ate fish every single night and we had shave ice many times. One of my favorite Hawaiian flavors is passion fruit. I can’t seem to find passion fruit juice or extract around here, so I’m left to improvise with other Hawaiian favorites.

Recently, I was in the mood for something from the islands, but we had had fish a lot so it was time to shift gears. I had chicken breasts and mangoes. I made a quick dash to the store and bought some fresh pineapple too.

I dug out some of the recipes I have from Sam Choy and adapted his Sweet and Sour Chicken Breasts with Tropical Fruits into a recipe I’m calling Hawaiian Chicken.
Marinate the chicken breasts in the following mixture:
1/2 cup tamari sauce
1/2 cup olive oil
1 tbsp minced garlic
1 tbsp minced ginger
1/2 tsp salt
1/4 tsp pepper
2 tbsp cornstarch mixed with 1 1/2 tbsp water
1 1/2 tsp brown sugar

I marinated mine for a couple of hours, but do it for at least half an hour. While that is marinating, cut up one mango and dice about a cup of fresh pineapple.

To cook, I melted a little butter in the pan, added the chicken breasts and about half the marinade and cooked over medium high heat. I let the marinade cook down a bit then covered it to cook the breasts all the way through. I did add some chicken broth (between 1/4 and 1/2 cup) as I went along when I felt the sauce was getting too dark or too thick. When they are close to done, add the fruit and 1/4 cup bottled sweet and sour sauce and salt and pepper. Cook until the fruit softens and the sauce is thick – about 3 minutes.

Bookmark and Share

We went to Hawaii in the summer of ’08 and it was one of the most magnificent trips ever. We loved it there. The scenery, the climate, the people, the beaches – and of course the food. I think I ate fish every single night and we had shave ice many times. One of my … Read more

Out of the oven

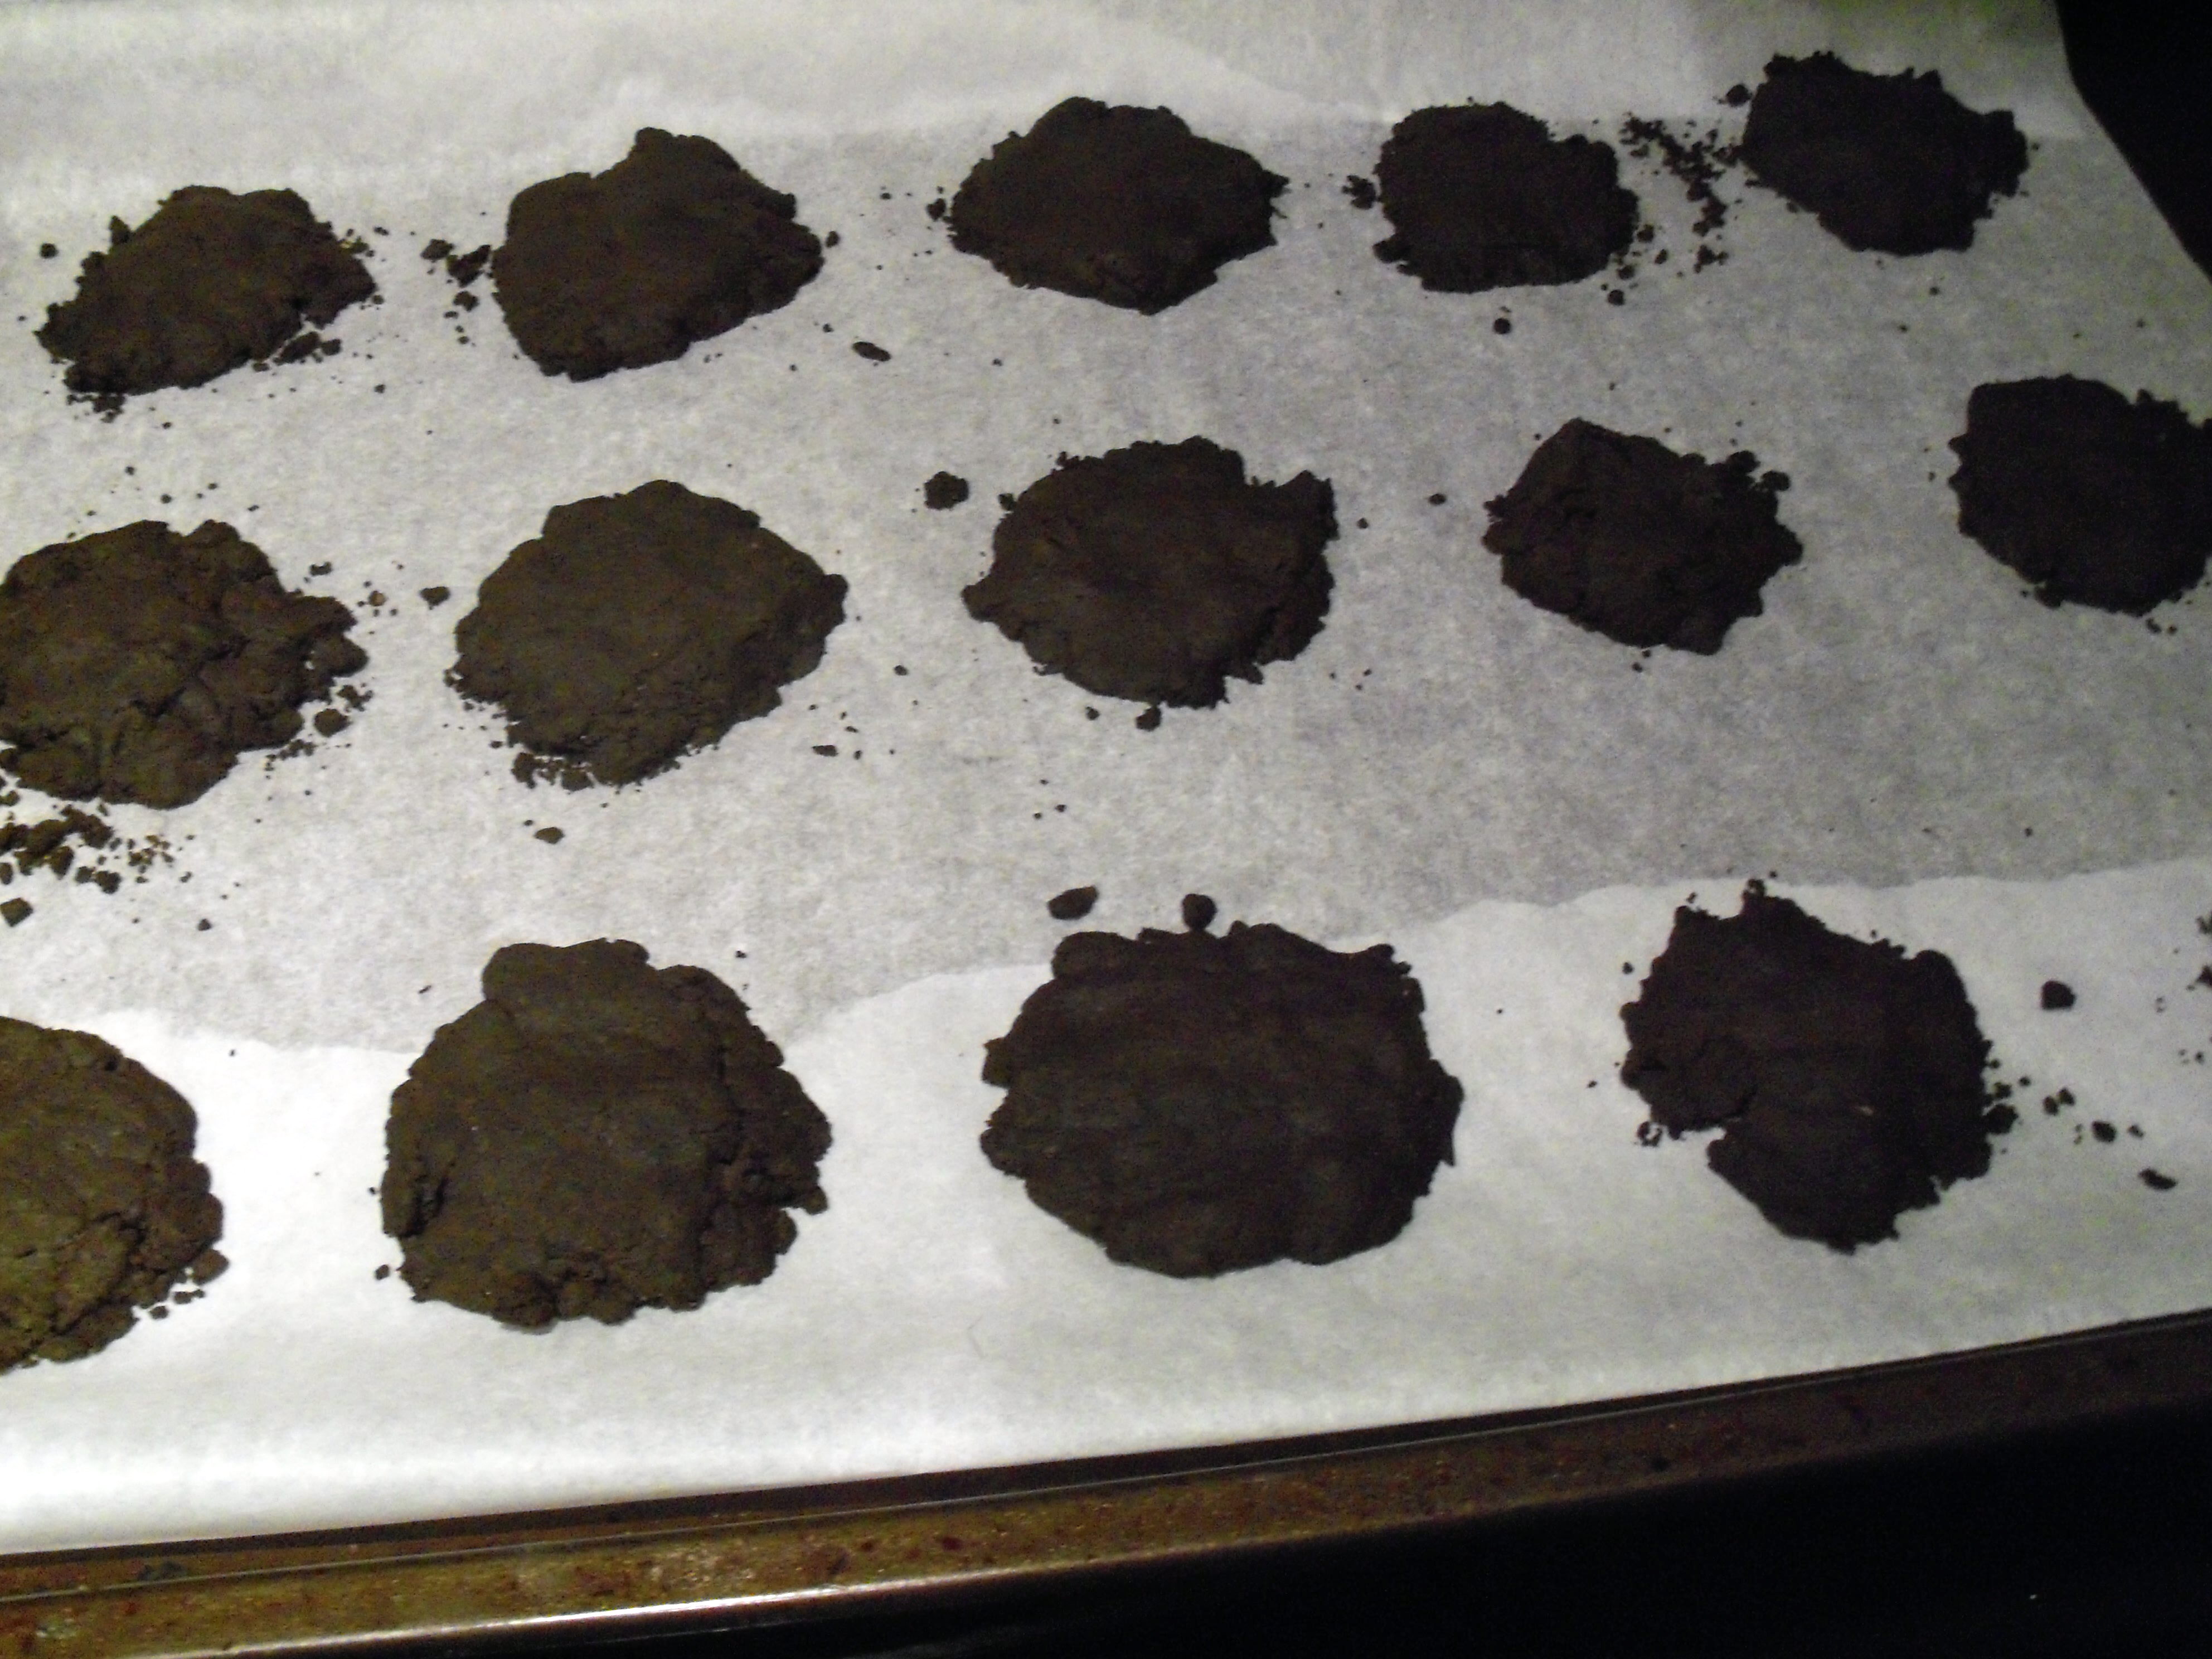
There’s always been an enthusiastic response in the past when Teen Martha baked for the blog. She was at it again. This time she needed to make cookies to take to the National Honor Society induction ceremony. She’s a member and the induction is for juniors. They have a little reception afterwards for new members and parents where they have cookies and punch. I handed her December Living, December Everyday Food and the special issue Martha Stewart’s Holiday Sweets to look through. She choose Chocolate Mint Wafers on page 53 of the special Holiday Sweets issue.

She mixed up the cookie dough and was worried because it was crumbly. She refrigerated it and then formed it into wafers. As you can see, they didn’t look very pretty. The method for this cookie is to make the dough into balls, then flatten then with the bottom of a glass. Teen Martha was not pleased with the outcome of this.

Once the chocolate wafers were cool, she melted chocolate with peppermint extract in the microwave and dunked the cookies. She had a little trouble getting the cookies covered with the chocolate without losing them in the bowl, but did get the job done. She decorated them with little gold balls.

Neither of us is giving this one a thumbs up. Teen Martha felt they were not minty enough. I tasted mint, but they were hard as rocks – almost impossible to bite into. This wasn’t a winner.

Bookmark and Share

There’s always been an enthusiastic response in the past when Teen Martha baked for the blog. She was at it again. This time she needed to make cookies to take to the National Honor Society induction ceremony. She’s a member and the induction is for juniors. They have a little reception afterwards for new members … Read more

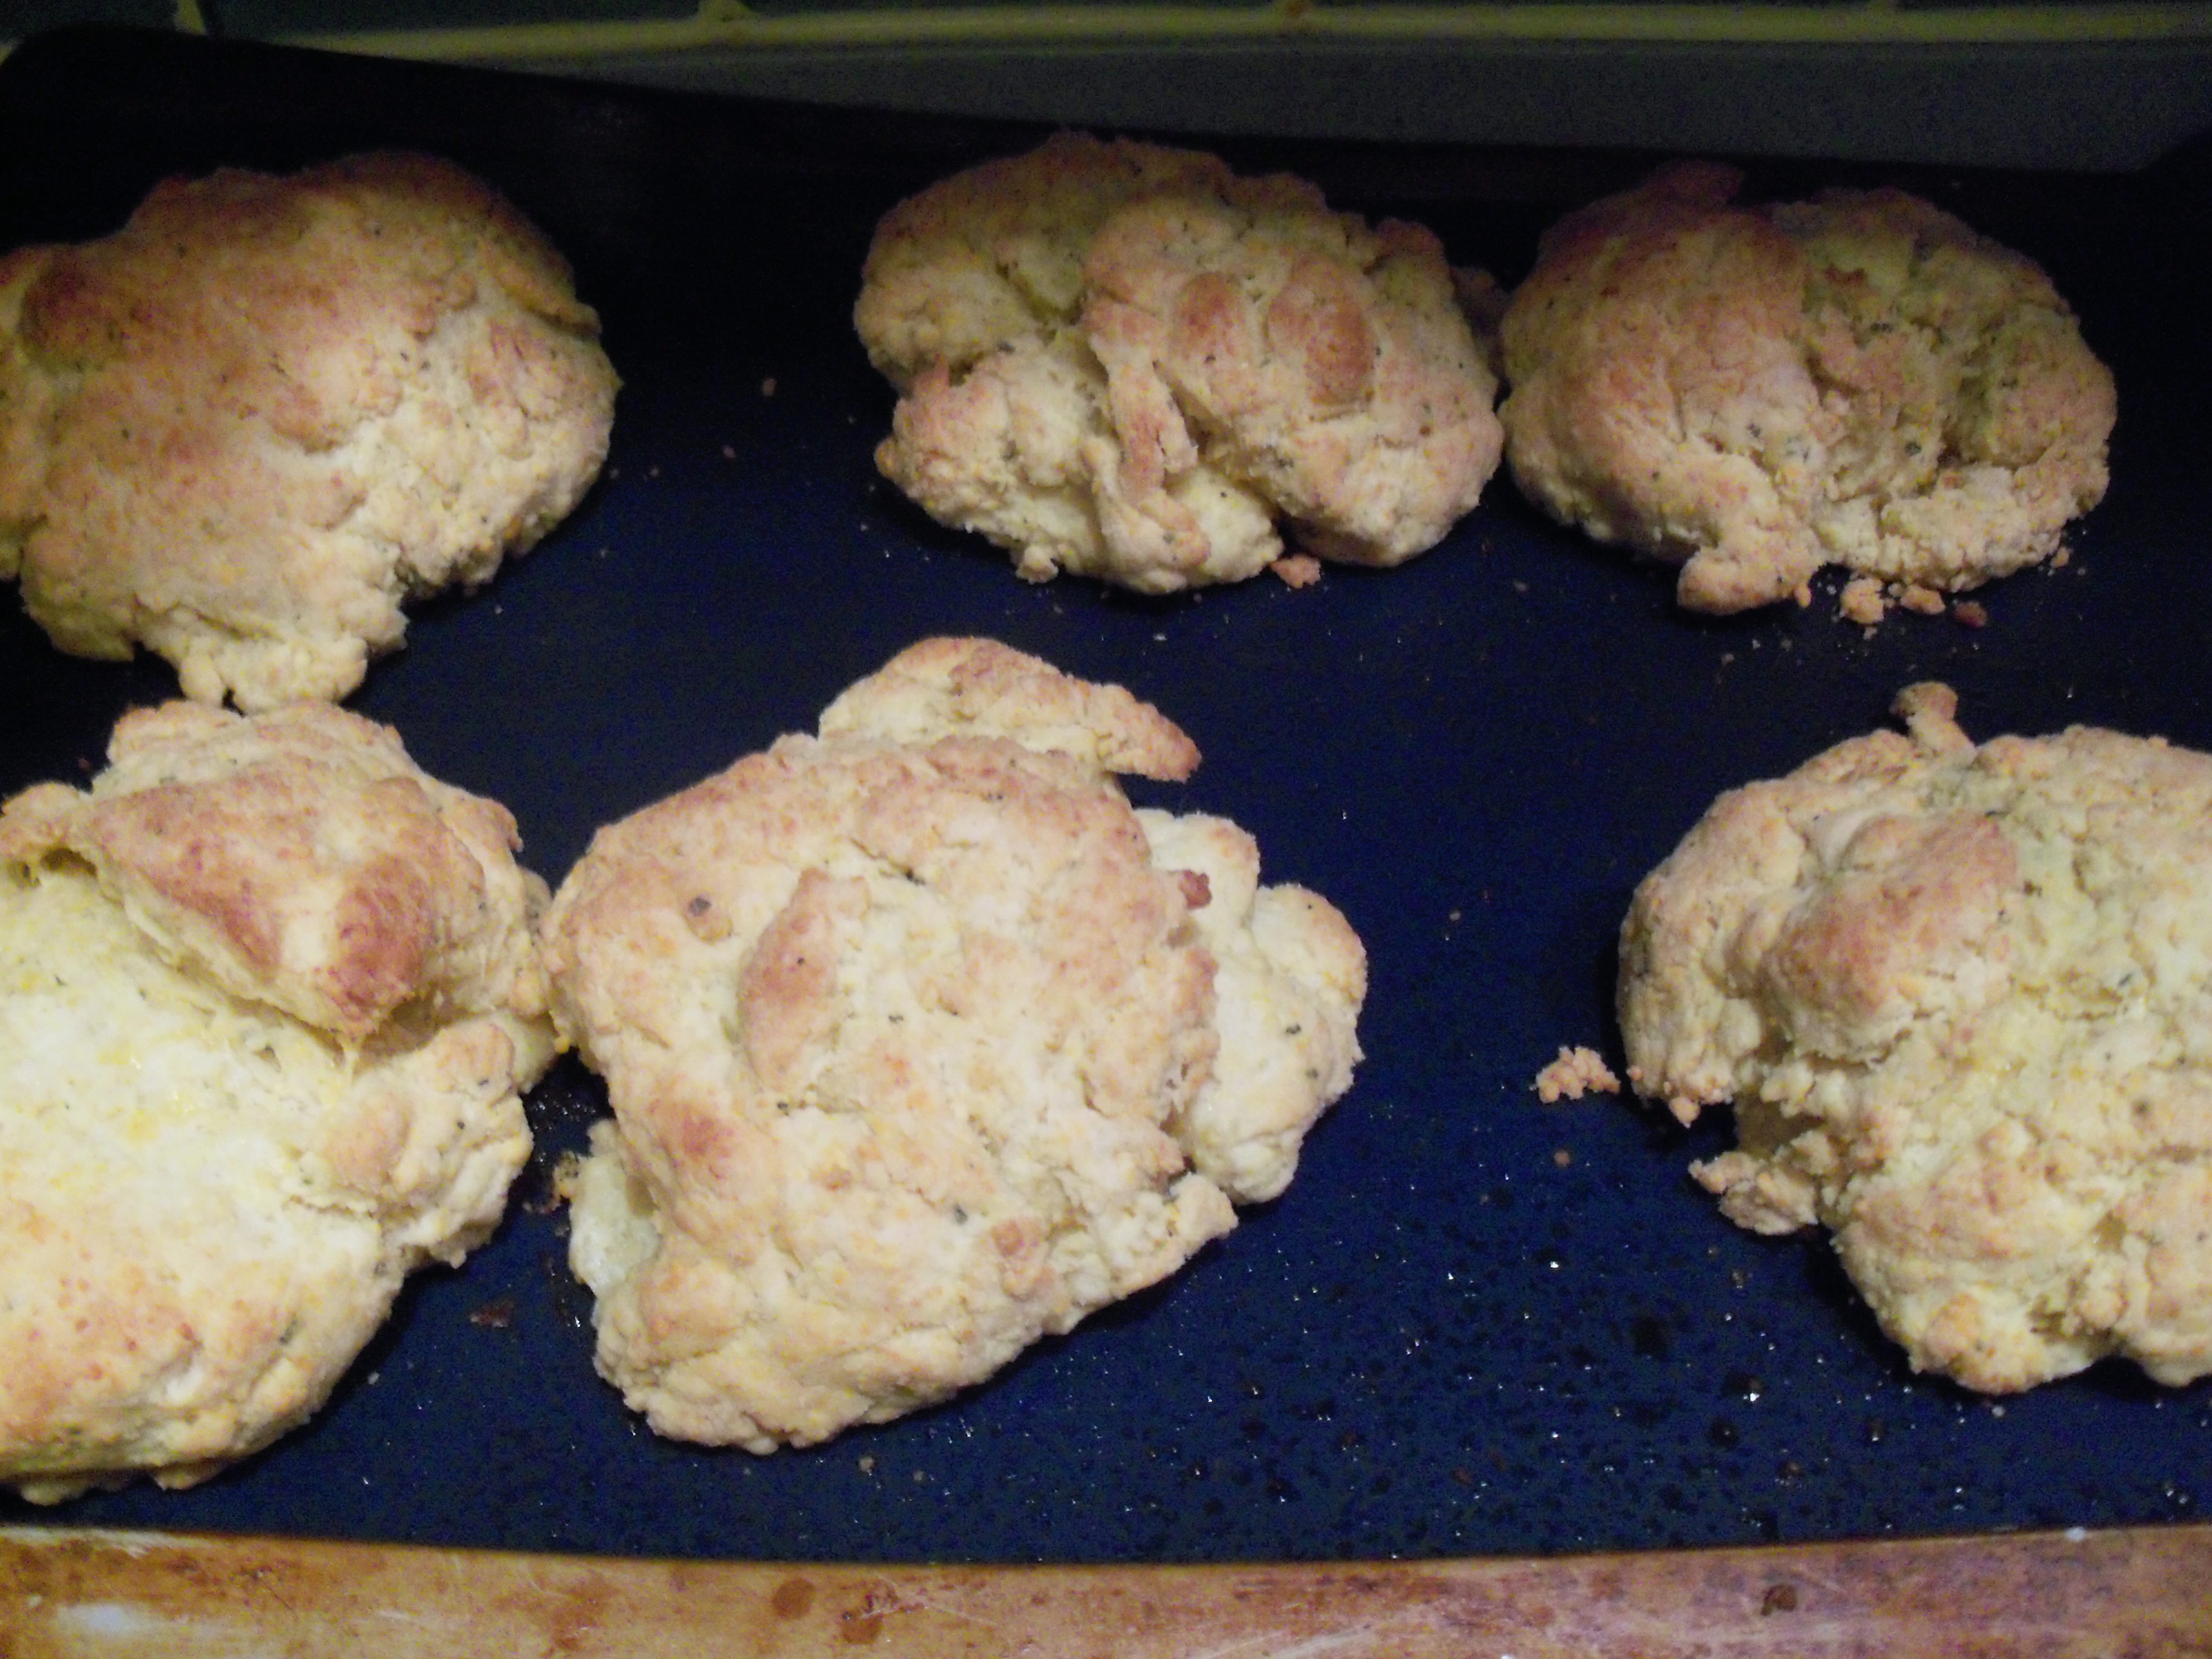
This family loves biscuits and I always make them from scratch, with my mom’s recipe. I’ve learned over the years that biscuit dough needs to be handled as little as possible to get a nice consistency. I always hand form my biscuits instead of rolling them out.

Martha has a recipe for Cheddar and Sage Biscuits in December Everyday Food. I have added cheddar to biscuits before, but never sage, so I wanted to try them.

This recipe recommends making biscuits in the food processor. I’ve always done mine by hand with a pastry butter, so this was new. I also noticed the recipe contains a lot of baking powder – 2 tbsp. The recipe also contains 2 tbsp fresh chopped sage and buttermilk (a must in biscuits!) as well as 2 cups of cheddar cheese.

Using the food processor was quick, but I was worrying about overworking it. I whizzed it until it just came together then hand formed the biscuits.

They baked quickly at 450 and puffed up. Would they win family approval? The answer is, surprisingly, no one even noticed the cheese or the sage. I’m still surprised. I didn’t really taste it either. It adds a very mild background flavor. I did think these biscuits were a little tough and would not make them in the food processor again. They were good though, but I’m going to stick with my mom’s recipe:

2 cups flour

2 tsp baking powder

1 tsp salt

1/4 tsp soda

1/3 cup butter

2/3 cup buttermilk

1/2 cup grated cheddar cheese (optional).

Cut butter into dry ingredients then gently mix in buttermilk until just combined. Pat into rounds and bake at 475 degrees for about 10 minutes. Makes 6 large biscuits.

Bookmark and Share

This family loves biscuits and I always make them from scratch, with my mom’s recipe. I’ve learned over the years that biscuit dough needs to be handled as little as possible to get a nice consistency. I always hand form my biscuits instead of rolling them out. Martha has a recipe for Cheddar and Sage … Read more

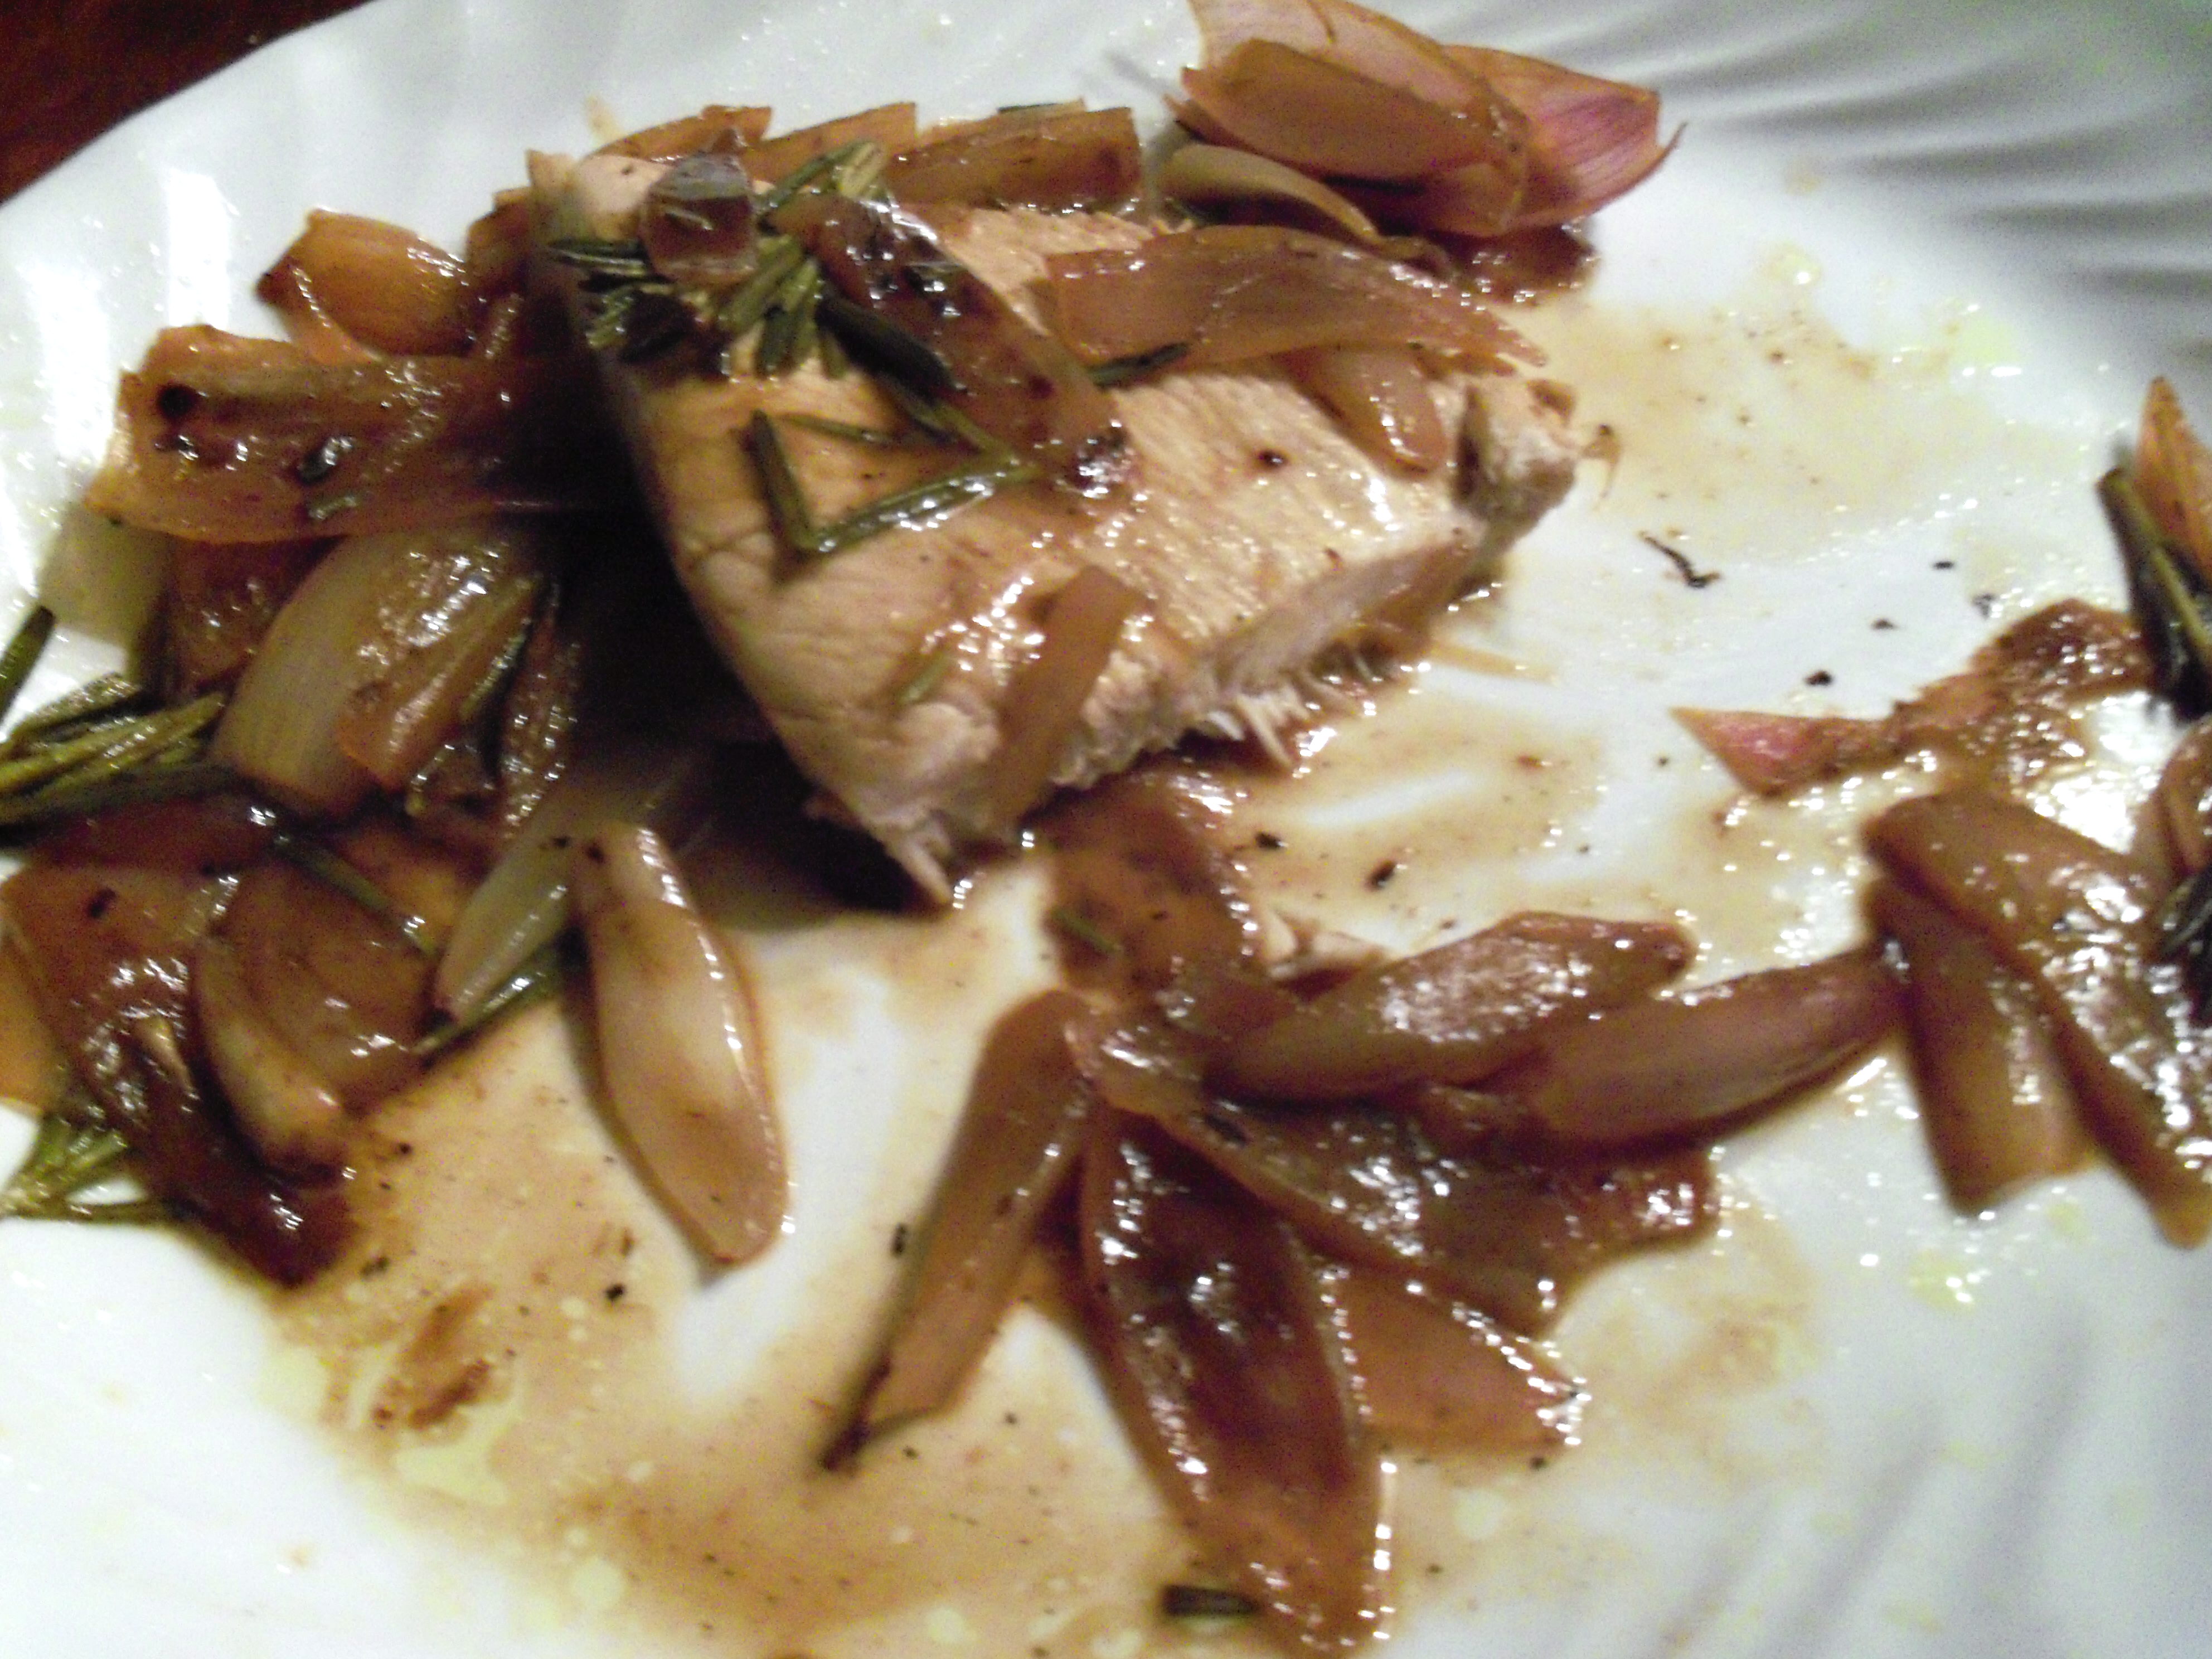
Quick week night meals are always welcome here, so I made Martha’s Turkey Cutlets with Shallots and Rosemary from December Everyday Food. I bought my cutlets pre-cut – Martha says to slice them yourself from one turkey breast. I bought two thick cutlets. Martha says to pound them to 1/4 inch thick. I beat those cutlets within an inch of their lives and they hardly flattened at all.

Next you cook your cutlets in a little oil until almost done (I made sure mine were still very pink inside). Take them out and cook 4 quartered shallots with salt and pepper until soft. She says 4 minutes, but it took a lot longer than that – I didn’t want them crunchy. Next add in 5 springs of rosemary (about an inch long each) and 1/2 cup white wine and cook the wine down to a syrup. Add 3/4 cup chicken broth and cook until reduced by half. I did all of this a bit in advance and when it was time to eat, I heated the sauce up, added the butter (1 tbsp) and stuck the turkey back in to warm it and cook it the rest of the way. Unfortunately, at that point only half my turkey remained – one of the dogs had snatched a cutlet from the counter while my back was turned (and then I forgot to take the photo until we started eating, so it really looks like there was nothing left!).

I have not been a fan of turkey cutlets much in the past – they always get overcooked and have no taste. Because these were thick, they didn’t overcook and there was time for them to absorb the flavor. I really liked it. It was very quick, but the sauce had a nice flavor and it actually felt like dinner, not something you threw in a pan and threw together quickly.

Bookmark and Share

Quick week night meals are always welcome here, so I made Martha’s Turkey Cutlets with Shallots and Rosemary from December Everyday Food. I bought my cutlets pre-cut – Martha says to slice them yourself from one turkey breast. I bought two thick cutlets. Martha says to pound them to 1/4 inch thick. I beat those … Read more

no