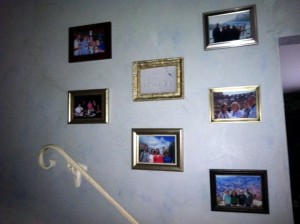
We take tons and tons of photos on vacation. In the past five or six years, I have concentrated on trying to get a really good photo of the four us in whatever fantastic location we are at. We have photos of us eating shave ice in Hawaii, at the rim of the Grand Canyon, in front of a castle in England, in the Colosseum, in front of a glacier in Alaska and lots more. I pick a really good photo from each trip and frame it. However, my shelves and tabletops quickly became cluttered.

For a long time I’ve wanted to do a staircase display of photos and finally I realized that if I gathered all of these photos together from around the house, they made a rather grand collection. Fortunately, the frames they were in worked together. We had an empty wall along part of our staircase, so we got to work.

First we photocopied the photos in the frames and cut them to size. We were then able to tape these up on the wall and move them around to find the perfect arrangement. Then we had to do the hard part – remove the stands from the backs of the photos, so they would lie flat on the wall. That was a commitment because now they can only be displayed on a wall.

Next, we decided to make our lives easy and we used the new 3M removable velcro attachments for wall hangings. One piece goes on the frame and one goes on the wall and they velcro together. The sticky stuff comes off if you pull on a tab, without damaging the wall at all. Miraculous. It also allows for those “oops” moments when you need to correct a mistake.

I am hoping to be able to add to this collection of photos, so being able to remove them and rearrange if I add new photos really helps.

We take tons and tons of photos on vacation. In the past five or six years, I have concentrated on trying to get a really good photo of the four us in whatever fantastic location we are at. We have photos of us eating shave ice in Hawaii, at the rim of the Grand Canyon, … Read more

Photo courtesy FreeDigitalPhotos.net

Laundry stains are something I spend far too much time on. Yes, there are the usual kid stains, but I also manage to spill everything all over myself, all the time. Whatever I am eating, cooking, working on, or touching invariably ends up on my clothes.  I am also guilty of putting away clothes I wore briefly, only to take them out months later and find those yellow stains on them. I have developed a huge stain fighting arsenal to deal with it all.

Cold water and soap: This is the best way to get out blood, chocolate, and tomatoes, as long as you work on the stain as soon as it happens. You have to do this by hand and scrub hard and continue to rinse and scrub until it disappears.

Alcohol, soap, and cold water: This will get out ink stains, but is another process you need to do by hand over the sink, continuing to reapply and scrub until it comes out.

StainStick: This is now called Resolve, but is the same product. It’s a gel stick that you rub on stains when you take the clothes off. It helps prevent them from setting in so they will come out in the wash. I take this with us whenever we travel and keep one next to the laundry hamper. It really cuts down on stain removal work.

Shout: This is my first line defense against stains. It never ruins clothes so it’s always safe to try first. I spray it on and let it set for half an hour, then wash the stained clothes.

Shout gel: This is a more concentrated Shout which also will not ruin clothes. I also let this sit for a while before washing.

Biz: This is a powdered color safe booster you are supposed to add to the wash, but I make it into a paste and put it on tough stains. I let this get almost dry then wash. Sometimes it can bleach out clothes, so it’s always best to test it first.

OxyClean spray: This is also good on tough stains and I like that it comes in a spray bottle.

OxyClean powder: I buy this in a tub and make it into a paste to apply to tough stains. I let it get almost dry before washing. This has also ruined some items, so always test it first.

Chlorox Bleach pen: I use this only on whites and only on stains I can’t get out any other way. It allows you to apply bleach directly to one single spot without getting it everywhere. I usually apply, then immediately rinse with cold water so the bleach does not spread.

Grandma’s Secret Stain Remover: My mother-in-law bought this for me and it sometimes works when other stainlifters will not. It comes in a tiny little squeeze bottle and can be hard to use, but I’ve had success with it.

DL Hand Automotive Hand Cleaner: This looks a little out of place on the list, but it works! This is a pink no-water needed hand cleaner that cleans grease. It’s marketed to mechanics. My husband and father-in-law used to repair office furniture and used this to clean grease off their hands. It is spectacular for tough, greasy stains. Rub it on. Let it sit a while, then wash.

Chlorox 2: This is my newest stainfighter and it got stains out of a shirt that nothing else on this list could touch. I was ready to throw the shirt out and had a free sample packet of this so I decided to try it. It’s a thick liquid, so I poured a little on and let it sit for about half an hour and then washed it. It was magic.

Some other tips about stain-fighting:

  • If at all possible, work on the stains before sending the clothes through the wash. The dryer seems to set tough stains in.
  • Sometimes if you scrub at a stain with a toothbrush this will help to remove it.
  • If you have a piece of clothing with a lot of stains, instead of targeting each one separately, try soaking the garment in a tub with Oxyclean or Biz. I use about a cup of powder to a gallon of water and let it soak.
  • Always check your stained item after you pull it out of the washer and before you put it in the dryer. As mentioned earlier, the dryer will set it and you won’t have as good a chance to get it out.
  • Washing your clothes in cold water will help prevent stains from setting as well.
  • Avoid detergent stains on clothes by always starting the washer, putting in the soap, then putting in the clothes. If you pour detergent over the clothes, sometimes it will stain them.

Do you have any stain-fighting tips?

Laundry stains are something I spend far too much time on. Yes, there are the usual kid stains, but I also manage to spill everything all over myself, all the time. Whatever I am eating, cooking, working on, or touching invariably ends up on my clothes.  I am also guilty of putting away clothes I … Read more

My next book, The Organized Kitchen, is now listed on Amazon (for pre-order) and I got to see the cover for the first time! I think it’s a pretty Martha-worthy title. And my years as an unofficial Martha apprentice definitely taught me a lot and helped me write this book. I’ll be talking more about it once it’s closer to the pub date (which is January – perfect for New Year’s resolutions!) and sharing some of the tips then.

My next book, The Organized Kitchen, is now listed on Amazon (for pre-order) and I got to see the cover for the first time! I think it’s a pretty Martha-worthy title. And my years as an unofficial Martha apprentice definitely taught me a lot and helped me write this book. I’ll be talking more about … Read more

I love to read Martha’s organizing ideas, so I have carefully read the Organizing Principles on page 80-81 of  February Martha Stewart Living.

– Martha suggests storing food in glass jars. This is something I do want to do. I currently store some things in plastic, but I have to say I am becoming paranoid about plastic. The recent news about BPA makes me question the safety of all plastic, so I would love to make the switch to glass. It’s an expensive proposition though to buy all the right sizes and shapes. I’m not wild about freezing in glass jars though.

reward-cards– I used to have the worst time finding my keys and cell phone in my purse. Martha suggests using a shower curtain ring to attach your keys to your purse handle. That doesn’t strike me as very attractive! My solution has been to only buy purses that have a cell phone pocket and a pocket for keys.  She also says to use a mini file folder in your purse for receipts.  I usually stuff receipts in and remove them when I get home. I do have  a separate little zippy wallet thing to keep coupons, reward certificates and punch cards in. I keep all of my store reward cards on a ring. Mr. MarthaAndMe punched a hole in each one and they are now on there in alphabetical order so I can find them!
– Martha suggests keeping a dish next to the sink to put your scrub brush on. We have a tip out little compartment on the front of our sink that I keep ours in. Out of sight, out of mind. I would rather not see my scrub brush.

– My spice collection is on a group of little wire shelves on the side of the pantry. Martha suggests a lazy Susan. I hate those things! Things always fall off behind them. They seem like such a 70’s thing to me. It doesn’t strike me as a new solution.

– We keep our appliance manuals in a big box, alphabetized. Martha suggests keeping the ones you need for the tv, etc in that room. That’s a good idea. Or it would be if Mr. MarthaAndMe would ever consent to actually read an instruction book!

– Martha has a tip for storing your ironing board. Mine’s even easier. Don’t have one. Seriously. I do not iron. I know that is so not Martha, but I really have nothing that requires ironing. Mr. MarthaandMe’s dress shirts go to the cleaners.

– I do not keep magazine stacks around the house. I cut out recipes I want and toss the rest. This dovetails nicely with Martha’s advice, so I’m already on the bandwagon there. She says to cut them out and keep them in binders. I have 5 three ring binders that I keep all my recipes in, divided by category. I actually learned to do that from my mom, who has always kept hers that way.

– Martha says to have a laundry caddy for stain removal. I just keep all my stain removers above the washer. No caddy necessary. I don’t quite know why you would need a caddy for this – don’t you just work on stains in the laundry area?

– The bathroom makeover tips are interesting – I’ll be posting more about that in coming weeks. We are redoing a bathroom right now (a nightmare of workmen and dust).

– I generally write on leftover containers of food with a Sharpie. Martha says to use masking tape. I find that by the time I’ve written on the container and crossed it off and written on it several more times, it is ready to be thrown out anyhow.

– I had to laugh at the suggestion that we screw the lids of small glass jars to the undersides of cabinets, so you can just screw the jar of bolts or whatever right onto the lid. My father did this in the basement workshop area when I was a kid. He used baby food jars. I remember how impossible it was to screw the jar onto the lid – much harder than just putting a lid on a jar!

I love to read Martha’s organizing ideas, so I have carefully read the Organizing Principles on page 80-81 of  February Martha Stewart Living. – Martha suggests storing food in glass jars. This is something I do want to do. I currently store some things in plastic, but I have to say I am becoming paranoid … Read more

In my quest to do things the Martha way, I am taking to heart the suggestions in the December issue of Living.

On page 4, Martha provides what she calls “gentle reminders”. I’ve read her tipping guide. I don’t have that many people to tip, although I do have to buy gifts for teachers, tutors, and a house cleaner. Usually I do gift cards for these people and I’m going to do that again this year. However, I may be cutting back on the amounts (isn’t everyone cutting back?) and giving some candy (Martha’s recipes) in addition to the gift card.

Next, Martha suggest we create handcrafted gift card holders. I am going to give this a try for some gift cards I am giving to relatives.

Martha suggests we organize all of our paperwork from the holidays – receipts and warranties. I’m ahead of the game on that. I have a manila folder in my desk I put every receipt in. What I really need to learn to do, however, is to write on each receipt what it is for and what item it is. In the spirit of Martha, I’m going to add that to my to-do list.

Protecting our pets is the next tip. I actually have a funny story about this one. I have a gumdrop tree. It’s a metal tree that you stick gumdrops on. My kids love it. It usually sits on an end table in the family room. Last year one of our dogs disappeared while we were eating dinner at some point in December. He returned licking his lips which is a bad sign. It turns out he completely denuded the gumdrop tree! This year, we put it out again and I forgot about that, so he promptly helped himself again. We’ve now moved it to the top shelf of a bookcase in the family room. He occasionally walks over there and lifts his nose in the air and sniffs to let us know he would really like some.

Because we have big dogs with big tails, I don’t do candles, except for one Yankee candy that sits on a high table. I don’t have anything else that is dangerous for our dogs, so I think they are safe for the holidays.

Page 134 has tips for simplifying the season.  Martha suggests keeping a master calendar. I already do that. Next she says to remember to unwind. I do need to remind myself of that. Yesterday I ordered a holiday mystery for myself from Amazon and I am going to make time to sit down and enjoy it.

Another tip is to update your address book. When we got out the Christmas decorations, I found the cards we received last year in the basket I keep them in. I went through them to see if I could make any into gift labels and came upon a note from friends with a new address. I’ve got to add that into my address book (which I now keep in pencil so it is easy to make changes!).

Last year I cut back my Christmas card list and stopped sending them to people we don’t really know. I’m continuing with that this year. I bought one box of cards and that’s going to be it. If I need more, I have lots of leftover ones from years past.

Martha recommends postponing some holiday festivities. This is good advice. My dad’s family does not celebrate together until Jan 2 this year and we usually see my in-laws a few days after Christmas. It eases the craziness and gives you something to look forward to after the big day.

Another suggestion is to reevaluate gift exchanges. Oh, wouldn’t I love to do this! We buy gifts for some people that we barely know and I would love to put an end to that. It’s easier said than done though and negotiating something like in my family is nearly impossible.

Our decorations are completely up (I’ll post some photos soon) and my shopping is just about done. Next I’ve got to get serious about wrapping and baking.

In my quest to do things the Martha way, I am taking to heart the suggestions in the December issue of Living. On page 4, Martha provides what she calls “gentle reminders”. I’ve read her tipping guide. I don’t have that many people to tip, although I do have to buy gifts for teachers, tutors, … Read more

Martha sent me an organizing tip of day about first aid kits. We have a first aid kit and I can’t tell you how many times it has saved the day. Not only do we have one in the bathroom, but I also keep a small one in each car. When we travel, I take along another small one. I find that Band-aids at least are an essential when traveling and I like to be prepared for other emergencies. When you stay in a hotel, it’s not as big a concern, but we often rent condos and there is no one to help you nearby, so you’d better be prepared.

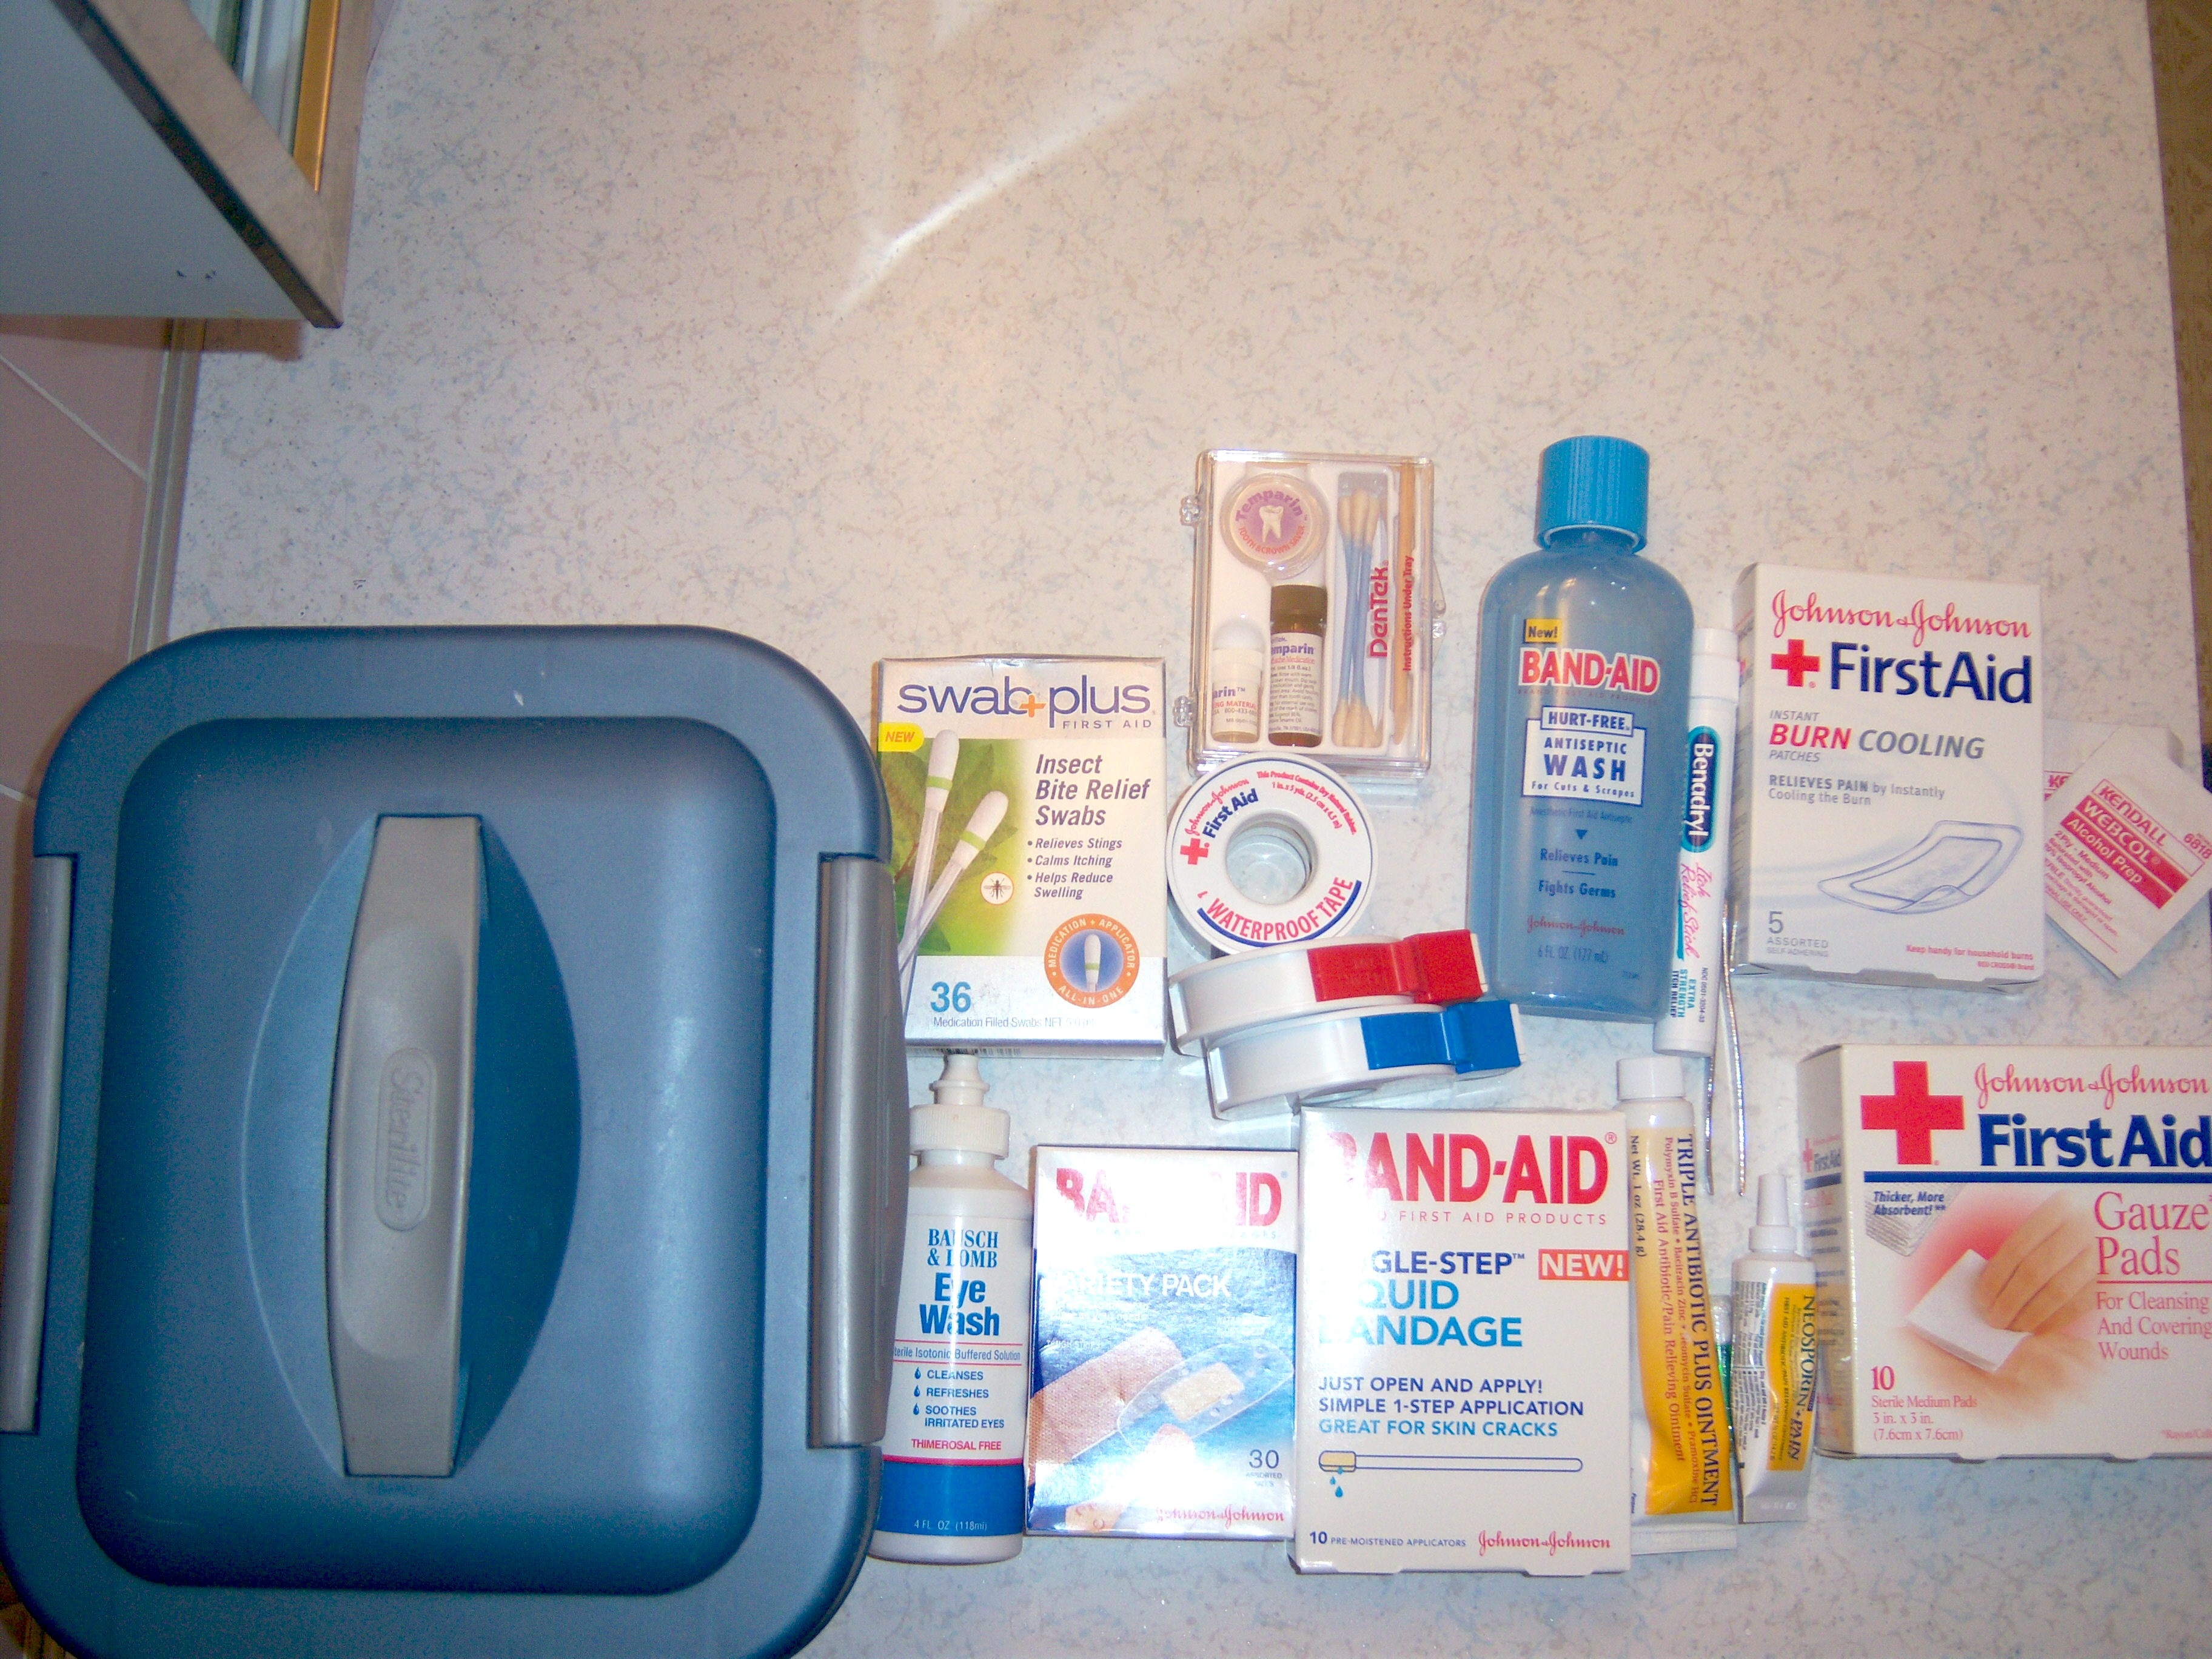
Contents of our kit

Contents of our kit

Our first aid kit is kept in a plastic box with a handle (being able to grab it and go has really made things easy when it is needed). Here are the items I include (my list is more extensive than Martha’s- who would have thought I could be more anal than Martha!):

– band-aids

– Band-Aid brand hurt free antiseptic wash

– gauze

– tape

– triple antibiotic cream

– Neosporin

– bee sting remedy

– temporary dental filling kit

– eye wash

– special burn bandages (these are gel bandages that cover a burn and hydrate it – they are excellent!)

– insect bite remedy

– tweezers

– alcohol wipes

Now, when I read this email from Martha I thought “HA! I’m all set on this one” Think again. When I went to get the kit out, it was a total mess.  I felt totally like a bad mother (an occurrence I experience at least once a week I’d say!). The lid was off, things were out of their boxes and some things were on the shelf next to it. If someone was hurt, I would have had to scramble around to get out what I needed. Martha’s email resulted in me cleaning the mess up, getting it organized, and tossing out some out of date items. Martha would probably have on her calendar to restock this every few months (since I do not have a calendar of when household tasks should be done  – who does other than Martha?). As for me, I’m going to make an effort to keep it together and organized from now on. This was a useful tip from Martha. Knowing this kit is my cupboard, ready to go, gives me a safe feeling. Even a small task like this is definitely a way to bring a tiny bit of improvement to your life.

Martha sent me an organizing tip of day about first aid kits. We have a first aid kit and I can’t tell you how many times it has saved the day. Not only do we have one in the bathroom, but I also keep a small one in each car. When we travel, I take … Read more


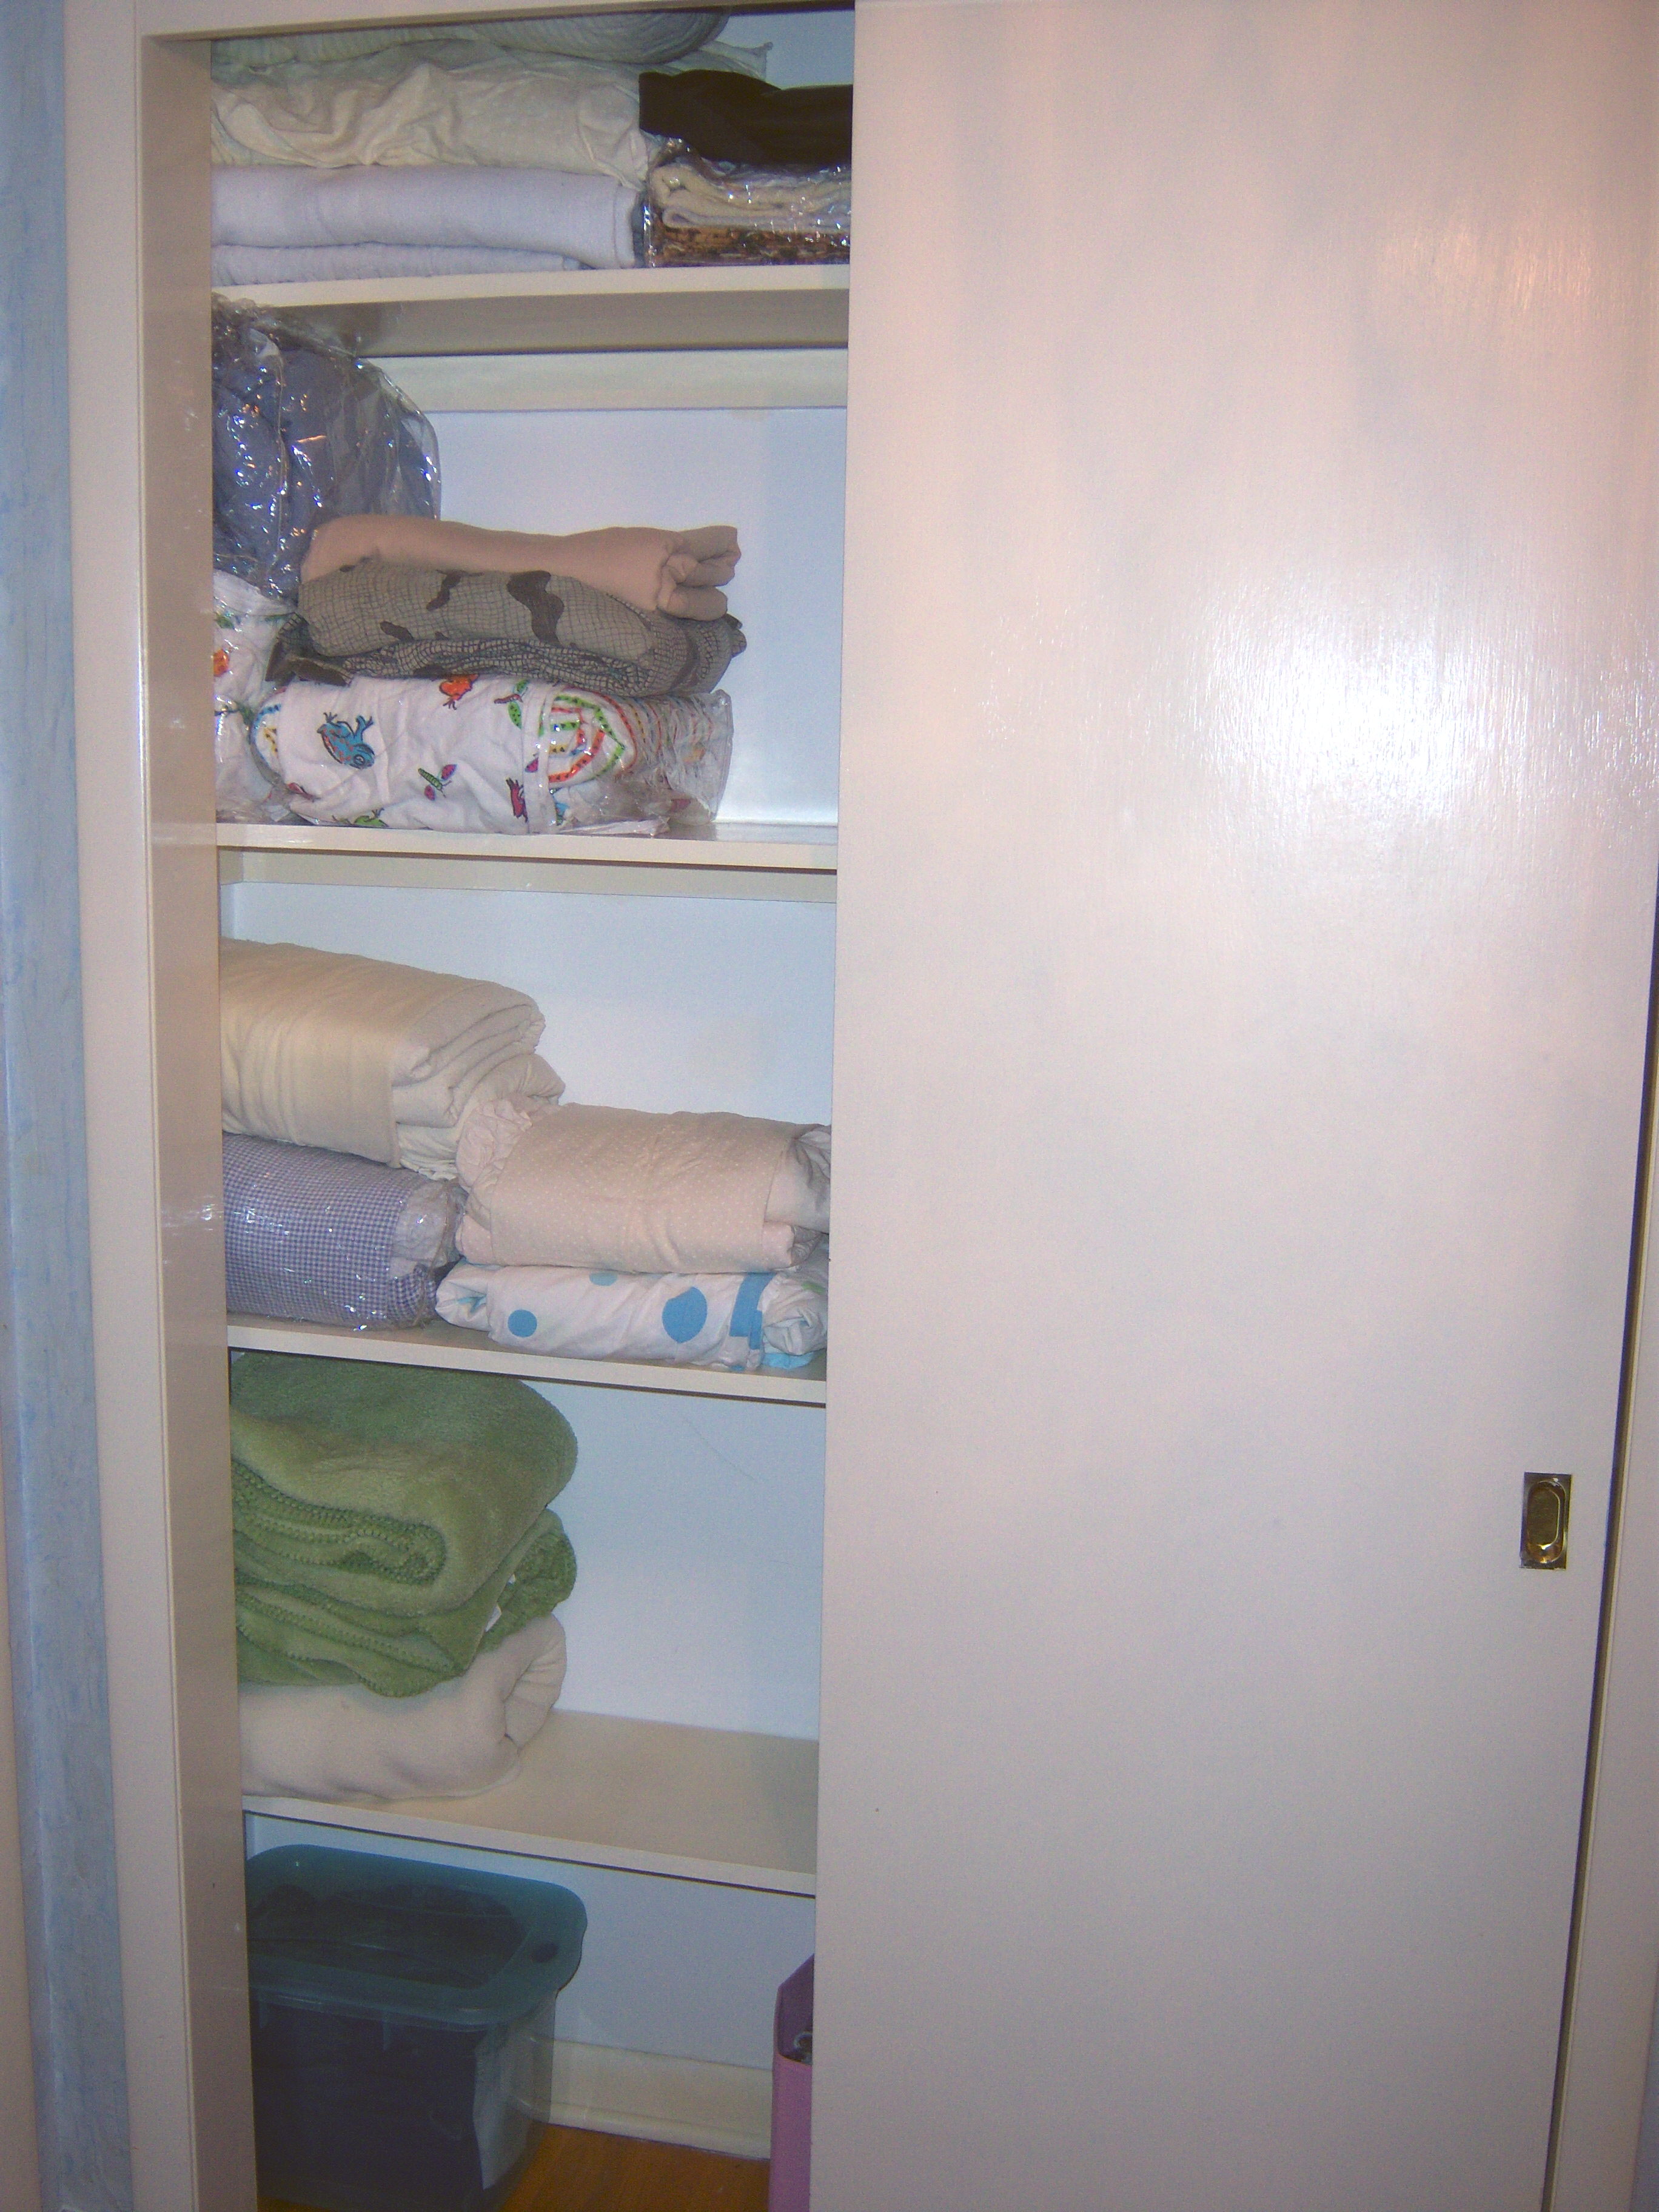
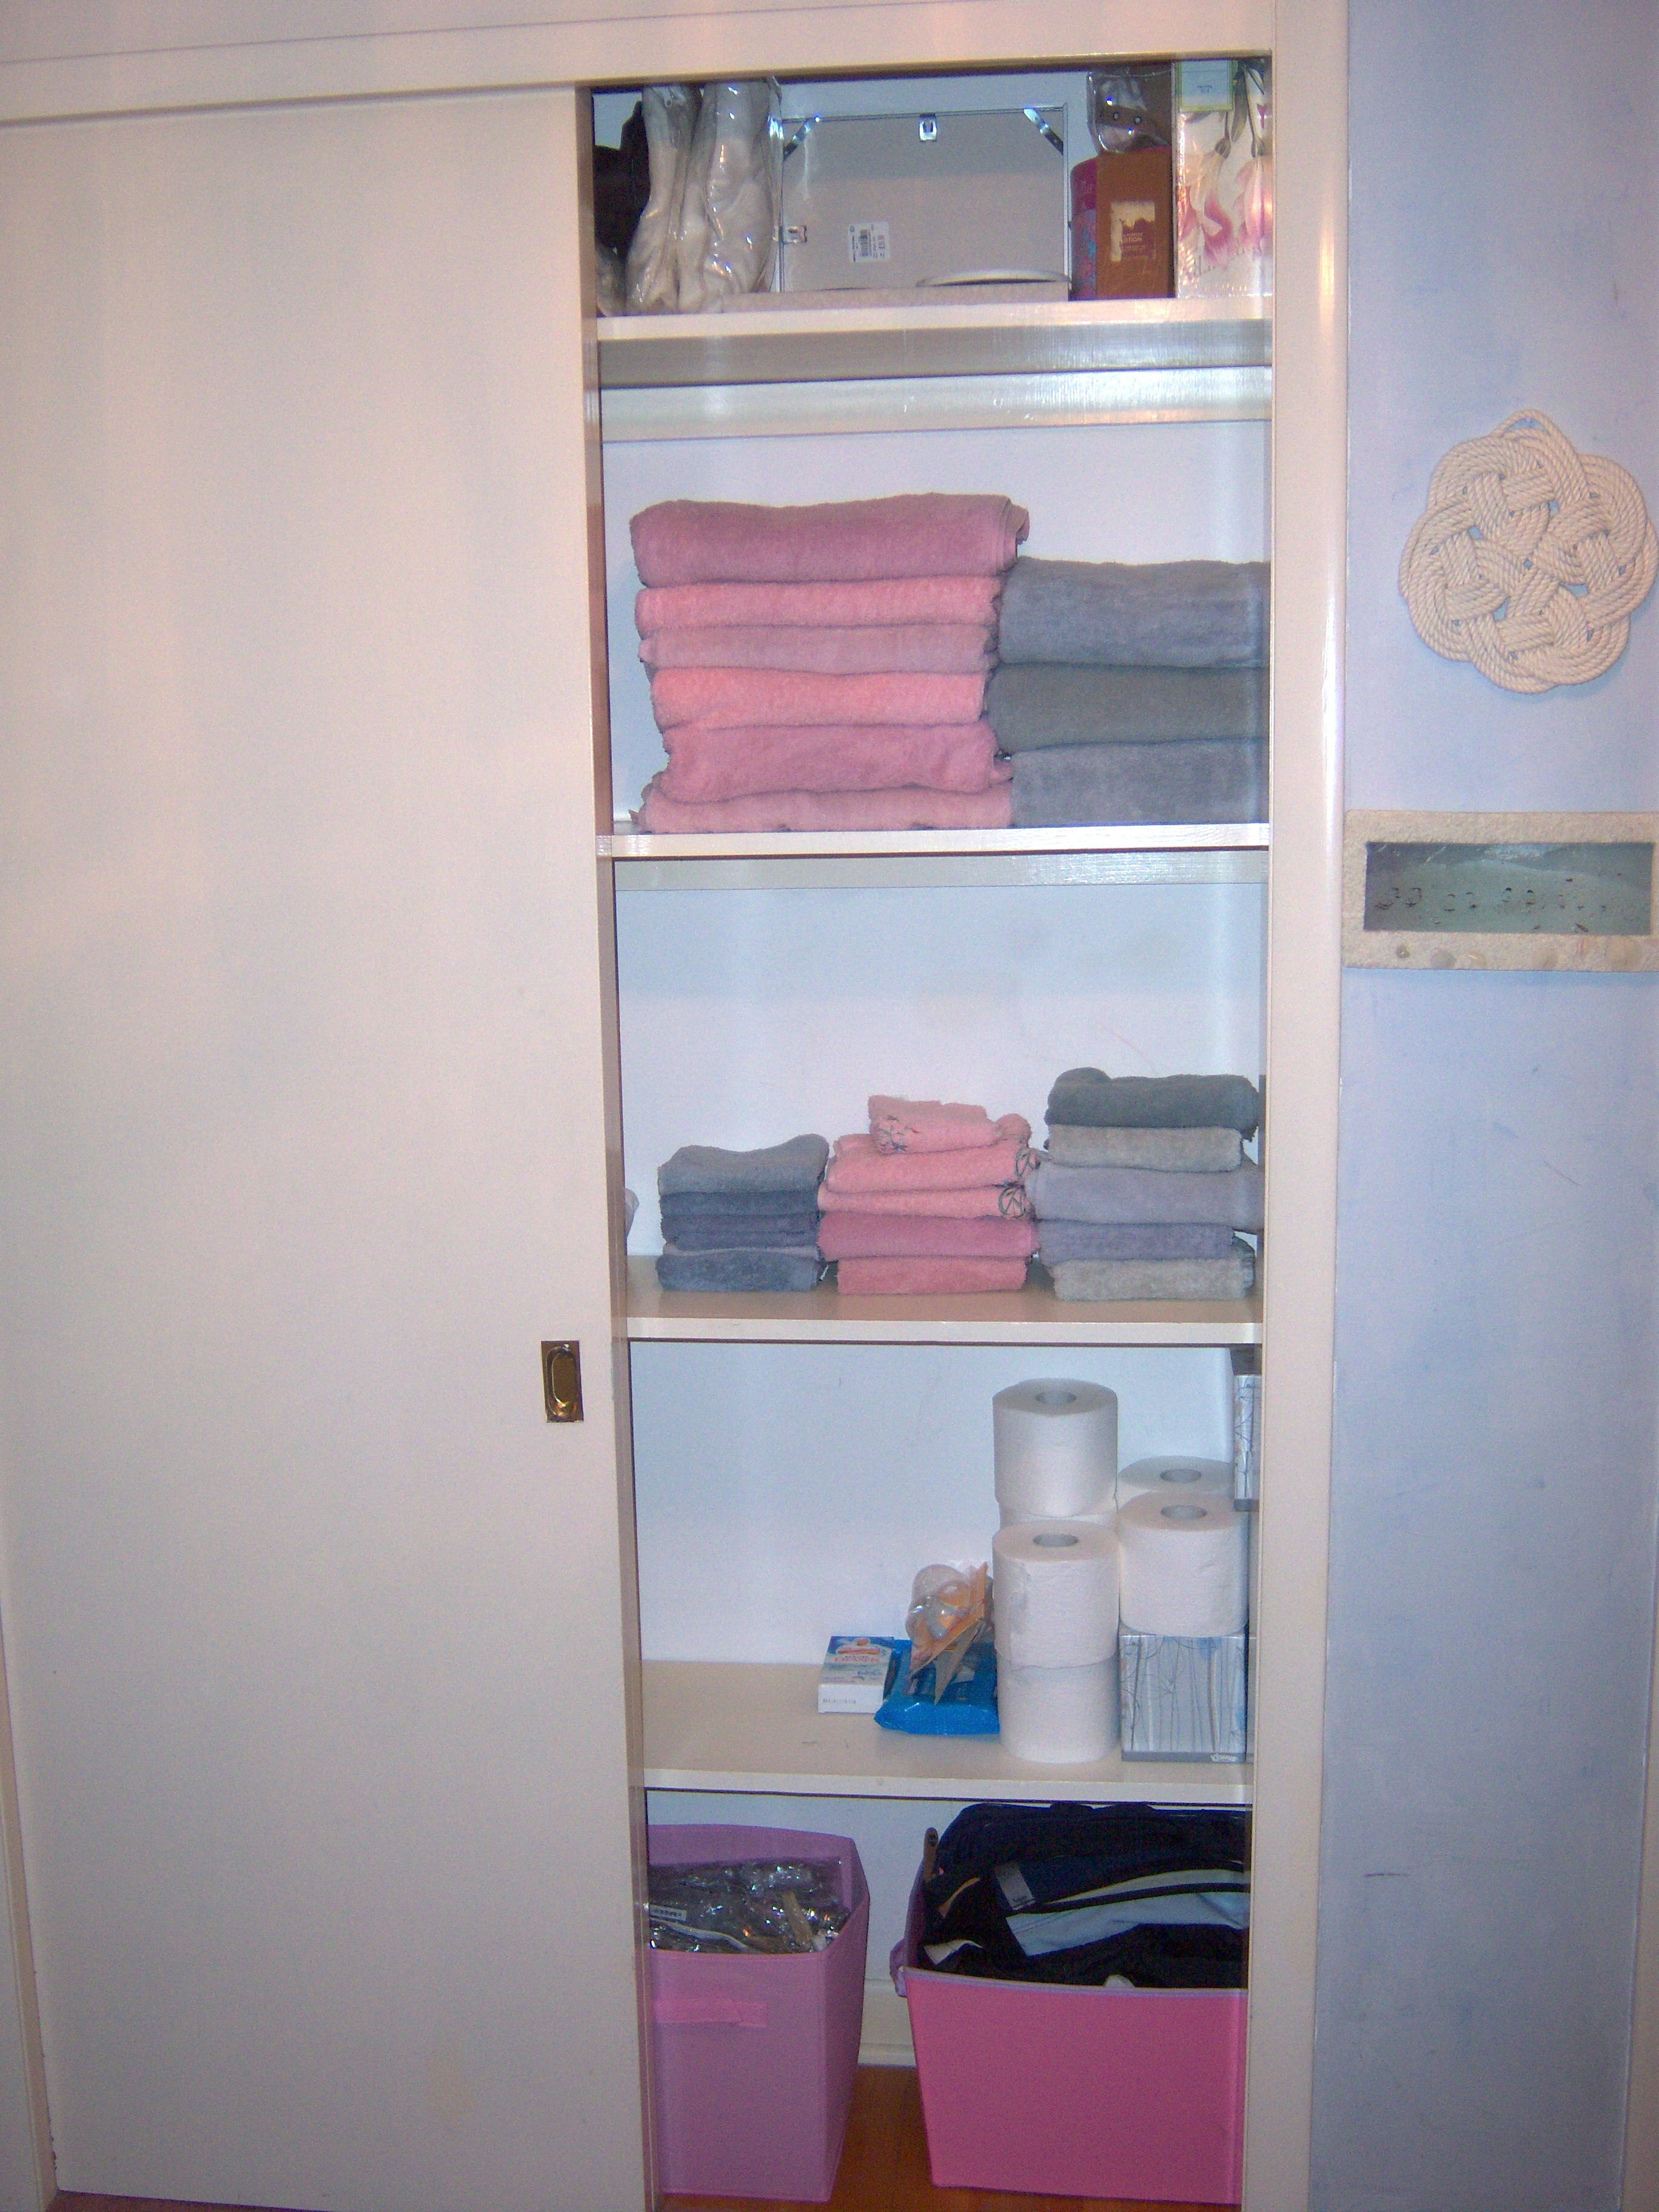
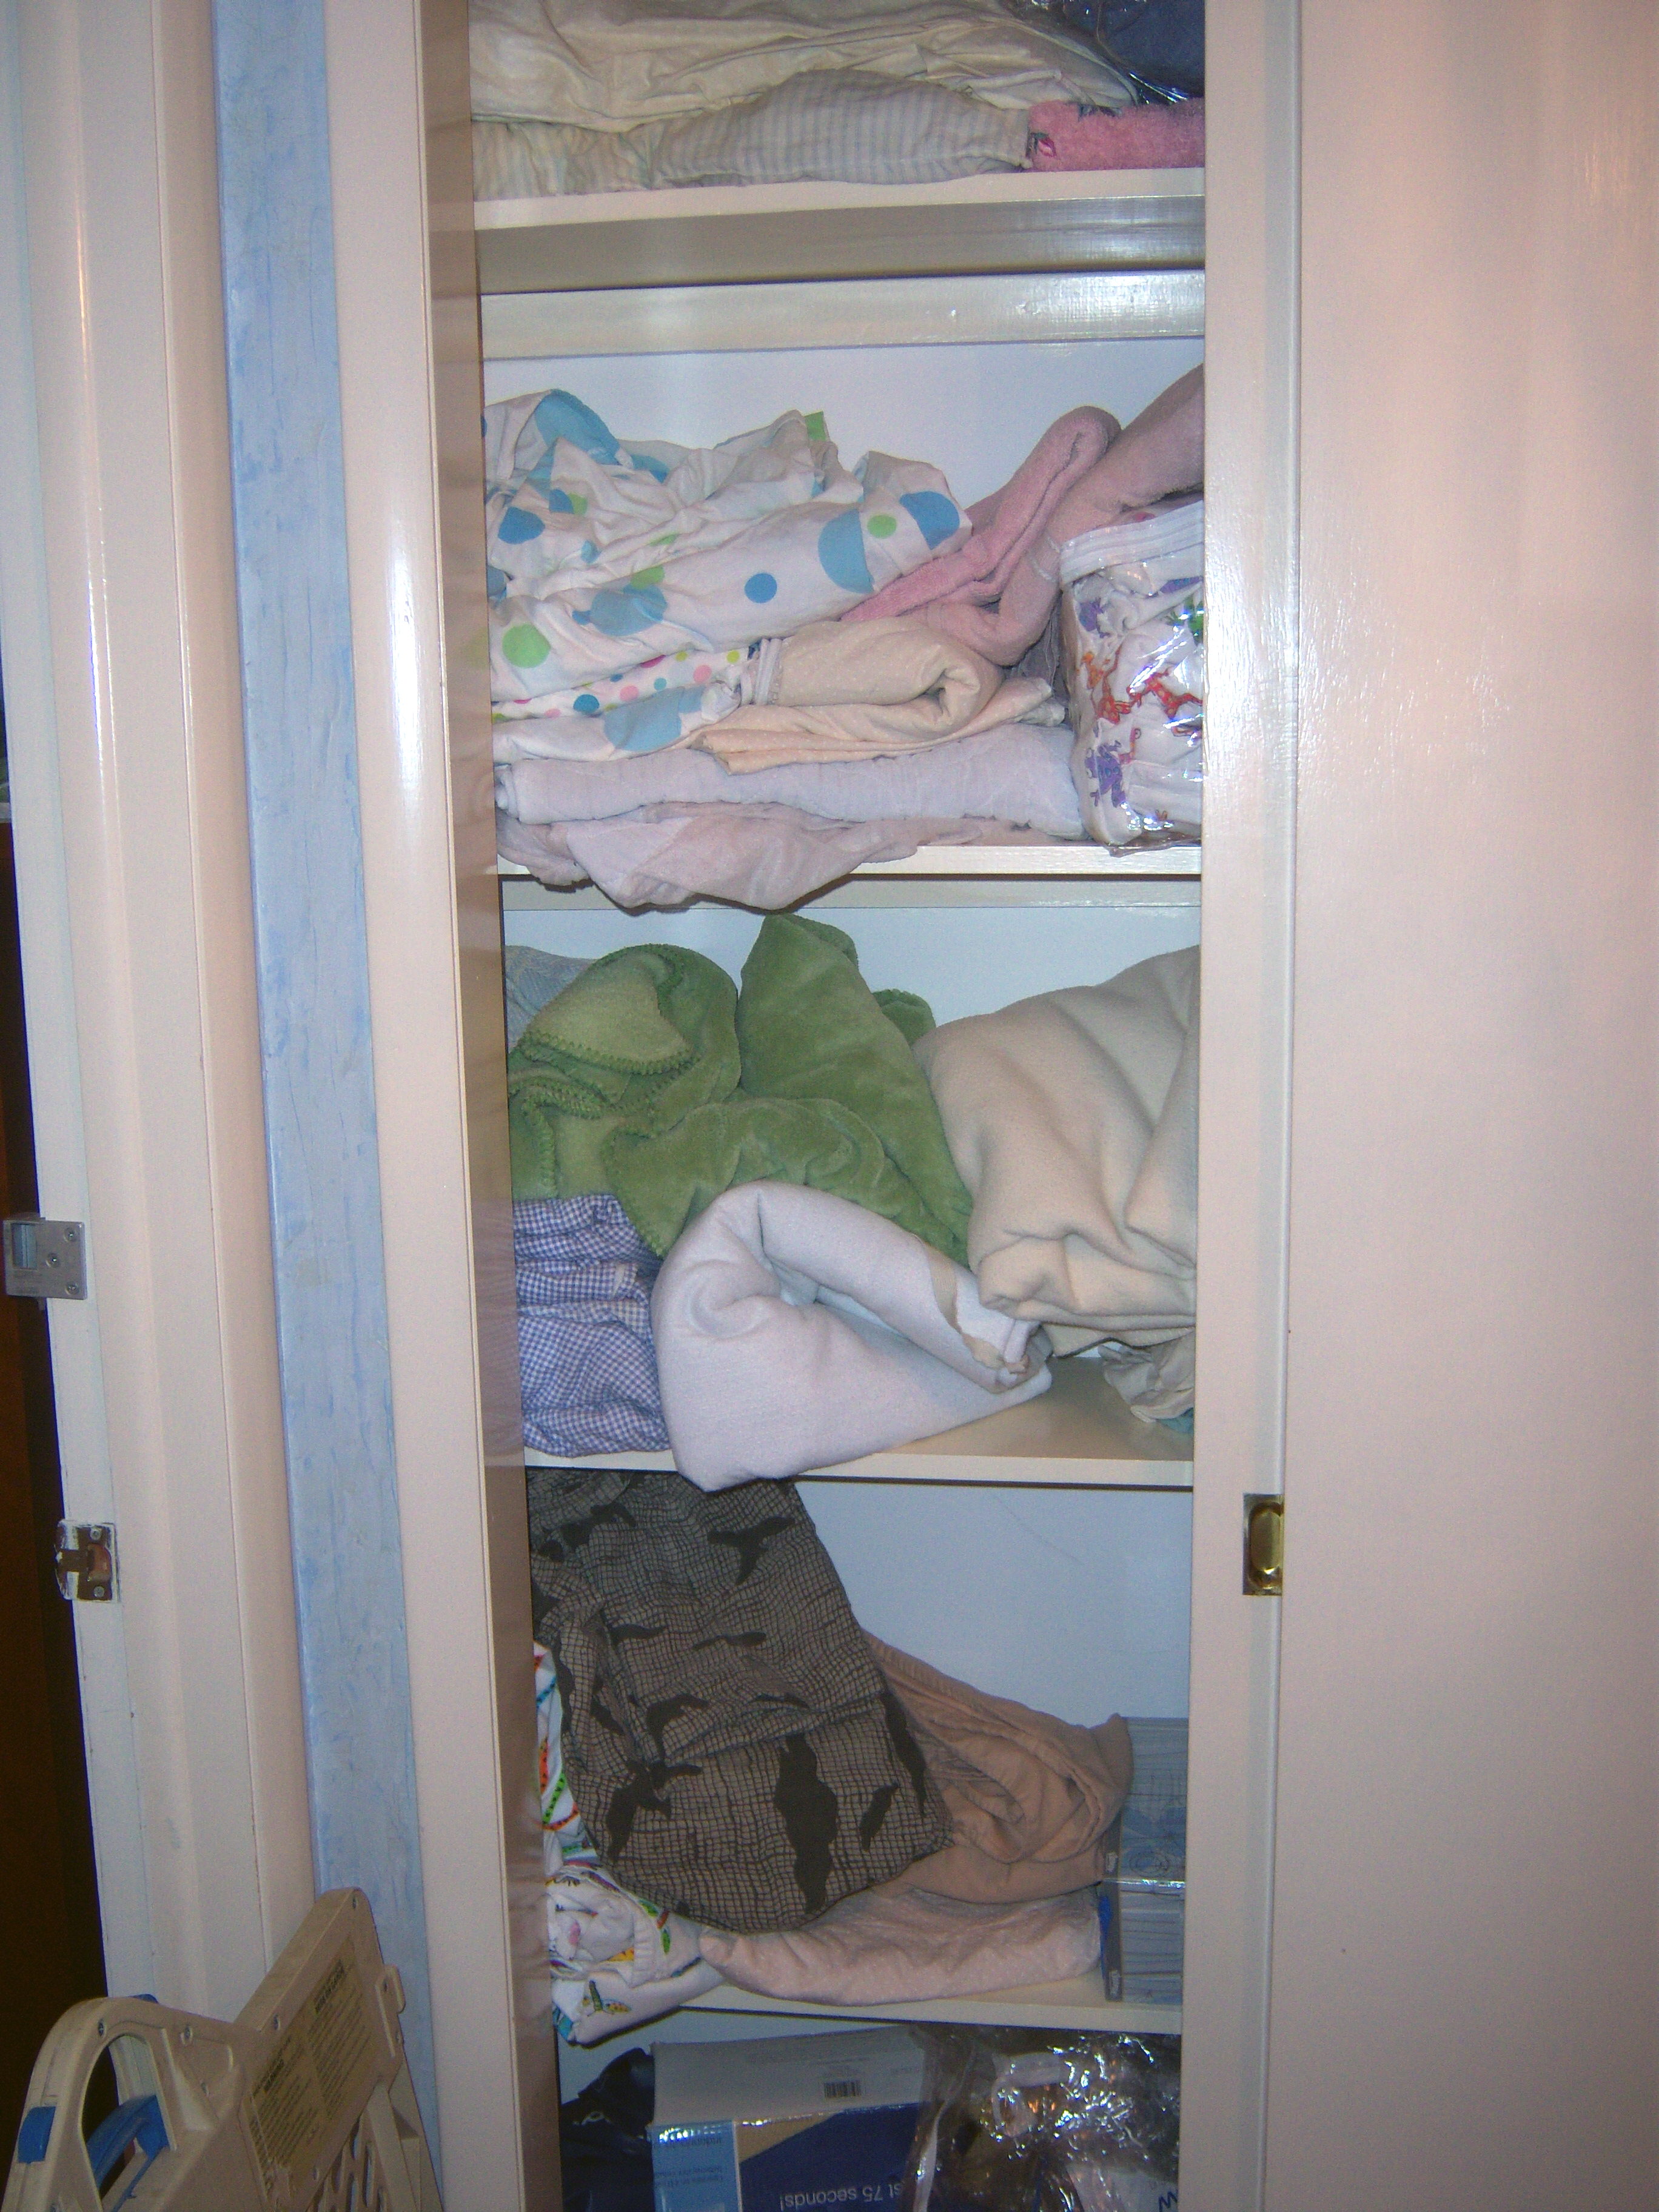
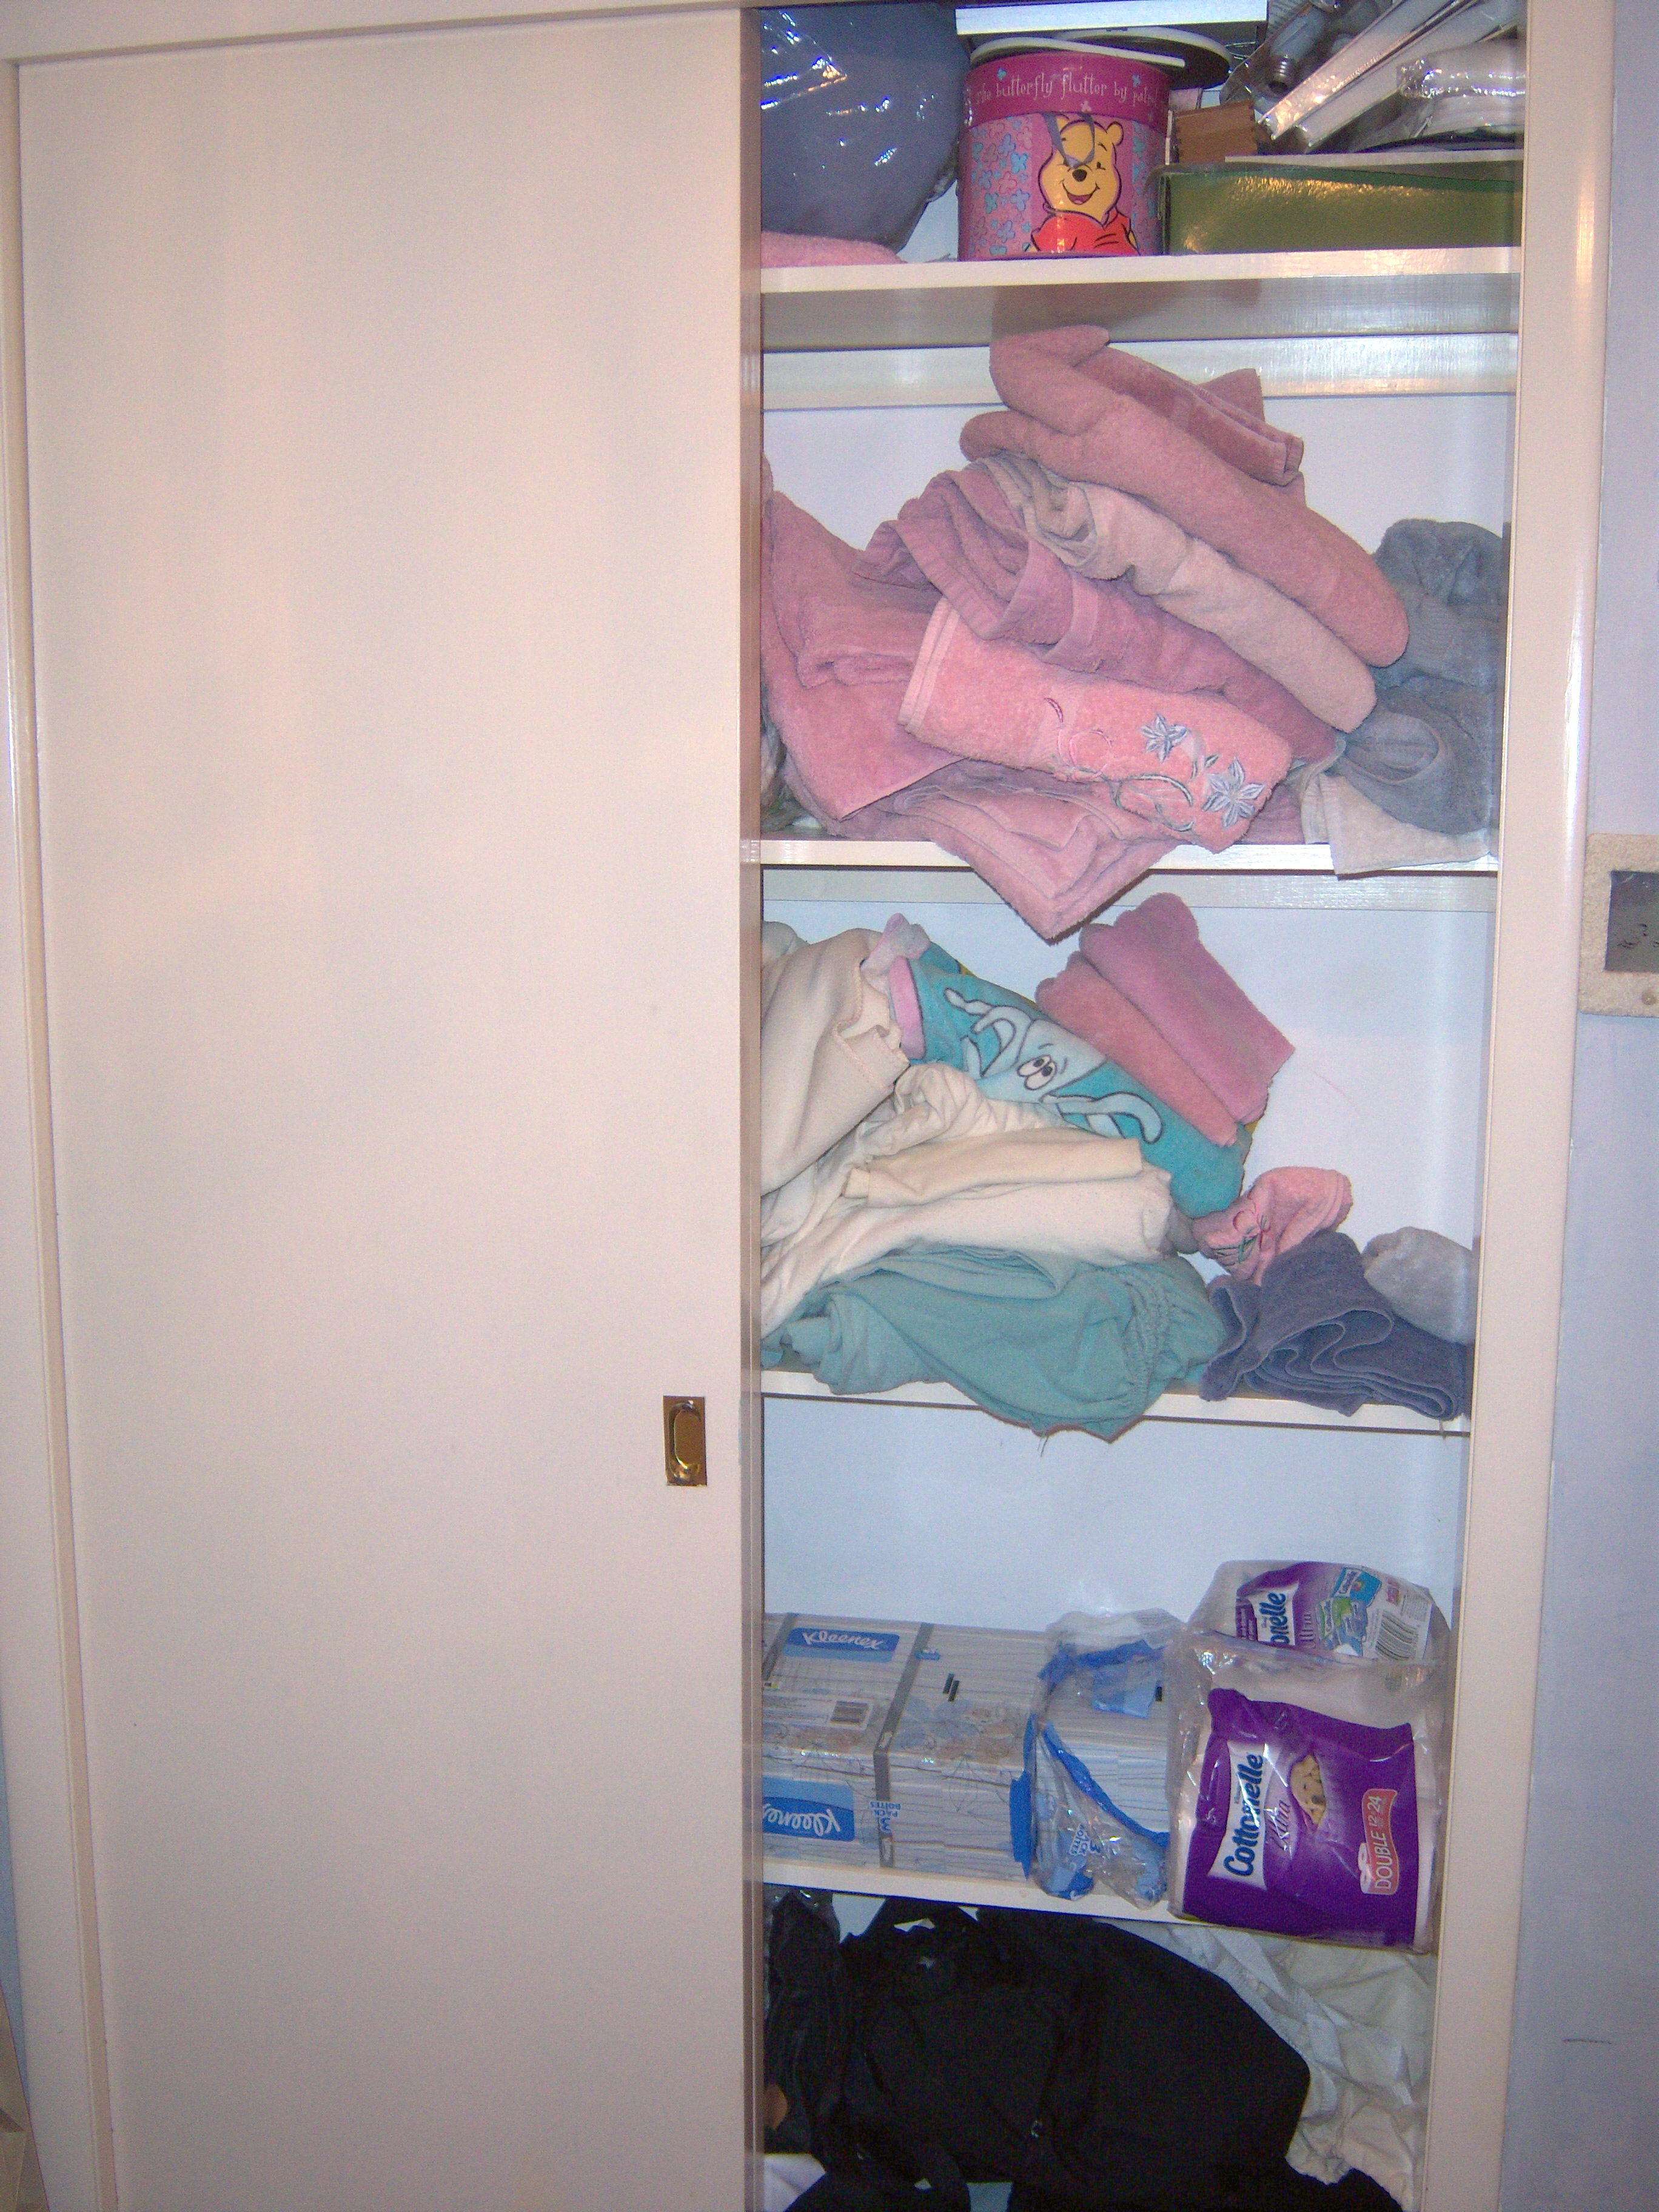
Martha decided it was time to organize my linen closet. She was right. As you can see below, it was pretty messy. I sat down and read all her advice about linen closets on the web site. Some was simply not practical. If I had as much money as Martha does, I could probably install drawers in my linen closet (I am totally serious – that is her ultimate solution), but since I wasn’t up for breaking the bank I went for a simple reorganization. Martha’s other organizational solution is to buy shelf brackets and install them on the top of the shelf upside down and use them as dividers (follow the link above and you’ll see how she does it). This is an inexpensive solution, sort of. They aren’t that expensive, but it feels like too much of a commitment to me to nail those in. I’m stuck with those sizes and shapes on the shelves then. Not to mention – you can’t just nail them in – you would have to paint them and wait for the paint to dry. Ugh. Not happening. This was to be a one afternoon project.

Martha also recommends you label the shelves – “full sheets” or “bath towels”, etc. That seems a little nutty to me. I know what’s what and I don’t need to label it.

The Depths of the Closet

Left Side of Closet

Left Side of Closet

Right side of closet

Right side of closet

This closet holds linens for the kids’ beds (as well as some for twin beds which we no longer have!) as well as towels (many of which are old and yucky) and supplies for their bathroom. The top shelf is filled with odds and ends (including my Brownie uniform!). The floor of the closet holds our collection of tote and duffel bags, an air mattress and a pile of those plastic zip bags that sheets and blankets come in when you buy them. Our closet has sliding doors that never open and shut properly because something is always getting stuck. In short, it really needed help.

We Began
Mr. MarthaandMe assisted me with this project and we started by taking everything out. Eek. There sure was a lot in there. Then we started with the sheets. We read how Martha recommends you fold a fitted sheet. We even left the instructions up on my monitor while we tried to do it and it never really worked. It always ended up somewhat bumpy and uneven. Have you tried this? If you can make it work, please let me know! There was a lot of under the breath cursing during this phase of the project, I must admit!

Martha did have one idea that I really liked. She suggested taking a set of sheets and stacking them, then wrapping one of the pillow cases around them all. This really did manage to create a cute little package, although I recommend you put the crease side, where the ends of the pillow case meet, down, facing the shelf so it stays together better.

Moving Along
Next we took sheets that we don’t use and put them in some of those plastic zip bags I had. Onward to the towels. I went through them and pulled out some that are now going to be rags. Then we folded them all neatly. Our linen closet shelves are not very deep and the bath towels always catch on the doors. Mr. MarthaandMe suggested folding the bath towels in thirds. He’s a genius! They fit on the shelves then and look very neat. Now he’s channeling Martha!

Our last step was to buy some boxes for the bottom of the closet. This required a trip to my favorite store – Target! I threw out a bunch of duffel bags with broken zippers (some from Mr. MarthaandMe’s elementary school days!) and some ancient stained tote bags. The rest I put in a cute pink canvas box. The air mattress fit into a plastic box with a lid. The plastic zippy bags fit into another canvas box. Voila!

Results

Left Side Completed

Left Side Completed

I have to say, I was rolling my eyes at the thought of this project going in, but now I love how the closet looks. There’s so much more space! The problem is going to be keeping it that way. Martha doesn’t have a teenager and a 10 year old stuffing things in her closets and knocking over her nicely folded piles. I’m going to try to keep it this way though because it’s easier to find things and put them away. It just feels much more luxurious to have it looking so pretty. This project took us about an hour. It was all the refolding of the darn sheets that took so much time.

Right side completed

Right side completed

So the bottom line was that I’m glad we did this. I have to admit I even went and opened the closet later in the day just to see how cute it all looked. Martha – I’m with you on this. It’s a good thing.

  Martha decided it was time to organize my linen closet. She was right. As you can see below, it was pretty messy. I sat down and read all her advice about linen closets on the web site. Some was simply not practical. If I had as much money as Martha does, I could probably … Read more

no