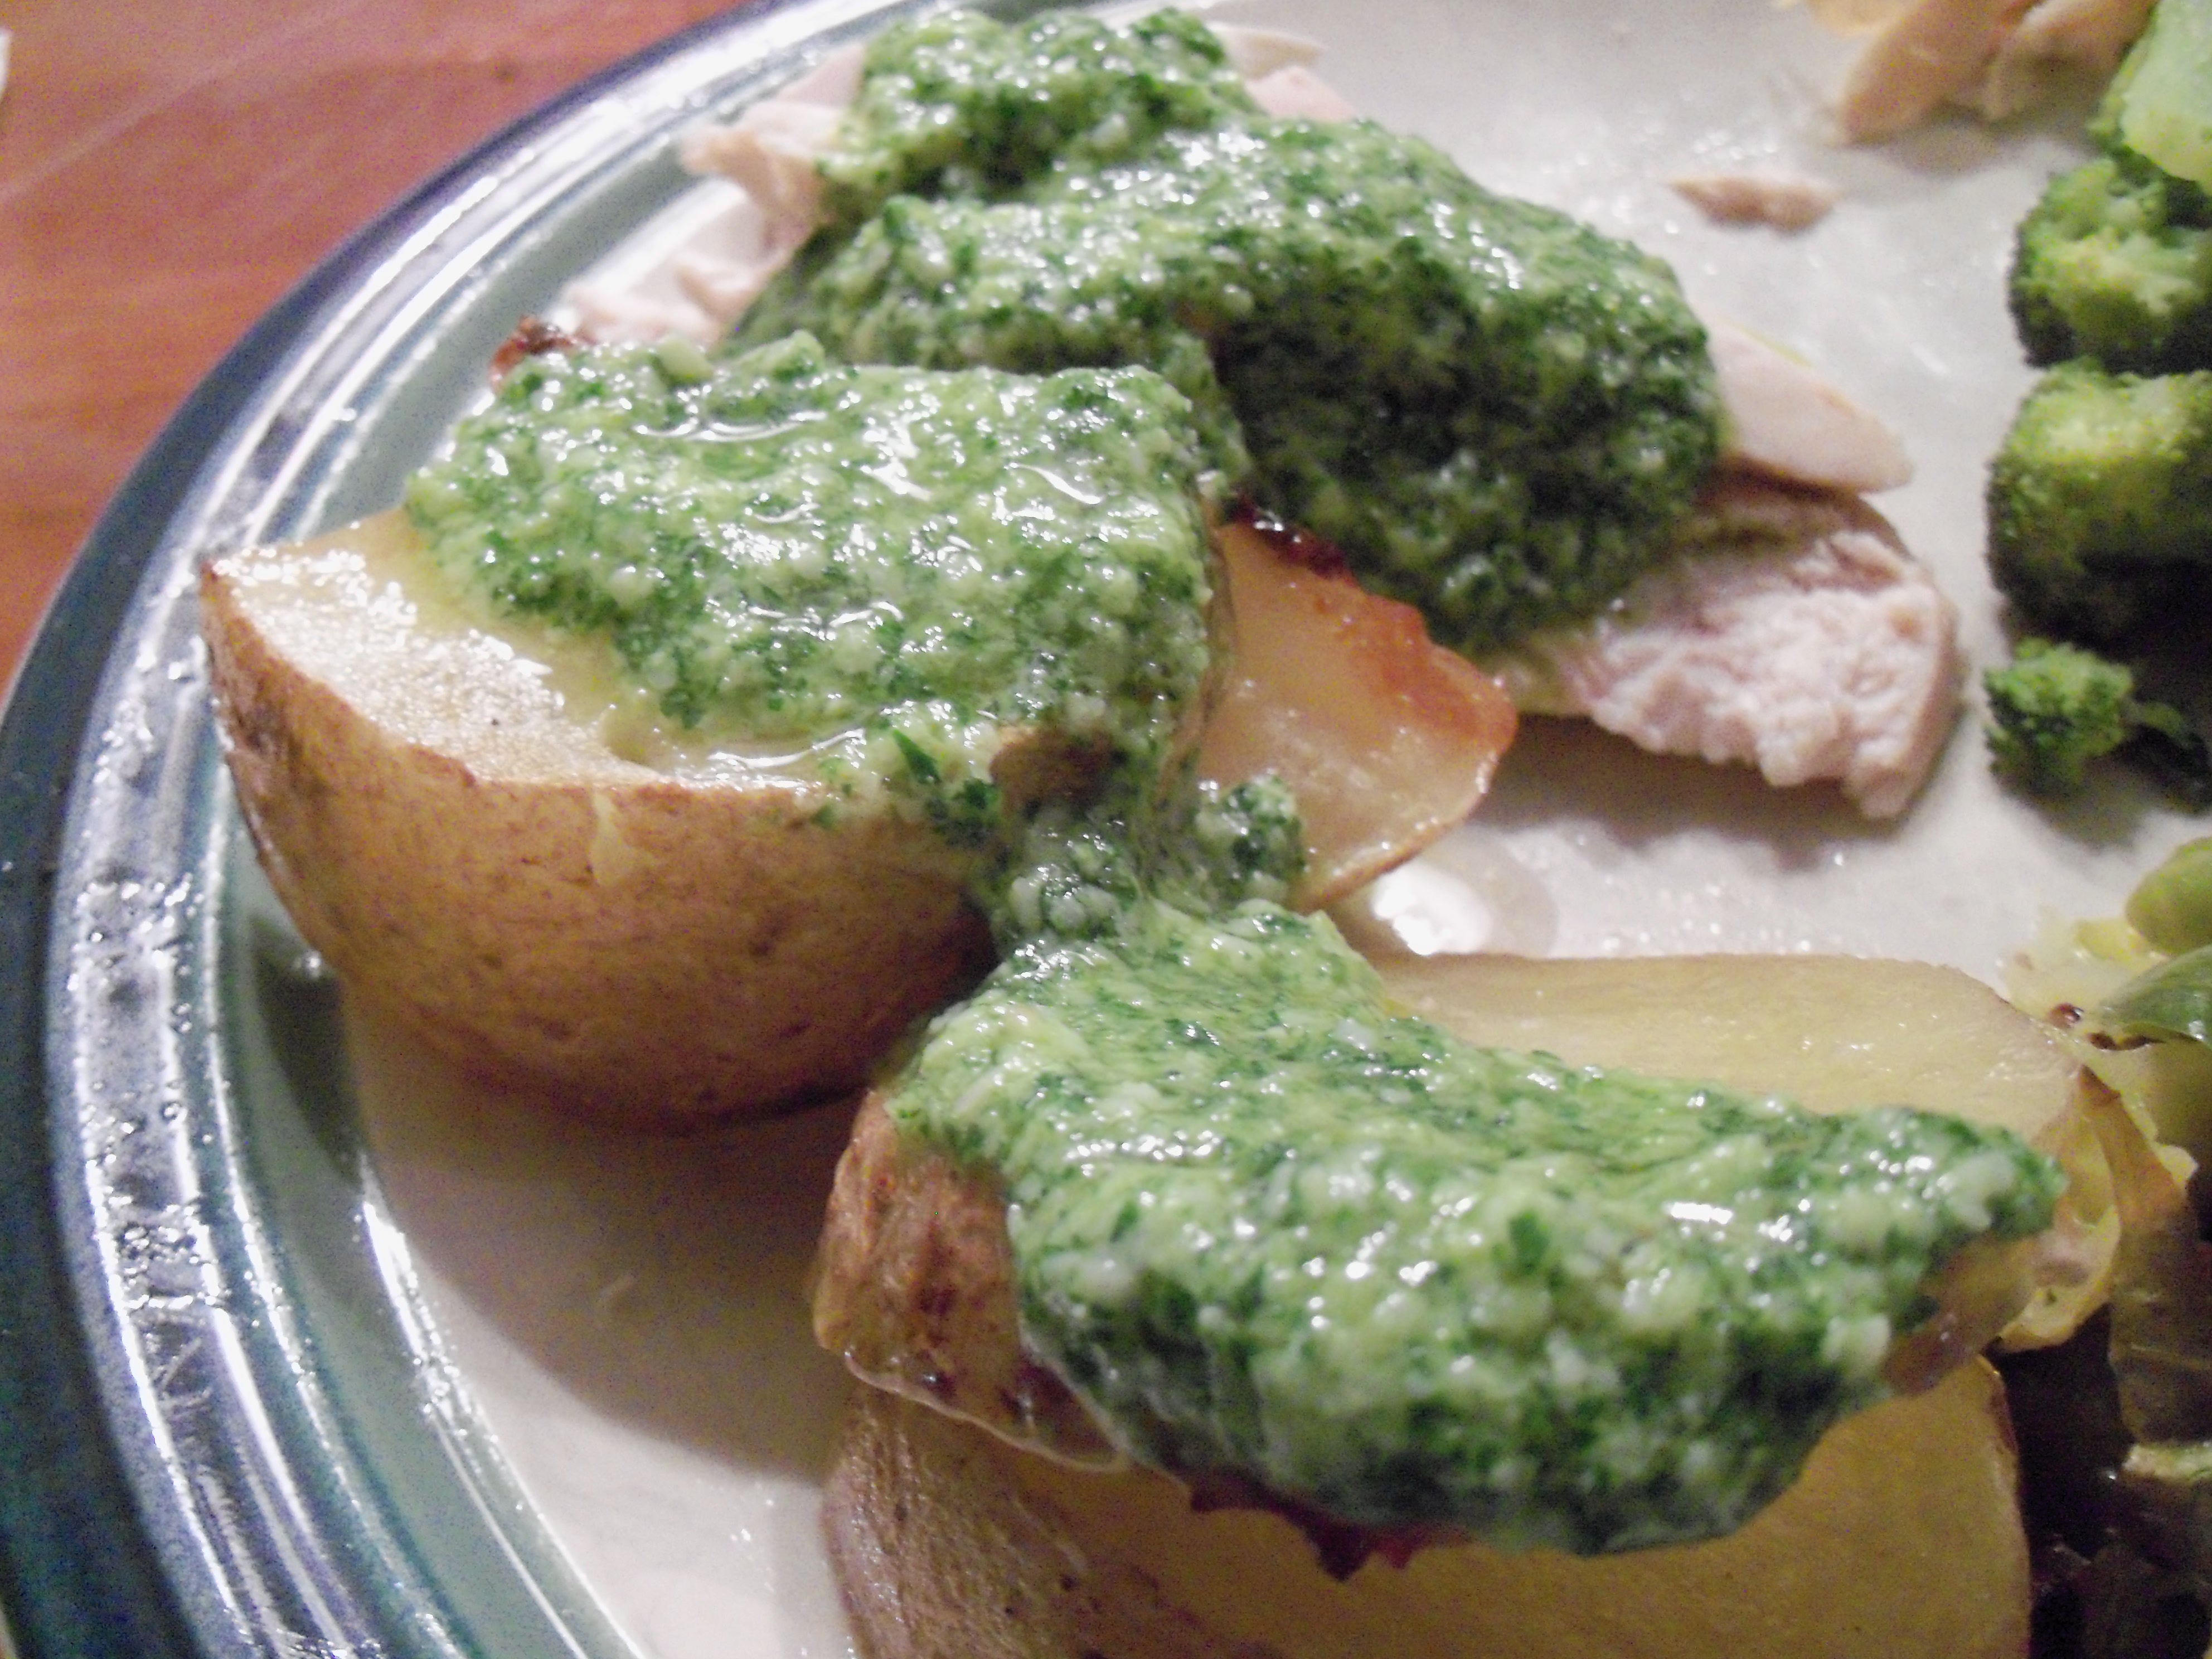
This recipe is from January Living. I’ve had the magazine open to this page almost since the magazine came and finally got around to making it. Nothing too complicated here really – put your potatoes and chicken in a roasting pan and drizzle some oil and lemon over the potatoes and oil over the chicken. You stuff half a lemon and some parsley into the chicken, then roast it. Meanwhile, you make an uncooked sauce of garlic, oil, parsley, lemon juice and zest and Parmesan. I did this in the food processor so it was quite simple. I served the sauce on the side and did not spread it over the food before serving.

I loved the sauce – very bright and fresh. It went well with both the chicken and potatoes. I was not wild about the way the chicken and potatoes roasted. I had about an inch of juice in the bottom of my pan so the potatoes did not get crispy very much. They were still good. I don’t find that stuffing the chicken with things adds much to the flavor of the dish. I wouldn’t bother stuffing it like that again and that might cut down on the overwhelming amount of juice in the pan. Definitely give this sauce a try!

This recipe is from January Living. I’ve had the magazine open to this page almost since the magazine came and finally got around to making it. Nothing too complicated here really – put your potatoes and chicken in a roasting pan and drizzle some oil and lemon over the potatoes and oil over the chicken. … Read more

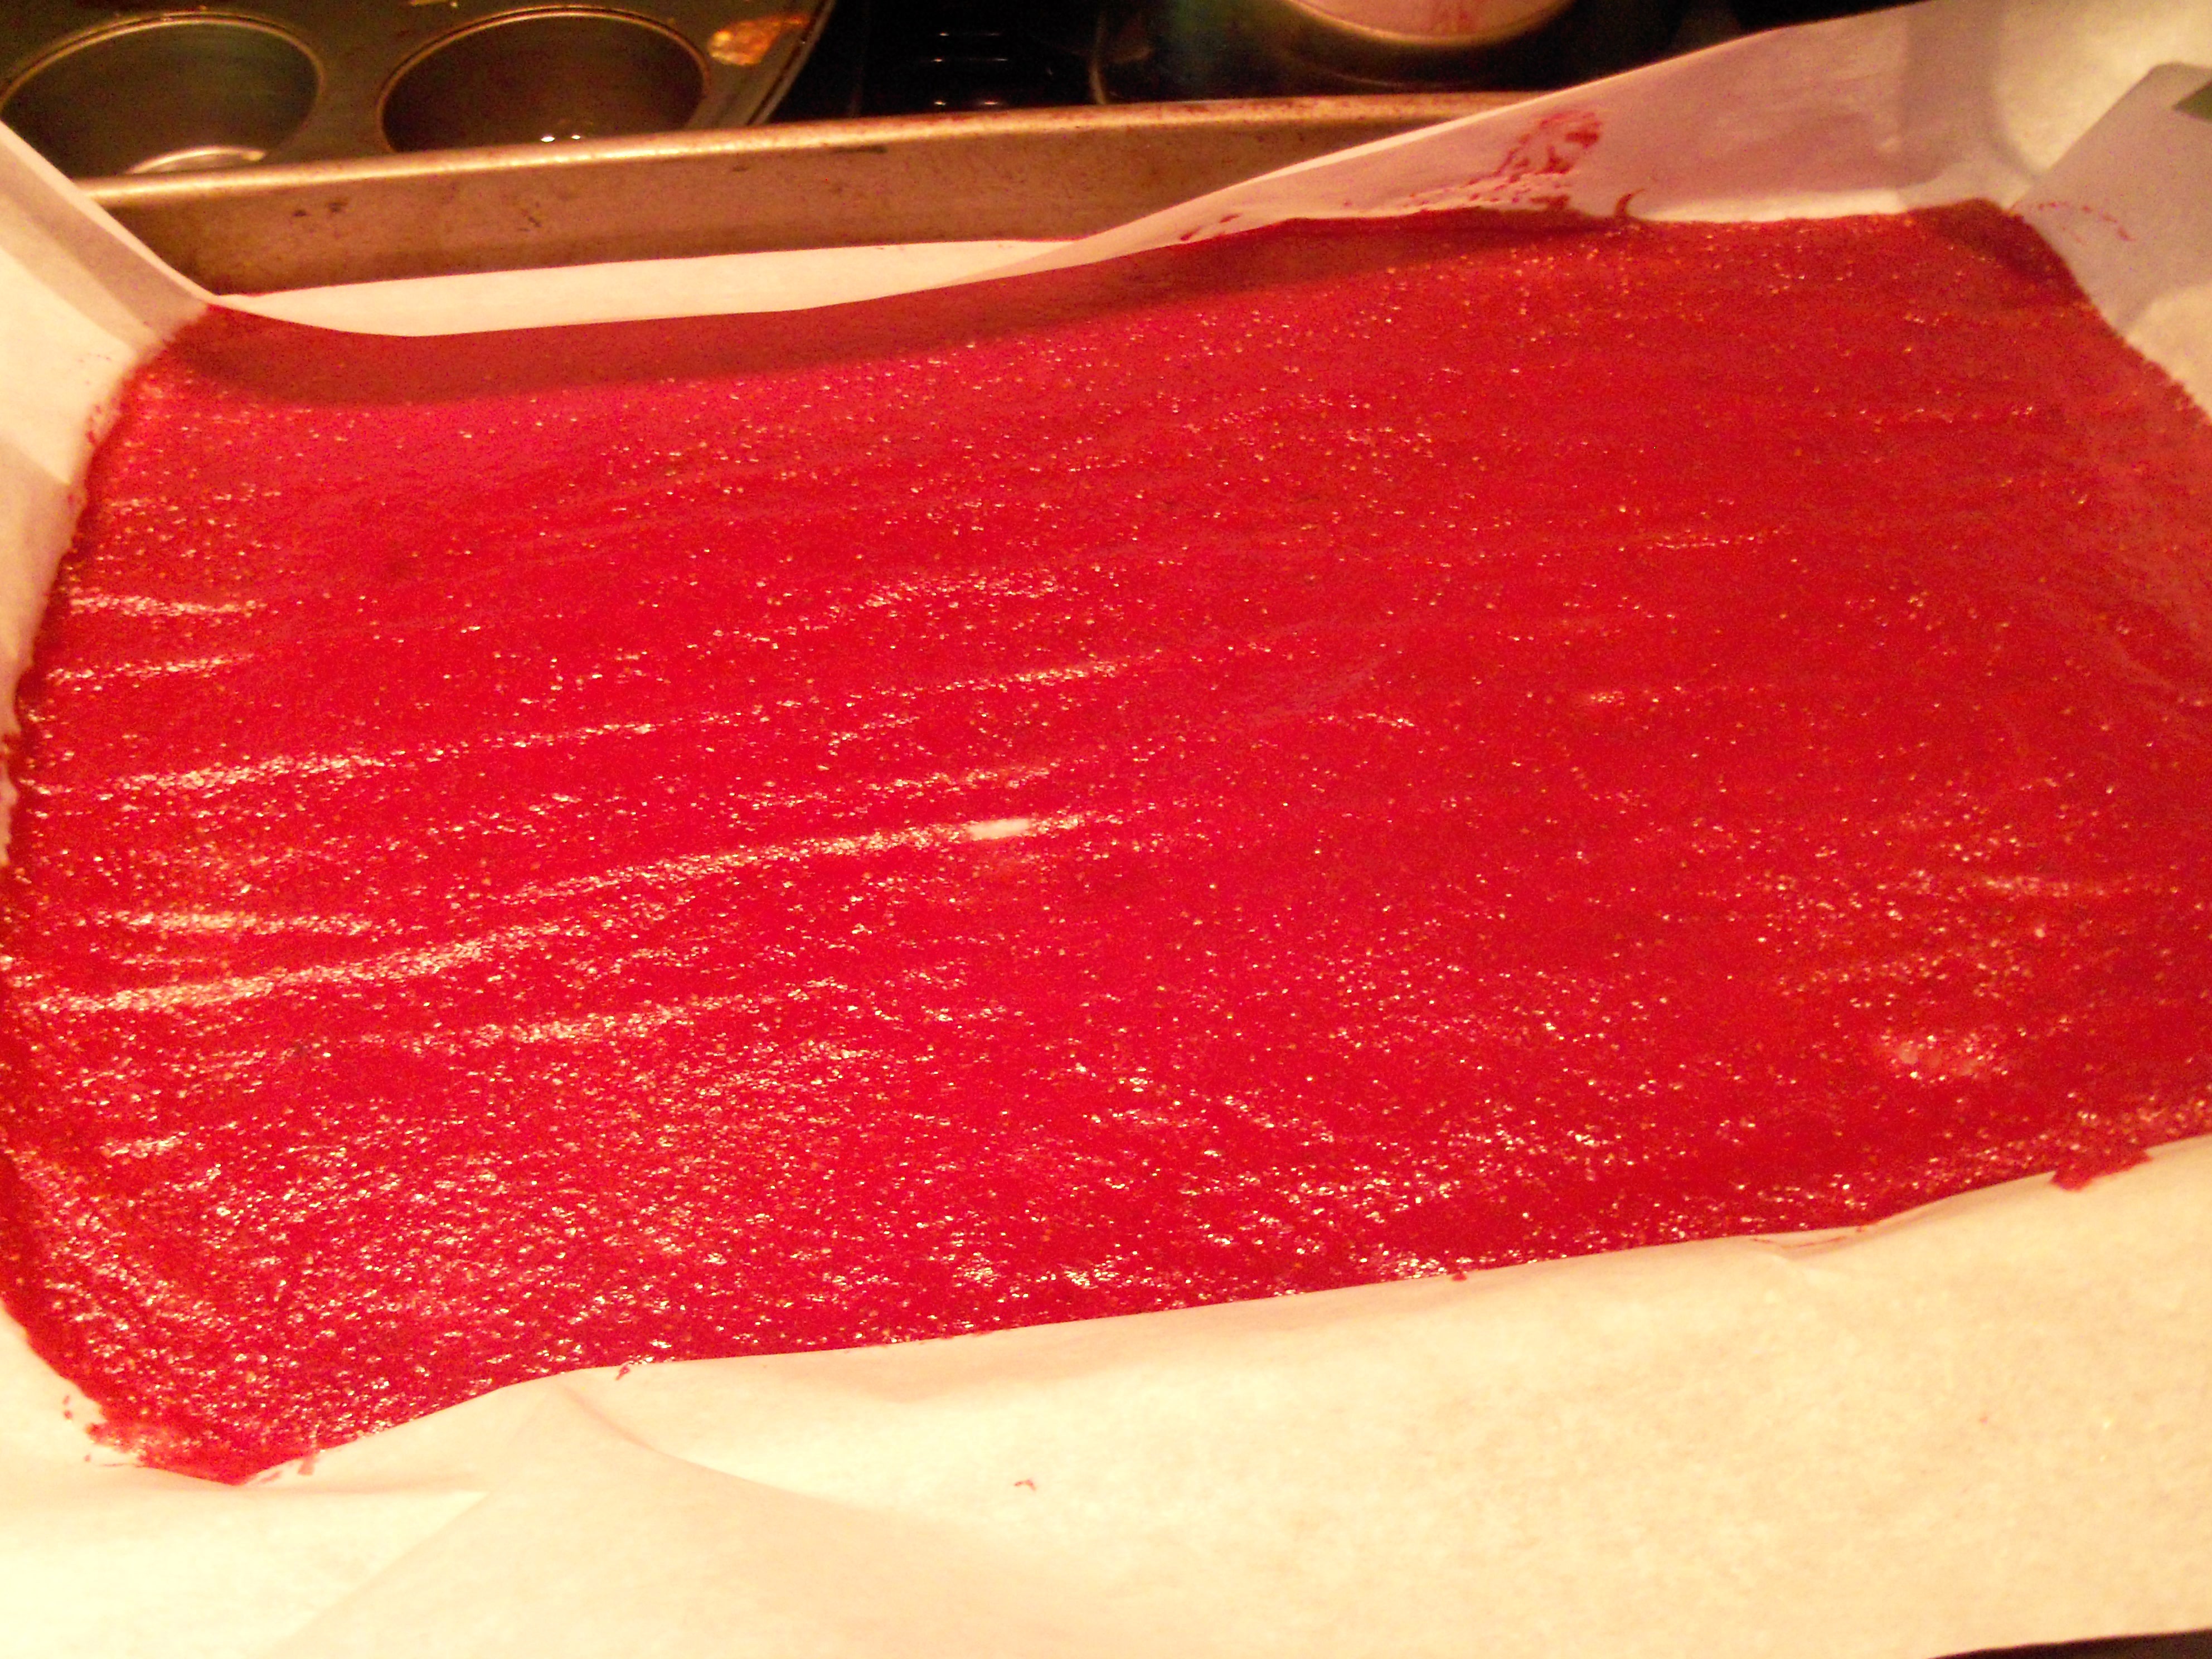
I chose today’s project, fruit roll ups from September Living (recipe posted here). I used strawberries. I had a little trouble getting this to bake enough. I kept taking it out and checking it and ended up baking an extra hour to get most of it to that fruit leather consistency. The center still was not done and I ended up just tossing the middle part.

To be honest, I’ve never tried a fruit roll up in my life so I had DudeMartha be the tester on this one. DudeMartha has had them, but not in my house! I never bought these for my kids since I treated them like candy.  He’s had them elsewhere of course though. He did not like that there were some seeds (I guess my fine sieve is not fine enough) but other than that he thought it was ok.

If I had little kids who begged me for fruit roll ups, I could see making this, so that I would know exactly what was in it and be able to control the sugar. If you want to try it without sugar, my friend Kristin Gough did a recipe on her blog, MyKidsEatSquid with a recipe for that. You’ll also note her recipe has a very long baking time – 10+ hours which seems to be what is needed!

I chose today’s project, fruit roll ups from September Living (recipe posted here). I used strawberries. I had a little trouble getting this to bake enough. I kept taking it out and checking it and ended up baking an extra hour to get most of it to that fruit leather consistency. The center still was … Read more

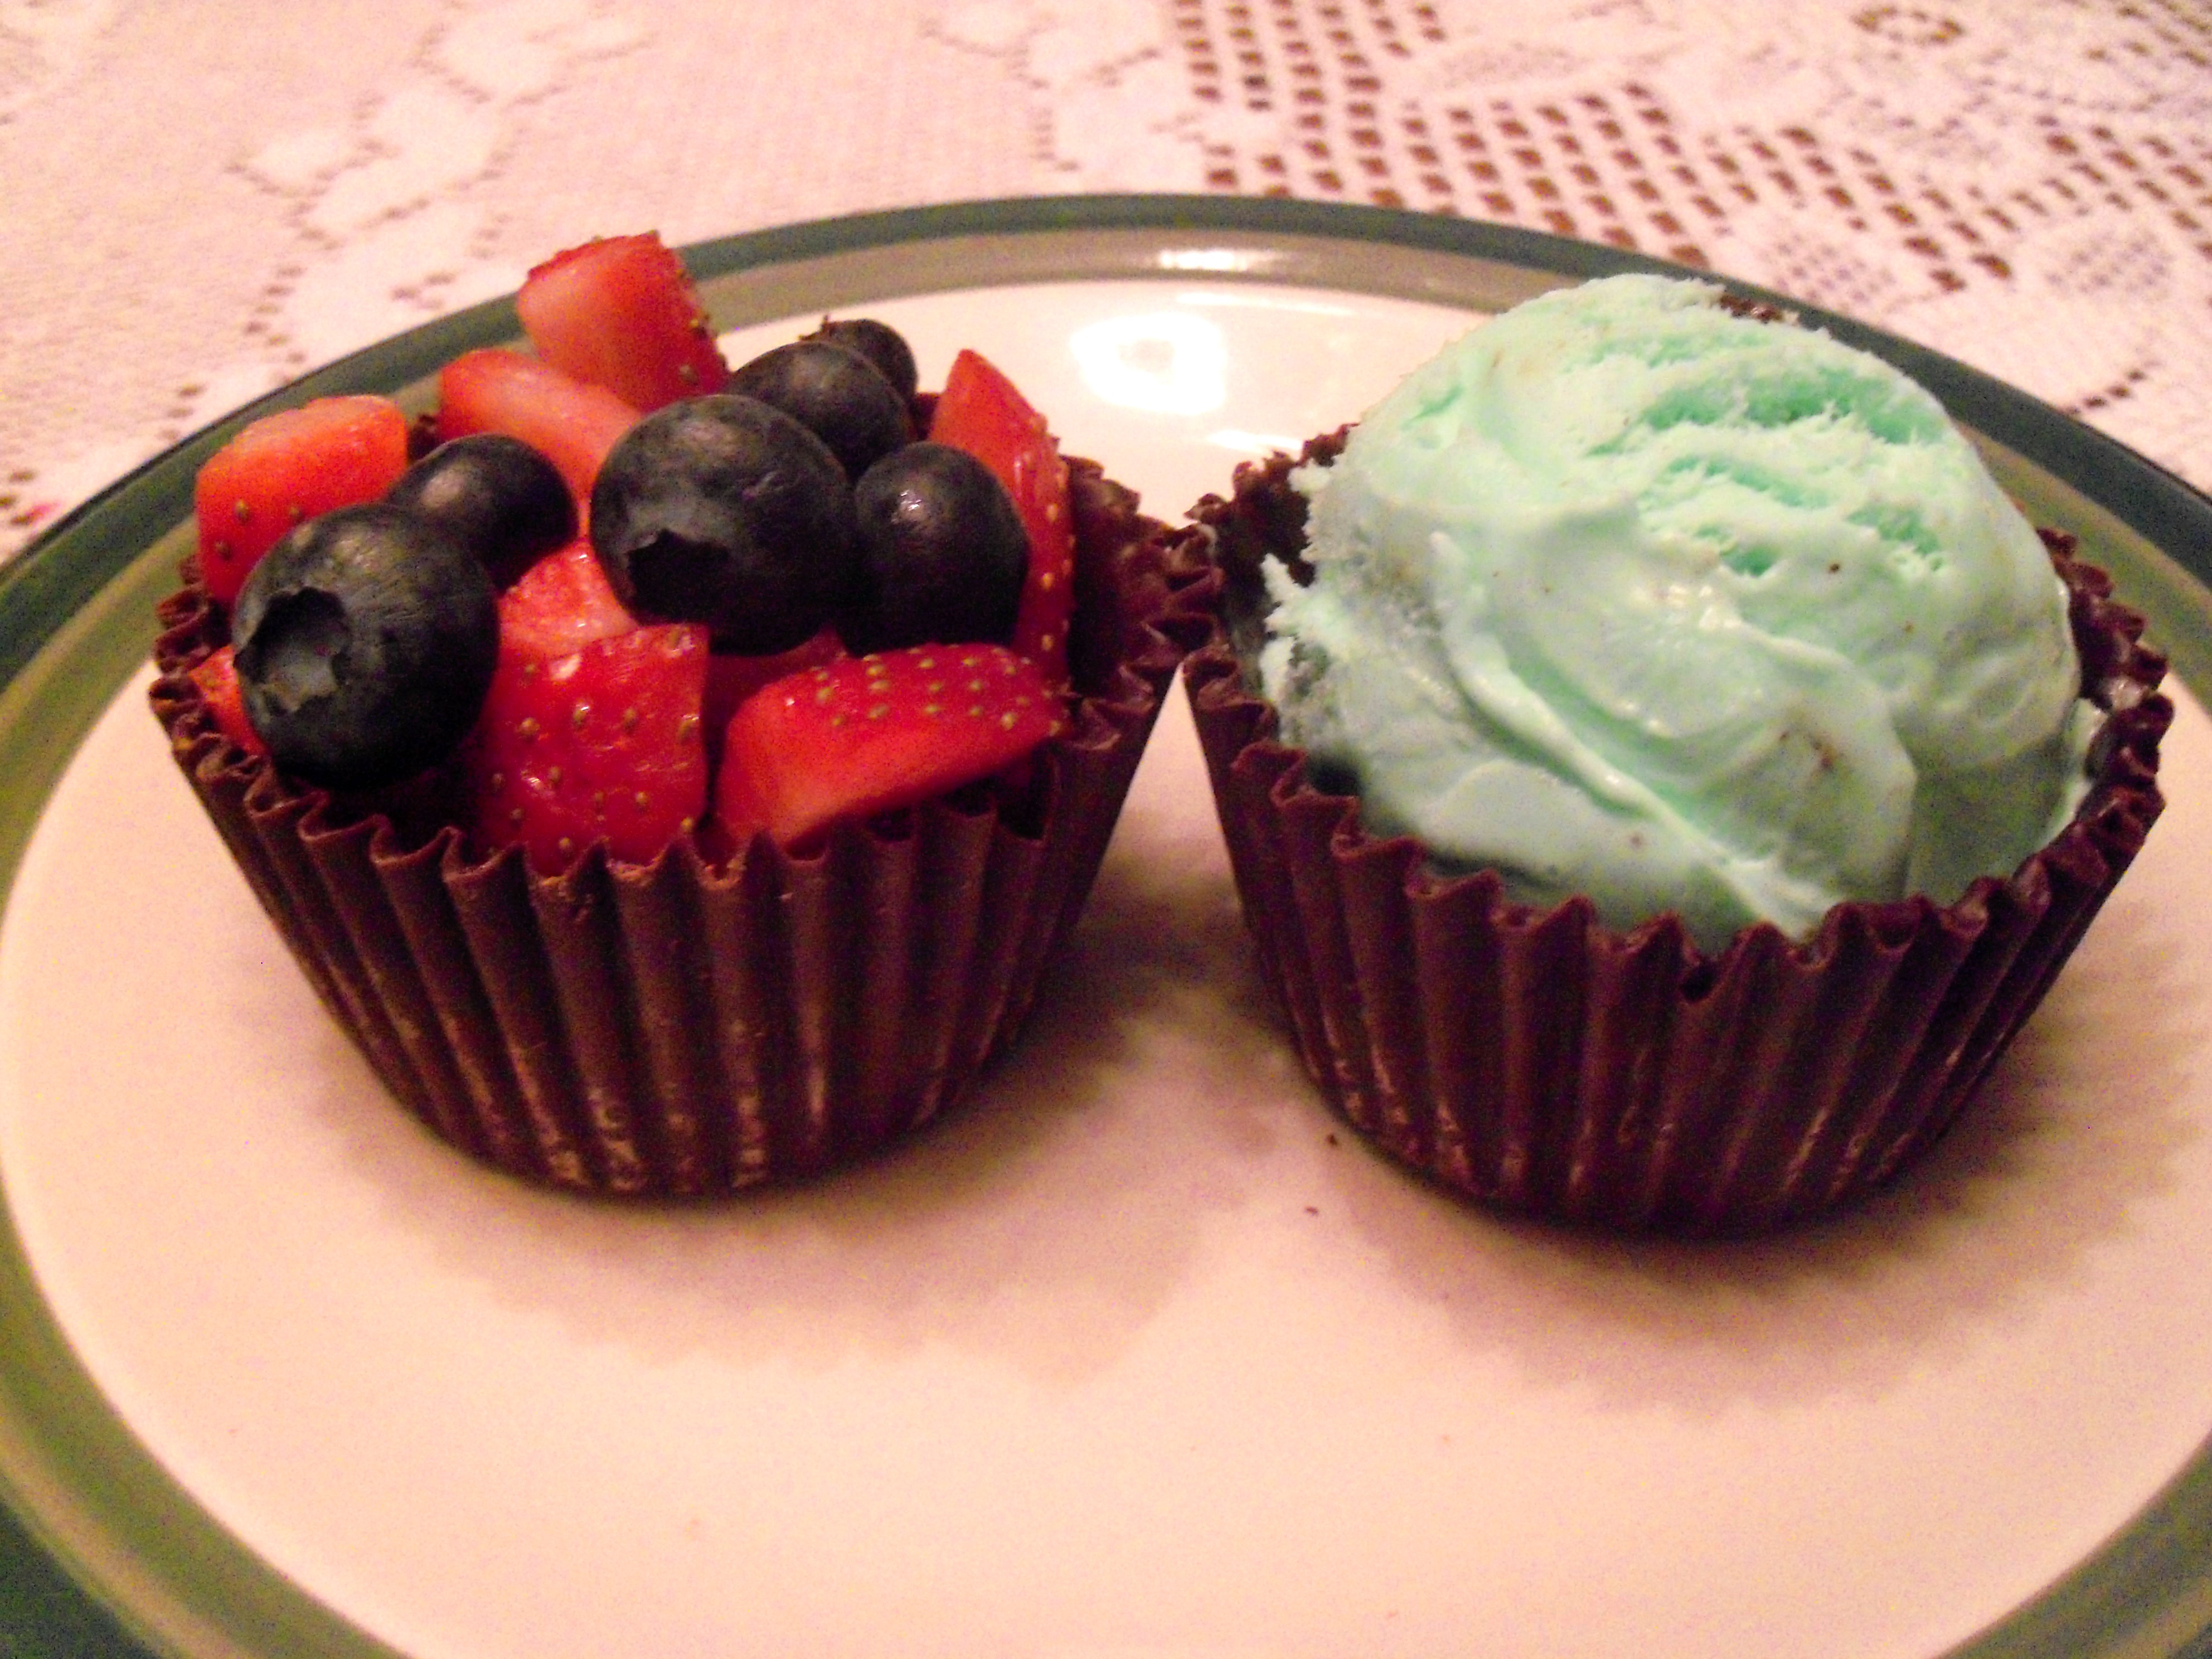
Have you ever bought an ingredient for a recipe then been simply unable to locate it anywhere in your house? That’s what happened to me with this. I needed mini size cupcake liners or candy wrappers for this recipe. I bought them. I brought them home. They sat on the kitchen table for a few days. Then I put them in the pantry. Then I moved them to a shelf in the pantry so that I would be able to easily find them. Then, when I went to make this, they were just gone. We looked everywhere. So I had to improvise, and I used full size cupcake liners.

This project is from February Living and was chosen by Sassy Suppers. All you do is melt bittersweet chocolate (which I do in the microwave) and then brush into the inside of the cups. Let it dry and do it again. Simple, right?

It actually was pretty simple. The only hard part was getting the paper to peel off. I had to call in Mr. MarthaAndMe for that. He popped them in the freezer for a minute then was able to get it to peel off.

You can add anything you want to the cups – fruit, mousse, ice cream, etc. Martha suggested peanut butter but I didn’t want to eat that much peanut butter. So I did fruit and ice cream. This is super cute and would really be a great way to serve dessert for a dinner party.

Bookmark and Share

Have you ever bought an ingredient for a recipe then been simply unable to locate it anywhere in your house? That’s what happened to me with this. I needed mini size cupcake liners or candy wrappers for this recipe. I bought them. I brought them home. They sat on the kitchen table for a few … Read more

We are big breakfast people on the weekends.  And I mean these words literally, because the kids have always called it “big breakfast.” In better financial times, going out to breakfast was a special treat every couple of months, but lately getting the kids out of bed when Mom and Dad are up and hungry before 11 a.m. (much before! We’re usually up by 8) is nearly impossible and it just doesn’t make financial sense to pay $3 for a thimble of OJ and $6 for a plate of pancakes.

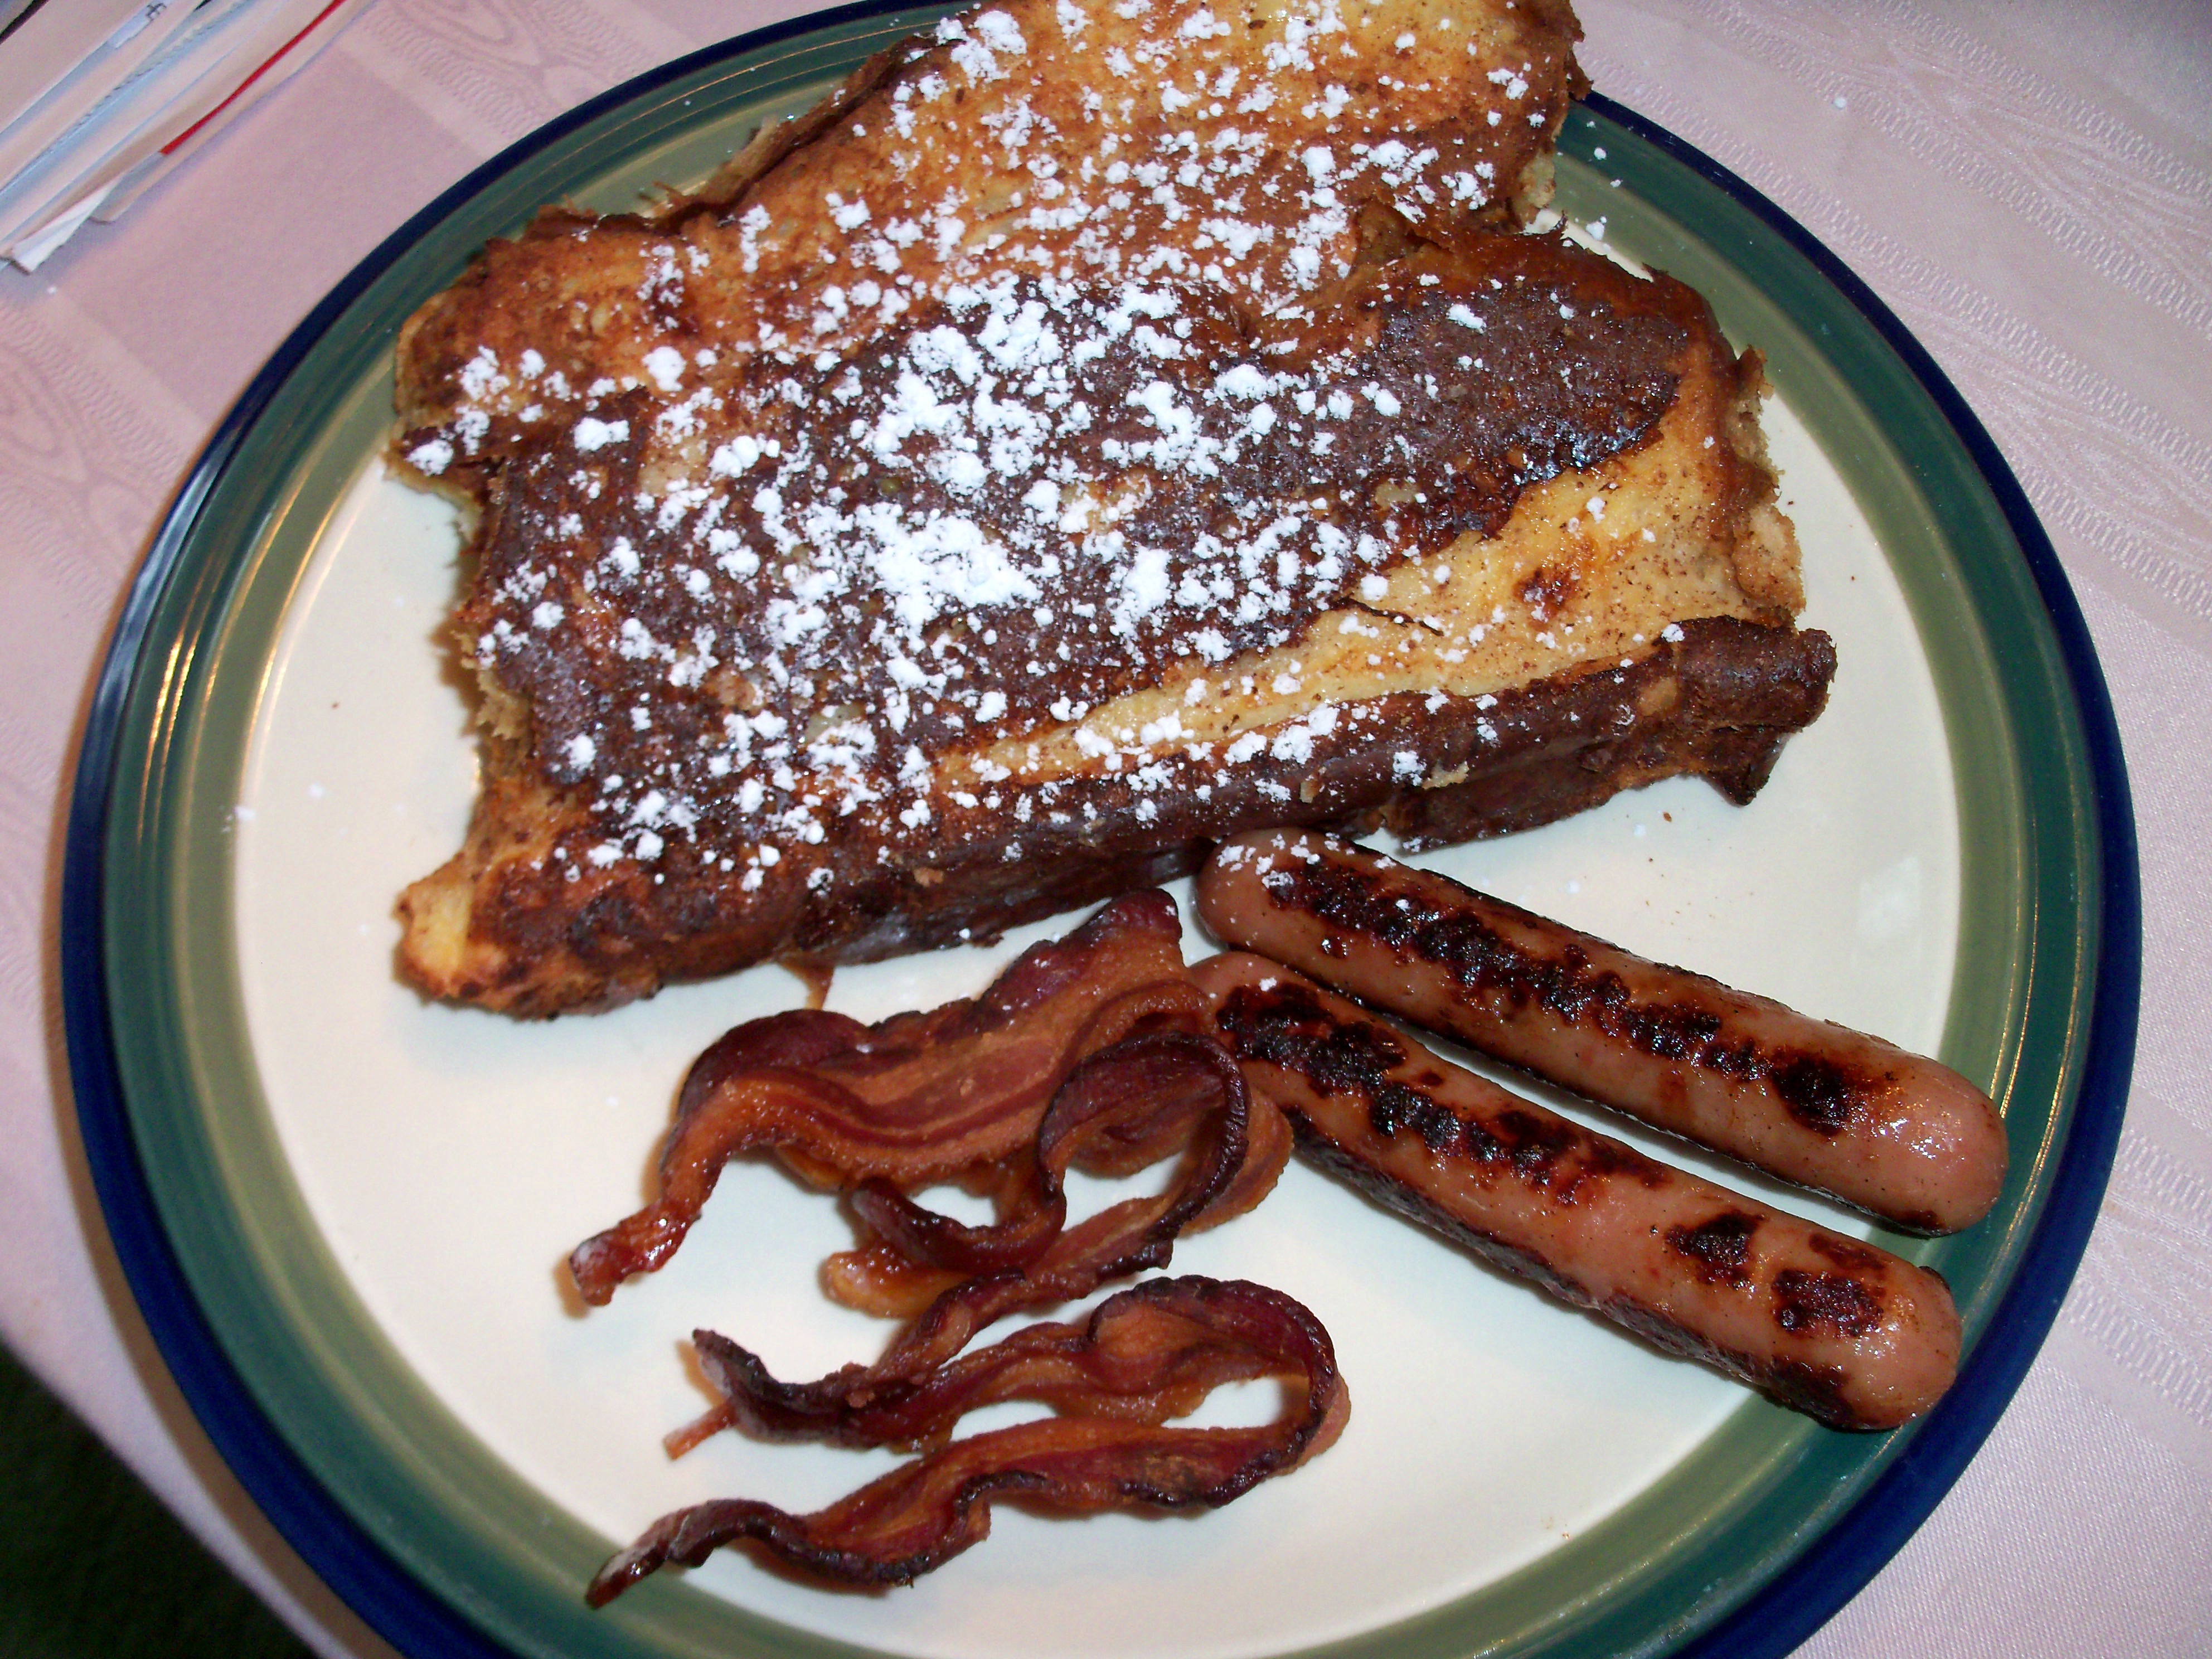
So, we are firmly an at-home big breakfast family these days. I look forward to it all week. Pancakes, French toast, omelets, waffles, you name it, we like it.  If it goes with bacon (nitrate free, I wish I could find organic bacon!) and sausage (organic chicken sausage), we like it. What I don’t always like is having to tumble out of bed and start cooking up a storm whilst in my nightgown, so the idea of something that I could make ahead was appealing (but then I had to get up anyhow and get it in the oven to bake and wait for it to cook, so it wasn’t a perfect solution!). Baked French toast from Martha’s November Living issue was definitely something I had to try.

Beat 6 eggs and add 2 cups milk and 1/3 cup cream with 1/3 cup sugar, 1 tsp vanilla, 1/2 tsp coarse salt and 1 tsp nutmeg (I substituted cinnamon). Dip 10 slices of day old brioche into the batter (I used challah). Place them in a baking dish and then pour remaining batter over the top. The recipe says you should overlap the bread slices over each other. I did this, but then realized half the bread was sitting in the batter while the other half was sitting up in the air, drying out, so I switched over to a baking sheet where I could lay them all flat. Refrigerate covered for at least 2 hours – mine went in overnight. Preheat oven to 375. Top with 1 cup chopped pecans (I would have liked to add this, but there are family members who would not eat it if I did, so I skipped it) and sprinkle with 3 tbsp sugar. Bake covered, for 25 minutes. Uncover and bake until golden about 20-25 minutes. Serve with maple syrup.

This was good, but I think I like regular French toast better. It was a tad too eggy for me. I like my French toast just a bit drier (and I also usually use cinnamon bread for it and that really makes it very tasty).  This is definitely a nice idea if you are feeding a crowd, although I think you’d better make a double batch because this recipe fed the 4 of us with only 1 slice left over!

Do you have a favorite “big breakfast?”

Bookmark and Share

We are big breakfast people on the weekends.  And I mean these words literally, because the kids have always called it “big breakfast.” In better financial times, going out to breakfast was a special treat every couple of months, but lately getting the kids out of bed when Mom and Dad are up and hungry … Read more

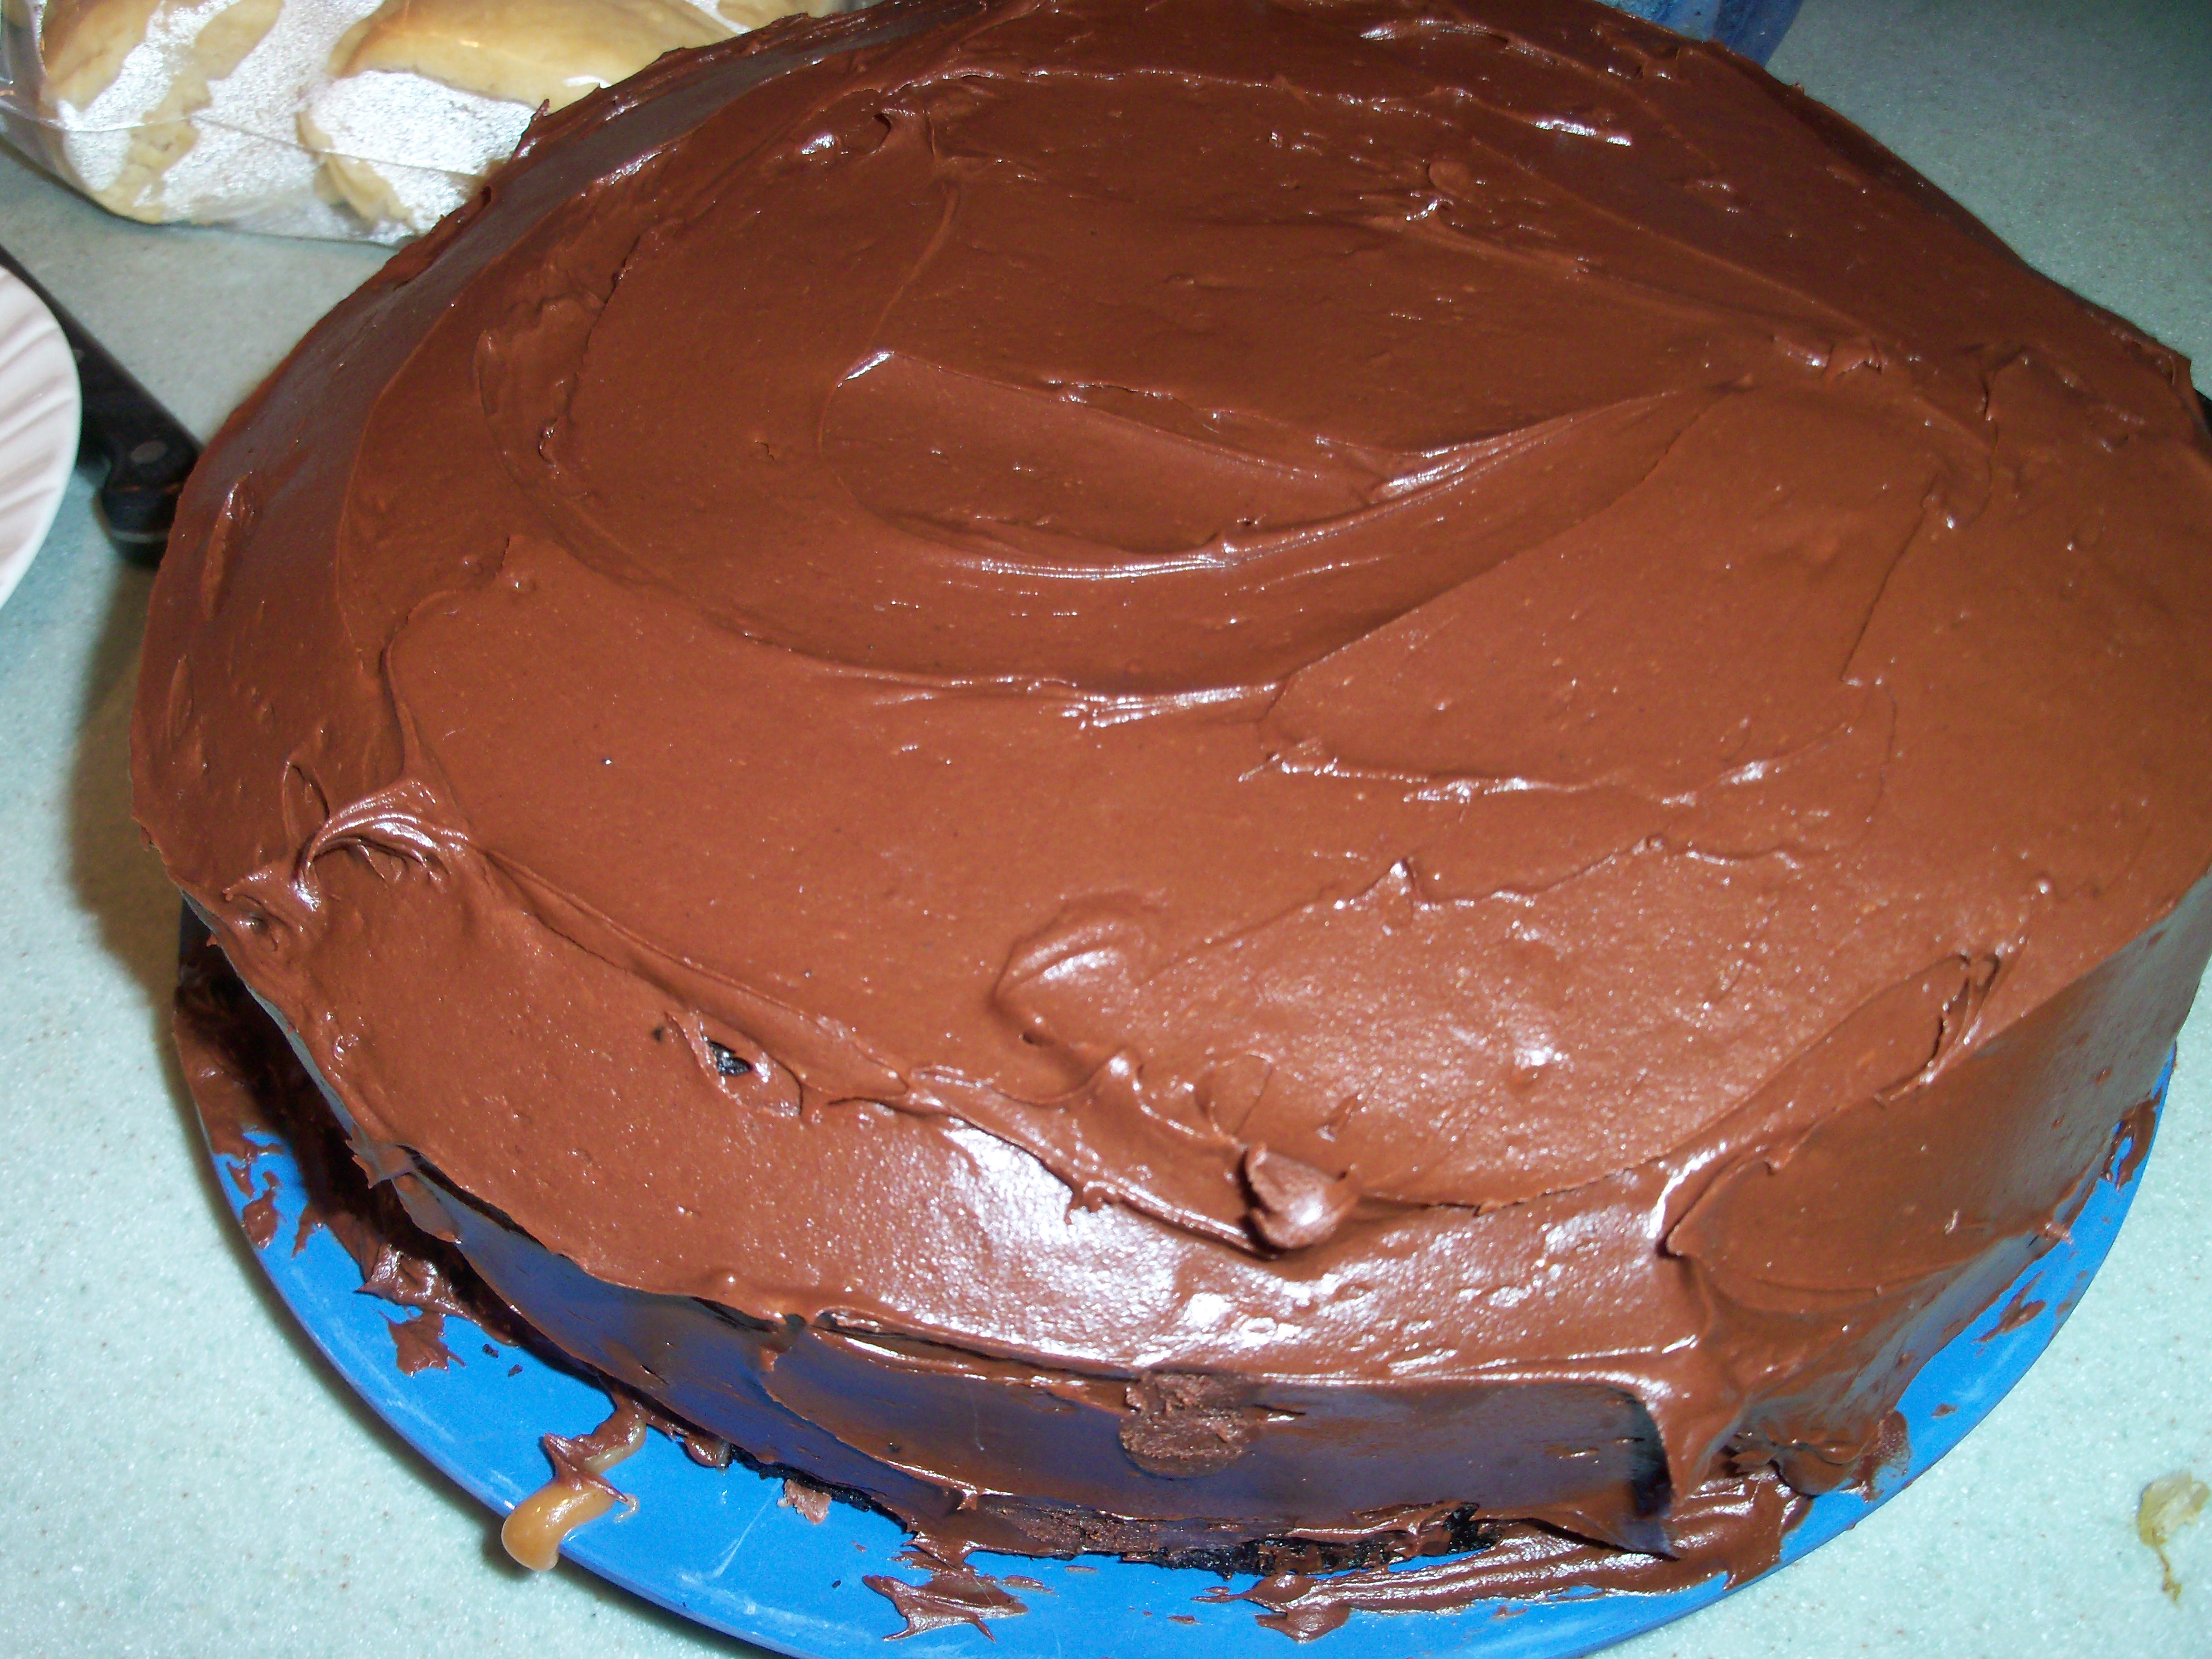
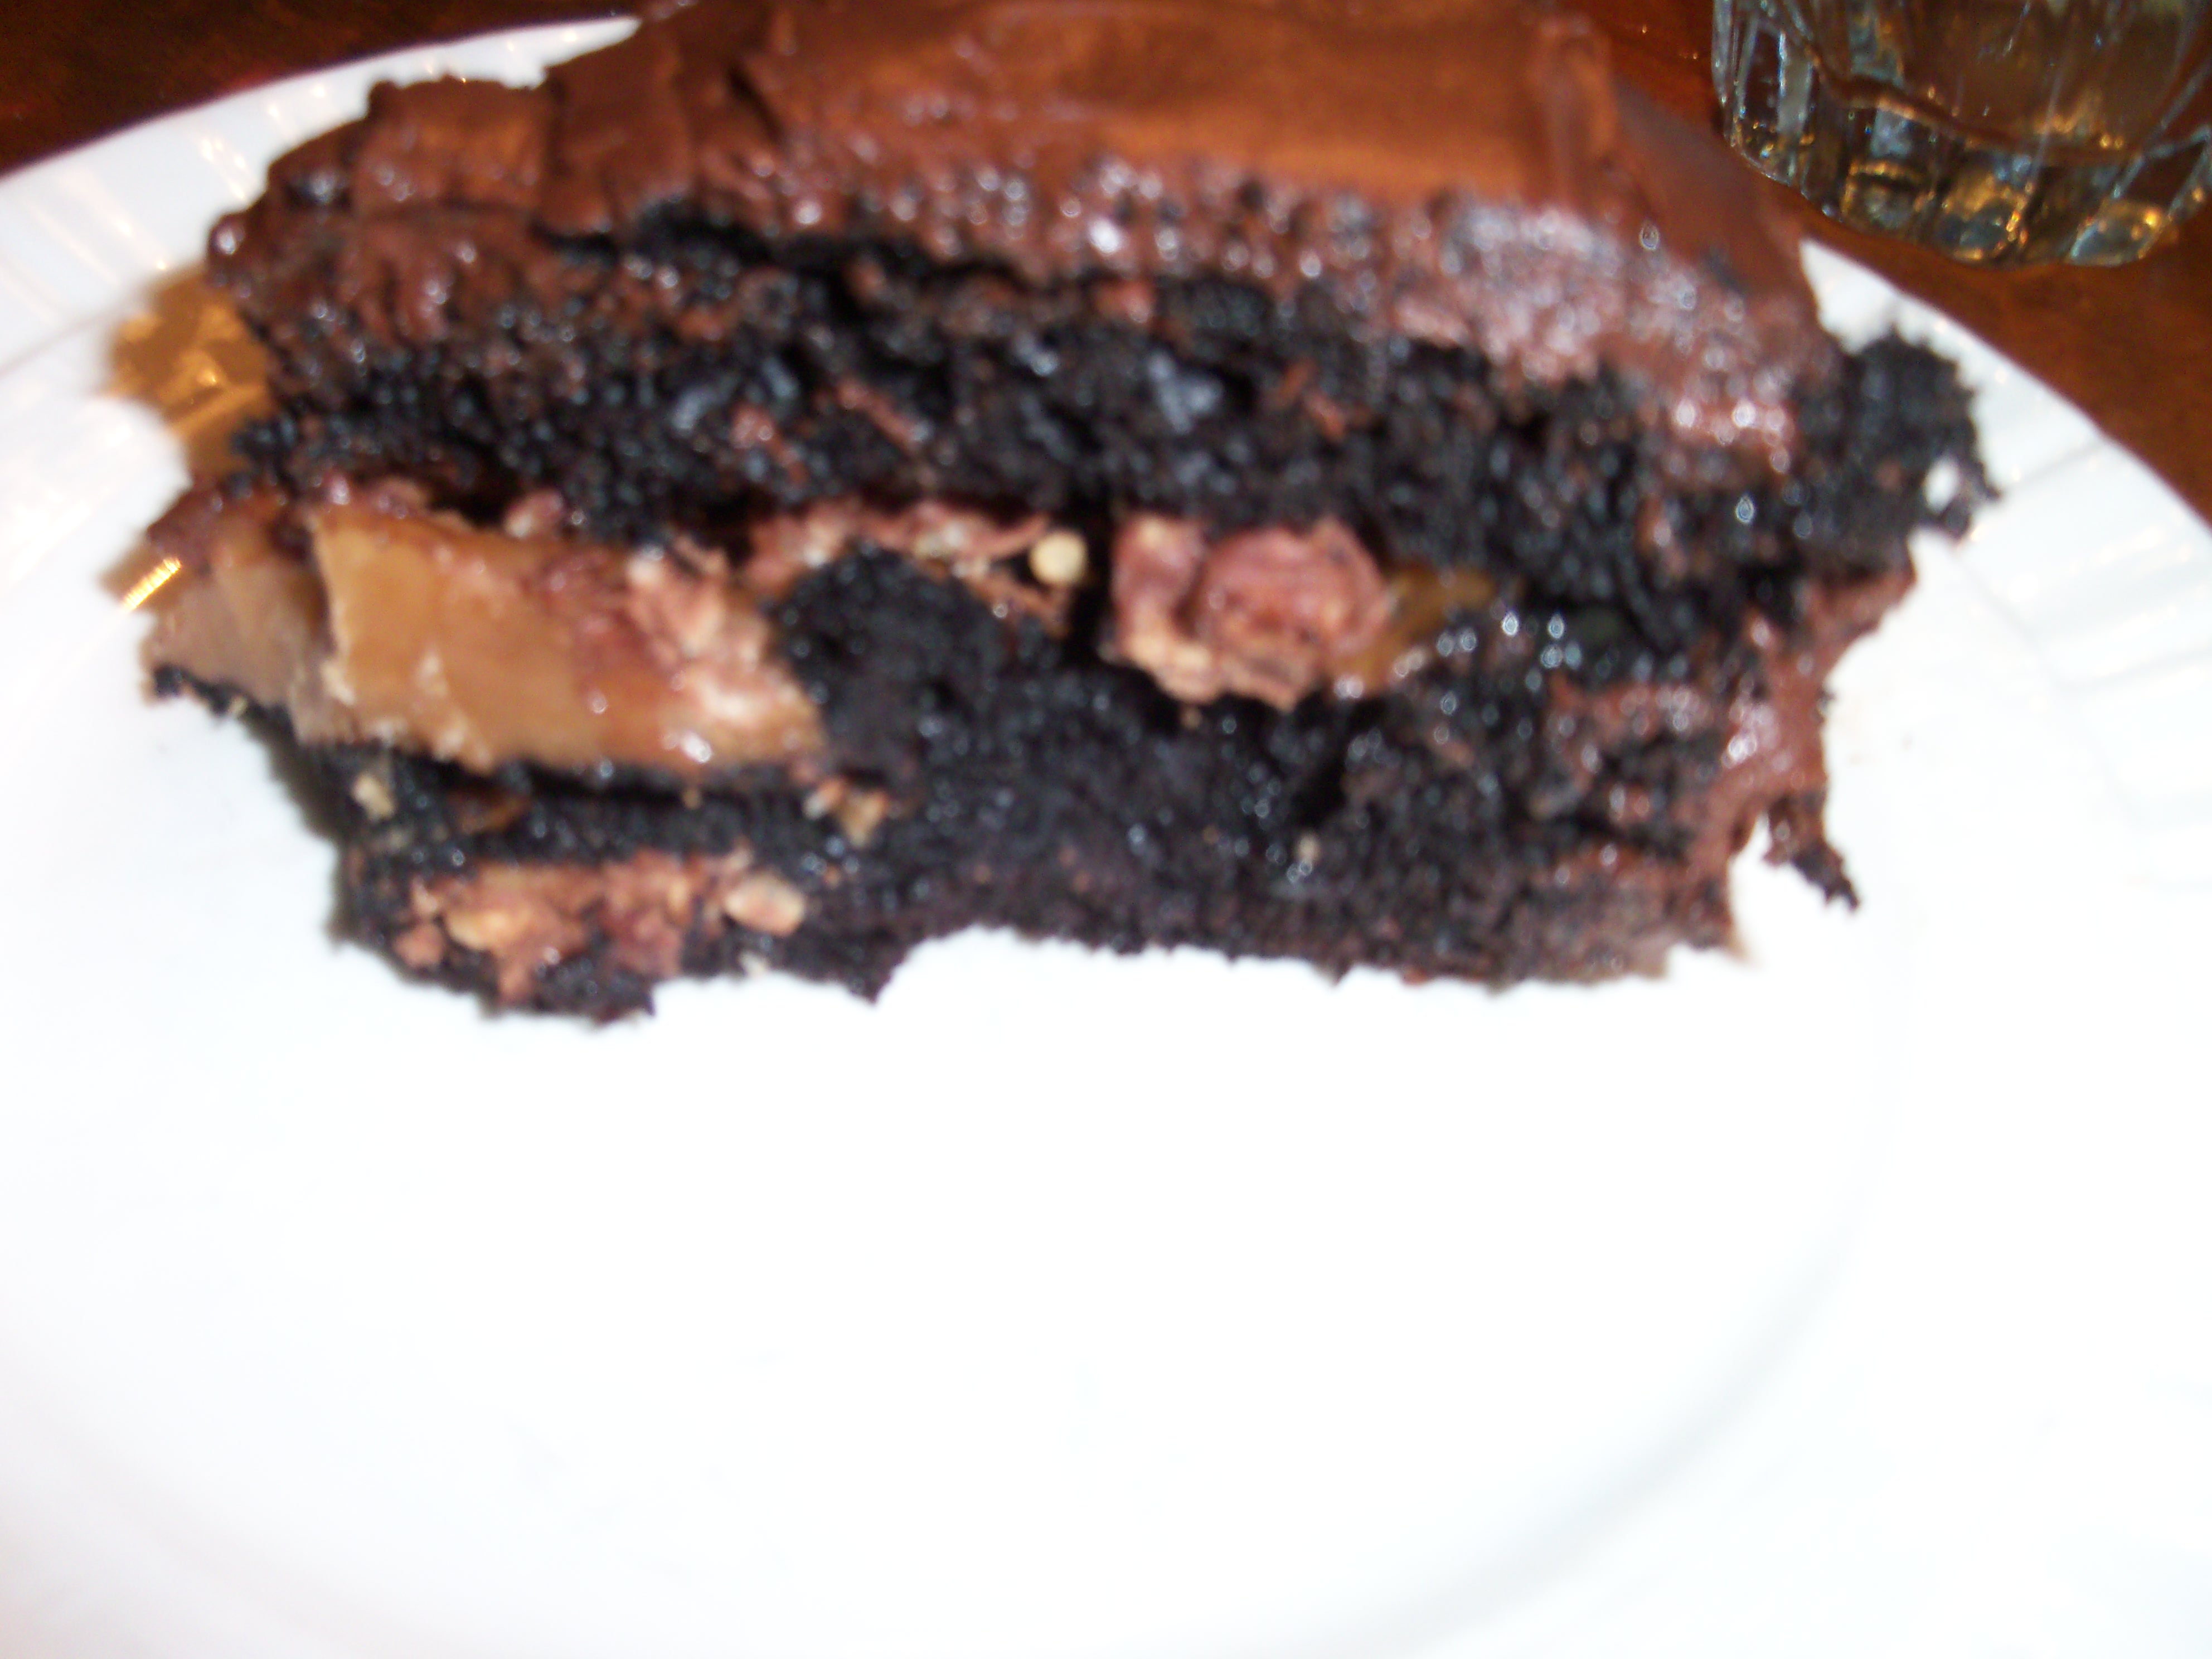
This week’s project was chosen by yours truly:Chocolate Cake with Milk Chocolate Crunch and Caramel Sauce. This cake is from the Oct issue of Living and is a 20 bowl, 30 hour project. Ok, not really, but it did sound that way when I read it, but I found it didn’t take as much time as I thought it would. And for two weeks running, I completely screwed up my Martha Mondays project. This is supposed to taste like a 100 Grand candy bar, one of my childhood favorites. Mine didn’t quite work out as planned!

You start by baking a chocolate cake. I thought it had too much salt in it. Then you make Rice Krispie and chocolate candies. To anyone considering making this recipe – buy Nestle crunch bars instead! It would be much quicker and would come out much better.

Then you make the caramel which goes between the layers with the candies. This is where my disaster ensued. Mine got too hot. I took it off at the right temp, but it just got too hard. I couldn’t spread it. I was able to drizzle it but it hardened. We couldn’t even chew it and ended up picking it out of the cake. I’m sure this would have been good if it was edible. I was really upset about it.

Then you make a chocolate frosting. You do a crumb coat, refrigerate then do another layer.

The cake looked nice. We had a hard time cutting it since the caramel got so hard. The Rice Krispie candies got mushy, so the rice was no longer crunchy, which is why using candy bars would be a much better answer.

I think if I hadn’t completely ruined the caramel this would have been pretty good. I’m so disappointed in myself. Oh well. Onward and upward. Did anyone else make this?

Bookmark and Share

This week’s project was chosen by yours truly:Chocolate Cake with Milk Chocolate Crunch and Caramel Sauce. This cake is from the Oct issue of Living and is a 20 bowl, 30 hour project. Ok, not really, but it did sound that way when I read it, but I found it didn’t take as much time … Read more

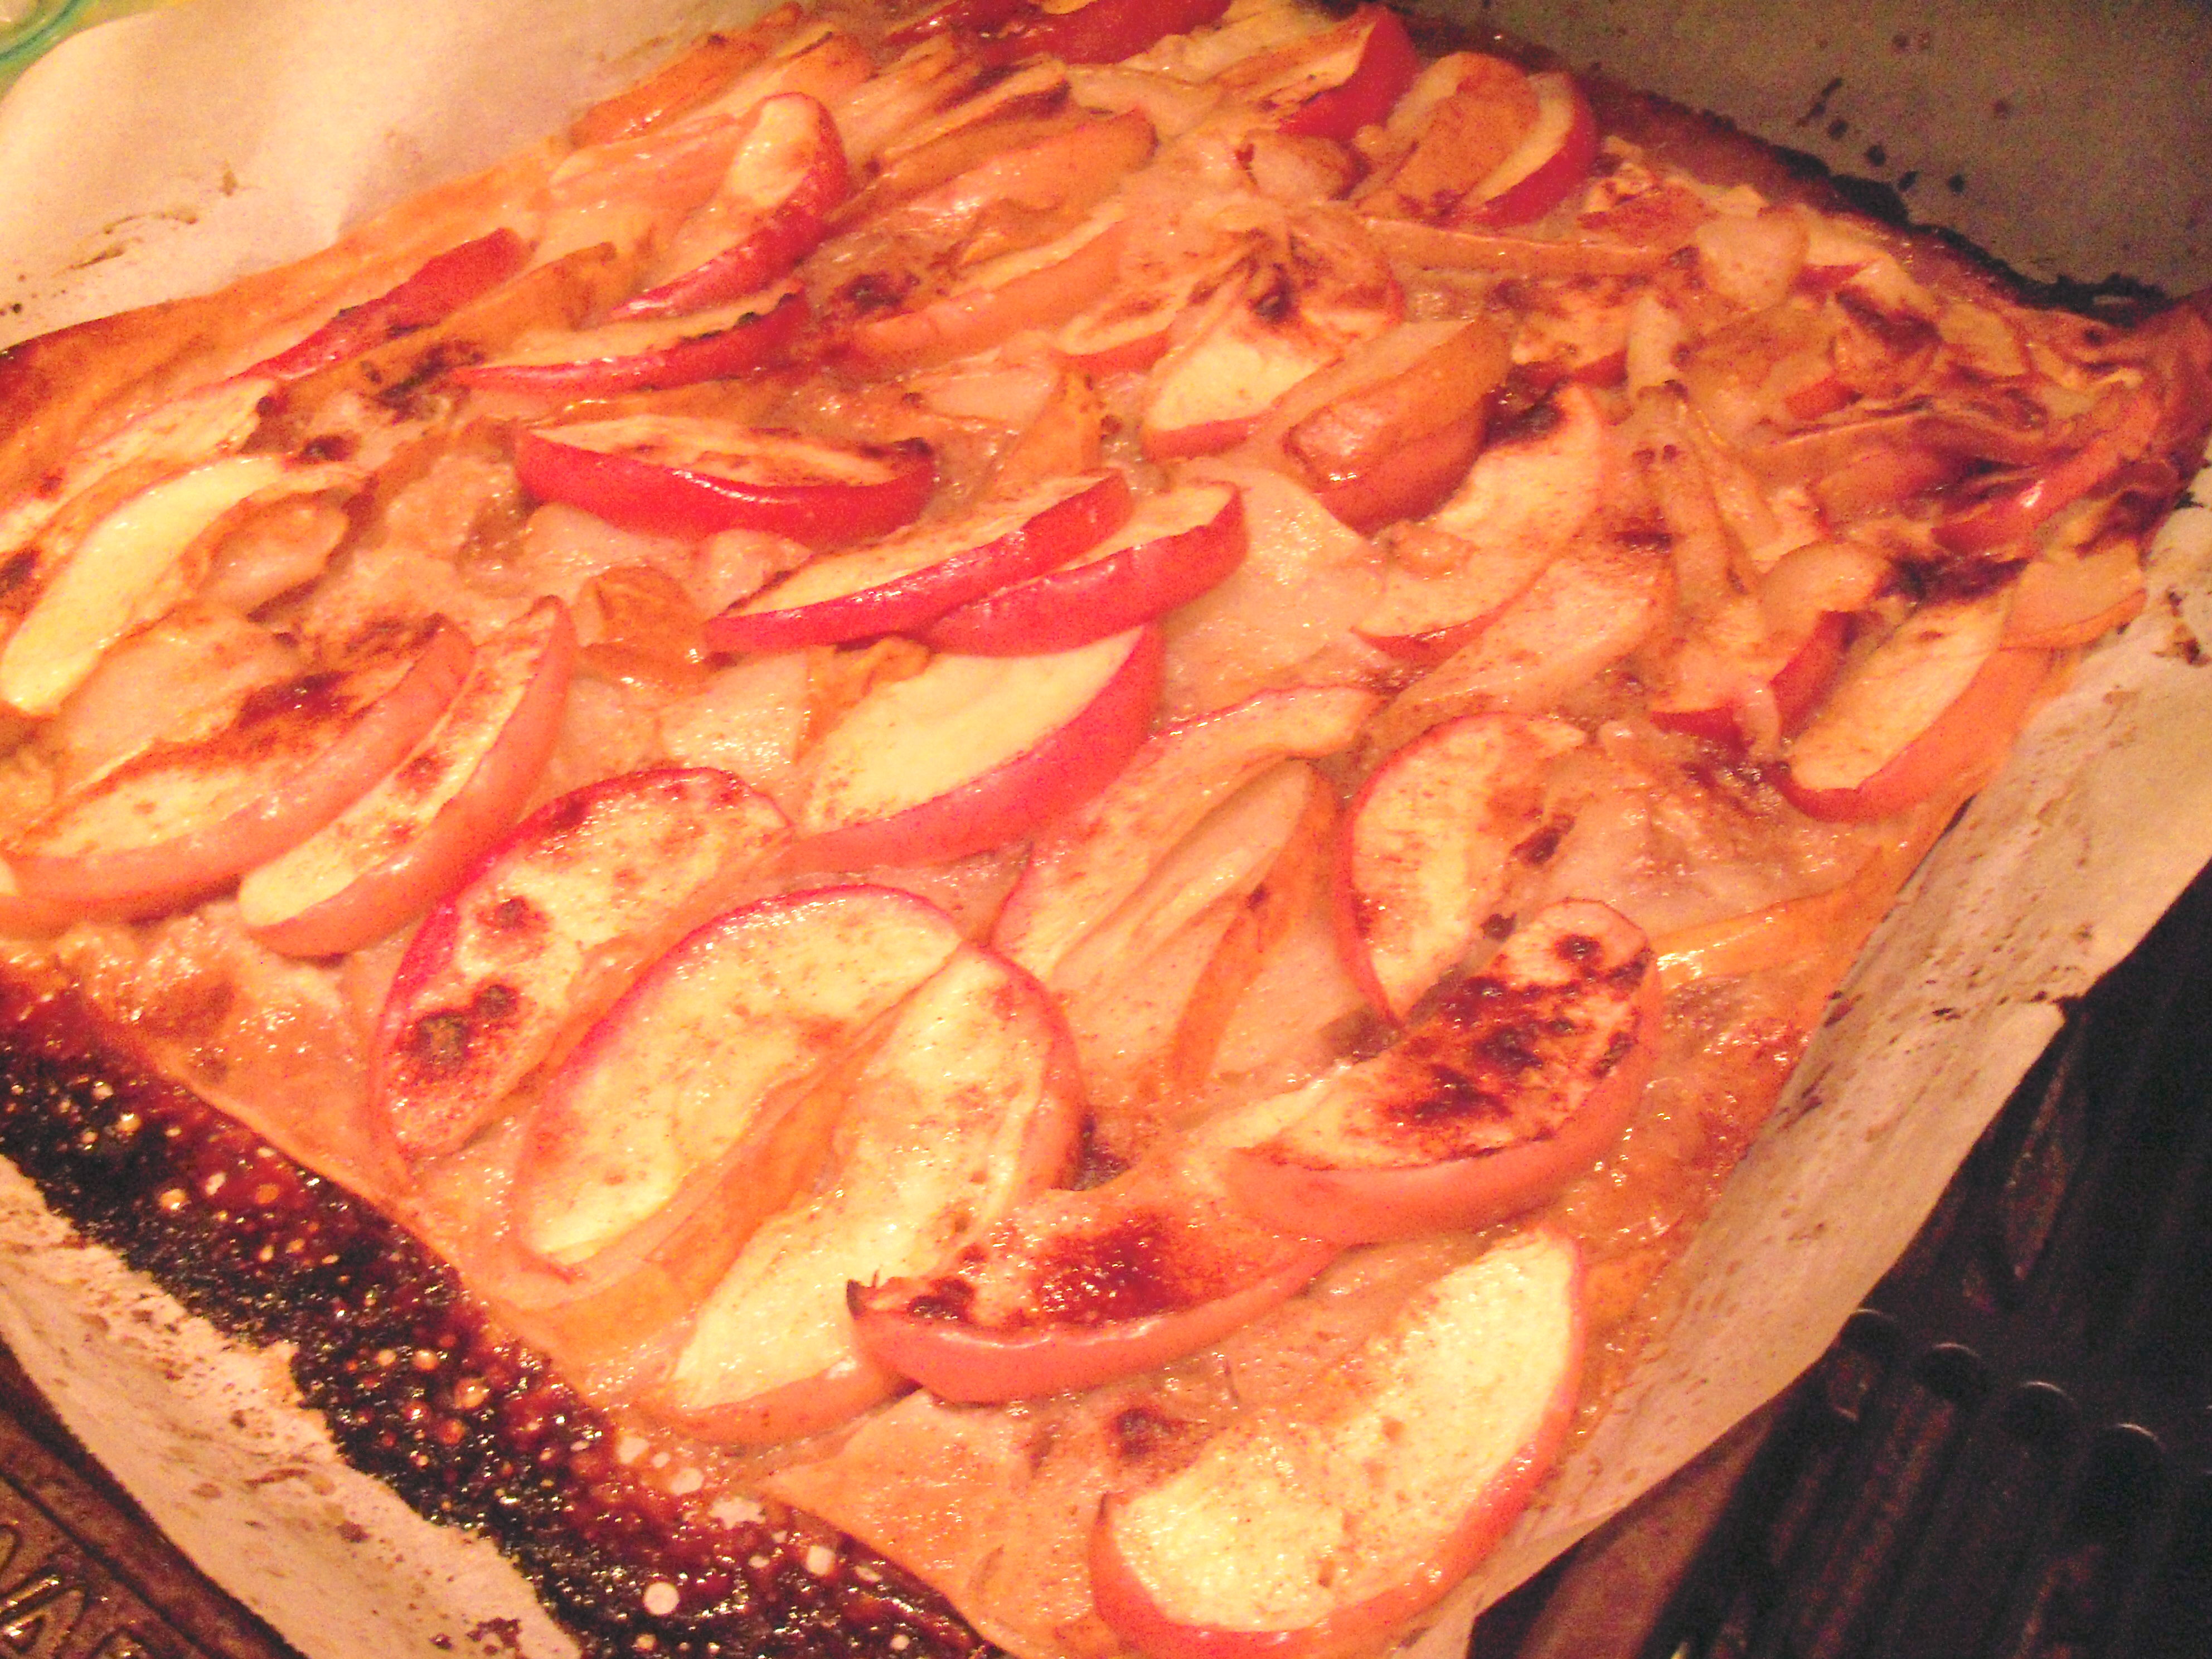
Today’s project, Pear and Apple Phyllo Crisp from Oct Living was chosen by Teresa at Homemade Iowa Life.

Sorry about the photo for this. It really did look pretty. This was very simple to make. I could not believe only a few sheets of phyllo were needed. I sprayed the top of my fruit with a little Pam and sprinkled them with sugar and cinnamon which make it look prettier and gave it some extra sweetness.

This was terrific the first day but quickly became mushy, so it’s really something that doesn’t keep well unfortunately. It was delicious though. The crispy phyllo combined with the soft fruit was a nice combo.

1/2 c pecans
1/2 c plain fresh breadcrumbs
1/4 c sugar
1/2 tsp cinnamon
6 sheets frozen phyllo dough 11 1/2 x 15 each thawed
1 stick unsalted butter, melted
2 small firm pears, such as Forelle or Seckel
2 Granny Smith apples, peeled
Preheat oven to 400 with rack in top position Combine pecans, breadcrumbs, sugar and cinnamon
Line baking sheet with parchment and top with 1 phyllo sheet. Brush phyllo with butter all over and sprinkle pecan mix over it. Repeat 4x. Top with remaining sheet and brush with all but 2 tbsp butter.
Slice pears and apples 1/8 inch thick, discard seeds. Arrange in a single layer on phyllo, leaving space between fruit and a 1/4 inch border around the edges.
Brush fruit with reserved 2 tbsp butter. Sprinkle with sugar and dust with additional cinnamon.
Bake, rotating sheet halfway through, until phyllo is golden brown and fruit is soft, 28-32 min. Let cool slightly. Cut into 8 pieces.

Bookmark and Share

Today’s project, Pear and Apple Phyllo Crisp from Oct Living was chosen by Teresa at Homemade Iowa Life. Sorry about the photo for this. It really did look pretty. This was very simple to make. I could not believe only a few sheets of phyllo were needed. I sprayed the top of my fruit with … Read more

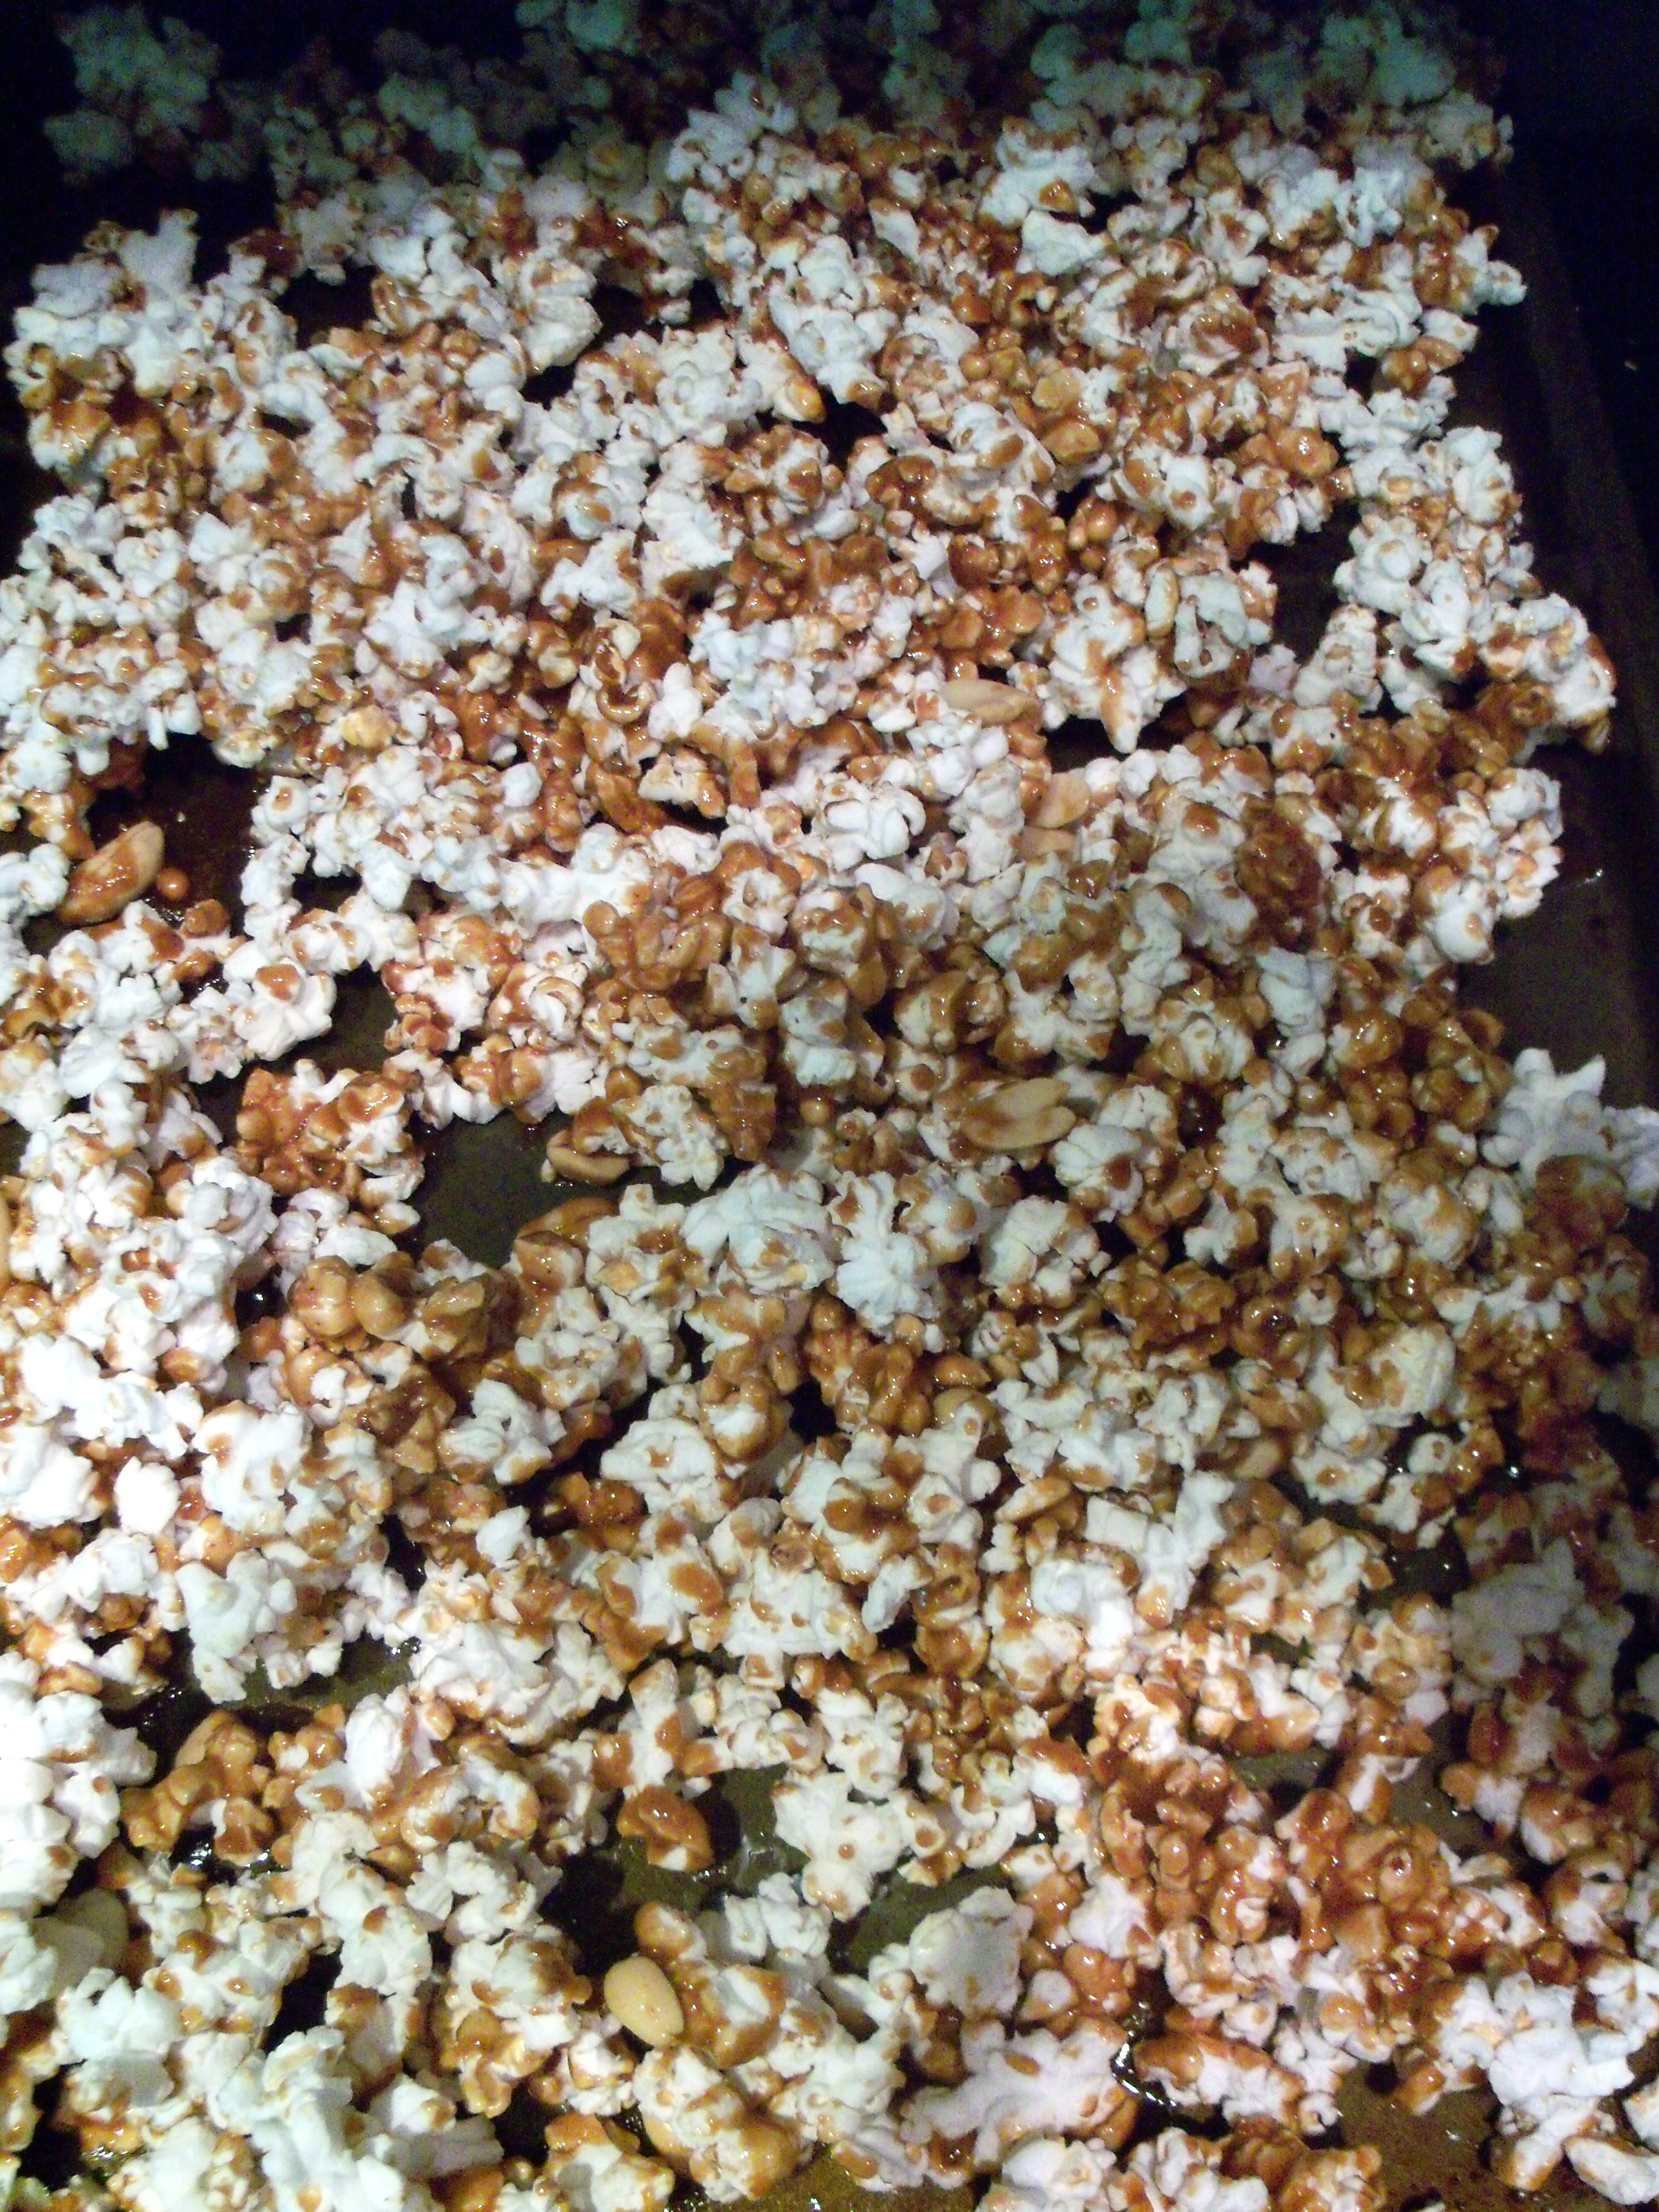
Today’s project, Caramel Corn from July Living was chosen by Teresa at A Homemade Iowa Life. I’ve never made caramel corn and the kids love it, so this was a great project to try.

It was easier than I expected. You pop 12 cups of popped corn and mix 1 1/2 cups of beer nuts (or salted peanuts which is what I used). Melt 1 stick plus 2 tbsp butter and add 1 3/4 cups brown sugar, 1/3 cup light corn syrup, 1/2 tsp salt and cook to 248 degrees. Add 1/4 tsp baking soda and toss with the popcorn. Then bake at 250 for 40 minutes, stirring a few times. Not a lot of work and it turned out nicely. It tastes great. The only caveat I would offer is to make sure you separate out all of the unpopped corn. I make mine in the microwave and always have some that doesn’t pop. It gets mixed into the caramel and is not nice to chew if you don’t get it all out before adding the caramel. Thumbs up on this one!

Bookmark and Share

Today’s project, Caramel Corn from July Living was chosen by Teresa at A Homemade Iowa Life. I’ve never made caramel corn and the kids love it, so this was a great project to try. It was easier than I expected. You pop 12 cups of popped corn and mix 1 1/2 cups of beer nuts … Read more

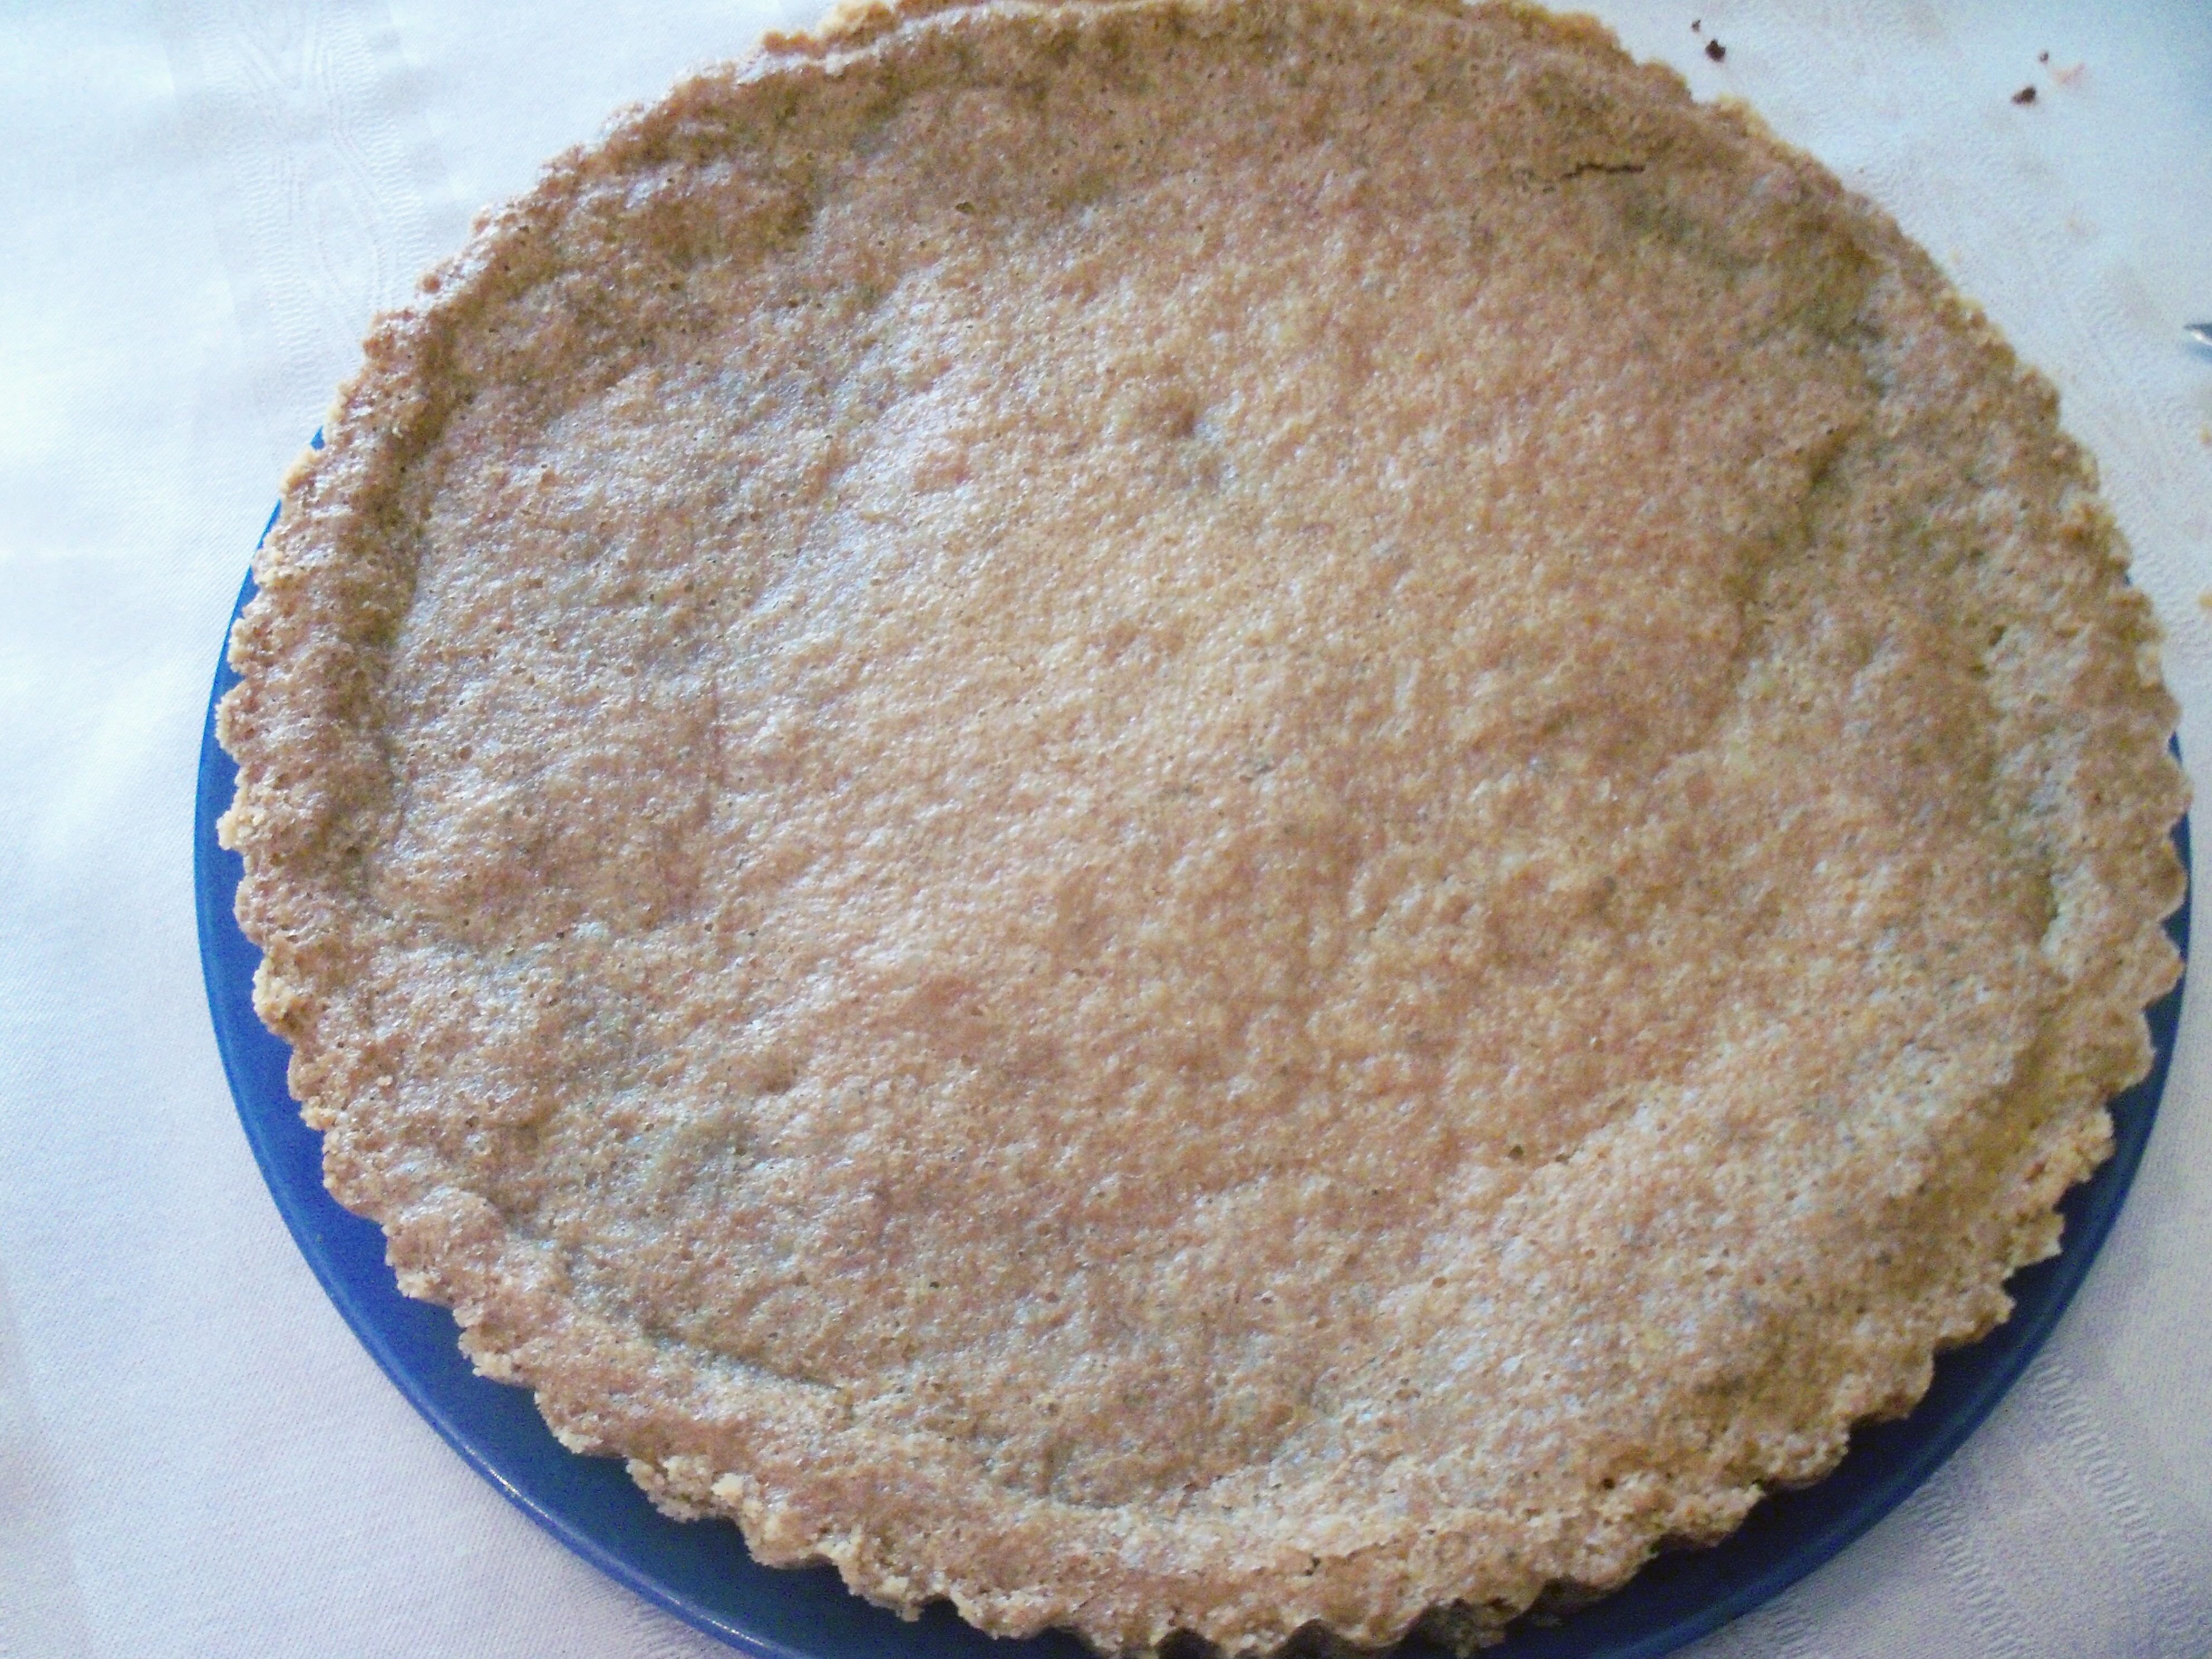
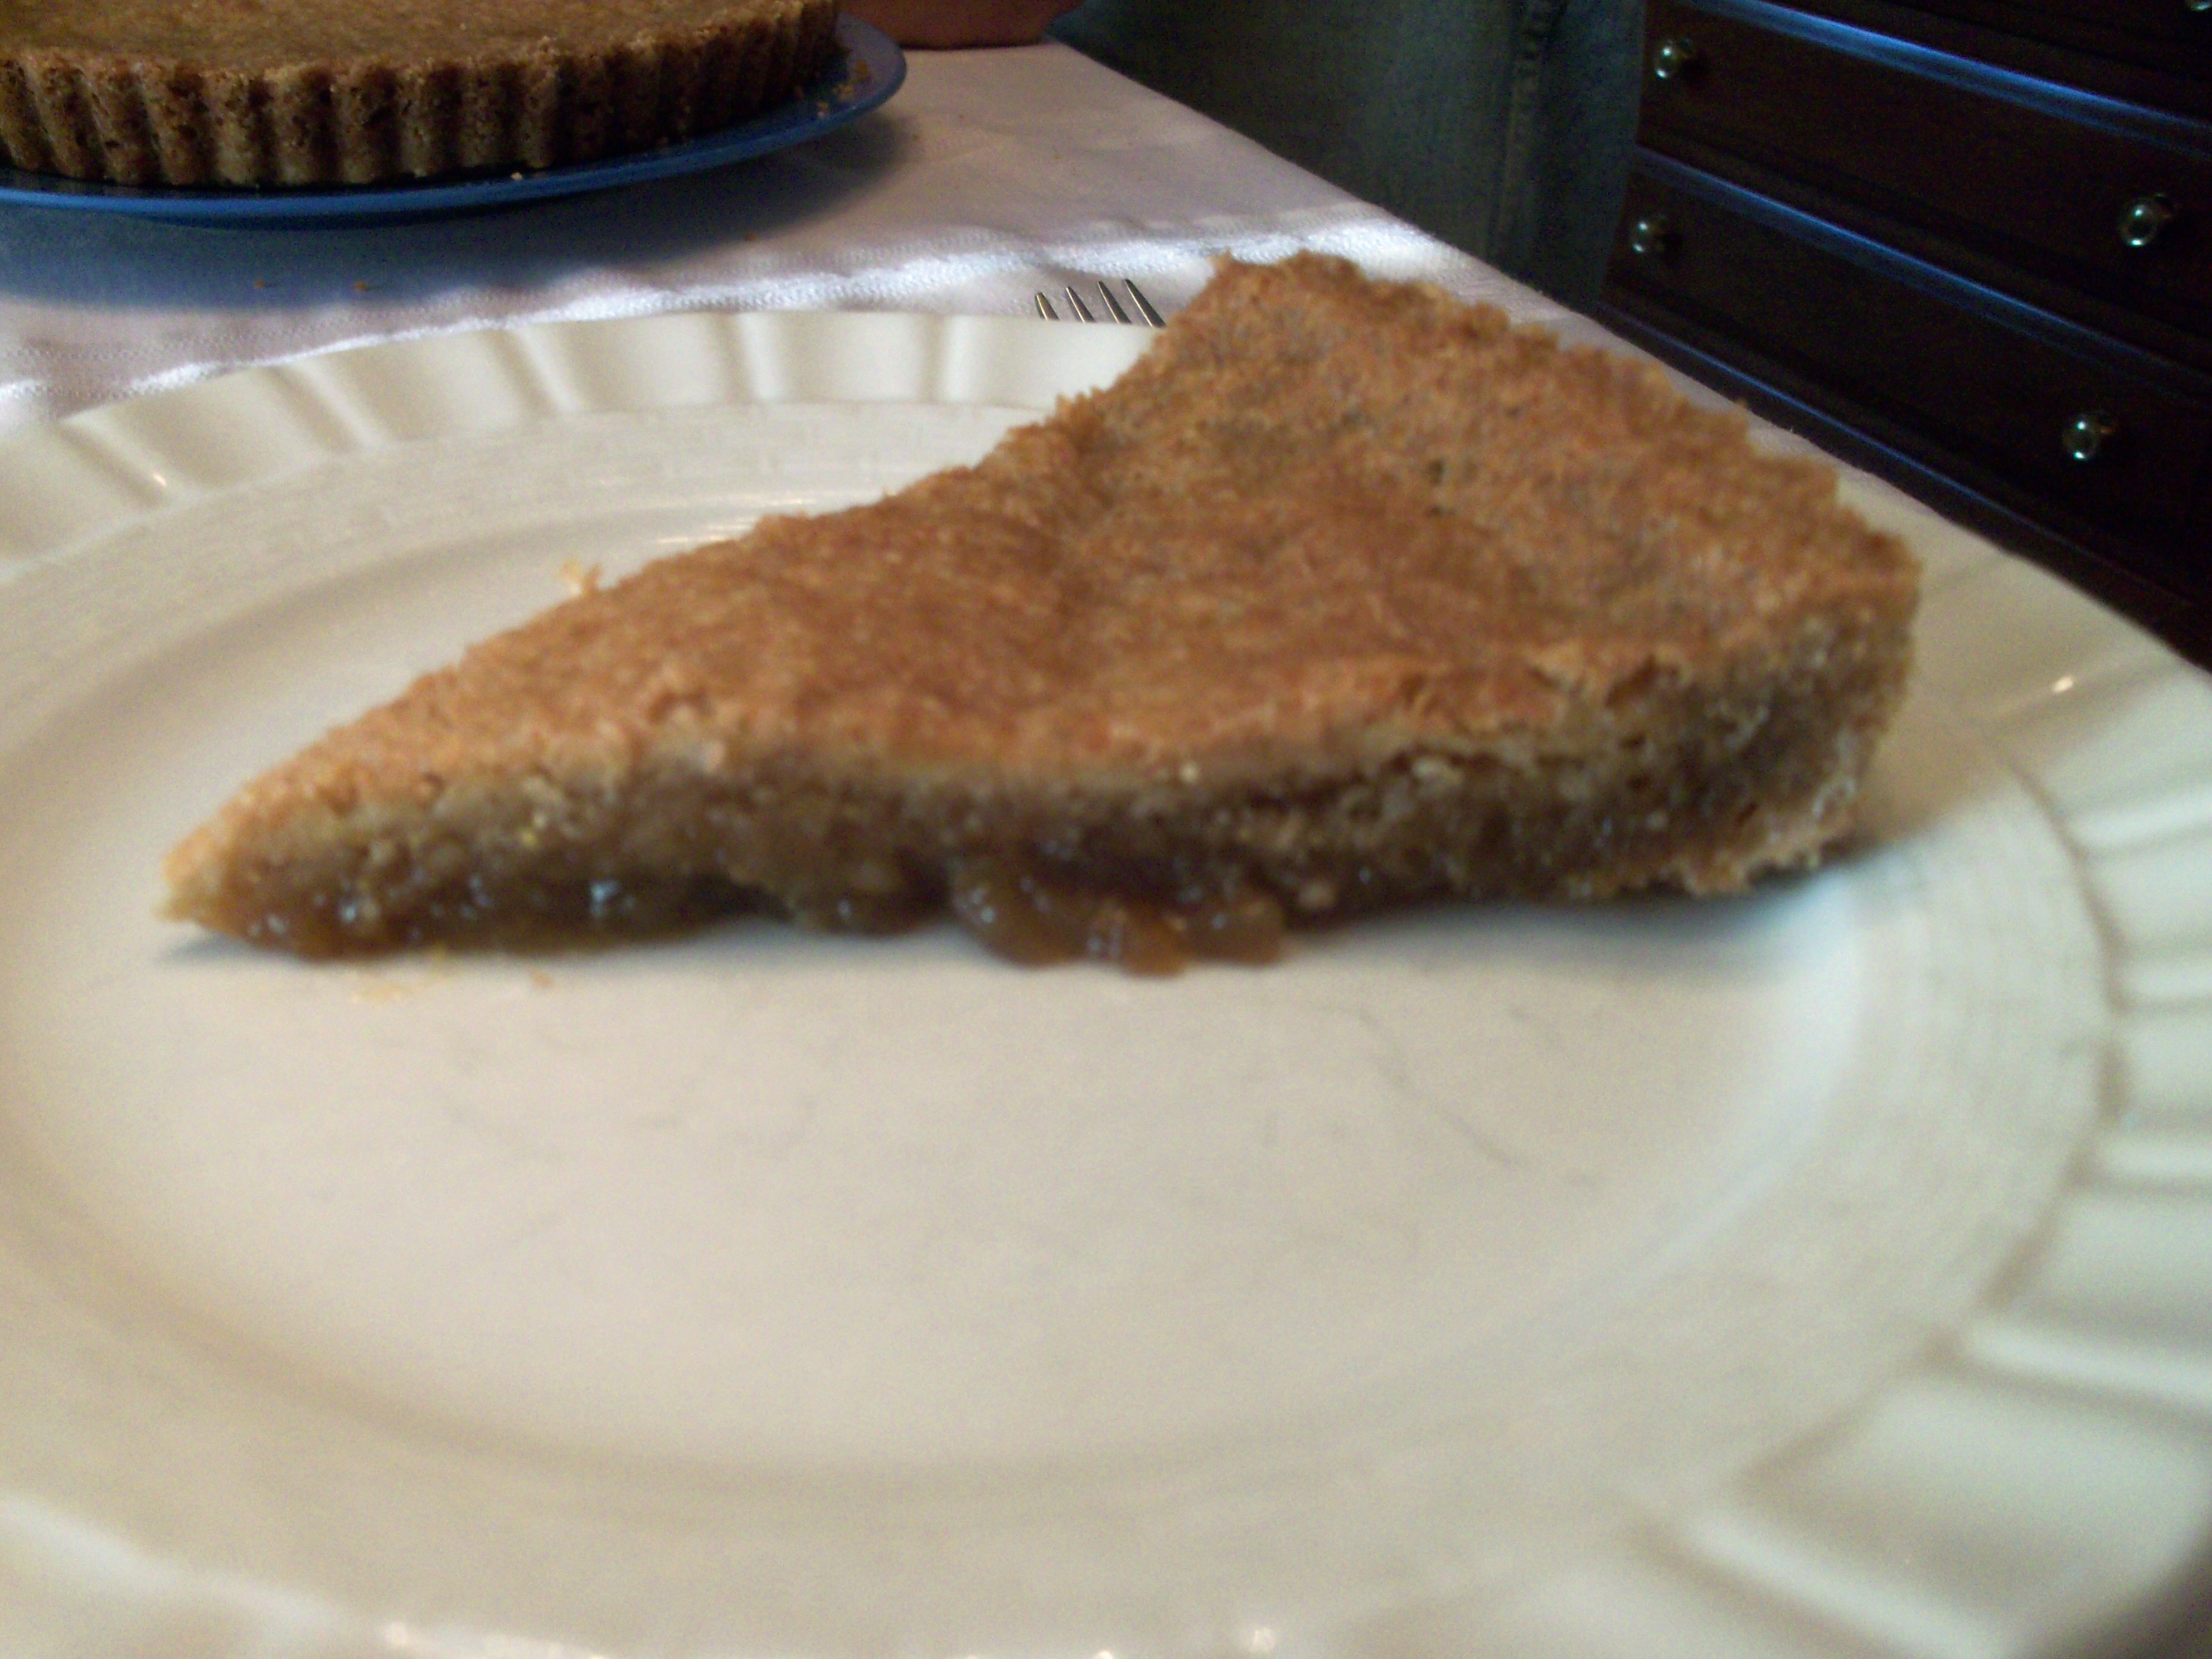
I am not a Southerner, but I admit a lot of Southern food really hits the spot for me. I remember seeing some celebrity make chess pie on a daytime talk show a hundred years ago and I could not believe it could be any good. There was almost nothing in it but egg, sugar, and butter. I’ve not really seen chess pie recipes around, until I came upon the Chess Tart in April Living. I had to make it and chose it for this week’s Martha Mondays.

This is spectacularly easy to make. The crust is 45 vanilla wafers, crushed, with 5 tbsp butter and 2 tbsp sugar and 1/4 tsp salt. You bake it then fill it with 3 eggs, 1 yolk, a stick of butter, 1/2 tsp vanilla, 1 tbsp cornmeal, and 1/2 c brown sugar. Bake it at 350 for 35-40 minutes and then refrigerate it.

This is a giant mouthful of sugar for sure, but it is really an interesting dessert. The filling kind of soaks into the crust and it is almost like butterscotch. Mr. MarthaAndMe LOVED this. It was really too sweet for me, so I ate the crust and that was about it. The kids liked it too, so it was a real hit here. How did yours turn out?

Bookmark and Share

I am not a Southerner, but I admit a lot of Southern food really hits the spot for me. I remember seeing some celebrity make chess pie on a daytime talk show a hundred years ago and I could not believe it could be any good. There was almost nothing in it but egg, sugar, … Read more

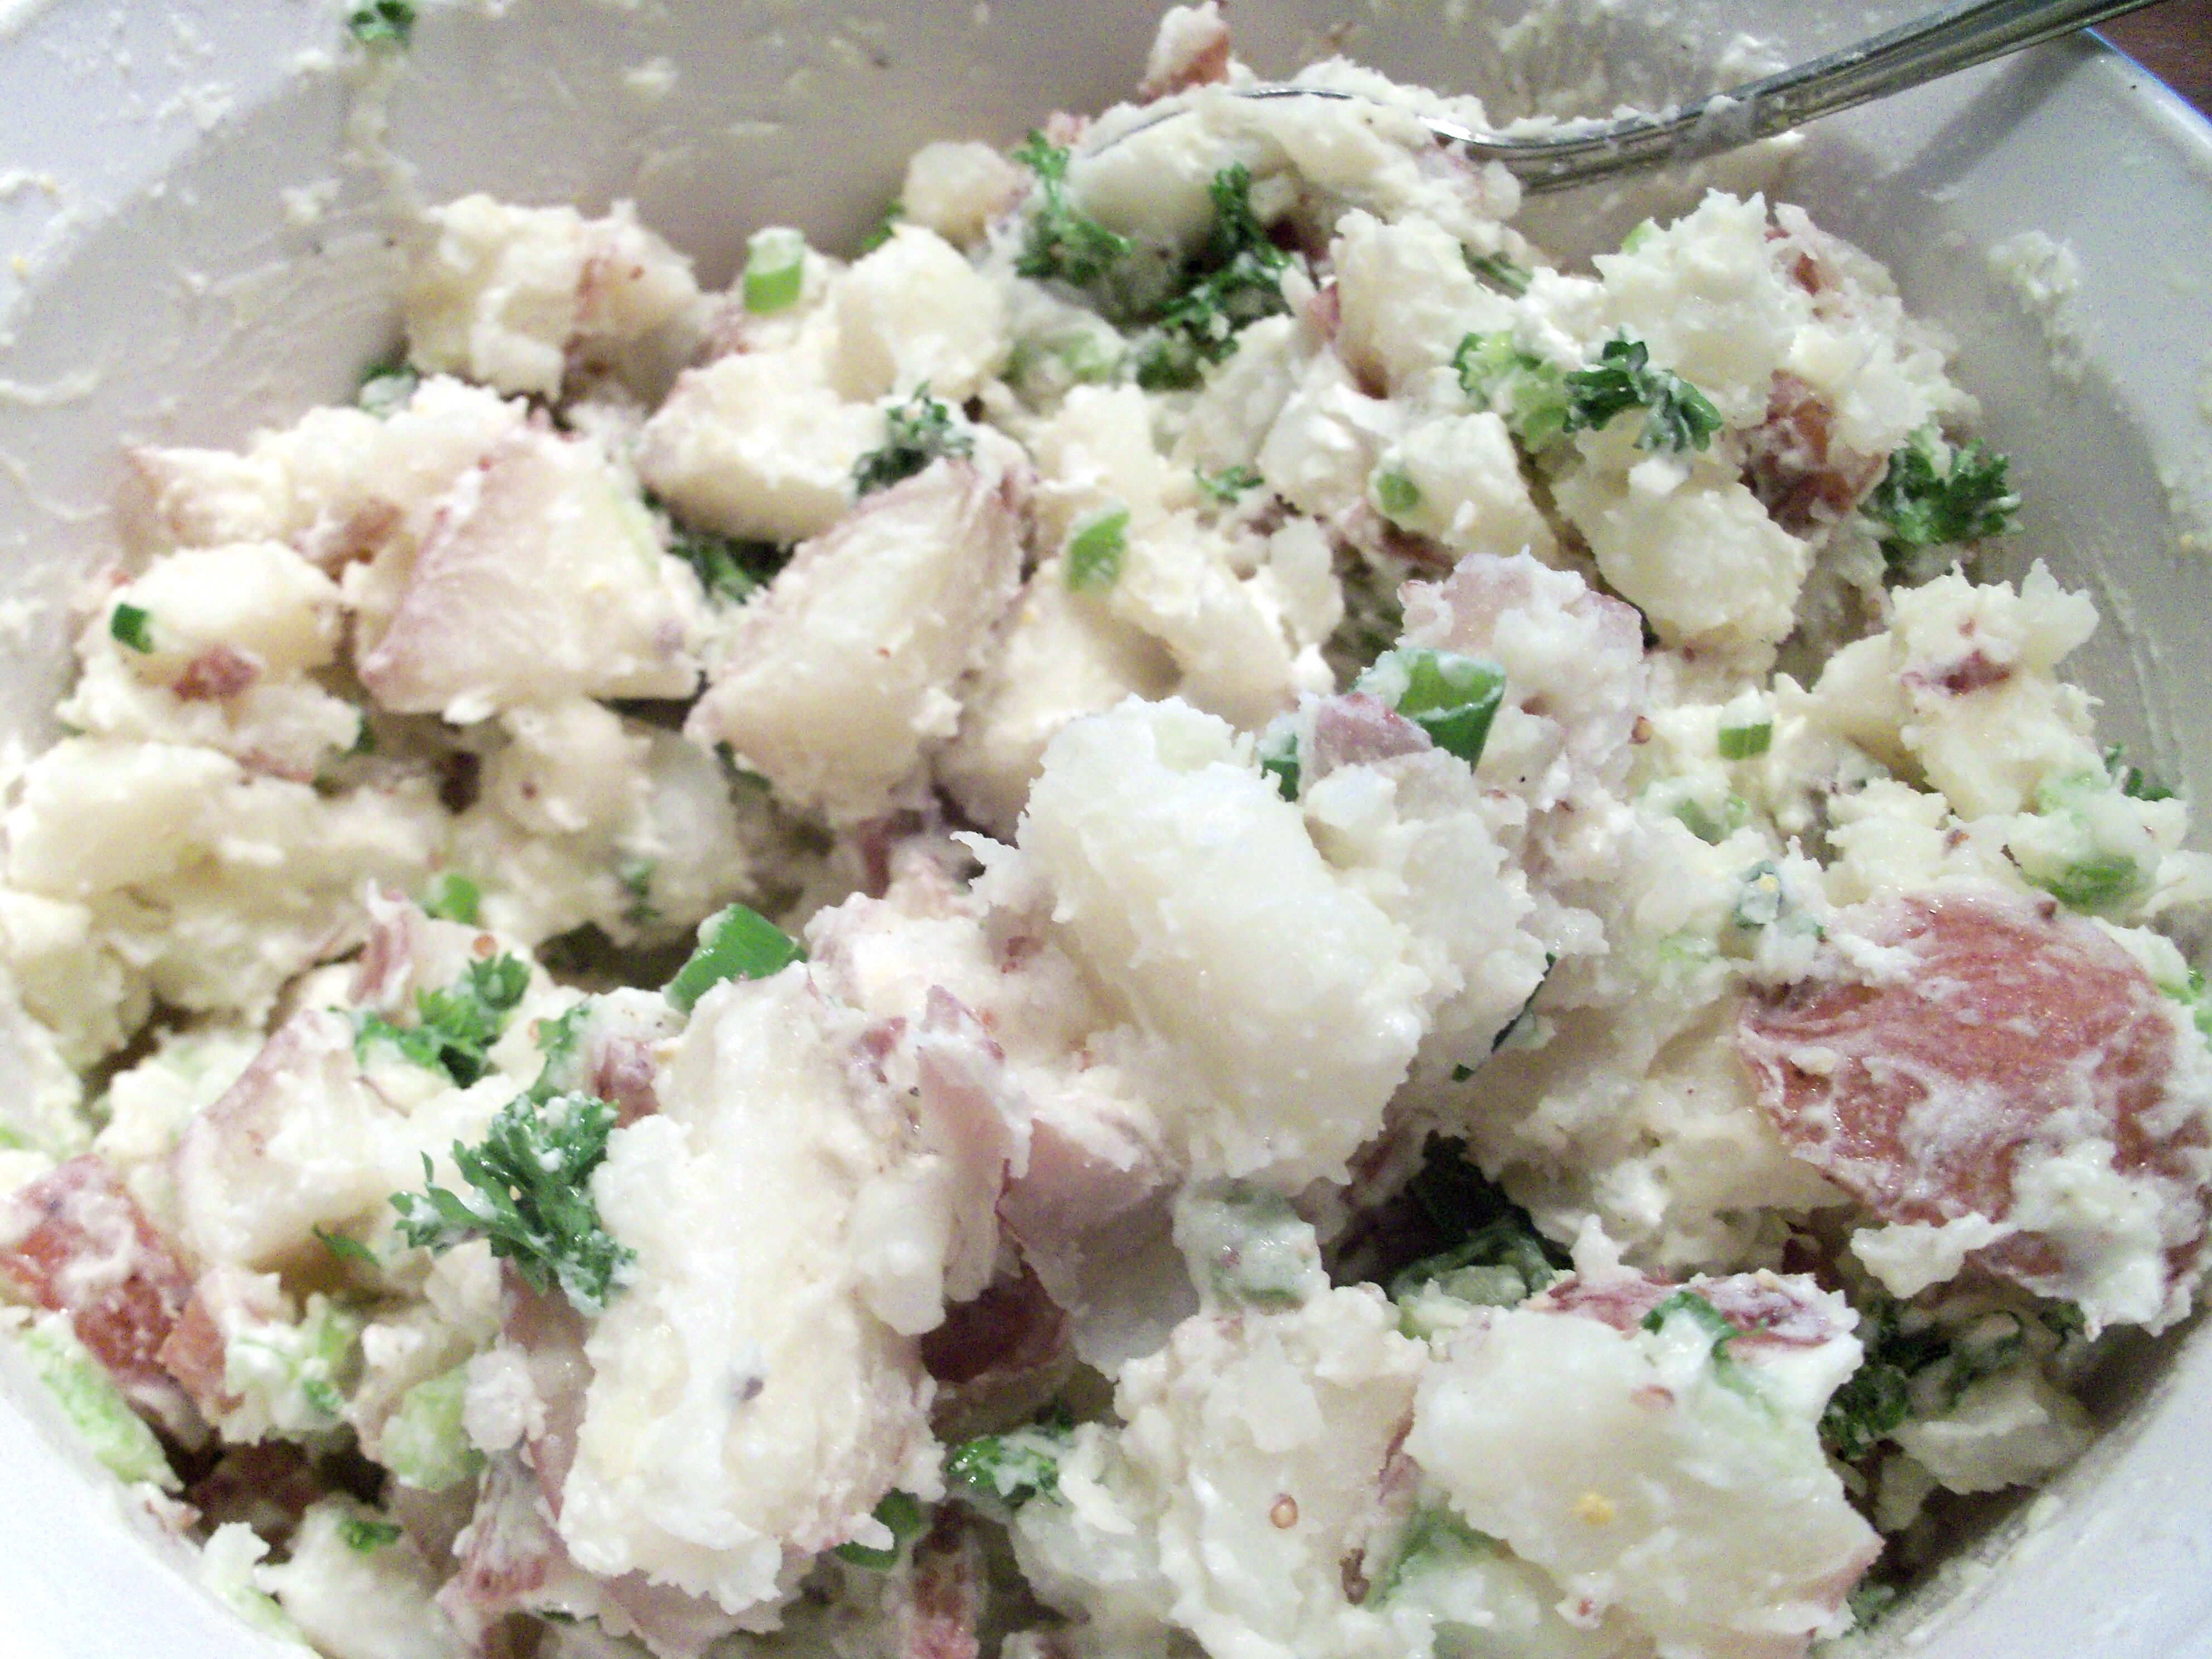
Teen Martha saw this recipe on the counter (from April Living) and said “No way! You’re making warm potato salad with goat cheese?!” Here’s the thing. Potato salad with my grandmother’s recipe is a family tradition and something my daughter and I could just eat buckets of. Teen Martha is also a tremendous goat cheese fan. The two together in one dish, well, it’s enough to give her a seizure of joy.

This recipe is extremely easy. You don’t even peel the potatoes! Cut 2 lbs red potatoes into bite size pieces and boil until cooked. Cool slightly. Mix with 1 stalk of celery chopped, 1 shallot (I used a scallion), and some parsley. Mix up a dressing of 3 tbsp oil, 2 tbsp white vinegar, 1 tsp Dijon and 1 tbsp of cooking water from the potatoes. Salt and pepper the salad. Pour dressing over the salad and stir in 4 oz goat cheese. Ta-dah! This was really delicious – and not something I would have thought of making on my own. I loved the contrast of the warm potatoes with the creamy goat cheese. Unfortunately, this was not good at all as leftovers since it was cold and just tasted like potatoes. I think you would have to let this rest and come up to room temp to eat it again. Even then, I’m not convinced it would be as good because you wouldn’t have that contrast of warm potatoes and cold cheese.

Bookmark and Share

Teen Martha saw this recipe on the counter (from April Living) and said “No way! You’re making warm potato salad with goat cheese?!” Here’s the thing. Potato salad with my grandmother’s recipe is a family tradition and something my daughter and I could just eat buckets of. Teen Martha is also a tremendous goat cheese … Read more

As part of Kevin Sharkey’s kitchen remodel IRS write-off (am I cynical? Why, yes!) several months ago, Living did a big feature on his kitchen and how “Martha” (meaning MSLO I think) helped him redo it. Included in this was a list of kitchen essentials. I went through that list on my blog and a lot of you commented about your own kitchen essentials. Someone is snoozing in editorial at Living because April’s issue includes yet another shorter list of 10 kitchen essentials. So just for kicks, I thought I would go through this one as well.

– Measuring cups and spoons. Duh.

– Asian strainer. I do like mine, but I think a slotted spoon is almost as good.

– High-heat rubber spatula. Yes, definitely.

– Vegetable peeler. They say they like Y shaped peelers. I am fond of my Oxo peeler with the rubber handle.

– Flour-sack towels. Personally, I prefer a terry towel since it absorbs more.

– Maple cutting boards. I use plastic only. I agree that wood is nicer, but I think plastic is safer.

– Mini kitchen torch. I don’t have one and have had success just using my broiler when needed.

– Pump-style salad spinner. I had one and chucked it when we moved 10 years ago. It just took up too much room. I also hated washing it. So now I soak my greens in a colander in the sink, then let them sit in the colander over the open sink to drain and pat them dry with a towel.

– Mandoline. I don’t have one and toy with buying one. I am afraid I’ll slice off some bodily appendages with it. I do have a slicing attachment for my Cuisinart which I use for large amounts of slicing.

All right readers, what are your thoughts on this list? My personal list of top ten essentials would be: plastic cutting boards, chef knife, small paring knife, rubber scraper, handheld cheese grater, tongs, silpats, nonstick pans, Oxo veg peeler, and measuring spoons/cups, including glass liquid measuring cups which I use to boil water in the microwave.

As part of Kevin Sharkey’s kitchen remodel IRS write-off (am I cynical? Why, yes!) several months ago, Living did a big feature on his kitchen and how “Martha” (meaning MSLO I think) helped him redo it. Included in this was a list of kitchen essentials. I went through that list on my blog and a … Read more

no