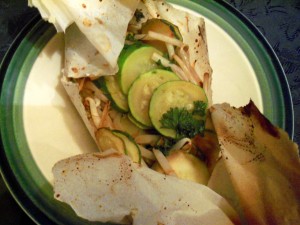
I really love to cook, but coming up with two vegetables a night gets to be a drag. Sometimes I just feel burned out by vegetables. Giving myself permission to come up with different no pot vegetables has made it all more interesting lately though. Last night I put together this bright and tasty veggie dish that we loved:
1 small zucchini, thinly sliced
1/2 cup bean sprouts
1 tbsp chopped parsley
7 drops sesame oil
3/4 tbsp tamari or soy sauce

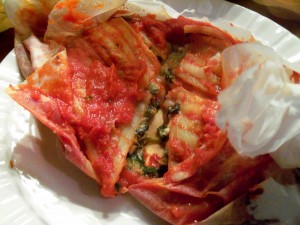
Five ingredients in an easy no mess parchment paper packet! I put it all on the parchment then tossed with my hands. I folded it up and baked at 400 for about 15 minutes. It had tons of great flavor and was something completely different (no more carrots and peas, please!). This was enough for two adults. Mr. NoPot even had seconds (which you don’t see him doing with veggies – ever!).

Bookmark and Share

I really love to cook, but coming up with two vegetables a night gets to be a drag. Sometimes I just feel burned out by vegetables. Giving myself permission to come up with different no pot vegetables has made it all more interesting lately though. Last night I put together this bright and tasty veggie … Read more

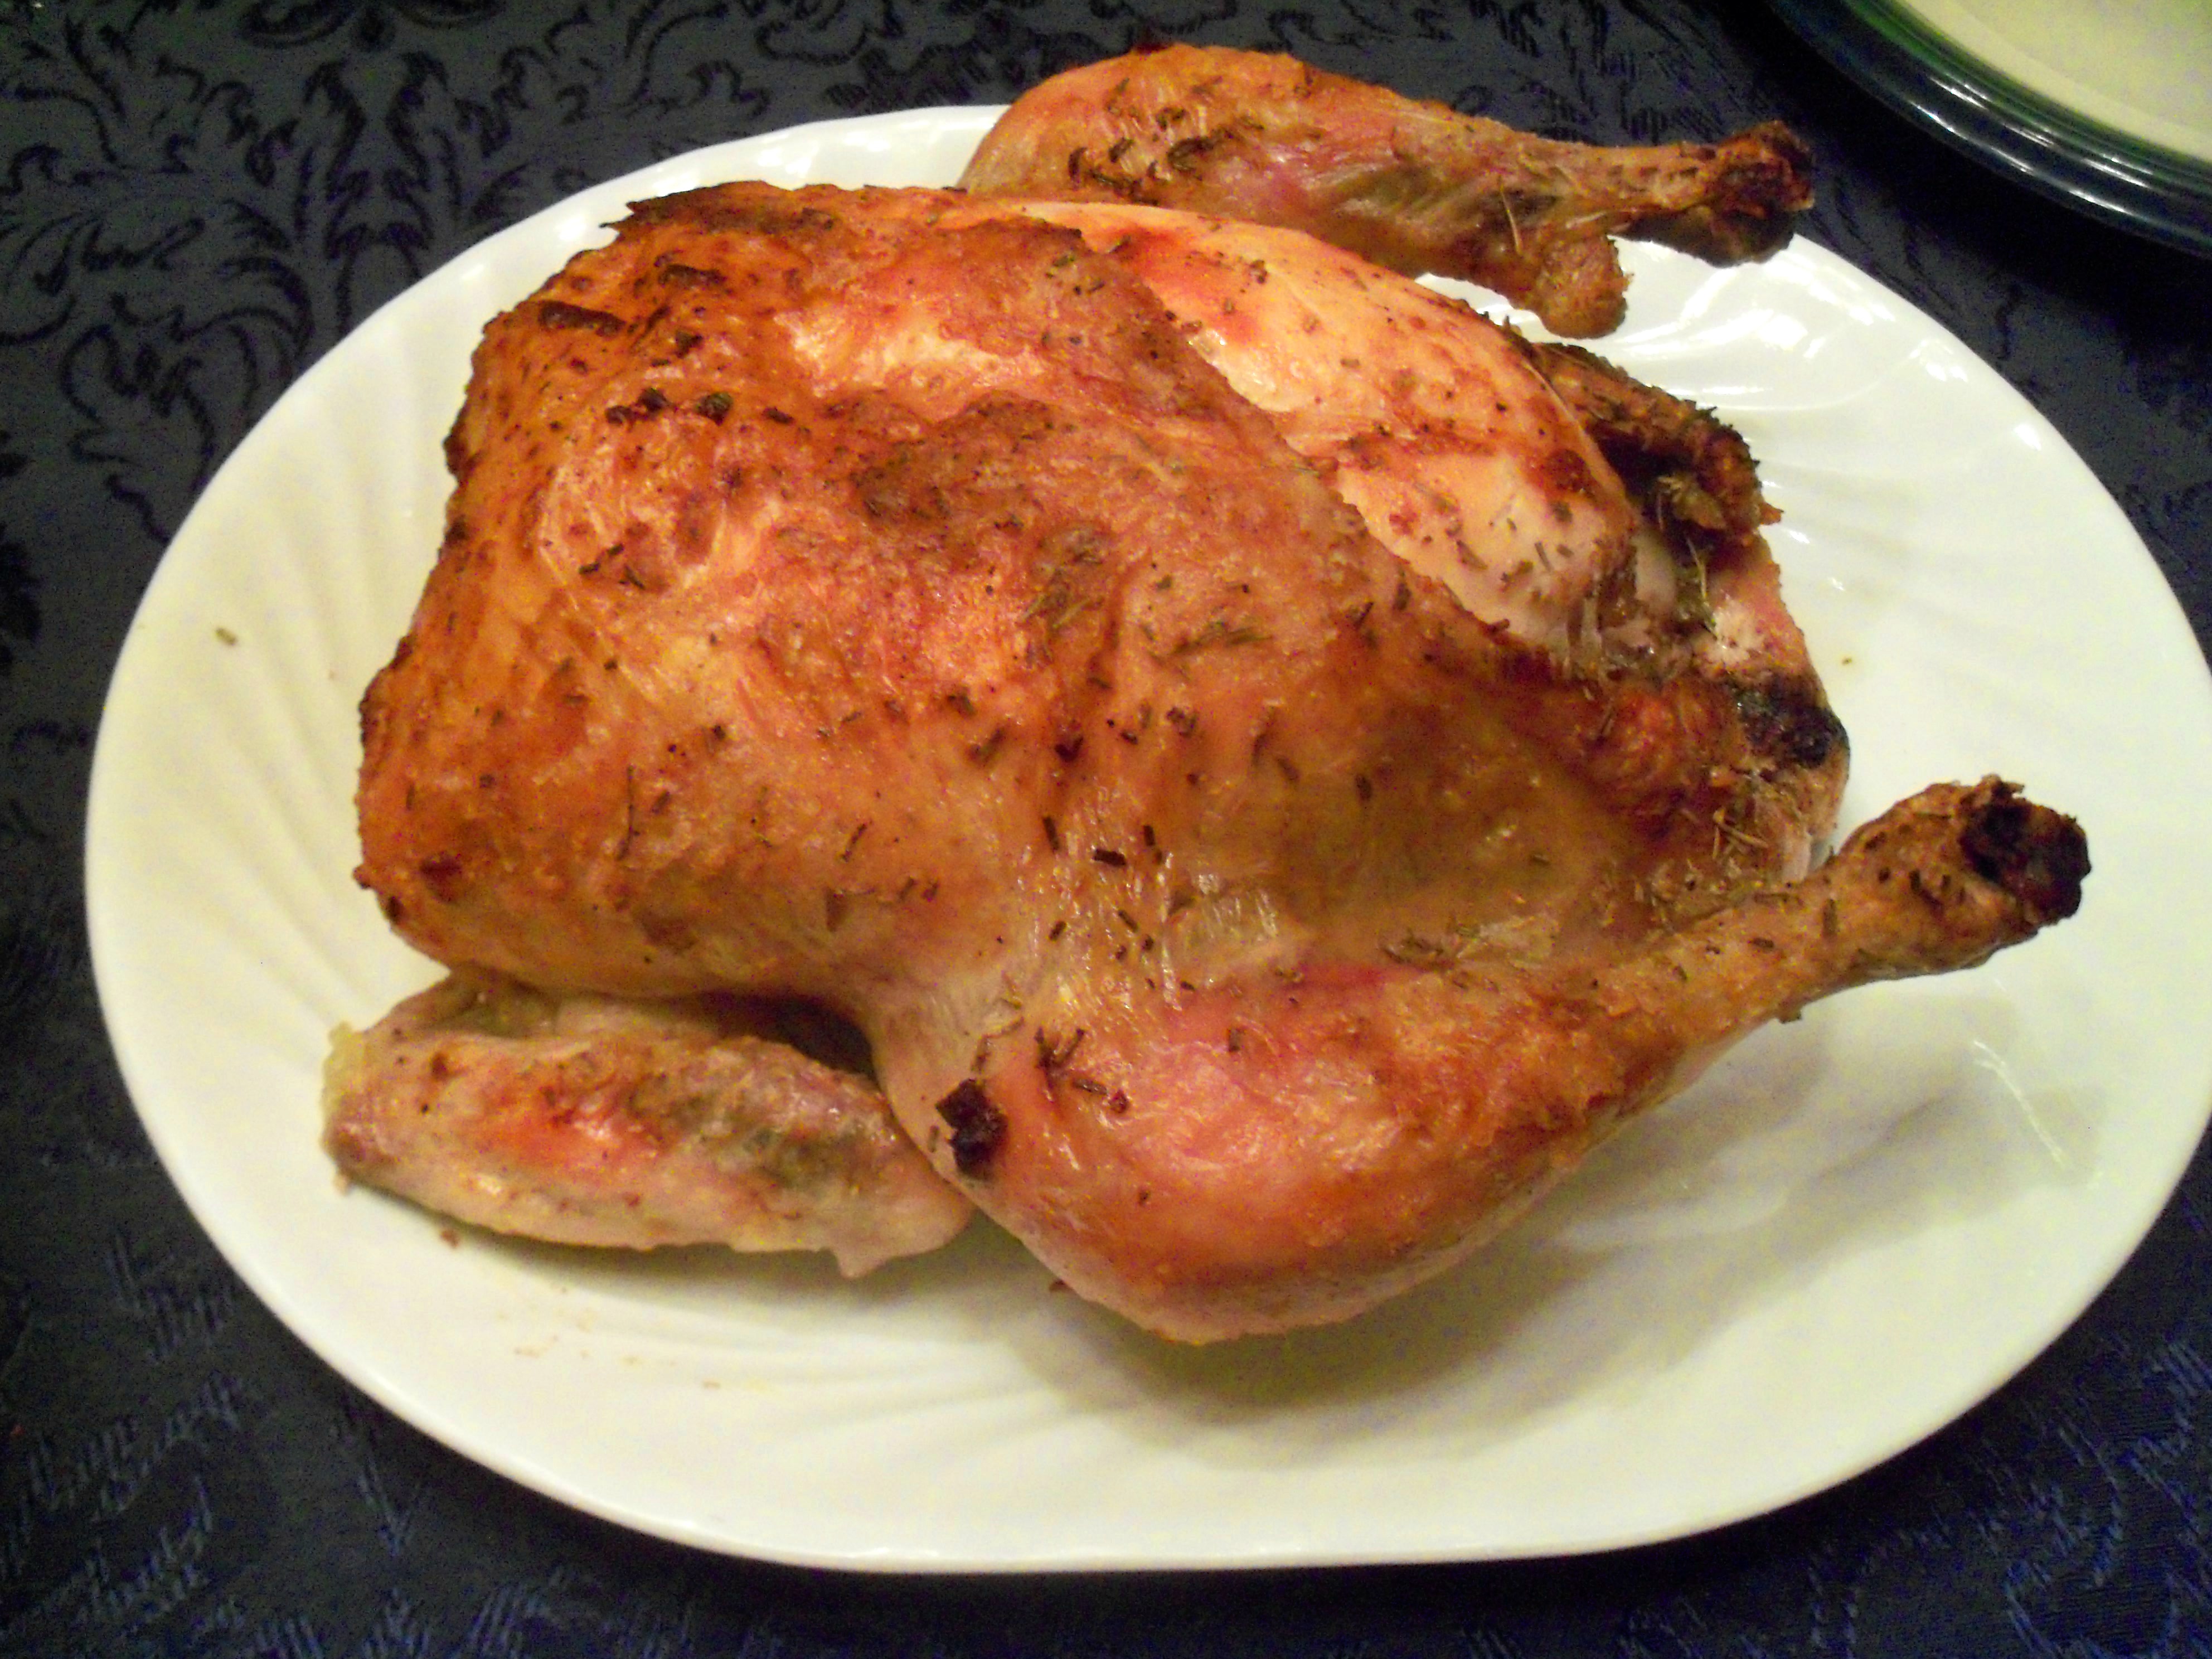
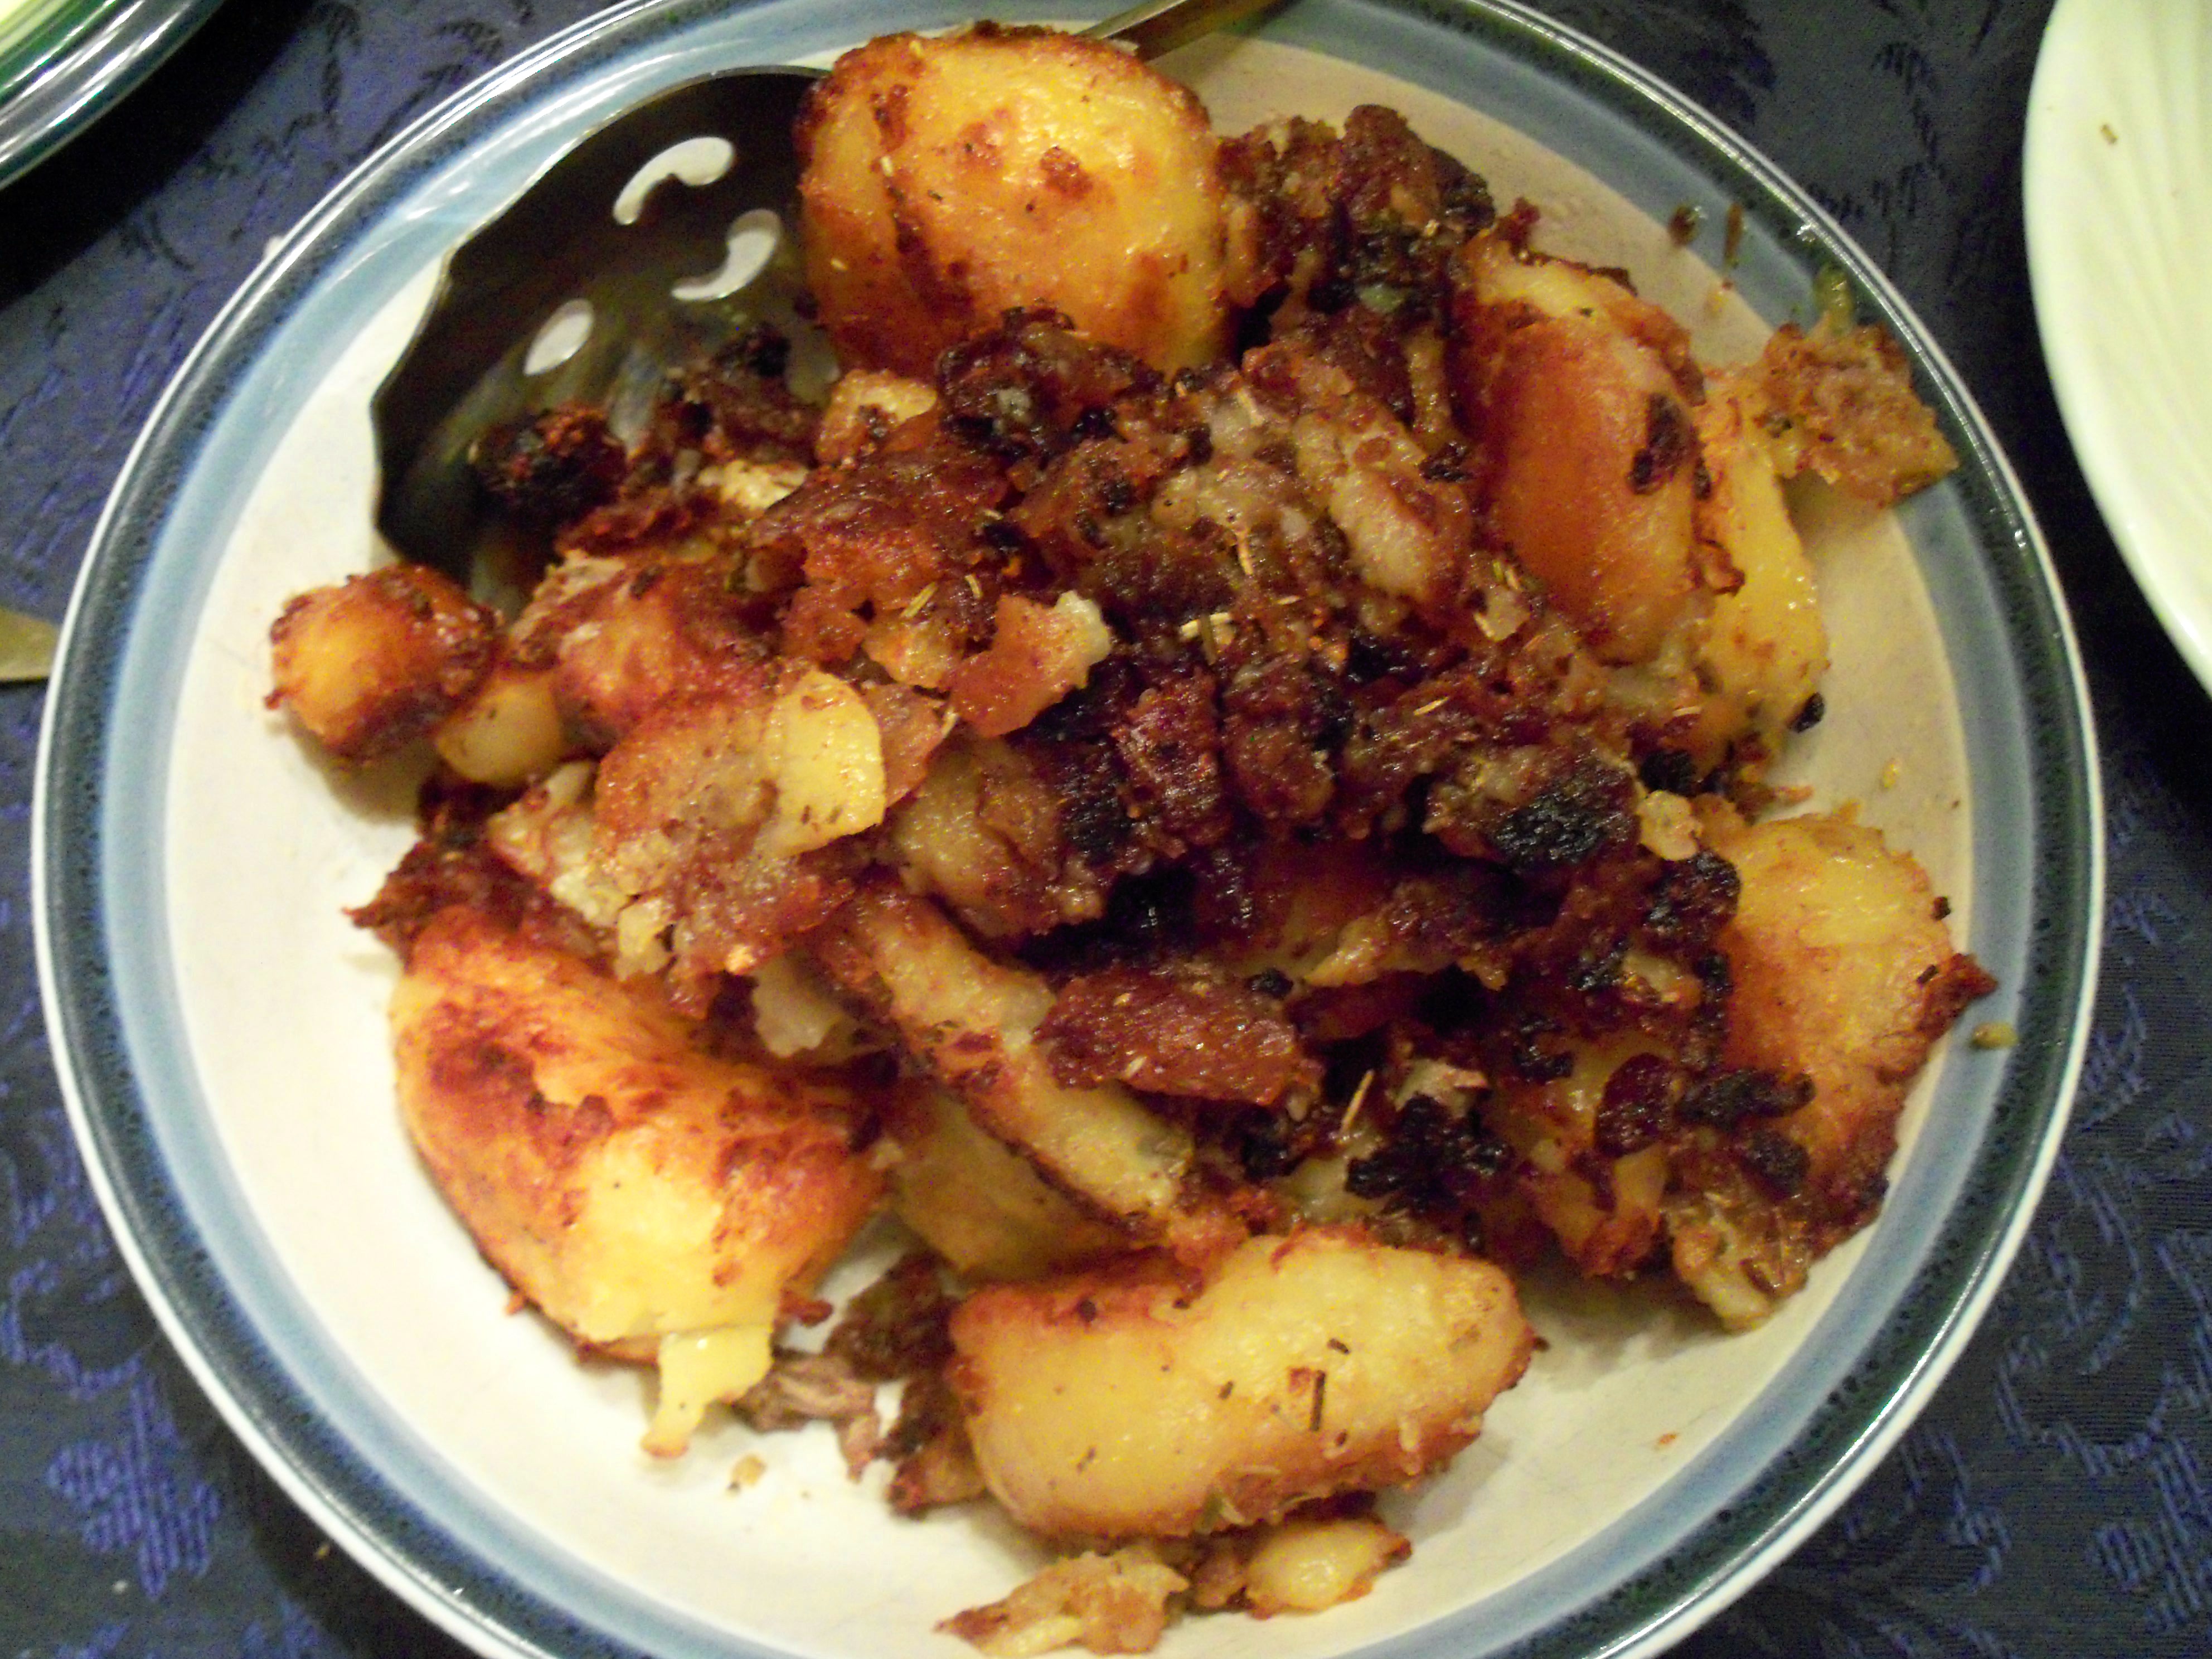
I am a sucker for crispy potatoes. I admit I didn’t really give the roast chicken recipes in Jan Living much of a second glance until Sarah Carey came on the show and made them. The potatoes in the Crispy Skinned Chicken recipe hooked me. I was also interested to try putting butter and cornstarch on the chicken skin.

I used Yukon Gold potatoes because that’s what I had and I also didn’t have fresh rosemary. It turned out really well. This is an open-kitchen-window recipe though – any time I cook chicken at a high temp like this it smokes up the house. The chicken cooked nicely and was quite crisp (so I will use this method again). The potatoes fell apart a bit when I tossed them in the pan and I did have to put them back in the oven once the chicken was out to get them a little browner, but they were good.

I used dried rosemary, so that may be the problem, but I just kind of wanted the whole thing to have a little more flavor overall. Other than that, it was excellent!

Bookmark and Share

I am a sucker for crispy potatoes. I admit I didn’t really give the roast chicken recipes in Jan Living much of a second glance until Sarah Carey came on the show and made them. The potatoes in the Crispy Skinned Chicken recipe hooked me. I was also interested to try putting butter and cornstarch … Read more

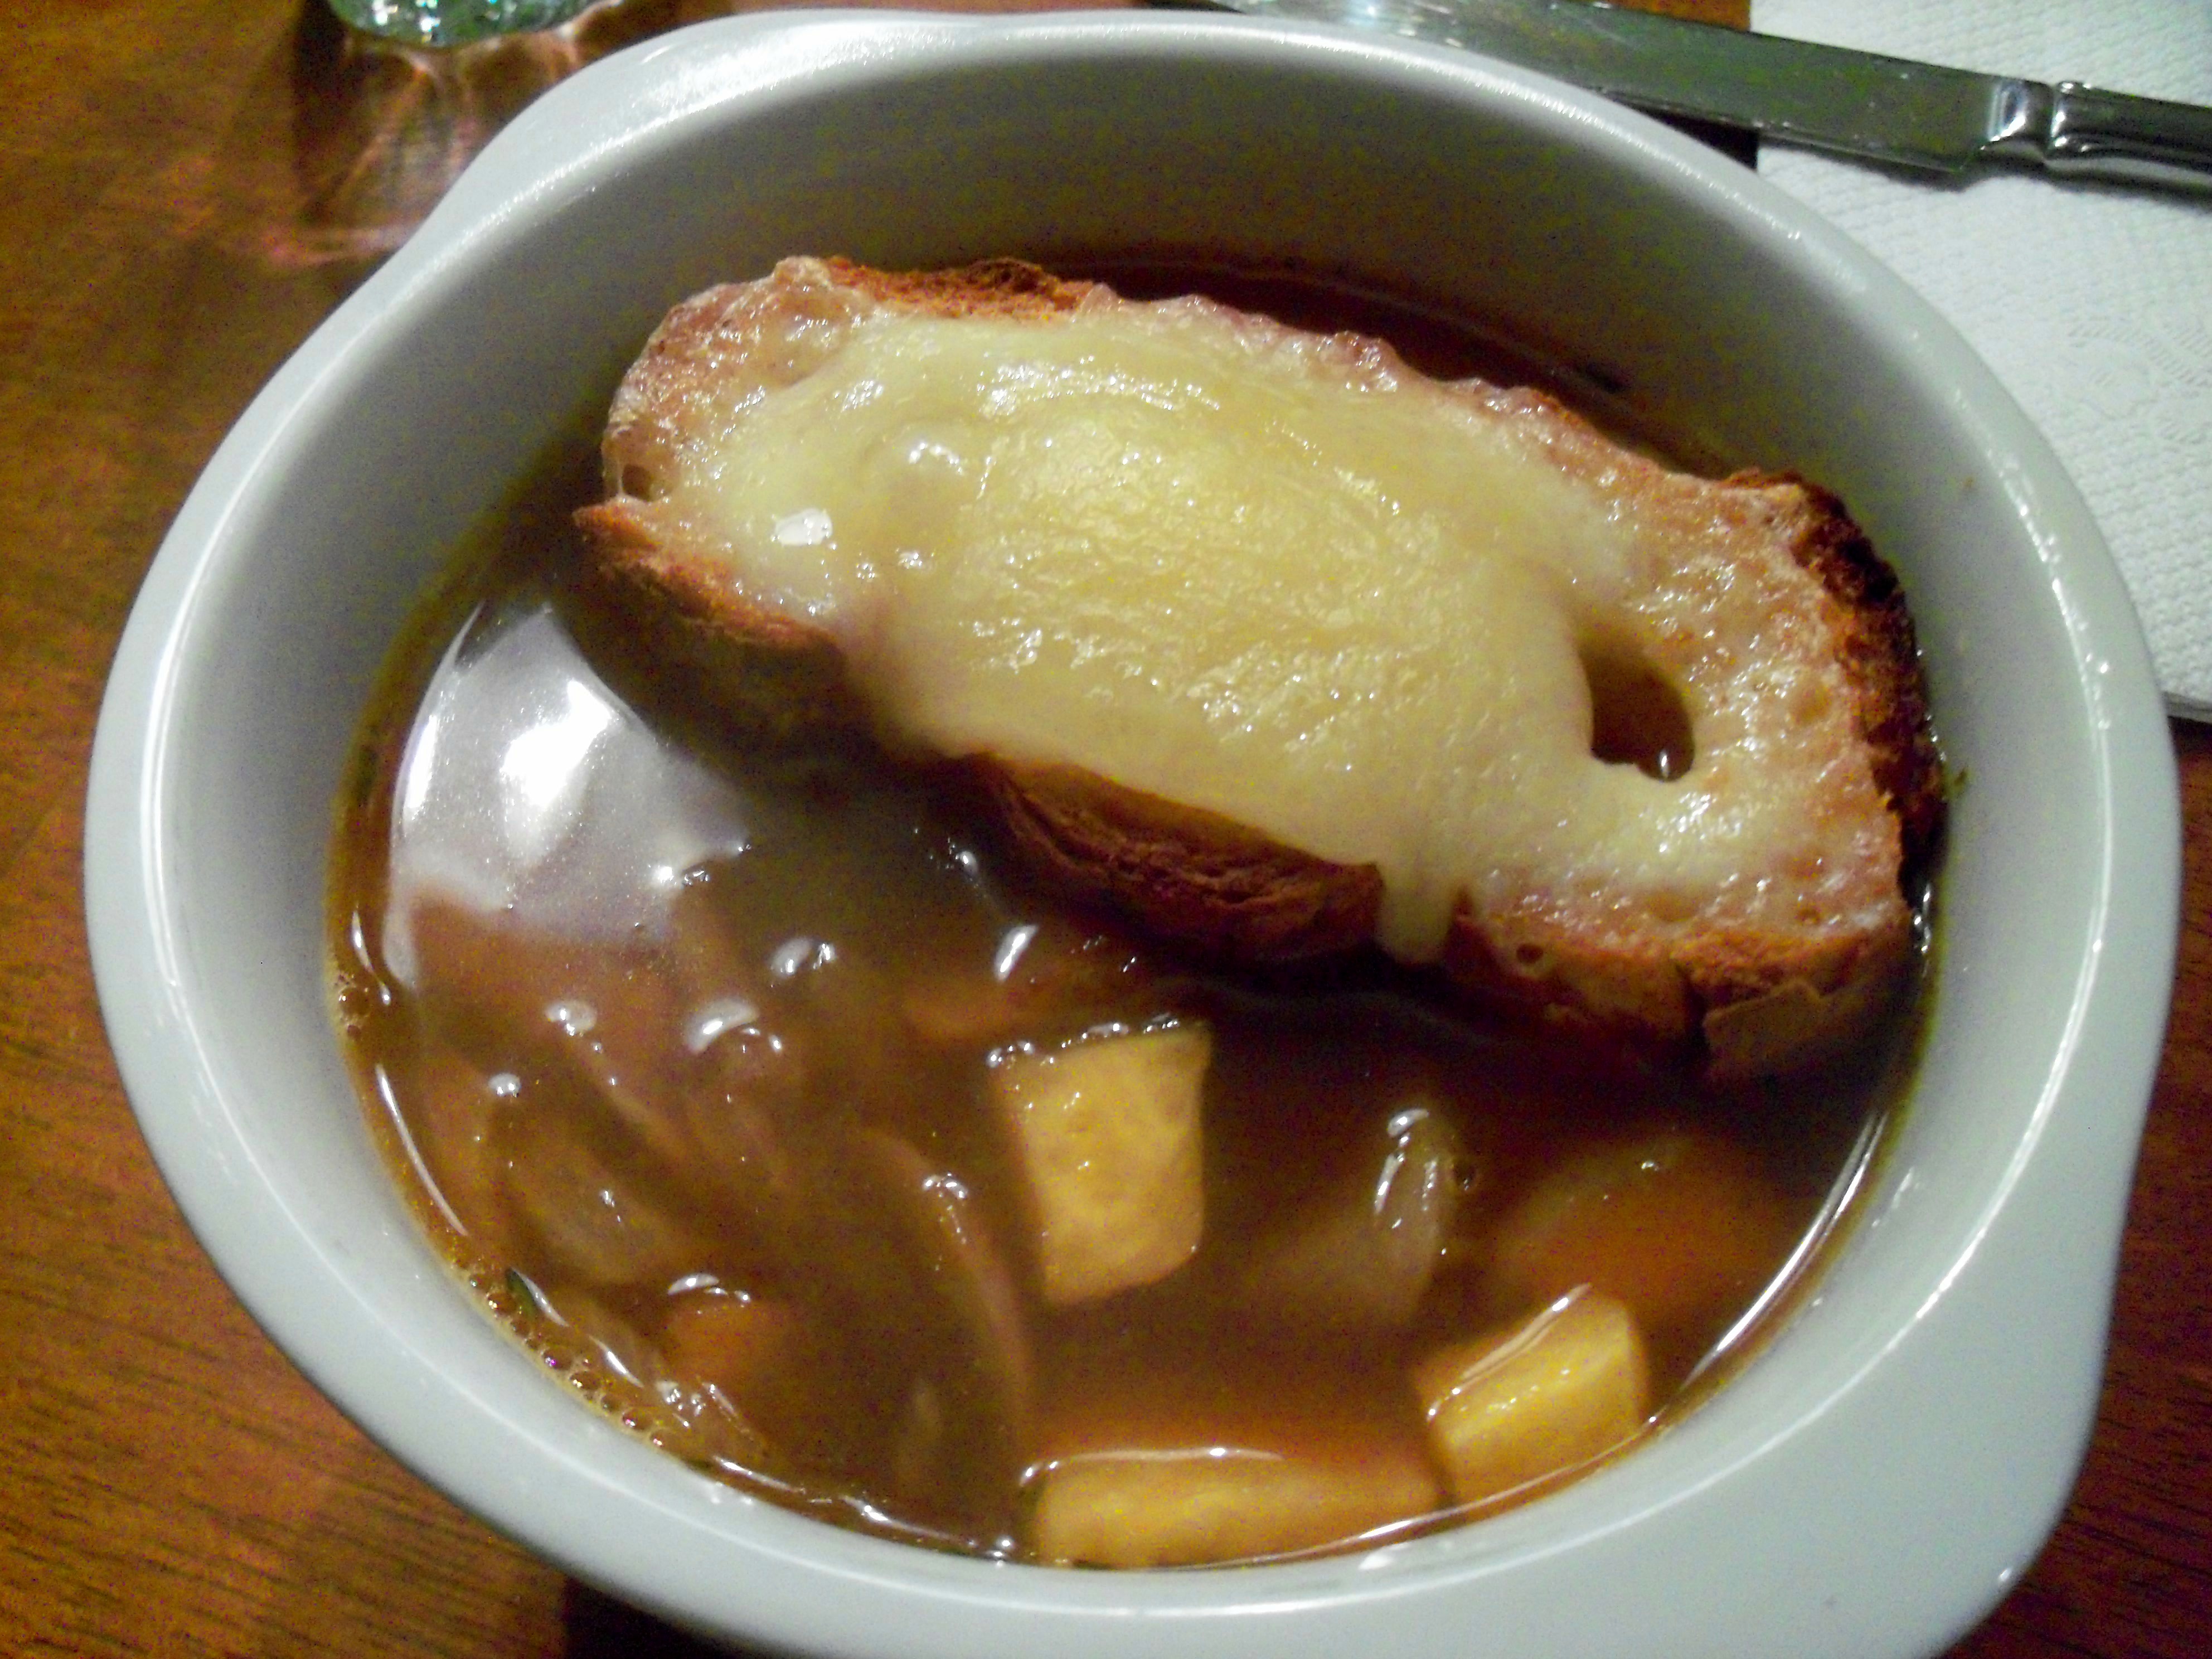
I chose Hearty Onion Soup Gratin from Jan Living to get us back into Martha Mondays. It’s basically a French onion soup with turnips and carrots added in. I am a lover of French onion soup and have been making it a lot recently (I had one batch where I didn’t stir my onions enough and a tiny bit burned and turned the whole soup bad).

This recipe was fairly simple:
1/4 cup olive oil
2 medium onions, thinly sliced
2 tsp fresh thyme
salt and pepper
4 cups beef stock
4 small carrots, halved lengthwise
3 baby turnips, peeled and cut into wedges or chunks
4 small dried bay leaves
4 large slices of bread
8 slices Gruyere

Heat oil over medium heat in skillet. Cook onions until translucent, about 8 min. Reduce to low and add thyme and cook until golden 35-40 min. Season with salt and pepper

Preheat broiler. Bring stock to boil in pot. Add carrots and turnips and simmer until almost tender, about 5 min.

Divide vegetables among 4 bowls, add onions. Add bay leaf to each. Pour in stock. Place a slice of bread on each and 2 slices cheese. Broil until bubbly.

So now that you’ve seen Martha’s instructions I’ll confess what I did. First of all, I forgot the bay leaves entirely. I didn’t have enough fresh thyme so I used dried. I actually ended up roasting my veggies (and I used baby carrots cut into chunks) in the oven. I added the onions and veggies to the stock (I had about 6 cups of it) and let it simmer for a while so the flavors would combine. I like to make my bread separately on a roasting pan and if we’re eating at home alone, I cut my cheese covered bread into chunks before adding it to my soup to make it easier to eat!

With all that being said, I enjoyed this very much. Really, you’d have to really do something horrible to make me reject a bowl of French onion soup! I enjoyed having more veggies in it and have been eating leftovers for lunch.

Here’s the schedule moving forward for the coming weeks. If this doesn’t work for you, let me know. If you’d like to join up, let me know and I’ll add you.

1/17 Steak and Potatoes Kinda Gurl

1/24 Megan’s Cookin’

1/31 Sassy Suppers

2/7 Perfecting Pru

2/14 Tiny Skillet

2/21 Sweet Almond Tree

2/28 MarthaAndMe

Bookmark and Share

I chose Hearty Onion Soup Gratin from Jan Living to get us back into Martha Mondays. It’s basically a French onion soup with turnips and carrots added in. I am a lover of French onion soup and have been making it a lot recently (I had one batch where I didn’t stir my onions enough … Read more

Gnocchi and Me

Posted by Brette in Food

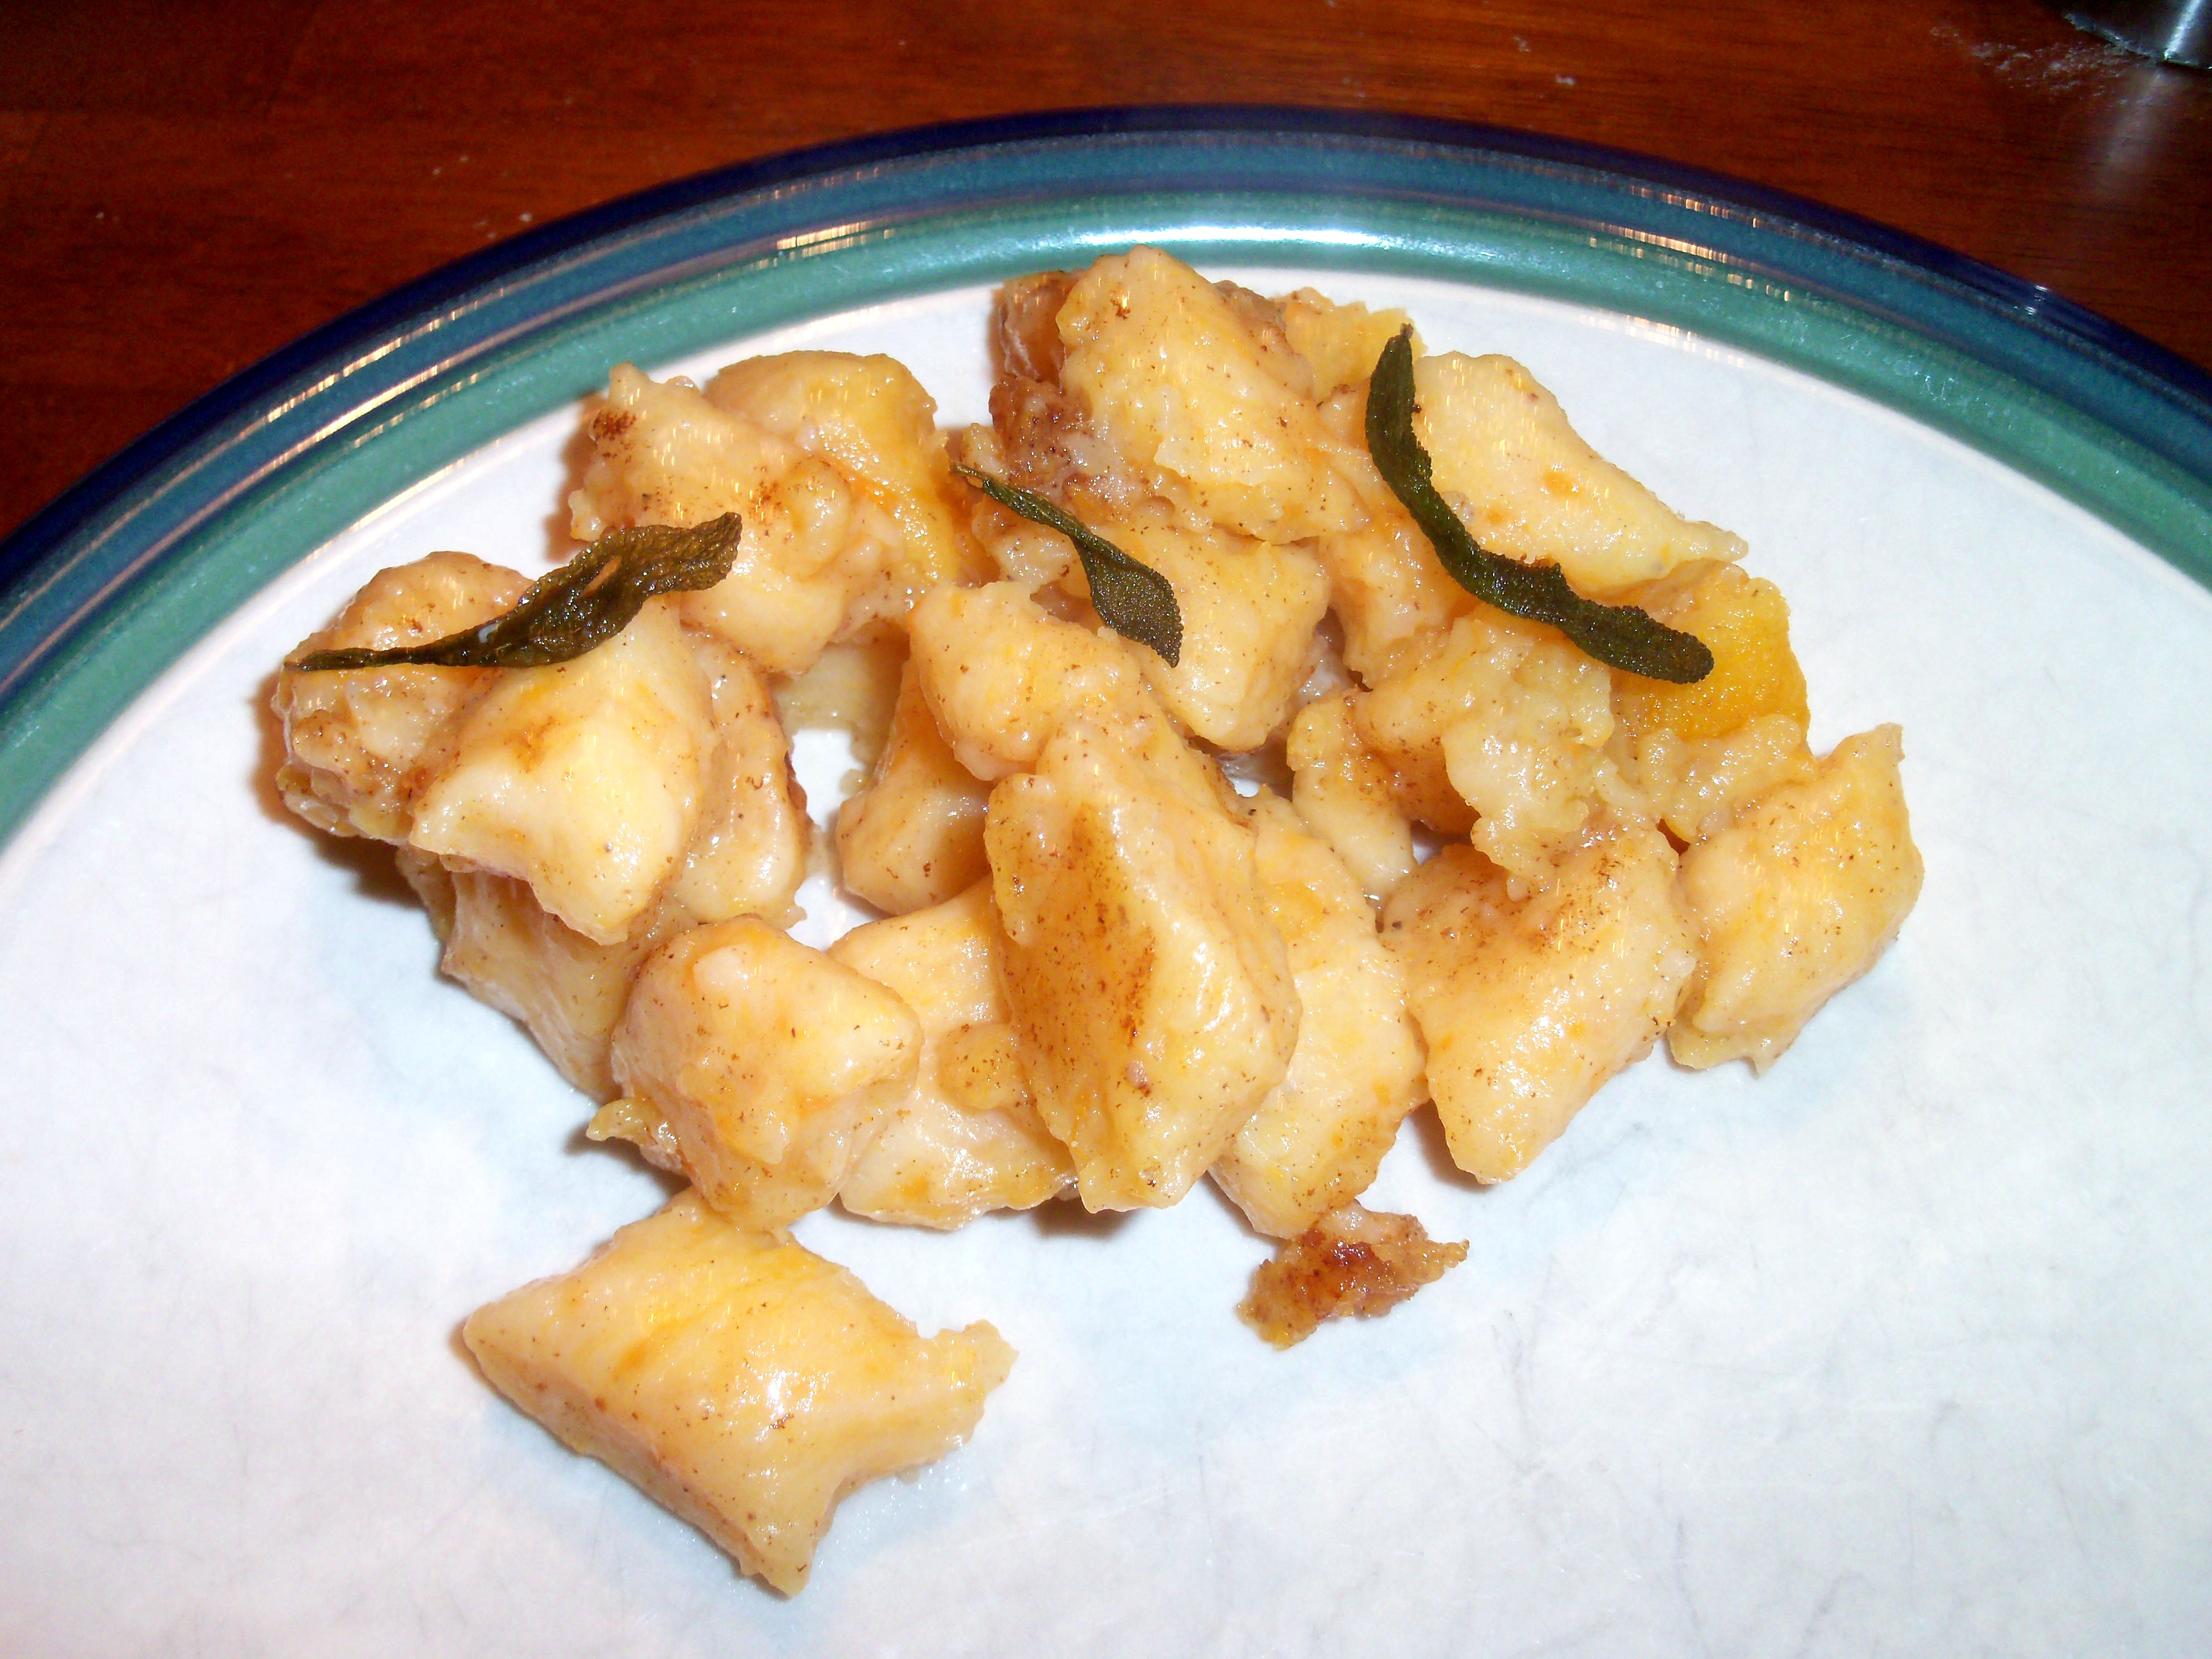
I’ve tried to make gnocchi in the past with disastrous results. Another kitchen gadget I got for Christmas is a potato ricer, which apparently is absolutely essential in making gnocchi (all the recipes I’ve tried in the past have made it sound optional). So, with my ricer in hand, I was ready to dive back into gnocchi making. This recipe has been hanging around my recipe notebook for a long, long time and I was thrilled to finally give it a try.

Sweet Potato Gnocchi with Fried Sage

1 1/4 lbs baking potatoes

1 (1/4 lb) sweet potato

1 egg

1/2 tsp nutmeg

1/3 cup Parmesan

1 1/2 to 2 cups flour

1/3 cup olive oil

1 cup sage leaves

1 tbsp butter

Bake potatoes at 450 for 45 min to an hour until tender (I tried microwaving the potatoes in the past and it just doesn’t work – you have to bake them). Allow to cool, then peel and force through ricer onto a baking sheet. Spread into an even layer and allow to cool (I set mine outside and they cooled quickly). Mix egg, nutmeg, 1 tsp salt and 1/2 tsp pepper in a small bowl.

Gather potatoes in a mound on the baking sheet, making a well in the middle. Pour the egg mixture into the center and knead. Knead in cheese and 1 1/2 flour. Add more flour if needed and knead until it is smooth but slightly sticky.

Cut dough into 6 pieces. Roll each out into a rope about 1/2 inch thick, on a lightly floured surface. Cut into 1/2 inch pieces.  Boil a large pot of salted water and add half the gnocchi, cooking until it rises to the top, then cook the other half. Meanwhile, heat the olive oil in a skillet until shimmery, then add the sage, frying until they turn a shade lighter and crisp. Drain on paper towels.

Remove the sage and add the butter to the oil, cooking until it browns. Add cooked gnocchi to the butter and cook a few minutes, tossing. Serve with sage leaves and extra Parmesan cheese.

The gnocchi turned out really, really well. I didn’t do anything other than cut it into pieces (no fussing with marks from a fork). I really loved the flavor of it – the sweet potato gave it a nice taste. It was light and not gummy (unlike my previous attempts). I didn’t get any flavor from the fried sage though, so that was disappointing. I want to try a butternut squash gnocchi next.

Bookmark and Share

I’ve tried to make gnocchi in the past with disastrous results. Another kitchen gadget I got for Christmas is a potato ricer, which apparently is absolutely essential in making gnocchi (all the recipes I’ve tried in the past have made it sound optional). So, with my ricer in hand, I was ready to dive back … Read more

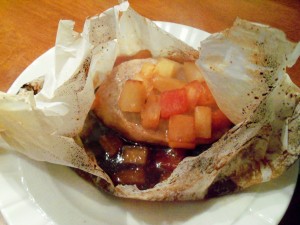
I can’t get enough of Hawaii. We visited a few years ago and I’m just not over it. So, I created this little “Hawaii in a packet” to console myself. It’s sweet and brings back the flavors of the islands to me. It’s also easy to make with no mess!

4 boneless pork chops
2 tsp olive oil
1/4 tsp garlic powder
4 individual serving containers of tropical fruit (or pineapple)
4 tbsp soy sauce or tamari
salt and pepper

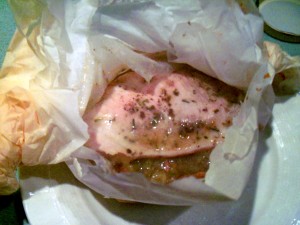
Place one chop in the center of a piece of parchment (see Techniques page for info on using and folding parchment). Rub with 1/2 tsp olive oil. Sprinkle 1/4 of the garlic powder on top. Dump one container of fruit on top. Add 1 tbsp soy sauce. Season with salt and pepper to taste. Fold parchment. Repeat with other 3 chops. Bake at 400 for 20 minutes. Allow to rest about 5 minutes before opening and enjoying!

Bookmark and Share

I can’t get enough of Hawaii. We visited a few years ago and I’m just not over it. So, I created this little “Hawaii in a packet” to console myself. It’s sweet and brings back the flavors of the islands to me. It’s also easy to make with no mess! 4 boneless pork chops 2 … Read more

I had such a great response to my post about doing rice noodles in parchment, I decided to take the leap and see if I could do more traditional pastas this way also. The answer? YES! I actually made this dish two ways – the traditional way and the parchment paper method. They are identical in taste, flavor, and texture (except some of the manicotti noodles ripped when I boiled them and when I used the parchment method they did not and turned out perfectly shaped). The difference? No manicotti pan to scrub afterwards.

Line your baking sheet with foil then place your parchment on top (see Technique page for info about how to use and fold the parchment). Soak 8 manicotti shells in your sink, covered in hot water for 20 minutes.  In a large plastic zip bag, mix 1 container of cottage cheese or 1 container of ricotta (or a mix of half and half of each), 1 package of frozen spinach (defrosted and squeezed dry), 1/2 cup Parmesan cheese, 1 tsp Italian herb mix, and salt and pepper to taste. Seal the bag and squish it up till it’s mixed. Cut a hole in the corner of the bag and use it to pipe the mix into the shells.

Place 1/8 cup spaghetti sauce at the bottom of each parchment packet in the shape of 2 manicotti. Place 2 stuffed manicotti on top. Top with 1/2 cup sauce. Repeat for other 3 packets. Bake at 400 for 25 minutes. Allow to rest about 3 minutes before cutting open the packets.

It turns out perfectly. It’s moist and delicious and full of flavor. Definitely my new favorite way of making pasta!

I had such a great response to my post about doing rice noodles in parchment, I decided to take the leap and see if I could do more traditional pastas this way also. The answer? YES! I actually made this dish two ways – the traditional way and the parchment paper method. They are identical … Read more

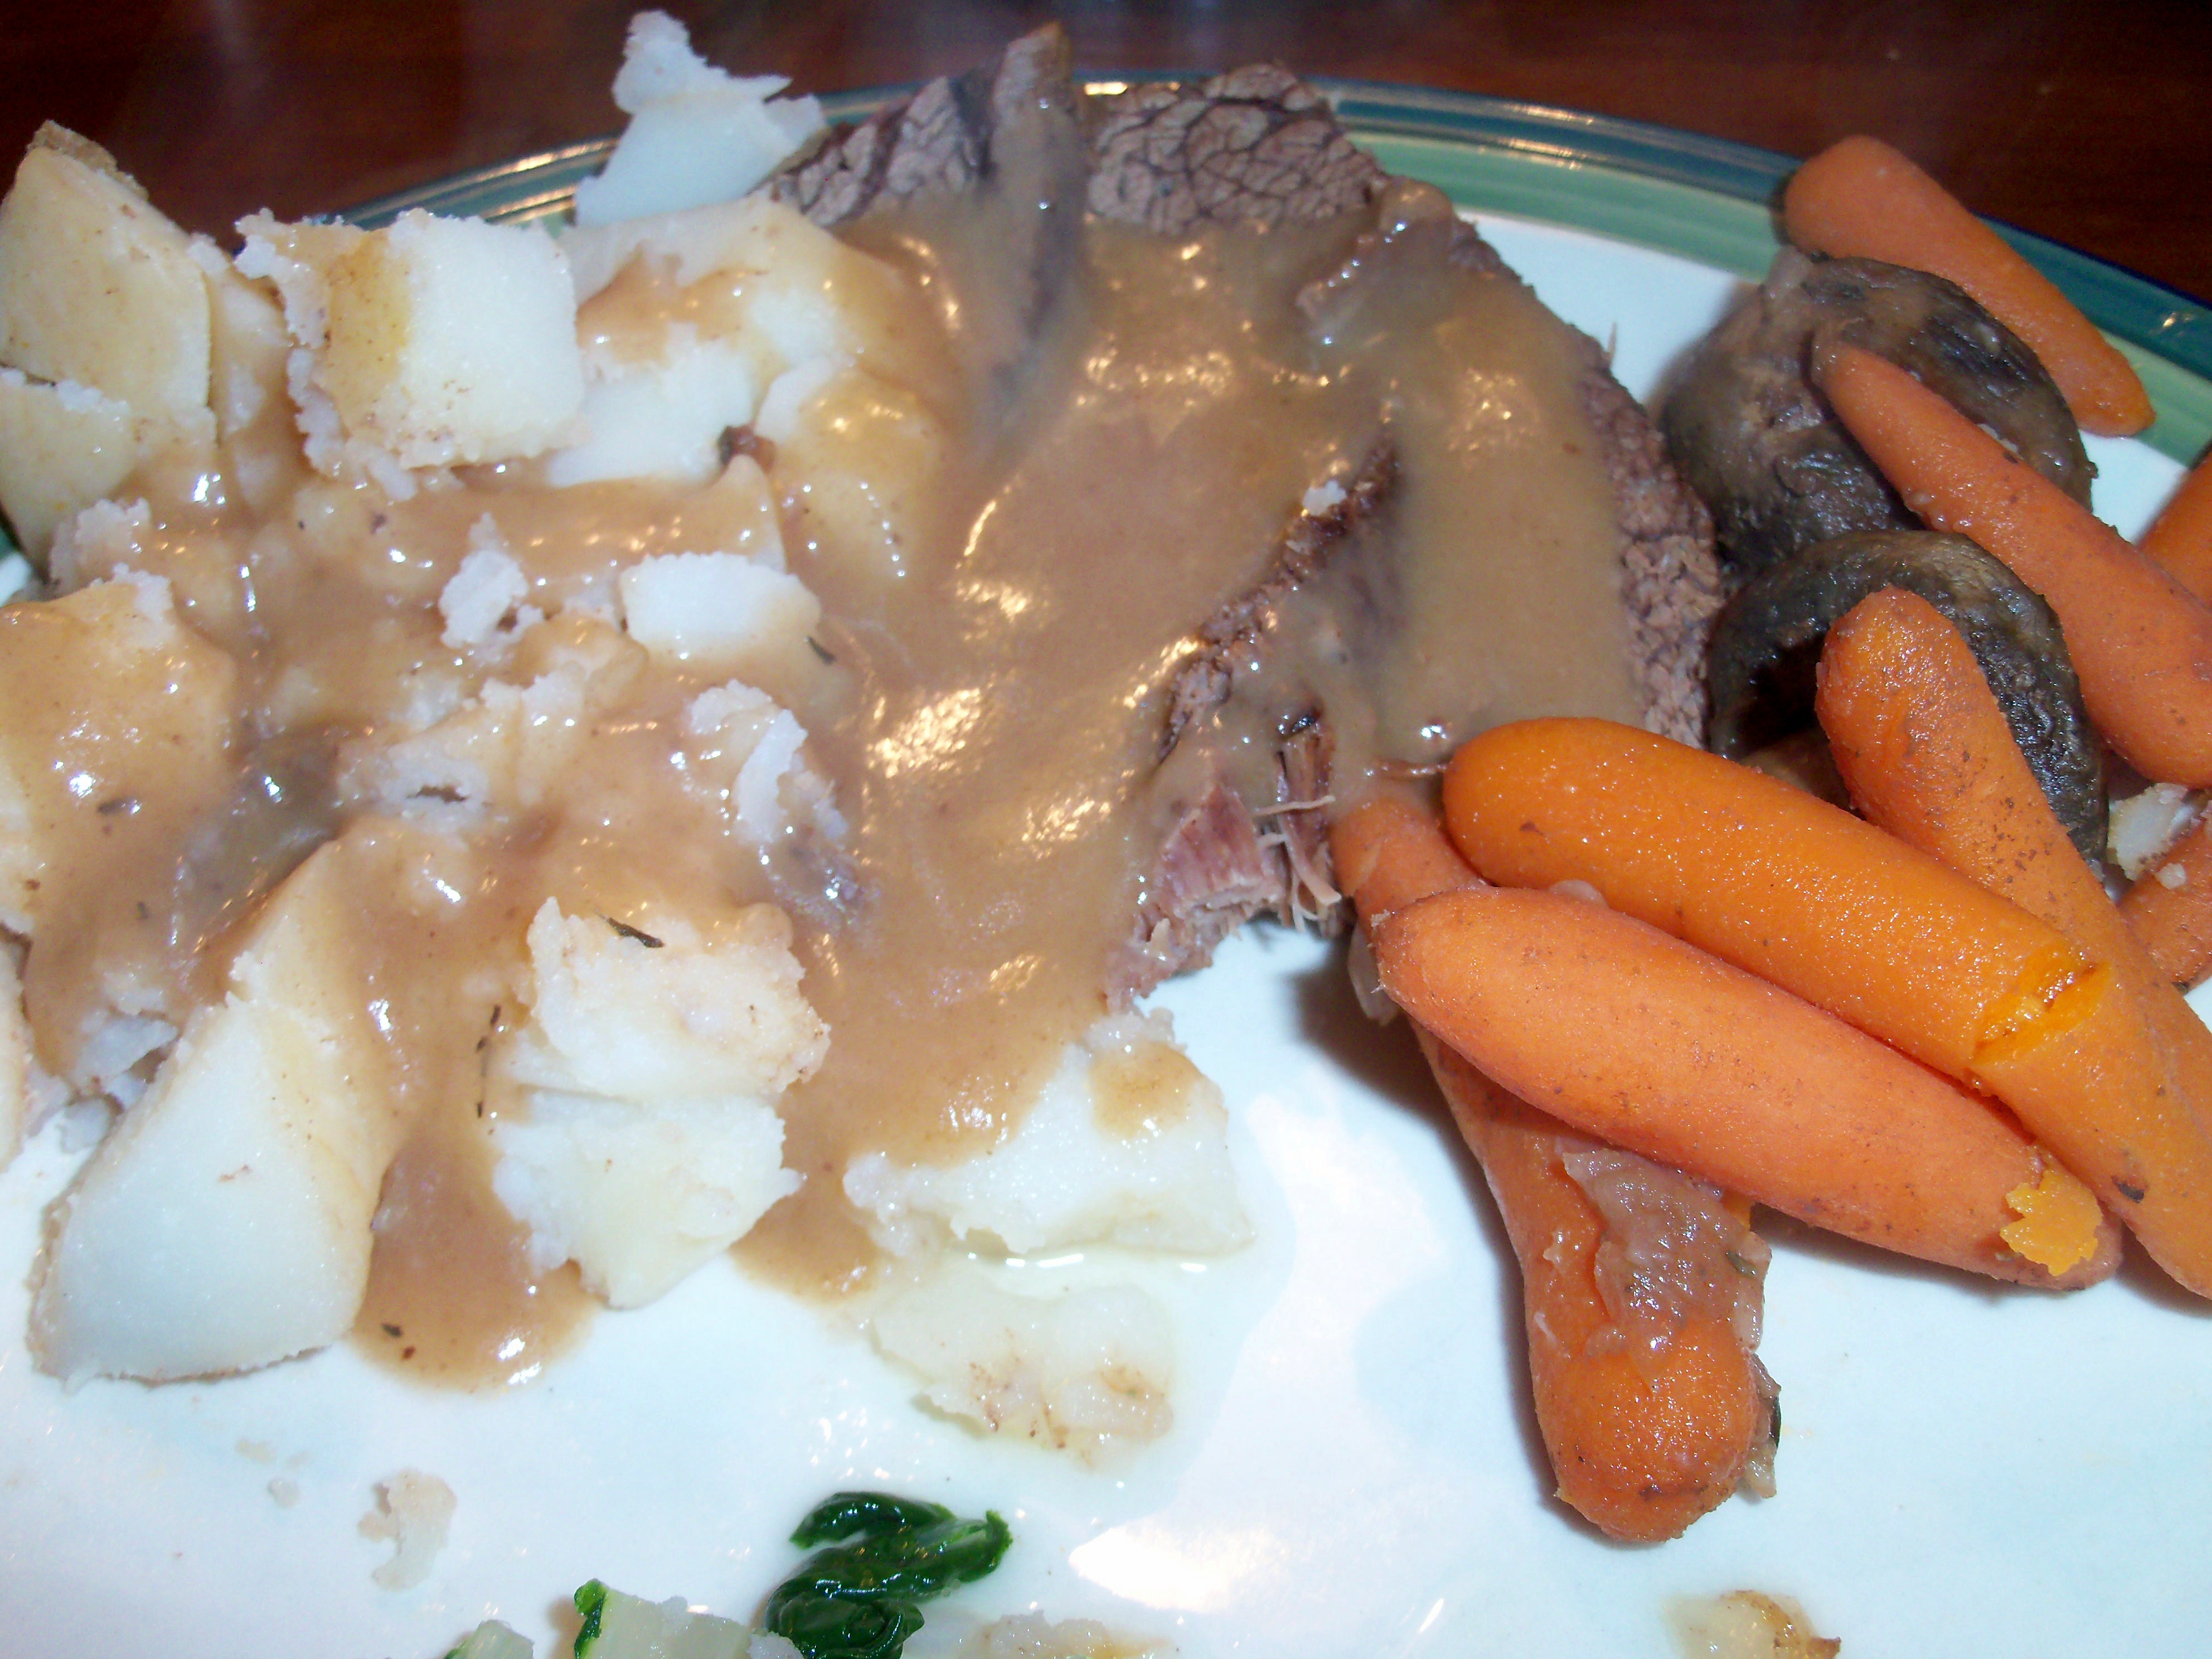
Do people still make pot roast? Probably not as often as they did back in the 70s when I was a kid. We had pot roast pretty regularly. I learned to make it by the time I was in junior high. I would get home from school around 4 and my mom would have left me a note asking me to put it together and put it in the oven. I pulled out my recipe notebook to consult my mom’s recipe and realized I don’t even have it written down, because I made it so many times that it was just something I knew how to make. Dollars to donuts, my mom has nothing written down anywhere either.

I haven’t made pot roast in a really long time. There’s something so homey and comforting about it and it smells so good when it’s cooking. I don’t have an actual recipe to share, but this is how I make it.

Start with a medium enameled roasting pan (the kind that are speckled) with a lid. Put a chuck roast in it. Then chop up half an onion and a few garlic cloves. Add baby carrots, 3-4 potatoes cut into 4ths, a teaspoonful of tomato paste, and some whole mushrooms (maybe half a package). Dump in some salt (you need more than you think) and pepper. Dump in some herbs (I have a “beef roast” seasoning from Penzey’s I use, if I didn’t have that I would use thyme, oregano and a little celery salt). Add about 2 cups of red wine. Then add enough beef broth to cover the meat (I used  a whole carton). When you’re done, you should have that medium roasting pan filled to the top. This does not work well in a roasting pan that is larger because the meat is not completely covered.

Roast at 350 for at least 2 hours. I had mine in for 3 hours, but the meat was still mostly frozen when I put it in.

When it comes out, put the vegetables in a bowl and the meat on a platter. Add Wondra to the juices and cook until thickened the way you like it (I like my gravies thick!).

It’s not gourmet and it’s not pretty to look at, but boy is it good!

Do people still make pot roast? Probably not as often as they did back in the 70s when I was a kid. We had pot roast pretty regularly. I learned to make it by the time I was in junior high. I would get home from school around 4 and my mom would have left … Read more

“It looks like dessert!” my daughter said when she saw this. It definitely does, but it tastes like a wonderfully moist turkey meatloaf.

1 lb ground turkey
1/2 tsp onion powder
1/2 tsp garlic powder
5 grated baby carrots
1/2 cup rolled oats
1/2 cup skim milk
2 tbsp sweet and sour sauce, plus 1/4 cup for topping
1 piece of cooked turkey bacon

Place muffin tin liners in 10 muffin cups. Mix all ingredients together in a bowl. Use an ice cream scoop to fill the liners. Divide evenly among the 10 cups (about one scoop per cup). Flatten the tops with a fork. Using a spoon, spread the remaining 1/4 cup sweet and sour sauce on top of the meatloaf. Bake at 400 for 20 minutes.

The sweet and sour sauce gives this a nice sweetness and tang. The turkey bacon adds an interesting smoky flavor. These are terrific the next day for lunch, cold!

Bookmark and Share

“It looks like dessert!” my daughter said when she saw this. It definitely does, but it tastes like a wonderfully moist turkey meatloaf. 1 lb ground turkey 1/2 tsp onion powder 1/2 tsp garlic powder 5 grated baby carrots 1/2 cup rolled oats 1/2 cup skim milk 2 tbsp sweet and sour sauce, plus 1/4 … Read more

We went to Alaska this past summer. It was an amazing trip. Mr. NoPot and son caught salmon we’ve been eating. They didn’t catch any halibut, but we did have the opportunity to have fresh halibut while we were there and it was wonderful. I’m back to frozen halibut now from the grocery store, but I have a great little cookbook I picked up in Alaska called Fishes and Dishes, which inspired this recipe.

4 4 oz halibut filets
3 tsp Dijon mustard
1/2 cup light sour cream
1/2 cup plain yogurt
1/4 tsp dried minced onion
1/4 tsp dried dill
4 ounces frozen chopped spinach, squeezed dry
salt and pepper to taste

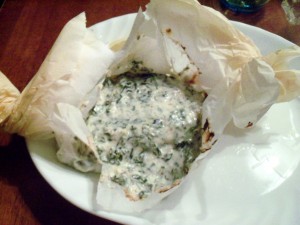
Place one filet on each piece of parchment (and remember, you can find folding instructions and other tips on the “Technique” page of this blog). In a bowl, mix all the other ingredients. Spoon 1/4 of the sauce on top of each filet. Fold the packet and bake at 400 degrees for 17 minutes. Serve with some wedges of lemon to squeeze.

I love the light creaminess of this sauce and I am also a big fan of spinach. The flavors go so well with the light flaky halibut. I loved this quick, no mess, delicious dish!

Bookmark and Share

We went to Alaska this past summer. It was an amazing trip. Mr. NoPot and son caught salmon we’ve been eating. They didn’t catch any halibut, but we did have the opportunity to have fresh halibut while we were there and it was wonderful. I’m back to frozen halibut now from the grocery store, but … Read more

Yes, really, Thanksgiving with no mess! I love Thanksgiving, but if you’re cooking for one or two or three, well, who wants to have a giant roaster to scrub? For those of you looking for all the flavors of traditional turkey, stuffing, and gravy, but who don’t want to spend the day in the kitchen, I’m happy to share this recipe with you. Mr. NoPot suggested we skip making a whole turkey and just do this, he loved it so much.

2 celery stalks
1 small onion
2 tbsp butter
4 slices whole wheat bread
4 tsp chicken broth
sage, rosemary, and salt and pepper
4 turkey cutlets
8 tbsp of turkey gravy, plus more for serving

You’re going to be bowled over by this method. Start with a 2 cup Pyrex measuring cup. If you don’t have that, then just get a microwave safe bowl. I love the Pyrex because it has a handle, which makes it easy to get in and out of the microwave. Chop your celery and onions (you can use a mini food processor if you like, or do it by hand). Place them in the Pyrex. Add the butter. Microwave on high for 4 minutes, stopping every minute or so to stir. By the end, you will have vegetables that are soft and starting to brown.

Create 4 individual packets. In each one place a slice of whole wheat bread. Sandwich bread works perfectly, or you could use a loaf of whatever you have hanging around. Spread 1/4 of the vegetable mix on each slice of bread. Spoon 1 tsp of chicken broth on top of each. Place a pinch of sage and a pinch of rosemary on each and lightly salt and pepper them. Lay a turkey cutlet on top of each. Spoon 2 tbsp of gravy over each one (you can use gravy from a jar or a can, or if you’re like my mom, you have homemade gravy in the freezer, ready for any gravy emergency!). Place a pinch of sage, a pinch of rosemary and light amounts of salt and pepper on top.

Fold the packets up and bake at 400 degrees for 20 minutes (or until a thermometer poked through the parchment into the meat reads 165 degrees). Take them out of the oven and allow them to rest for 5 minutes, then serve with extra gravy on the side (warmed in the microwave – use that Pyrex again, no need to wash it first) and some cranberry sauce. Then be thankful you don’t have much to wash to clean up!

P.S. I know the turkey looks absolutely pink in this photo. It wasn’t until I tried to adjust it, then I couldn’t get rid of it. Anyway, please know it did not appear this color when we ate it and it was completely done!

Yes, really, Thanksgiving with no mess! I love Thanksgiving, but if you’re cooking for one or two or three, well, who wants to have a giant roaster to scrub? For those of you looking for all the flavors of traditional turkey, stuffing, and gravy, but who don’t want to spend the day in the kitchen, … Read more

no