Cooking School #5: Turkey Brining
Posted by in FoodFor the past few years, I have done a wet brine for my Thanksgiving turkey. My brine usually includes salt (obv, as my teen would say), cider, sugar, lemon juice, lemon slices, orange slices, and some Williams Sonoma Turkey Brine mix Mr. MarthaAndMe bought me for Christmas one year. I’ve experimented with adding brown sugar or molasses. I’ve had great success with brining. It creates a moist and flavorful turkey. It’s well worth the effort. Martha said on her show Tuesday that this is the year of the brined turkey. She said in past years people were all excited about deep frying their turkeys, but this year everyone is brining. Look at me, riding the trend!
In the past, I bought a Plainville Farms organic turkey from a butcher shop. This year, however, I bought an organic, free range turkey from my grocery store. It was $64 for a 19 pound turkey! Yowza!
In the November issue of Living, Martha has a recipe for a Dry-Brined Turkey, which she and Sarah Carey demo’ed on the 5th Cooking School lesson on her show (which I missed, but was able to catch most of online). I had never heard of a dry brine before this, so this is a new one for me. The scientific explanation for it that somehow the salt draws all the juices of the turkey to the surface which makes it juicier. I’m not chemist, but I’ll give it a shot. Martha says you must dry brine your turkey on Tuesday if you want it on Thursday (it needs to sit for 48 hours), so that was the plan.
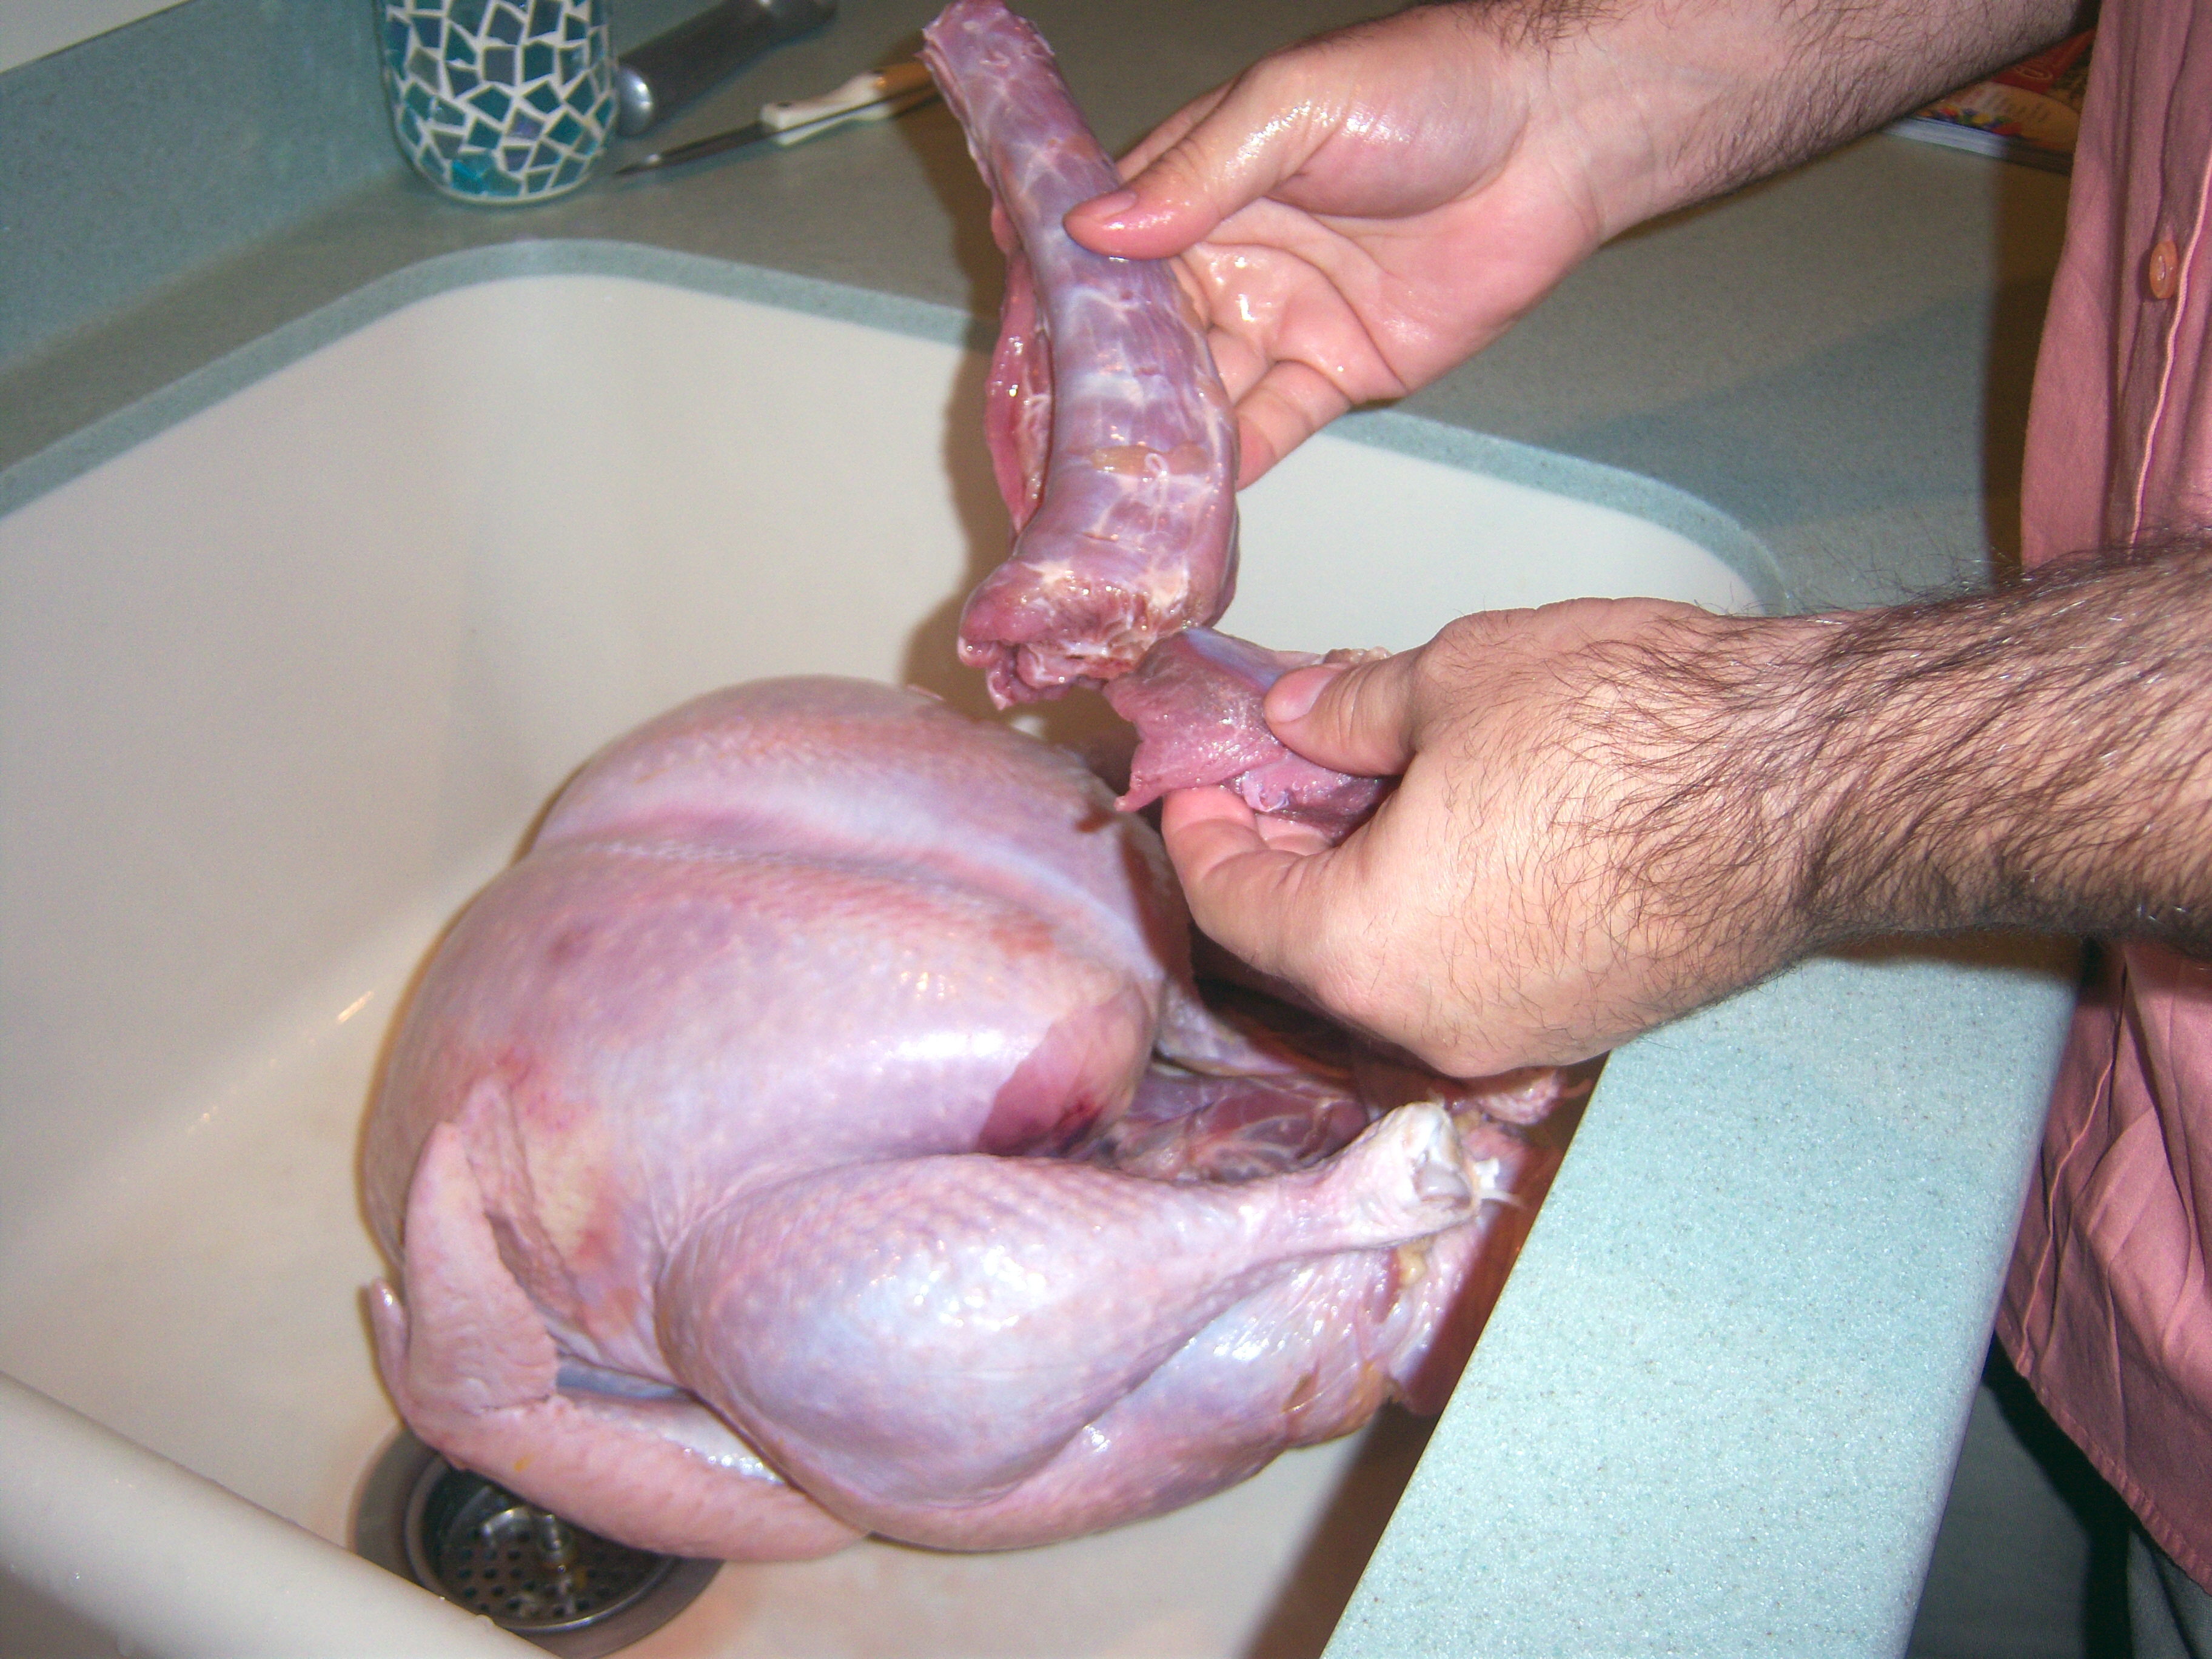
First step is to remove the giblets. Eww, gross. I hate those! Mr. MarthaAndMe was glad to step in and hold the turkey’s intimate parts for me. I love how Martha wears gloves to work with turkeys. I definitely could use those. One small glitch – this turkey had an actual feather still attached. Eeek! That did not make me happy! Mr. MarthaAndMe bravely plucked it out.
Next, you rinse the turkey off, inside and out. I understand the importance of this, but boy do I hate doing it. All I can do is imagine nasty turkey salmonella germs all
over my sink. Blech. (I know I do seem to have many issues when it comes to turkeys, don’t I?) There was some serious cleaning when this project was done I can tell you.
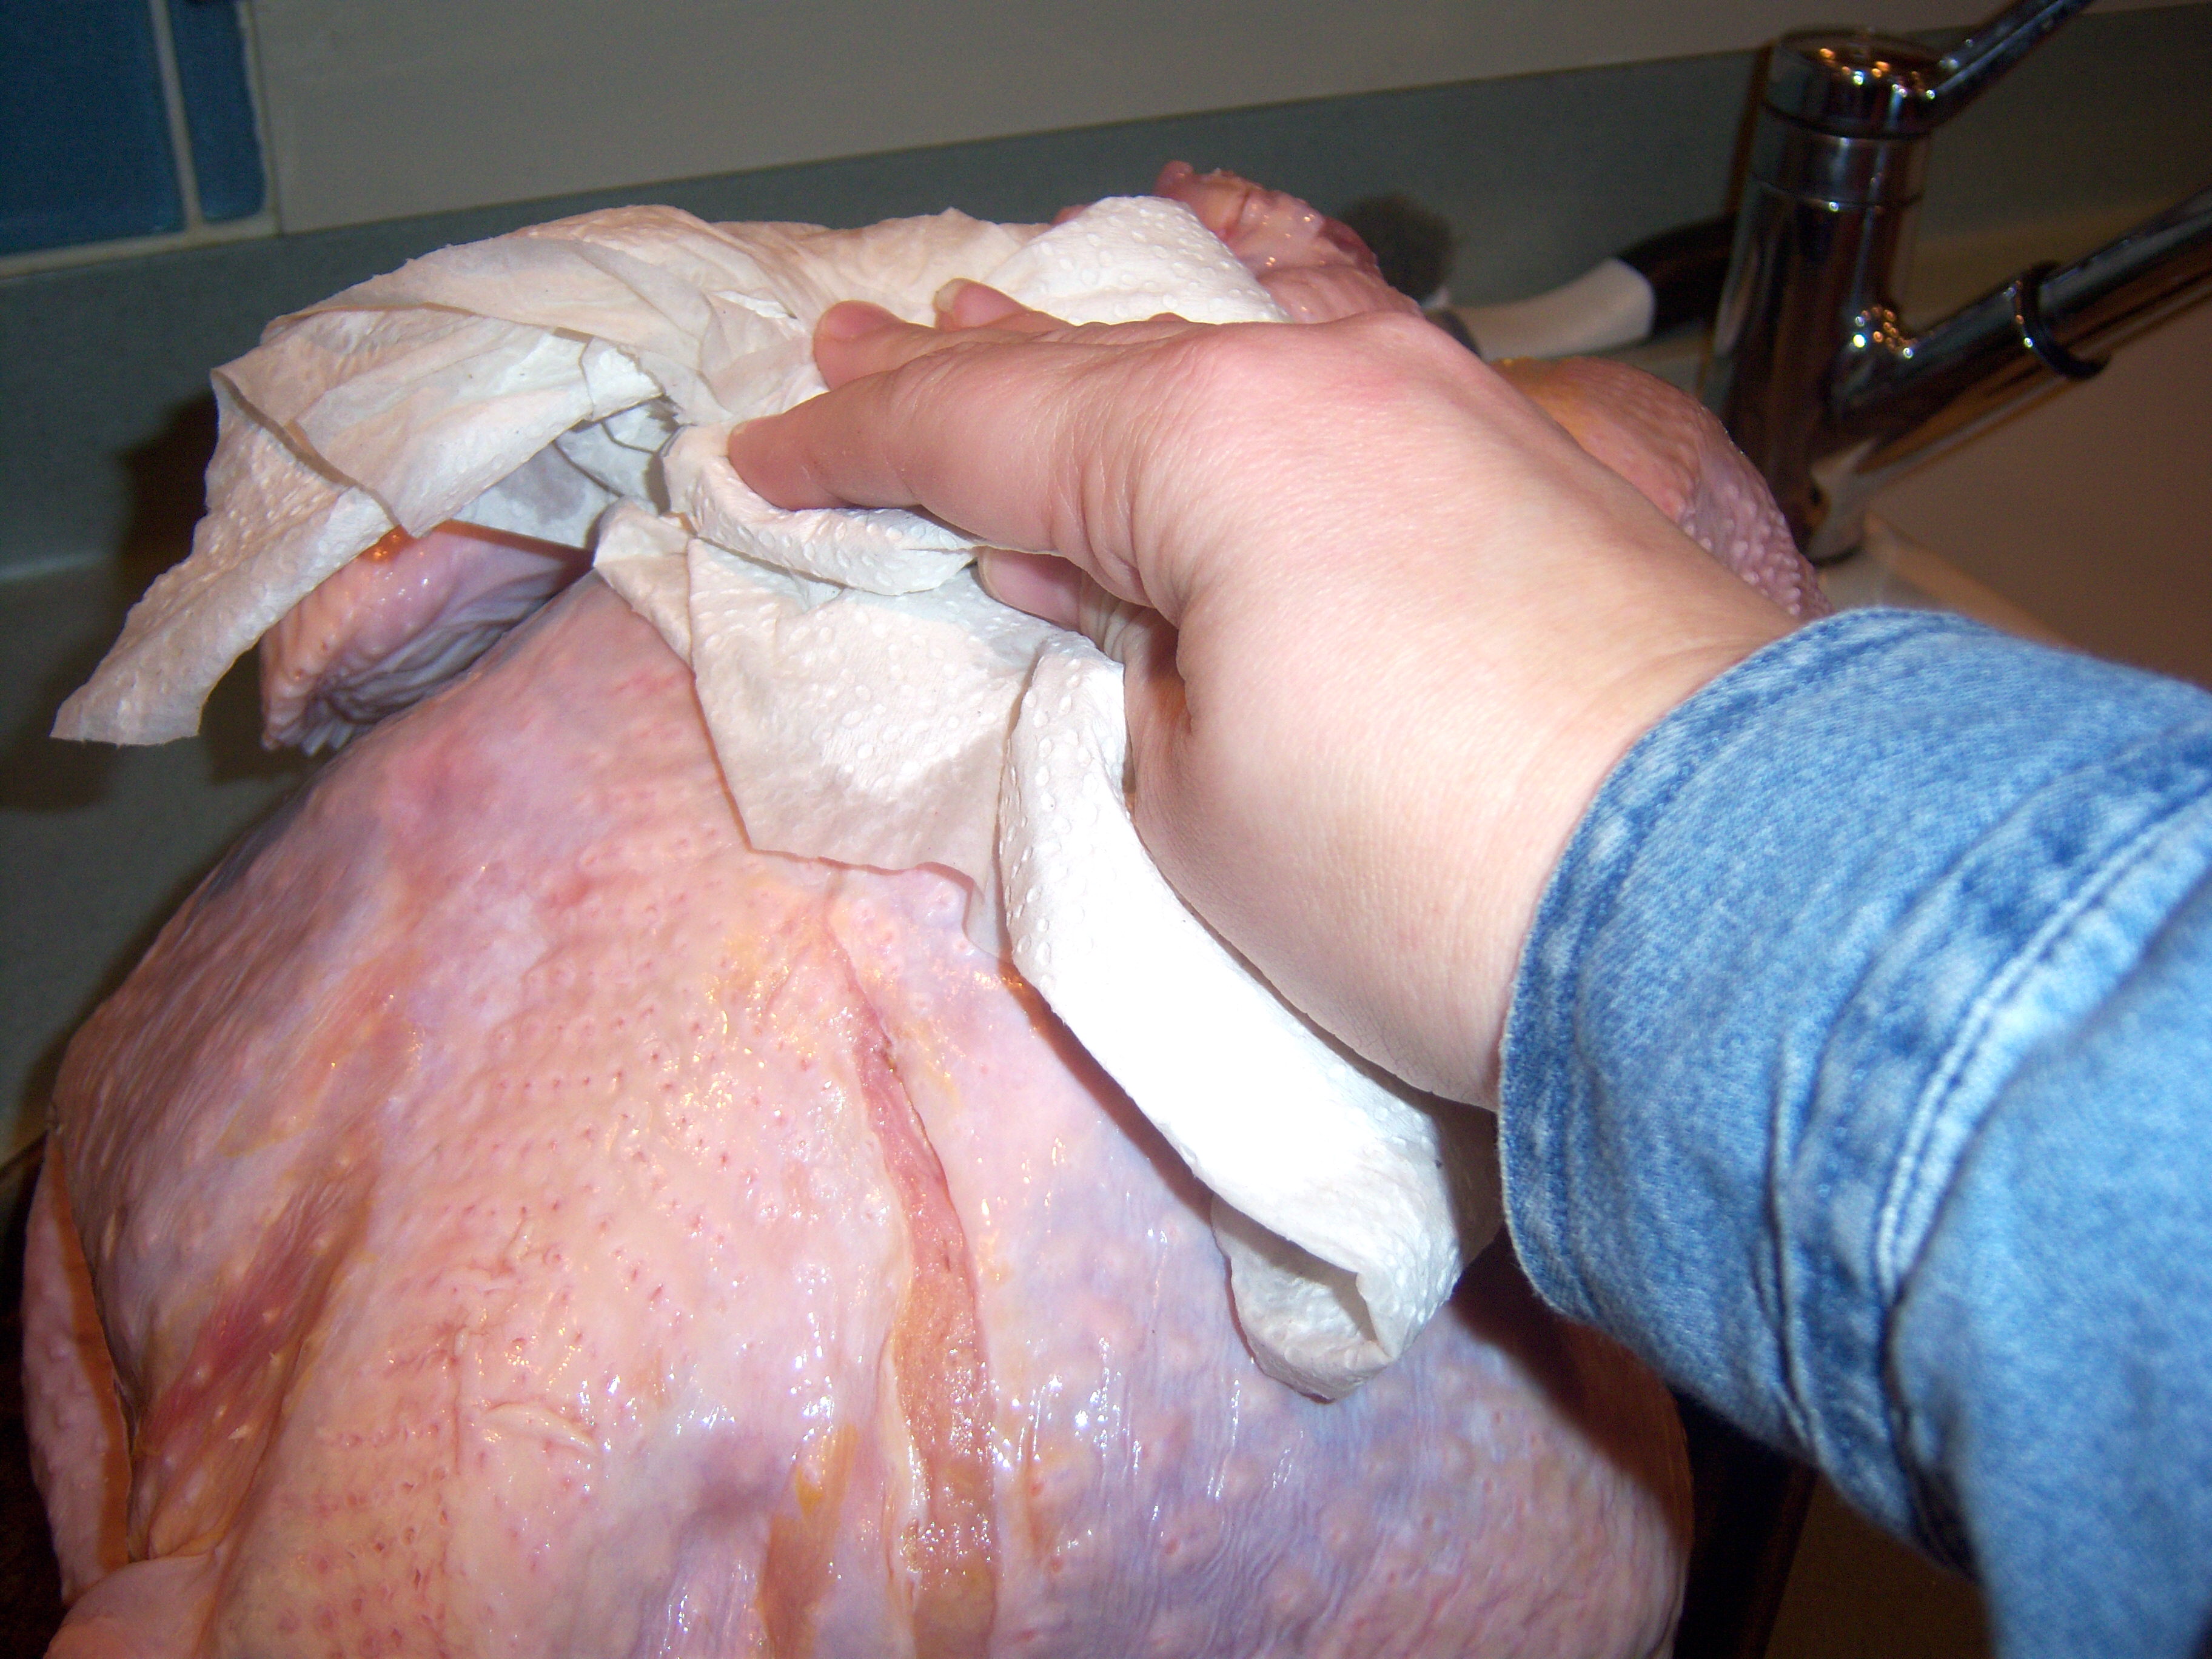
The next step is to pat the turkey dry. Ok, got that Martha.
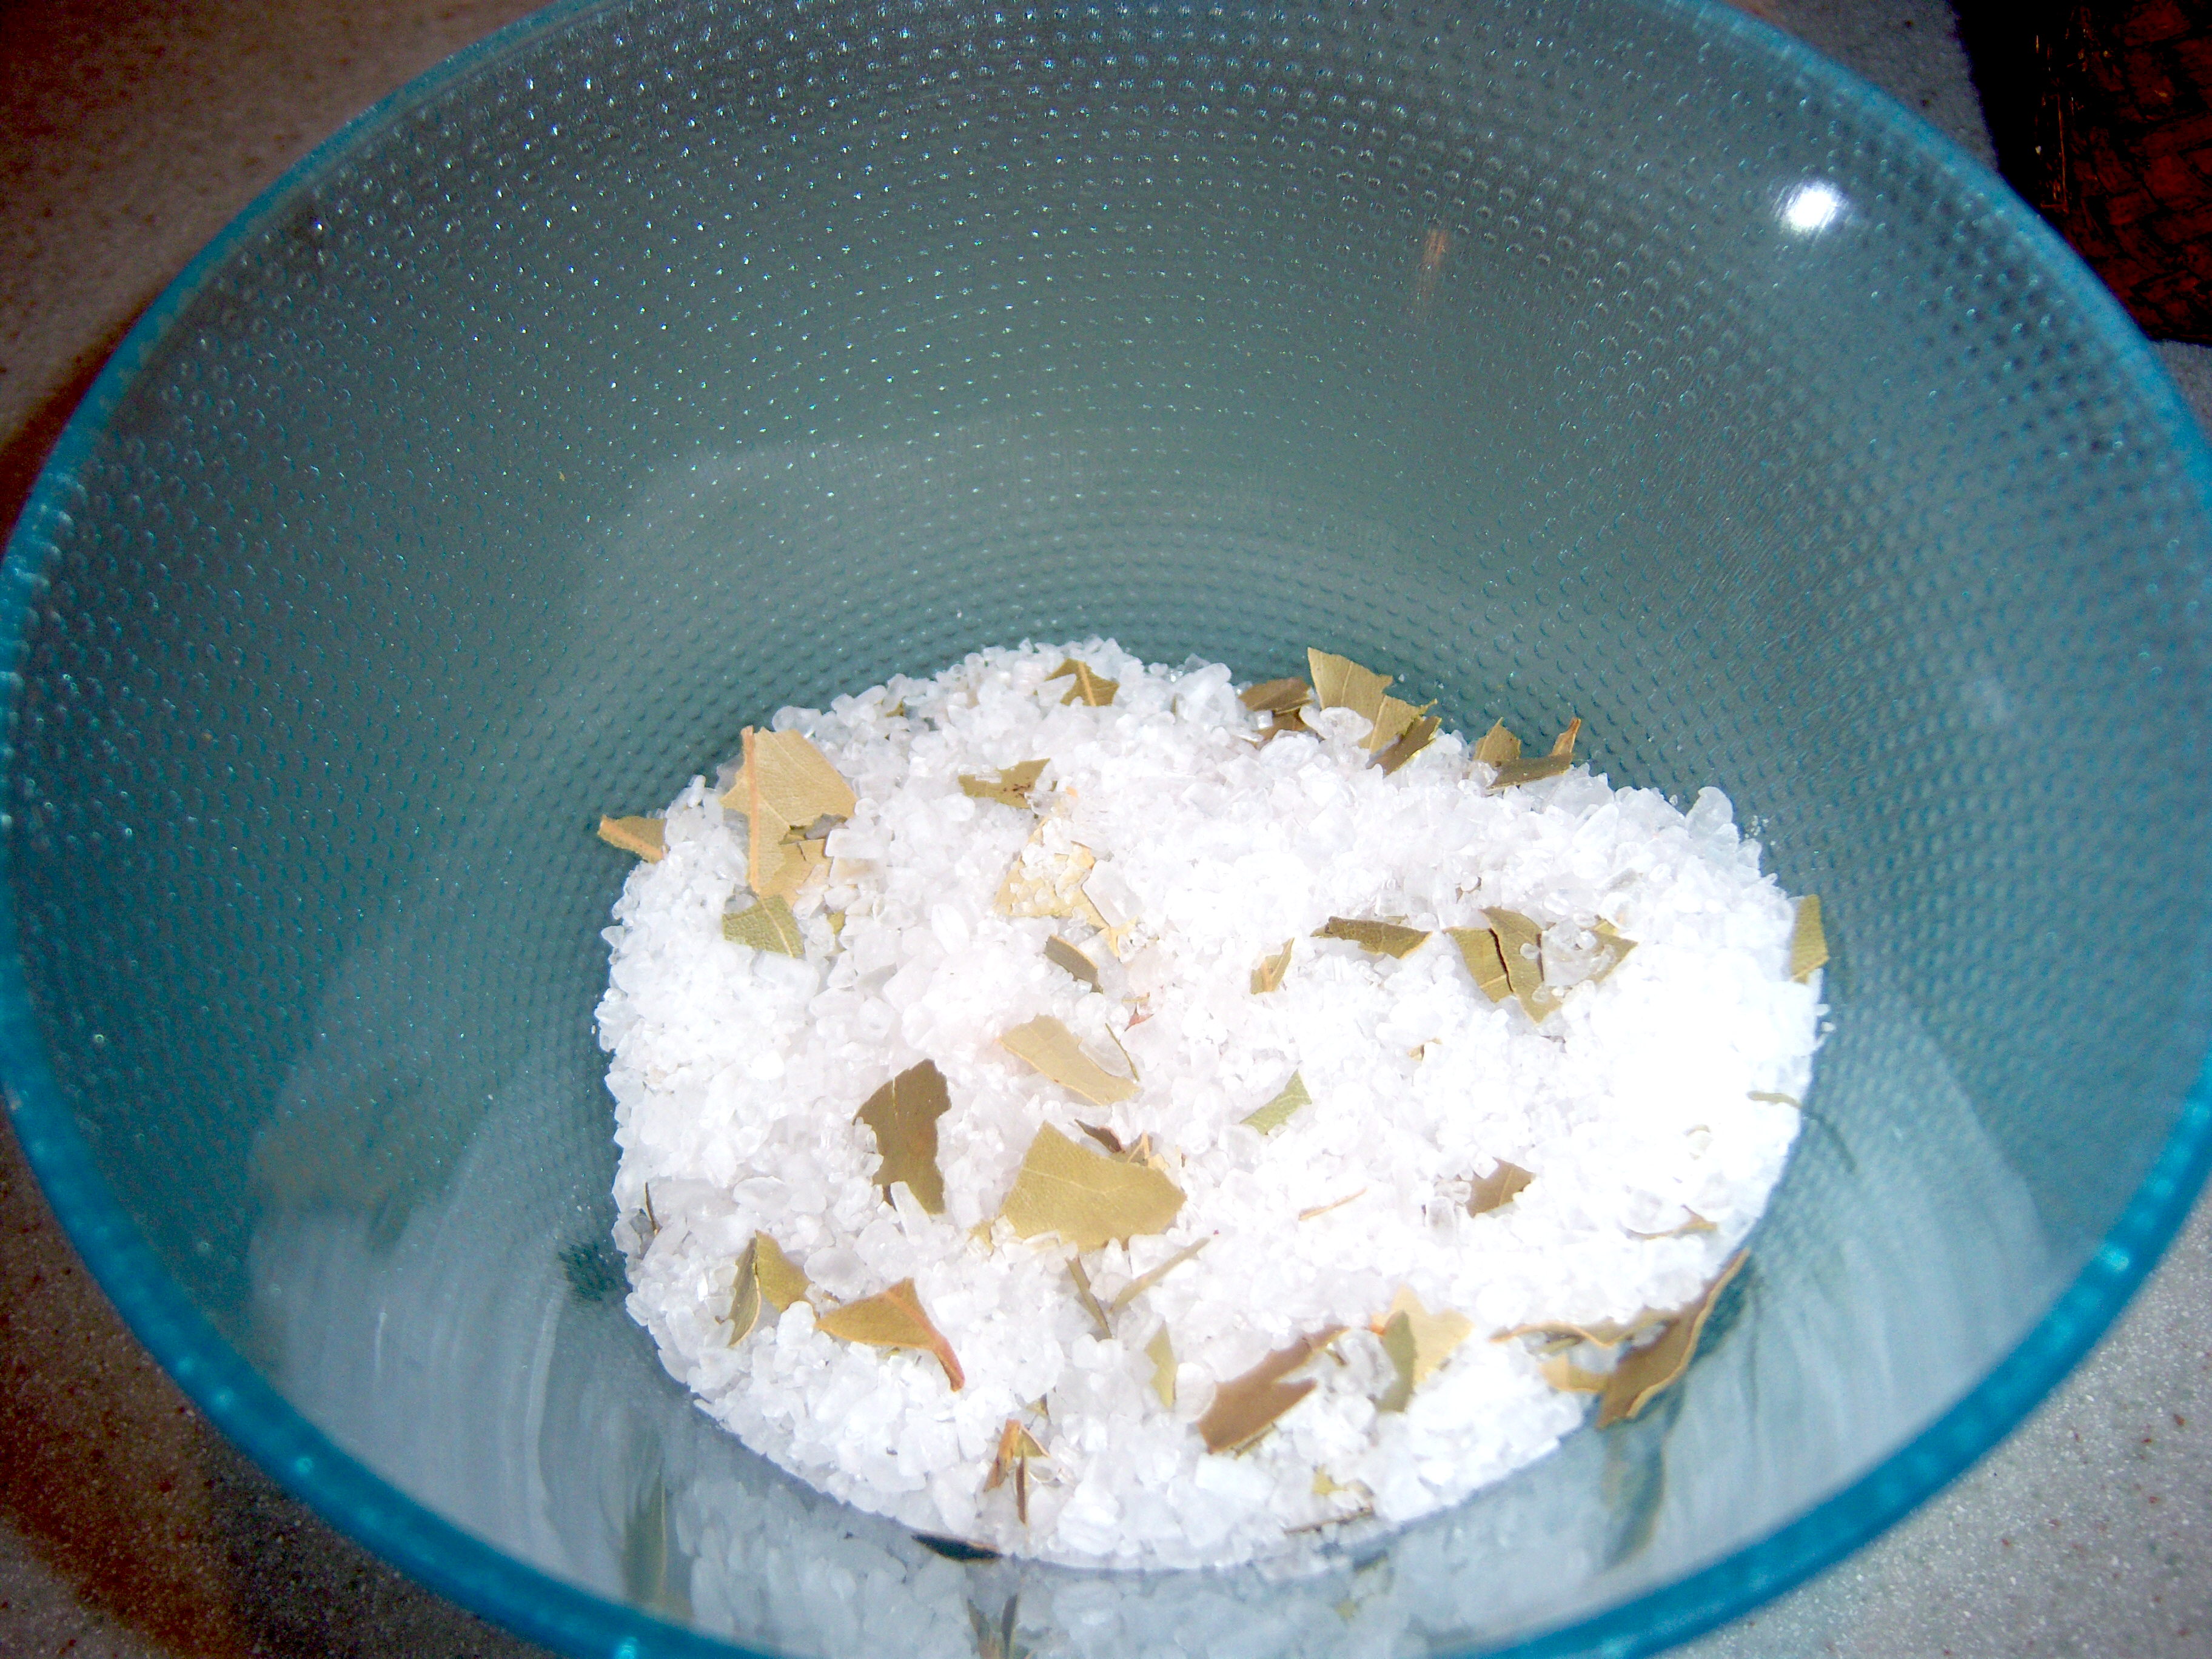
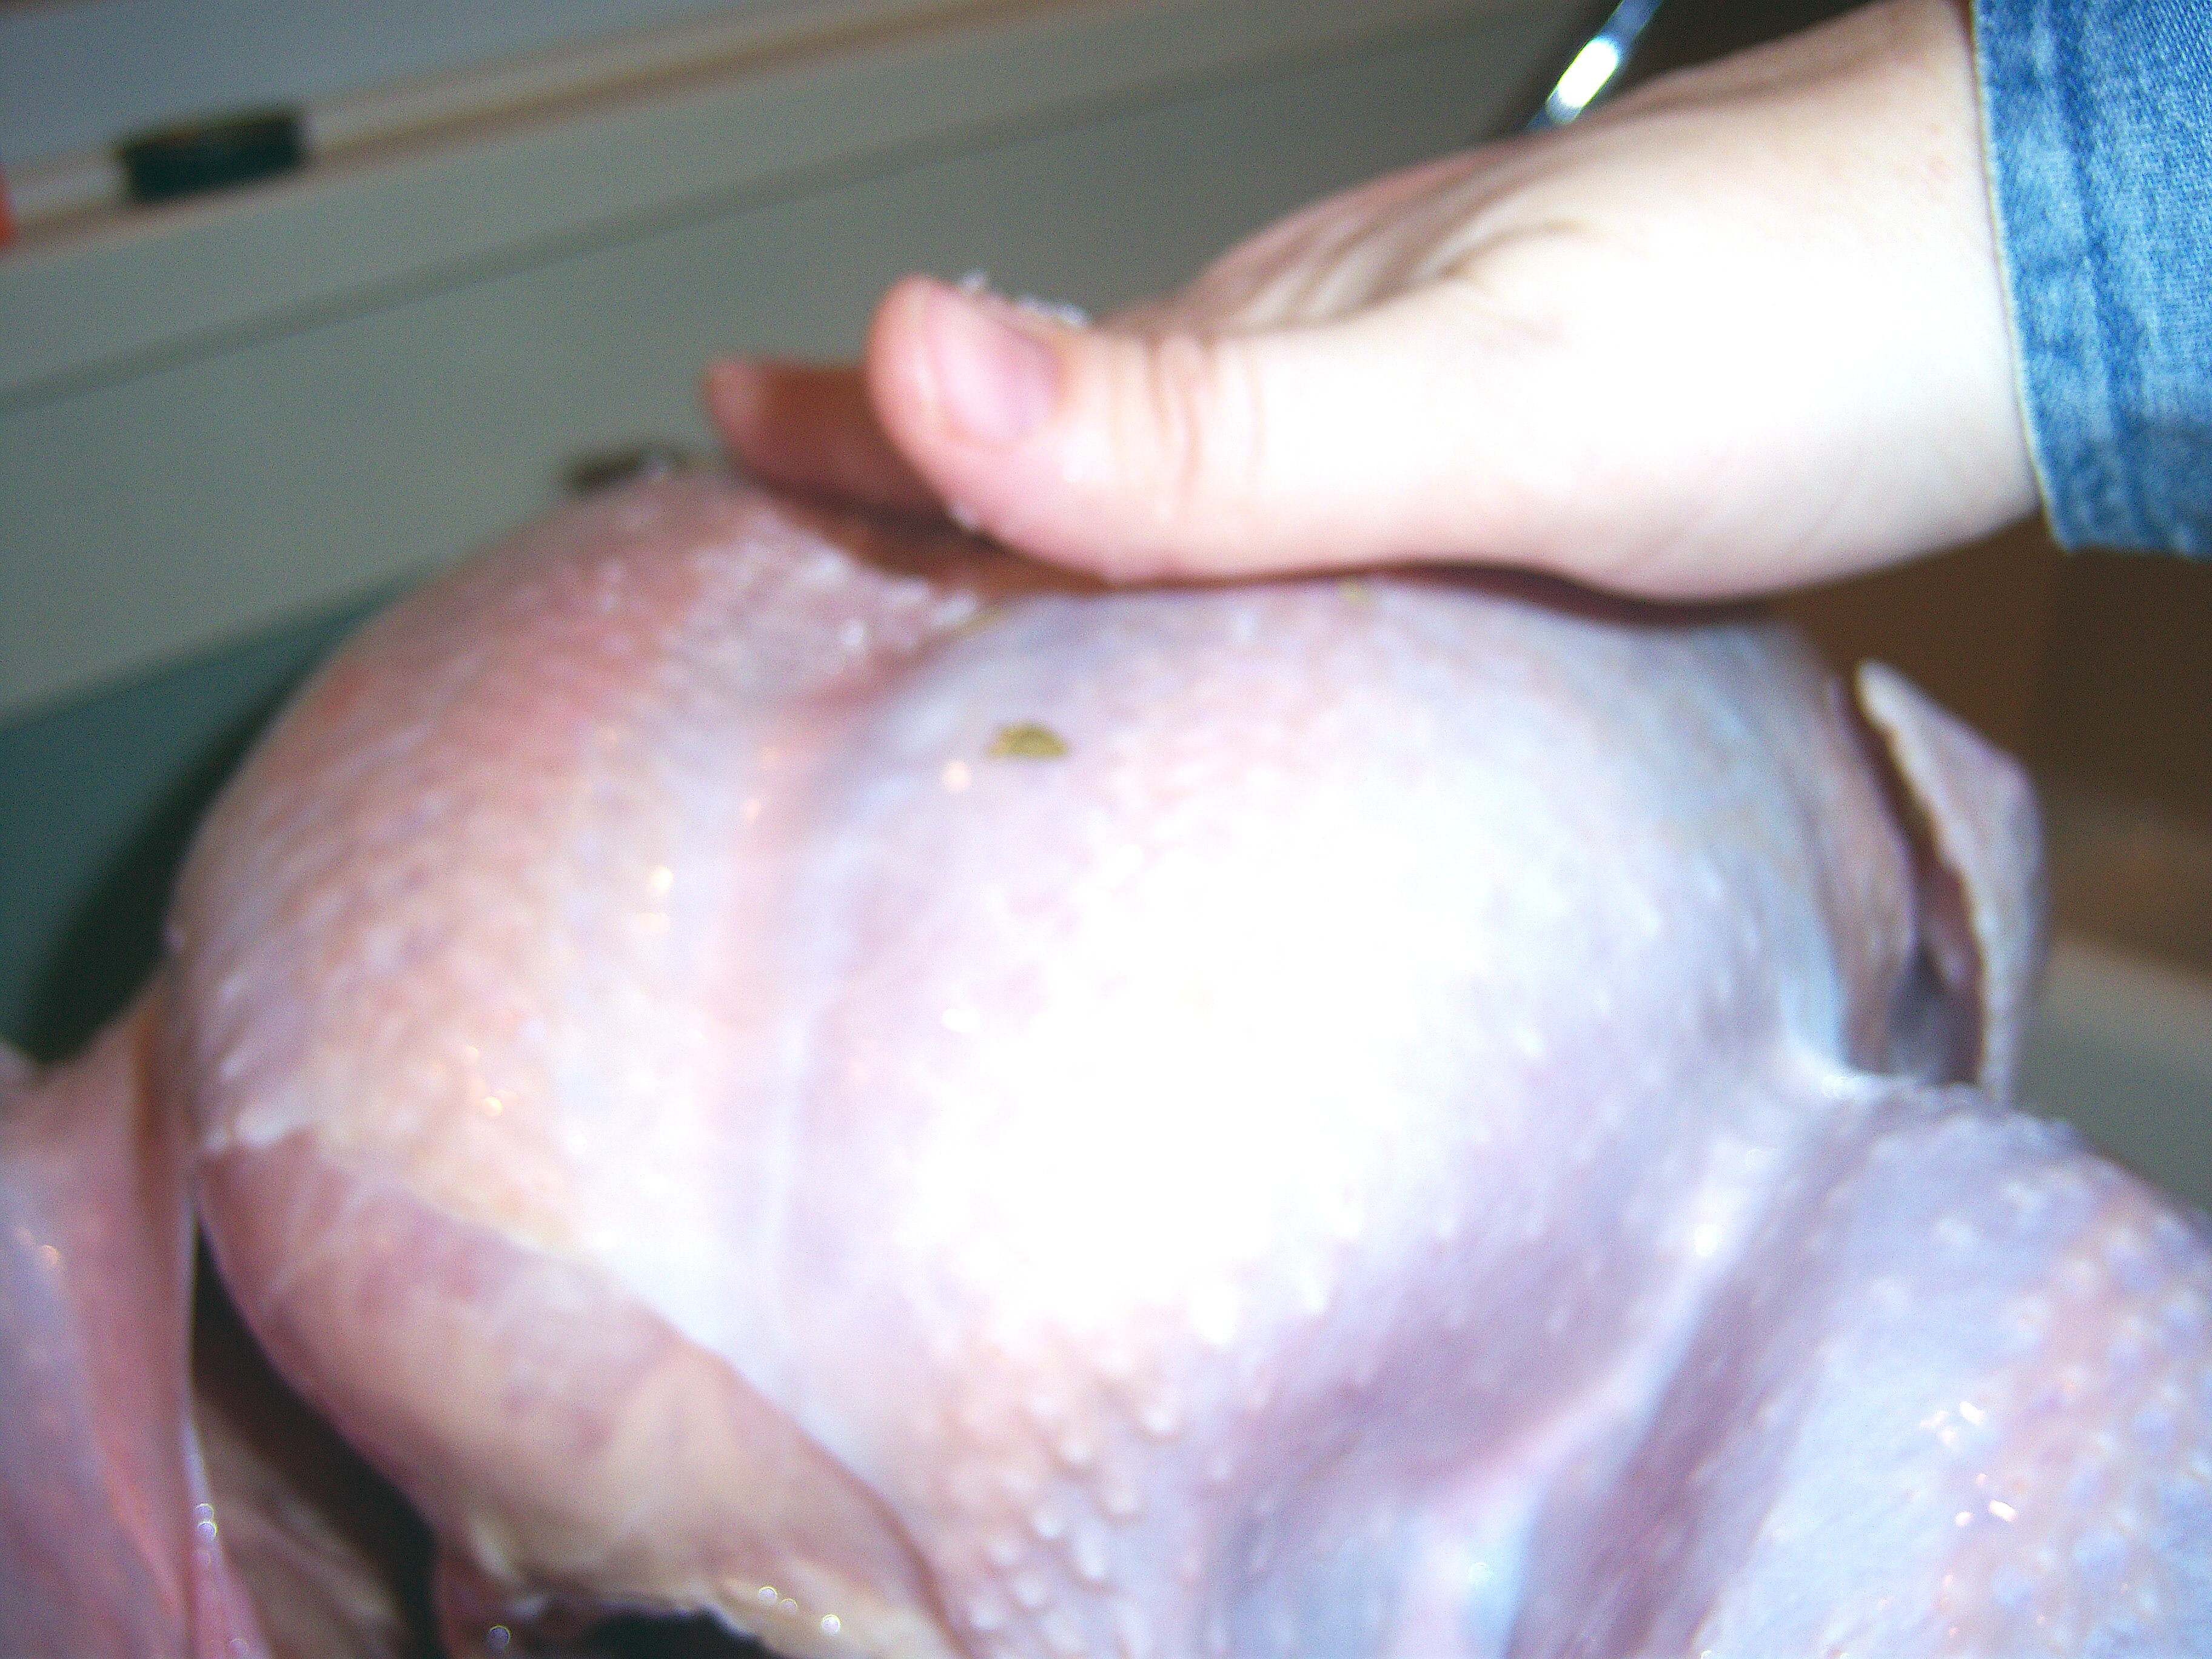
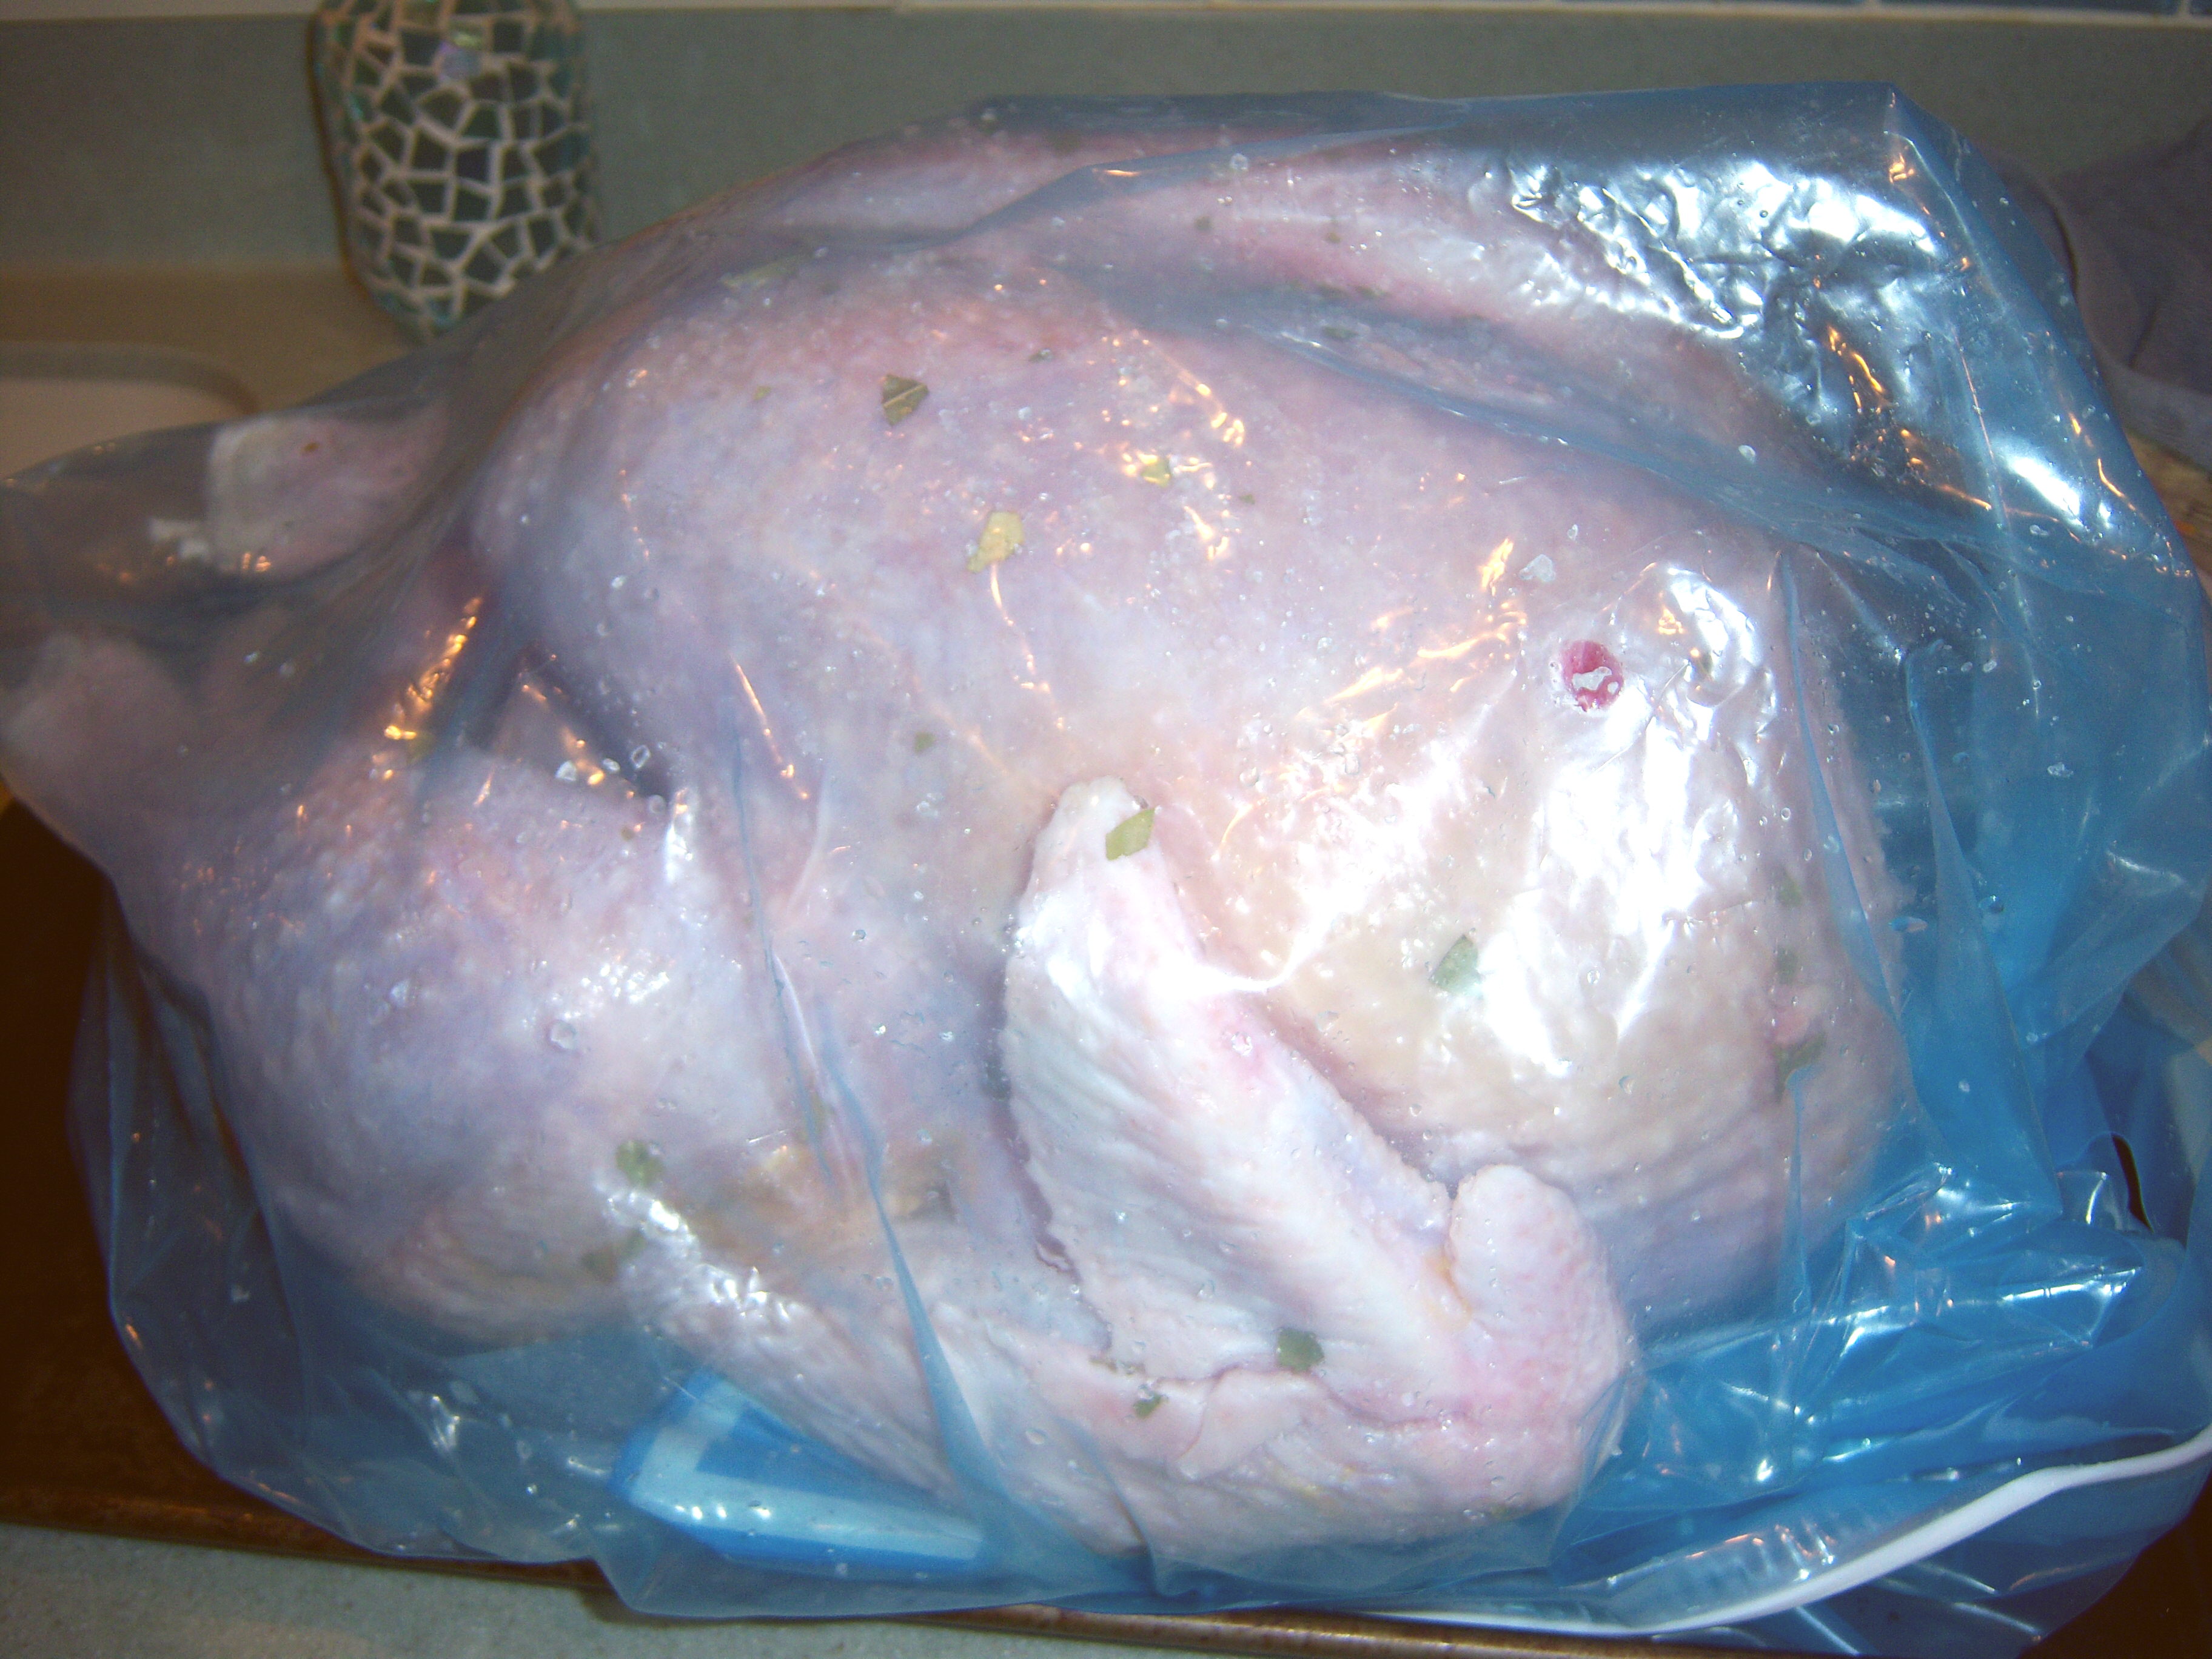
Then you rub the turkey, inside and out, with a mix of salt and bay leaves. I really expected there to be more in the mixture than that, but I’m doing what Martha says. This was harder than it sounds. Since I patted Mr. Turkey dry, the salt and bay leaf stuff didn’t want to stick to him at all. I kept rubbing it on and it kept just rolling off.
Then you put the turkey-lurkey in a bag and get the air out and refrigerate until
Thanksgiving day. Martha says to use an oven bag. I cheated and used a giant size Ziploc. I got all the air out and tucked the zippy part underneath.
I’m a little nervous about this! I’m used to my wet brining approach, so I’m worried this won’t be as good. All I can do is trust in Martha. As always, I do enjoy trying something new, so I’m definitely game. I’ll report back after turkey day as to the results! I’m sure there are others of you out there trying this method too, so I’m interested to hear your results also.
You can follow any comment to this entry through the RSS 2.0 Both comments and pings are currently closed.



I tried this last year and it so didn’t work for me. I must’ve really screwed it up.
What went wrong?