Spray on glue

Woot-woot! I did a Martha craft and it went really well!! Ok, here’s the scoop. In March Living, Martha suggests embellishing roses with glitter. She shows two methods. In method one, you mix 3 oz of water with 4-5 squirts of craft glue. Mix it up and spray it on a rose from 8 inches away. Sprinkle glitter over the rose and shake it off. This went well for me. The only tip I would offer is to use roses are not tightly closed. It’s hard to get glitter down in it if it is.

Method number two involves using glue that has an applicator tip. You’re supposed to trace glue around the edges of the petals. Well, I didn’t have an

Directly applied glue

applicator tip. My glue had a brush in it (just like the rubber cement we used to in art class – that took me back!) so I brushed it on gently and then sprinkled the glitter.

It really worked! I was tickled pink (get it?). Now, the question is would I really ever do this? Um, no, probably not. I think roses are beautiful by themselves and adding glitter is sort of tacky. I did say to Mr. MarthaAndMe that this might be something sort of fun to do for a centerpiece for a party if you wanted something a little glitzy and exciting, so I can see doing it in that setting. Maybe white roses with silver glitter for New Year’s Eve.

You can see I used pink roses. That’s a rule in our house. I don’t do red. Period. So Mr. MarthaAndMe has been trained to only bring home pink roses for Valentine’s Day.

Bookmark and Share

Woot-woot! I did a Martha craft and it went really well!! Ok, here’s the scoop. In March Living, Martha suggests embellishing roses with glitter. She shows two methods. In method one, you mix 3 oz of water with 4-5 squirts of craft glue. Mix it up and spray it on a rose from 8 inches … Read more

Today’s Martha Mondays project was chosen by Teresa at Homemade Iowa Life. The project is homemade mercury glass, from page of January Martha Stewart Living.

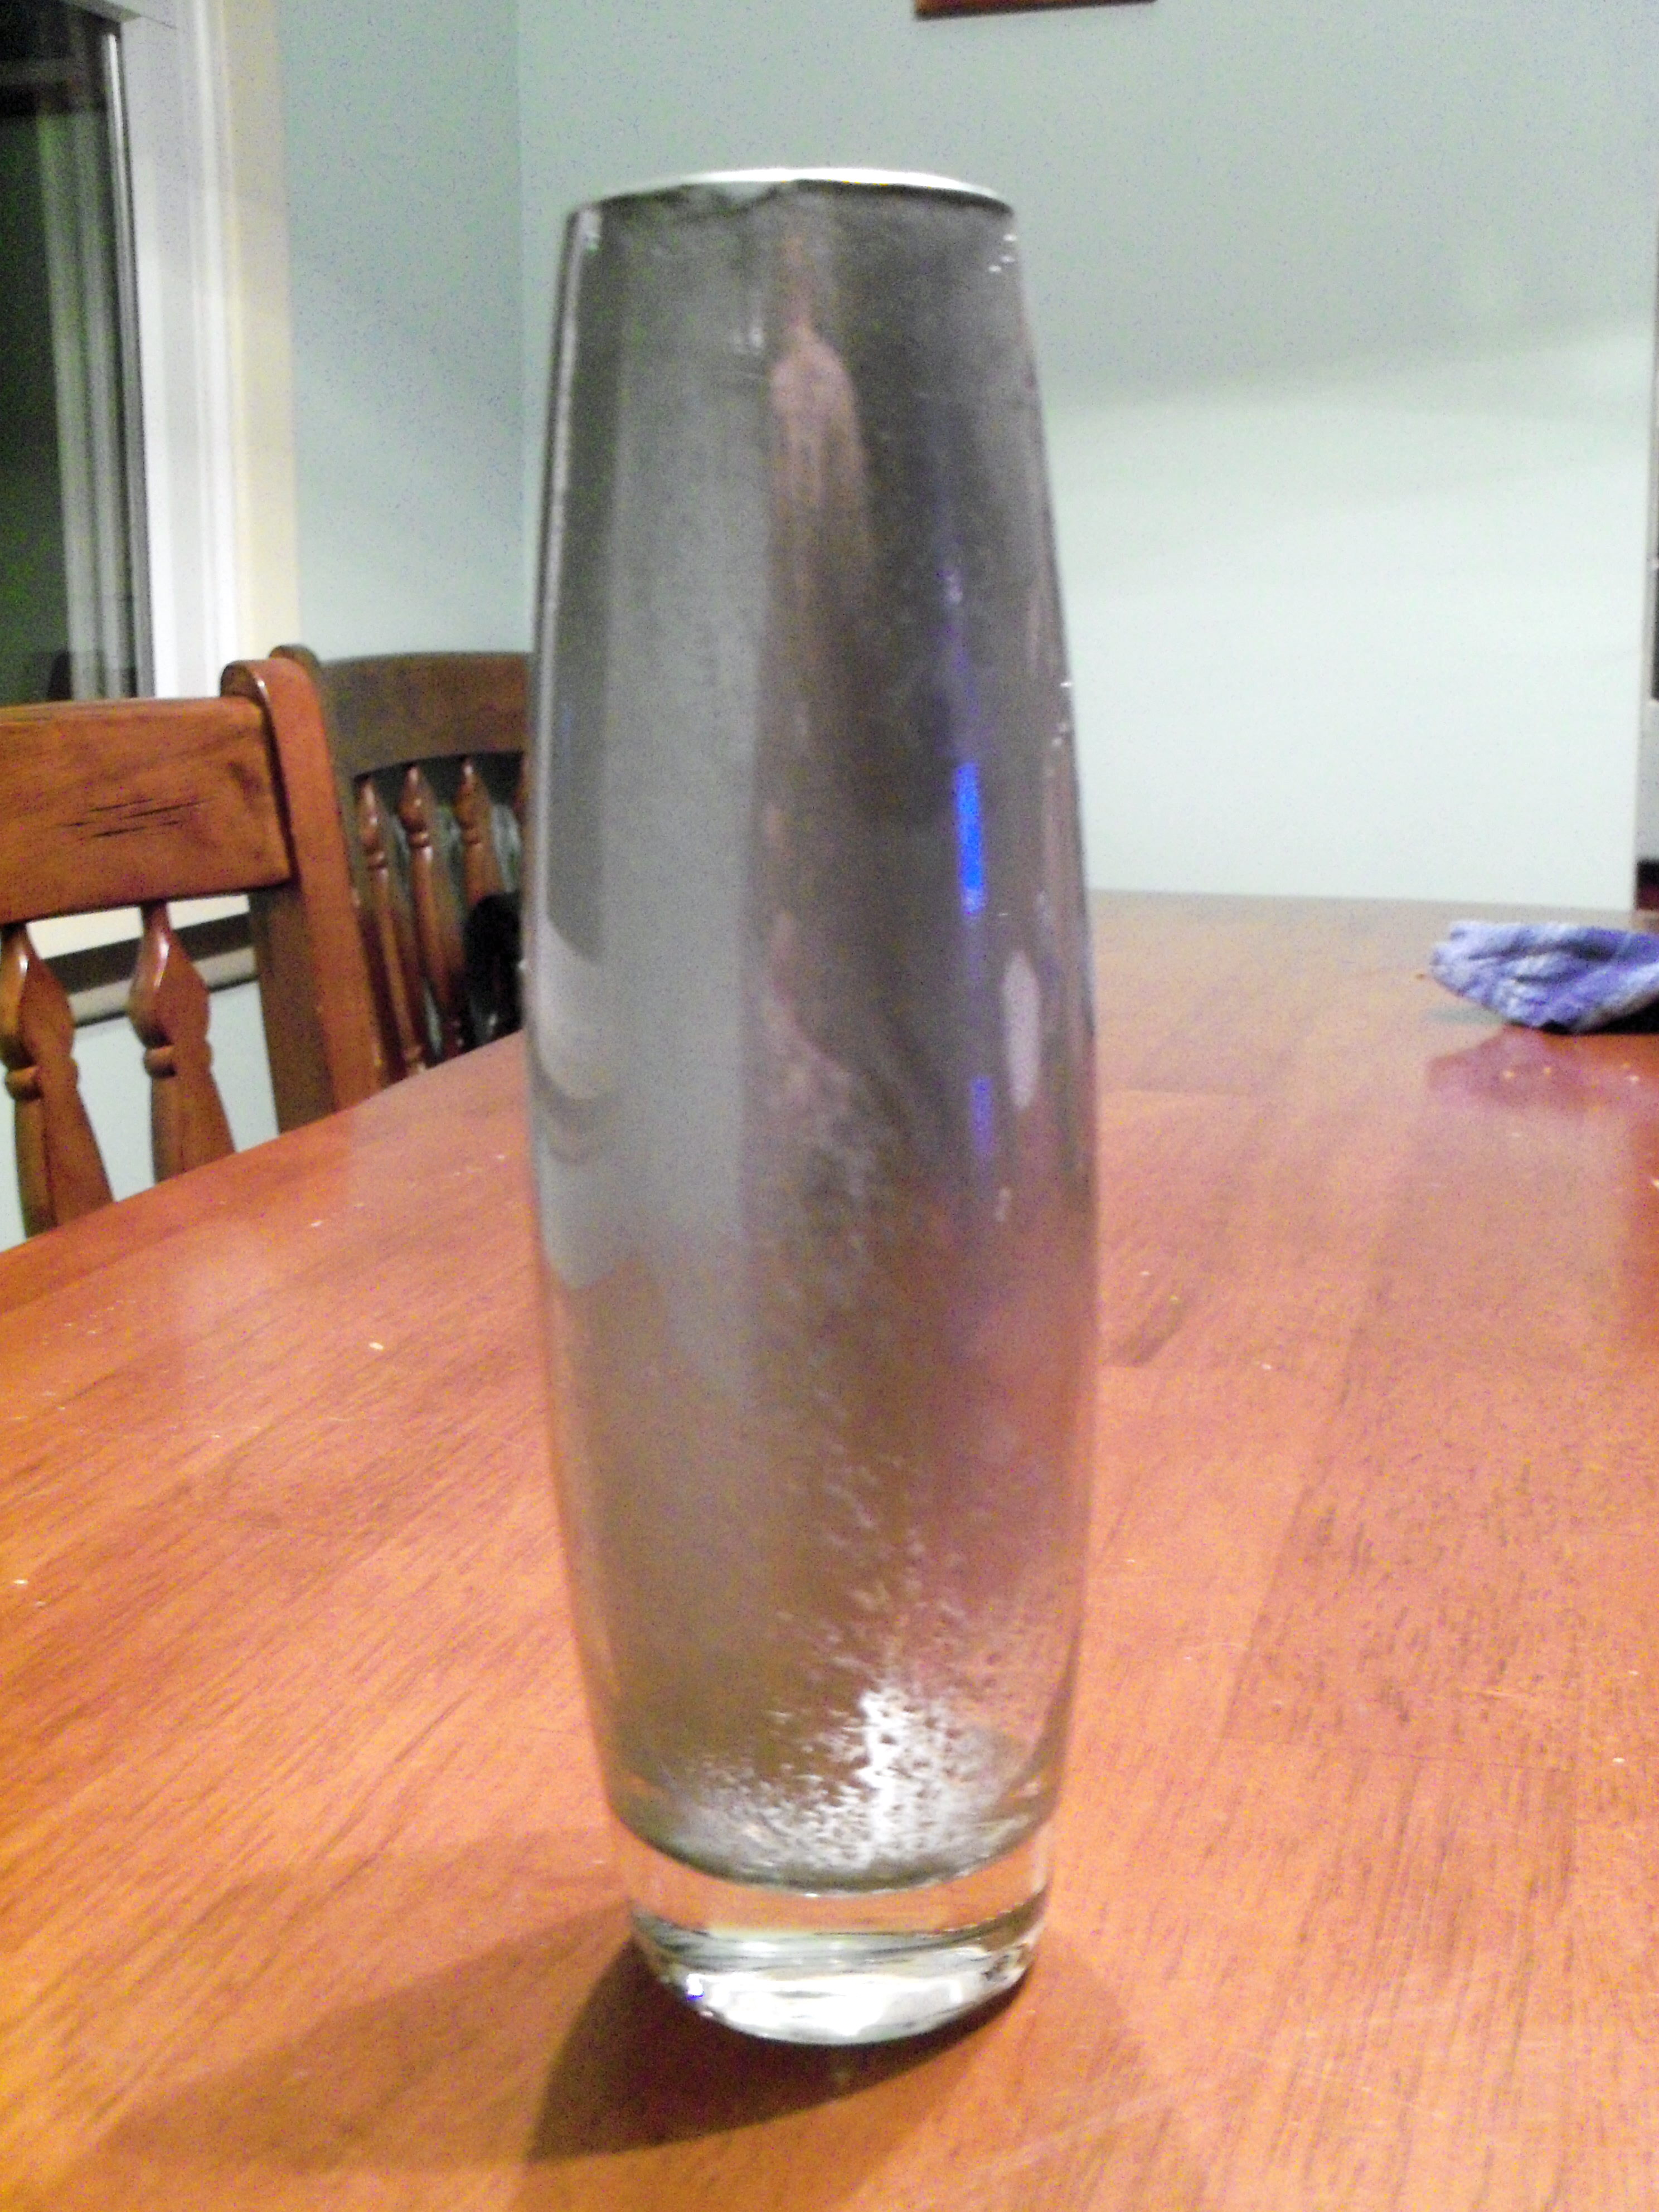
I love mercury glass, so this was exciting. Martha makes it sounds very simple (of course! It’s all simple to Martha). The first hurdle was buying what I needed. I bought a very inexpensive glass vase for $1.99. Finding the mirror paint was a problem. Martha references Krylon.com, however there wasn’t time to order this. I scoured local craft and home improvement stores. None of them had Krylon mirror paint (or looking glass paint, as it seems to say on the bottle in the photo in the magazine). I ended up buying chrome paint, which is close, but obviously not the same thing. Sigh. I paid $3.99 for a small size can of this.

Mr. MarthaAndMe assisted with this project as always. We wrapped paper around the vase and taped it. Then we sprayed the inside with water and next with the spray paint. We let it sit upside down on a drying rack overnight.

I removed the paper the next morning. It did do what it was supposed to, which is mostly cover the inside but not completely. However, I could definitely tell this was chrome, not mirror paint. If I had had mirror paint, I think the results would have been great. As it is, it’s just ok. So I’ll give this project a thumbs up, providing you can find the correct paint!

Bookmark and Share

Today’s Martha Mondays project was chosen by Teresa at Homemade Iowa Life. The project is homemade mercury glass, from page of January Martha Stewart Living. I love mercury glass, so this was exciting. Martha makes it sounds very simple (of course! It’s all simple to Martha). The first hurdle was buying what I needed. I … Read more

Thanks to Teresa at Homemade Iowa Life, the project for 1/11 is Instant Antique Glass, page 48 of January Martha Stewart Living. If you don’t have the magazine, you need some kind of glass vase, or votive holder, etc, a spray bottle with water and mirror paint in a spray bottle.

You need to work in a ventilated area. Clean the glass and cover the outside with paper. Spray the inside with water then the mirror paint. Turn it upside down on a drying rack so air can circulate and let it dry completely overnight. You can repeat if necessary. The result should look like mercury glass.

I love mercury glass, so I can’t wait to see how this turns out.

Thanks to Teresa at Homemade Iowa Life, the project for 1/11 is Instant Antique Glass, page 48 of January Martha Stewart Living. If you don’t have the magazine, you need some kind of glass vase, or votive holder, etc, a spray bottle with water and mirror paint in a spray bottle. You need to work … Read more

This week’s project was picture frame ornaments, chosen by MaryAnn at Stirrin It Up.

This is a really simple craft that would be great to do with kids. You print out the template, trace onto card stock and them glue and glitter them, after punching a hole at the top. Once the glitter dries, you make a cut out in one of them and glue a photo in it and then glue the back on. Very, very easy. Even I could do it.

In full disclosure I used Martha’s glitter glue and glitter that they sent me. I have to say I was quite pleased with the quality of both. The glitter glue has a brush attached inside the lid – just like rubber cement jars and I found that to be very convenient. Martha’s glitter was, as always, very nice.

Bookmark and Share

This week’s project was picture frame ornaments, chosen by MaryAnn at Stirrin It Up. This is a really simple craft that would be great to do with kids. You print out the template, trace onto card stock and them glue and glitter them, after punching a hole at the top. Once the glitter dries, you … Read more

If your holiday budget is small this year, you might be wondering if there are any handmade gifts you could make, even if you aren’t a gifted crafter. Martha to the rescue! I’ve collected my 10 favorite handmade gift projects that even the most craft-impaired person can make. So while the rest of the world is out fighting the crowds on Black Friday, why not enjoy a quiet day at home and work on some low-cost DIY gifts with Martha?

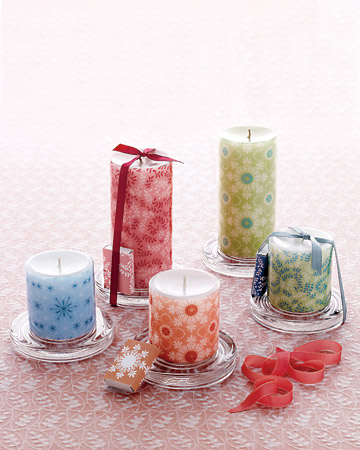
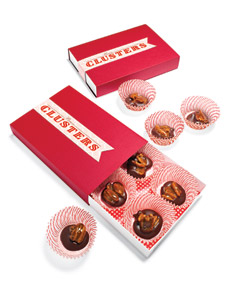
1. Decal Candles. This craft is ridiculously easy and Martha even provides the templates.

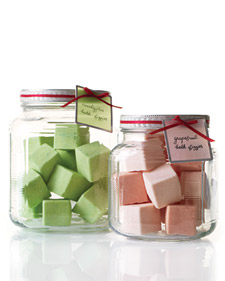
2. Bath Fizzies. Cute and easy to make. What woman wouldn’t enjoy receiving these?

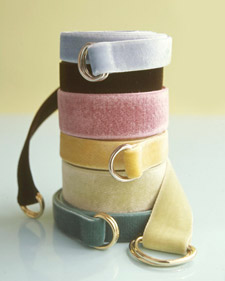
3. Velvet Ribbon Belts. Who wouldn’t love a fab new belt?

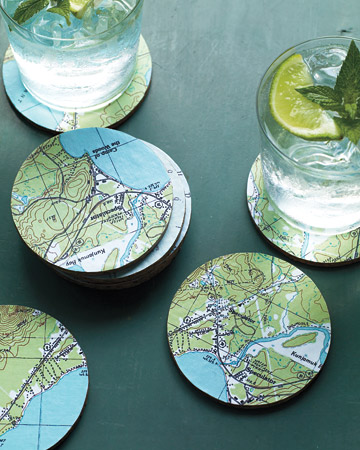
4. Map Coasters. I made these and they were actually quite easy. Perfect for a man or a woman, and easy to personalize with maps from their favorite vacation spot, cabin, or even where they honeymooned.

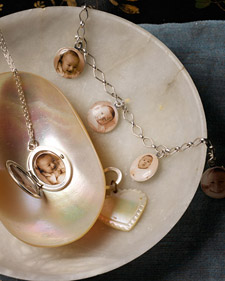
5. Photograph jewelry. Any gift that involves buying something and sticking a photo in it is doable for even the most craft-impaired. You know you can make any mom or grandma misty eyed with this kind of gift.

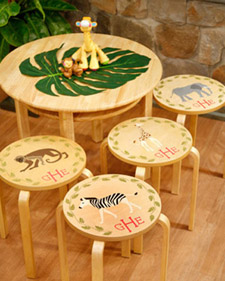
6. Stenciled Stool. Stenciling is a quick way to dress up a child’s stool, and a stool is a gift a young child will use every day at the bathroom sink.

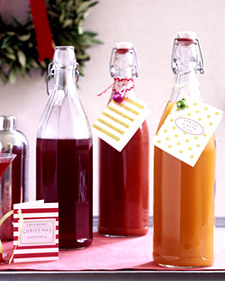
7. Holiday Drink Mixers. Just mix and give – no crafting required! This is a gift that says “invite me to your next party.”

8. Pecan Clusters. You can’t go wrong with candy and these are classier than homemade fudge any day. Sneak a couple for yourself.

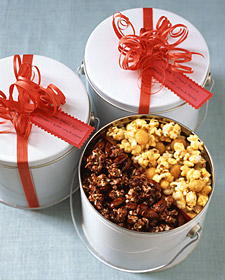
9. Popcorn tins. This all-purpose gift is even less expensive when you make your own at home. There are many yummy options available.

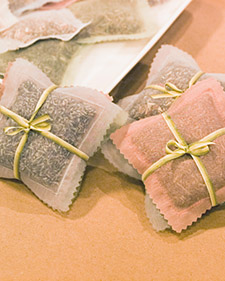
10. Organza Sachets. This is a great project for kids to work on with you or do on their own with a little guidance.

Bookmark and Share

If your holiday budget is small this year, you might be wondering if there are any handmade gifts you could make, even if you aren’t a gifted crafter. Martha to the rescue! I’ve collected my 10 favorite handmade gift projects that even the most craft-impaired person can make. So while the rest of the world … Read more

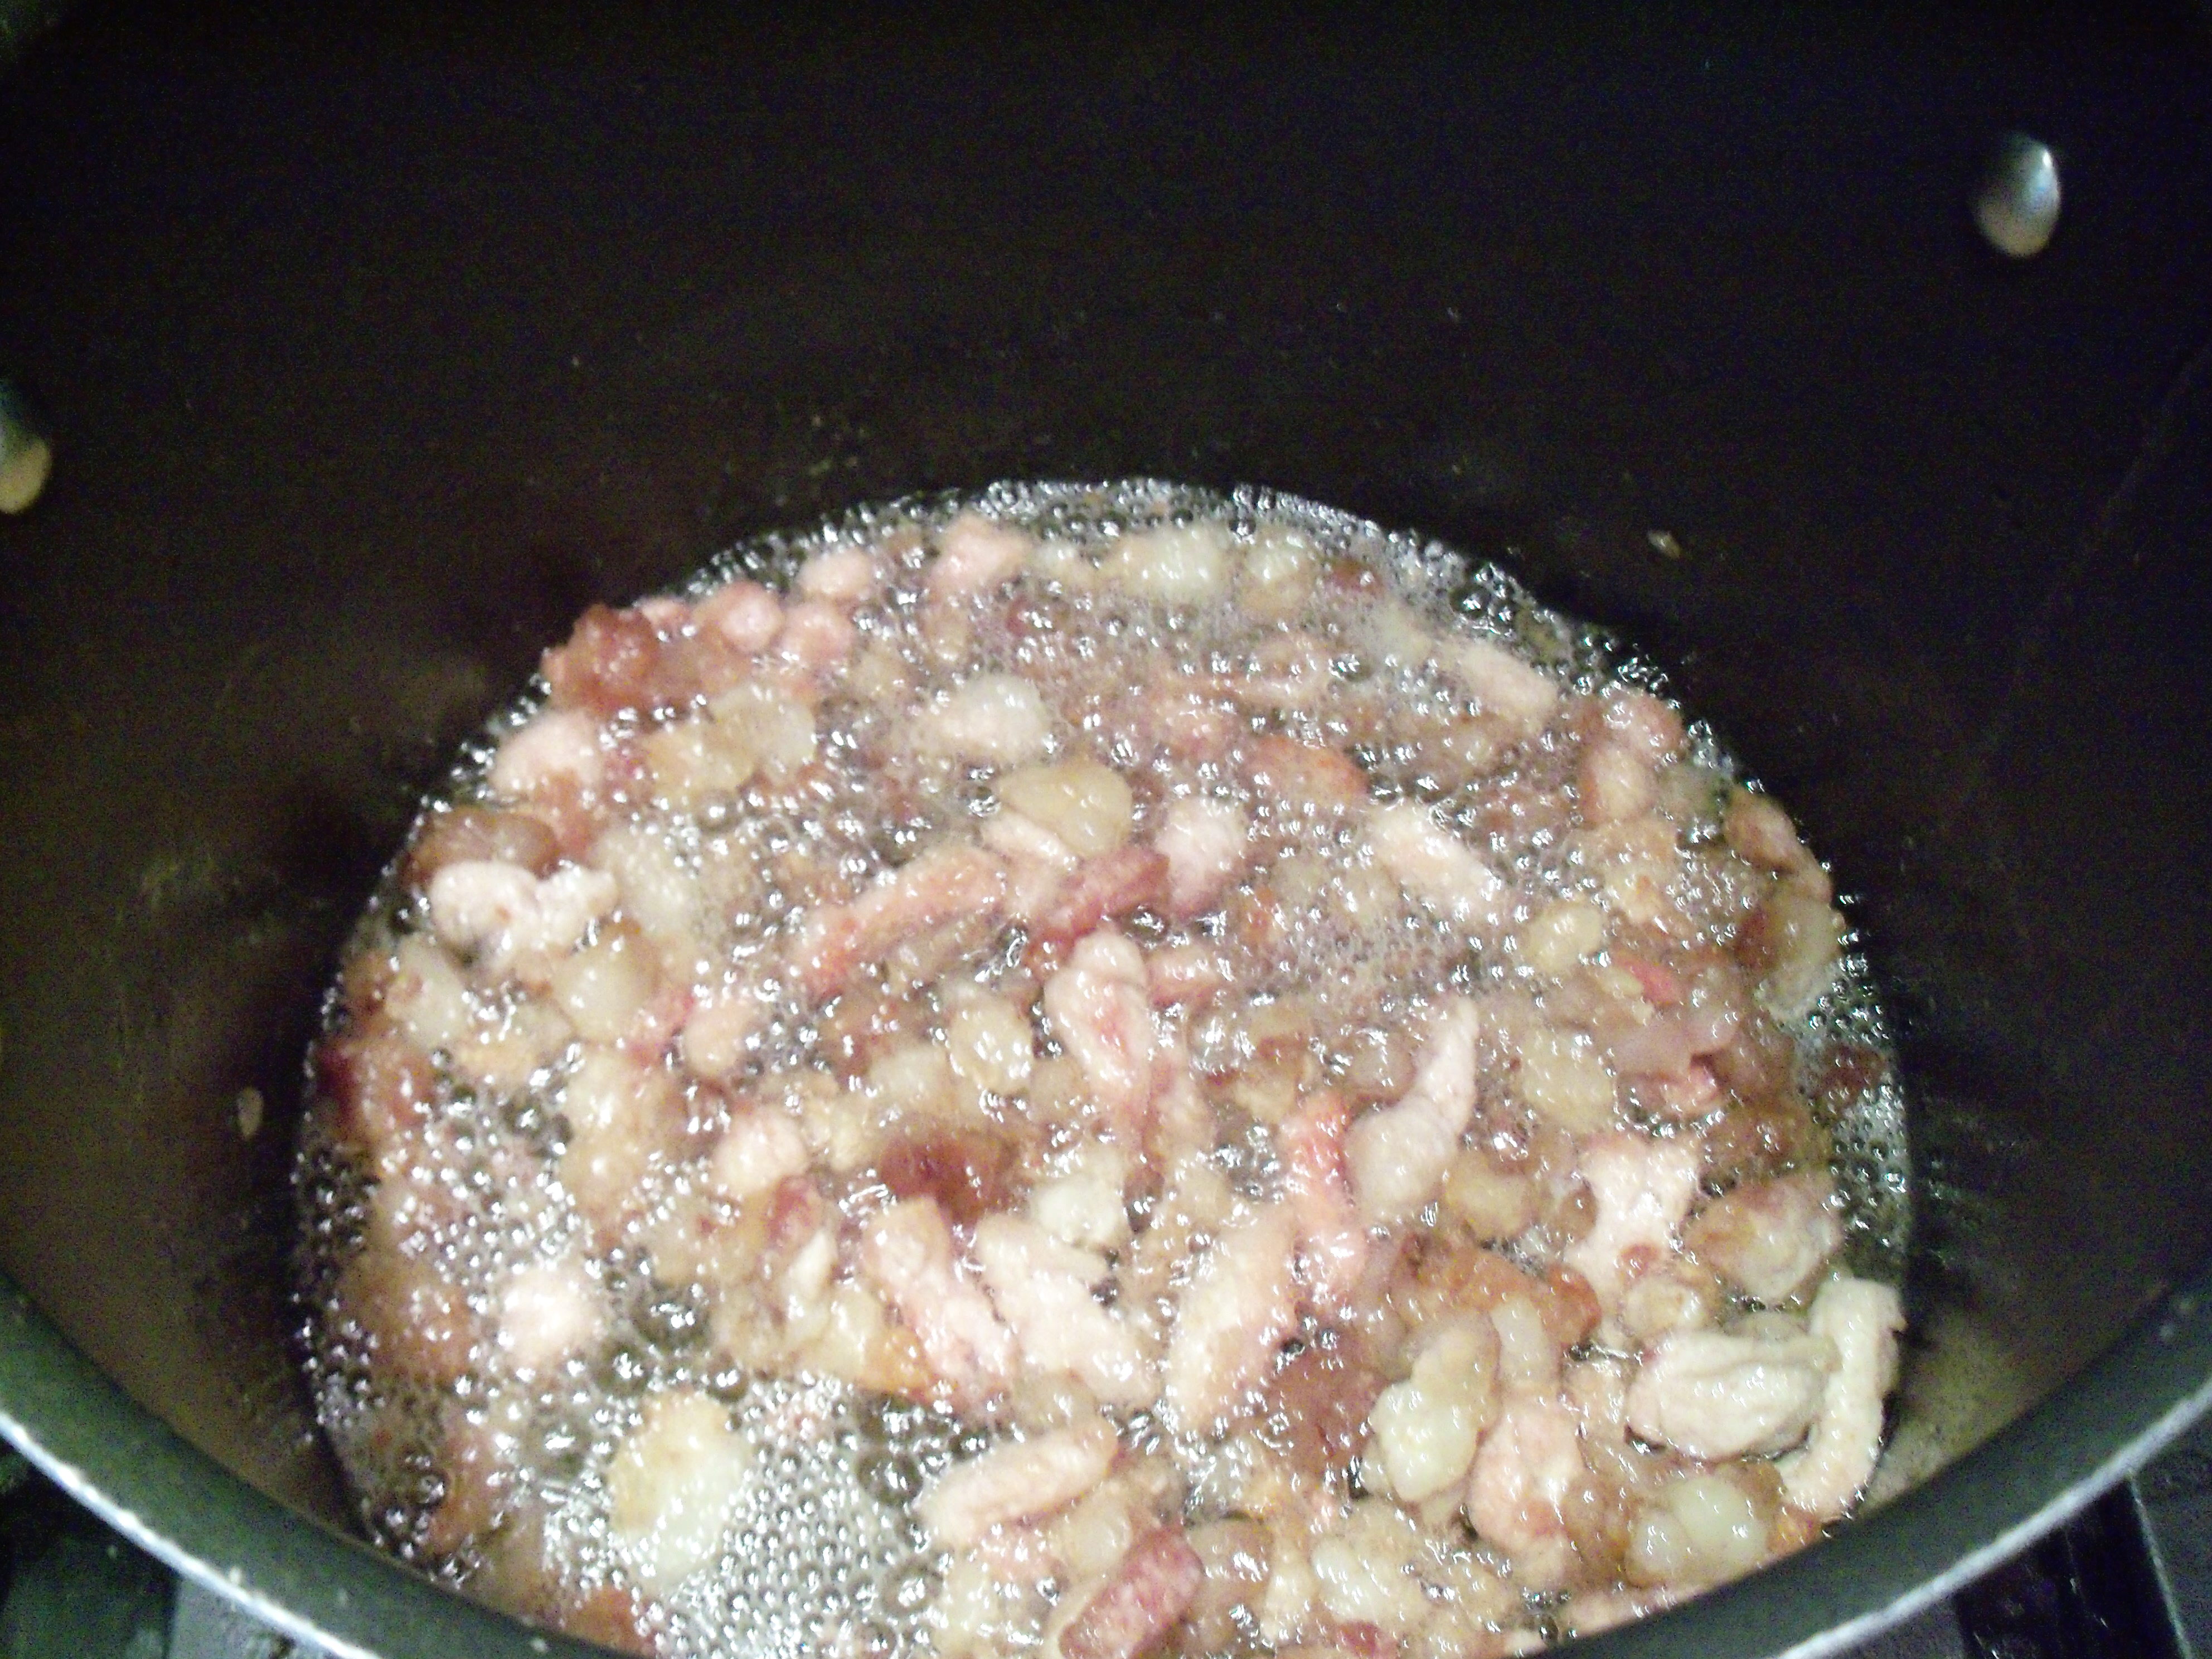
This week’s Martha Mondays was my pick – suet birdfeeders from November Living. Let me say I am so, so, sorry. If you made this and it stunk up your house as badly as it did mine, I apologize. I think this is truly the nastiest Martha thing I’ve ever made. My grocery store did not have suet so I ended up at a butcher. Mr. MarthaAndMe chopped it up for me since I was grossed out by it. The directions say to render this until it liquifies. It seemed to me like that would be pretty simple but it wasn’t. It took FOREVER, it smelled horrible, and I was not sure when it was actually done. There were lots of chunks of stuff still floating around in the liquid fat, but it was starting to burn. I pulled the plug and strained it.

Martha says you have to strain it with cheesecloth – I just used a sieve. Then you have to let it harden, then melt it and strain it again. Can I just say, this seems like a LOT of work for birds. Seriously, can you see Martha taking an entire afternoon to make these birdfeeders? I think not. I’m sure she buys them from someone who makes organic artisan suet birdfeeders or something.

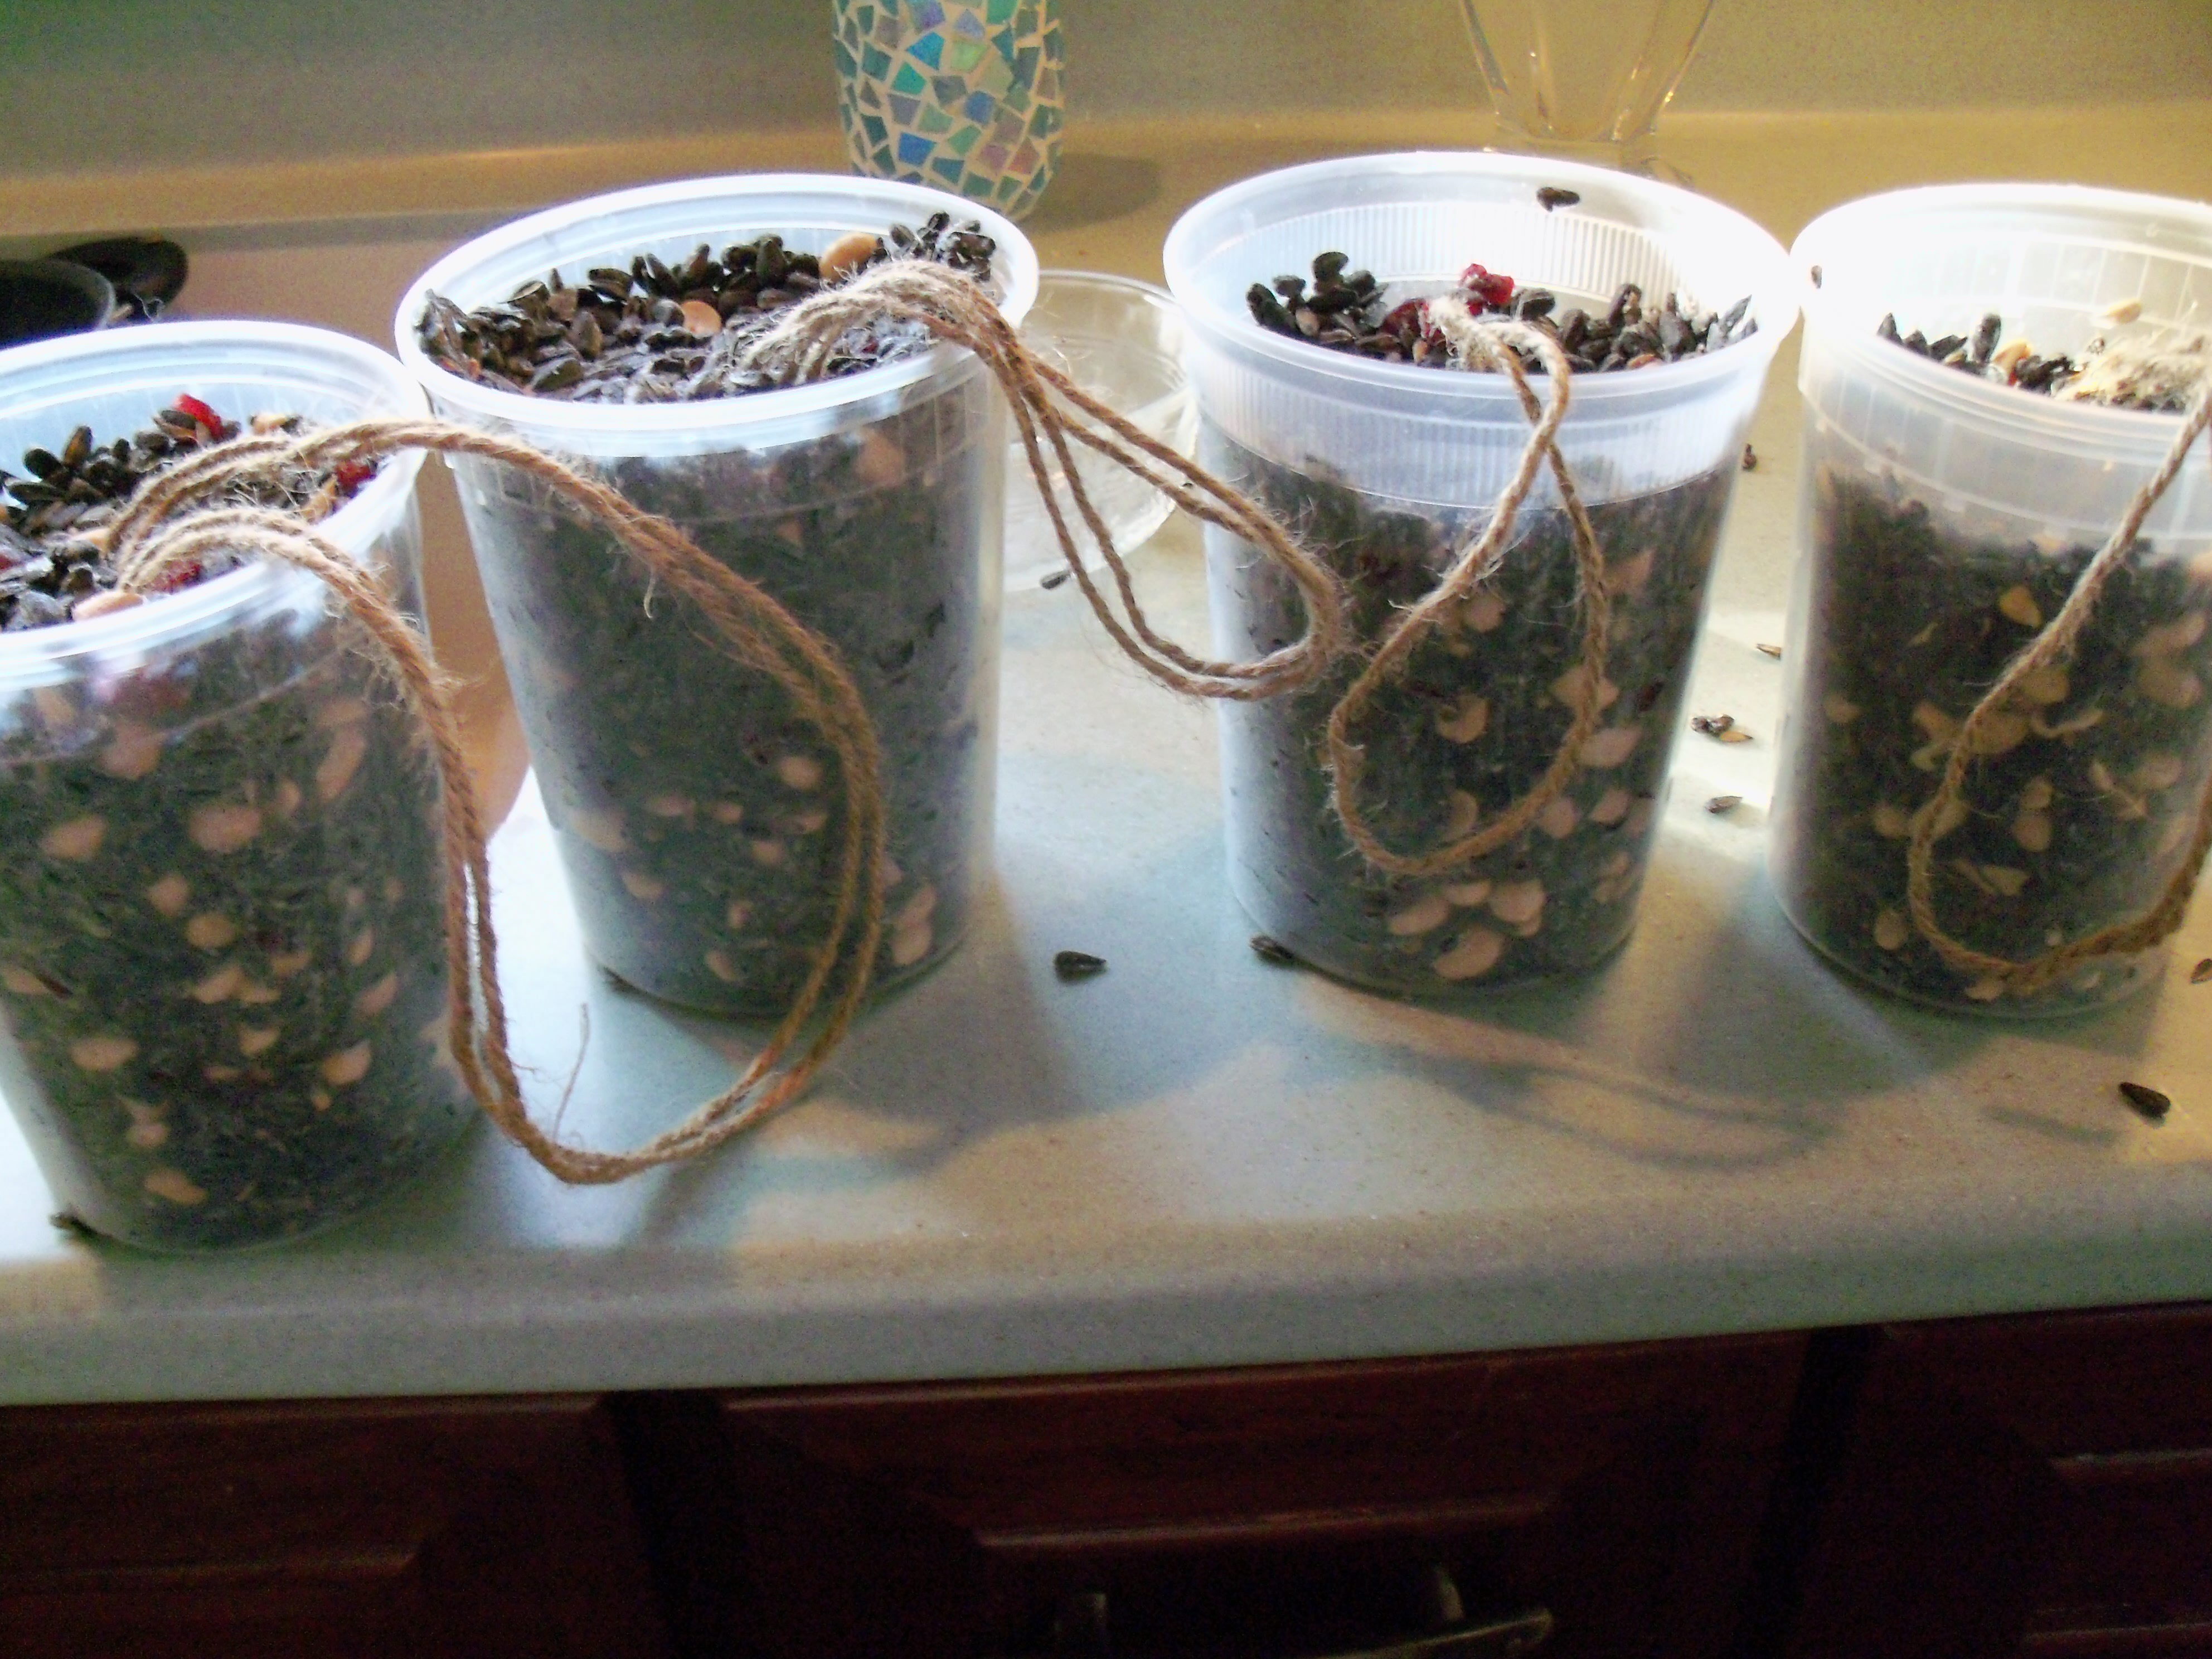
So I did let it harden and liquify it again, but I confess I did not strain it the second time – there was nothing in it to strain out. I just did not care enough. I mixed in the sunflower seeds, peanuts and cranberries and we smushed it into plastic containers with string in it and froze it. I actually halved this recipe, but somehow it made 4 containers full. I was a little concerned when about 3 hours after I put it in the freezer it wasn’t sticking together.

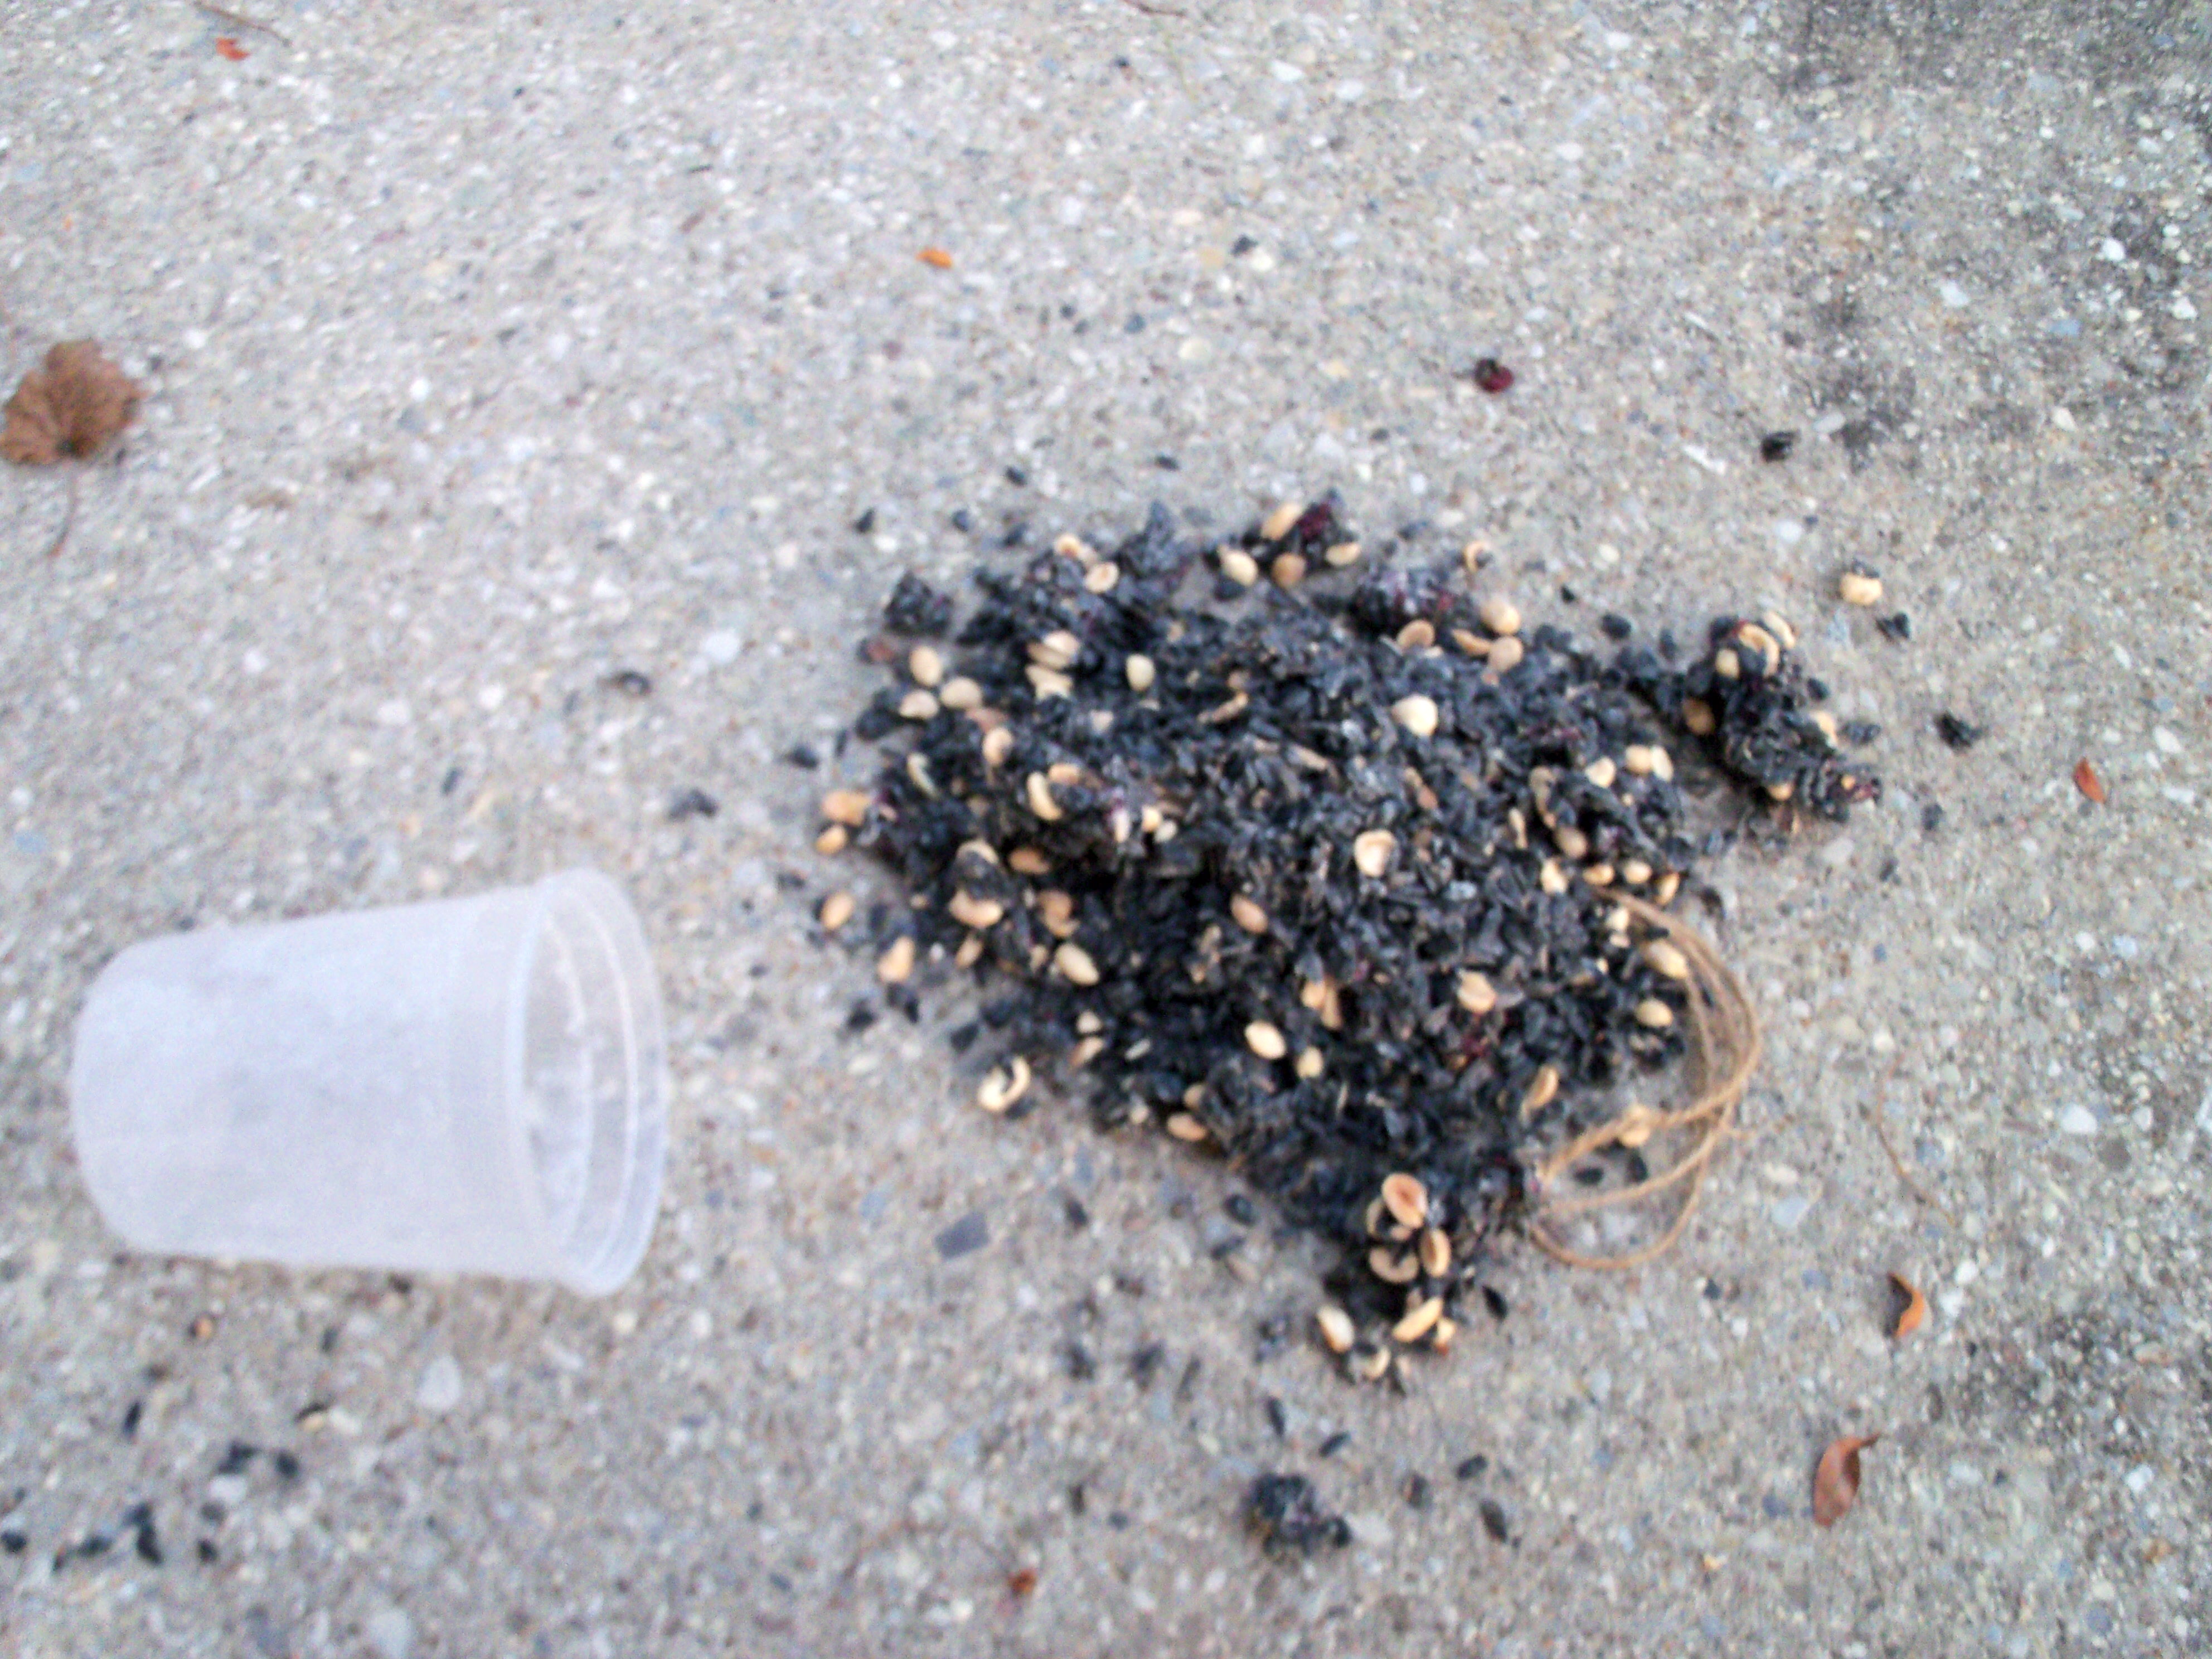
I left it in overnight. This morning we checked them and they all seemed loose, but we hoped for the best. We took the most solid one outside and tried to get it out of the container. You can see from the photo that it completely fell apart.

What a mess and what a disappointment. I’m wondering if maybe the butcher didn’t give me enough suet? Maybe I should have kept on cooking it down even though it was on low and was burning? I don’t know what to think, but it sure would be a lot easier to just BUY one of these suet things in the store for $2 than to spend this much time horsing around and ending up with such a mess!

Bookmark and Share

This week’s Martha Mondays was my pick – suet birdfeeders from November Living. Let me say I am so, so, sorry. If you made this and it stunk up your house as badly as it did mine, I apologize. I think this is truly the nastiest Martha thing I’ve ever made. My grocery store did … Read more

I decided to put together a Martha Stewart product gift guide. You don’t have to be a Martha fan to appreciate the things she sells. Martha could probably fill an entire store with her products at this point, so my challenge was to isolate just ten to recommend to you this holiday season. Check the list out for things you might want for yourself, hostess gifts, and presents for the ones you love!

cookie book1.Martha Stewart’s Cookies.  This book will be adored by anyone who likes to bake.  The cookies are organized by texture, which is a new approach, and includes classic recipes (peanut crisps, shortbread and snickerdoodles) as well as more adventurous kinds (bratseli, cornmeal thyme cookies, and Earl Grey cookies). $24.95
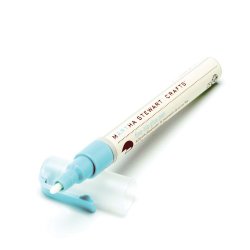
glue pen2. Fine Tip Glue Pen.  This is a great idea for anyone who crafts, has kids, or has lots of fun office supplies.  This dual purpose glue can be used wet for a traditional glue or once the applied glue has dried for a tacky, temporary stick. It’s a bargain at $3.06.

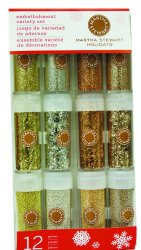
3. Glitter. Martha Stewart is now probably one of theglitter biggest purveyors of glitter – she has over 100 colors and types. Pick up a pack for crafters or kids. The glitter is excellent quality and the shades of color available are just astounding. $15.95 for a 12 pack.
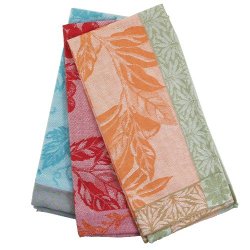
towels4. Tropical Toile Kitchen Towels. These are perfect for a hostess gift.  The vintage look of these towels means your grandma will like them and so will your newly married cousin.  $8.99 for a 3-pack.

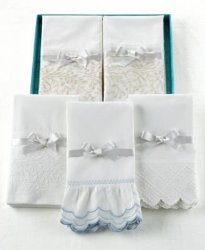
4. Trousseau Pillowcase Box Gift Set.  Beautifully pilllowedged heirloom quality pillowcases will make a welcome gift for anyone. Choose from lace, scallop or delicate blue edging. Because they’re white, they will match any sheet set and the 300 thread count means they will feel luxurious to weary heads. $29.99 for 2 pillow cases.
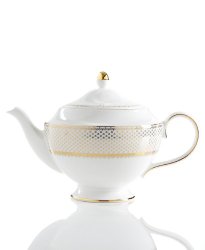
wedgewood5. Wedgwood French Knot Beverage Pot in Gold. What’s a gift list without a bit of luxury? Martha has her own line of Wedgewood dinnerware, and this elegant coffeepot/teapot is the perfect gift for the woman who has everything. Its delicate design will complement any china pattern and will identify her as a woman of class and taste. $189.

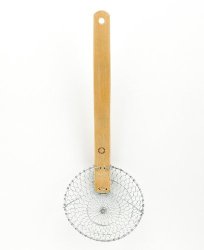
6. Asian Strainer. A fabulous stocking stuffer that will be asian strainerwelcome in any kitchen, this kitchen tool is bigger, lighter and more functional than a slotted spoon and is perfect for scooping veggies or ravioli out of boiling water. $7.99.
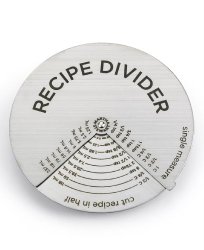
recipe7. Magnetic Recipe Divider. You’ve decided to cut your aunt’s cookie recipe in half, but what’s half of a 1/3 of a cup? Take the guessing out of reducing recipes and buy your Secret Santa this magnetic doohicky that does it all for her!  $9.99.

8. Counting Baby Quilt. For the mom-to-be or the new quiltbaby in your life, Martha’s 100% cotton quilt will be a cherished gift whether it is used as bedding or hung on a wall with the attached rod pocket loops. $79.99
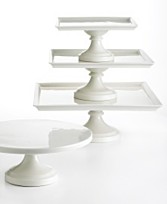
cake plate9. Whiteware Cake Stand. Whether you choose round or square, these elegant cake stands will make any cake look like a gourmet treat.  Select 8″, 10″ or 12″ for $22 to $42.

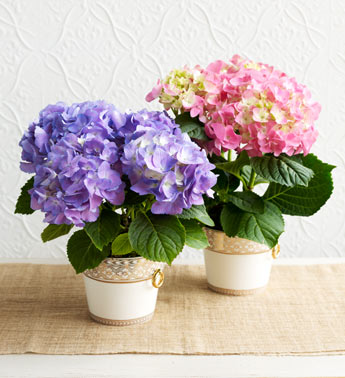
10. Petite Hydrangea Plant.  Send this to your friends and family who won’t be coming home for Christmas (and maybe send one to yourself too!). Martha’s 1-800-Flowers collection includes these lovely live plants, in pink or purple, which will last much longer than hydrangeaa cut flower arrangement and can be planted in the garden come spring, for years of enjoyment. $39.95
Looking for other great gift ideas? Here is a round up of some other terrific gift guides:

Gifts for dogs and dog lovers

Irish music

Gifts for travelers who read

Gifts for travelers

Gifts from paradise

Foodie gifts under $20

Bookmark and Share

I decided to put together a Martha Stewart product gift guide. You don’t have to be a Martha fan to appreciate the things she sells. Martha could probably fill an entire store with her products at this point, so my challenge was to isolate just ten to recommend to you this holiday season. Check the … Read more

I never heard from the person scheduled to make this week’s pick , so I’m going to go ahead and choose it so we can get going with it. I thought we would try something a little different, so I’m choosing Birdseed-and-Suet Feeders from page 36 of November Living. I’m going to paraphrase the instructions for those of you who don’t have the magazine. You need 5 lbs mixed wild birdseed, 2 lbs suet (Martha says you can buy it from a butcher), 1 lb dried cranberries, and 1 lb raw peanuts. You need 5 1-qt plastic containers (takeout style) and twine.

First, render the suet by chopping and cooking over medium until it’s liquid. Strain through cheesecloth and let it solidify. Then heat it and strain it again. Mix it with the birdseed, cranberries and peanuts and fill the containers, leaving a loop of twine coming out of the middle of each. Freeze it 2 hours or overnight, remove from the containers and hang outside. It makes 5 (I’m going to cut this recipe at leas in half I think). I can’t wait to hear how it works for everyone!

Bookmark and Share

I never heard from the person scheduled to make this week’s pick , so I’m going to go ahead and choose it so we can get going with it. I thought we would try something a little different, so I’m choosing Birdseed-and-Suet Feeders from page 36 of November Living. I’m going to paraphrase the instructions … Read more

mondaysThis week’s Martha Mondays is the nut wreath from November Living, chosen by Sara at SassySuppers. I spent $16 on this for nuts and the wreath form. I cheated and bought a 12 inch form while Martha says to use a 24 inch form. I would have needed double the nuts if I had done that, and this would have cost even more! I already had the glue gun and ribbon.

This project sounded pretty easy – glue nuts on a wreath. It sounds easy, but it wasn’t that easy for me. Mr. MarthaAndMe was here to lend a hand and gave me some pointers. For example, he suggested I glue some nuts standing straight up – something I wouldn’t have thought of. He also suggested gluing hazelnuts all the way around the outside edge to cover up the wreath form. What would I do without Mr. MarthaAndMe? He has more craft sense in his little finger than I have all over.

I hate the spider web strands you get with glue guns!

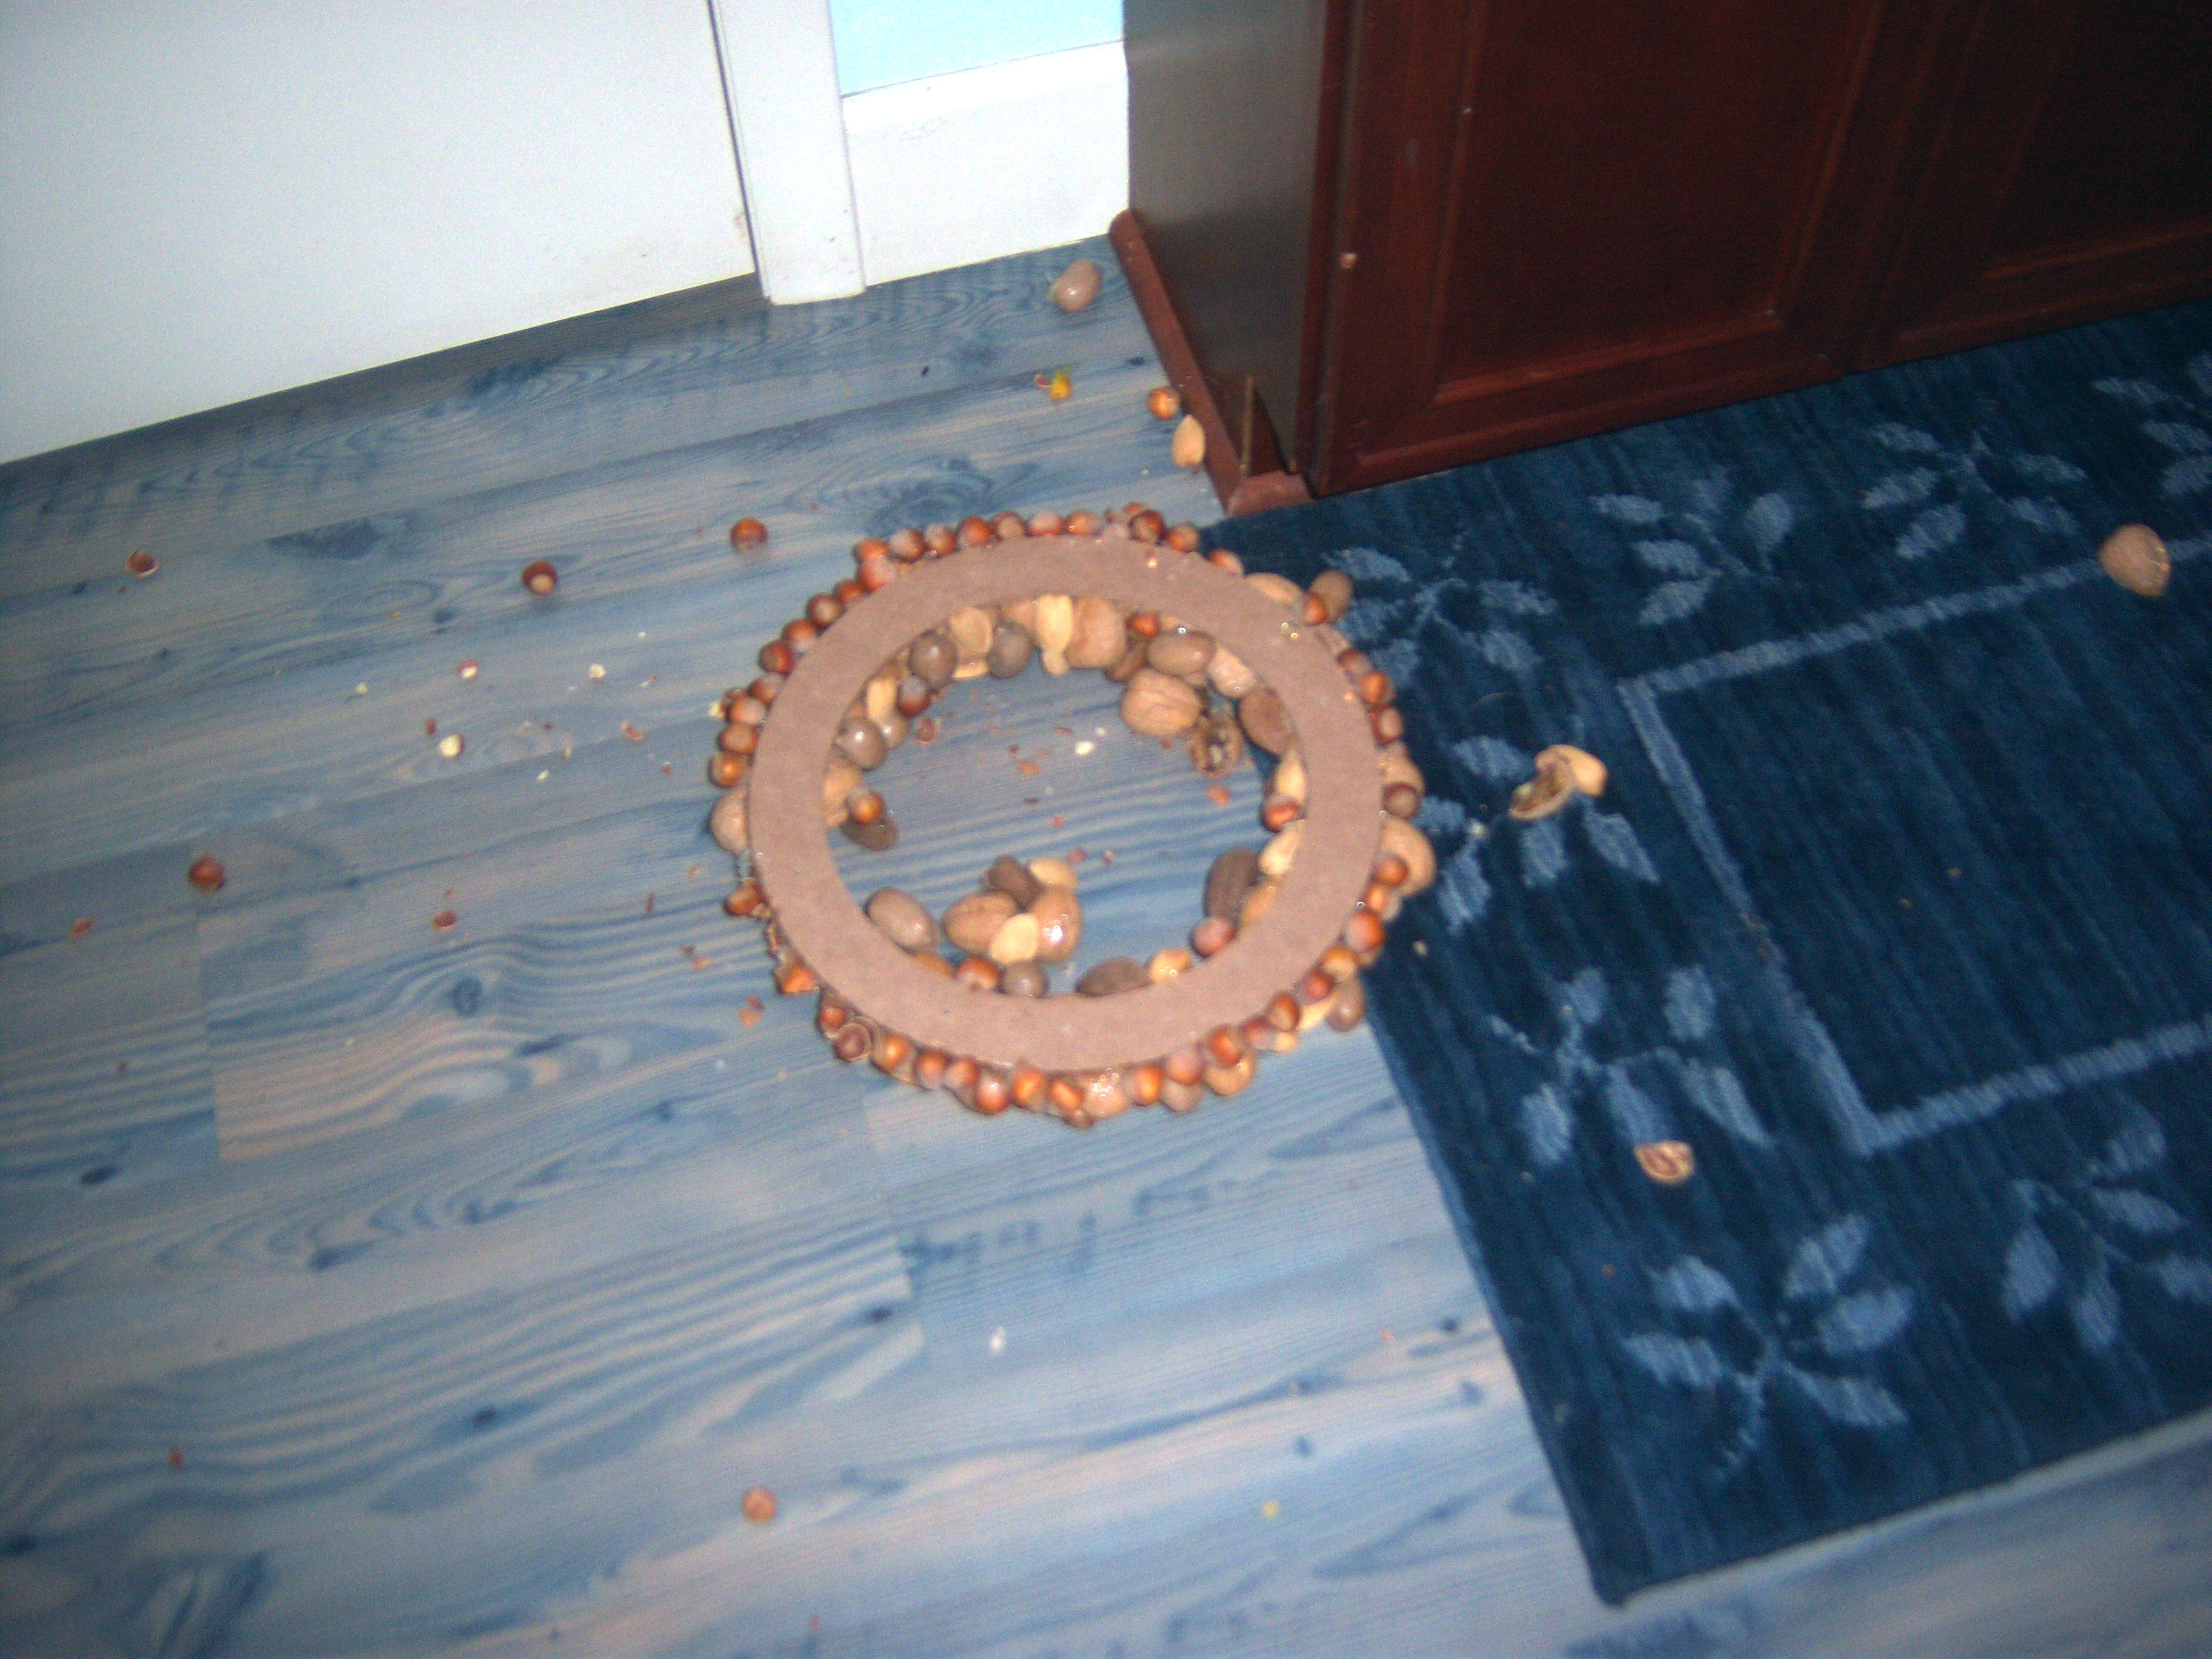
This took a lot more time than I thought it should have and we kept adding nuts to try to cover up holes. Finally, we thought we had something decent and Mr. MarthaAndMe hung it up using fishing line (8 lb test!). Big mistake. It came nut wreath2crashing to the floor and shattered. Yikes. Martha might have mentioned you need something really strong to hang this from!
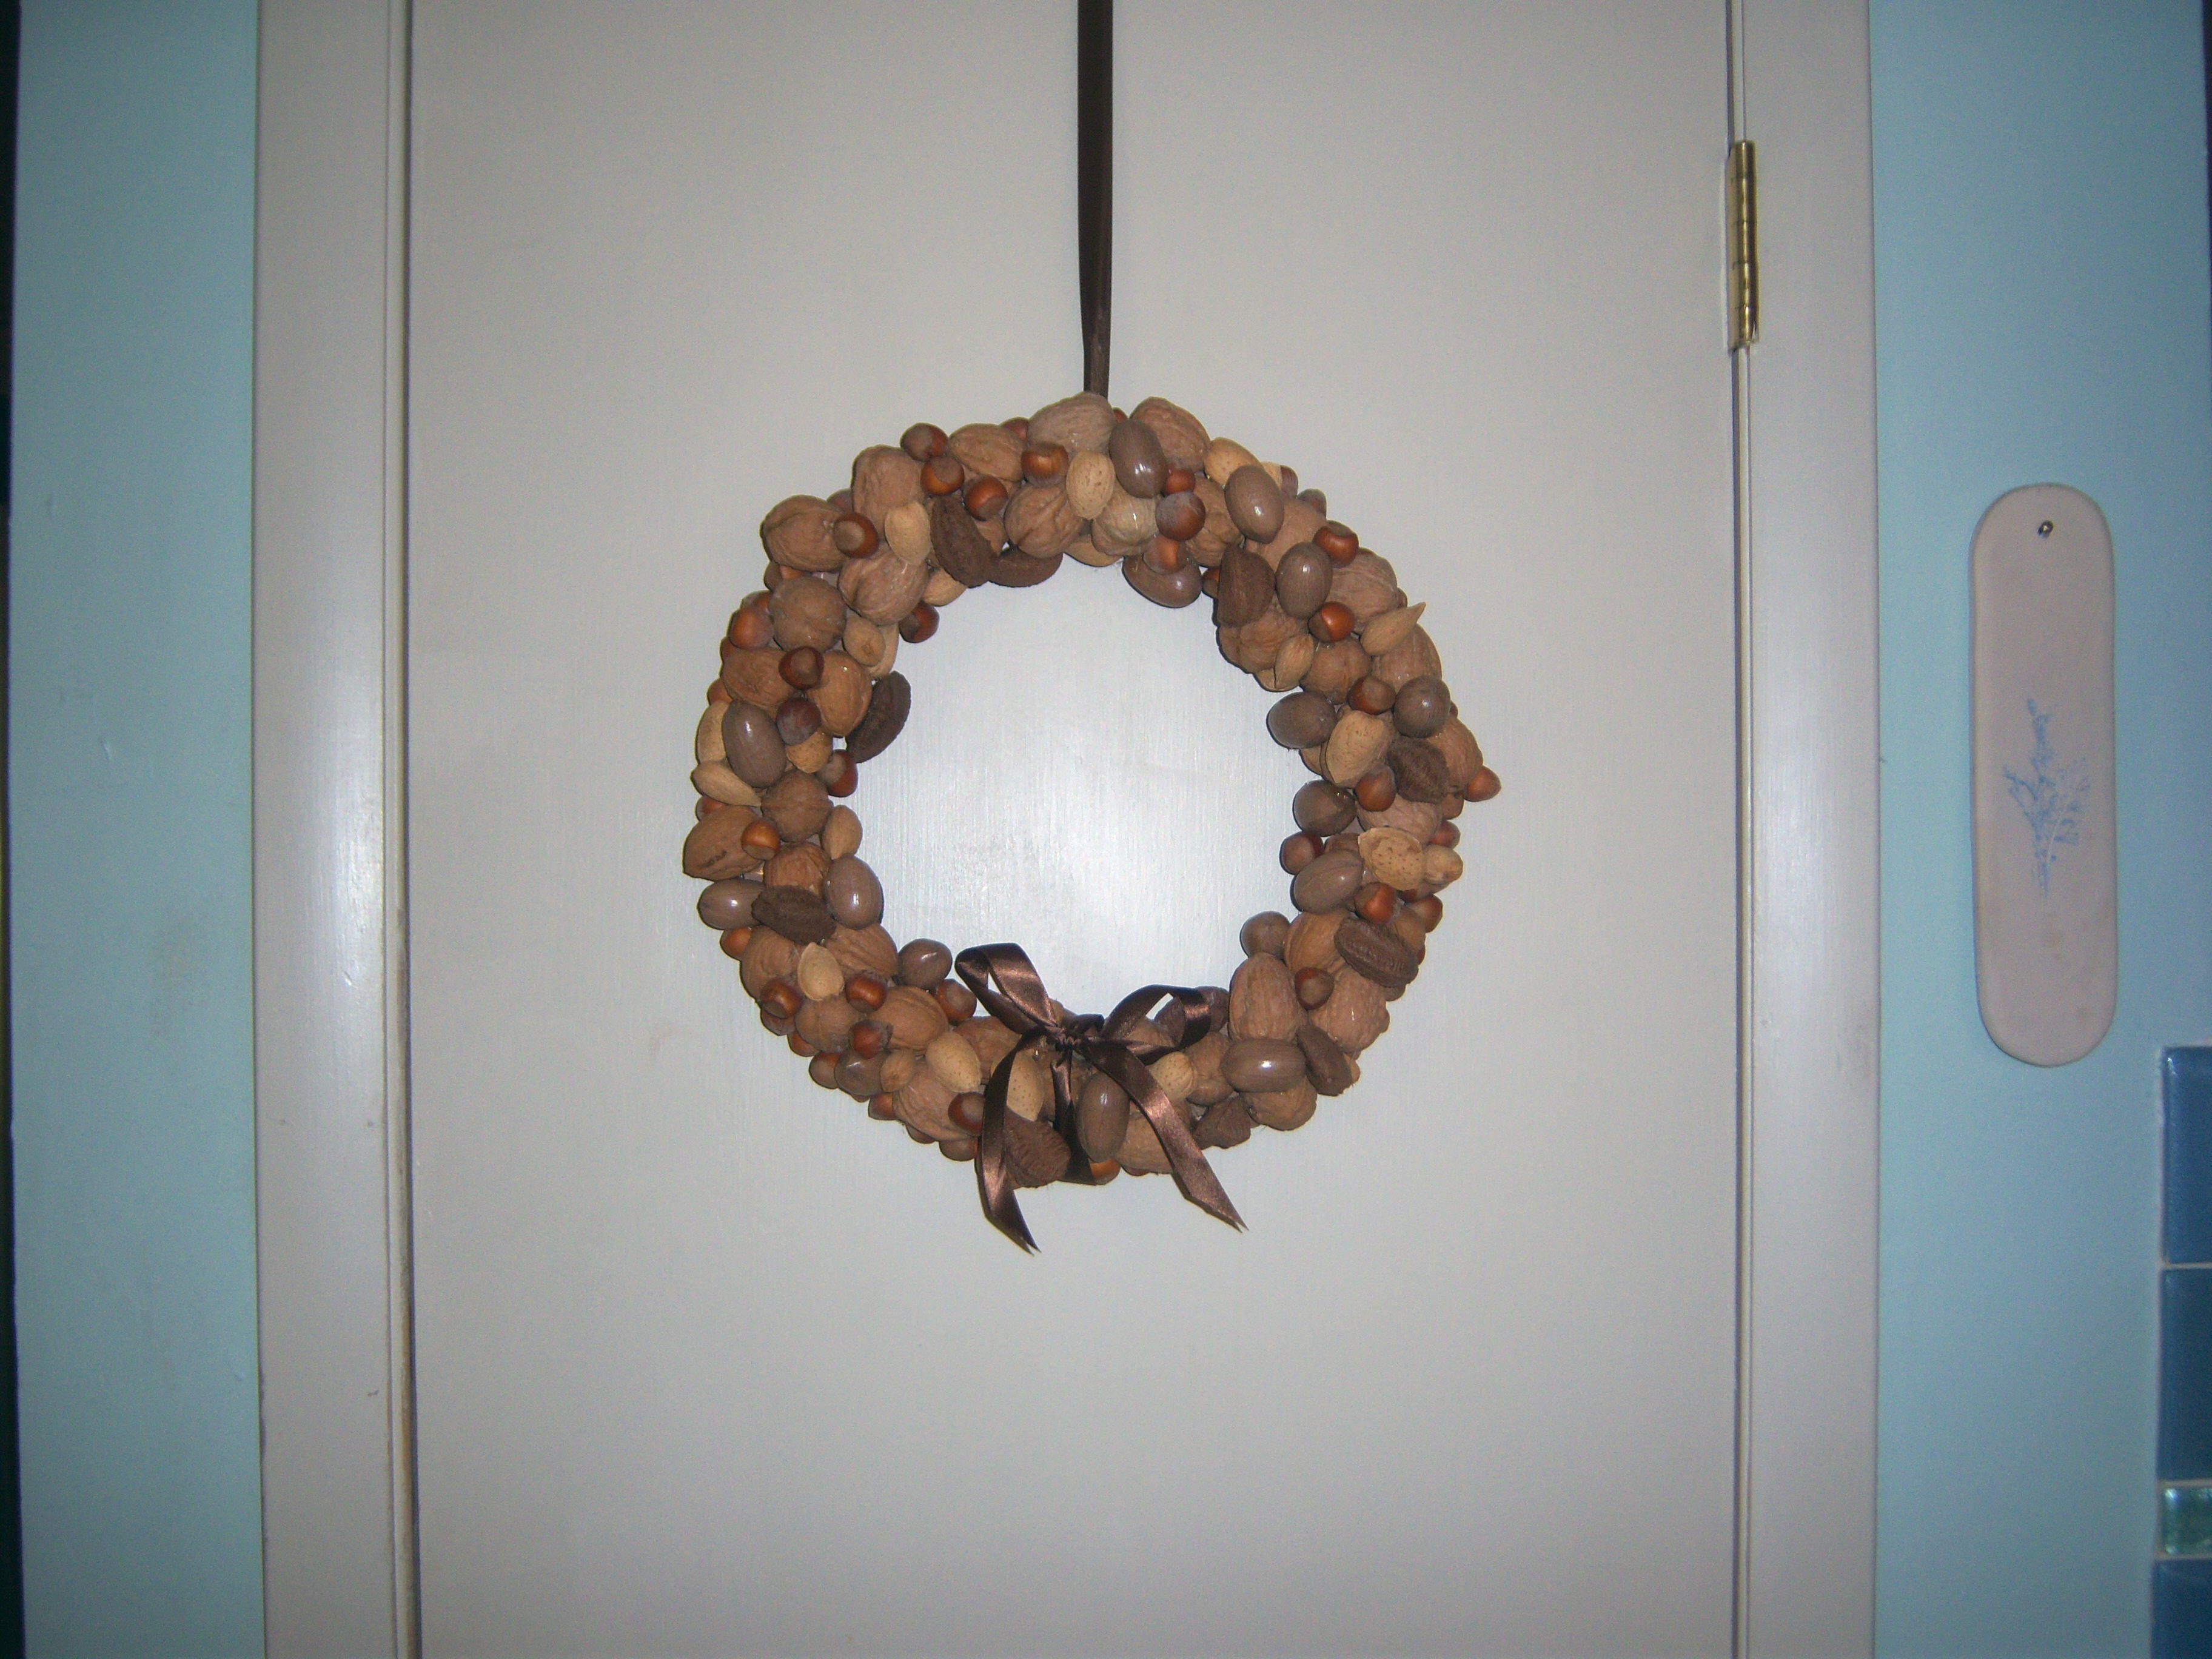
Most of it was intact, so we replaced the nuts that broke or fell off and finally had something ready to hang. Mr. MarthaAndMe suggested we hang it outside and watch the squirrels try to take it apart. I am sure they would have figured out a way! Instead, we hung it on the kitchen pantry door (I don’t why the wall color looks so incredibly horrible in this photo – that is really bothering me!).

nut wreathI think it actually turned out pretty nicely.

Did you make this? Please post a link in the comment section to your results. Please visit everyone else’s results and leave them comments!

Bookmark and Share

This week’s Martha Mondays is the nut wreath from November Living, chosen by Sara at SassySuppers. I spent $16 on this for nuts and the wreath form. I cheated and bought a 12 inch form while Martha says to use a 24 inch form. I would have needed double the nuts if I had done … Read more

no